Here’s a WIP in which I build this unconventional machine:
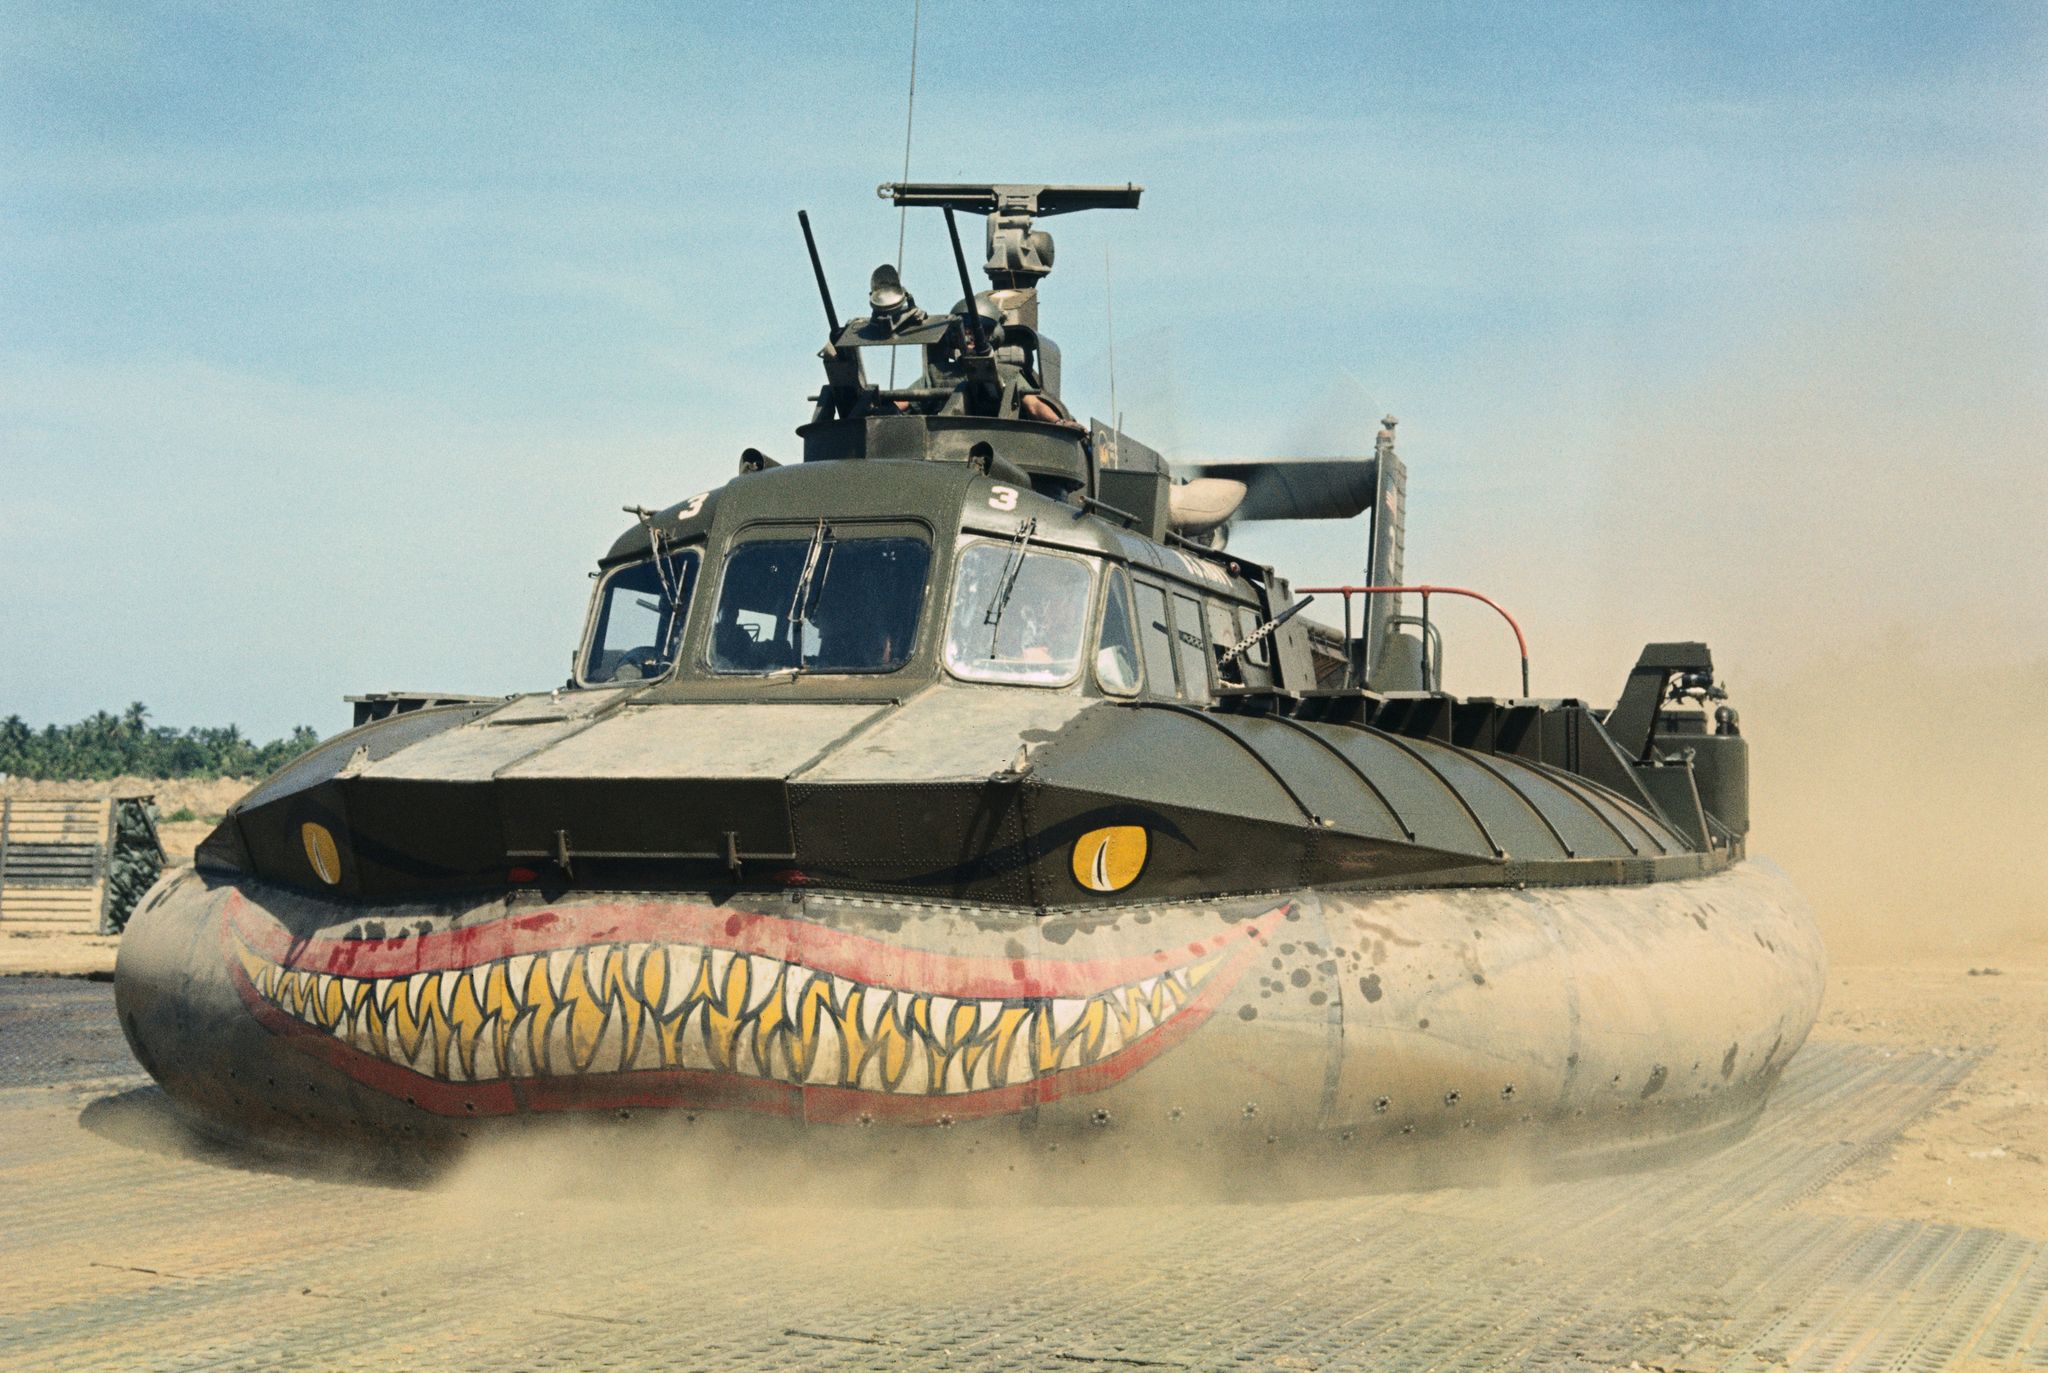
It’s a PACV - Patrol Air Cushion Vehicle. In Vietnamese Quai Vat - meaning Monster!
It’s going to be build out of a kit by Gecko.
I’m starting with the interior that looks very nice and is detailed well. In fact it has so many details, that I’m wondering where did they get their references from - I sure couldn’t find all the details on the 'net.
I started building the diverse seats:
Parts are very detailed, but also fragile. Cleaning up the sprue attachment points and mold seam lines takes a lot of care so as not to break anything.
As out of the box the kit shows the hovercraft with the skirt inflated, this means that the engine is running. Thus it would be awkward not to have anybody onboard - so I have to take care of the crew. I started with legs:
The ones above come from Dragon’s “Helicopter Crew” set. As you can see the surgery is already done, but everything has to dry really well before the filing starts.
One thing I’d like to ask is what interior colour would you bet on on this one?
The kit instructions say “navy grey”, but from what I’ve seen it should be the same colour as for the outsides (Forest Green). I’d appreciate your input here!
Hello Frenchy! So good to be able to count on you!
I’ve seen those pictures before…
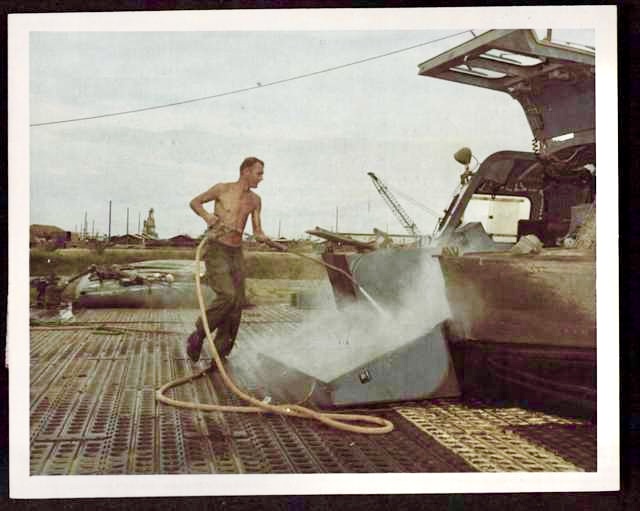
OK, so in the museum the interior is grey. So how about those green patches? Are they over or under the grey paint? Because we know the sole surivor from Vietnam went to the Coast Guard where I guess they repainted the interior grey. But I’d say there was green paint underneath that.
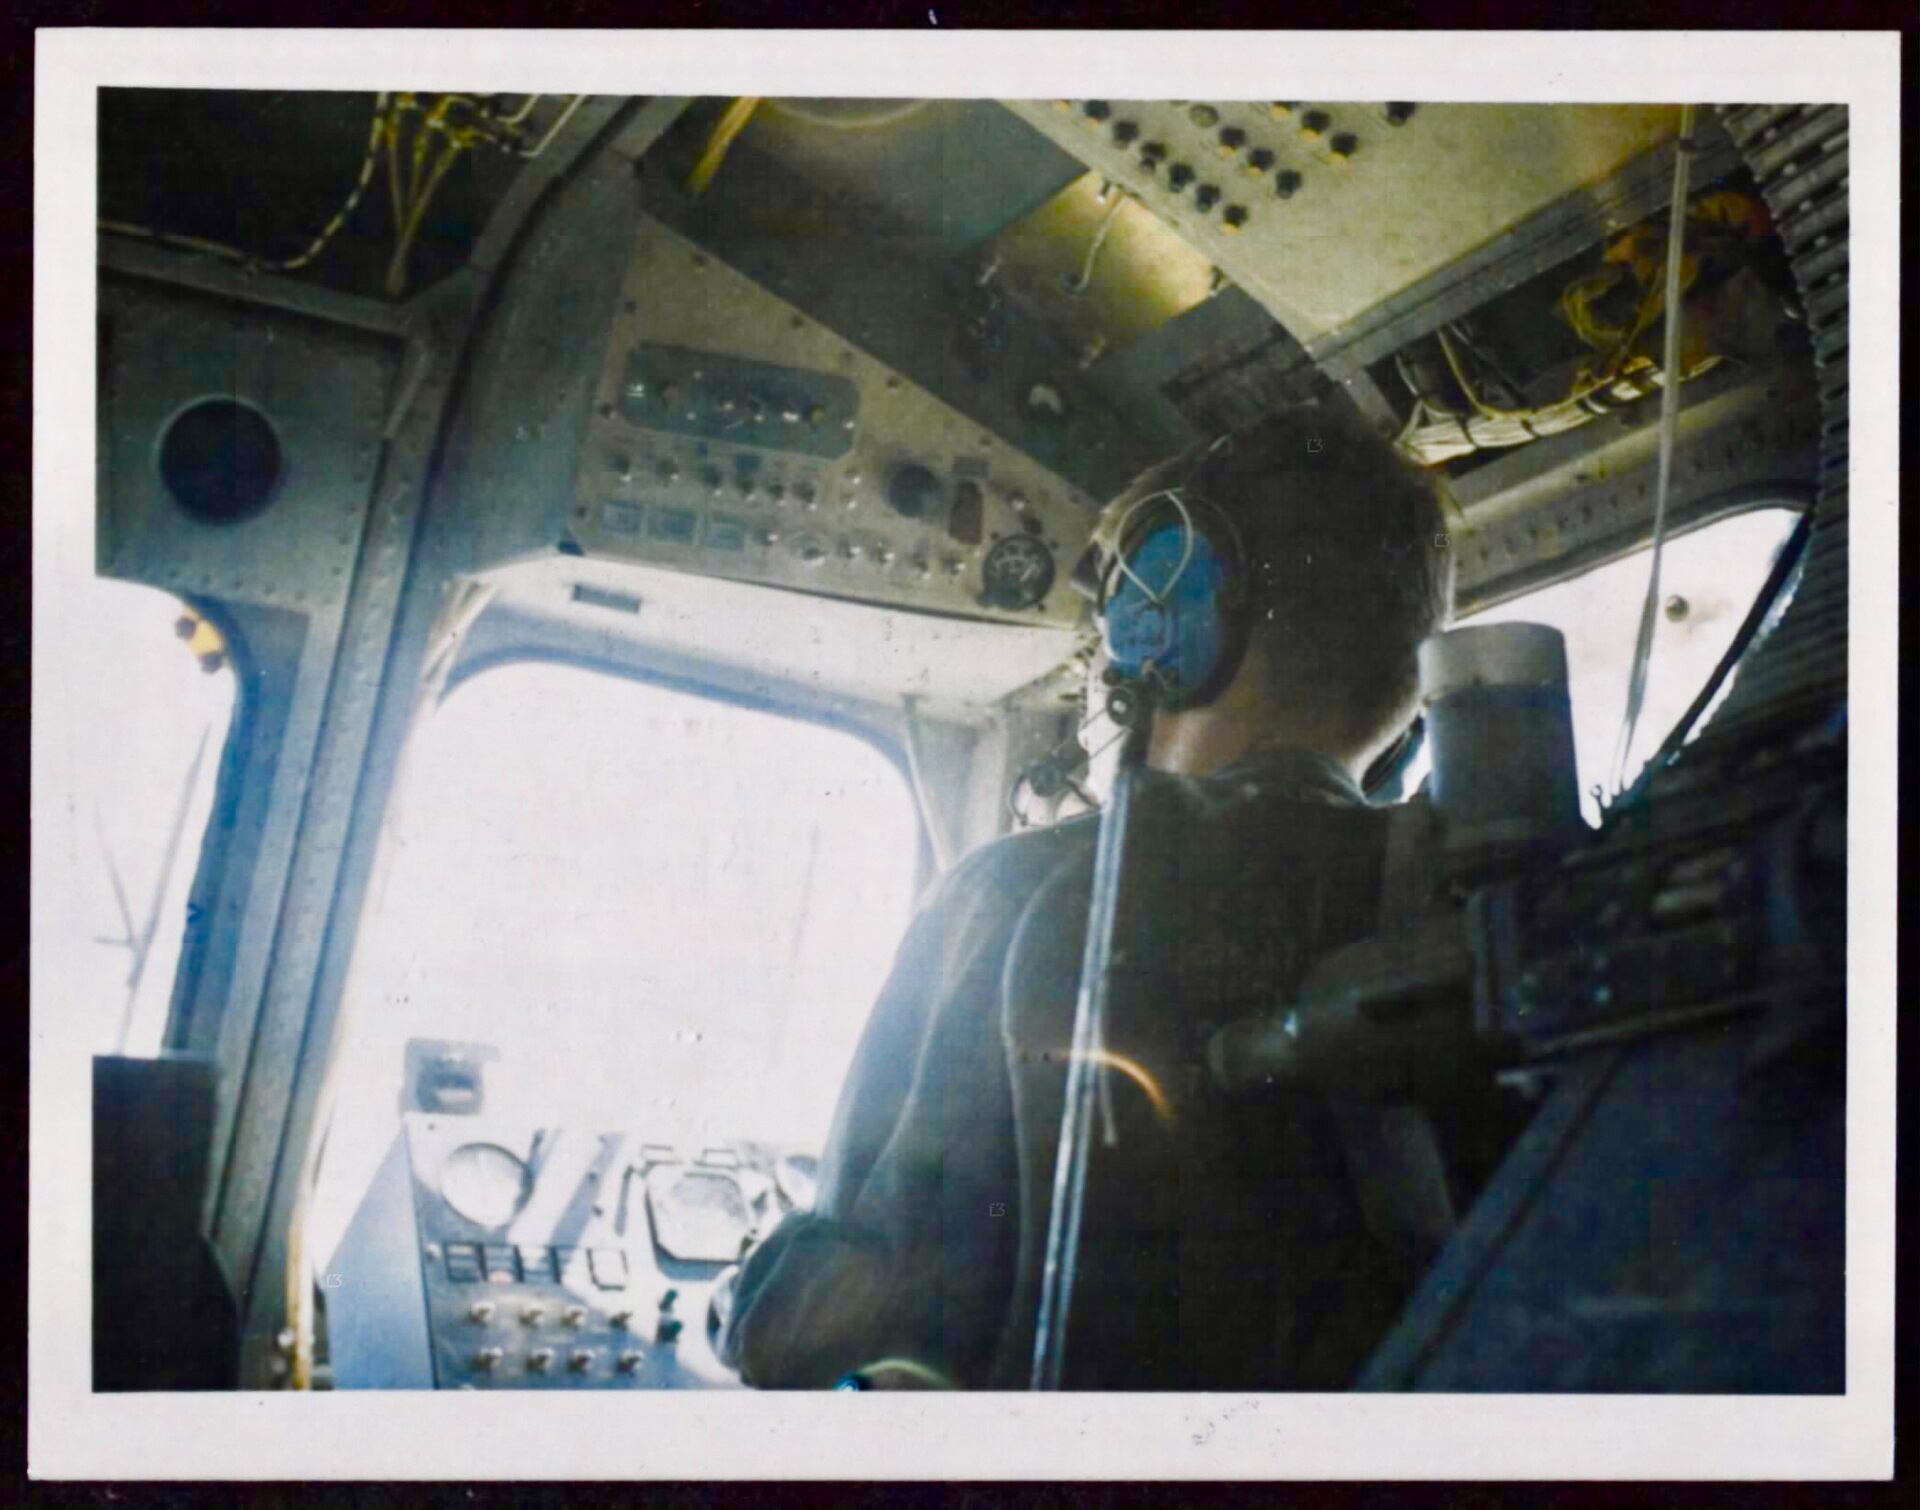
One more data point - a still from a Youtube clip from Vietnam:
Thanks a lot for the photos! Yes, it’s important not to mix up the Army and Navy hovercraft. I lean more and more toward green interior.
In the meantime I’m working on the crew. I have built the radarman’s station and for the radarman I used legs from the Dragon Helicopter Crew set:
I took the torso and the head from the tank crew set, also by Dragon. Head got a neck extension:
After some sanding it fits like that:
I’m thinking about that pistol holster harness.. I think I’ll remove it. I also want to make a headset and I plan to use the “helicopter” hands for both this guy and the “driver”.
It’s been a long time and the work here stalled a little, but not totally.
Some 2 months ago I shot a few photos, but they turned out pretty blurry, so maybe I’ll post just one of them - it shows the status of my work for back then. Among other things I managed to build the set harness out of kit’s PE parts and masking tape:
Since then I did some more seamwork and I made the headphones and something like hair (I’ll finish it off by painting):
Pilot:
Radar-man:
I still have to add the “muzzle”.microphones and the wiring for them and the headphones - but I think I’ll do it after painting,
I’m working further on the interior and the figures - I hope when I have this sorted out, the rest of the model will go much easier. For now the going is pretty rough, because the references are so scarce.
I started to build the twin M2 mount and here I got lucky because I managed to find a manual for it:
It’s a valuable document - such mount was also used on later PBRs and Swift boats. I would like to ask some of you, who have a scribd account to download it as pdf and post it here - that could really help.
After studying that manual it got clear that Gecko didn’t read it because of how they got some of the decals wrong - OK, it happens. Luckily the corrections aren’t very hard to do. So I started working:
Nice PE parts that come in the kit, but the assembly isn’t really fun. My advice - don’t attempt to keep the elevation movable - this might drive you mad and in the end the ammo chutes attached to the actual guns are not flexible anyway - so one saves a lot of aggravation by just choosing some arbitrary elevation angle (something close to zero) and sticking to it - glue is involveds so it’s a kind of a pun, I guess?
The base - in the real thing the gunner sat on a strap across the arc of the rear armor and had two integral boxes for 500 belted rounds each. So they were much bigger than your standard ammo box and that’s what Gecko imagined those were - so, no.
This is after painting and dry fit:
And my problem is this: For small traverse adjustments there is a crank, but for major and quick shifts the gunner has to nudge that mount - and for that he needs a substantial platform. What Gecko has you build there is not only very tricky to assemble, but also pretty ridiculous looking. First thing it has a small ladder for mounting the mount from the front - which is the worst direction, because of these ammo boxes being in the way. Also, the height of that platform doesn’t gel with the period photos - because of how much the gunner sticks out. So now I have some serios doubts… What to do??? I will probably do some “science fiction” and I don’t like that. But I also can’t really leave the space empty, with the gunner’s feet hanging in the air…
So that would be it for my first world problems… Thanks for reading and have a nice day!
In the MK 56 turret the gunner sat in a sling with he s feet hanging in the air.To move the turret he used his body weight and braced his legs against the sides of the ammunition holders.
Hello! Thanks a lot for your comment! Would you be so kind as to post here any photos or drawings showing what you just described? Thanks again and have a nice day