Hello dear community,
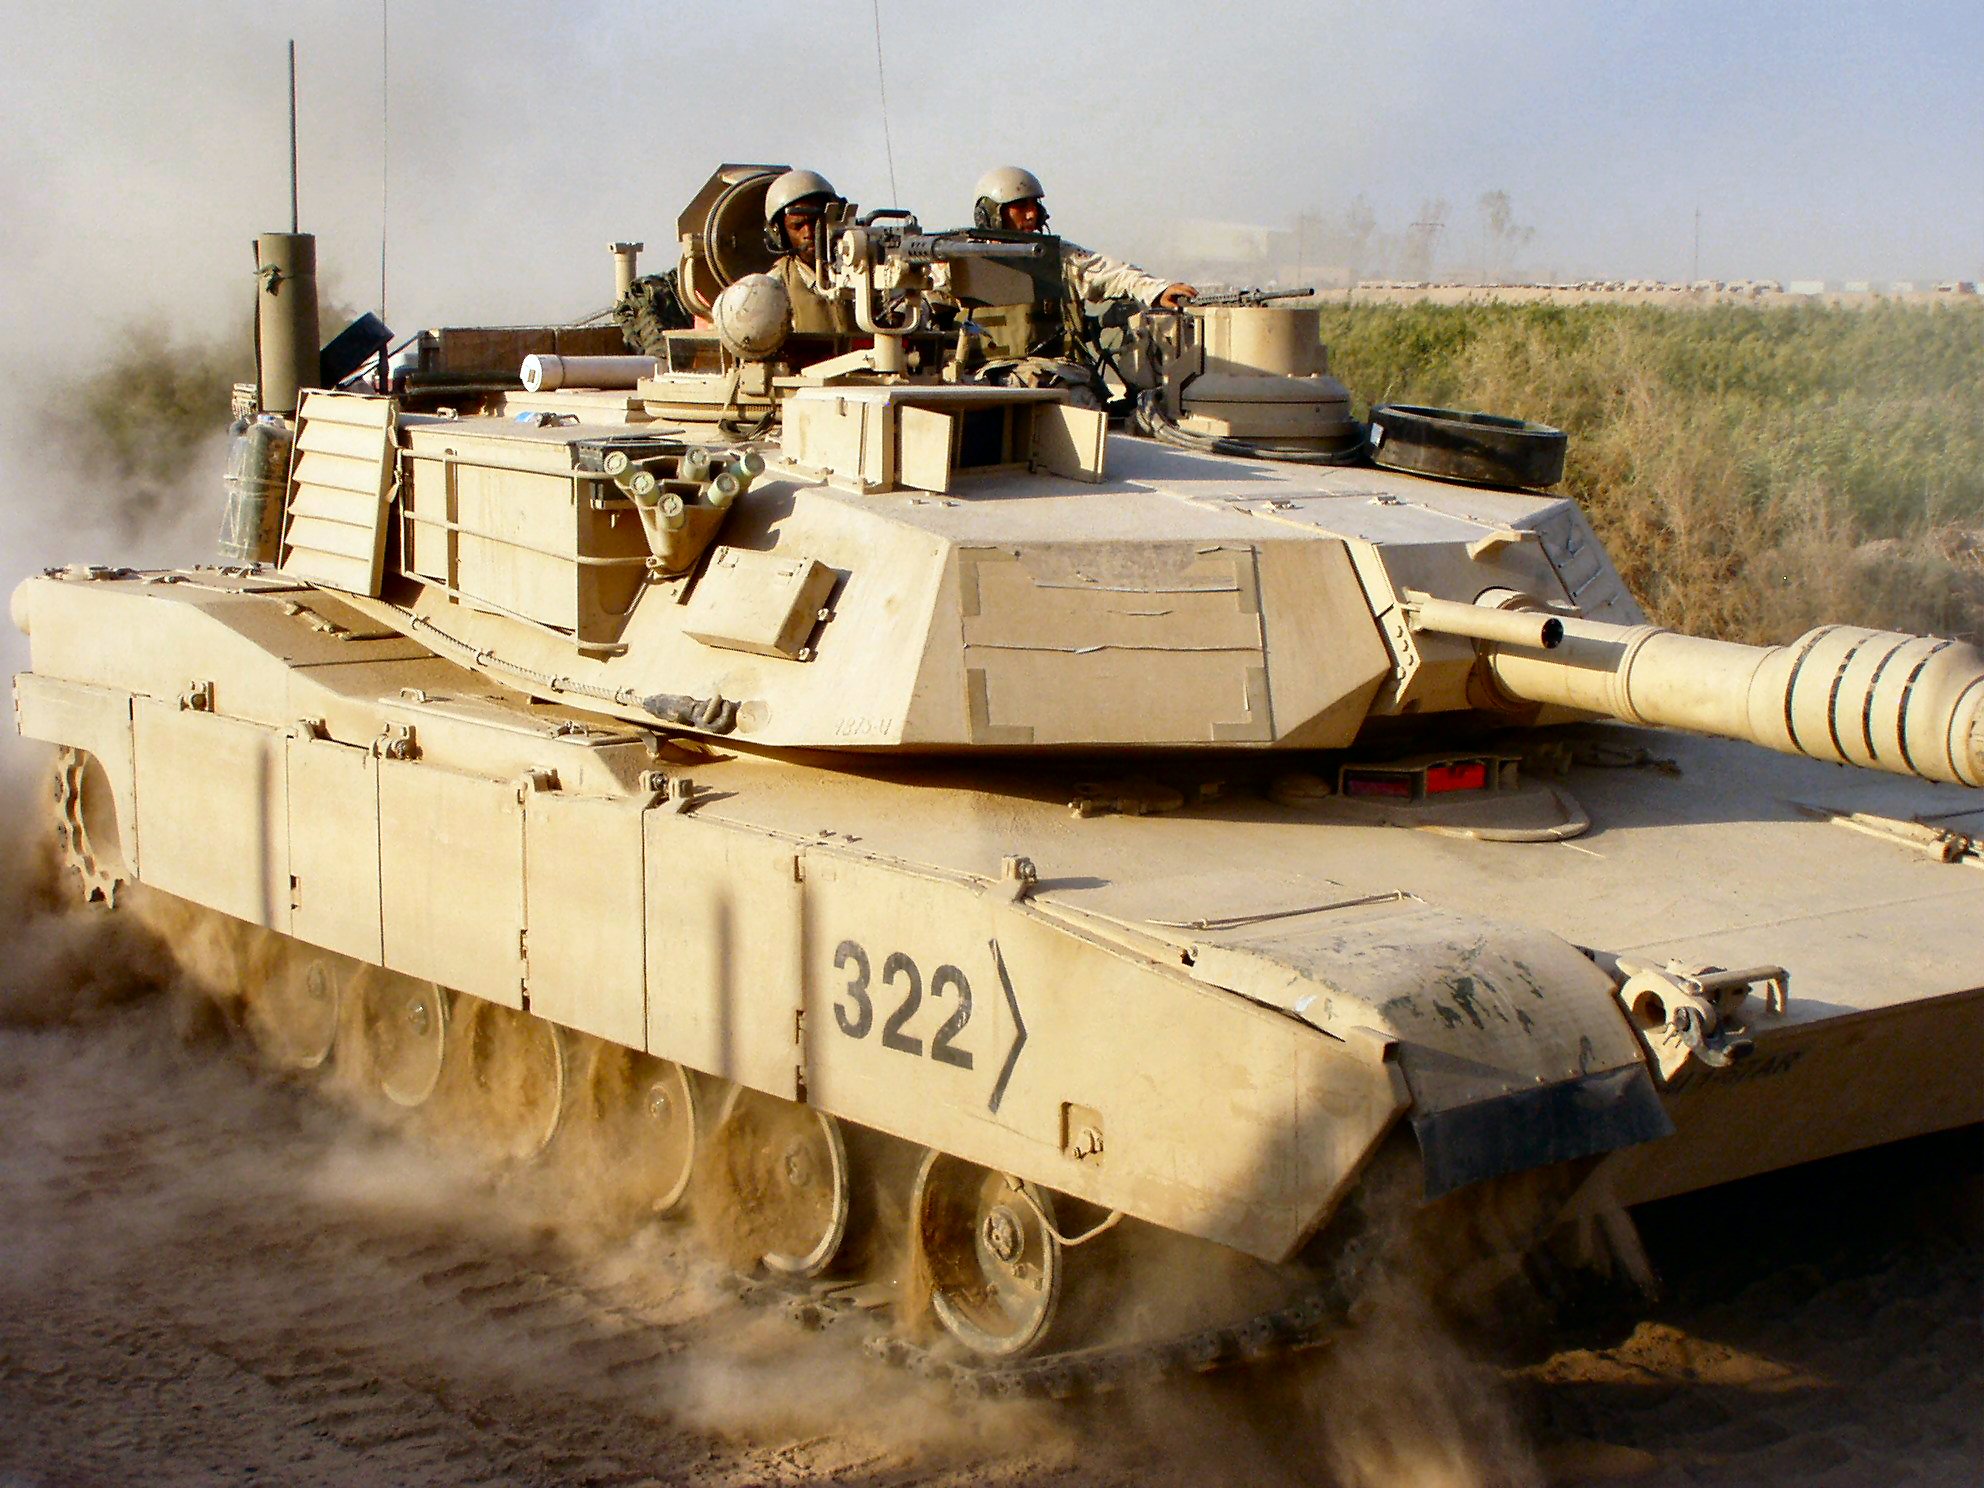
I was wondering if anyone could explain this 3-digit code on the 4th Infantry Division M1A2 Abrams used in Iraq in 2003/2004 to me?
I have not been able to find any explanation on how this numbering system worked.
Thank you!
Many thanks and best wishes
Lukas
1 Like
Really good question. My gut tells me they are mirroring WW2 German markings for their company, platoon, and individual vehicle.
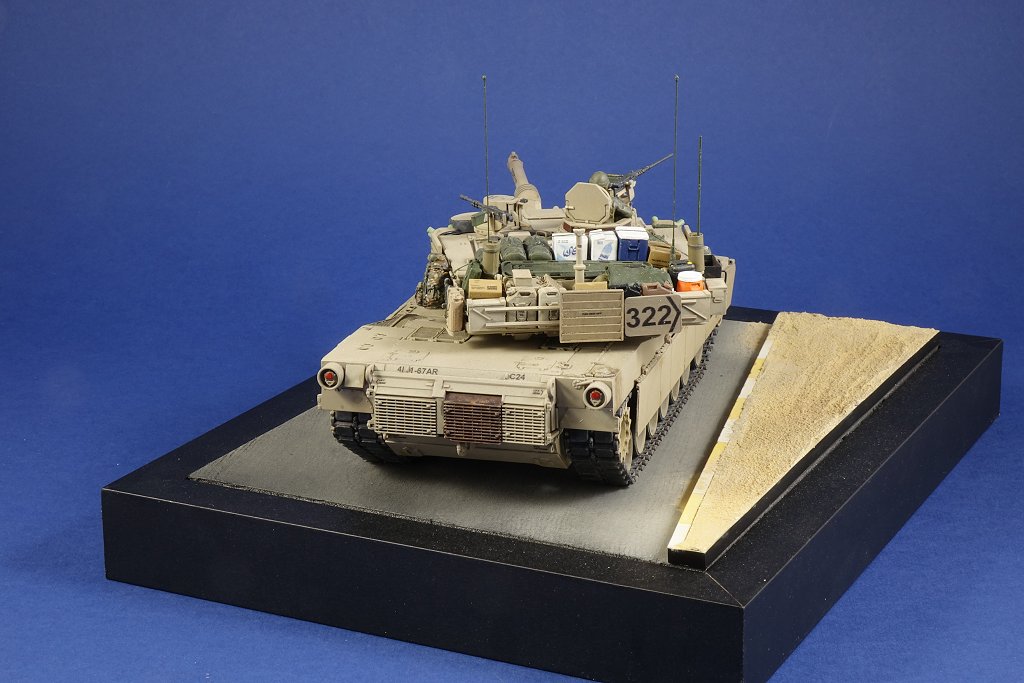
For example, a vehicle numbered “322” would mean the 2nd vehicle in the 2nd platoon of the 3rd company (C Co in the Army)
2 Likes
It goes like this…
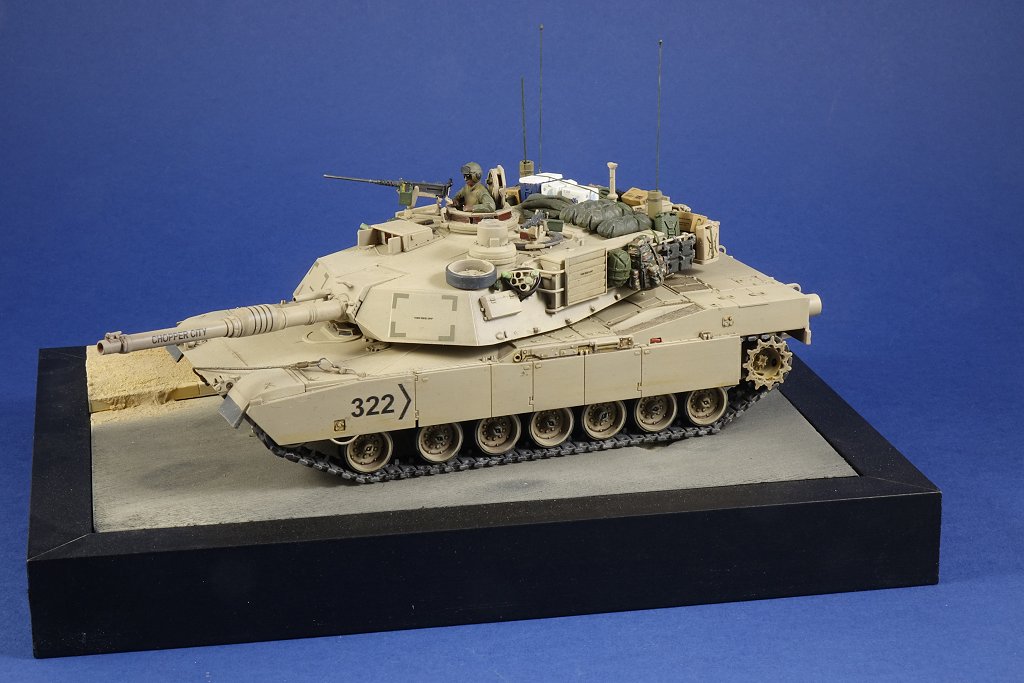
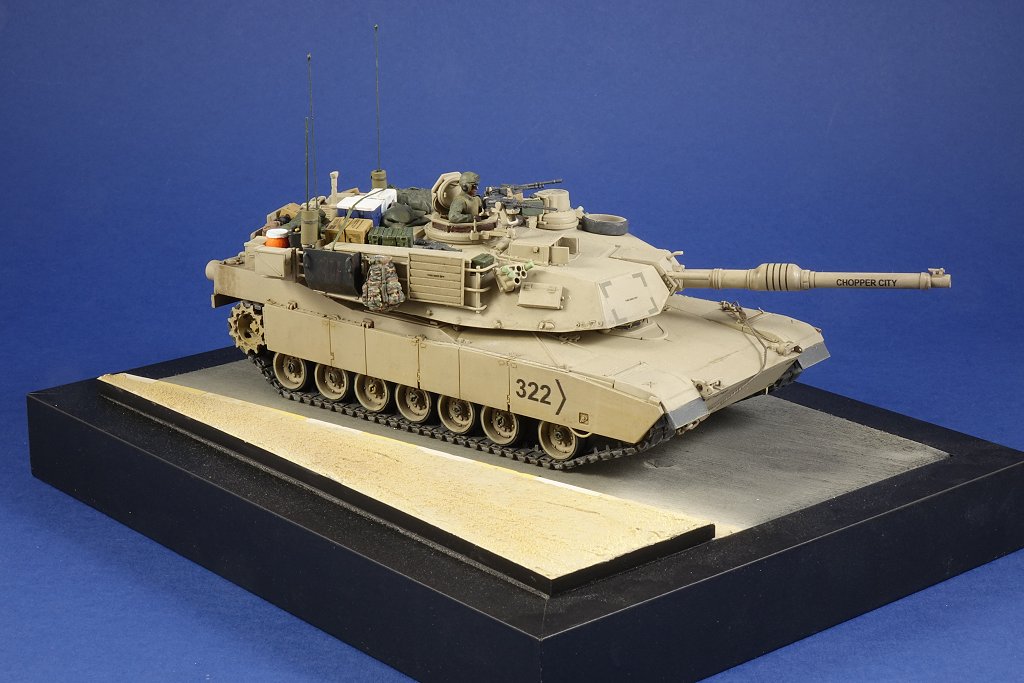
322 is ‘Chopper City’, from Charlie Co. 1-67 Armor
Bumper code is C24
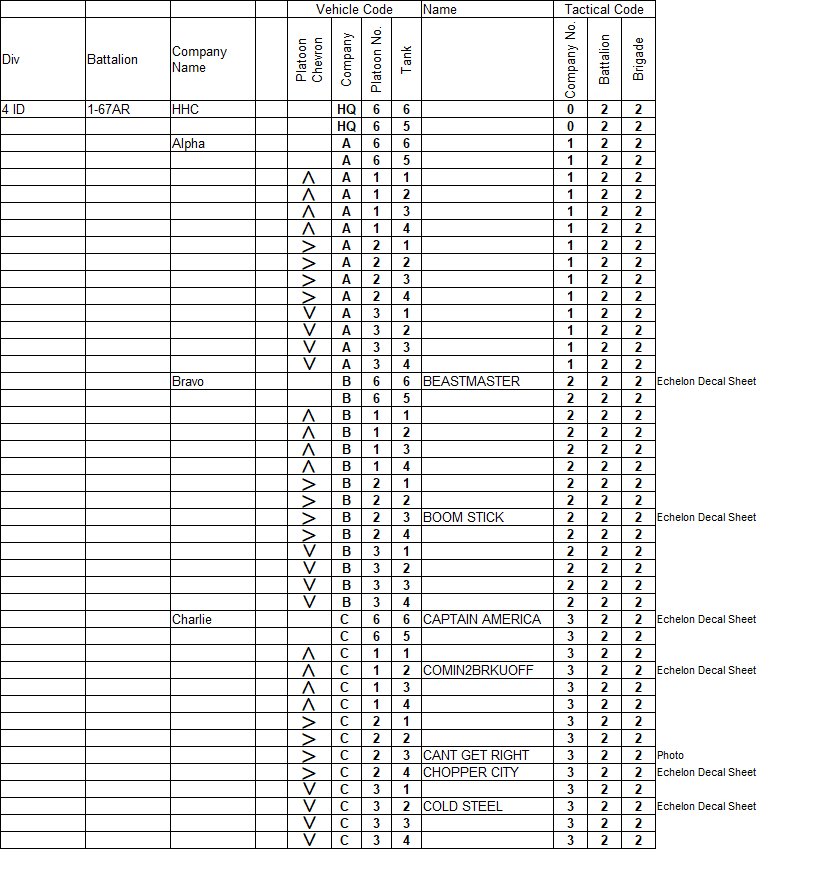
3 = C Company
2 = 2nd Battalion
2 = 2nd Brigade (4ID)
chevron = second platoon
barrel stripes = fourth vehicle in platoon
I spent some time tracking the codes from photos across 1-67 and 3-67 Armor and it is consistent across both units (and also 1-68 AR from 3rd Brigade). Some of this is speculative, but there are enough images available of the various tanks to confirm the basic pattern and give me some confidence I’m largely correct 
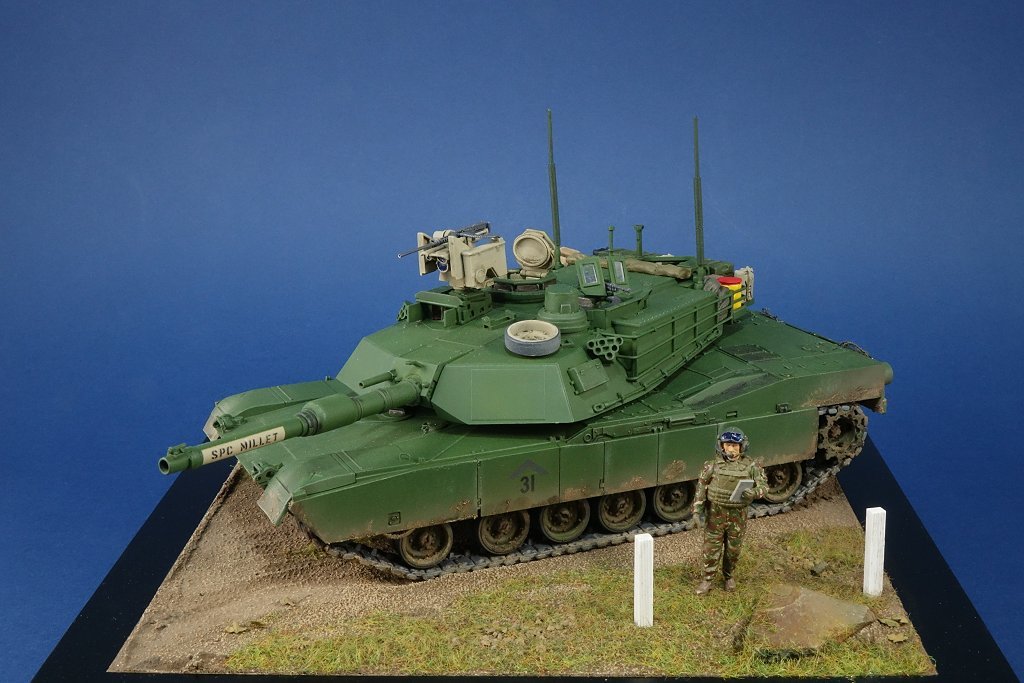
Why did I do it? Because I wanted to build Tamiya’s 1/48 M1A2 as a 1-67 AR vehicle.
15 Likes
Thank you so much! This is amazing!
I agree with your theory, it matches all the photos I know.
This is a great help in identifying these tanks.
Stunnung looking model by the way. Great work!
Many thanks
Lukas
1 Like
Jeez that’s a nicely finished Abrams, John.
3 Likes
Nice looking tank mate but shouldn’t the chevron on the L/H/S be pointing forward?
2 Likes
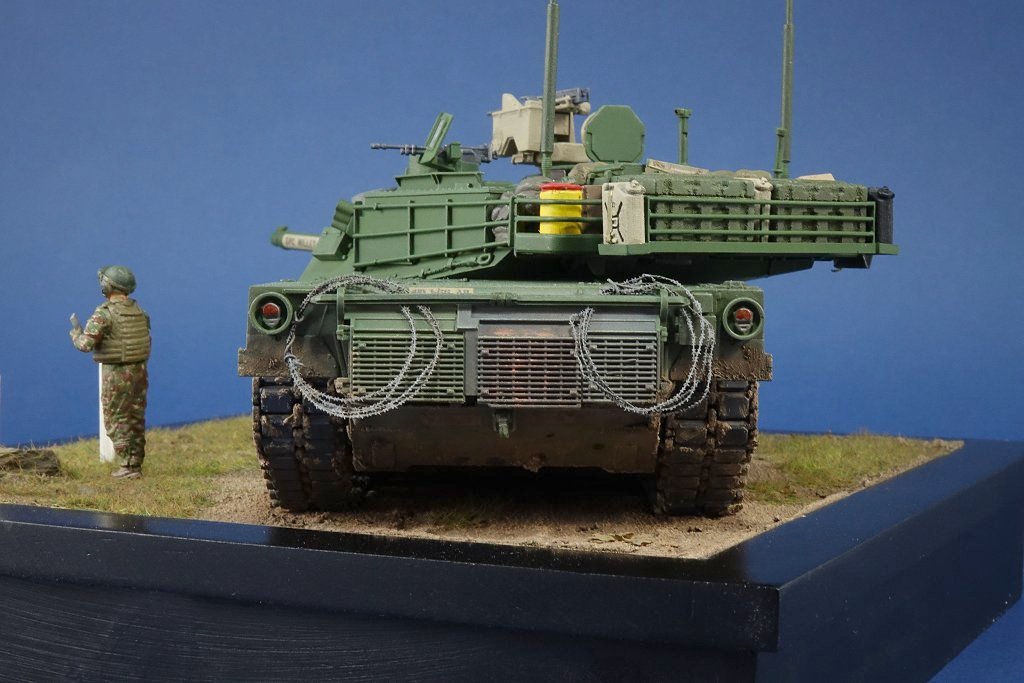
No, the way the markings are designed, the chevron points the same direction (to the right in this case) when viewed from any angle. The direction denoted platoon; up was for 1st Plt, right for 2nd Plt, down was for 3rd Plt.
3 Likes
Thanks
I had fun doing this project. A lot of it was doing what I call ‘small-work’ - not major changes but lots of little detail changes, almost all of it from scratch rather using aftermarket sets. The decals were all home designed and printed, except for the corner marks on the CIPS panels.
The Tamiya 1/48 kit is a great base for detailing and this was the second project I’d done. The one below was finished in the non-standard green seen on some USAREUR vehicles for a short period when they were first repainted from desert tan and before they went full NATOflage.
6 Likes
Very nice. It came out great.
2 Likes