I acquired a tank model I want to build but years later I found out that it did not have a gun barrel. I do not have a lathe. Have any of you been successful making a mold and pouring a new gun barrel? Thanks, Fred
No idea how to do that, but what vehicle is it for? I have a bunch of spare barrels from models in which I opted for a metal barrel. Someone might have on kicking around.
I used the wooden handle from a paint brush to replace the tapering barrel on an old
Tamiya JagdPanzer IV / L 70
1 Like
I presume it is for a tank where a replacement metal barrel is not available?
If you have a barrel in another kit and are thinking of casting that for this other kit, it will depend on the type of barrel. A simple tapered barrel could be done, but the longer the barrel the higher the risk of warping. The muzzle brake will get tricky as the mould material needs to get in and the master will be trapped, so you will have to cut the mould to allow it to be freed.
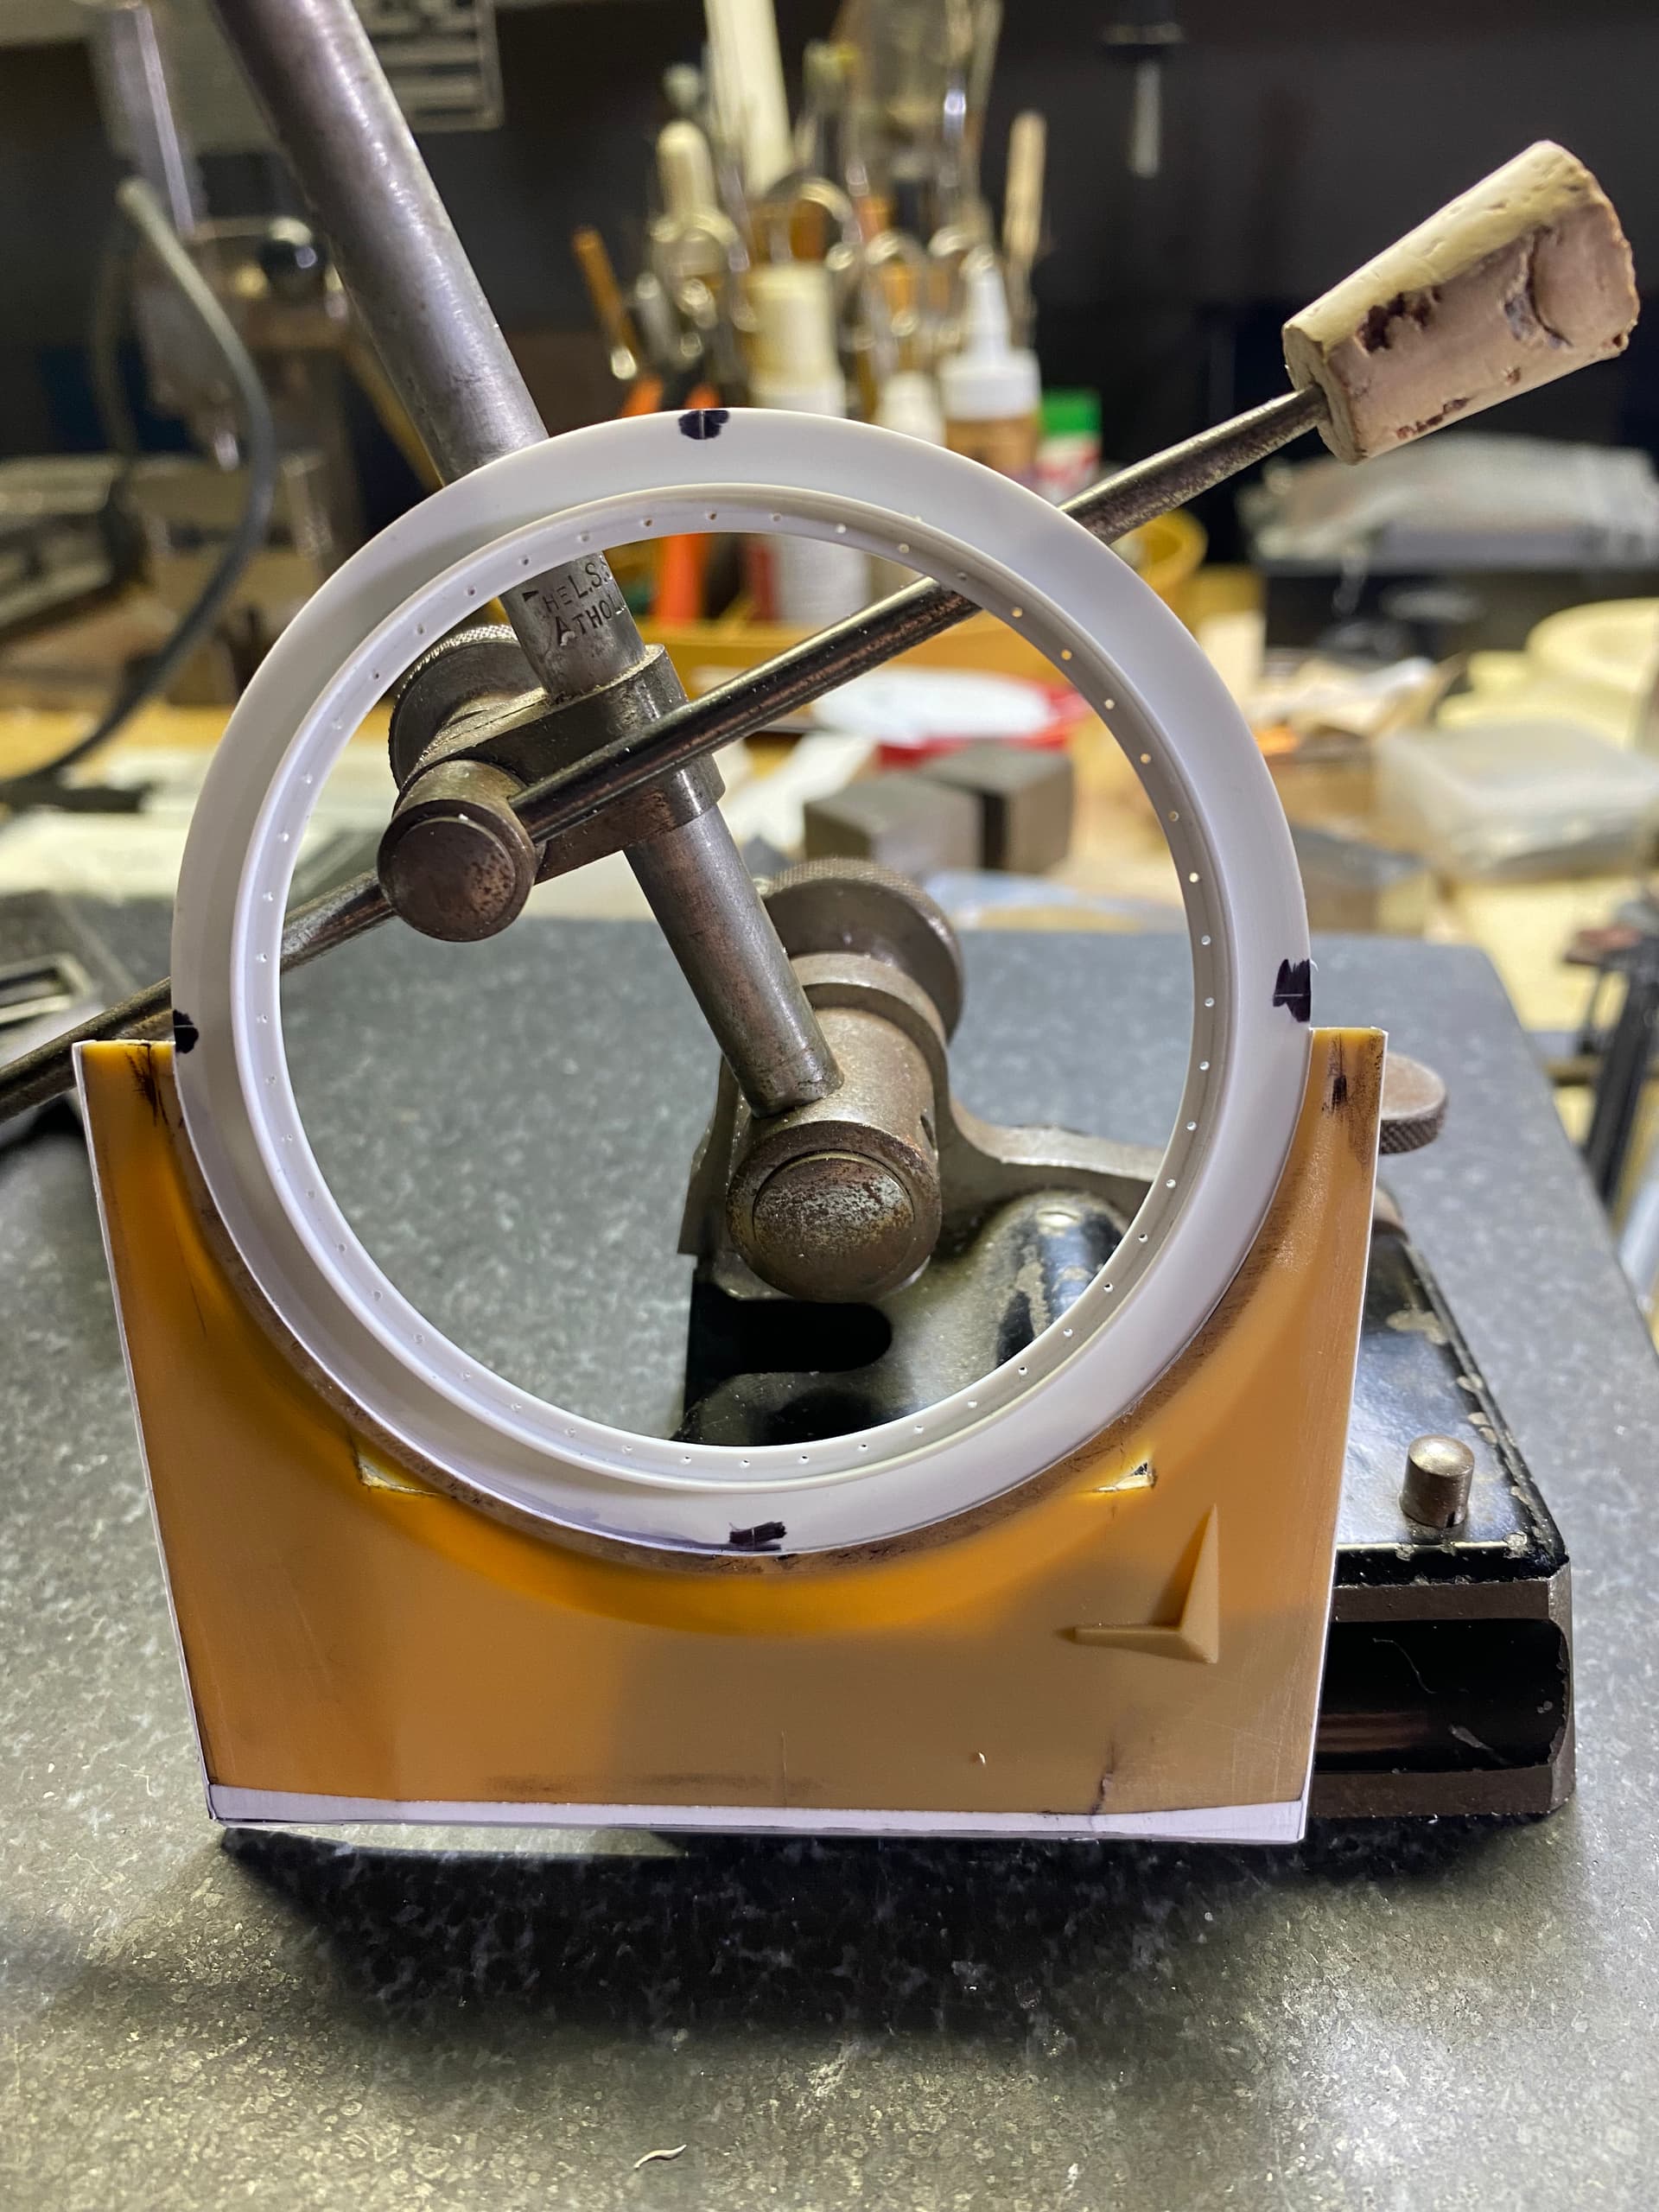
I have done it by making a support from a length of styrene with some thin tabs glued vertically to it and the barrel master glued to the end of the tabs. The mould is poured around it. When cured, you break away the large styrene block to reveal the tabs. Cut through the mould between the tabs down to the master. Then you can free the tabs and Master. This also allows you to pry open the slit to pour resin in later. Just make sure the end tabs are as close to the end of the barrel as possible so no air gets trapped. The tab width also helps air to escape when you pour the resin in. The large styrene block ends up as your pour plug, but pour in some resin, tip the mould sideways so the resin runs to the ends of the barrel position and to let air out, then add more resin.
I hope this image helps you understand the above:

2 Likes
I’d probably look for an aftermarket one that’s similar to what’s needed.
FWIW - Made a gun barrel for a T-62 once with aluminum tubing and Milliput. It was a simple shape. Made rough shape, use drill to spin and sand to desired shape. Fill with fine filler, sand again, rinse & repeat. Added bore excavator with larger aluminum tube and filled ends. I was happy enough with the resul
1 Like
What others have said, Unless it’s a really rare or unusual vehicle, chances are that there will be an aftermarket barrel available at a good price - if tell us what tank you have, people on here should be able to point out the options for you (and whether or not somebody already has a spare barrel for that kit that they are willing to pass on to you).
It’s perfectly feasible to build your own barrels but it takes time and effort, so checking the available aftermarket choices is always a good start.
Several years ago I had to create a barrel for an M1 240mm Howitzer and no, that didn’t mean one came out in styrene two days later. 
Although I used a lathe on a few attempts I ended up using the Shep Paine method. Setting the correct angle was not easy (for me at least) on the lathe, and because of the angle no matter how slowly I went it left striations that were sometimes too deep to remove with emery cloth.
Shep’s method was simplicity in itself: Telescoping lengths of brass tubing covered with A+B putty. As you lay it out you simply use a metal straight edge to align the edges of the tubing. (I’m not sure if he mentioned that part in his book but it only made sense) You can turn it on a slow speed electric drill or use a drill press. I think his drawing showed using a file. I used varying grades of wet/dry sandpaper glued to a thick piece of plexiglass with 3M Spray Mount. You pretty much eyeball your work as you’re going along until you see the edges of each piece of tubing. Using a larger sanding surface helps prevent going too deep in areas as you might with just a file, and of course it speeds up the process. The bonus is you get a perfectly round bore in the barrel you can add your own rifling to.
Casting cylinders is more difficult, not so much because of warping, but because it’s difficult to get a perfectly round profile all the way down the barrel. And if your mold is from a two piece barrel it depends on how well that was constructed. In most cases you’re still going to get a seam that runs the length of the barrel. I cast cylindrical objects in vertical molds as it seems to help. A short barrel, as on say a Sherman 105 barrel, can pulled straight out of a one piece mold if you use really soft RTV. On the other hand the softer RTV you use the more likelihood of weird spot where expansion from the heated resin forces the walls out on your mold. Which leads to the fact you can’t be cheap with the RTV - you have to a nice thickness all around your piece to prevent distortion.
Simple muzzle brakes aren’t a problem. You just use bare metal foil on one side of each baffle. The foil acts a barrier between your two mold pieces (can even work on a one piece mold with extremely flexible RTV. When you pull the piece out, there’ll be a whisper thin layer of resin inside the opening that you can literally push away with a fingernail leaving virtually no trace that it was ever there.
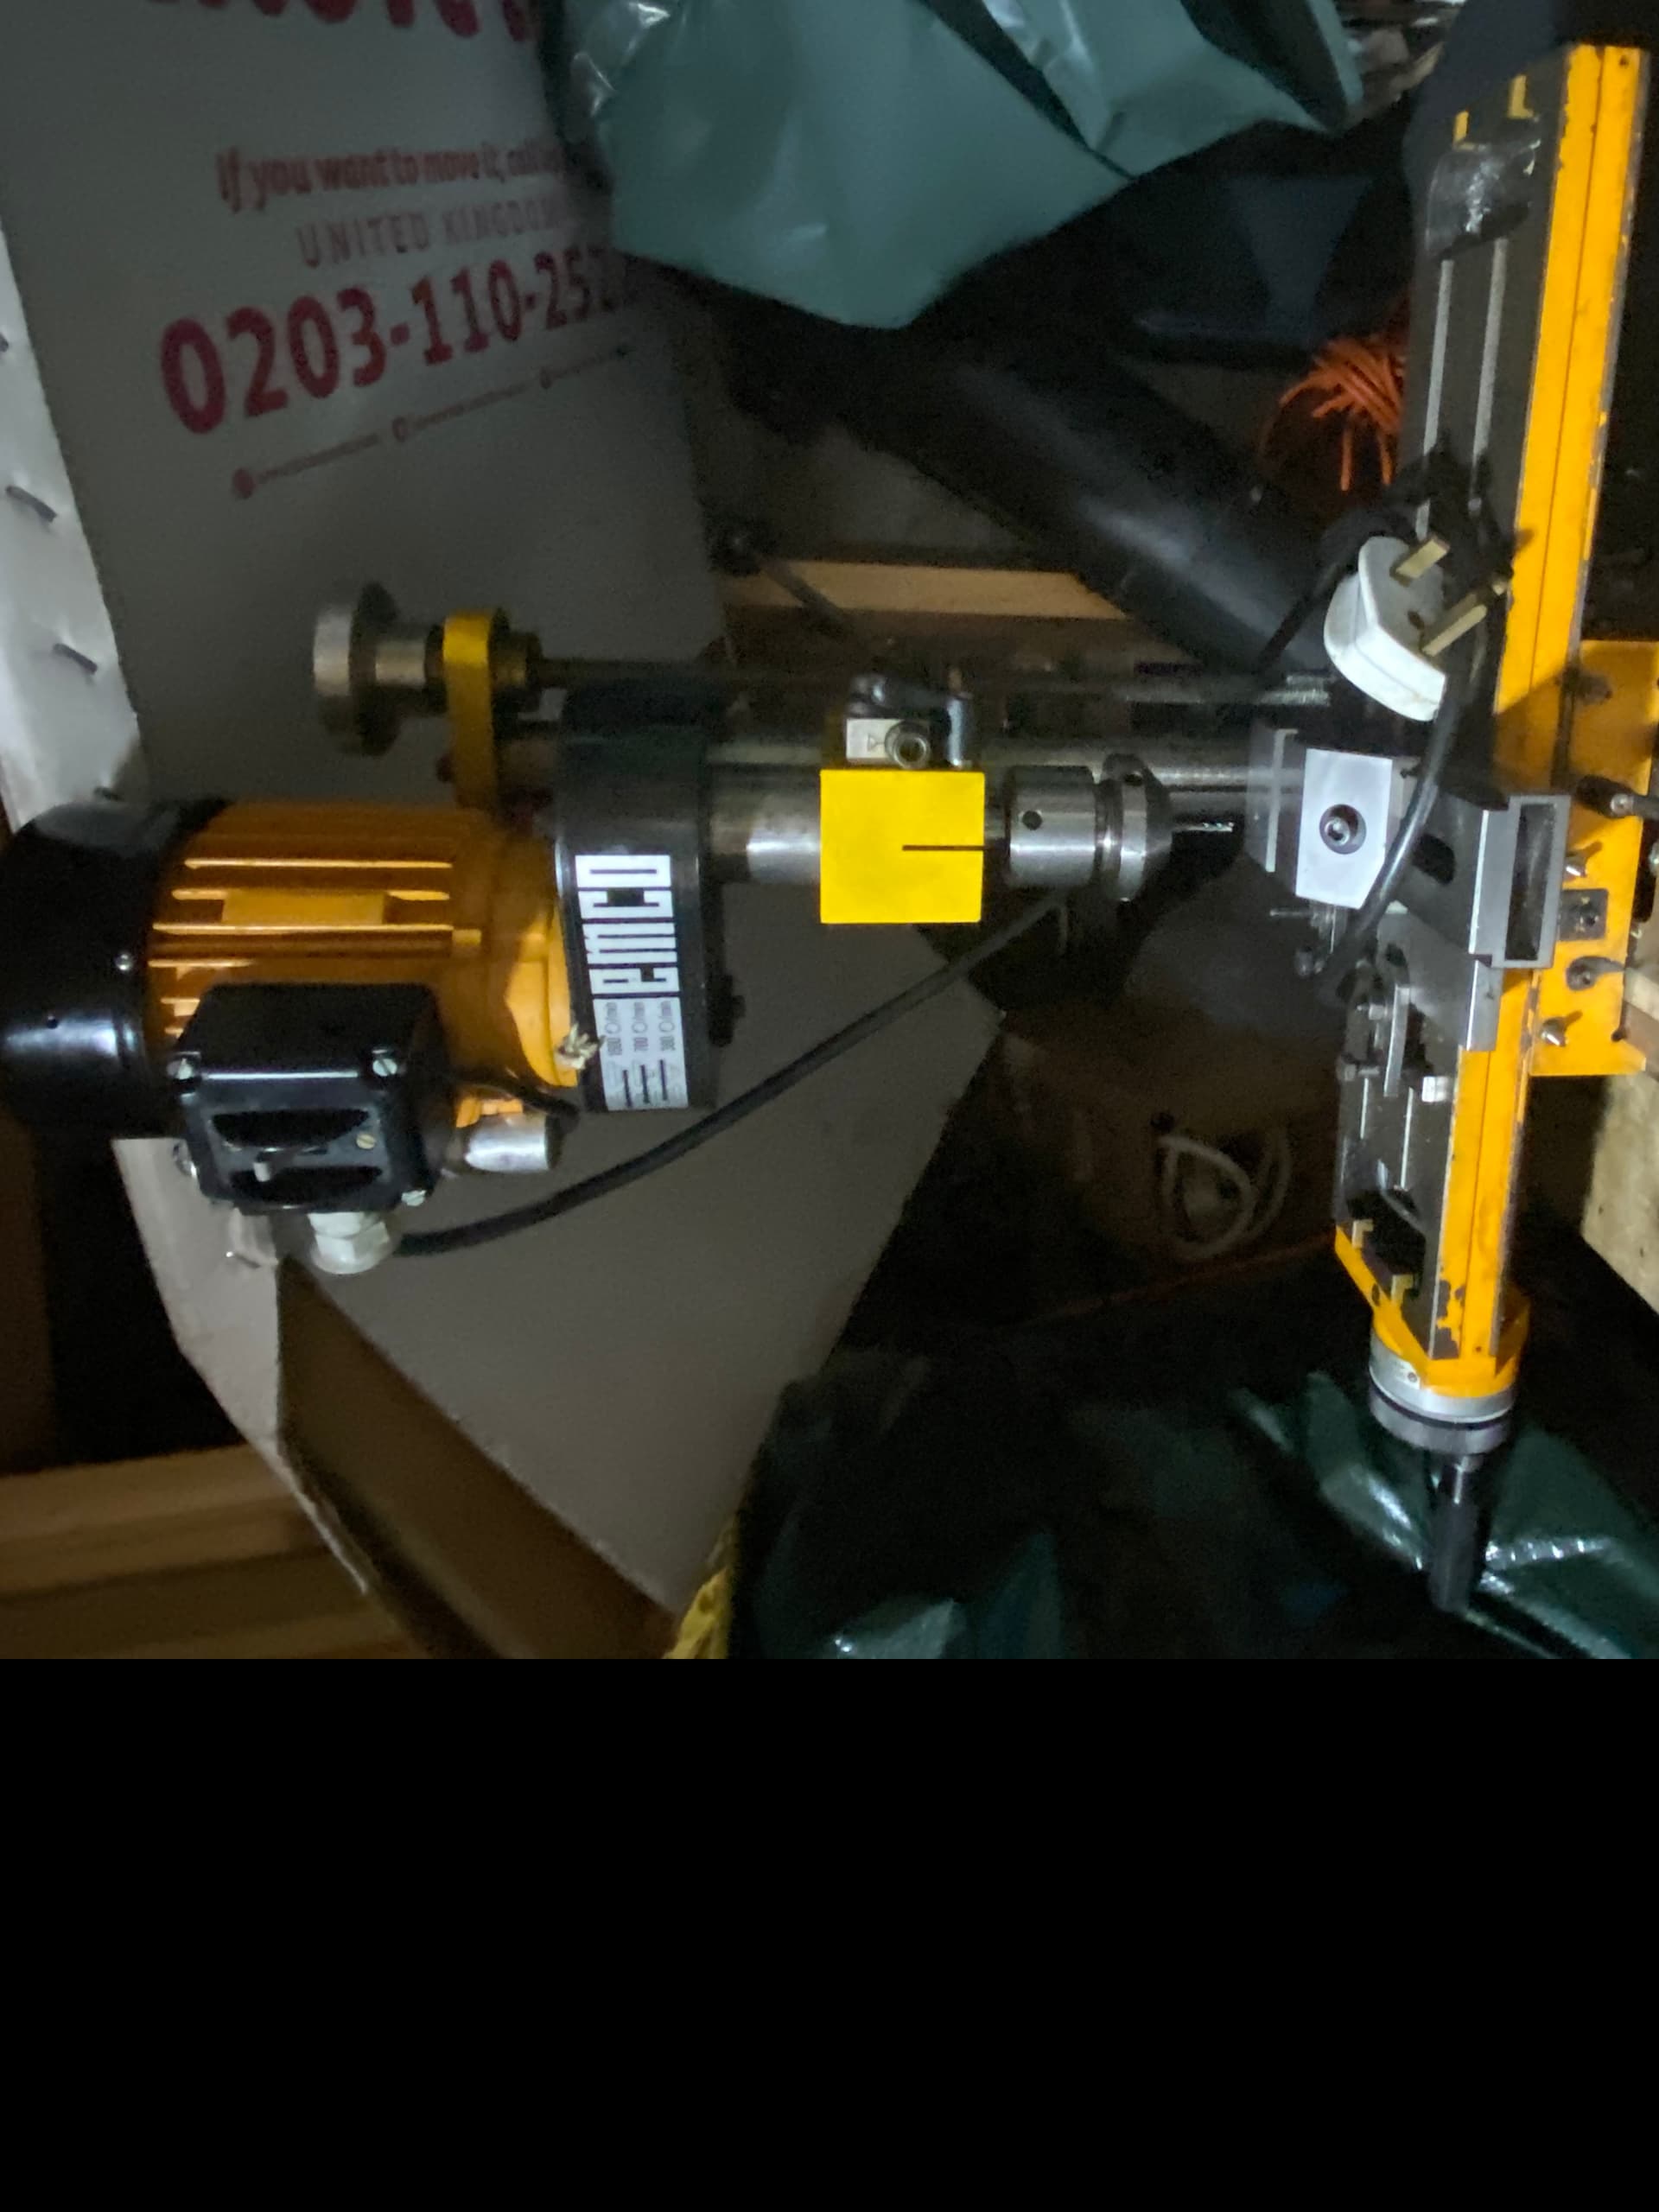
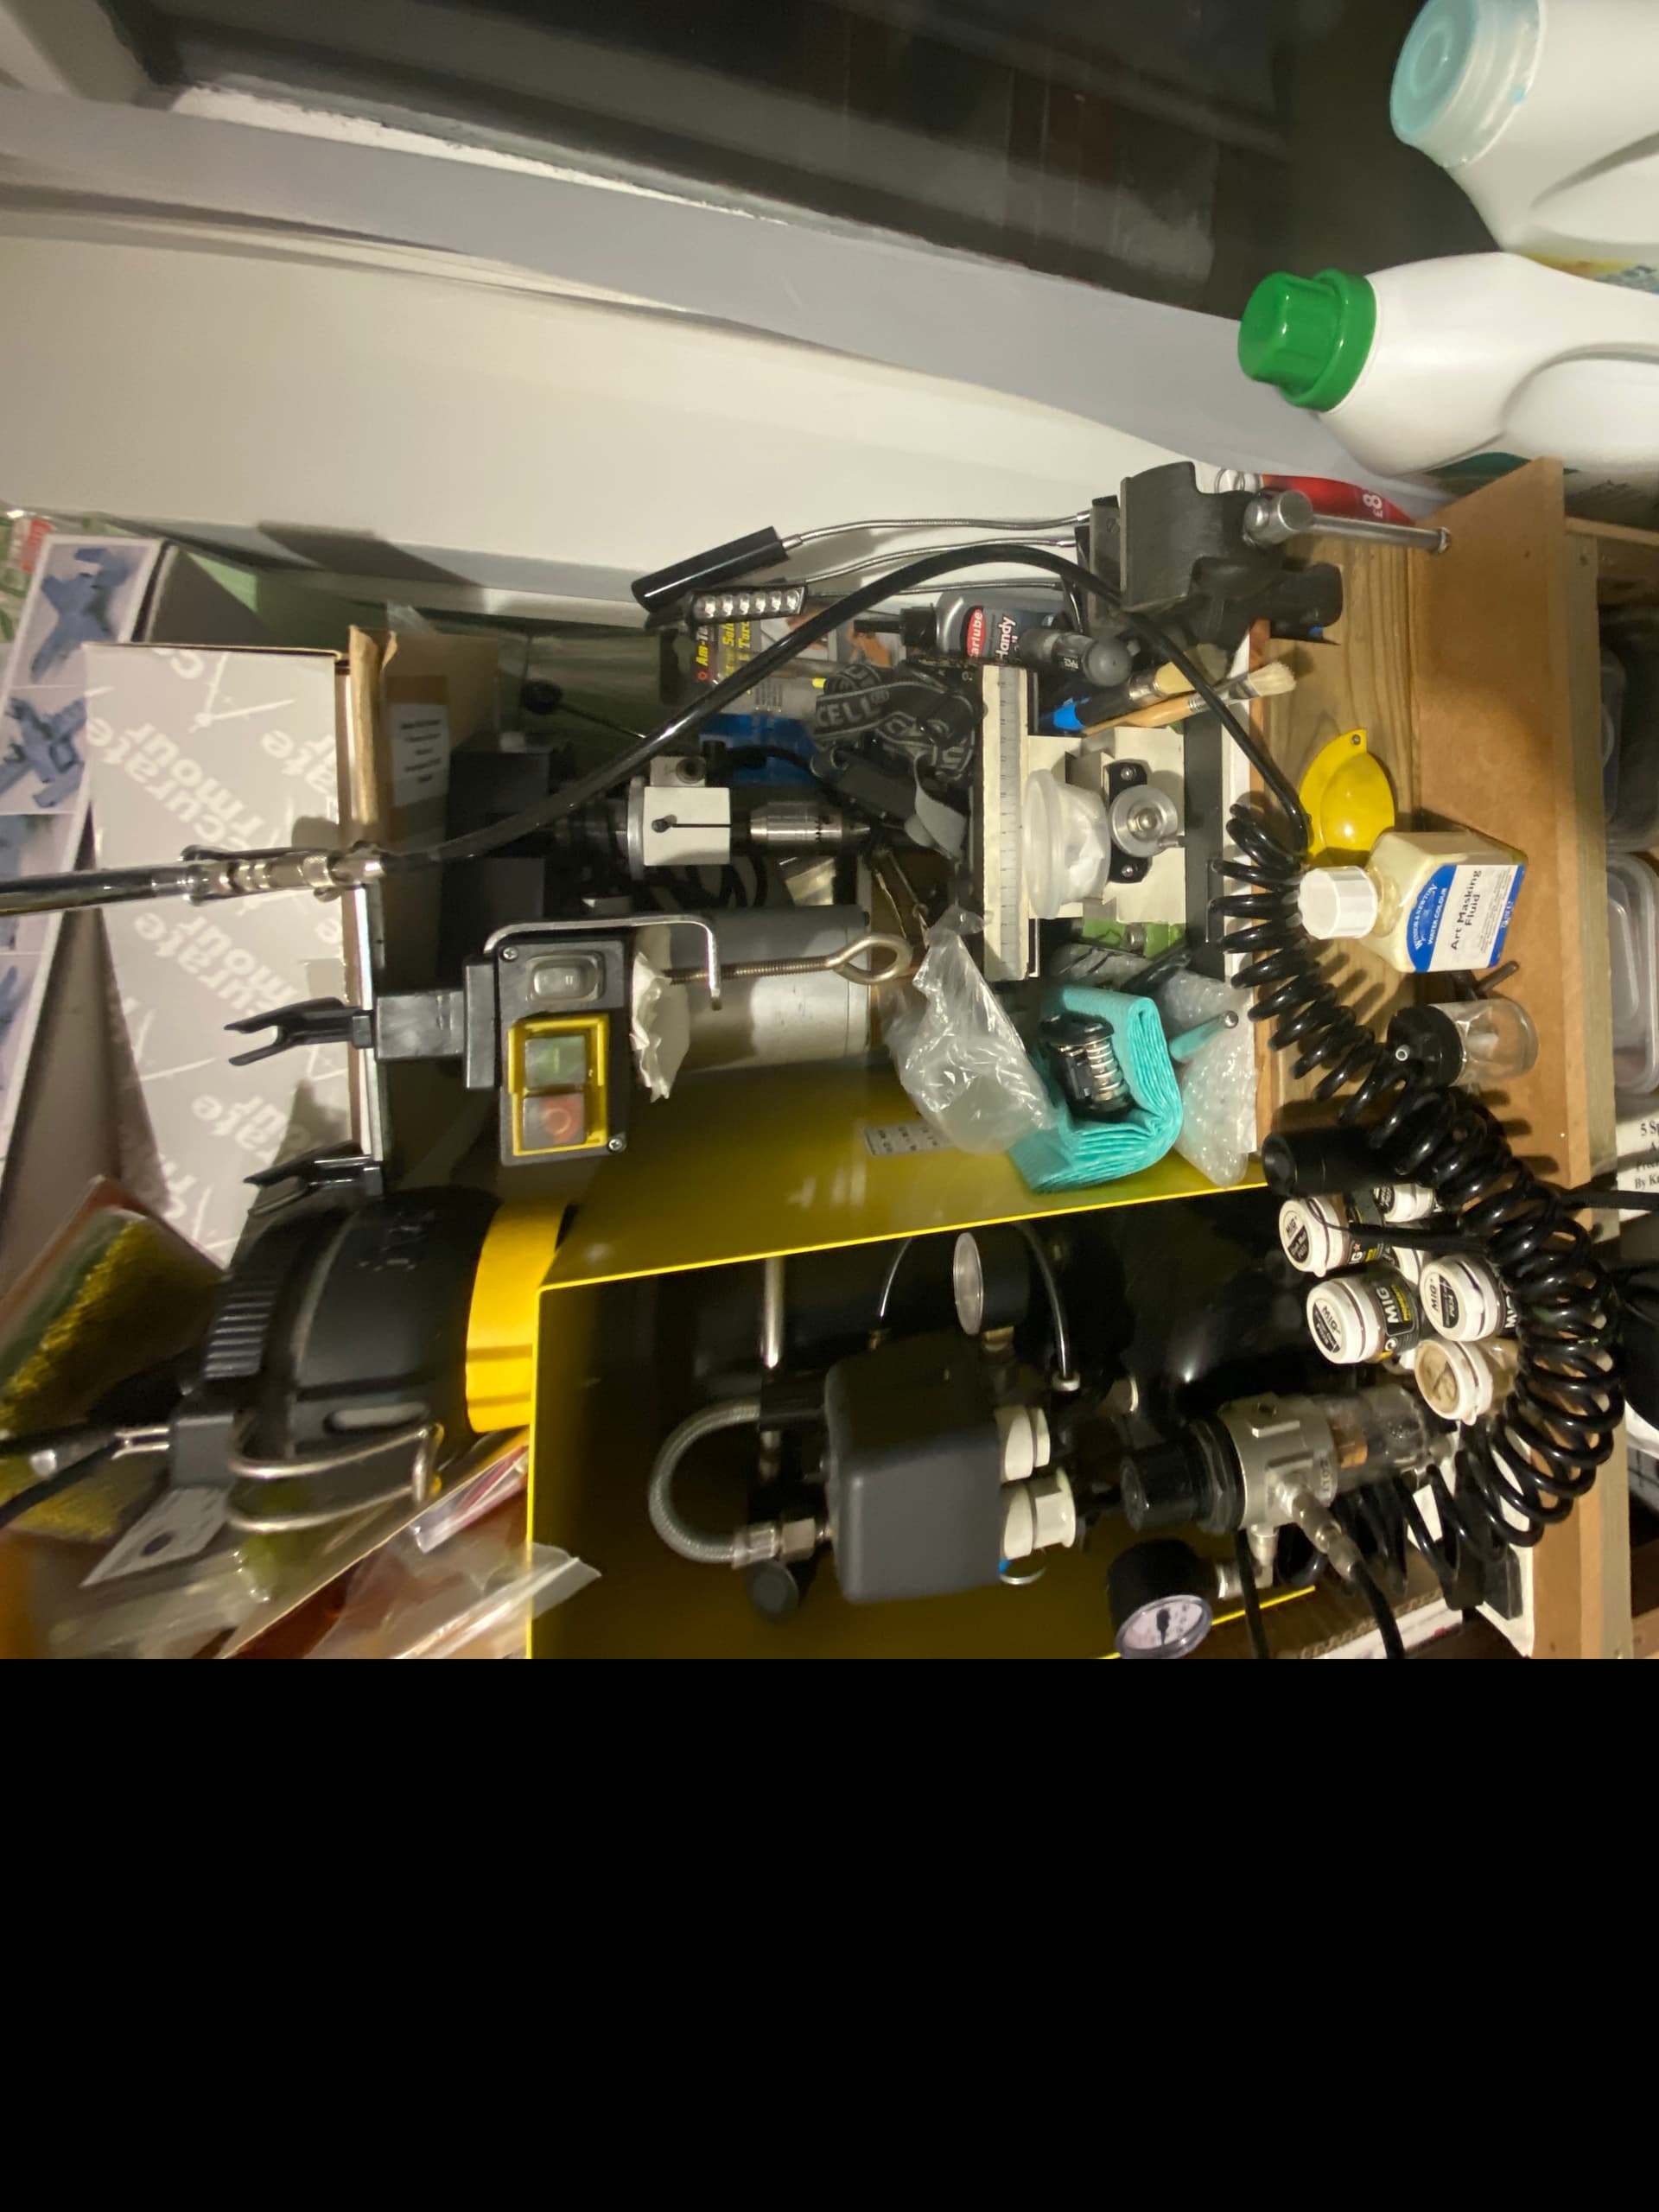
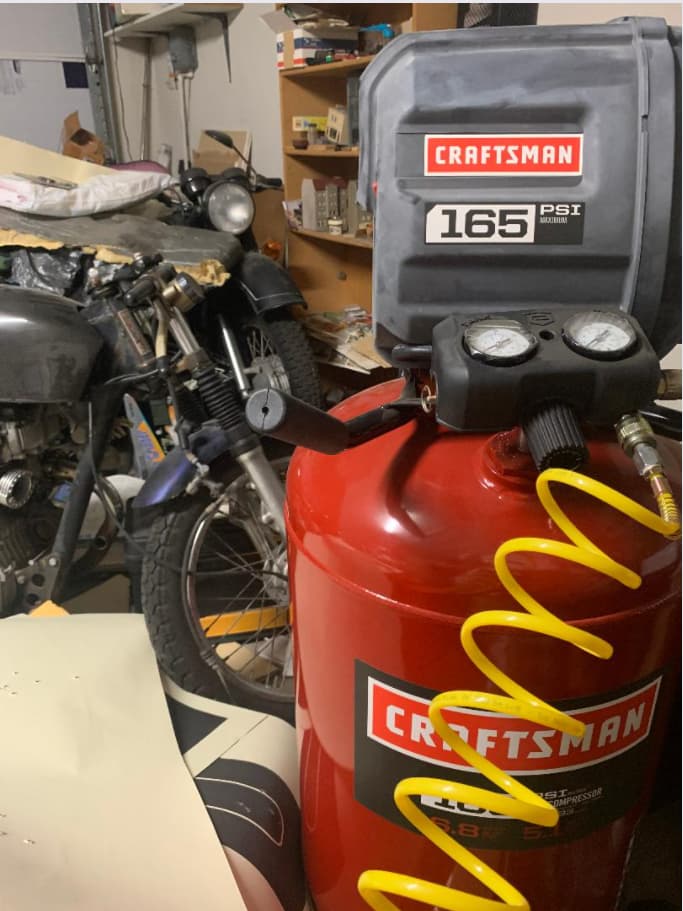
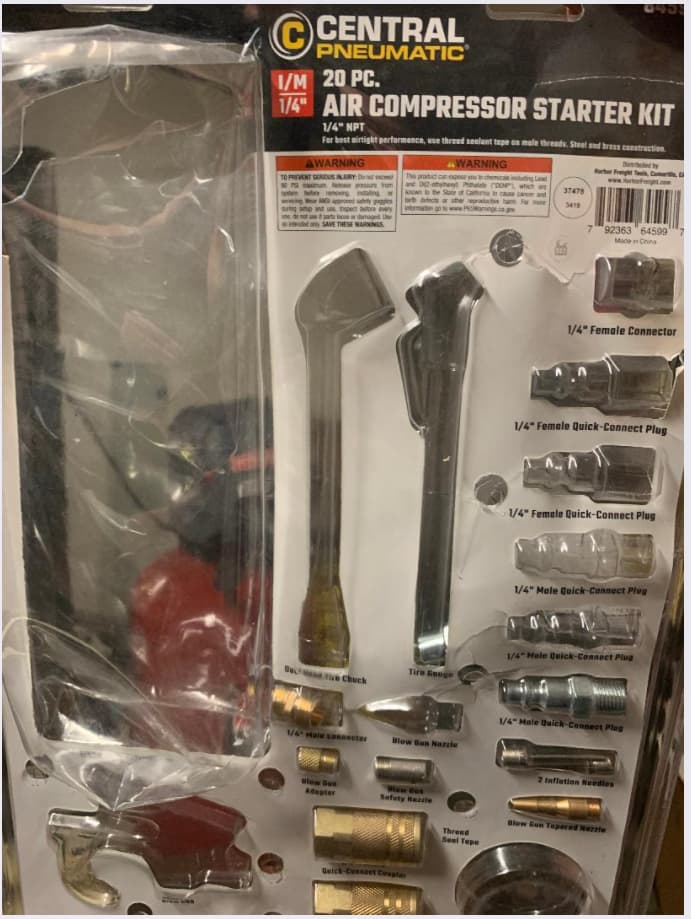
Finally, as for air bubbles, I don’t sweat them. There are two things you can do to help. You can add little nubs to the end of pieces that resin might have a hard time filling. The air gets forces into the nubs instead of remaining in your piece. Then you just cut the nubs off. Or use a pressure pot either by itself or in conjunction with the nubs. Yes. Pressure, not vacuum. It squeezes the air bubble so small you can’t see them. I built mine from a paint sprayer from Harbor Freight. If you want to make one yourself I can post photos of mine. Hell, I’ll just post them…
Good compressor:
Pressure pot:

Some fittings:
Edit: Above post on Milliput technique probably posted while I was fighting my way through the garage to take photos…
Hi Fred, I’d pop a “WTB” post here stating what kit it is in case anyone has a spare. Then I’d look on Fleabay in case one is on sale (there are folks who break kits and sell the parts), or look to see what AM metal barrels are out there. Trying to cast is opening the door to a world of frustration, and if you already made a master pattern to cast from you wouldn’t need the resin!
[EDIT: If you do cast one, be sure to trap a bit of brass rod inside to stiffen it - pure resin barrels are known to droop under their own weight, especially if it gets warm…]
1 Like
As a matter of efficiency and kit construction workflow, unless you need multiple copies of the barrel, there’s really no point in trying to cast it from resin.
To cast the barrel, you’ll have to first make a master and use that to make the mold. However, if you have to make the master, you’ve already scratch-built the barrel that you need. Using it to make a mold and then casting a copy is just extra, unnecessary work (not to mention the cost of the RTV rubber and resin).
The suggestions for tracking down an AM barrel (even if out of production) is the easiest solution.
If you do want to scratch-build one, though, casting a copy (unless you need multiples) is not needed.
(An “old school” method would start with brass, aluminum, or plastic tubing that sleeves together to get the rough tapered shape. The cover that with two-part epoxy putty to refine the shape, then do the final shaping with hand tools or even chucking it in a drill and using “caveman” lathe techniques.)
1 Like
Machining marks while turning are result of too high of an axial feed and too sharp of a tool radius. To get a slow enough, steady enough feed, you’ll probably need a geared power feed. For the best finish you want a large tool radius, even 1/4 or 3/8; as big as you can get and clear shoulders and changes in section.
You could also make screed template and shape the entire contour in one operation if your material is soft compared to the template.
KL
I’d also add onto Kurt’s suggestions:
Setting the “angle” of the taper is really not about the angle at all. You offset the tailstock by 1/2 the difference in diameter from the large dimeter end (D) and the small diameter end (d). So the taper = 1/2 (D minus d). In practice, this is a linear measurement take from the centerline of the workpiece, and as you take a straight cut down the length of the workpiece (from d to D), the taper is formed. The work diameter is primarily checked at the small diameter end (d).
Light cuts and slow feed are needed, especially if you’re also not using a moving steady-rest fixed to the cross-slide opposite the cutting tool. Tricky to do on long, very thin pieces.
One thing I’ve learned to do is sleeve a piece of hard brass rod inside a styrene tube and cut the taper on the styrene. The brass adds enough rigidity to mitigate flexing and the plastic is soft enough to cut without a lot pressure from the tool. I usually have to take a multi-step approach and fix the ends of the brass in an over-long styrene tube with two-part epoxy, then locate a pilot hole for the live center and allow the taper turn to take care of the runout caused by the inevitable mis-match in rod outside diameter and tube inside diameter.
Well thanks to you both, but I’m not a machinist - just a dude who mainly makes bungs with recessed bolt mounts and things of that nature. I did use it to take quite a bit of material out of the rear end of a 107mm rocket to make an air intake out of it. I’ve posted photos of that before so no need to bore folks with it again. My then 17 year old son did some pretty bichin exhaust tips out aluminum as well. The whole lathe process was new to me back then, let alone the fact that it was a “long, very thin” piece. In retrospect I think that was the problem - I learned very early on that the way to avoid red hot shards from flying off the piece is to set it at the low RPM range - but the very thin aluminum piece was actually bending, perhaps just a few thousandths of an inch, and when I stopped turning the handwheel it straightened and caused the striations.
As for why cast another barrel - OP hasn’t said but maybe he has borrowed one. Or has several projects going on that require the same one.
@JPTRR
Knowing which barrel we are talking about would certanly make it easier for the collective expertise to figure out a way to make it …
I would also go with the paint brush handle solution, but use a suitable cheapo plastic brush from a $ store. I had to try that once. Plastic brush handle is easier to work, paint, and glue, than a wooden one.


Depends on the type of plastic in the El Cheapo hair brush …
and how it was produced. Don’t need no issues with mold lines and/or an offset mold.
The handle I used was from a worn out, medium quality brush. Perfectly circular cross section and it was already primed and laquered 
Well, obviously, as a machinist would know these things. We mentioned them to help someone who seems to be something of a “dabbler” get better results.
KL
1 Like
Mike, perhaps your set up is a lot easier to set and reset than mine, but I simply will not offset the tailstock anymore. A far easier solution is to make an offsetting tailstock center that lets you do all the shifting you want and go back to being in line just by popping out the center. There are at least a dozen different designs floating around, for example this one on page 139 of the June, 1945 issue of Popular Mechanics.
KL
1 Like
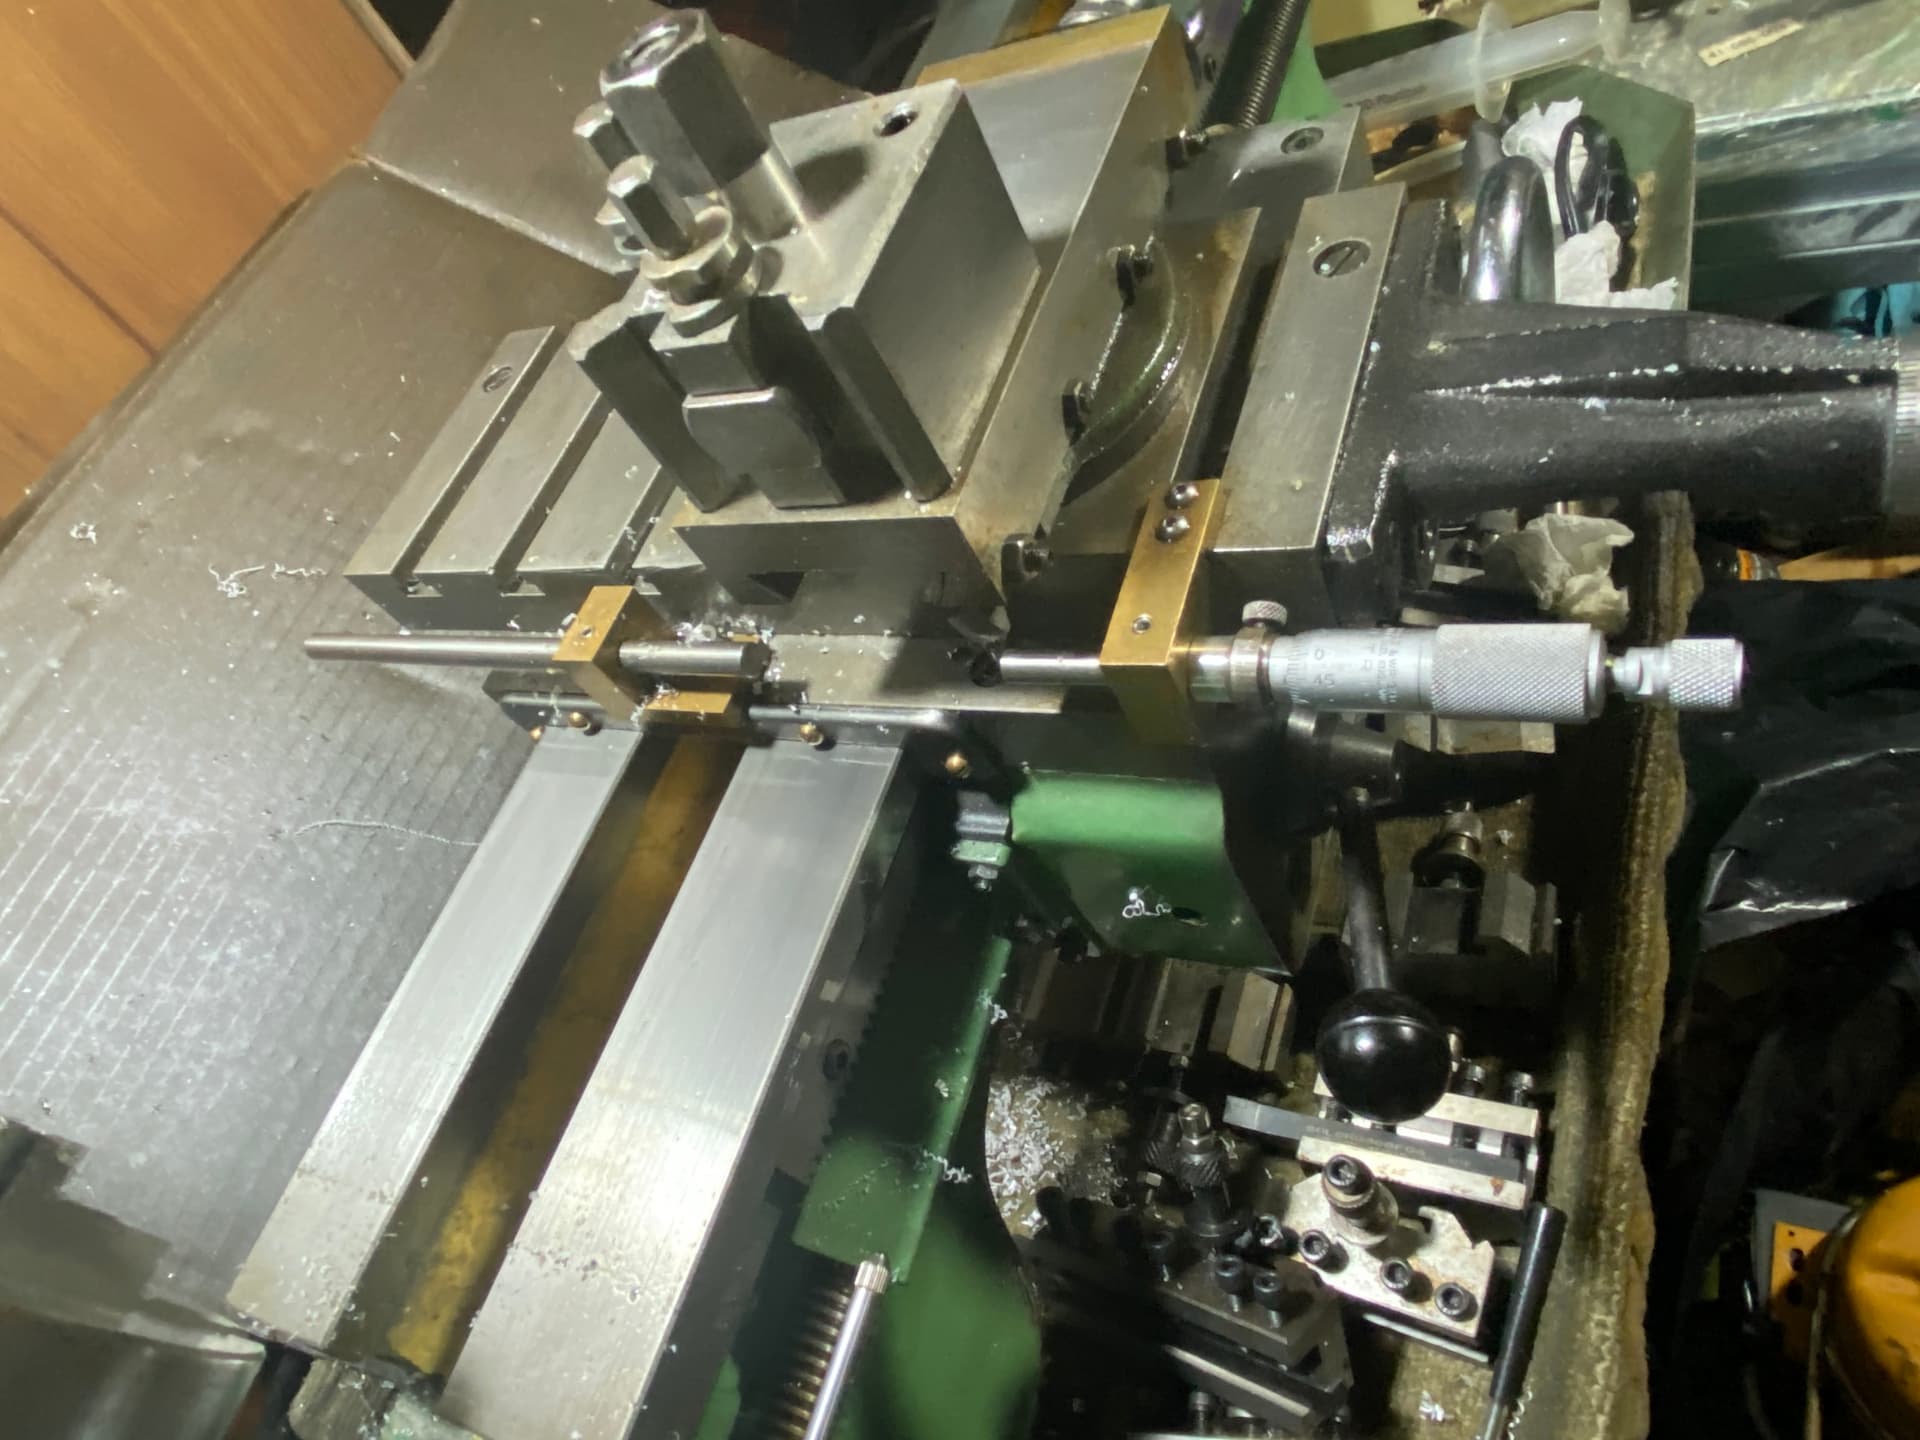
I also do a lot of machining myself be it model engineering or scale modelling.Turning a small diameter barrel is a challenge. As what others explained regarding marks on the work surface I totally agree. My approach is if its a short length and you can get away with a one pass to final diameter taper then do it provided the chuck stick out is not much. Spindle speed is critical to generate a cutting surface as the closer you get to center the surface speed reduces hence using the spindle speed is important. Materials you are cutting also plays a big role in the final finish. The cutting tools be it HSS you grind or inserts. HSS you need to get an appropriate radius. I use DCMT, CCMT, DCGT, CCGT inserts for aluminium, brass or steel. Feed rate is critical. If you have a power feed plus a cross slide taper then you need to dial in your power feed rate slowly to achieve mirror finish or the tail stock method as mentioned with power feed. If the length is short then a top slide taper will do with a careful hand feed. Long thin barrels in 1/35 will flex on cutting load especially small pass. Placing a half dead center will help but will put axial load on a small material. Of course it all depends also on skill and lathe accuracy. Would be great to hear from other machinist here and what lathe they have.
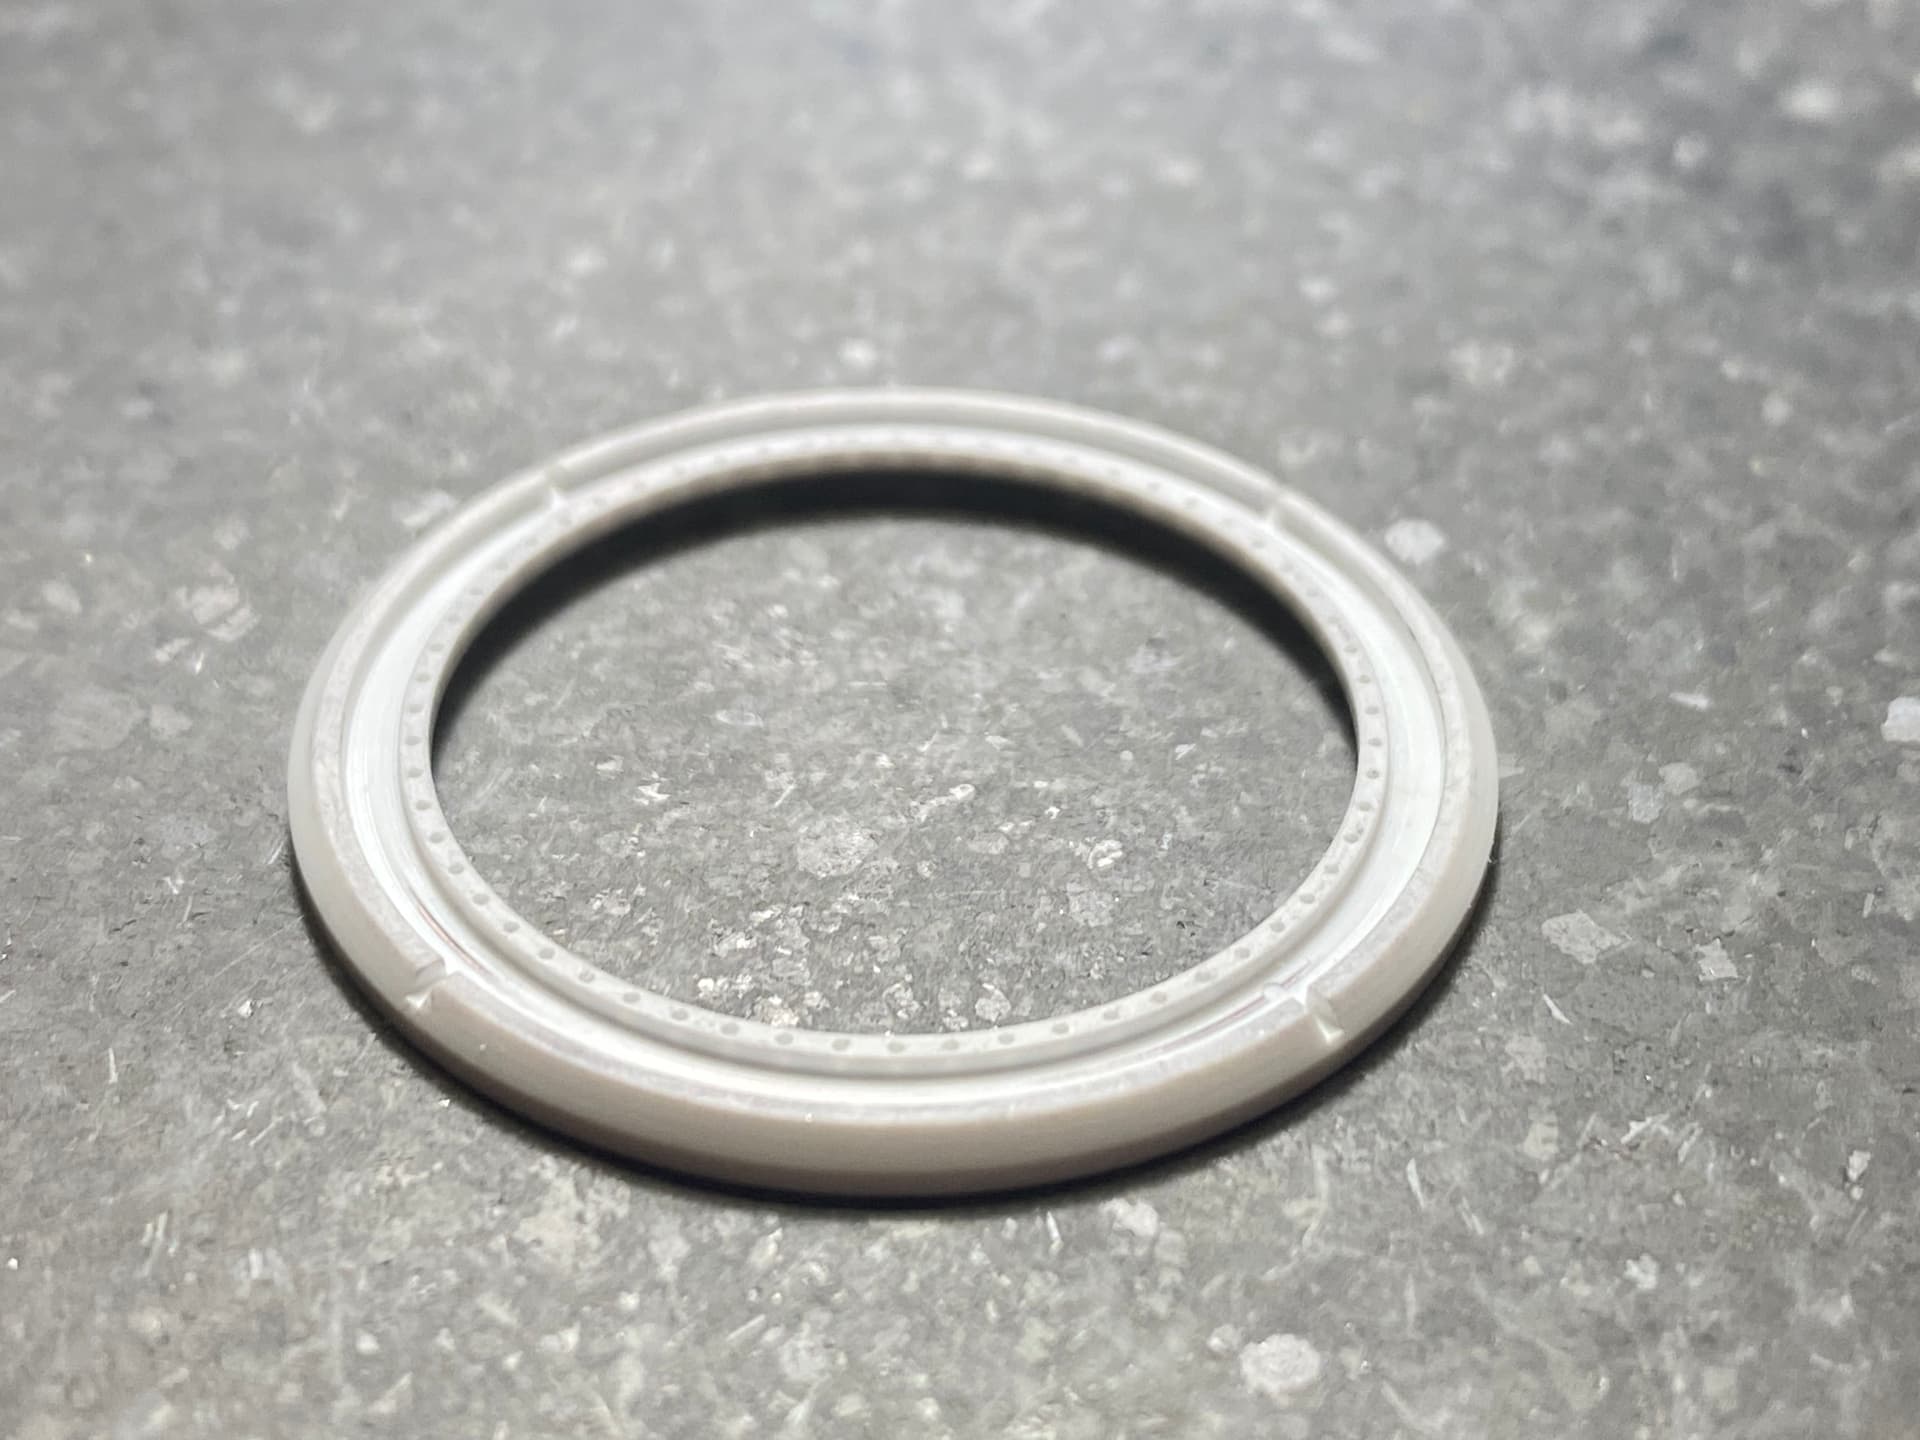
I have a Sherline that I most often use for quickly truing up road wheels & similar items. Most recently I turned up a turret race
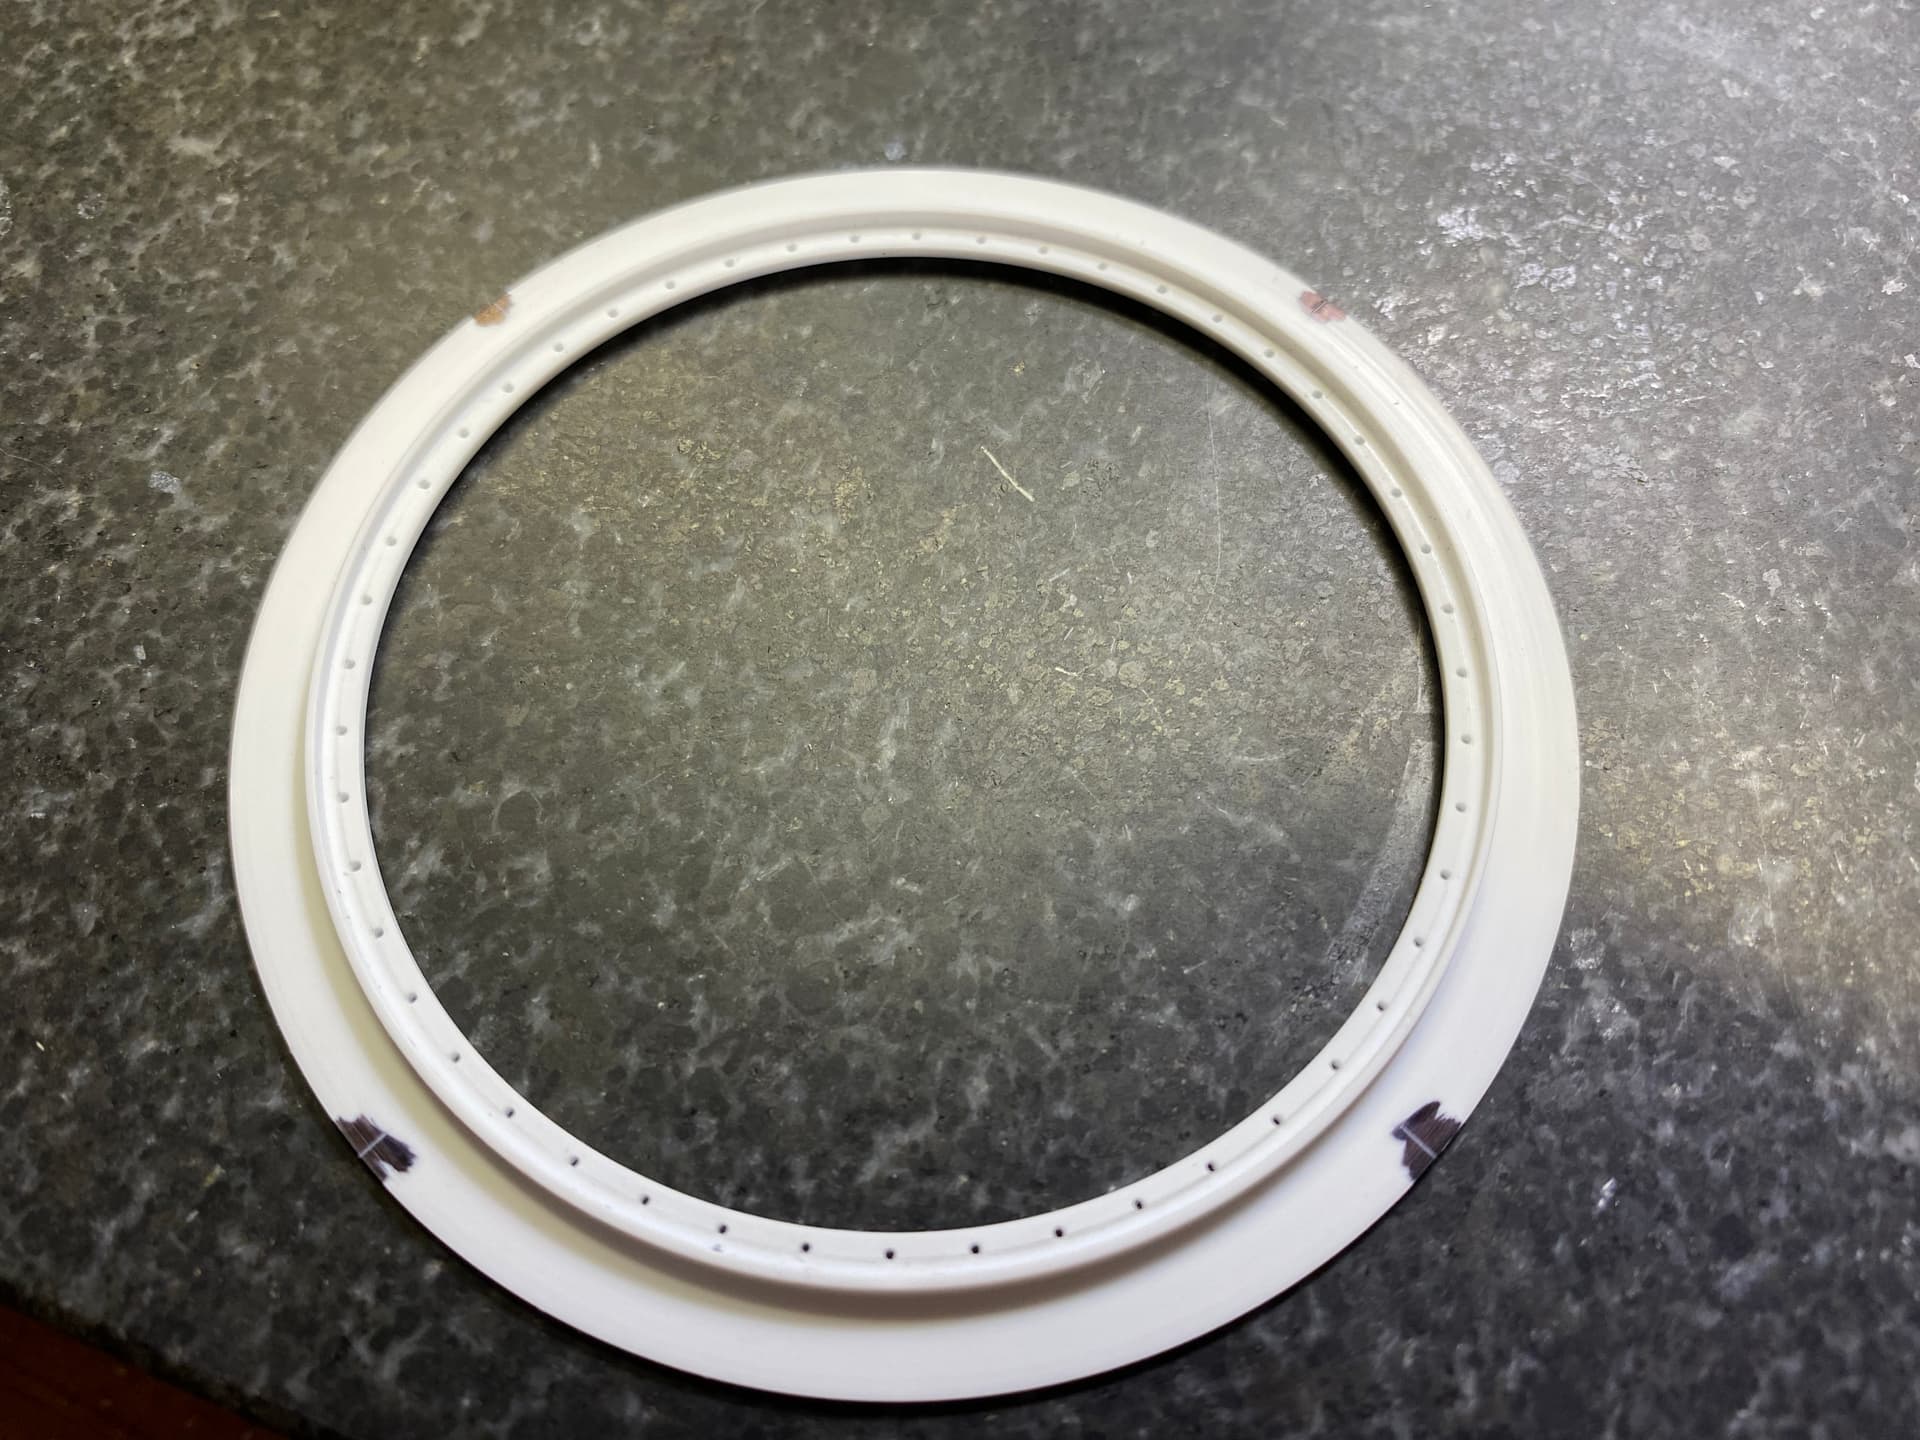
CWS race

and trunnions for an Abrams turret

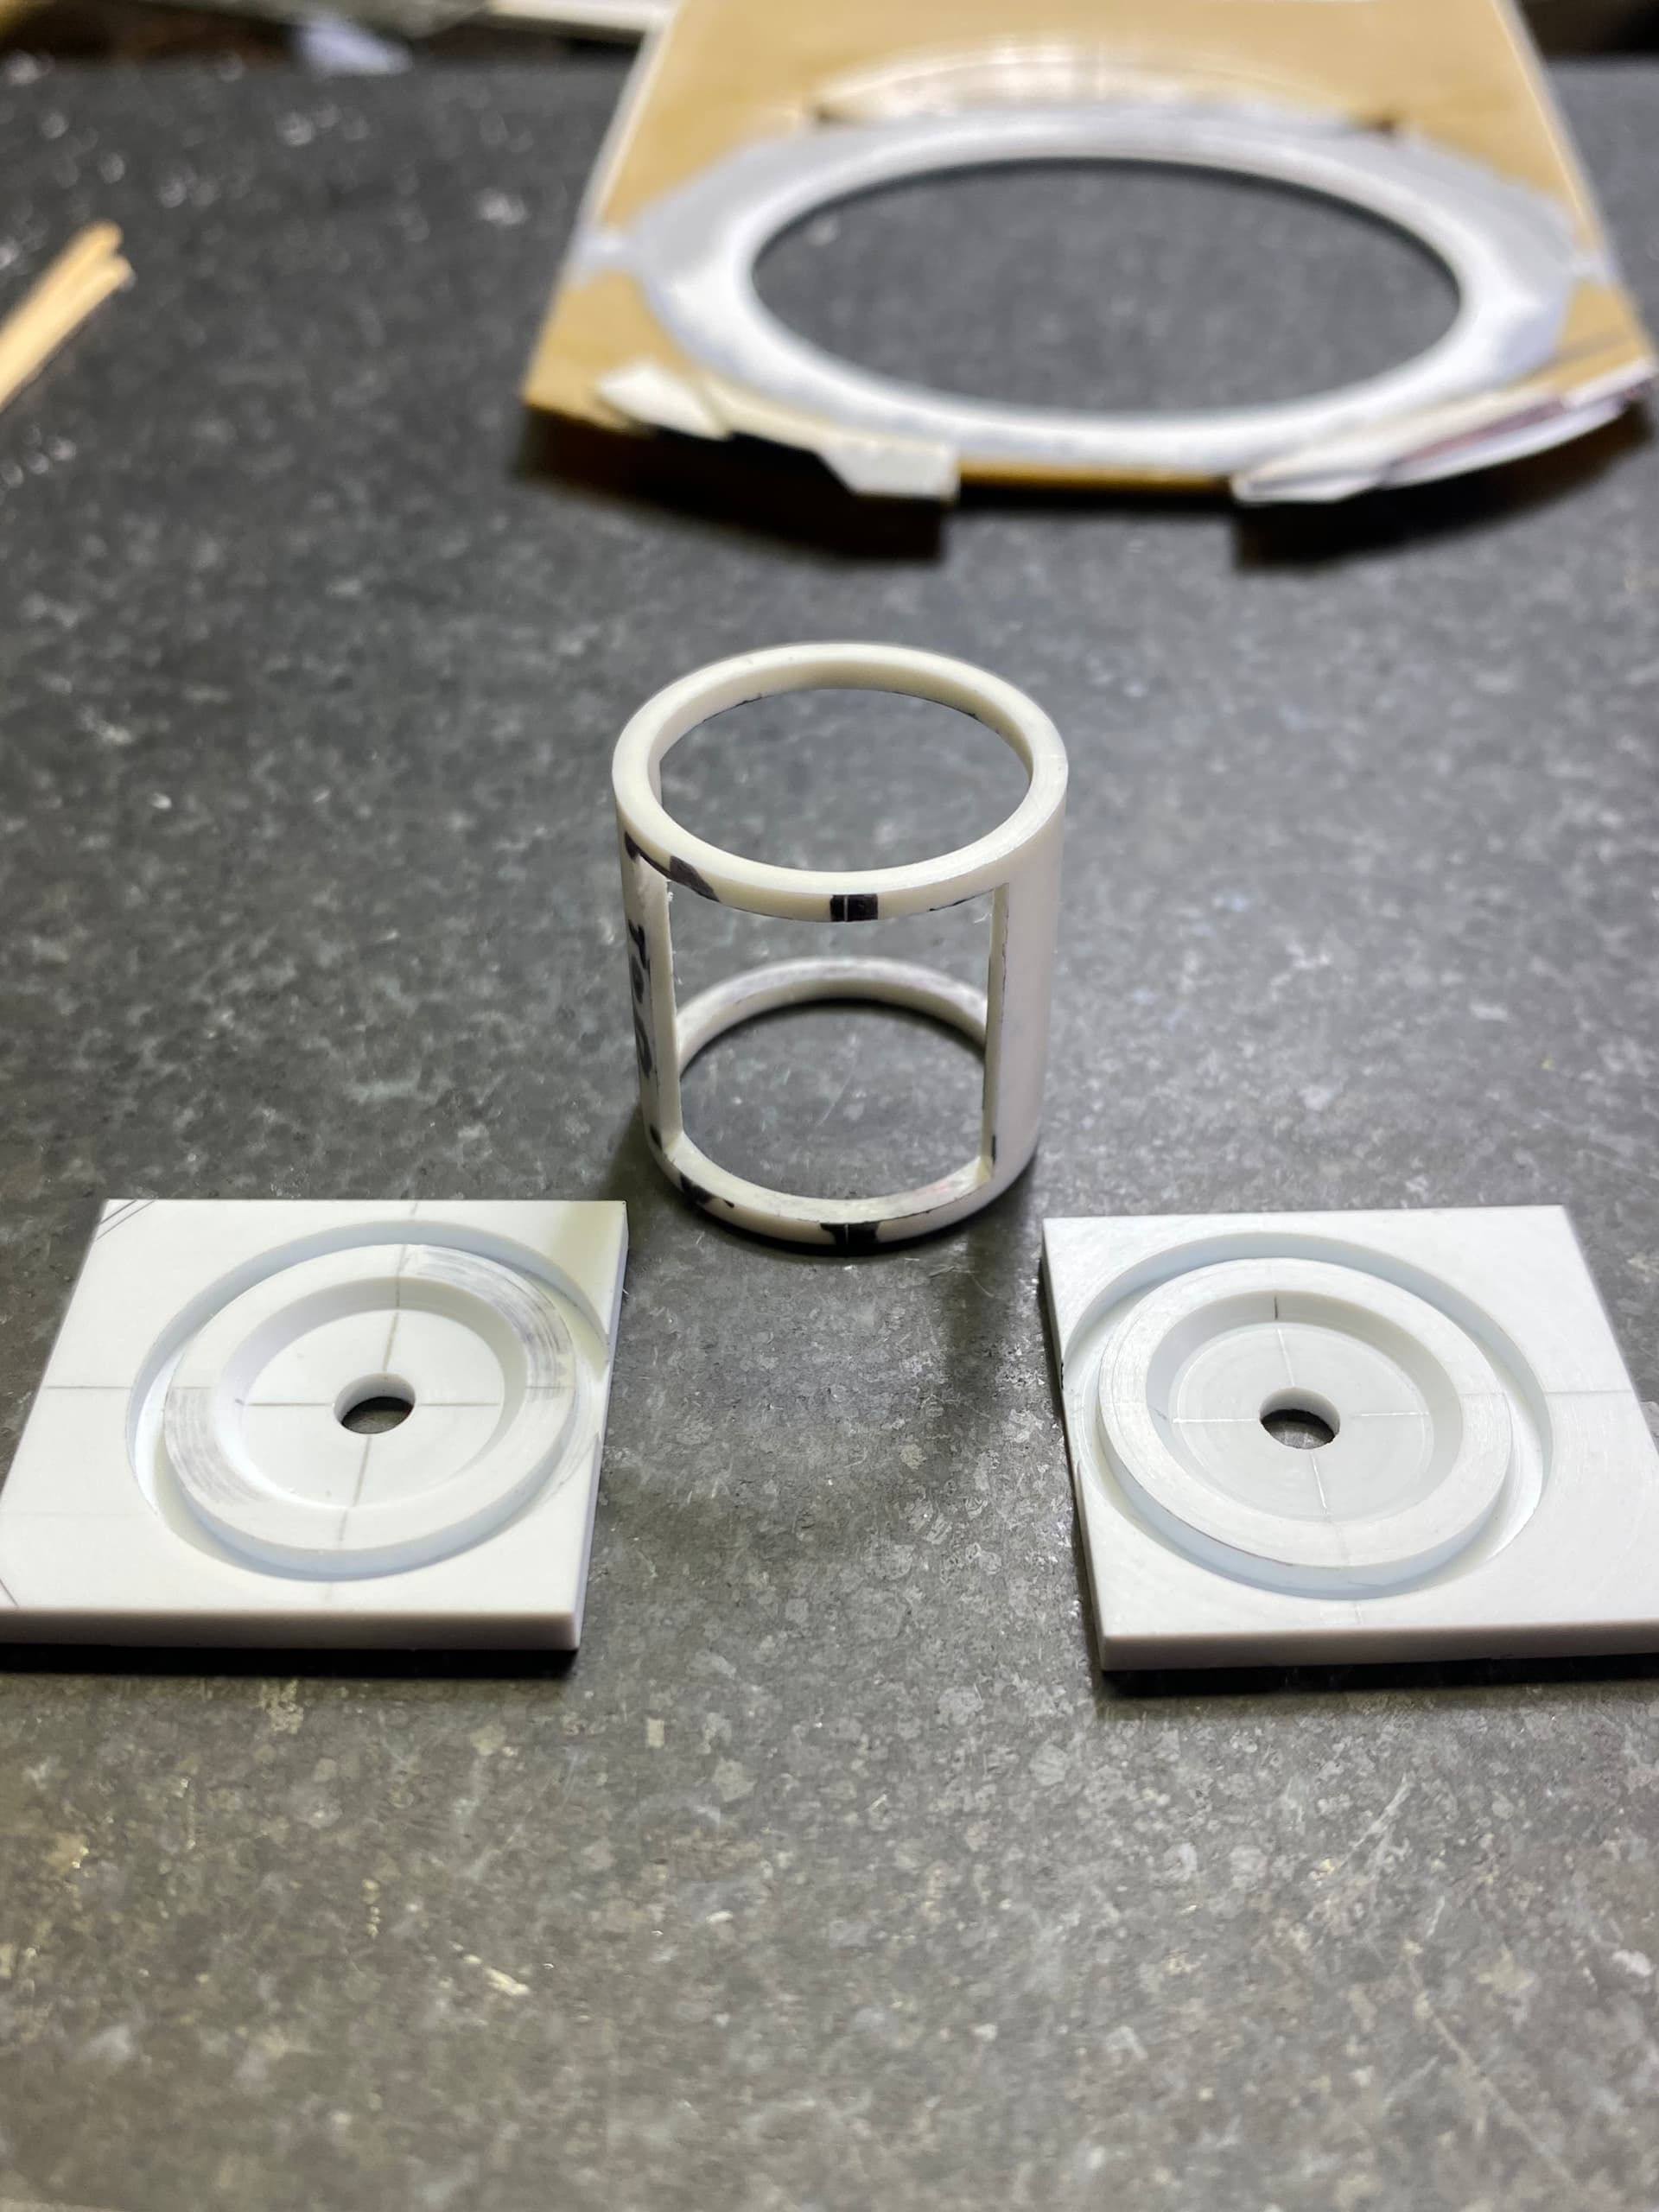
2 Likes
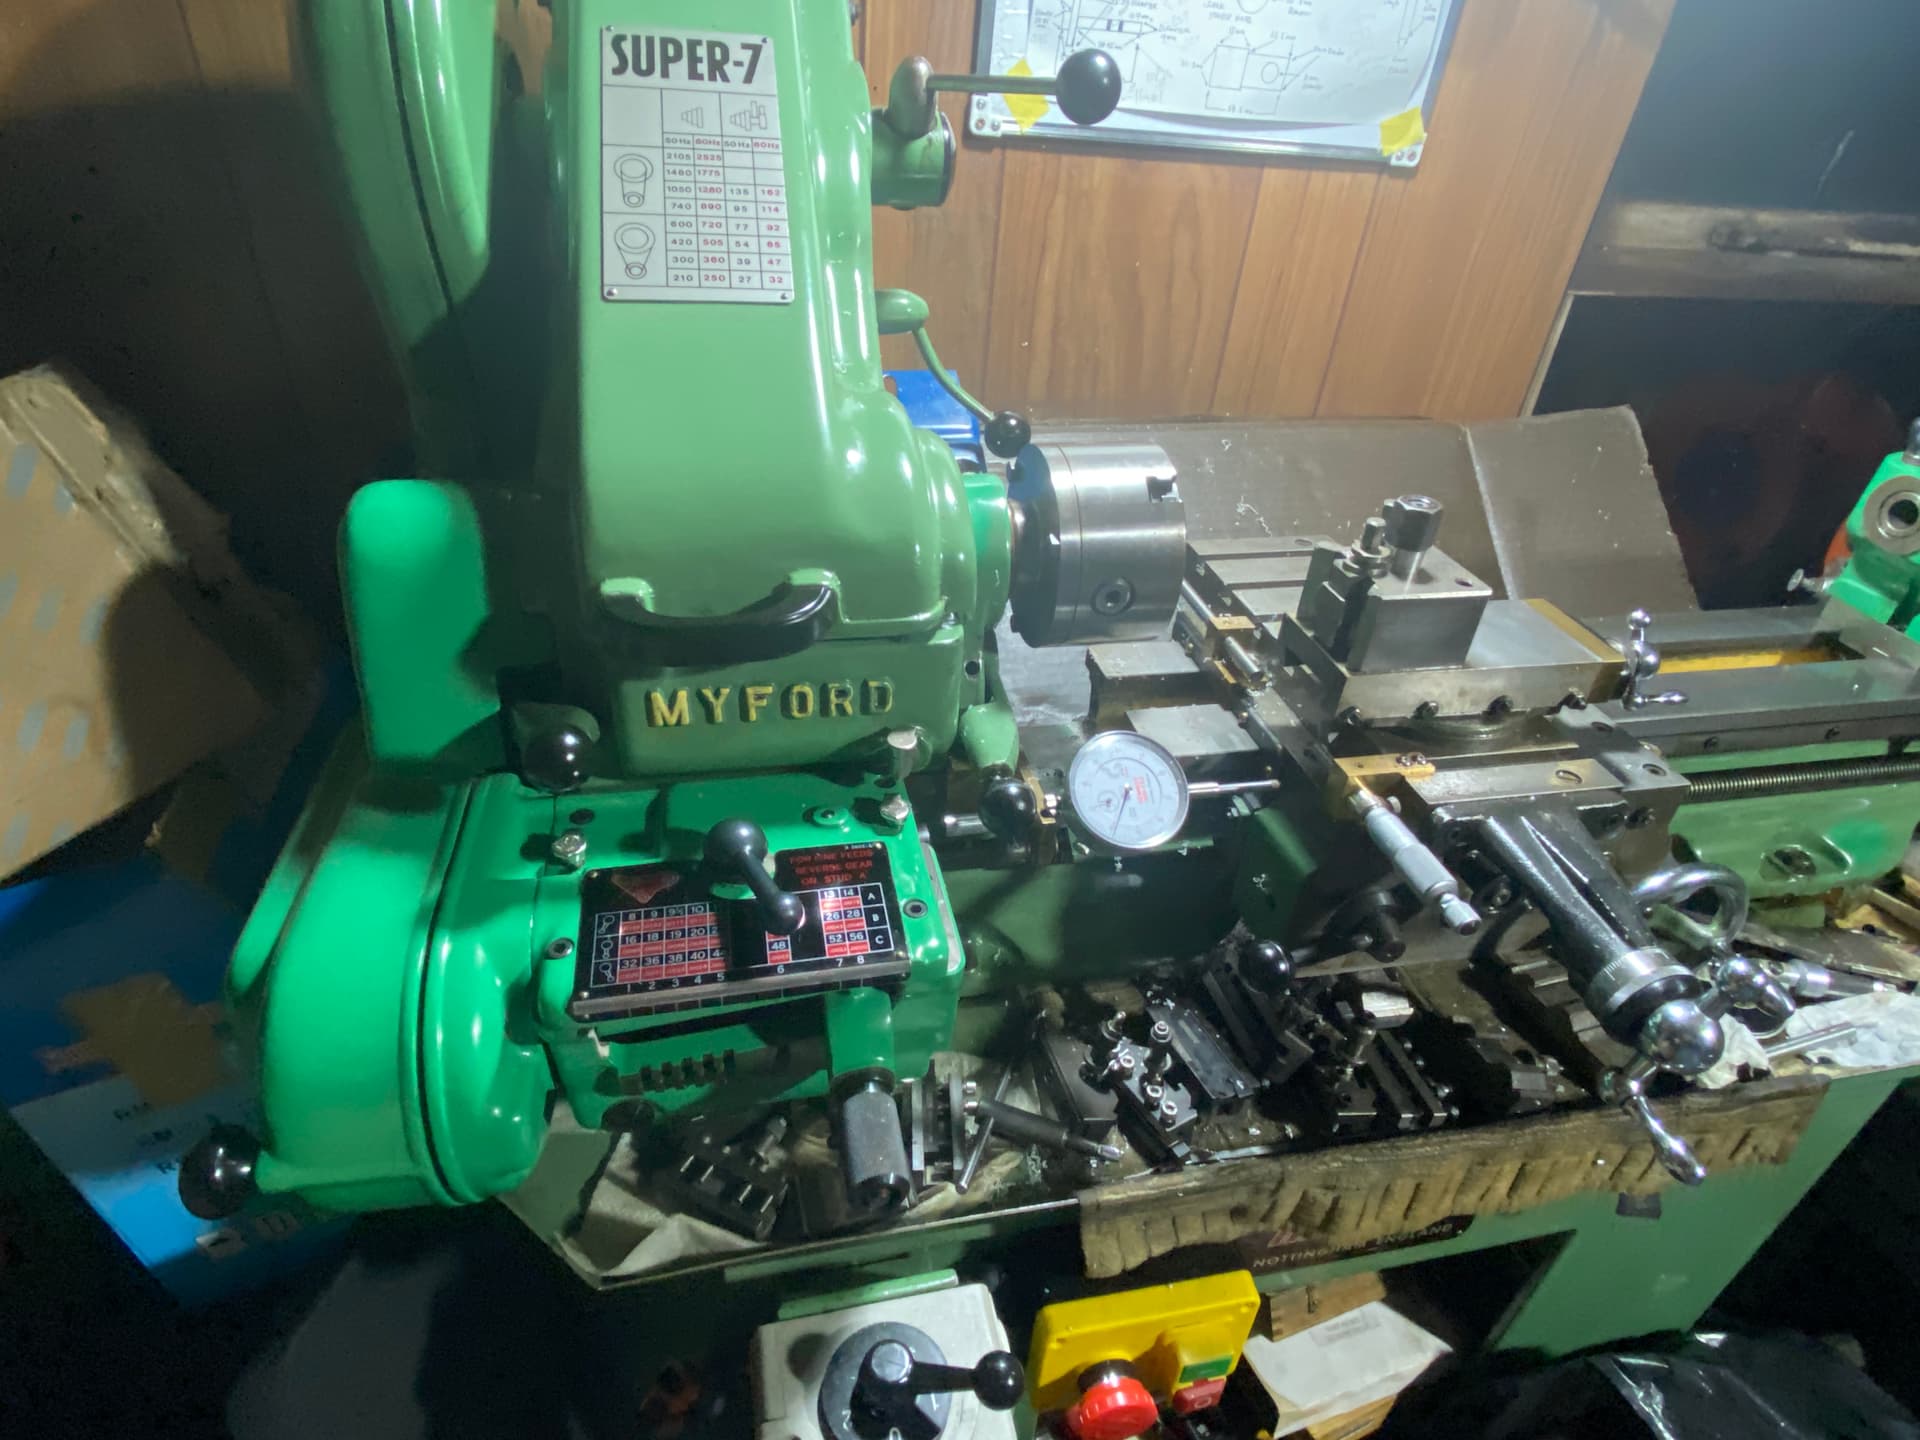
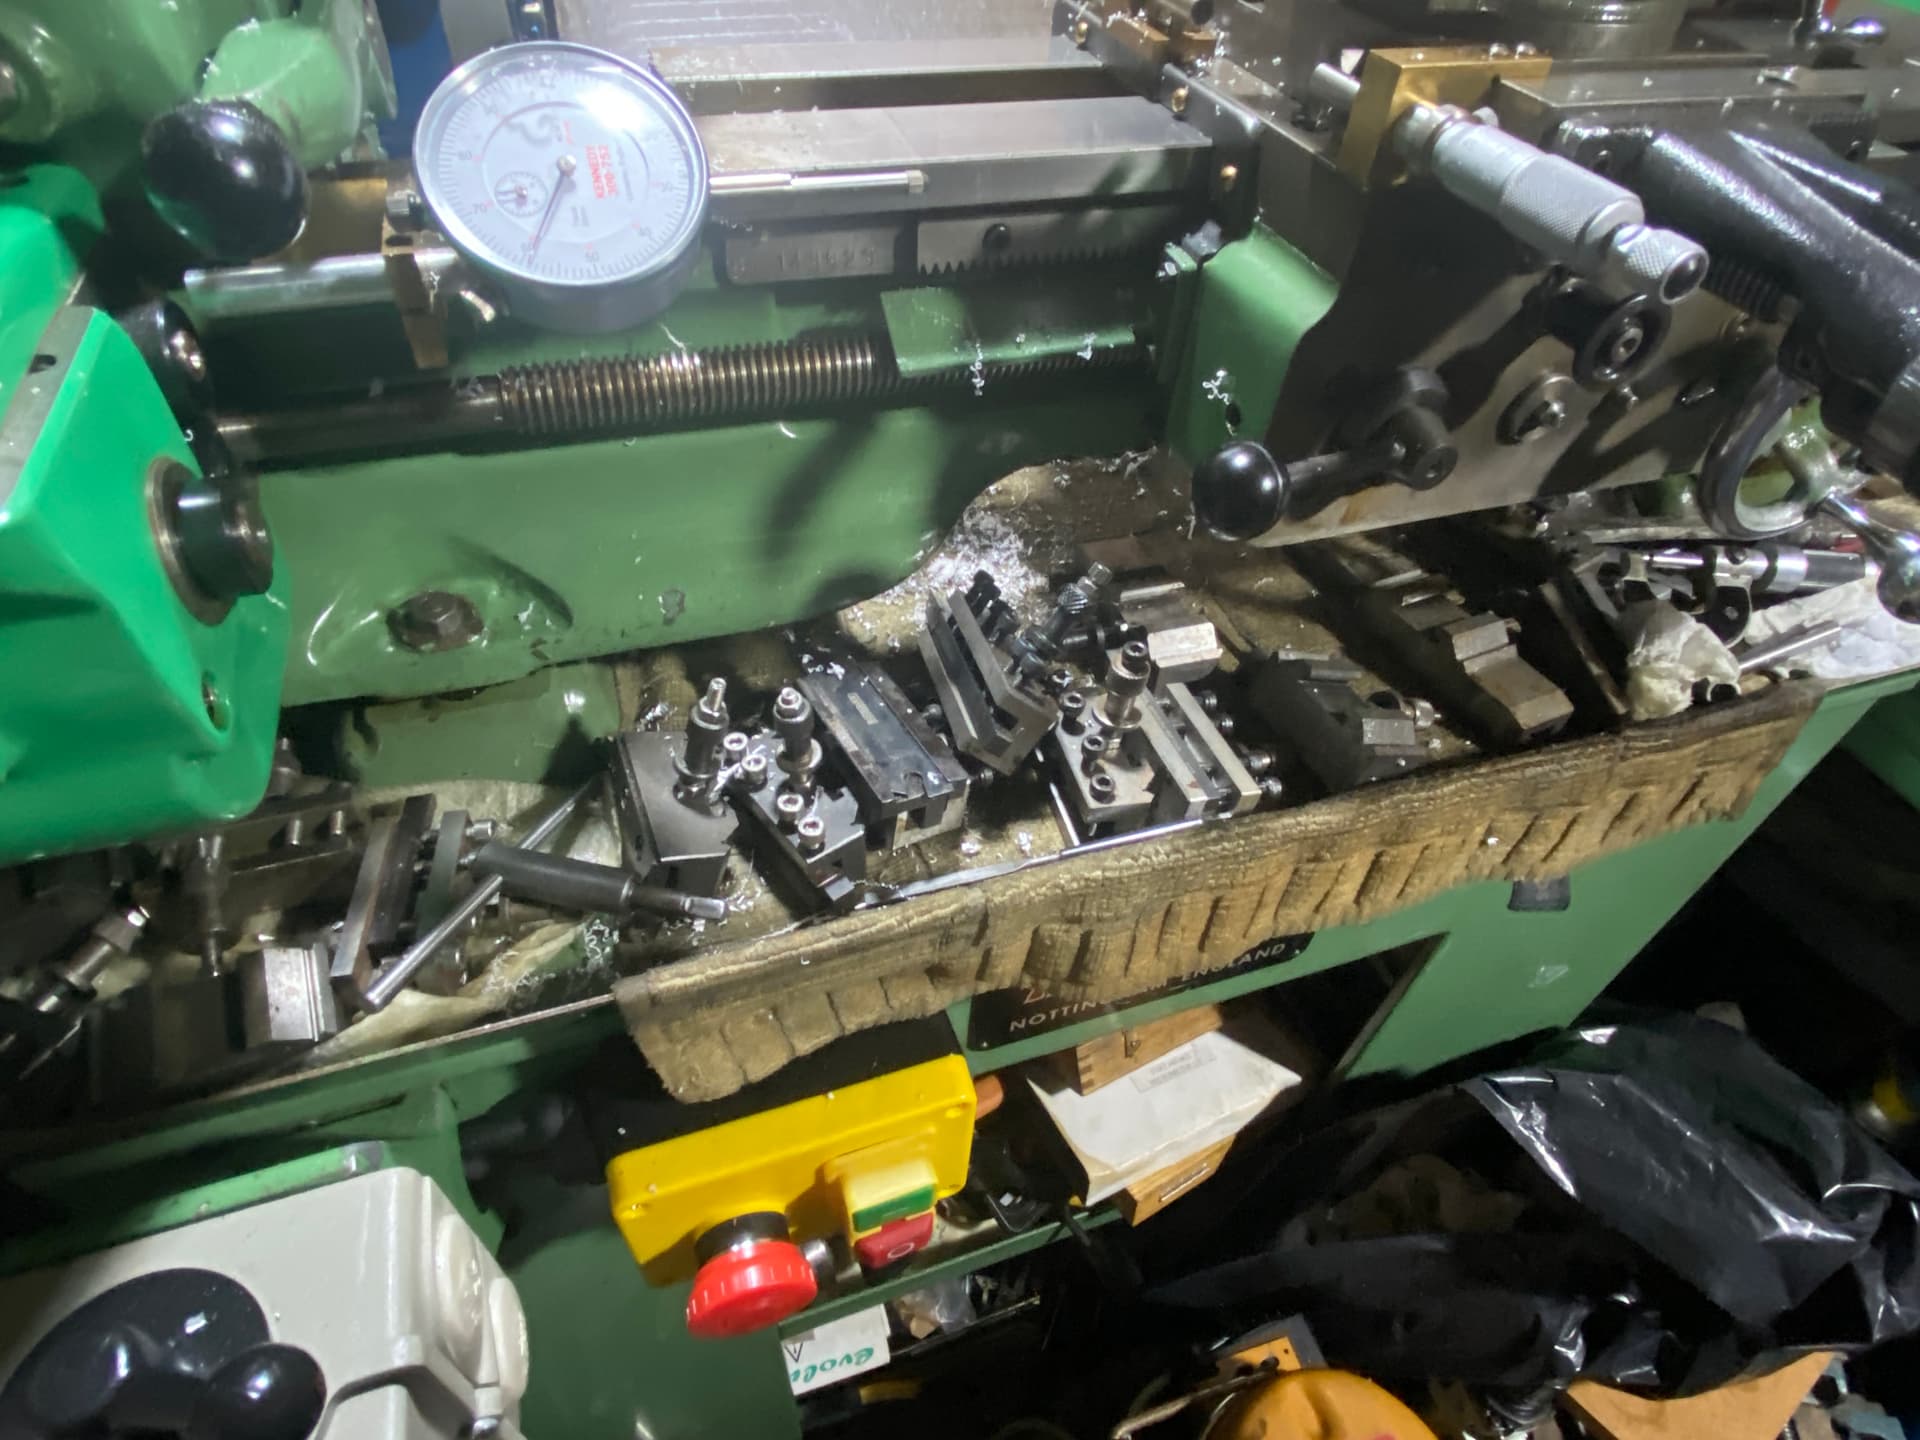
Fantastic Sean, Sherline is a great micro lathe. I have an Emco Unimat 3 fully loaded, a Cowells ME 90 with resettable hand wheels and a Myford Super 7B PFX.
Myford Super 7B PFX
7.5 inch capacity on bed and 9 inch capacity on gap, Fully capable of Imperial thread cutting with metric conversion and 24 feed rate. Power cross feed. 4 and 6 inch chuck.

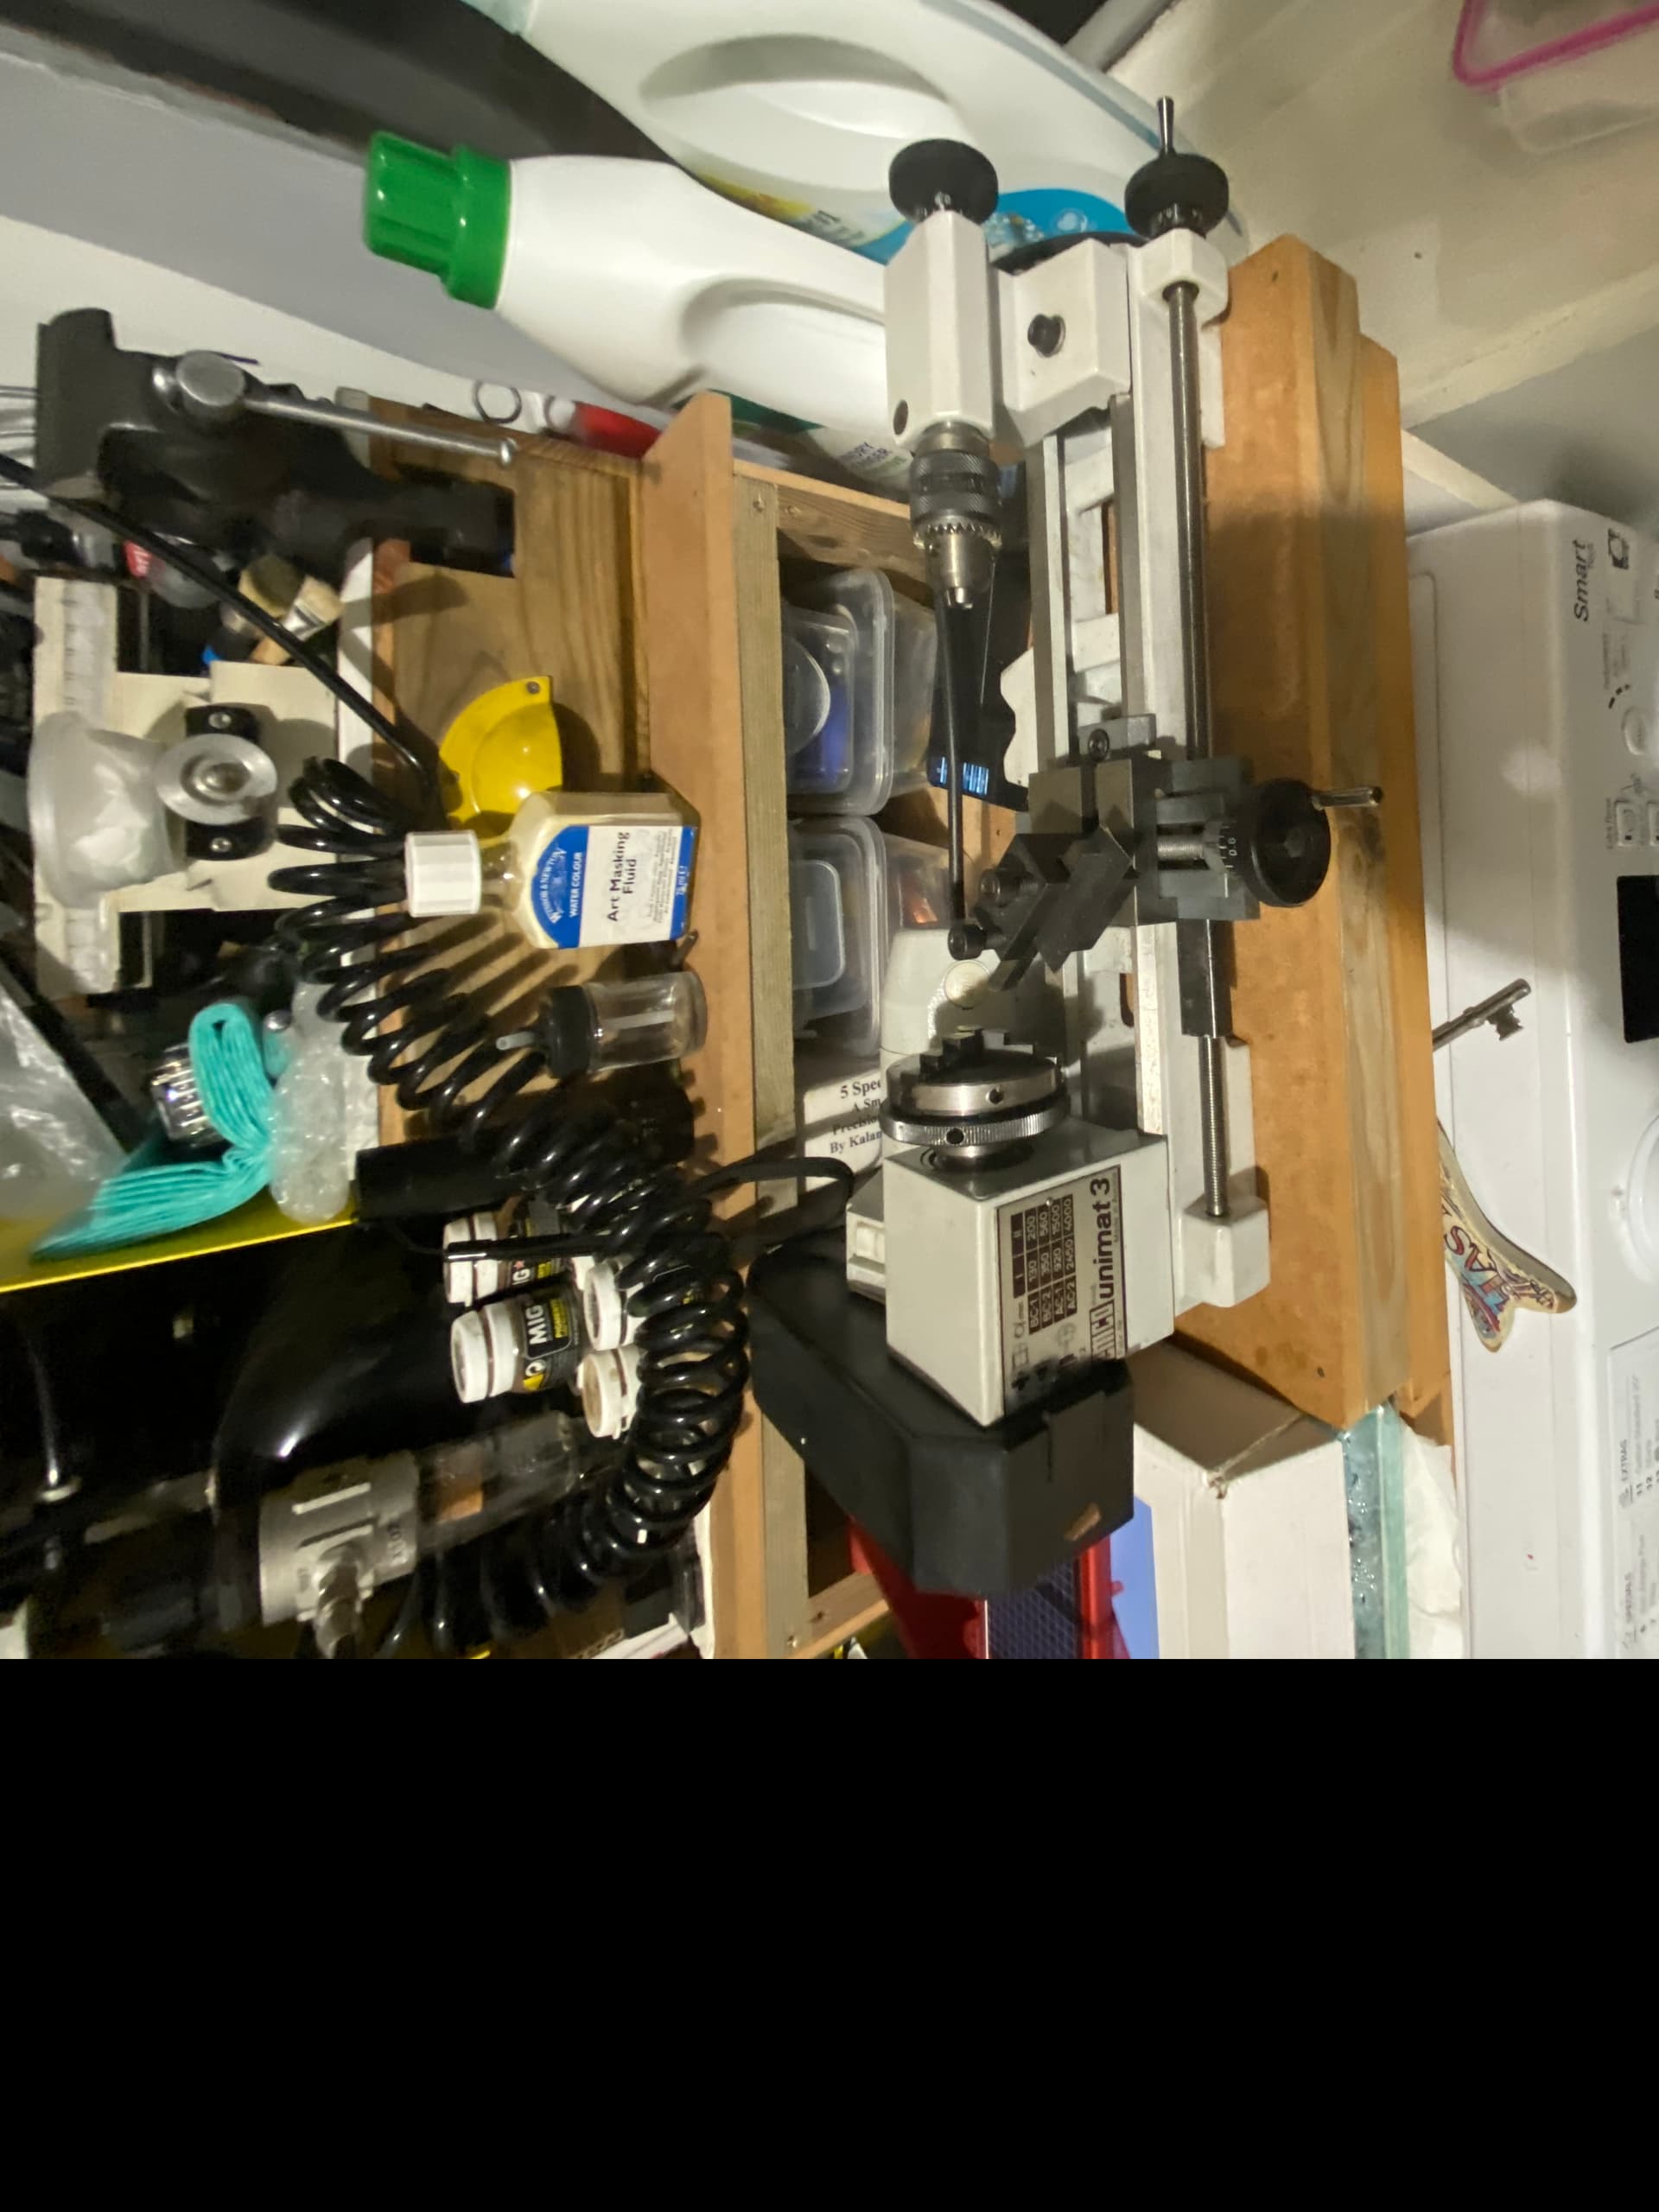
Emco Compact 5 stand alone milling machine with Z axis and Unimat 3 stand alone milling machine