After having being able to finish a project or two I was motivated to continue and - if ever possible - to finish one of my many models I started. So - looking into the shelf of shame this little canadian Leo caught my attention and I decided to take a deep breath and to dig into it again.
I was posting the progress on the old Armorama-Forum and would have continued there, but - I guess this is the place now.
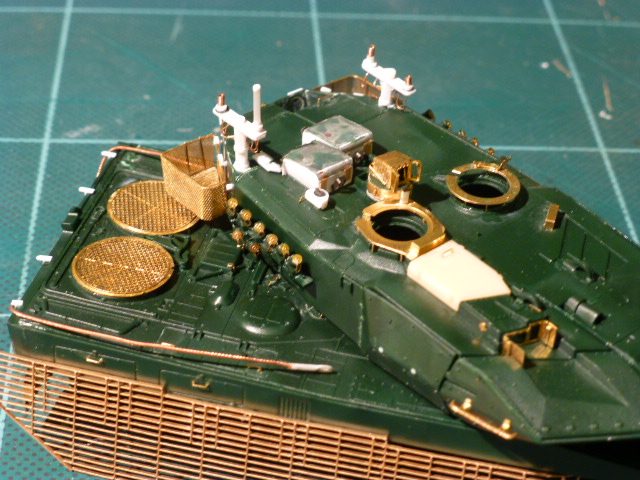
Here is a reminder of the state of the project at the beginning of 2014 (Jesus! That is quite some time ago) and in the meantime only some primer was added.
In case someone is interested - here is the link to the old blog:
(https://armorama.kitmaker.net/modules.php?op=modload&name=SquawkBox&file=index&req=viewtopic&topic_id=216323)
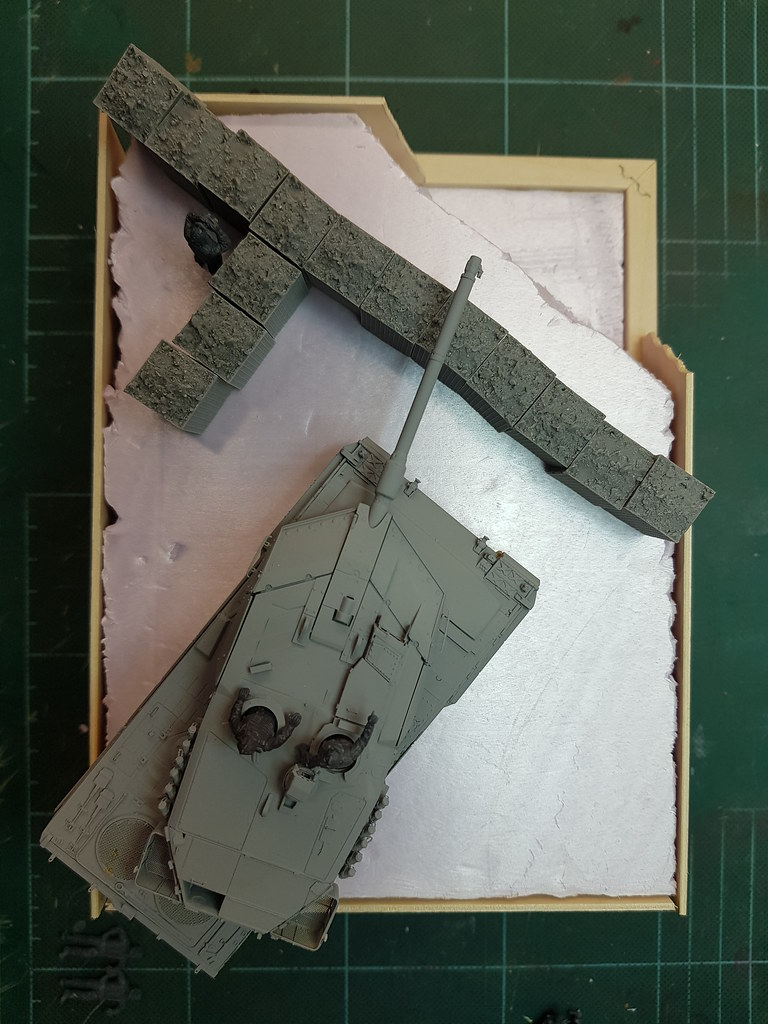
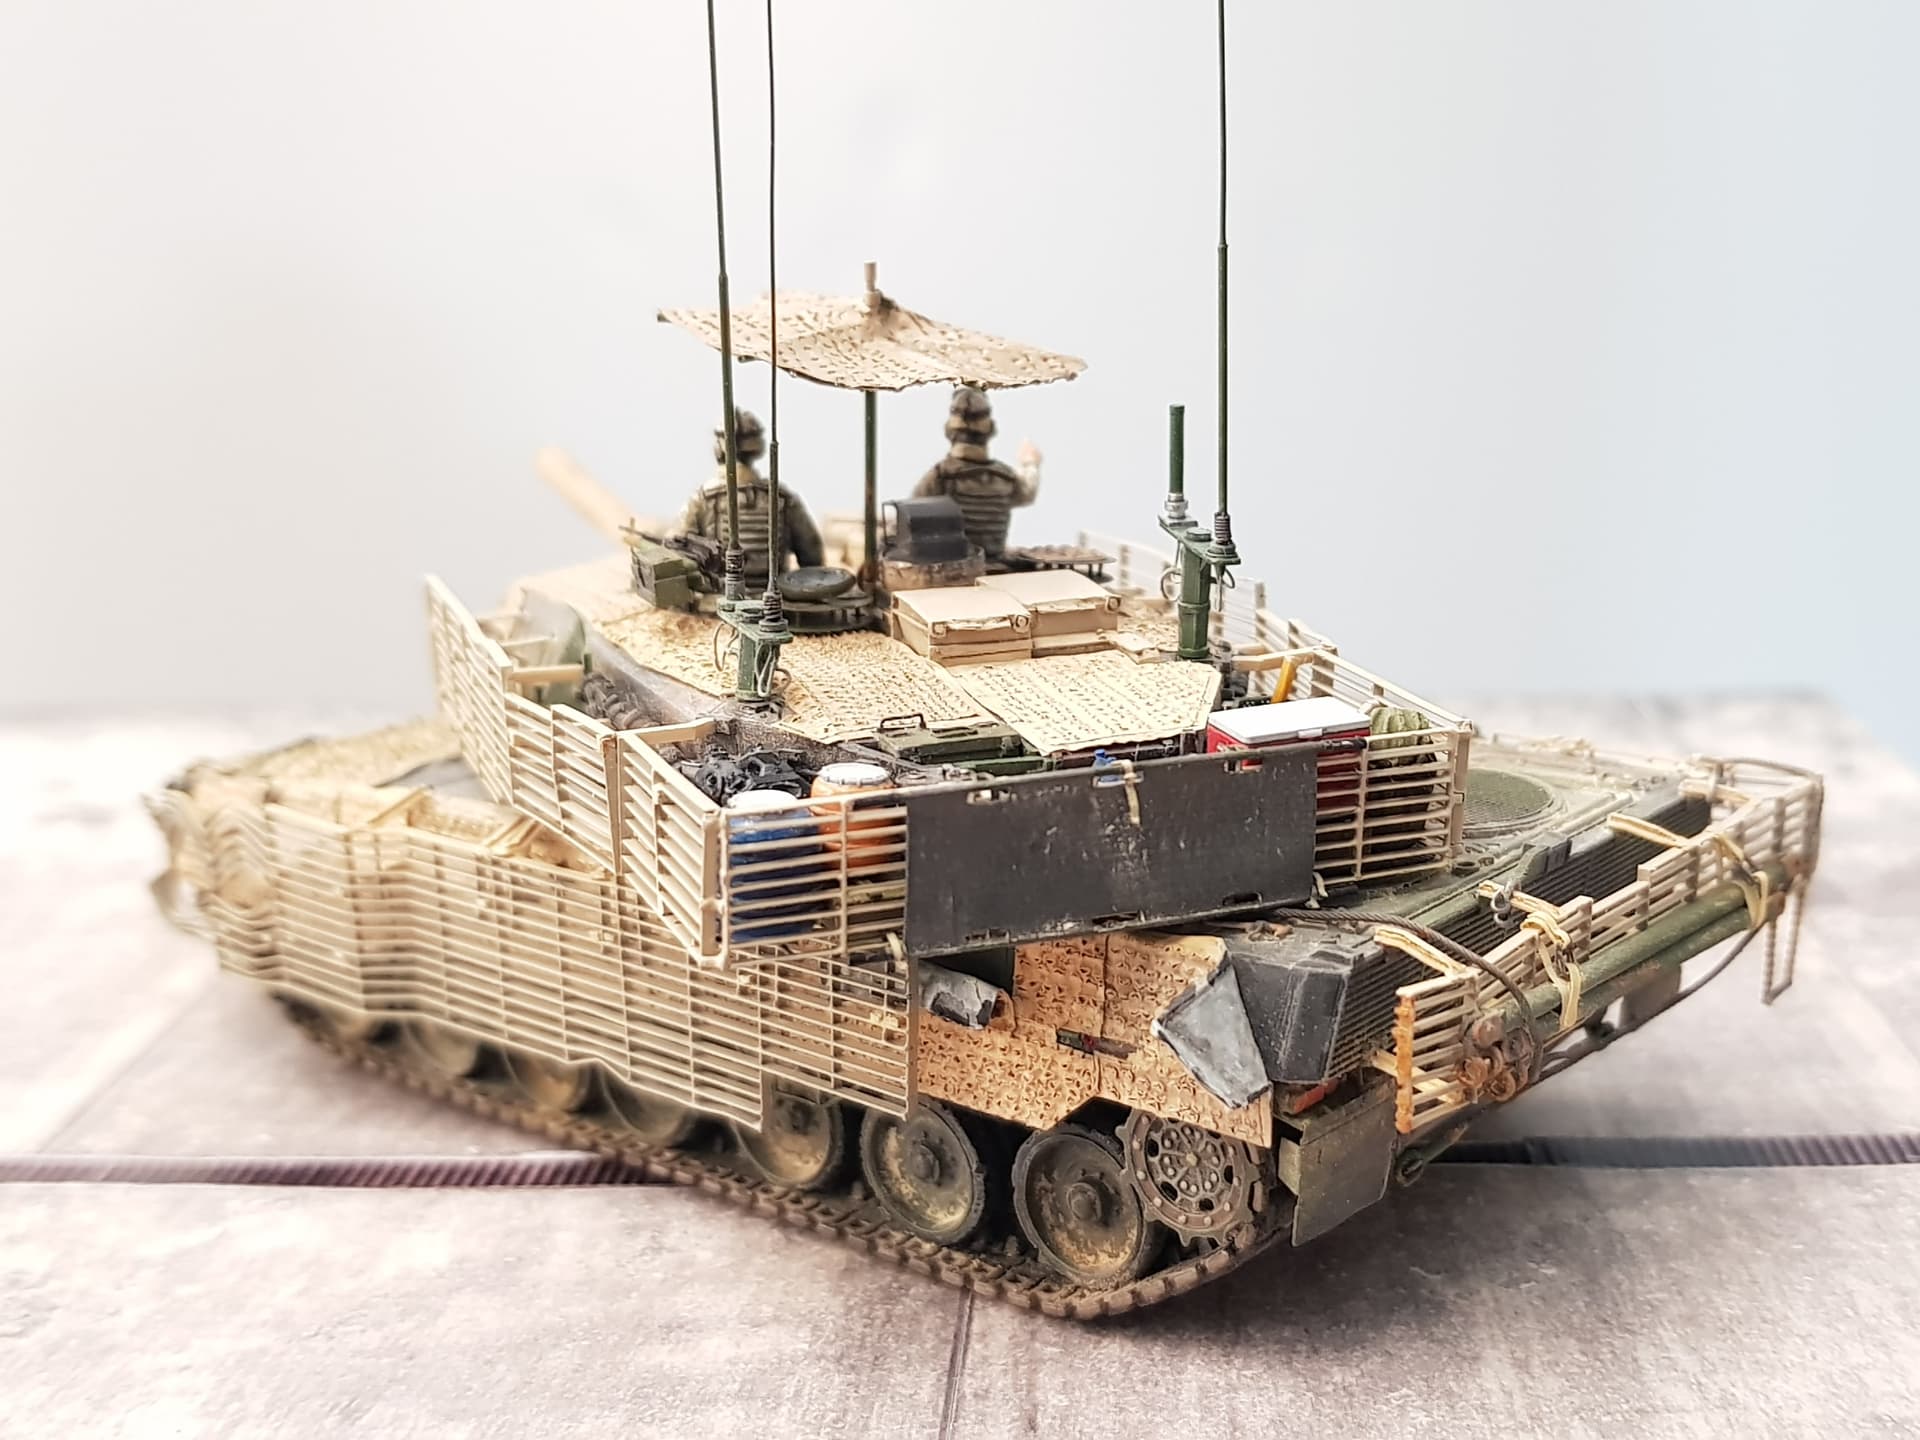
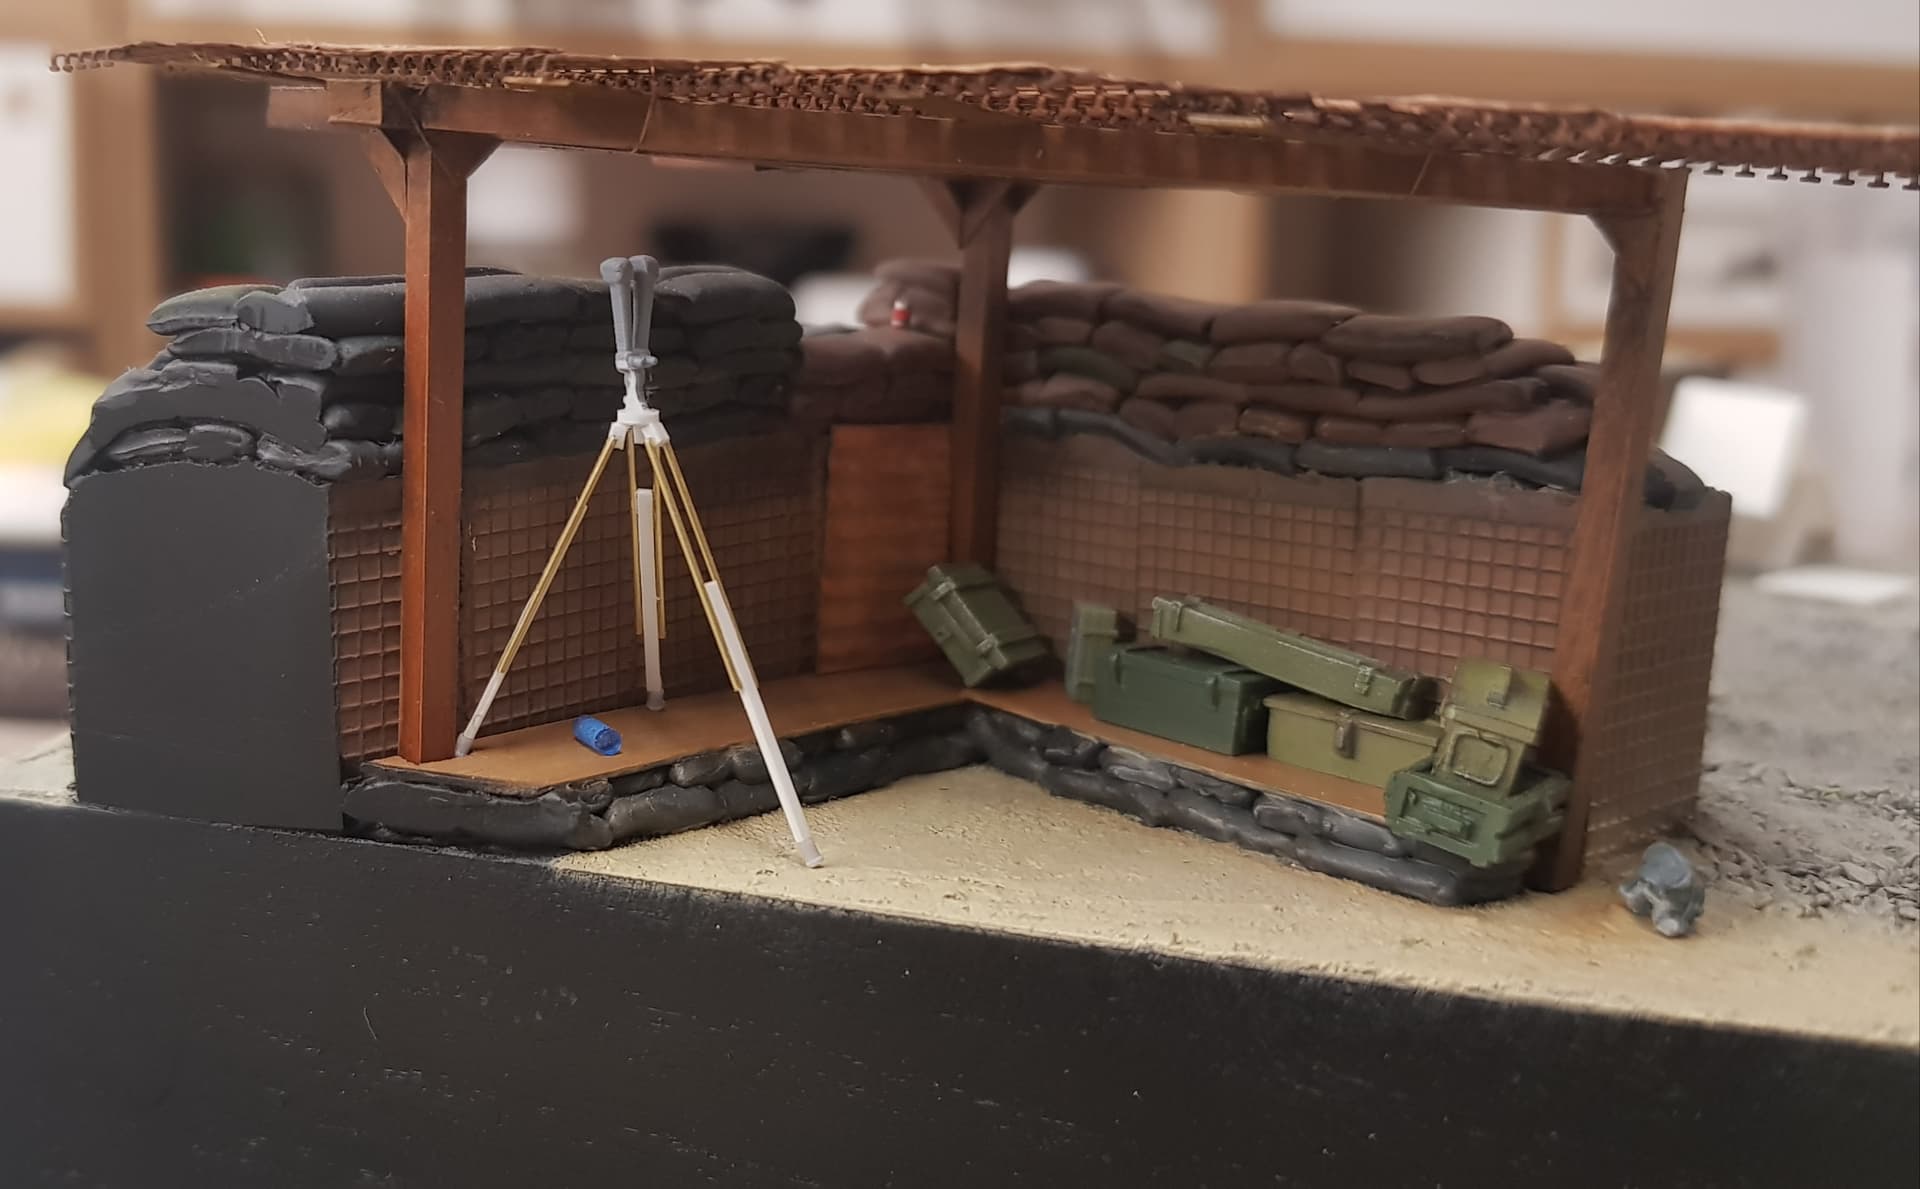
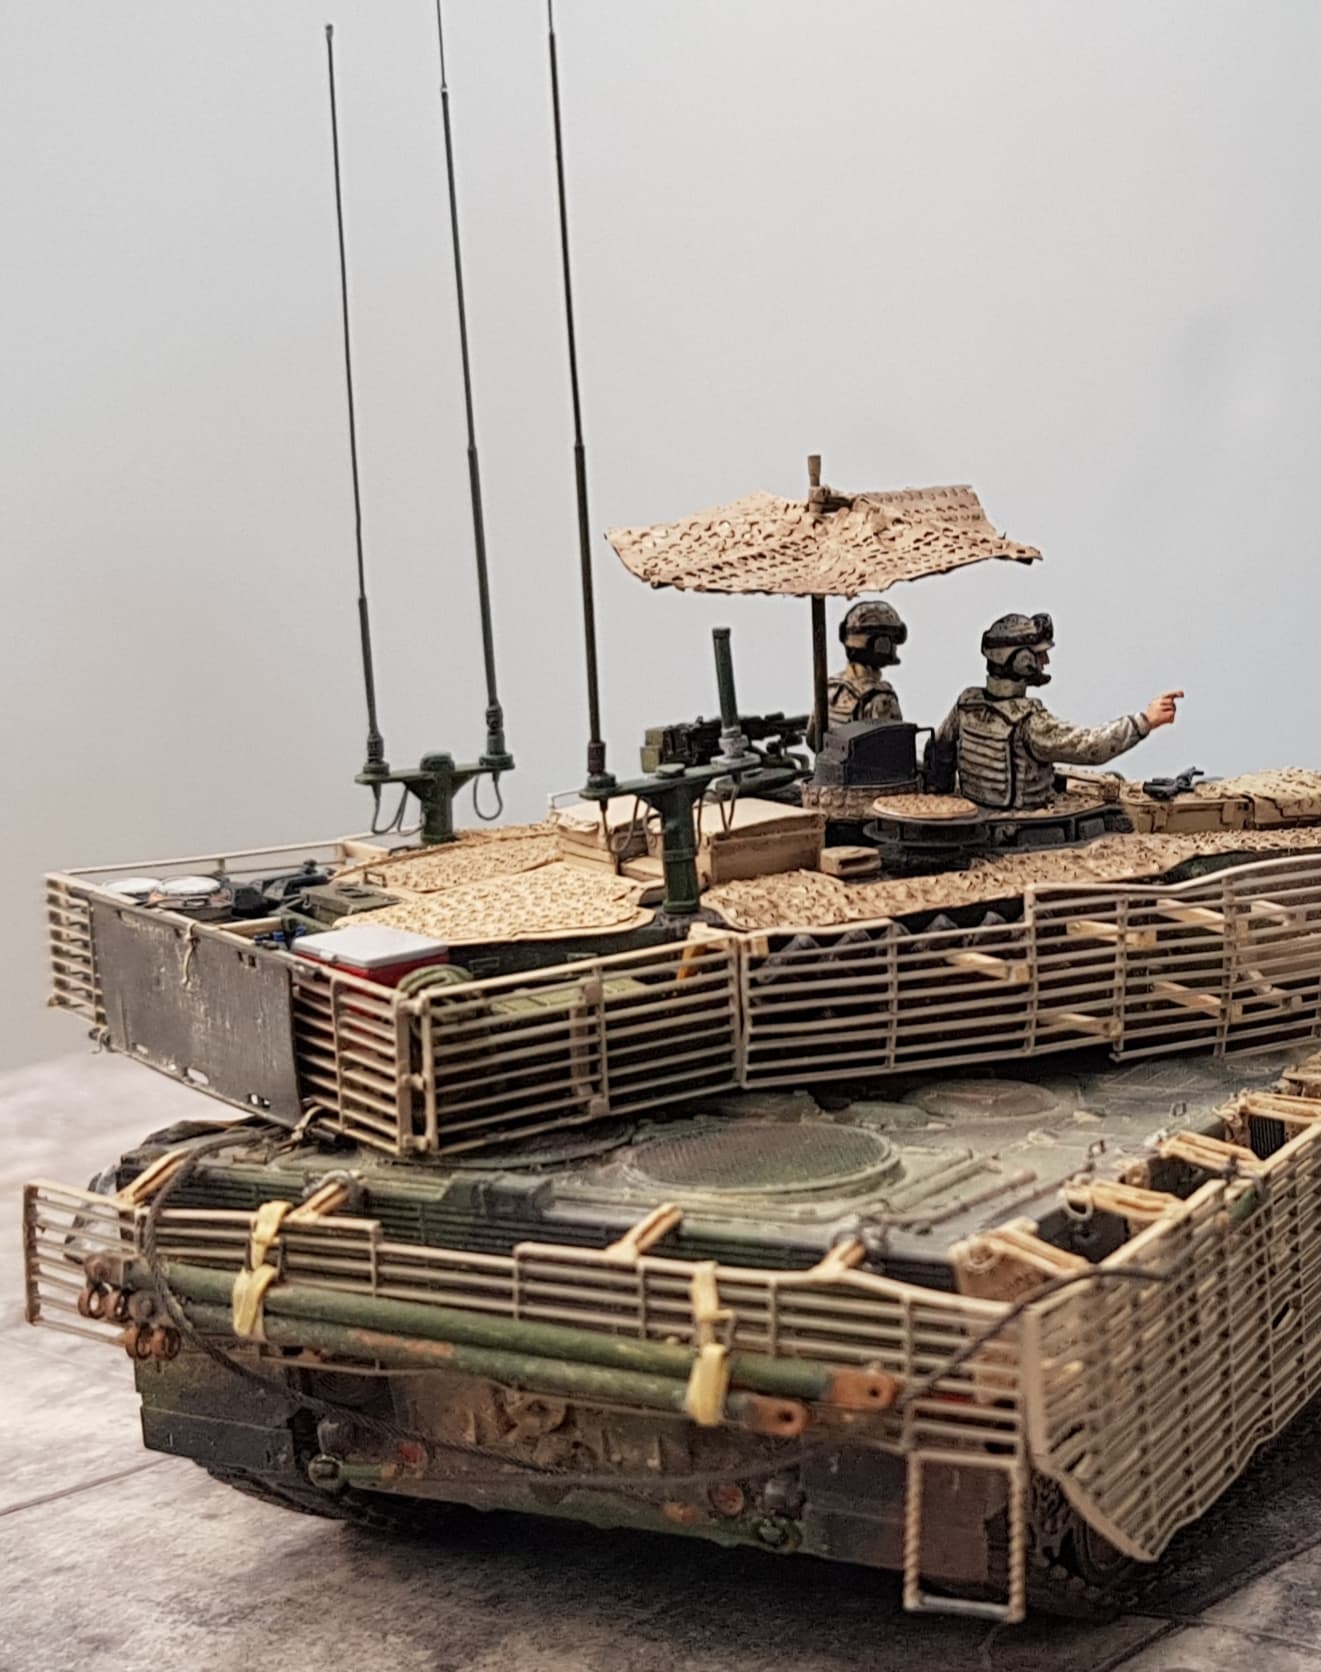
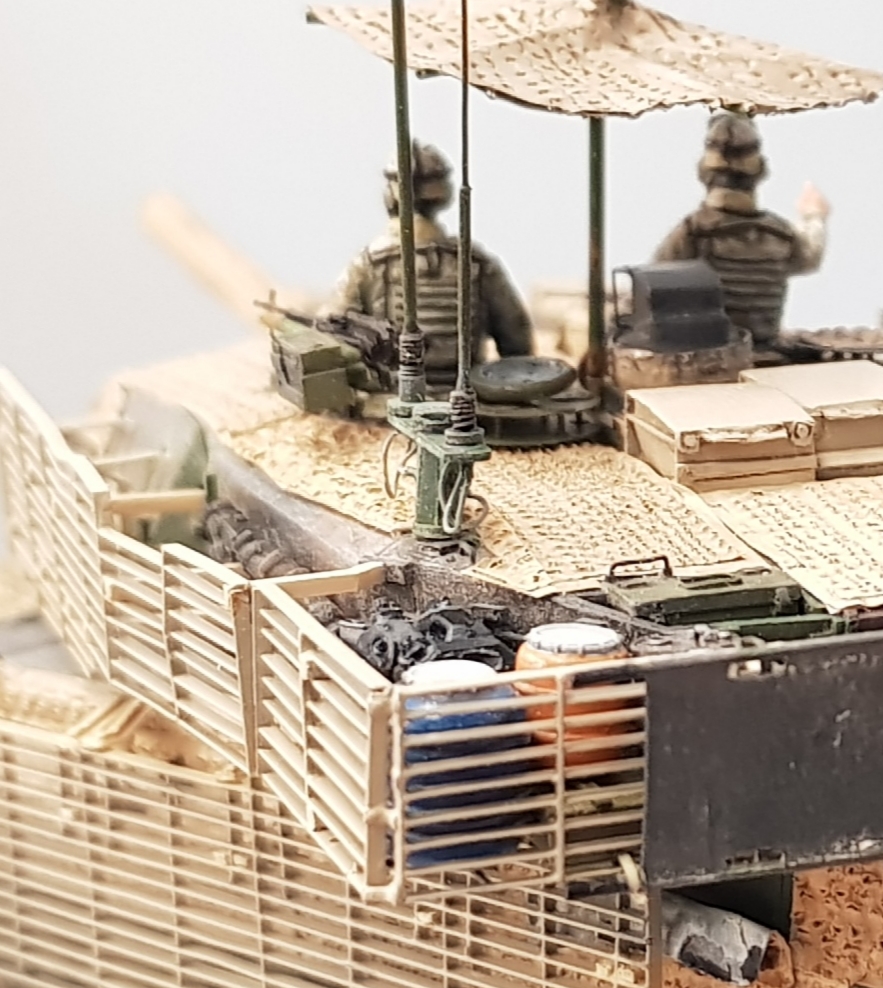
I always wanted to show the Leo in a forward post watching the countryside. For quite some time I had a fair idea how that should look but for some reason it would just not work out well when I tried to lay it out. But some weeks ago a new idea began to form which I finally liked…

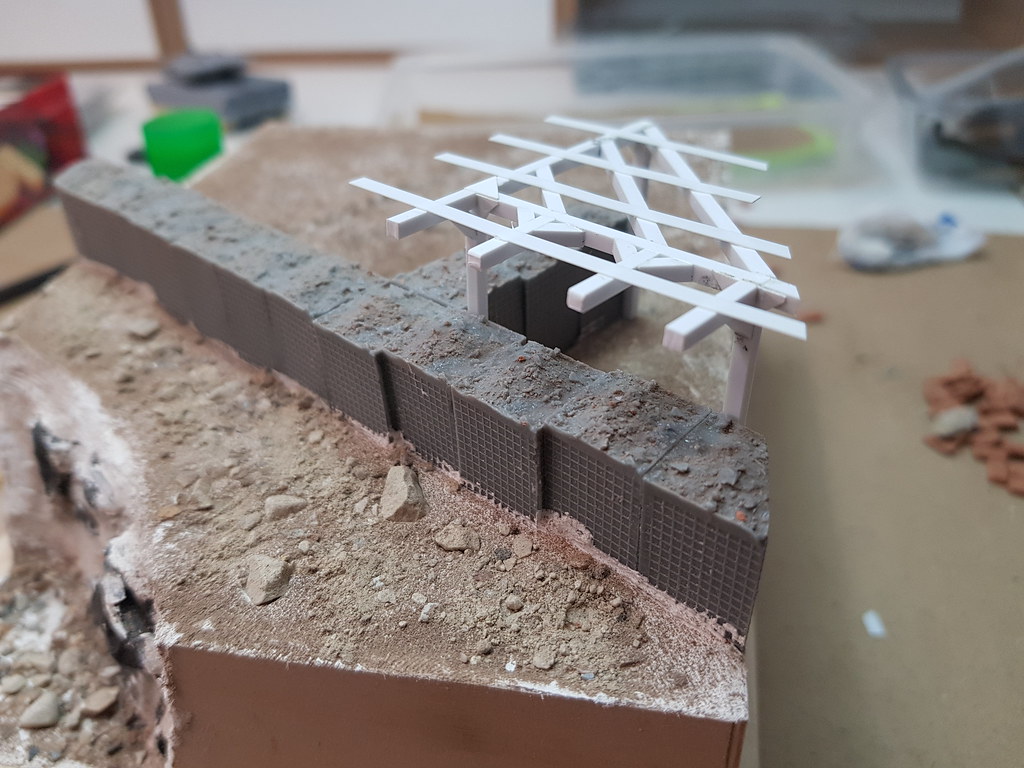
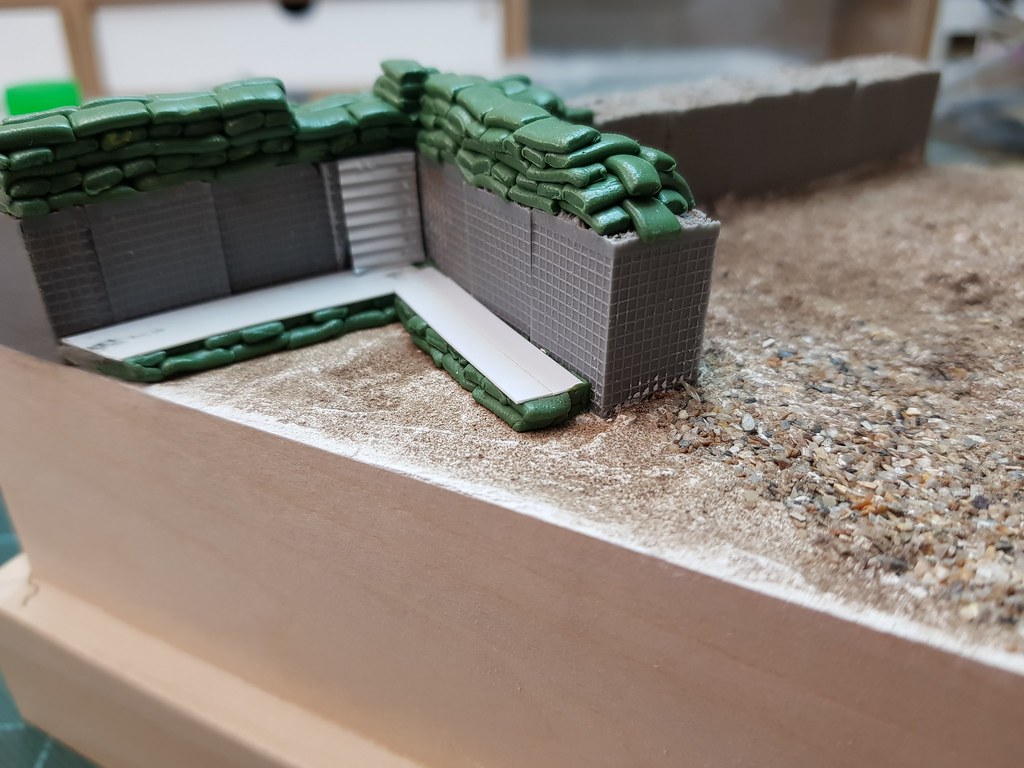
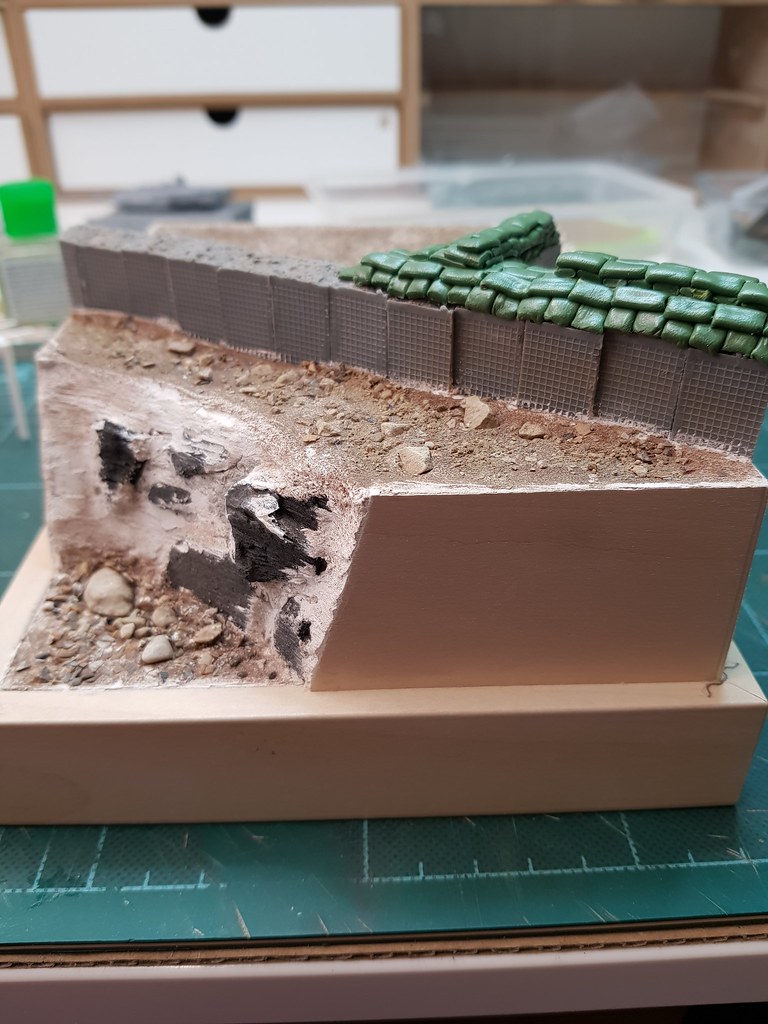
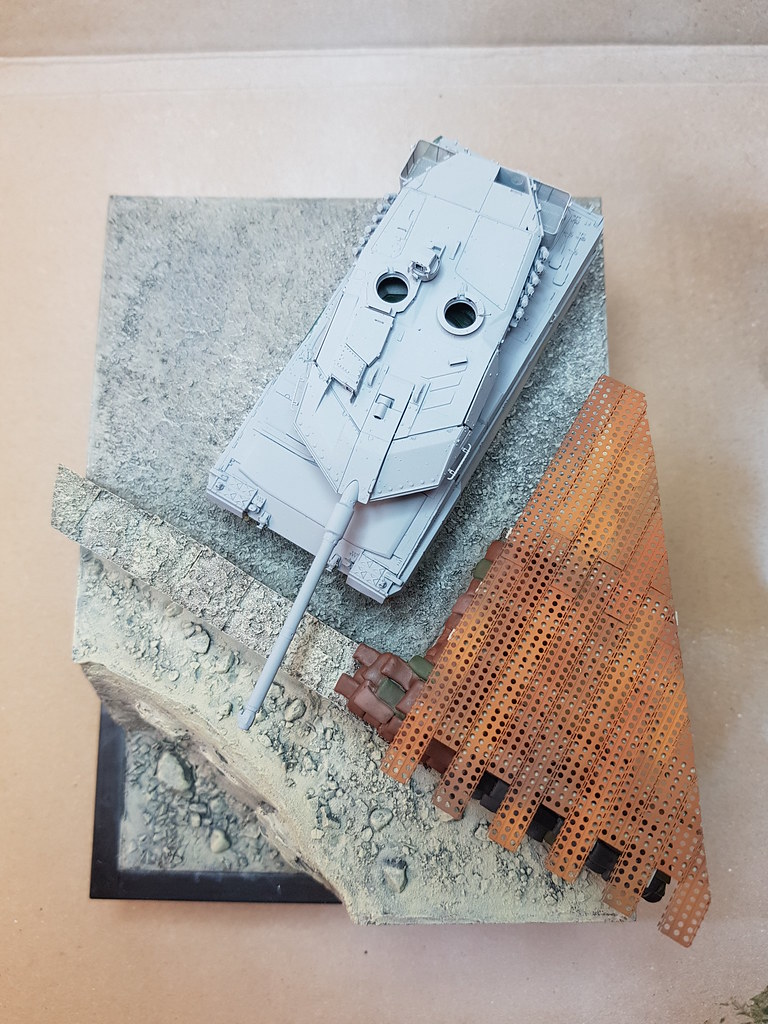
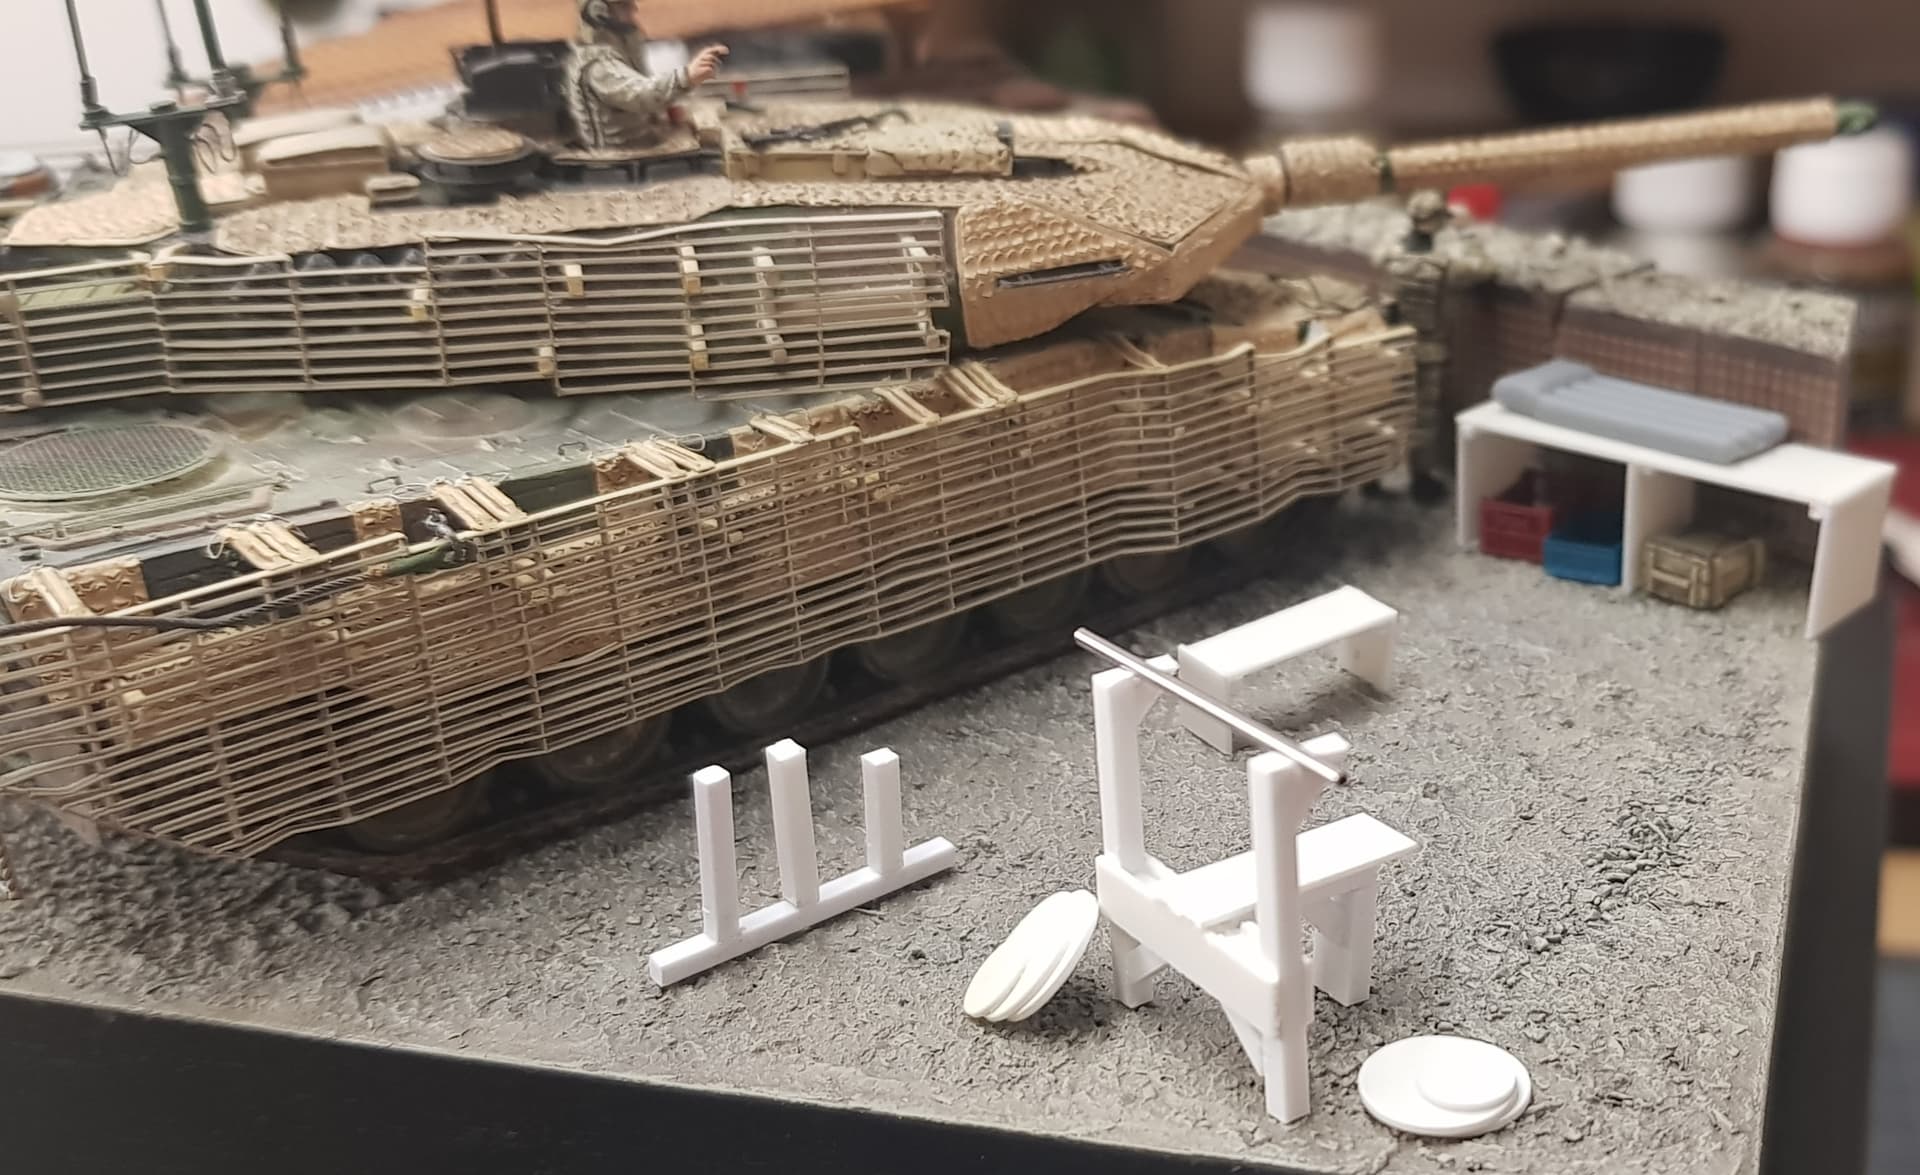
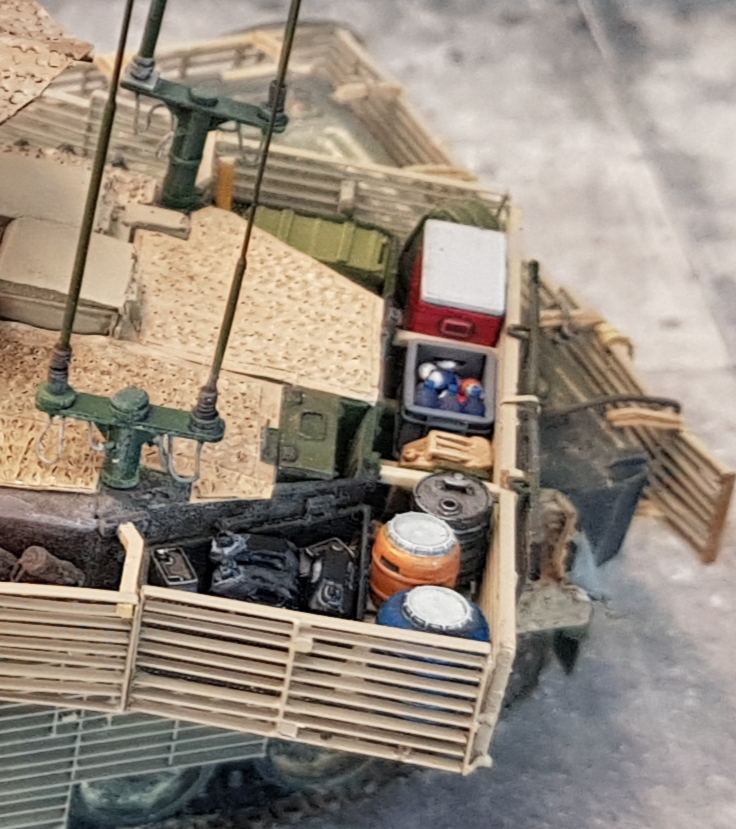
In the meantime the little vignette was build up:
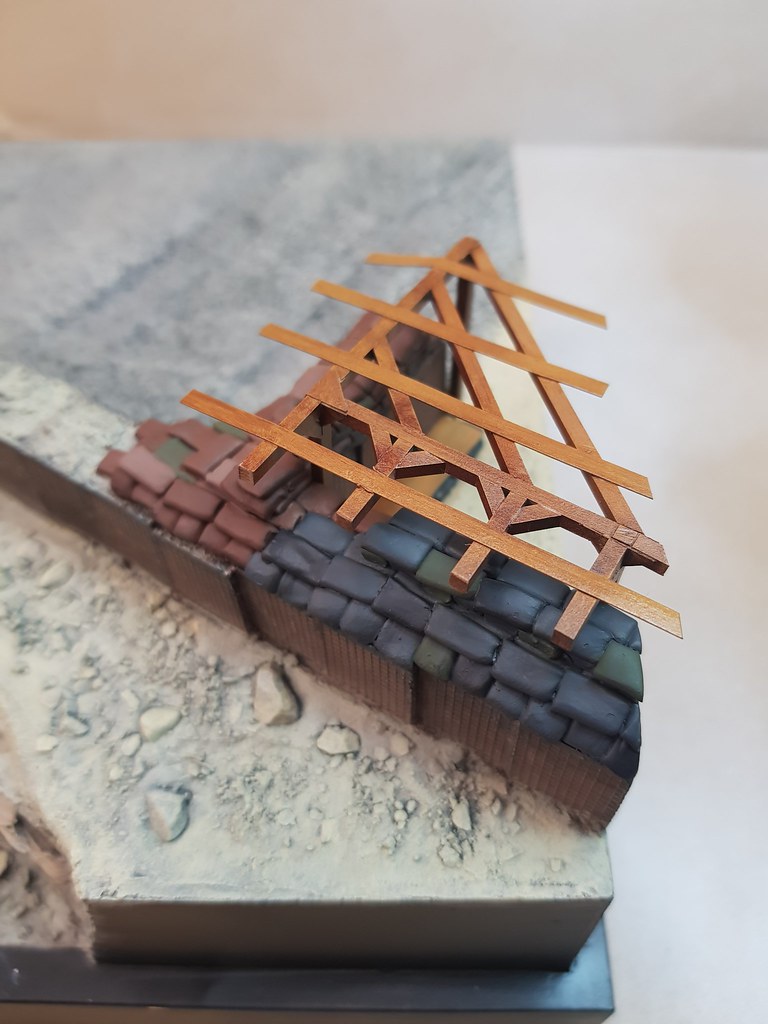
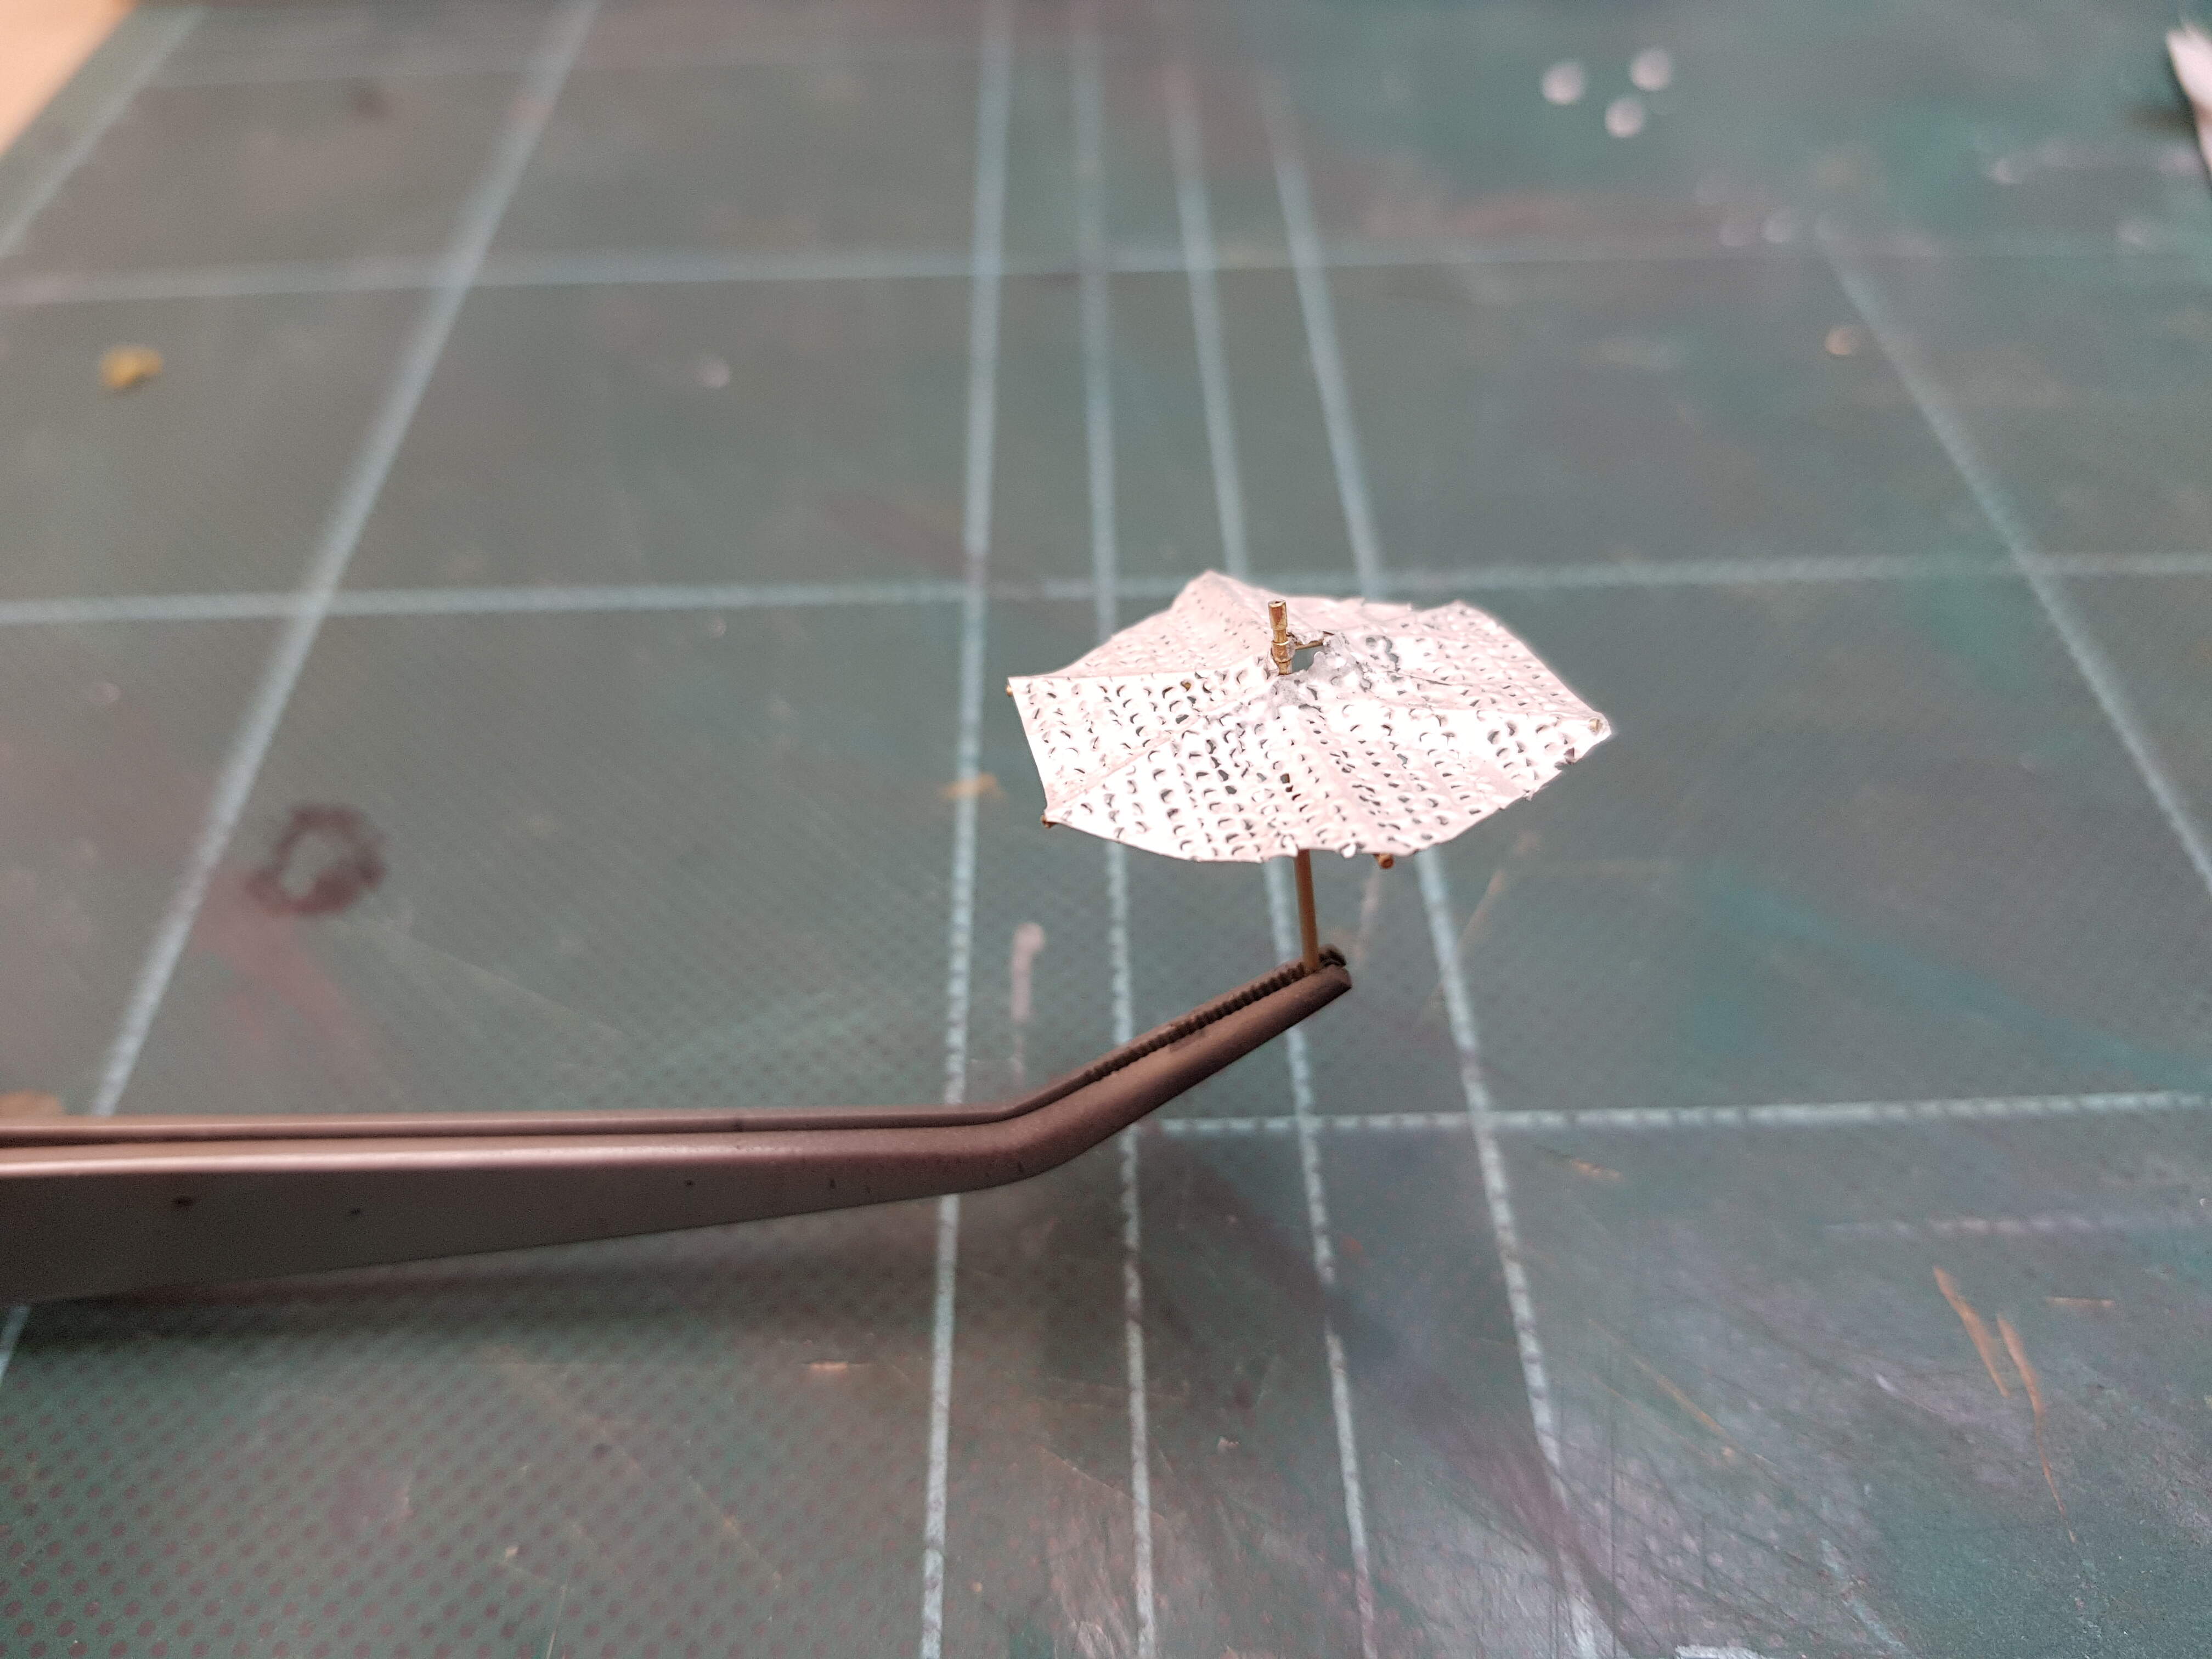
The foam plates were fixed with toothpicks and a lining from Balsa wood was constructed. The groundwork consists of plaster in which some pieces of coal were pressed. The level ground received some gravel and the area in front of the post an assortment of different stones. The Hesco-bags are from Black Dog and were glued together and then pushed into the still wet plaster. The “wooden” frame will provide shade for the lookout.
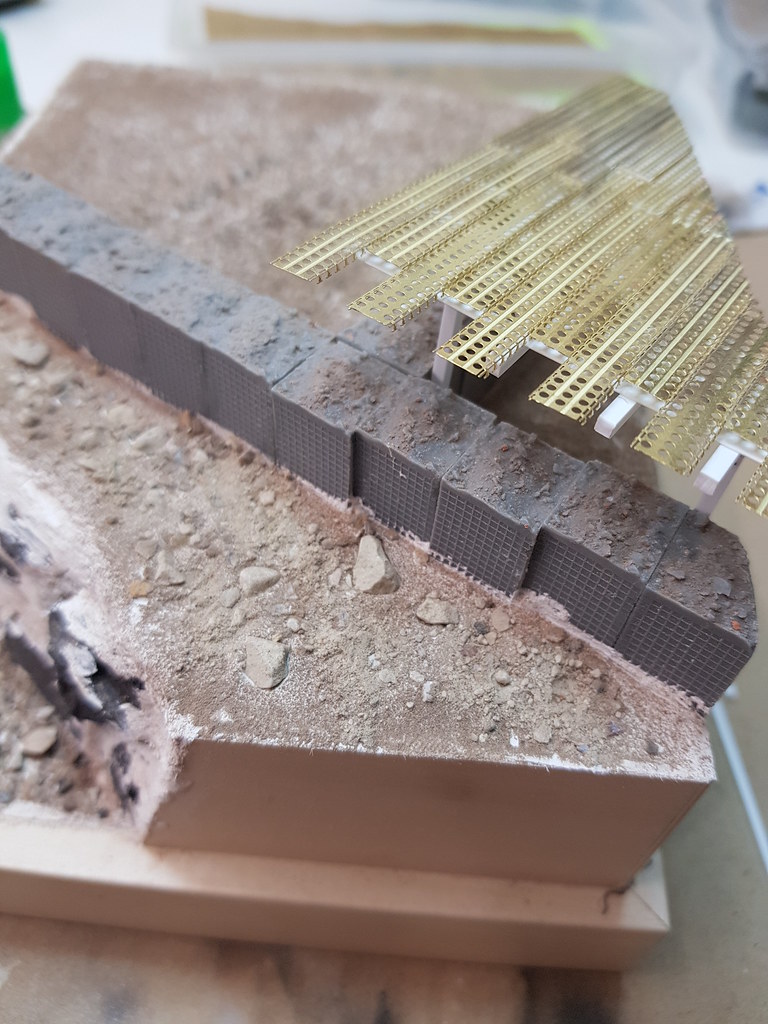
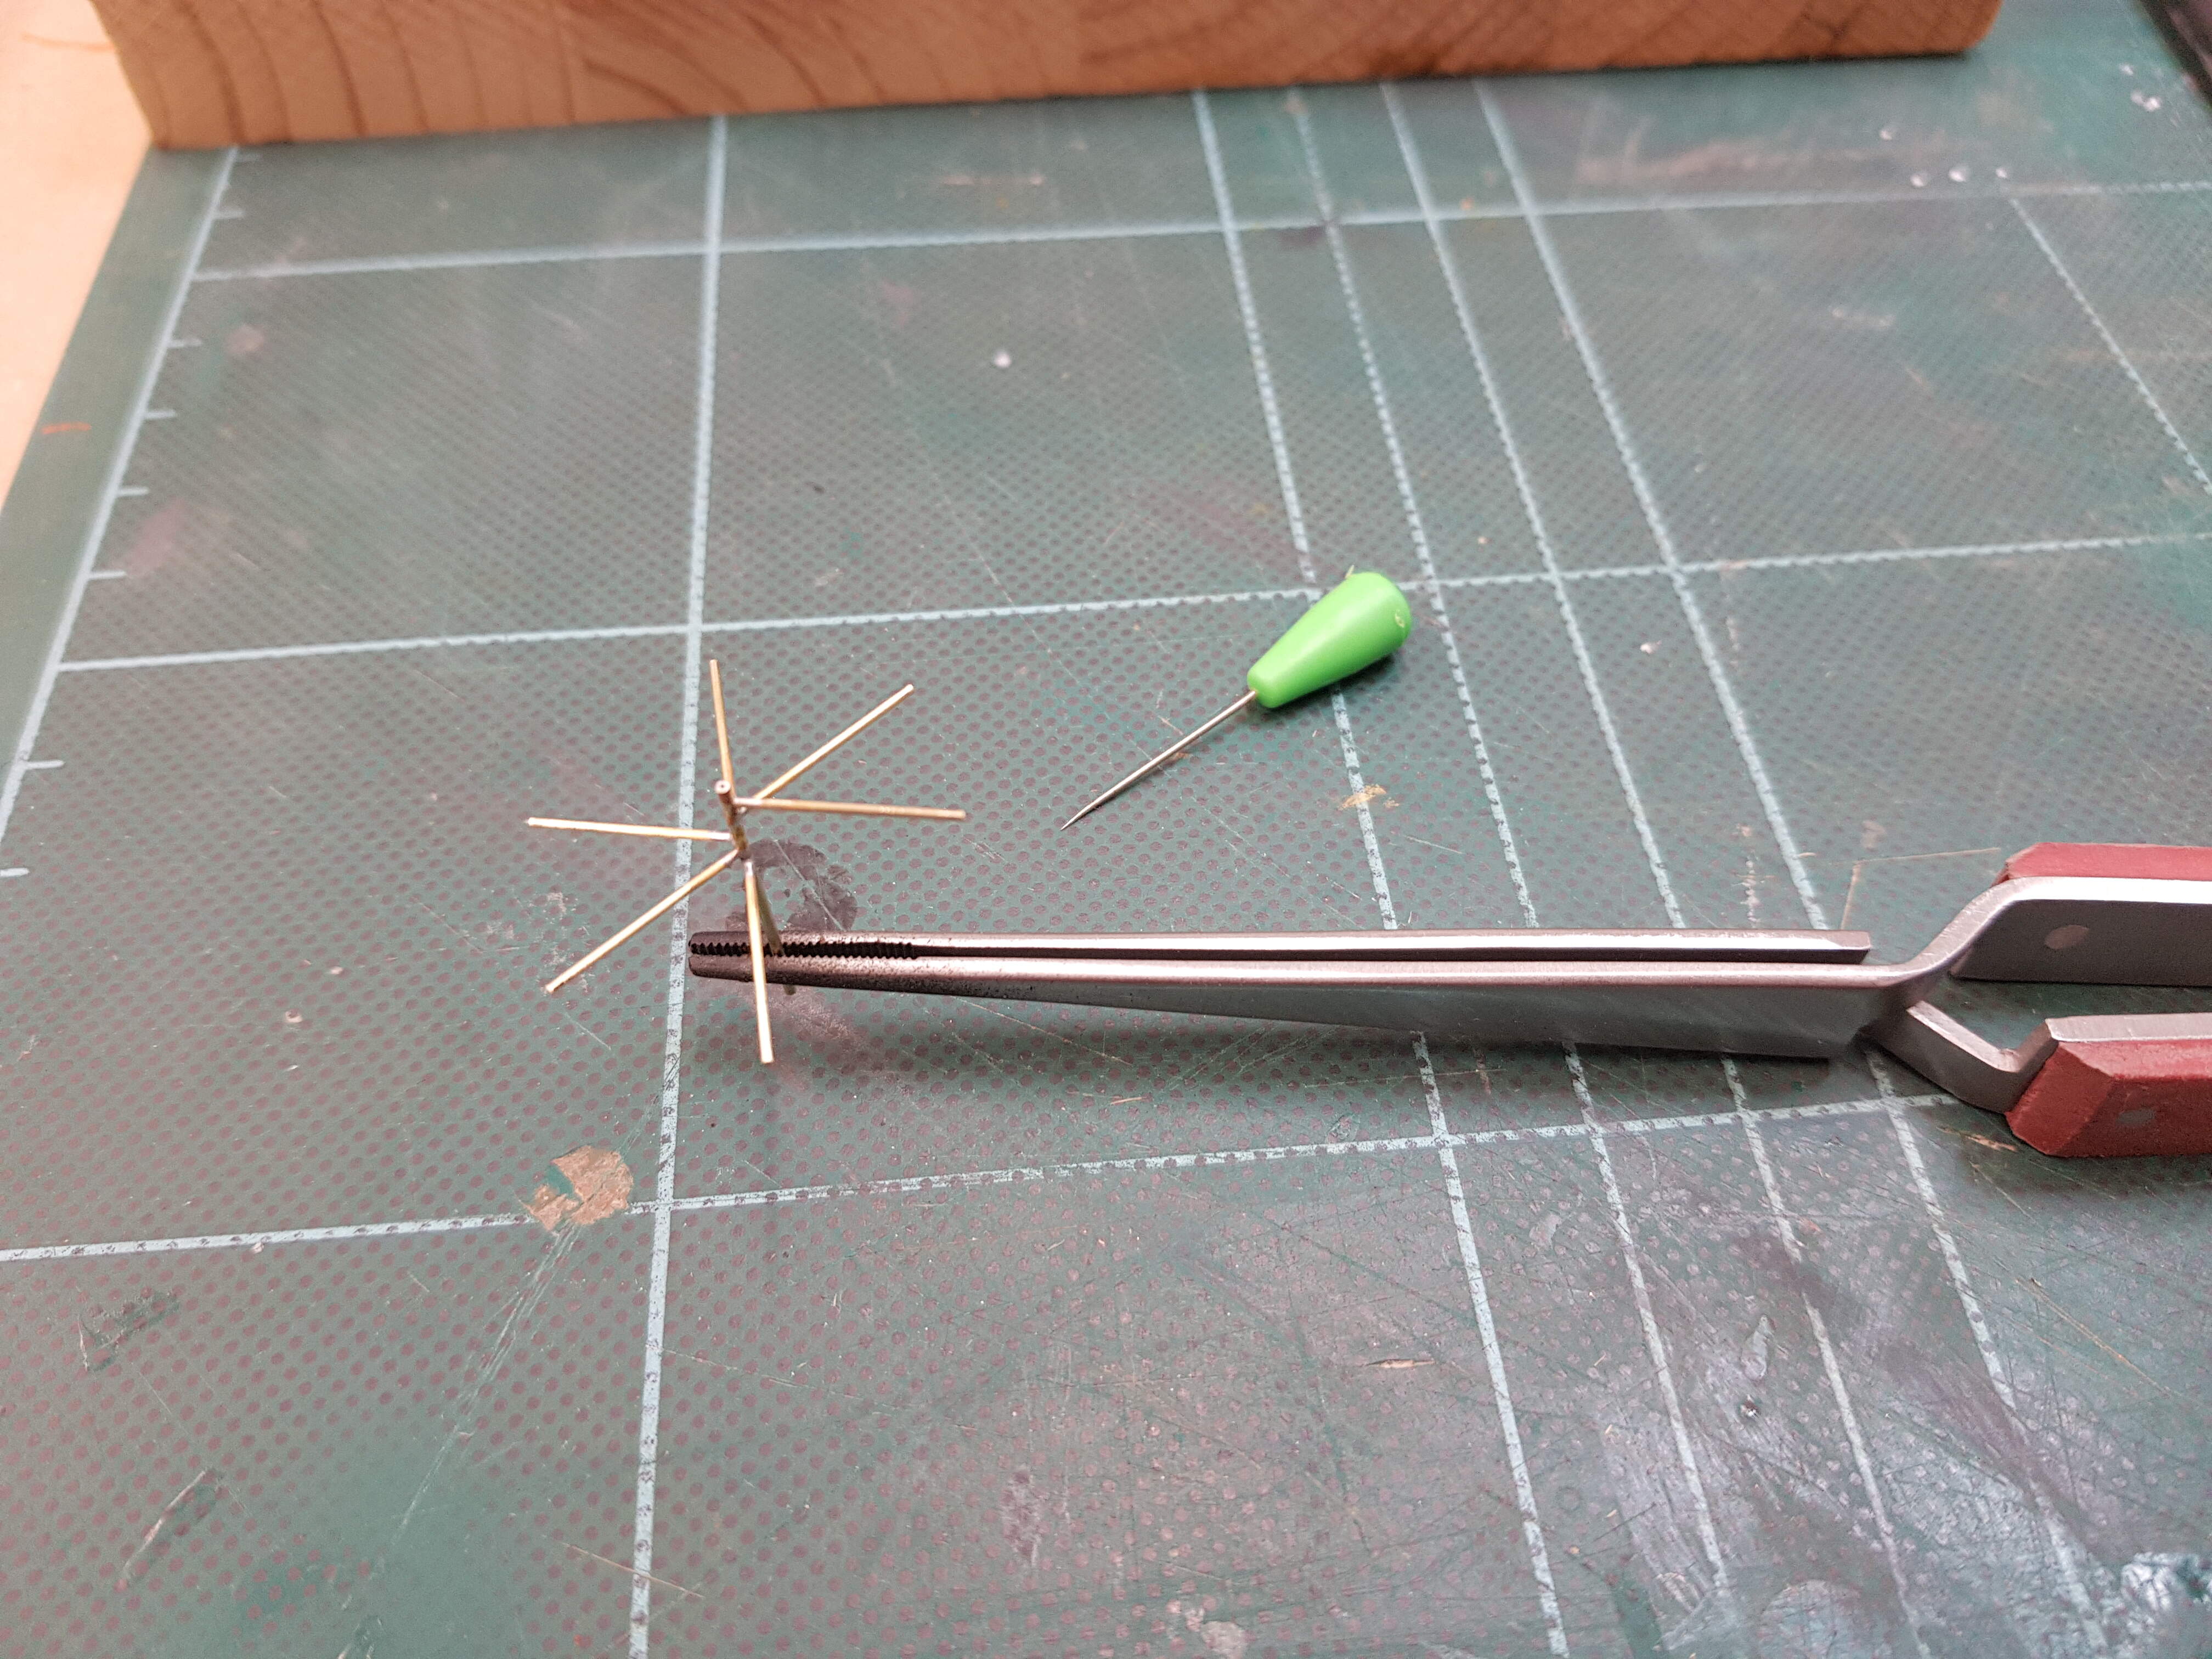
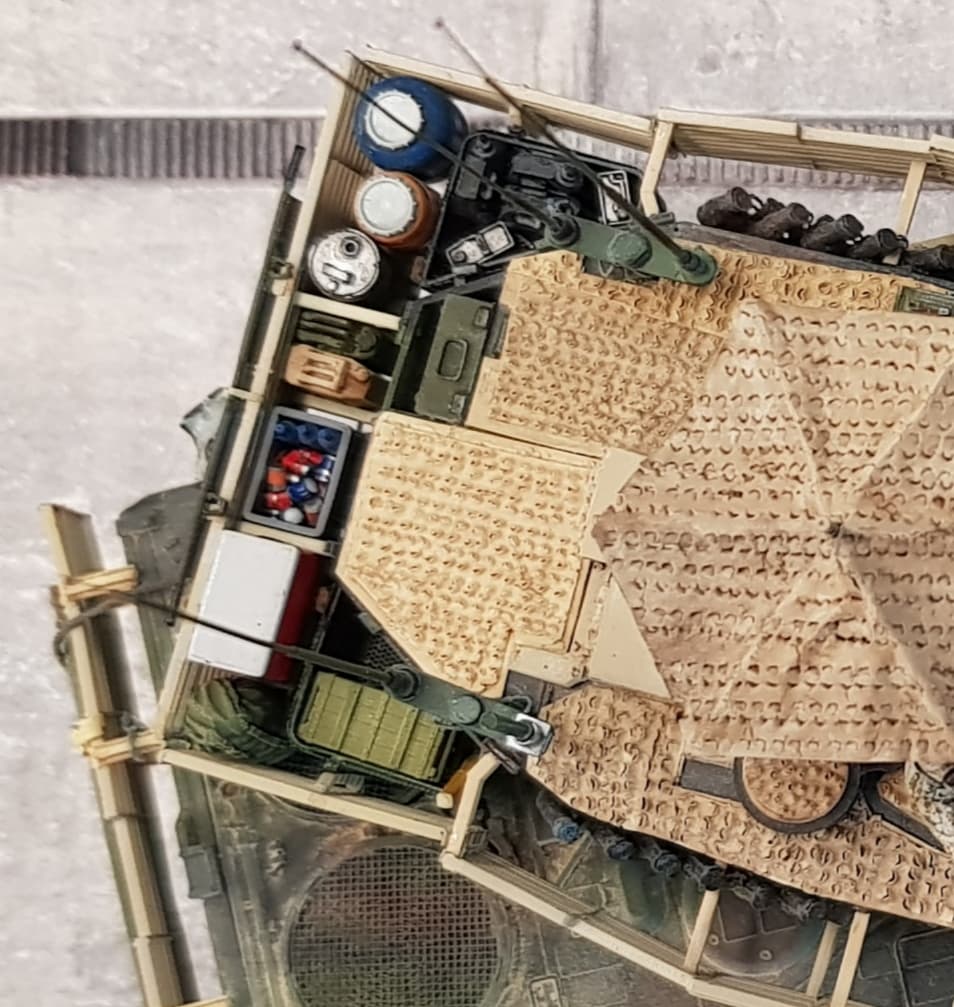
The roof was made from brass PSP-plates:
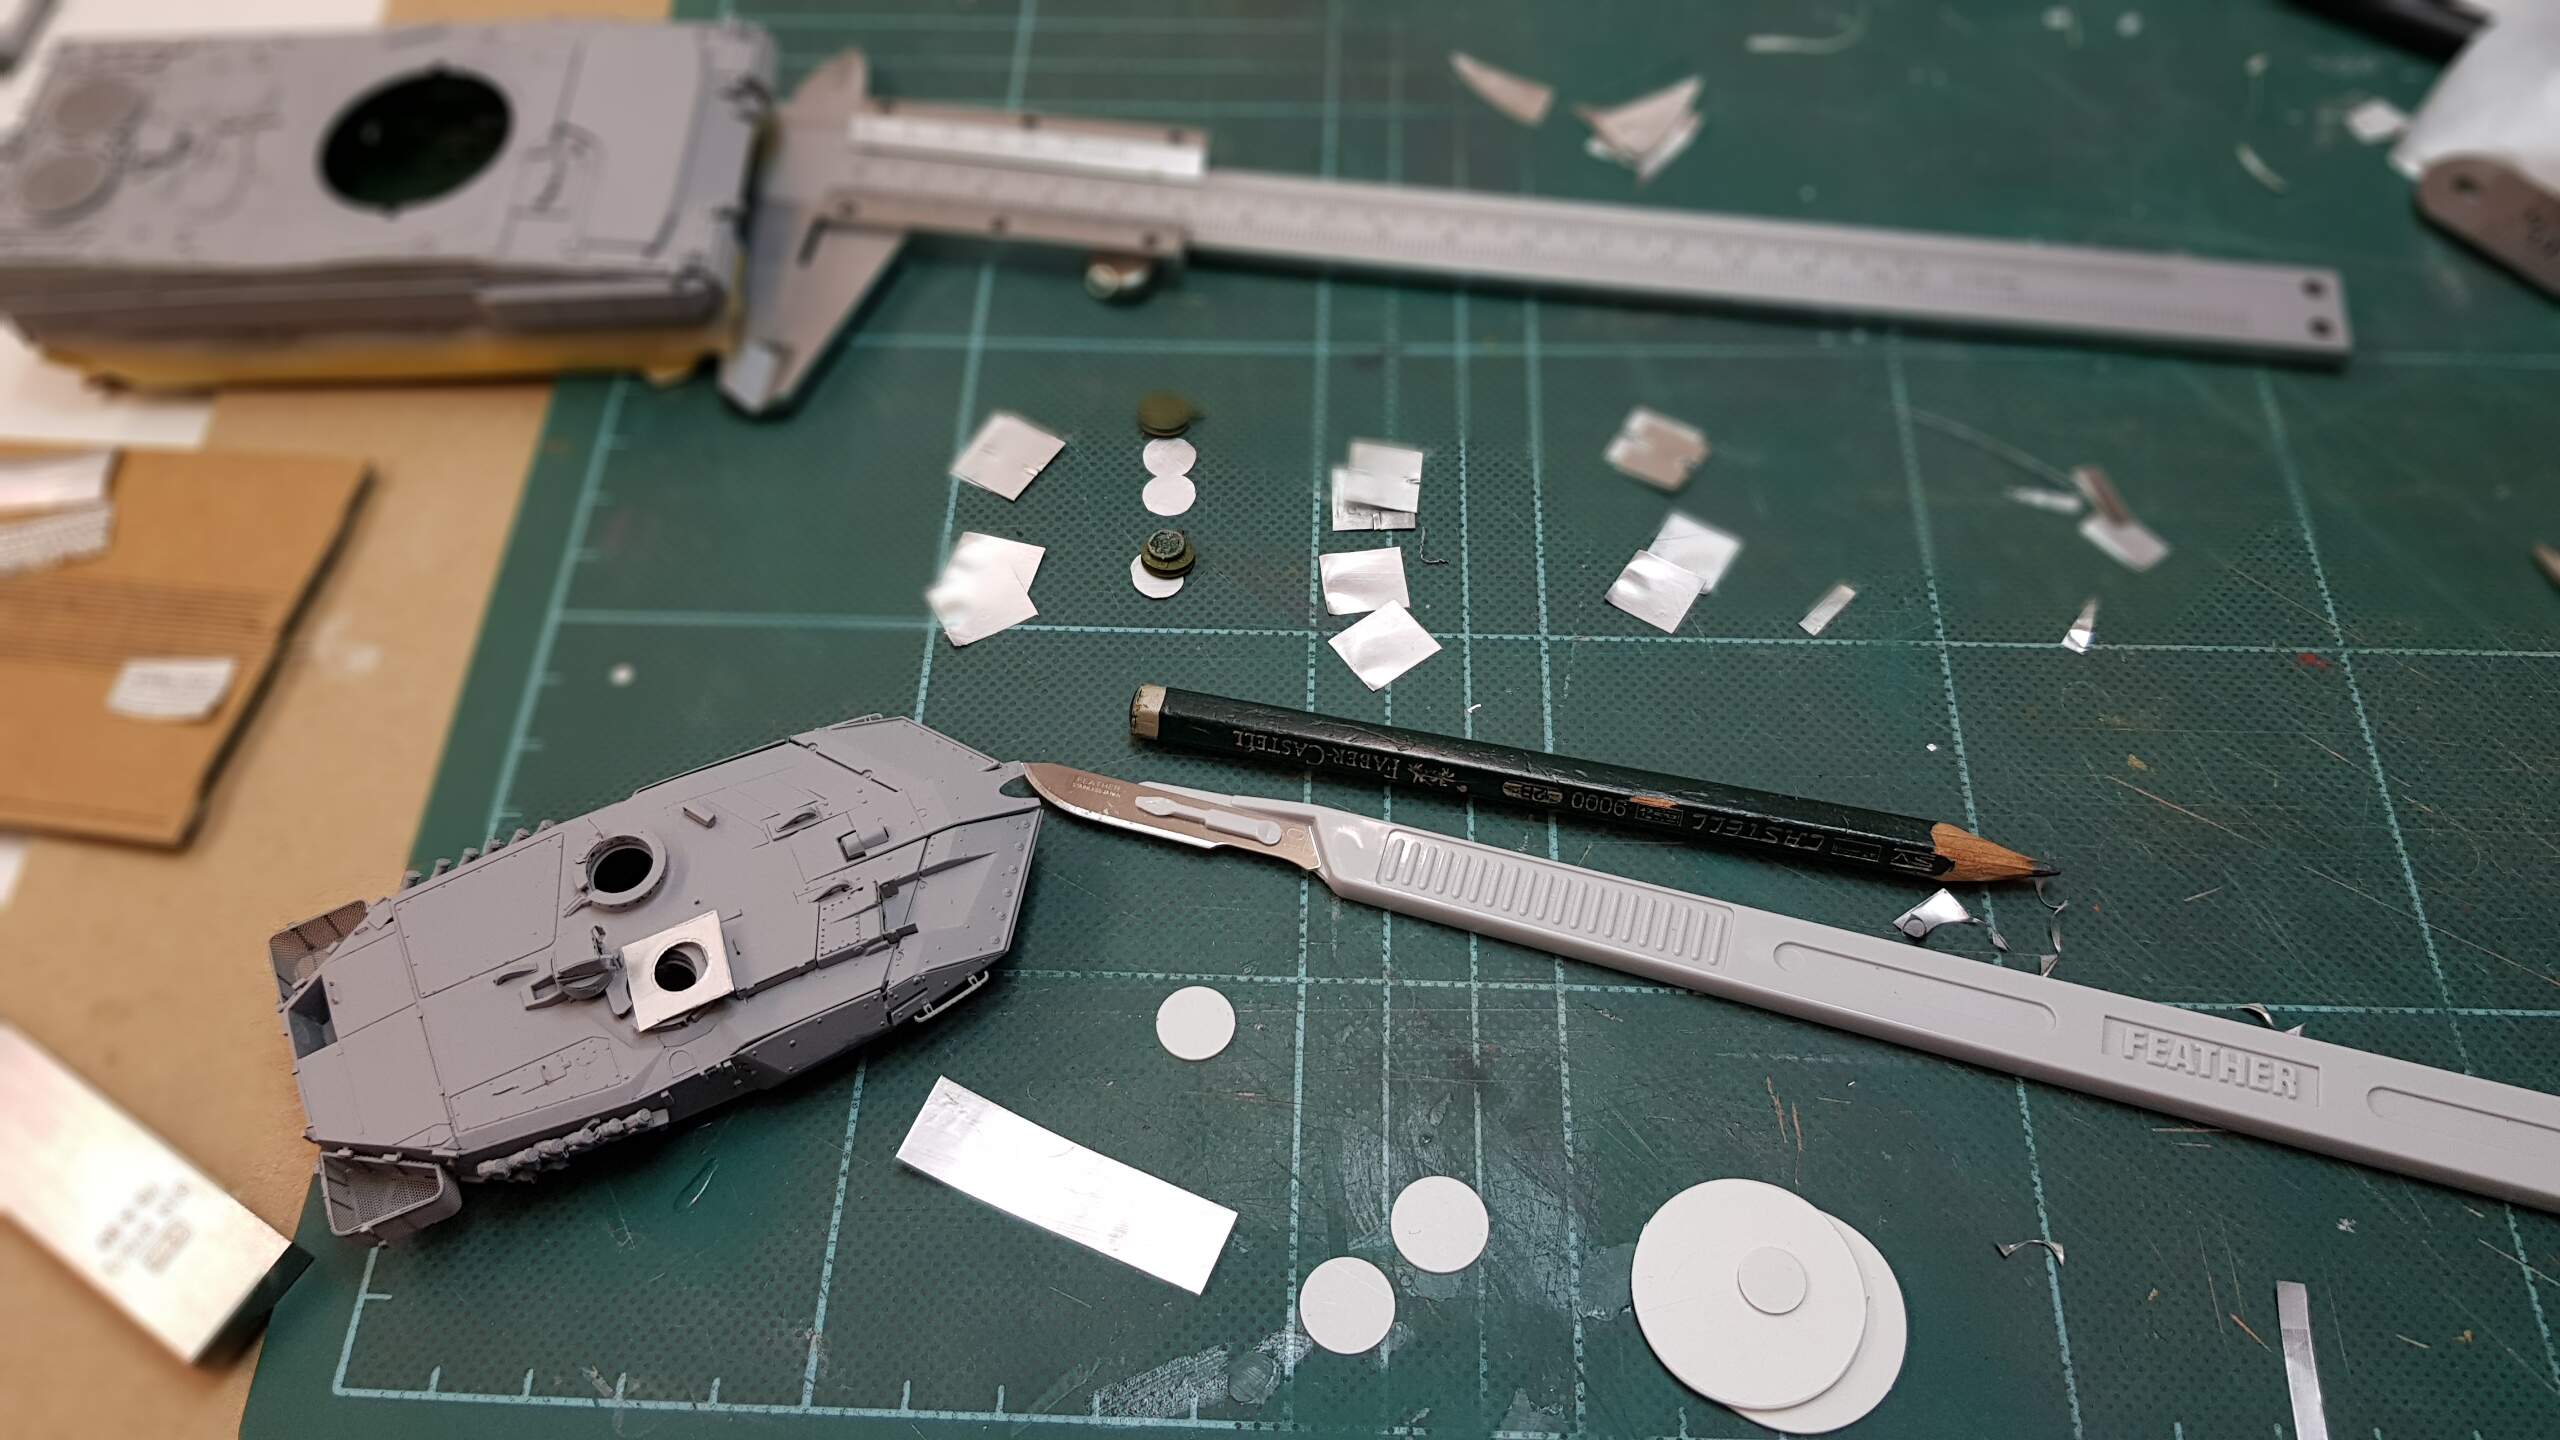
Sand bags provide some additional protection. They were formed from GreenStuff.
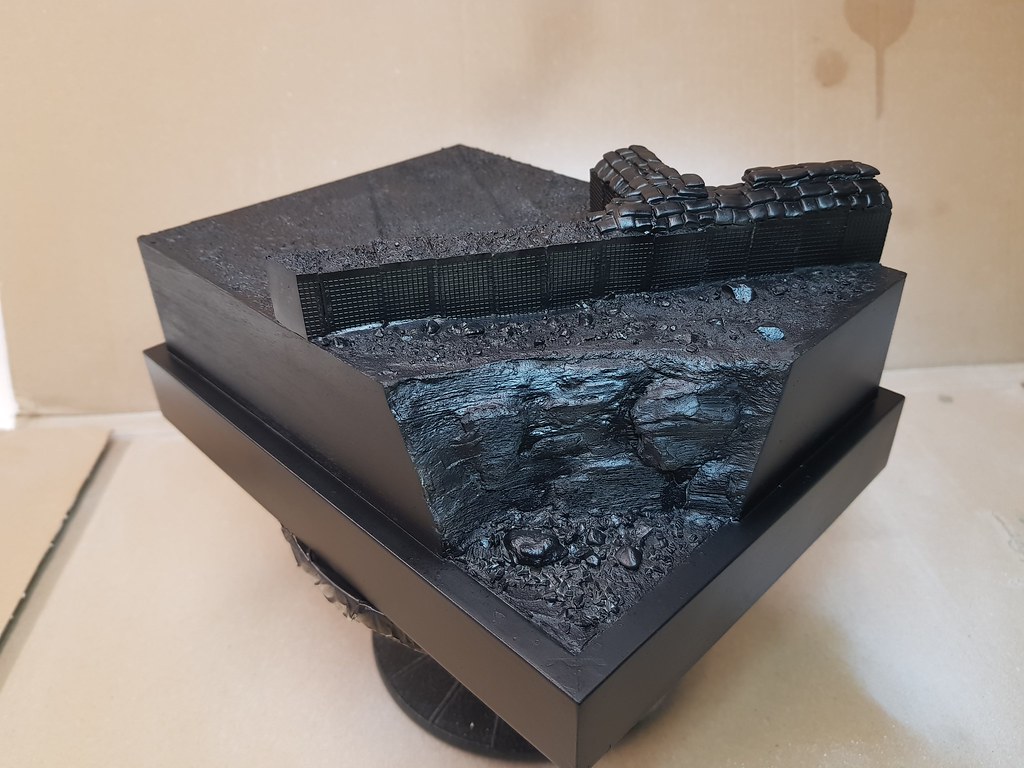
All Groundwork was finally fixed with diluted white glue and everything was primed with Primer from a can. Basepaint is Tamiya satin black.
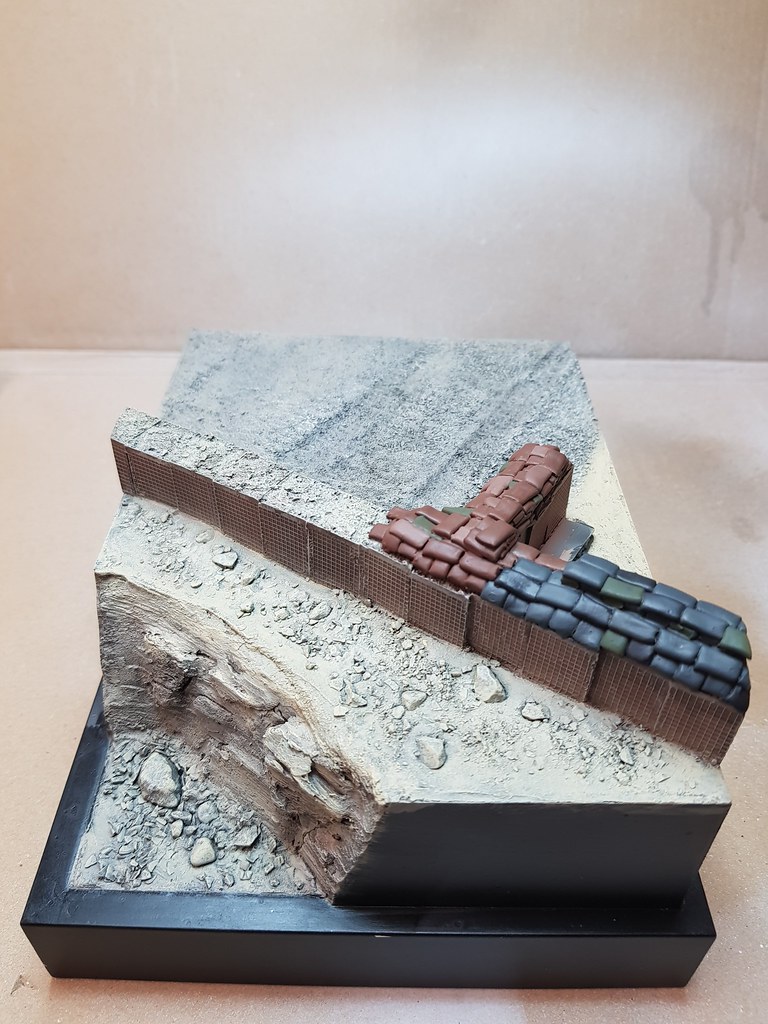
After some coloring:

Having found correspondent reference the sandbags were colored in three tones and some variation was added too.
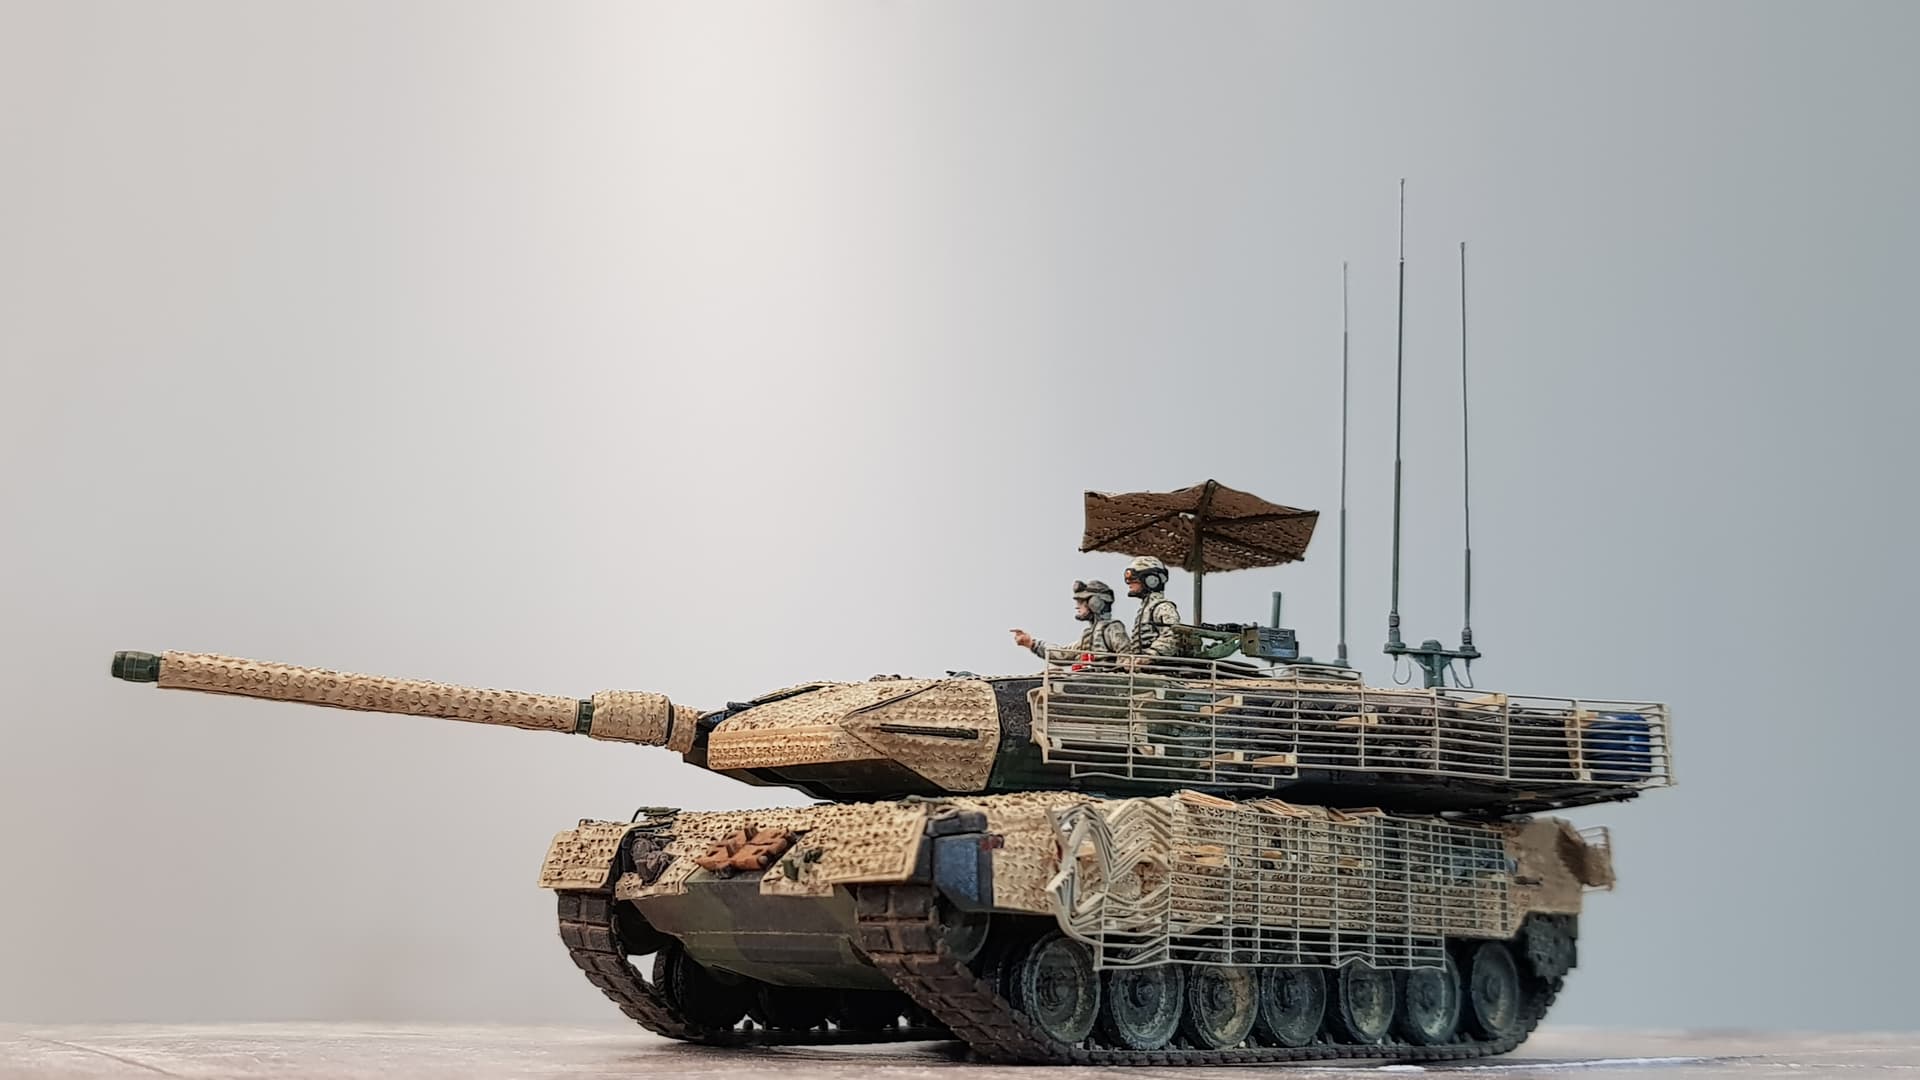
Here you see it with the PSP-plates painted and the Leo in place.

The wooden rack was primed with buff and woodinized with an assortment of various brown oil paints.
That much for now. Lets hope that the motivation will carry me over the two big hurdles:
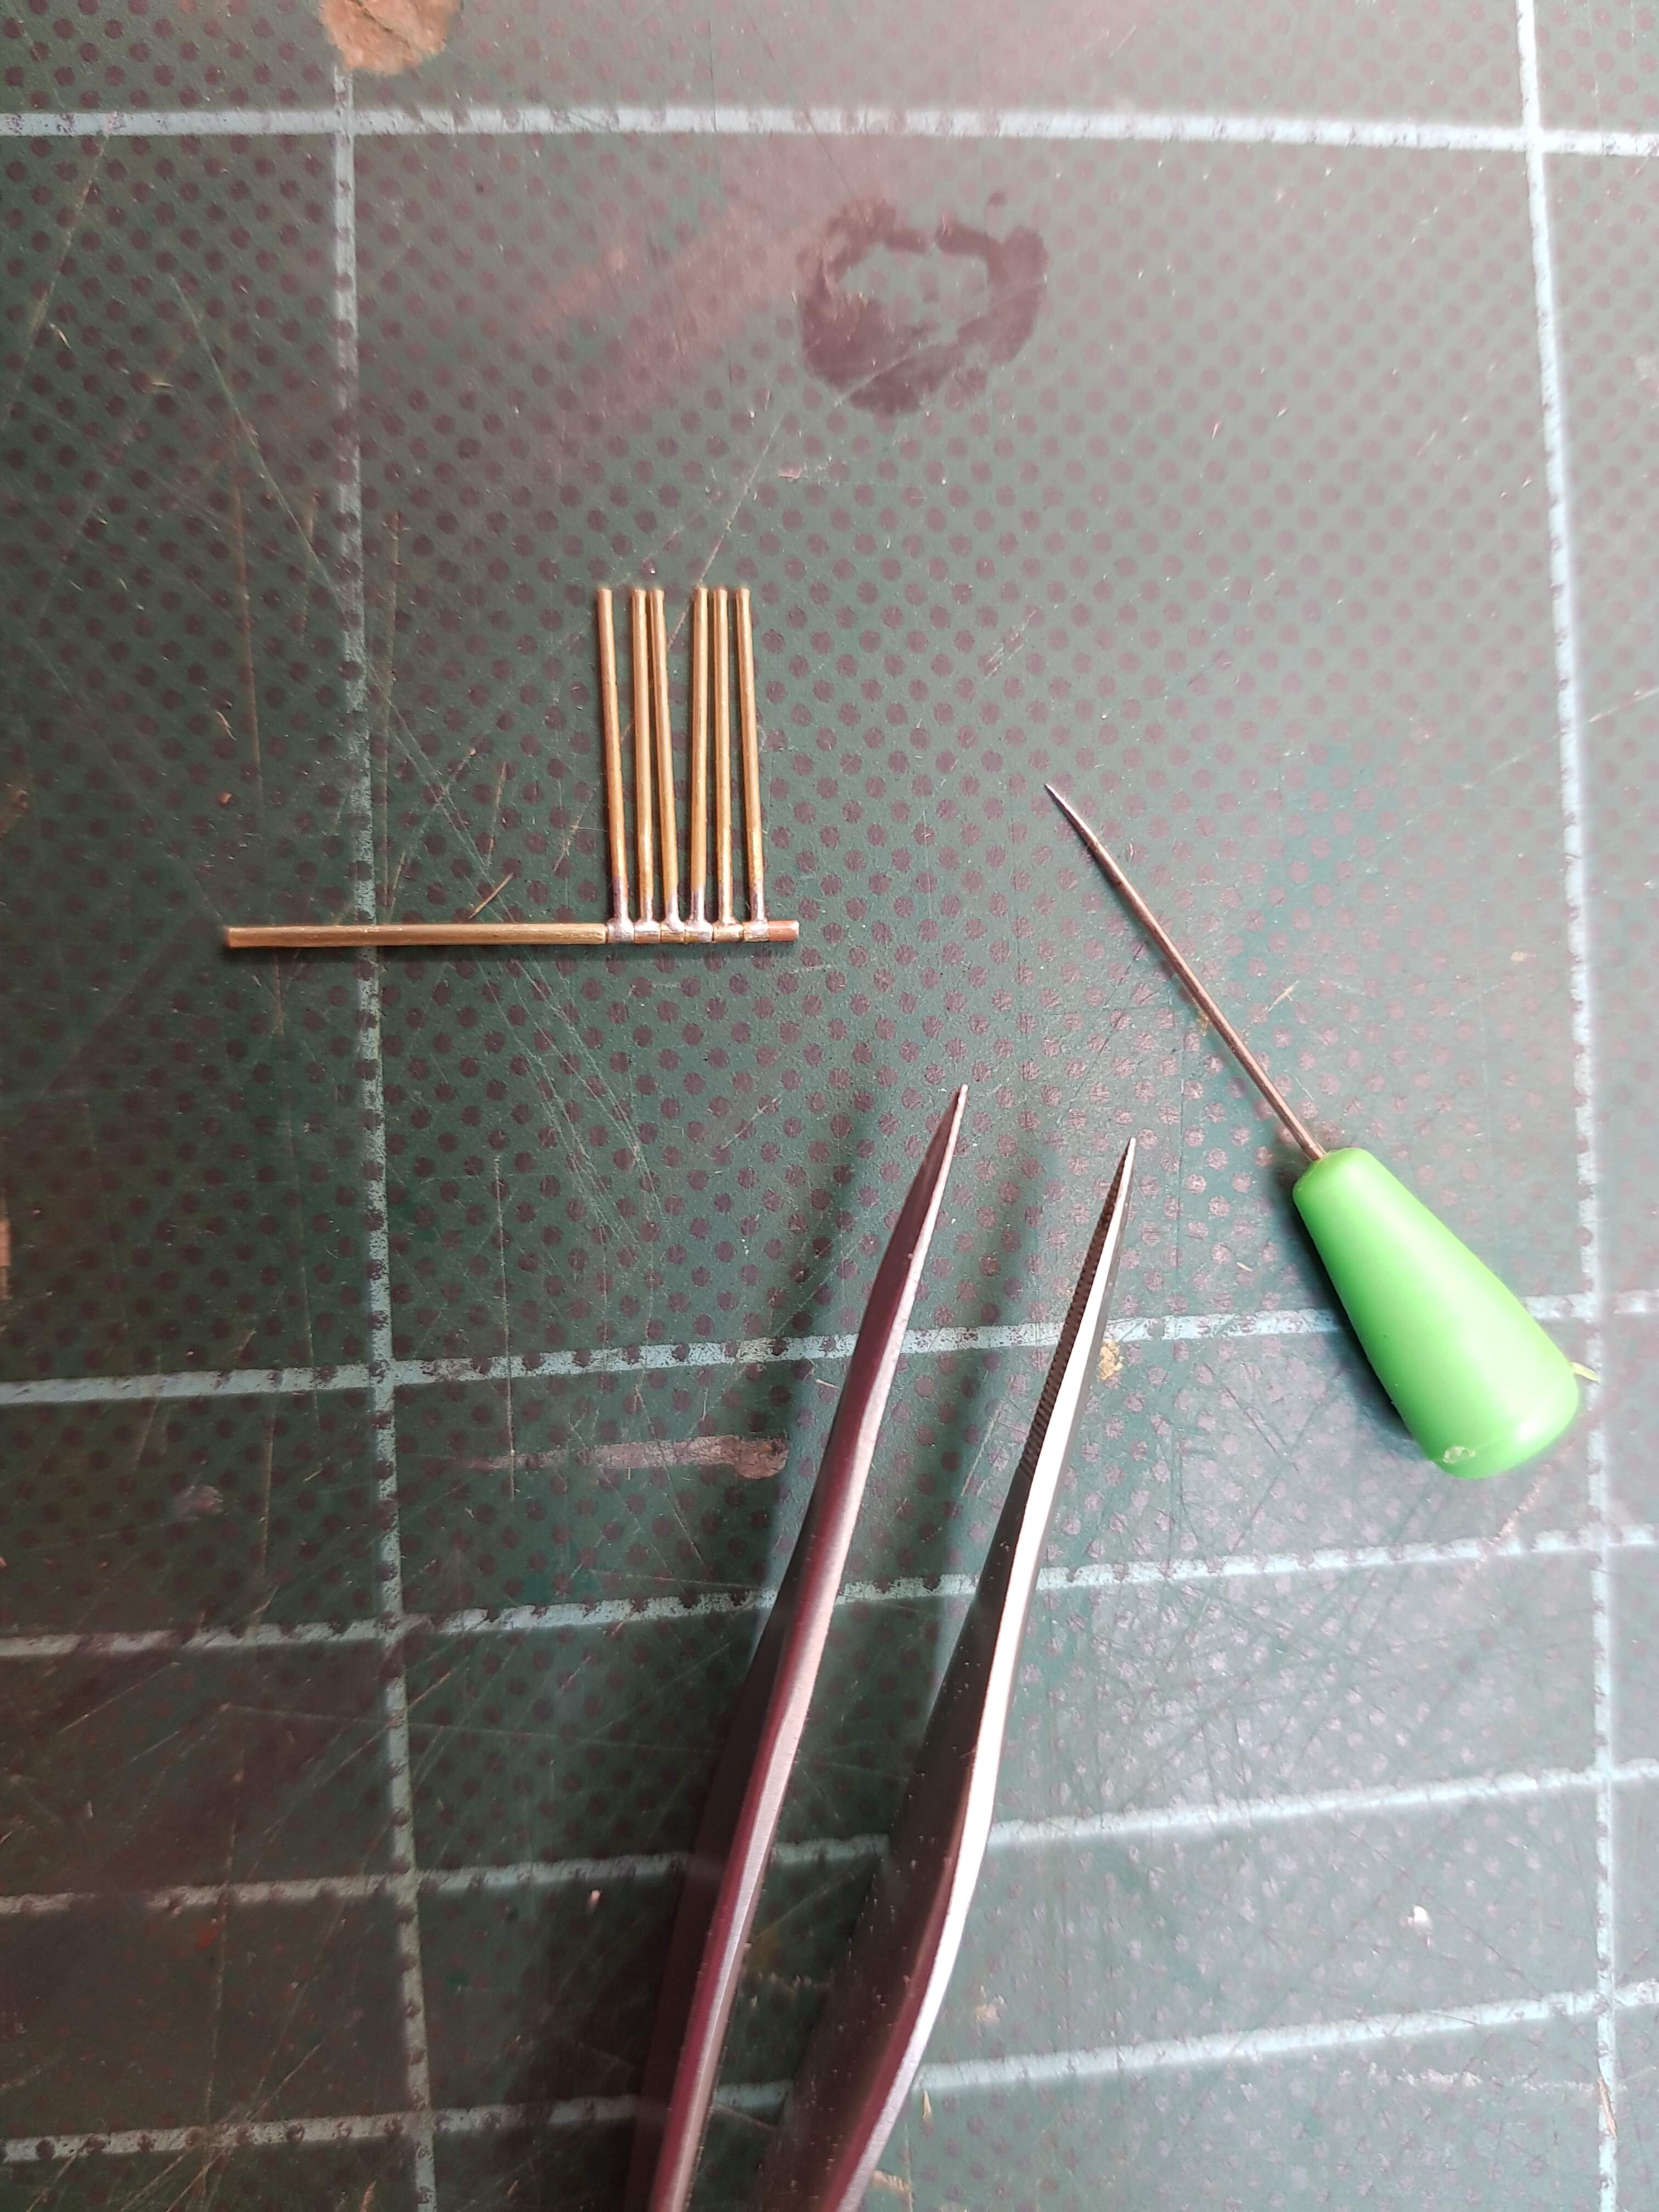
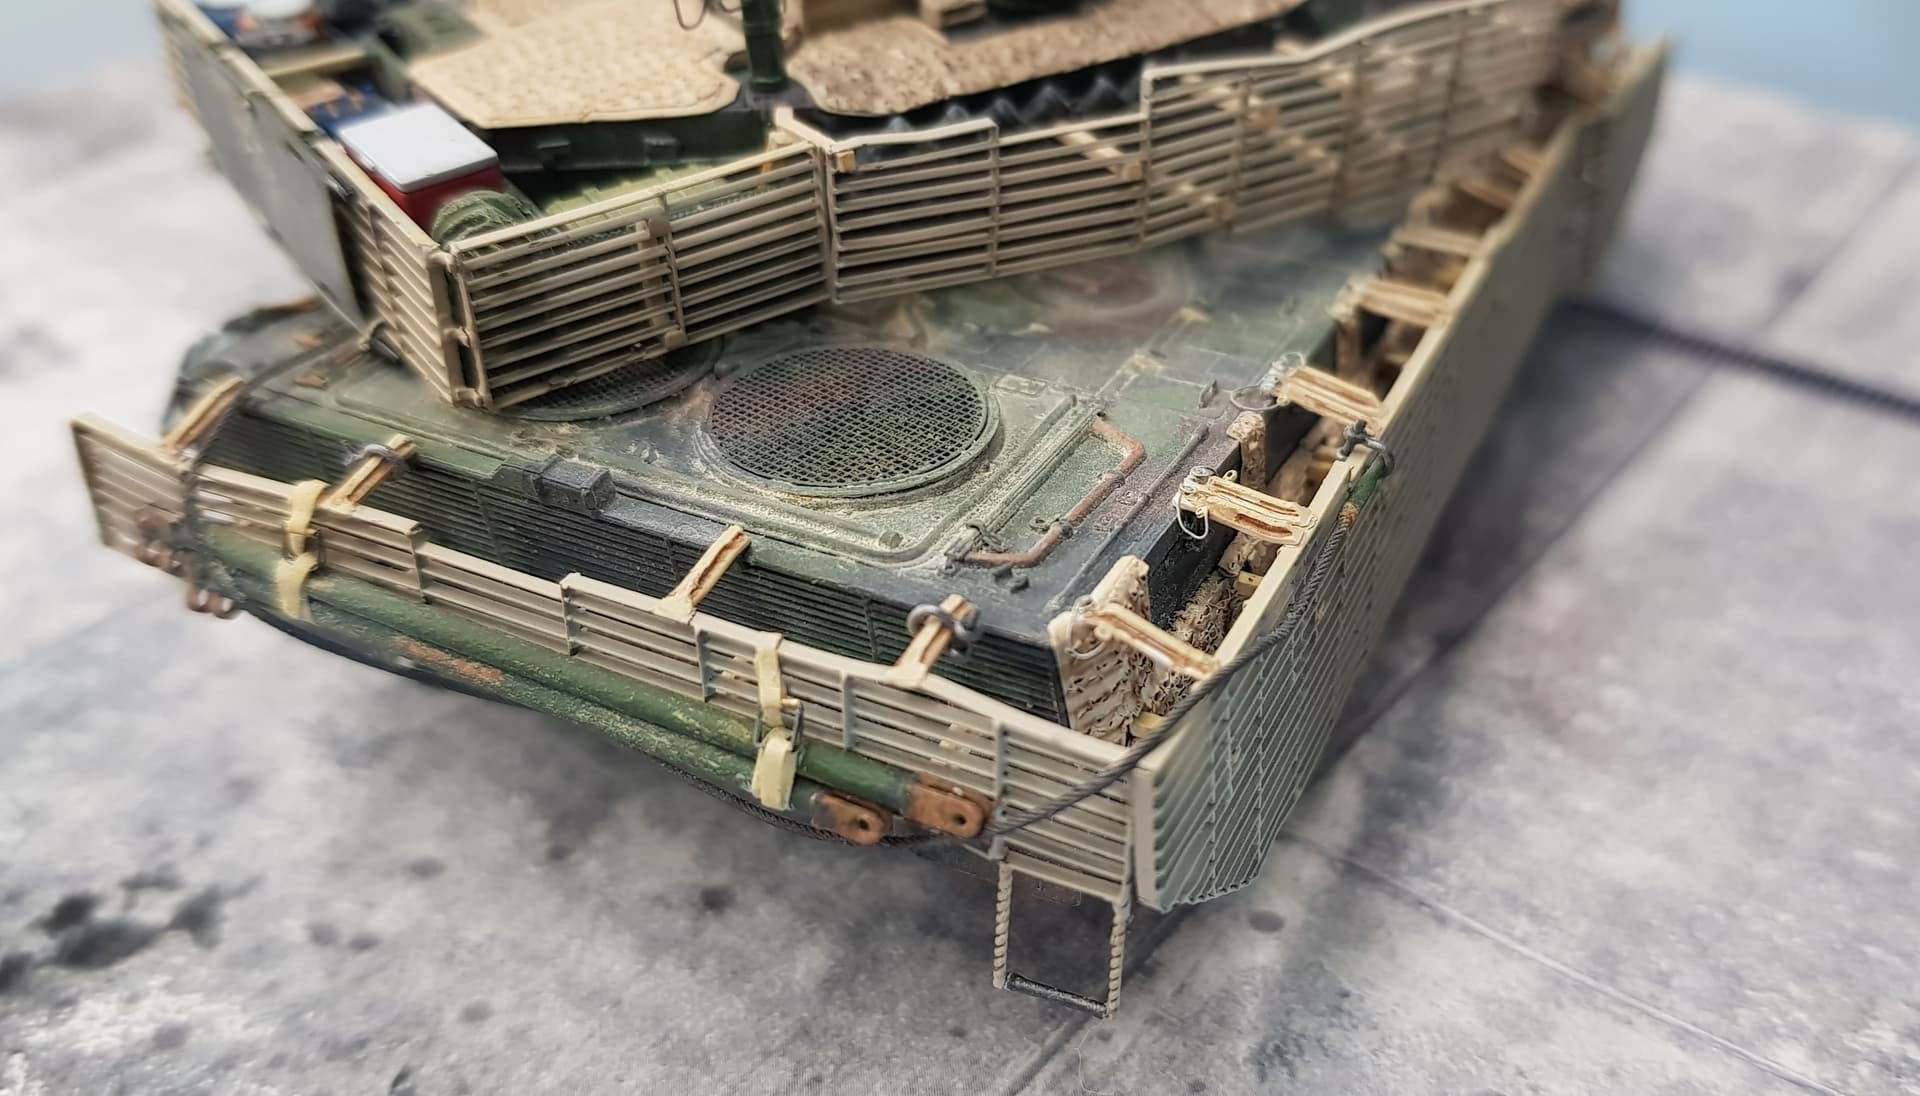
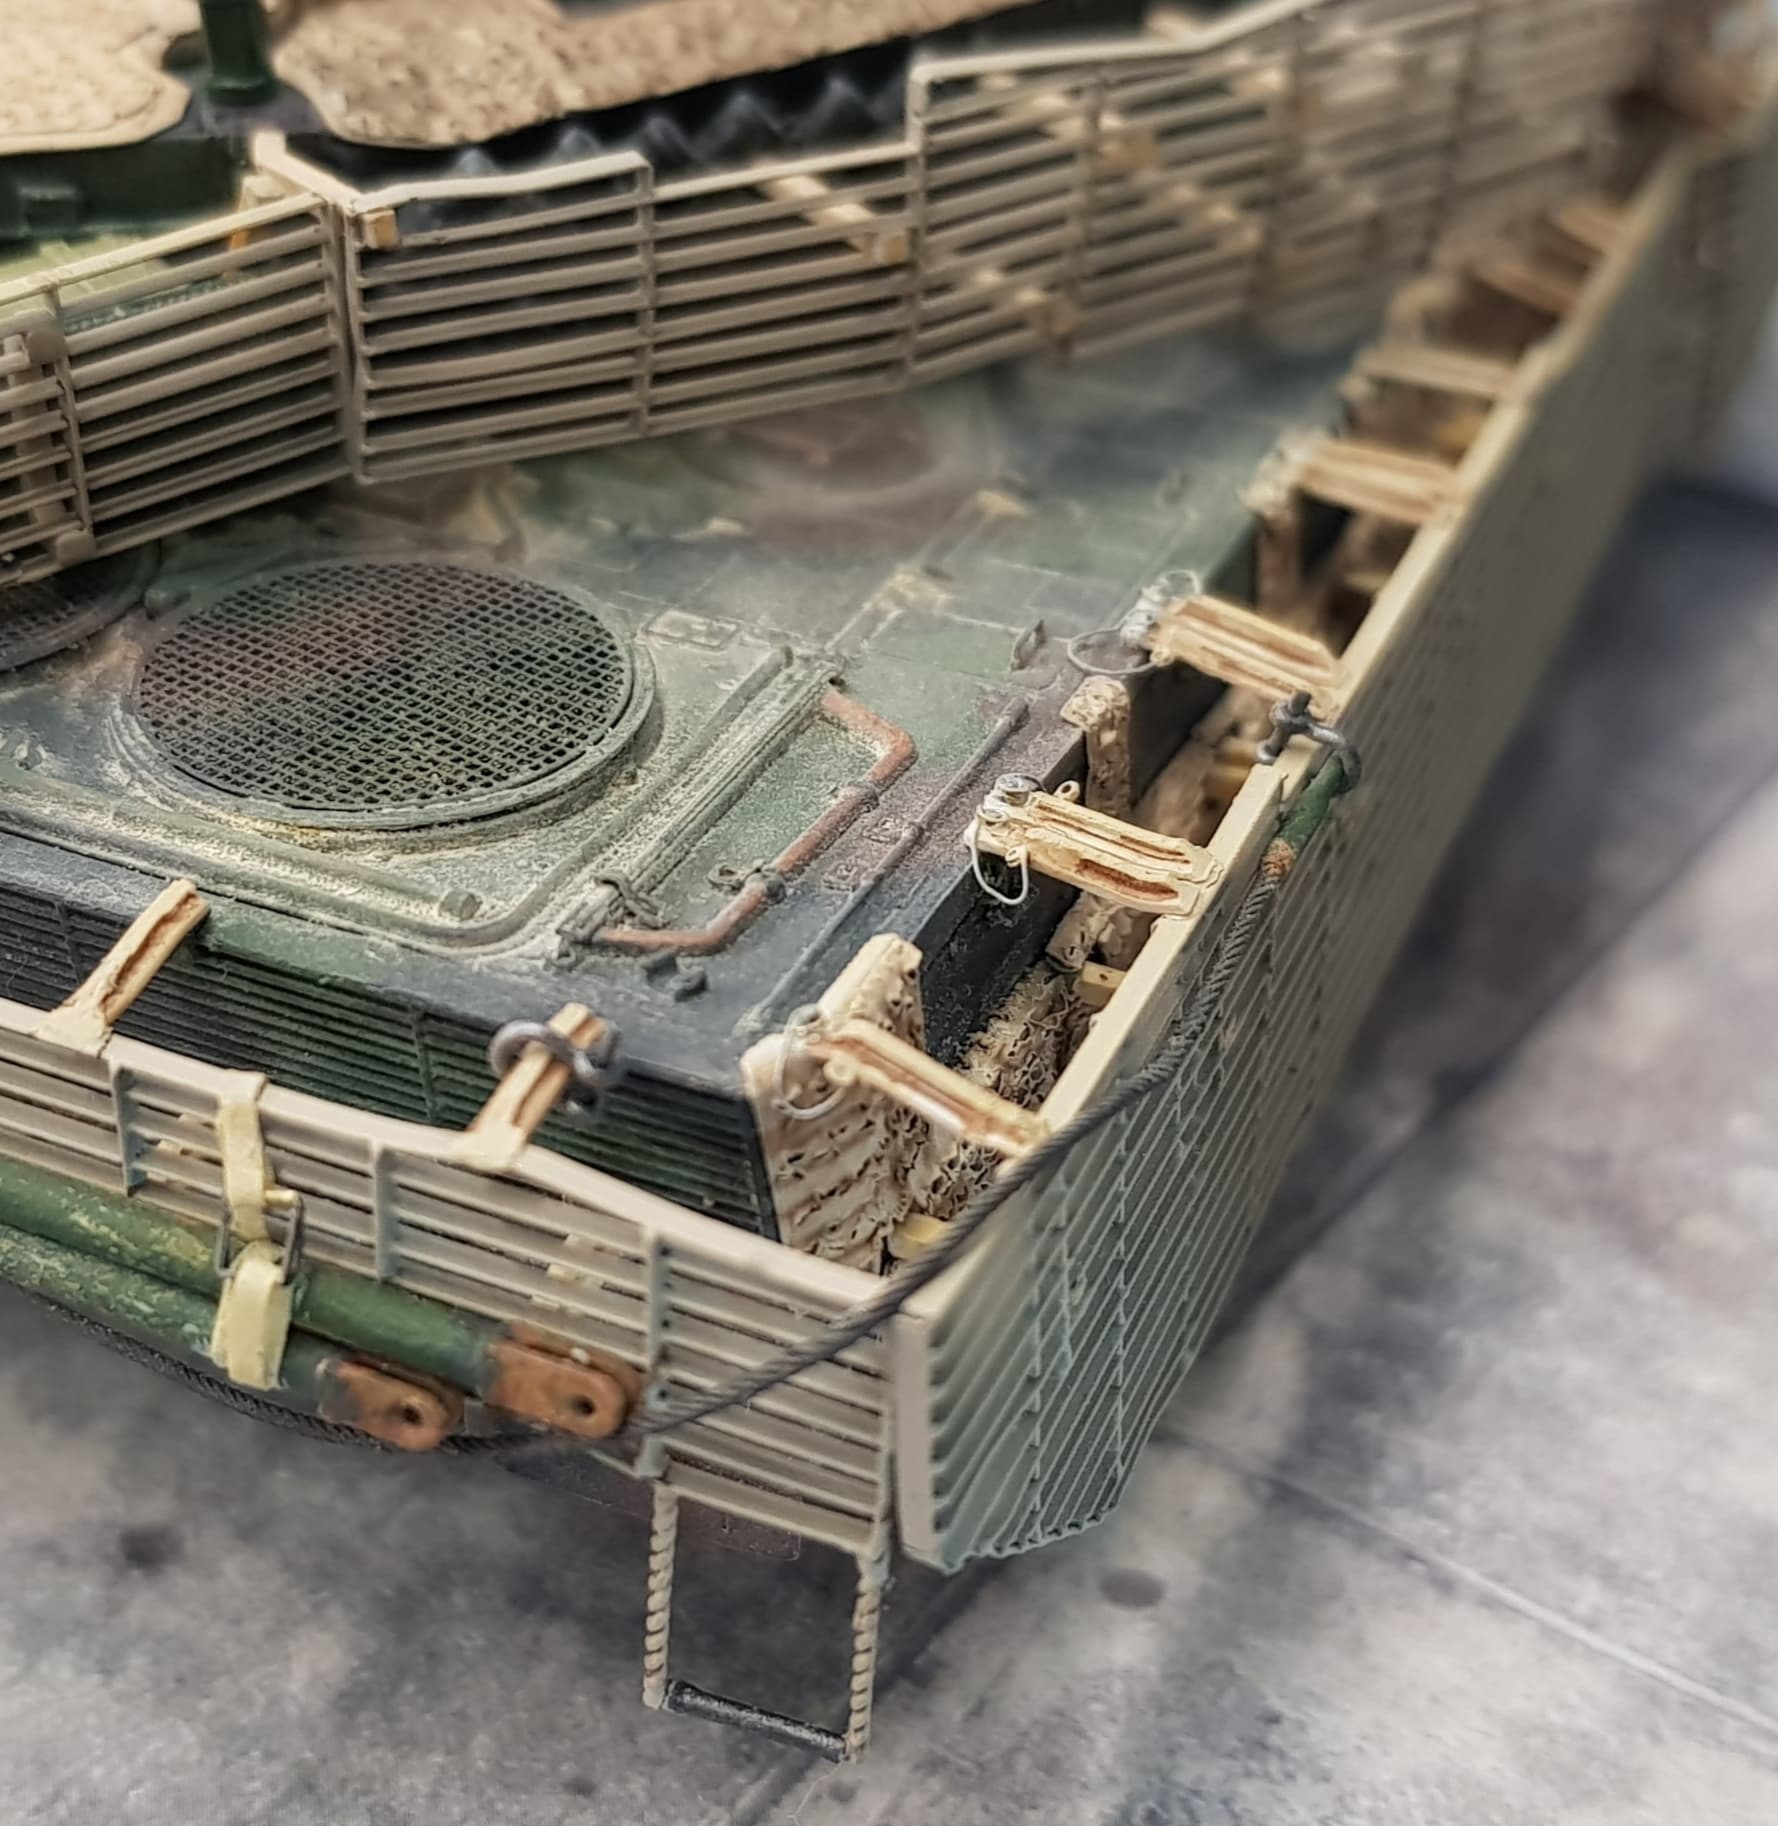
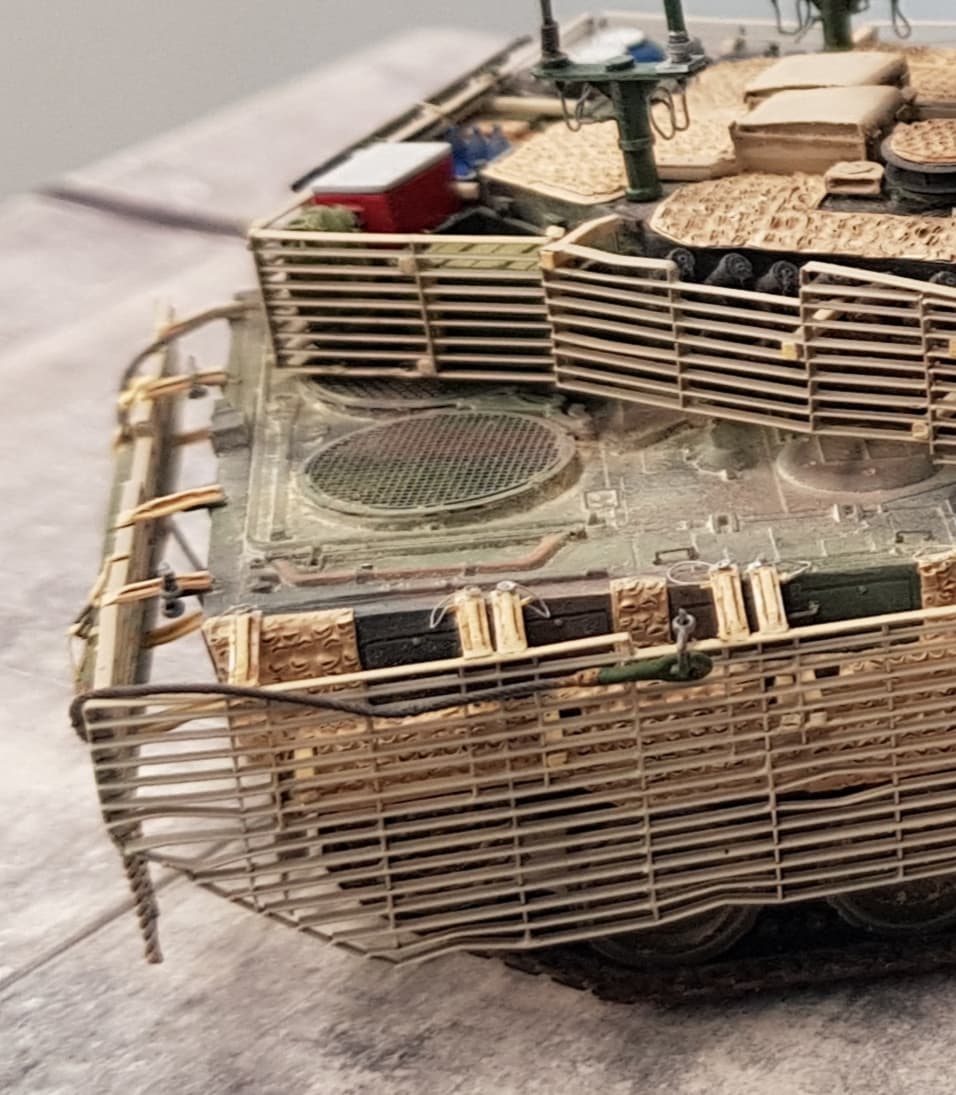
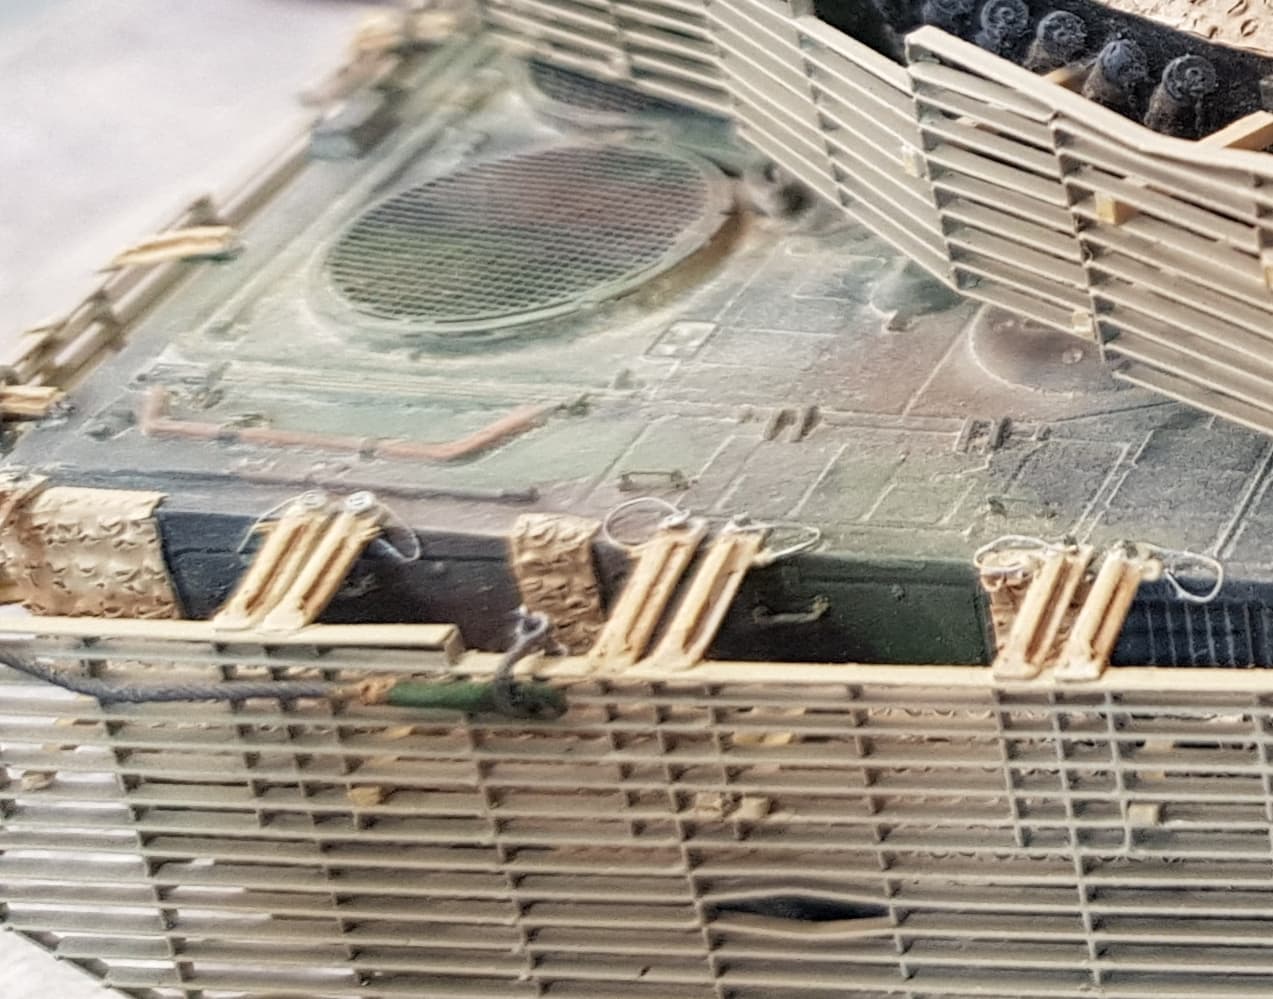
The slat armour:
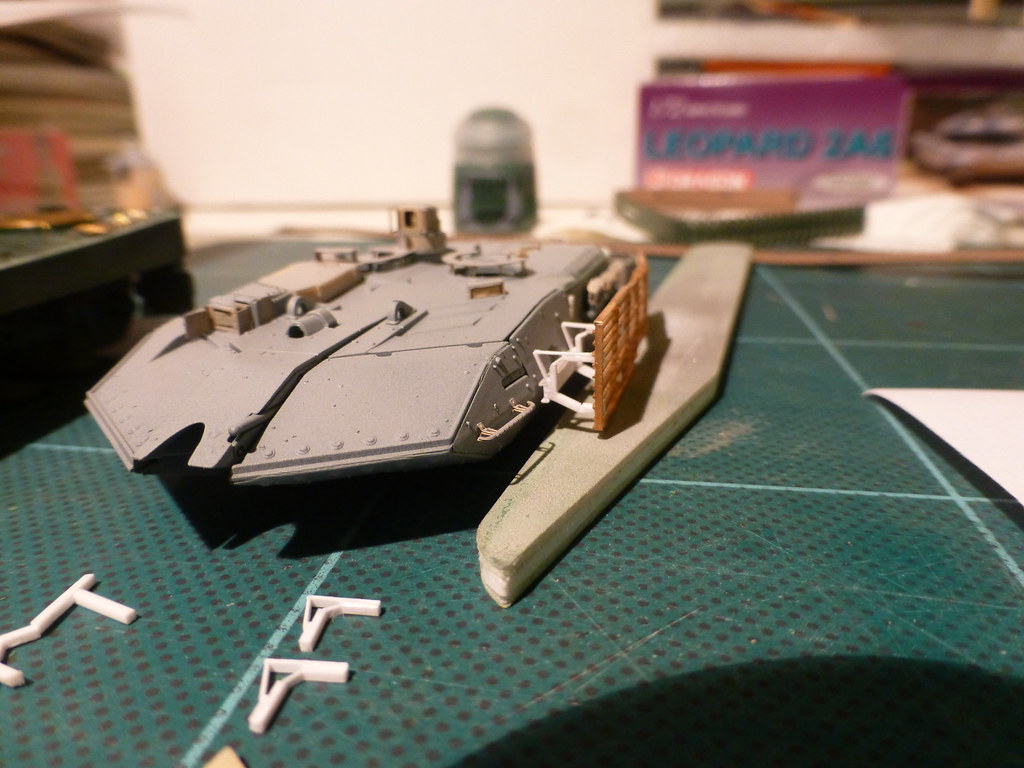
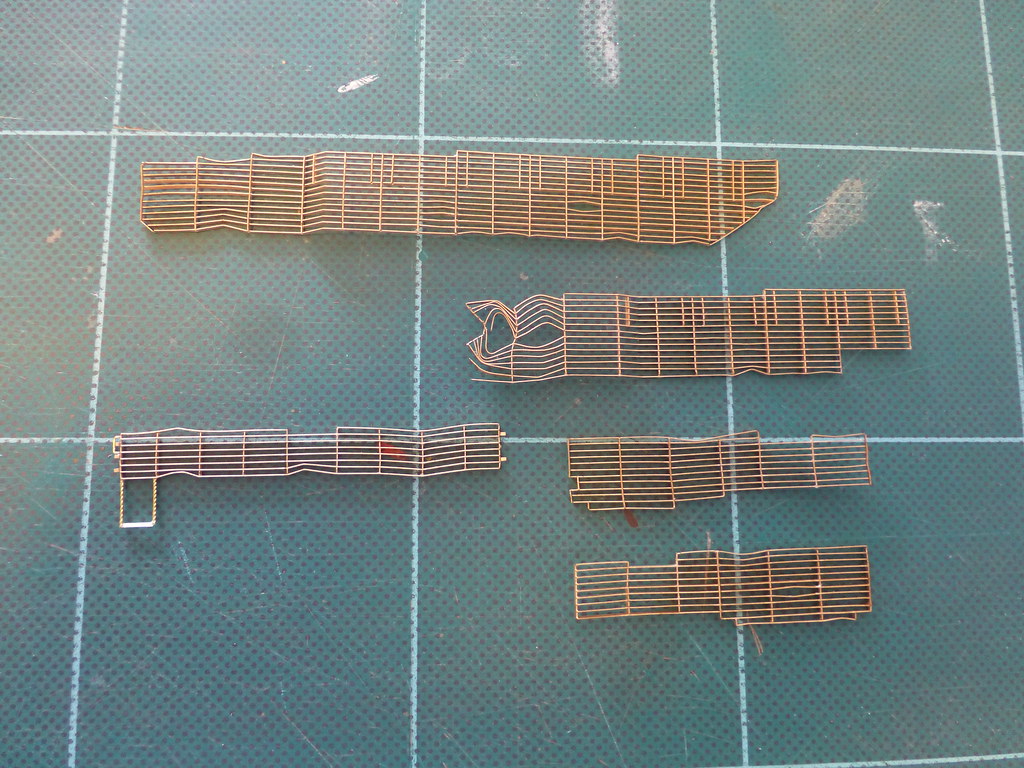
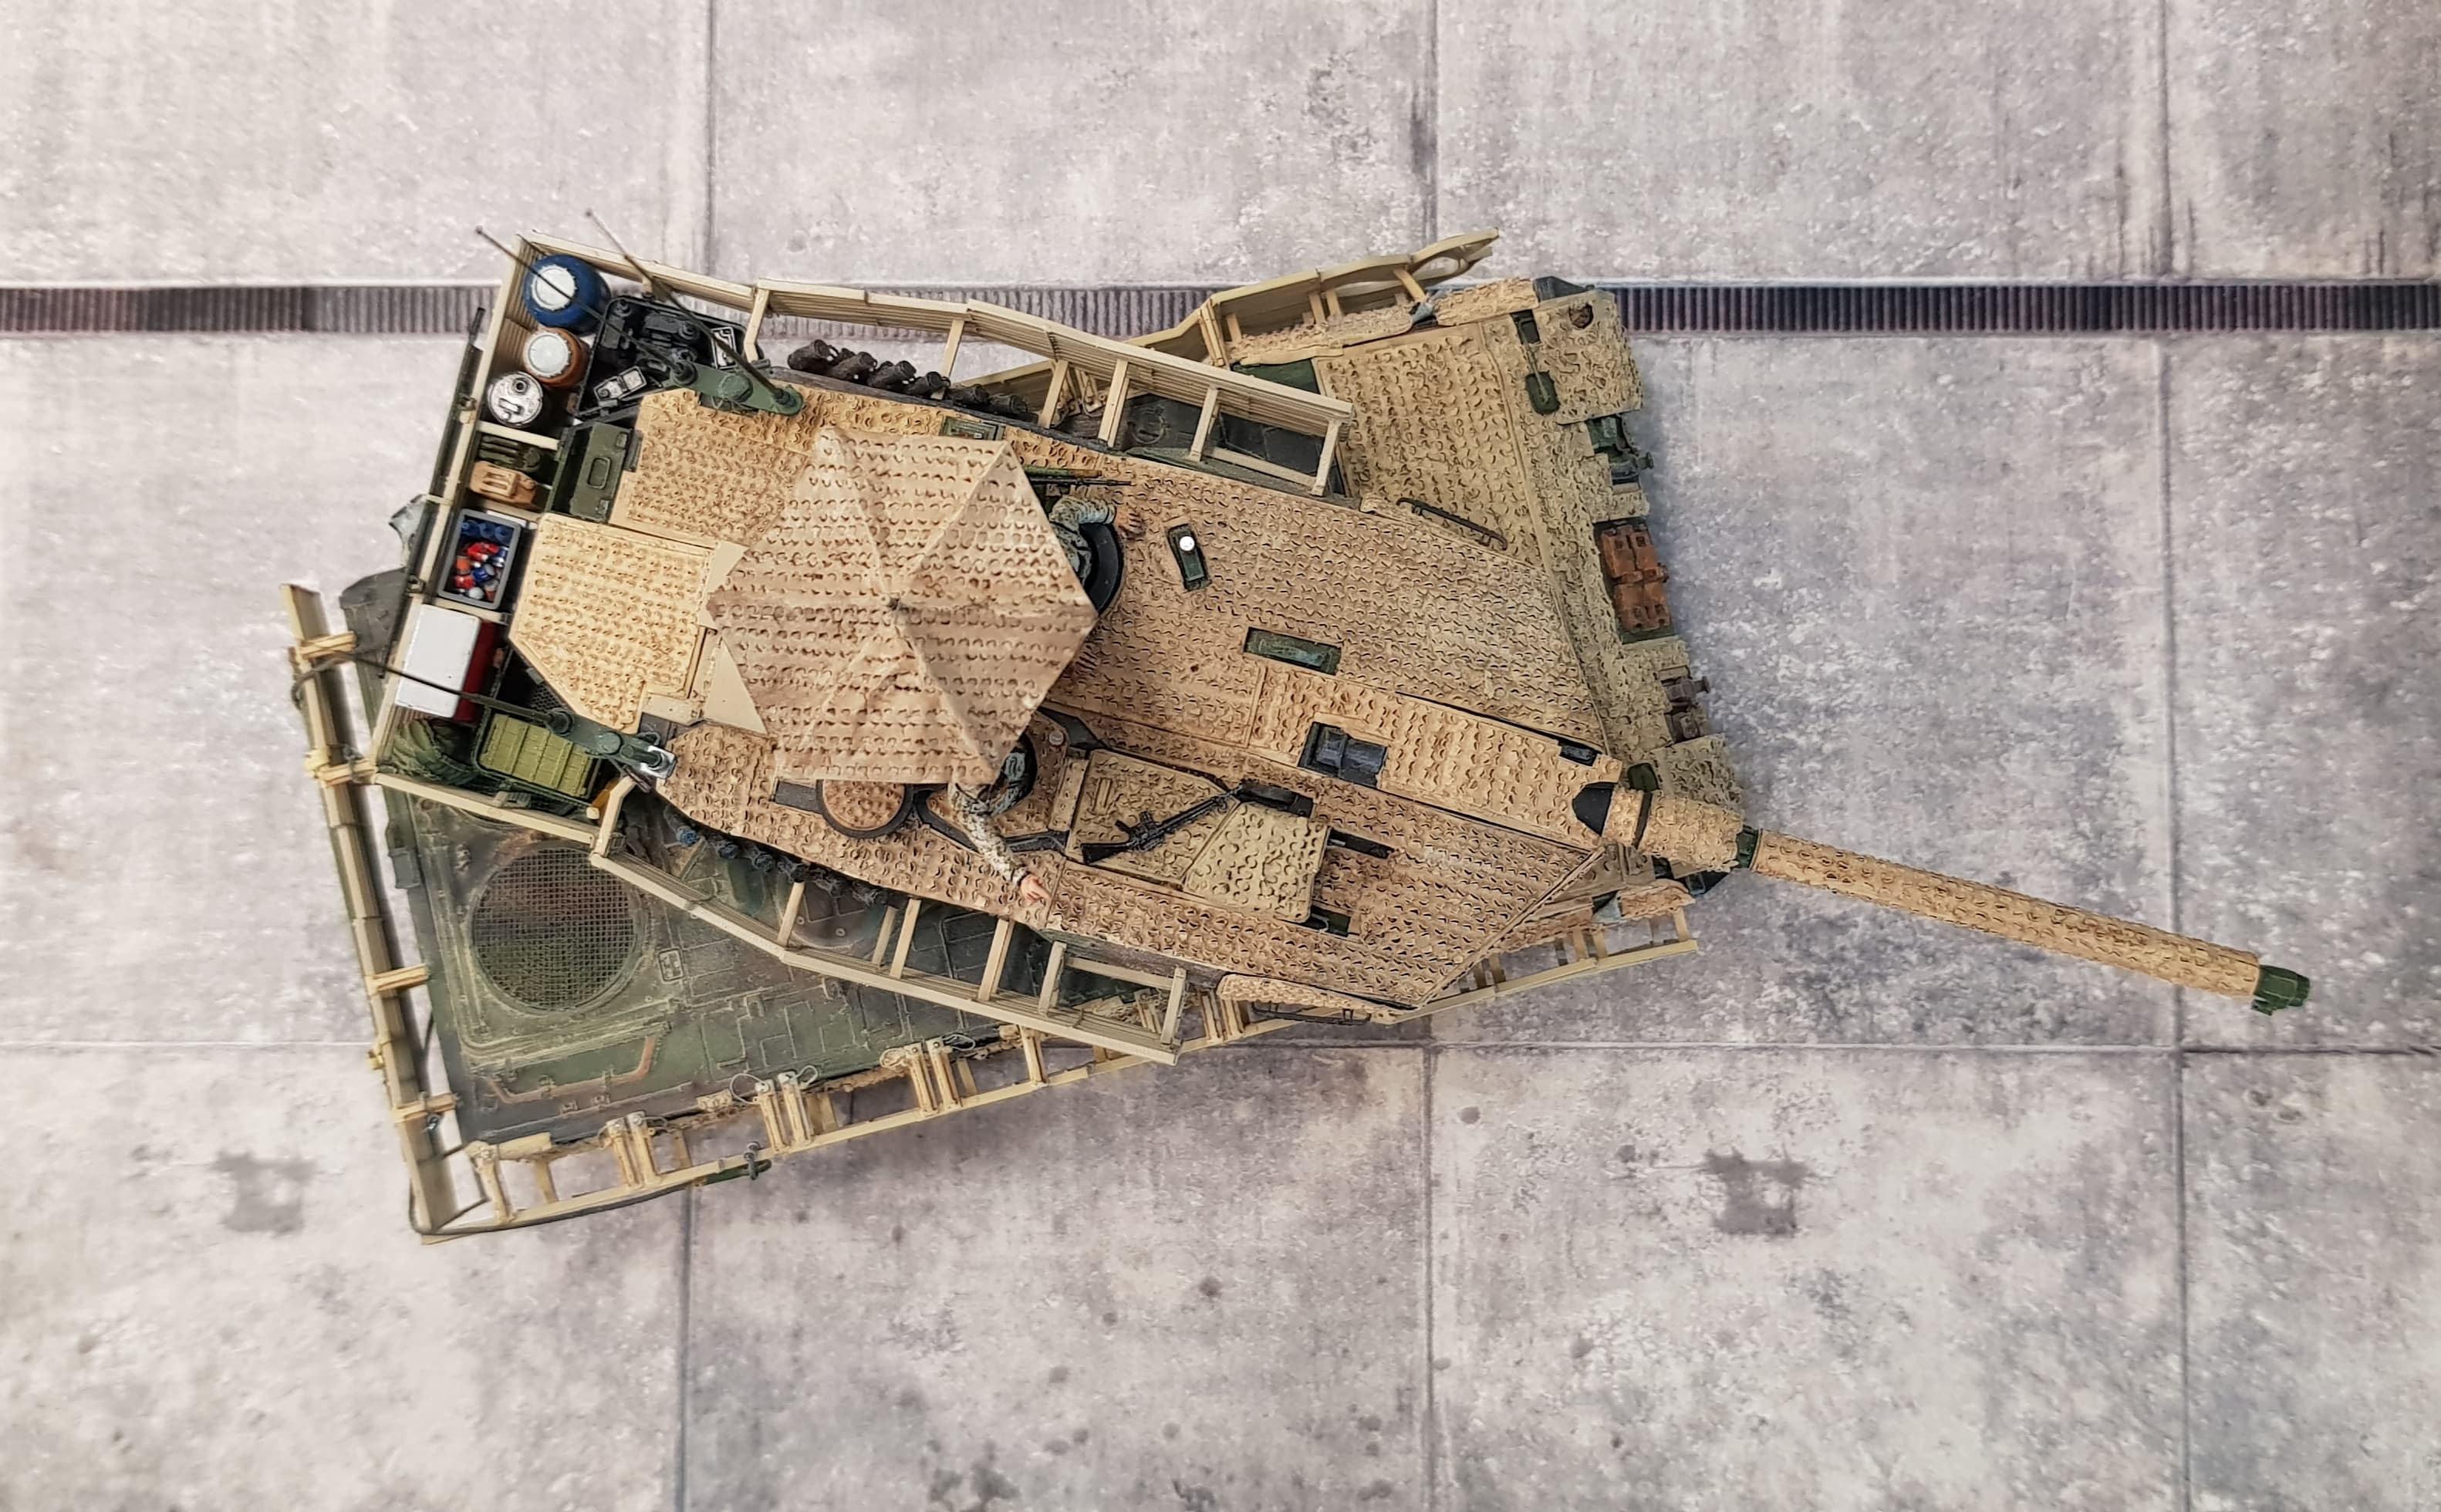
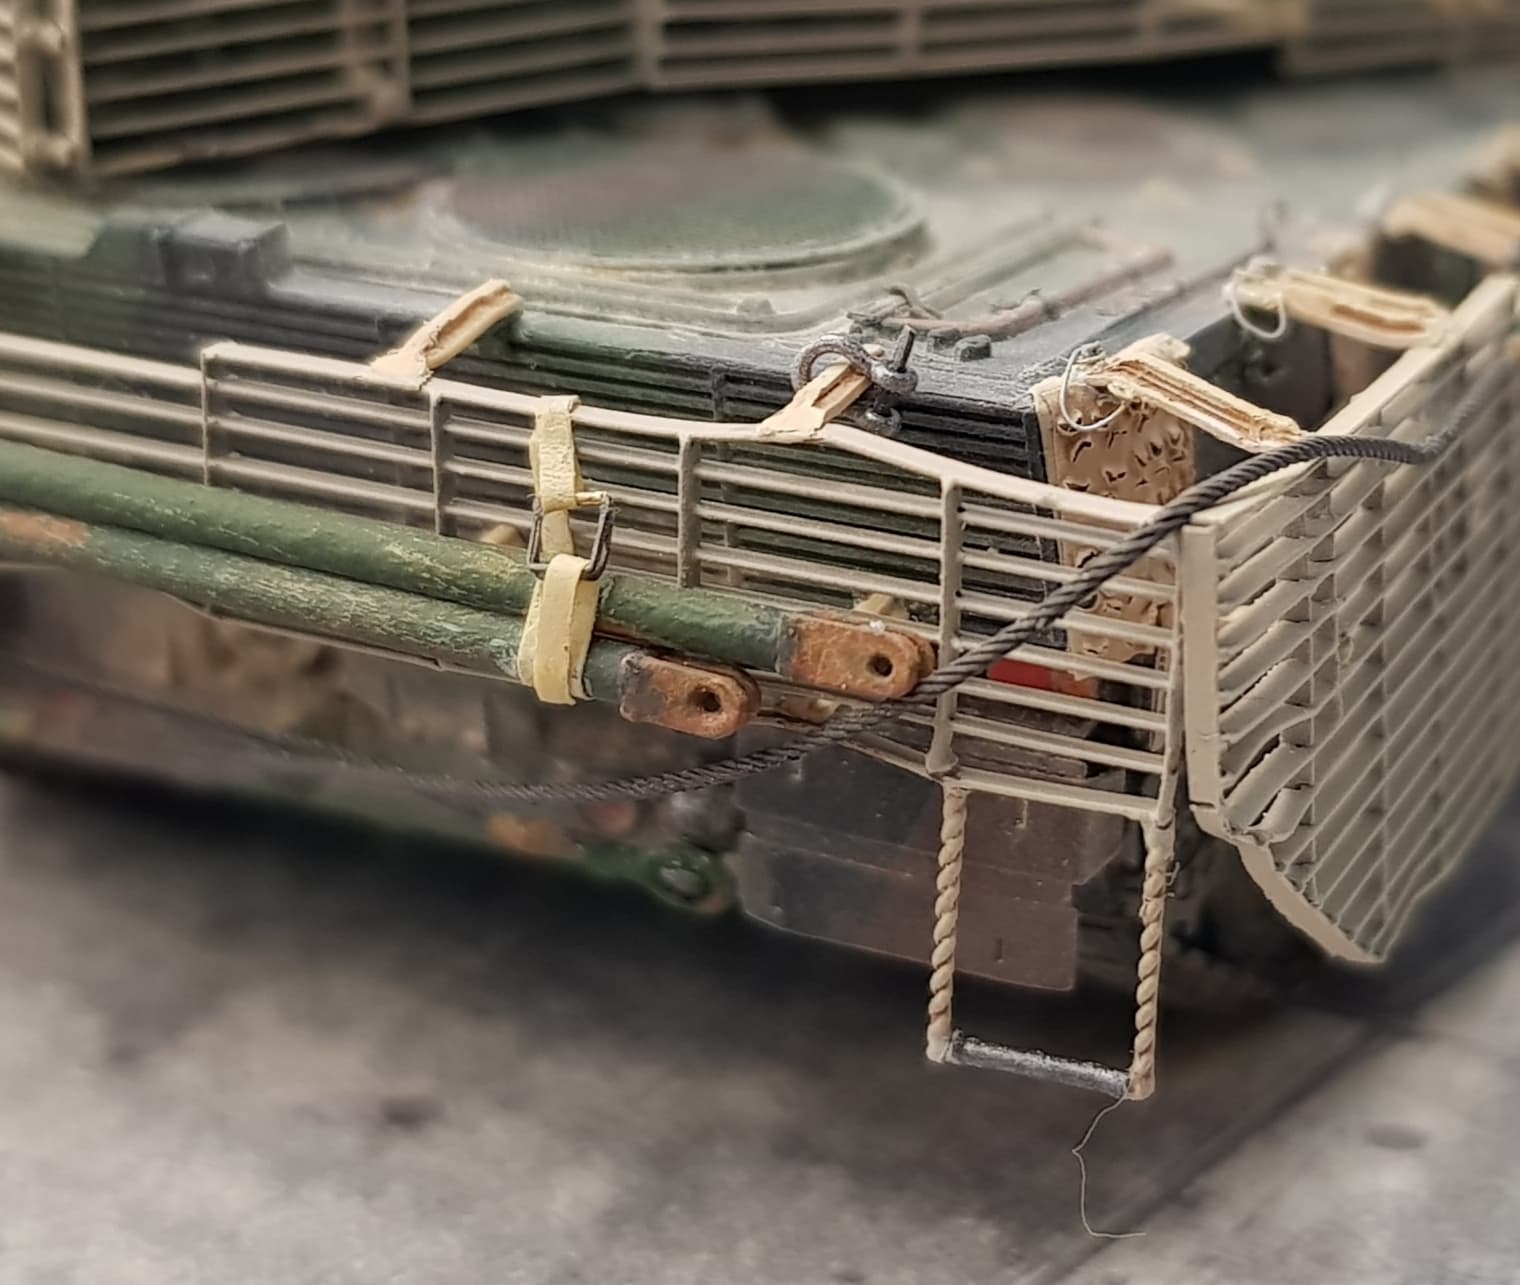
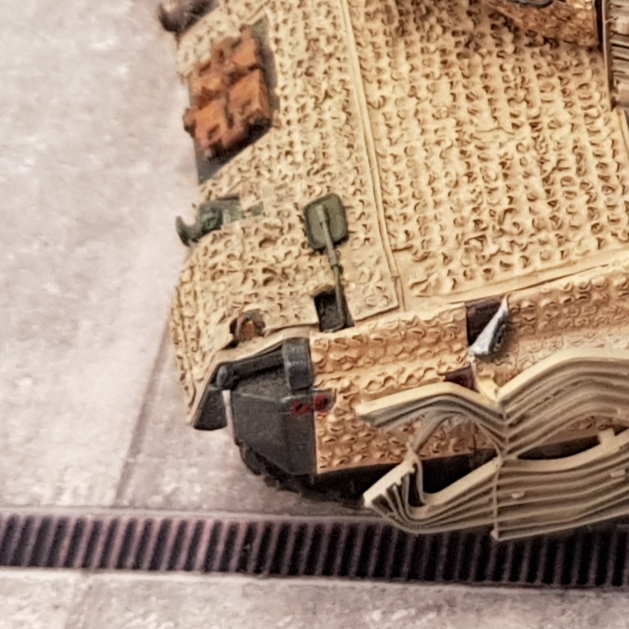
And the Barracuda matting:
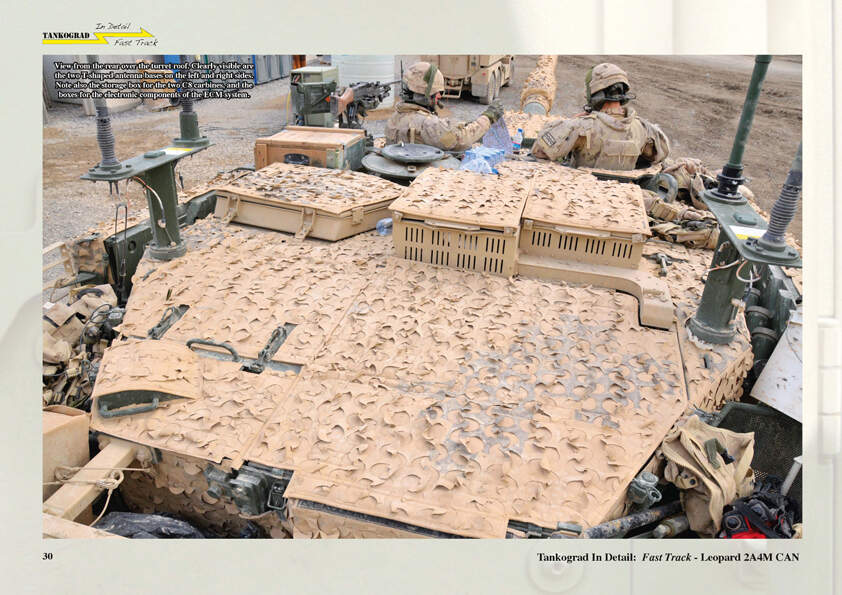
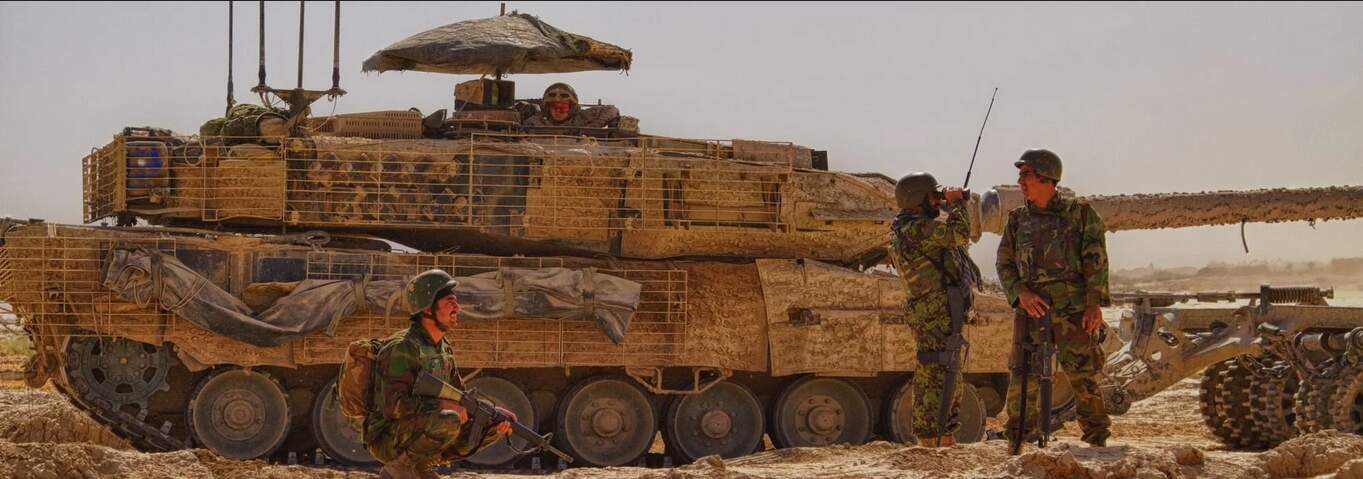
(Copyright: tankograd.com)
Cheers Michael
 my kinda cat…
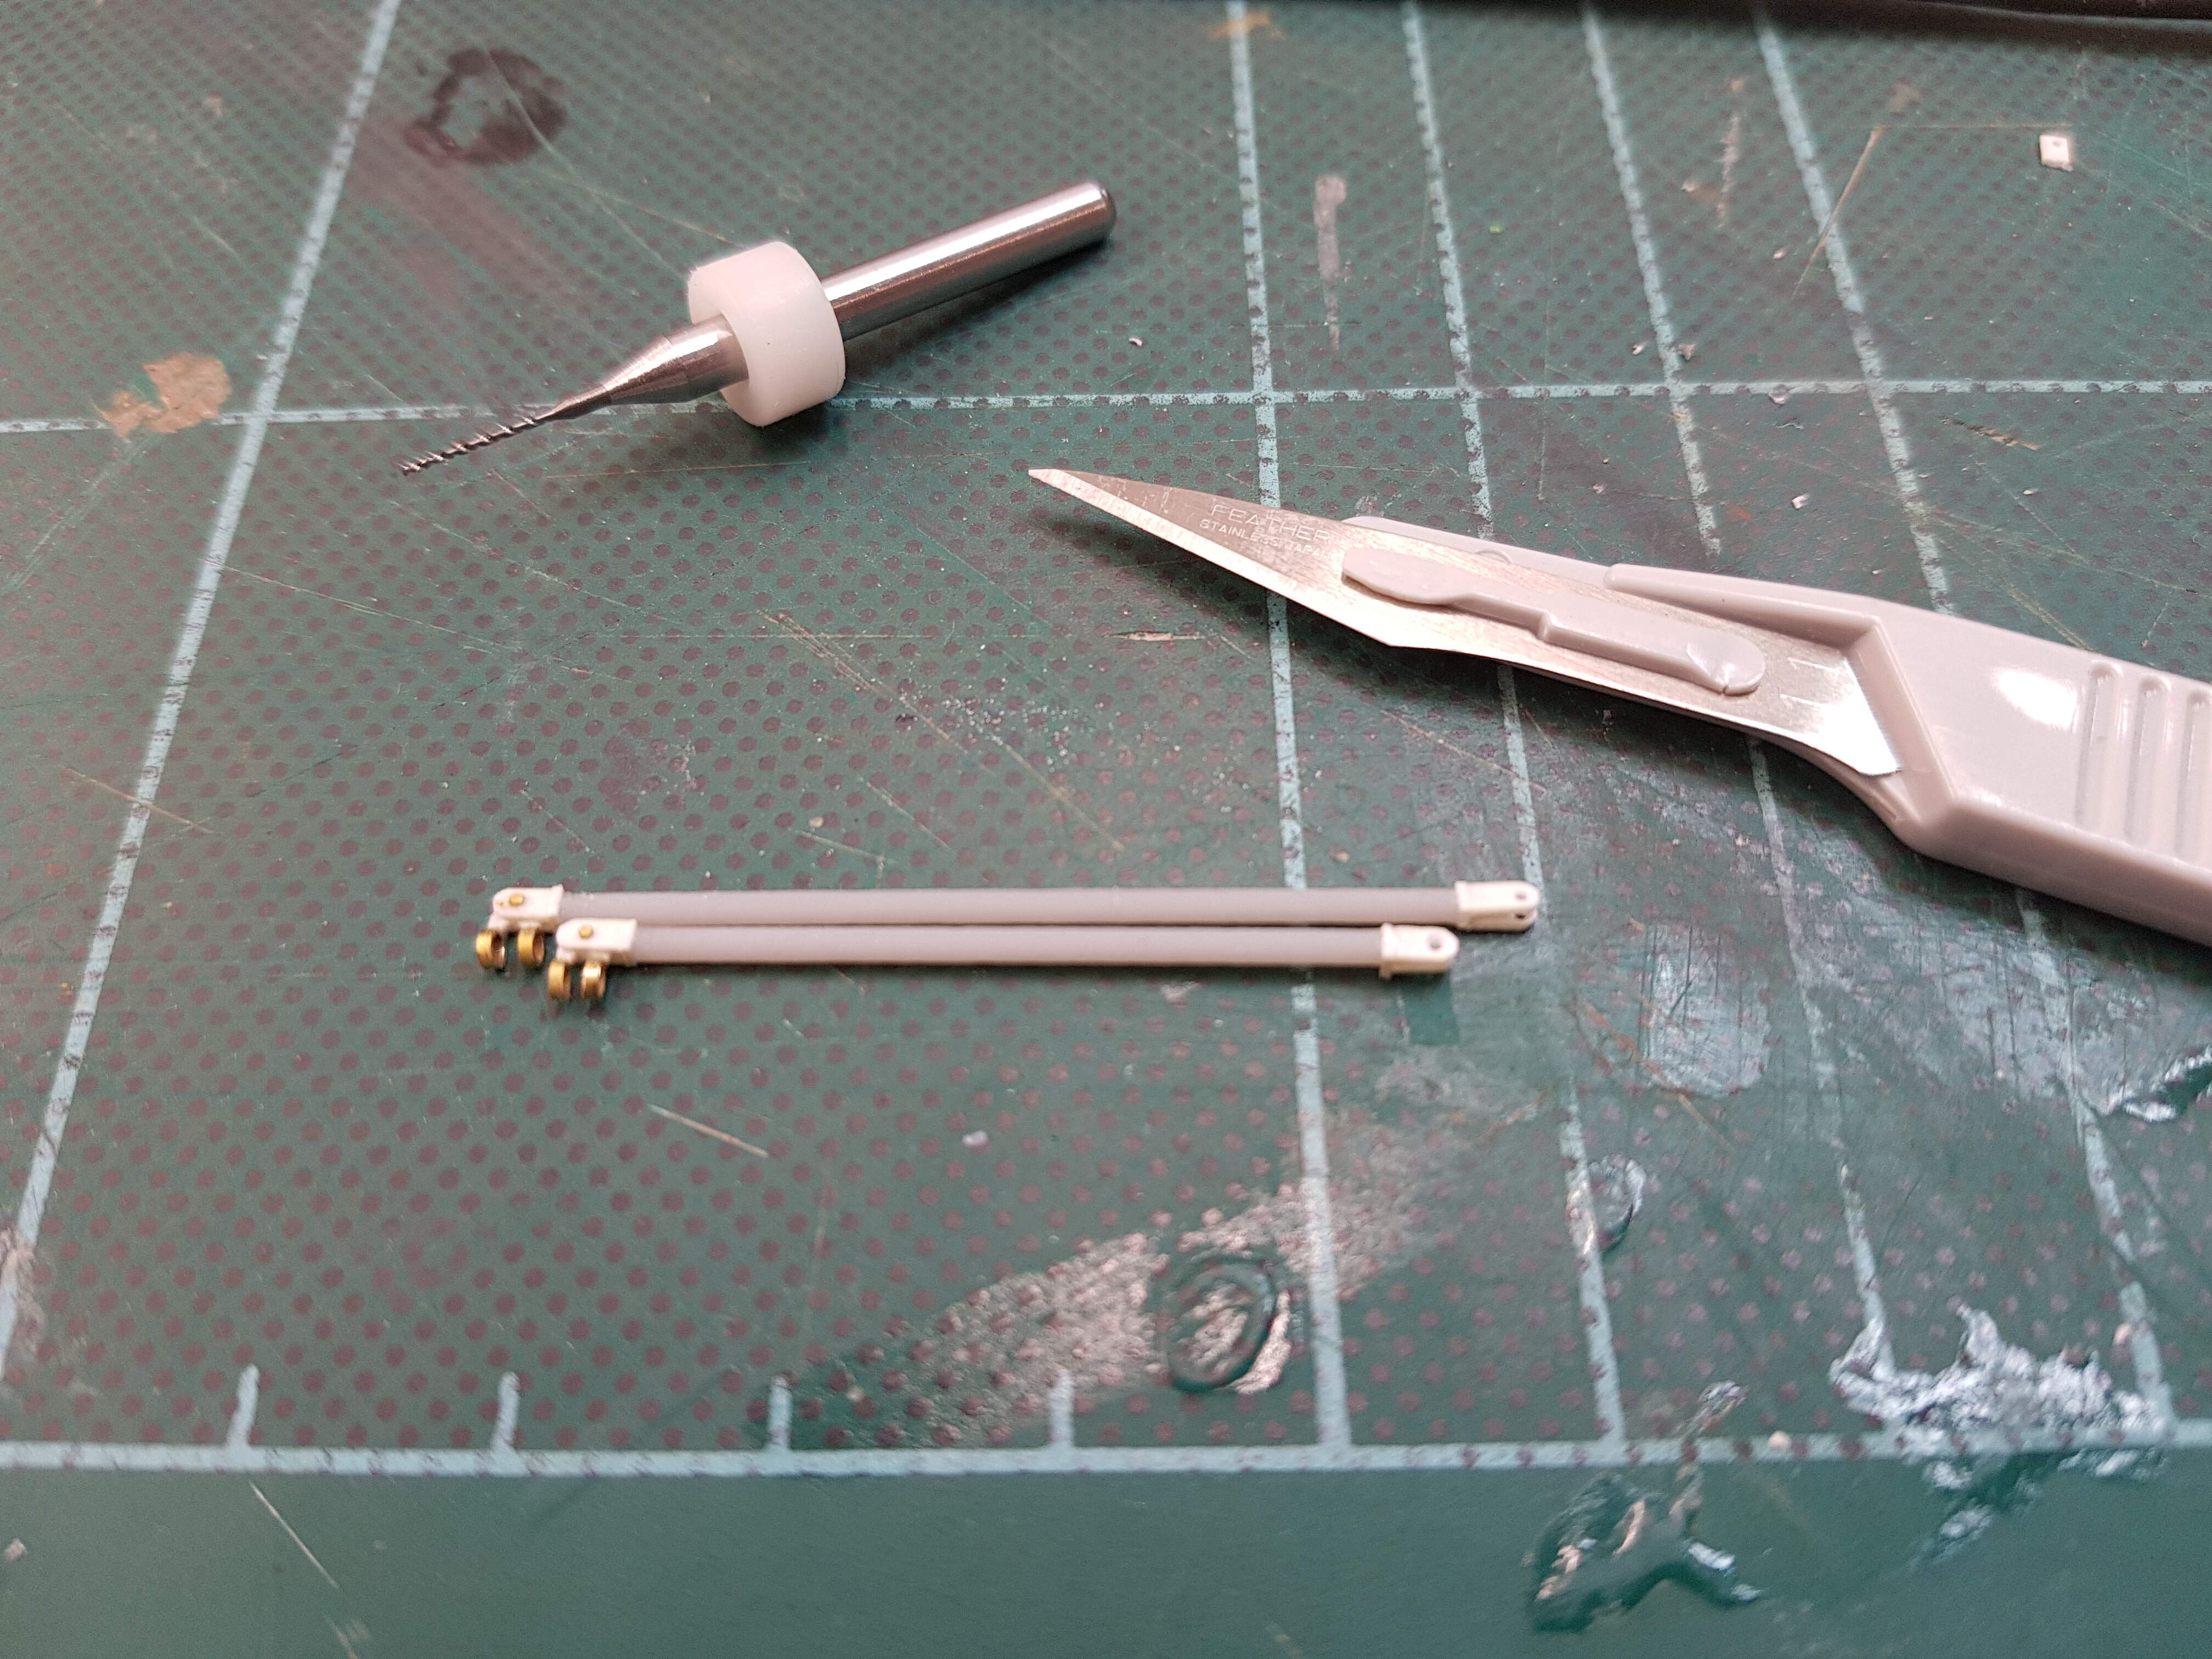


