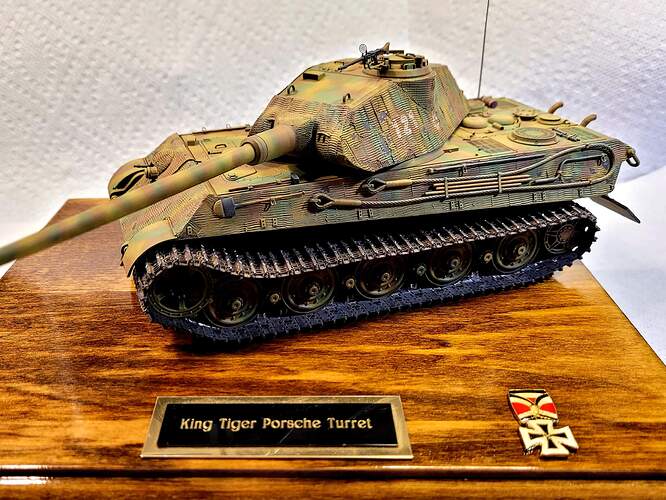
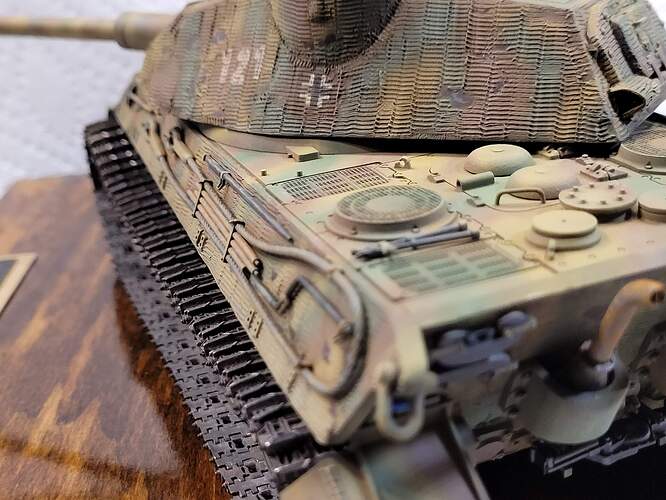
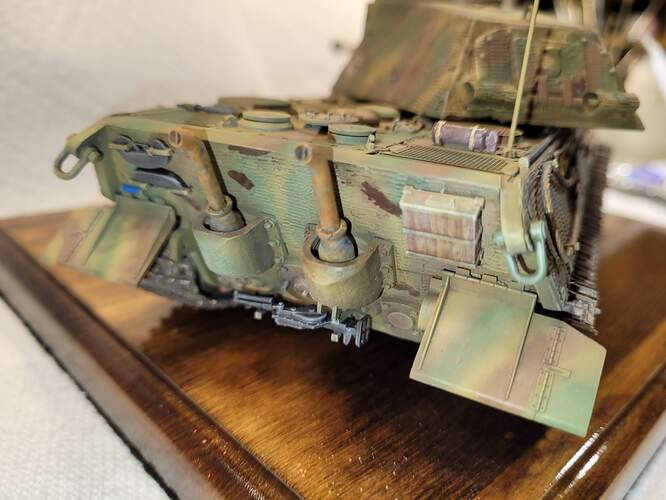
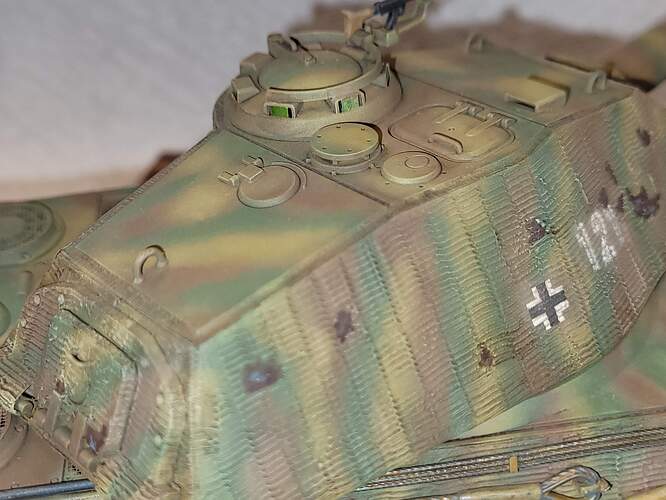
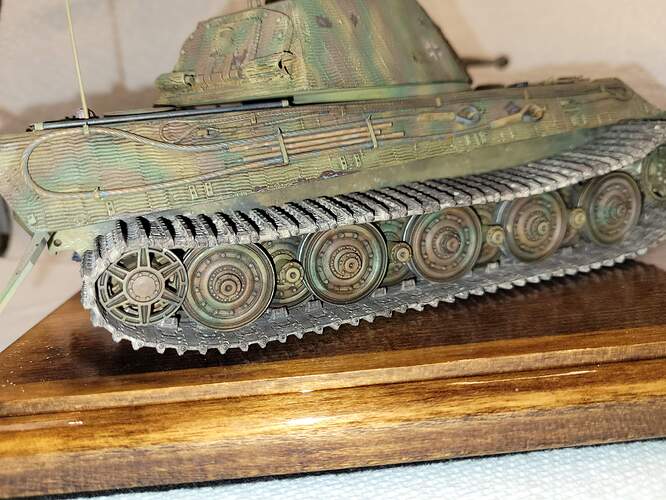
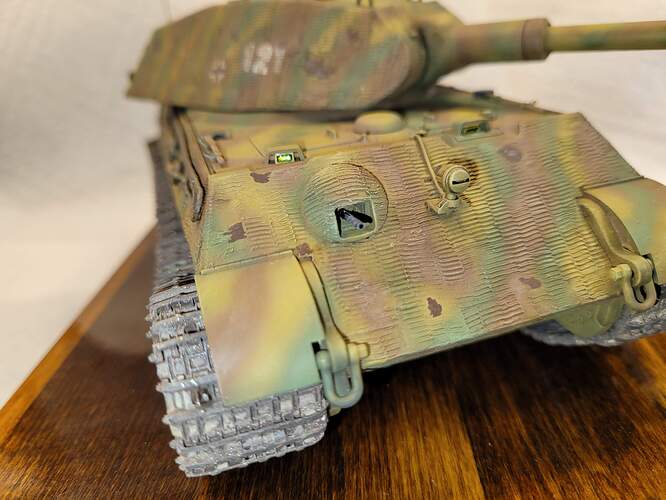
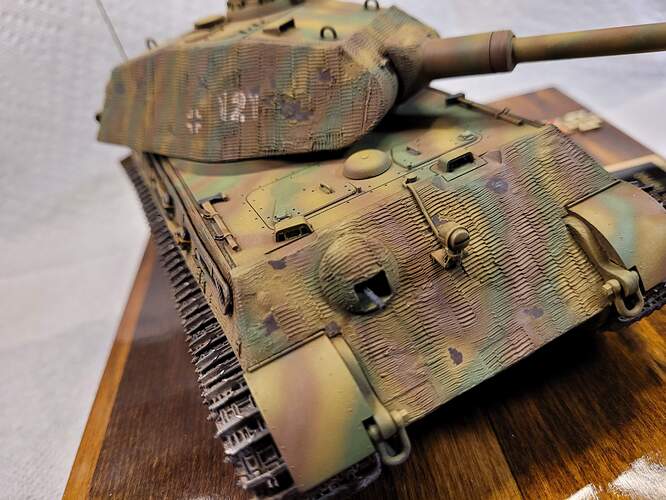
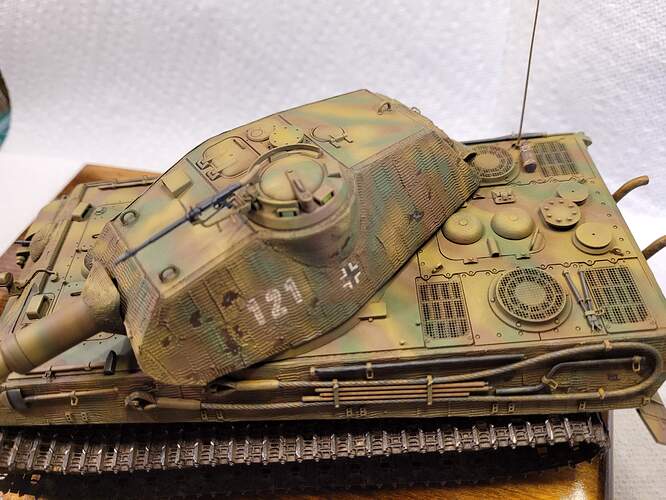
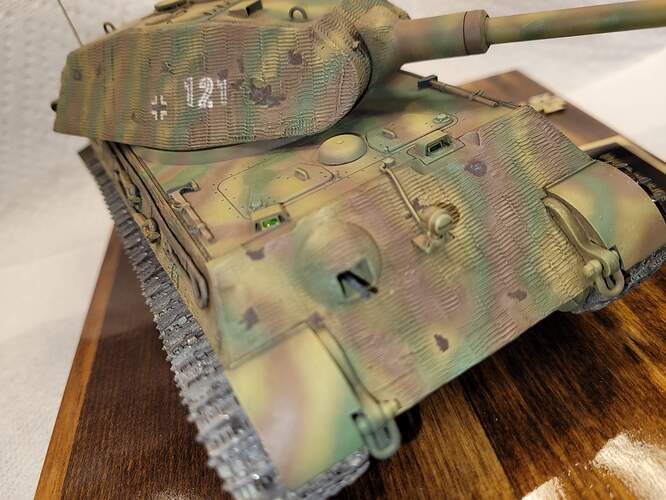
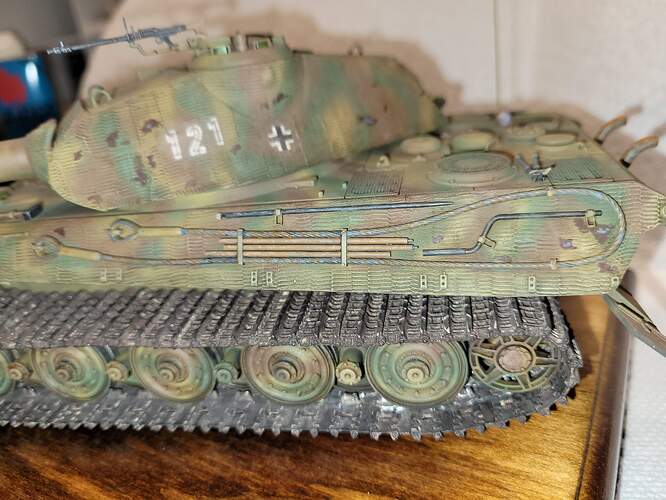
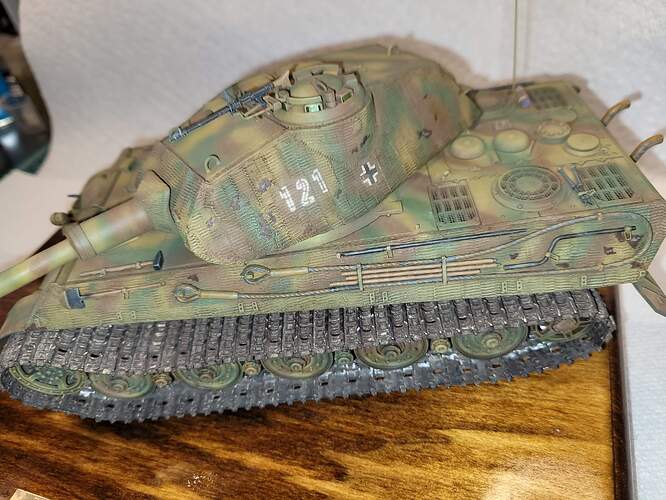
My Initial King Tiger aka Porsche King Tiger is at long last completed and going on the shelf. The Porsche Turret is a complete misnomer. However, since most people are familiar with the term it was retained for the name plate.
Pictures were taken with & without flash. Please feel free to comment and provide suggestions.
This kit bounced around the local model club for probably two years before landing in my stash. Started in late 2003, I expected the KT to be roughly an eight week build. That was obviously overly optimistic as the model was finished today, nearly eighteen years later. In anycase, happy project #7 for the year is going on the shelf.
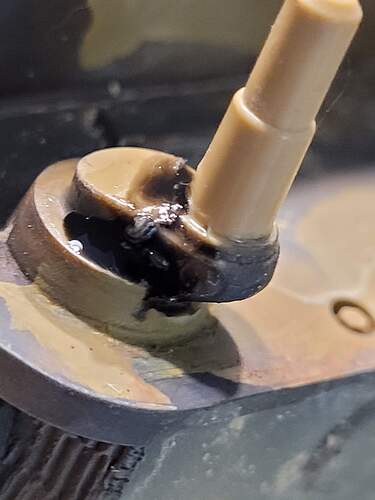
Being a good Tamiya kit the model was easily assembled with no issues. Fun, excellent build start to finish. All of the mishaps were self-inflicted…like when I broke the rear idler arm 
It held on the 4th repair attempt, using epoxy, Tamiya Extra Thin & Black “Rubber” Super Glue.
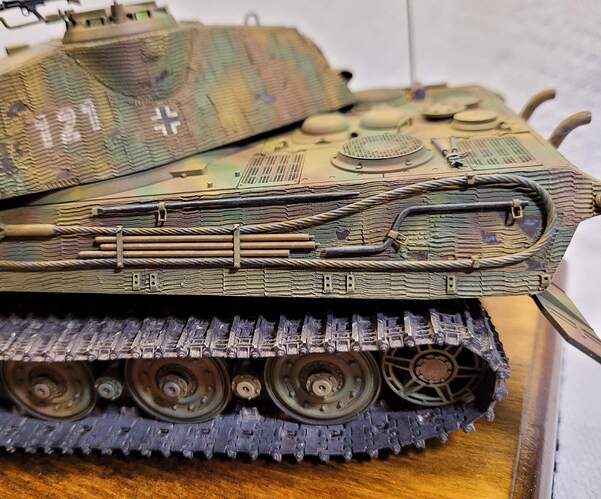
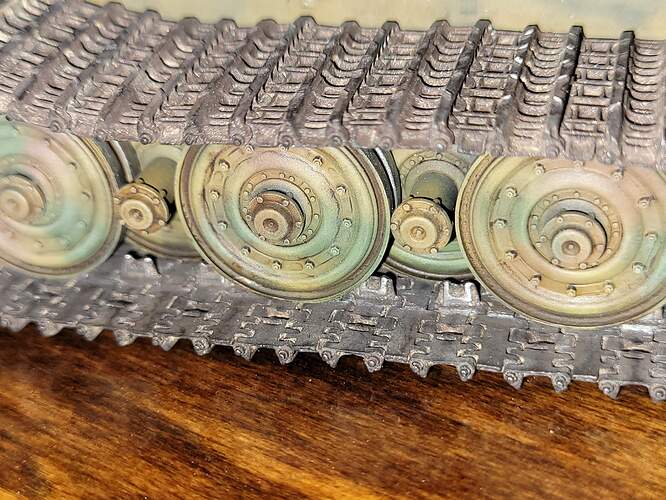
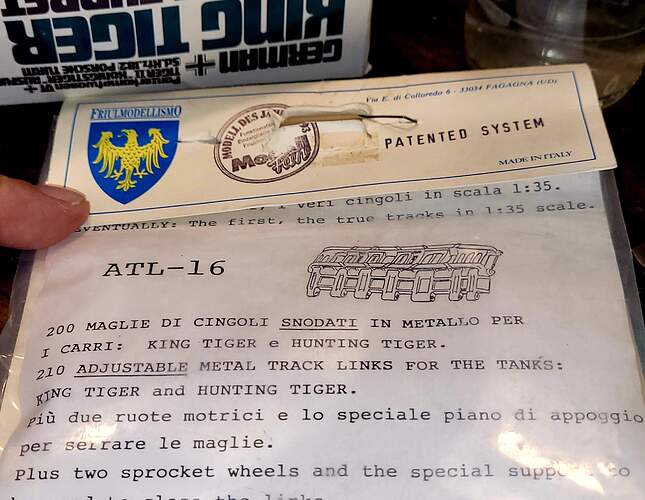
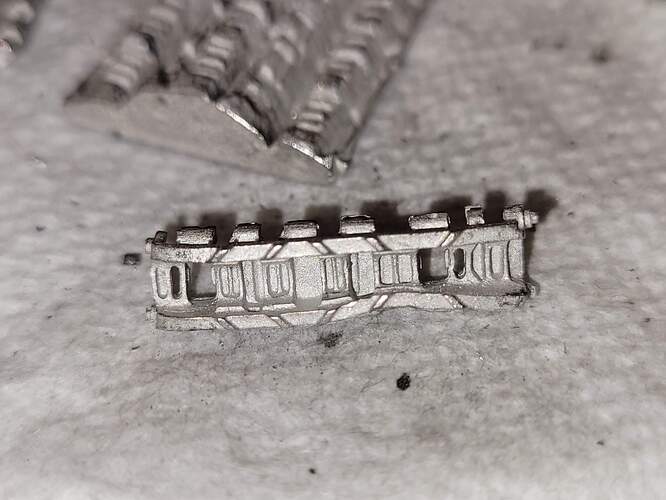
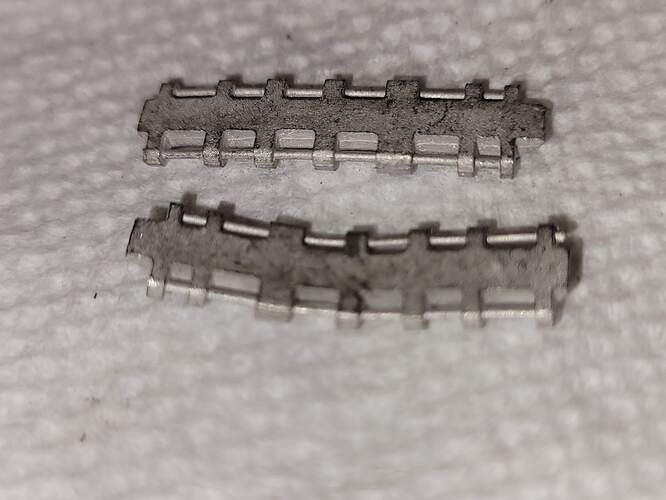
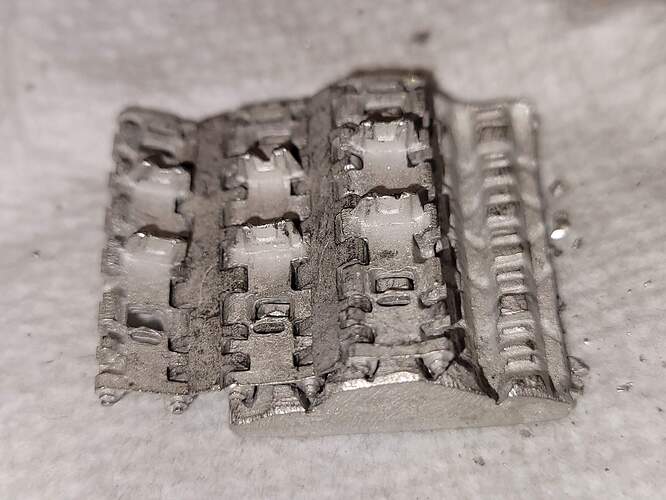
Initially Tamiya link to link tracks were planned. After discovering, I’d missed several faint punch marks and the old L2L’s popping apart several times, they were replaced with an ancient set of original Friulmodellismo King Tiger tracks with the folding clasps and no wire from the early 1990’s.
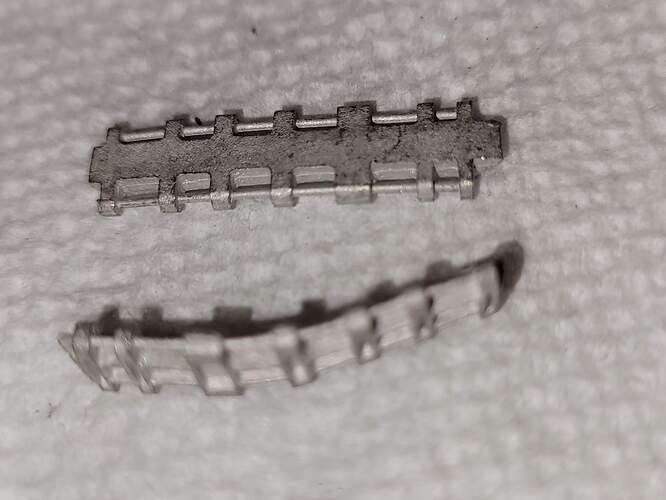
The old set of Friulmodellismo tracks had also bounced around the club. About 1 out of 7 links was warped or malformed.
I’ve done five sets of the very old folding clasp style Friulmodellismo links. This was the most challenging set to assemble due to warped parts.
However, there were more than enough good links for both tracks and 6 pairs of spare links if needed.
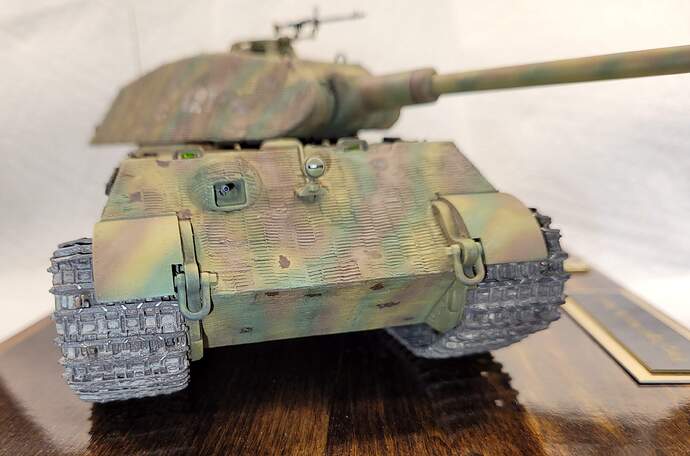
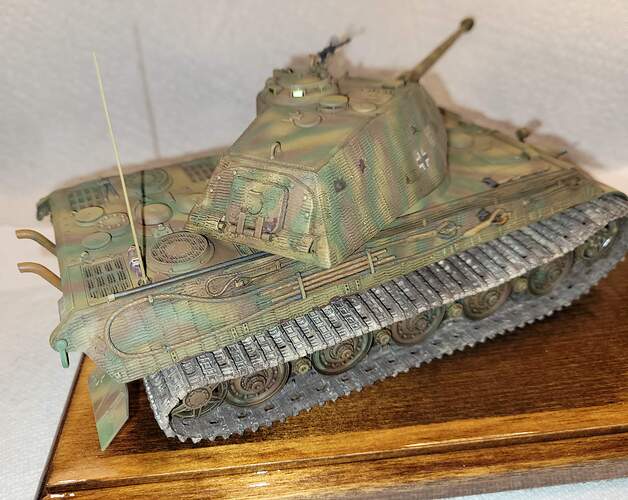
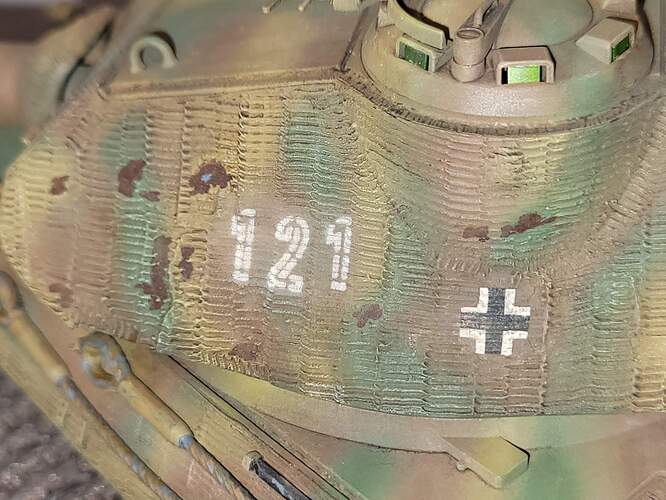
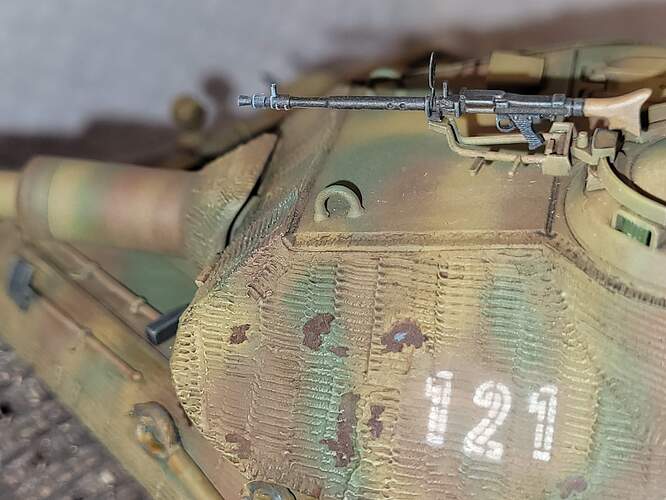
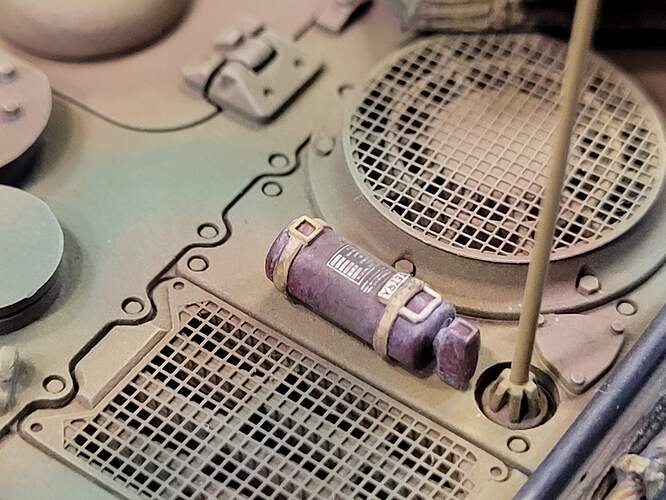
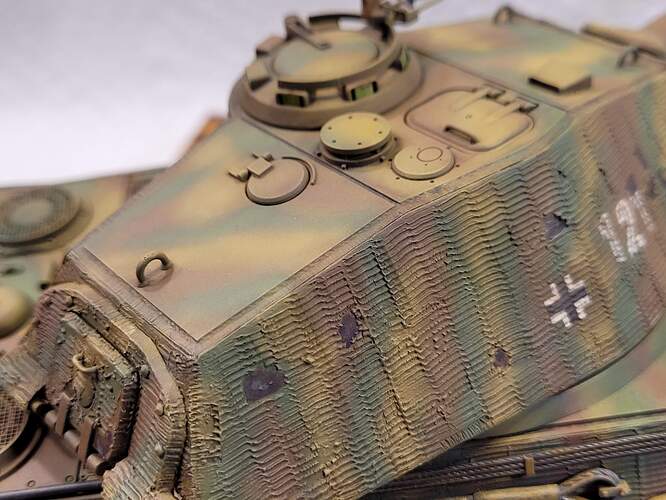
Tamiya’s basic King Tiger photo etch for engine deck screens was used. Lion 's Roar tool handles were used with otherwise stock tools. One of Calvalier’s excellent Zimmerit sheets covered the hull and turret quickly and with little issue. Likewise, a Tank Workshop set of radiators were placed under engine deck vents in the lower full. They basically are invisible but painted. Doing anti-flashlight duty by sealing up the engine deck openings. Aber brass 2m radio antenna and Aber MG34 barrel for the hull MG round out the added details. Archer dry transfer used for the fire extinguisher TETRA.
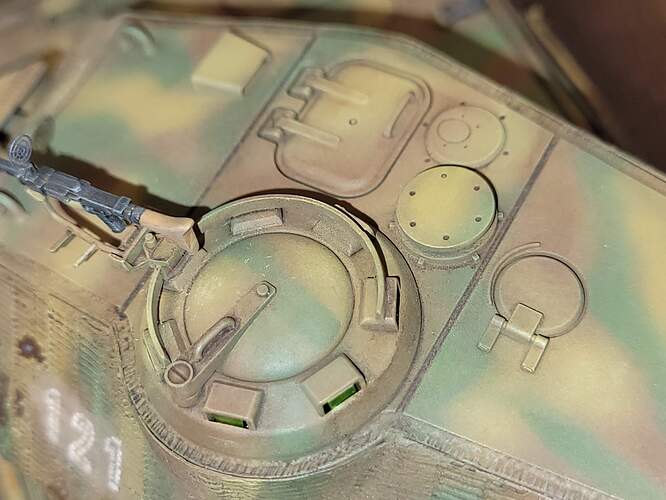
The inside face of the Bosche headlight was painted chrome silver to made the flashlight judges happy. While the hull had two periscopes provided, none were provided for the cupola. Evergreen strip painted silver and then painted in clear green was used to make a facsimile of turret vision blocks.
Tri-color camo was shadow painted with Floquil Rail Road & Floquil Military Colors. The weathered black & Panzer Dark Yellow were shot with the trusty Paasche H airbrush. The panzer red-brown & Panzer olive green were applied with an Iwata Custom B Micron. Flat coat courtesy of Pactra Acrylic Flat Clear via the trusty Paaache VL.
Mr Hobby Mr Mark Softer worked wonders in forcing the thick film Tamiya balkenkreuz to conform to the Zimmerit. The turret number was airbrushed via a stencil.
I was surprised by buzz on YouTube that suggested a wash applied to Zimmerit is bad idea because it will darken the Zimmerit excessively. I decided to apply my typical oil wash just like it was 1995. Testing the wash on a junk model before ensured it wasn’t too dark before applying to the KT.
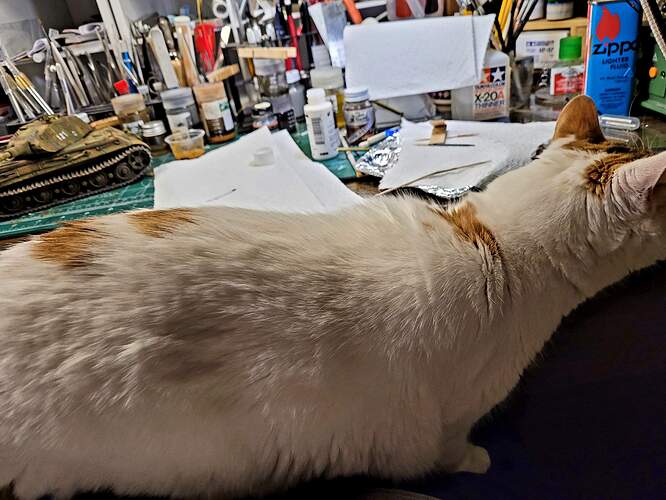
Kali seemed very happy the Russian stuff was on the shelf and current build was cat themed 
