Ok so the wires are finished. They are so small it looks like just 1 or 2 wires but really there bunches of 3.
Next im gonna go around drilling drains and stuff as you can see in the next pics. ;;
Ok so the wires are finished. They are so small it looks like just 1 or 2 wires but really there bunches of 3.
This looks like a really fun build. Do you think they could get any more equipment on that conning tower? Gee wiz, what a cluster that is, amazing.
Ruck On! Cheers, Ski.
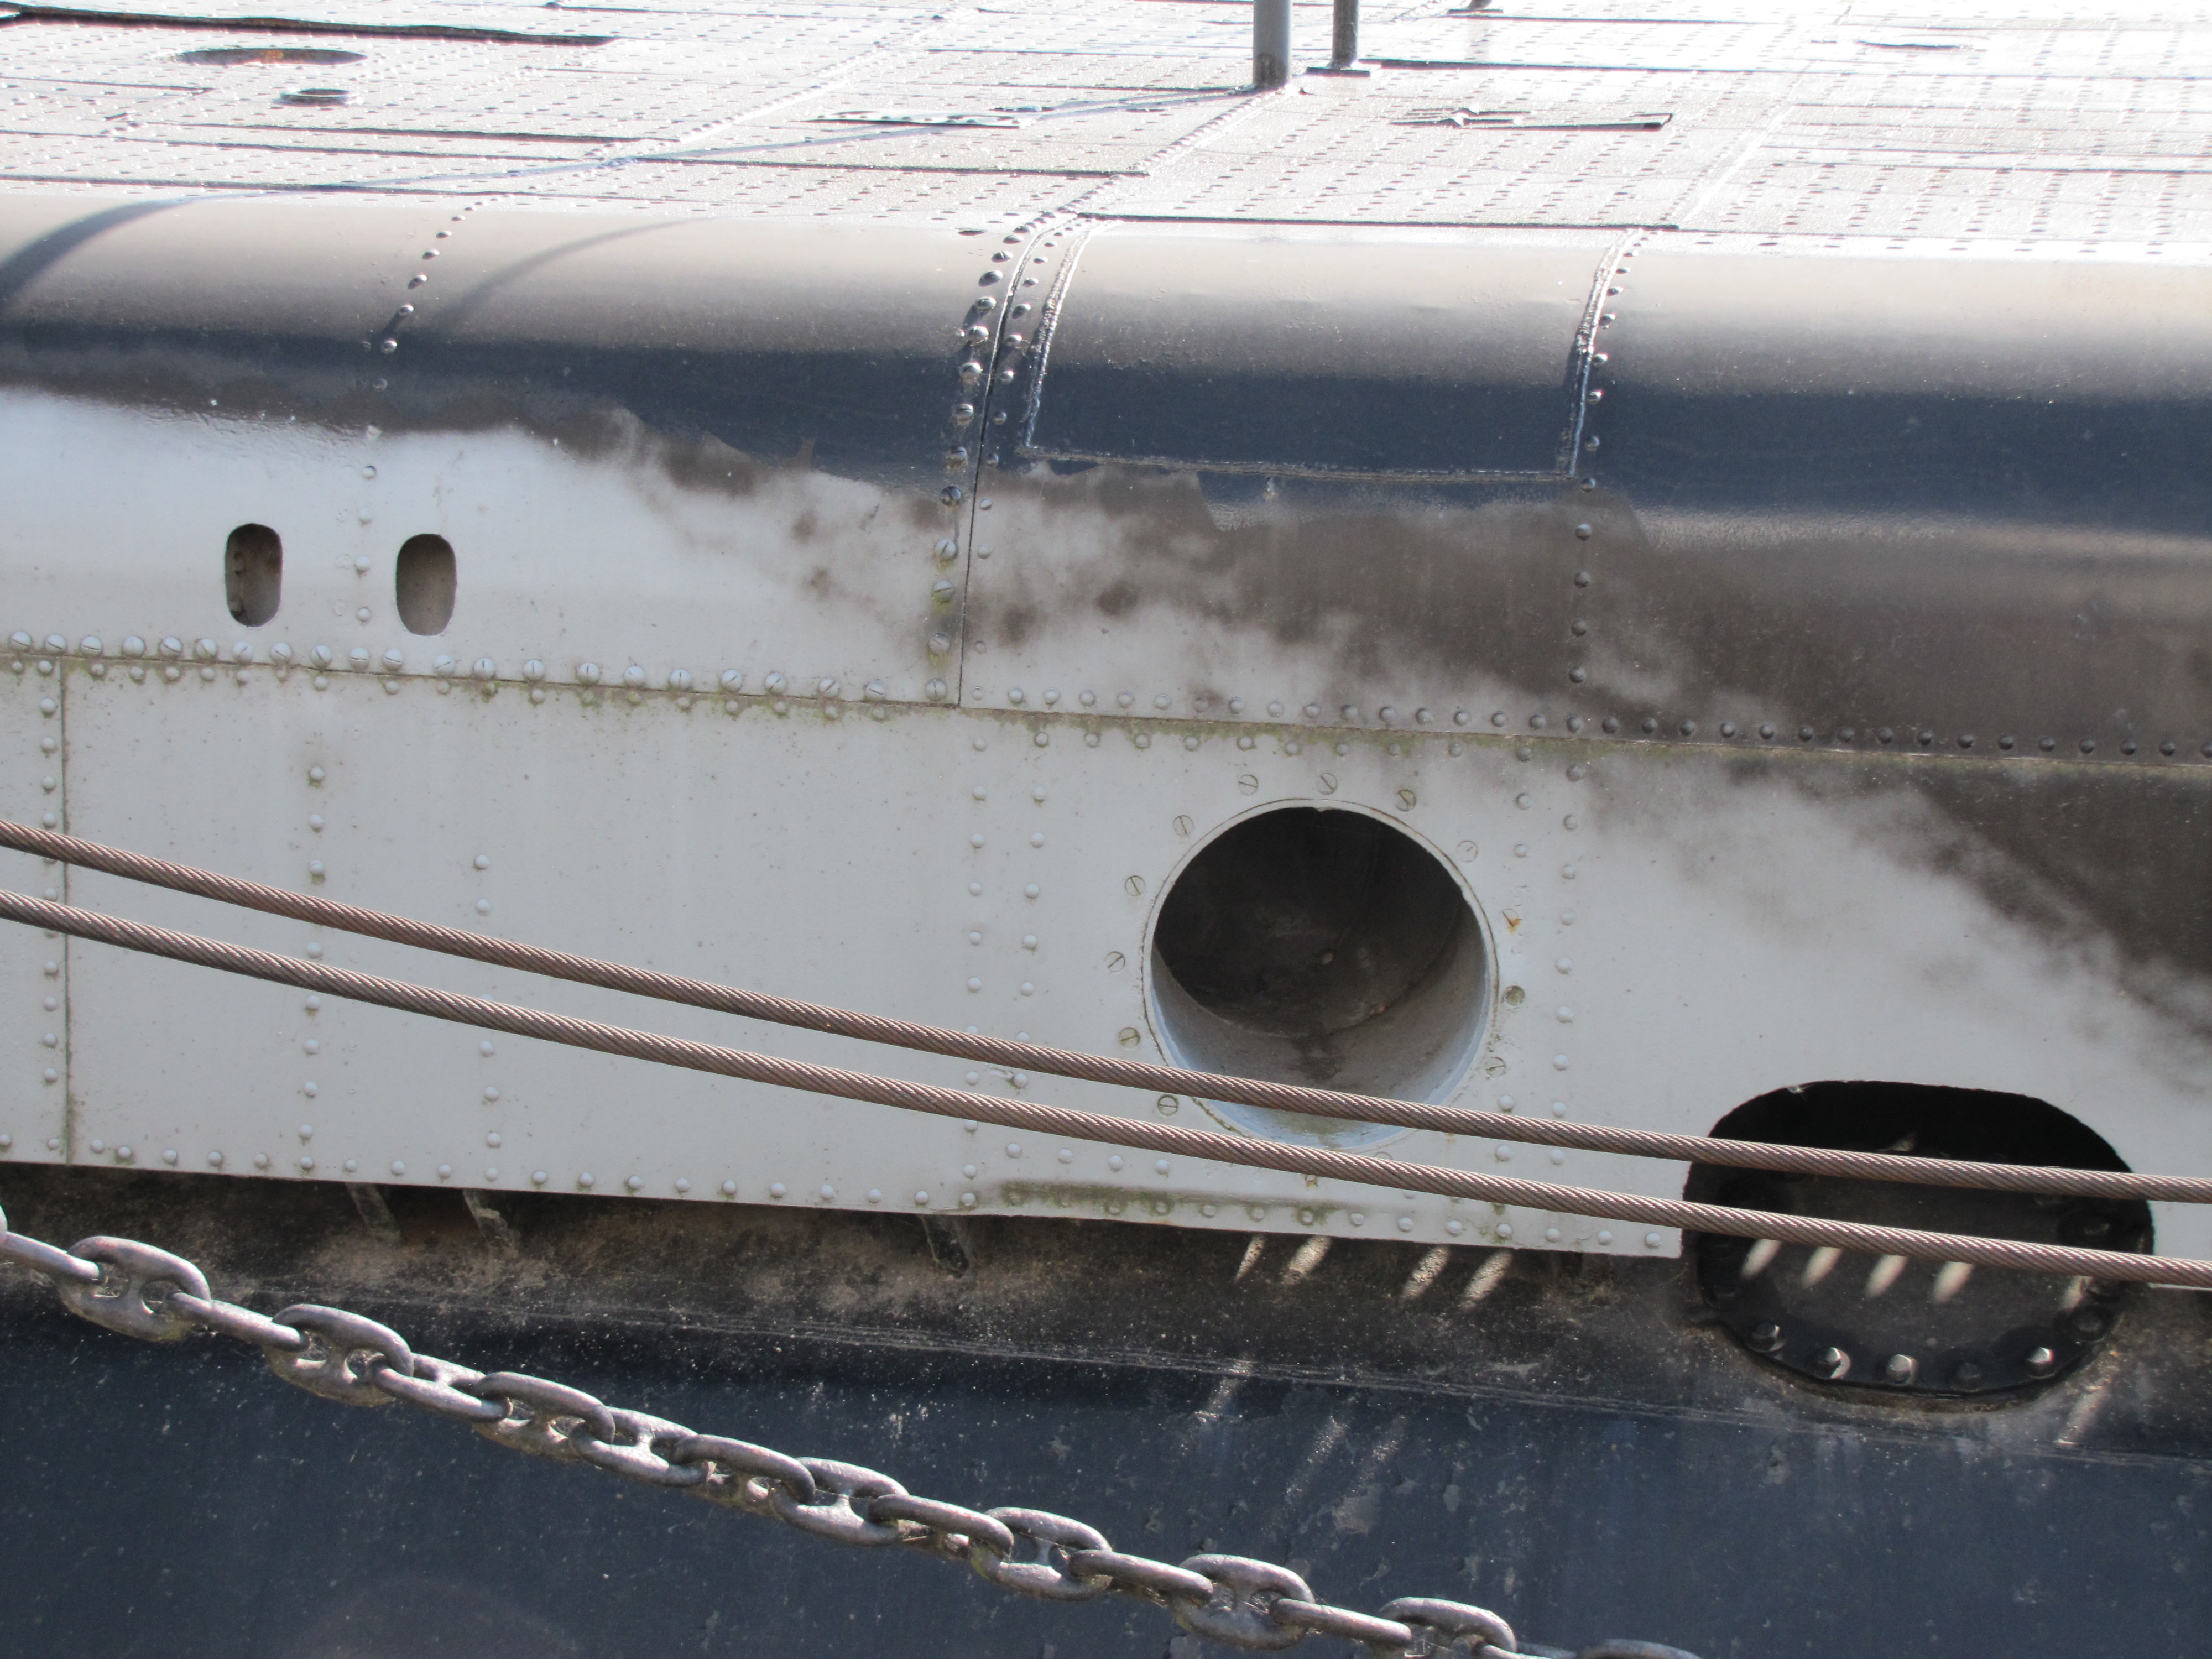
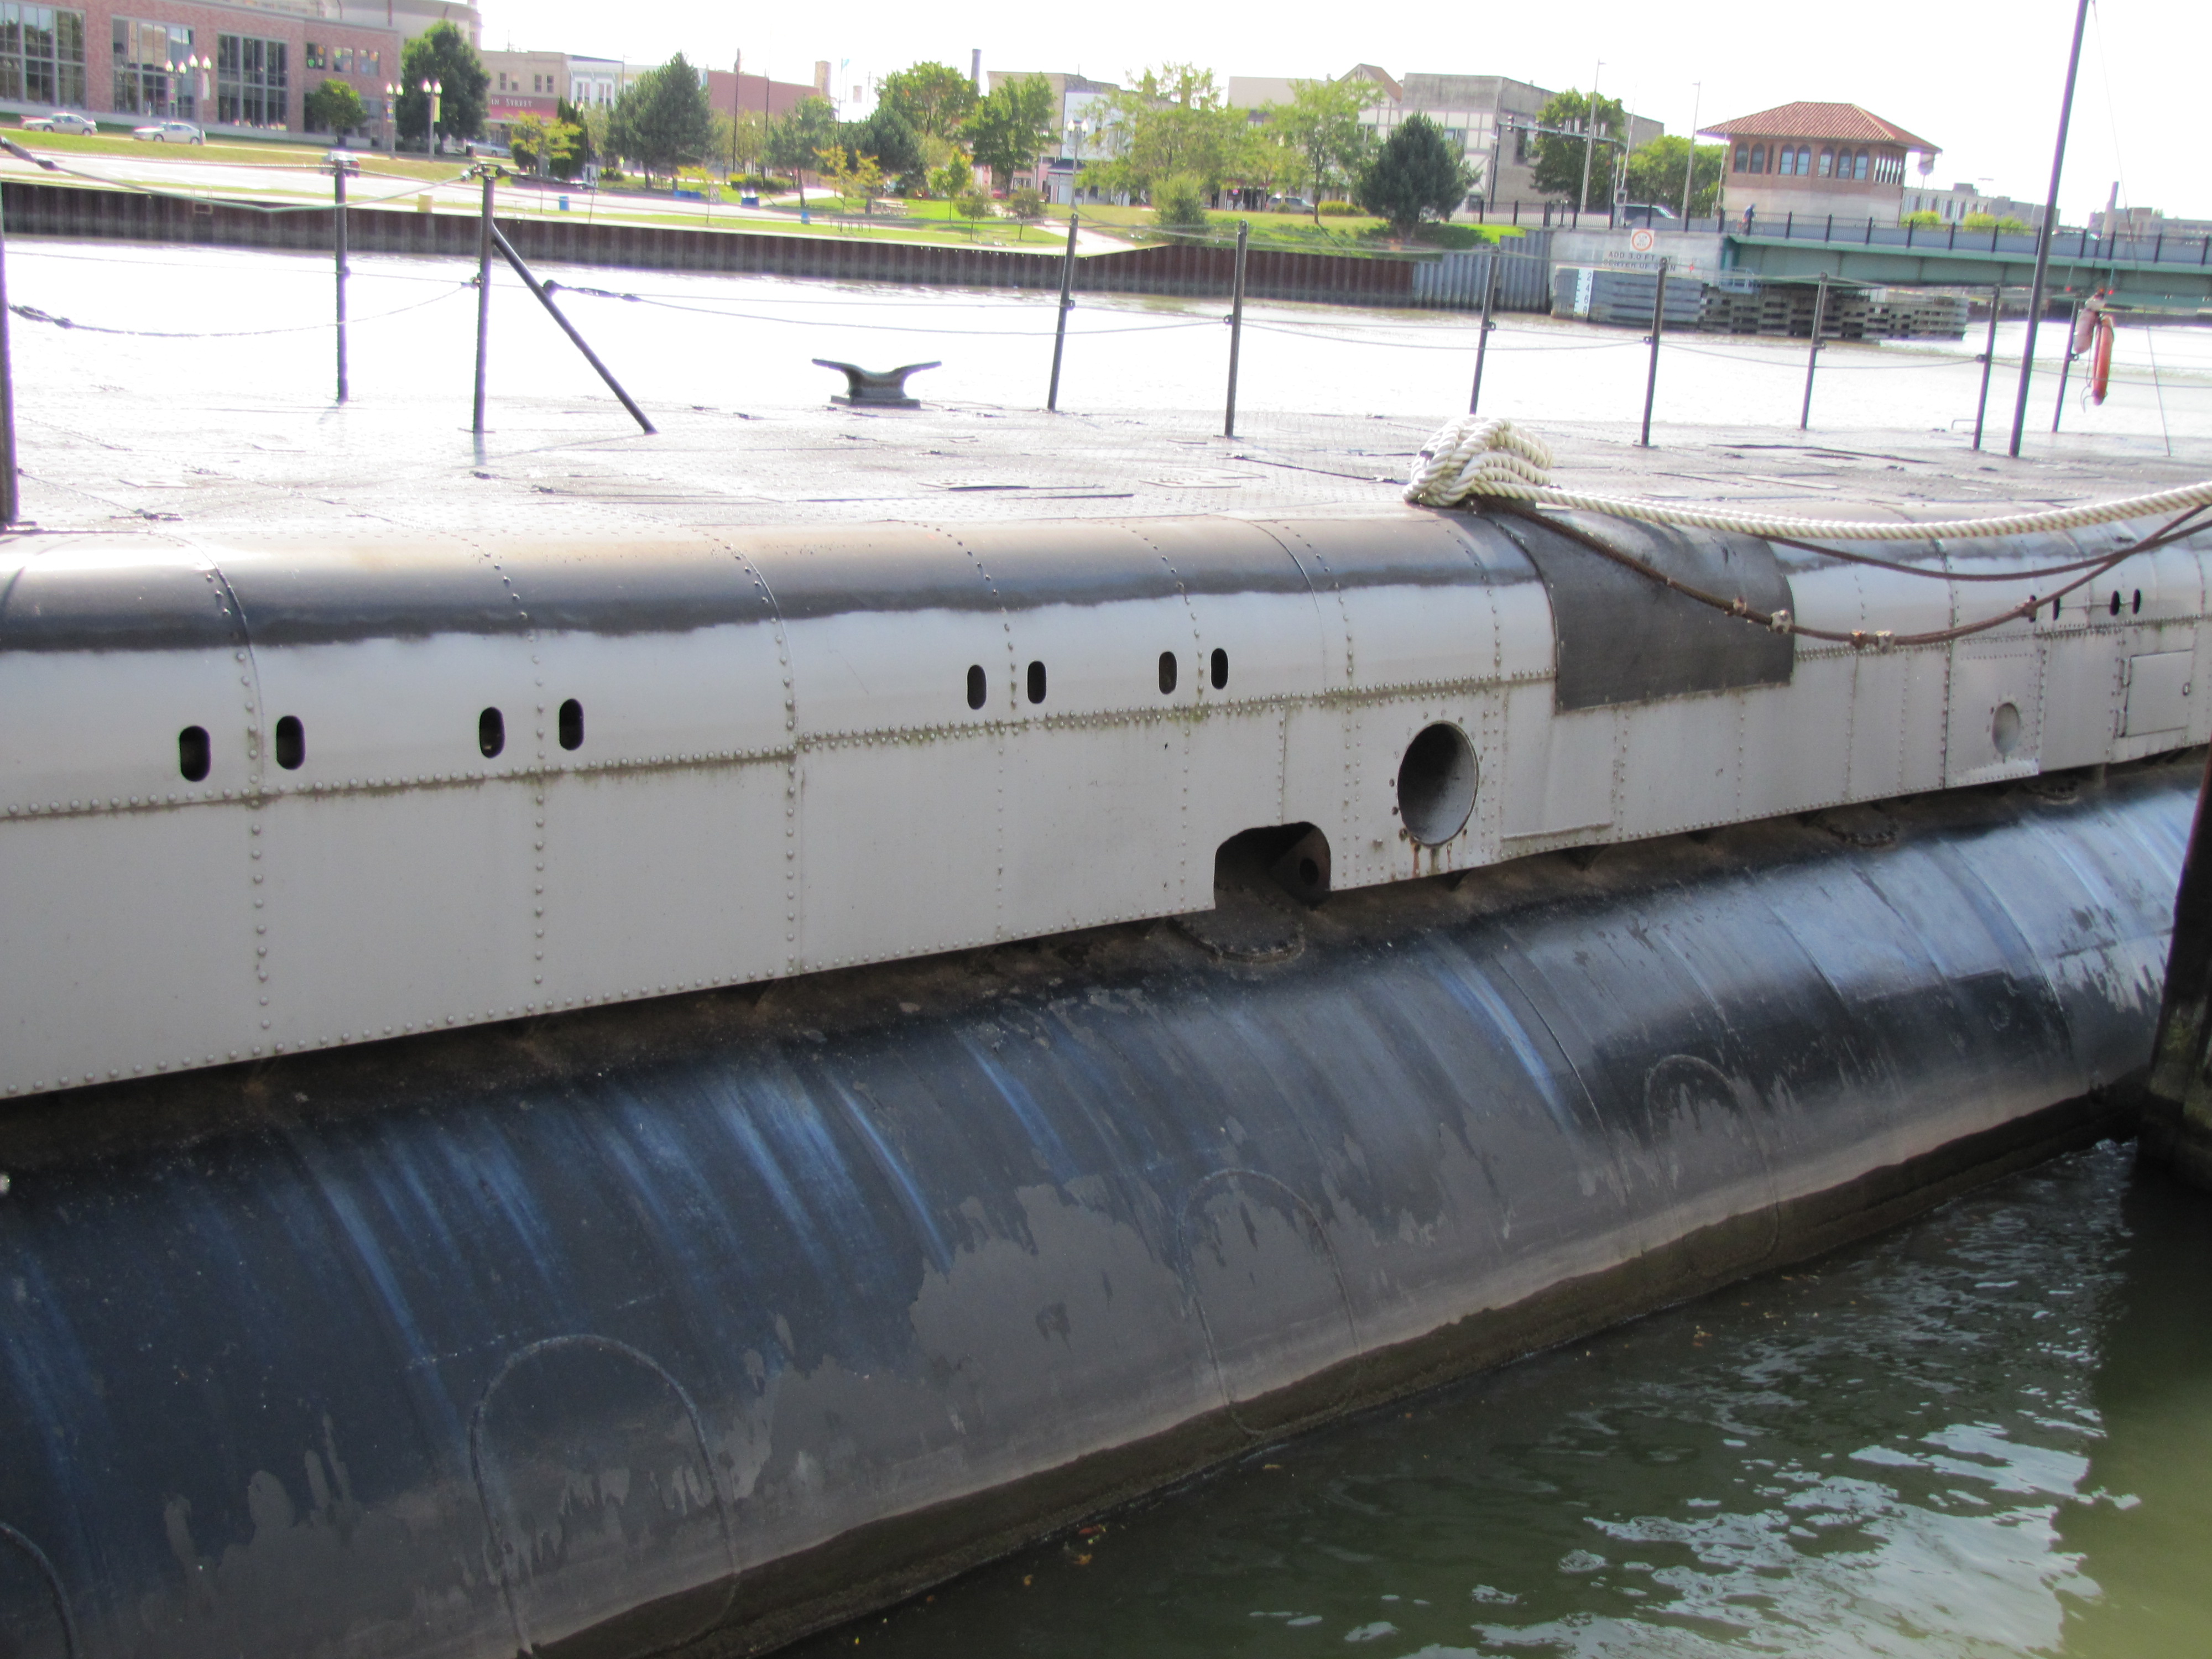
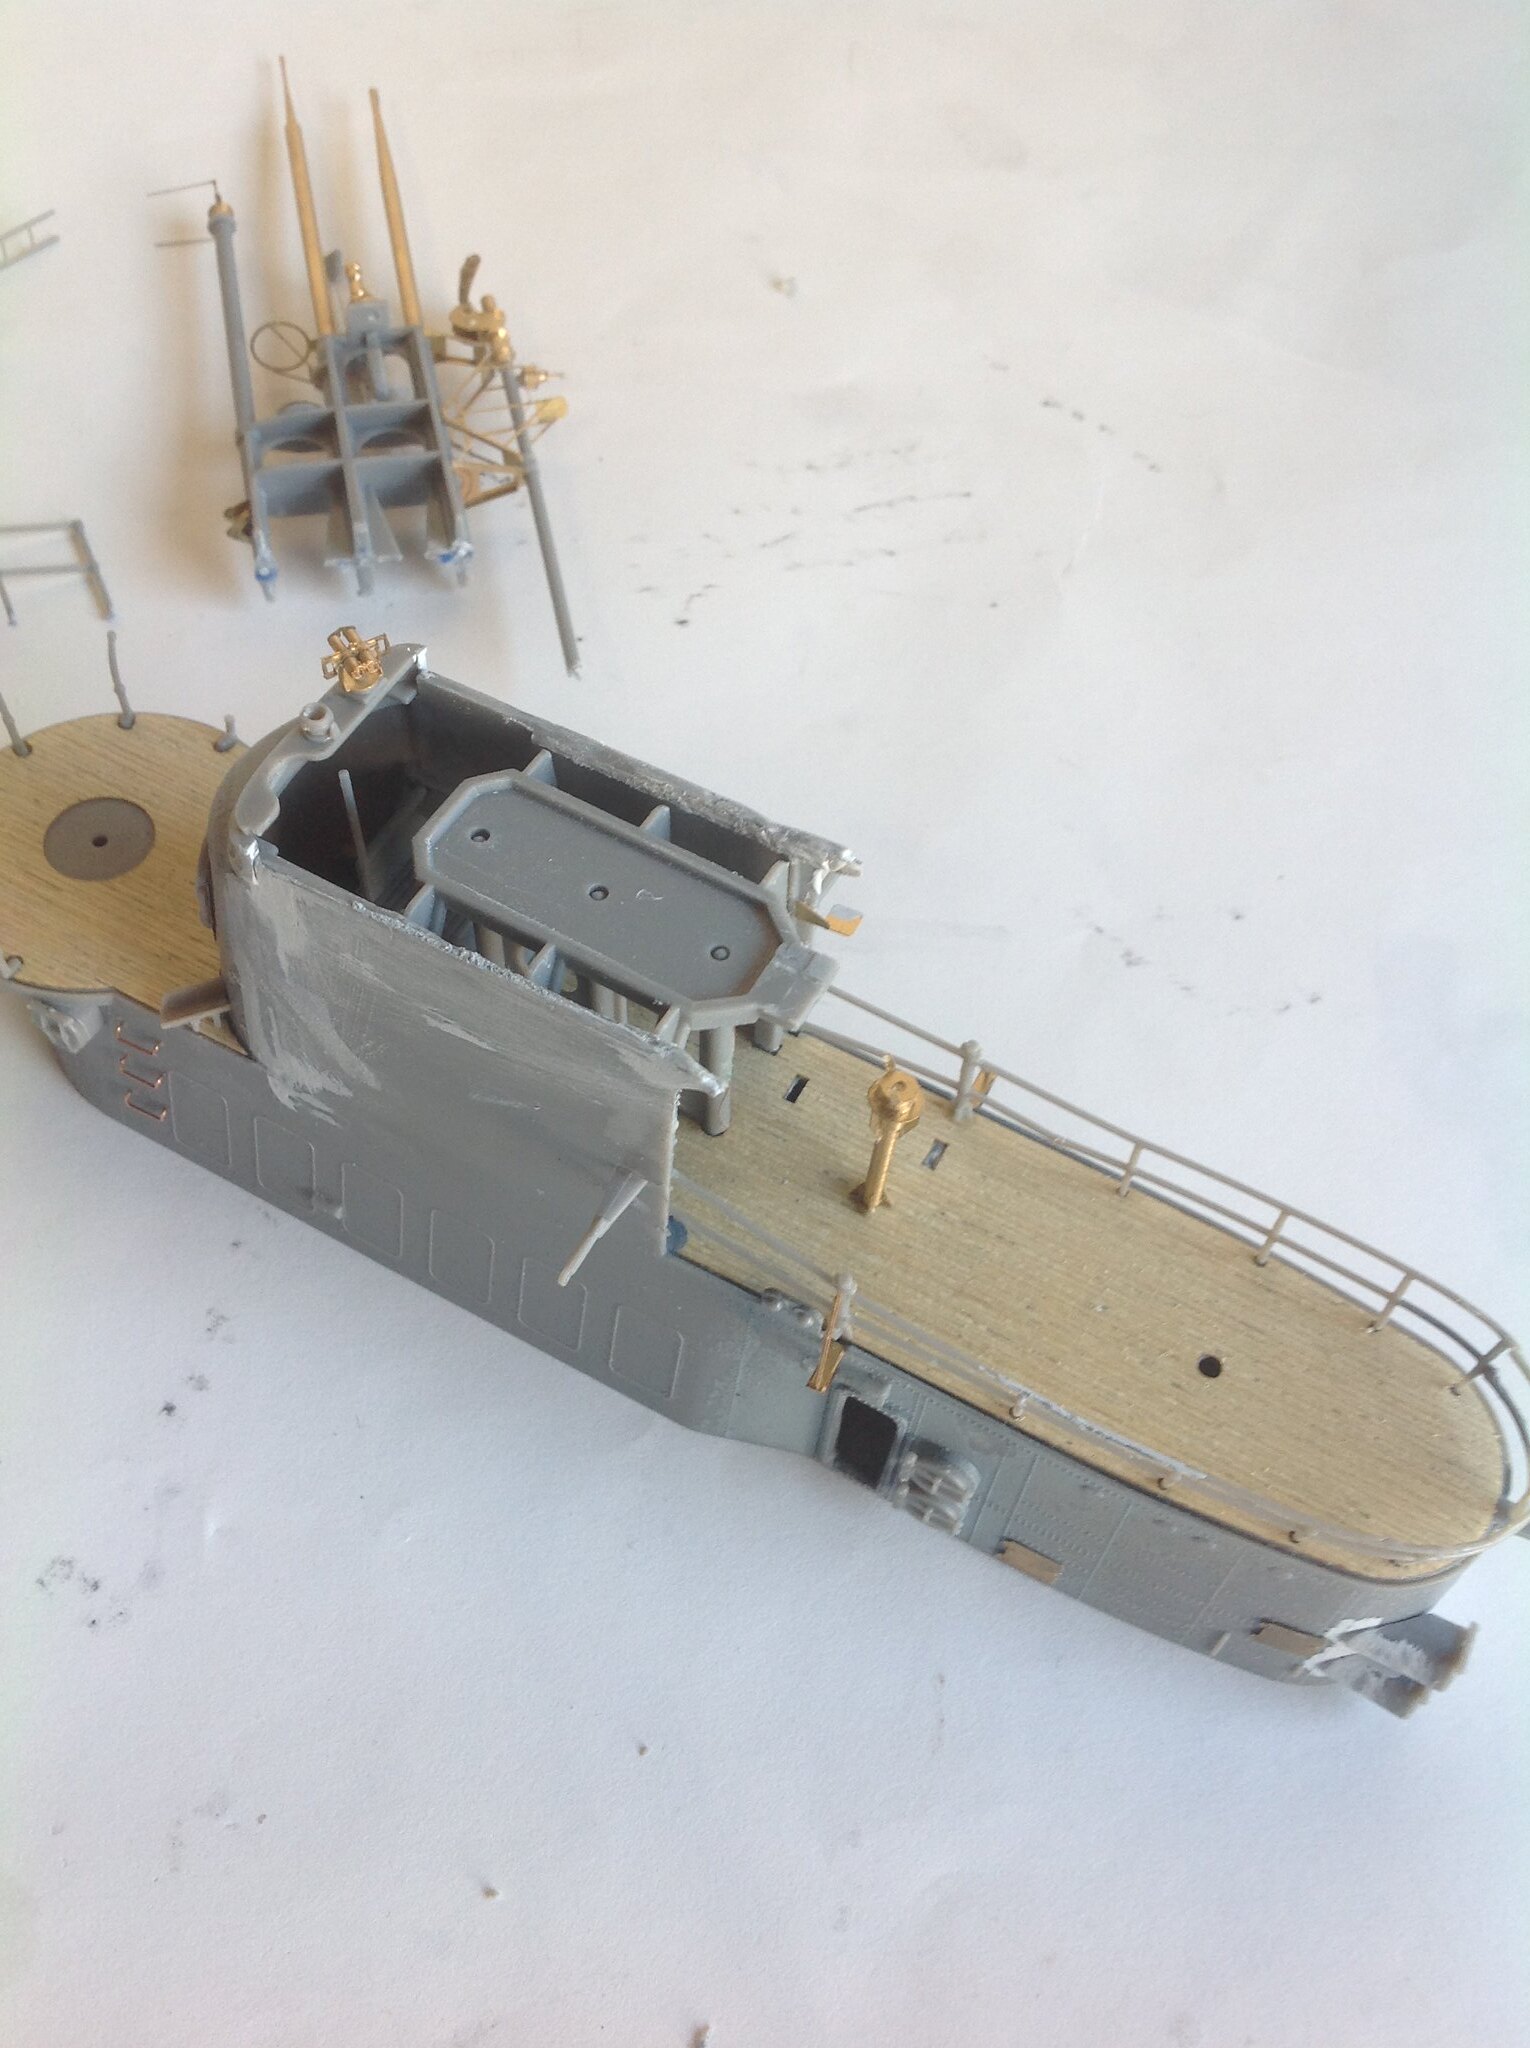
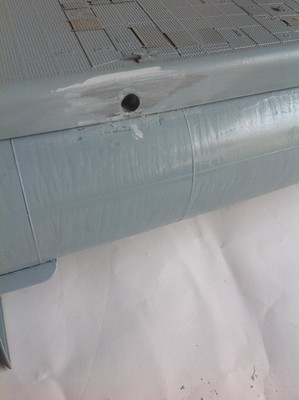
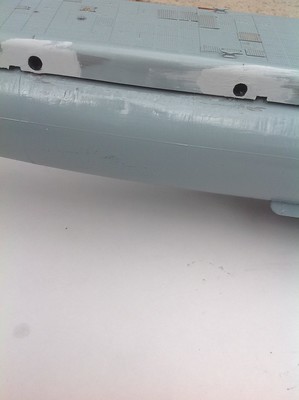
Have fun with that! I haven’t even gotten to detailing the hull yet. As I said earlier, the torpedo doors needed a total redo, at least for the boat I’m doing. I’m drilling drain holes as well, but it’s these:
Easy enough to do, but not easy to do well. You just have to be off by a tiny bit and it’ll be noticeable.
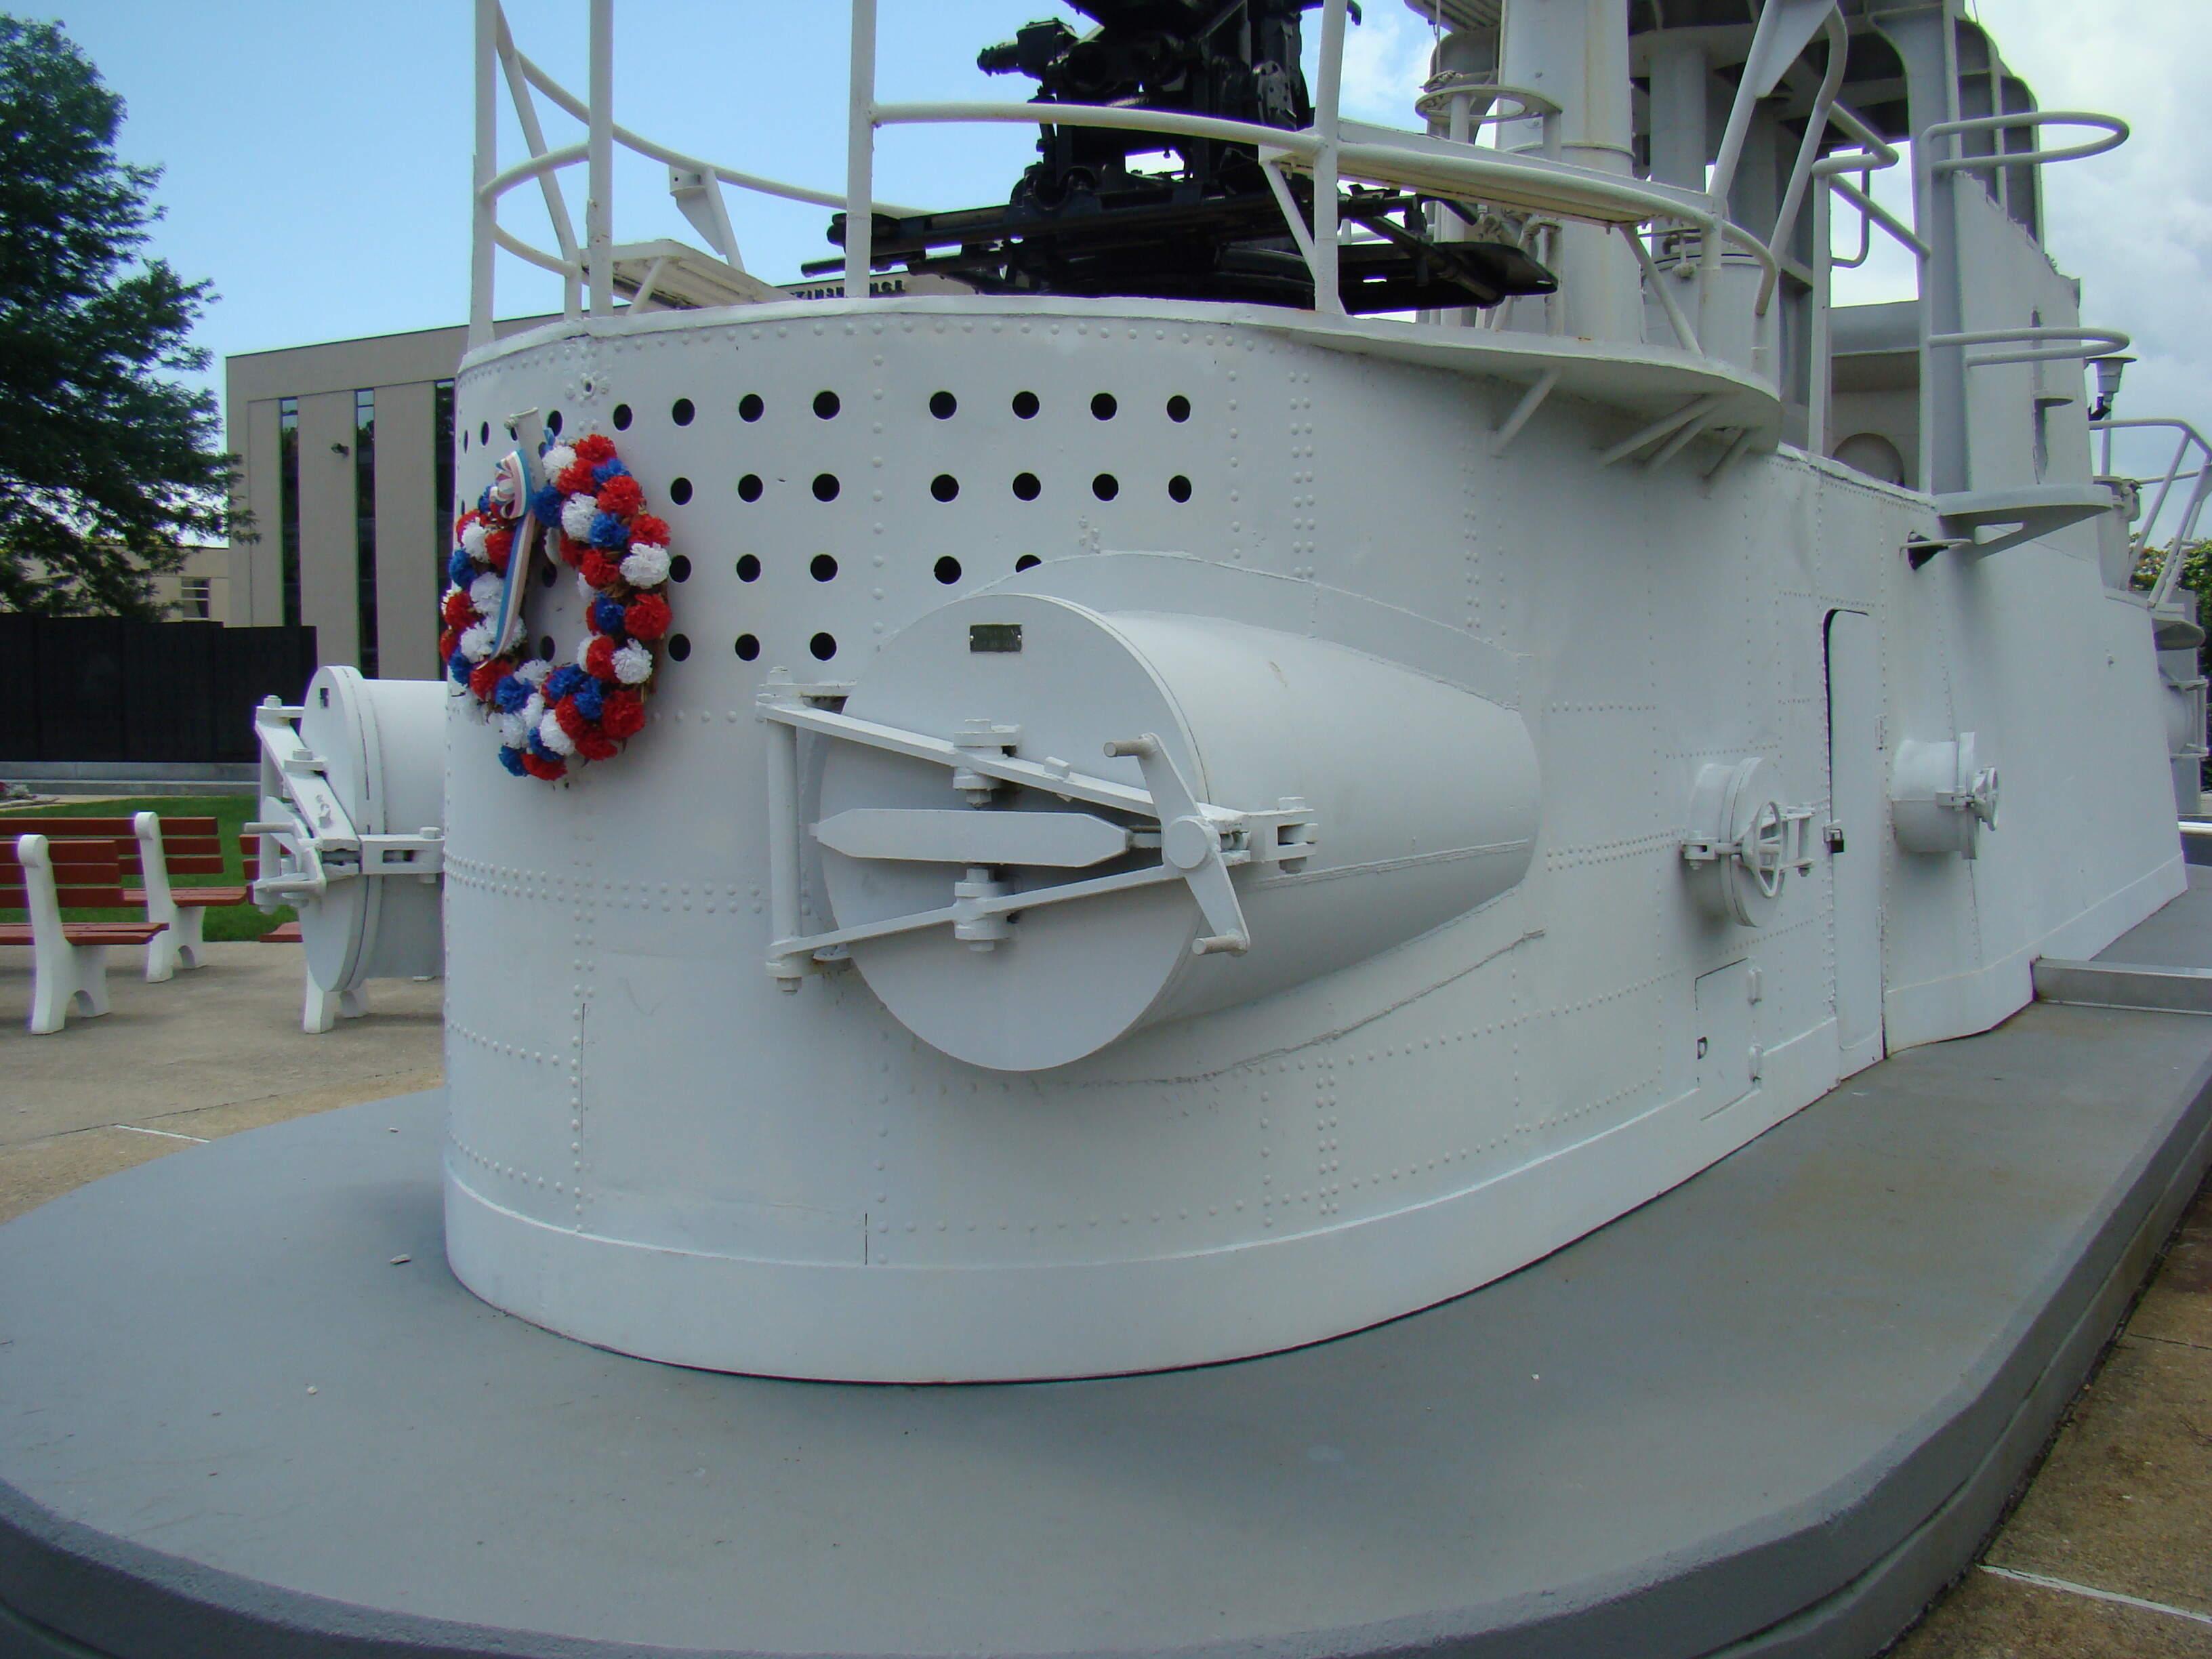
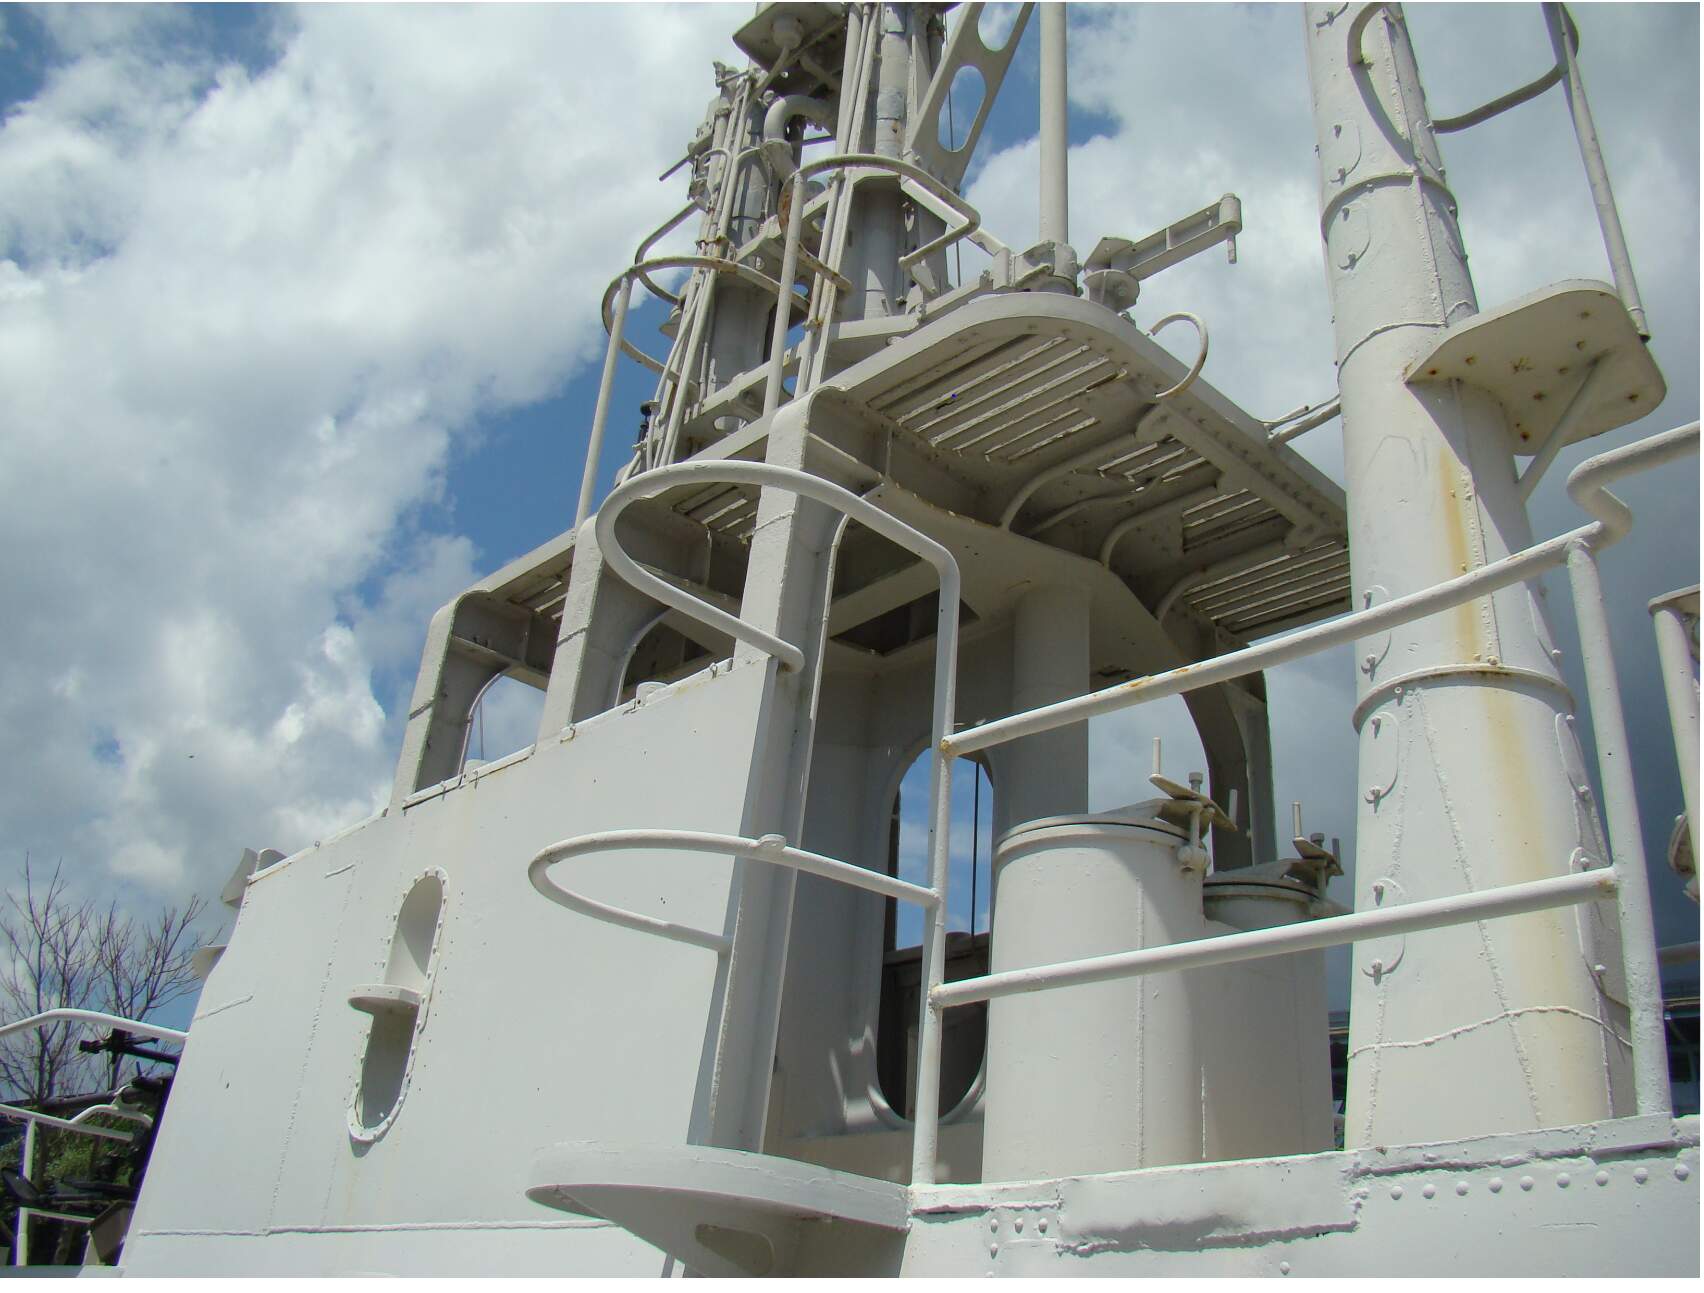
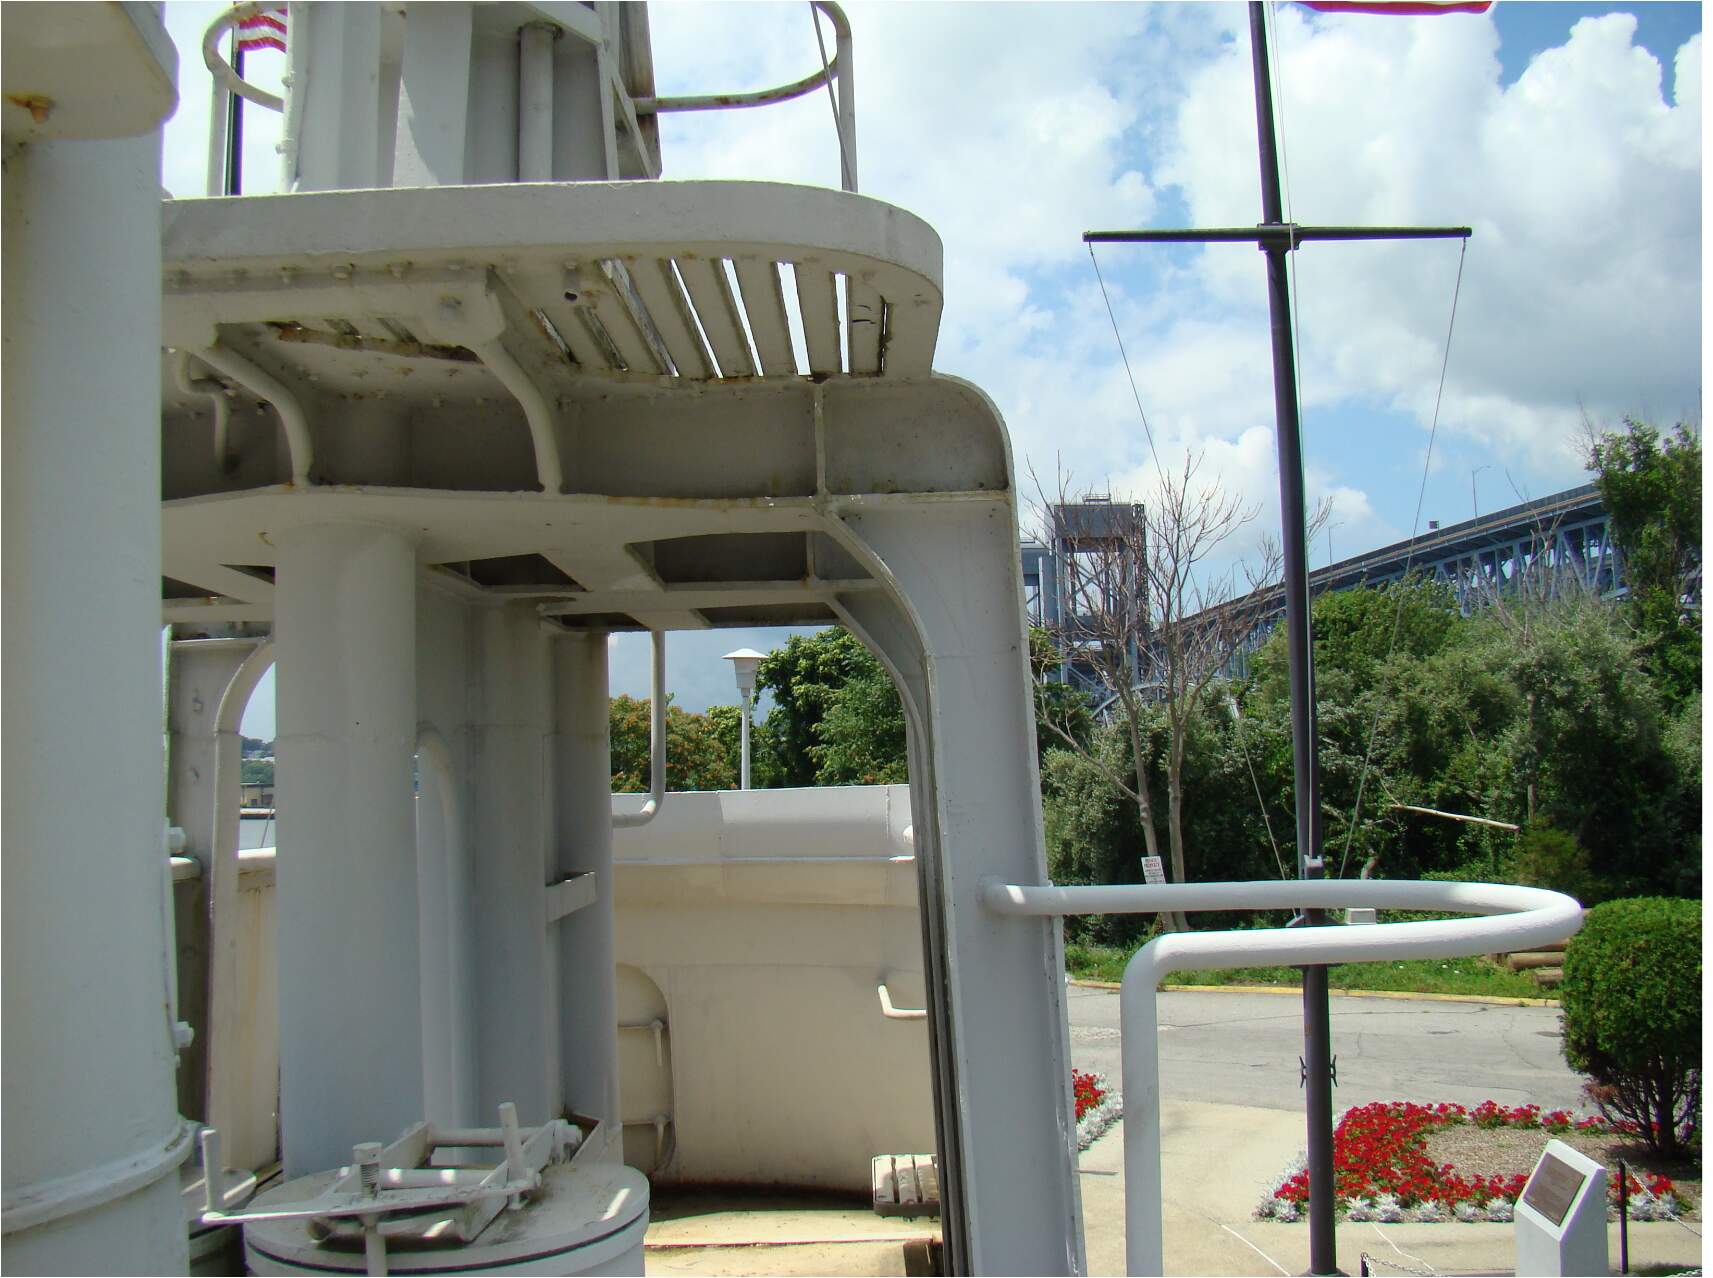
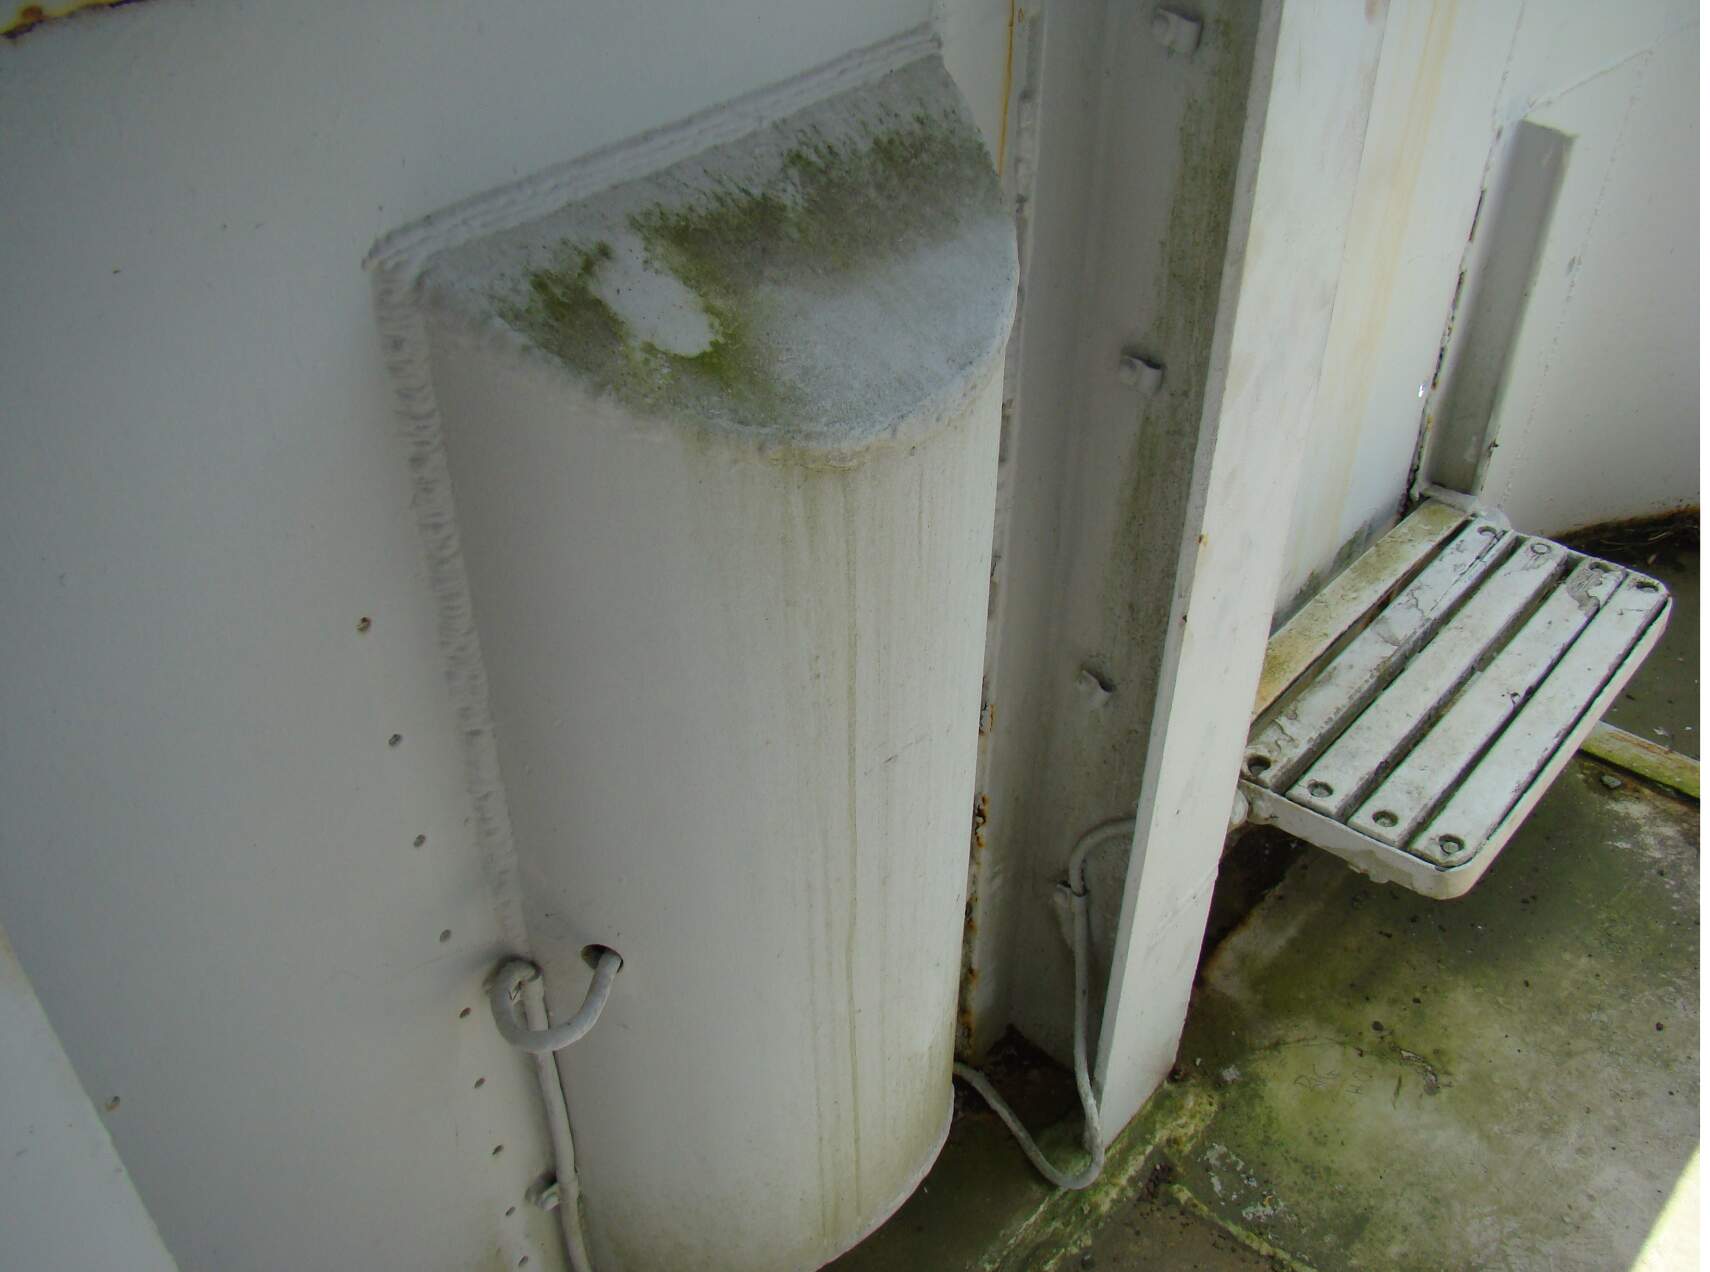
Actually, I’m more and more disenchanted with the kit as I delve into it. The fairwater is just plain wrong no matter which boat it’s supposed to represent. Even given the fact the locker arrangement is vastly different than the ones on the Flasher, (as evident in the same photo) the kit adds detail that is not even there, i.e. the six large rectangular raised hatch outlines on each lower side of the fairwater, and leaves out very prominent detail such as the planking on the upper portions of the fairwater.
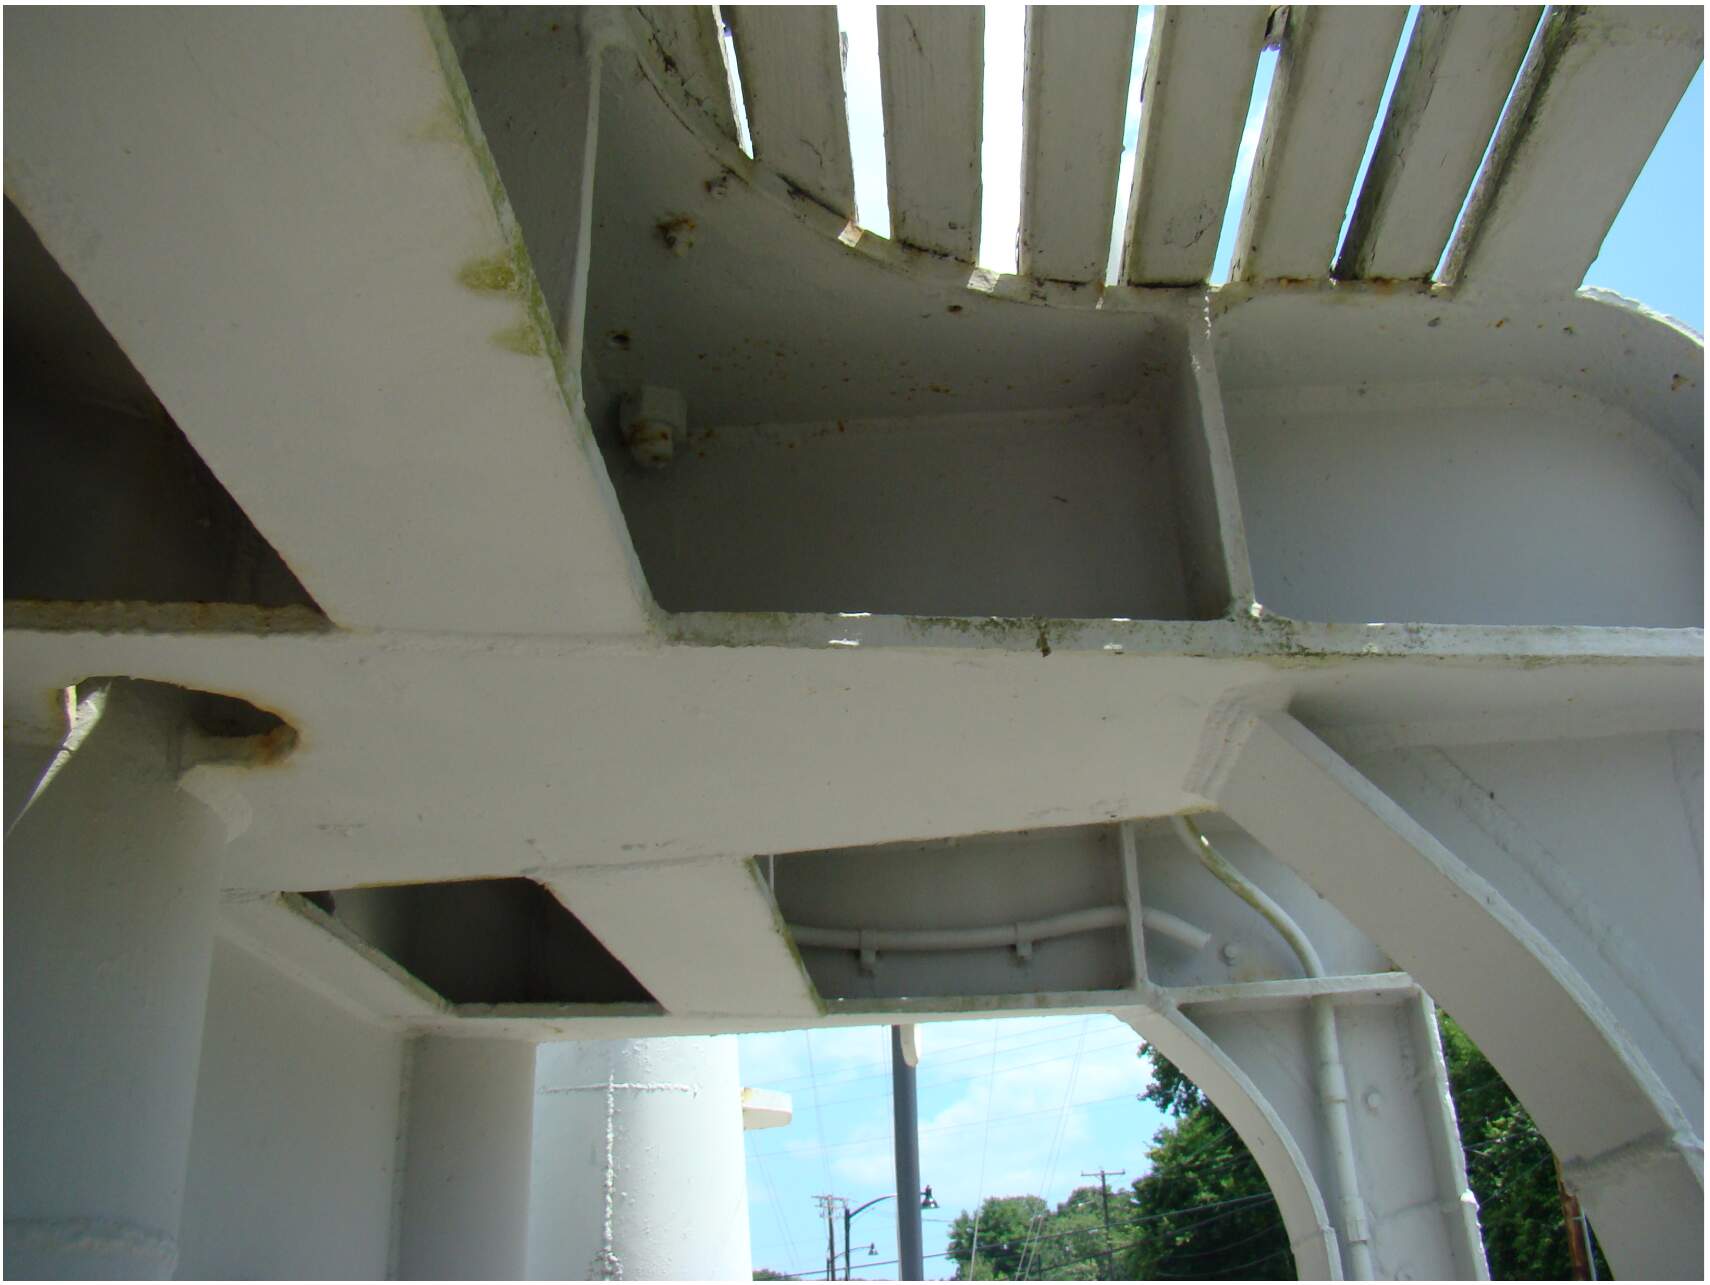
Not to mention the supports are poorly shaped. Again, I look forward to seeing how yours turns out. I’m still working on it in yearly spurts here and there , and have to force myself to even do that.
No Ski, not fun for me anyway.
PS: That brass looks great.
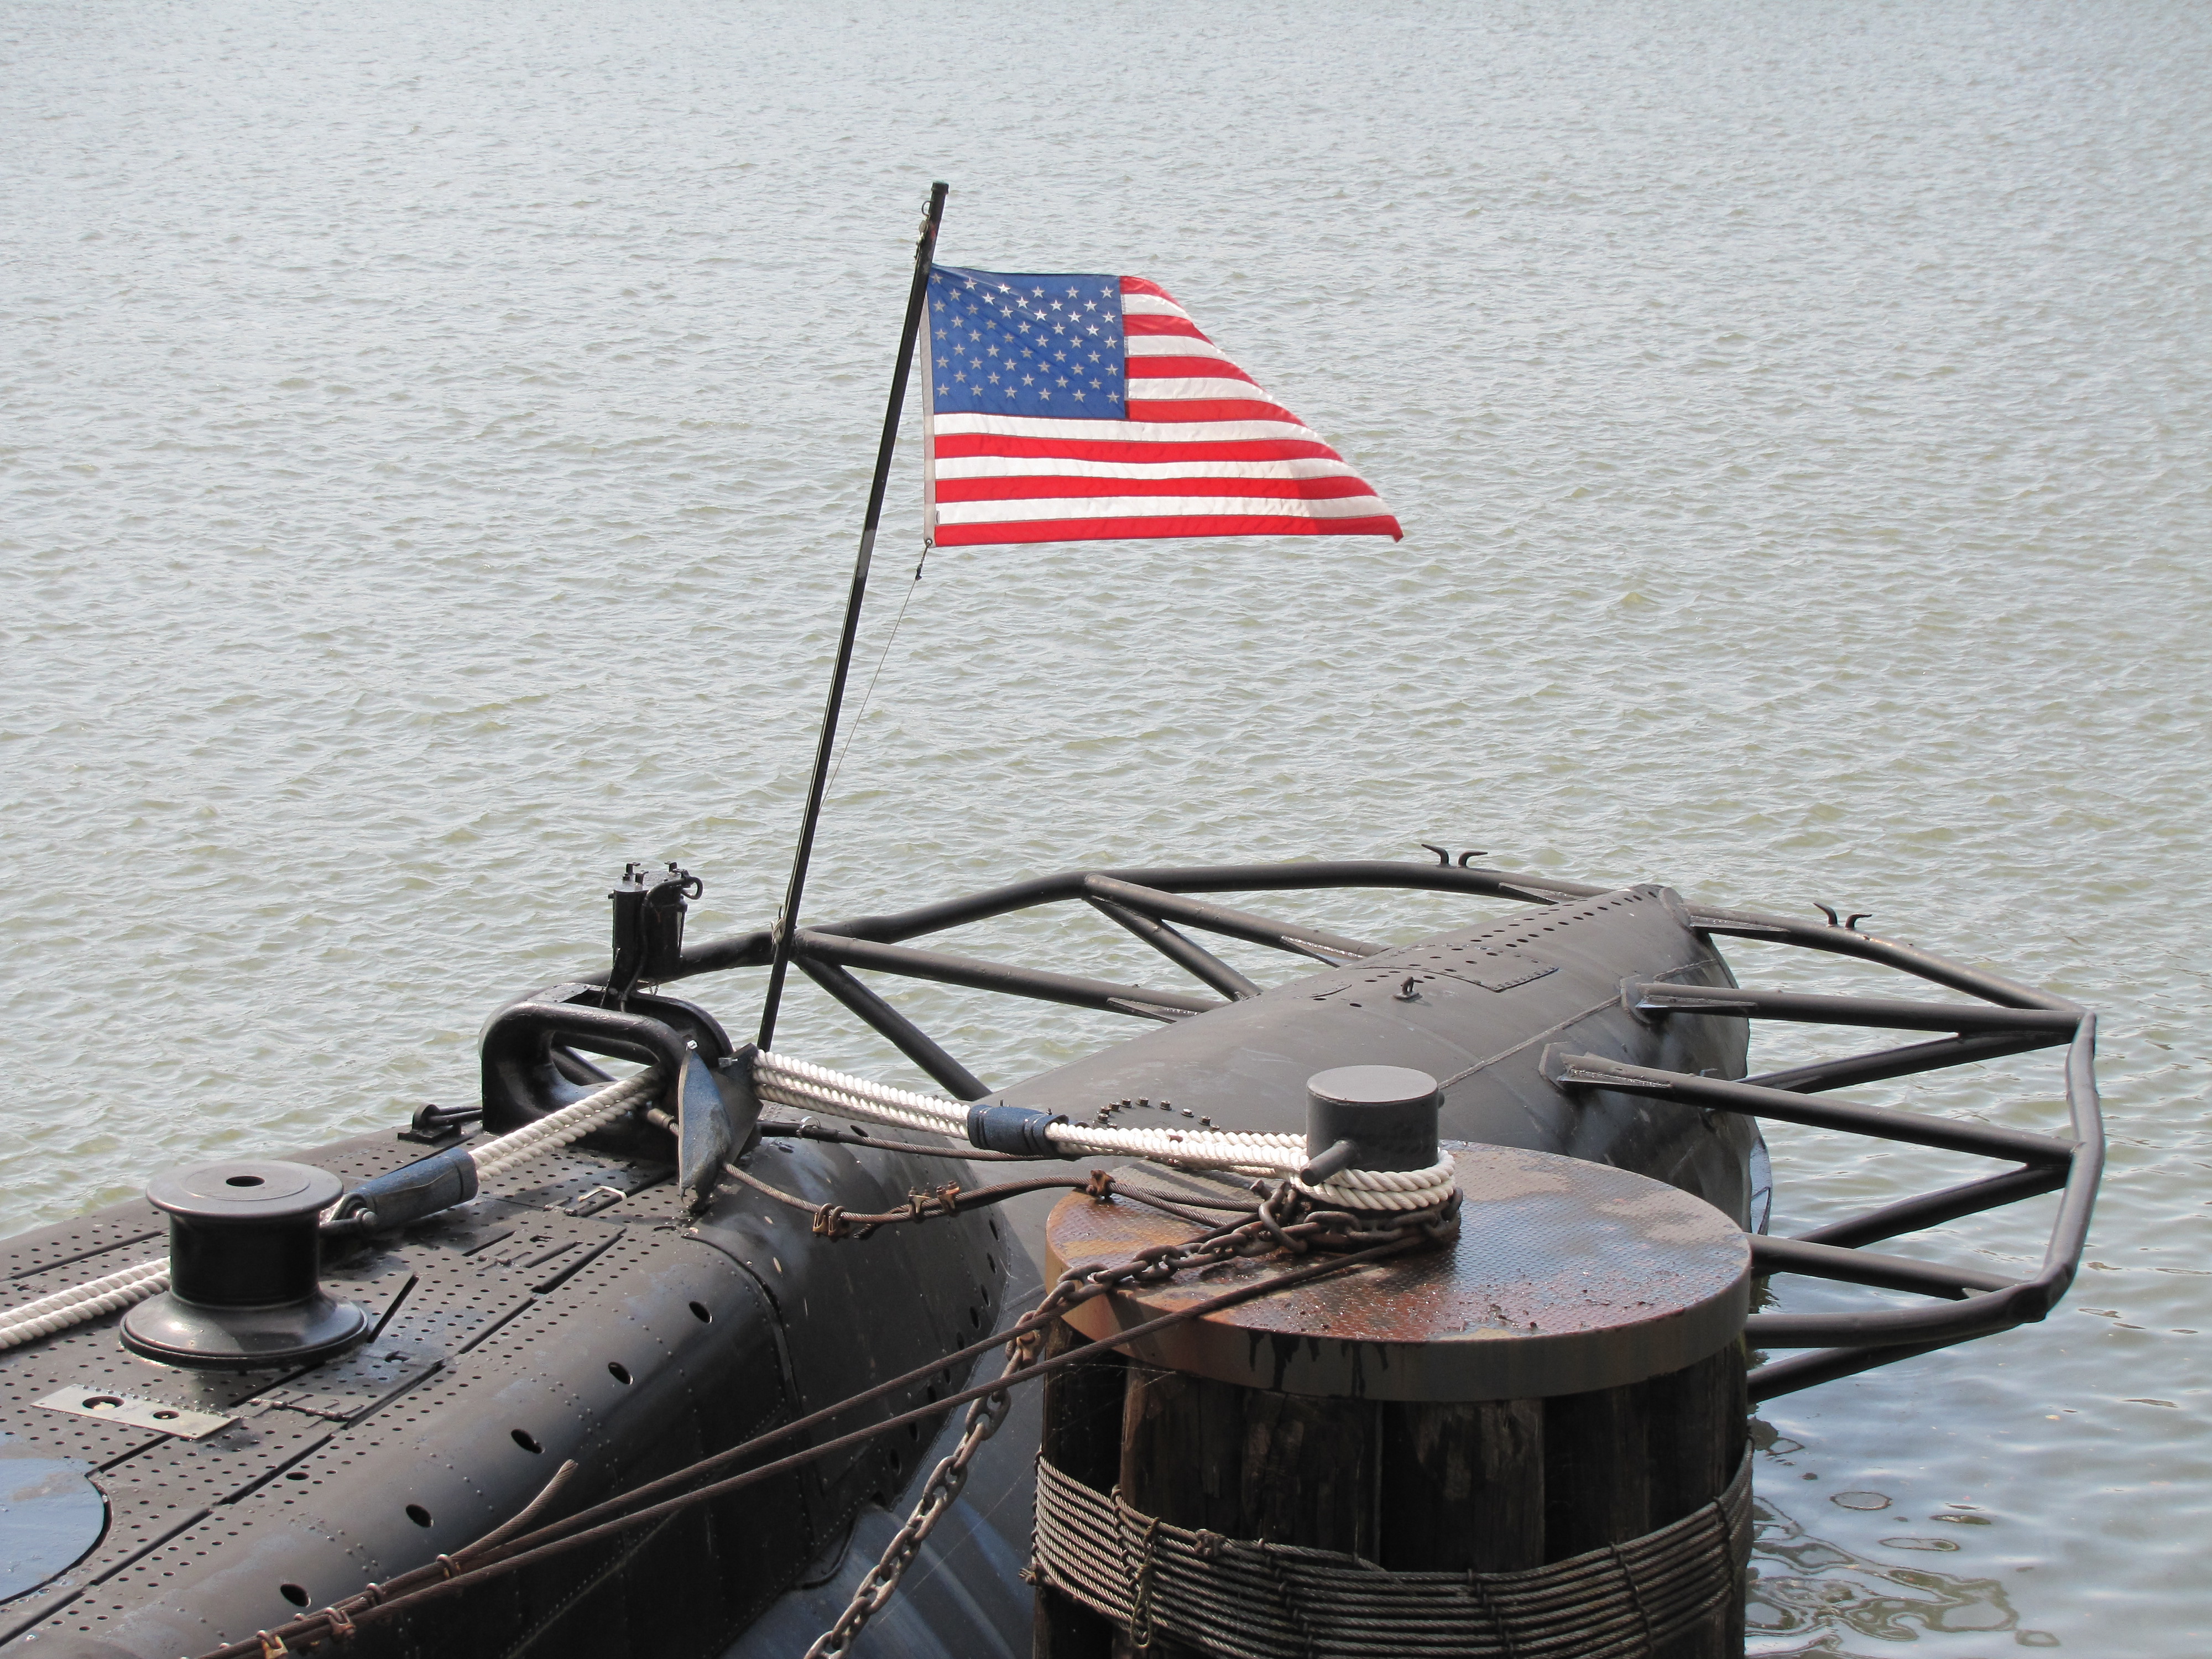
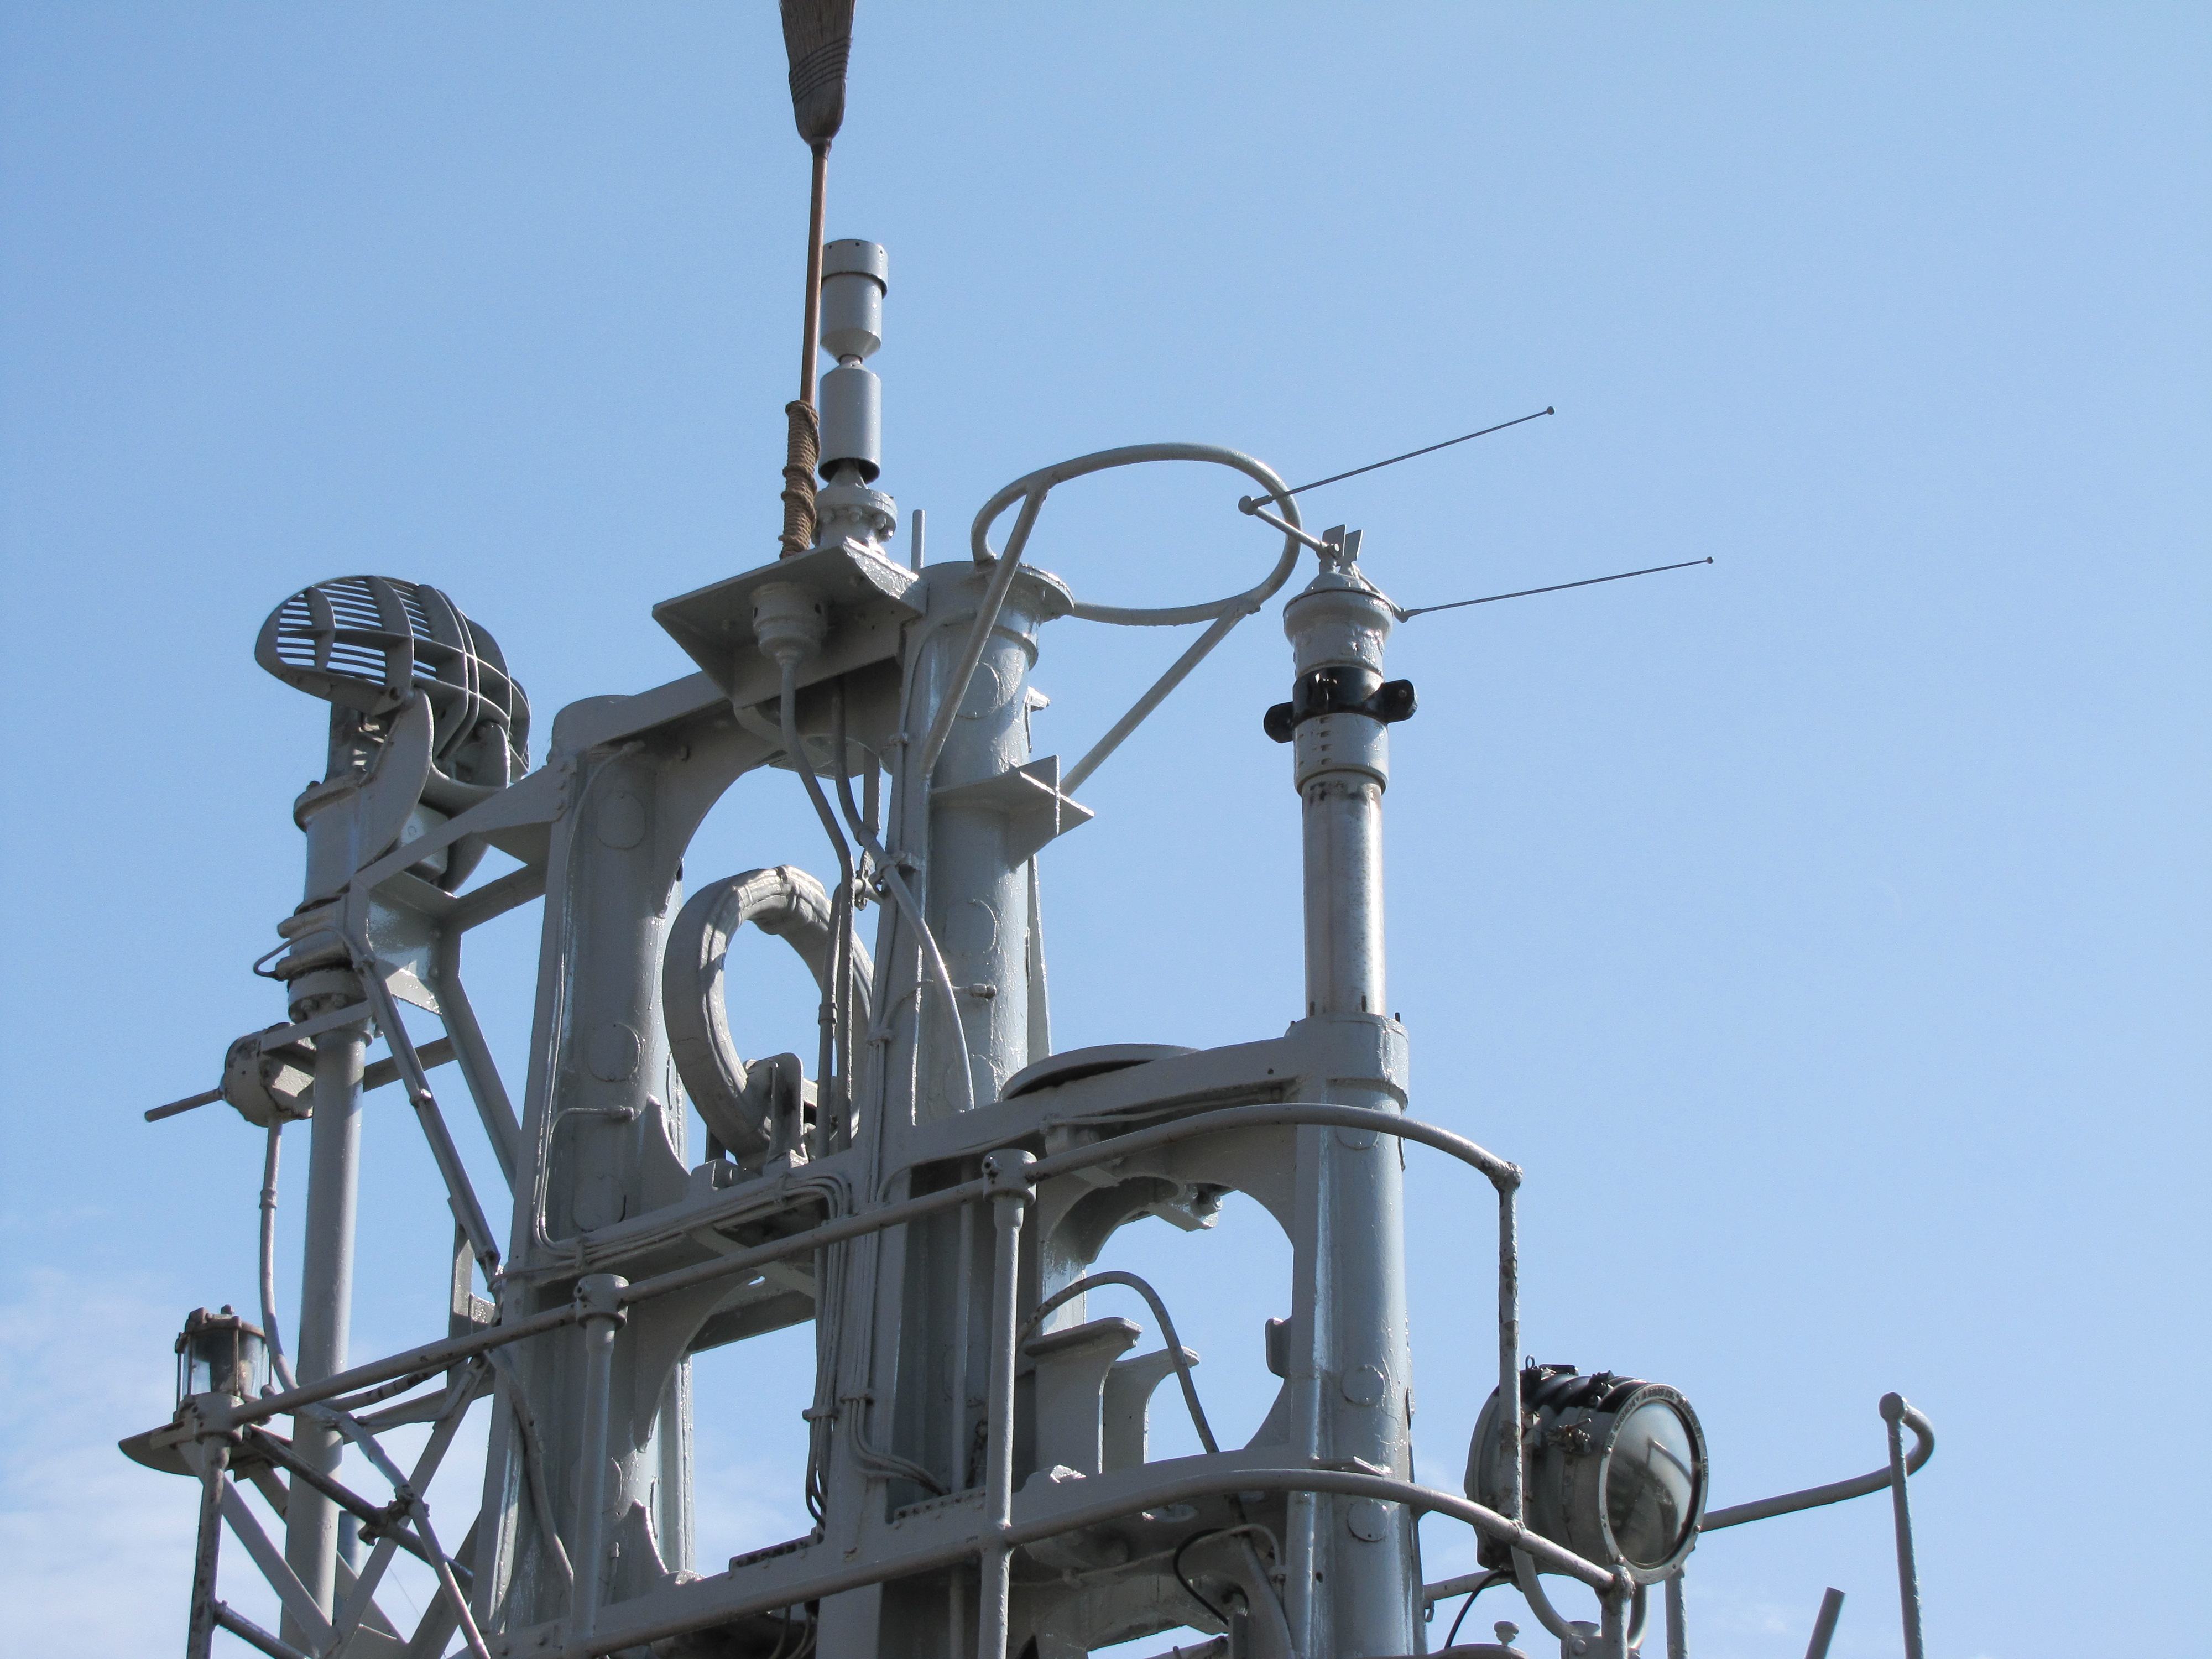
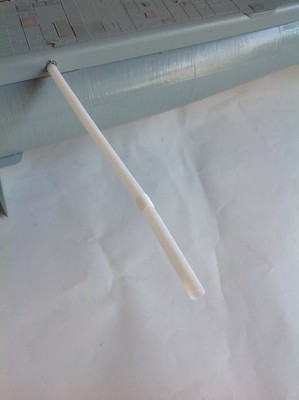
Haha actually i will be adding 1 or 2 more details to the sail Ski, I will be scratch building a new broom to replace the one near the periscopes as well as adding a couple more wires! The broom in the kit is pretty much a shapeless blob when it should look more like the picture below.
P.S: I agree with 18 Bravo this is not a fun build, at least the building and detailing part… Hopefully painting and weathering will be more enjoyable!
I agree with you… This kit is VERYYY inaccurate and only good as a base kit, and if you dont want a very large toy like kit you need to put in a lot of effort! Im not going for 100% accuracy, im just going for enough that if a talented builder looks at it they can see i put in a fair bit off efort! Im now wondering how i can replicate the wood deck on the upper fairwater… If anyone has any good ideas i would love to hear them!
I’m using Evergreen strip.
Oooh that seems like it would work pretty good! What thickness and diameter are you using? Also if you want feel free to post some pics of you doing that! I would love some extra inspiration!
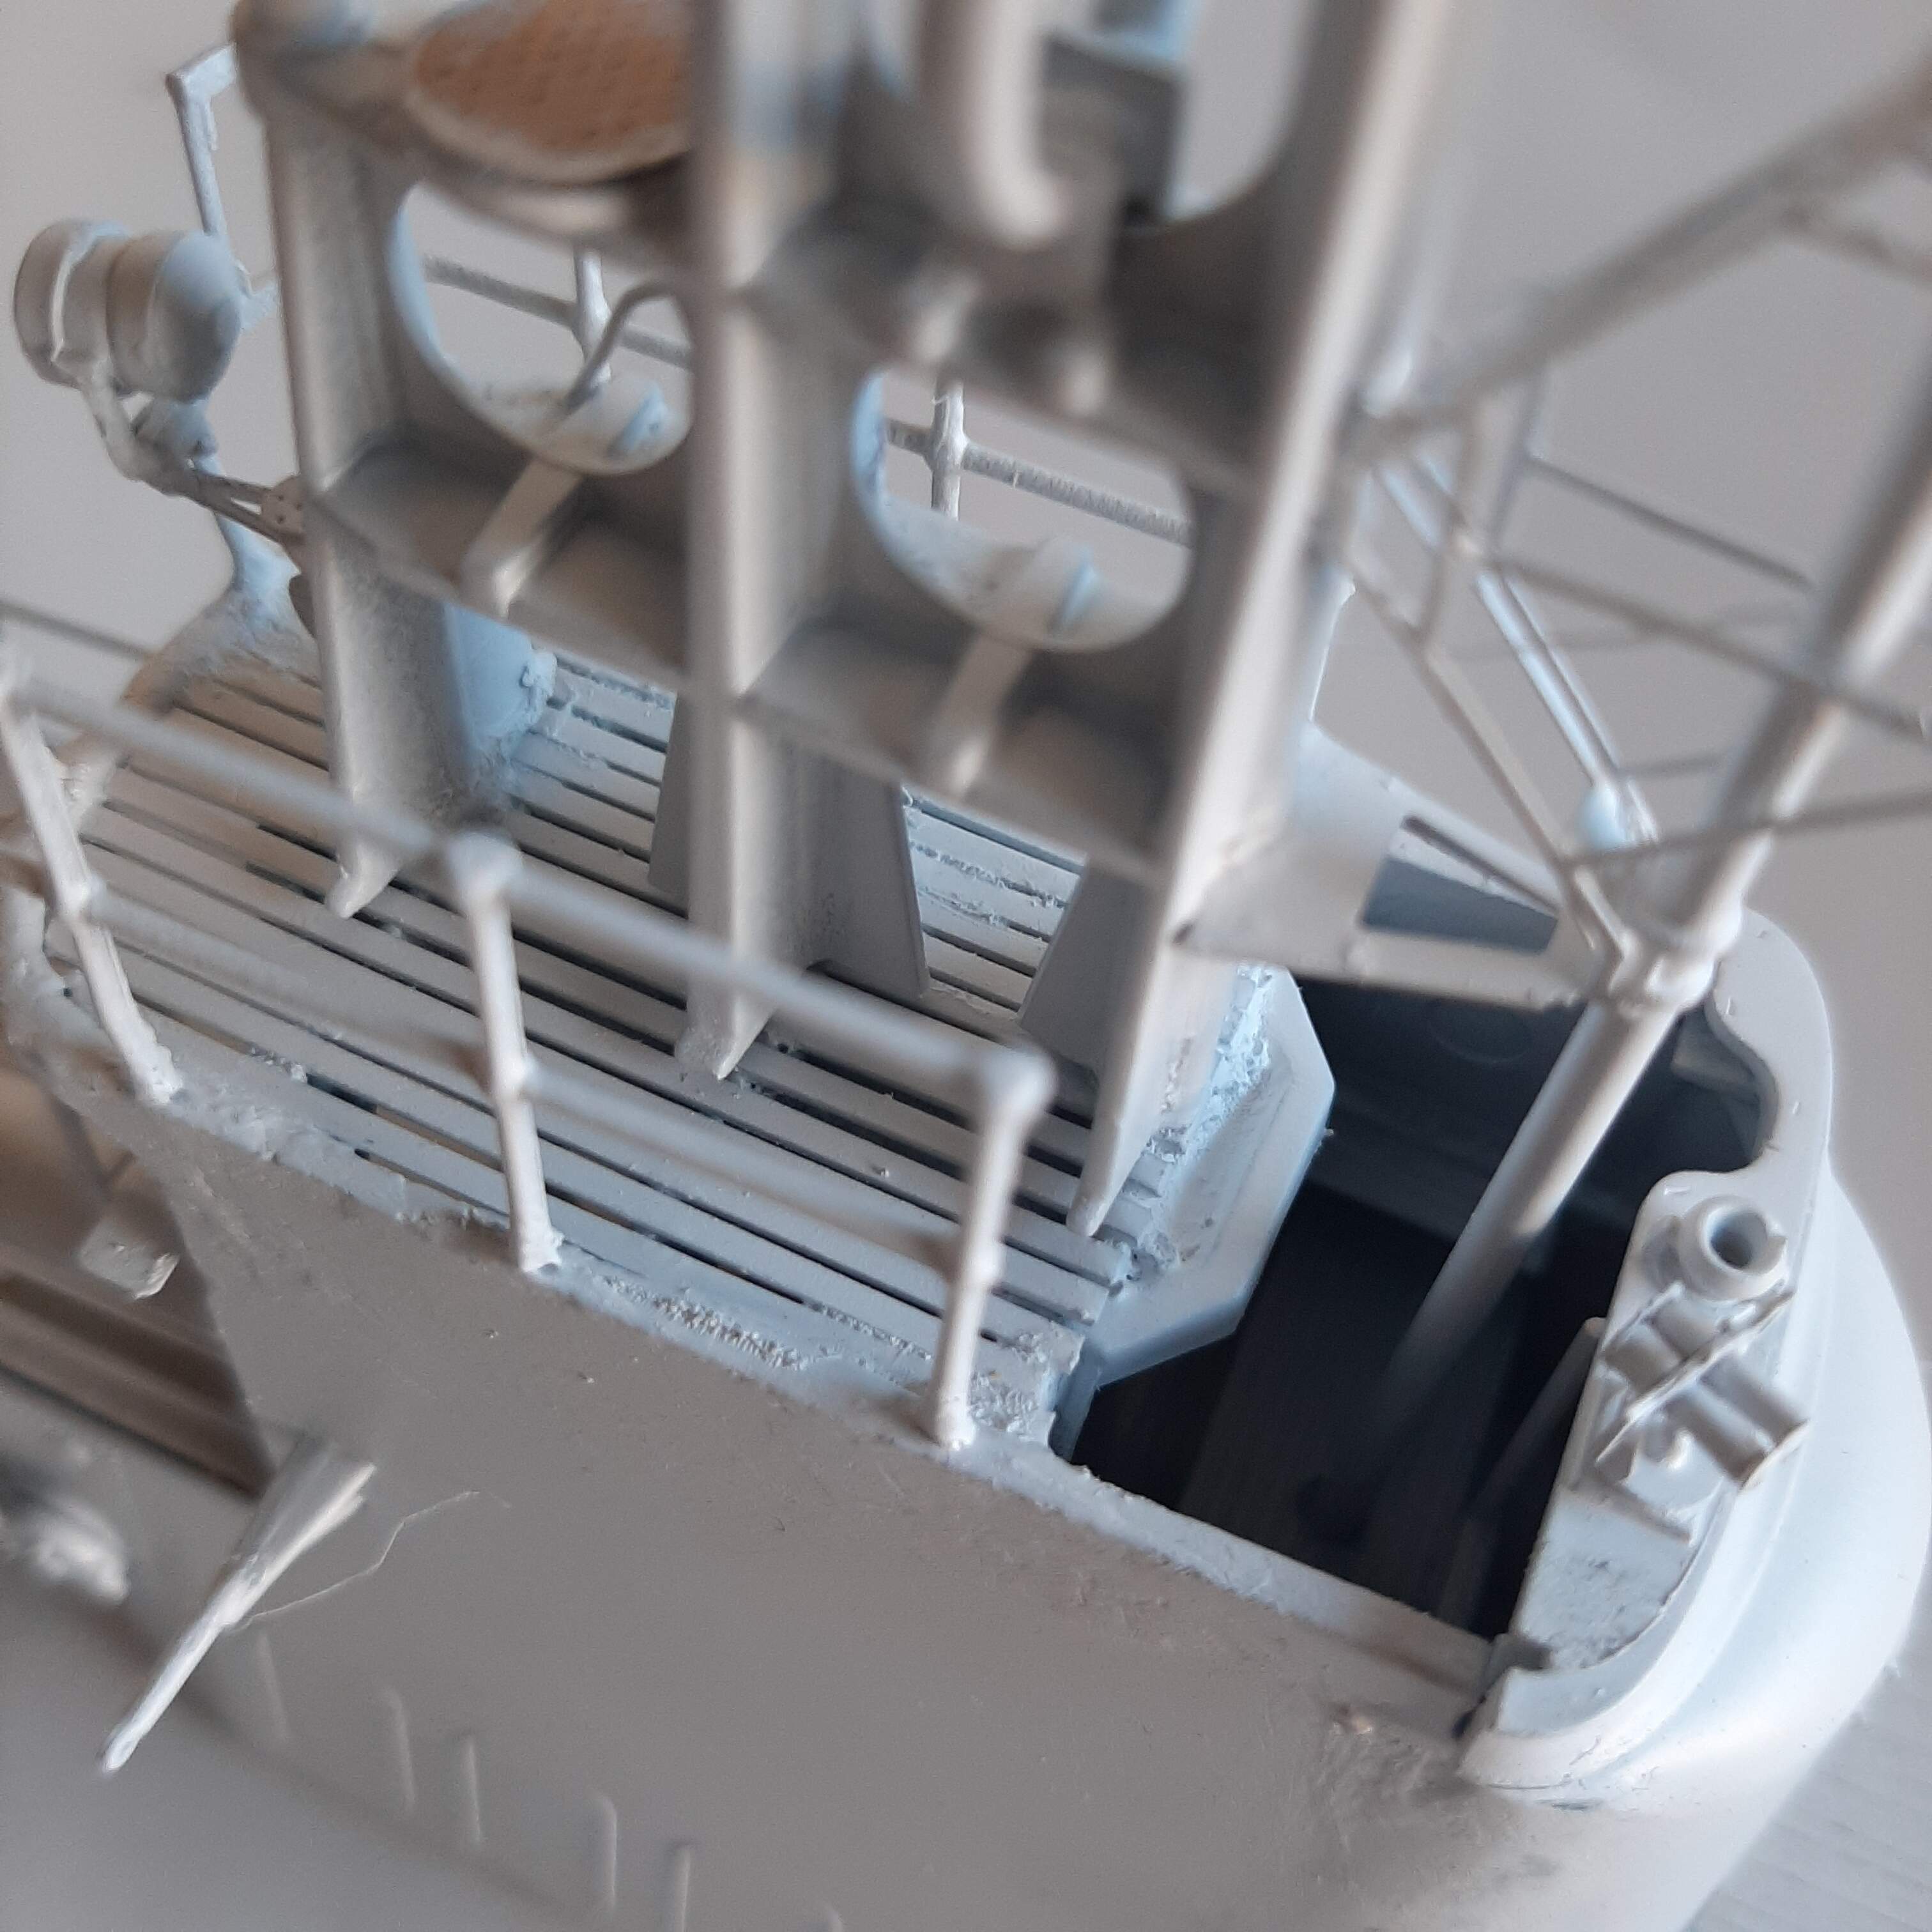
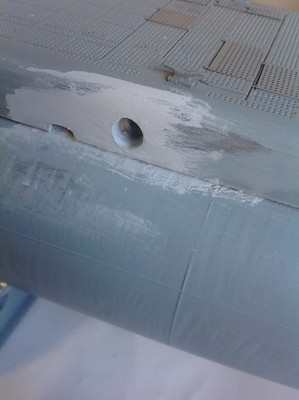
I just finished one more set of corrections! After seeing this picture I knew it was a necessary correction.

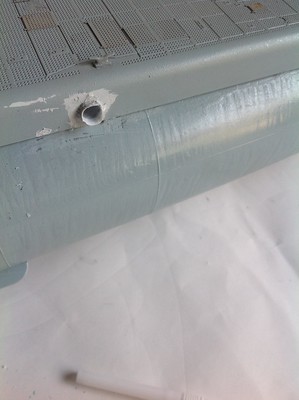
Nice use of the drinking straw, Ezra 
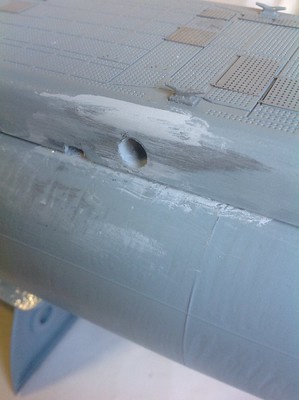
After a couple more days of work i made some progress! Looking at reference photos and pics of other peoples builds i learned that there are really 2 holes on either side like the one i did in the last post. So out came my trusty straw and i started drilling. I think the results i got look prety good but will look better with some clean up. ![]()
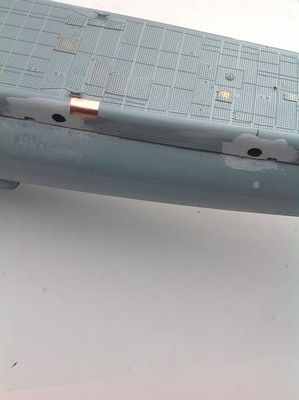
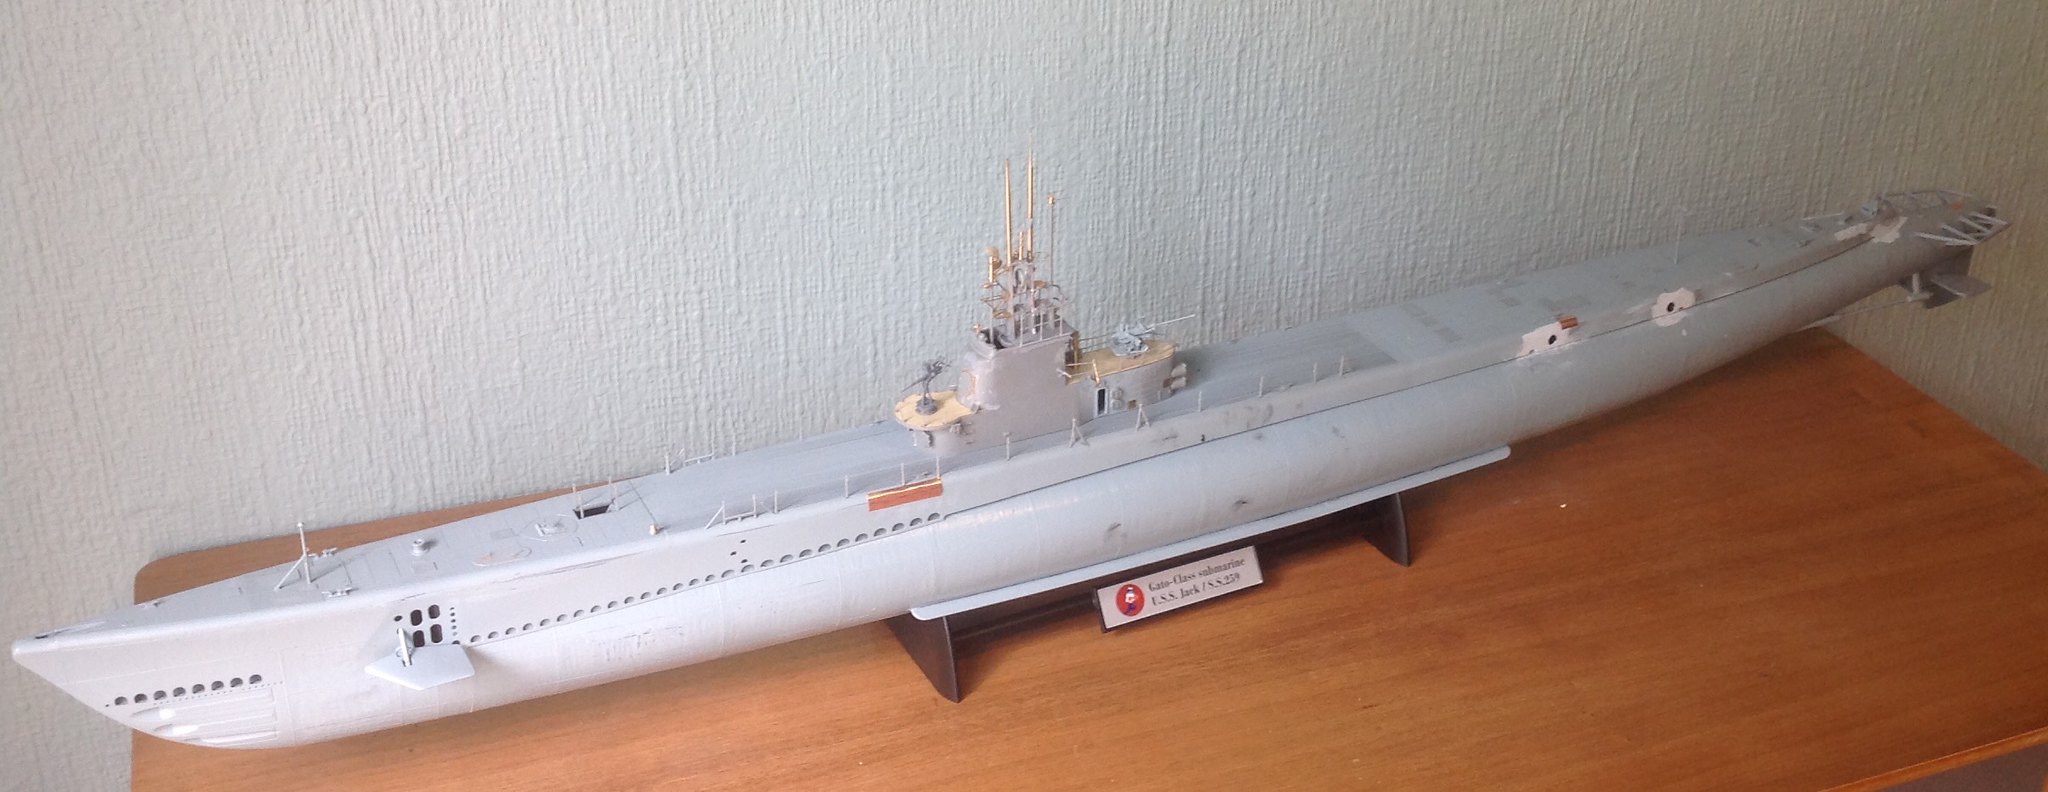
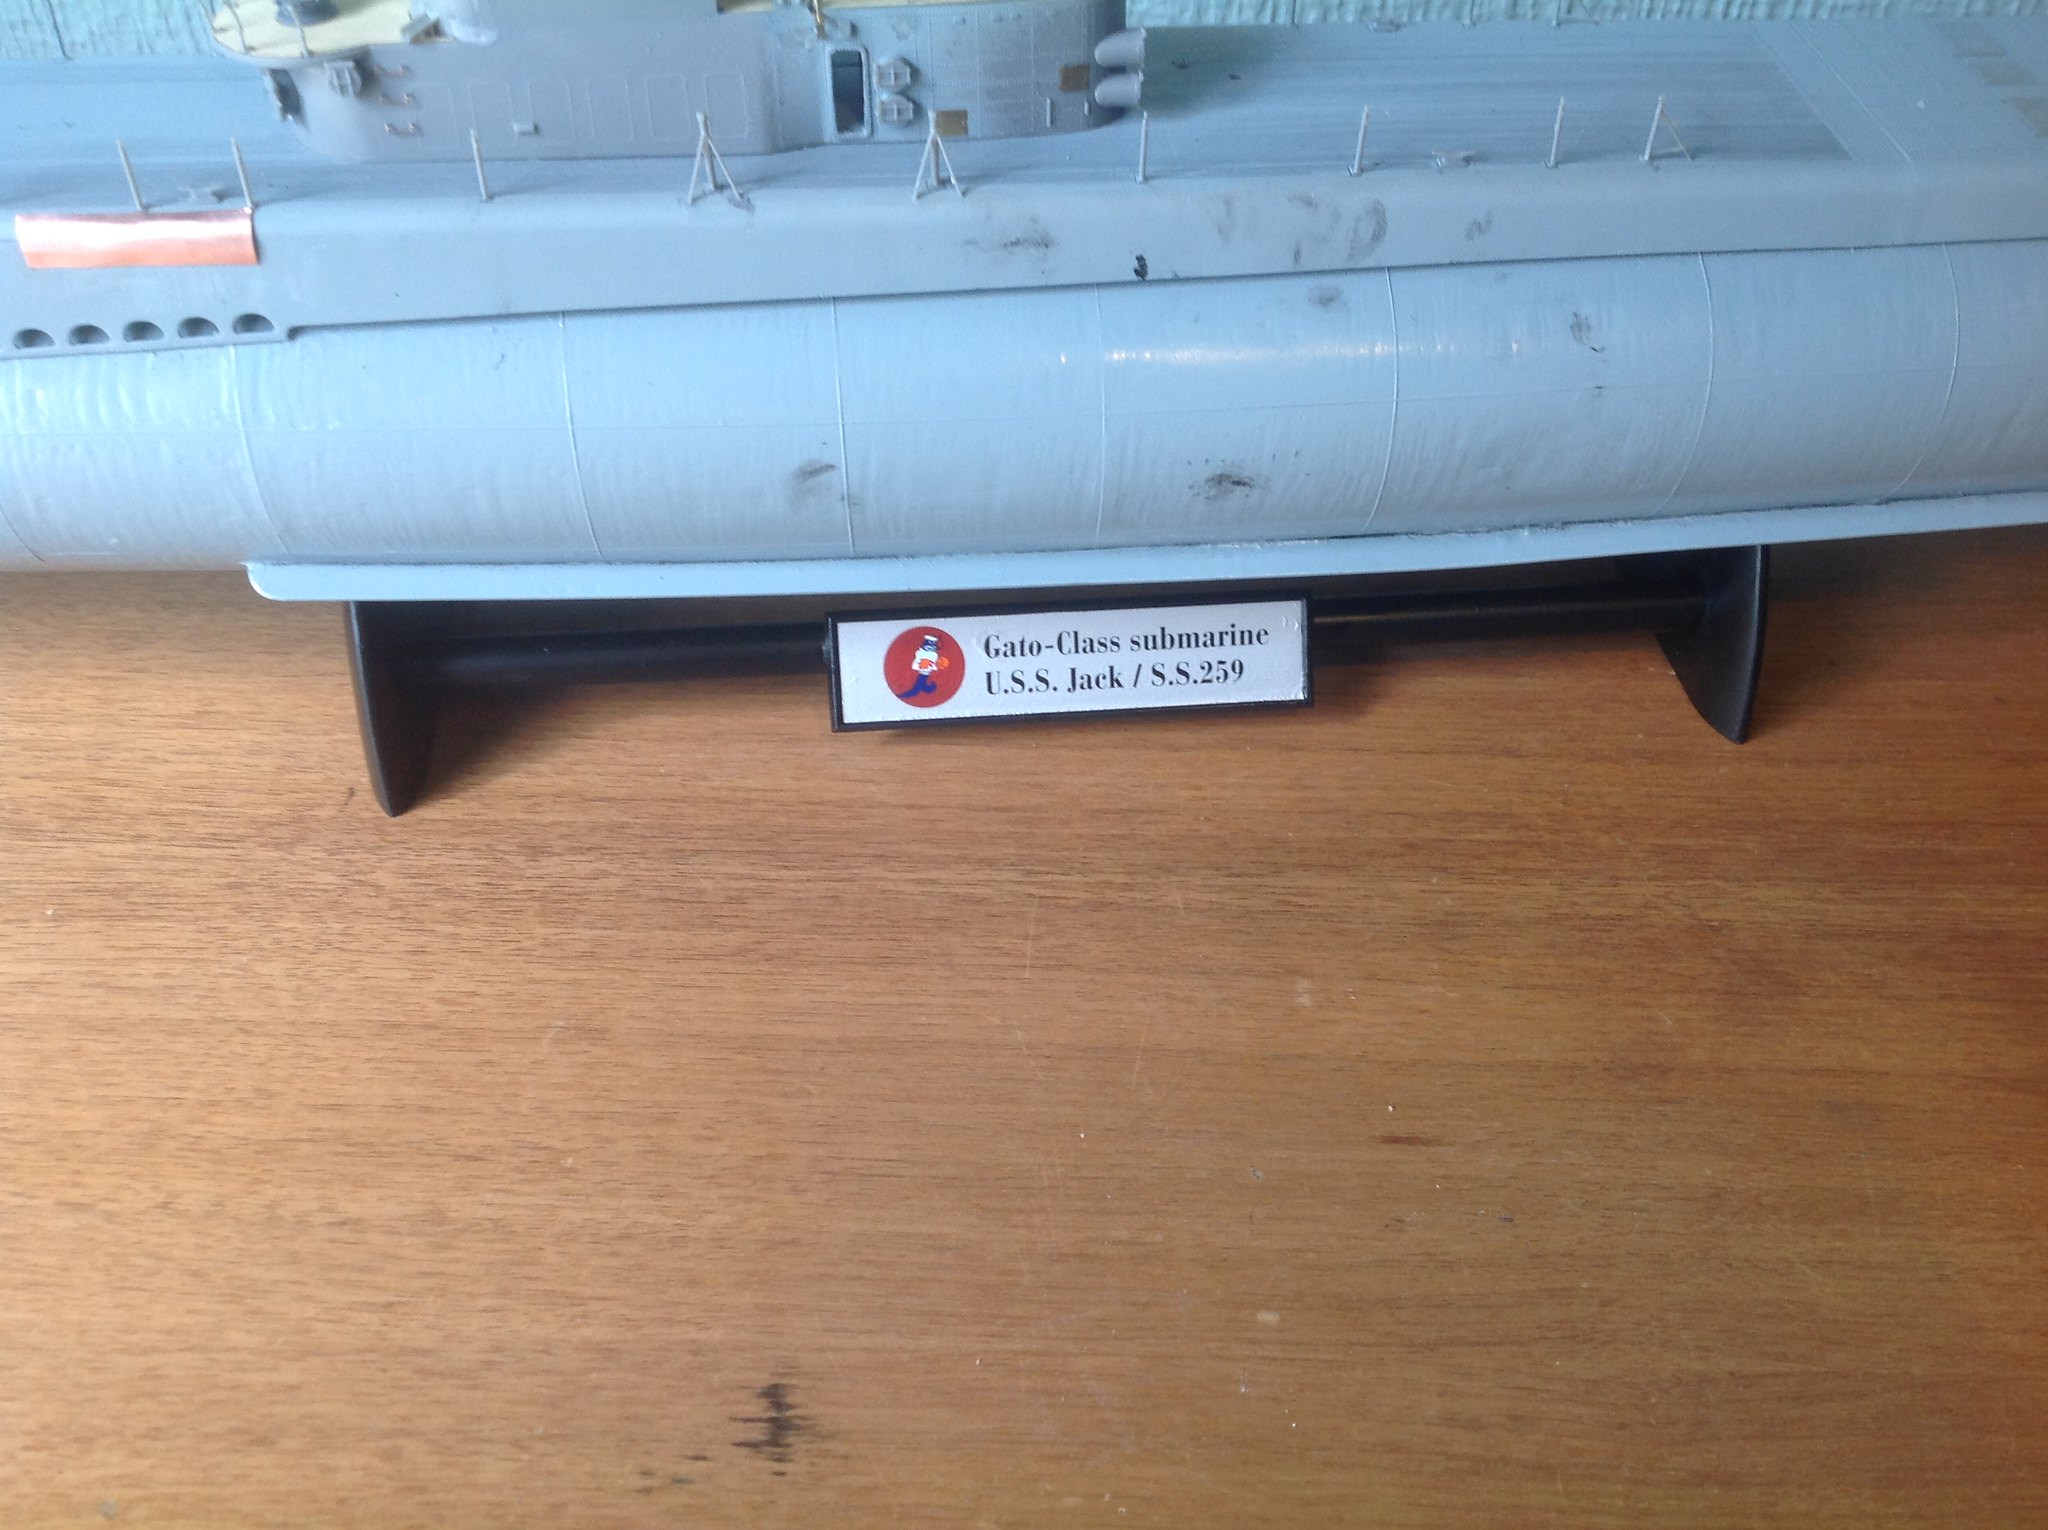
I also built up and painted the base. ( I decided to go with the USS Jack because i like the history behind it. Also the USS Cobia decal was scratched and looked weird.)
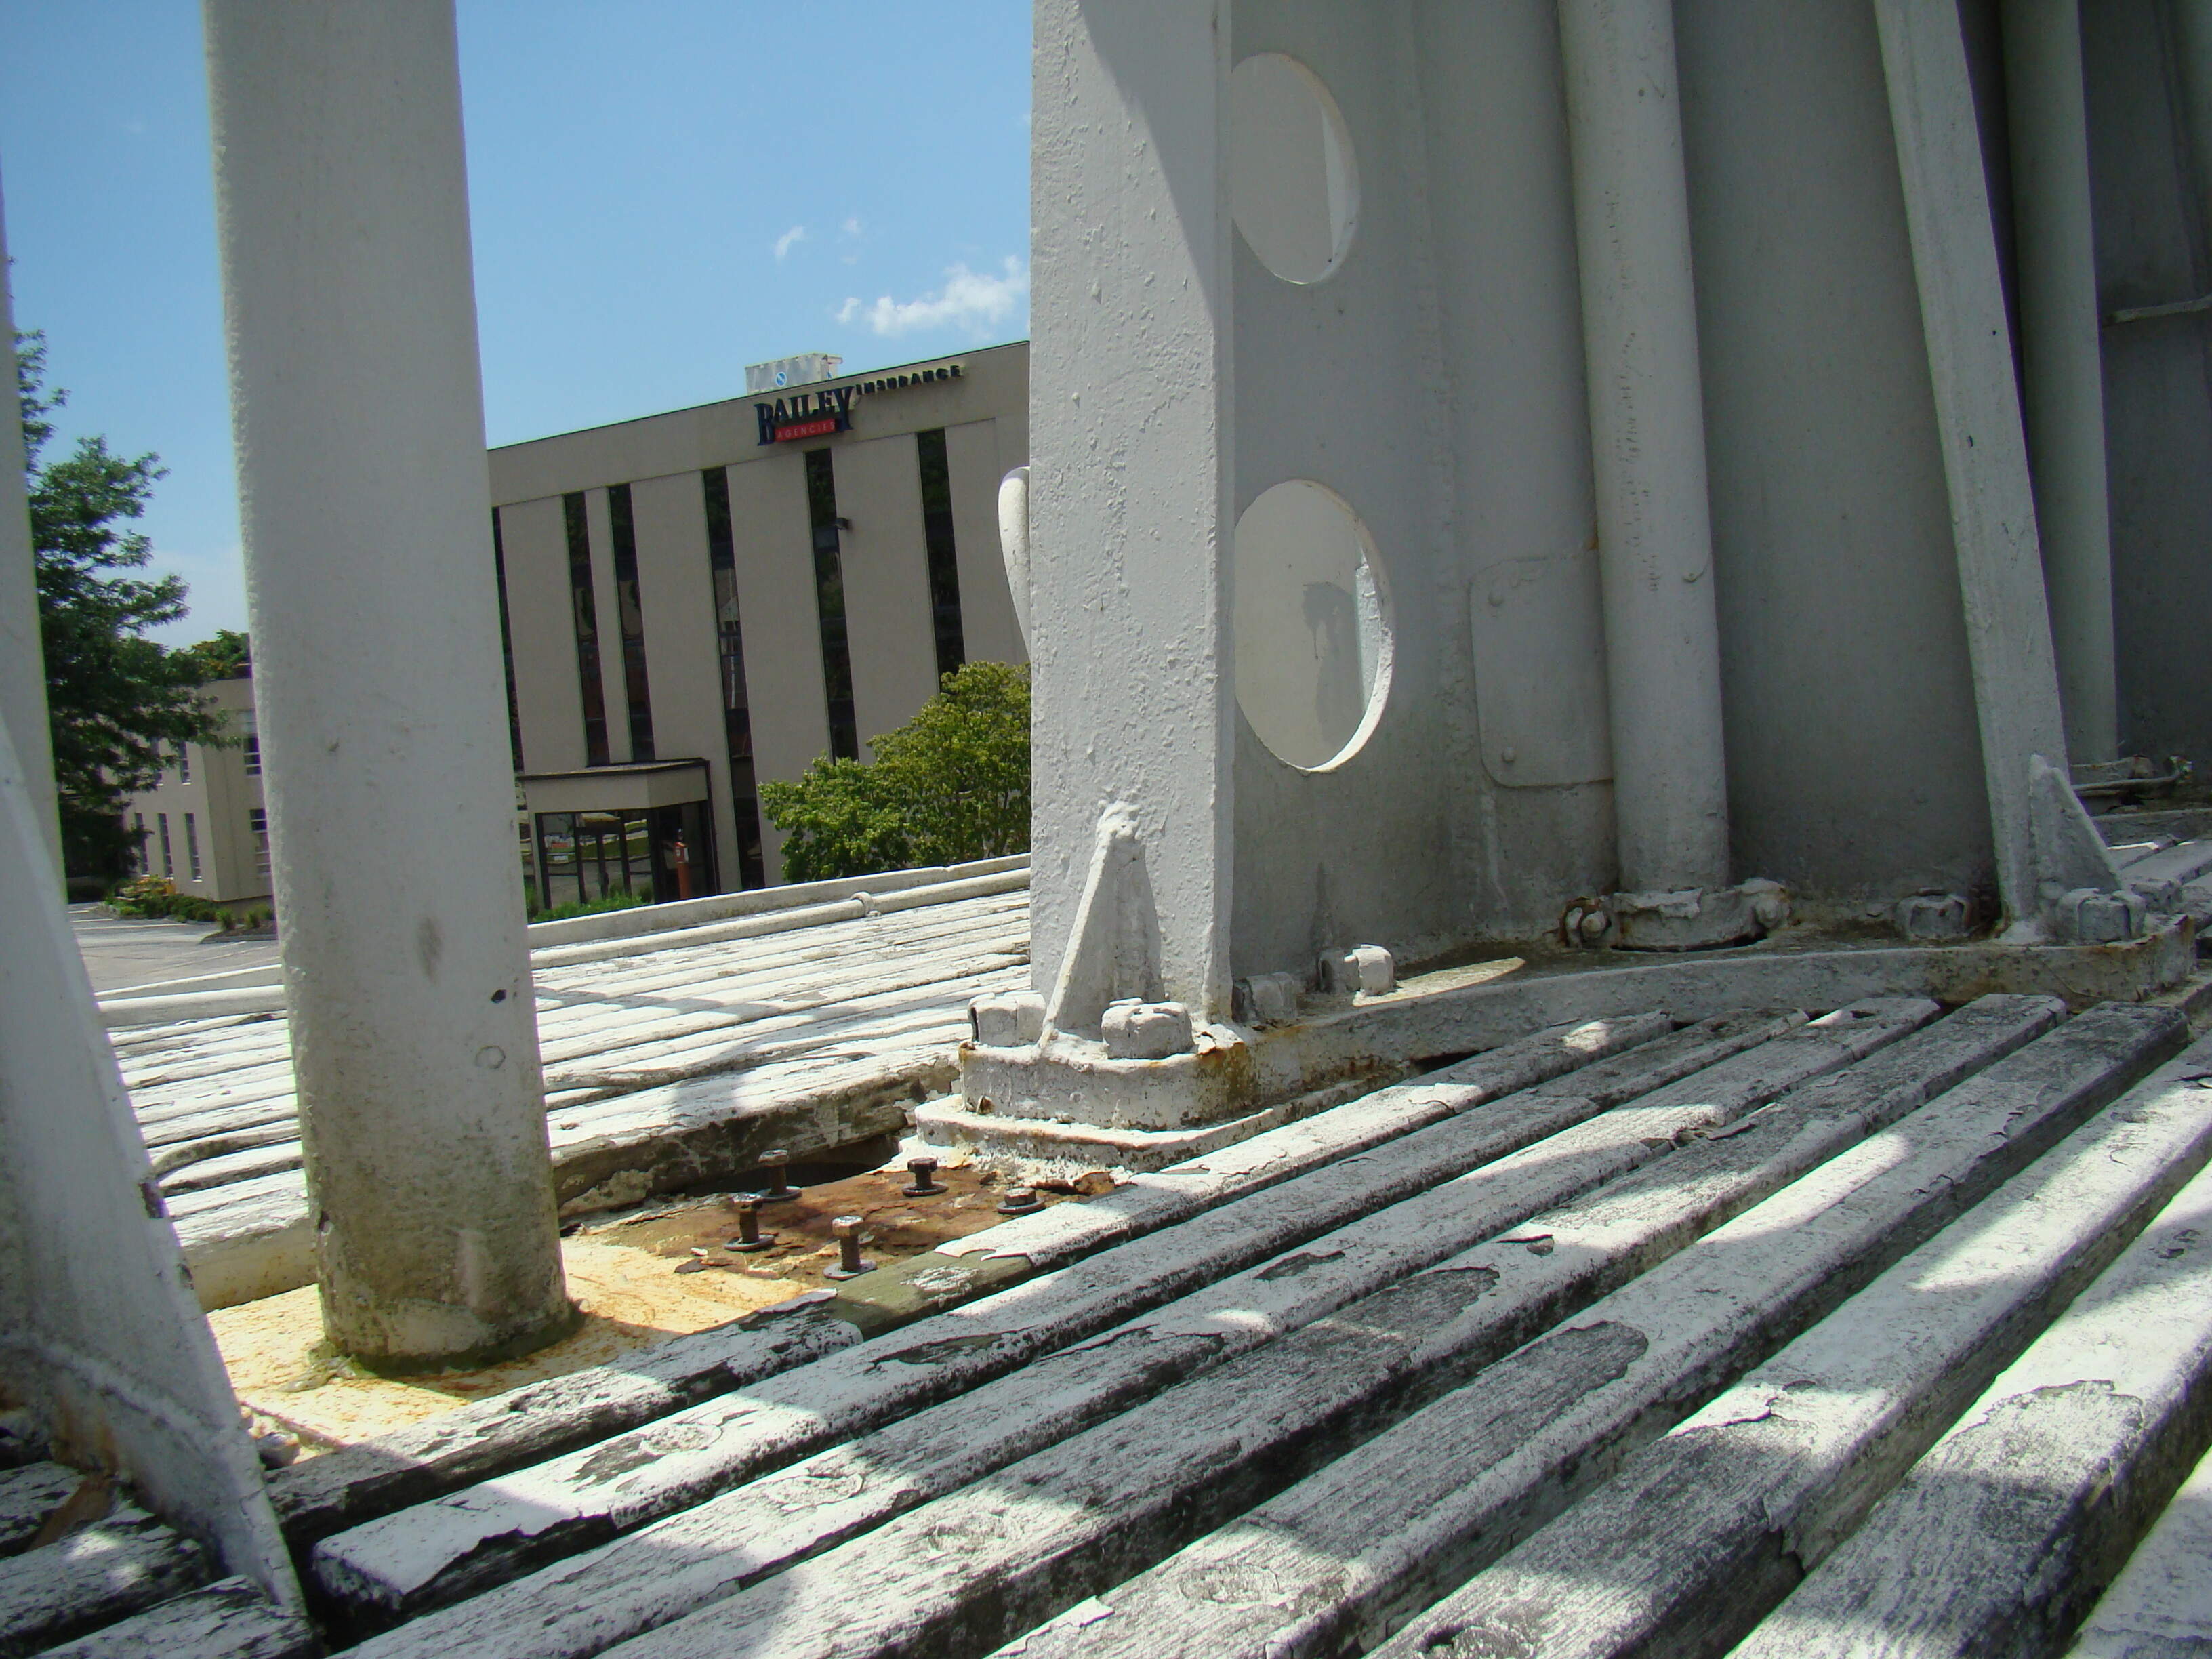
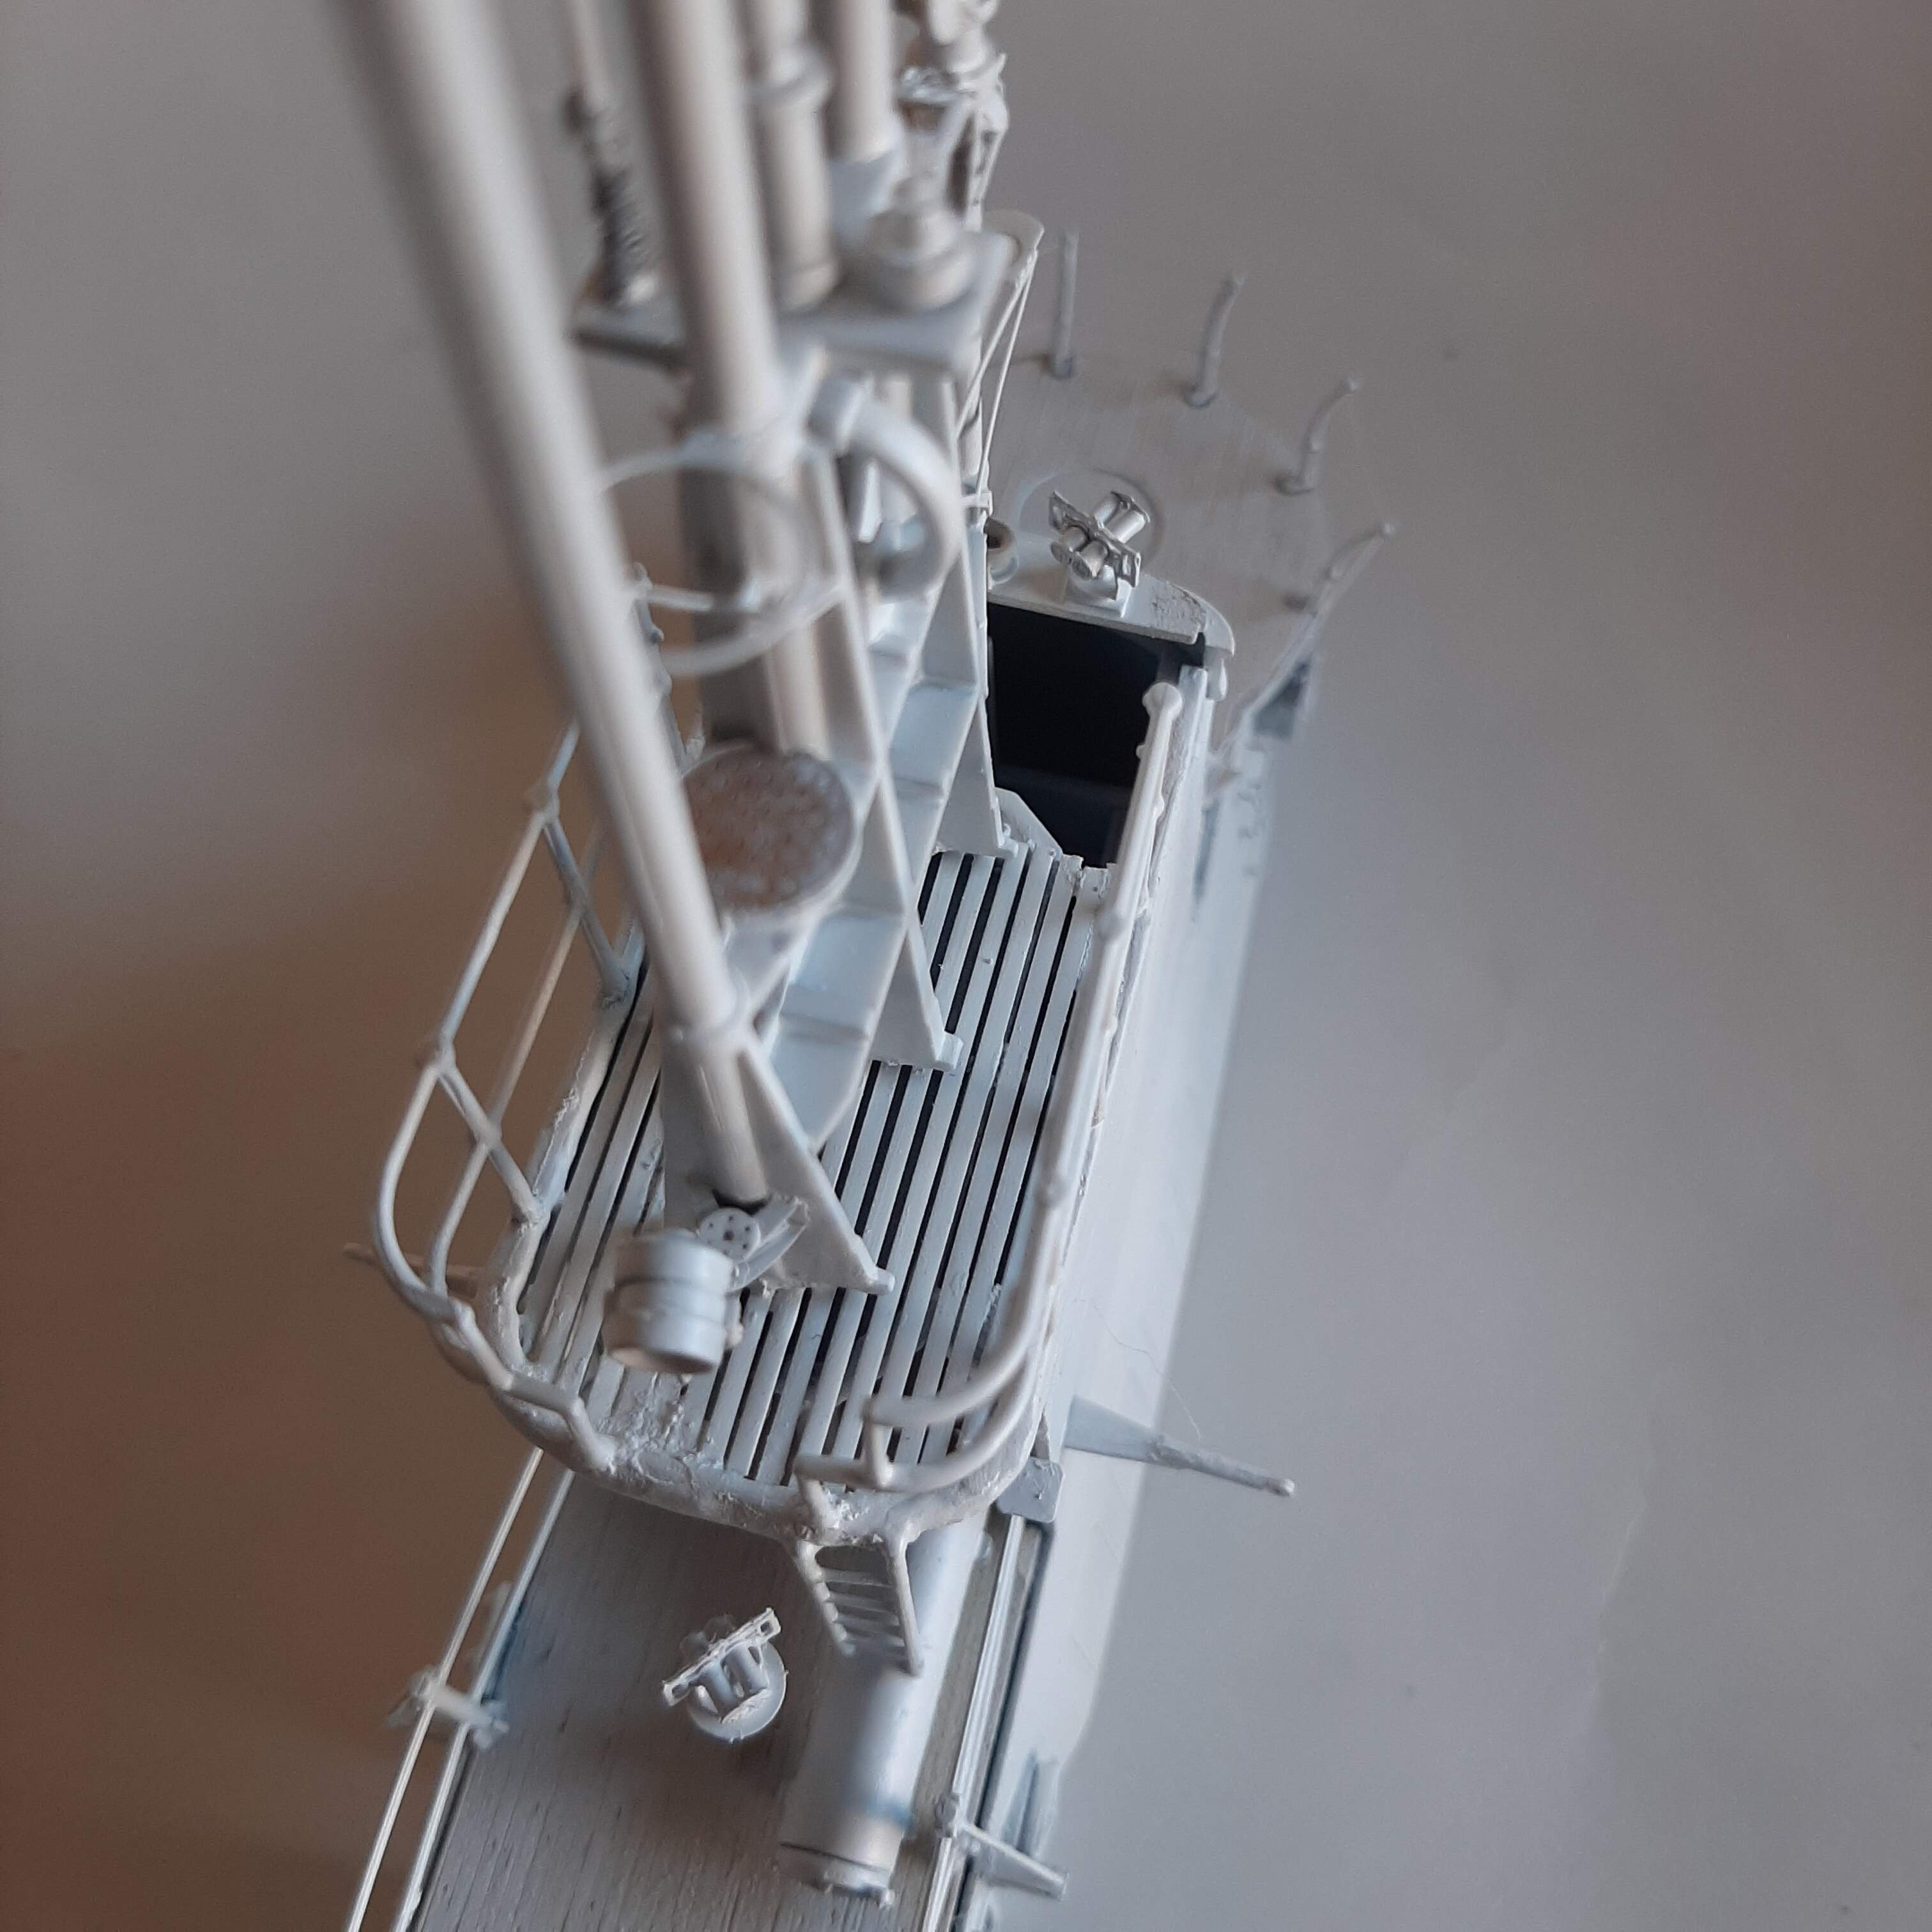
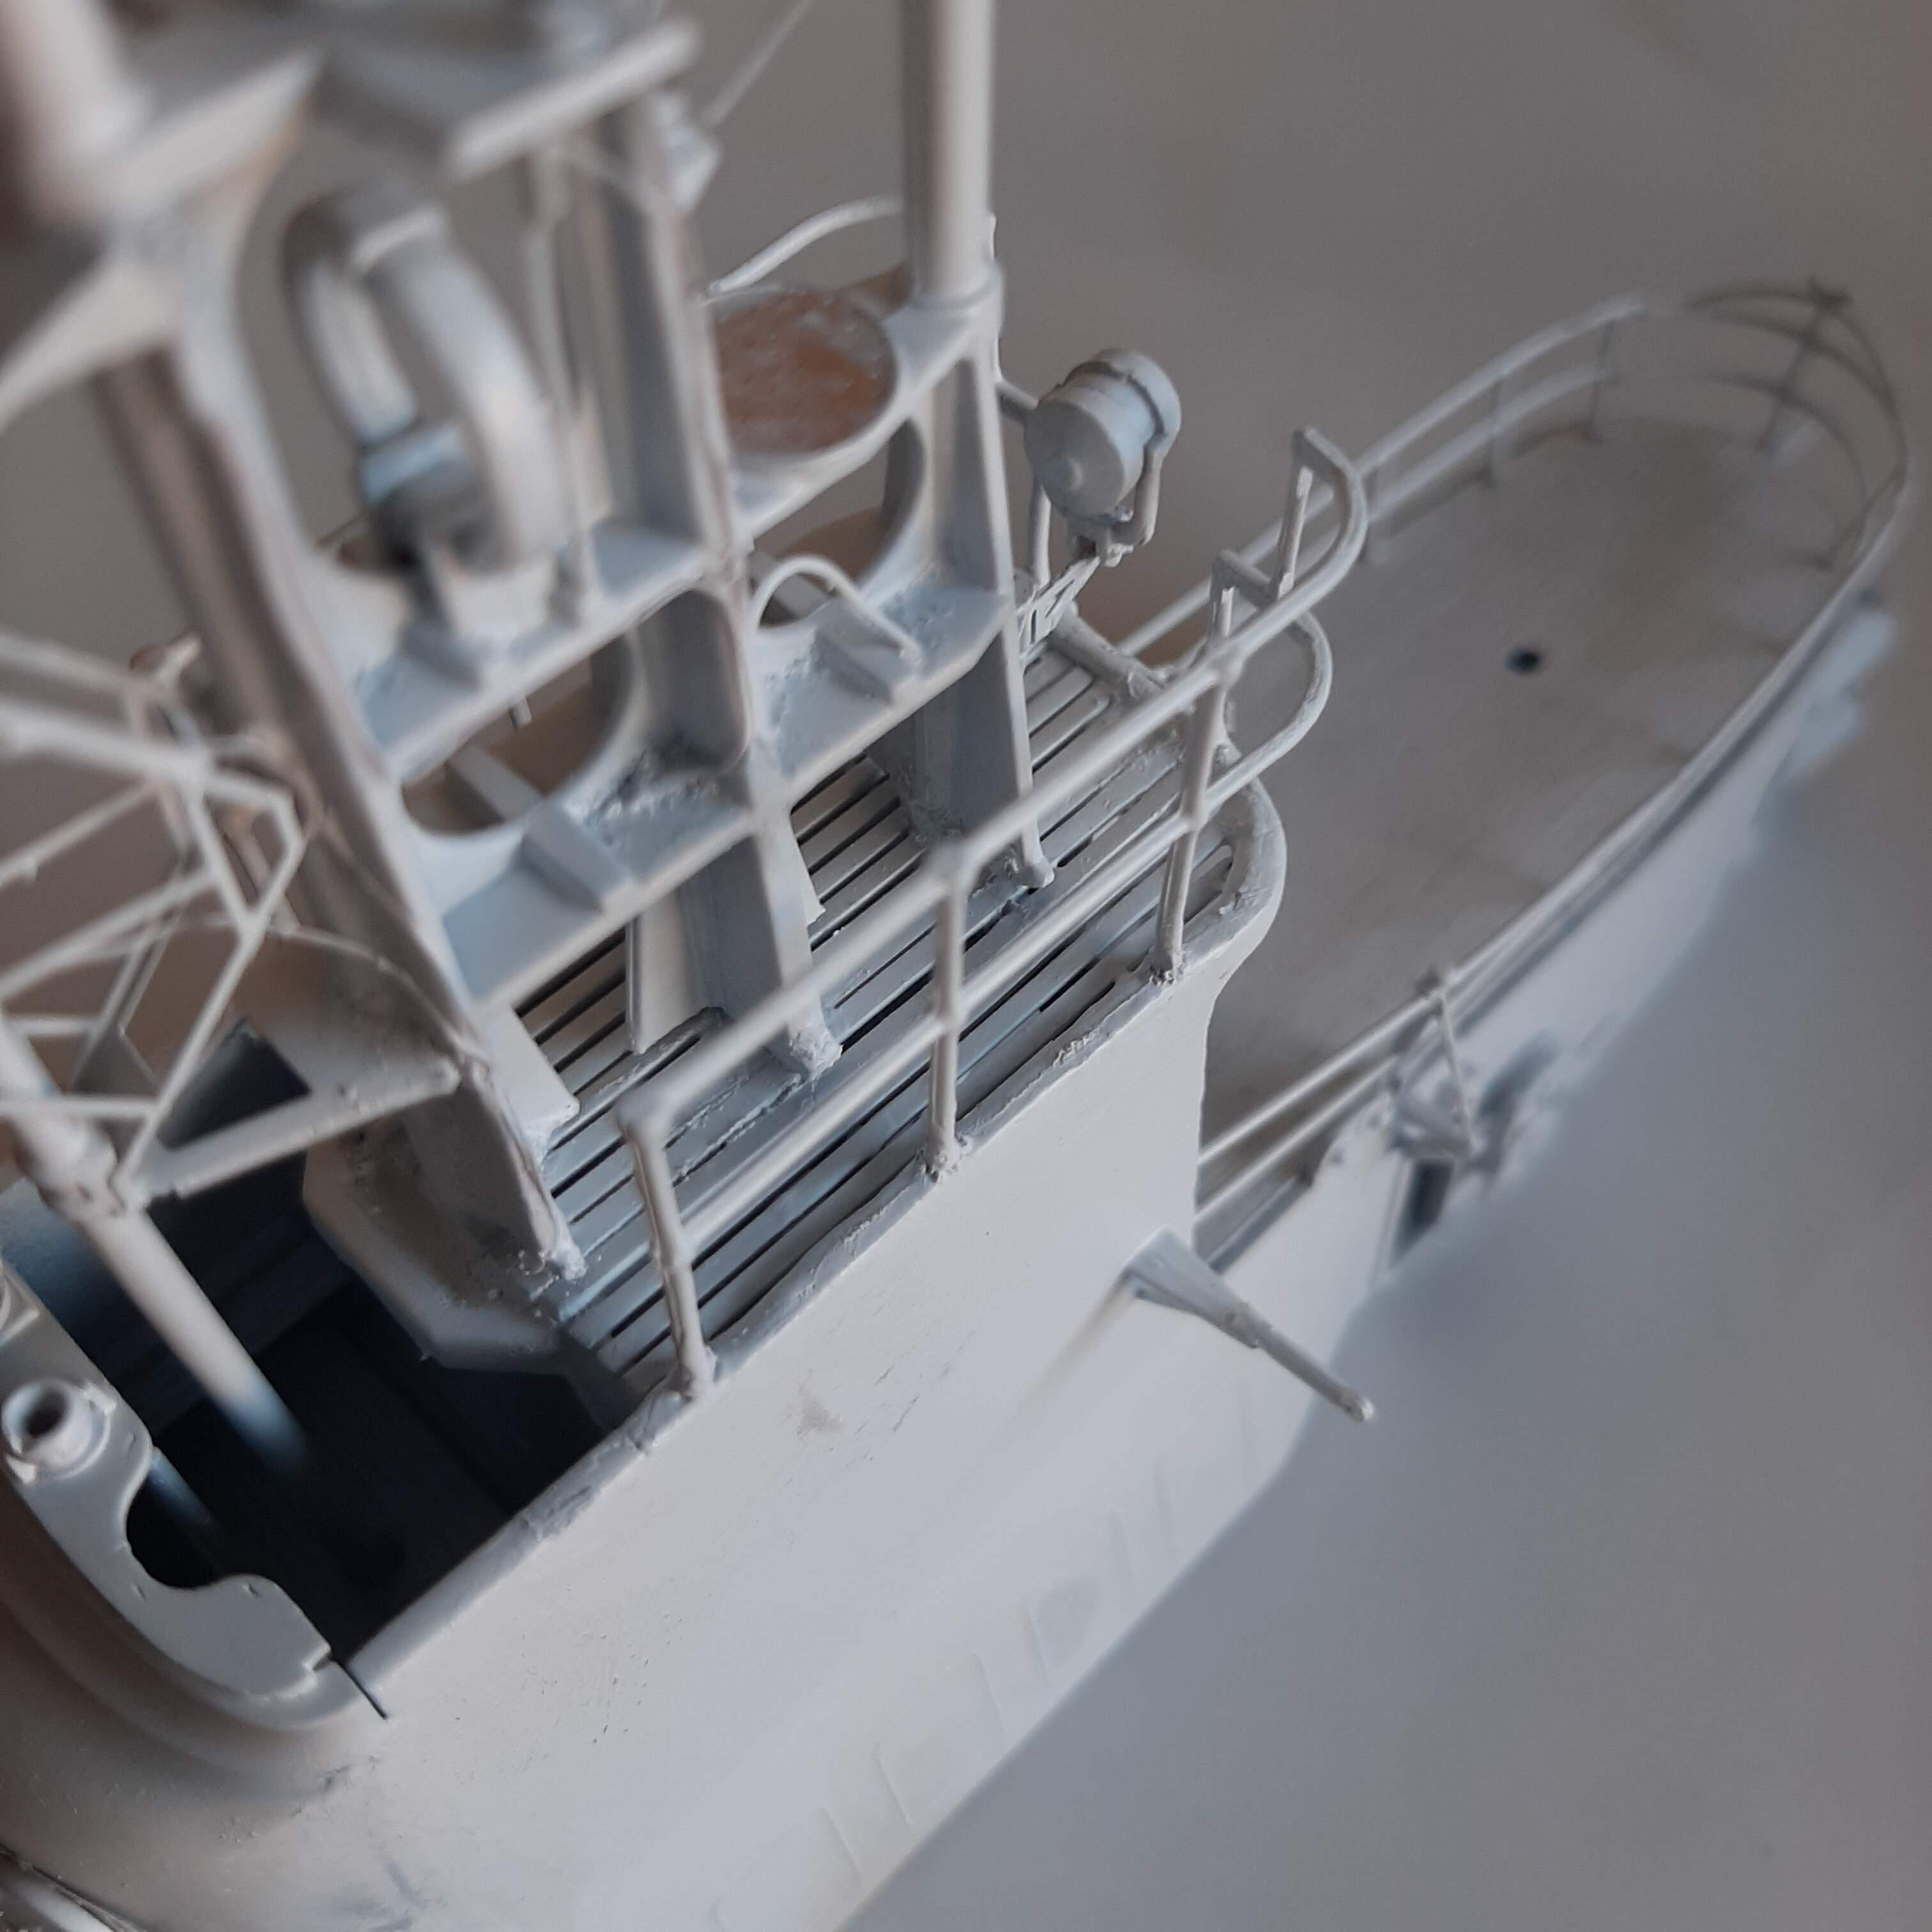
As requested, I’ll post a few images of the planking on the upper fairwater: First one image without using an external host, to see if it works for me.
Edit: So my walkaround photos are far too large to add directly (I like to enlarge them on my screen so I can actually see) but for this I reckon a snip of the photos will work fine.
From inside the fairwater:
You can easily see those supports need major work:
Seems to work! Thanks these will be very helpful!
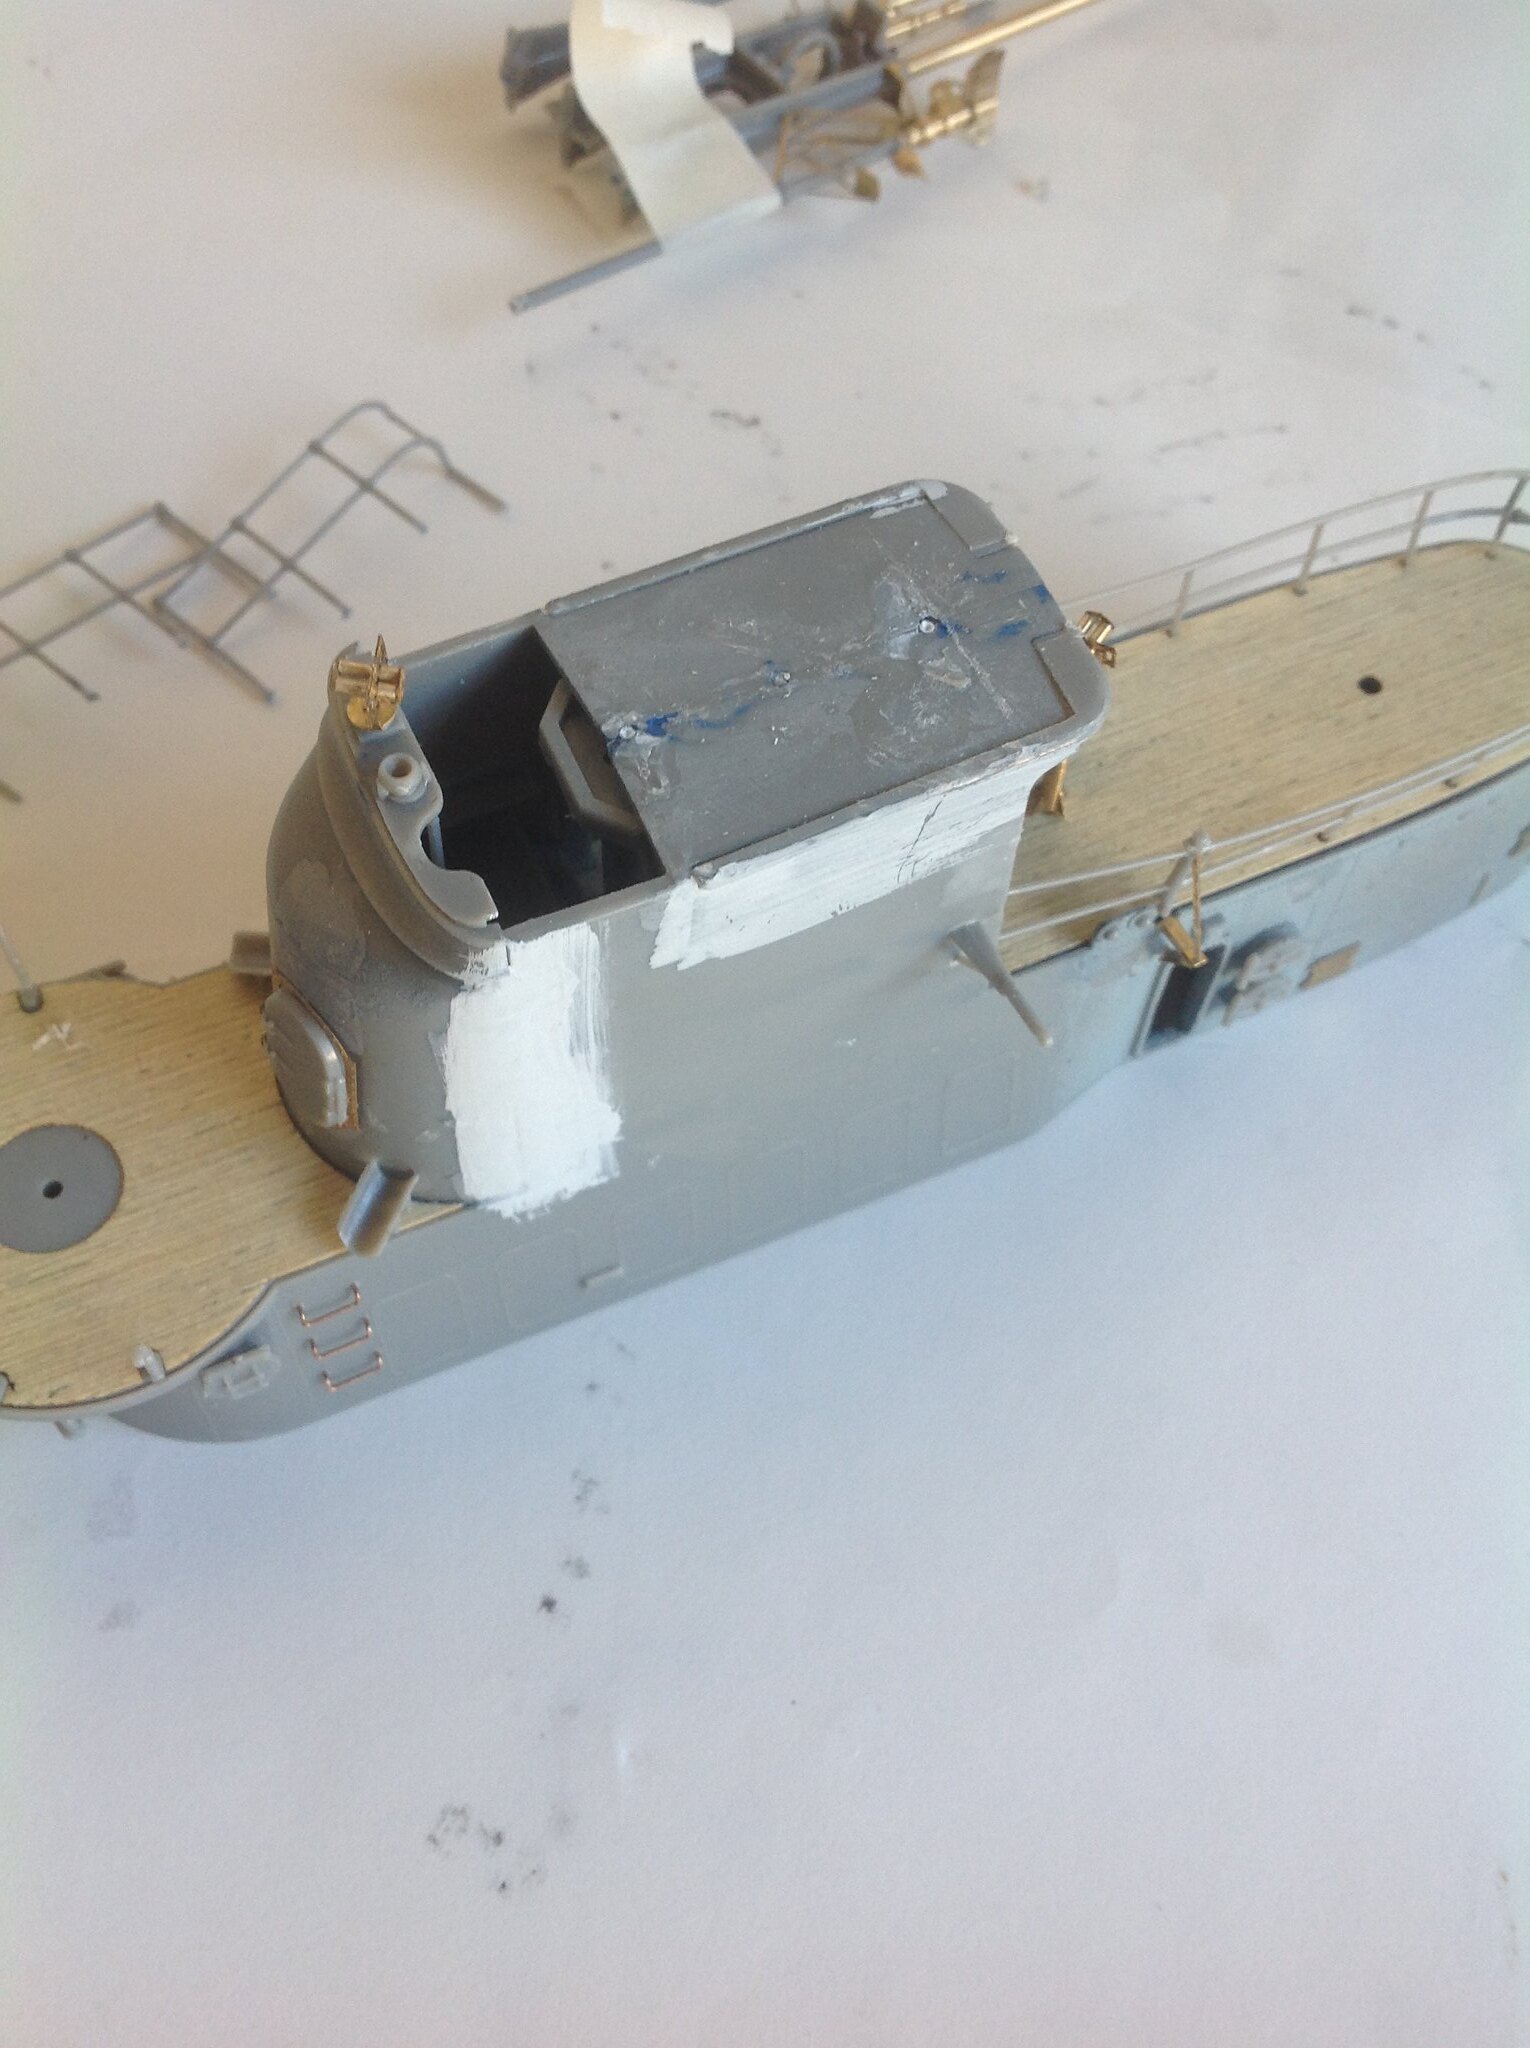
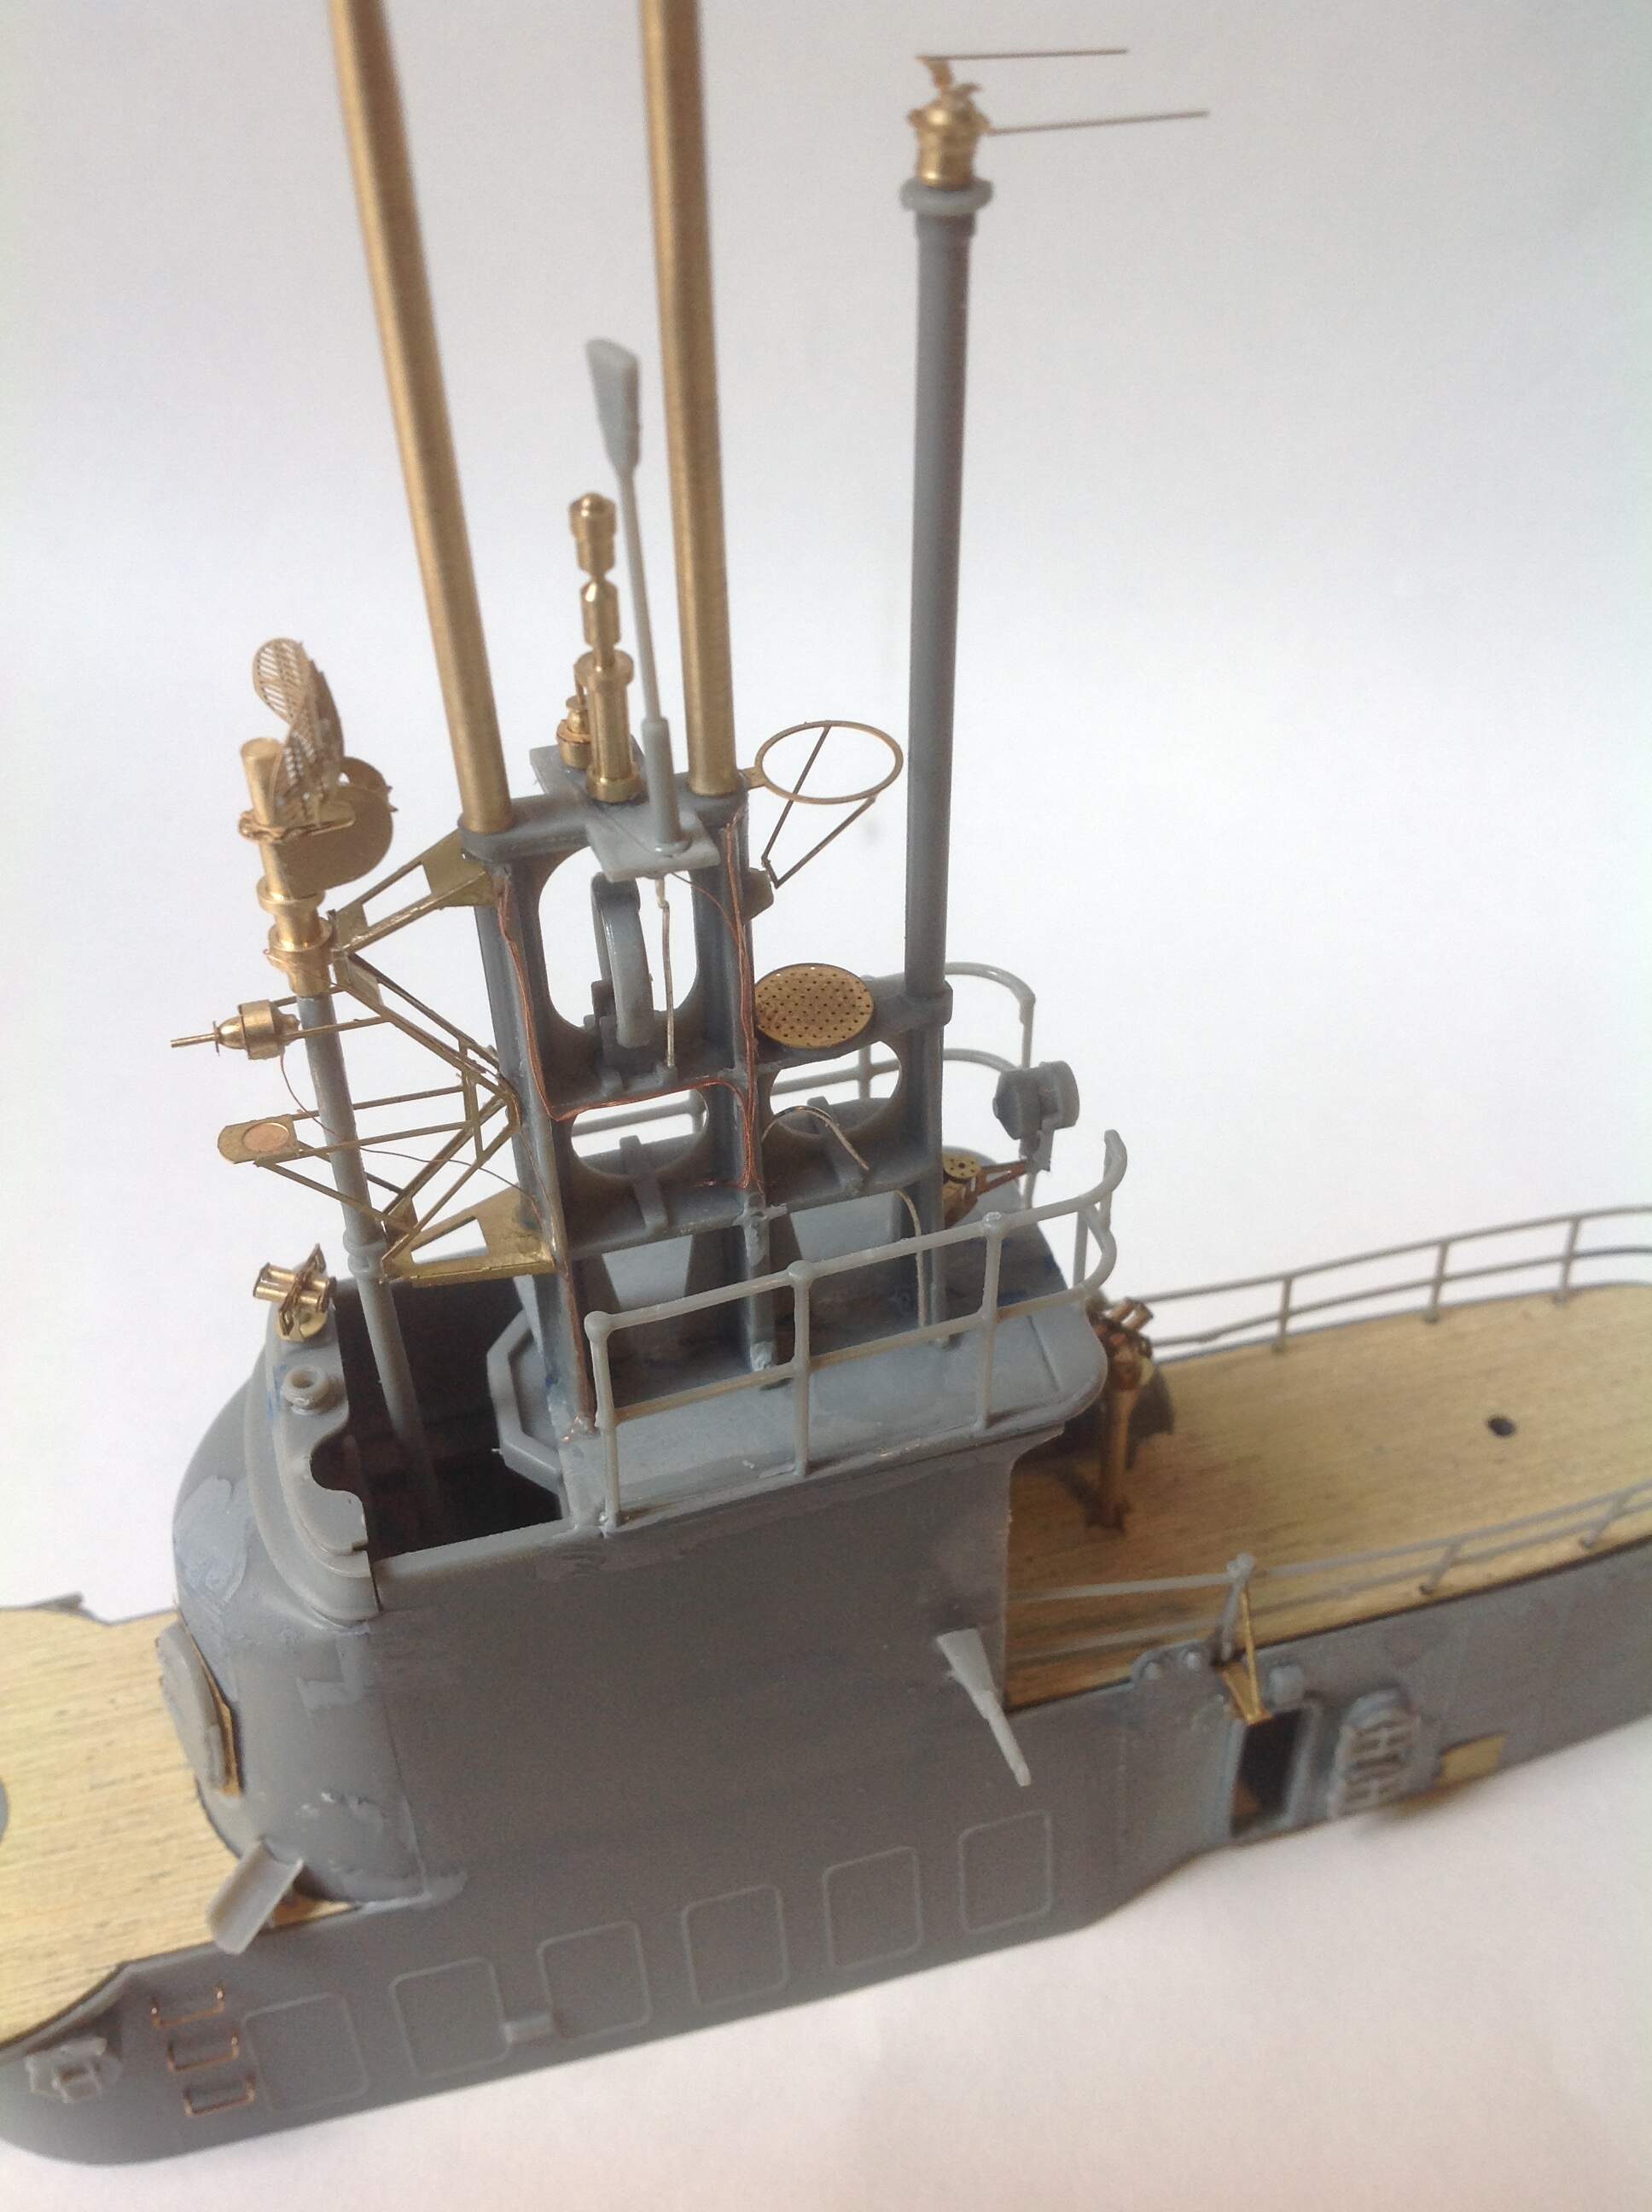
Ok so once Bravo 18 pointed out the Revell kits error with the fairwater i knew i couldn’t keep it like that. So after one last look at the completed conning tower I carefully cut off the railings.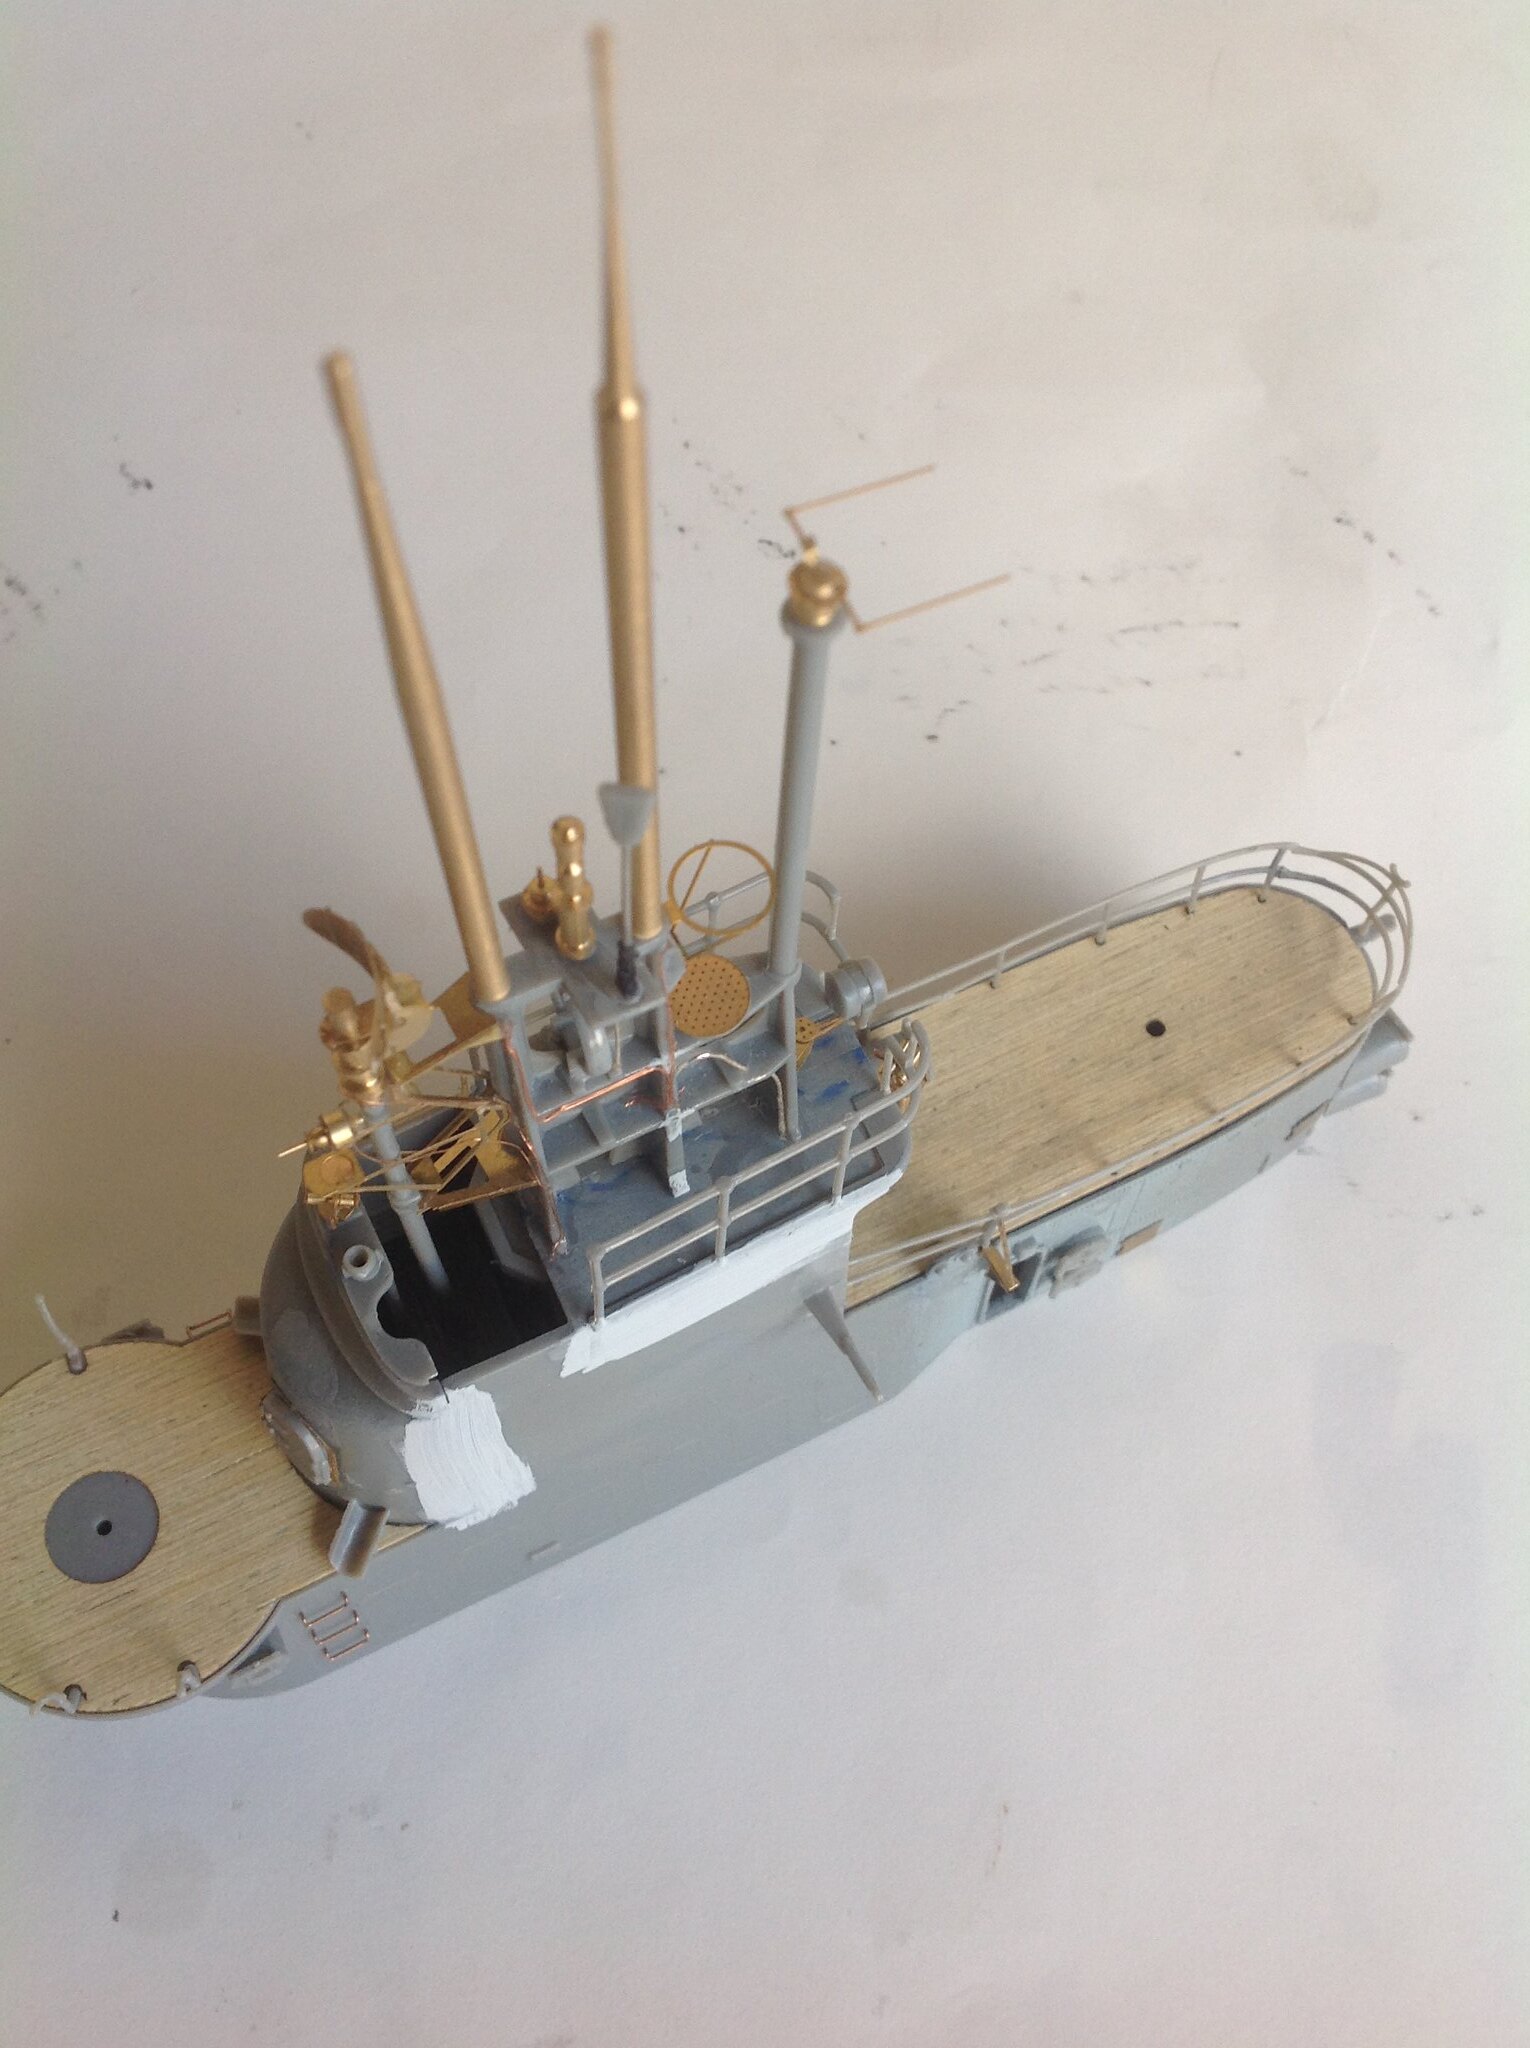
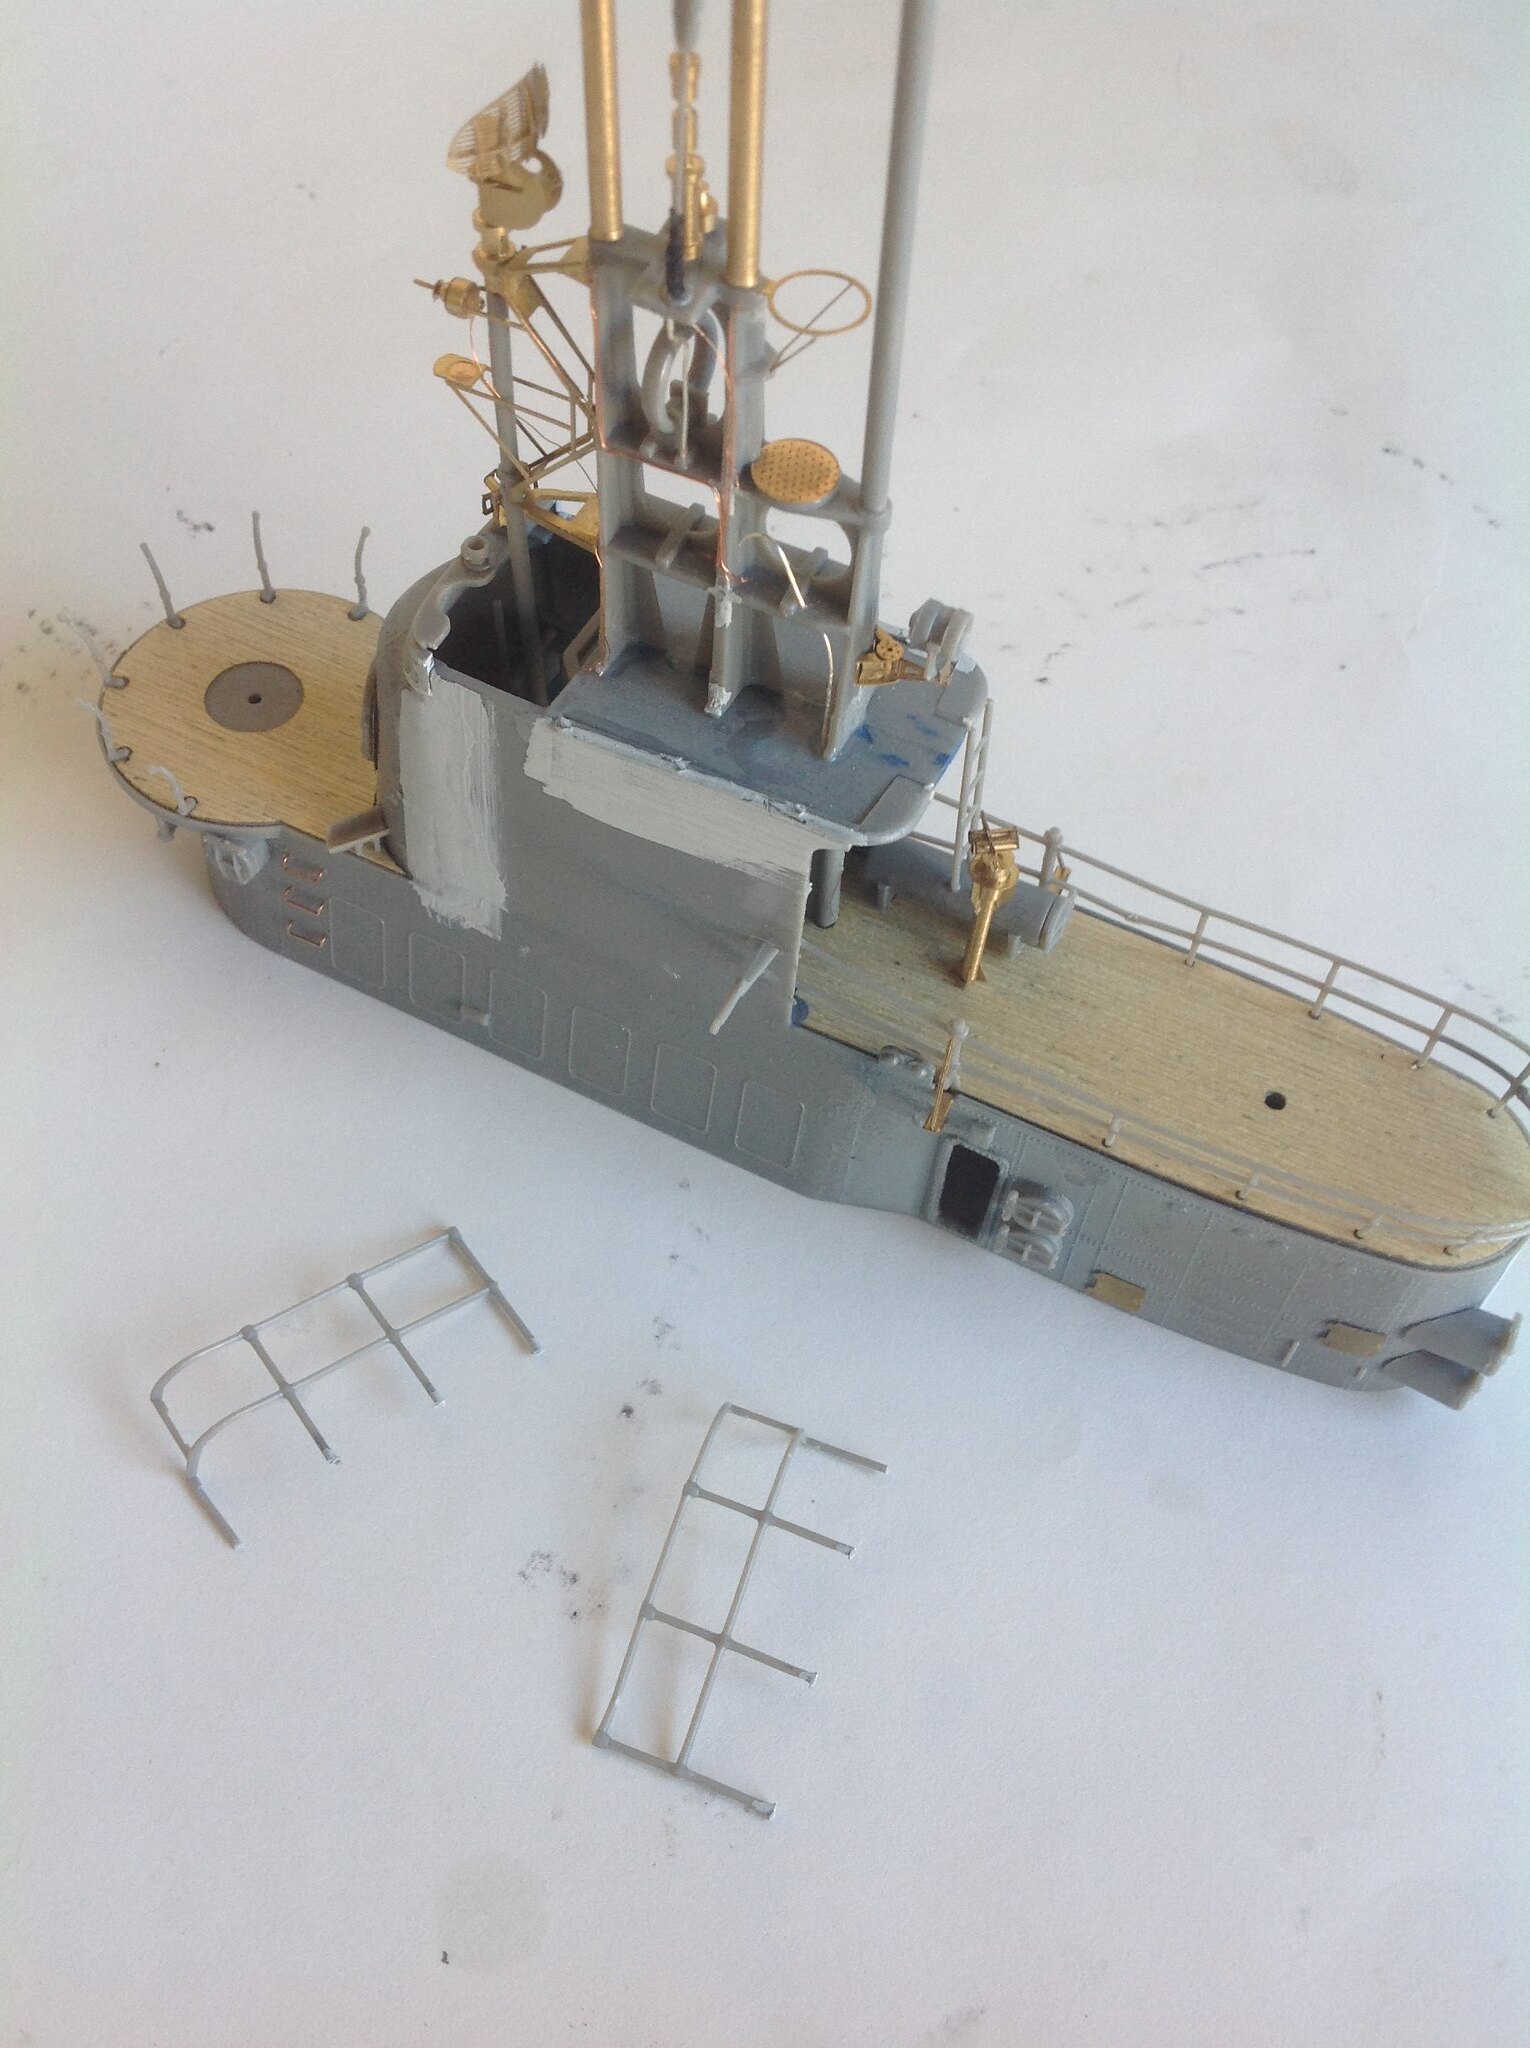
Then I VERYYYY carefully cut off the periscopes.
Looking good!
oh my! That’s a level of destruction I couldn’t undertake, Ezra! 
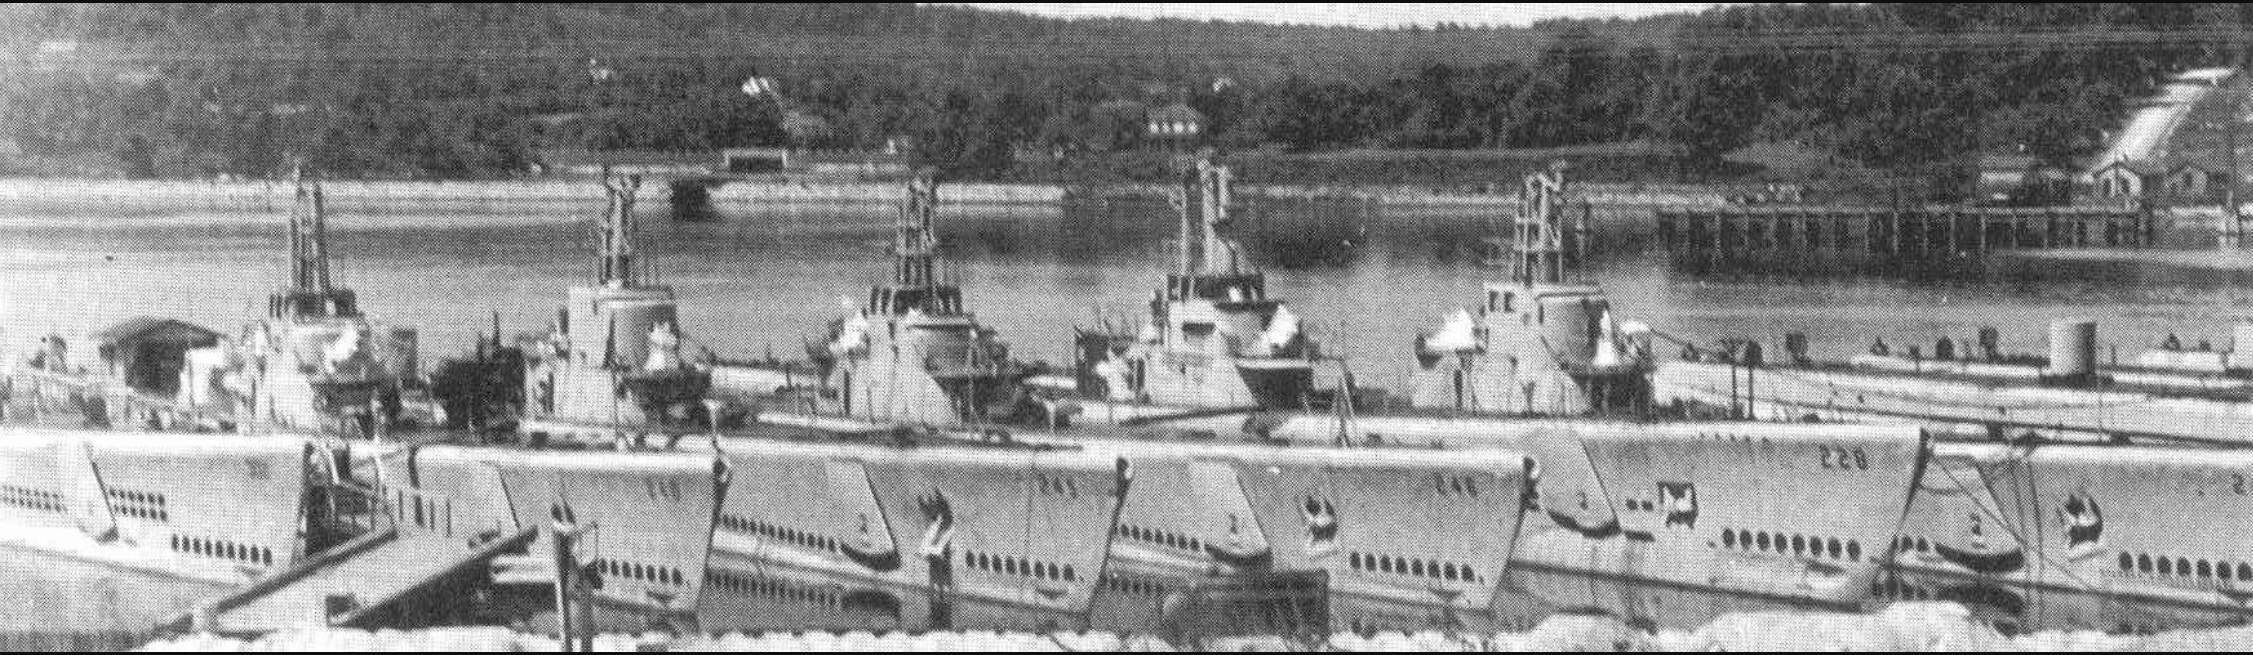
It could be worse, depending on the boat. Look at this - five sails, all different. It was pretty much up to the skipper how much was cut down, although there were distinct mods made during the production run. Mostly it was to reduce radar signature and silhouette, some was to provide better visibility for the lookouts. The second sail from the left is pretty much untouched, the one on the far right appears to have had some square view ports cut into it. The remaining three are all cut down, but have different details on each one.
I’m not the Looks pretty good, have a look at mine guy, but I will say my Flasher has seen some major surgery.
Wow, yah very different! By all means tho I would love for you to post pics of your progress on here! 
Ezra,
I have to agree with Russell, not sure I could bring myself to that much destruction of previous efforts. I applaud you on your quest for accuracy. Can’t wait to see the revised version.
David
Try this source: