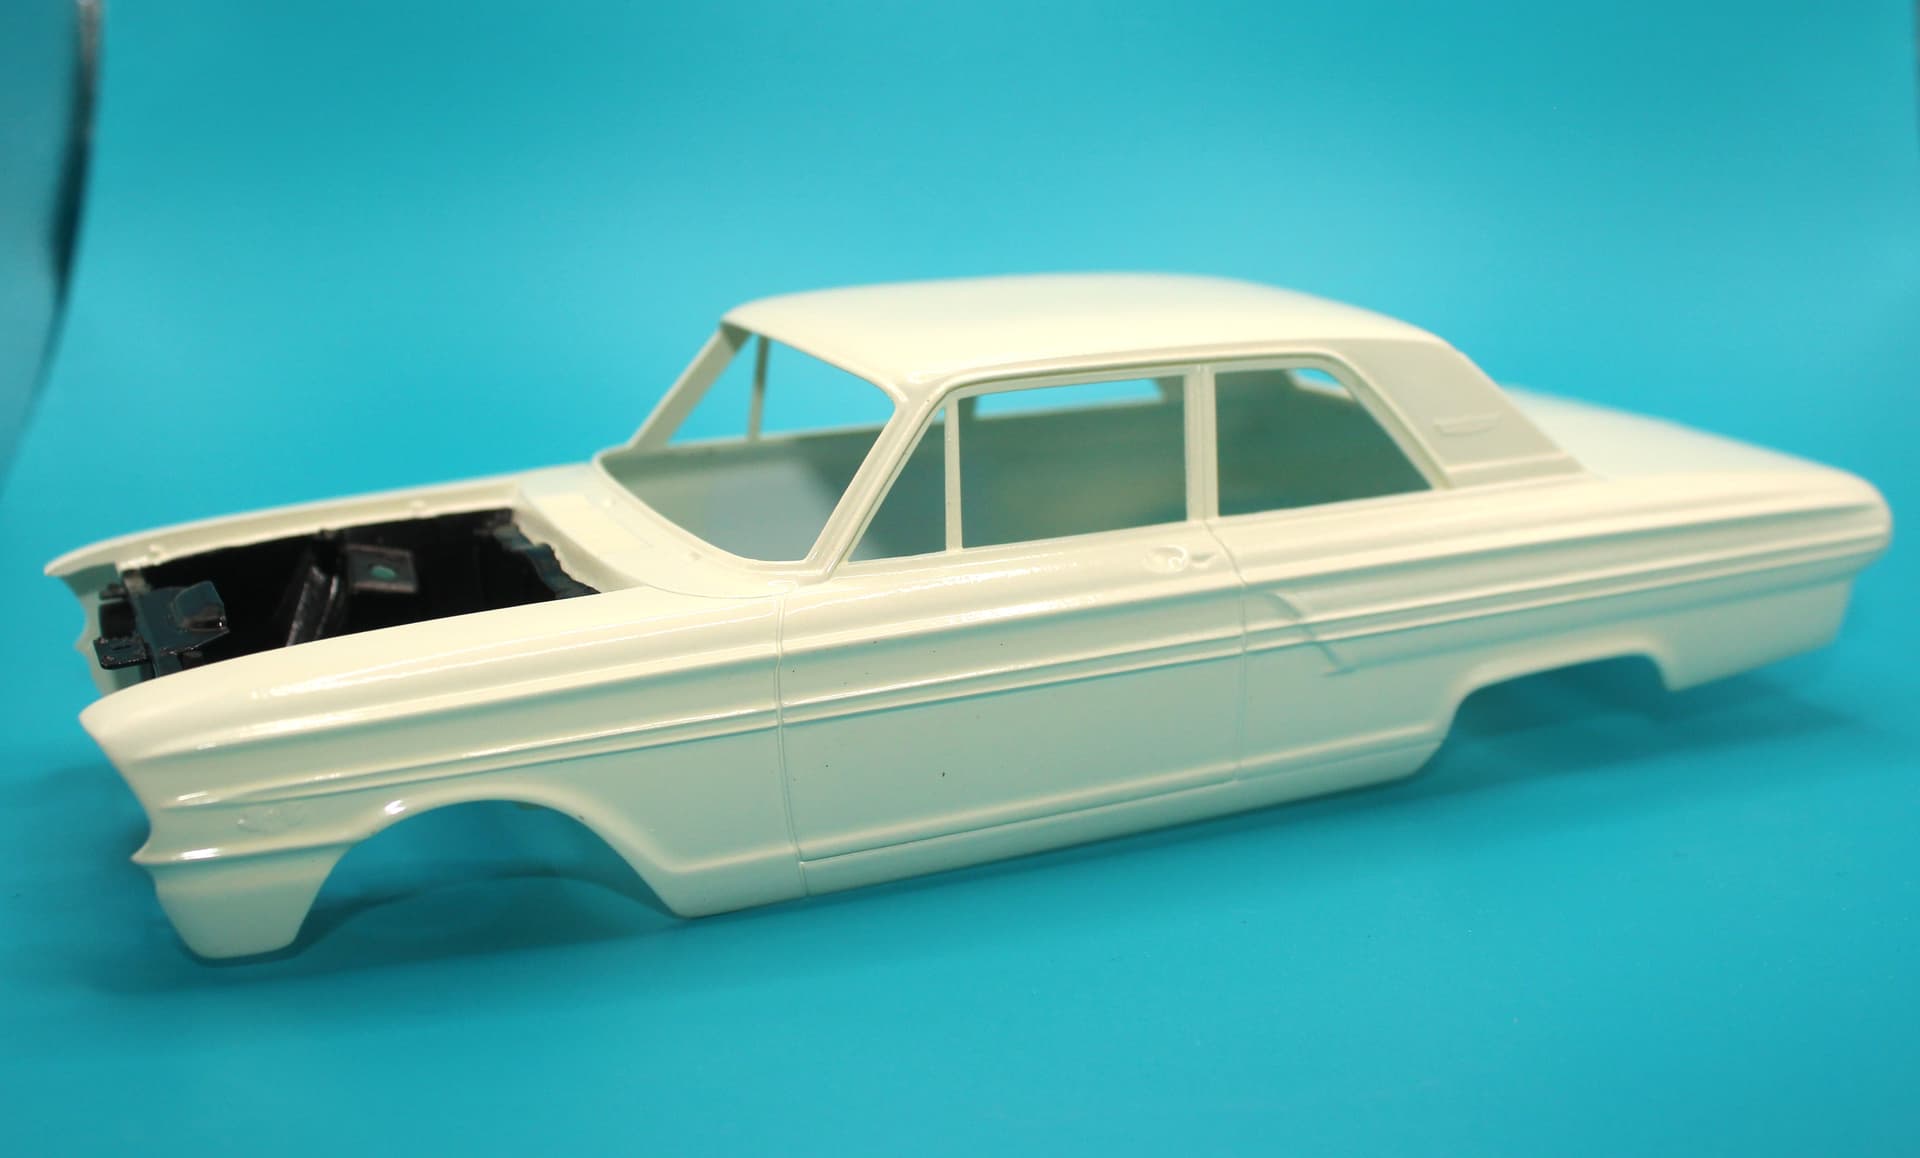
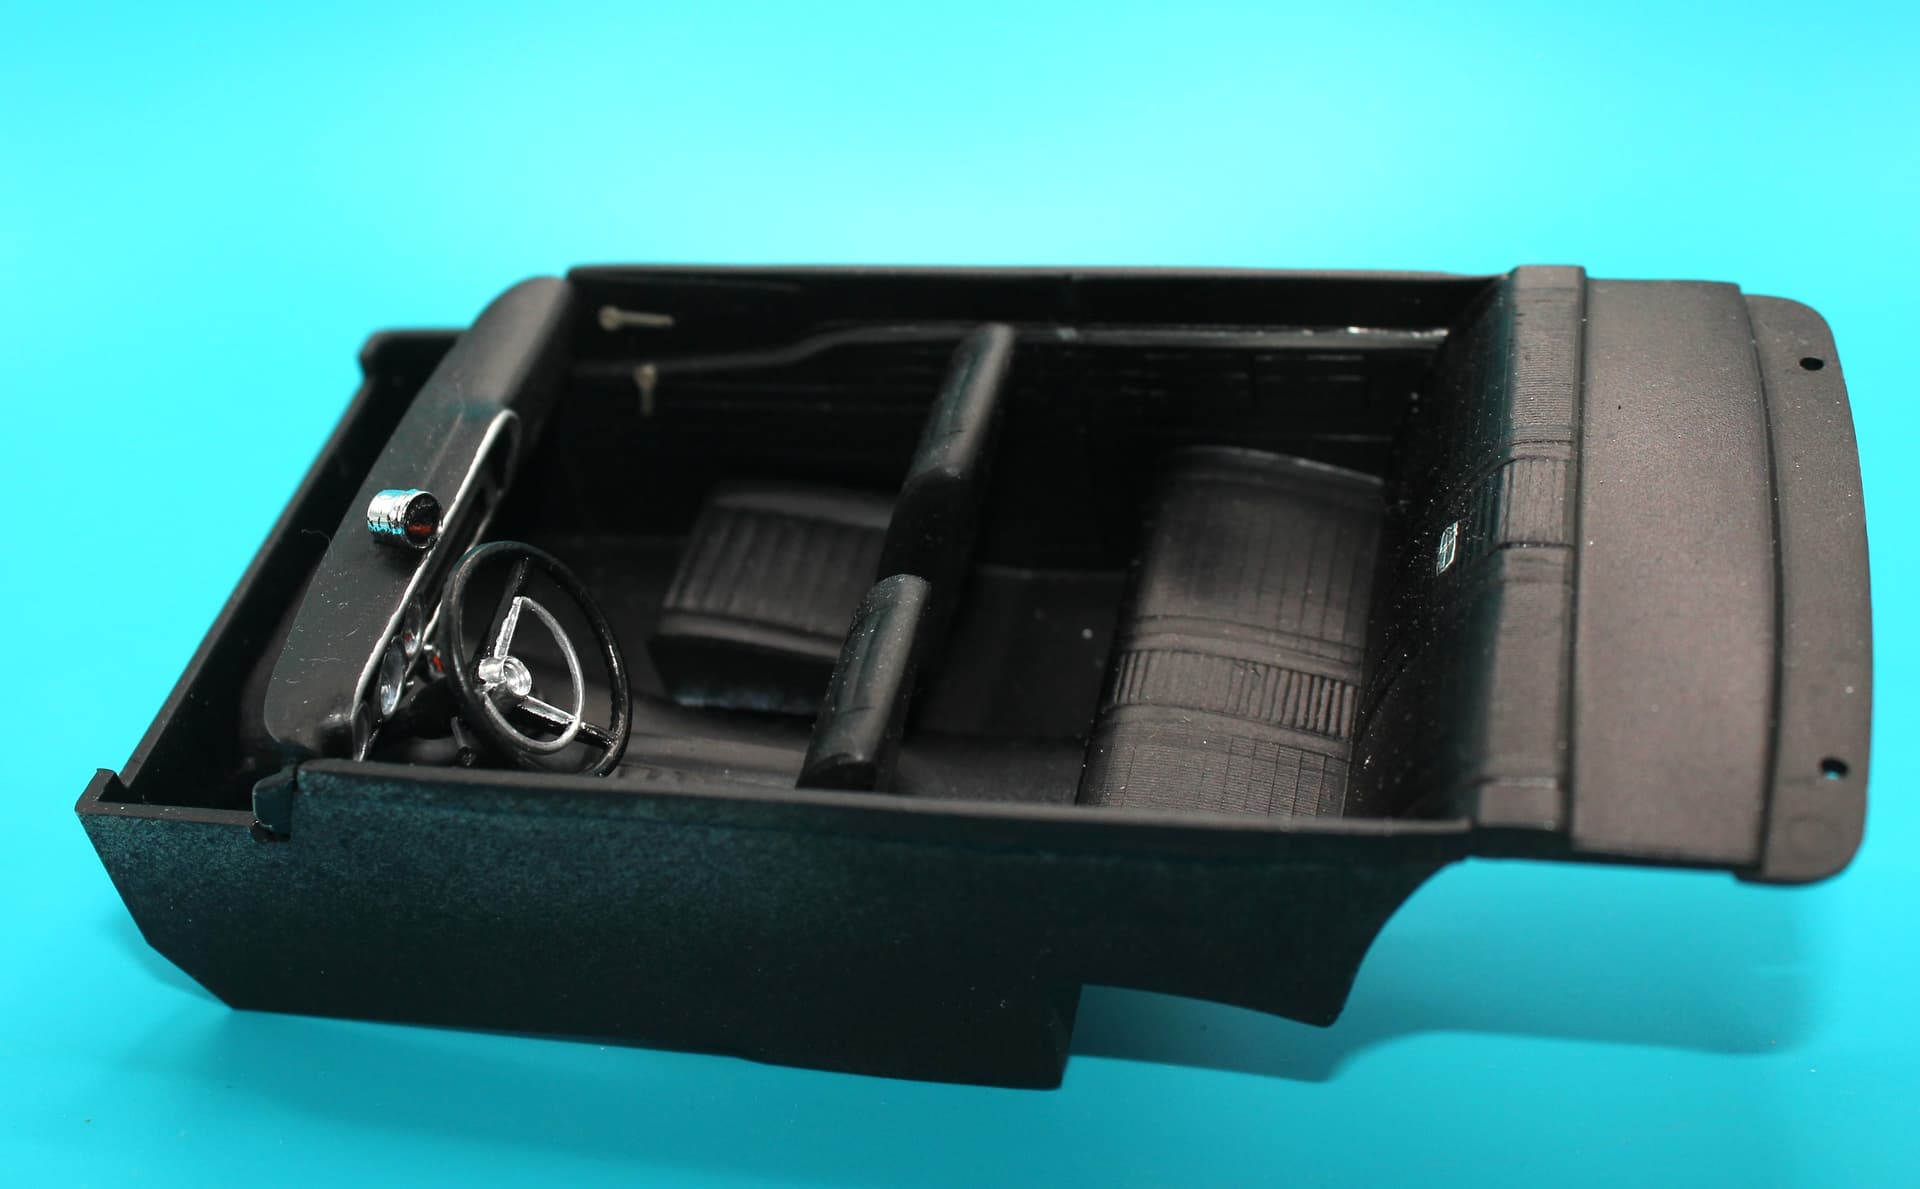
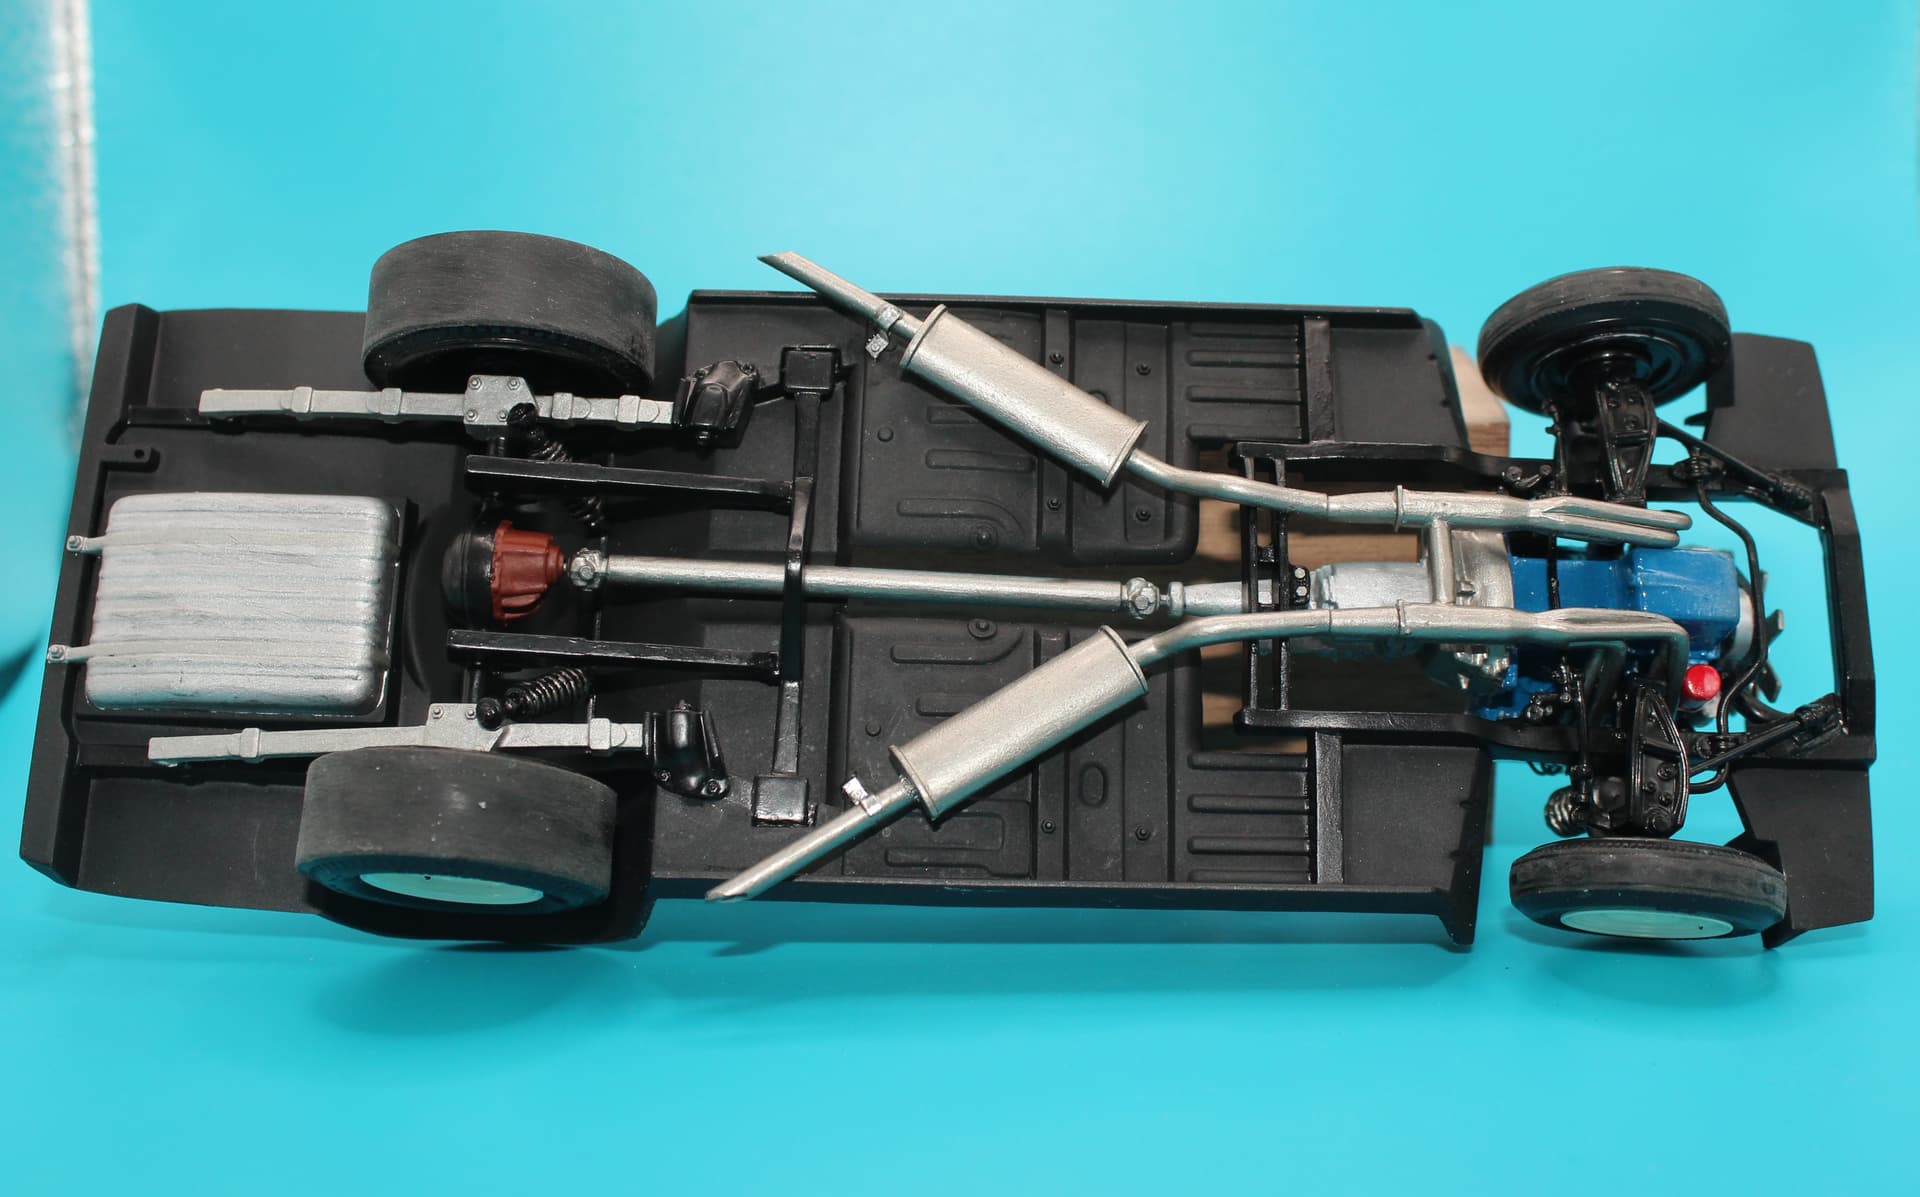
Revell 1964 Ford Thunderbolt, very nice kit. I started this several years ago and never finished it I think it’s time to get it done. Body is pretty plain basic white it needs a little contrast I will think on that, chassis is finished, engine compartment is about 75% done still needs some work, as you can see I added plug wires and looms, fuel lines, Interior is just started, All comments welcome.


5 Likes
Looks like you’re going for a drag car. Great progress.
Jim
Thanks Jim, going for a drag/very high performance street car, In the late 1970’s when I was in high school we had cars using slicks and open exhaust on the street, yes they got tickets.
I am going to extend the exhaust pipes so the outlet is in front of the rear wheels keep the fumes away from the driver and cut down on the exhaust noise a little, if I can find a pair of small mufflers I will use them if not open pipes.
2 Likes
Thanks for your comment, I should have an update in a few days.
Robert,
The rolling chassis the engine and drive chain looks really quite good.
Looking forward to following your build to the finish line.
joel
Thanks Joel, update soon I hope.
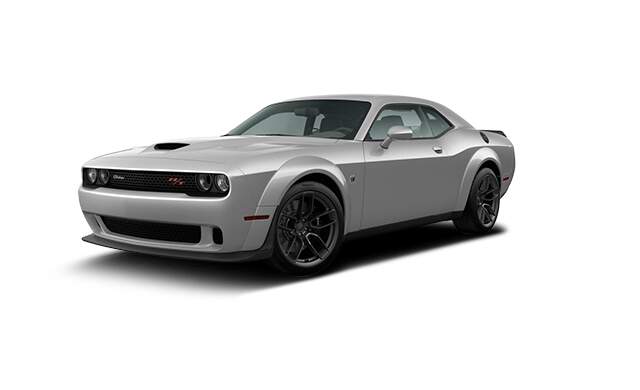
The thunderbolt was out of my price league back then. And every new muscle car since then has always been out of my price range, Strange how that happens…My schools secretary drives a 392 hemi Challenger wide body. I think it is about a zillion dollars.
2 Likes
Yep that is a high priced muscle car for shore, way out of my price range also.
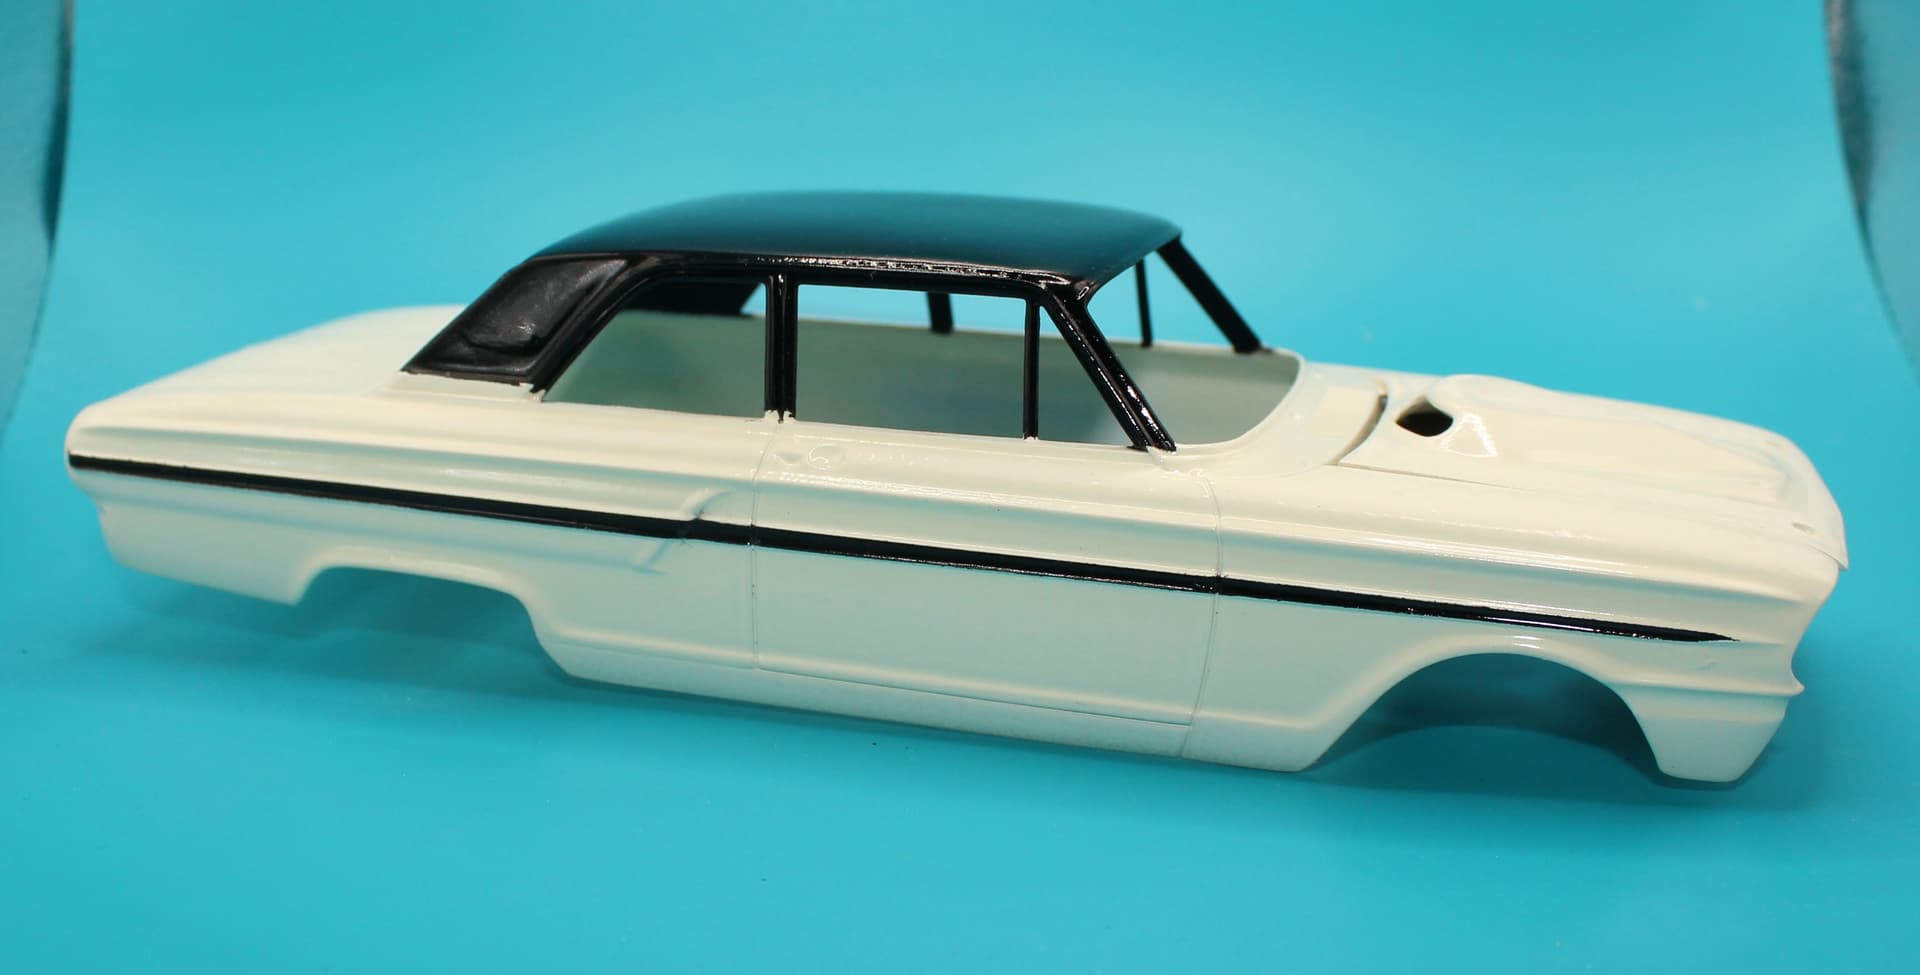
Time for an update, I solved my contrast problem by painting the top and the area in inside the chrome side trip black, interior is pretty much done and I used 2 mufflers form an AMT impala kit and bent up some exhaust pipes that should work, all comments welcome.

3 Likes
Robert,
I certain agree that you’ve solved your contrast issue. Looks great, and you can’t miss the thunder Bolt in a crowd.
Nice job on bending up those exhaust pipes. Paint looks realistic for sure.
joel
Thanks Joel, I did have one minor problem when painting the black the masking tape must have lifted at the passenger side rear quarter and I ended up with a 1/8 by 1/4 inch black patch on the white paint. I had to wet sand it out, while I was at it I went ahead and wet sanded the rest of the white paint to, I will wet sand the black paint after it gets a little harder in a few days mite as well do it all.
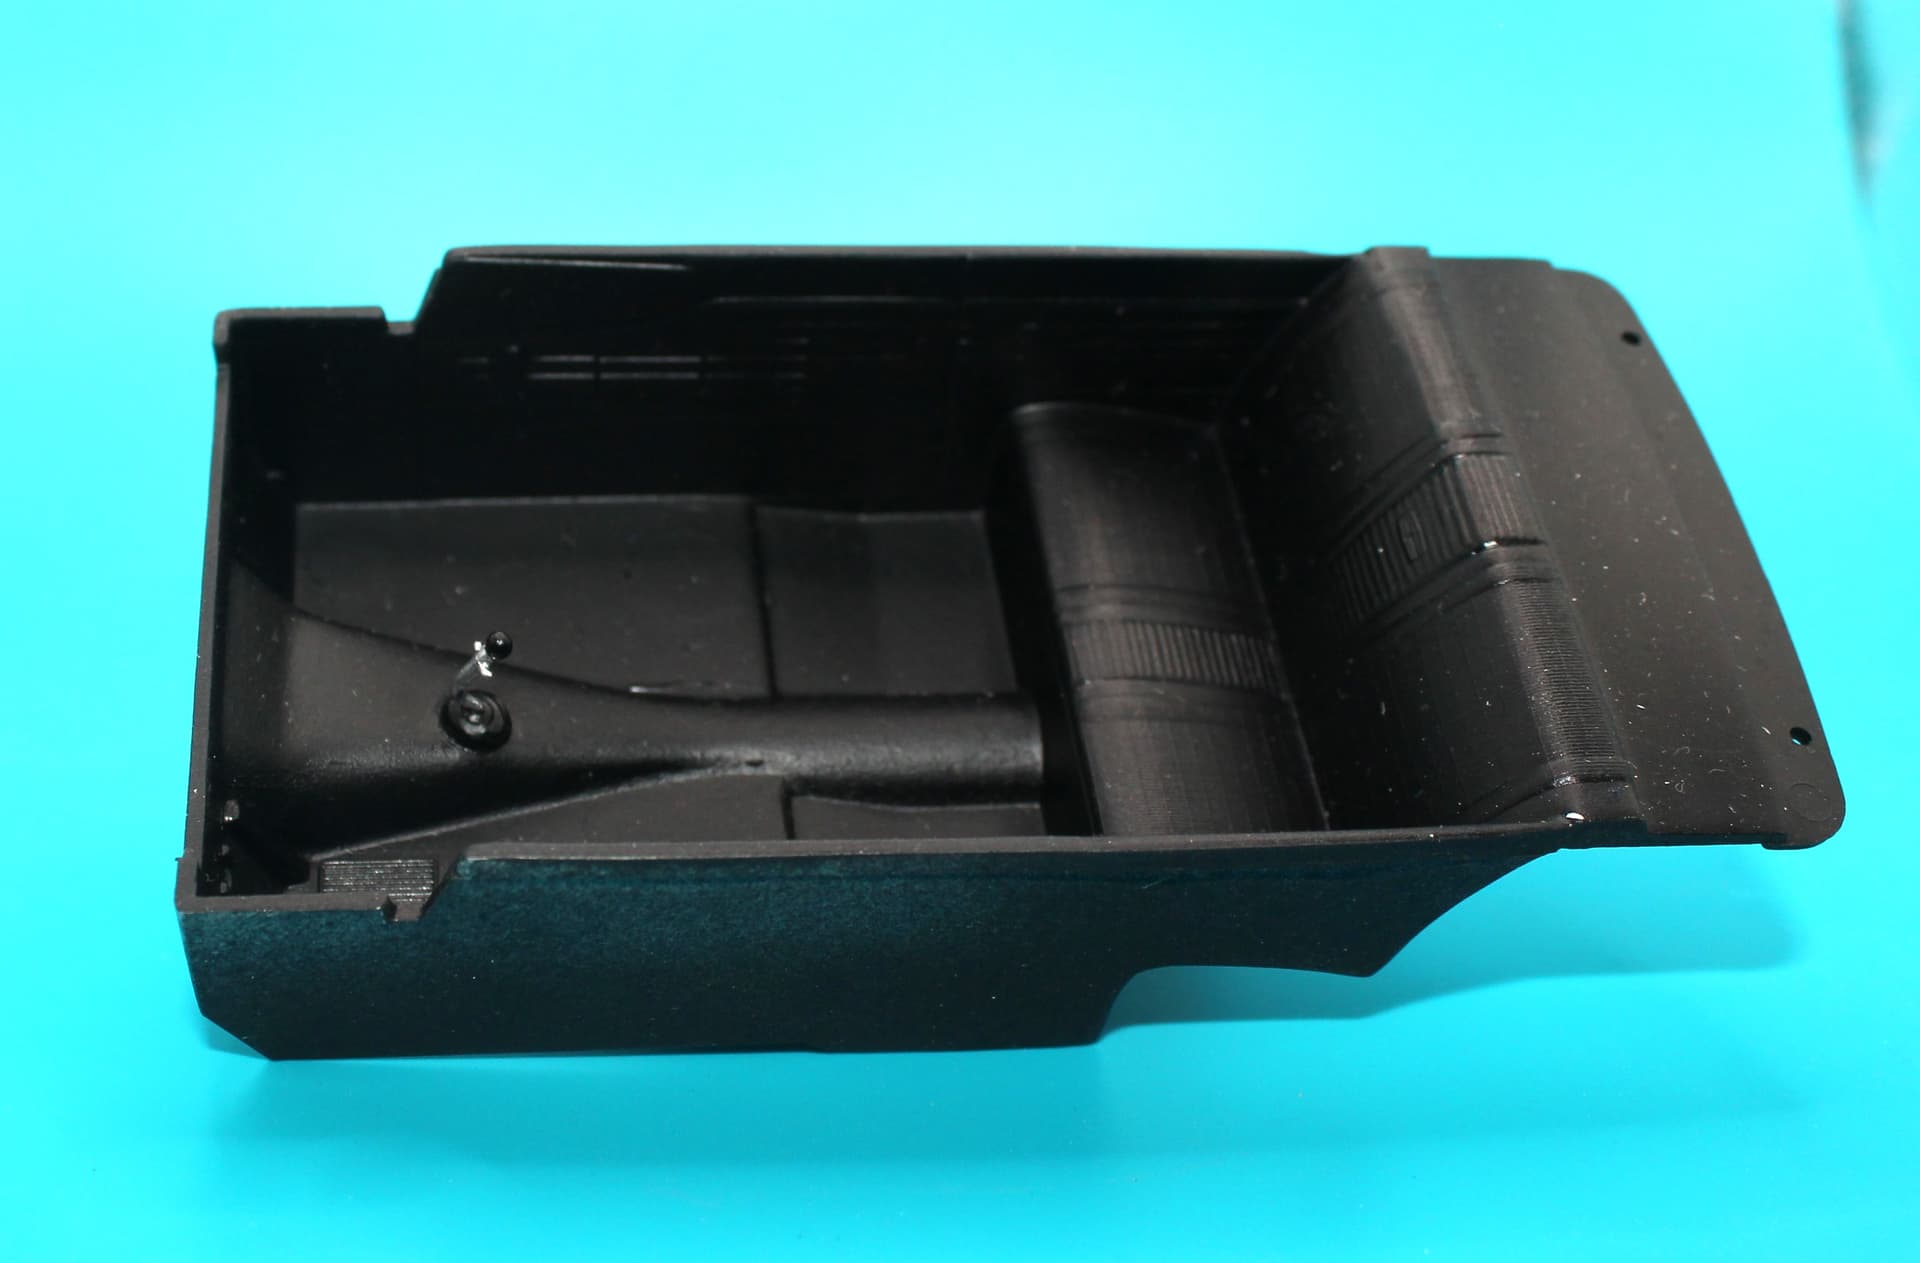
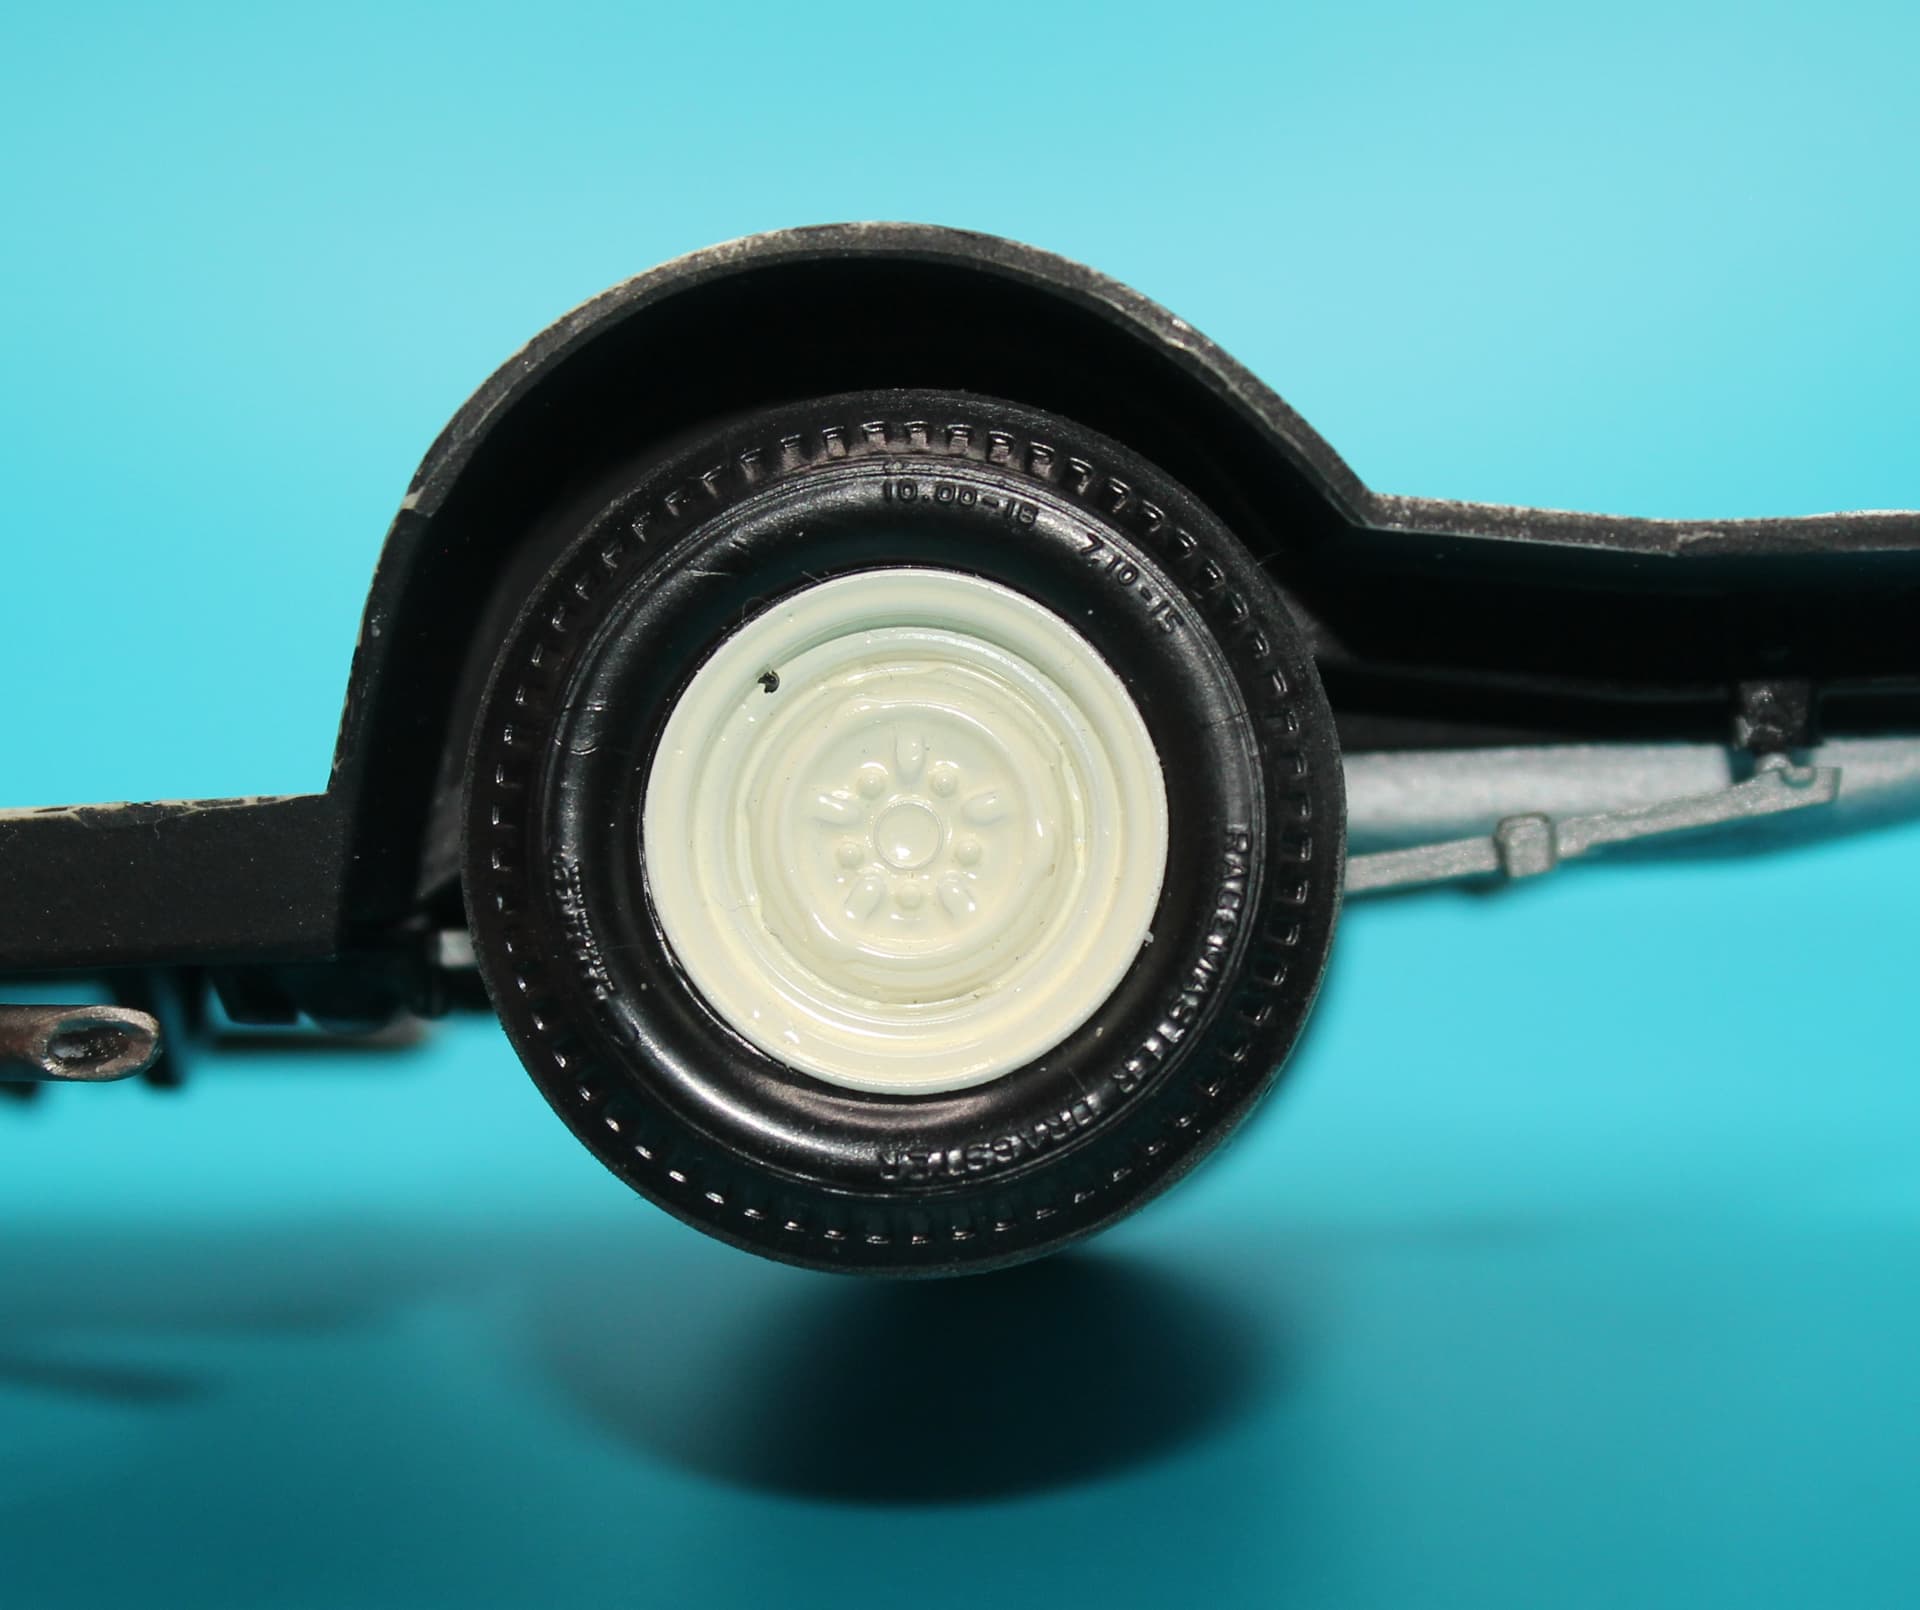
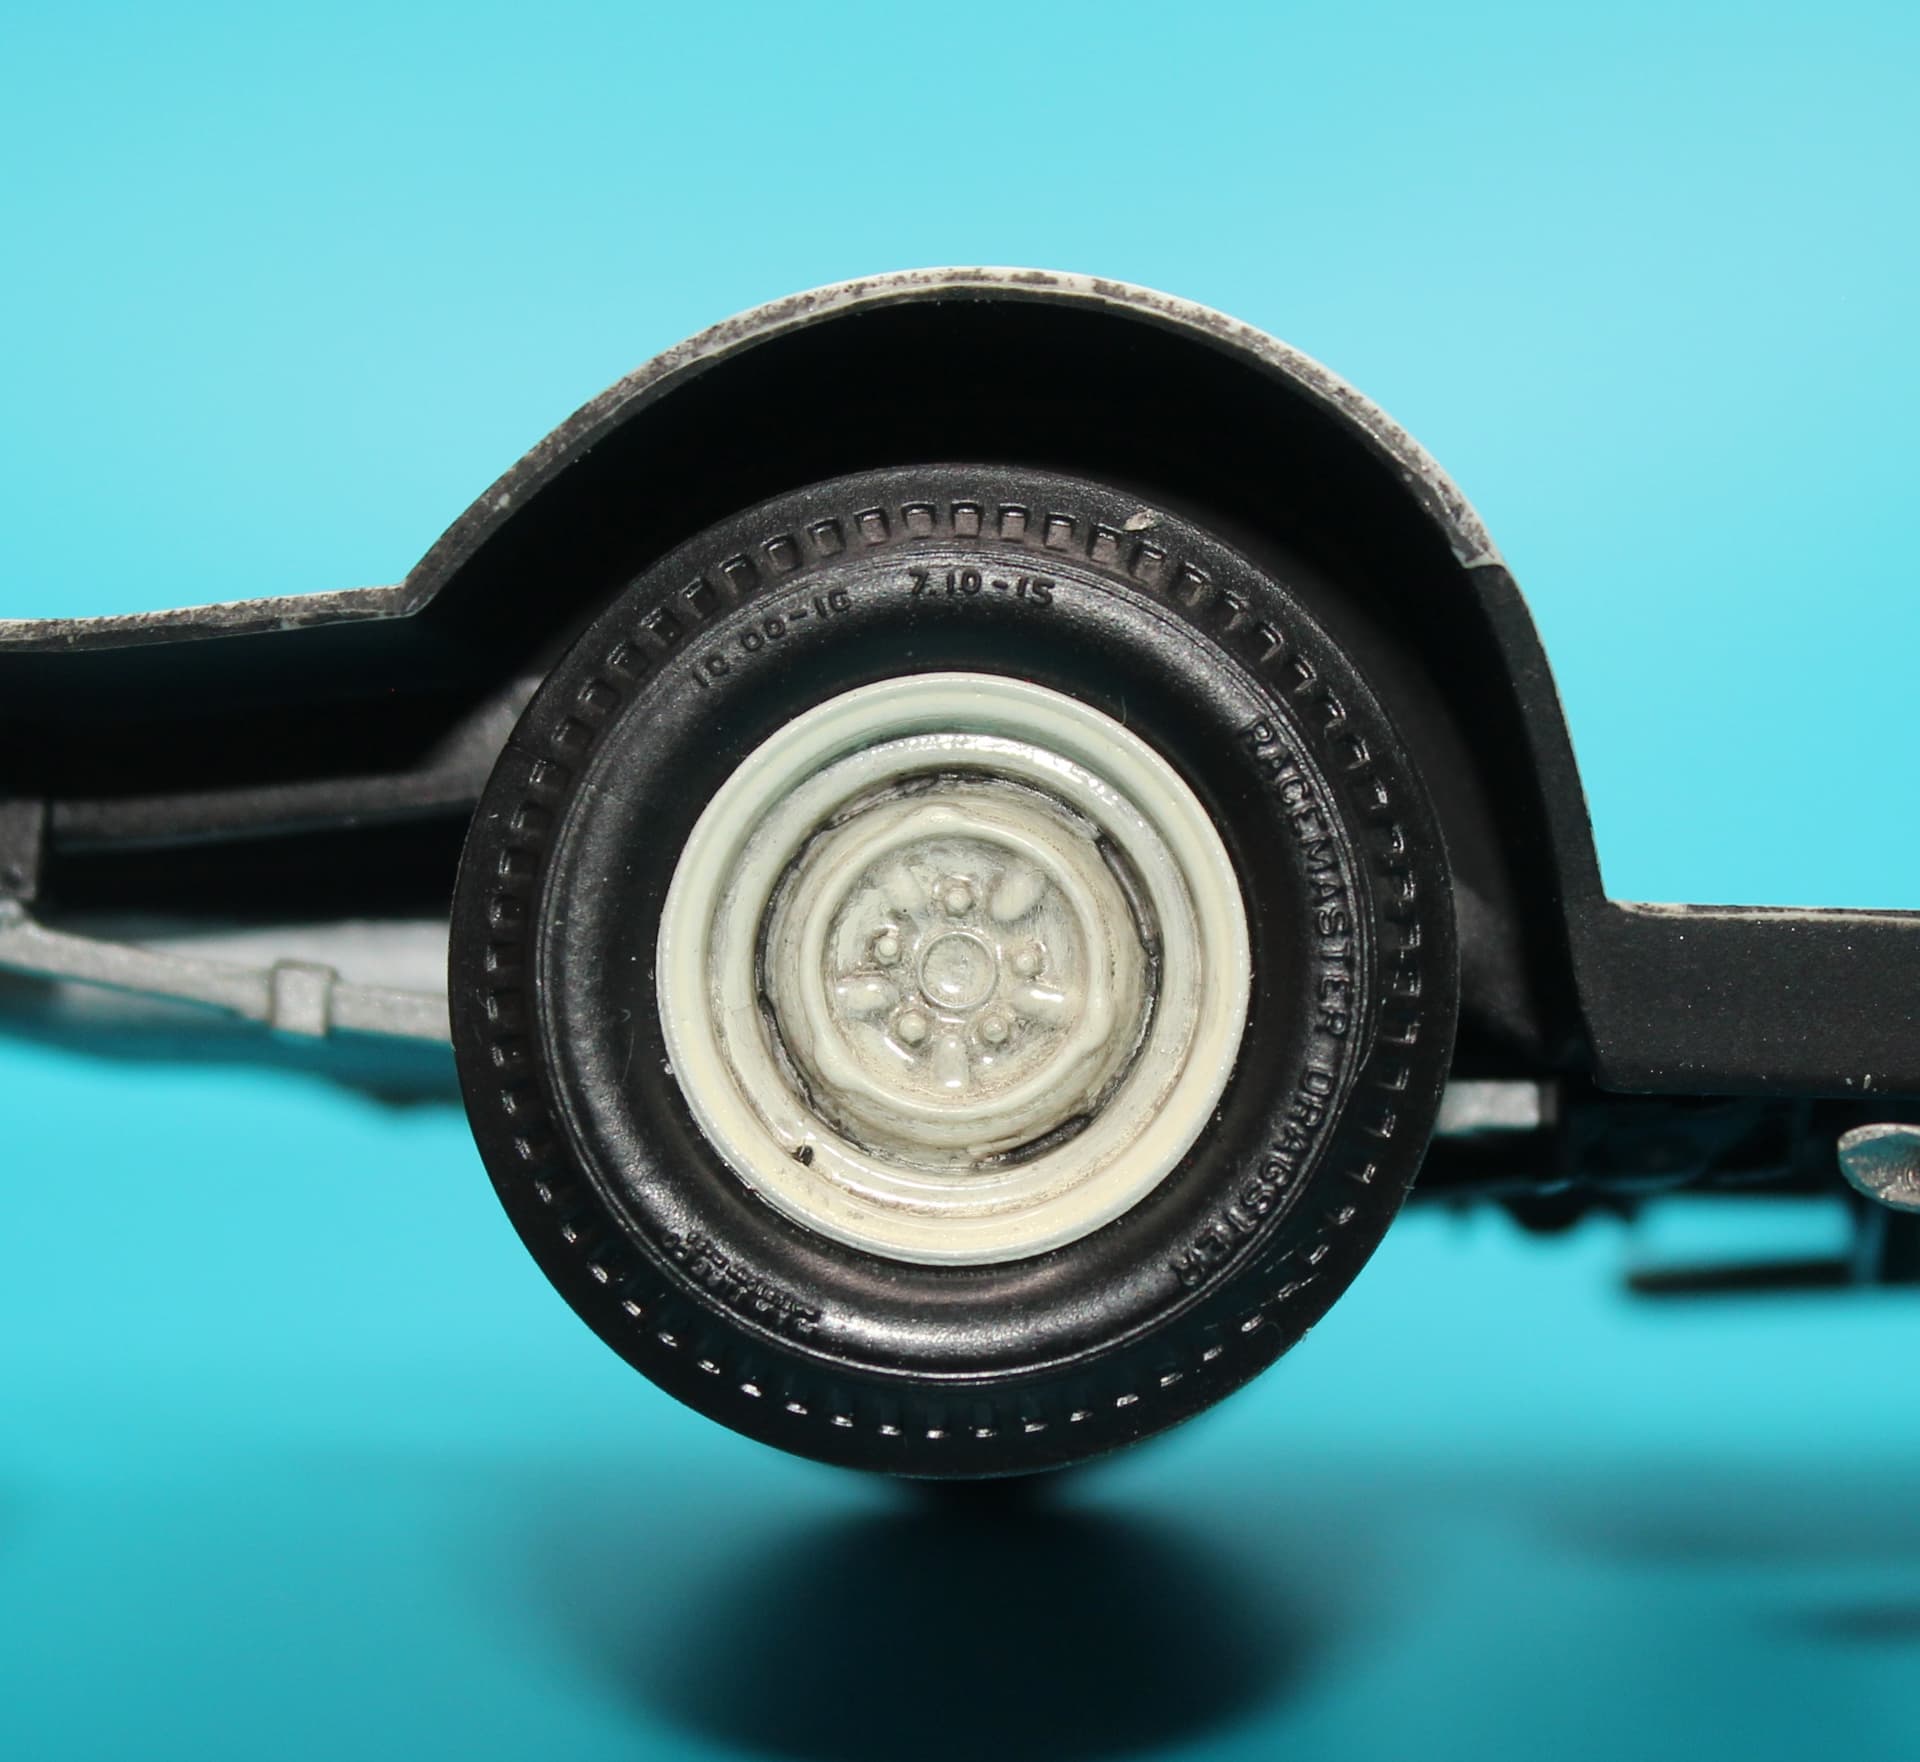
Time for a small update, I added the exhaust system and a small hanger near the tail pipe with a bolt head, second pic shows the rear wheel plain the third pic shows the wheel with a Vallejo black wash added, I also filled in the hole at the transmission mount and added bolt heads to that. I know this is a small update I can skip over these and wait for a lot more progress or keep doing these little ones.
3 Likes
Robert,
Nice job on the exhaust system, as the bottom of the T Bolt really looks quite good. As for the wheel, the wash makes a huge difference adding shadow and depth.
joel
Thanks Joel, next I will wet sand the black top, after that I may give it a few coats of clear than some foil and a few more coats of clear over the foil to make shore it never comes up.
1 Like
Sorry for the lack of updates, very busy at work, now that I have the time the last Microsoft update broke my picture downloads, I think I have it fixed I hope, update soon.