Revell AH-1G build

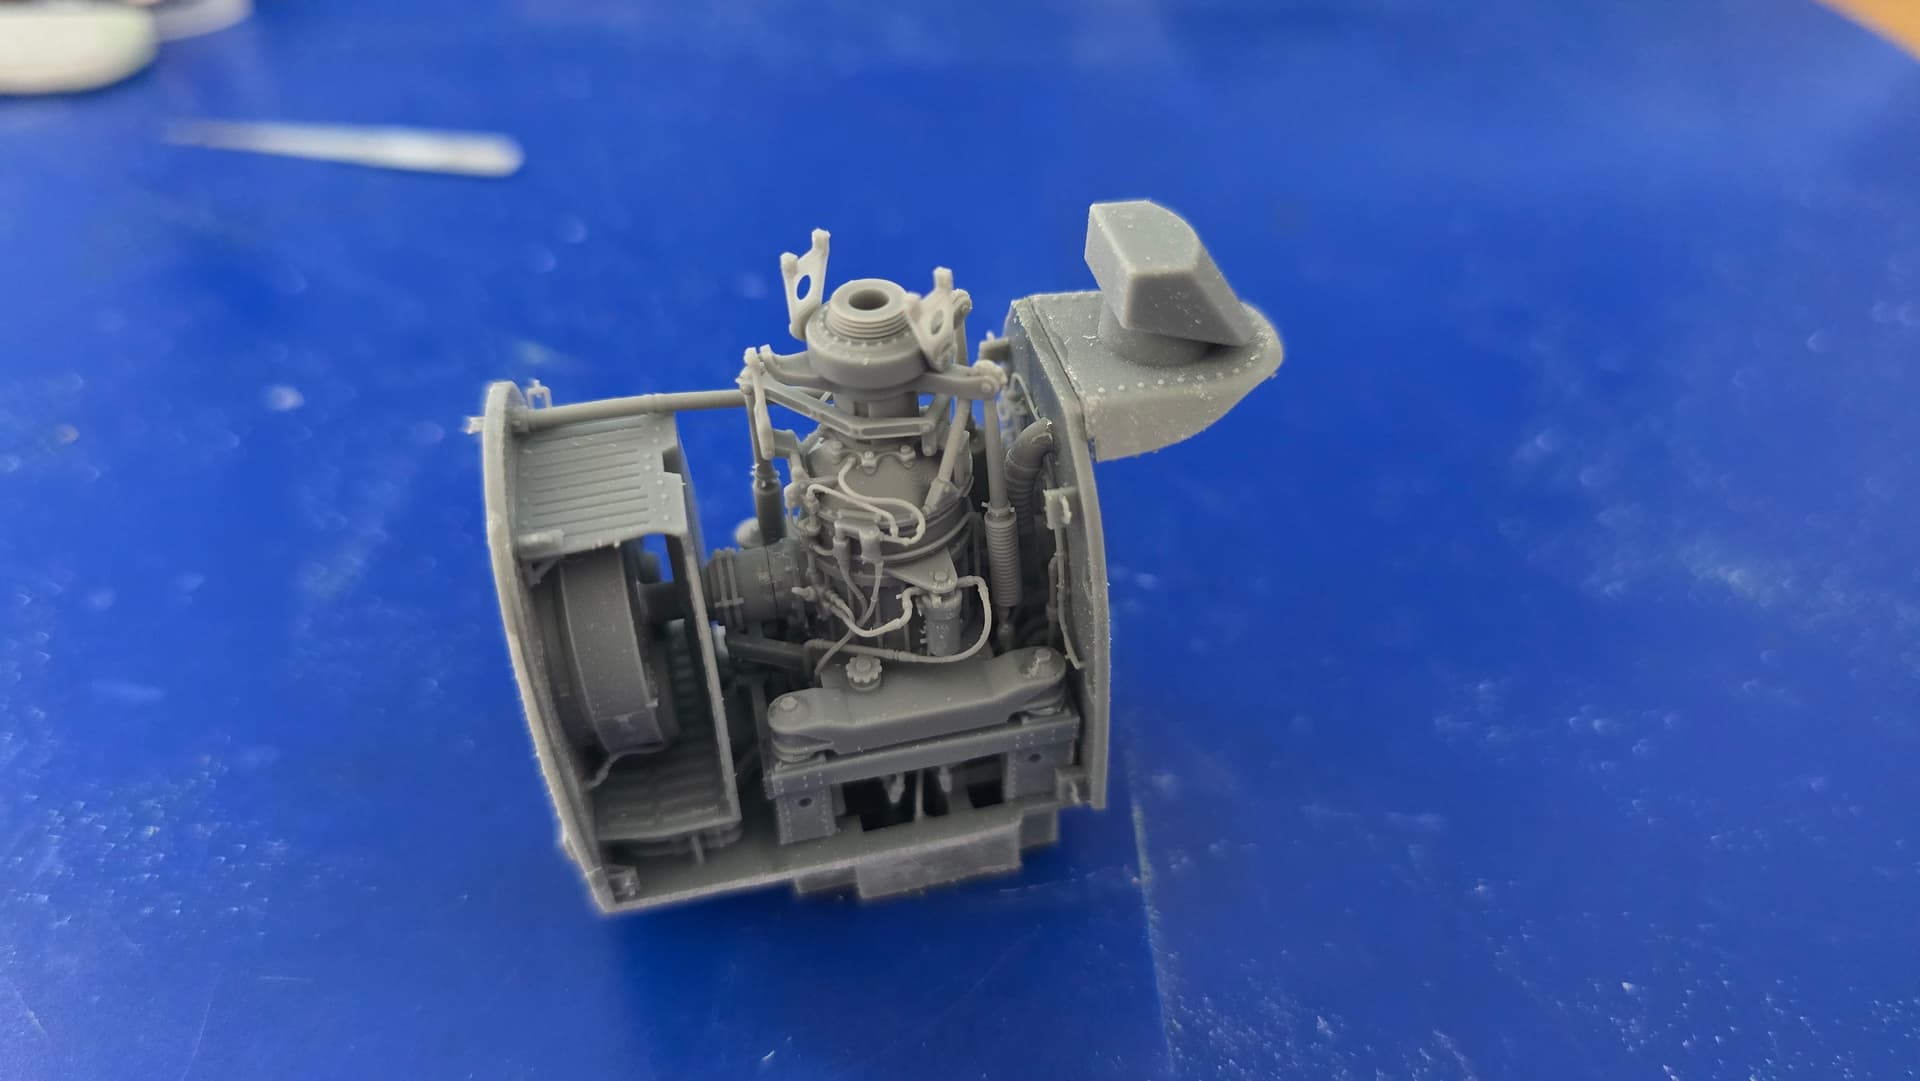
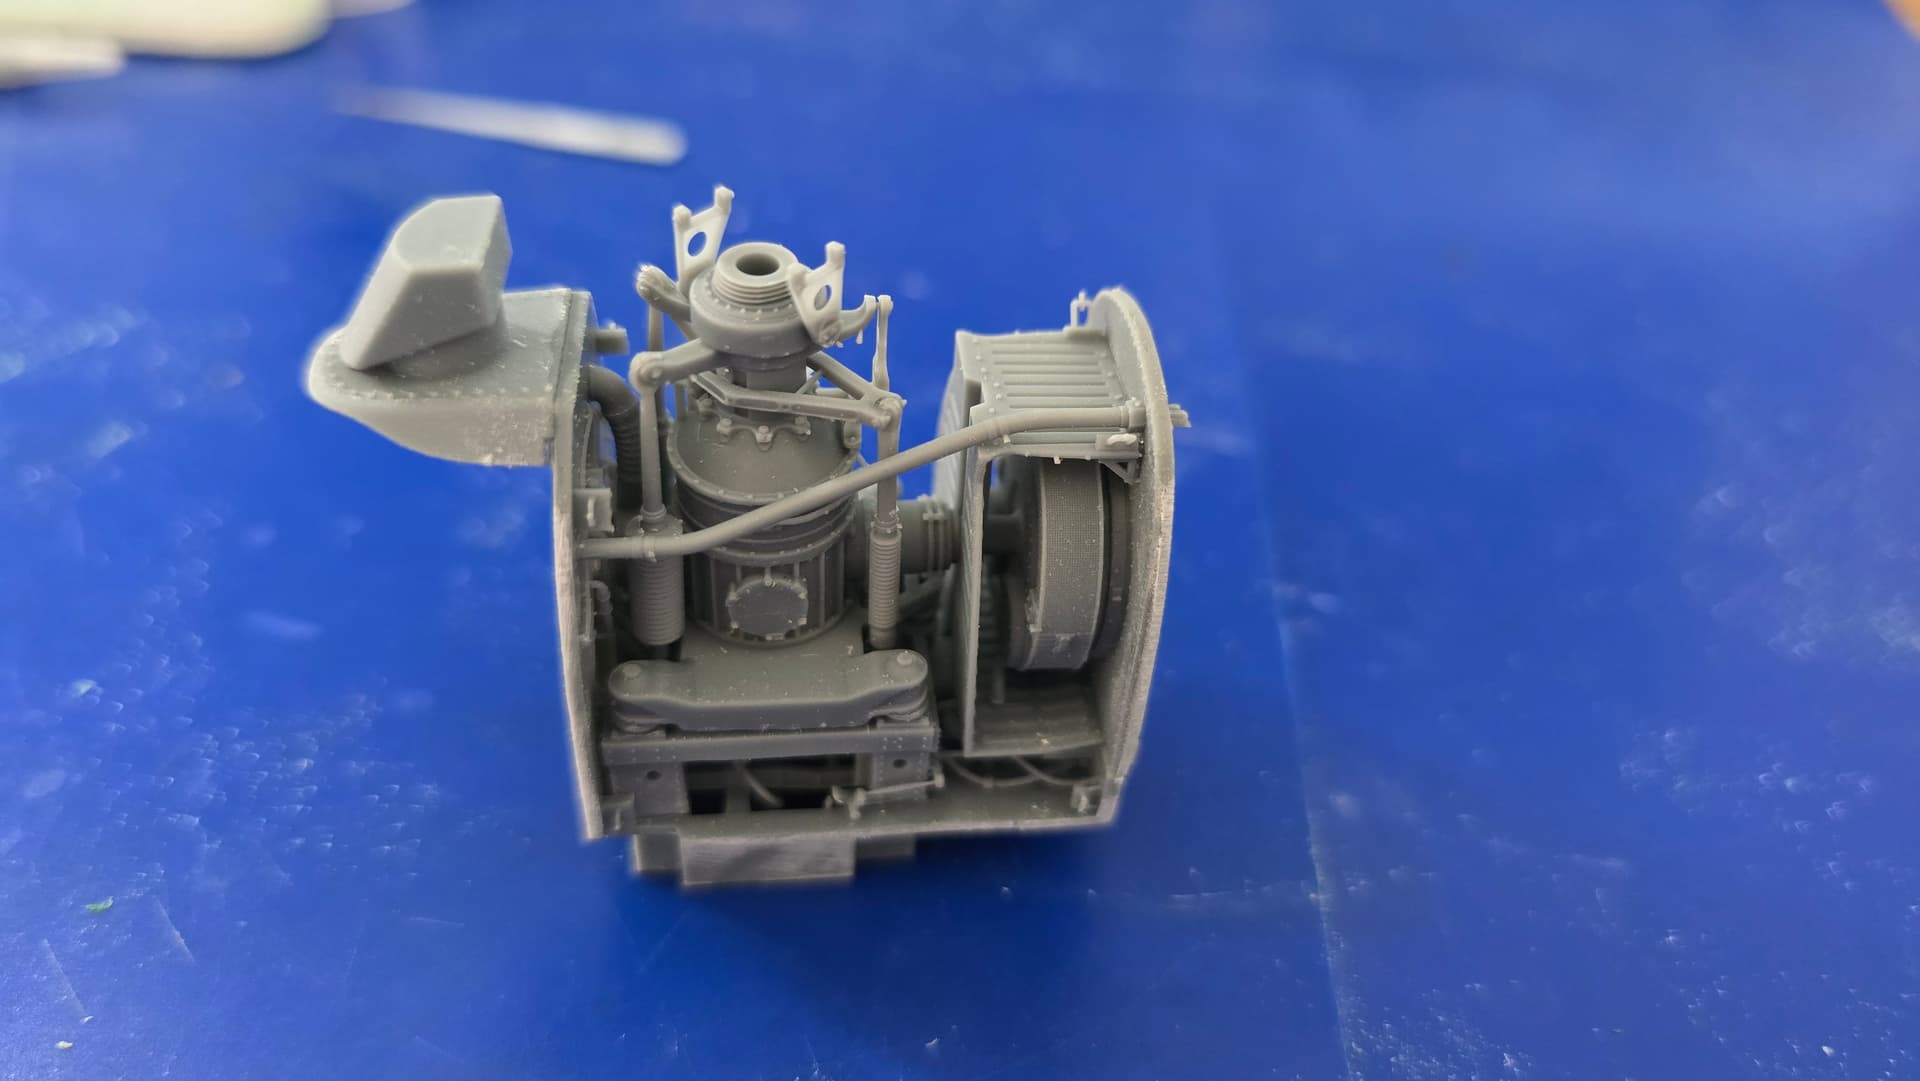
Got the turret sorted. It required a bit of sanding around the rear of the grenade launcher and minigun but you cant see those inside the turret anyway (i did consider leaving the outside off)

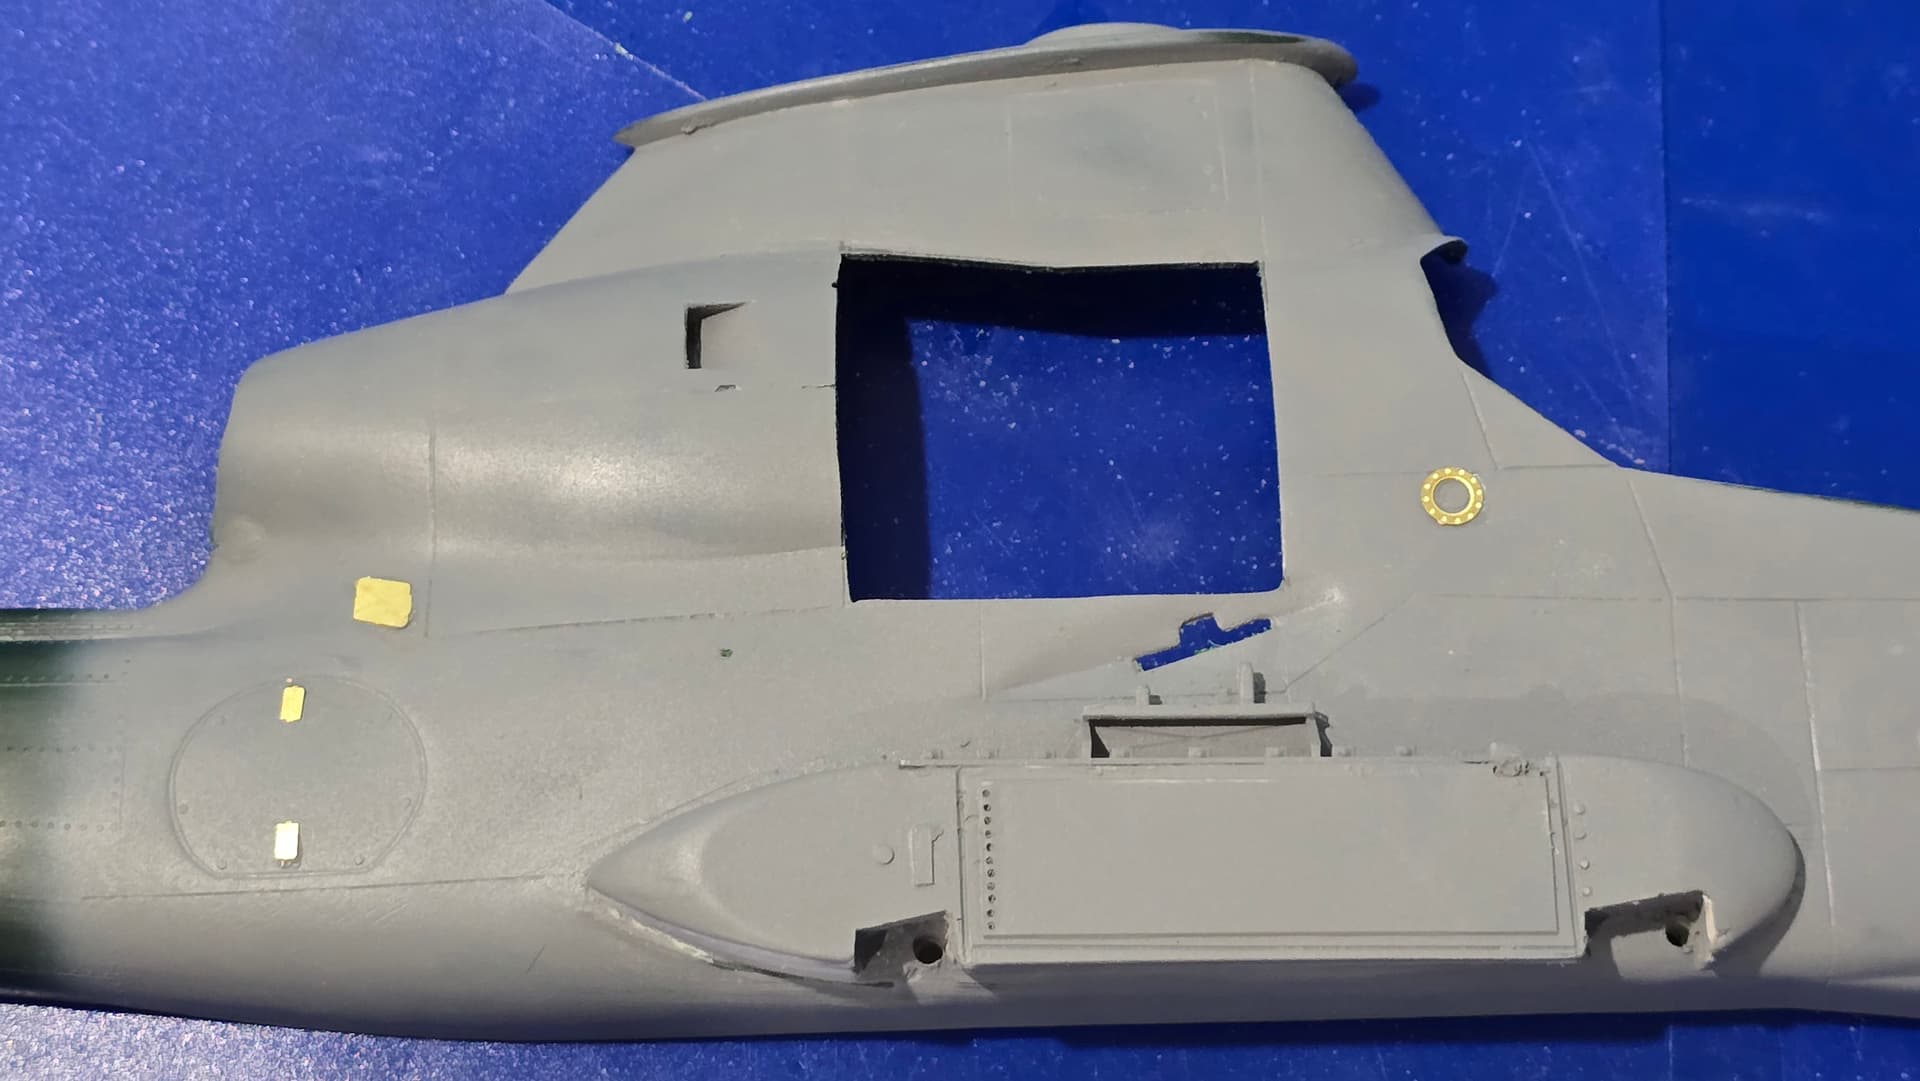
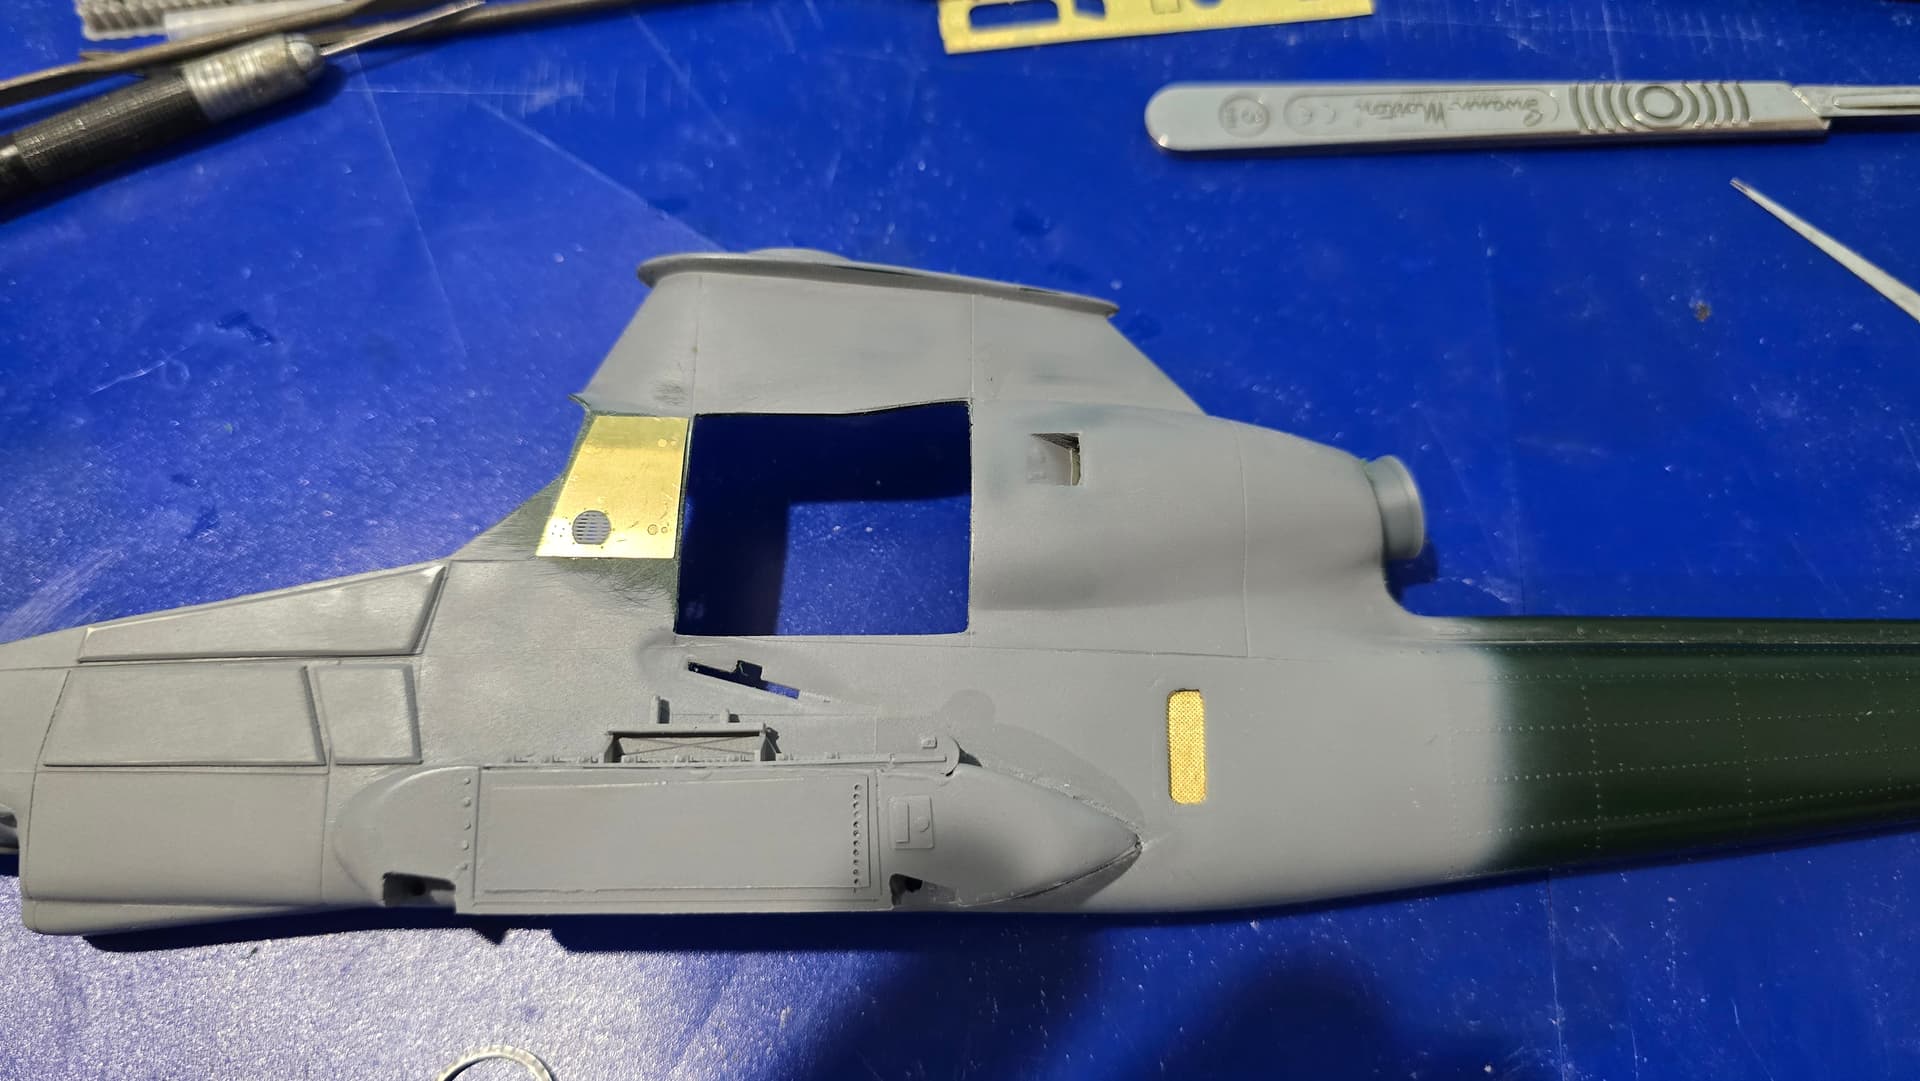
Also a slight disaster. Trimming out the canopy openings for pilot and gunner (the kit canopy is 1 piece) went well, but had sone glue residue from the Dymo tape i used as a guide (not sure whats happened to Dymo as its nothing like i remember it). Used a bit of turps as i normally do to remove sticky glue and it had a slight reaction to the plastic…

Luckily i had the other canopy from the kit for the AH-1F conversion so used that. All is well

4 Likes

You can try to use lamp oil to remove glue residue of tape etc next time… Works like a breeze and no reaction with plastics…

3 Likes

@golikell lamp oil, is that kerosene/parrafin?

@deerstalker36 here is an interesting video you might like.

2 Likes

WD-40 also removes tape residue quite well.

2 Likes

I had to look it up, as it is a well known product in the Netherlands, but is is parafine based though there is also a variant based on palm oil…

1 Like

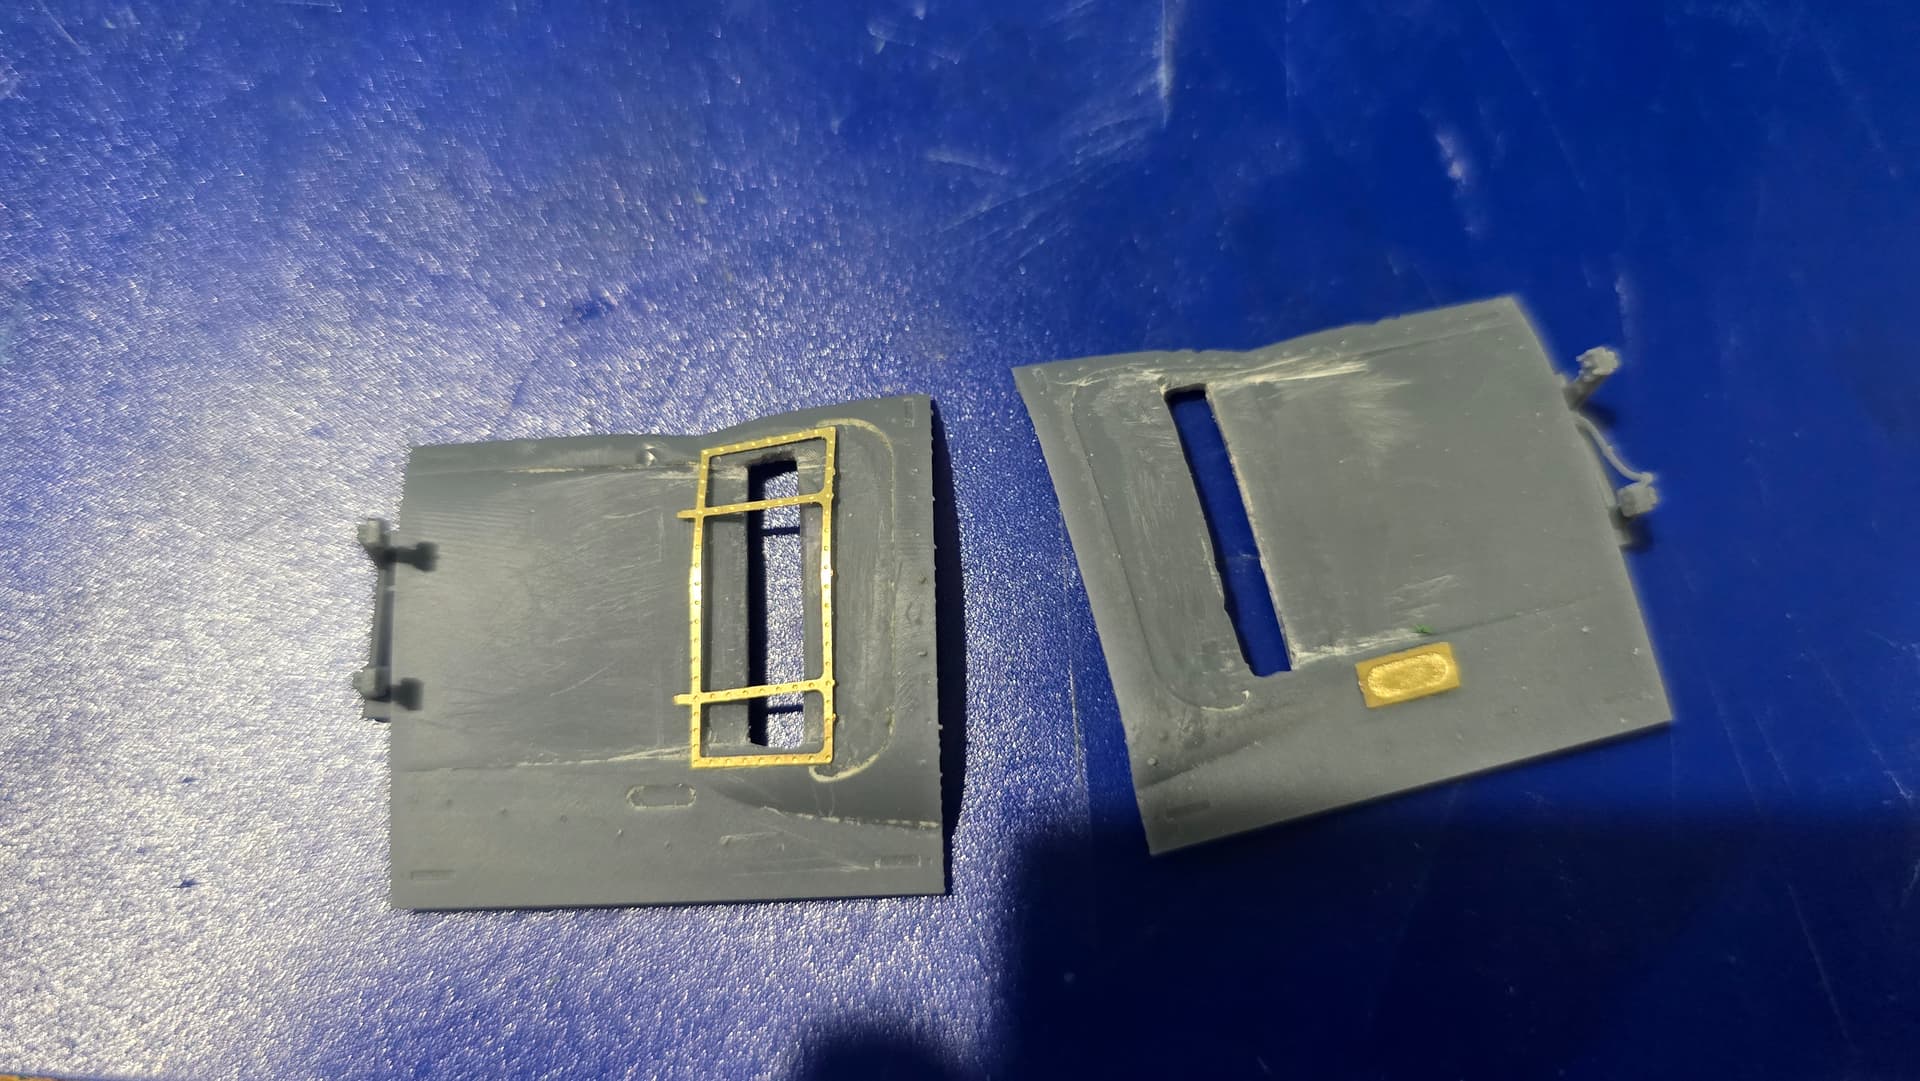
Been on night shift so not a lot of progress the past few days. I’ve masked up the canopy for painting and bulked out the ammunition panniers ready for sanding down to the correct shape.

Does anyone have any advice for the correct colour paint for a standard green US early AH-1G, preferably something from AK or SMS here in Oz

2 Likes

Test fitting of the ammunition panniers. Port side is still to complete. Starboard side is finished. Just need to fair it to the fuselage


I also have to build the crossover under the fuselage

5 Likes

May I recommend the Werner’s Wings AH-1G Canopy?

5 Likes

You certainly may. When the time comes, I plan to order a canopy, and rocket pods.

For a different scale and a different war, I’ll also order at the Galland lobsters and desert Bf 109 umbrella :wave:

1 Like

I am a fan and have a few Werner products.

Psst, I will deny it but Floyd’s not a bad guy either. :sunglasses:

1 Like

Cockpit is now finished, the 2nd set of seatbelts turned up from Ukraine.


And also this little addition… time to start chopping the fuselage to see if it fits

4 Likes

Didnt realise it had been so long since id worked on this. Holidays, work commitments and a cyclone got in the way.

Anyway. Built up the engine detail set. Beautiful and very easy to put together. It’s designed for the ICM kits so required a bit of fettling to fit


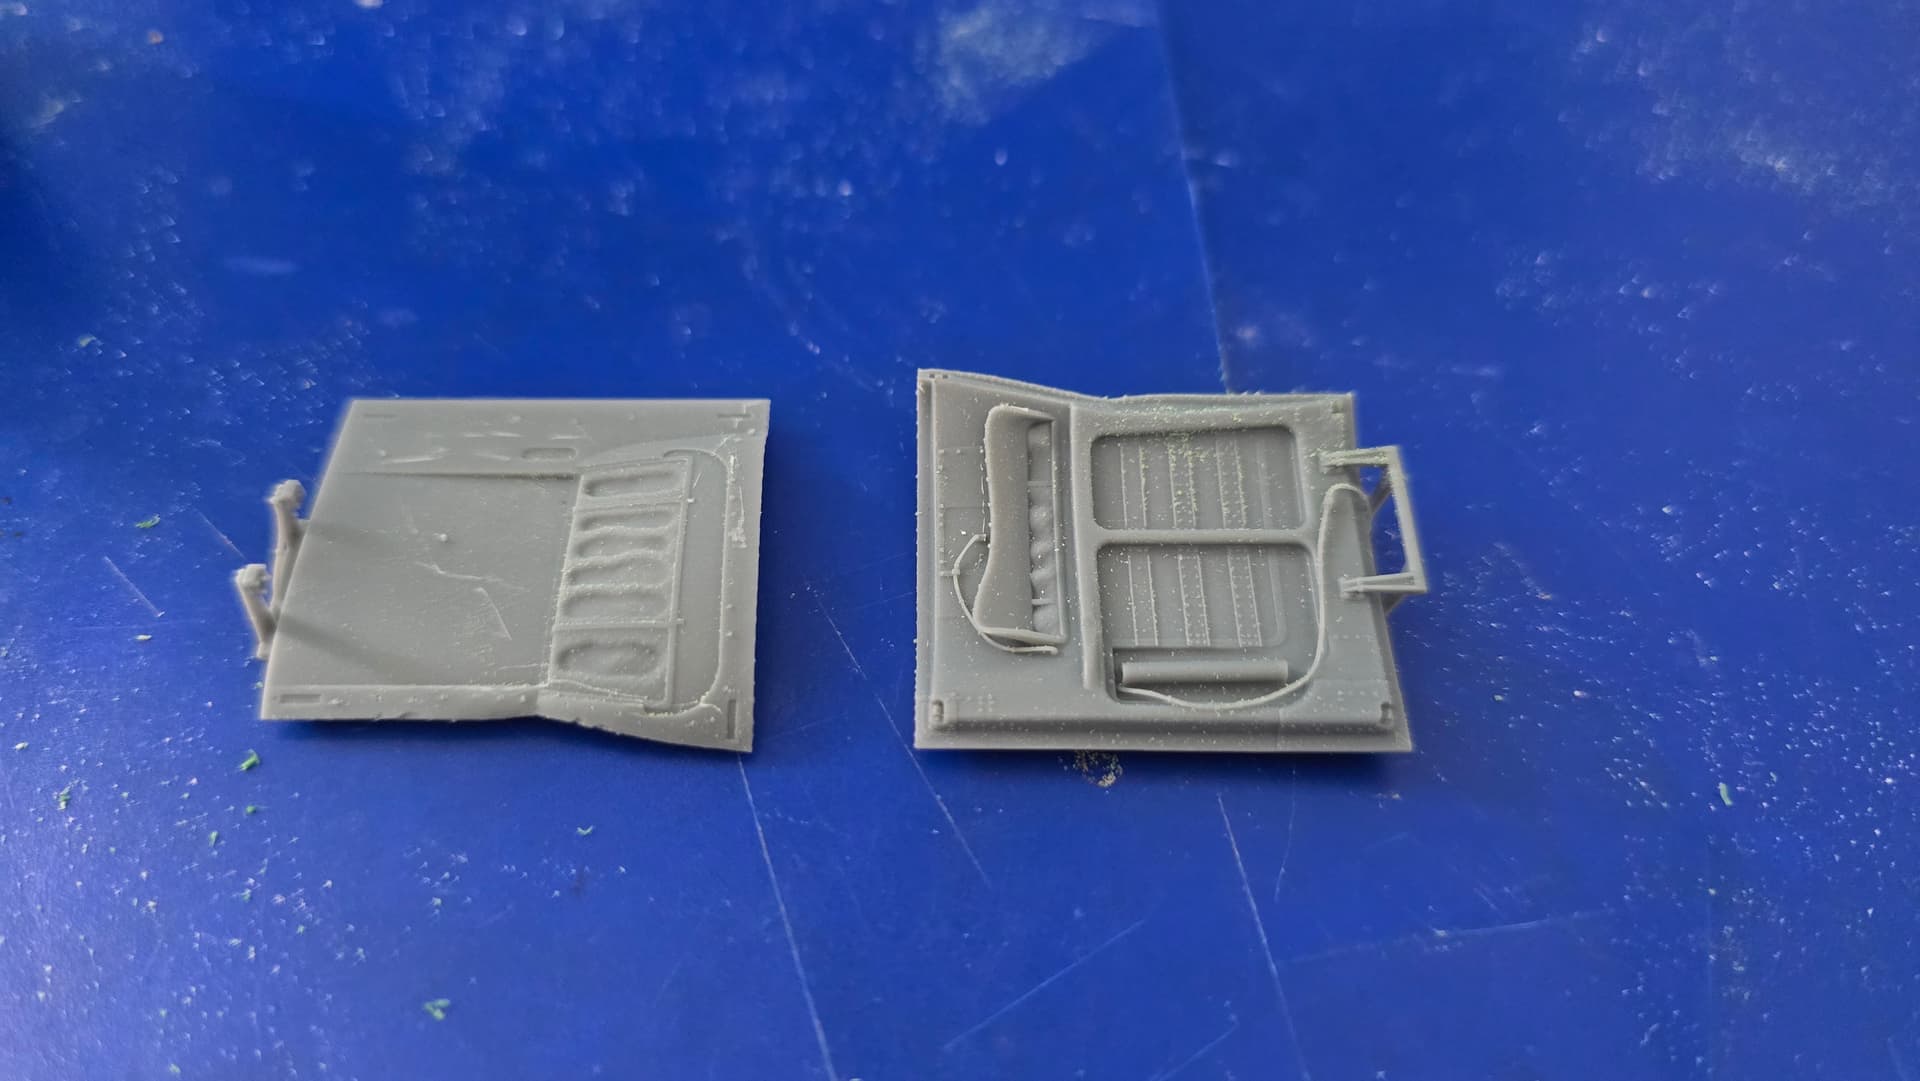
The doors are lovely but…
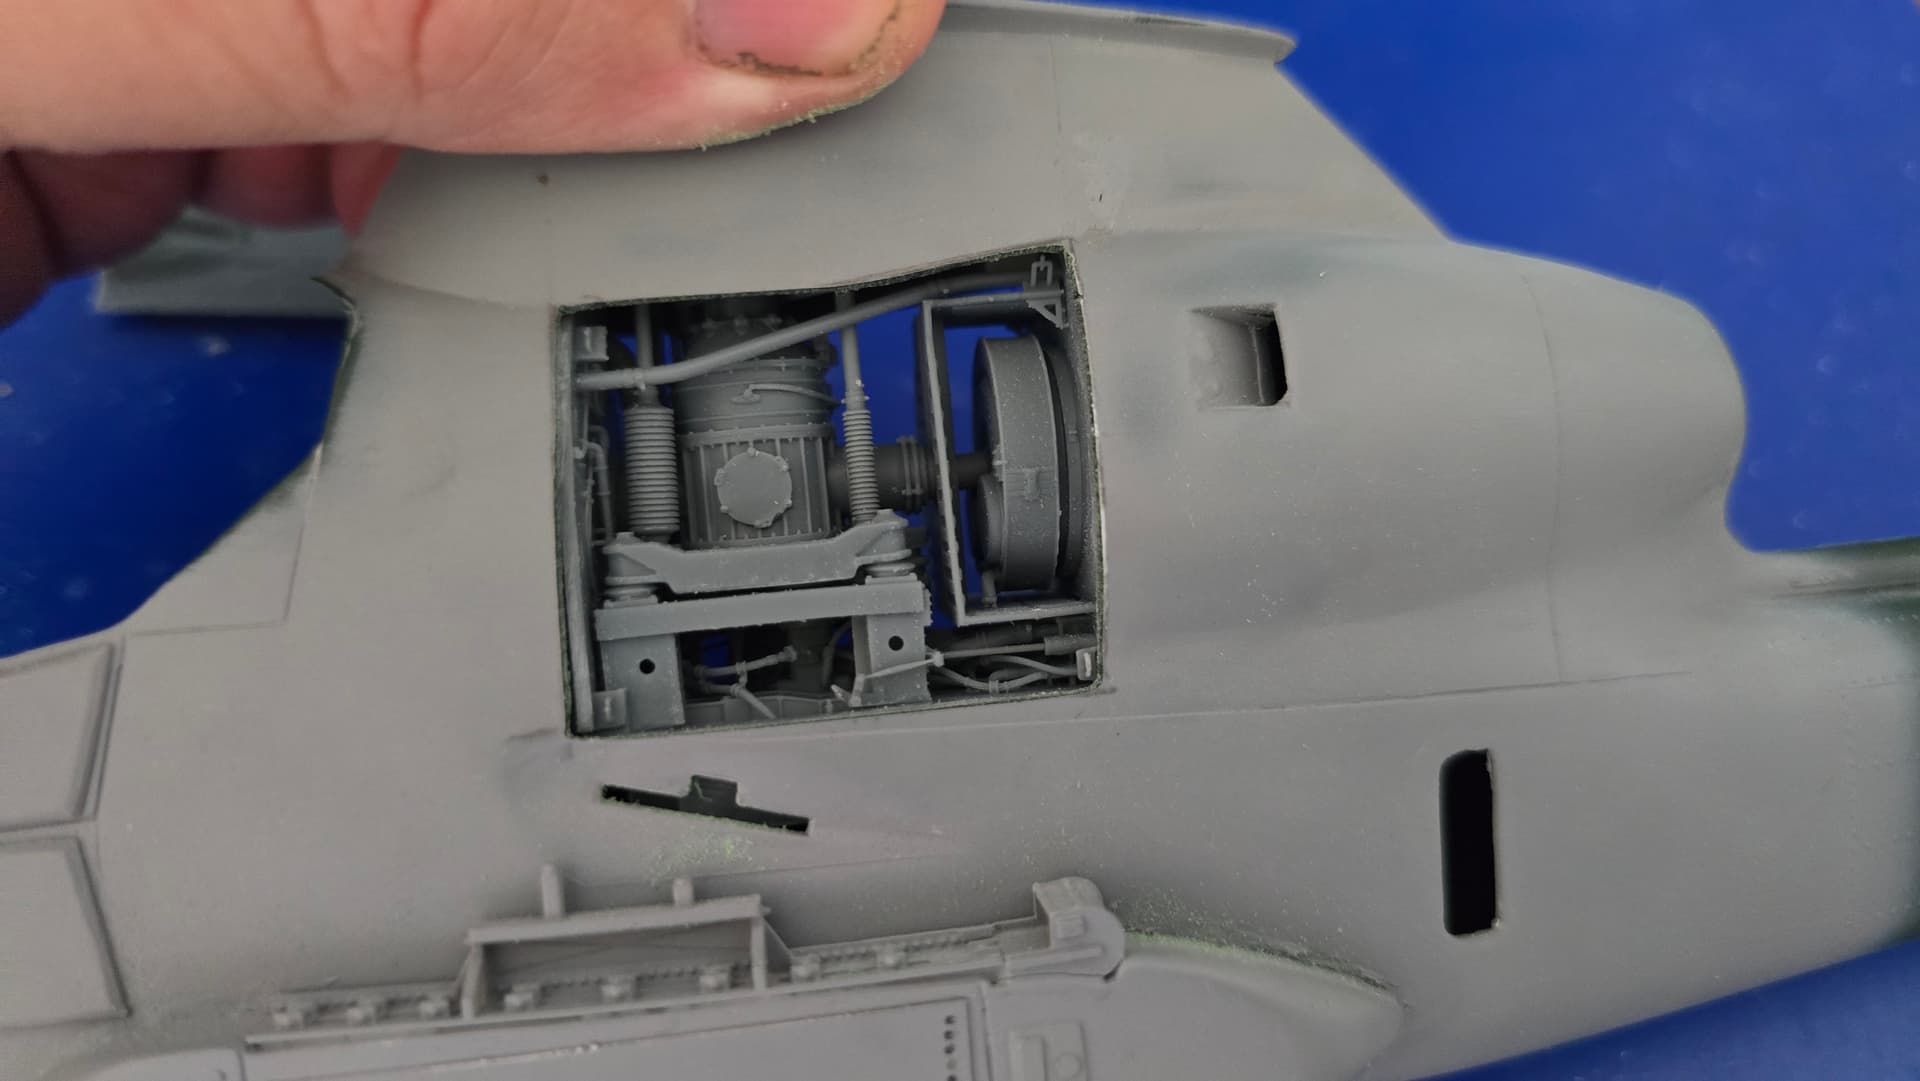
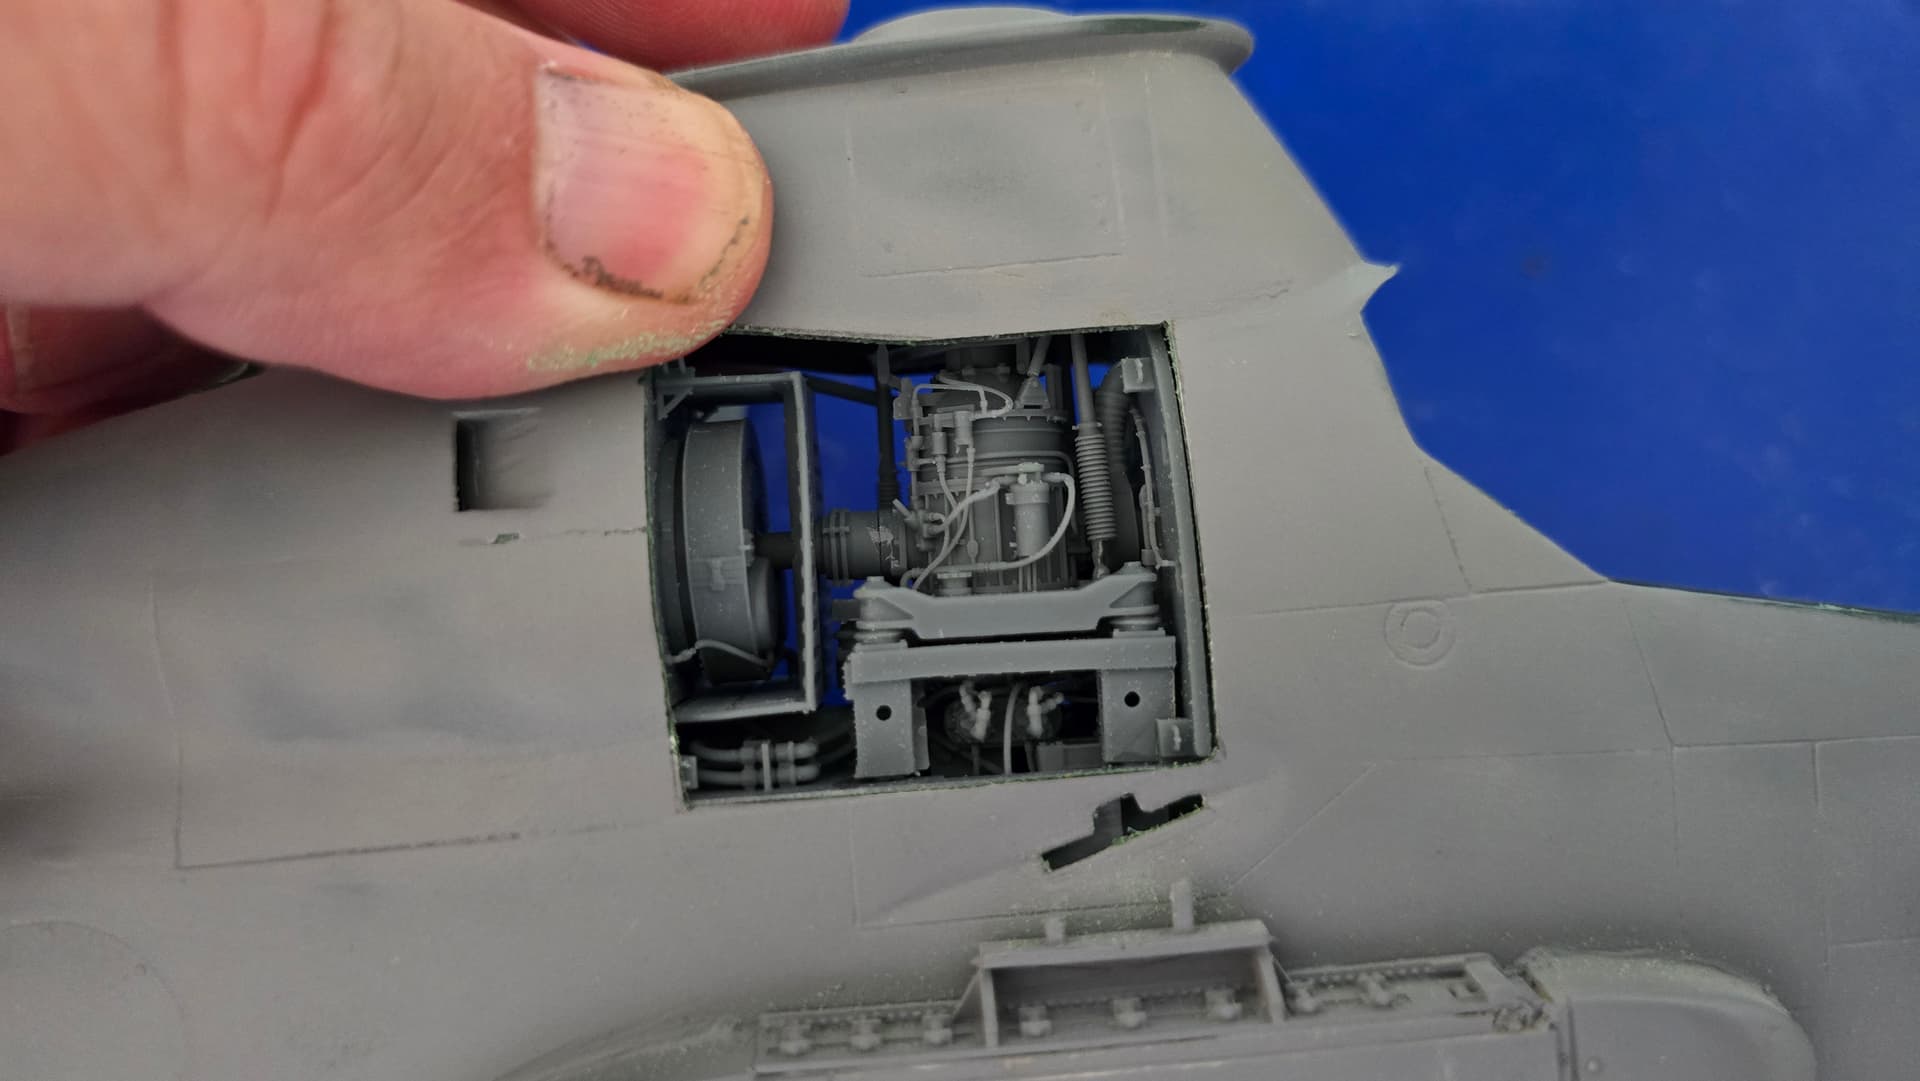
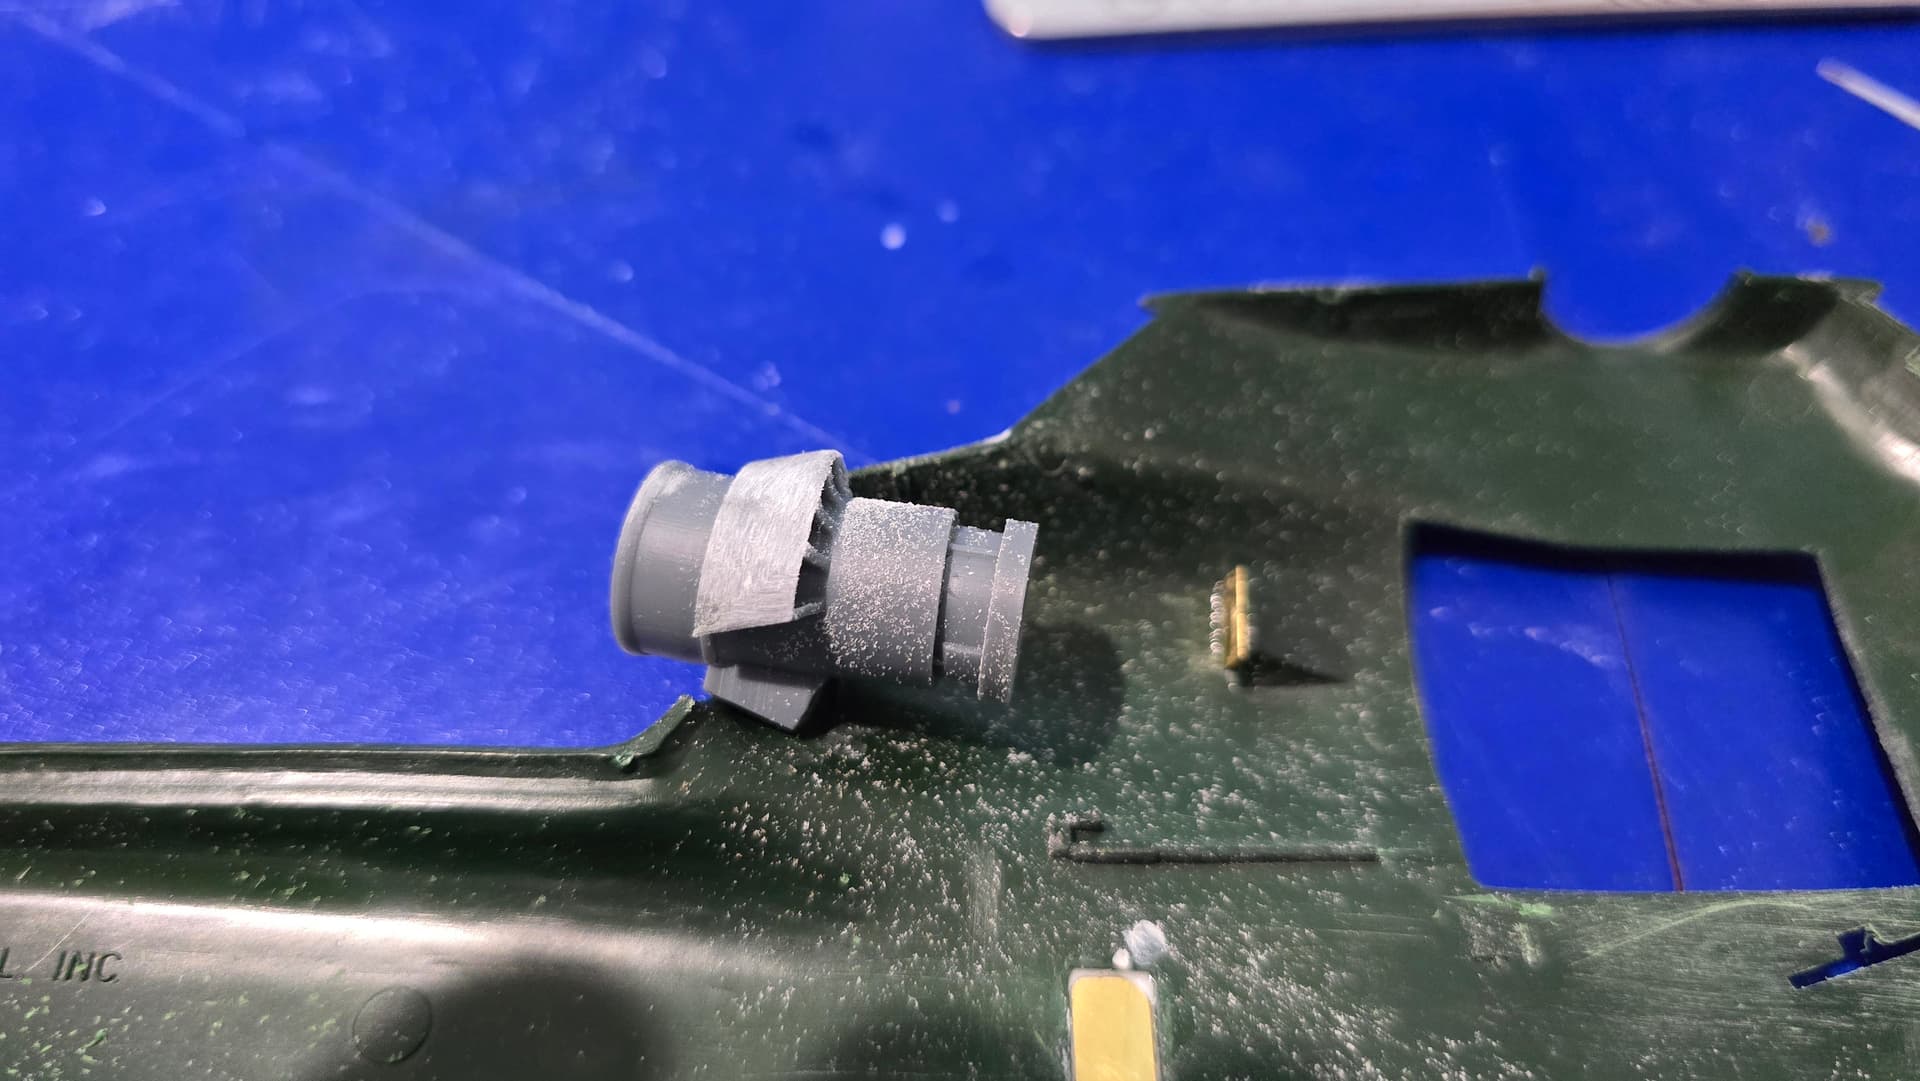
The intakes are moulded solid so im going to have to carefully drill them out. Ive got an exterior detail set so hopefully cover any botch ups i have

5 Likes

Coming along nicely. The engine looks great.

1 Like

Added some photoet h for external detailing and alsonthe aftermarket exhaust.
Again it was designed for ICM so the kit needed fettling.


I opened up the intakes for the engines but now need to find something to sit behind the photoetch framework

1 Like

I knew keeping stuff from old kits that i dont use anymore and should go in the bin would come in useful…

Found this in one of my drawers


Its very fine plastic mesh i think from an old Tamiya sdkfz 7/1 kit and is just about right. Slightly overscale but will do

1 Like

Not perfect but it will suffice

On to painting the engine block and adding the internals so i can finally close the 2 halves.

3 Likes