I blame AFV Modeller and Chris Jerrett for this. Chris did a very nice Finnish Leo using the RFM kit and PSM’s conversion in winter splinter camo and I was off to the races. I had the Revell kit in the stash and it looks to have all the necessary pieces as the Finns used ex-Dutch Leos.
I’ve heard good and bad about the Revell kit, and right away I found some bad. The lower hull was a bit rough to get together and keep square and there were some serious sink marks too. In the end I ordered some RFM suspension sprues from a kit-breaker on eBay and got the lower hull together. For fun I built up a set of Chinese tracks and they fit a pair of spare Hobby Boss sprockets nicely after I narrowed them about .5mm.
Below, sink mark city.
 IMG_4869 by Russel Baer, on Flickr
After afair amount of foul language I had a basic hull together. On the plus side, the Revell kit uses a couple of internal bulkheads so once the hull is all together, it’s very rigid. If it’s warped here, it’s staying warped.
 IMG_4870 by Russel Baer, on Flickr
The pic below shows a lot of putty but it’s all good now.
 IMG_4873 by Russel Baer, on Flickr
Next, tracks on. I had to use the Hobby Boss drive sprocket since the RFM oart, being wider, protruded past the hull sides and would have interfered with the side skirts.
 IMG_4875 by Russel Baer, on Flickr
Next I decided to do the turret shell, thinking I’d encounter the same fit and warpage issues, and I did. It wasn’t as bad as the hull, but it’s setting up now, lots of tape involved.
 IMG_4878 by Russel Baer, on Flickr
Lots of tape…
 IMG_4877 by Russel Baer, on Flickr
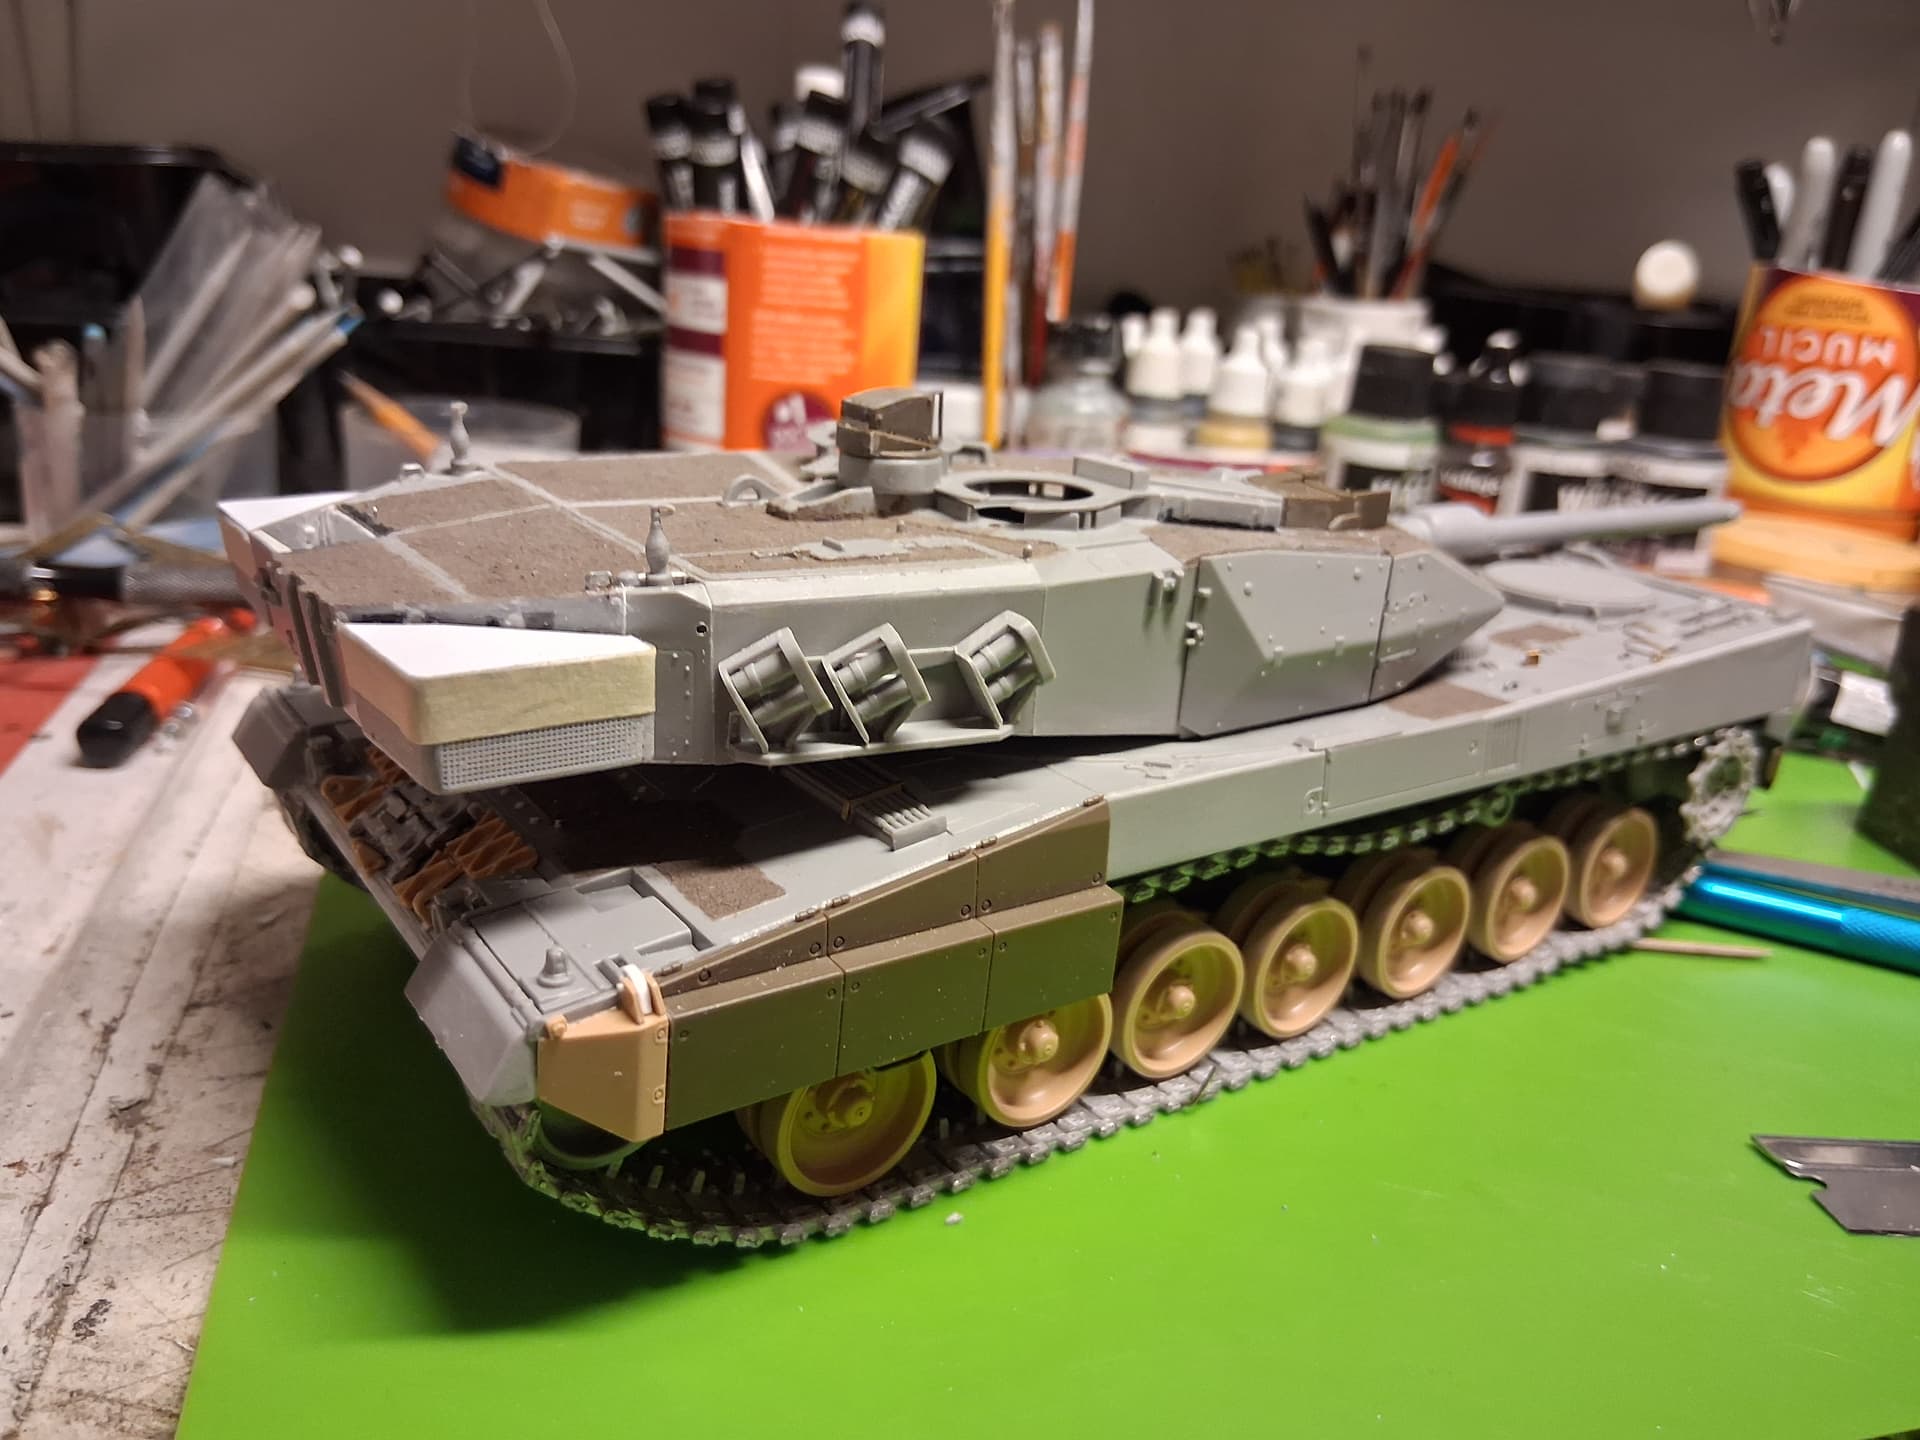
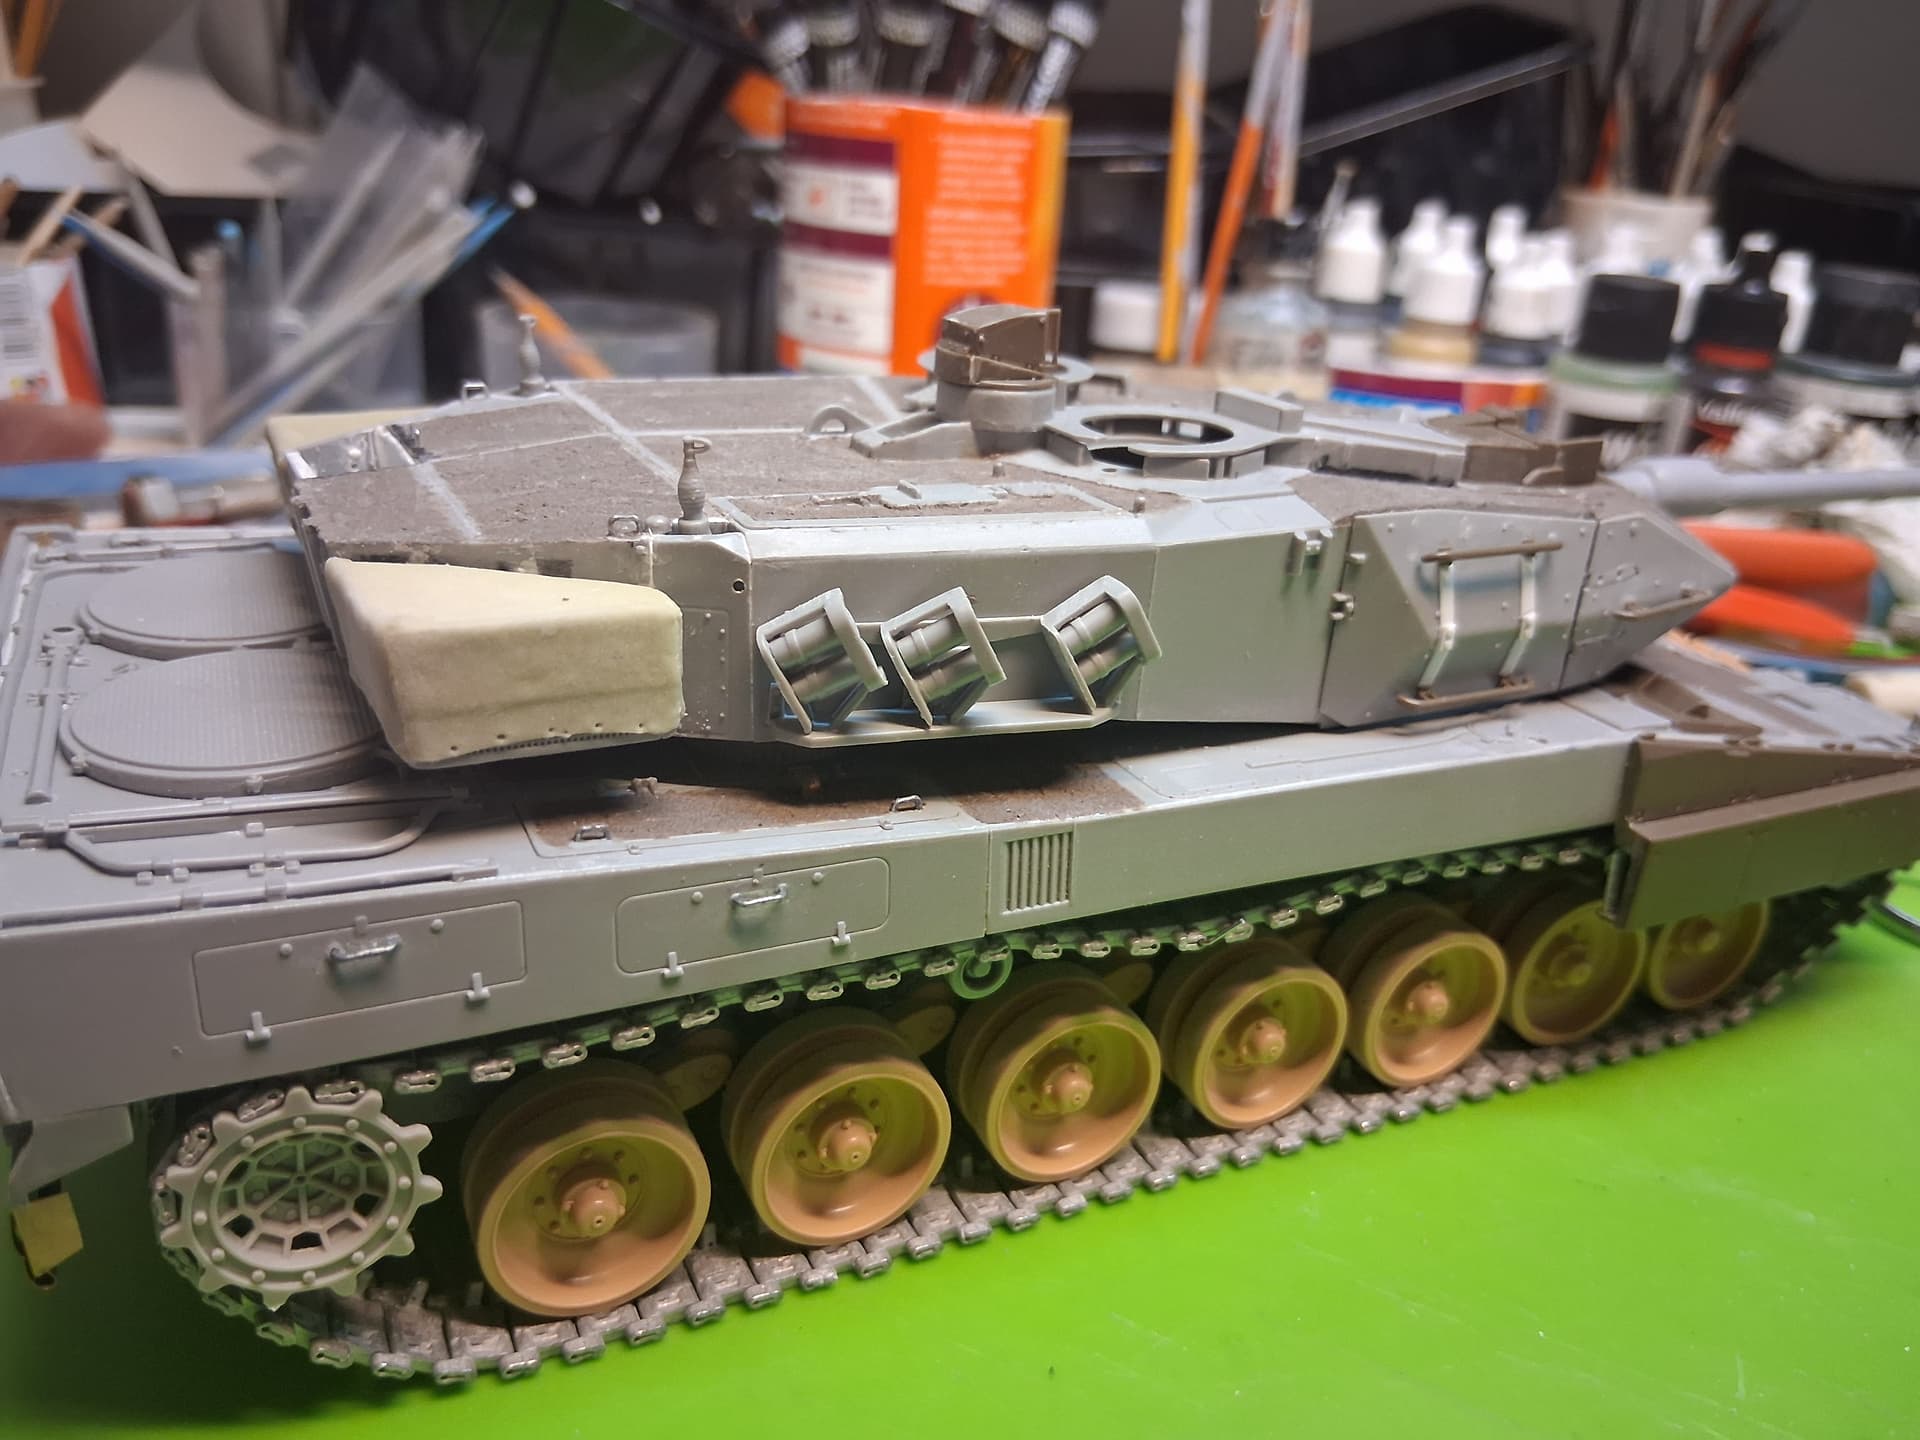
I don’t know why but I’ve gotten on a Leopard kick after getting the Vickers Mk7/2 as far along as it is.
 IMG_4916
 IMG_4919
 IMG_4917
 IMG_4915
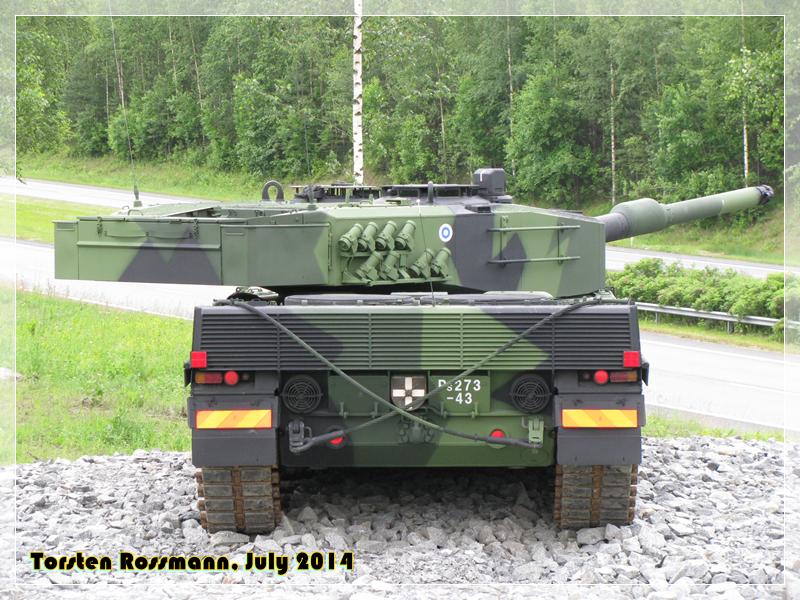
 IMG_4920
 IMG_4921
 IMG_4922
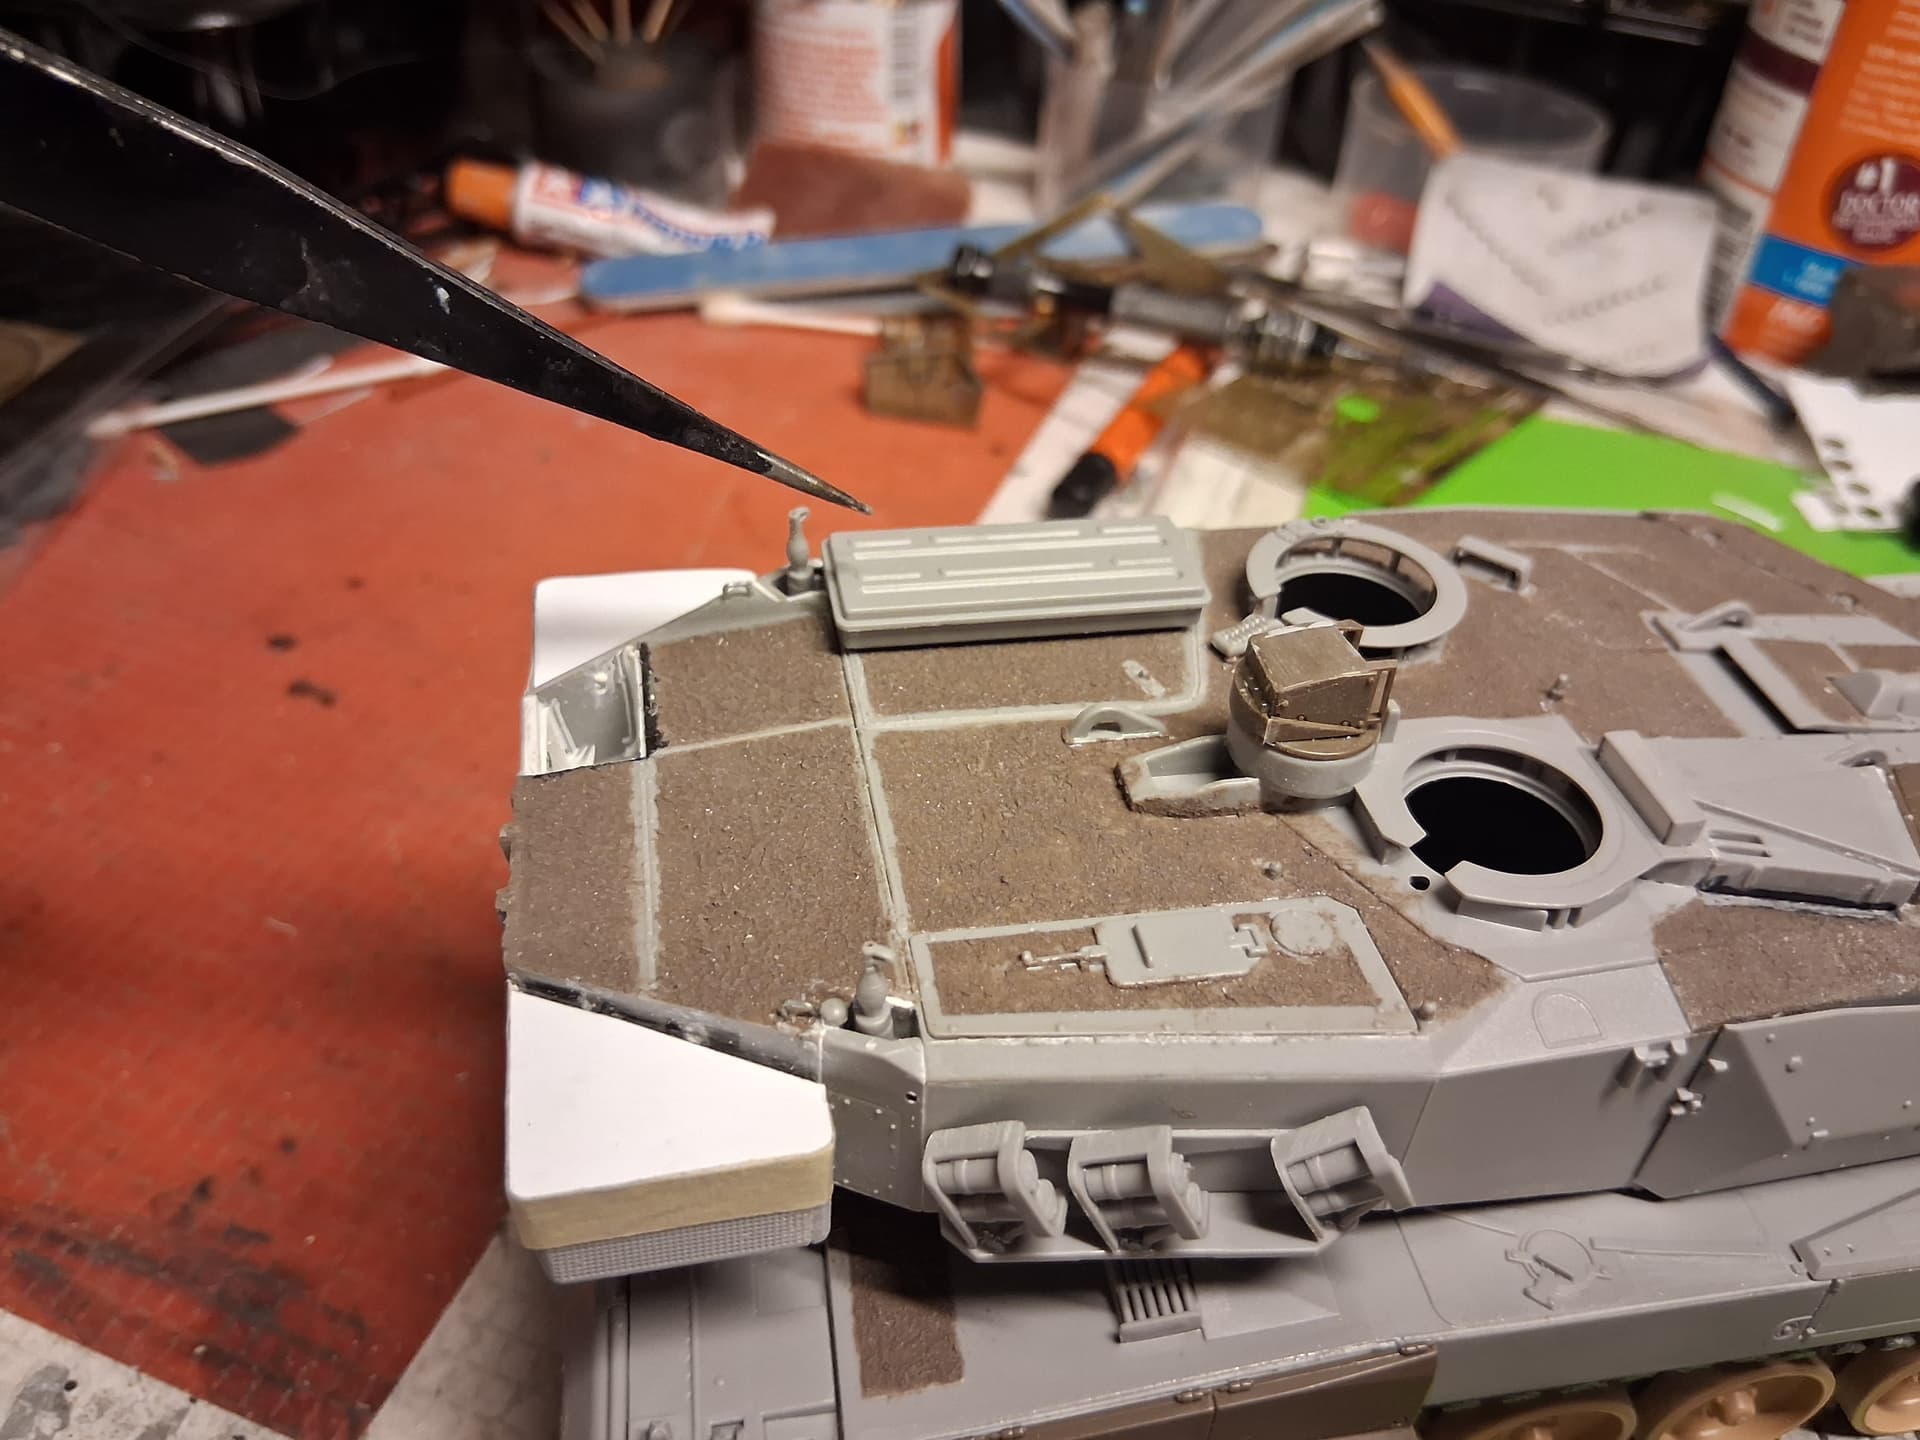
 IMG_4954