This took 51 hours total, and I am very happy to get this one boxed off alongside the Ukrainian dio, before going on holiday. This kit certainly challenged me and forced me to really think about what I was doing, and how I wanted the build to look. This end result is pleasing for me because I got out exactly - more or less - what I was aiming for.
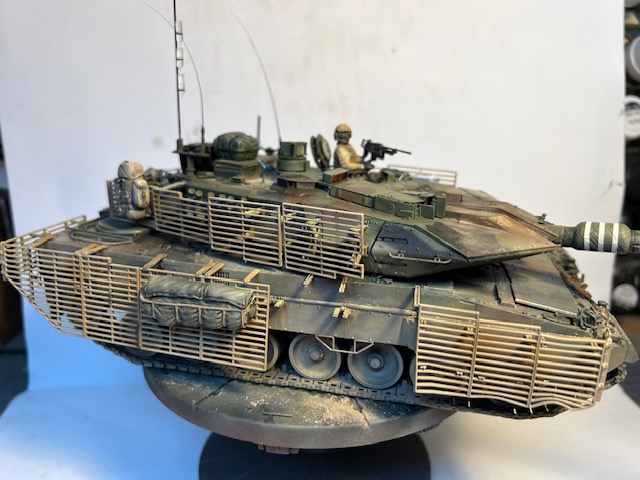
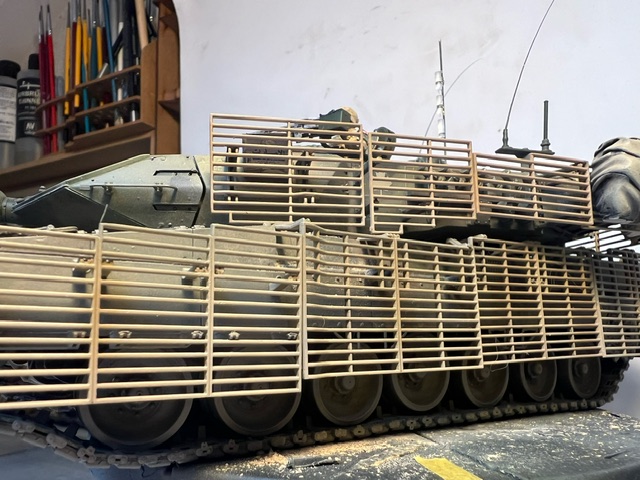
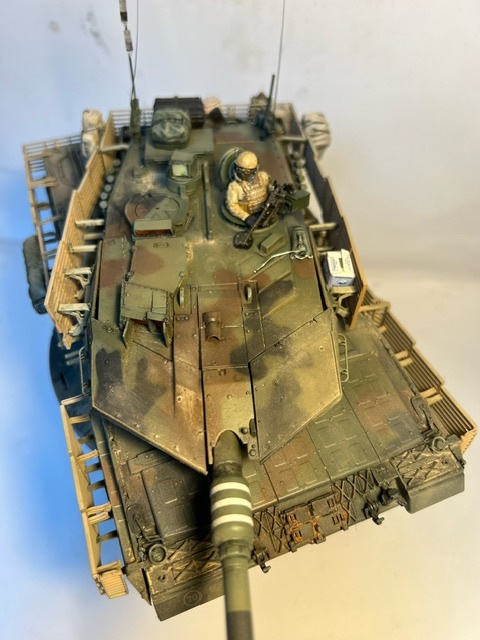
The bar armour was cumbersome and difficult to fit accurately and the aesthetic against the NATO three tone camo before the weathering was really jarring. I didn’t like how it looked at all. There are no fewer than eight dust layers on here, using airbrushed Earth, Dust and Old Wood from MiG, three different colours of raw pigment and two different colours of oil dots in dusty colours as well to help desaturate the base layer and harmonise the aesthetic. The pigments and removing one of the armour grids literally saved the build in my opinion. It really brings it together.
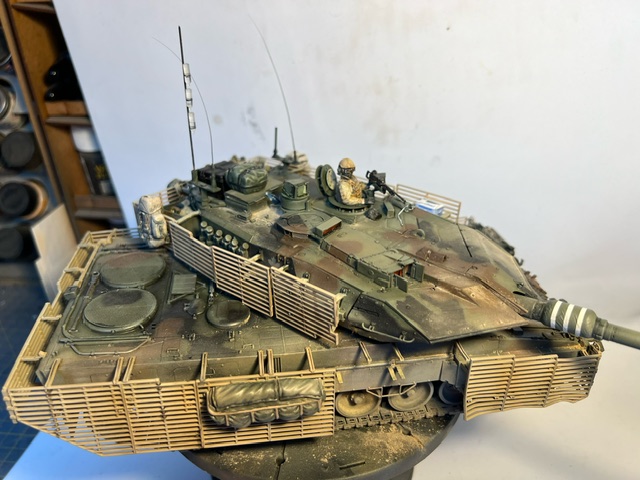
Honestly I could have gone quite a bit heavier on the pigments and dust etc judging by the reference photos, especially on the roof area but it didn’t seem necessary. In the end I actually quite like the green camo/desert dust visual comparison.
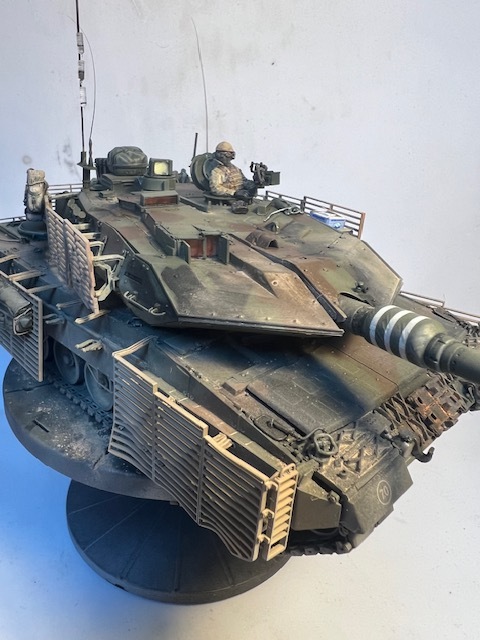
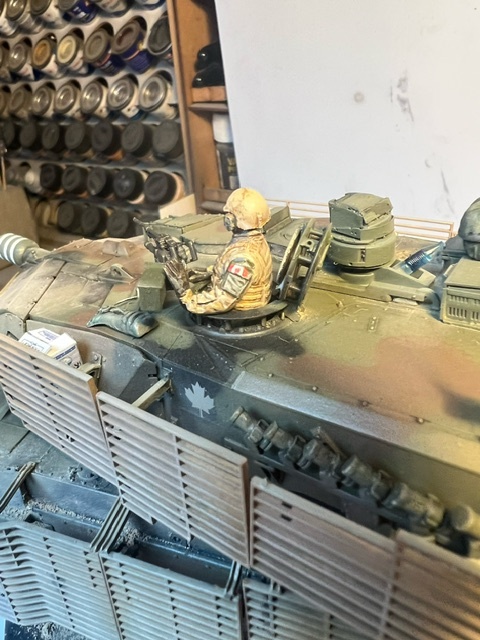
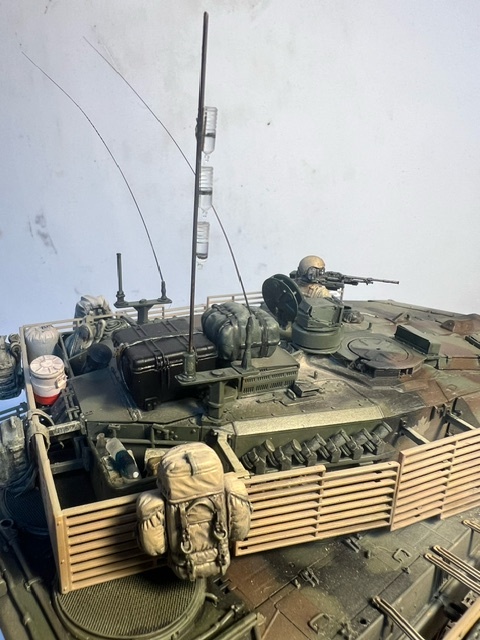
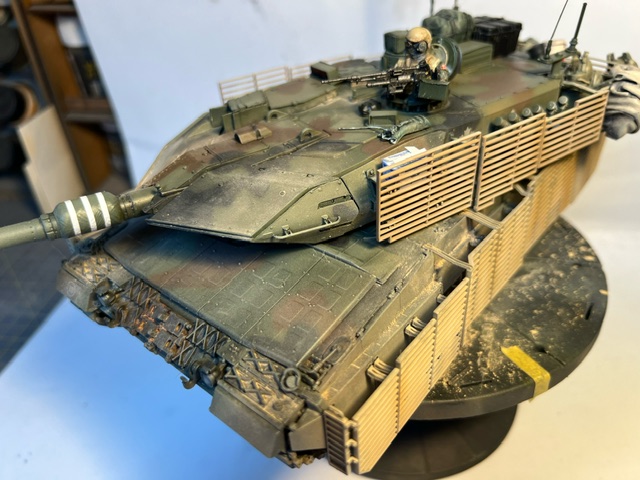
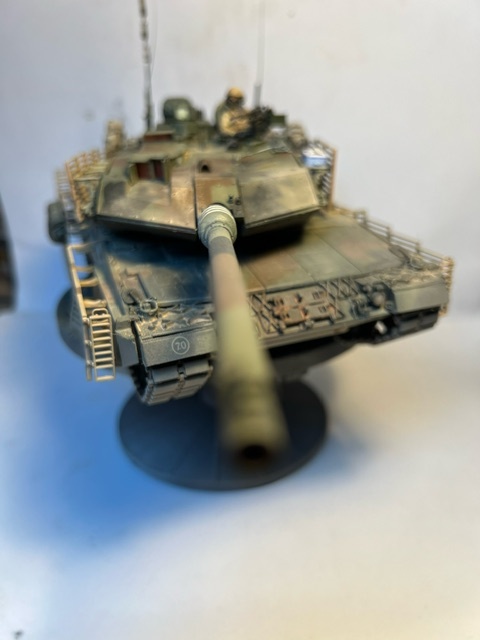
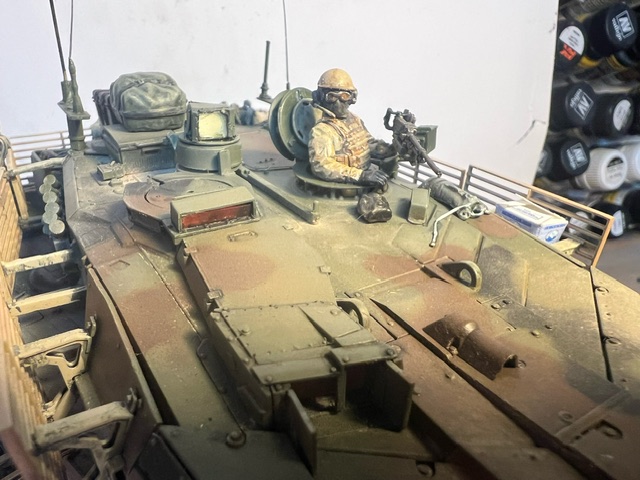
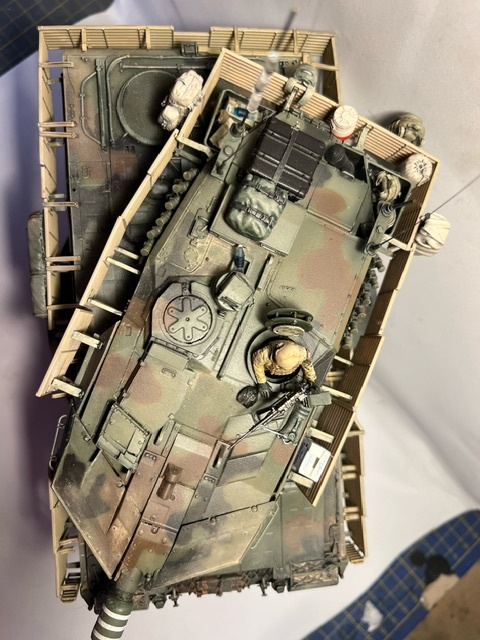
The figure and the stowage were all necessary to really make this look like a Lord Strathona’s Horse Canadian Army Leo 2A6M in the dusty and dangerous confines of the valleys of Helmand, Afghanistan. I looked at a load of reference photos and noted the practice of gaffer taping plastic bottles to the aerials (to hold chem lights to aid IFF) and of strapping Bergens to the bar armour with boxes and stuff in the bustle. The bar armour in the pictures seems to get routinely very banged up on rocky terrain which is something I’ve tried to recreate as well without looking like I’ve overdone it. The tow hook is missing as it was missing from the kit, but I’ve ordered another one from RFM and will add it when it arrives.
The kit has an umbrella which I ummed and ahhhhed about putting on but decided against it. Would you have added it? Does the model miss it? Let me know in the comments.
This is a step forward for me I think. It’s perhaps not my most visually appealing build but it is technically my best work and it challenged me in lots of ways that made me learn a lot from the experience, notably, it’s a lot better than the Polish Leopard I did last year. You can see a lot of “me” in this - the trademark dust effects, weathering, stowage and so on is a specific style of mine now. I like it.
Hope you all like this one too. Let me know in the comments
If I had to critique the kit itself, I’d say it was RFM and was every bit as good as we have come to expect from this marque, but also has the parts count to go with it. A lot of it was flawless, no flash, few ejector pin marks and those there were were places you wouldn’t see them. Lovely thin sprue gates, clear instructions for the most part (though a tad vague in some instances) and nice plastic that took a primer coat well and wasn’t too brittle.
The tracks were dead easy and took about four hours per side, again, no problem.
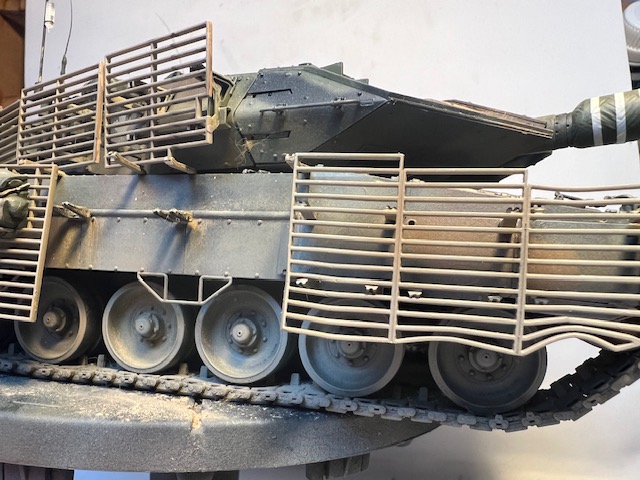
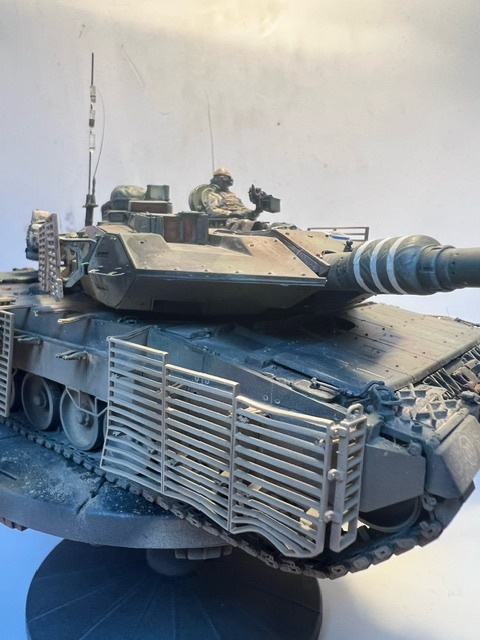
The issue here was the bar armour really - everything else was fine. The mounts were puzzlingly soft on detail, had no real locator pins for the mounting points and weren’t large enough to have much surface area on the join, so were very fragile and popped off in a light breeze. The mounts onto the grids took some “convincing” and I ended up cutting off the locator pins and sliding the grids on instead of popping them in in between the slats. After all that effort they just don’t look very good. The plastic is nicely molded and about as thin as they could realistically have got away with, but is still a fair bit too thick for the scale in my opinion. I’d think about going after market PE if I built this kit again as I find the thickness of the slats really takes away from the final effect in my opinion.
I swerved the umbrella as well as it looked a bit thick and I’d have struggled to make it look thin and fragile enough I think. The build doesn’t need it anyway.
If I had to criticize the kit I would say it does miss a bit of the stowage etc that you’d get on a Tamiya or Academy, but I had plenty in the stash so it wasn’t an issue for me. But at this price point a little bit of plastic molded stowage would have been nice for the OOB modelers amongst us.
Leopard 2s seem to be en vogue lately and I’d happily do this one again without the Afghan stuff as the underlying Leo 2 build is absolutely brilliant, pretty close to flawless. The Meng one is their absolute varsity (and I’m a huge Meng fan) and I think is every bit as good. Both a fair bit better than the first Border iteration which had bags of potential but was full of crippling mistakes.
All in all the kit is a solid 8.5/10 and I’d definitely recommend it to any intermediate or better level modeler looking for a build that will test them and make them a better modeler. It certainly did that for me.
Between this and your recent diorama post, I think I’ve become your biggest fan.
The damaged bar armor looks convincing. I like the fact that it appears to be theater installed because it probably was. I like the contrast between it and the camouflage. And speaking of the camouflage:
The NATO three color looks great under all the accumulated grime, dirt and dust.
Umbrellas? We don’t need no stinking umbrellas!
Outstanding. Beautiful. Excellent. I’m all out of superlatives.
Thank you so much mate, what amazing comments. I’ve got a bit of a thing for NATO three tone and this was my first attempt at freehanding it with an airbrush with an 0.15mm needle and I think it went pretty well, I got to grips with it quite nicely. No more masking putty nightmares! Seemed a shame to cover it up with dust but needs must.
Excellent detail. I’m practicing weathering, so I love to see such a great example. Maybe 8 layers, but it doesn’t look thick or overdone.Yes, the desert dust over that green camo works well, and the missing bar armor (along with the bangs) is perfect.
Great build and equally great finish. weathering is spot on. Only thing I would mention is what you said about the bar armour, that it looks a bit off scale which is a shame, but dont think theres a way round that as any thinner and it would be brittle or bendy … Leaving off that section of bar armour was a very good idea, and gives the perspective you mentioned or the Leo would be pretty much hidden away. Lovely work
Outstanding freehanded camo! I love this tank. You concentrated on it and got everything right. Not too much, not too little of anything. You reached the “Goldilocks” zone. Excellent results. On a strictly personal note, I think the umbrella adds quirky character to the vehicle and plan to put it on my build of this model.
Excellent job Chris. Great finish and nice job on the weathering, some nice subtle dusting. I love the extra gear you have around the vehicle and the figure adds a nice touch to it. I’m a big fan of figures and love when they are placed on a model, really adds to the scale of it.
That is a one really sweet model. I like the extra detail of the water bottles for the IR chemlights and the IR Cdn Flag on buddy.
I second terminator’s comment, this would be one that just rolled off a CC177 as the treads are brand new. One trip out of MSG on any secondary routes would start to chew them up pretty good.
When you say “51 hours”, is that just painting?
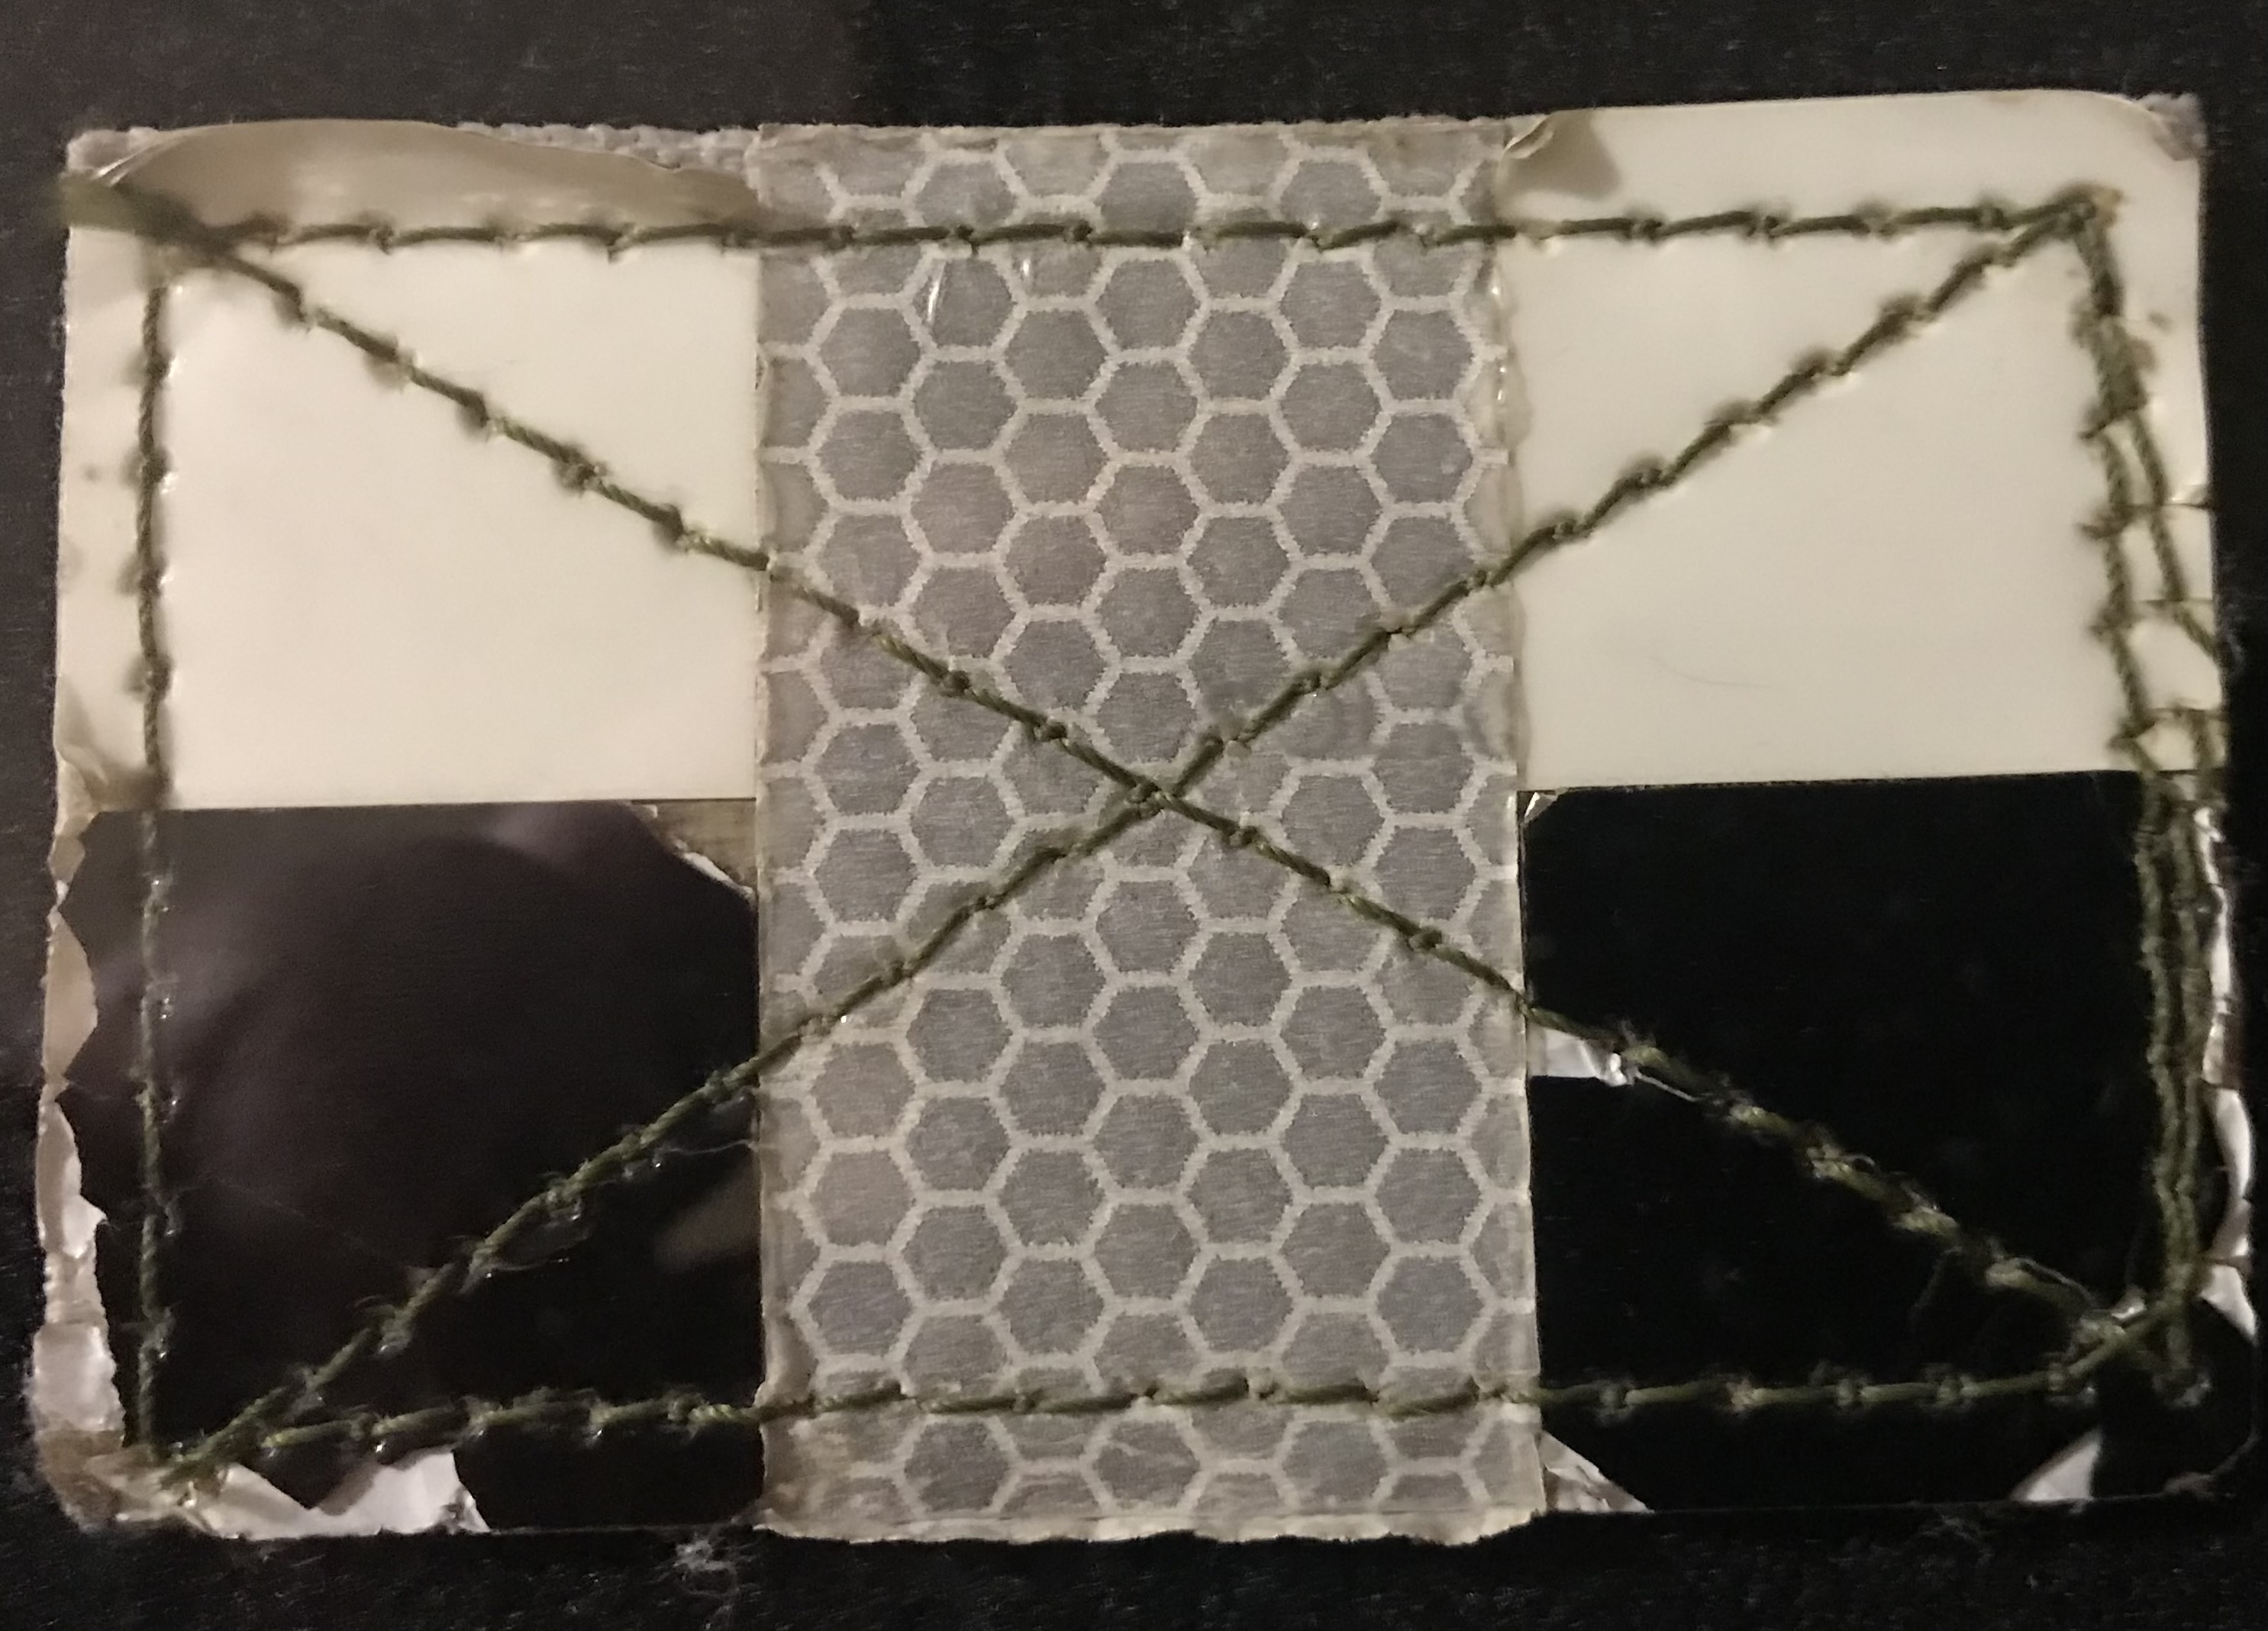
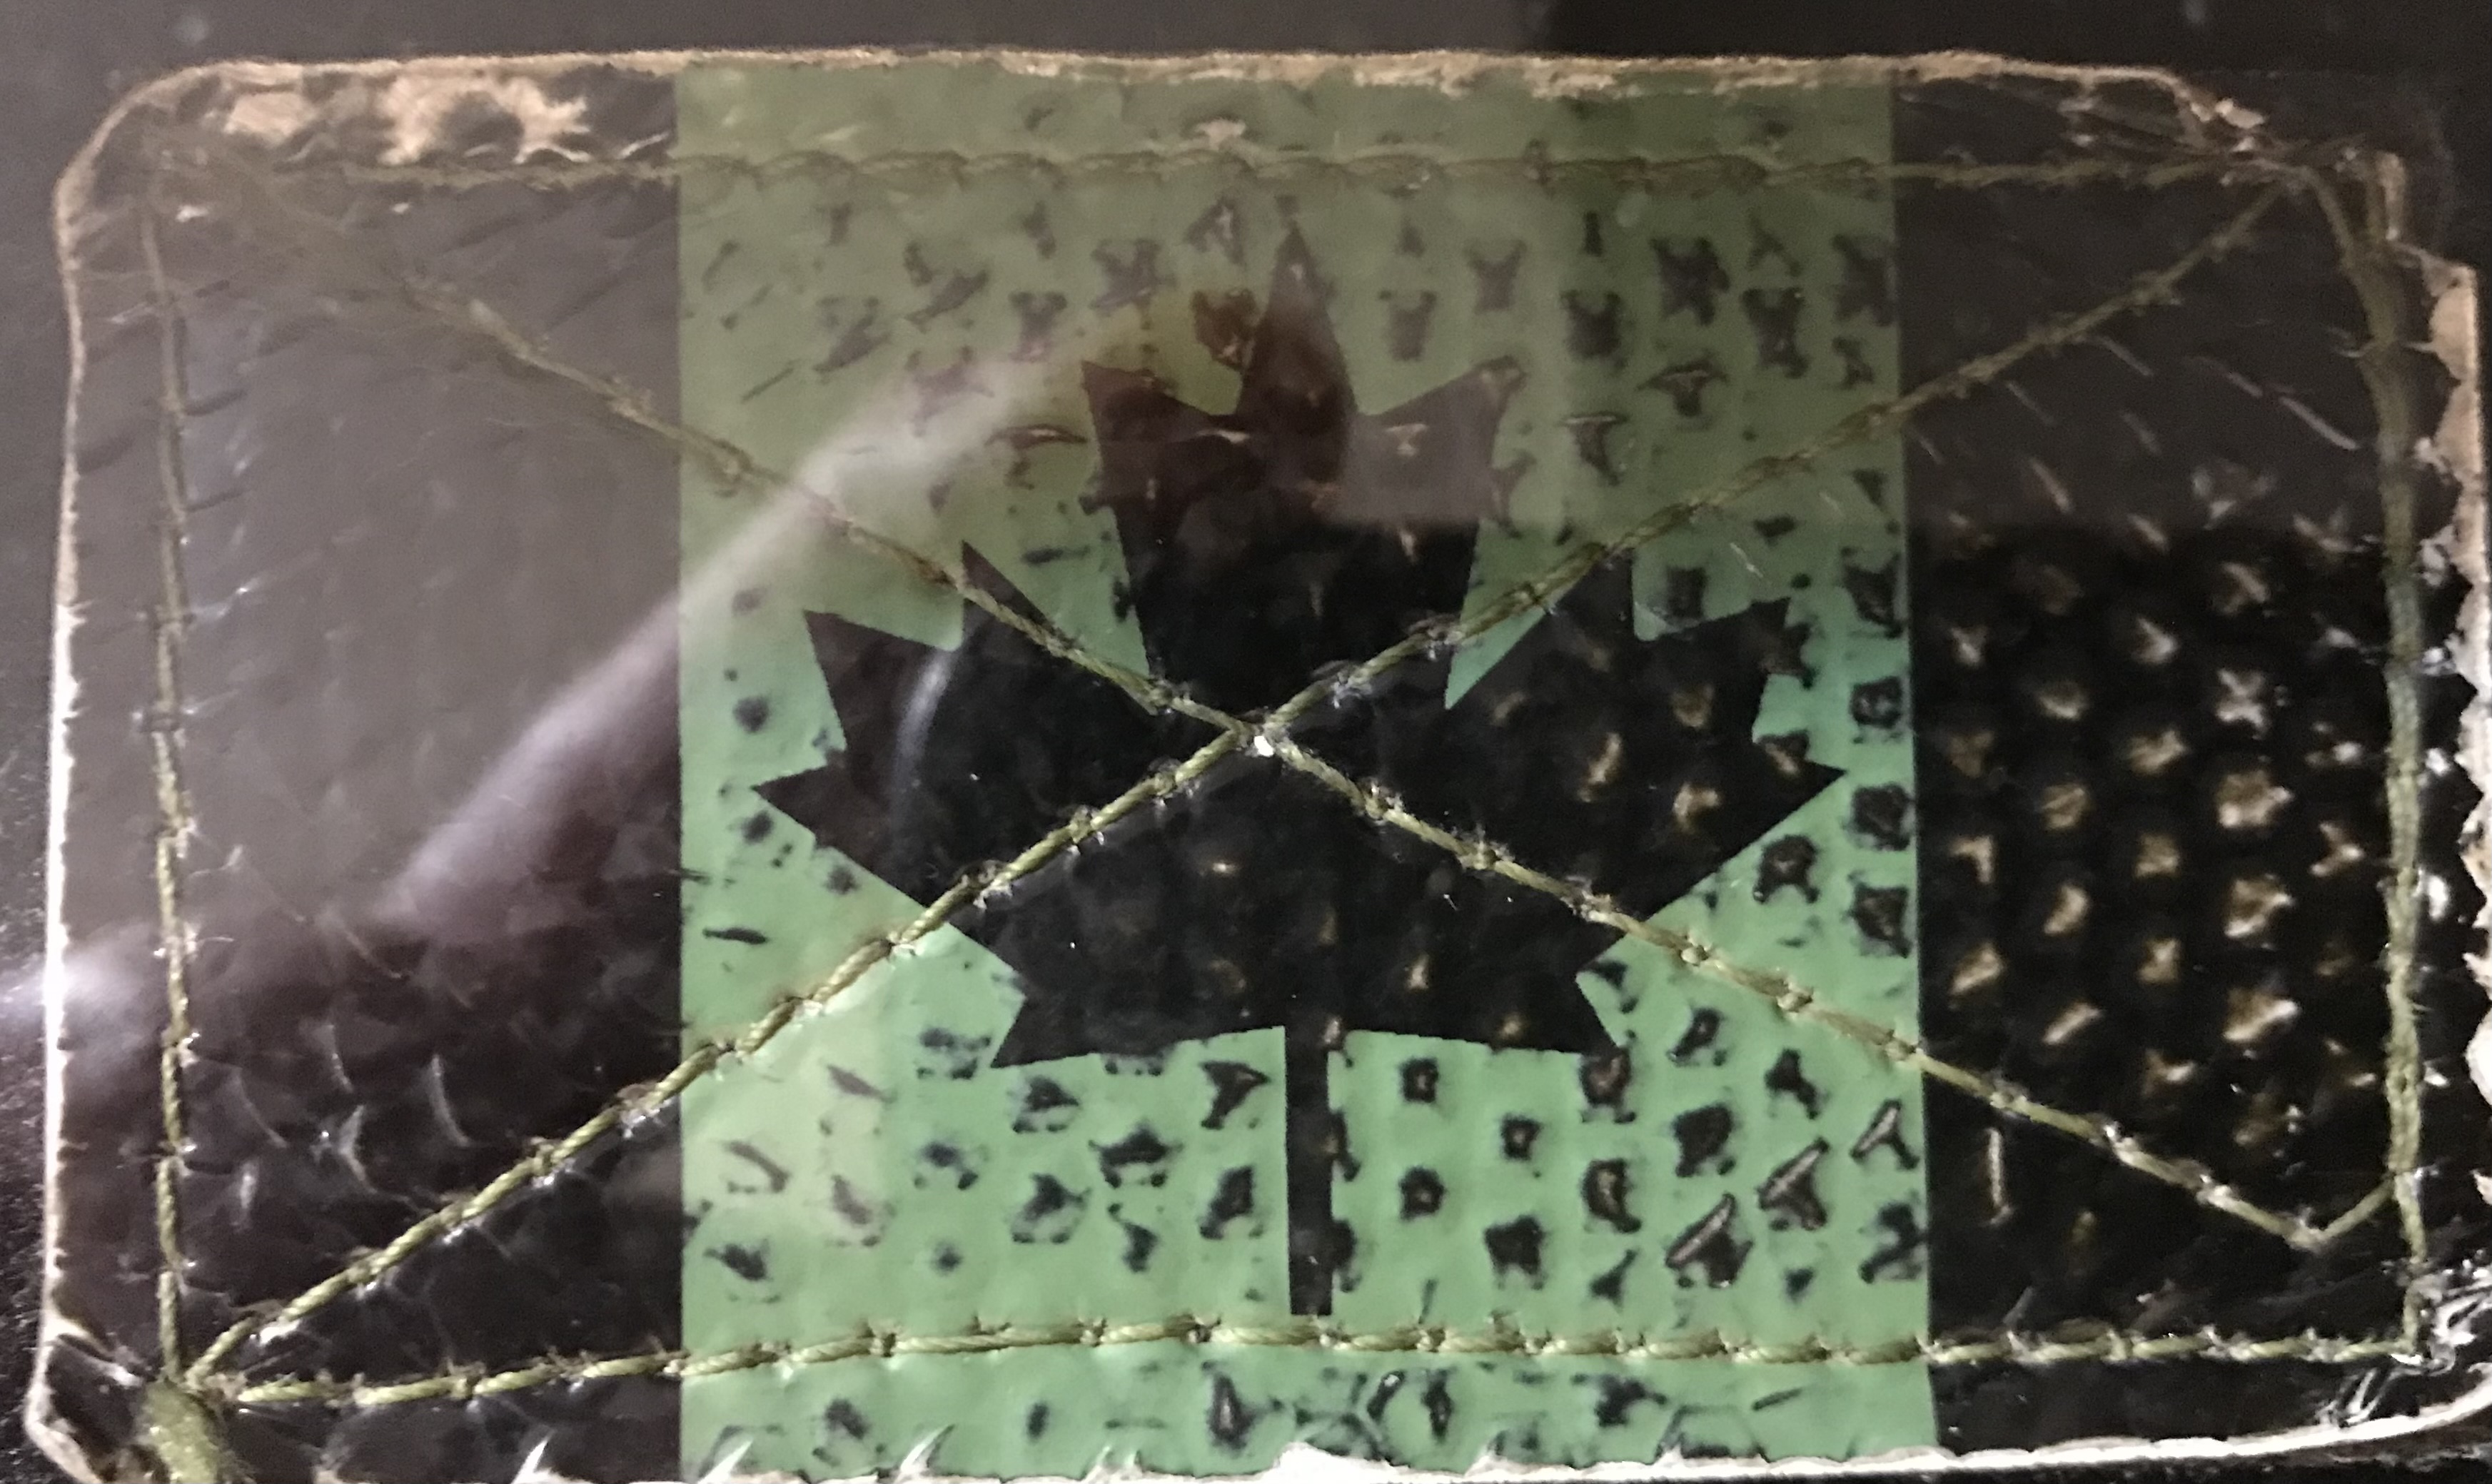
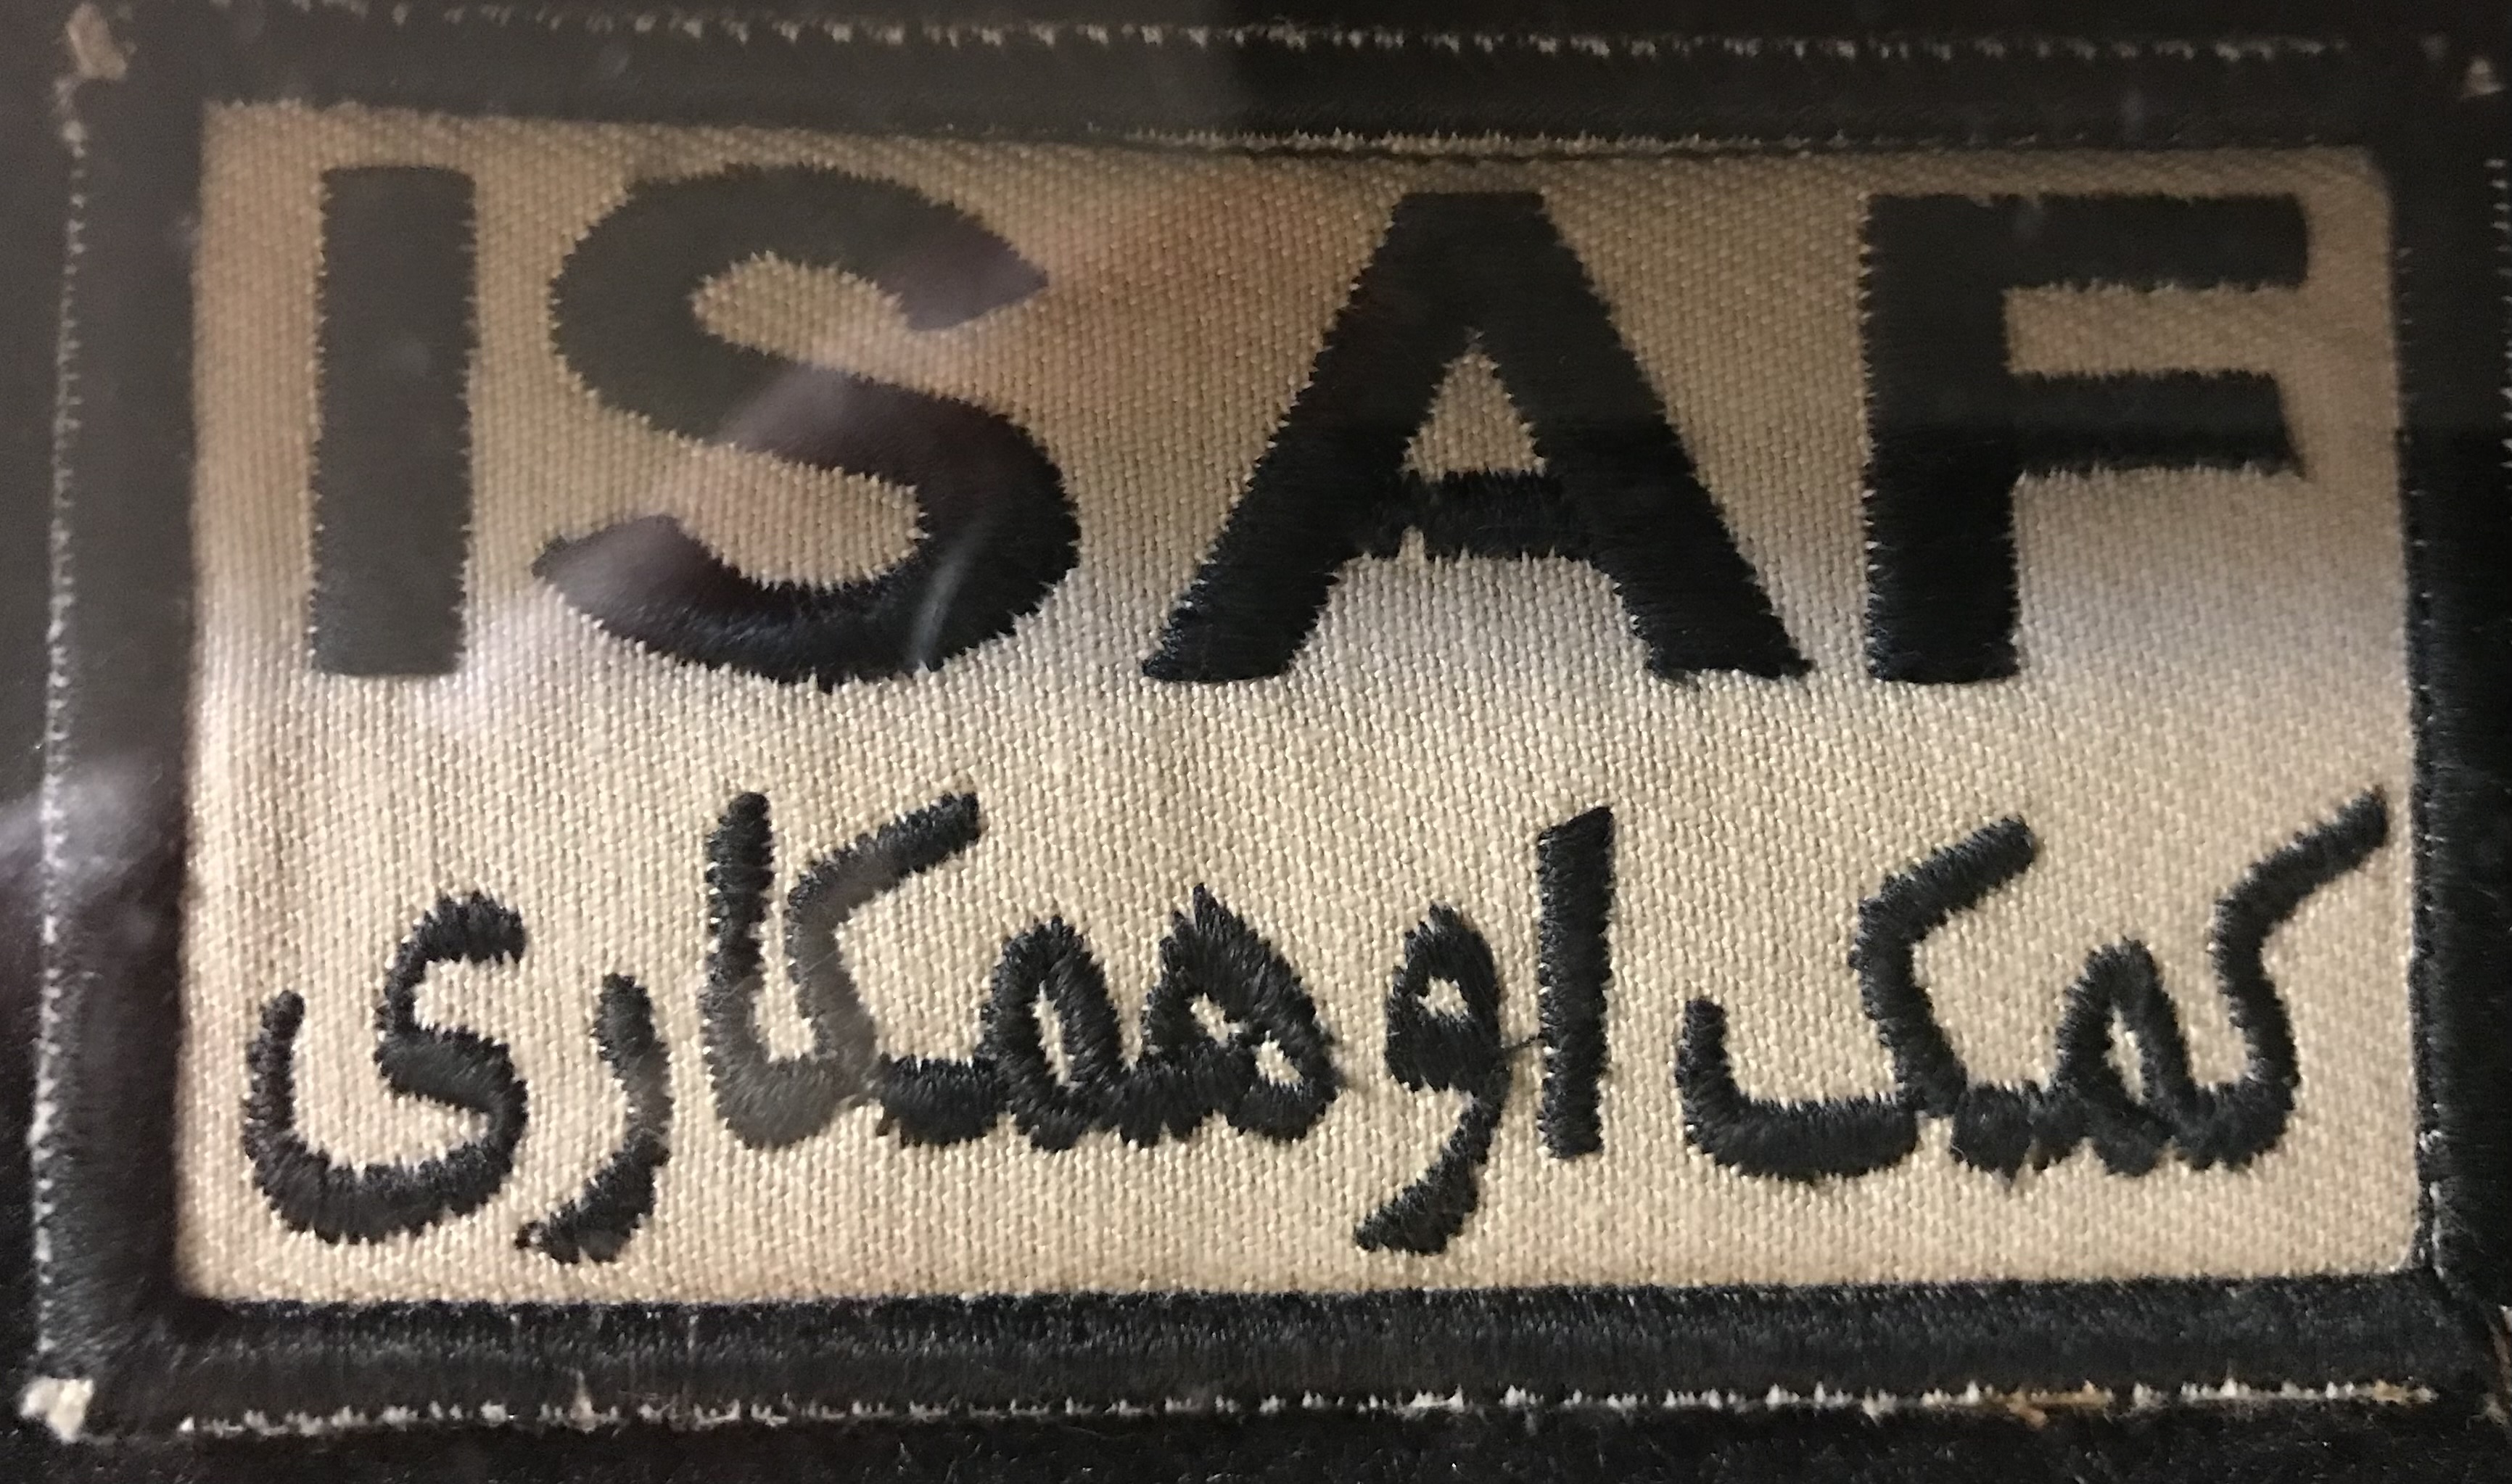
Here are a couple of my CAF ISAF identifiers for references, if interested;
I might gouge up the track pads a bit when I fit the new towing hook on the back, and maybe think about a dark coloured tarp on the left side bars just to break up the profile a little.
If I was going to display it I think I’d make a little rocky vignette for it.
As for the patches, thanks that’s really useful. I’ll repaint the one on the figure.