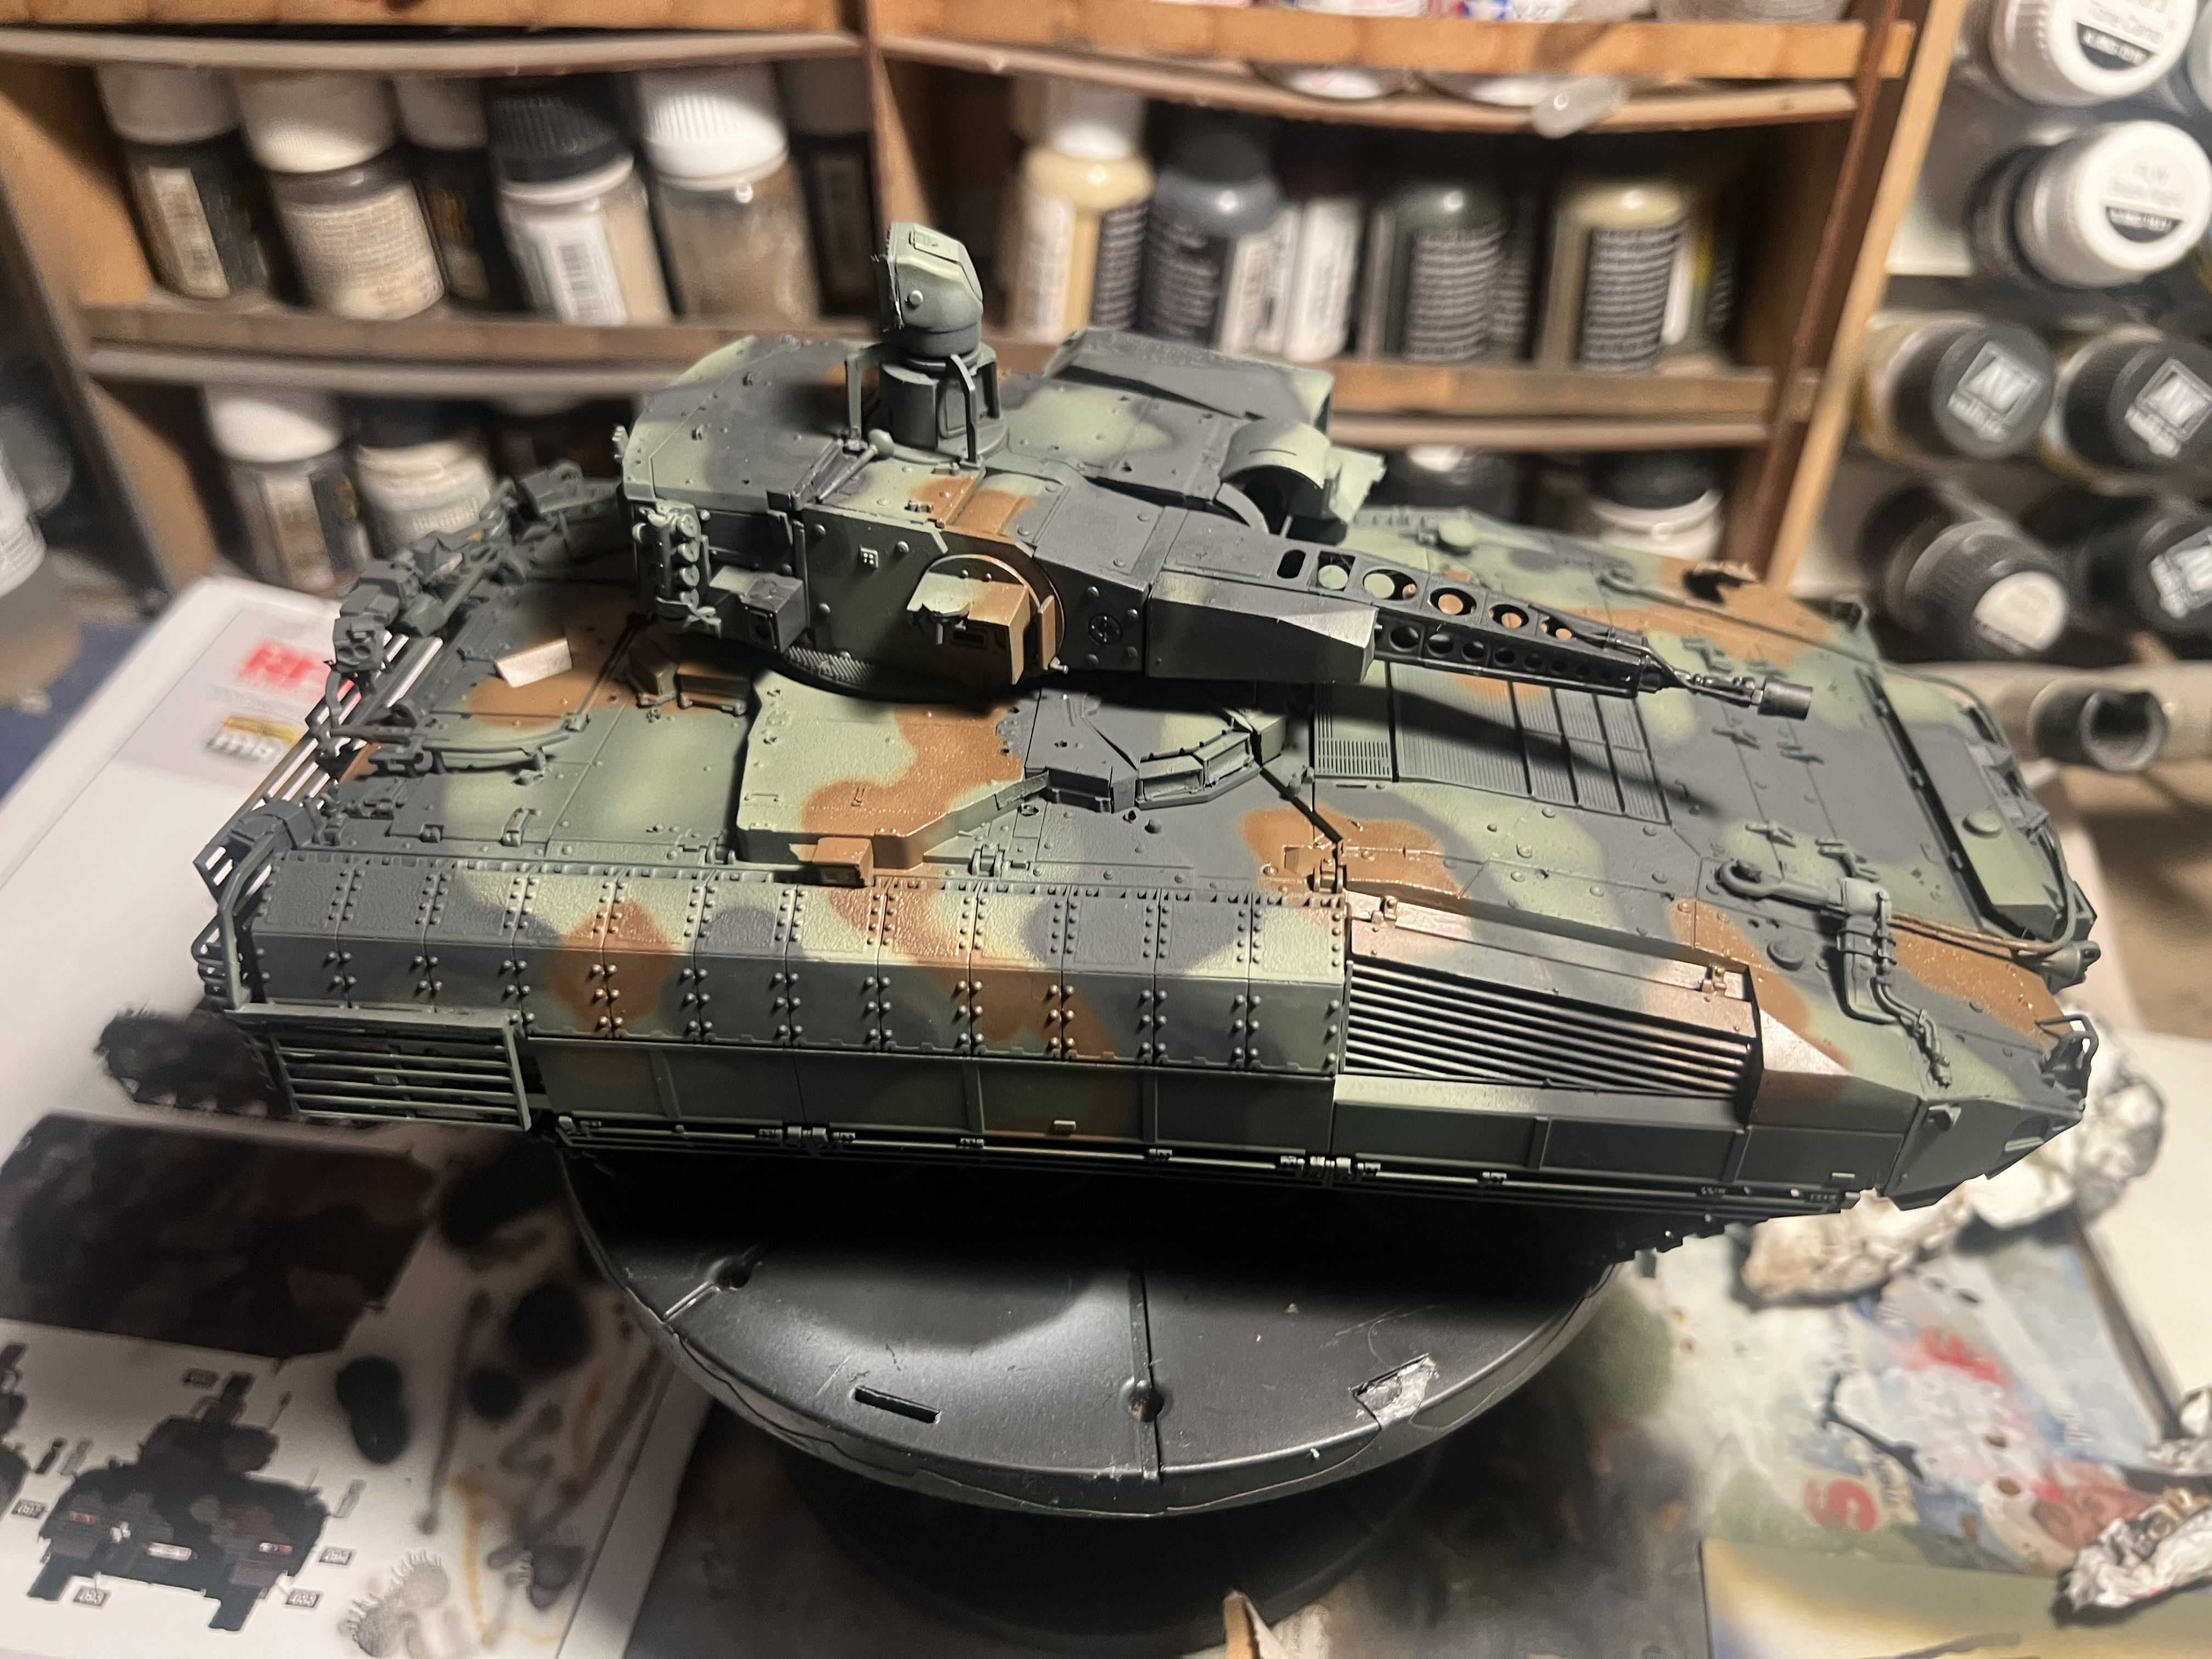
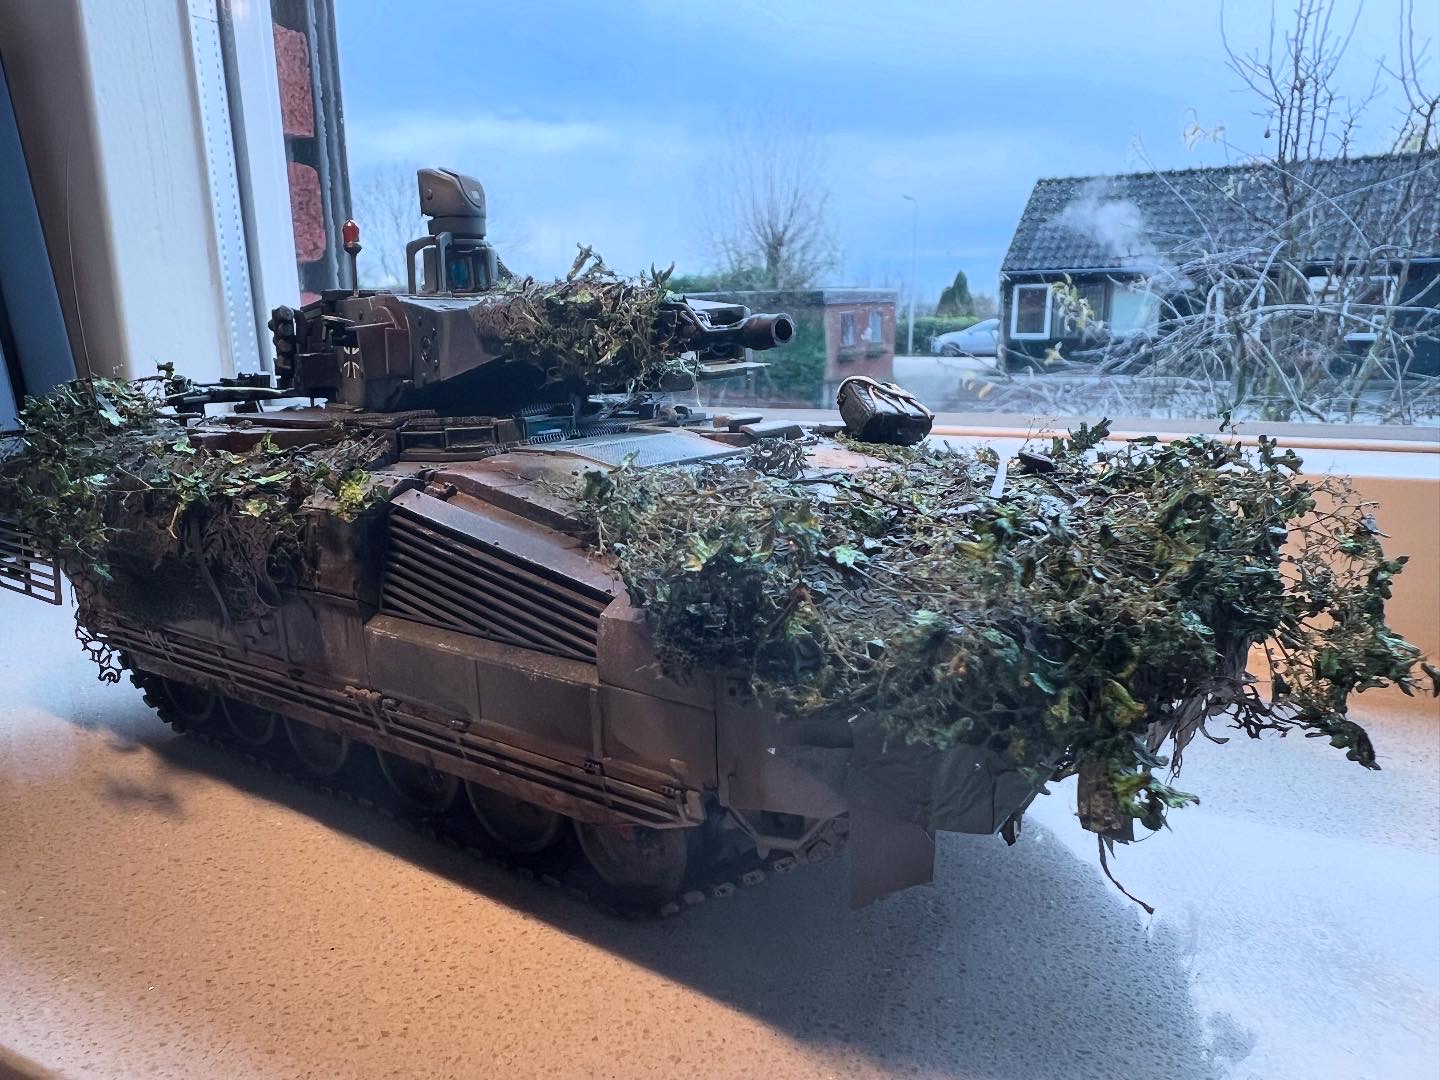
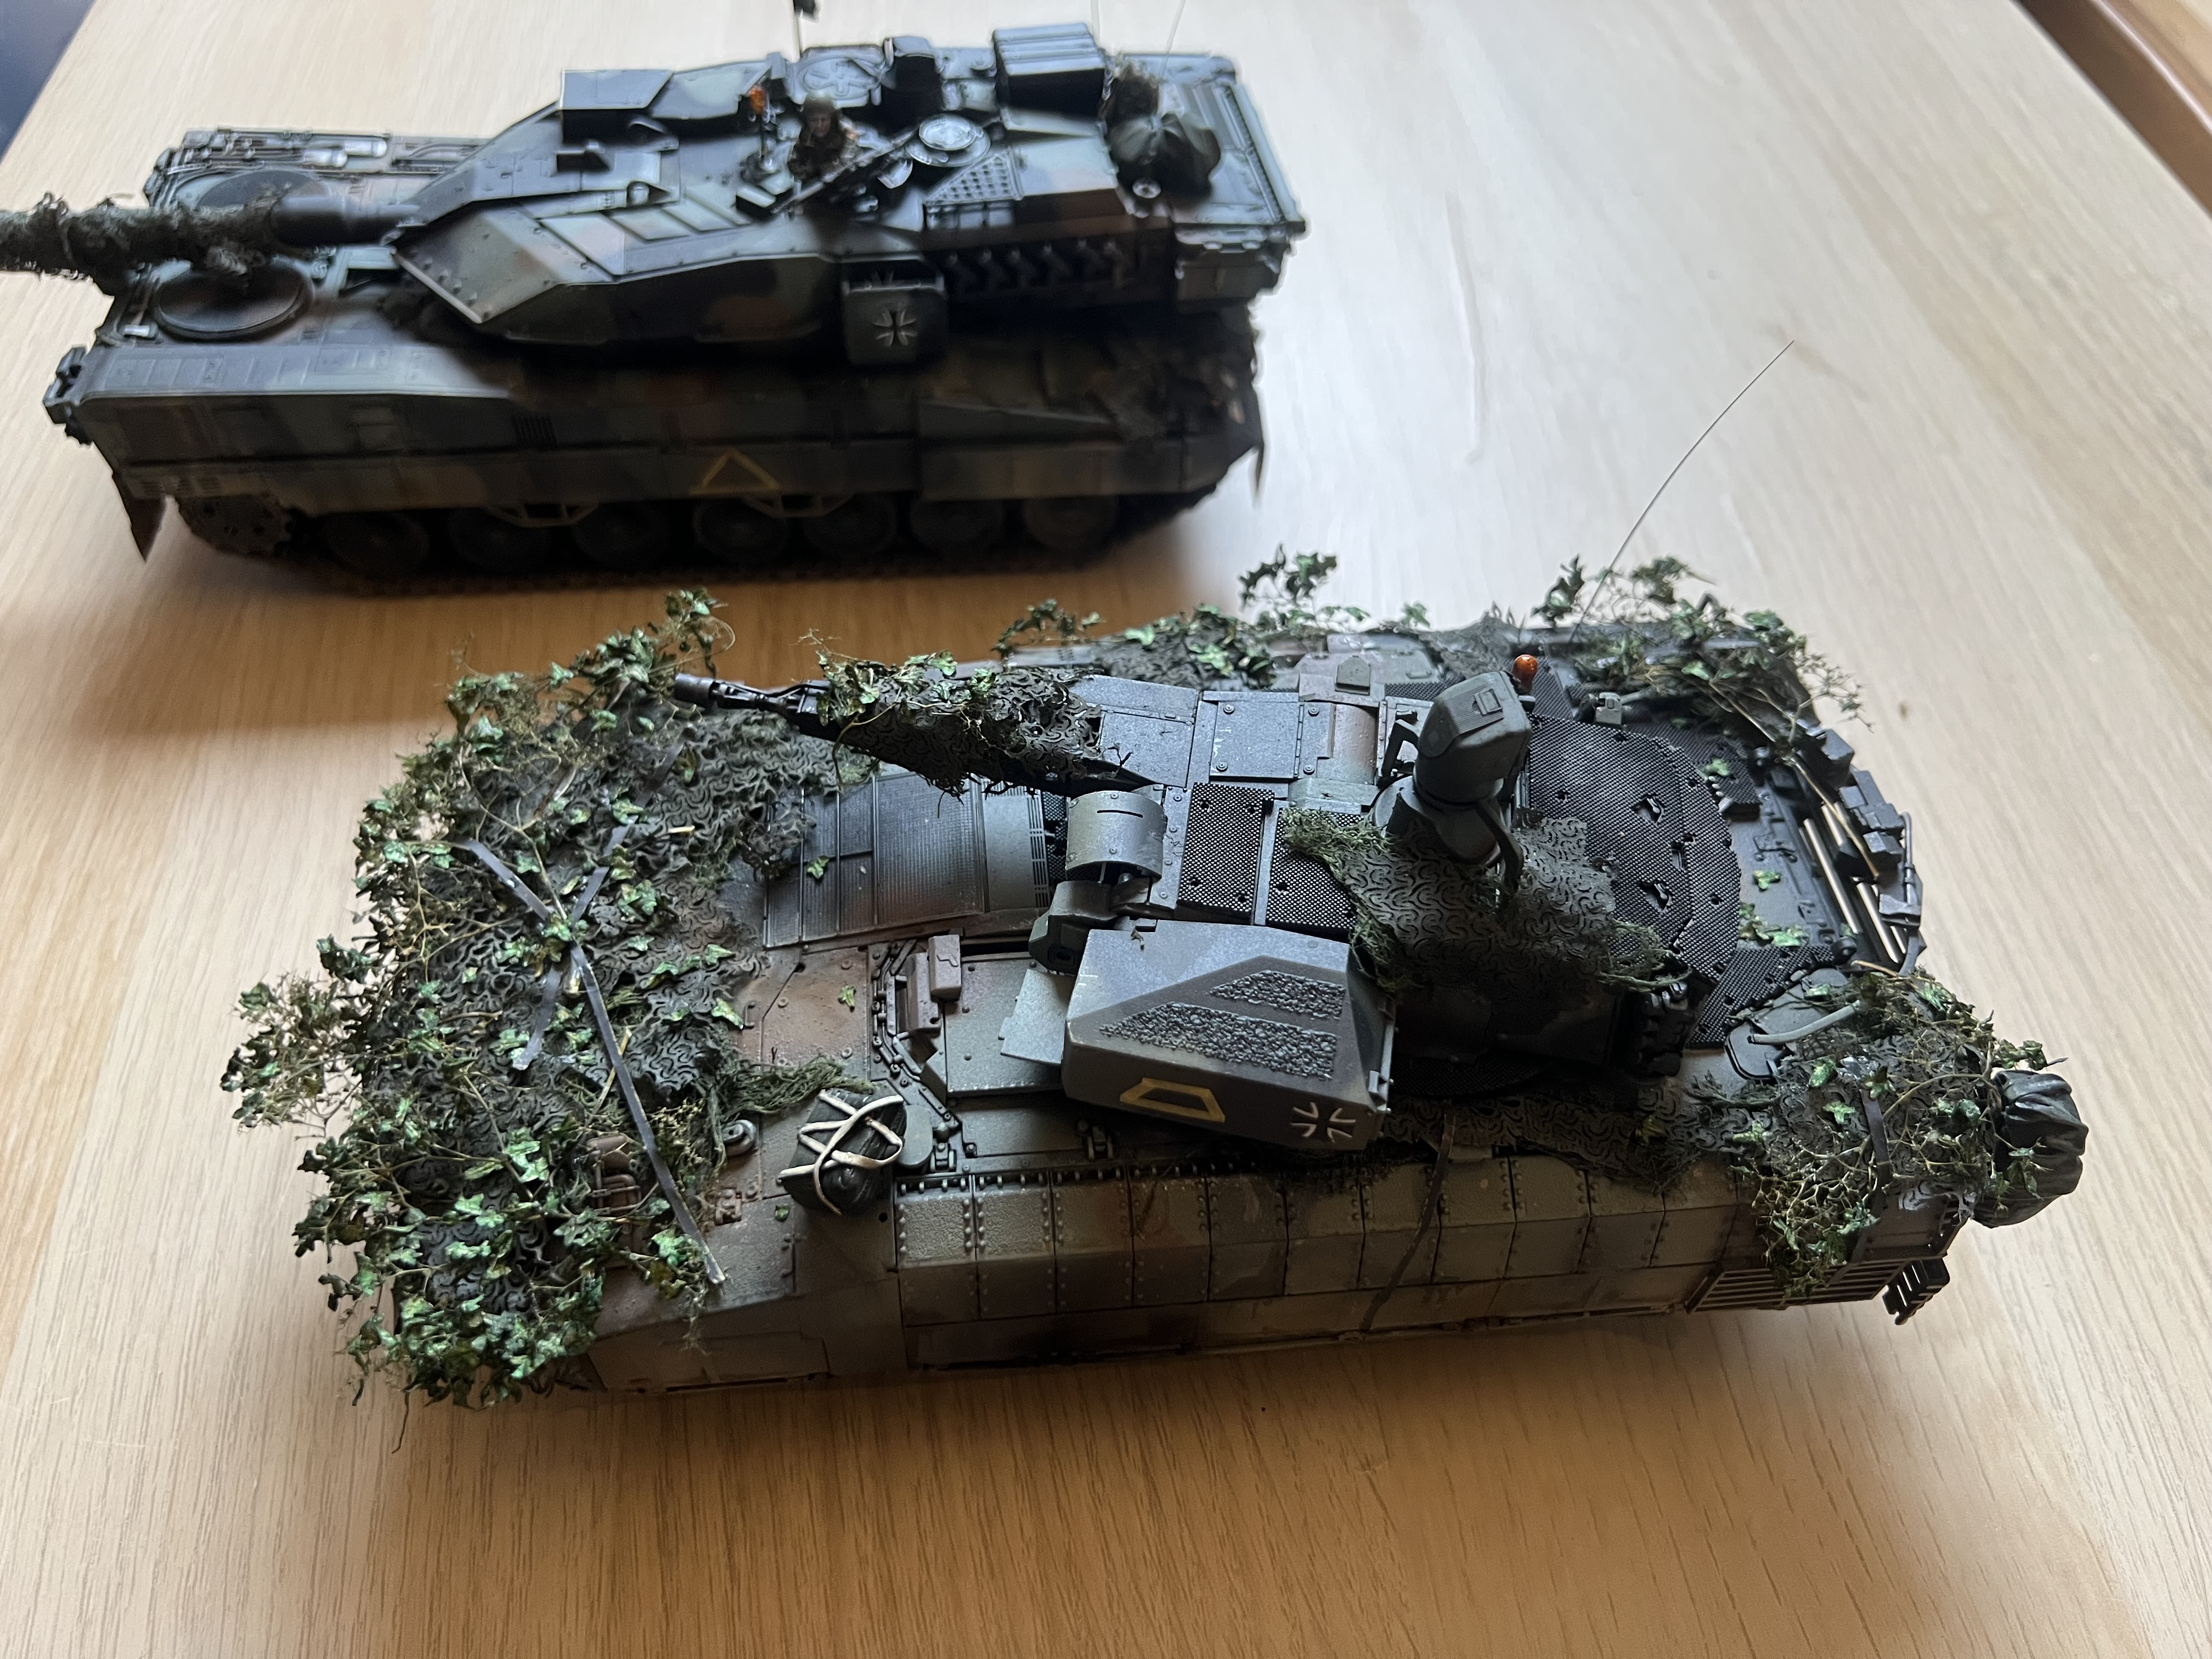
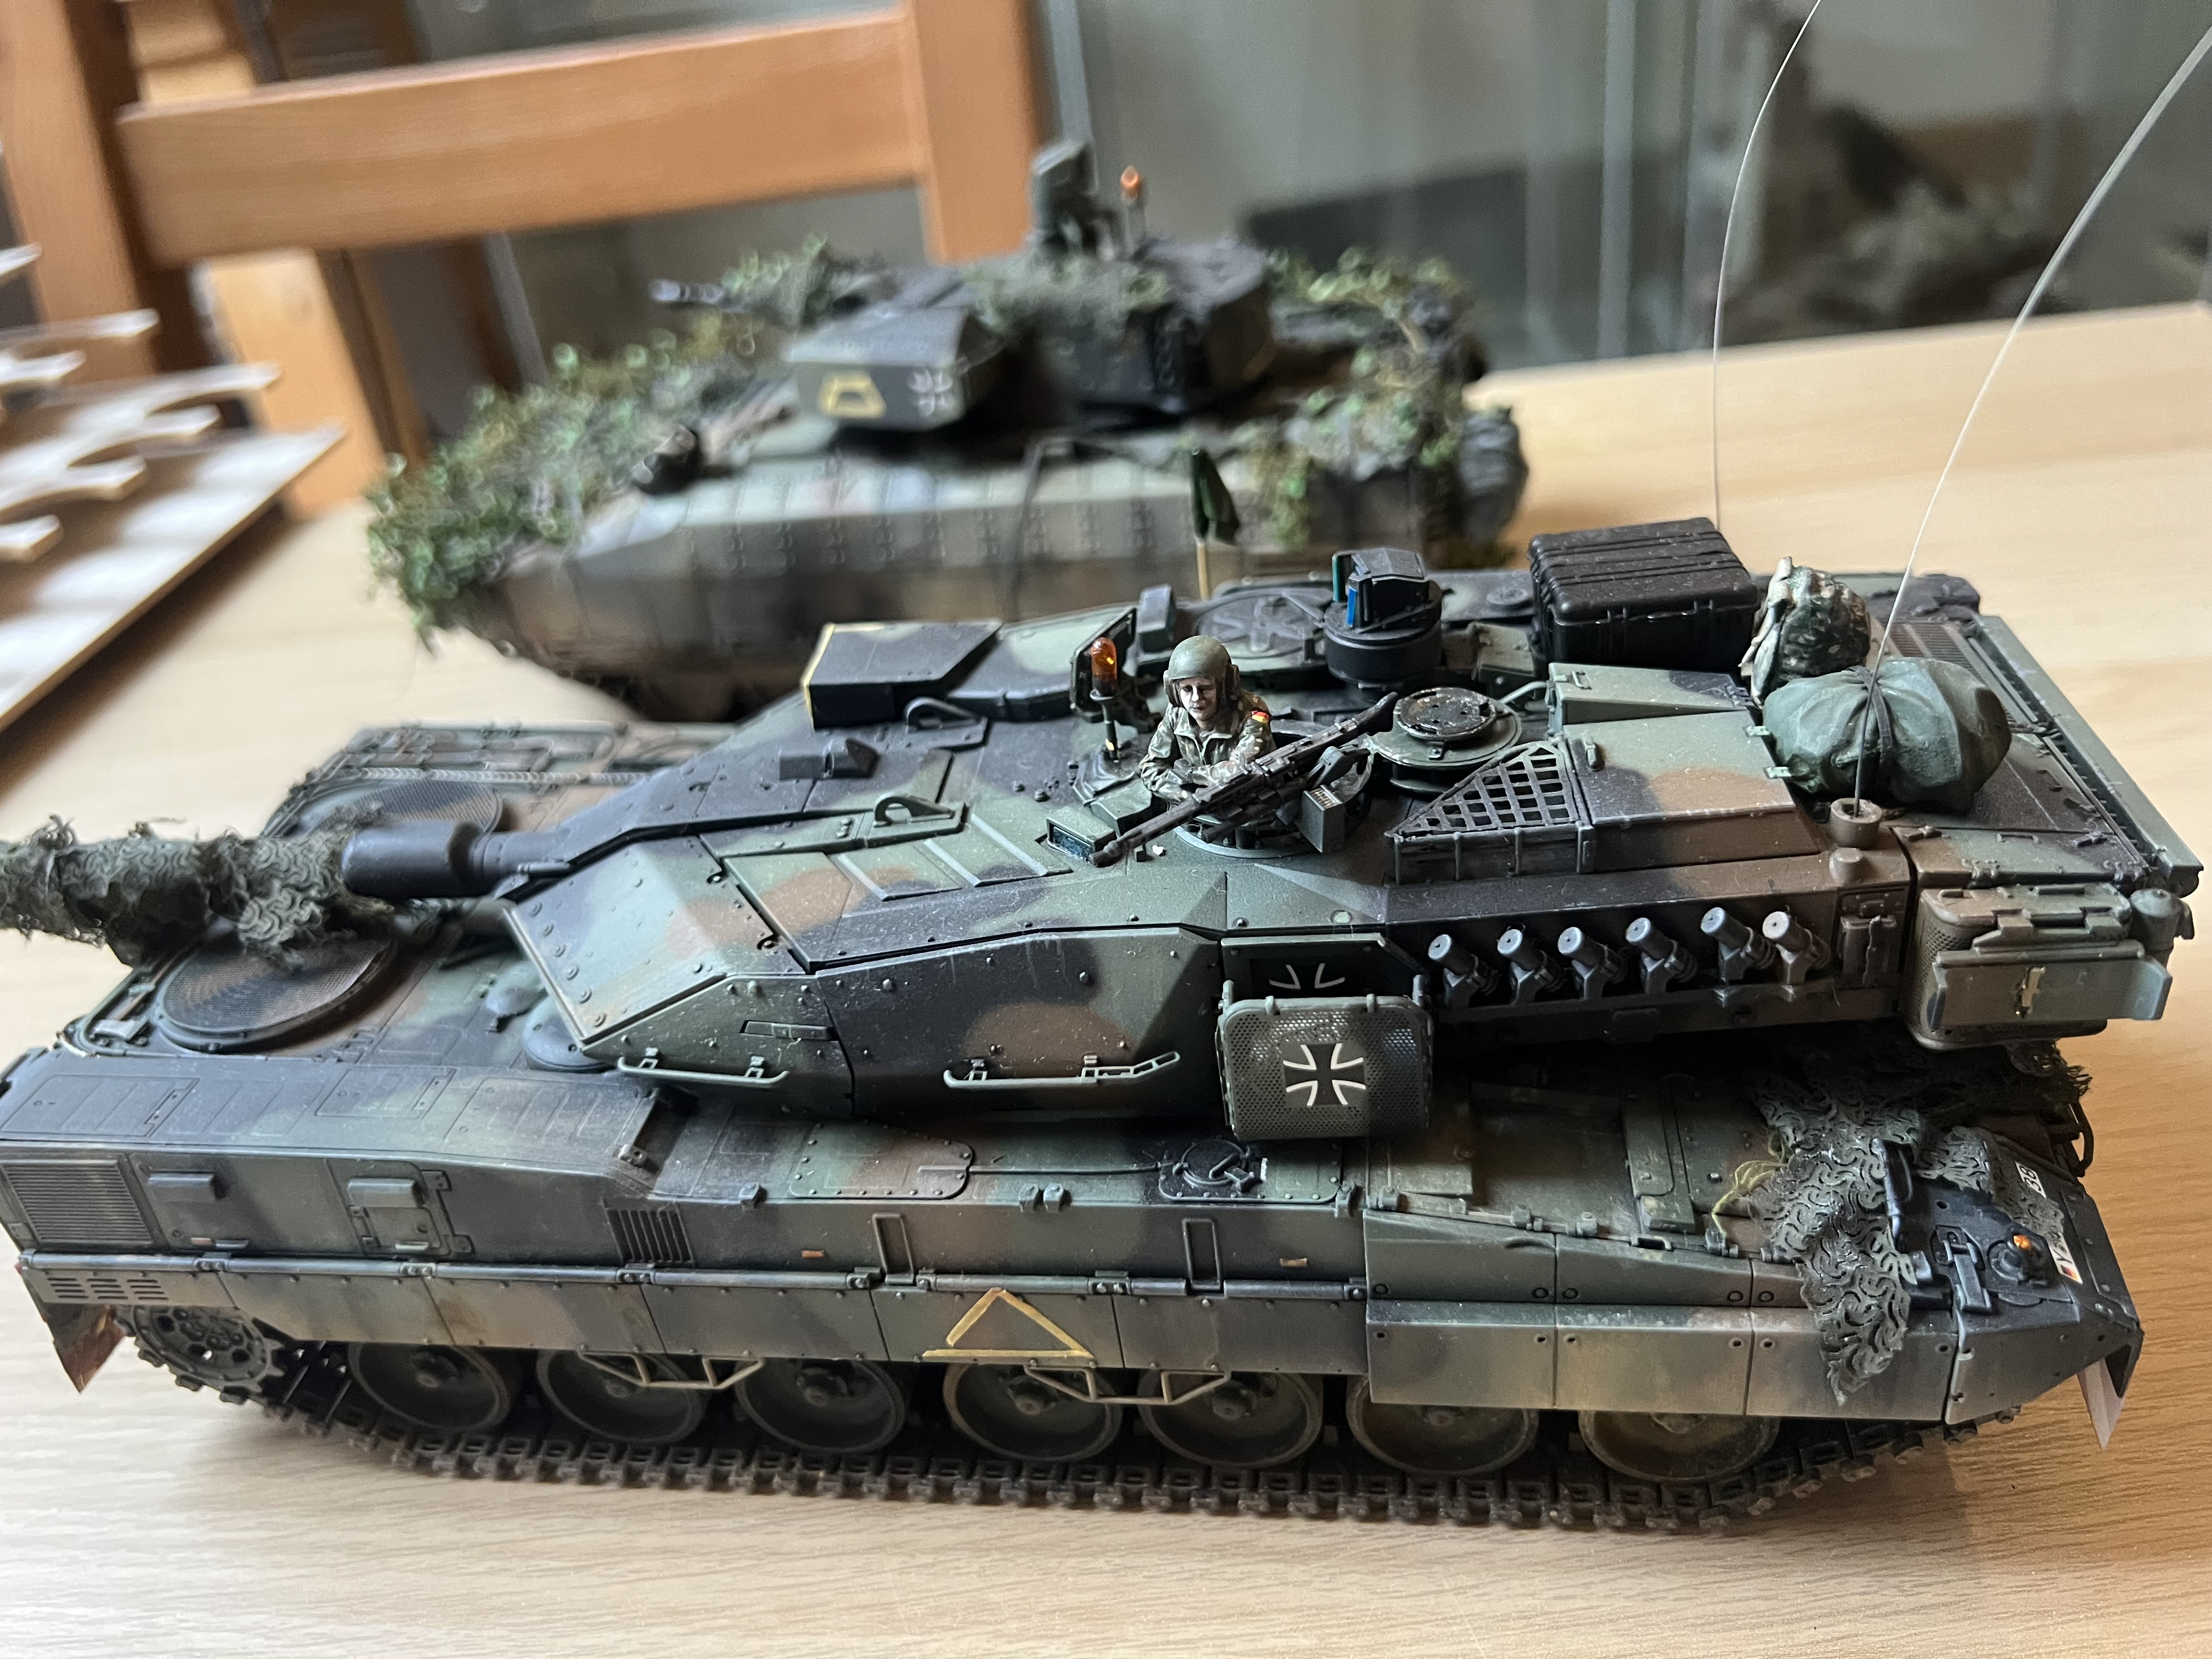
I finished this last night. This is the RFM Puma in 1/35 as part of an ongoing dio with the Leopard 2A7V I did recently but still need to finish. Essentially it is “Endex” - a Puma parked up near a Faun Elefant SLT56 which is just about to load the Leo 2A7V. Lots of guys stood around, beers, perhaps a Dingo…
Anyway I digress. Back to the Puma. I have to say I enjoyed this one. Not easy and lots to consider in building one but I am happy with the result.
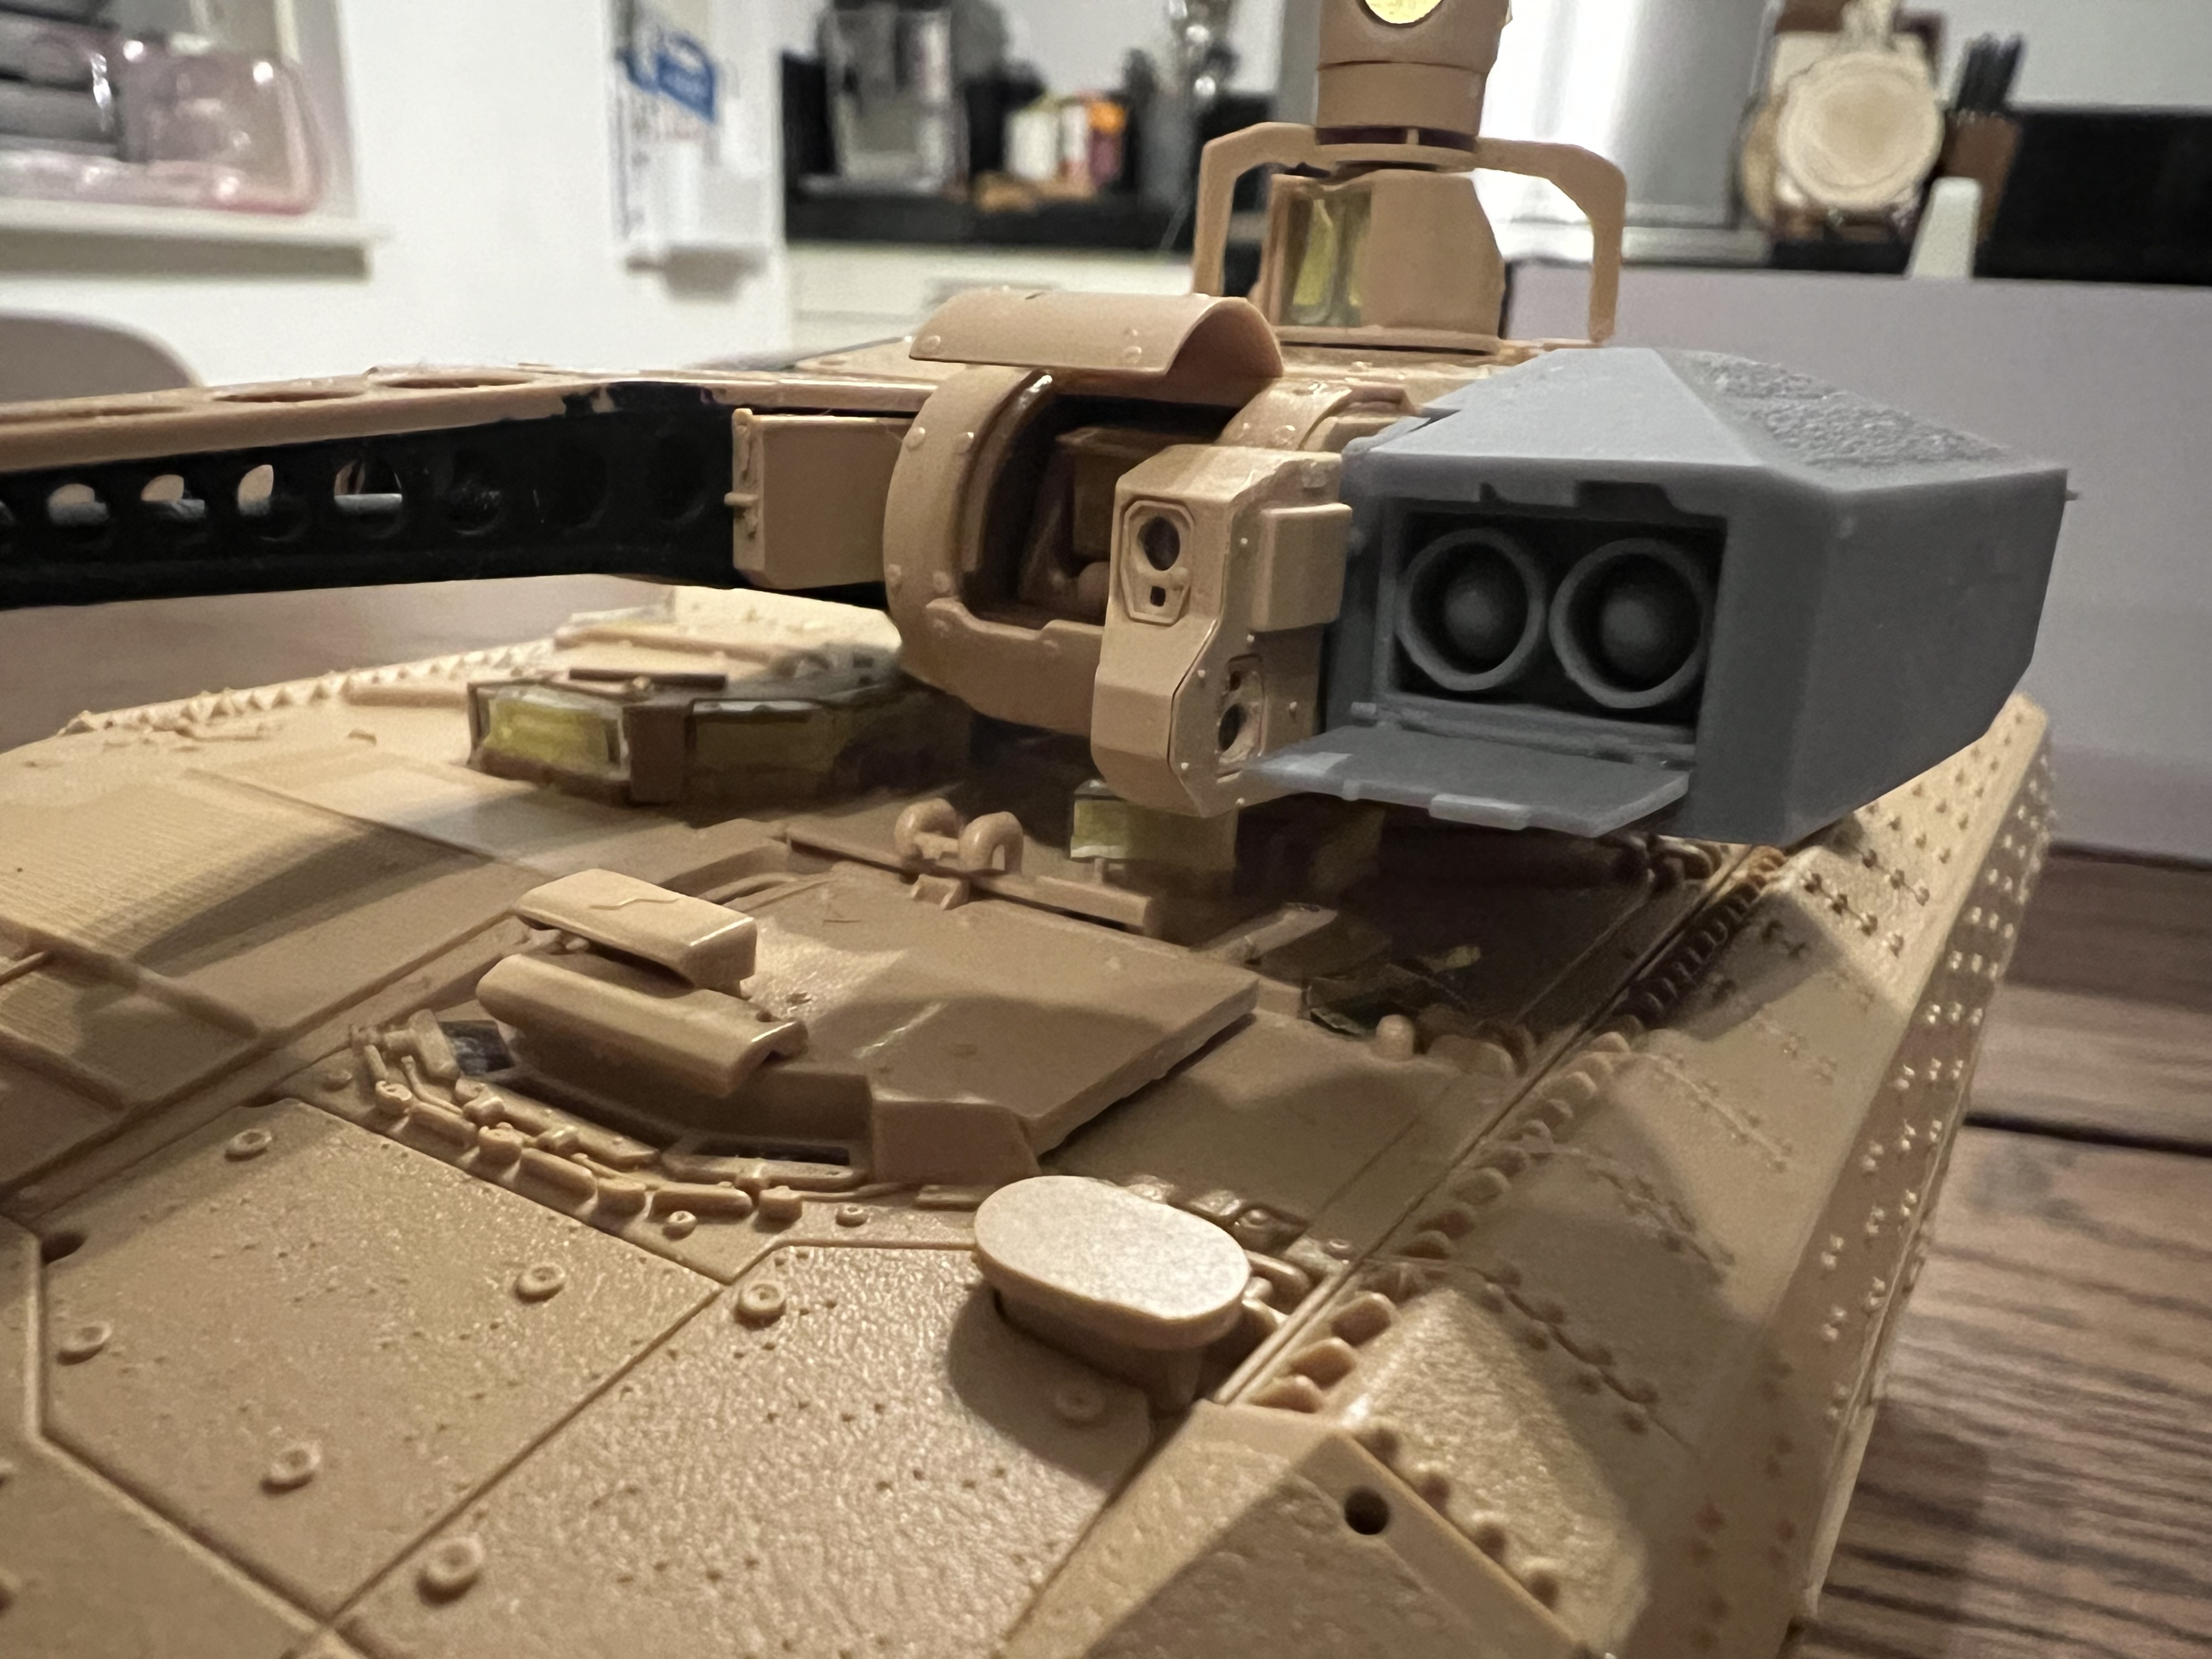
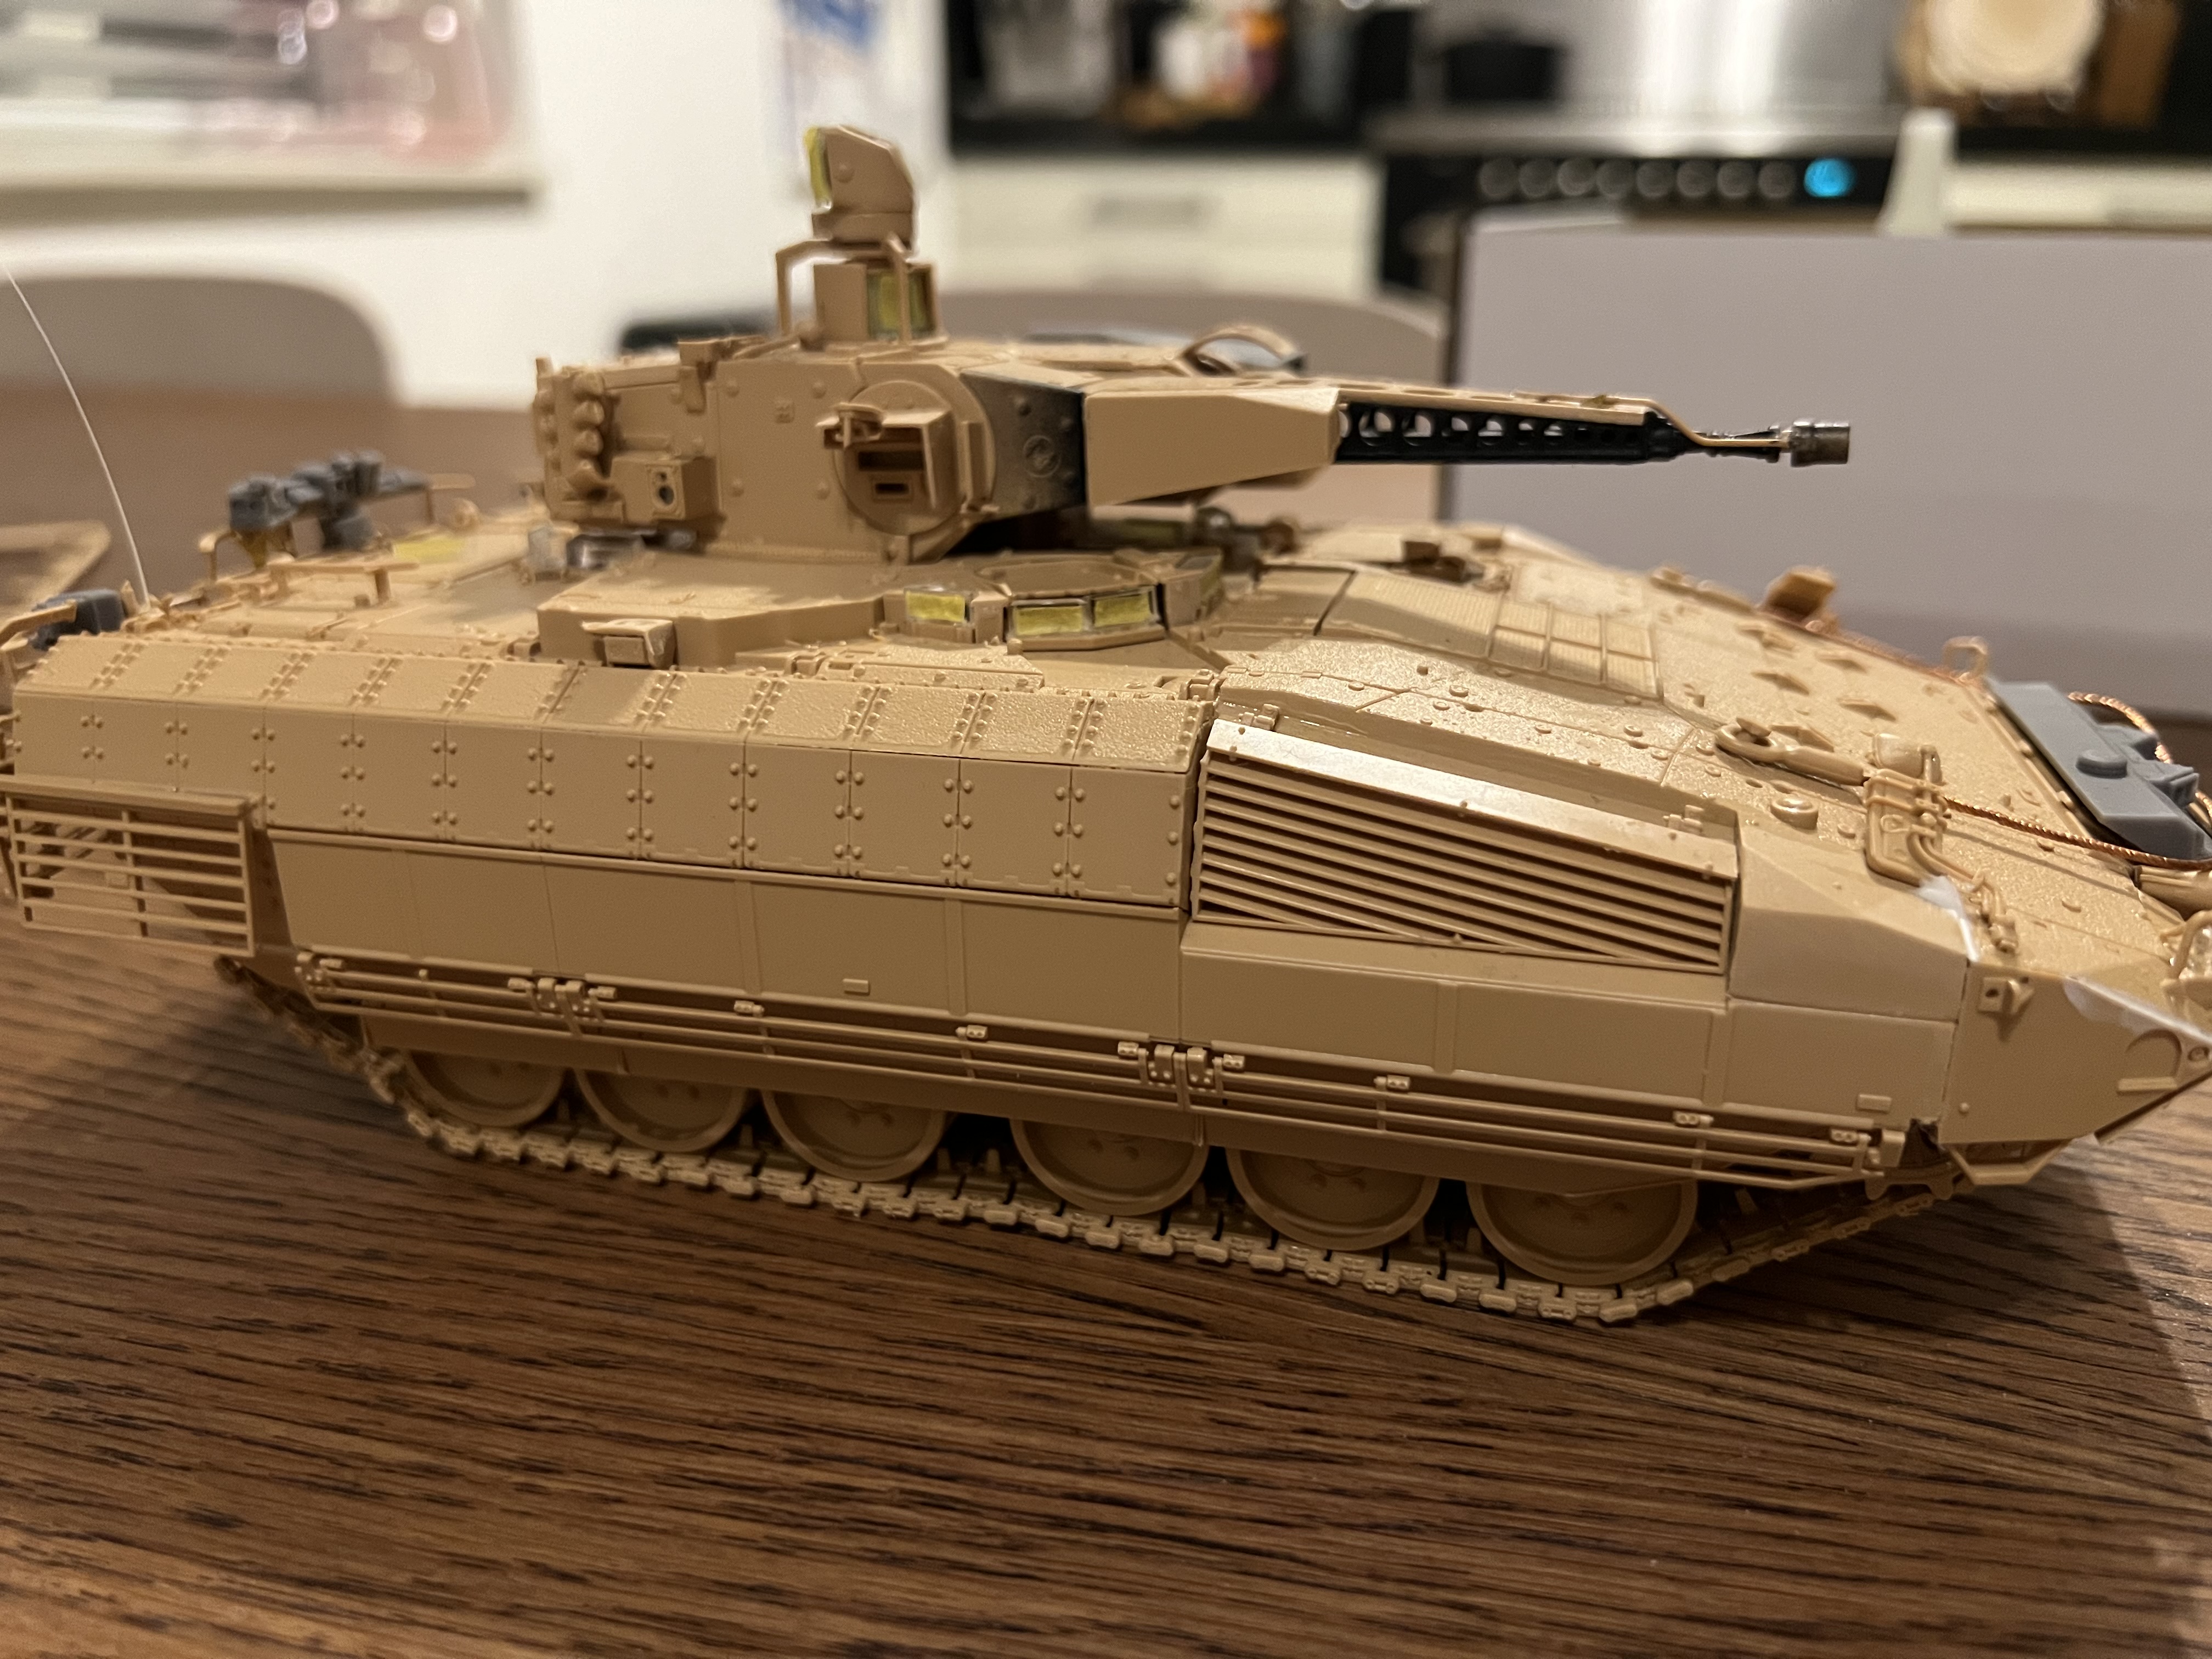
You’ll note there’s a few resin parts on there as well as the RGM model has the older camera set up and doesn’t feature the Spike launchers which I wanted to add.
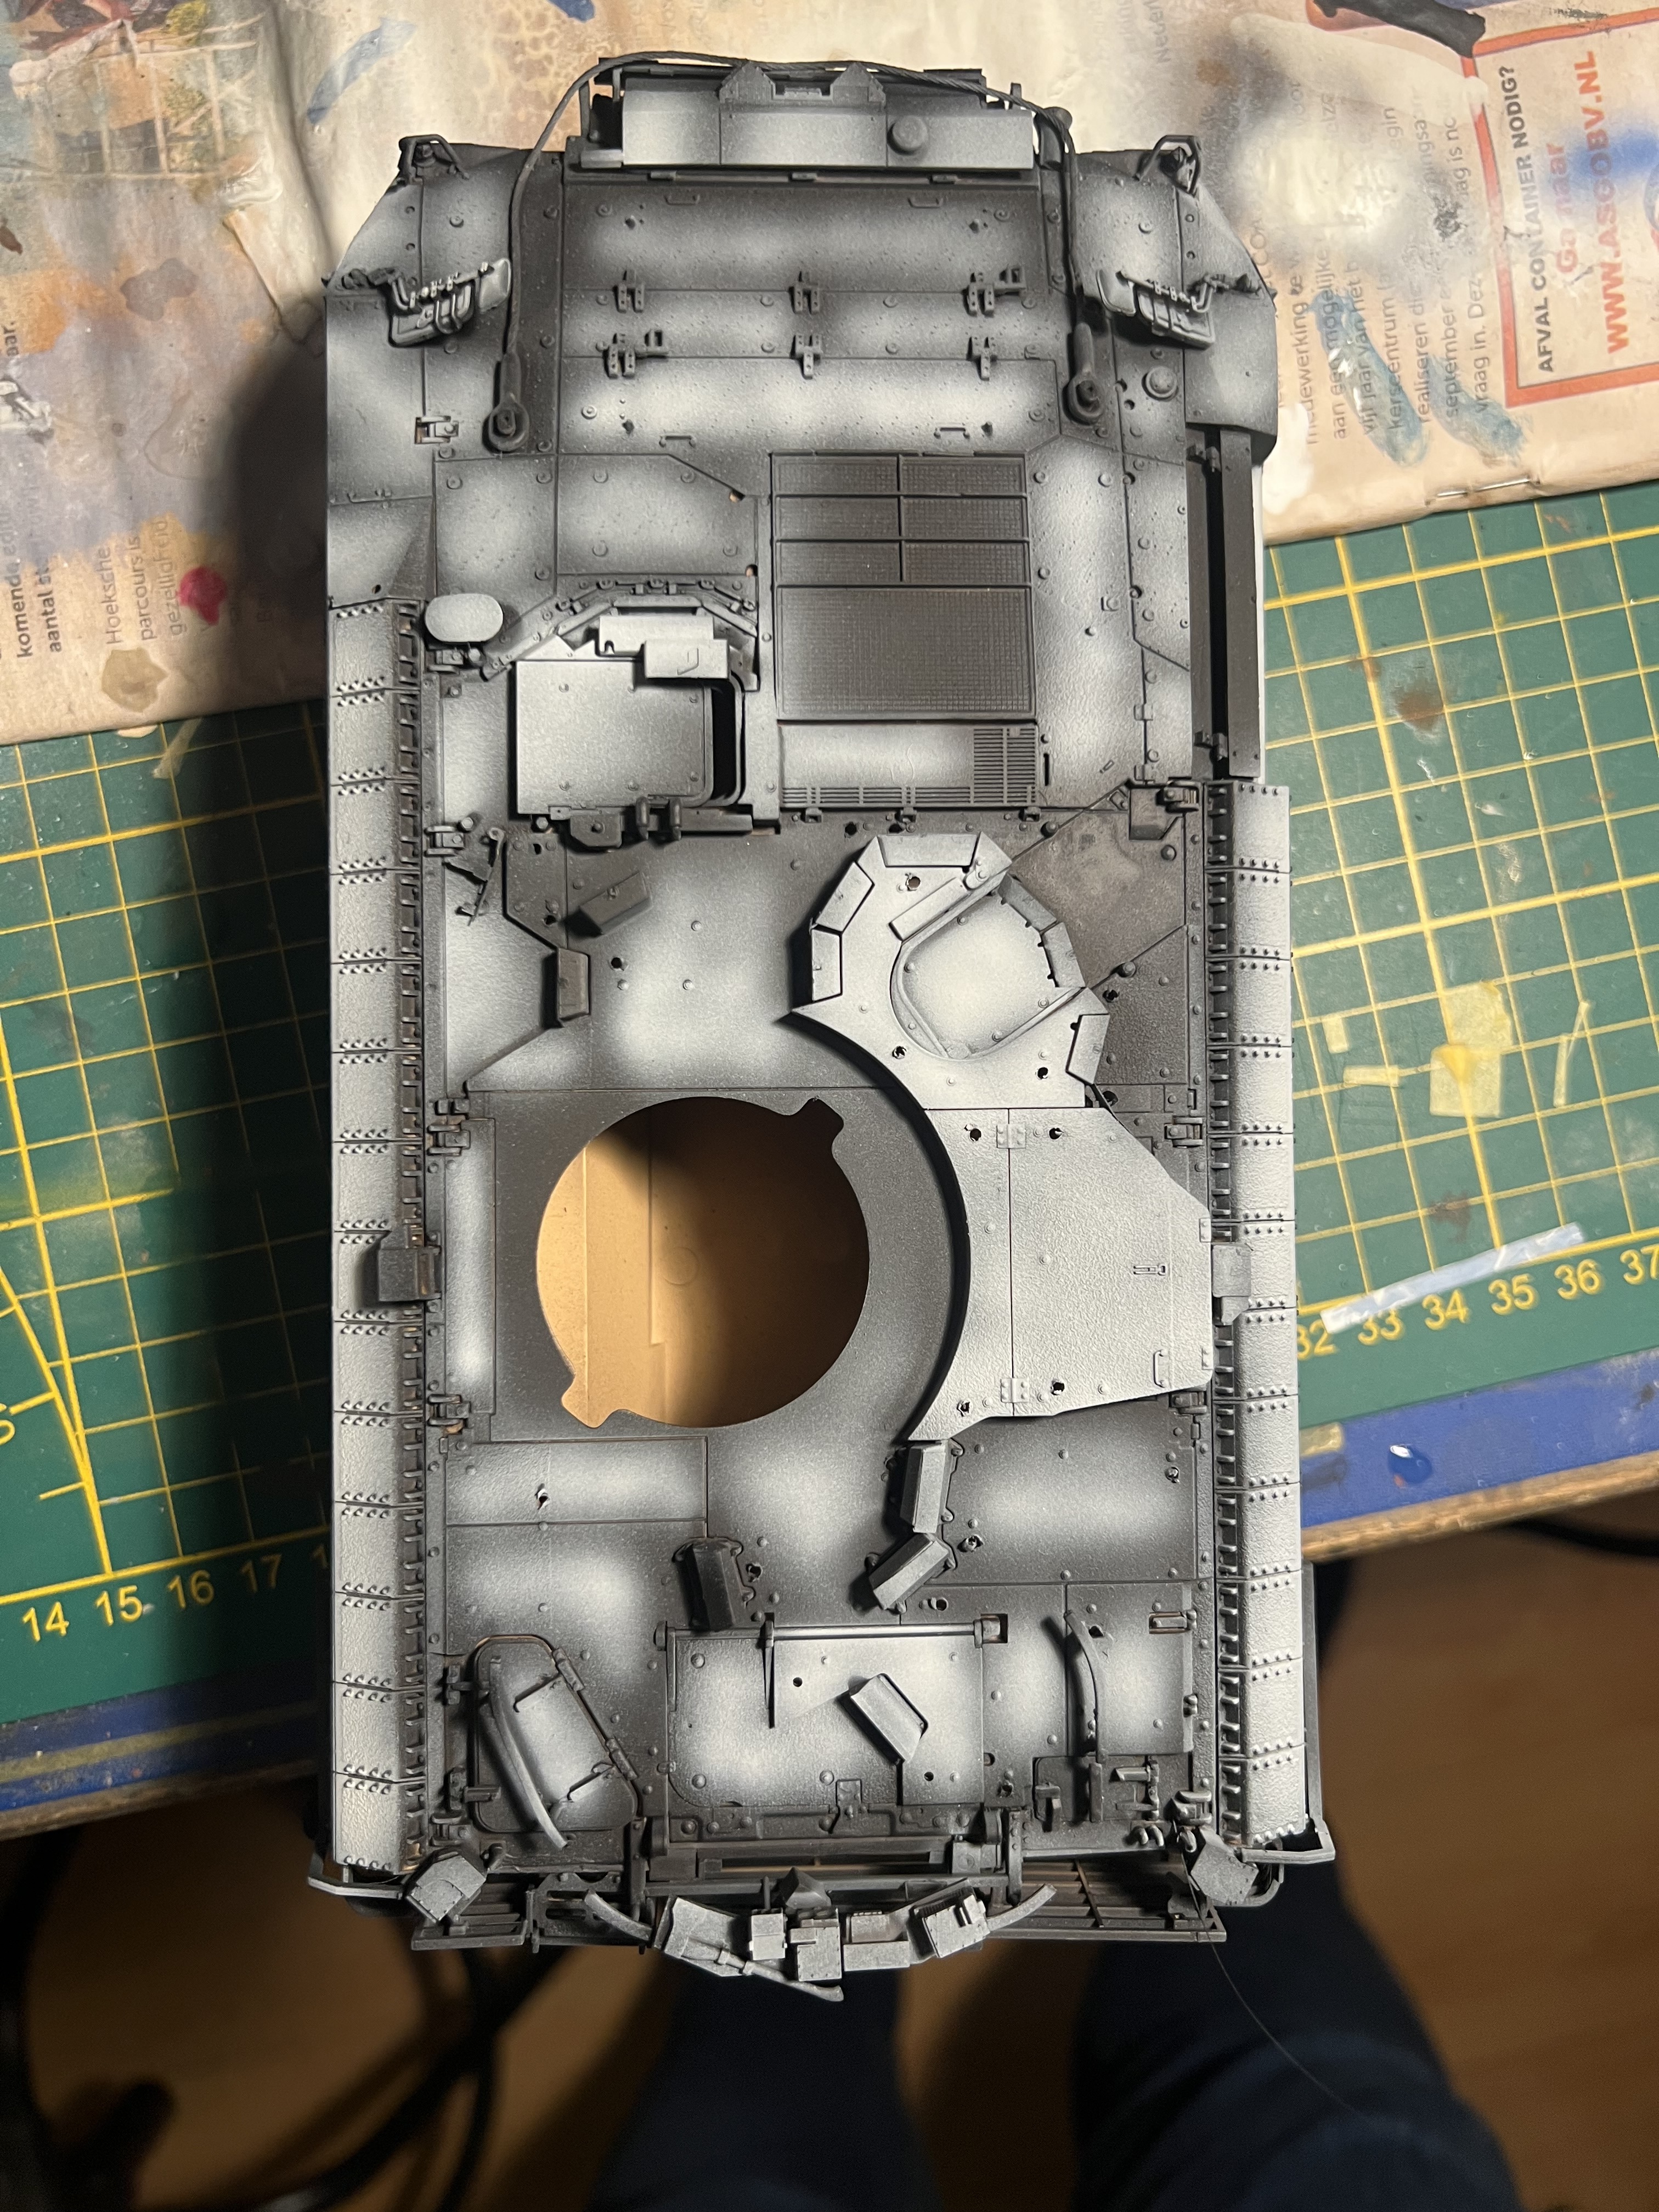
Build was 50-ish hours and relatively trouble free. Tracks no issue, quite easy to do in the end, just a little fiddly at first but you get used to them.
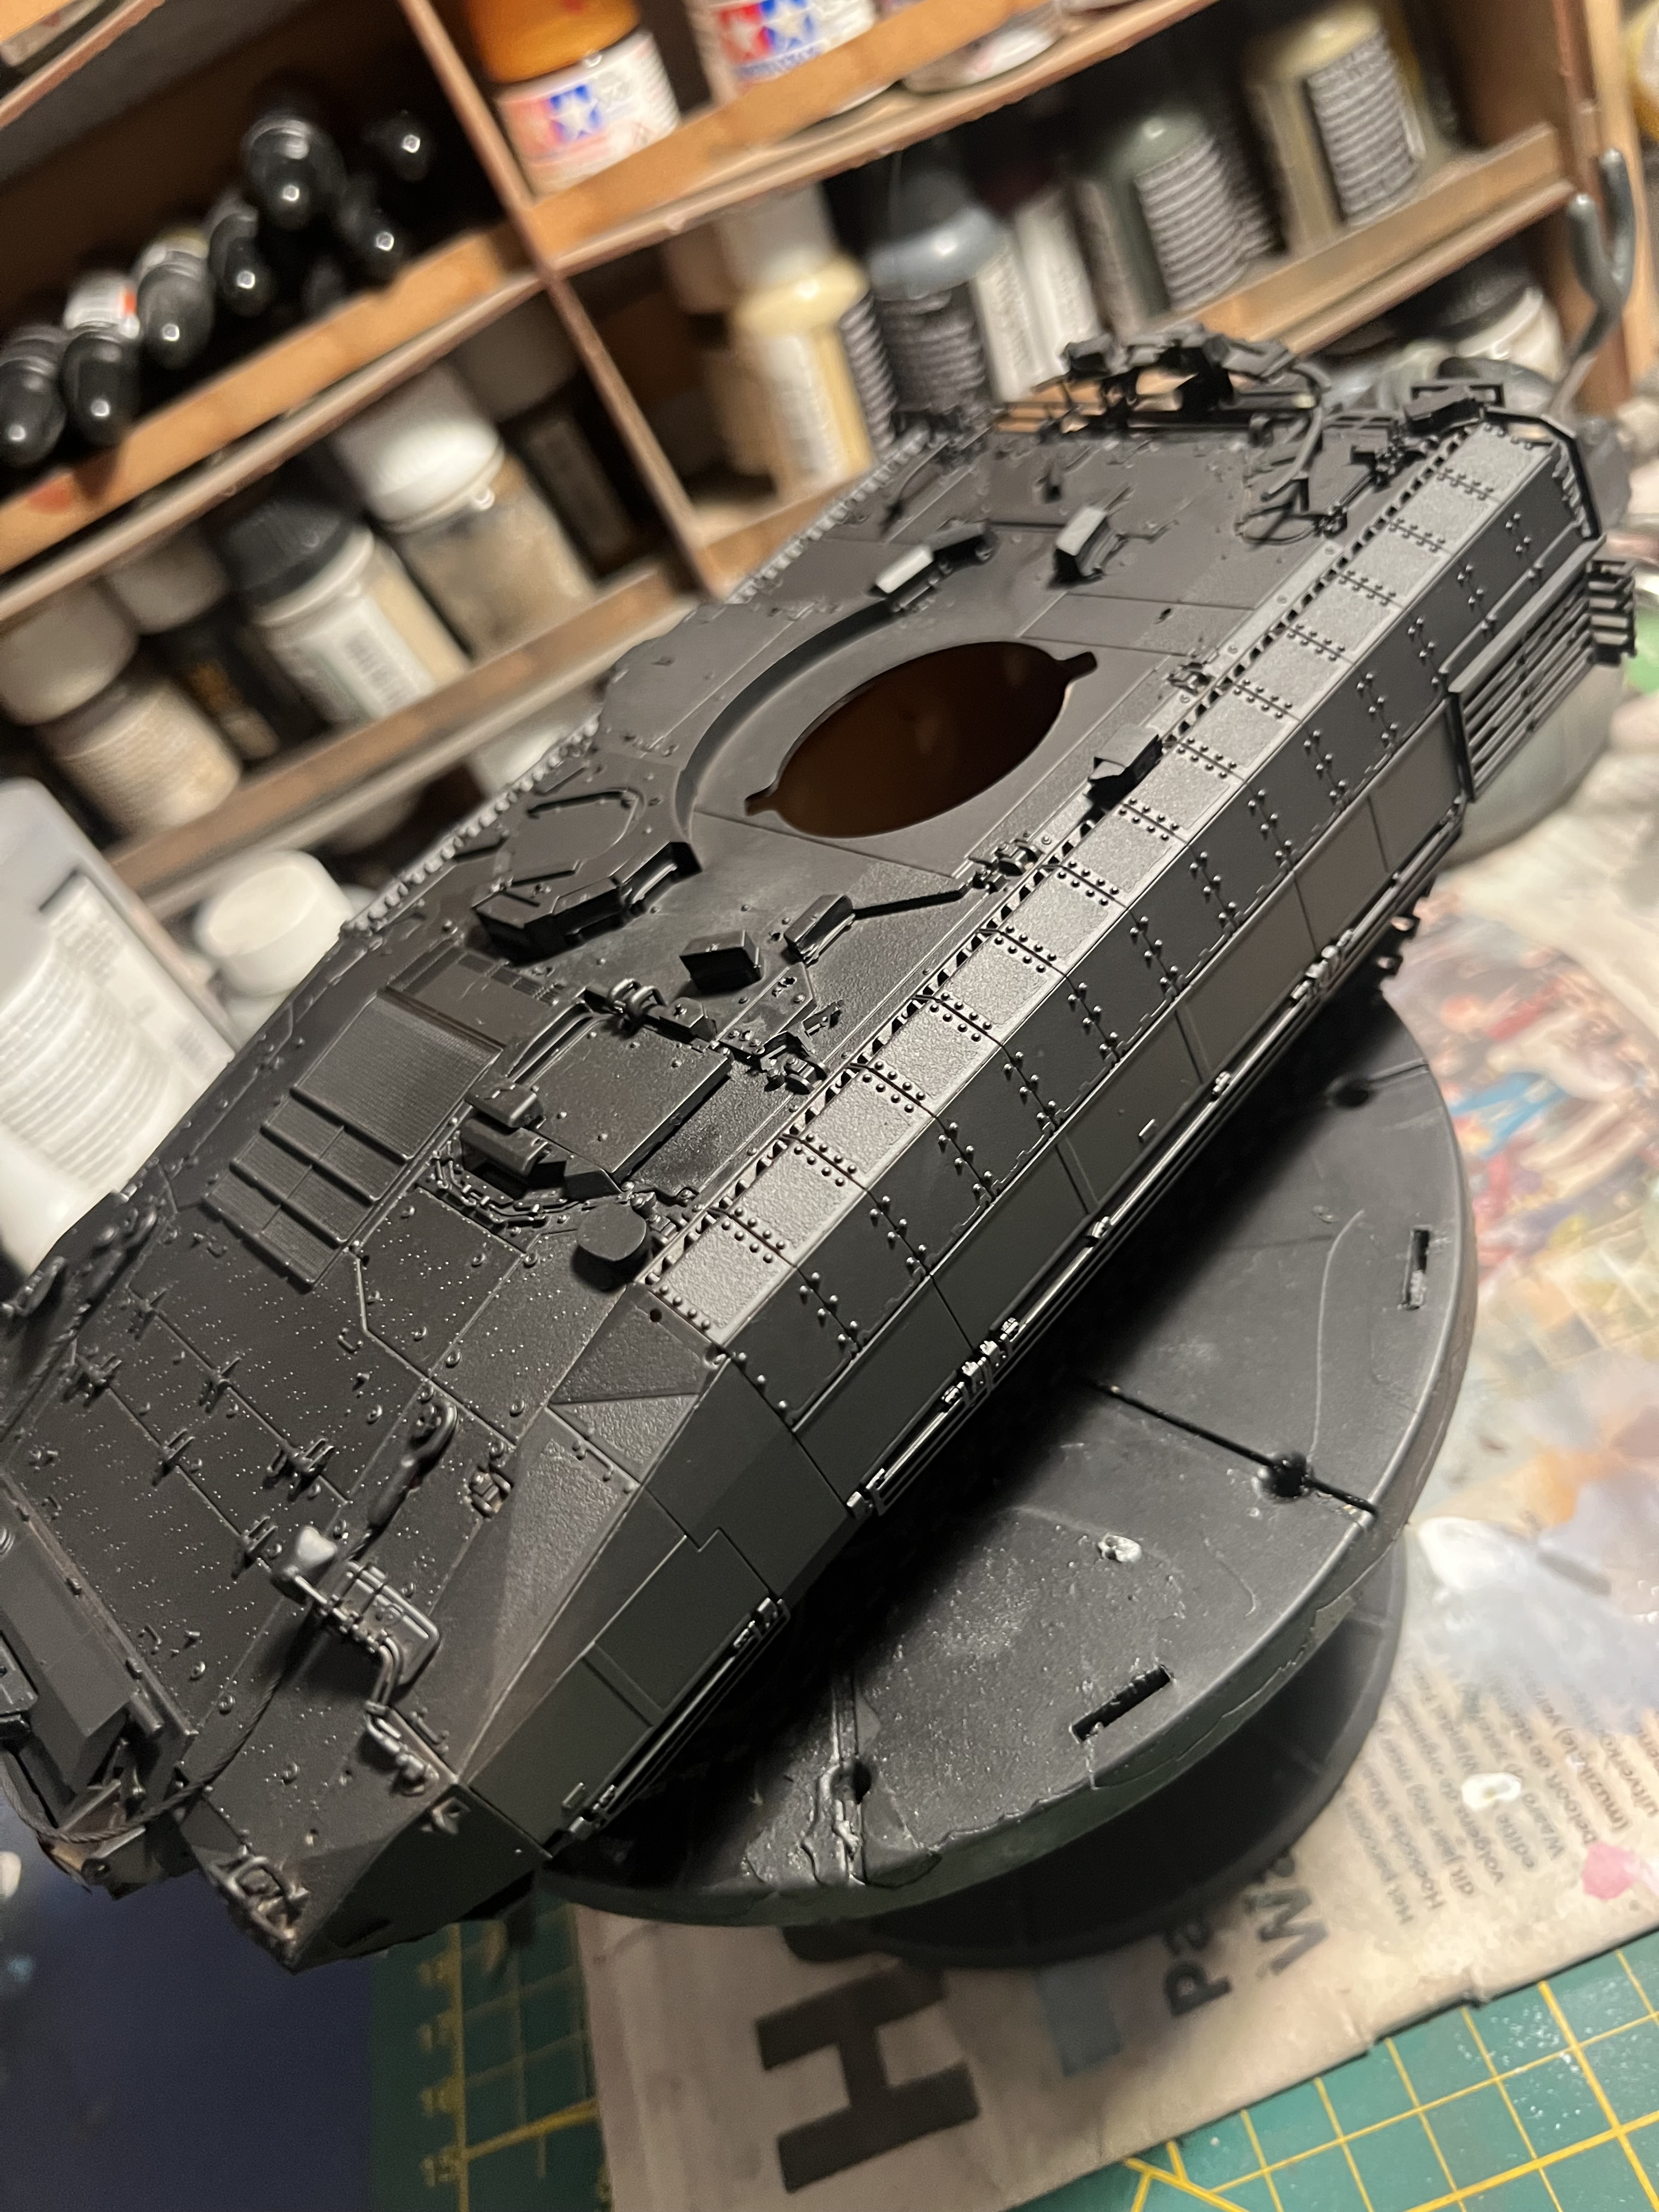
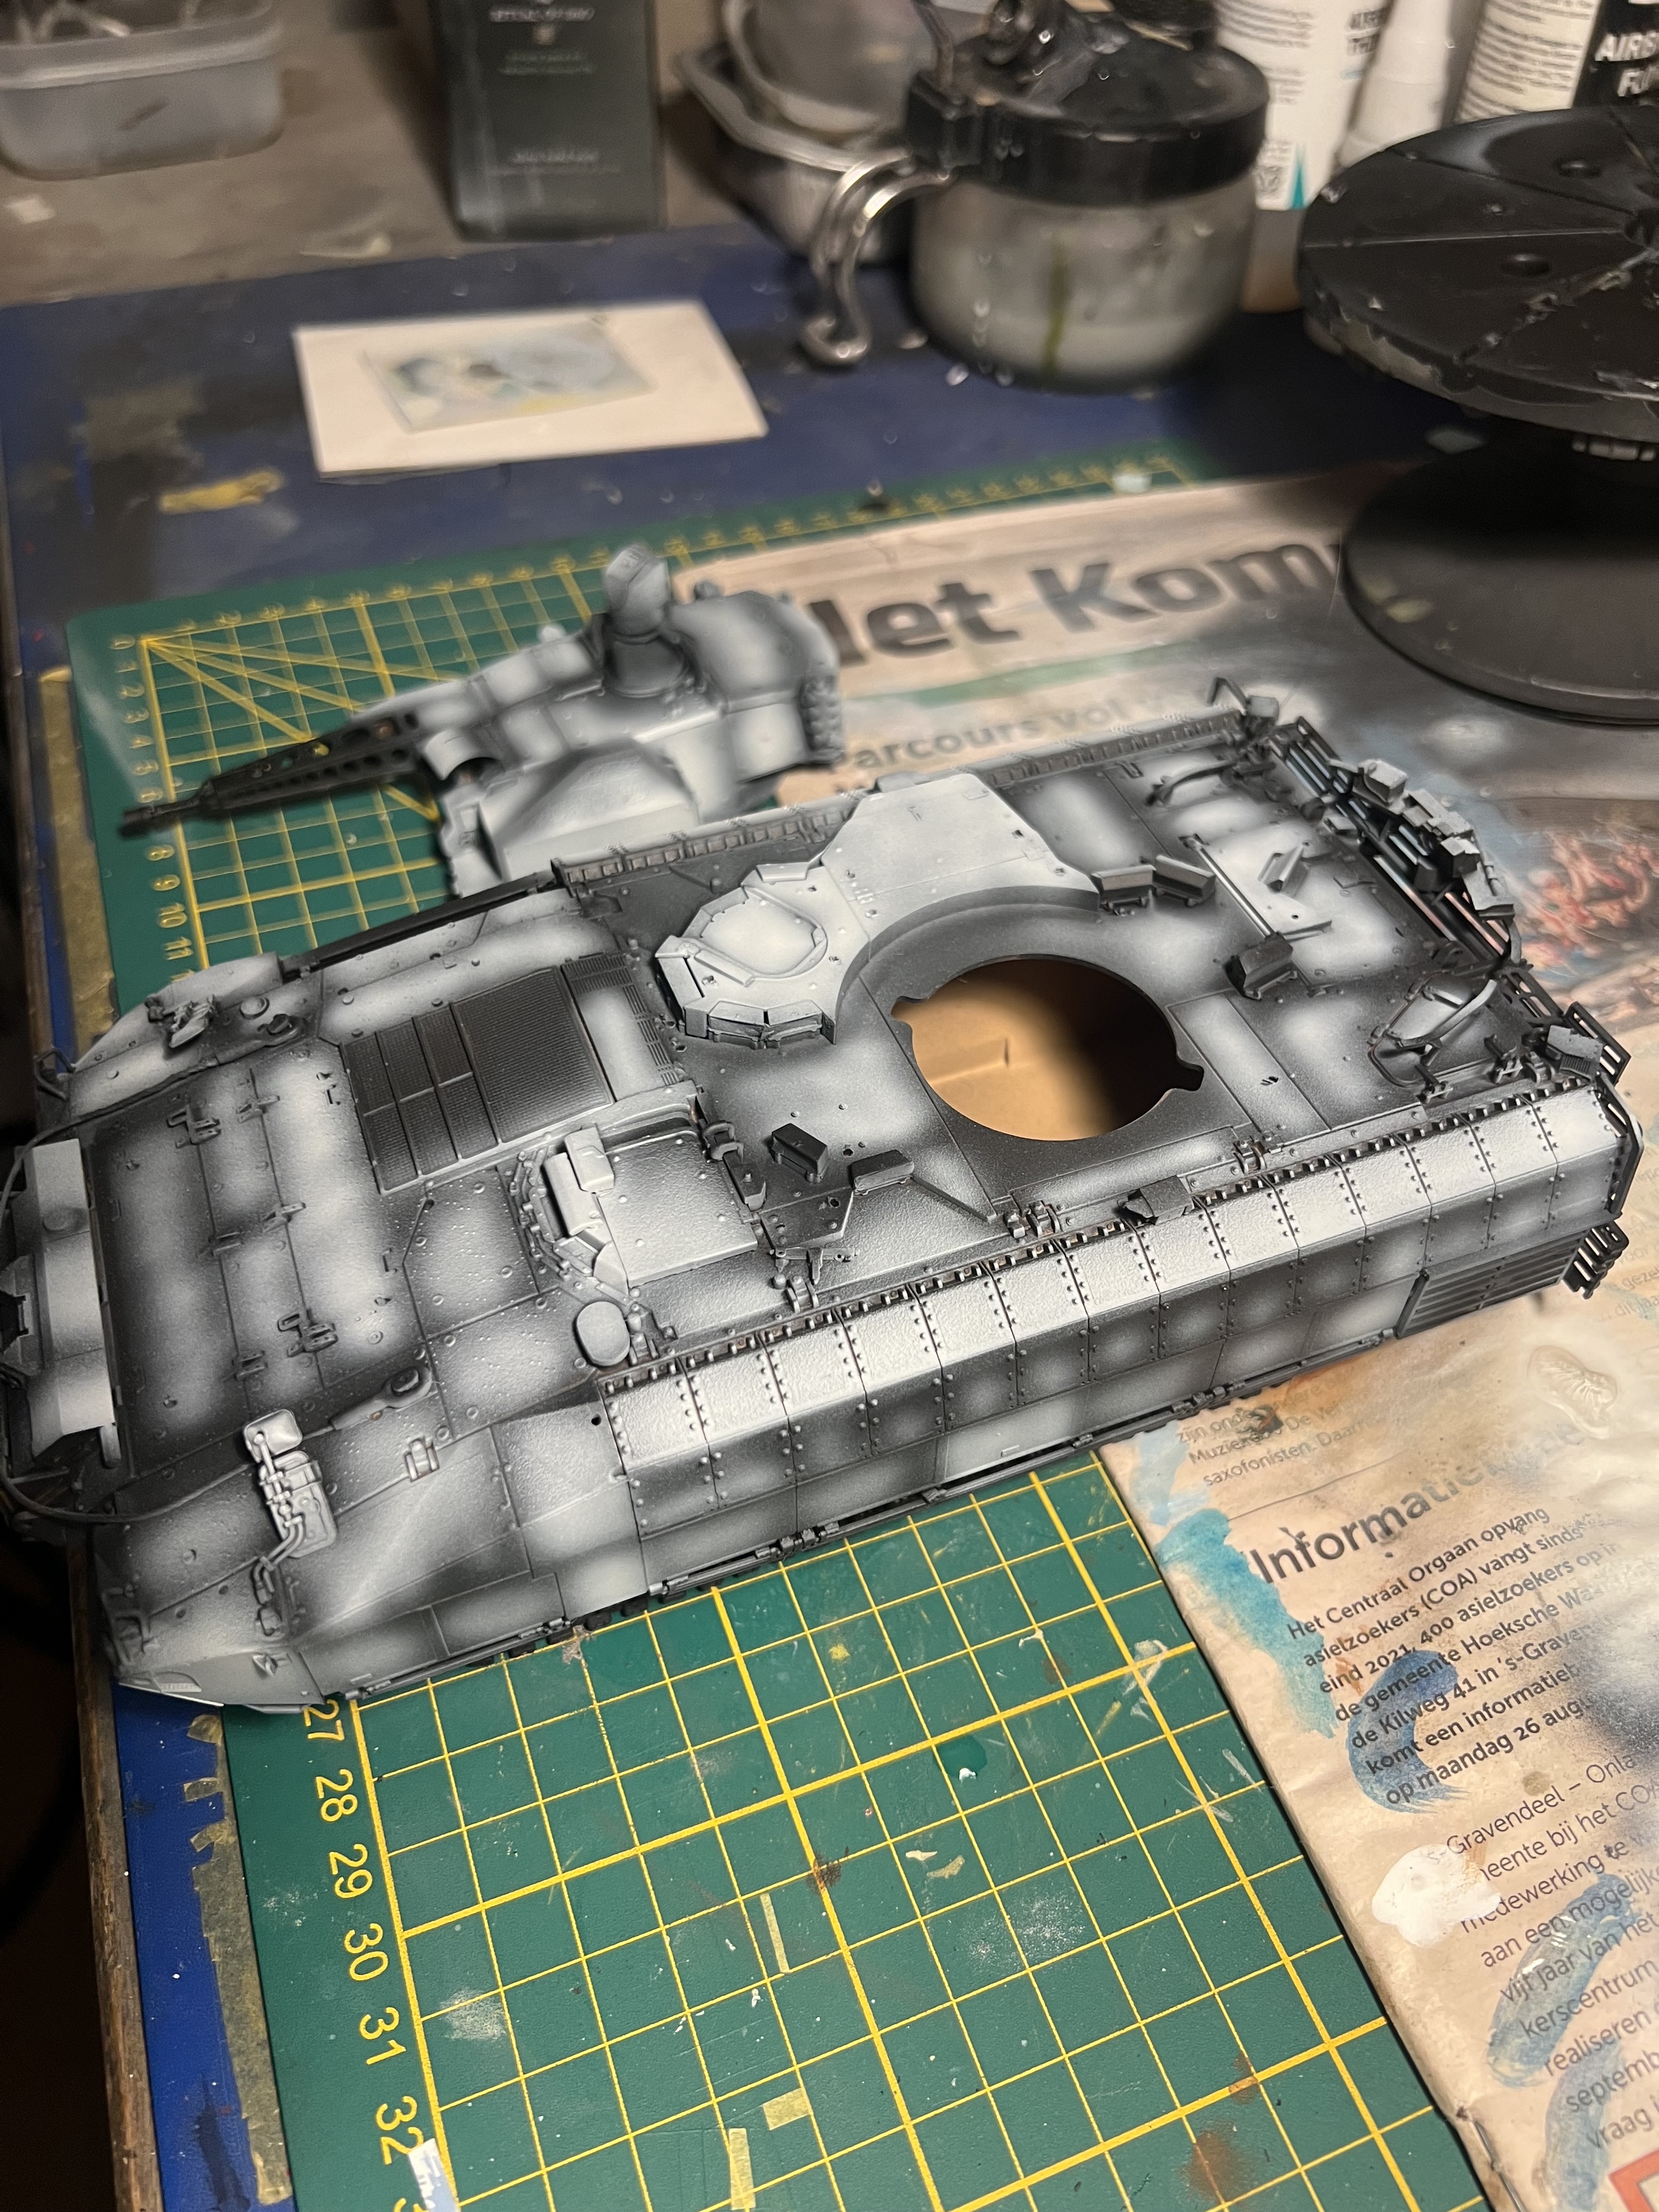
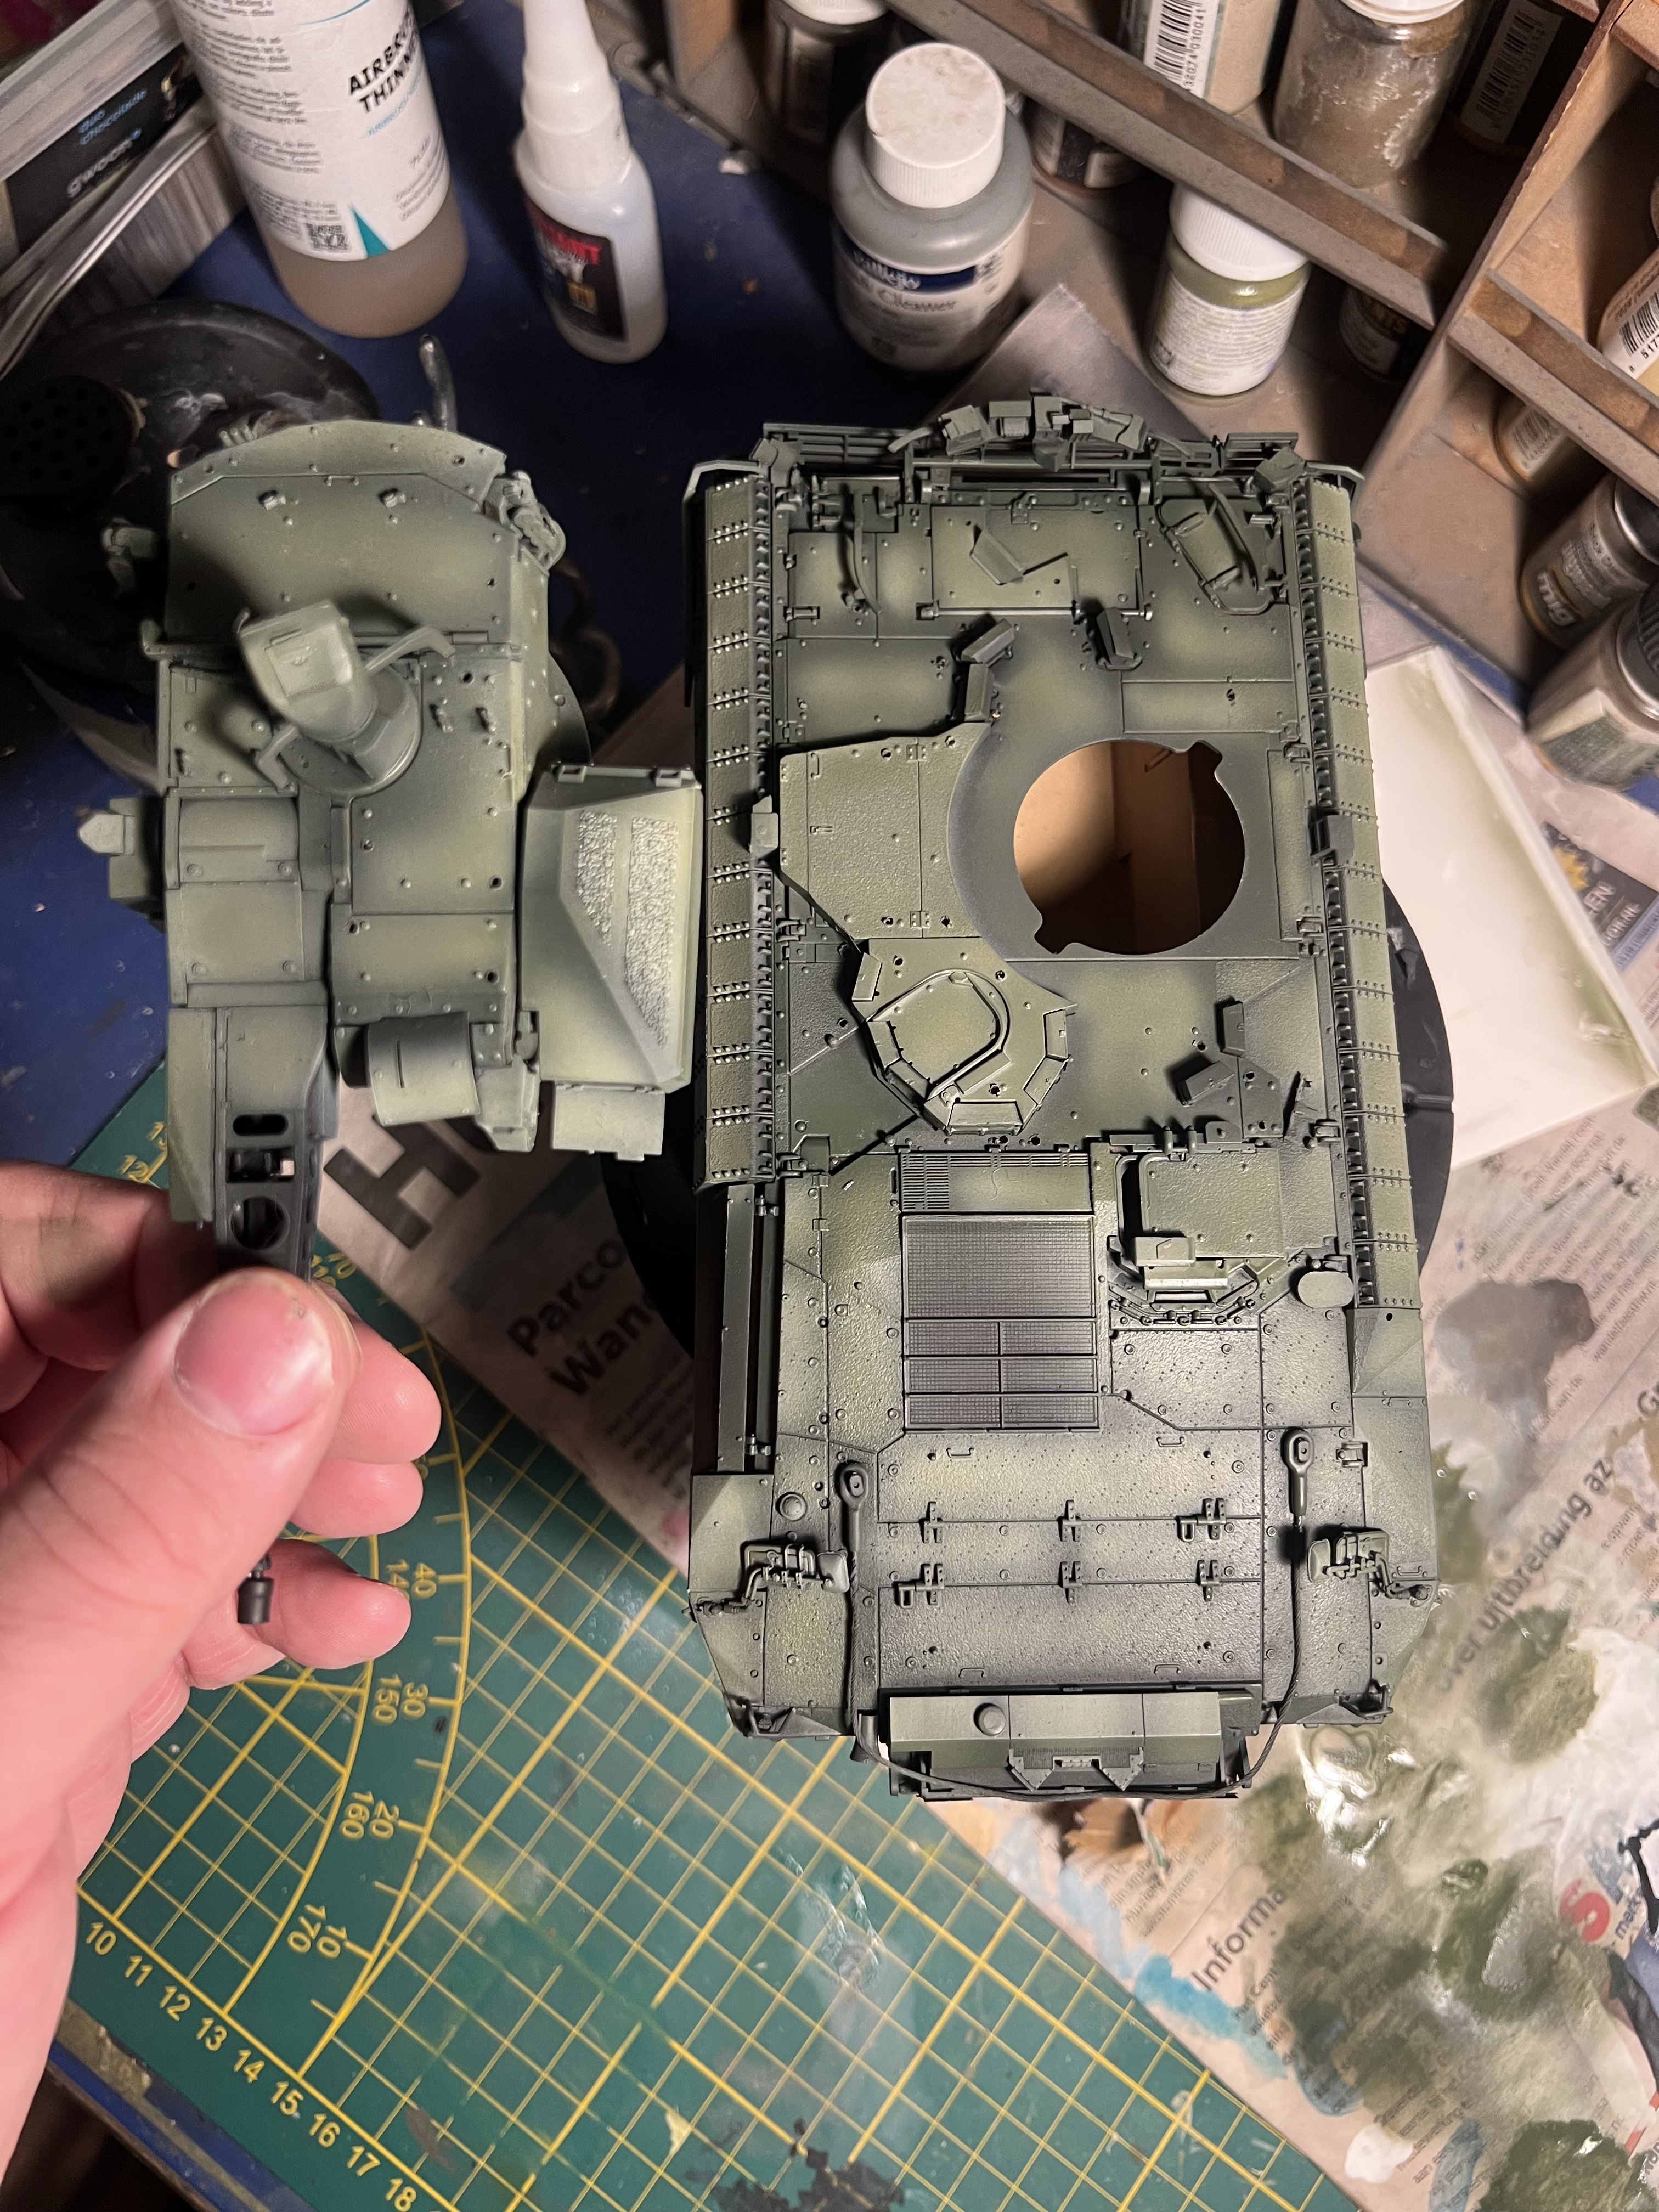
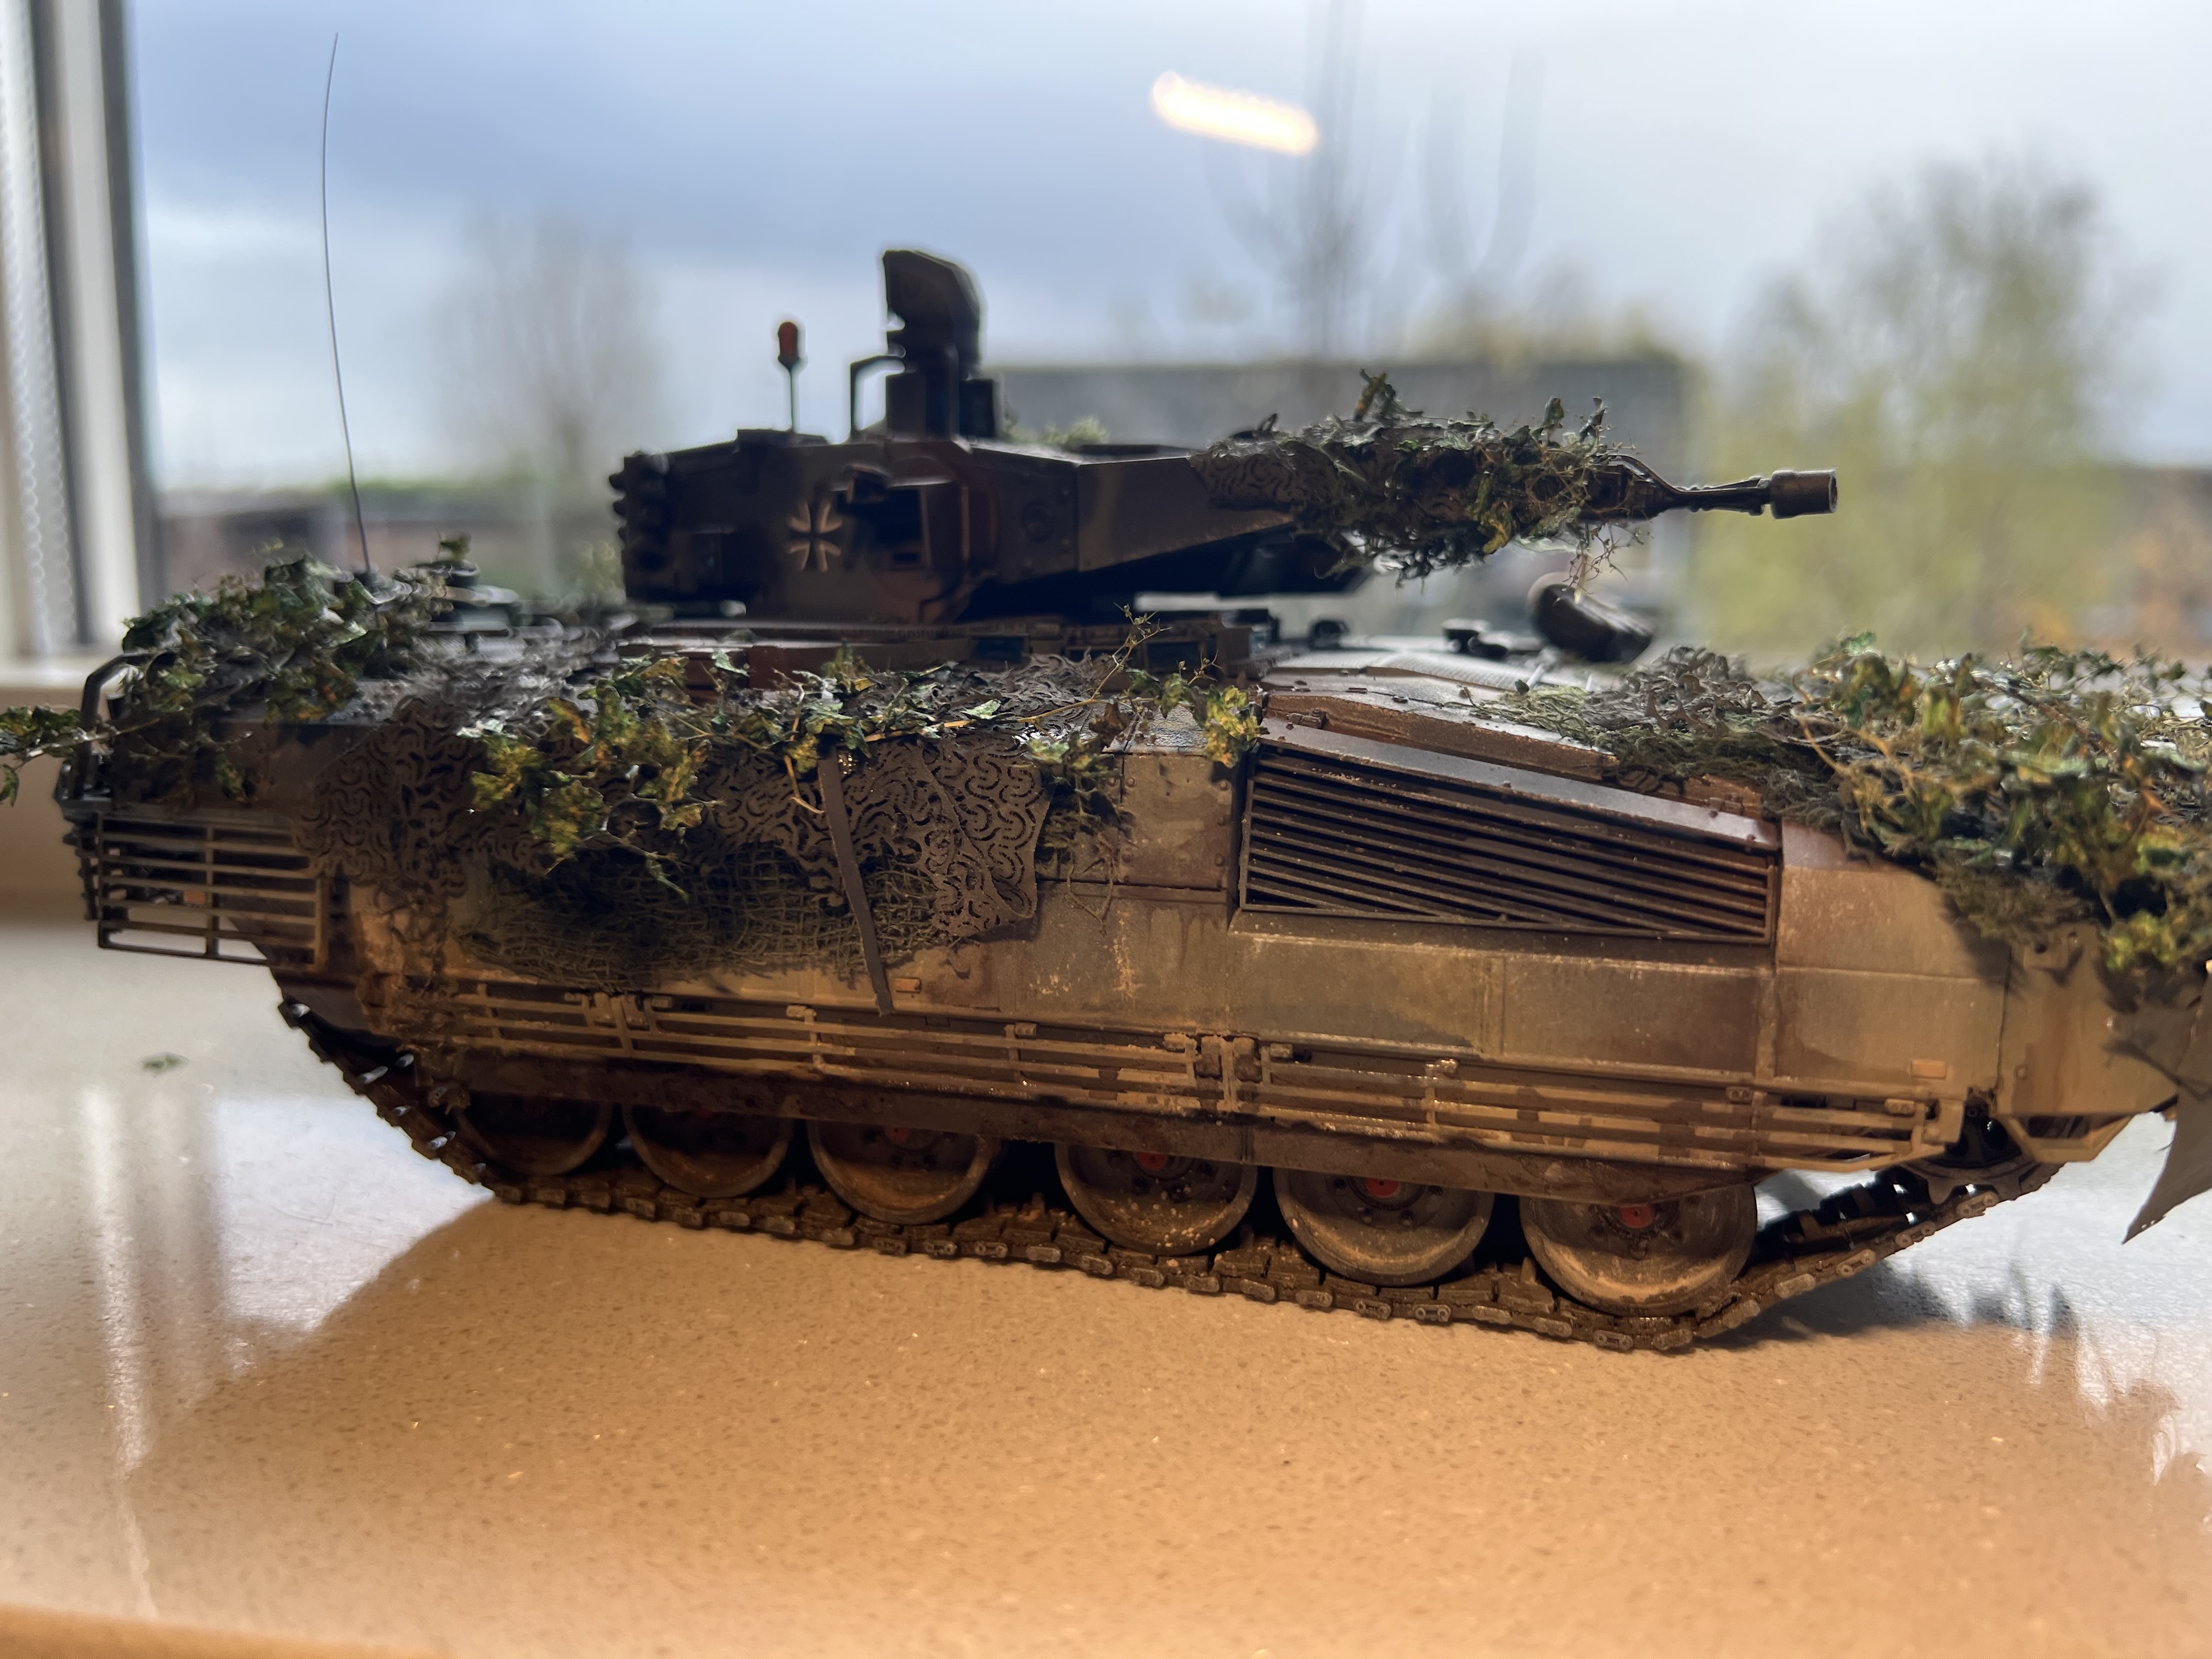
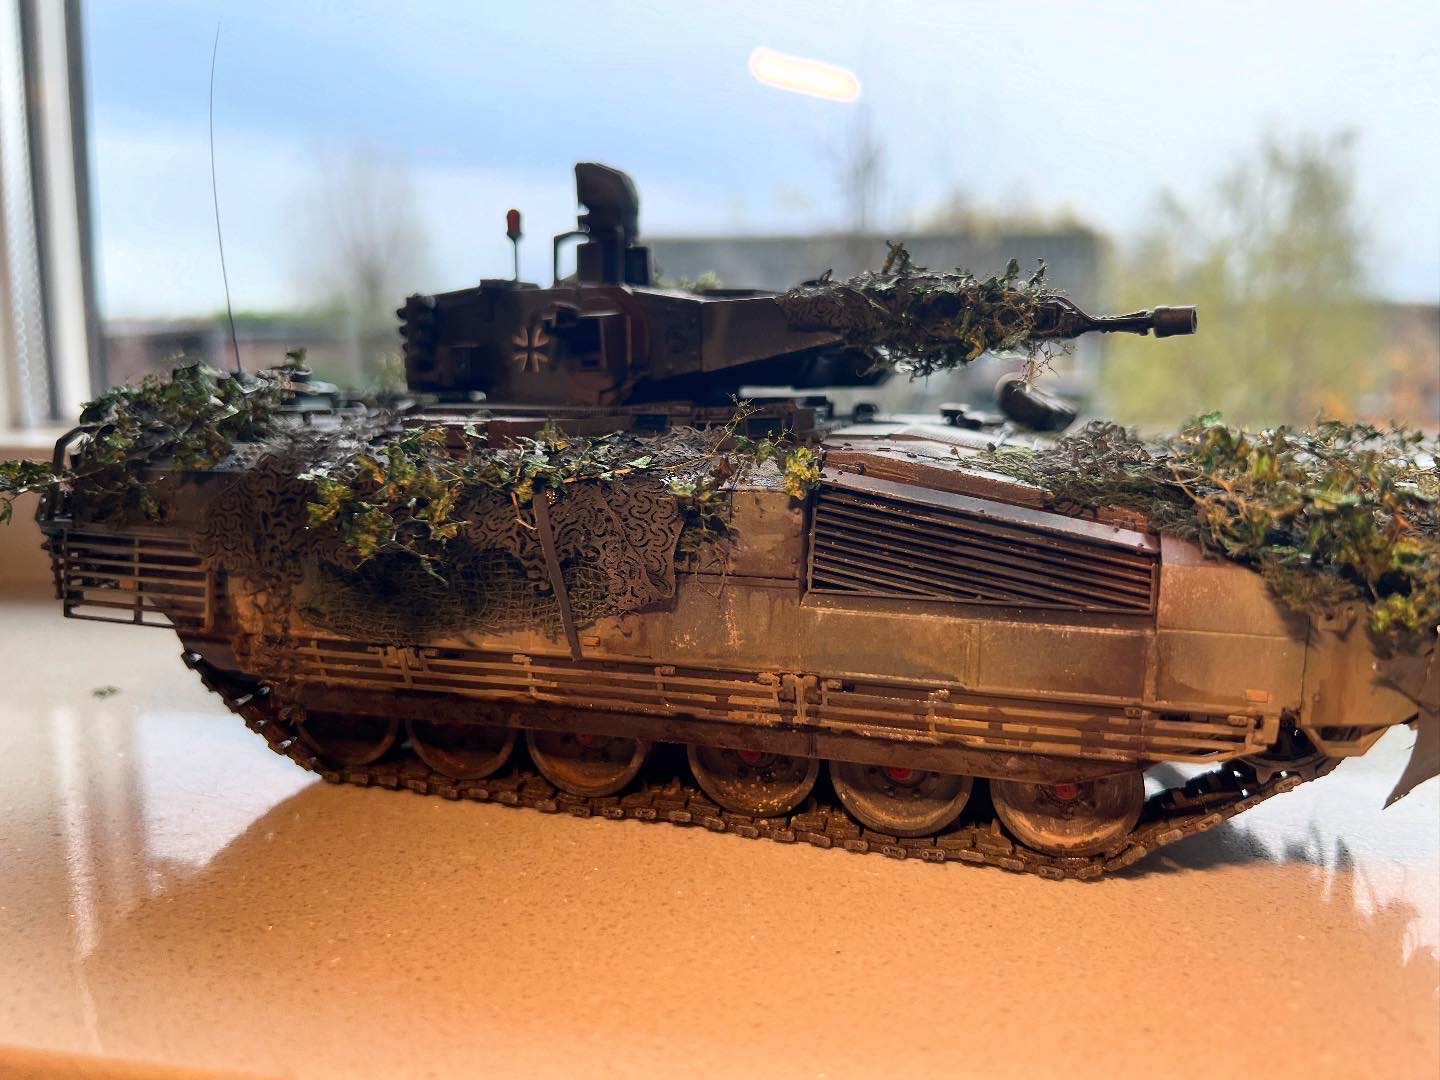
Primer was just flat black, MiG OneShot which I really like. I went back to my usual way of adding white paint under the base layer as pre-shading which was super effective this time as I deliberately over-thinned the base coat (50/50 NATO Green and Camo Dark Green) so it went down as three or four glazes. It really brings out the pre-shading if you are careful. It worked so well in fact I only needed one highlight pass of pure NATO Green and it came out nicely.
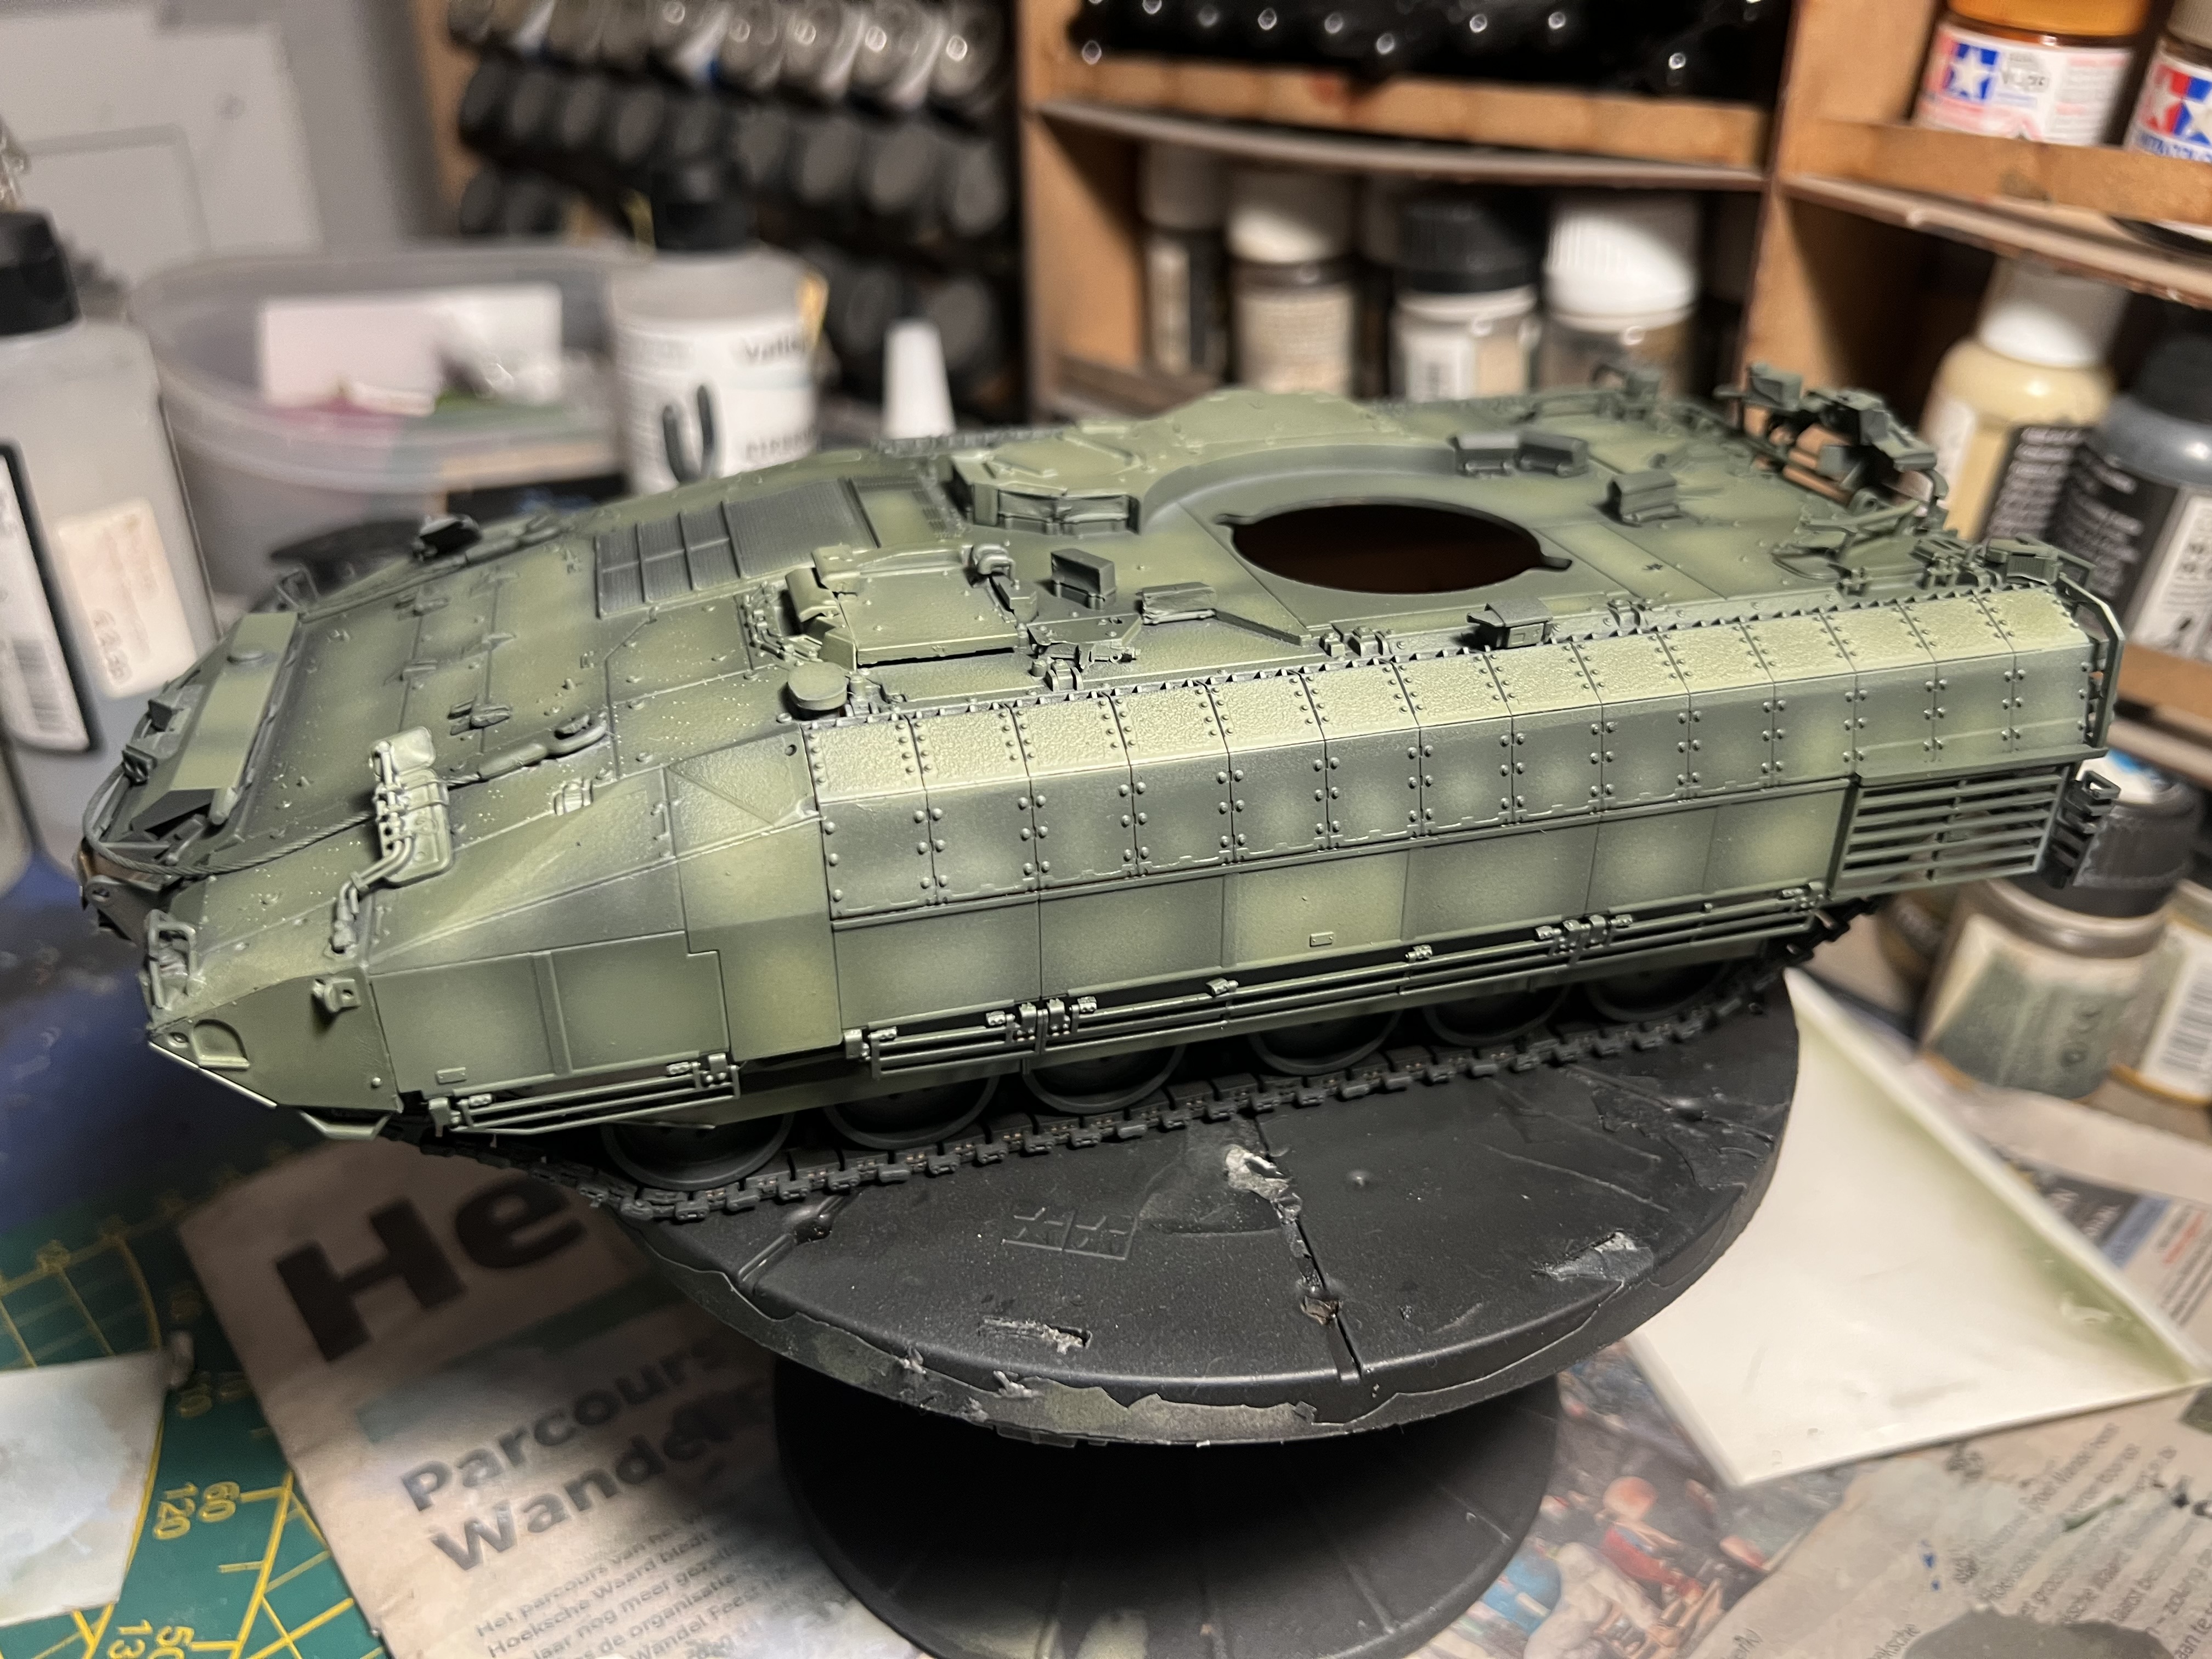
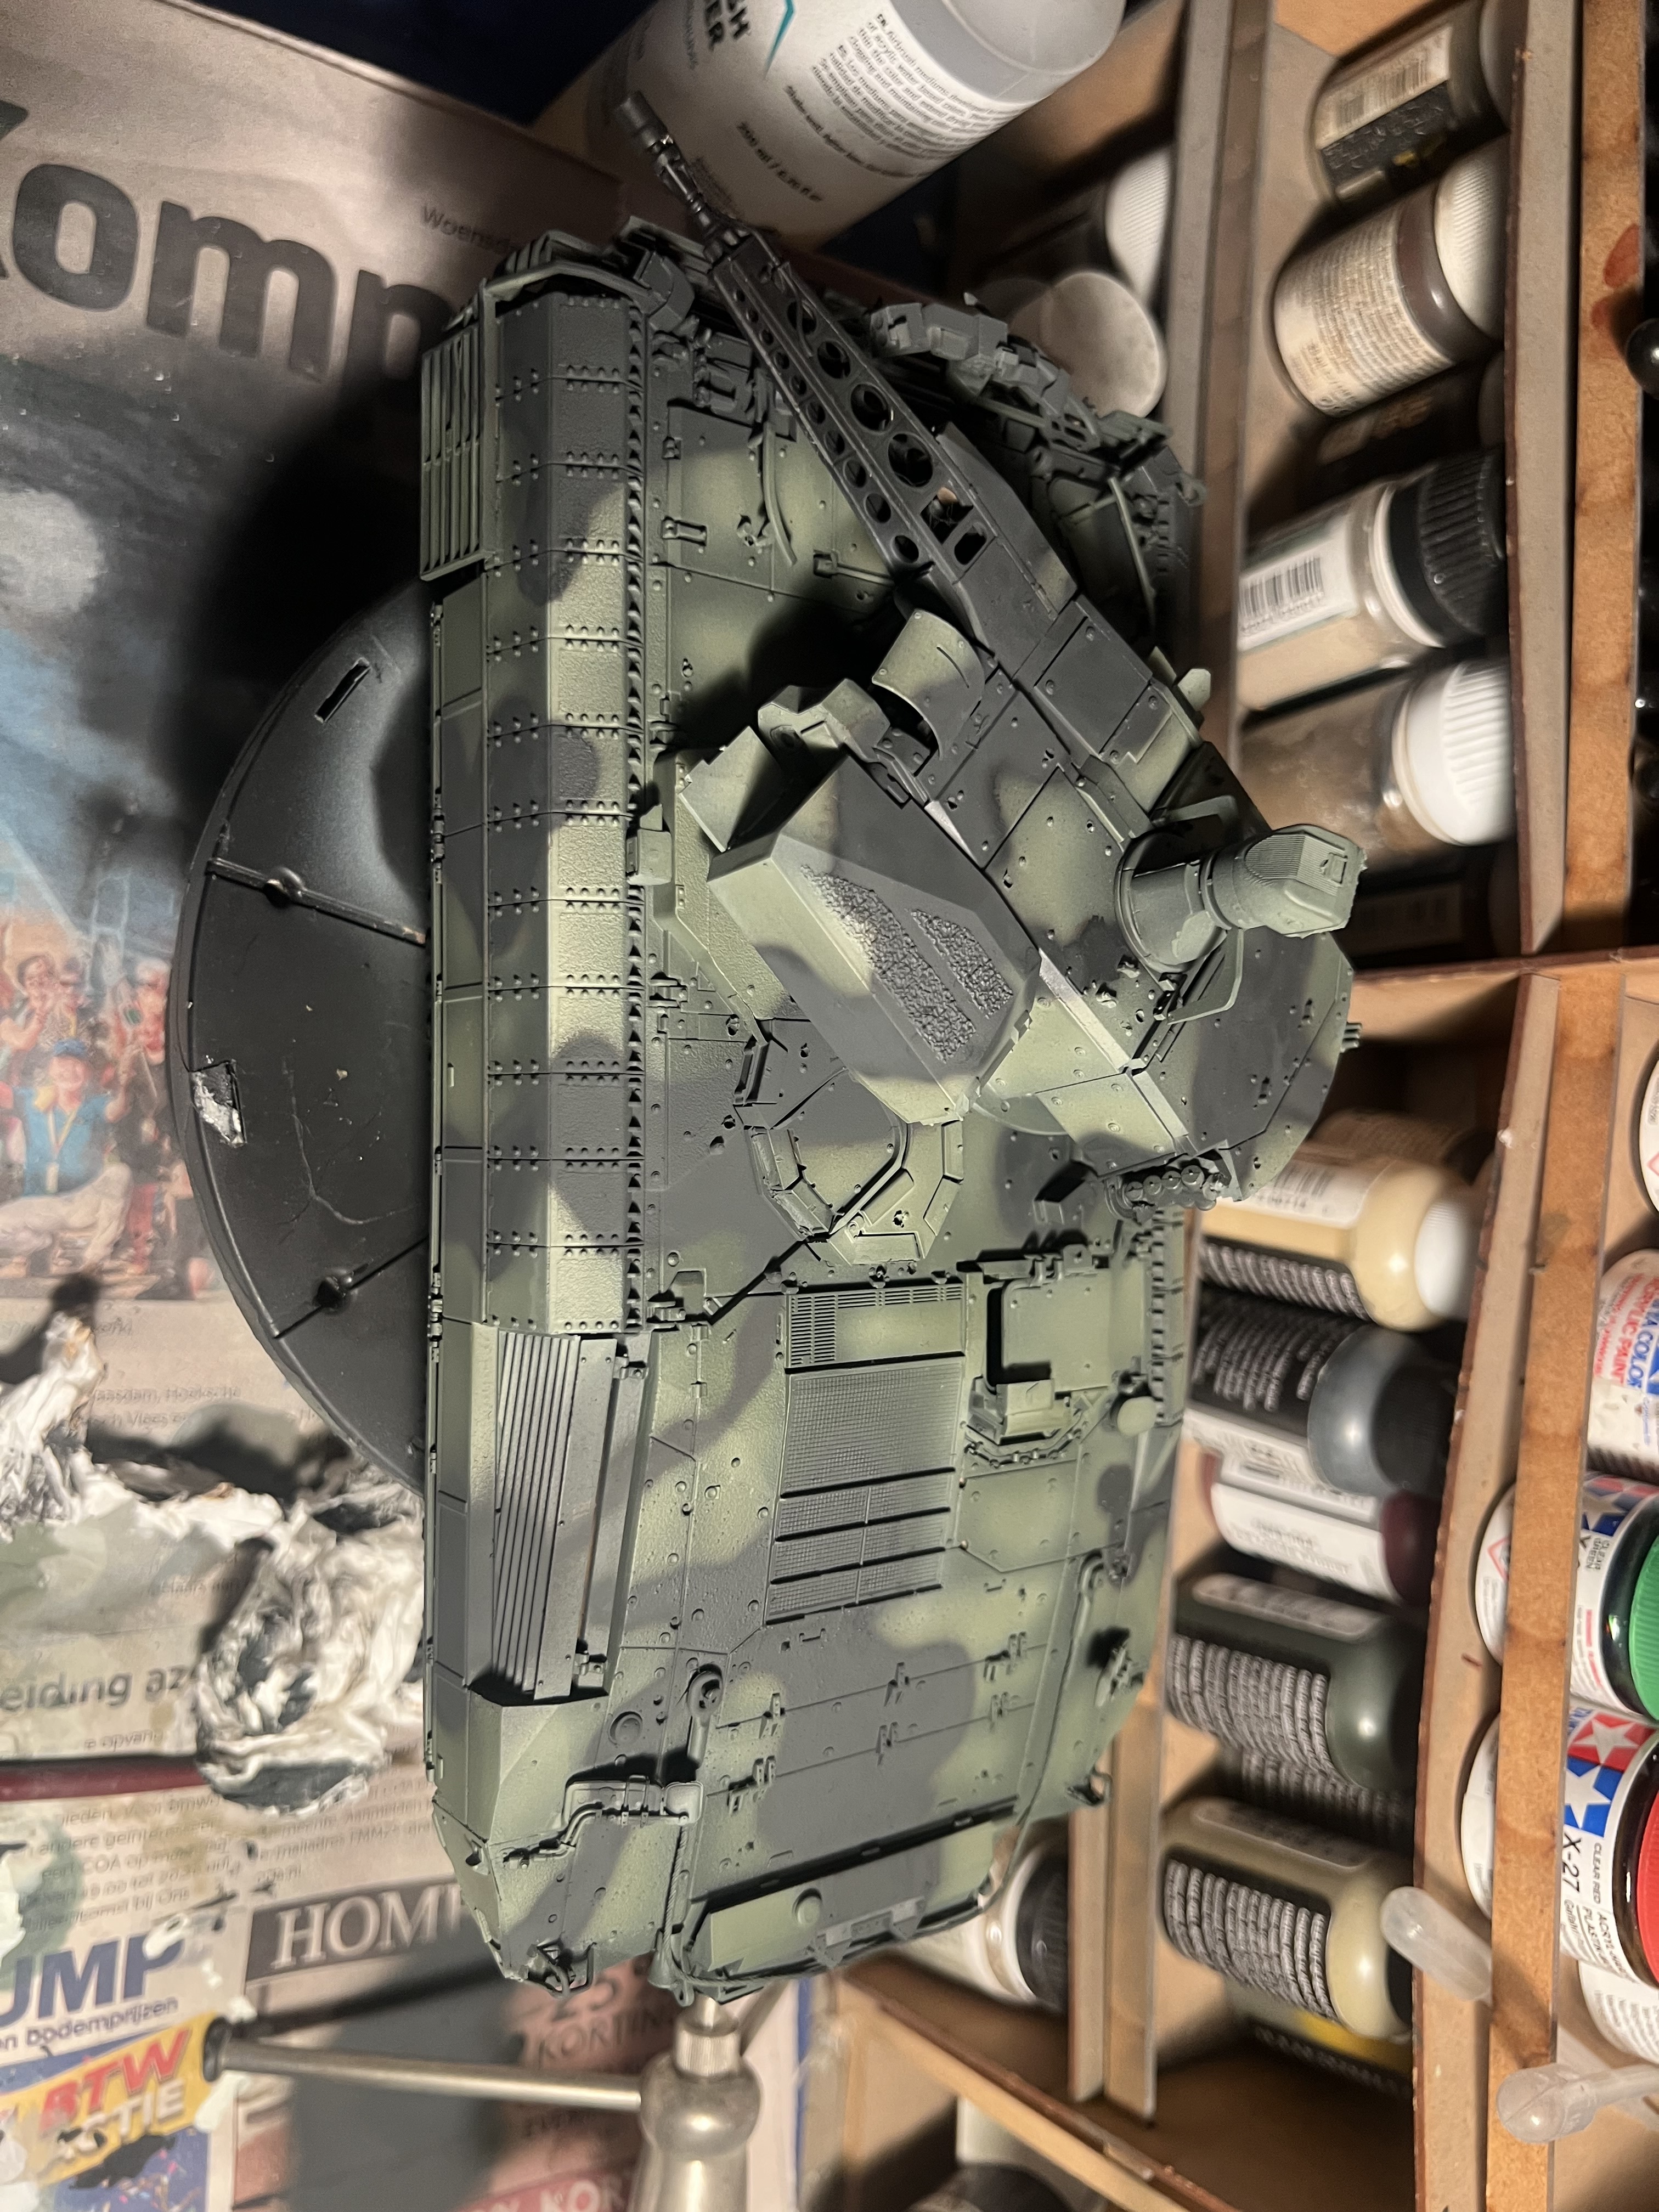
Camo was freehanded but for some reason I struggled to make the VMA colours work for me - normally they are quite well behaved if you thin them properly but for some reason they were either over-thinned or immediately clogging and not spraying very uniformly, crap lines, no matter how much I mixed them in the cup. The flow was very inconsistent - I assumed just a mixing issue but no matter how much flow improver I used or how well I mixed it with a paintbrush in the cup it just wouldn’t behave. Unusually for me I decided to use Tamiya instead and mixed up an approximation of NATO Brown and thinned it properly and it went down really, really nicely. Lovely uniform flow, easy to feather down to a very fine line and no clogging whatsoever. Yes, I probably now do have eleven different kinds of lung disease and chronic headaches from the fumes - BUT - it was far easier than getting the VMA to behave. From now on I’m going to do my base layers and so on using nice VMA layers and fine camo work using Tamiya. I’d about written Tamiya off as not worth the hassle or the headaches but I feel I have been too hasty here.
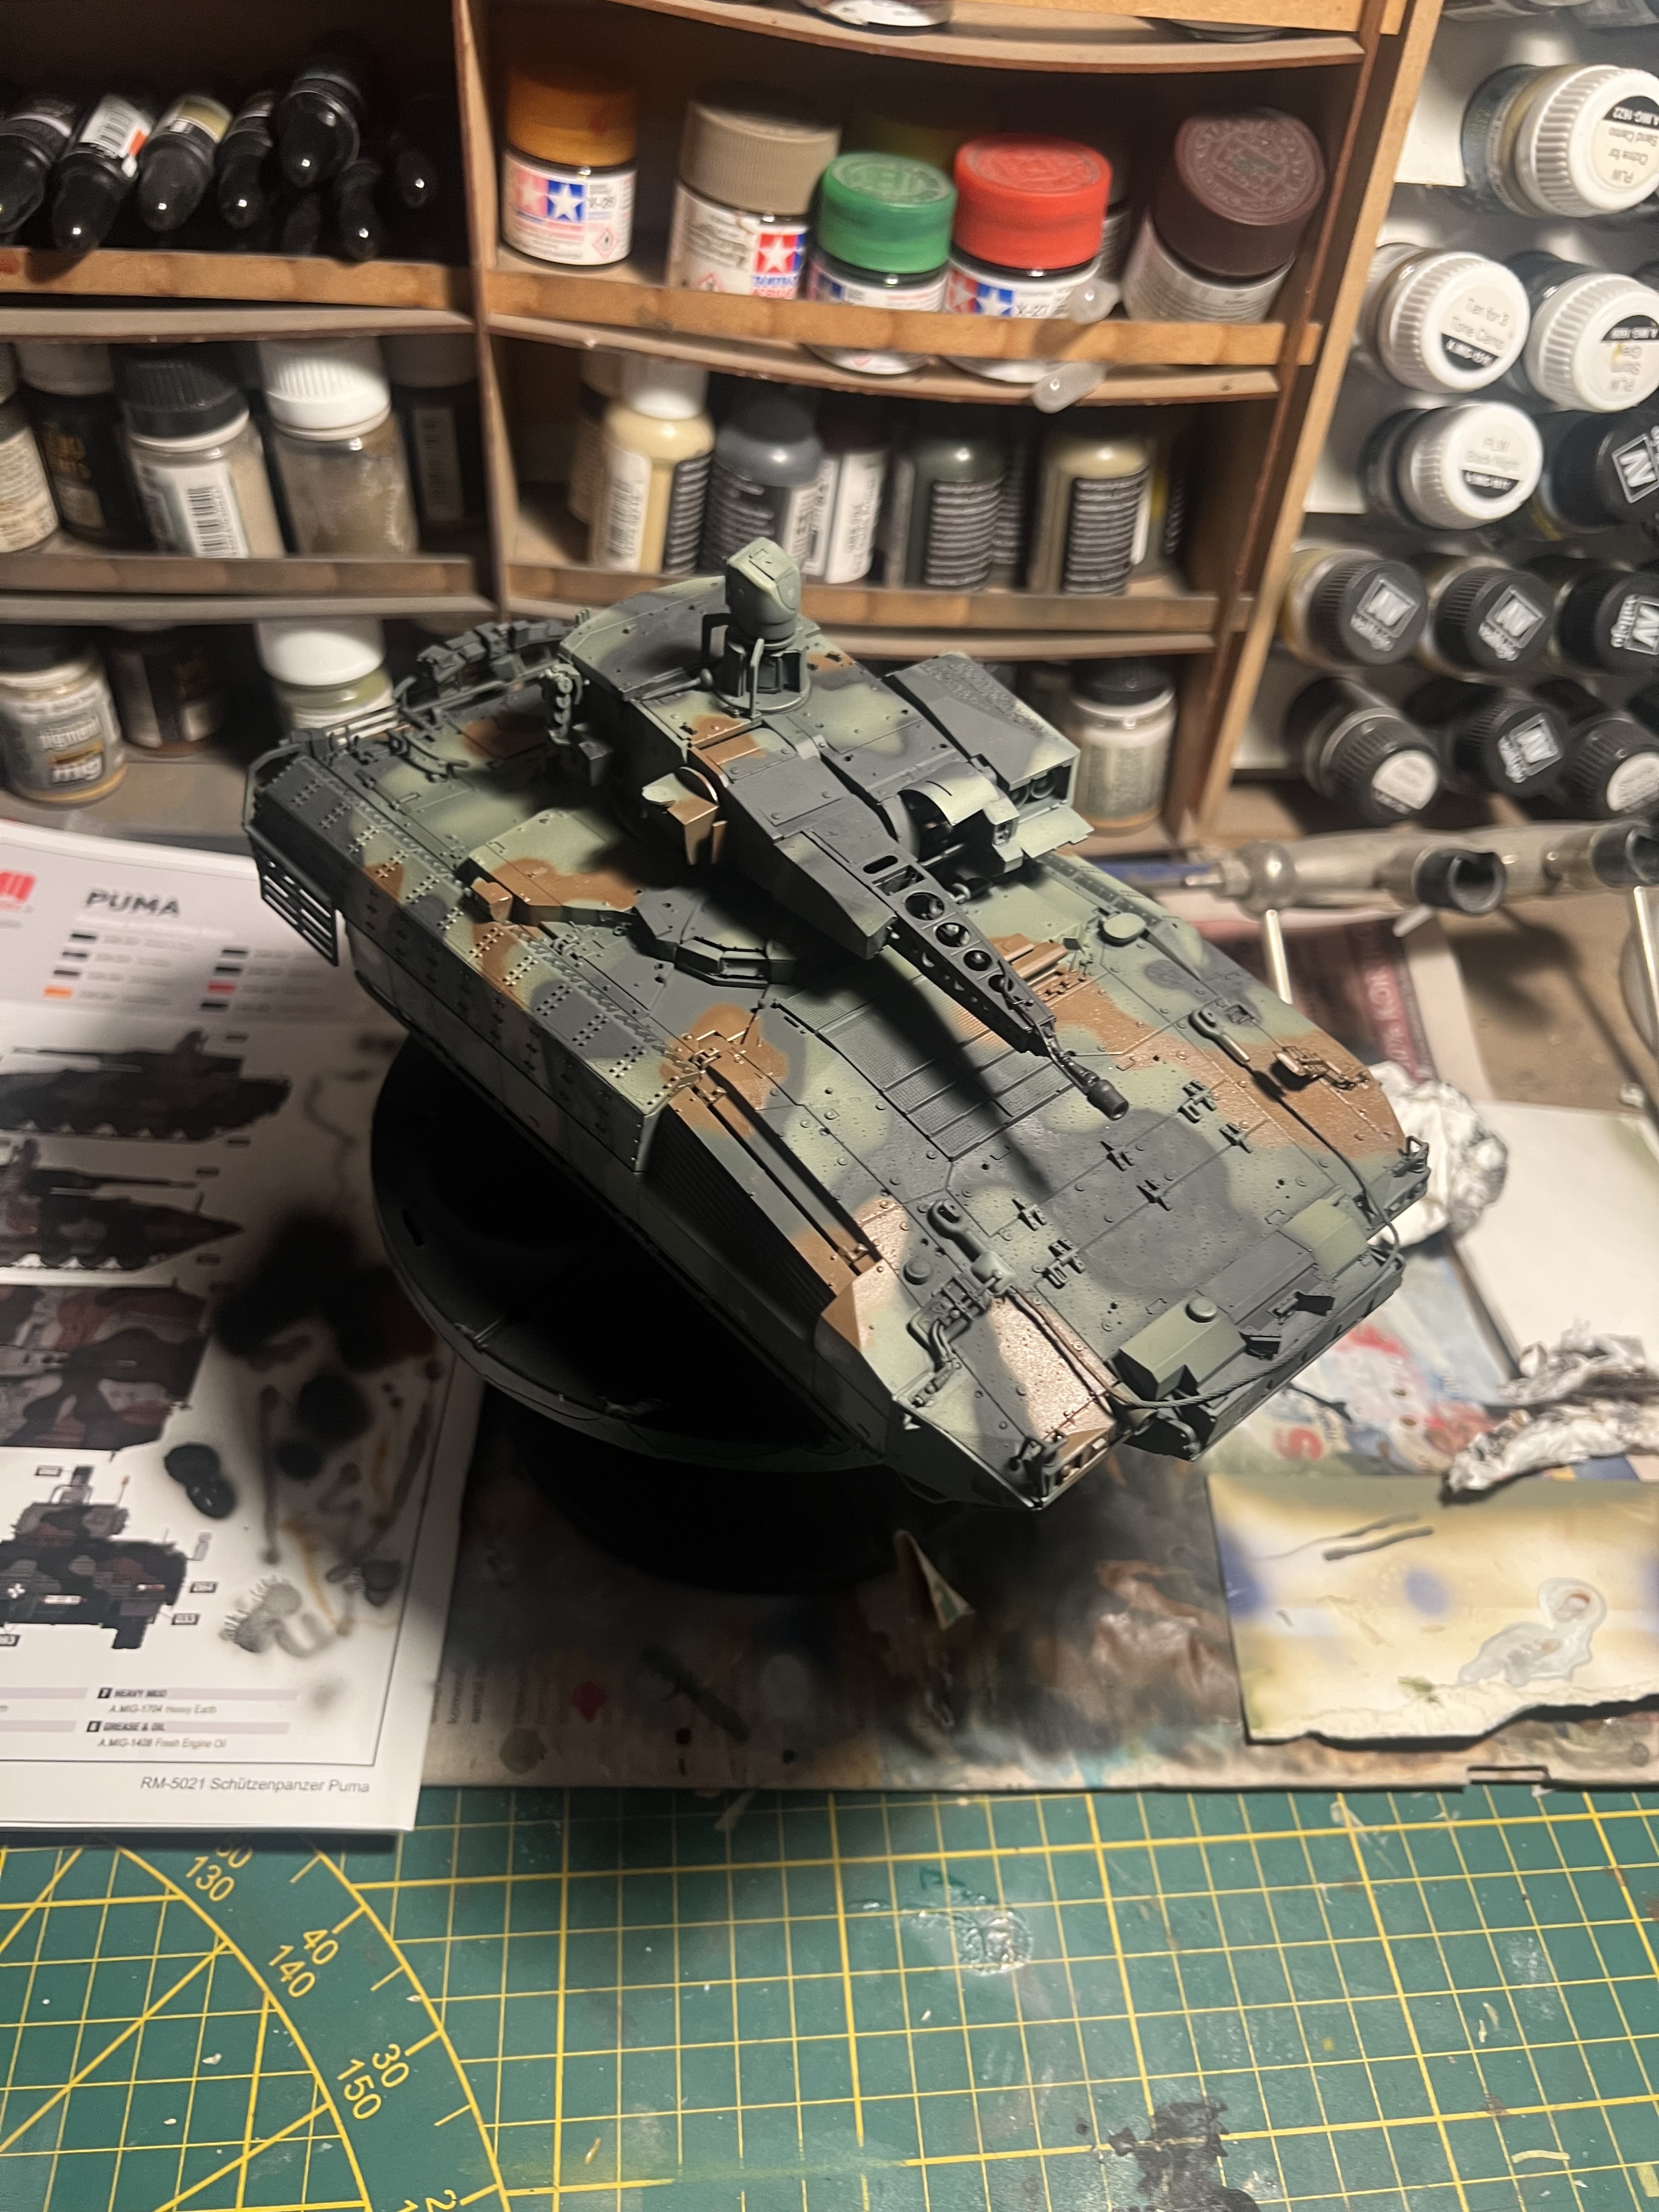
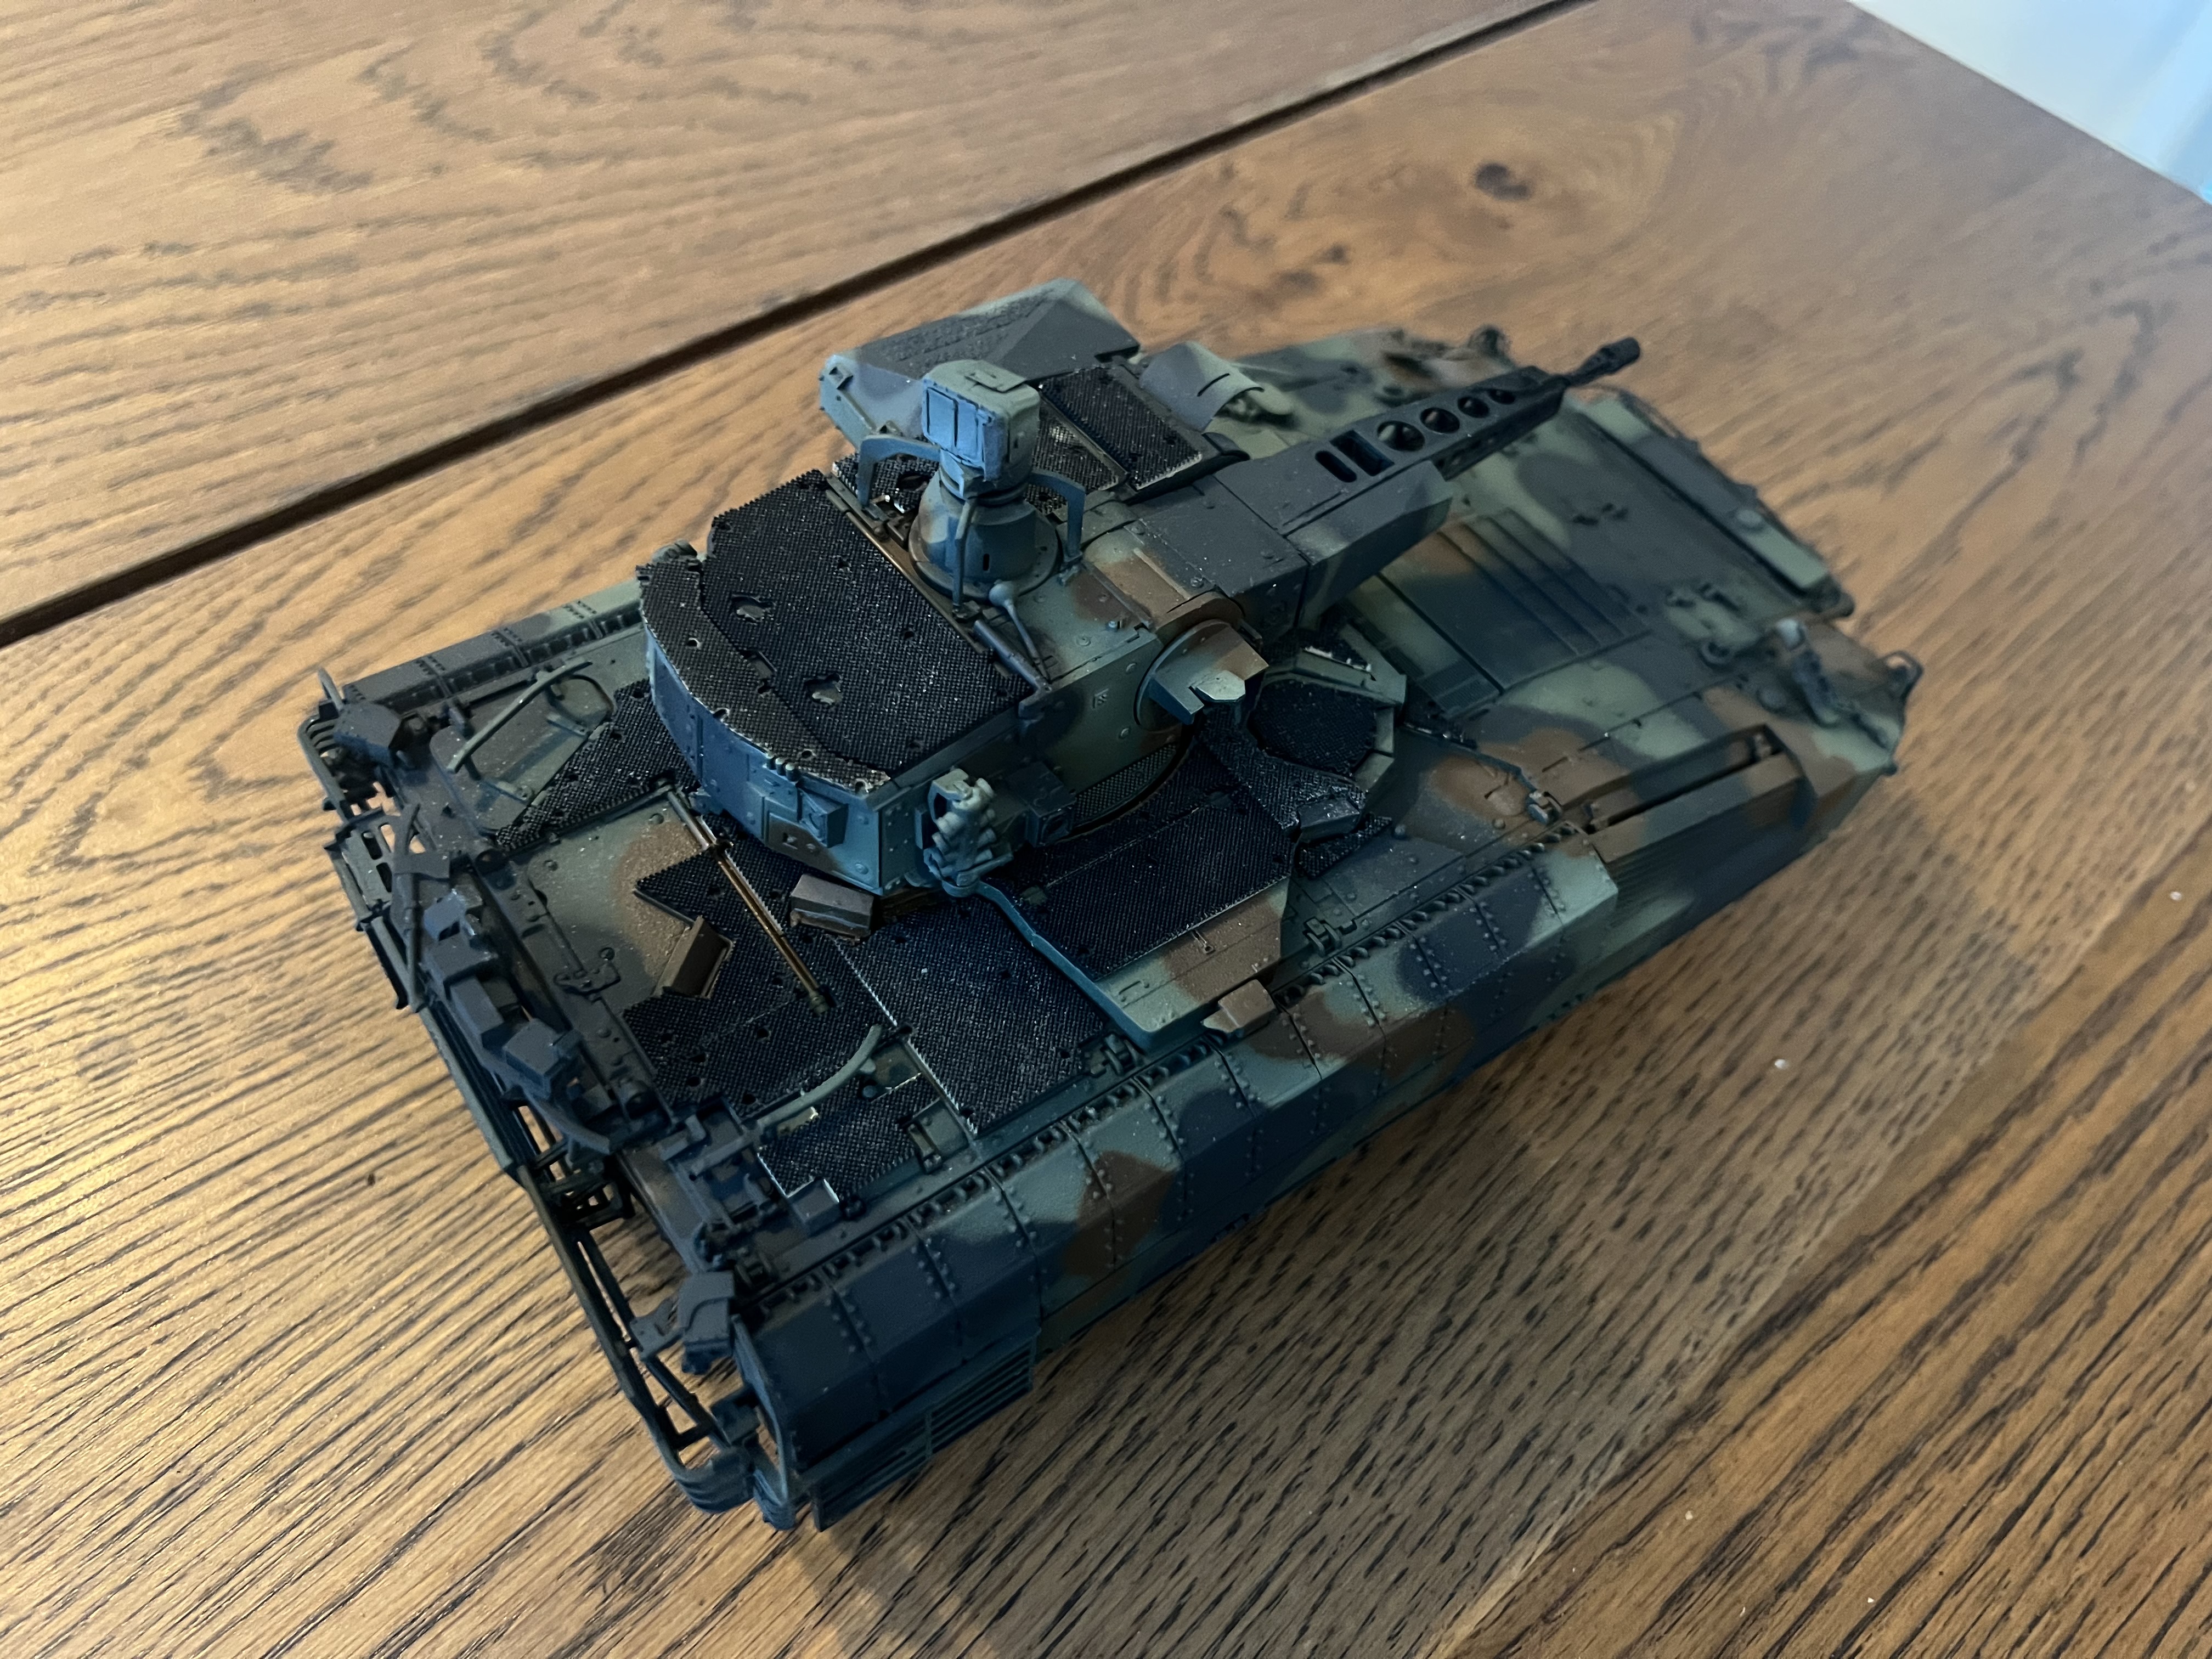
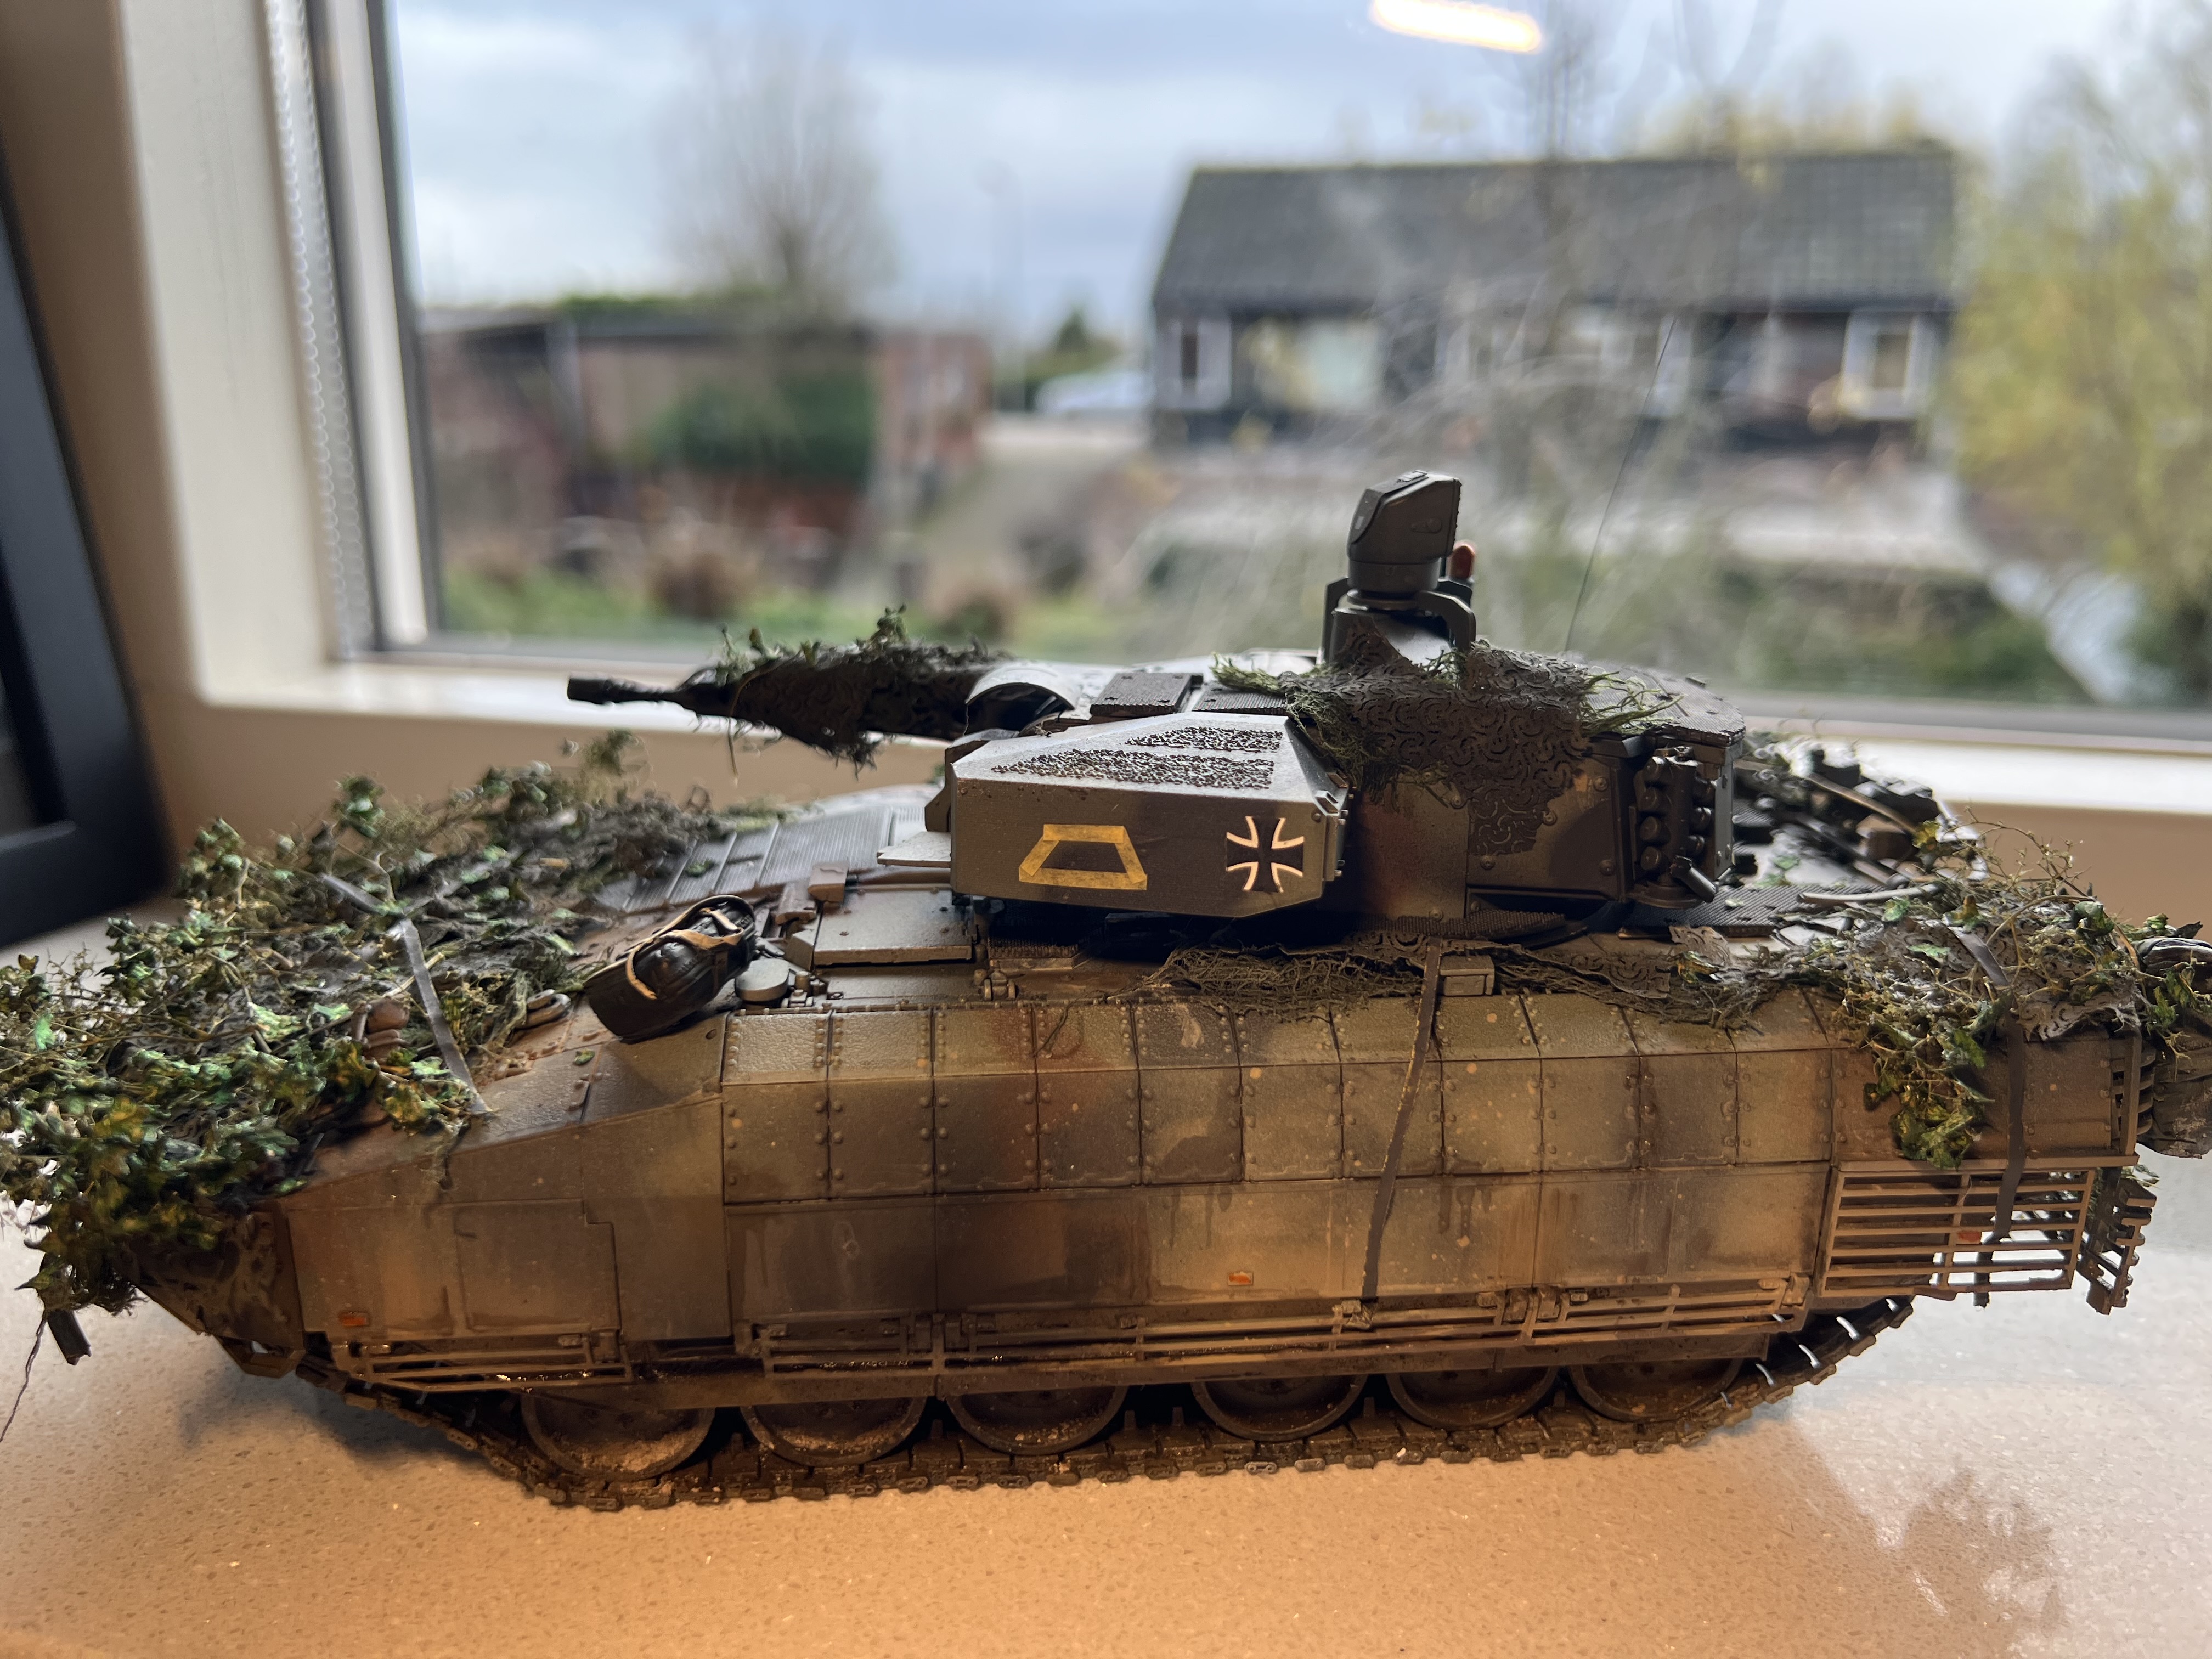
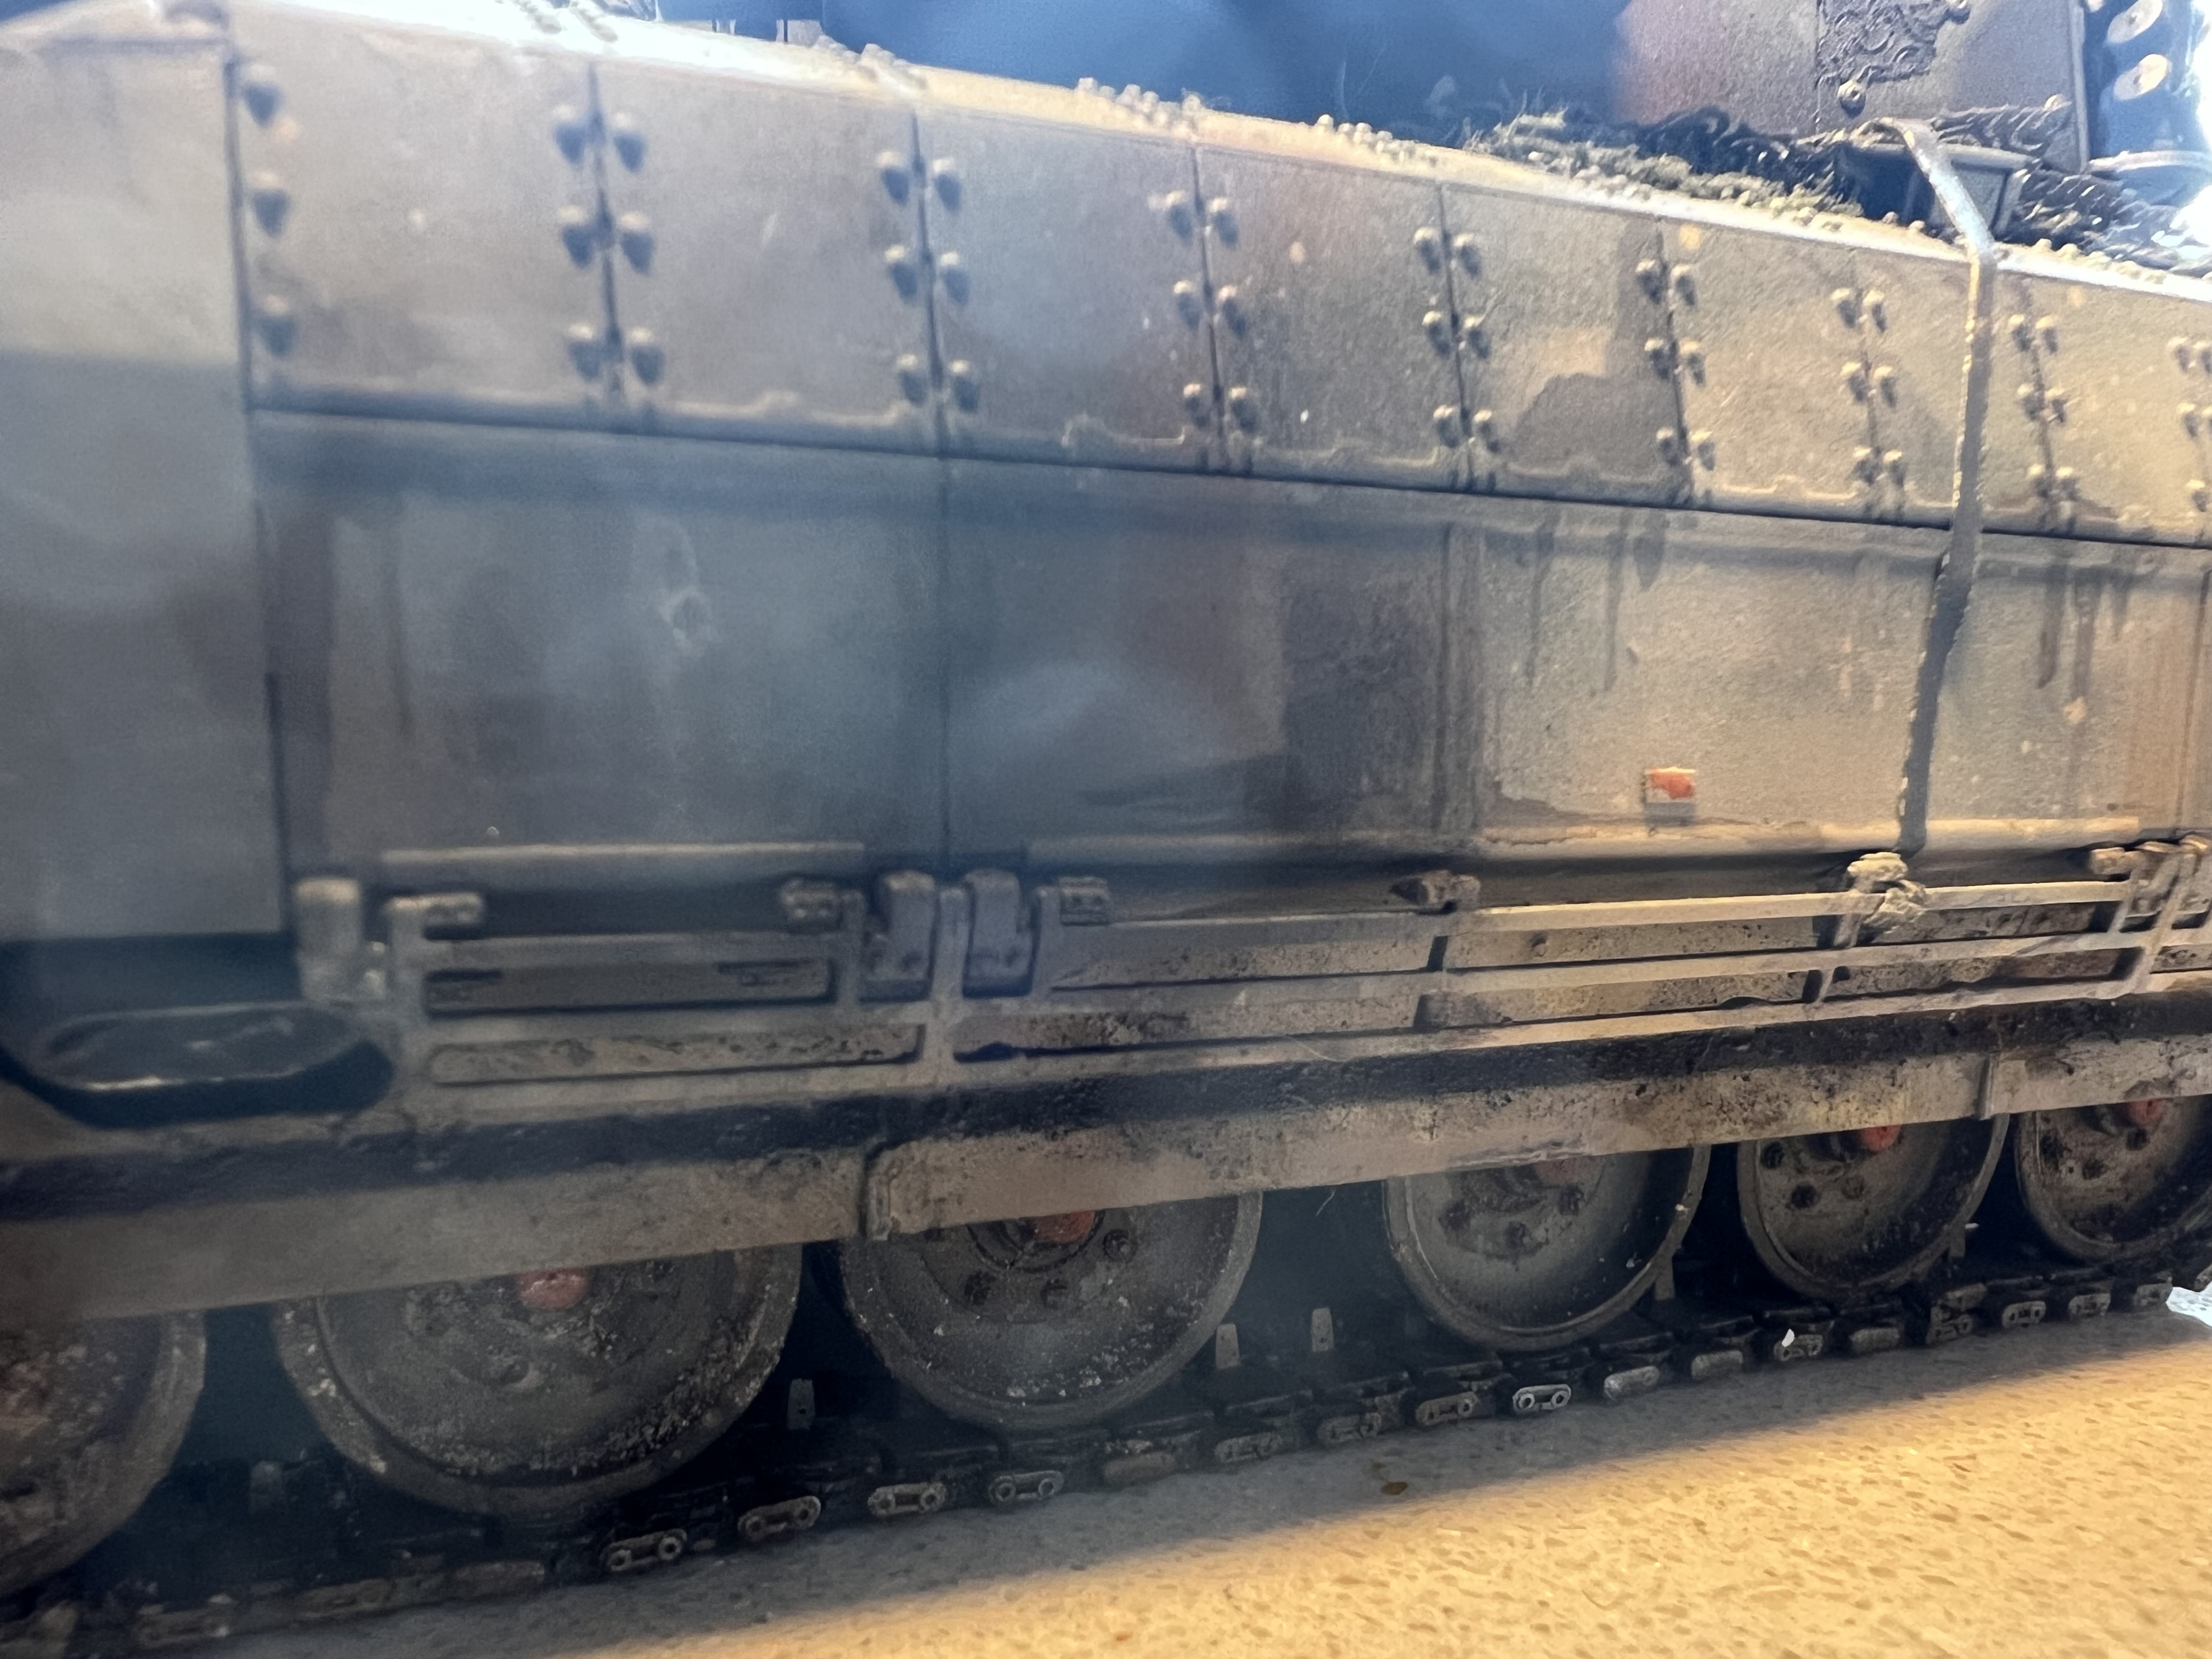
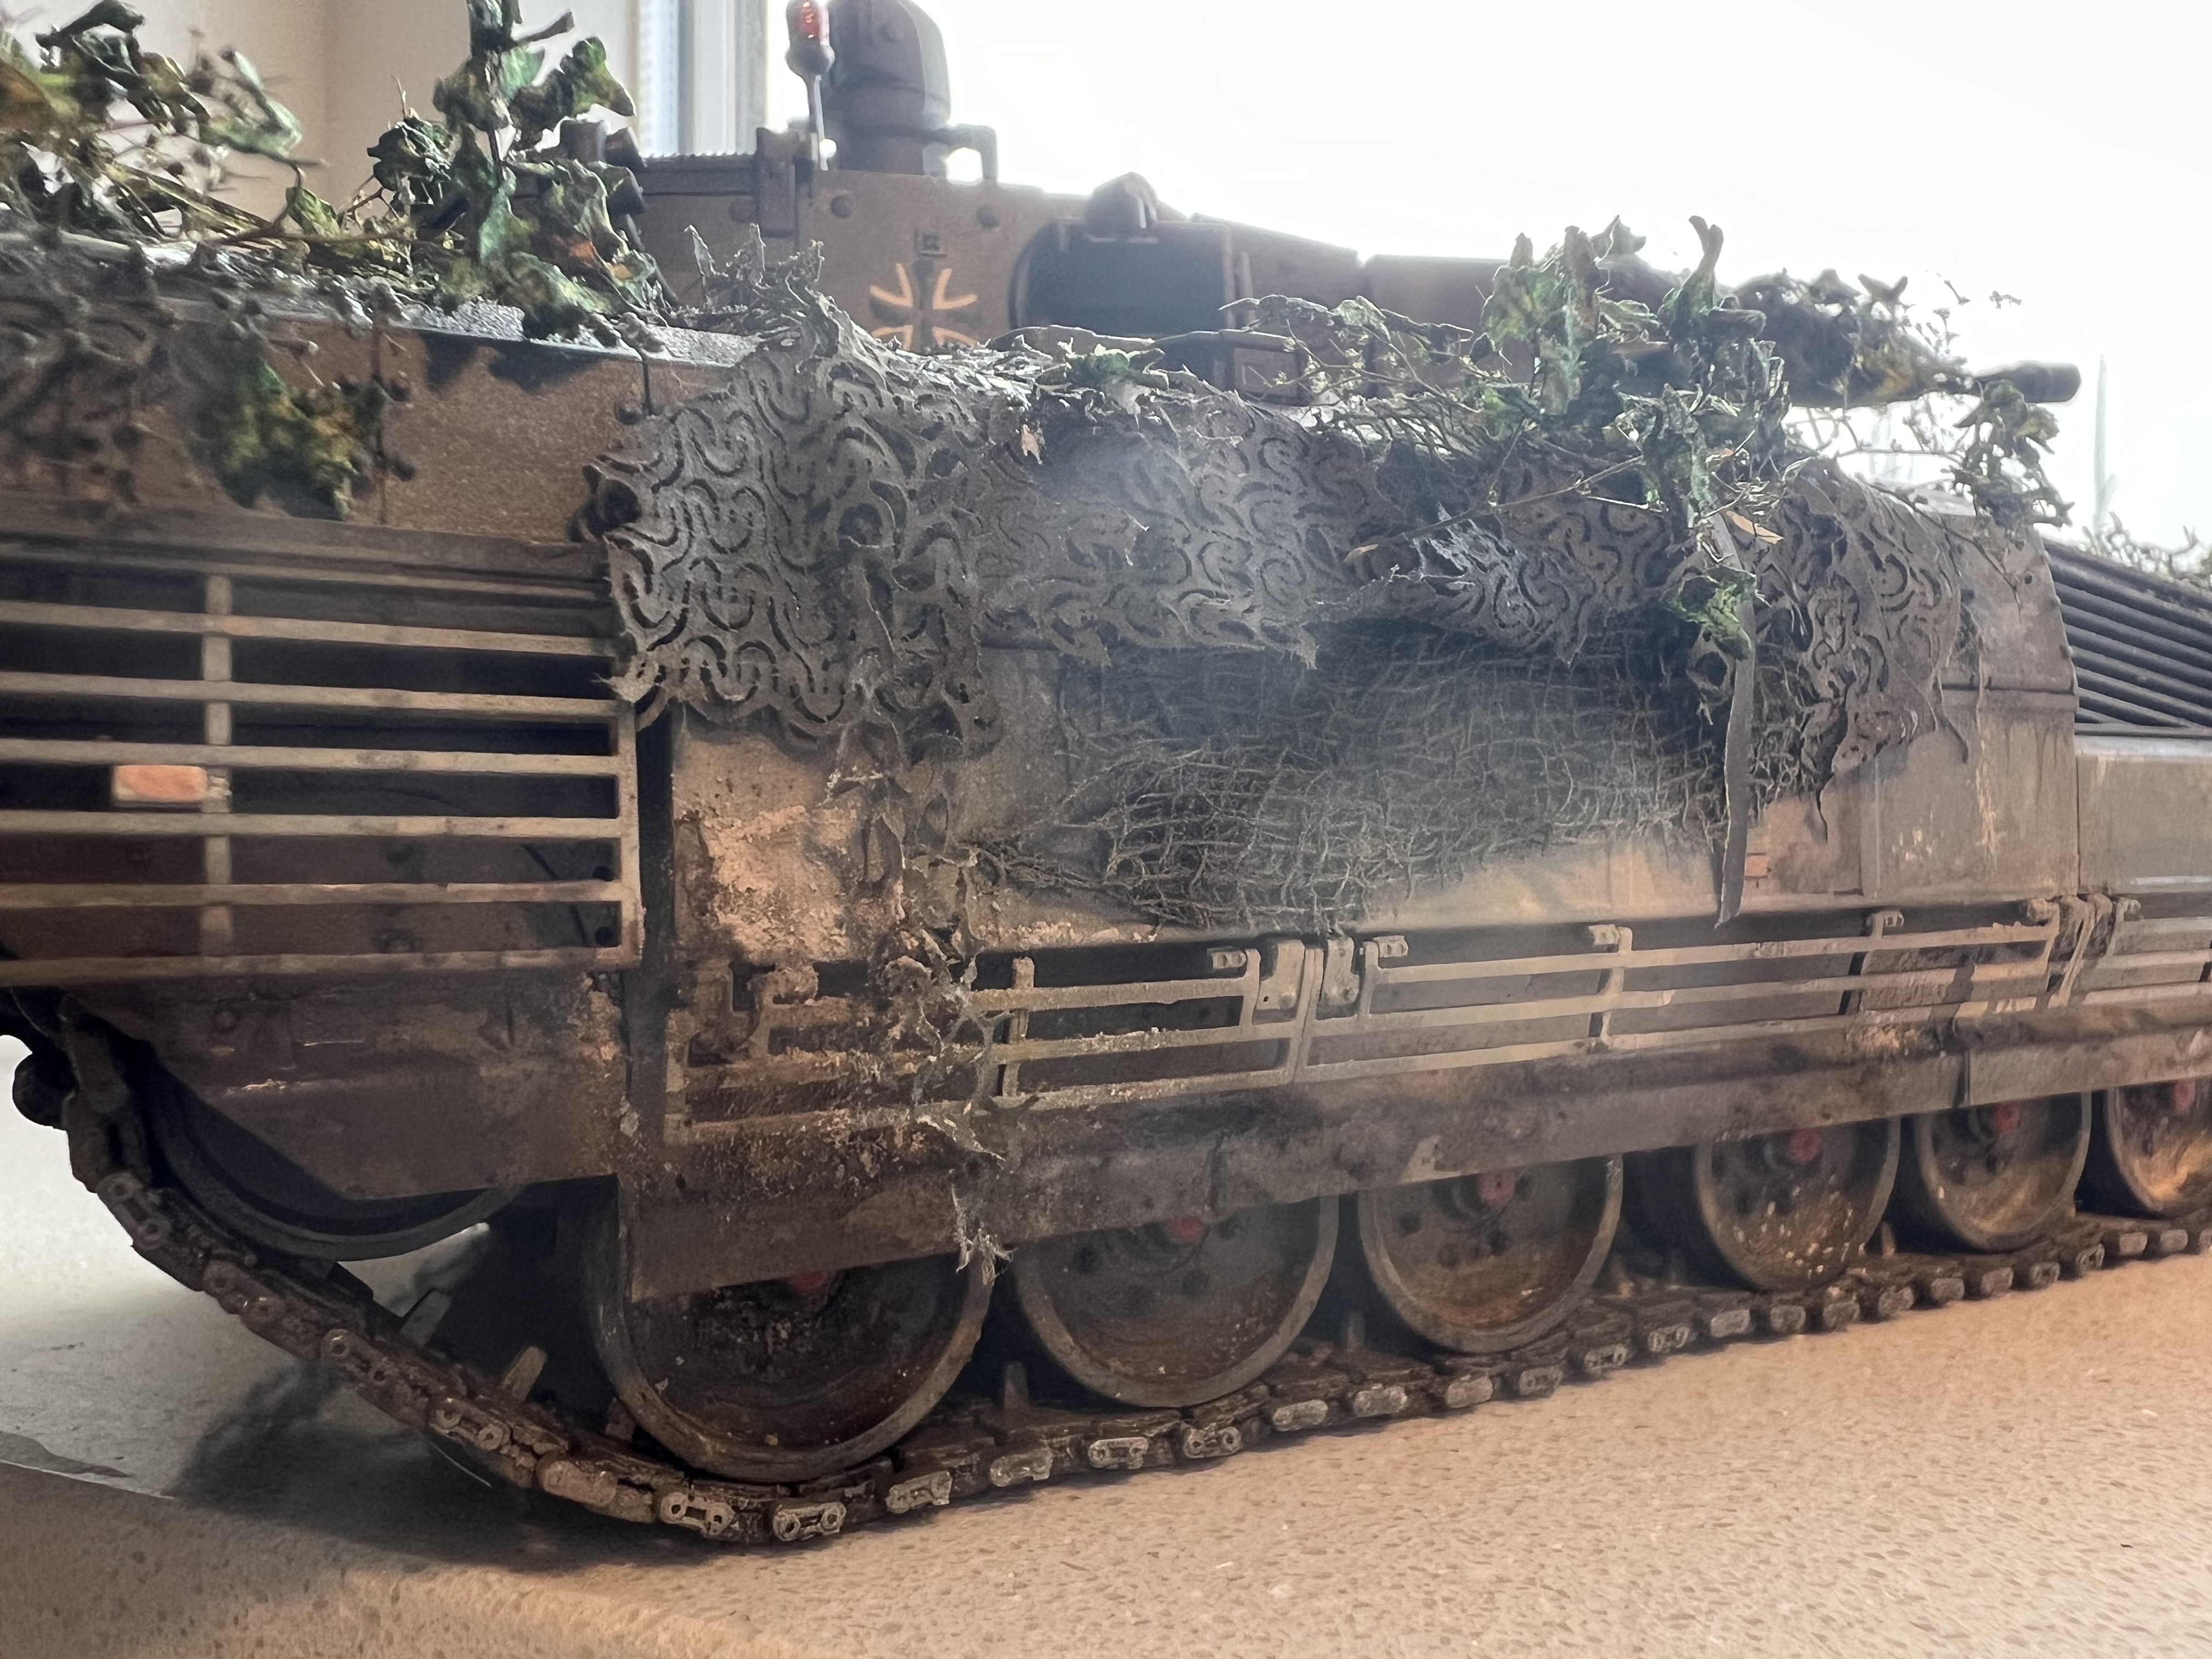
Unlike the Leopard, this is very heavily weathered - I tried all the techniques here. I really went to town and had some fun! You have a couple of types of wet mud effects, three different tones of dust passes, dry mud, several tones of pigment, airbrushed mud effects, splattered mud, spotting, even using really thinned brown panel line washes to create water streaking over dry mud, etc. I even used some AK pencils here in various shades for some of the streaks. The rest of the streaking is done with oil paints.
You’ll note some of my (by now, trademark) very subtle worn effects and very very light chipping which is not overdone and very much in keeping with a modern NATO vehicle.
The dio will have a couple of guys stood up on the front hull, hence the laptop bag sat there.
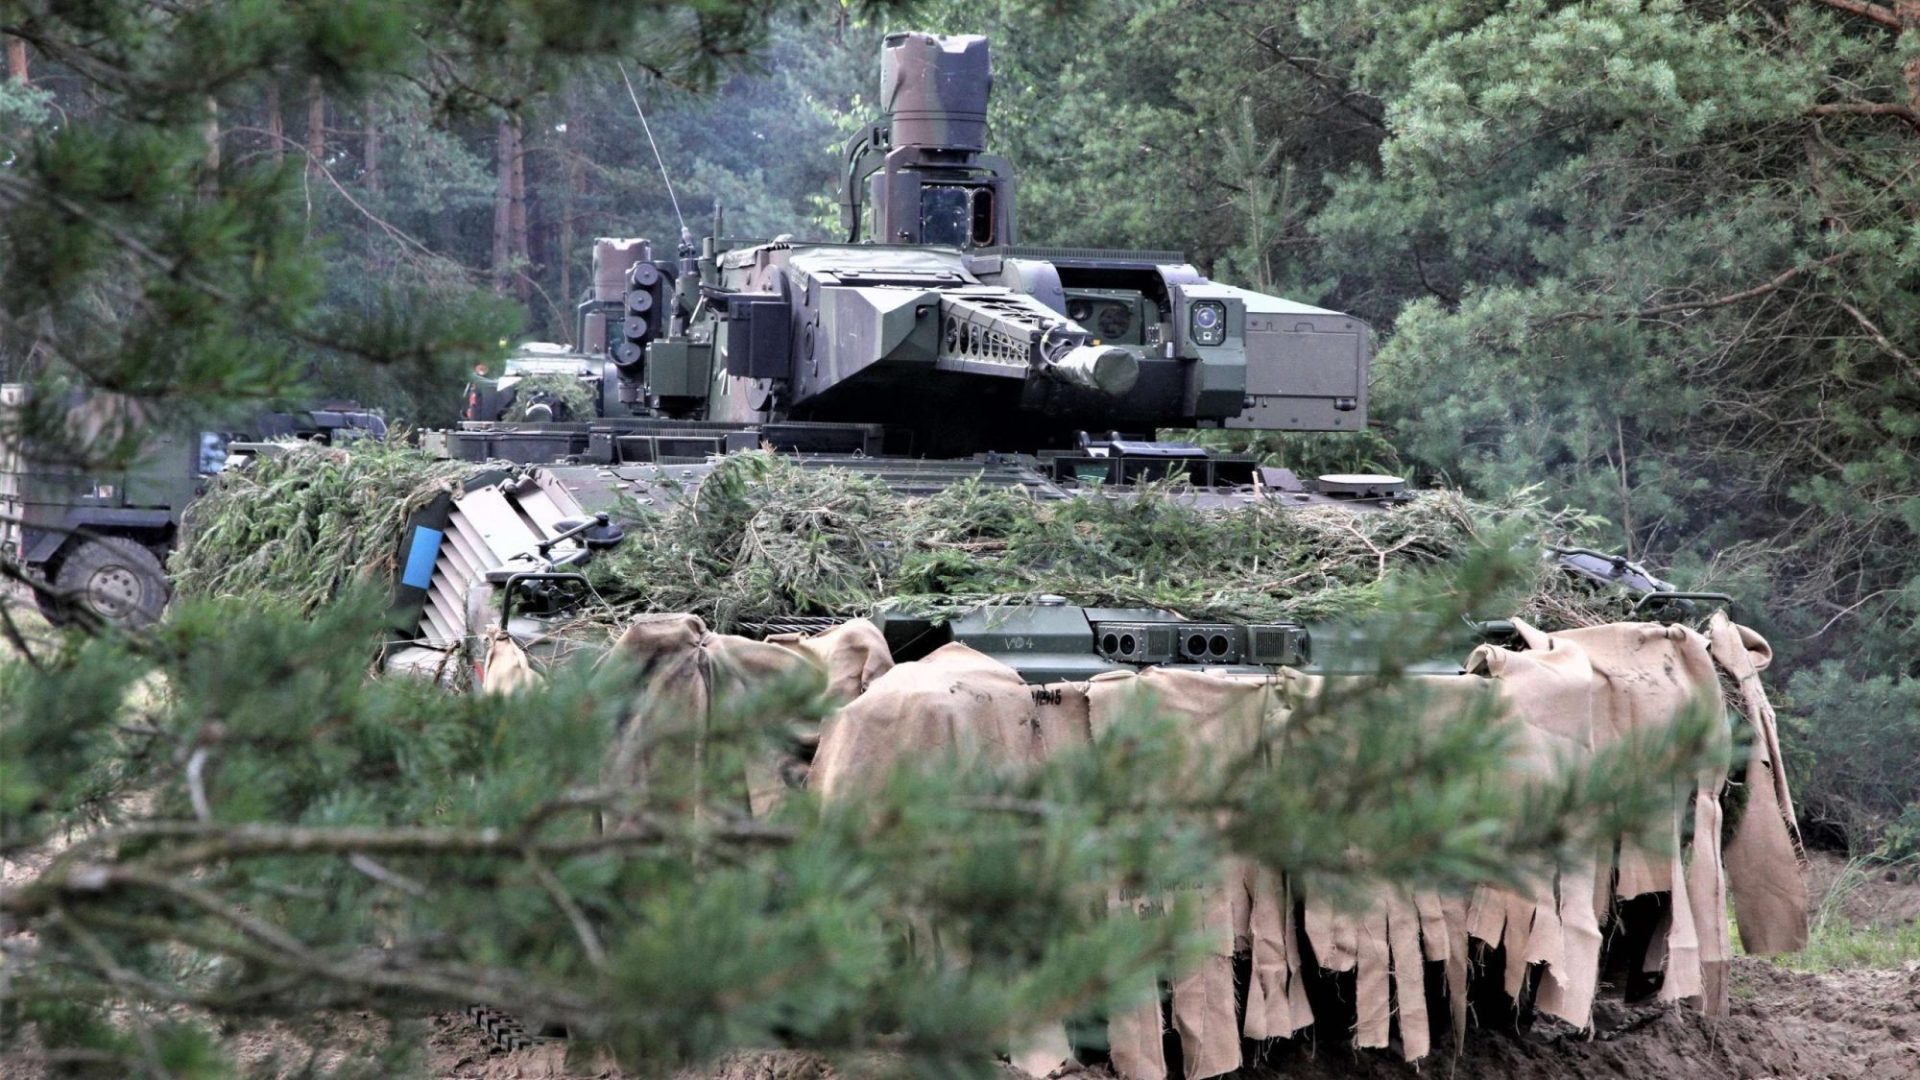
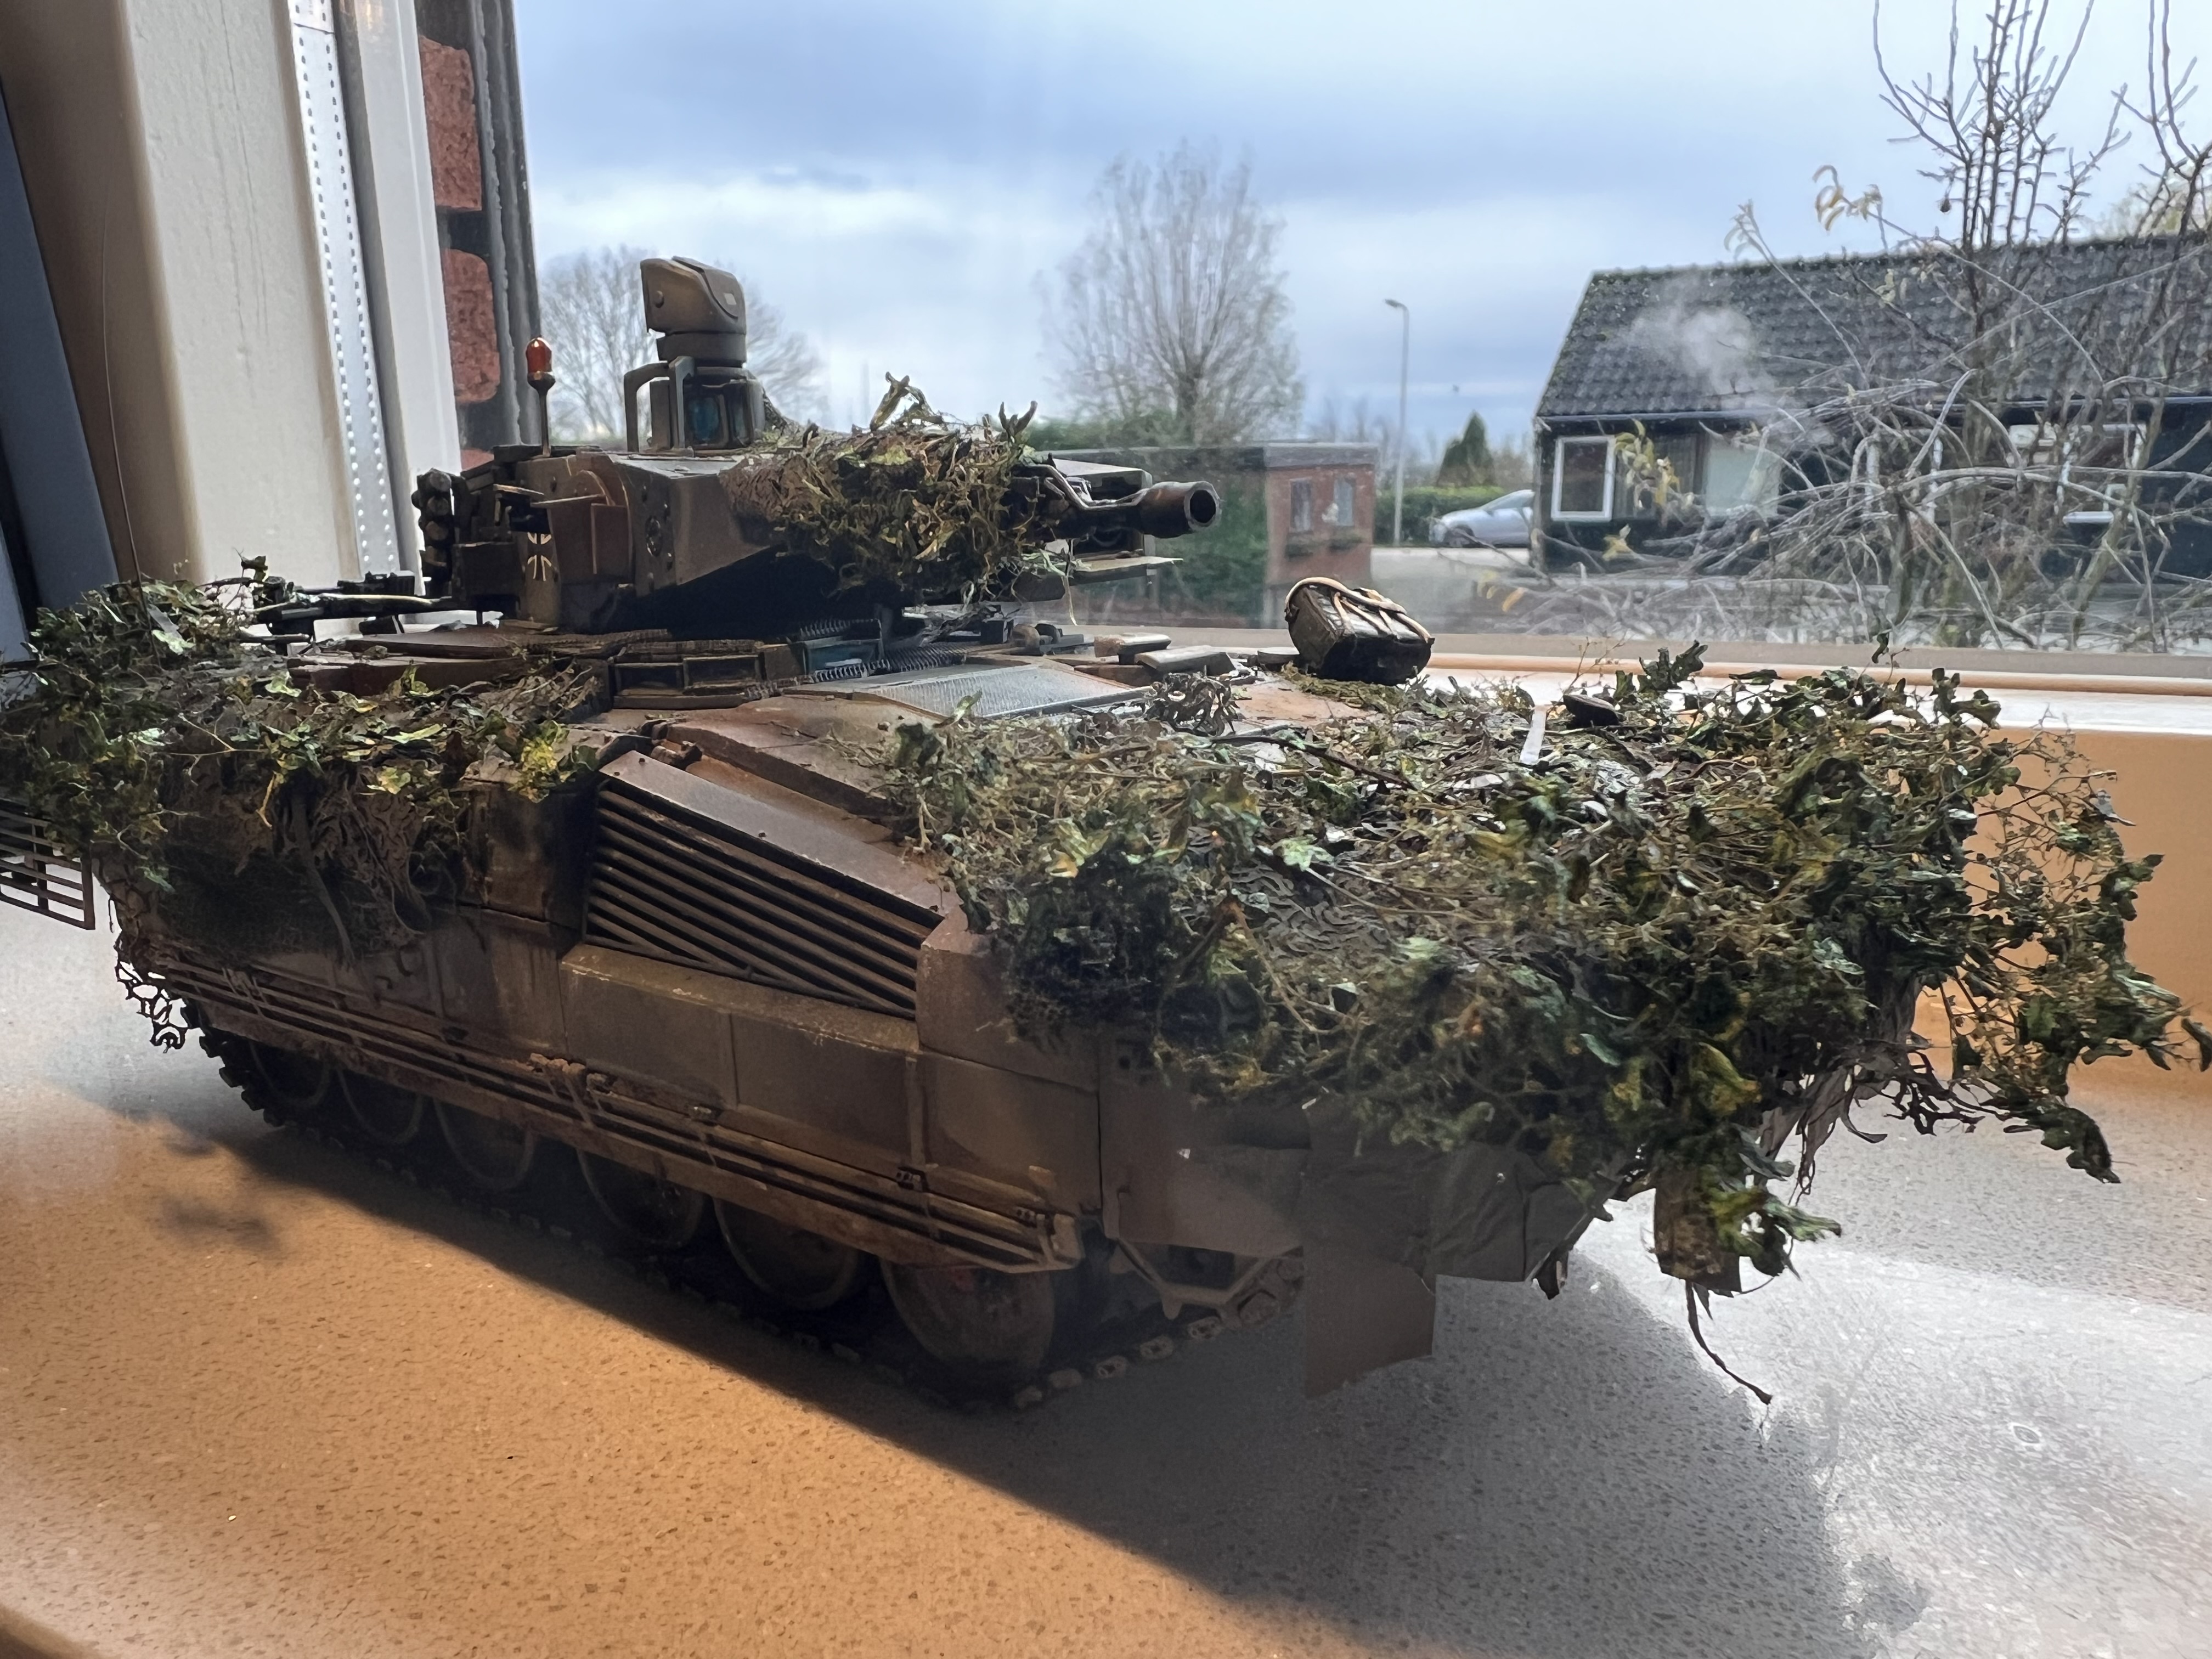
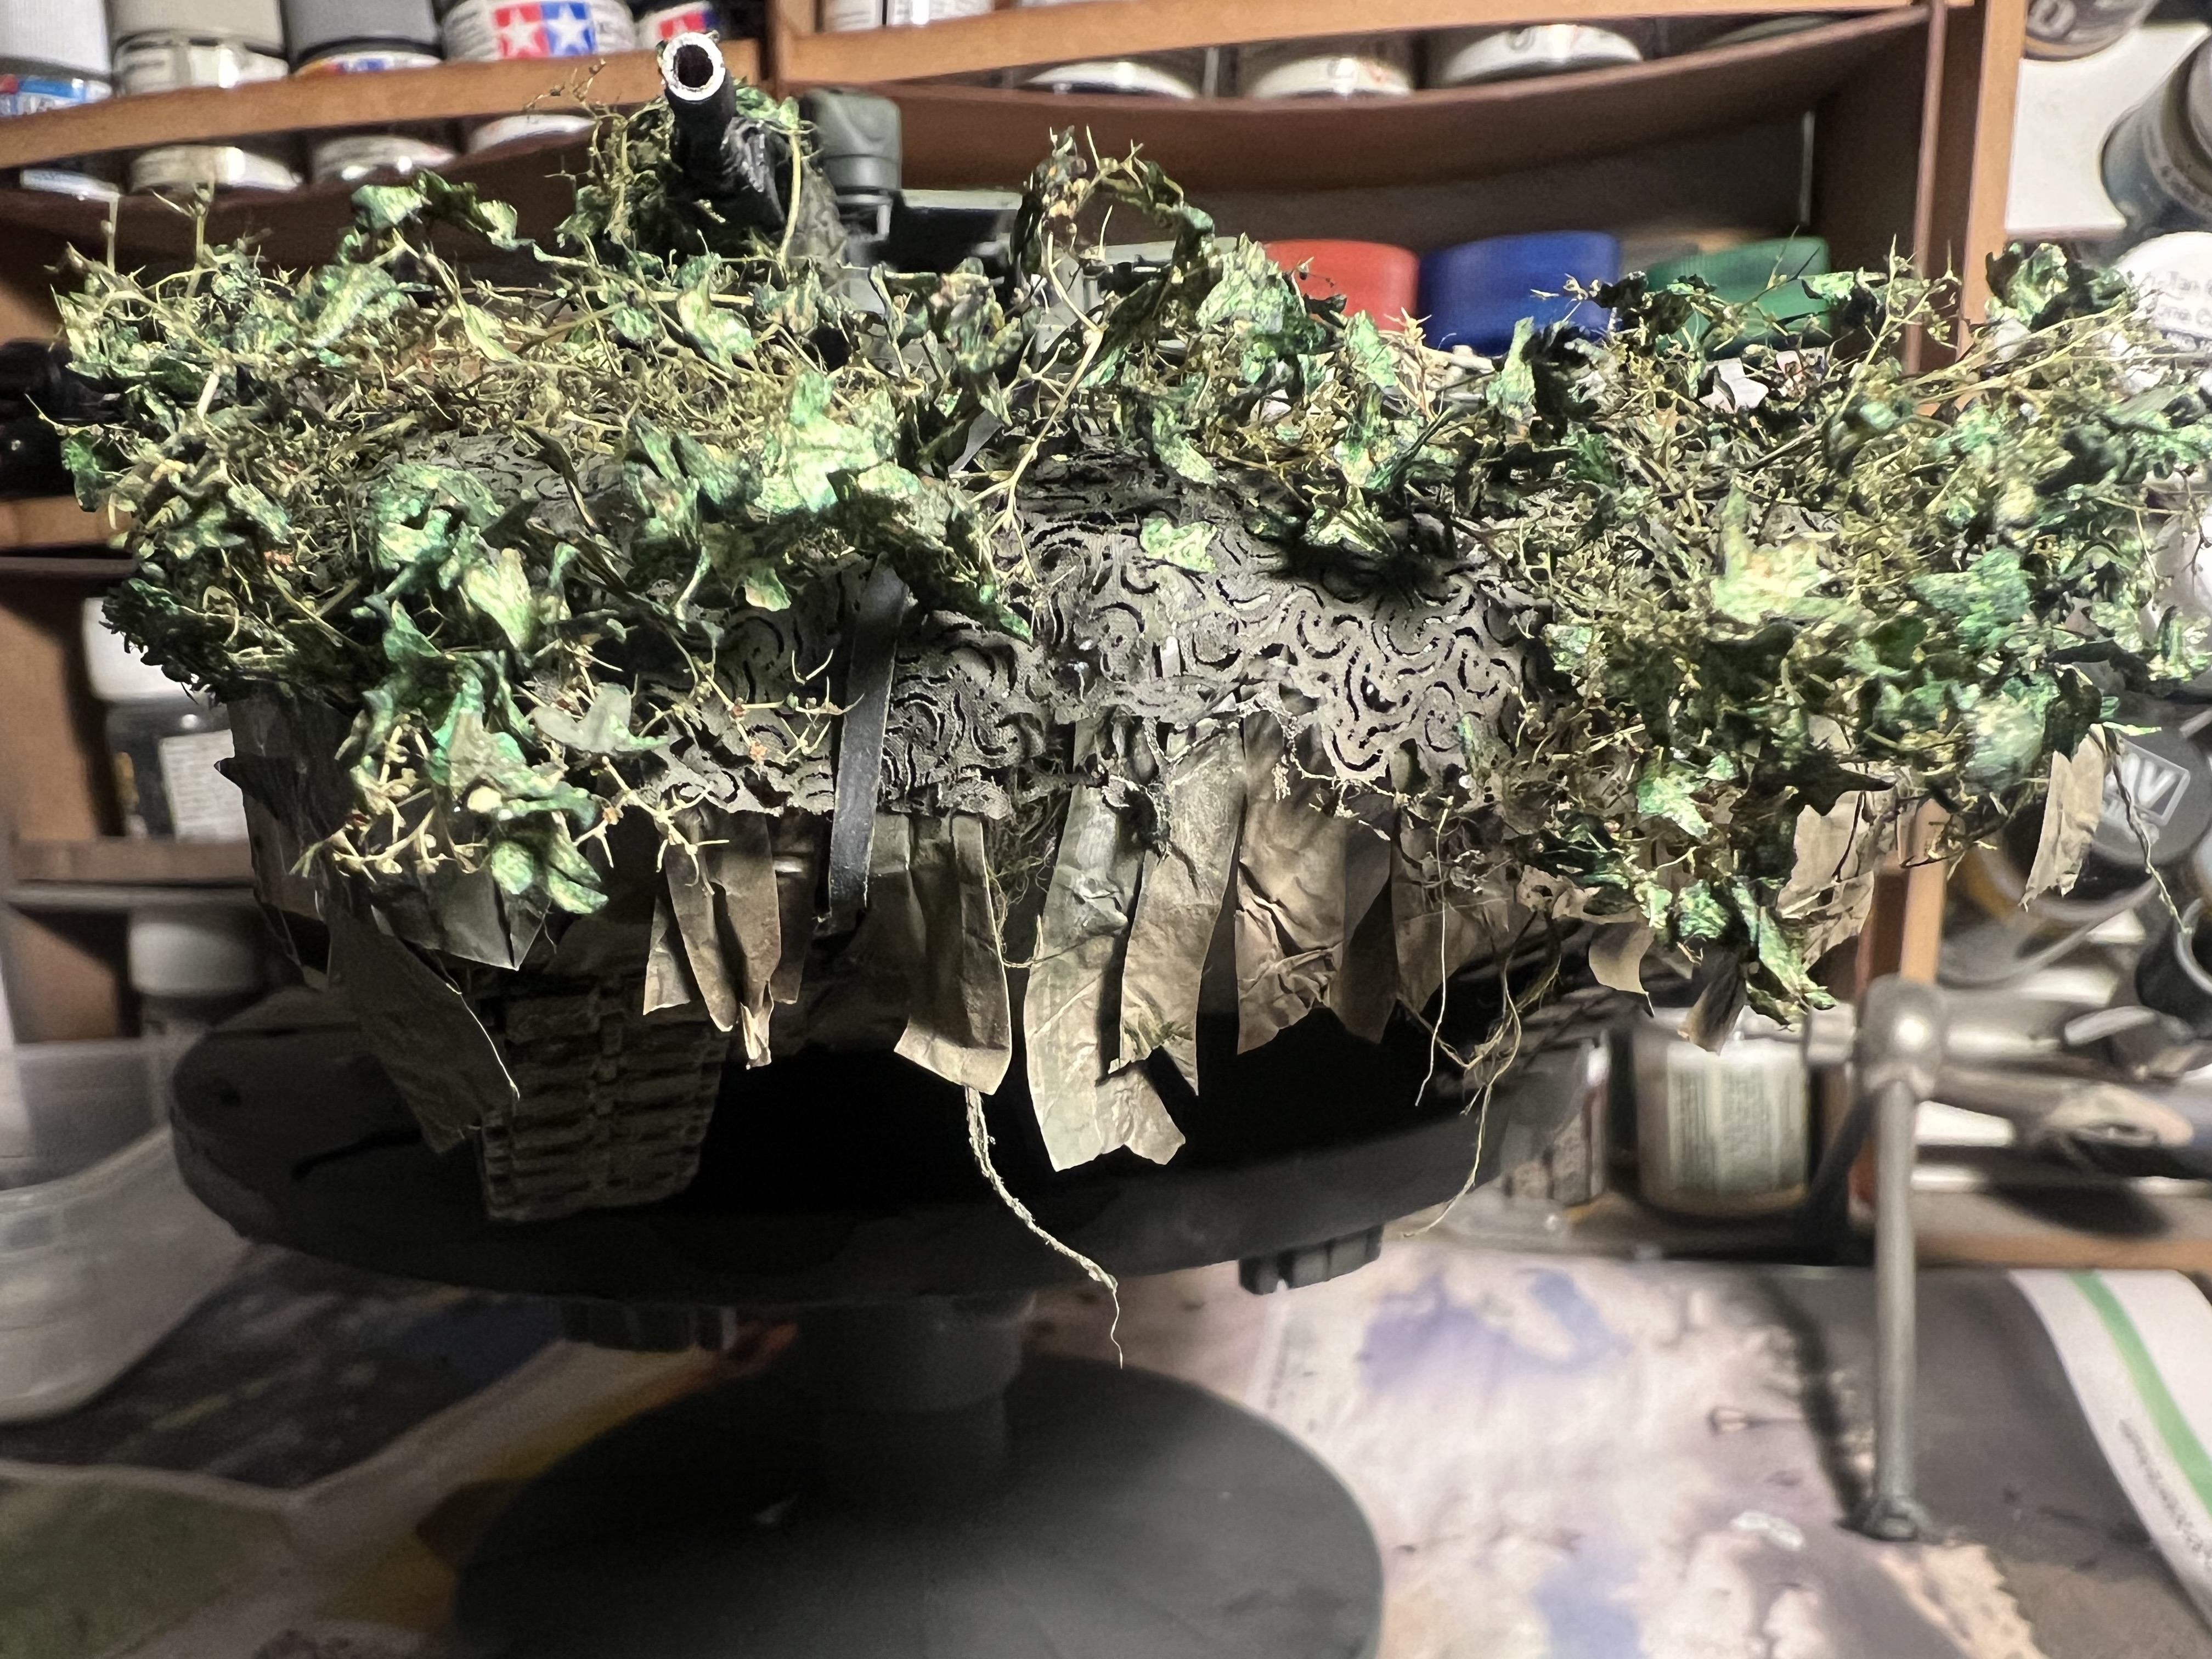
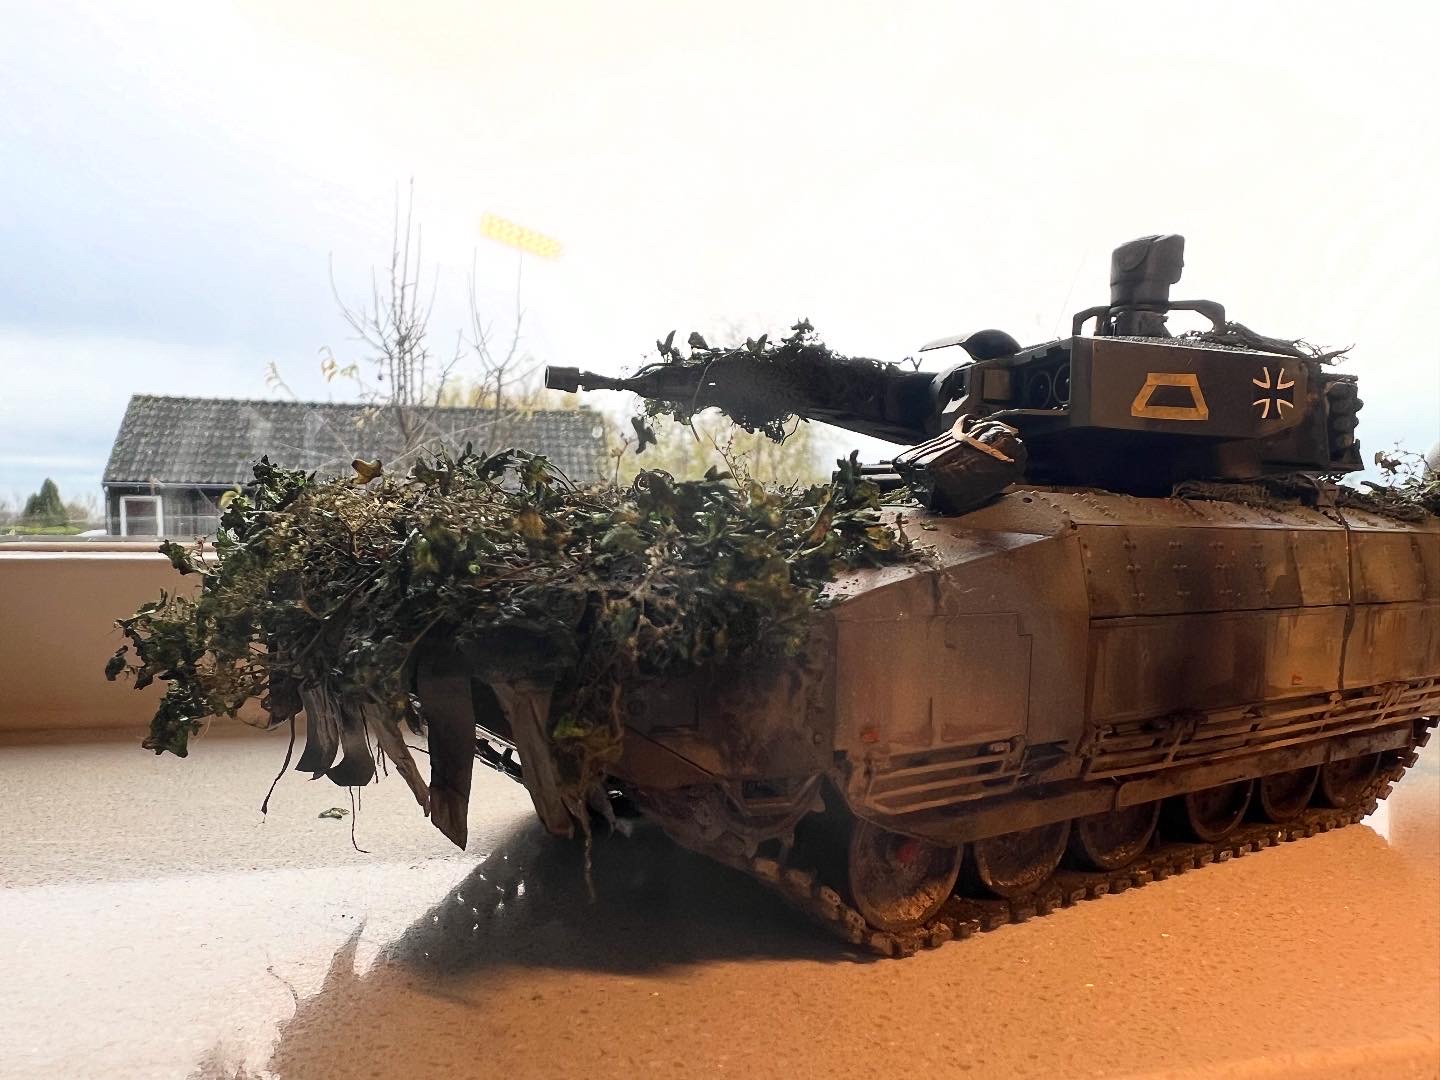
The branches were all hand made by me using sea grass stems sprayed dark khaki drill, woody parts picked out in deck tan and with flocking and leaves added using PVA glue, with individual leaves subsequently added one by one. They sit over sprayed NATO camo netting which itself is draped over dark green painted gauze. The front also has “canvas” sheets hanging down which were prominently featured in the reference photos I used, which I recreated with tin foil, primed, painted and then drybrushed and streaked with panel liner. They are too dark I think and maybe need lightening up a little. Tie down straps were recreated using panzergrau painted masking tape sections.
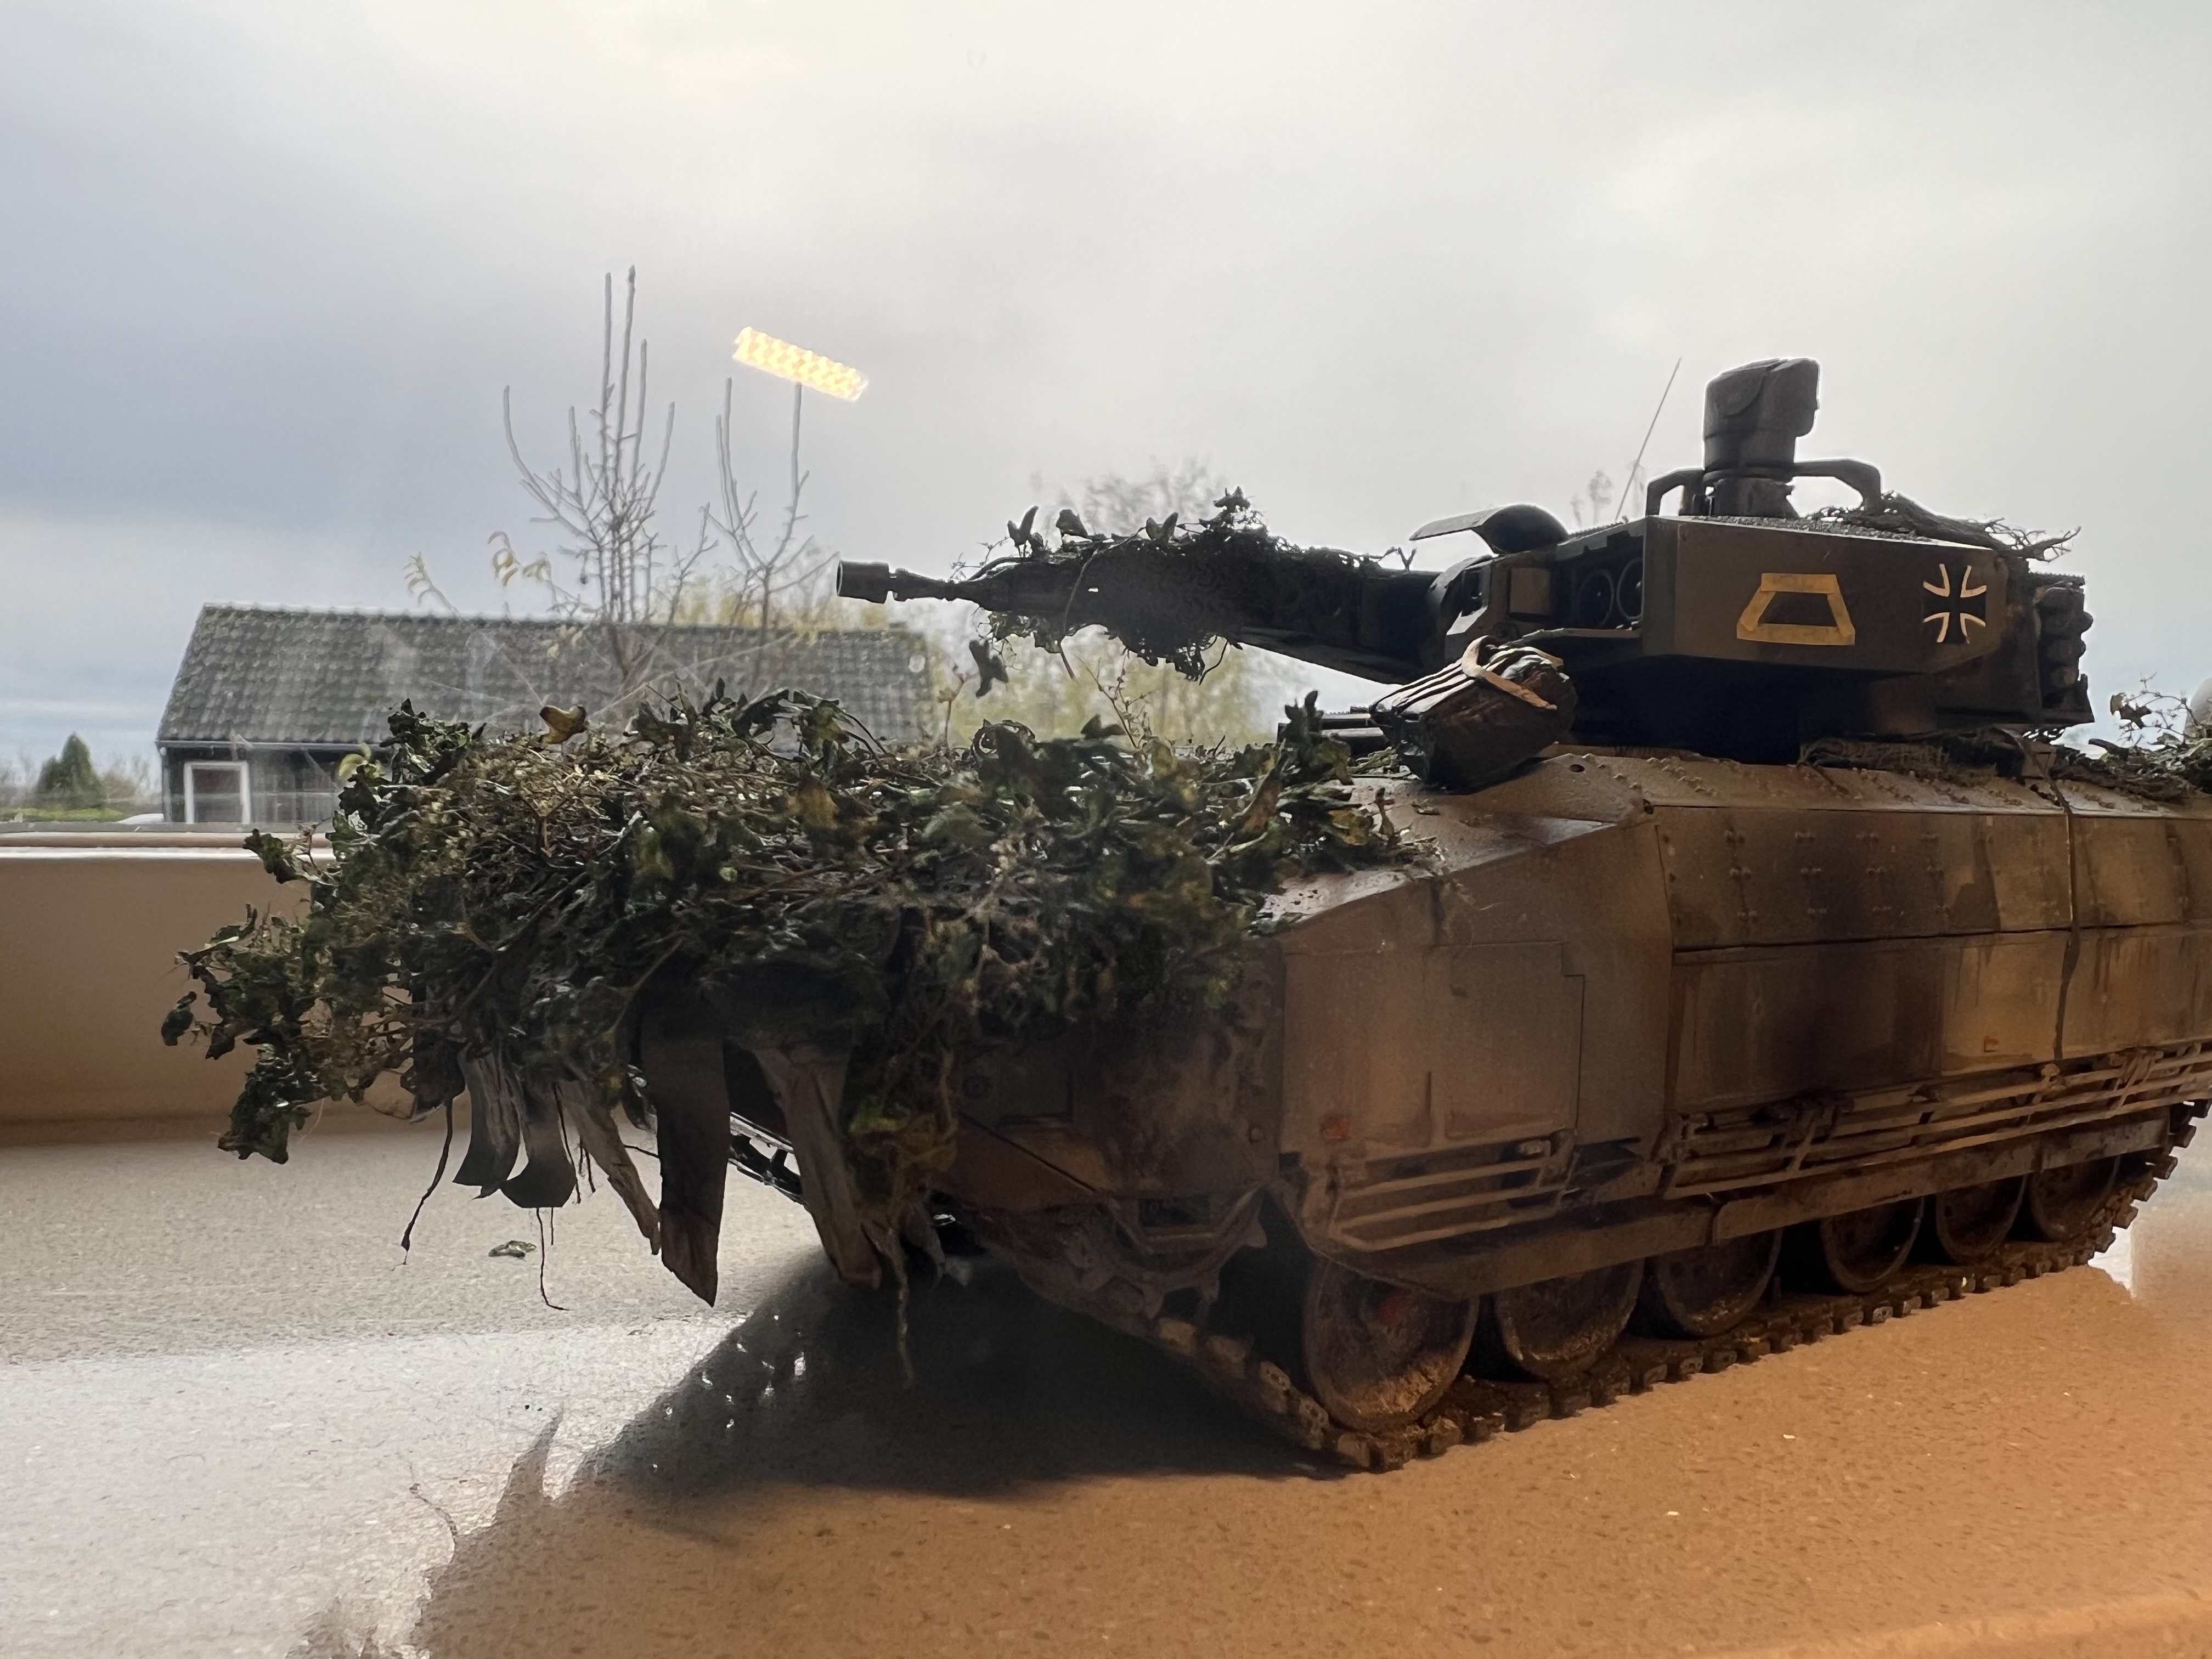
The reference pictures of Pumas on exercise all show them very muddy, covered with netting, canvas sheets and branches in some cases in keeping with the Bundeswehr tradition and given how clean the Leo was (comparatively) I wanted a nice juxtaposition so went a fair bit further with this than I normally would.

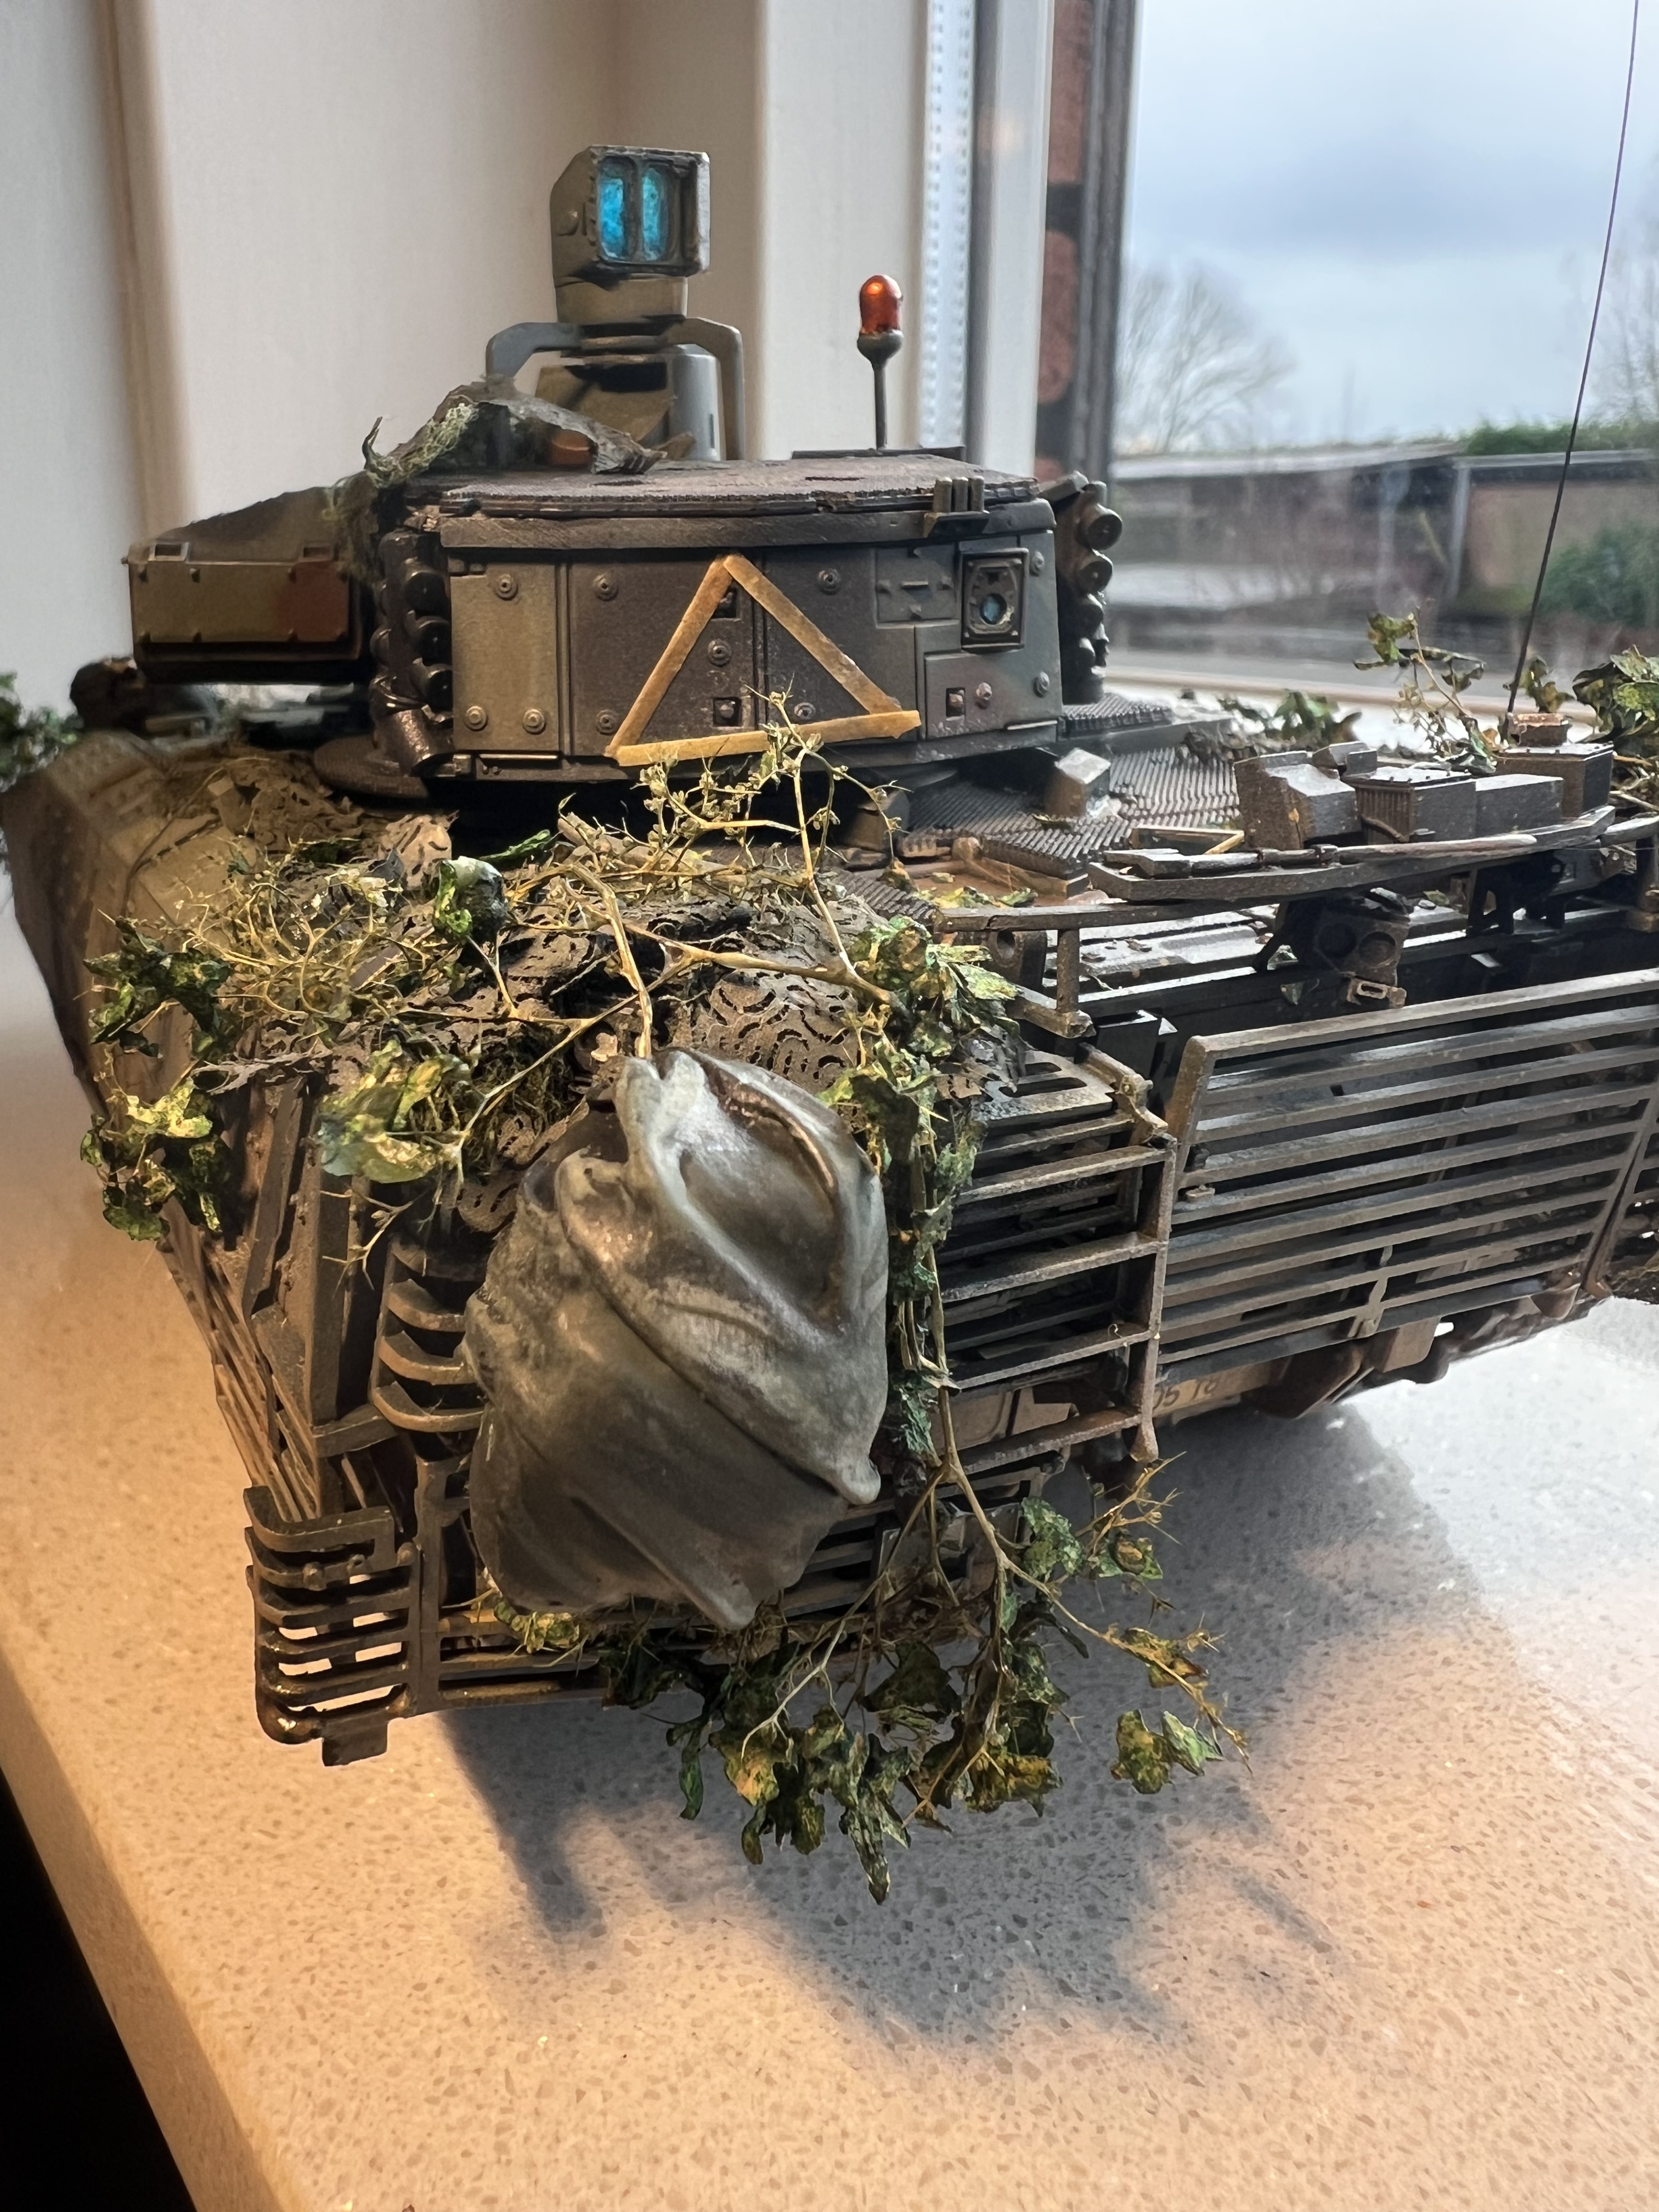
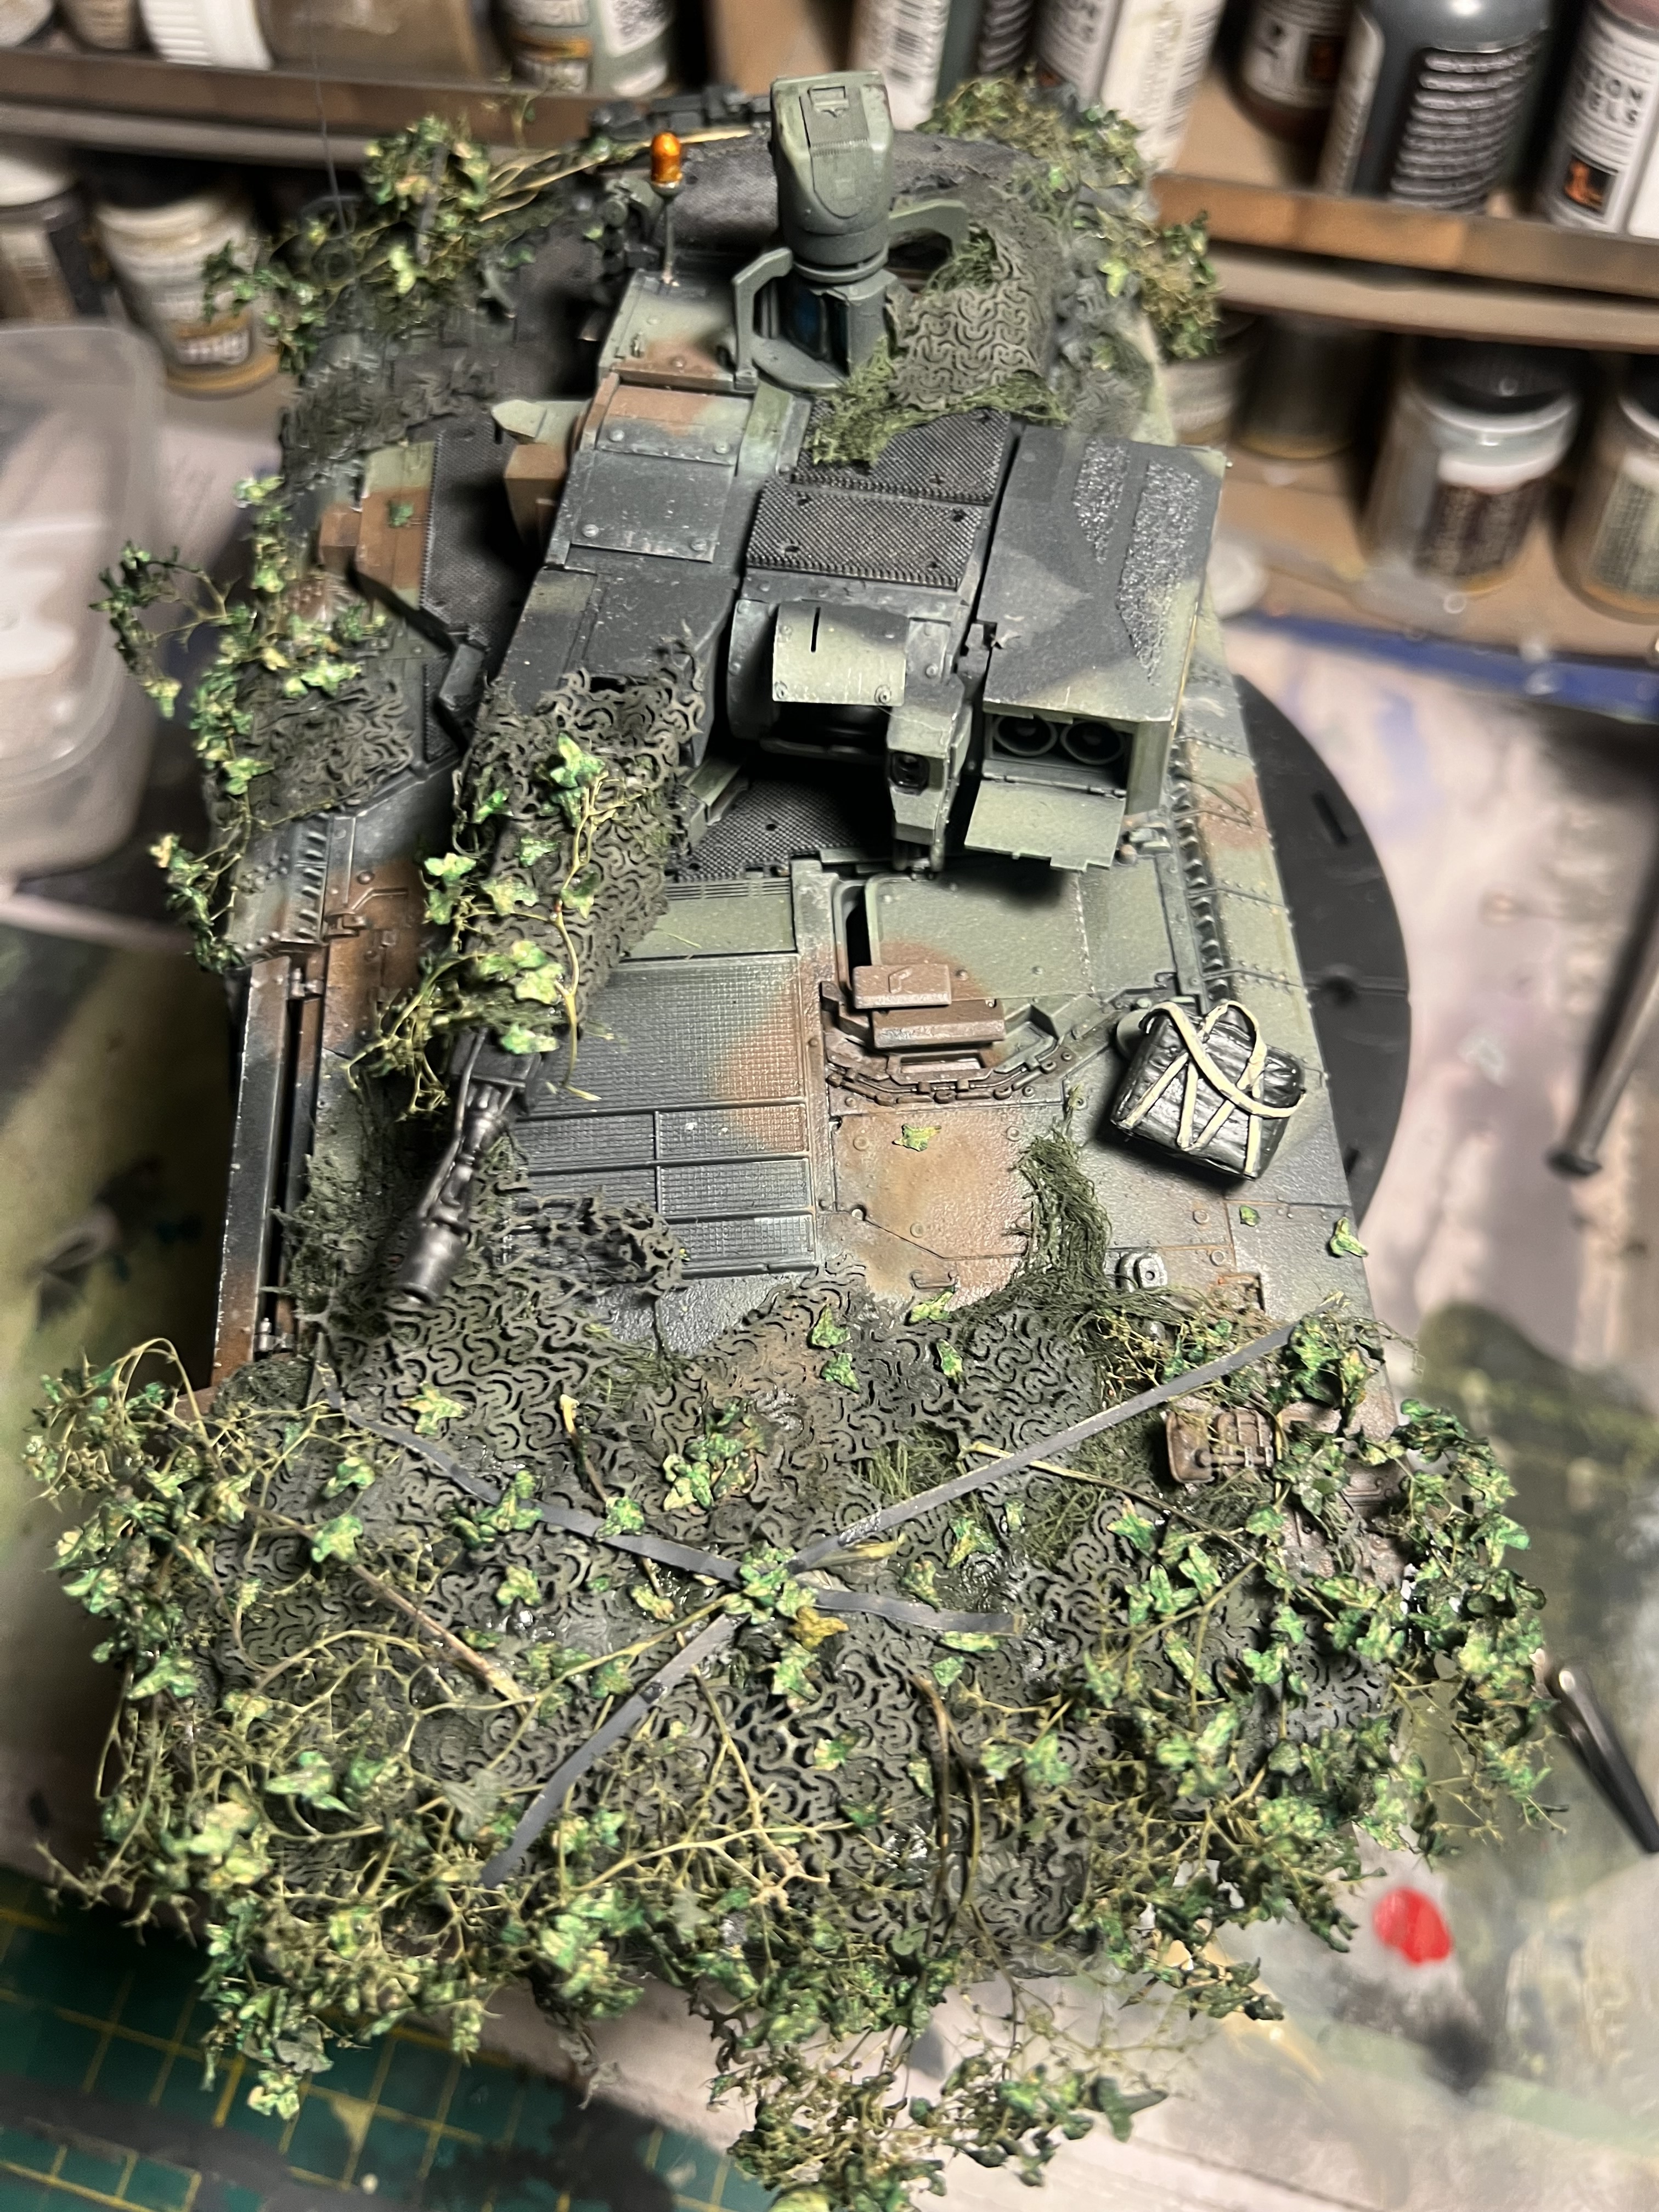
Interestingly, I’d figured on a load of stowage as you’d find on Warriors, Bradleys and so on and the reference photos showed almost none of it. I guess they carry it all internally, and the appliqué slat armour isn’t rated to hang Bergens off etc. I couldn’t resist adding a little bit though just for artistic effect. ![]()

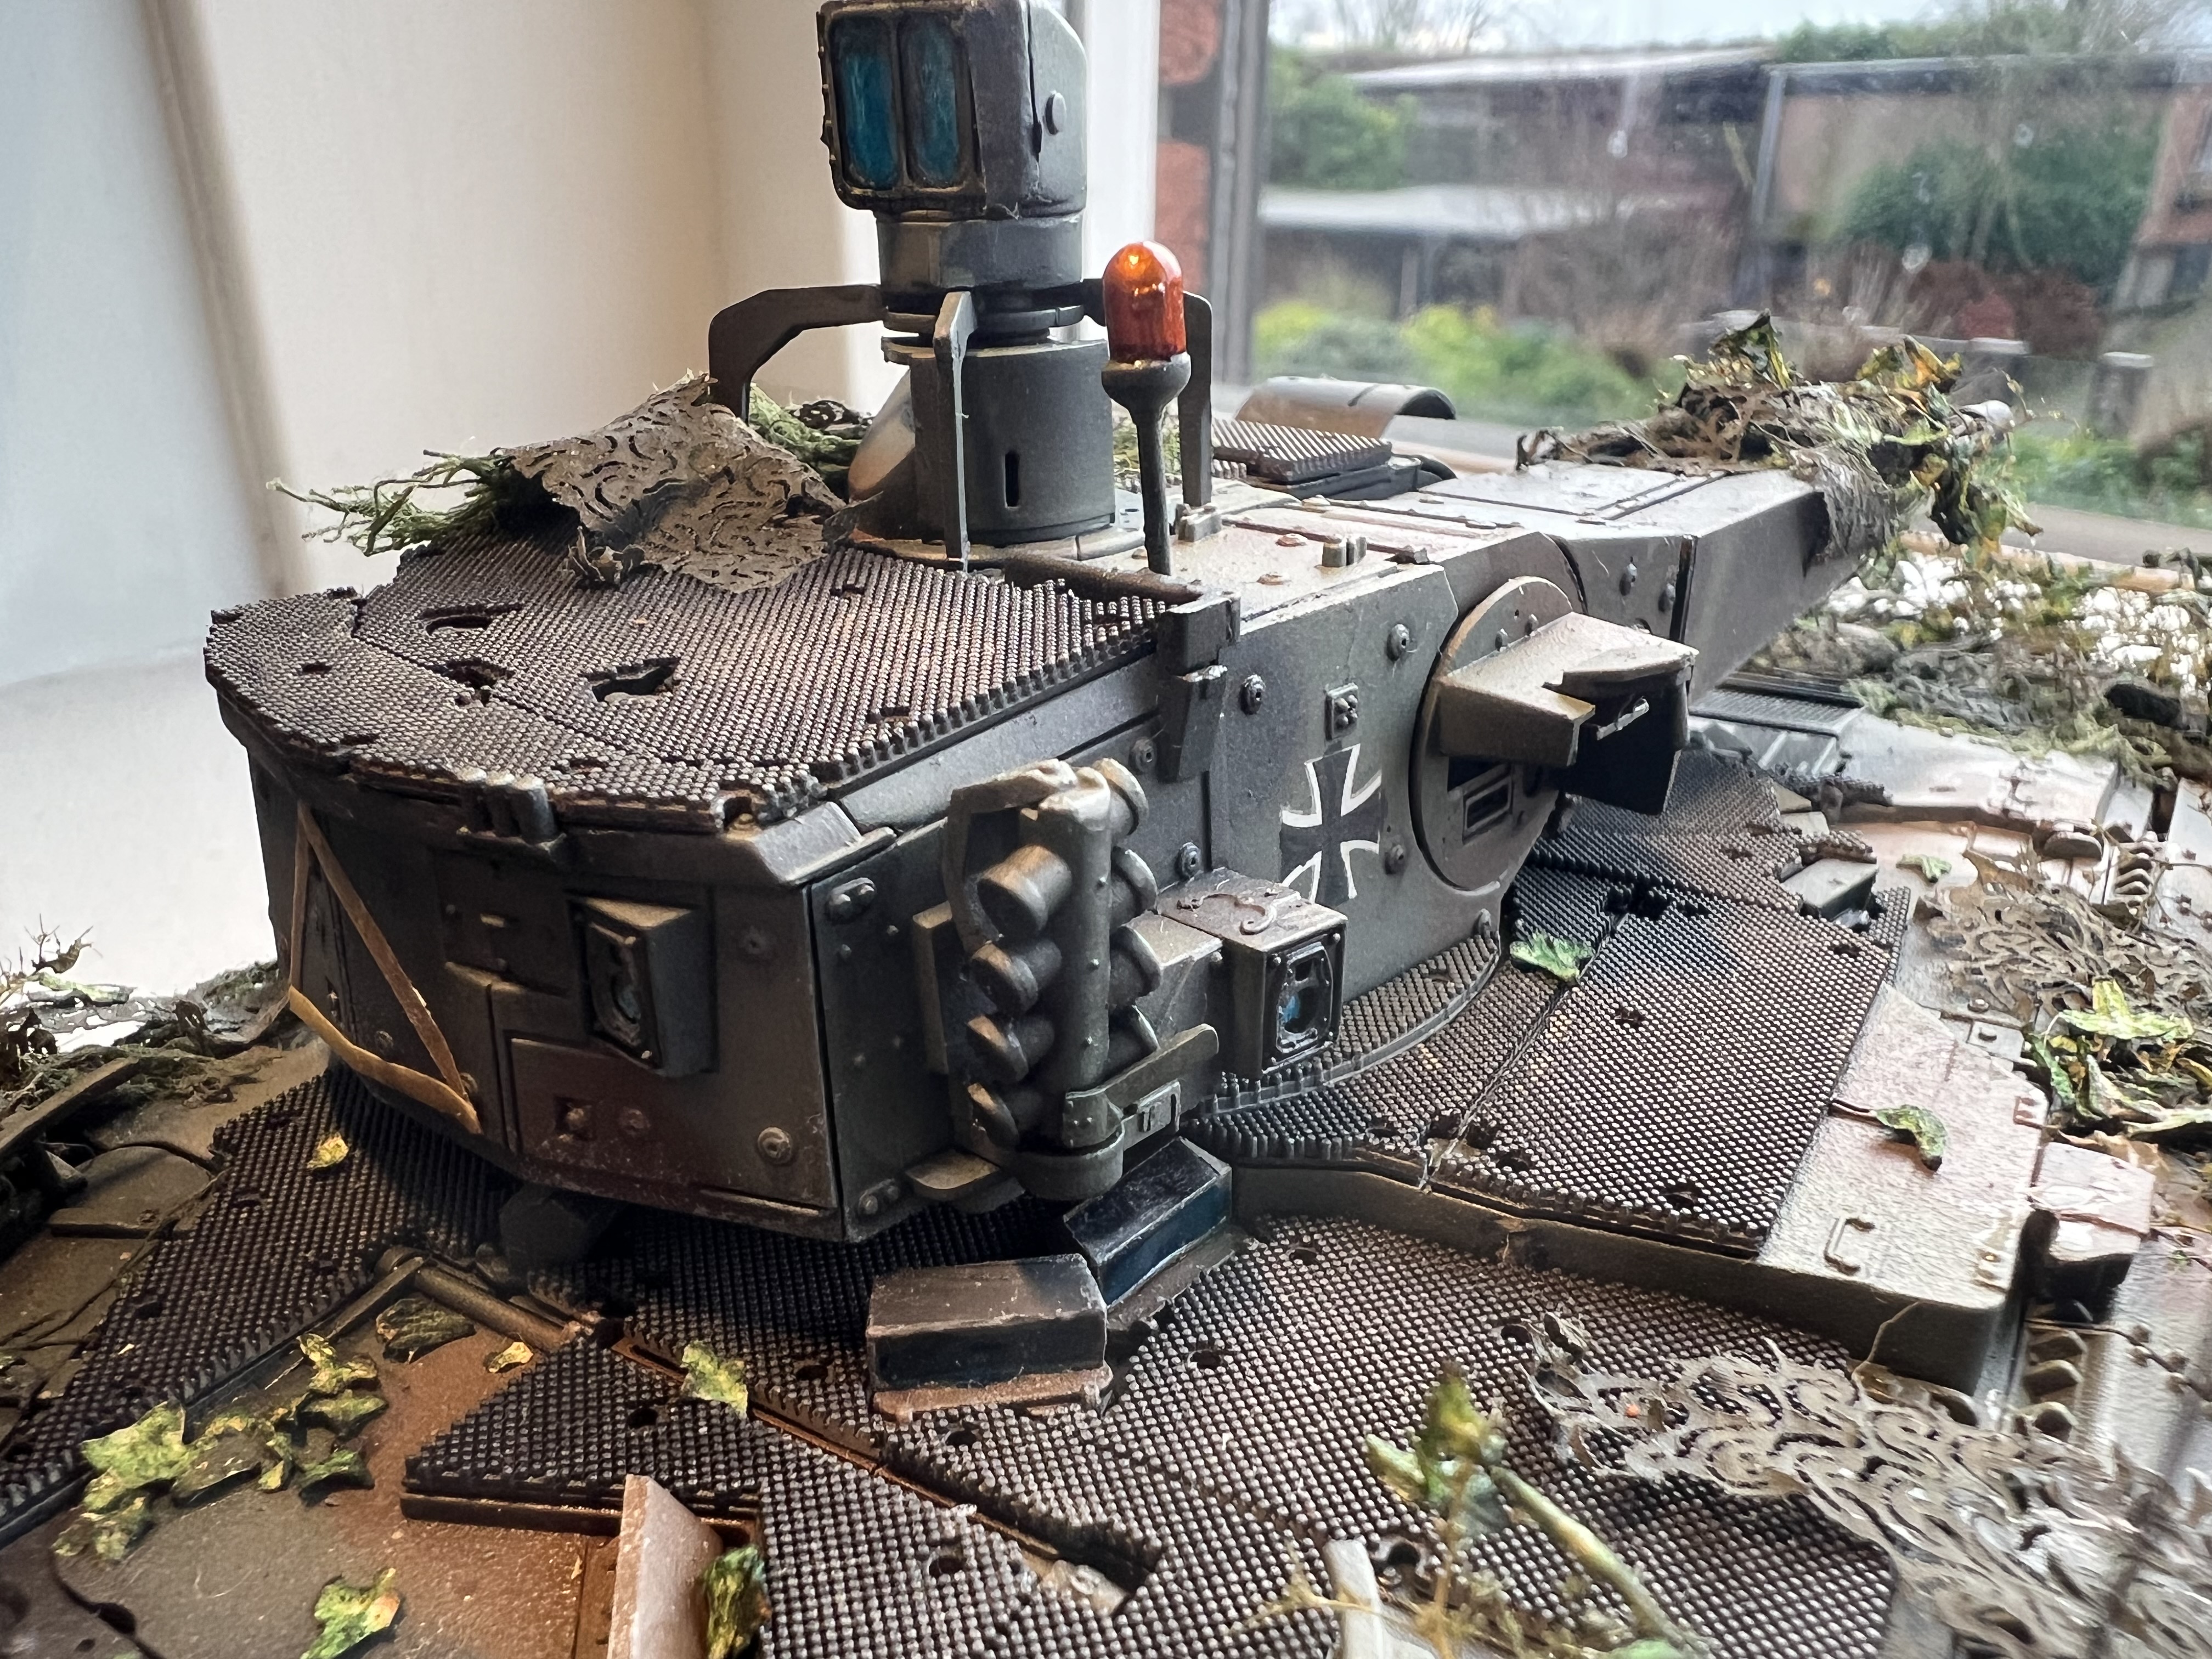

Another thing I found interesting is the cameras left right and centre on the front of the Puma which are linked to a couple of large multifunction action displays in the crew compartment. There are several others on the turret, hull sides and rear of the vehicle as well. Obviously these need to be kept clear of branches and camo netting but the reference photos suggest they only need a little bit peeking out and you can’t really see the cameras under the netting etc, so I recreated mine the same way. Trust me, they are there. ![]()

Some references -
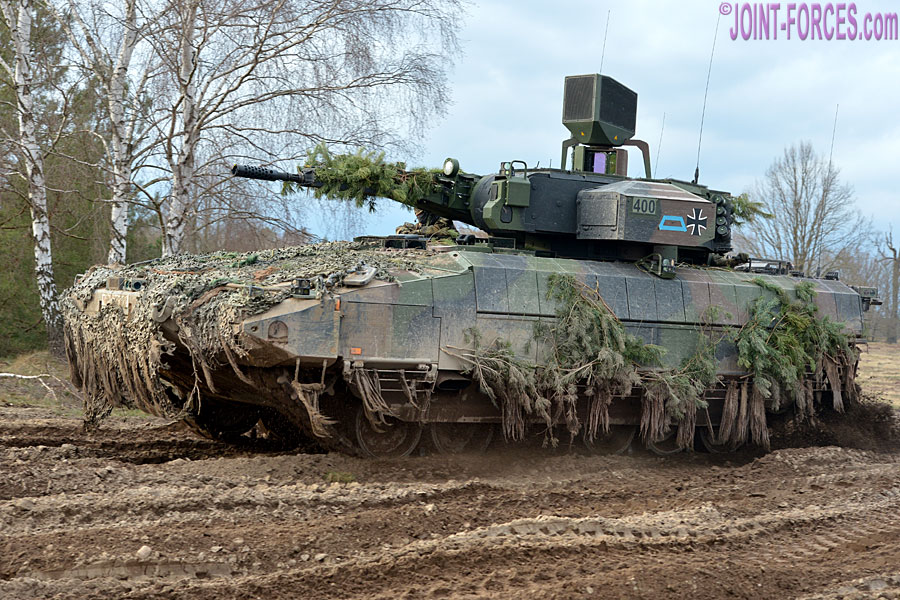
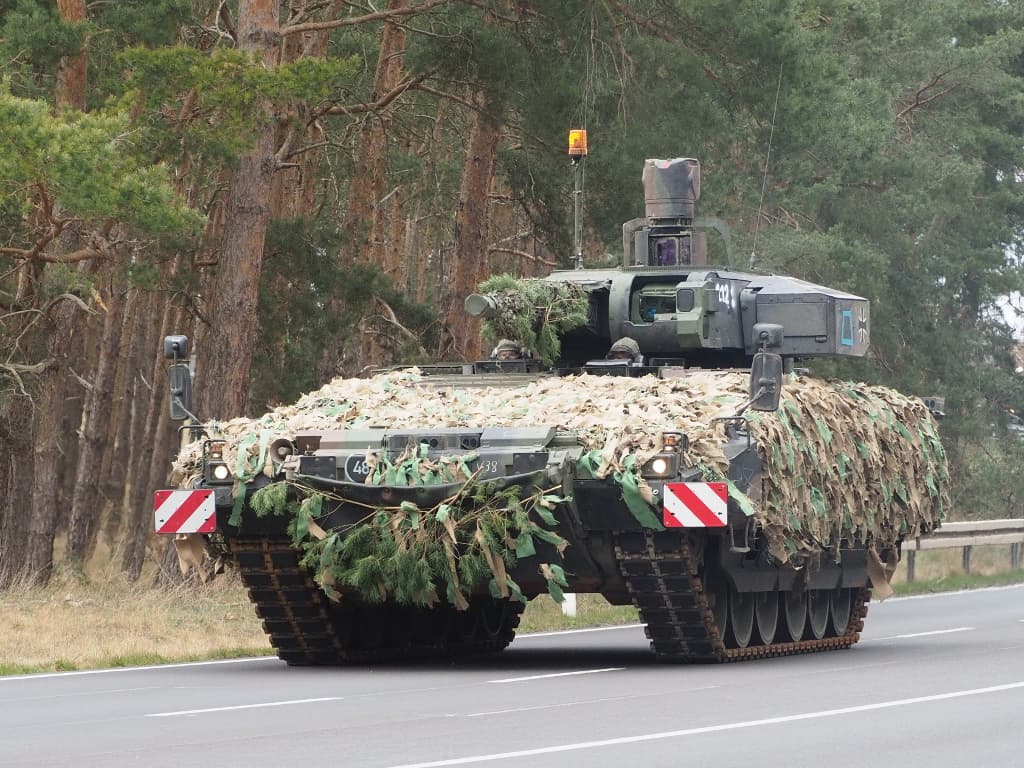
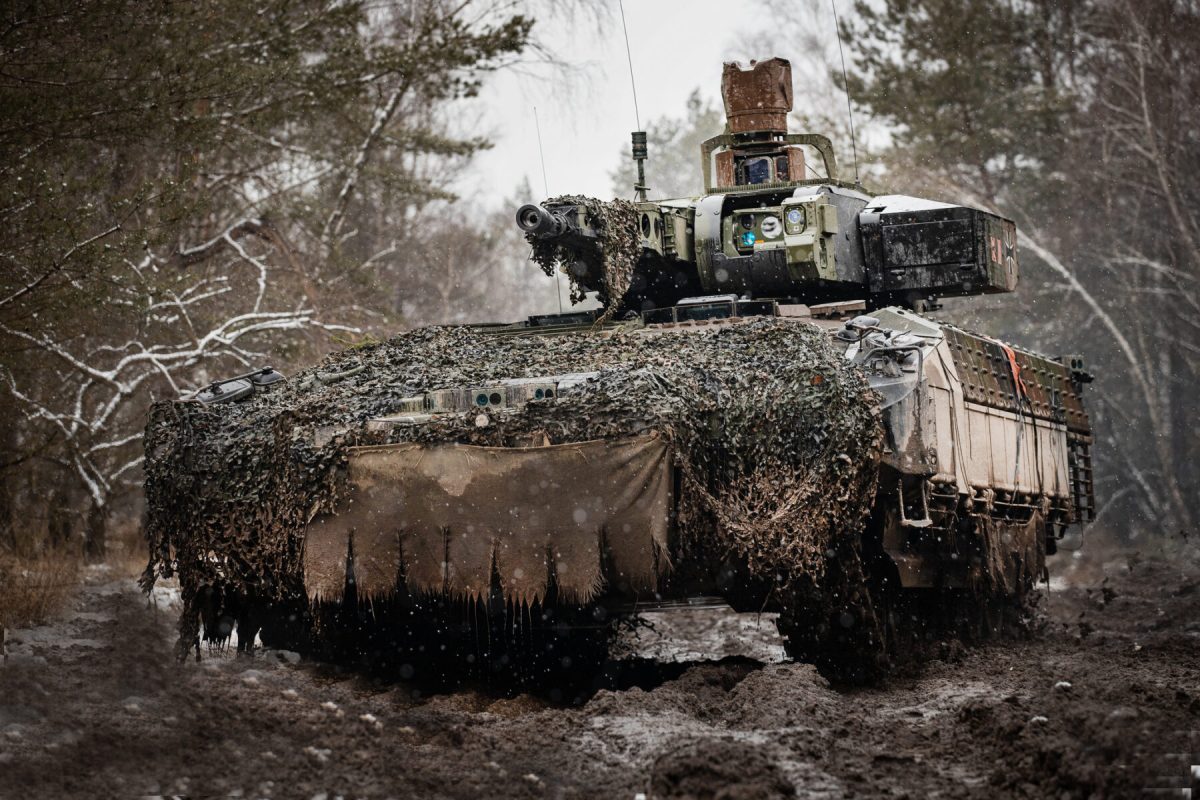
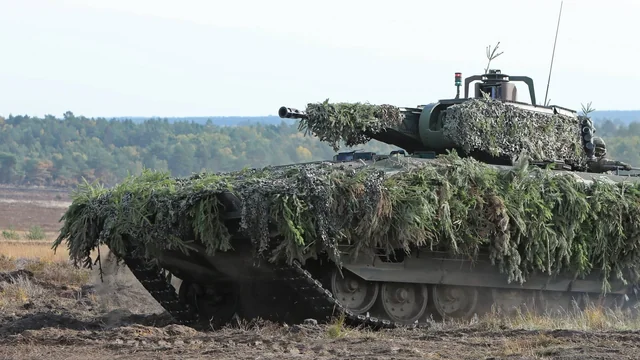
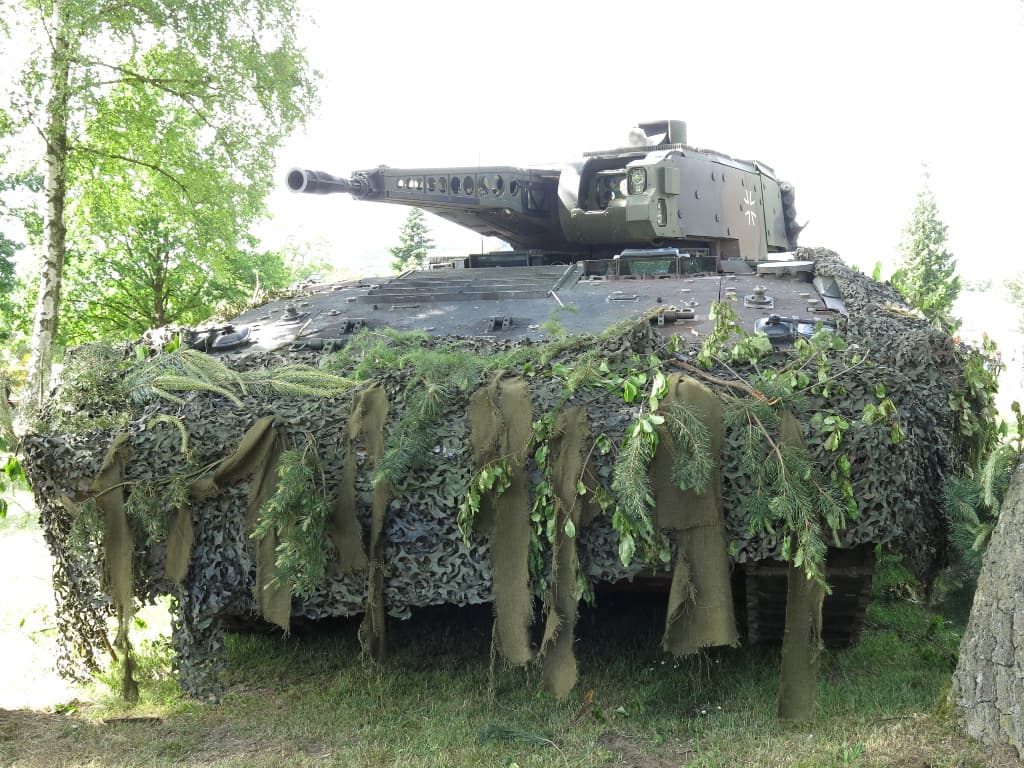
(credit: reddit.com, army recognition.com, defence.eu.com)
Do let me know your views and opinions - I’d really appreciate any constructive criticism you have so I can continue improving.
")