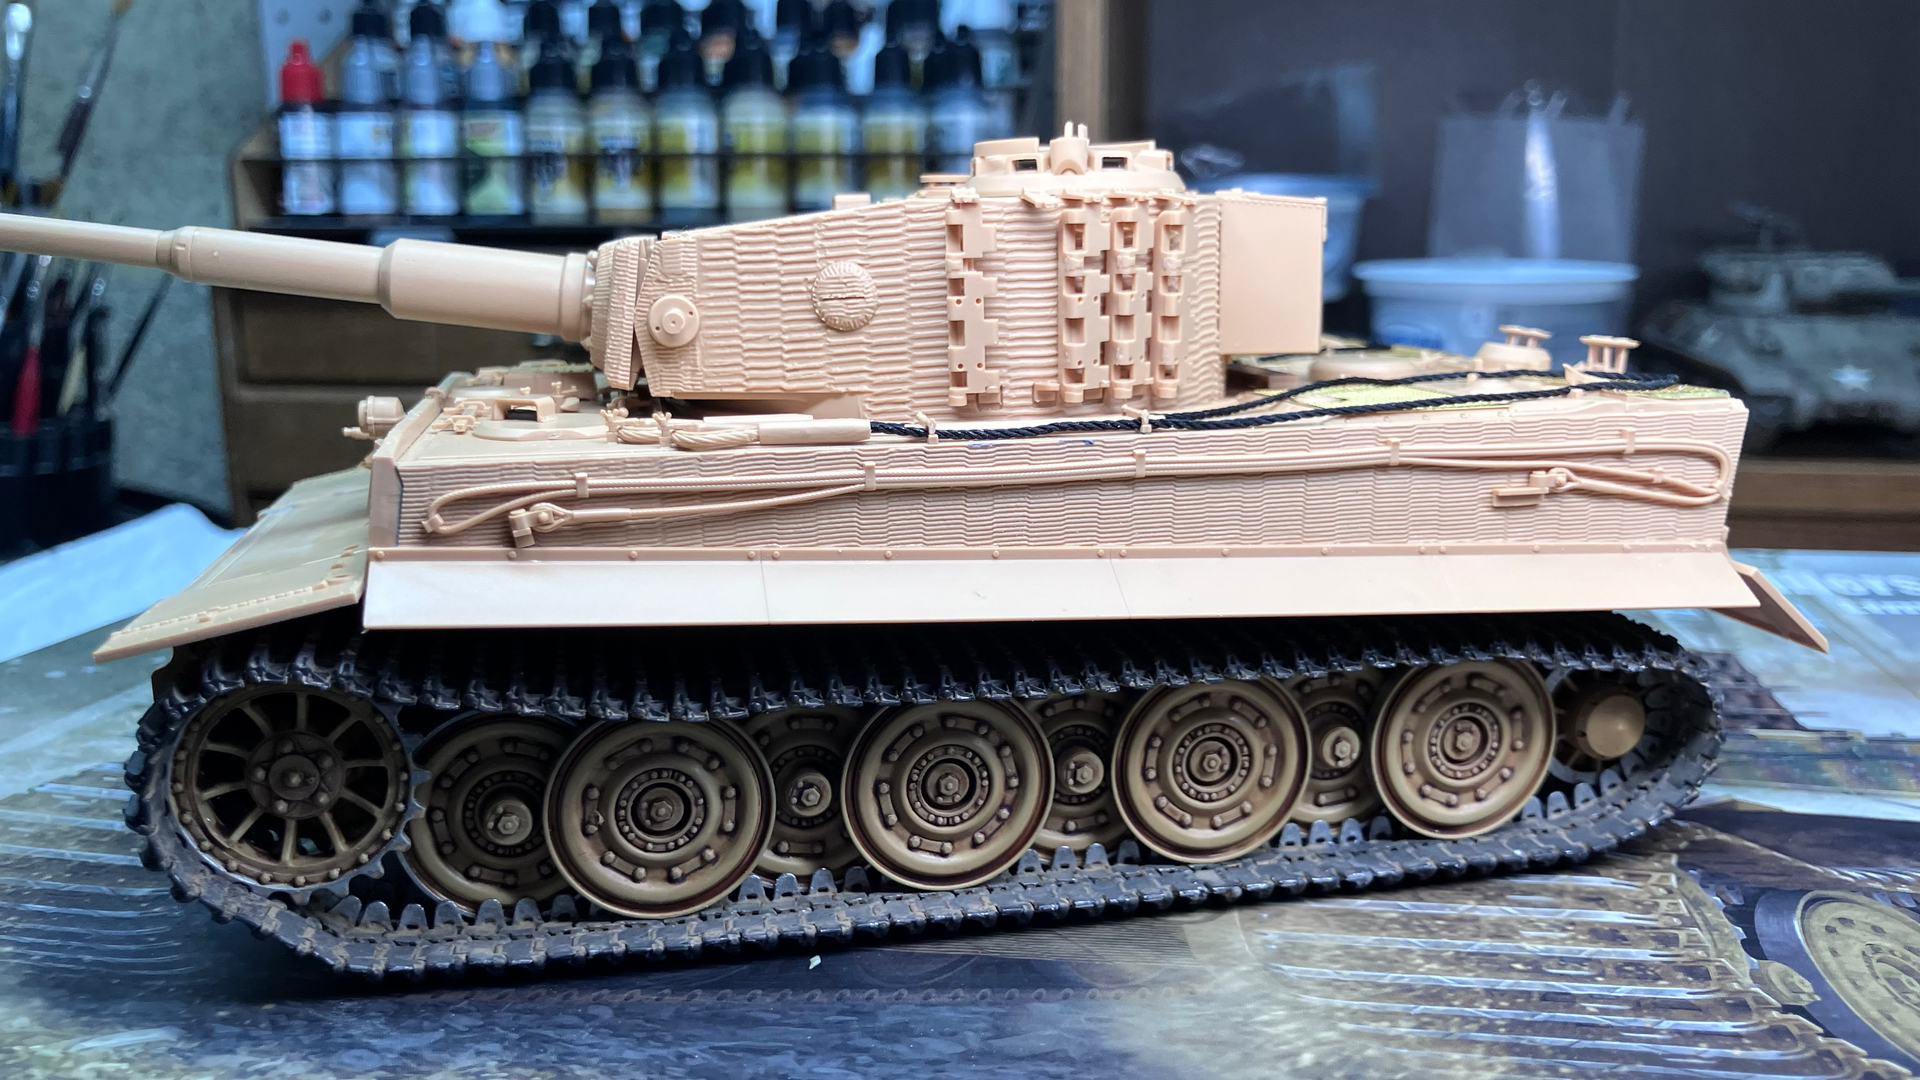
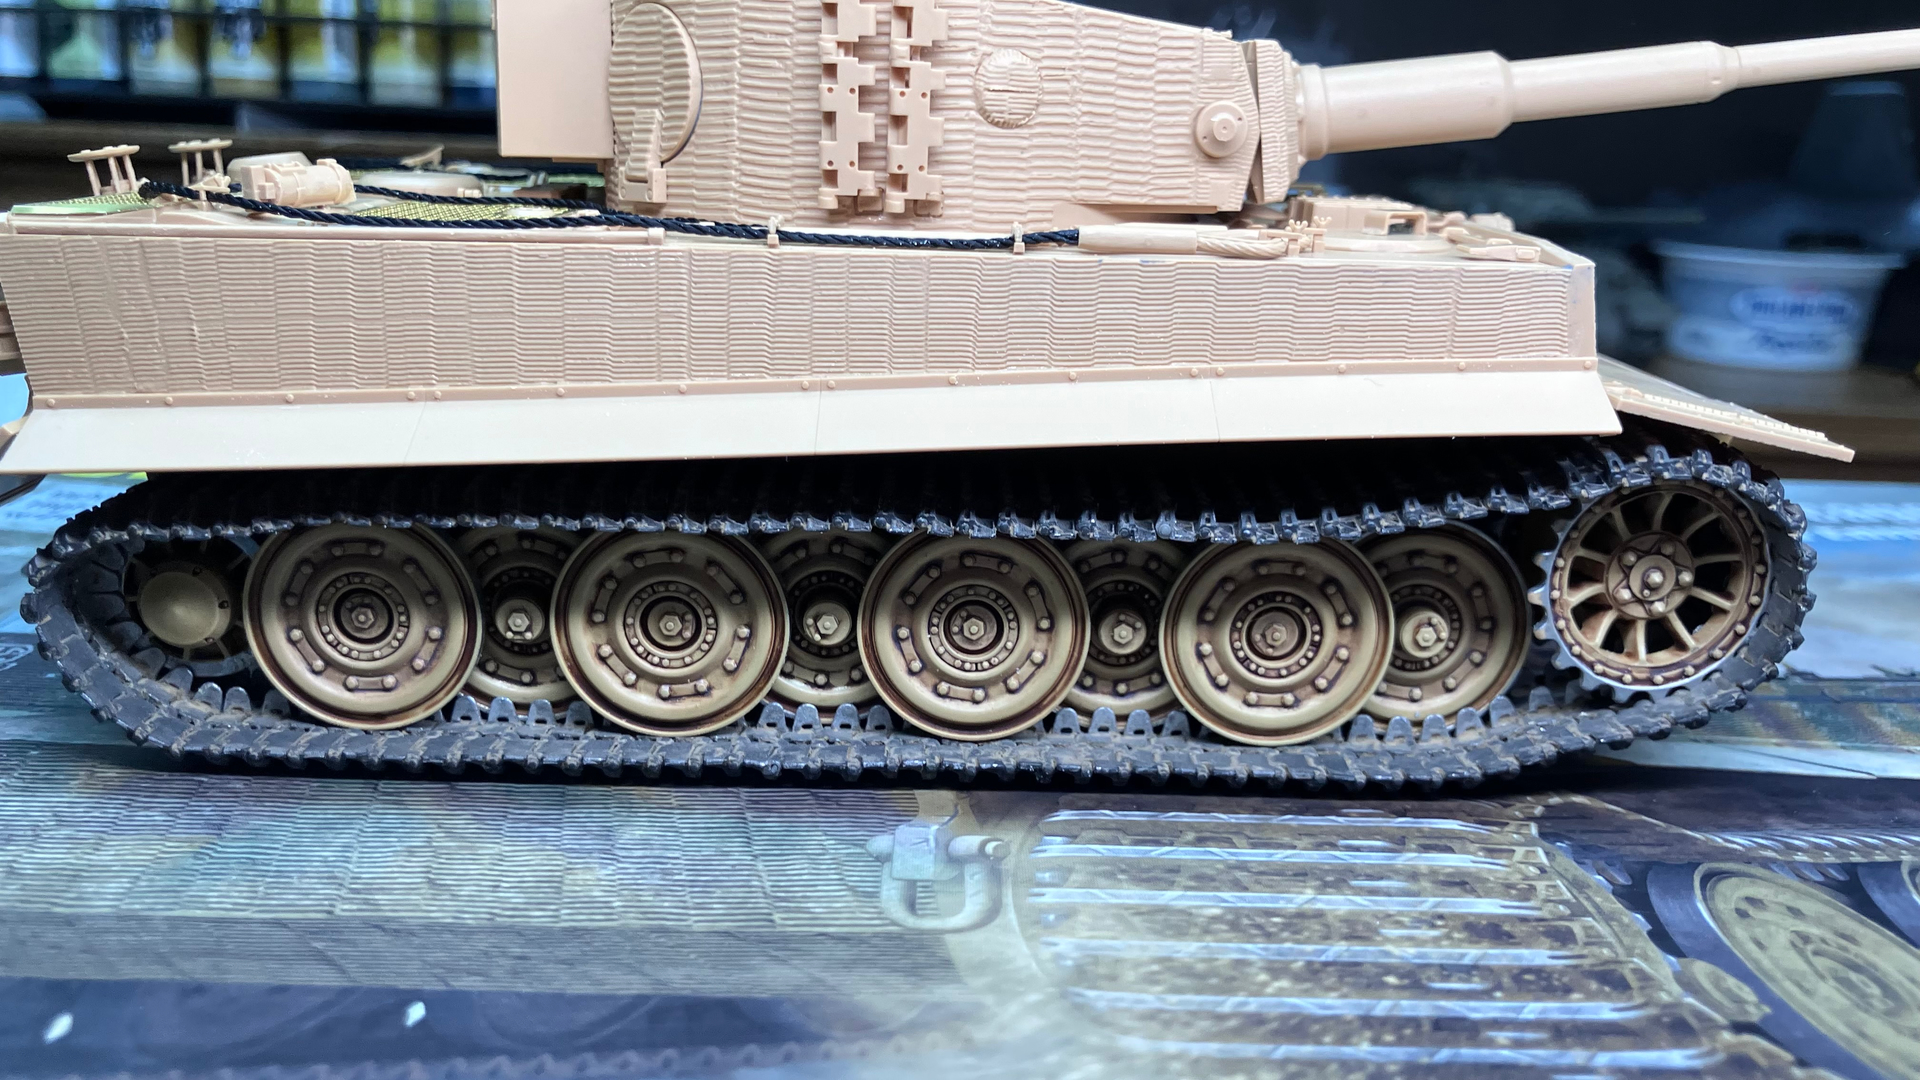
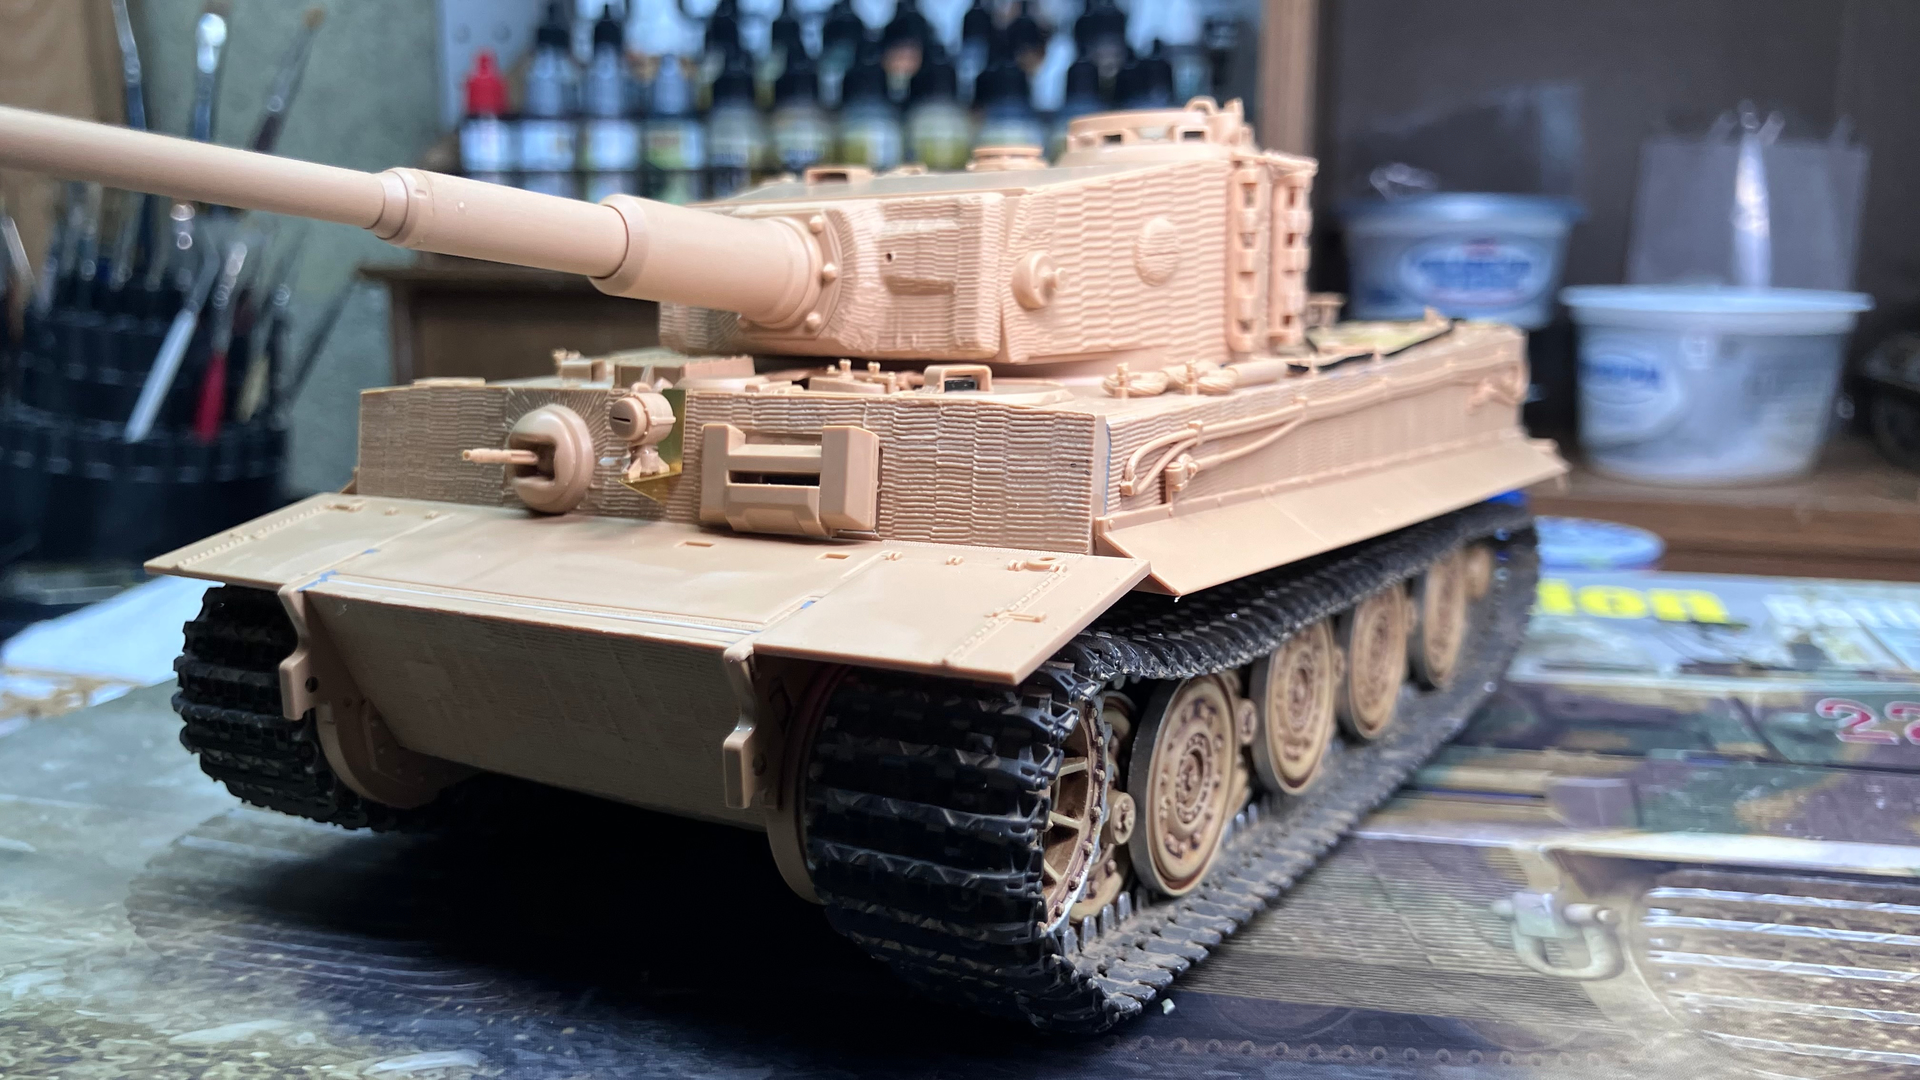
The build is essentially finished but for a few wing nuts and the AA MG. Was looking forward to this kit but was disappointed in several respects. Tracks are workable Indy links with separate guide horns. Clean up as usual is tedious but for me no big deal. Comes with a jig which works well once you get the hang of it. They go together in a kind of modular way. Put 6 links in the jig. Six pins on each side conviently laid out so you can clip the spru at the ends and slid all six in at once. Same with the guide horns. Pretty slick. Until I had built about half a run and decided to test fit them. They fit very nicely around the drive sprocket. The problem was with the inner set of roadwheels that are supposed to ride between the guide horns. They didn’t. Checked the alignment. All good. Guide horns all looked to be nice and vertical. None leaning inward to narrow the gap. Frustrated to say the least. Bought a set of MasterClub tracks from a friend to fix the problem. It did, kind of. Turns out that the metal tracks are a fraction too narrow for the sprockets. Had to carefully deconstruct the sprockets and sand them down a bit. Not quite a snug fit but much better. The rest of the kit went together fairly well but for a 2024 release there was flash on too many parts and prominent mold seams. The kit captures the 2 different zimmerit patterns on the turret and hull well but in my opinion the hull pattern is too fine. I prefer the pattern on the Takom Tigers.
On the plus side there are lots of extras for your spares including 3 rear plates, 4 mantlets, Fidel air cleaners, and the early angular exhaust shrouds. When all is said and done it does build up nicely. Painting next. I’ll try to remember to post photos.
12 Likes
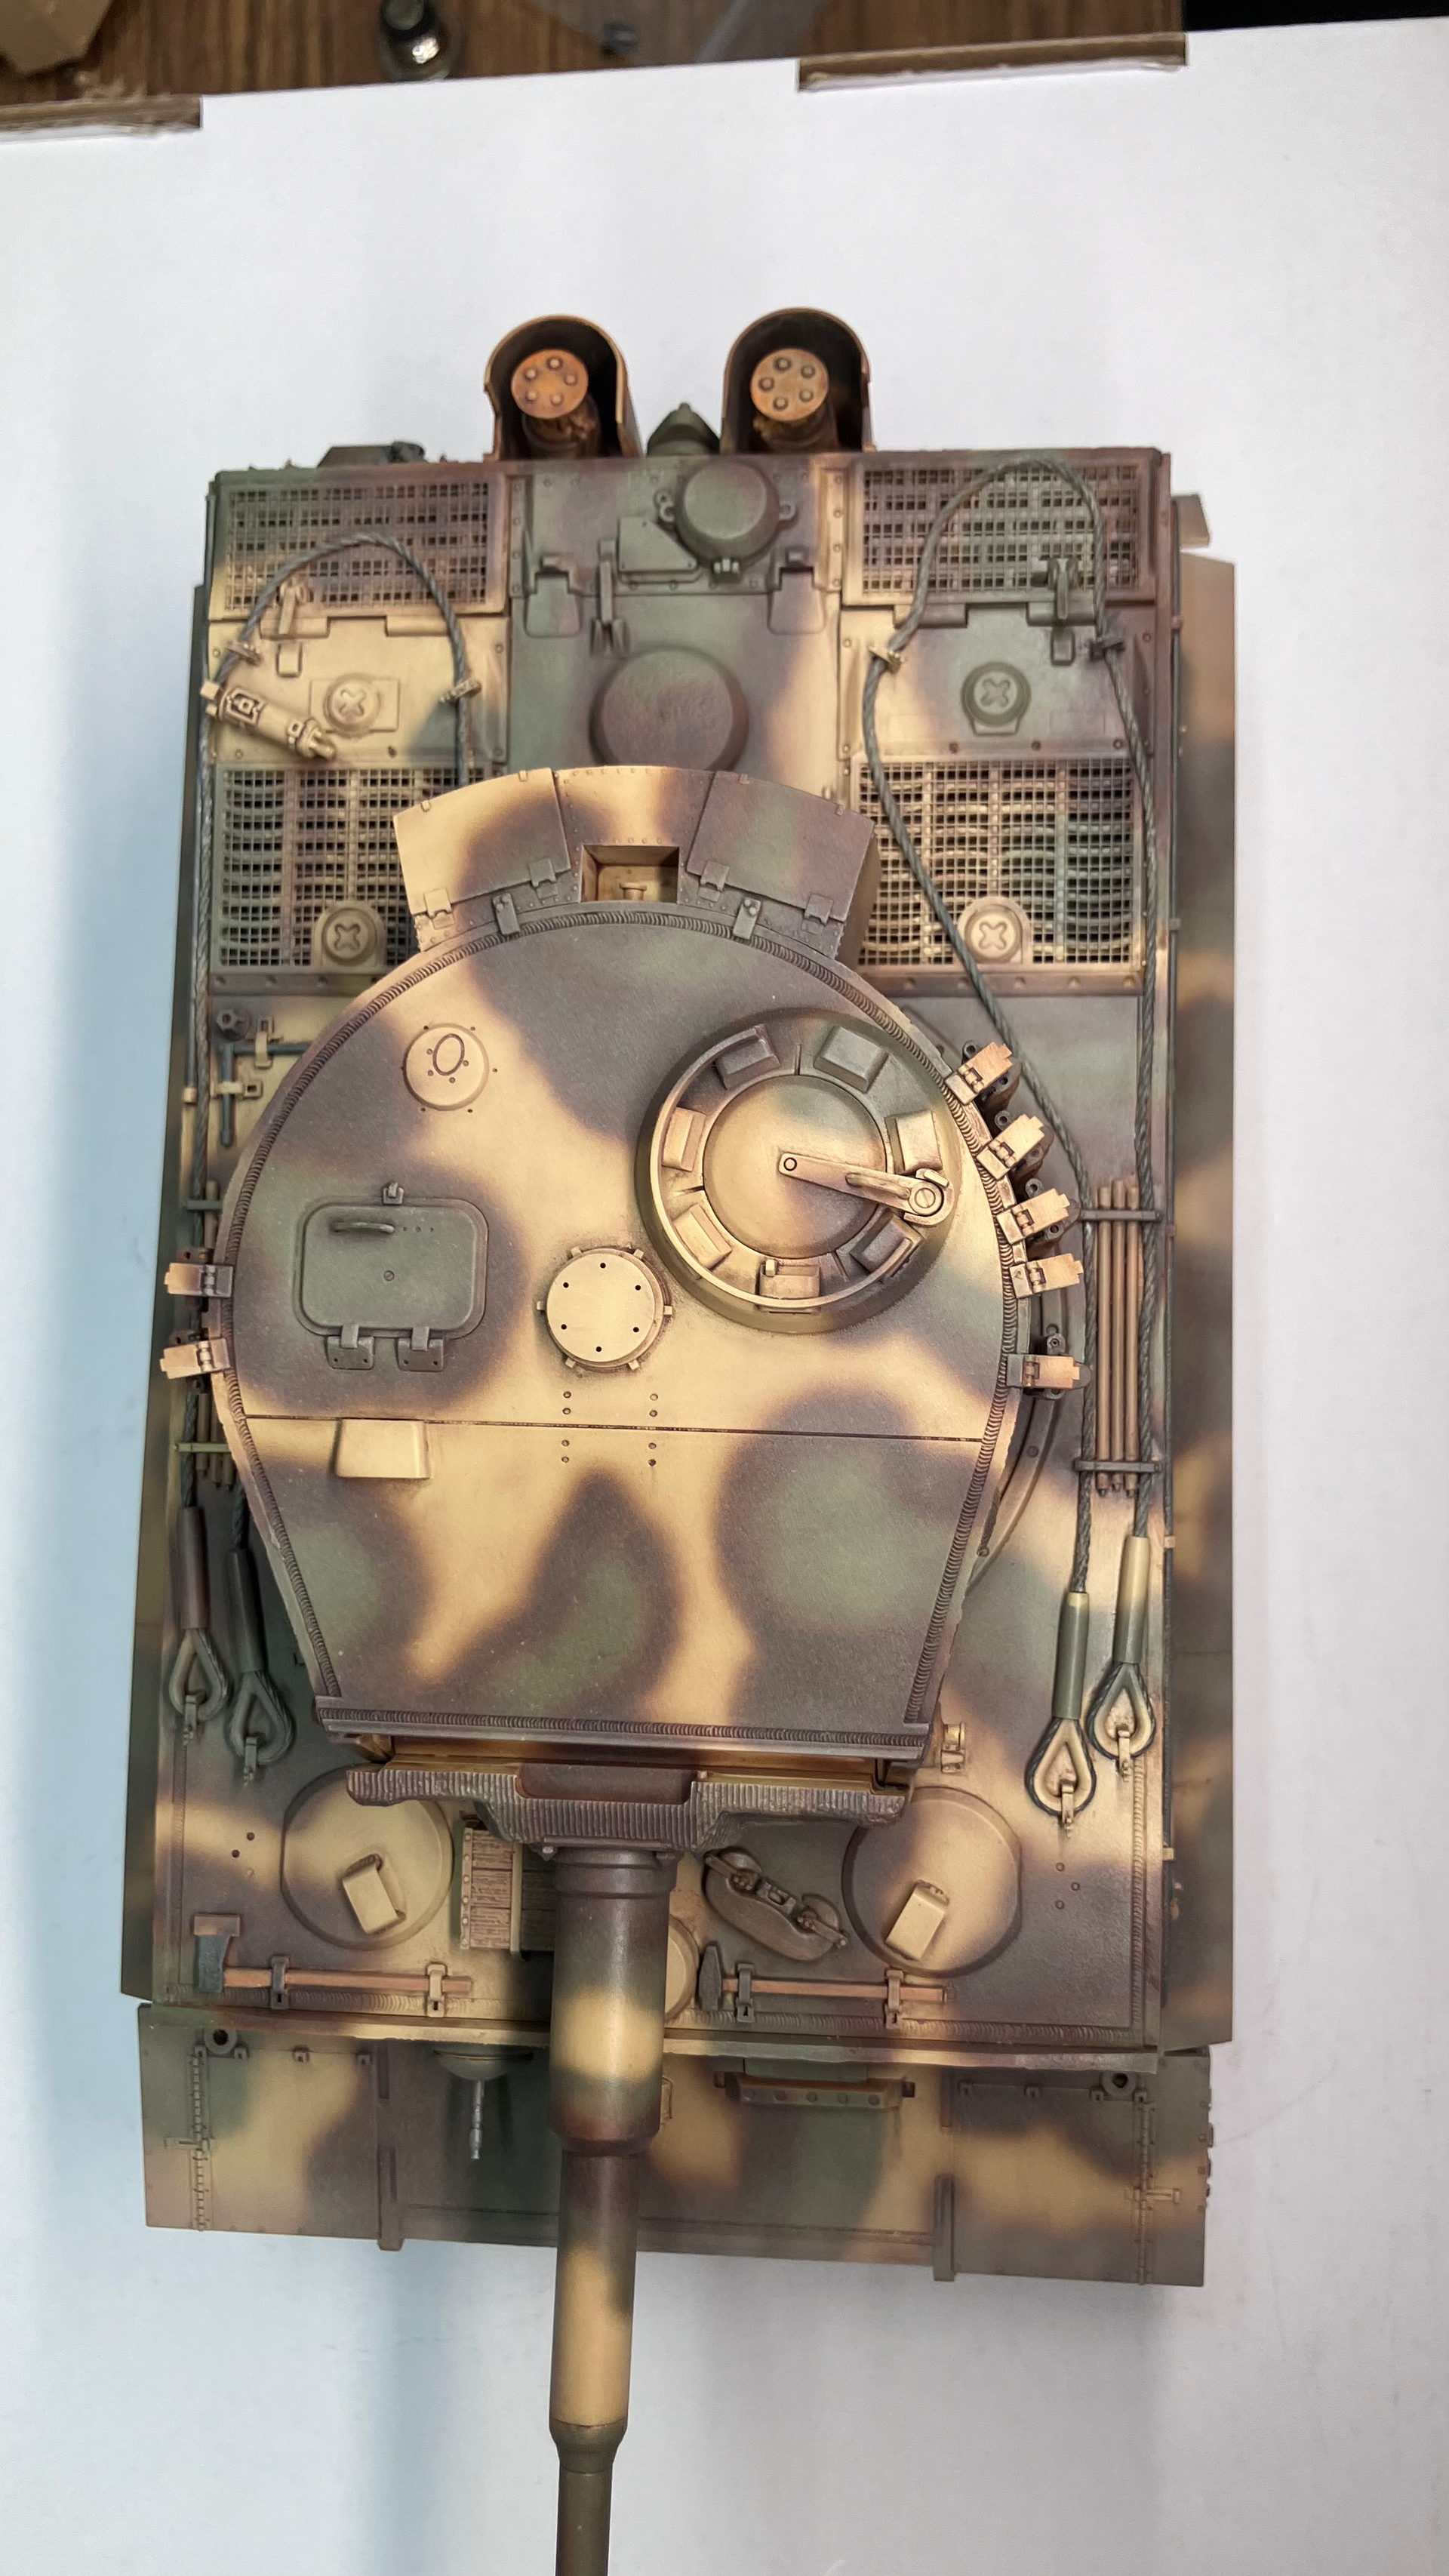
I hope this catches you before the painting….
8 Likes
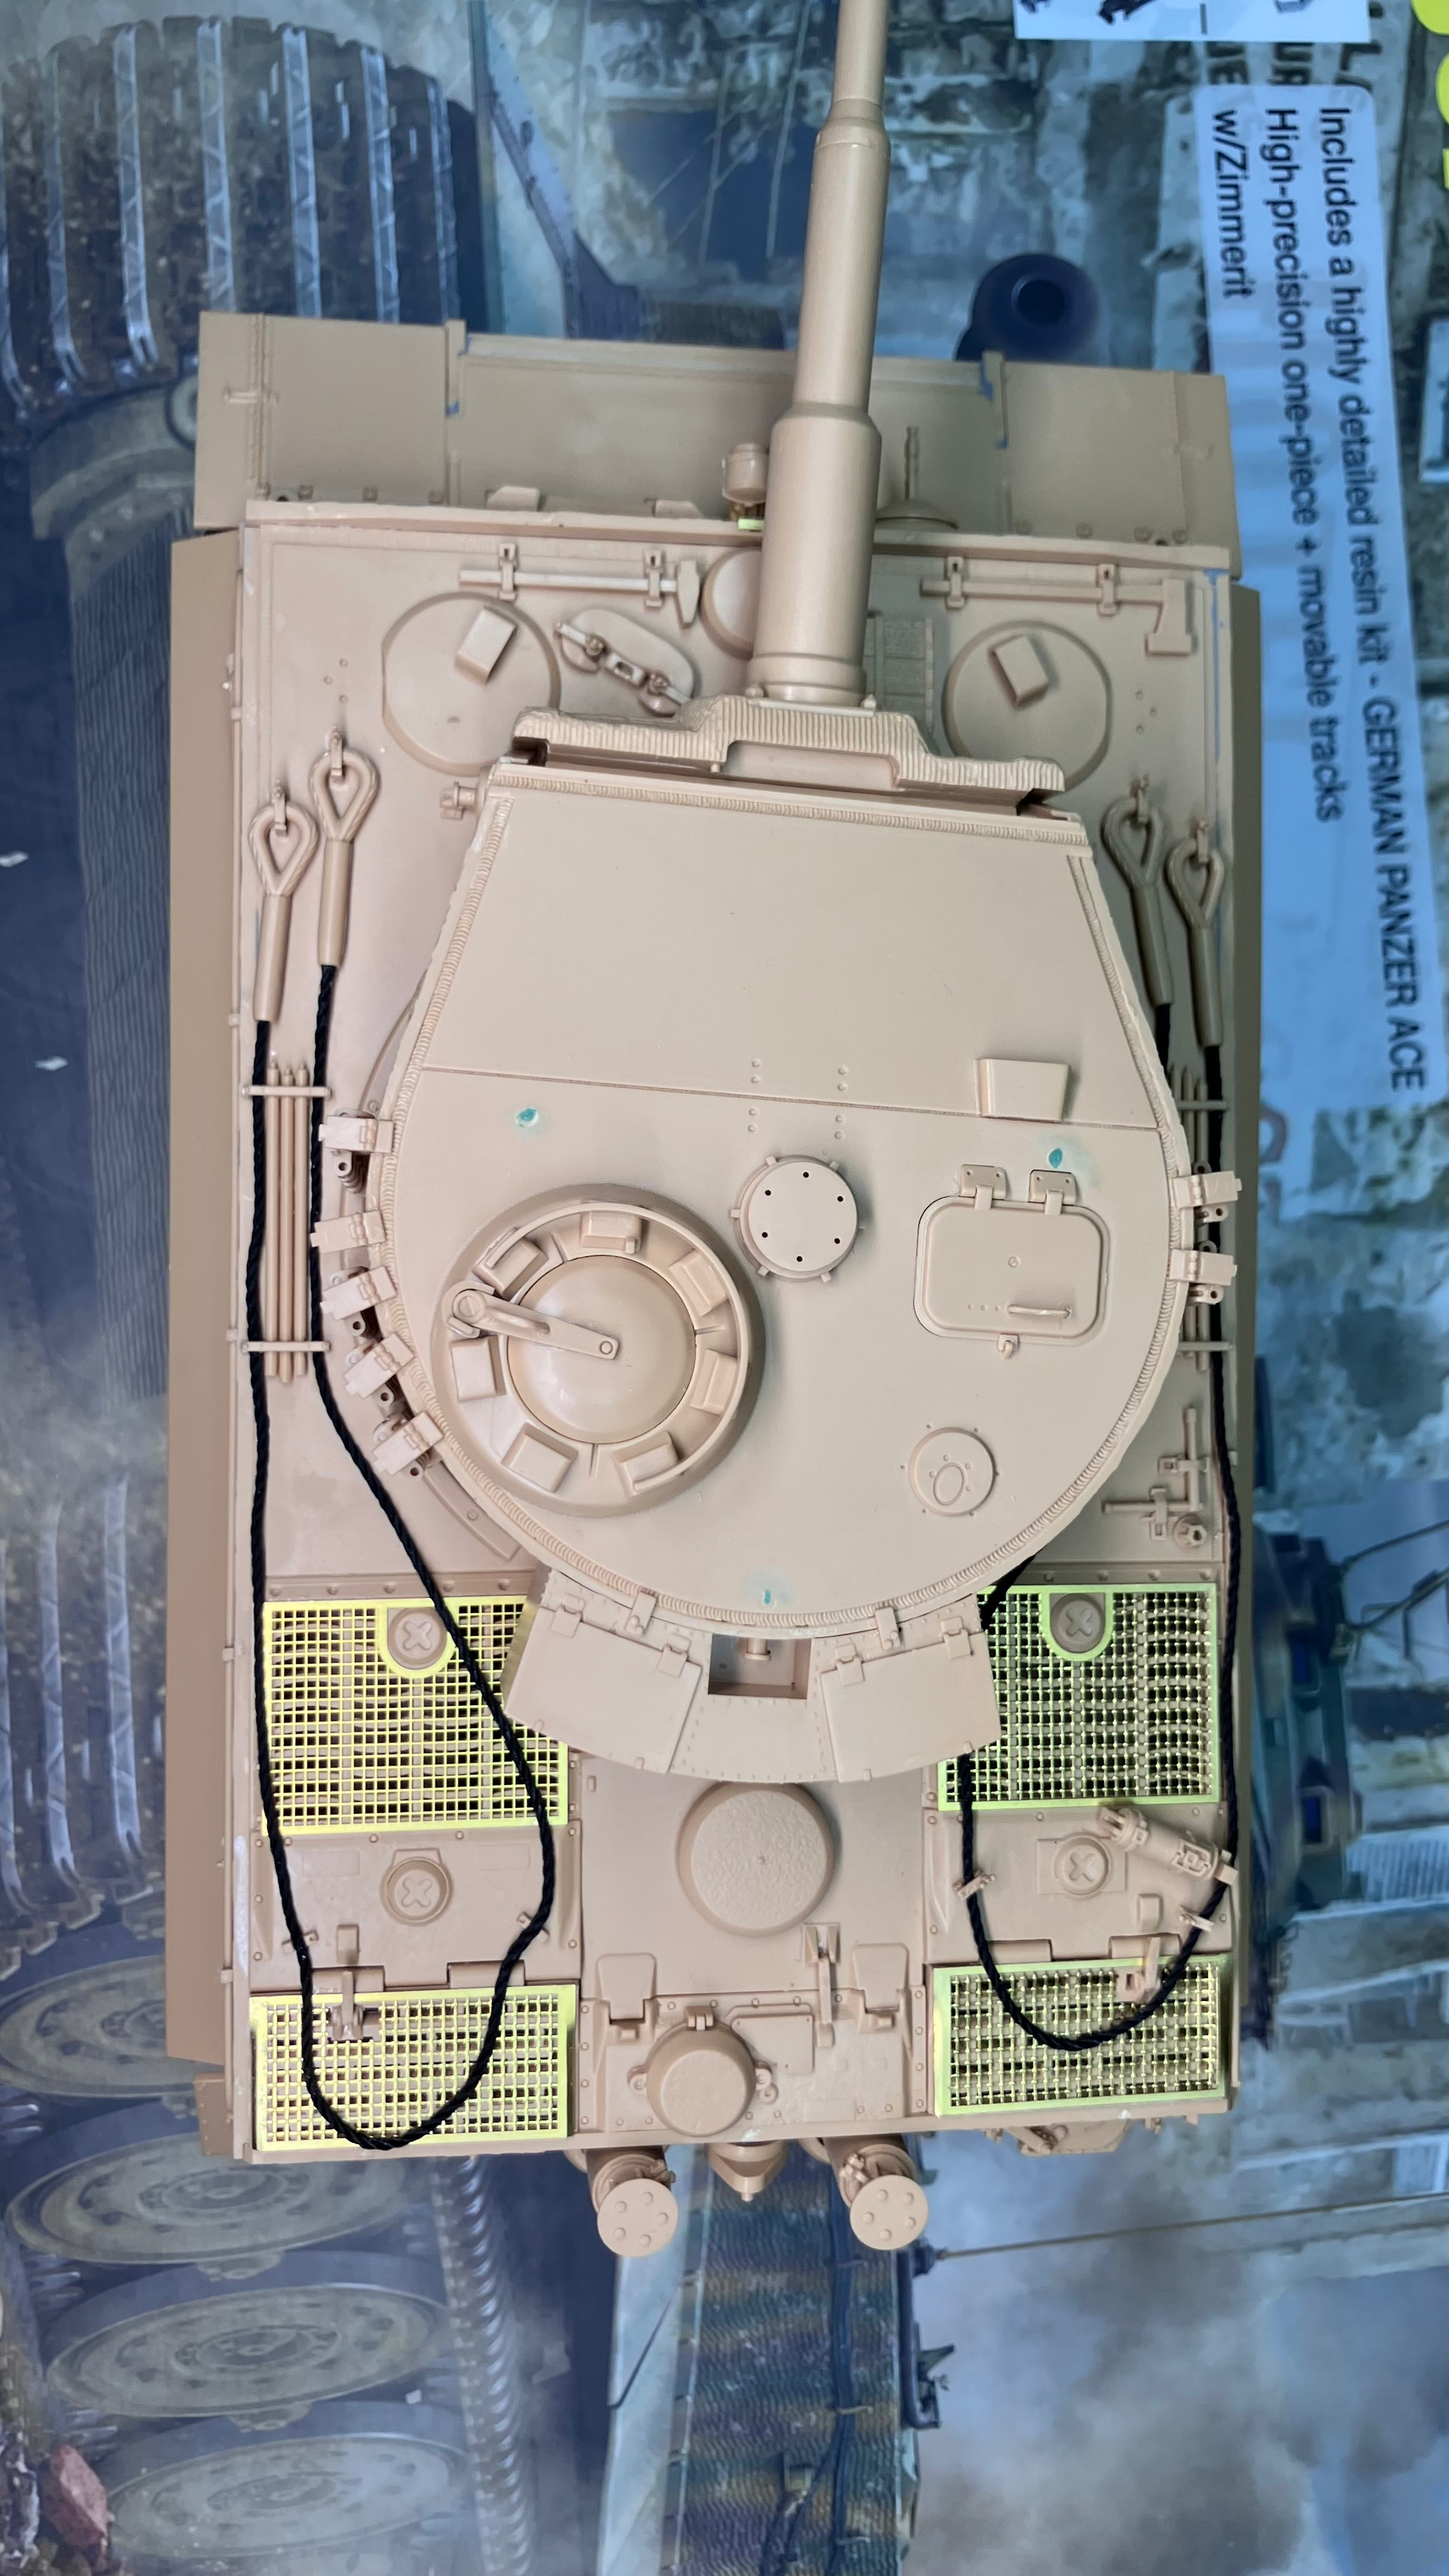
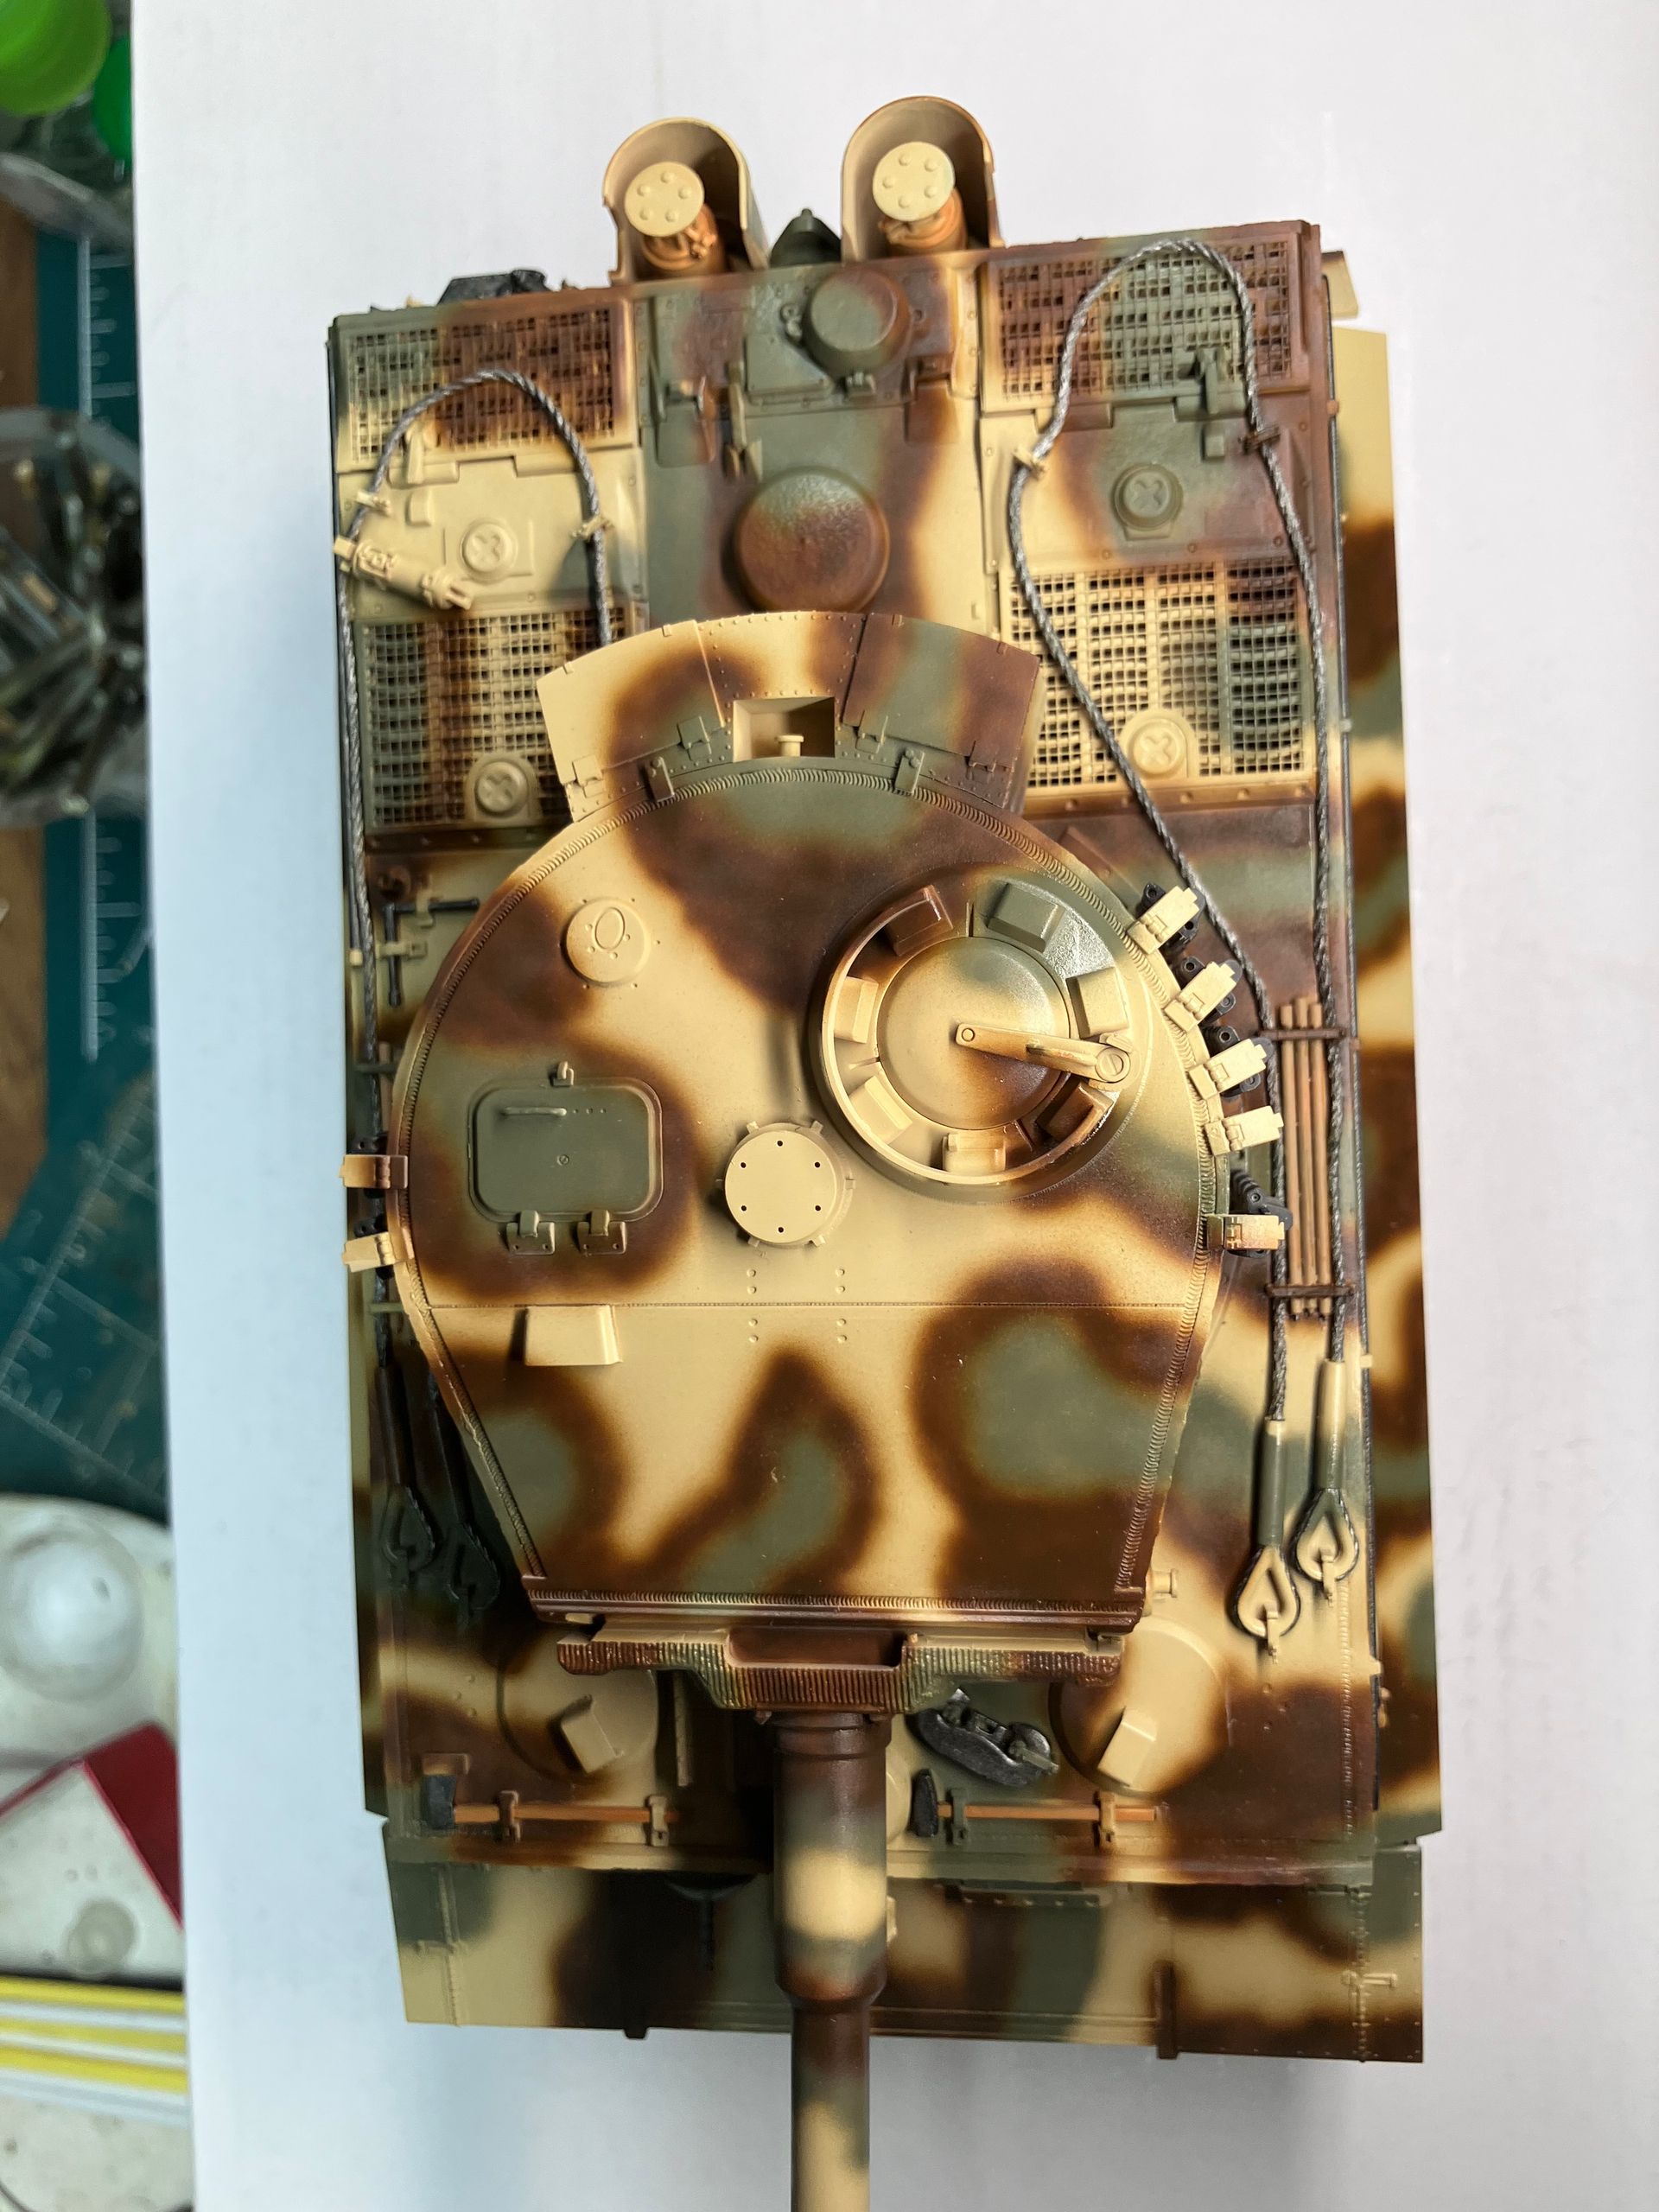
No photo but fixed. Spot anything else? Thanks much. Totally missed that it was upside down.
1 Like
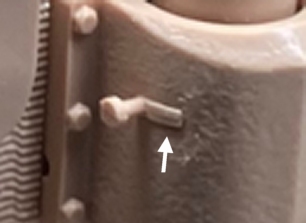
Well, yes… the spare track links stored on the turret? You didn’t attach their guide horns.
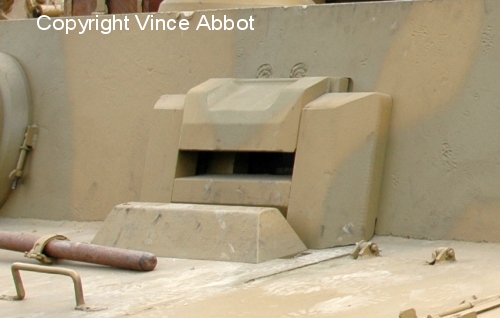
And these lifting hooks? They’re not separate parts in reality, it’s just how a plastic kit has to be made. You should sand away the rectangular part until not visible.
David
4 Likes
Ok. Thanks. Getting too old. Didn’t put the horns on cause I didn’t want to knock them off. Forgot about them. Thanks again.
3 Likes
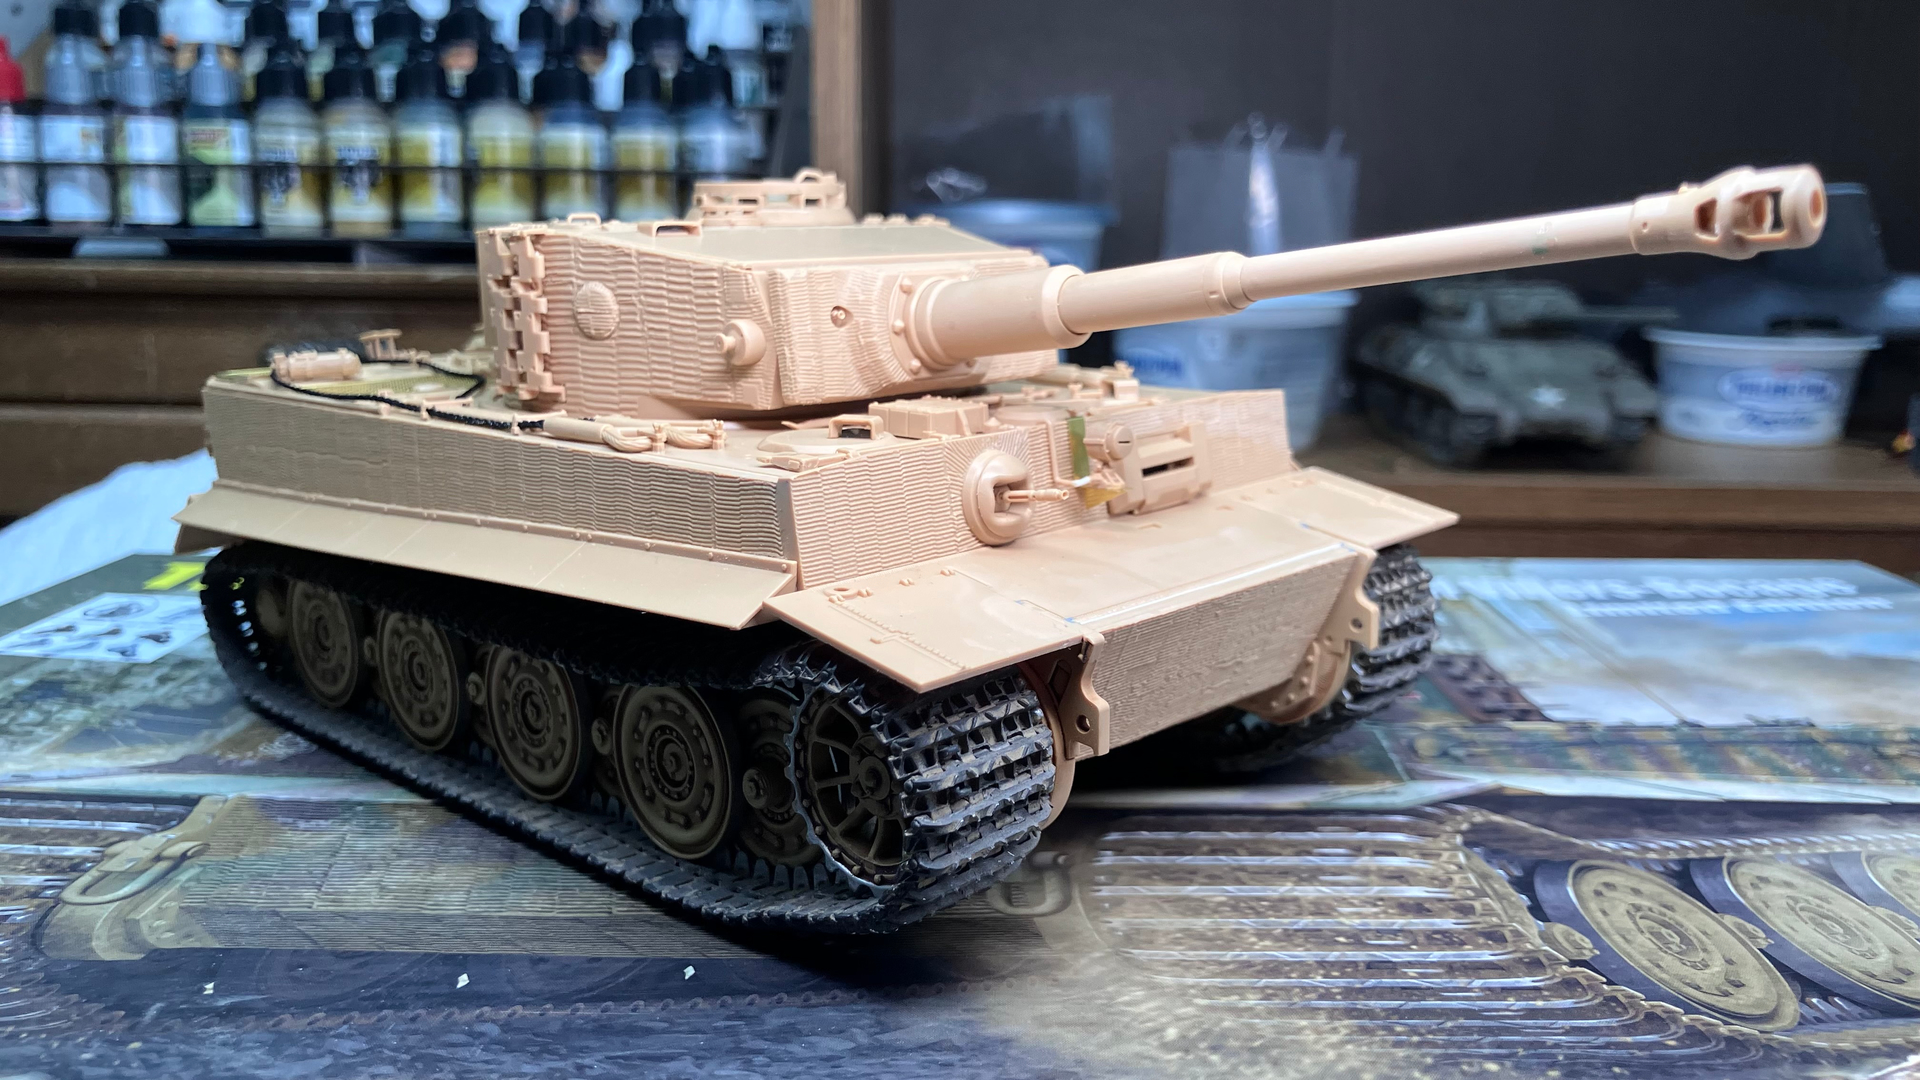
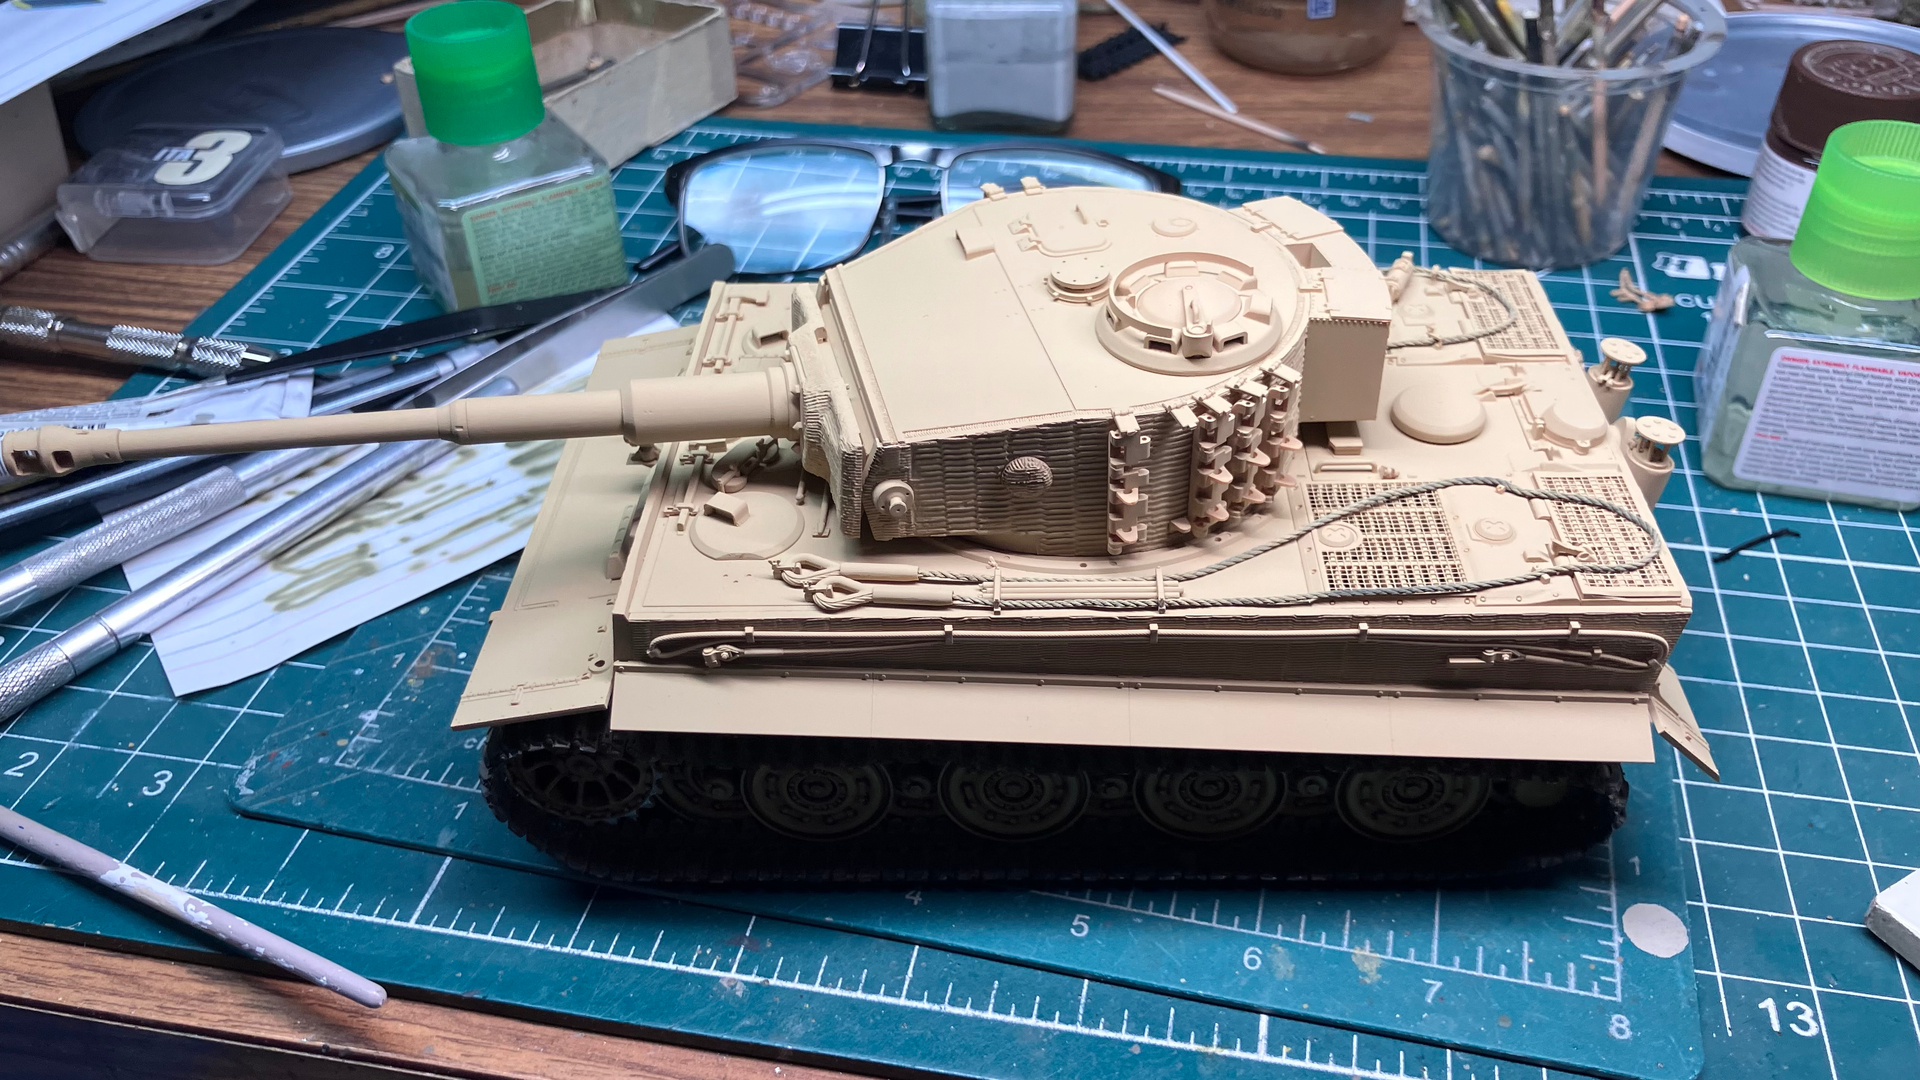
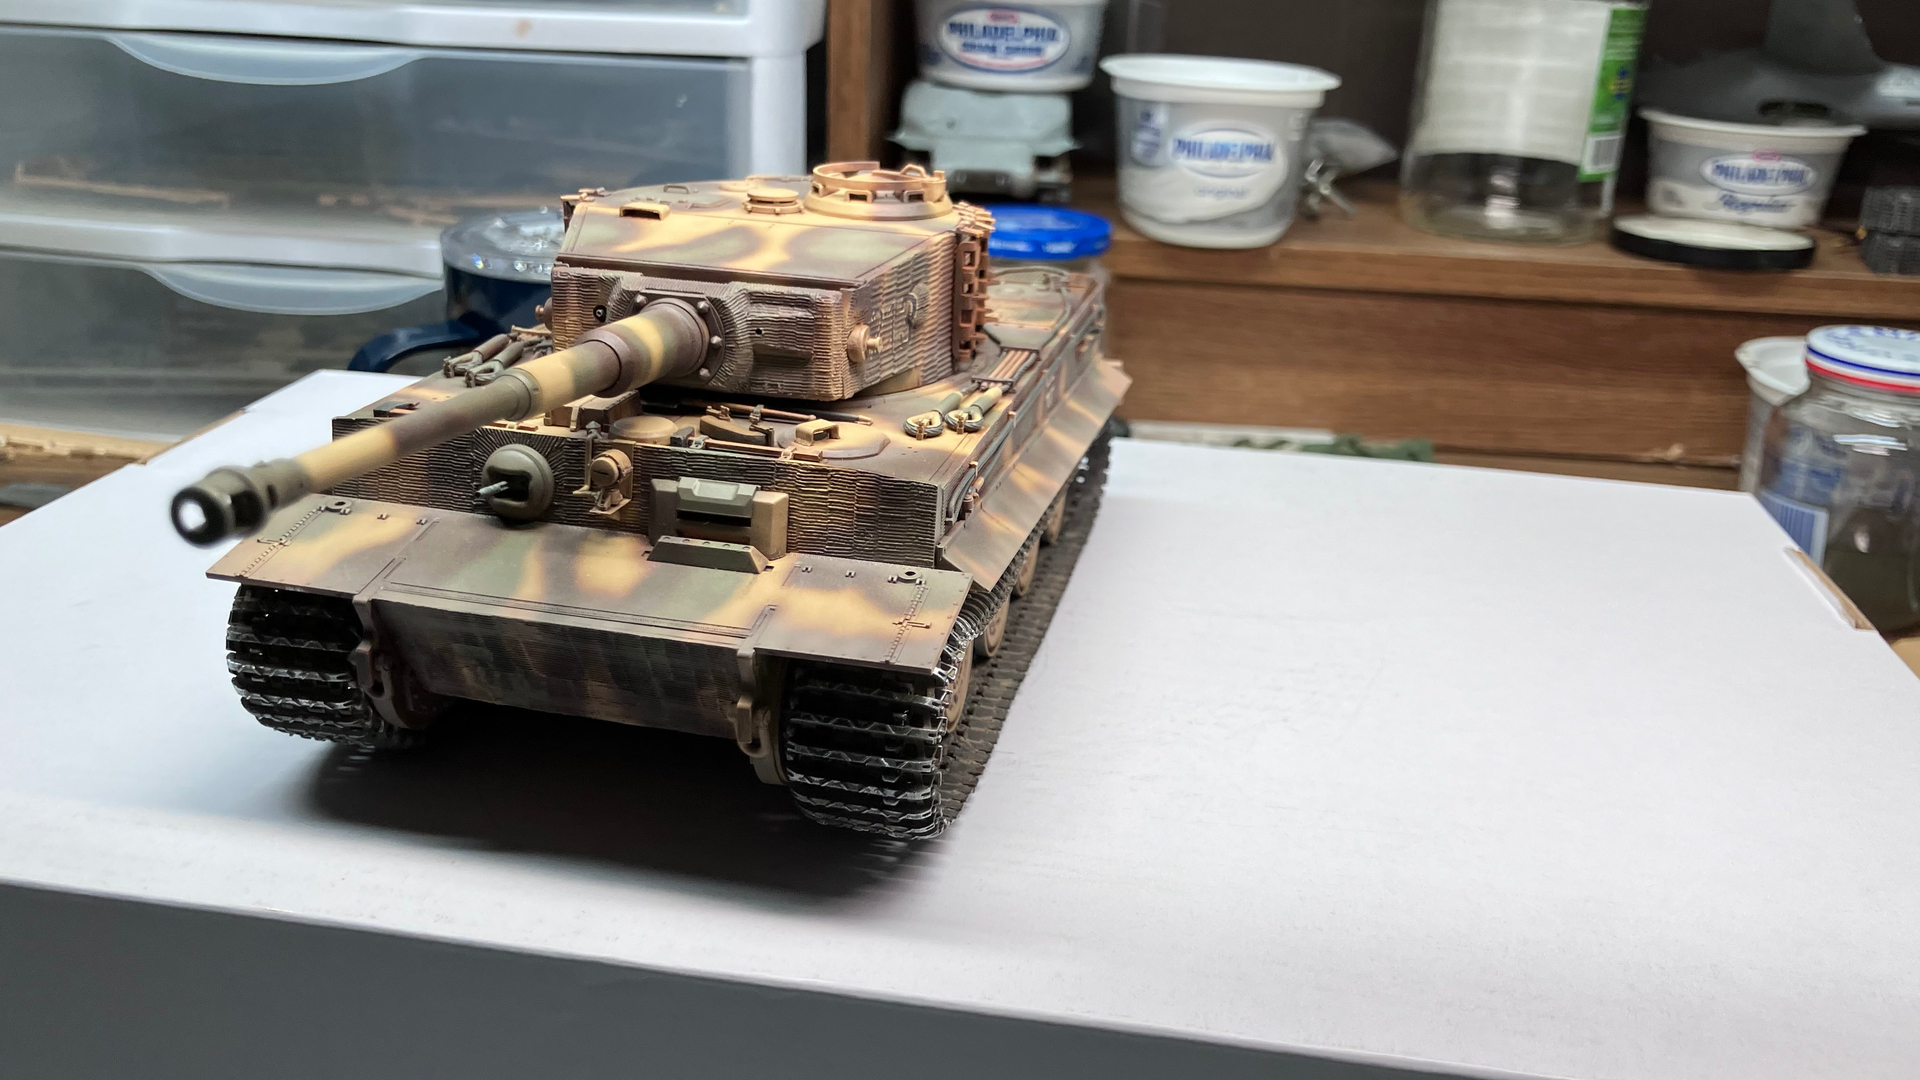
Just a single shot to show the base coat. Will eventually be in the red brown and green camo but need to decide on the pattern.
5 Likes
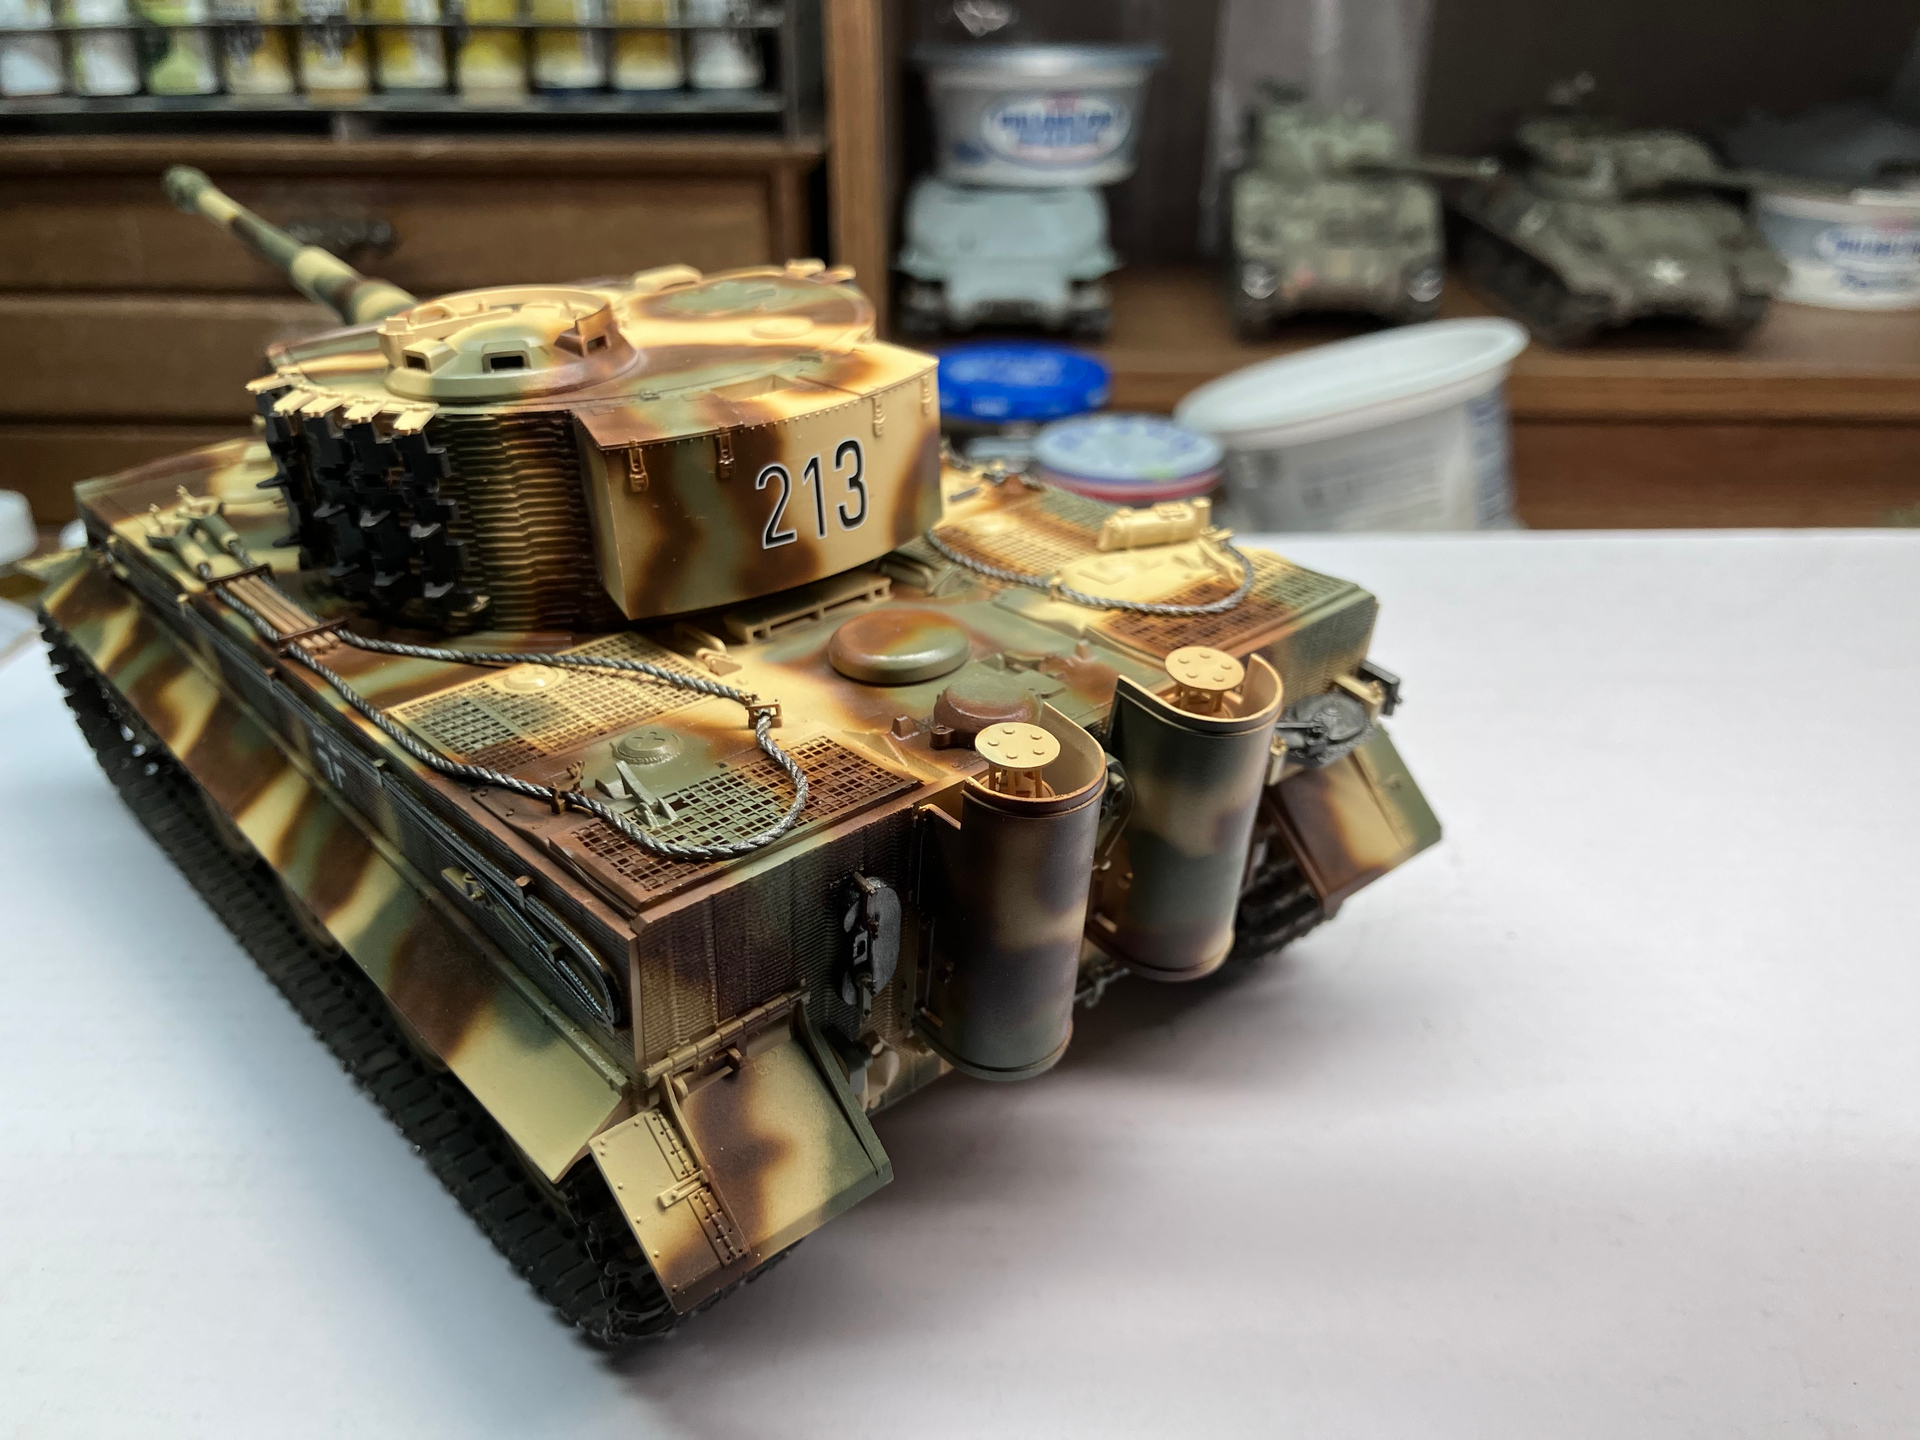
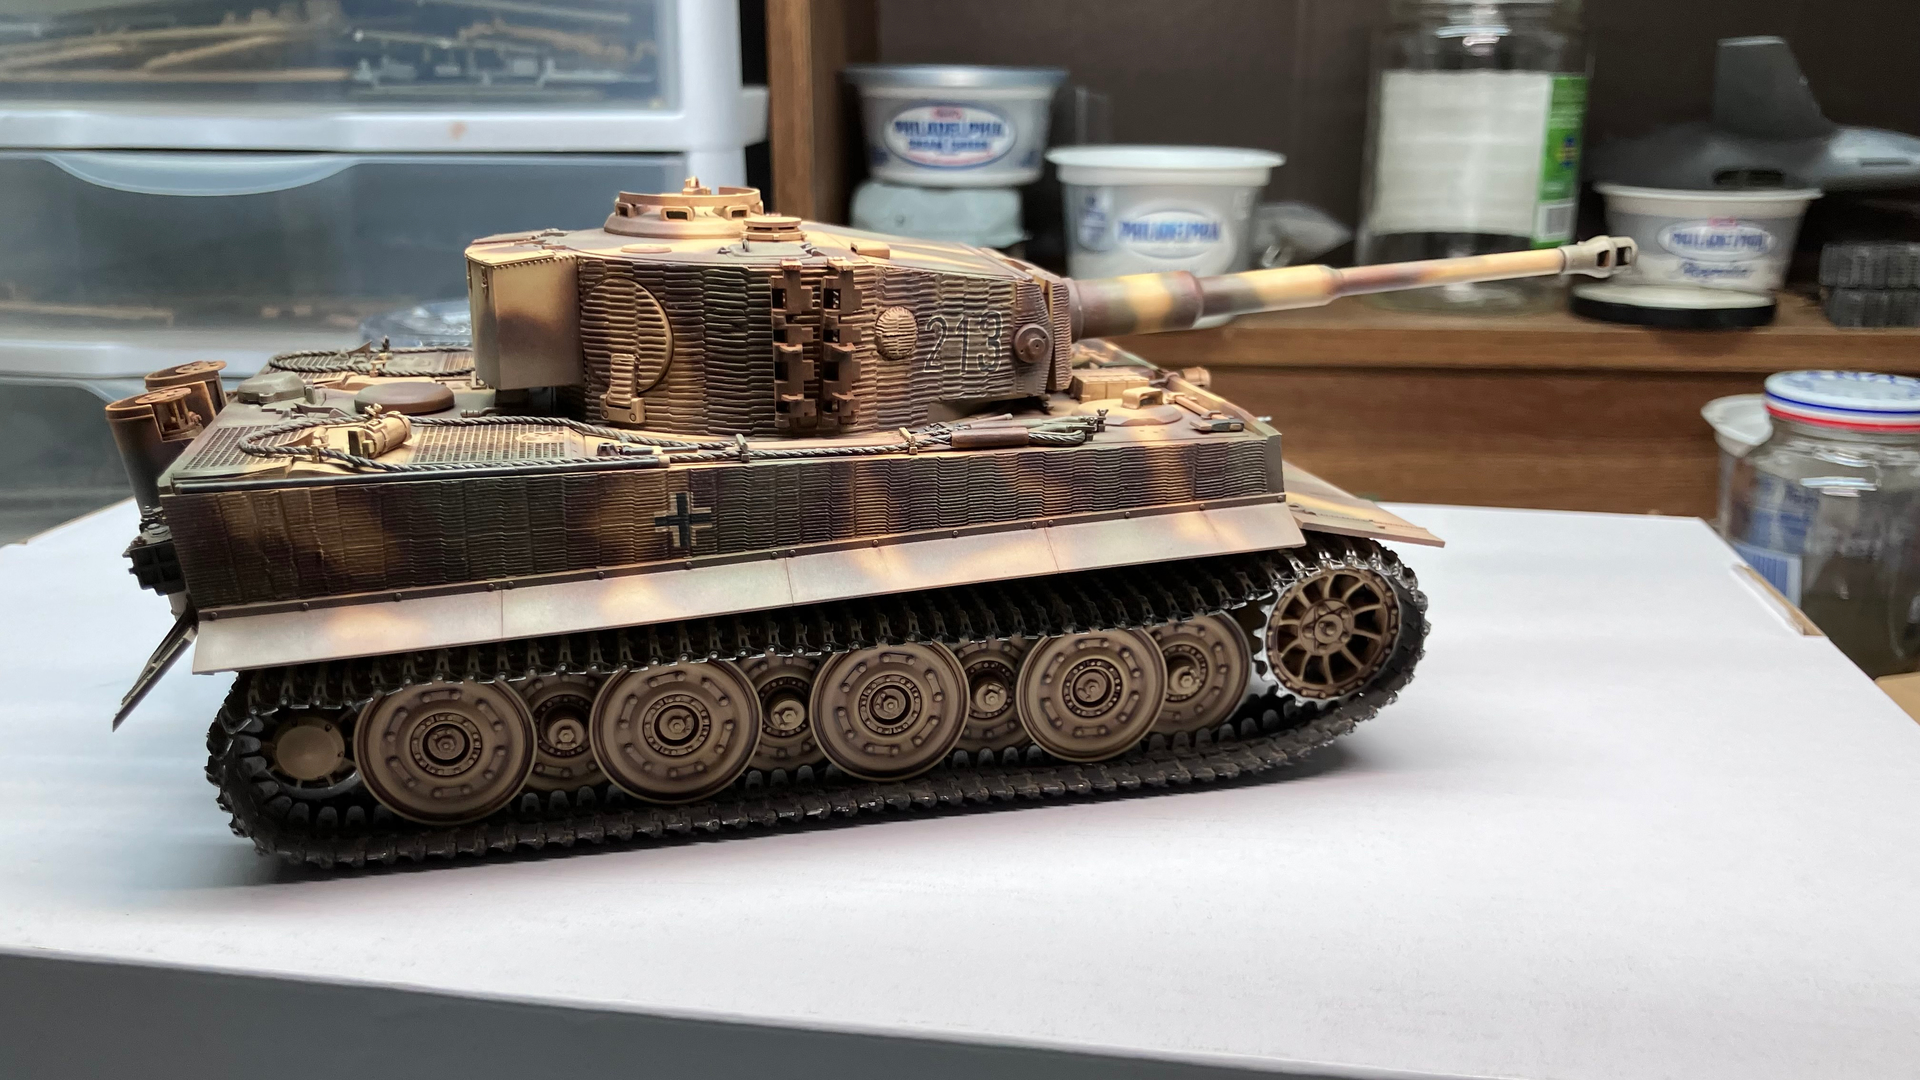
Camouflage colors on, gloss coated, decaled
and sealed.
As easy and well as the Firefly went together this build was rather disappointing. I recounted the problem with the tracks in the opening post. There was also a problem fitting the upper to lower hull. The hull sides in the area between the driver’s front plate and the front plate of the lower hull was bowed in. That caused the glacis to not want to fit. The issue being that the cut outs on the glacis would not line up with the mounts for the tow shackles. Took some trial and error to find the spot that would correct the bow in without spreading the area behind the driver’s front plate so the upper hull sides would still fit properly. Maybe I just got a bad sample but be sure to check if you decide to give this kit a go.
10 Likes
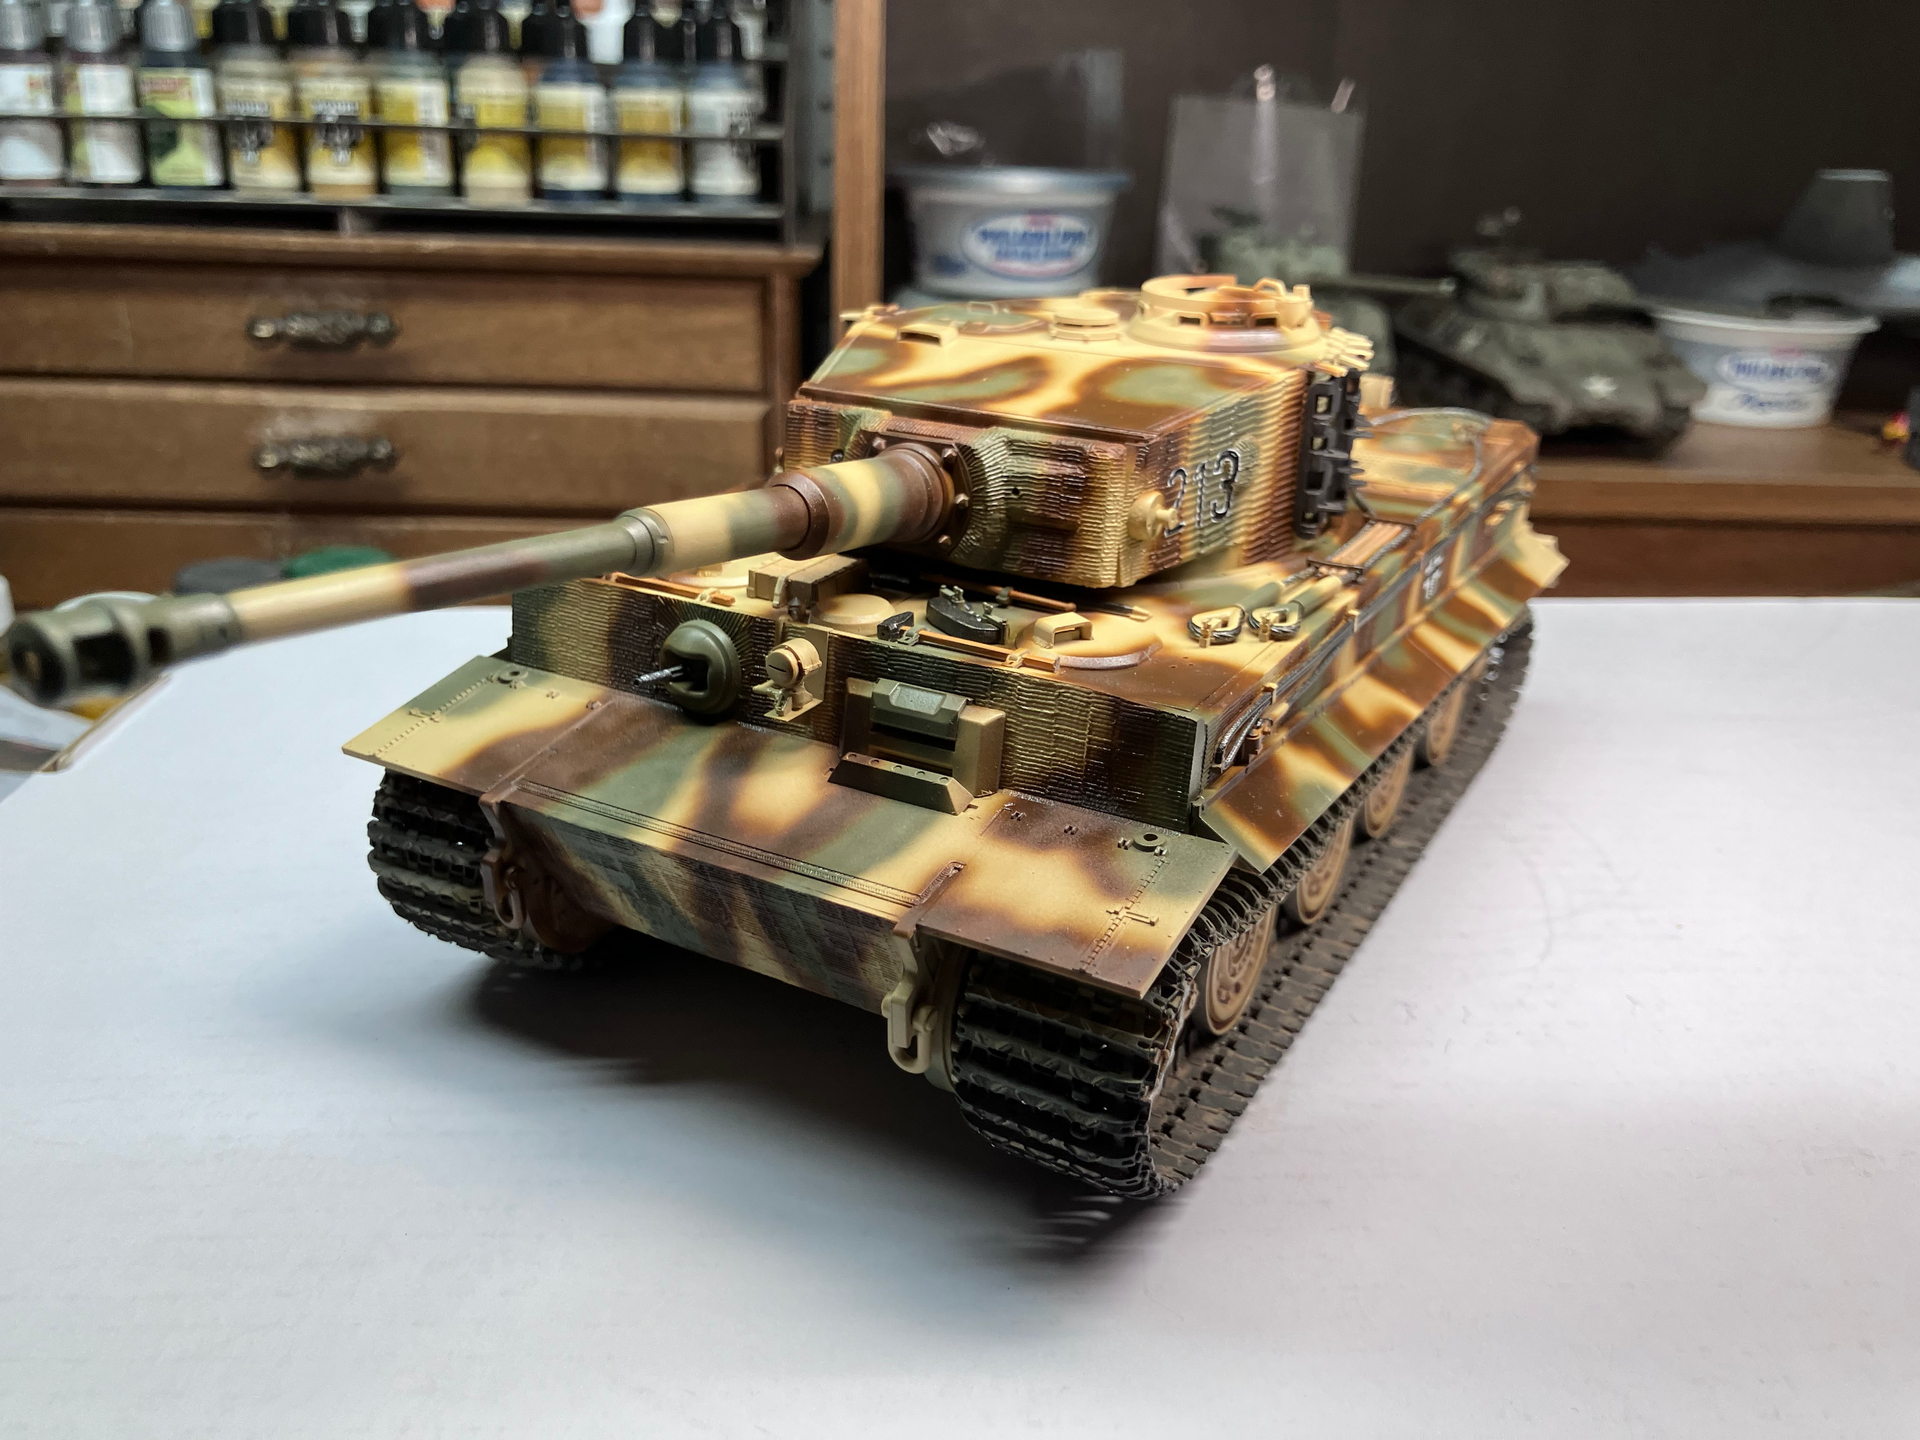
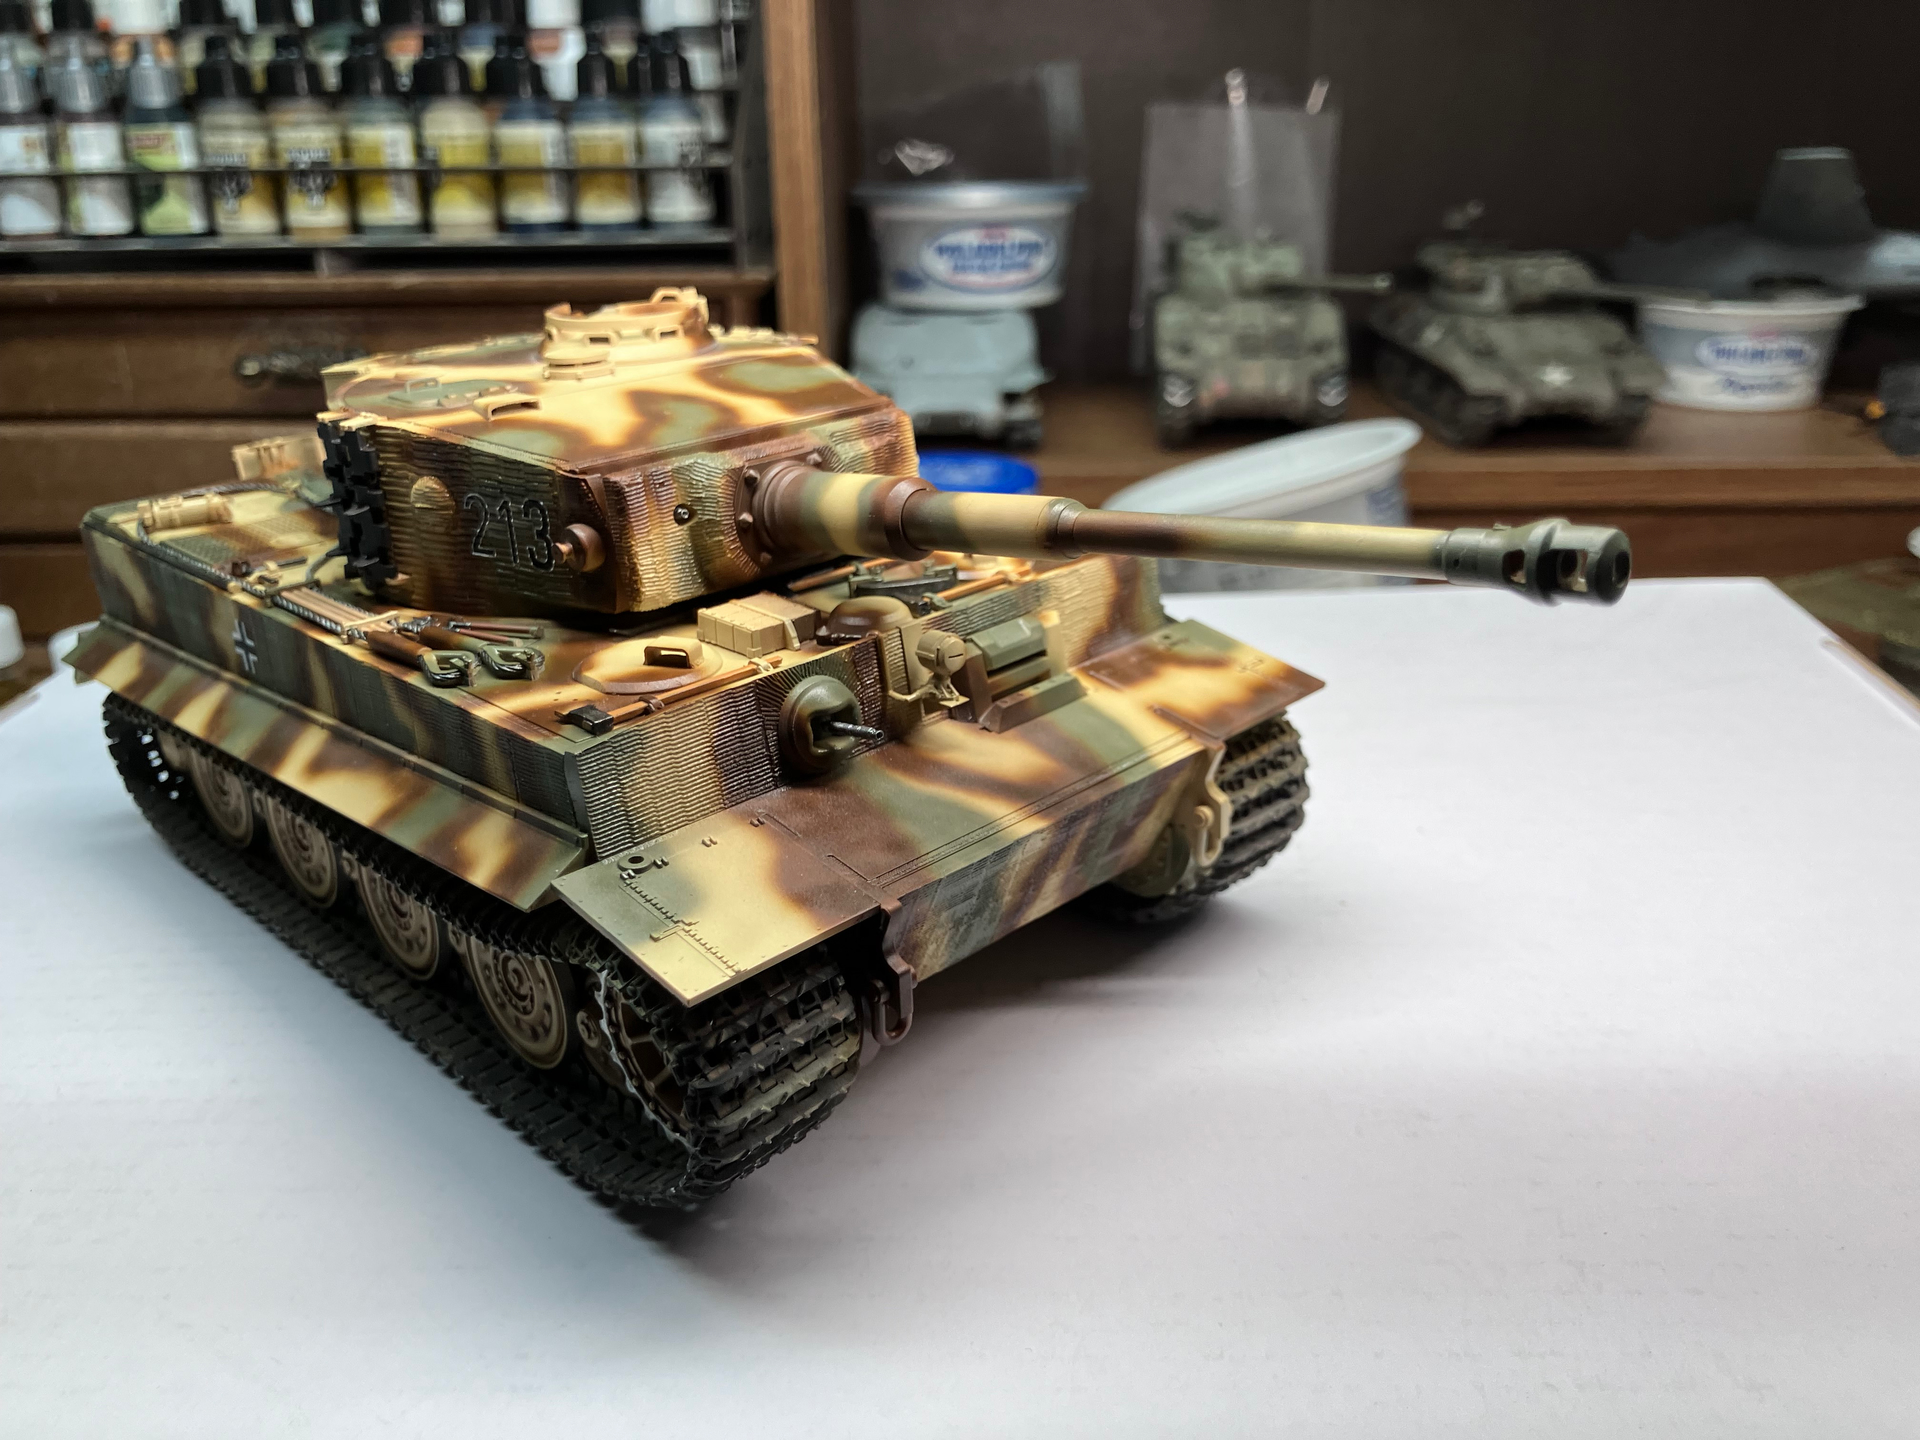
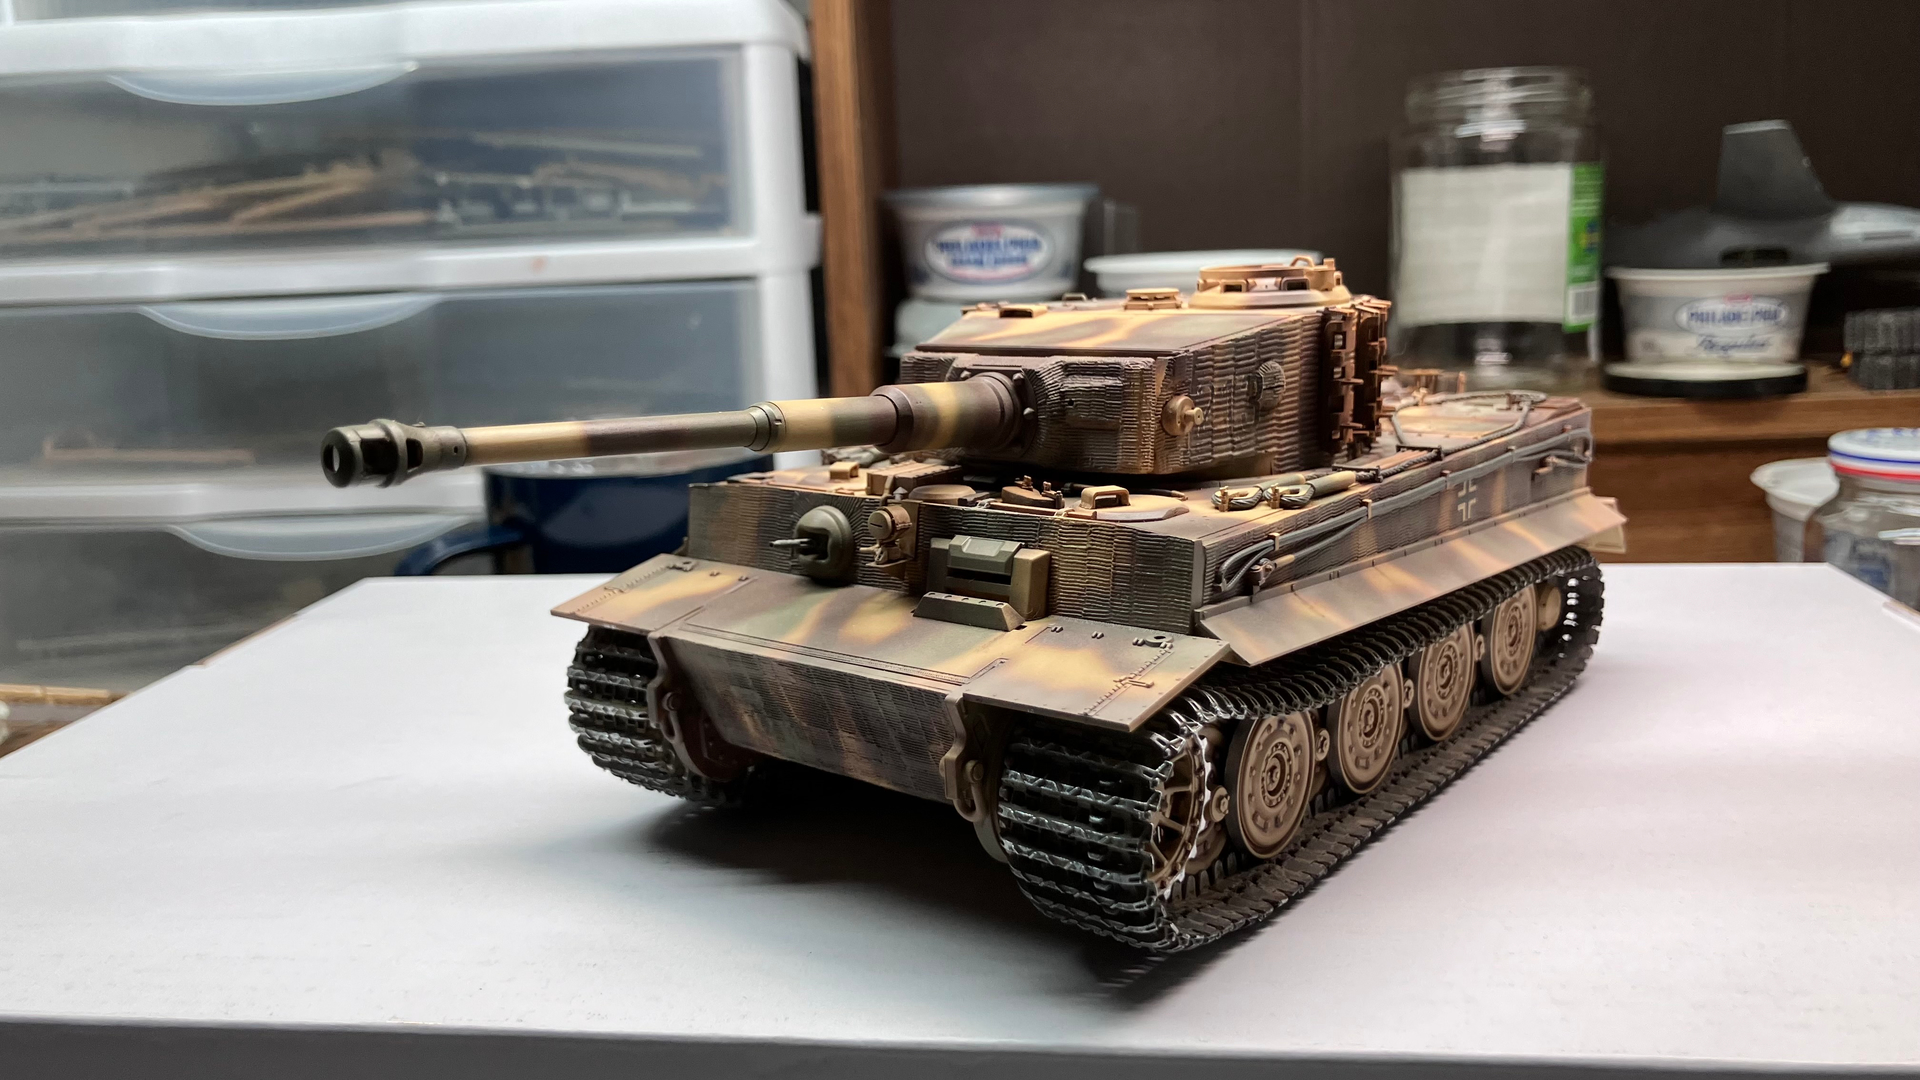
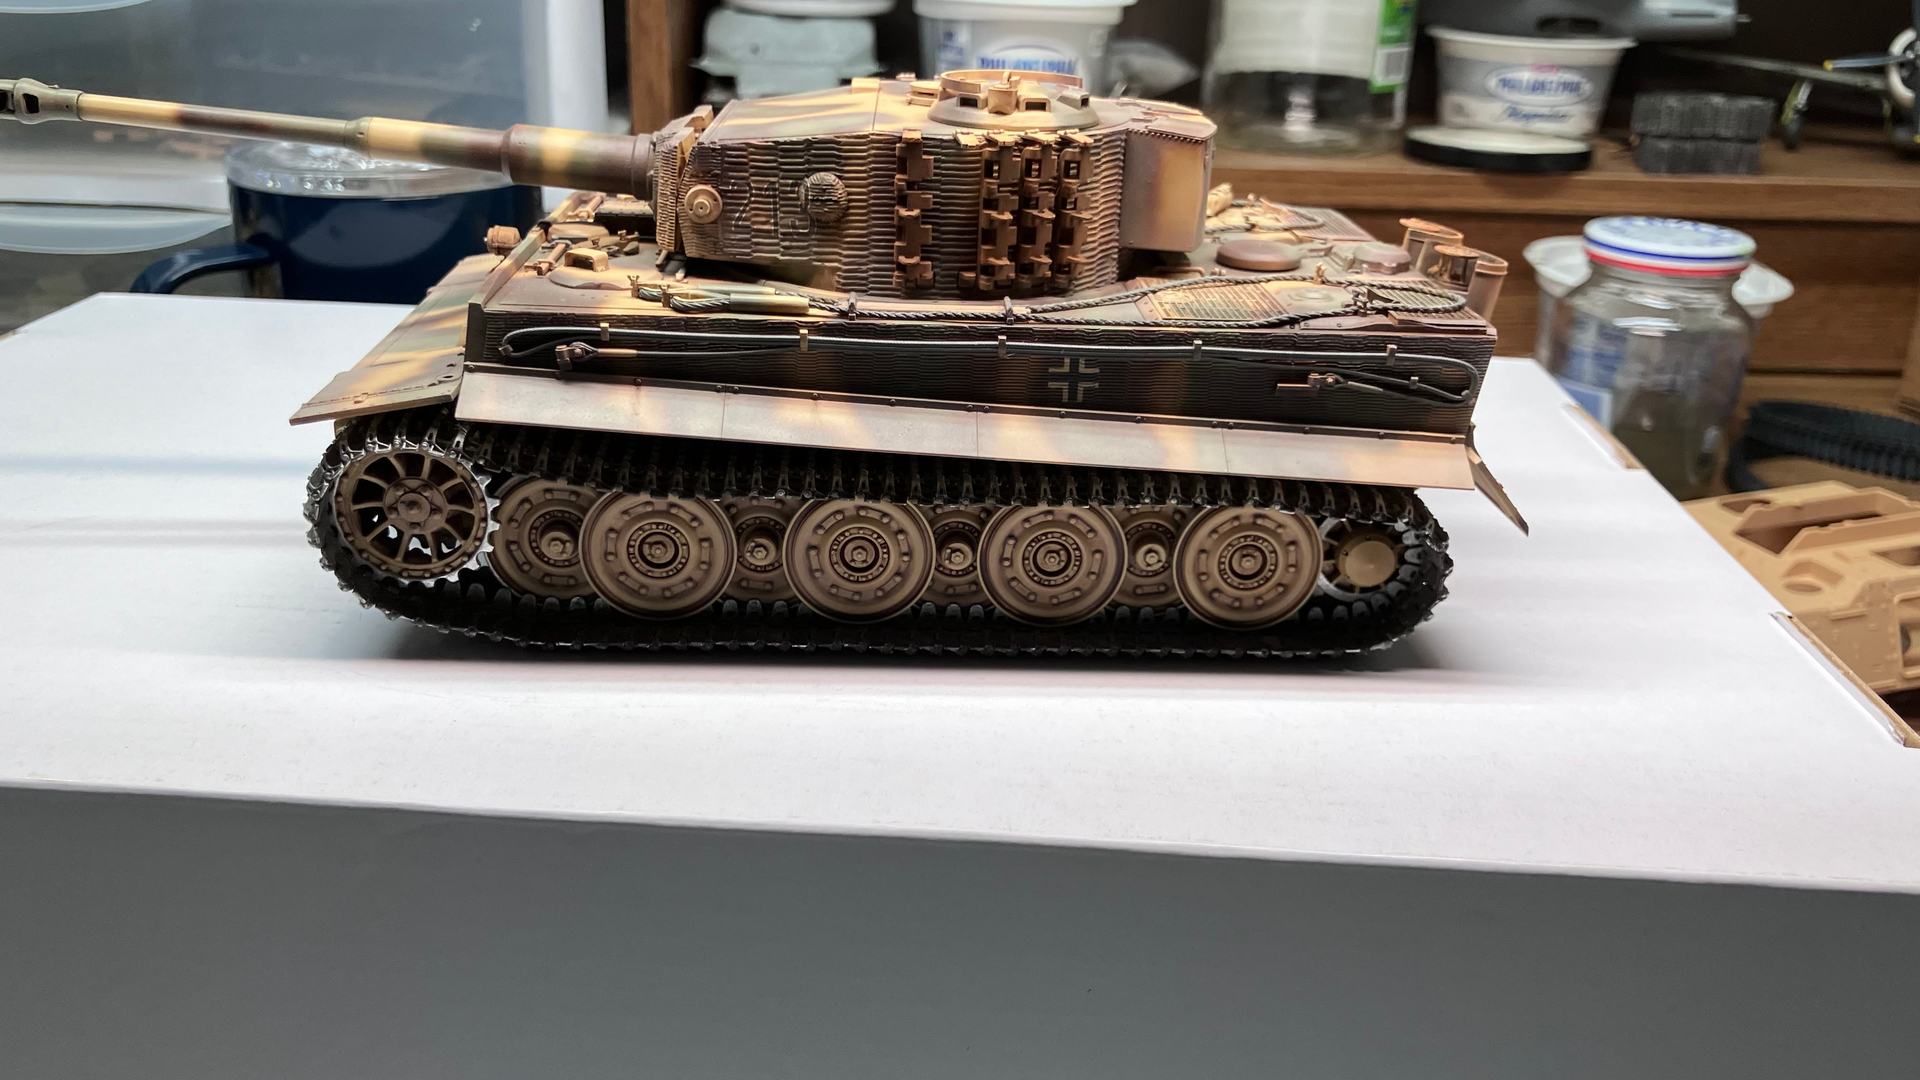
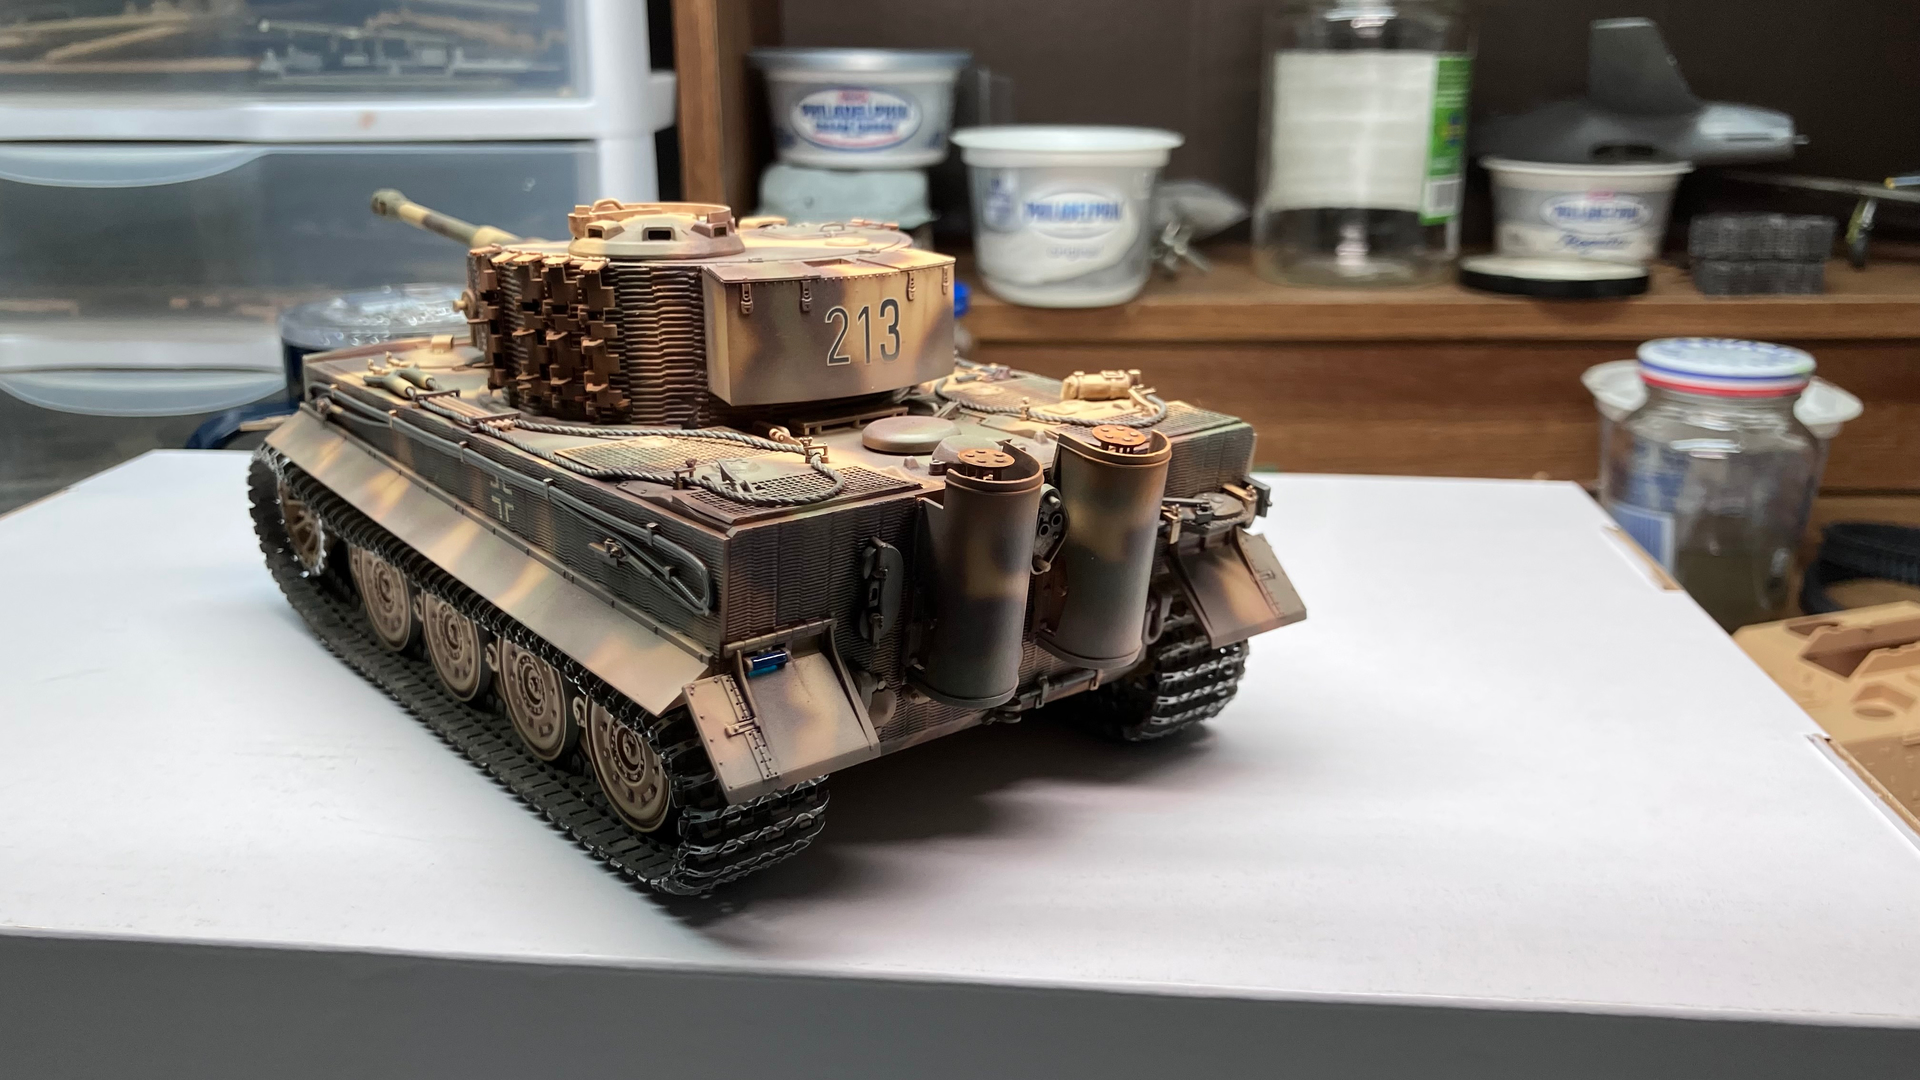
Finished. Not heavily weathered, just some light dusting for now. Need to sit it aside for a bit until I can decide where to go next with the weathering. May end up as is.
Painted with late war Tamiya acrylics. Had I not had trouble with the tracks not fitting and the bowed front lower hull I would not have hesitated to give this kit a hearty recommendation. Perhaps my sample was a fluke. I would be interested to know if anyone else had the same issues. As it is I cannot recommend this kit. The bowed hull was easily fixed, and I suspect many would opt for AM tracks in any case but for a 21st century state of the art kit I would have expected better. As always comments are welcome and thanks for looking.
13 Likes
Great job, both construction and camo. Check out my RFM Sturmtiger build (“Sturmy Weather”), particularly the most recent posts, regarding a different but oddly similar experience with the tracks.
The two kits are more or less identical regarding suspension, it sounds like I didn’t miss out having no RFM tracks in the box to start with. Apart from my particular sprocket issues, I had noticed that my (R-Model) metal tracks are also fighting to sit on the roadwheels comfortably. Having had a bad experience in the past I was extra careful to assemble the wheels flush and true, but the problem still manifests. So it does look like the finger of blame is pointing at RFM – while your kit was a 2024 release I think they must have used the same suspension sprues as my Sturmy which was released in 2018.
Whatever, you fought the good fight and won hands down, bravo.
3 Likes
Thanks and I did check out your build, although I missed that it was a RFM kit. Good to know you had the same issues with the tracks. Those kind of things are not what one would expect from a state of the art kit.
4 Likes
It came excellent, nice clean build and beautiful finish.
1 Like
Excellent Dana! Nice tight build and beautiful camo pattern. Despite your problems, this one turned out really sweet. Minimal weathering shows off all the features and the camo pattern. Outstanding model!
1 Like