Thanks for sharing your work and for the comprehensive presentation, I am really interested in this kit. ![]()
![]()
2 Likes
Ooo, that looks good. ![]()
![]()
3 Likes
@gtdeath13 Niko & @Tank_1812 Ryan, Thank you! ![]() Happy to share my experiences with the kit. RFM really nailed it with a high quality kit that builds up nicely with no fuss for the modeler.
Happy to share my experiences with the kit. RFM really nailed it with a high quality kit that builds up nicely with no fuss for the modeler.
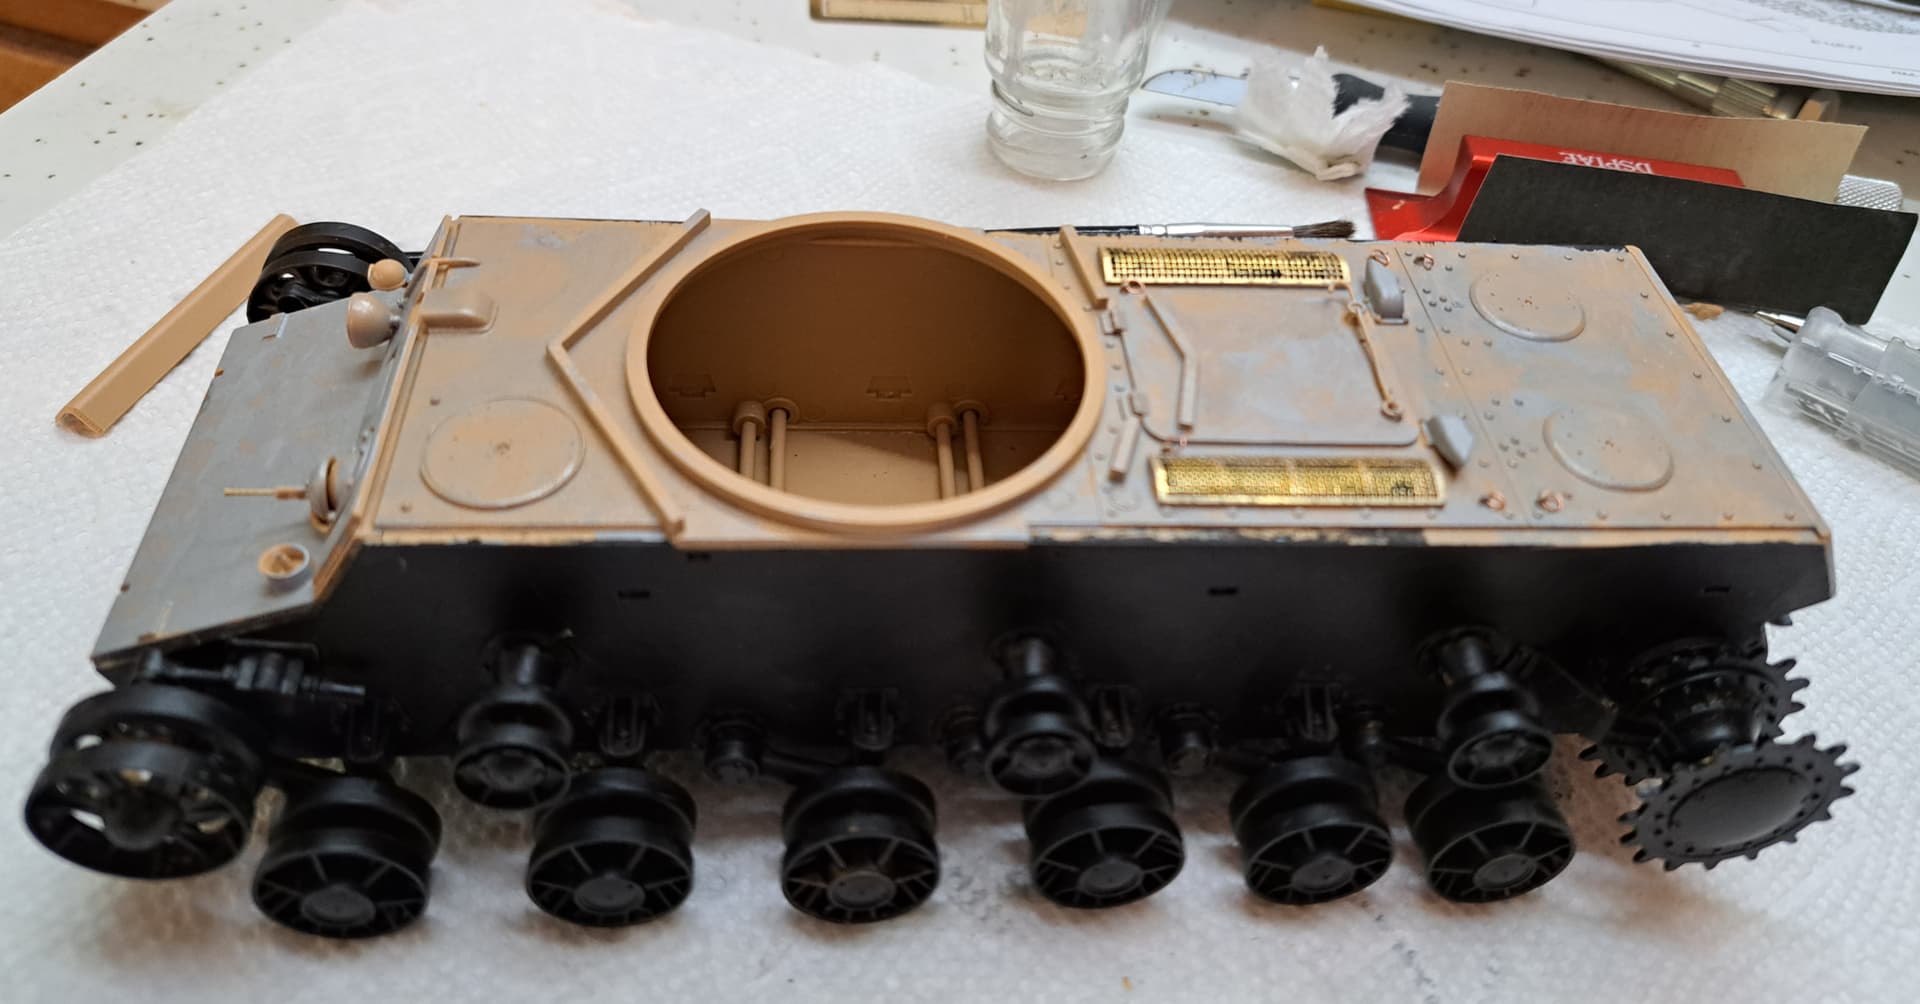
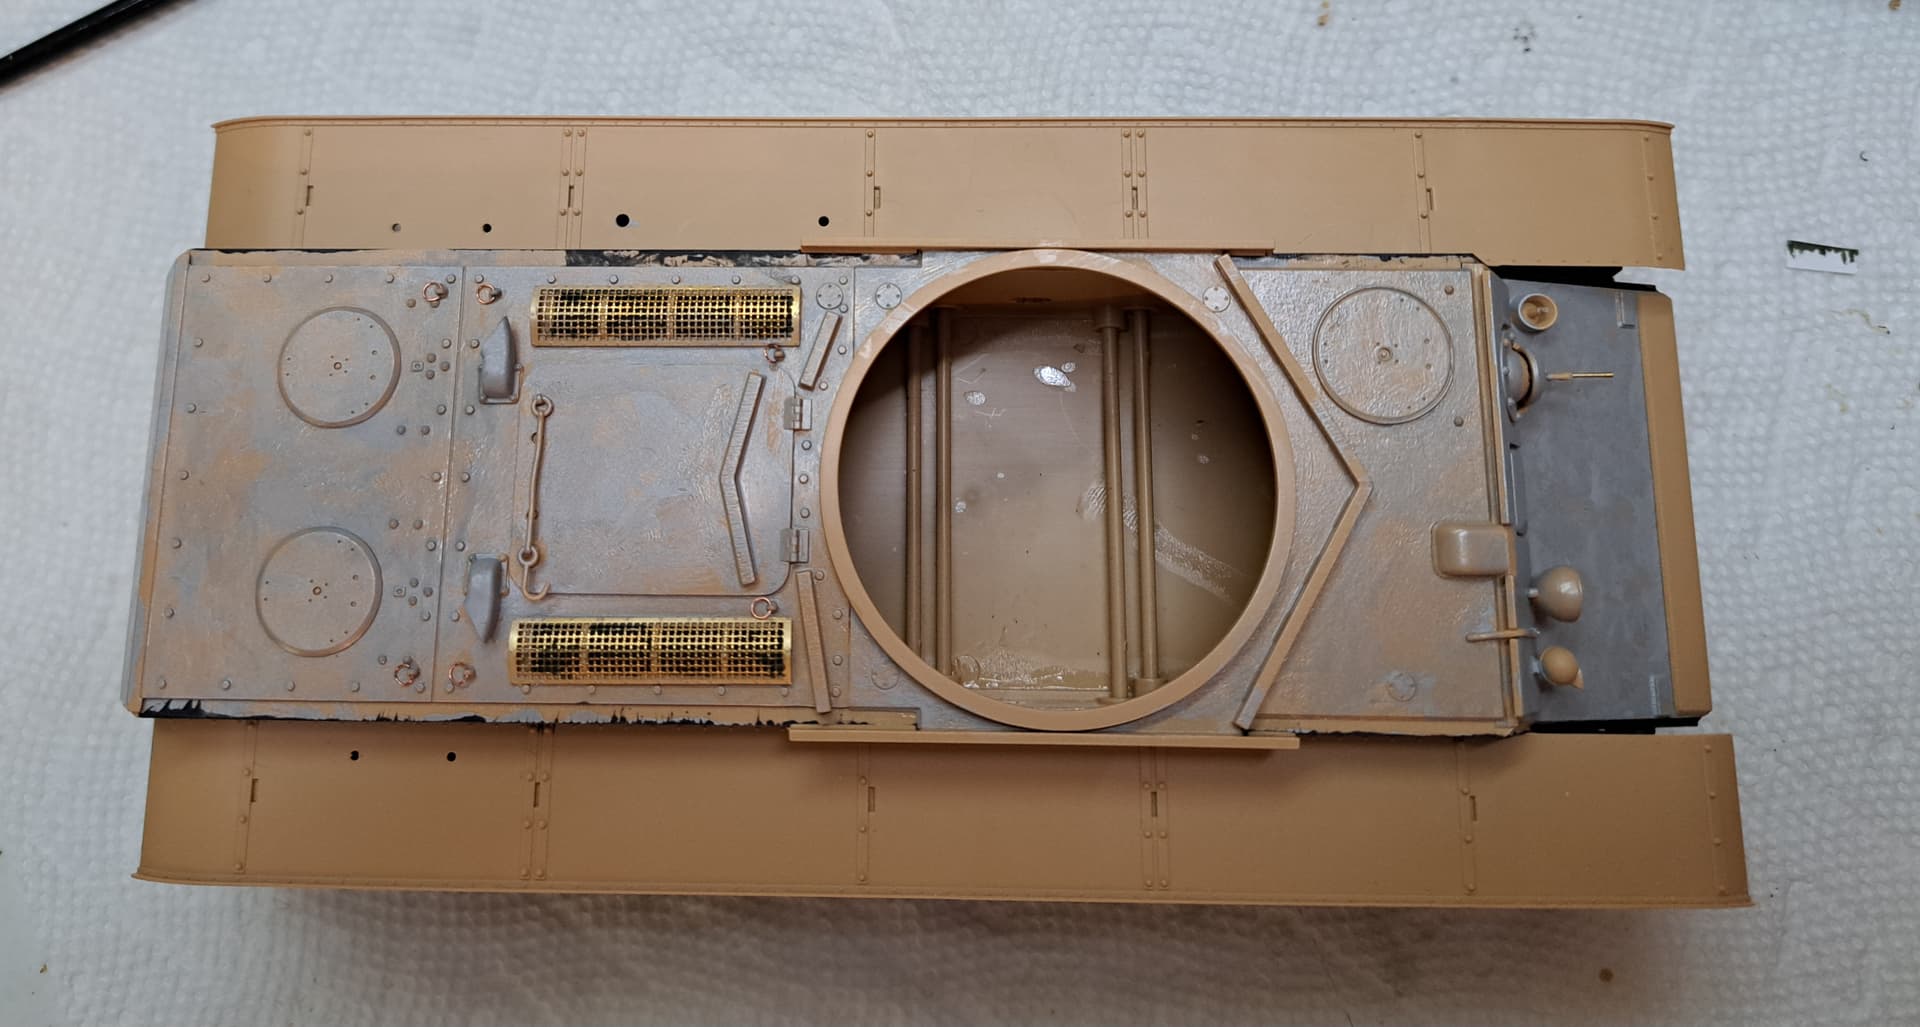
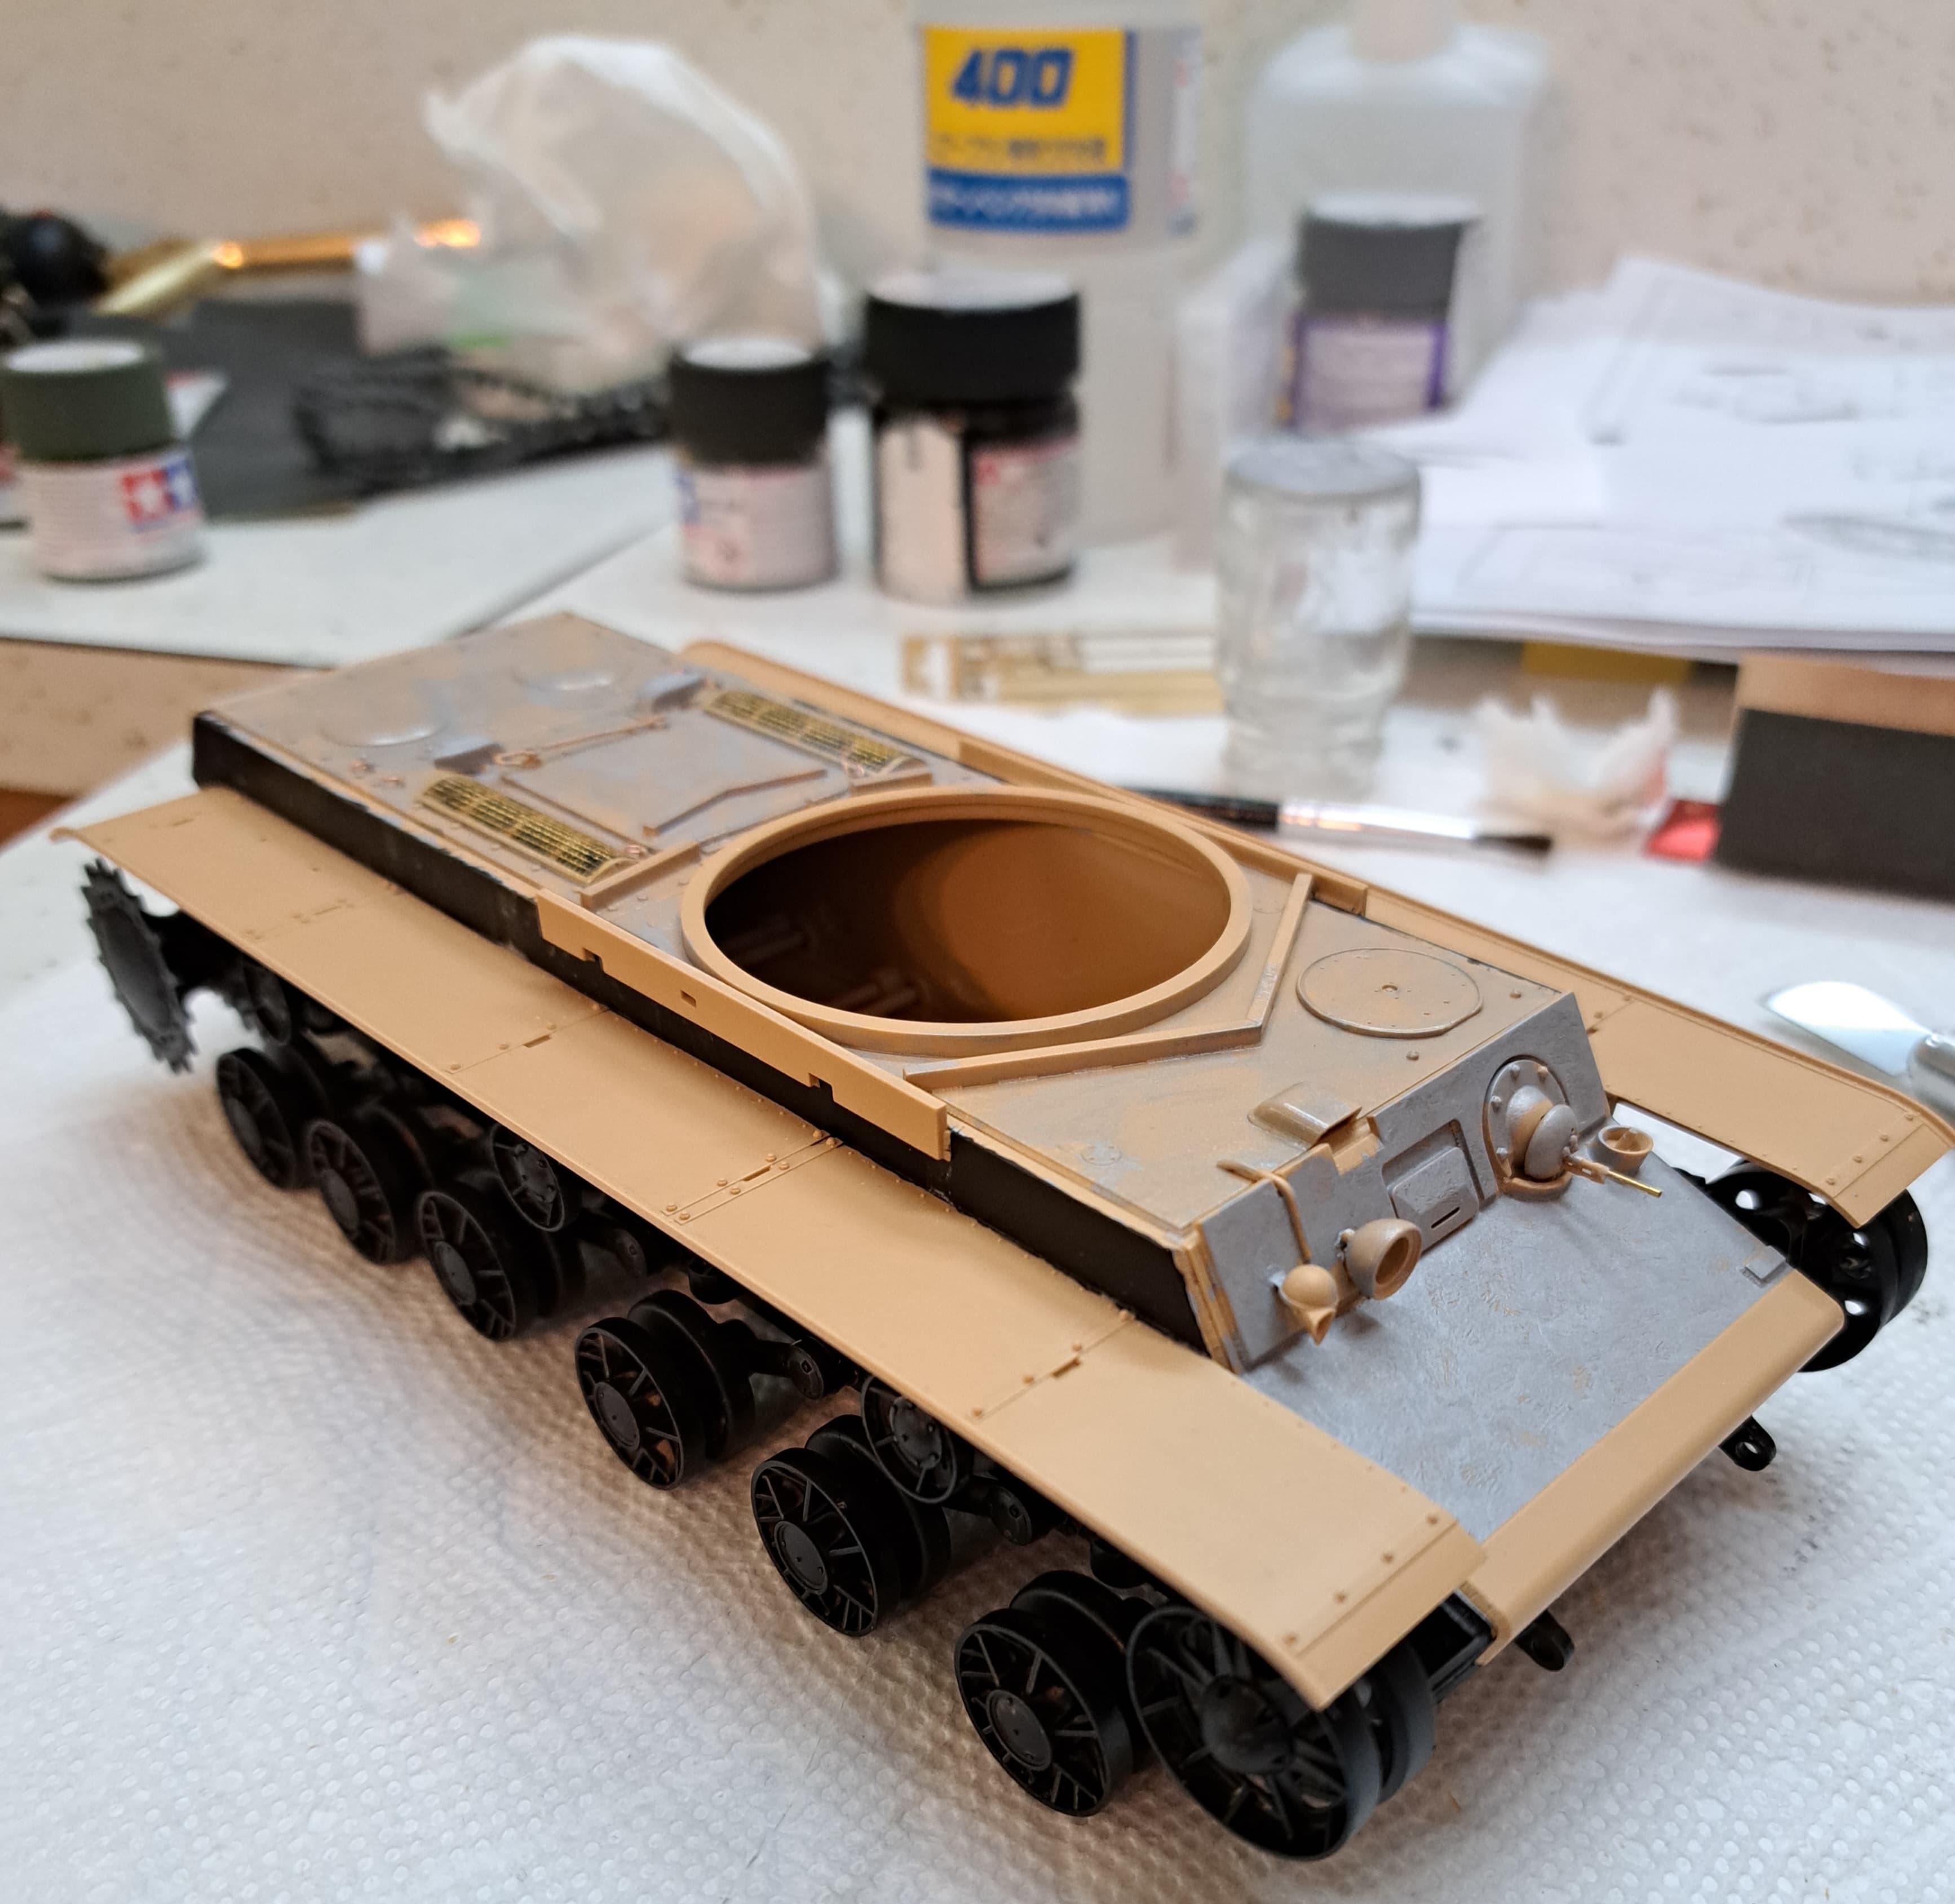
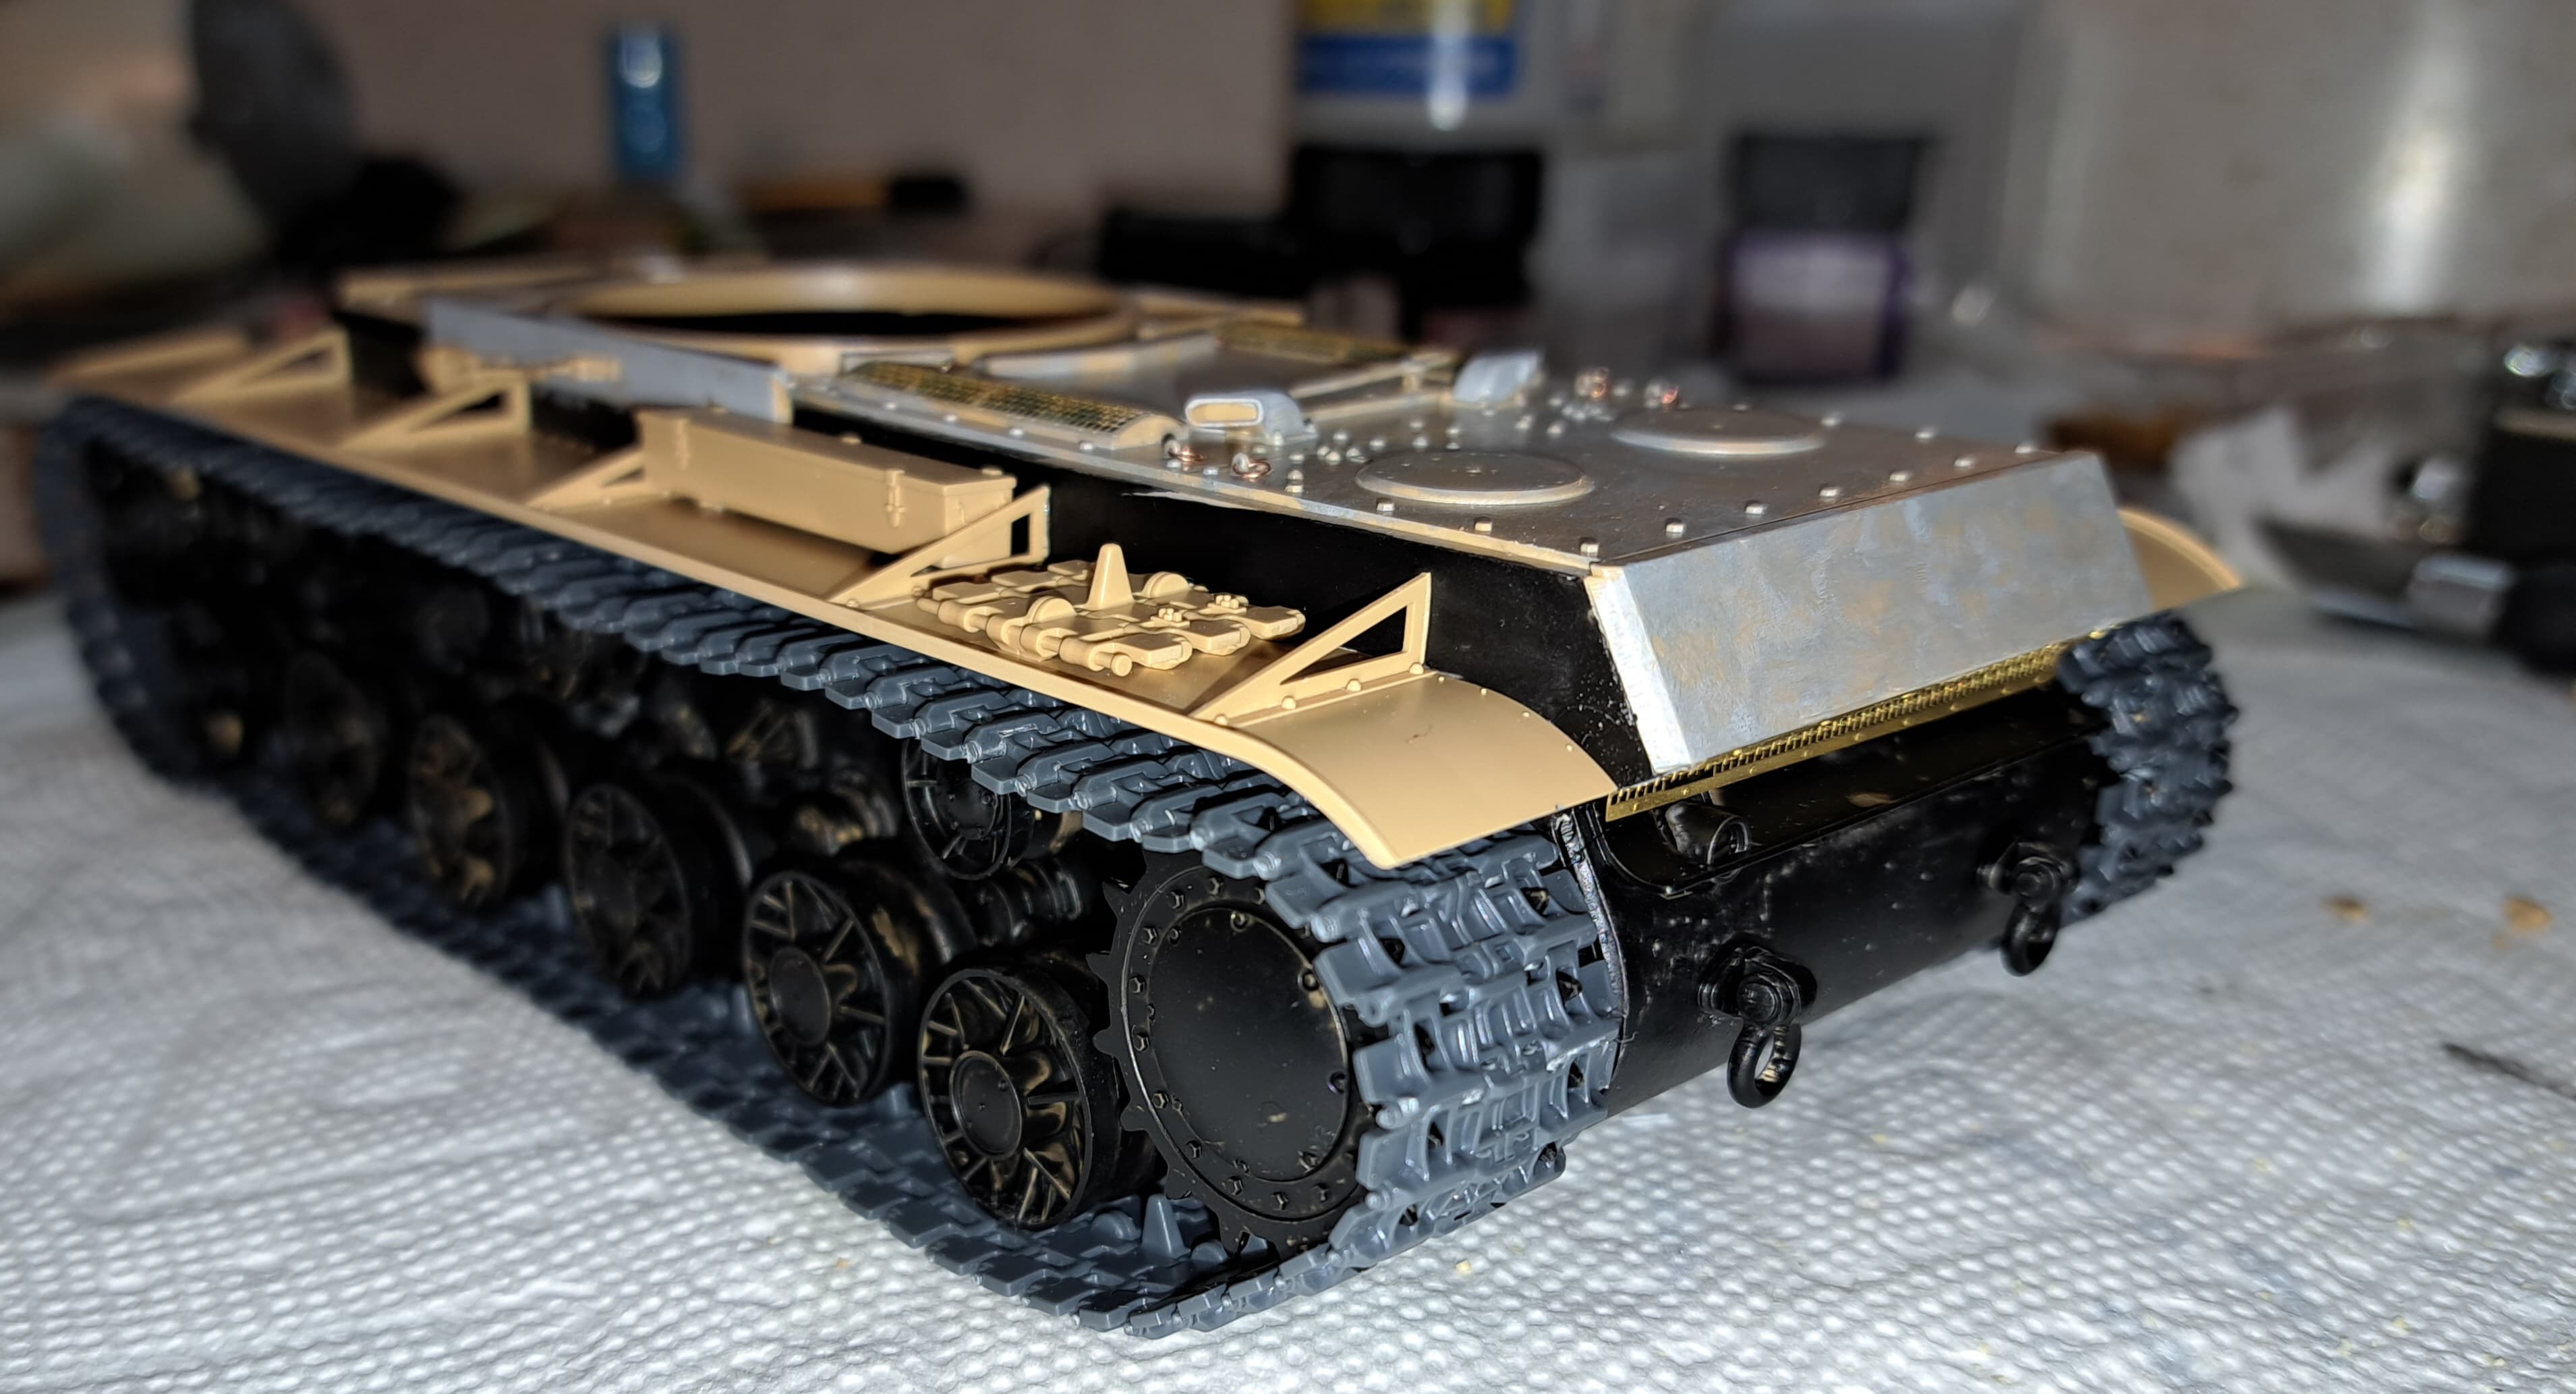
Step 9 Upper Hull & Fender Attachment part 2
Painted two block of plates and put under the engine decks screens after painting inside part of screen area.
It all clicked into place! I really expected something would need coaxing or tweaking. I was sure at least the nose cap would need a tweak but everything fit precisely.
5 Likes
I’ve built one and am tempted to get their new KV kit.
2 Likes
Wade you’re doing a fantastic job on this. It really looks outstanding, especially for a “field build”. This kit looks like it’s just a joy to build!
3 Likes
@Dan, just one? Got to keep the stash well furnished, at least two more RFM KV’s ![]()
@SSGToms Matt, thank you! Part of the fun as been going basic “field build”. I think that helps show it’s a very good quality kit.
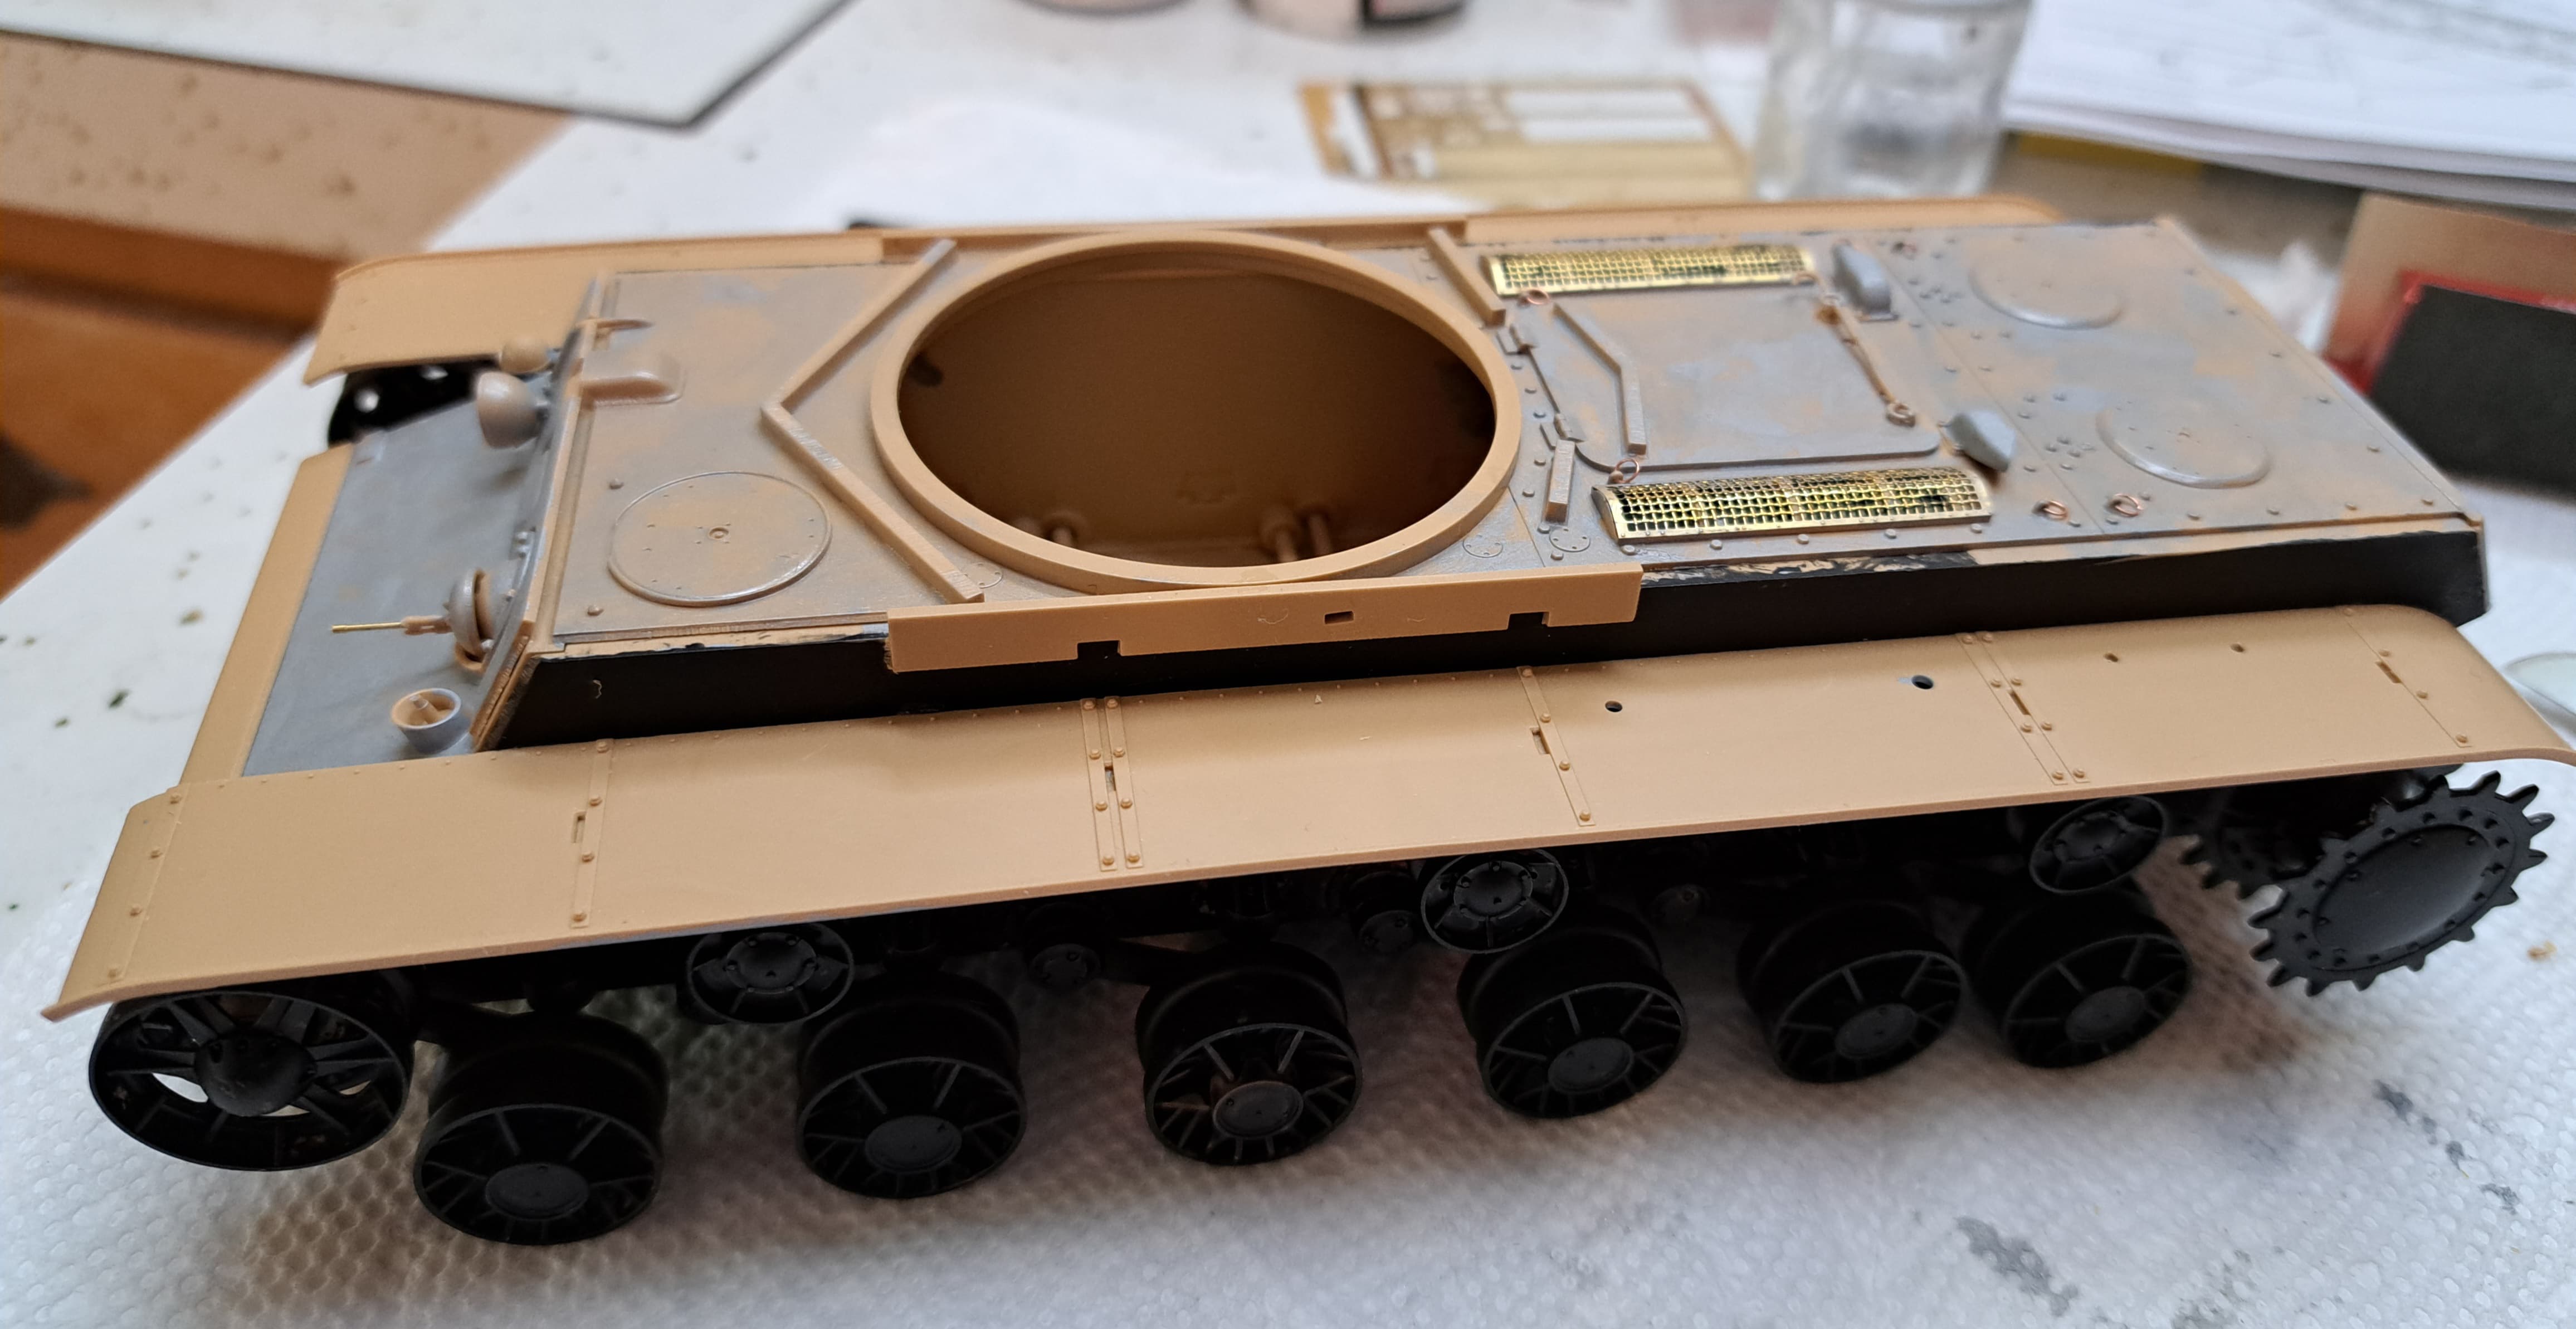
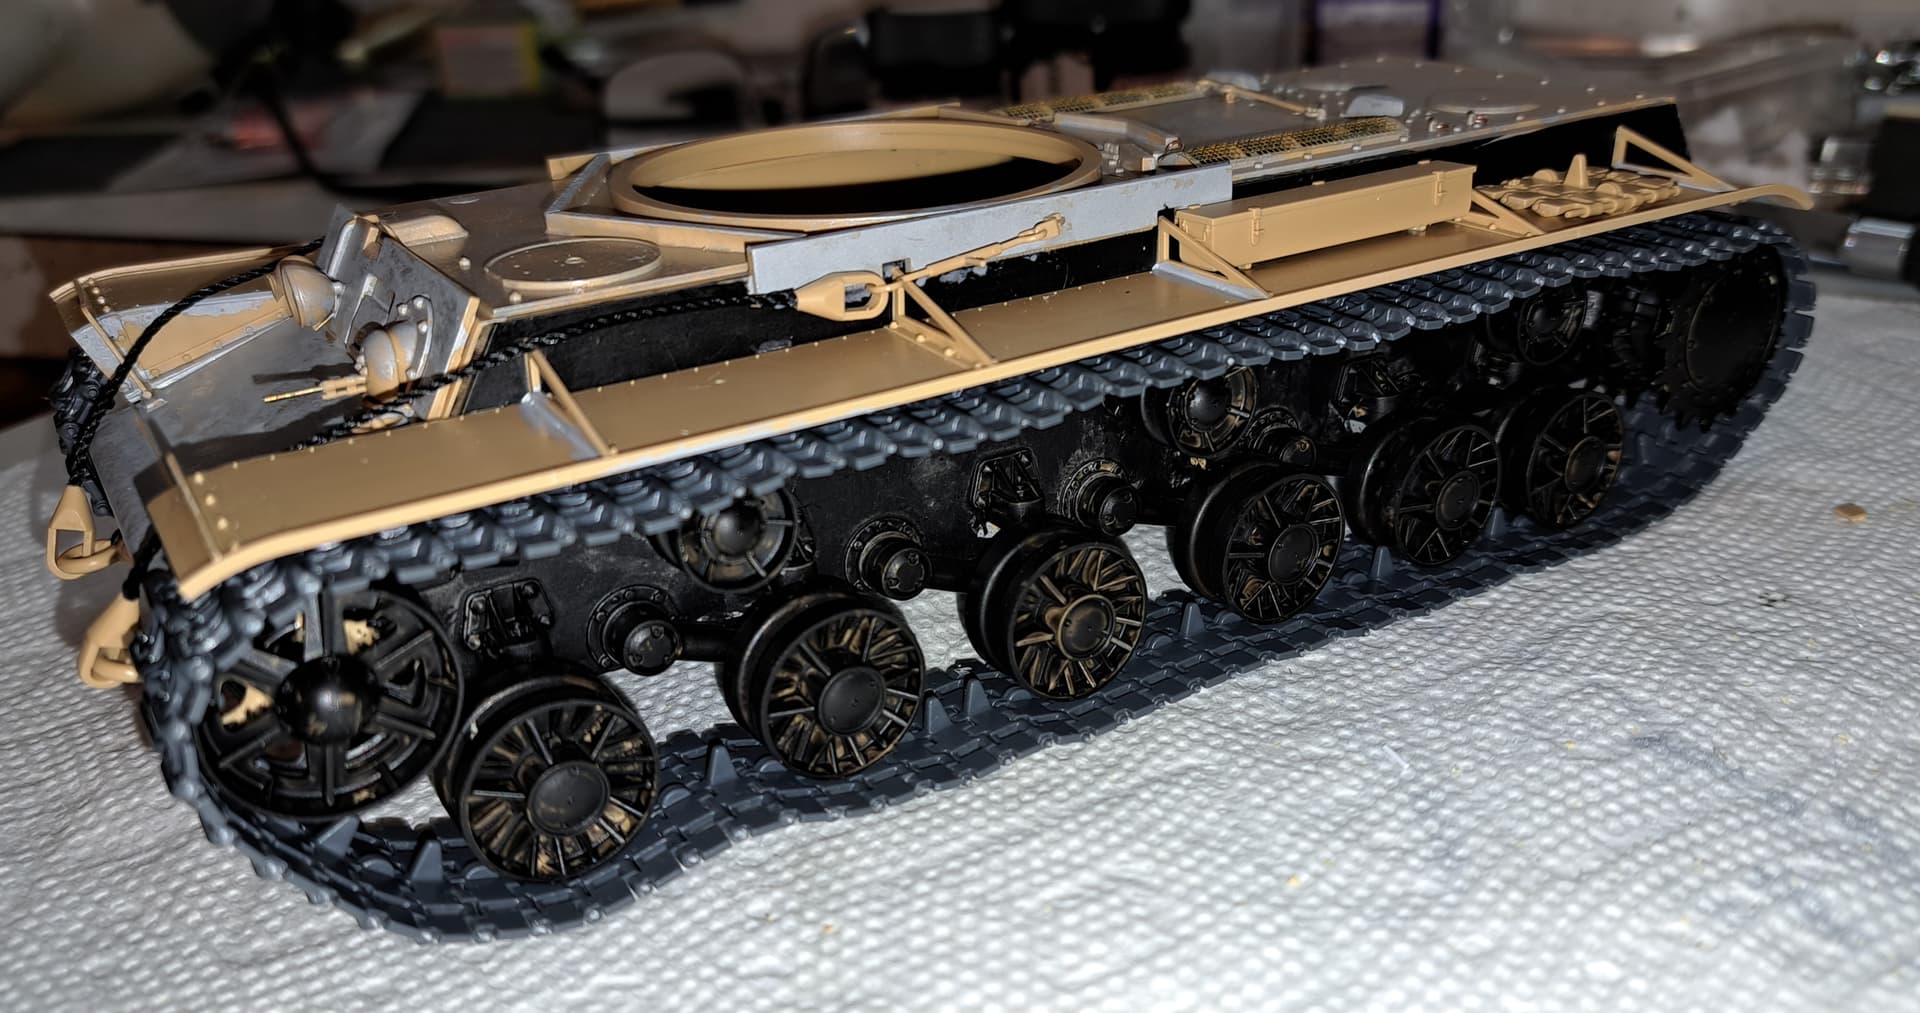
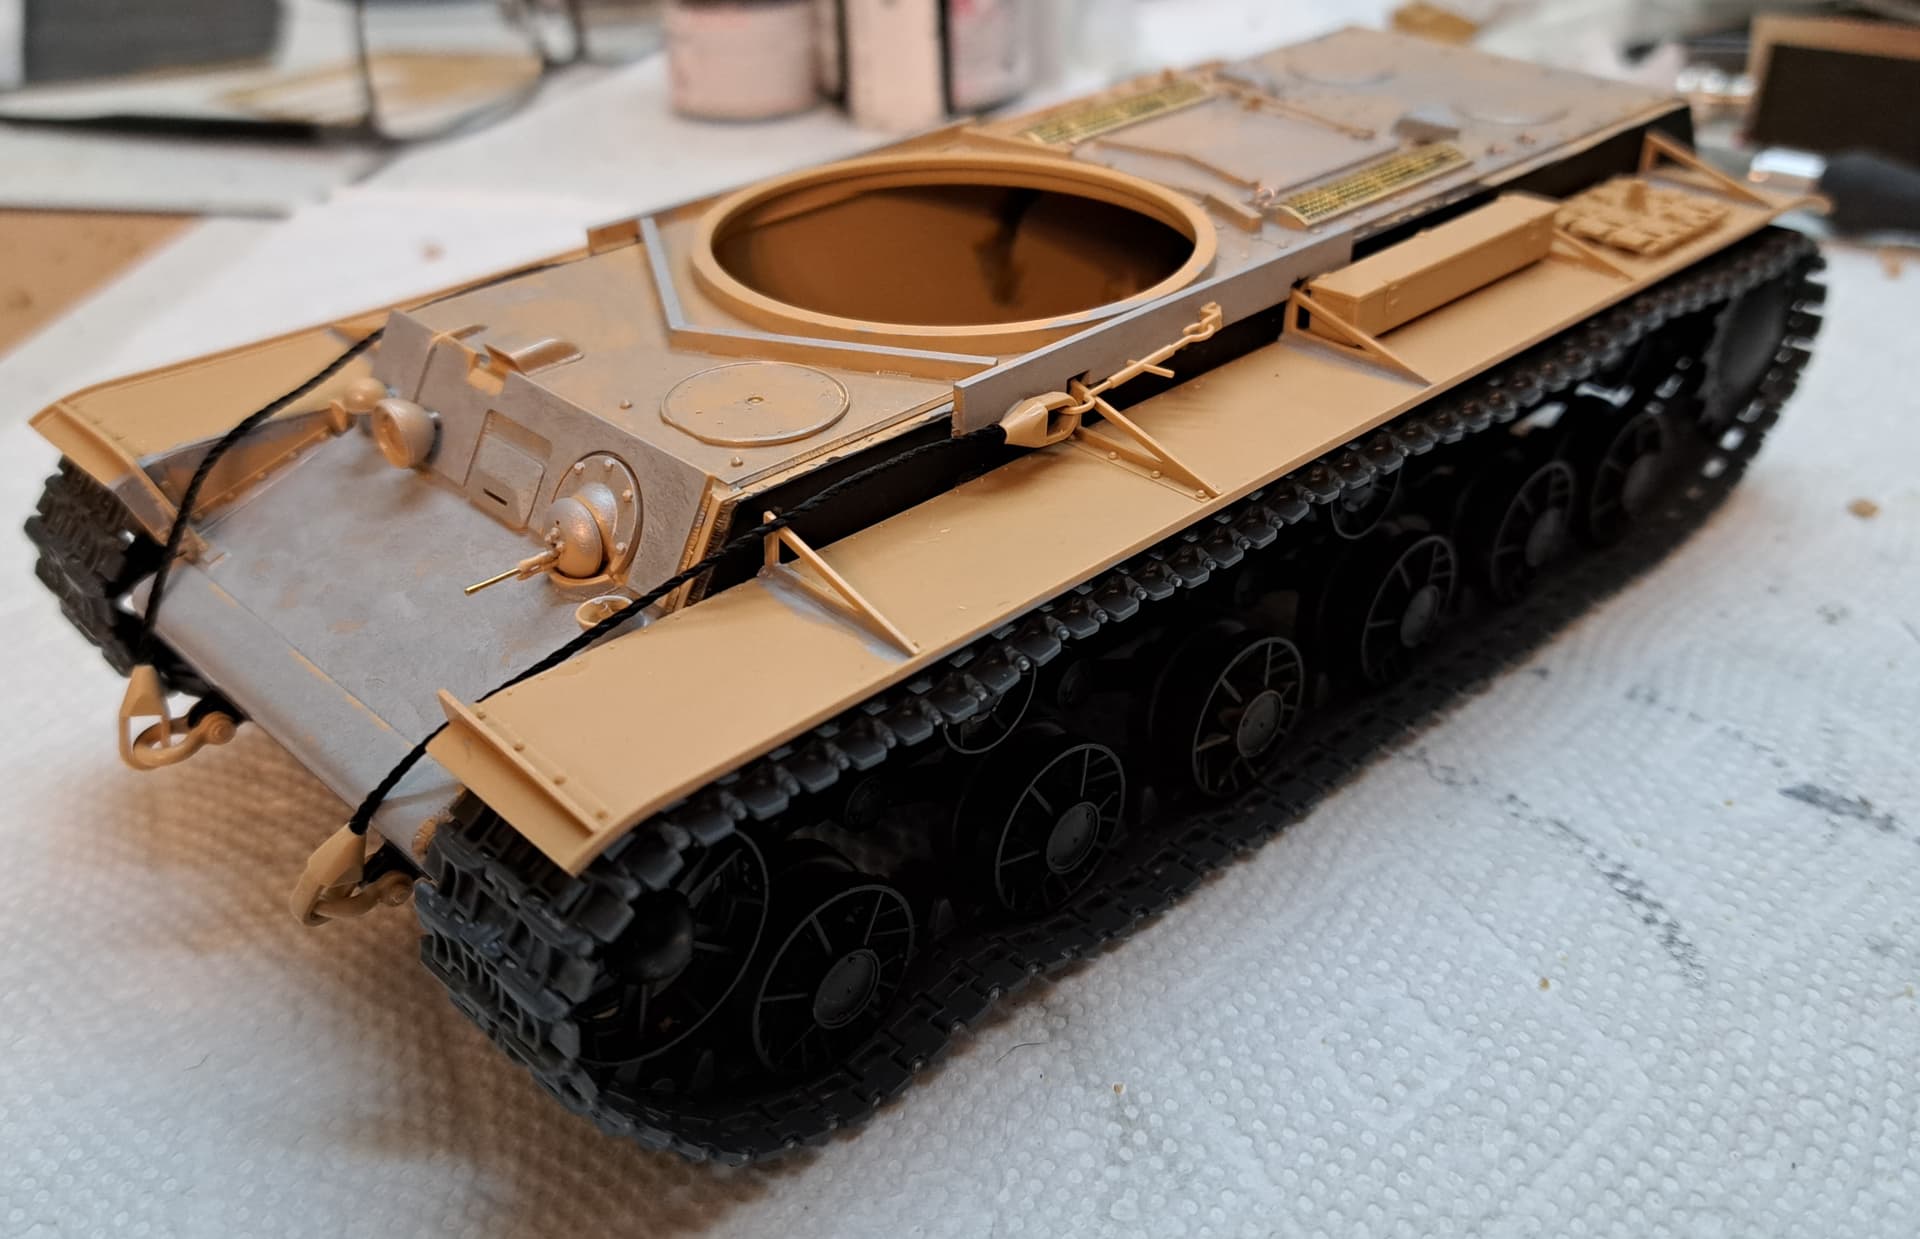
Step 11 Fender Supports & Step 12 Tow Cables go very straight forward. The C28 double hook is very fragile and needs to be handled carefully. There’s a choice of solid or hollow fender supports. I like the hollow ones as this is a hypothetical KV since there isn’t a specific vehicle in mind.
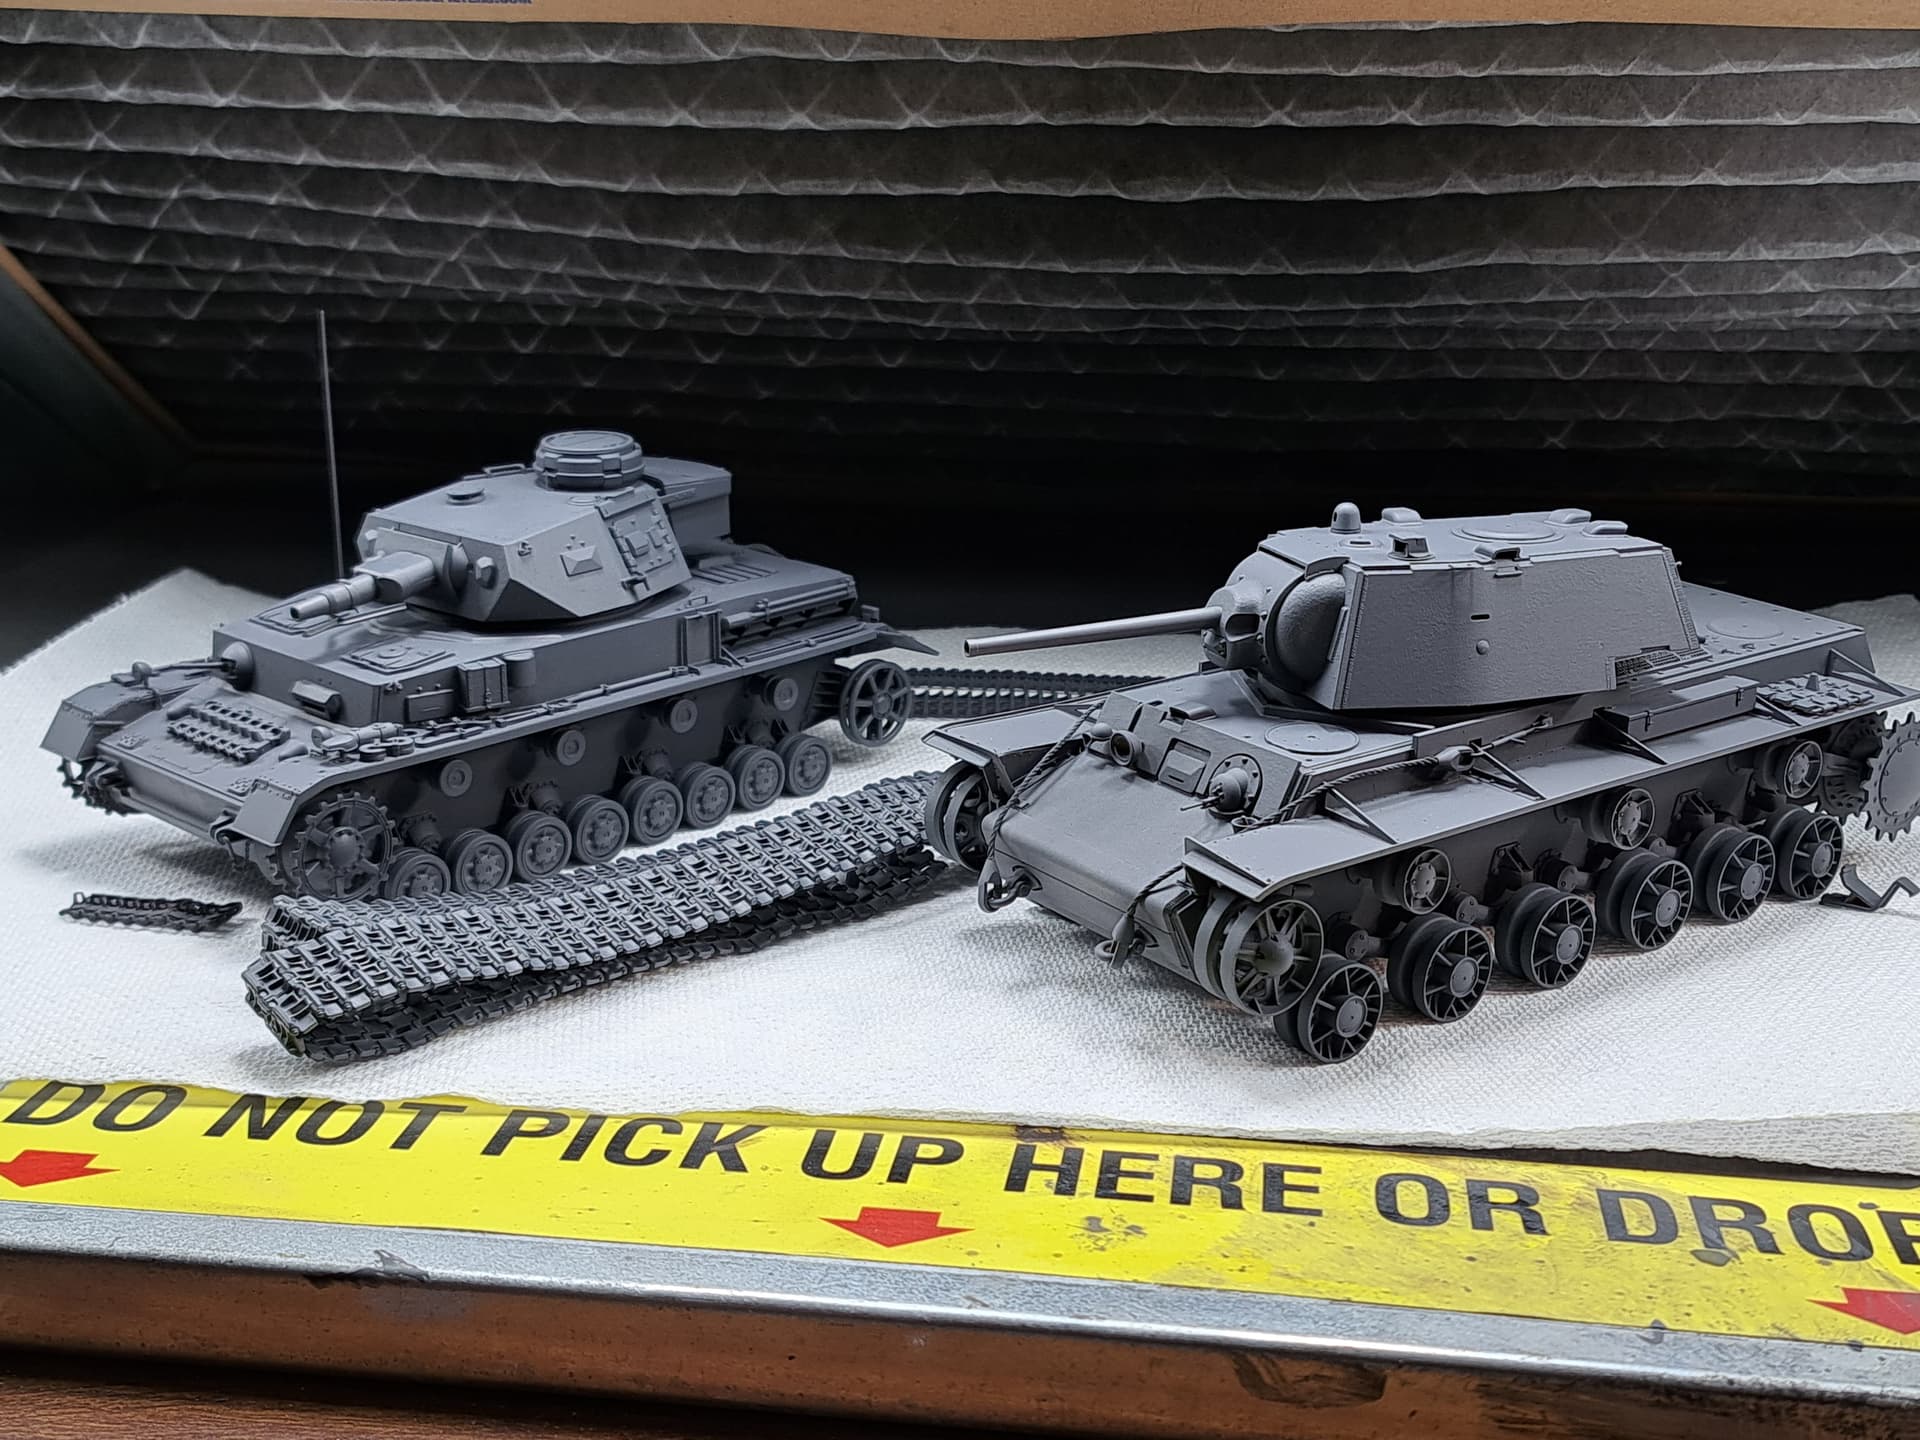
Step 17 the rear screen wrapped the lower hull. Slipped the tracks on for pictures.

7 Likes
Built two Trumpeter versions and the RFM!
Buf if you insist…
1 Like
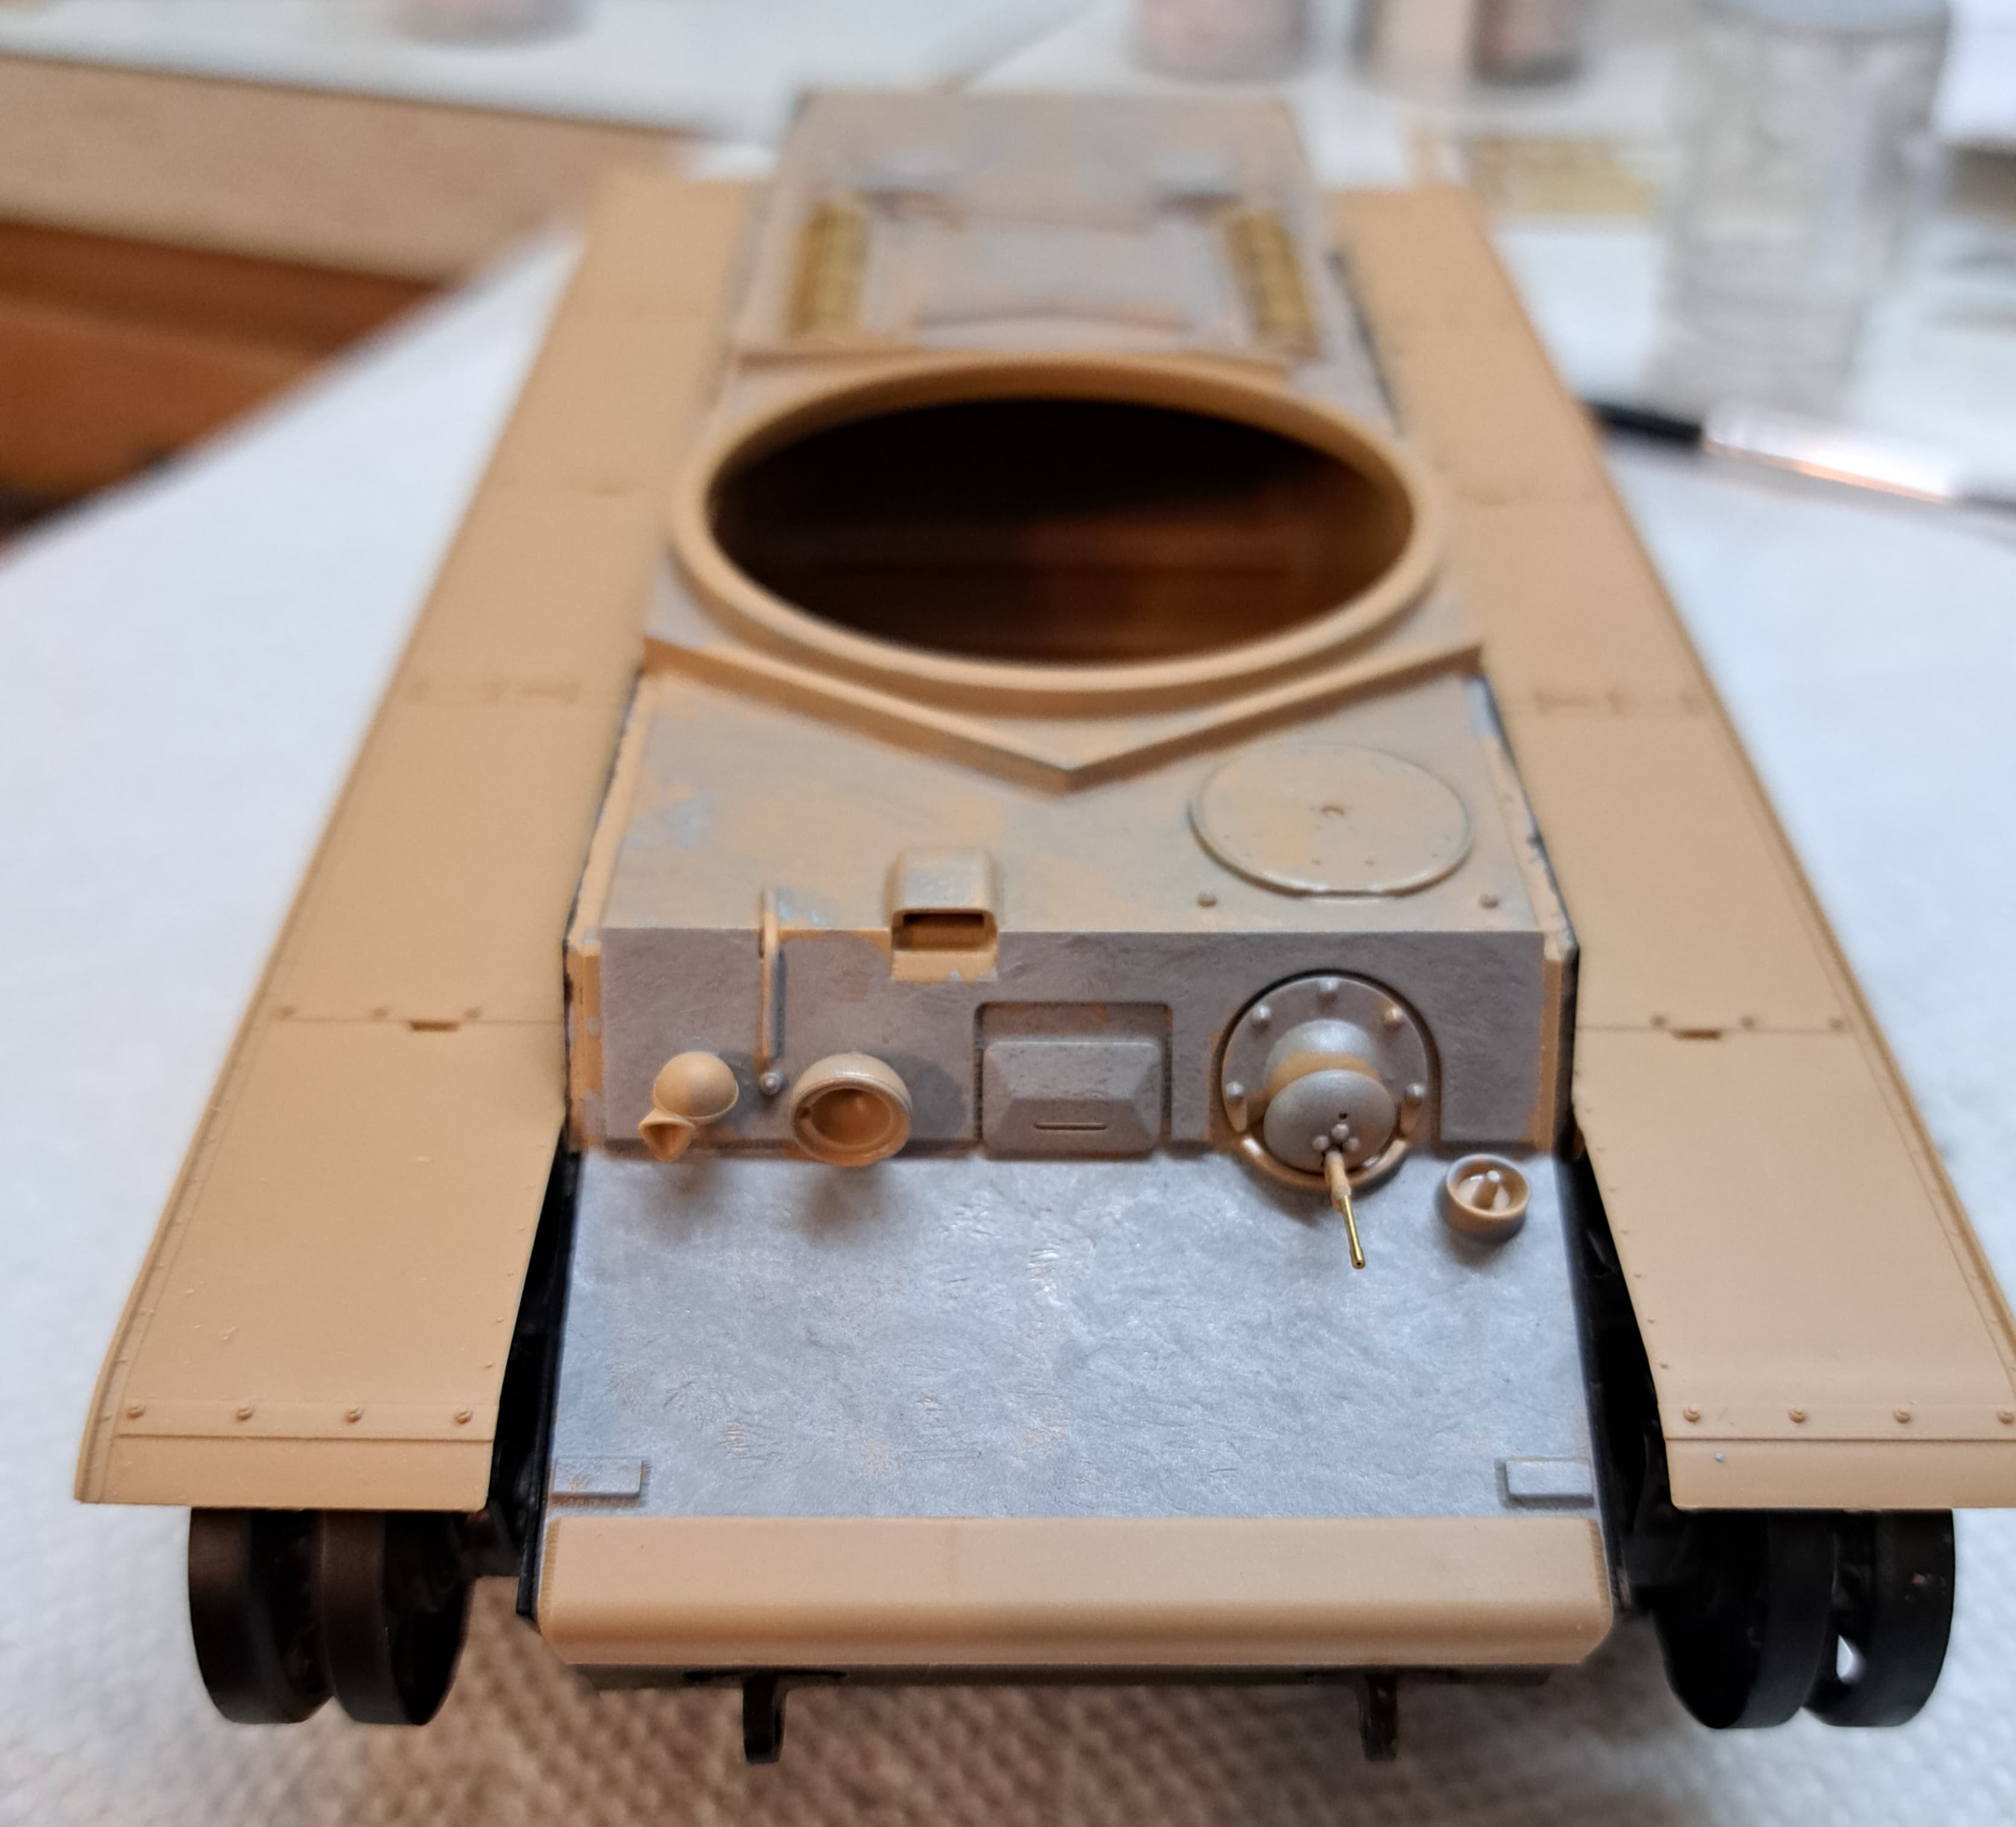
Step 13 (front) had a little issue with B7 & B8 fitting into B2. Shortened one pin on B1 slightly fit perfectly.
Step 14 (rear), I wanted to replace the MG barrel but only had one Aber MG barrel remaining. Decided to use it on the AA MG instead of the rear MG.
Step 15 (top) no surprises

Step 16 Turret Assembly part 1
Fit of subassemblies nearly perfect.

After adding texture.

Step 16 part 2 - AA MG to go.
4 Likes
Intermission
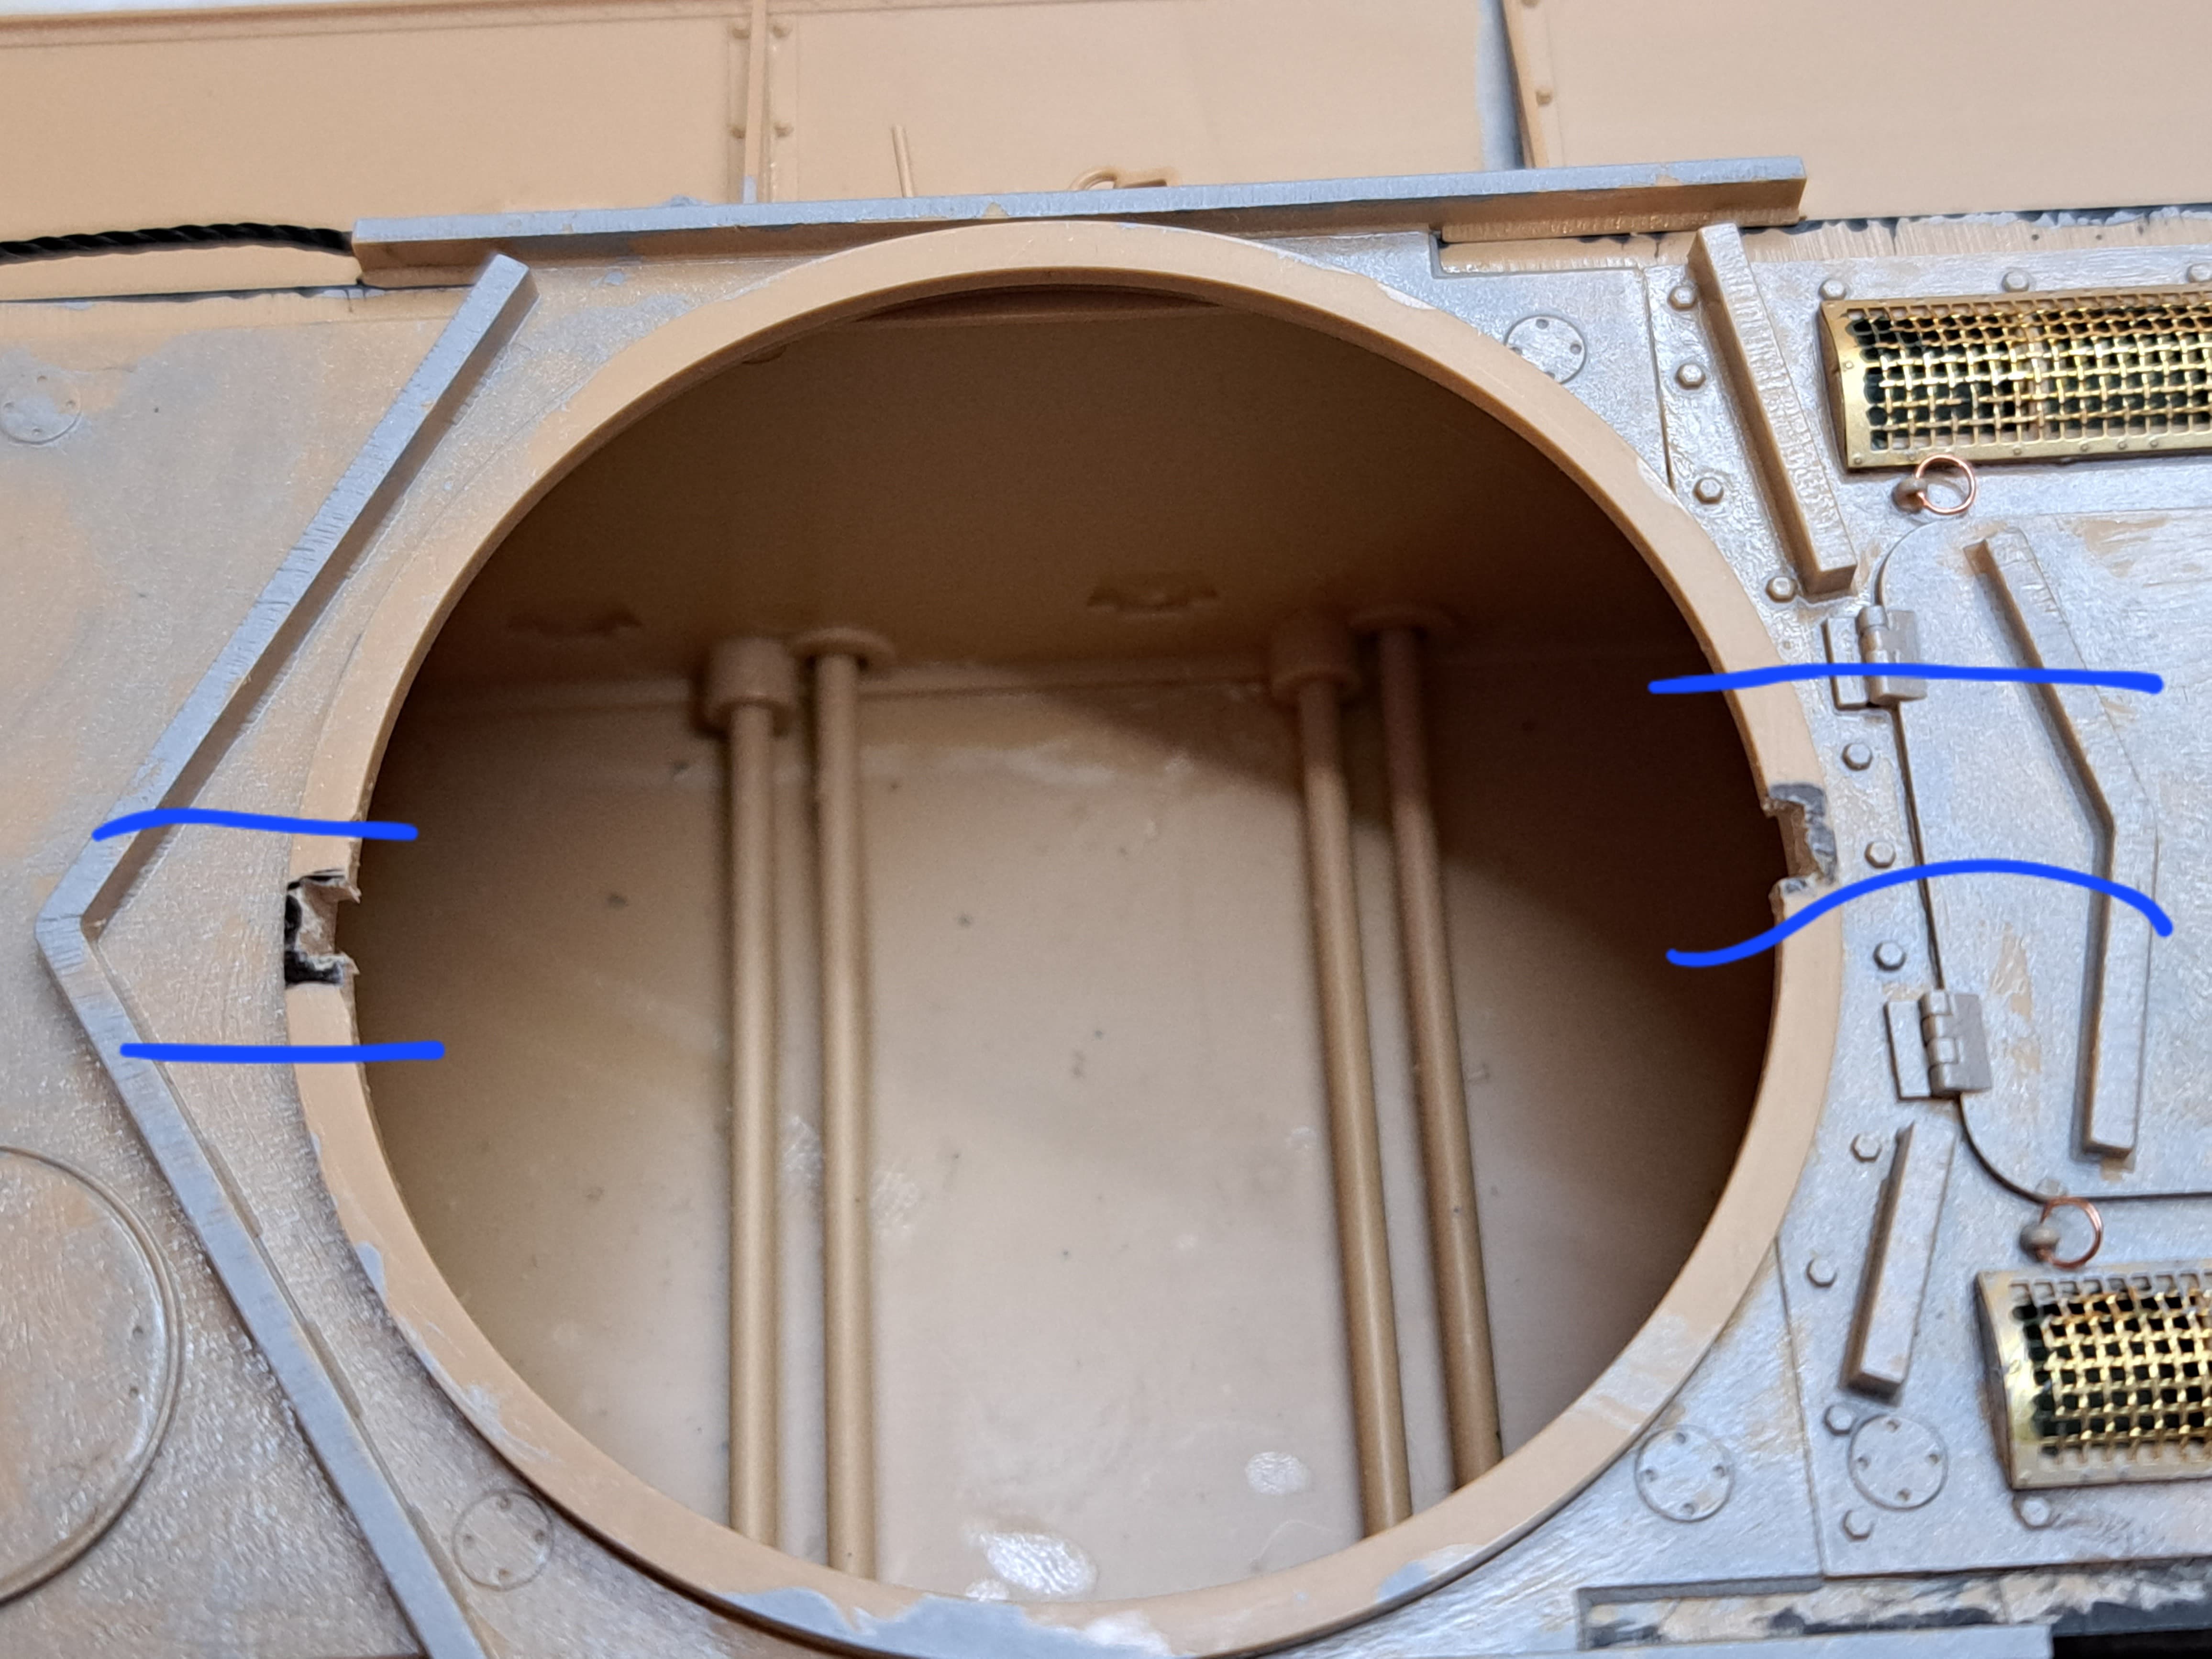
Noticed the turret ring doesn’t have slots to allow removal of turret after it clicks in place. Minor annoyance, 1) one could snip the tabs on the turret or 2) add a pair of slots for the tabs or 3) accept as manufactured.
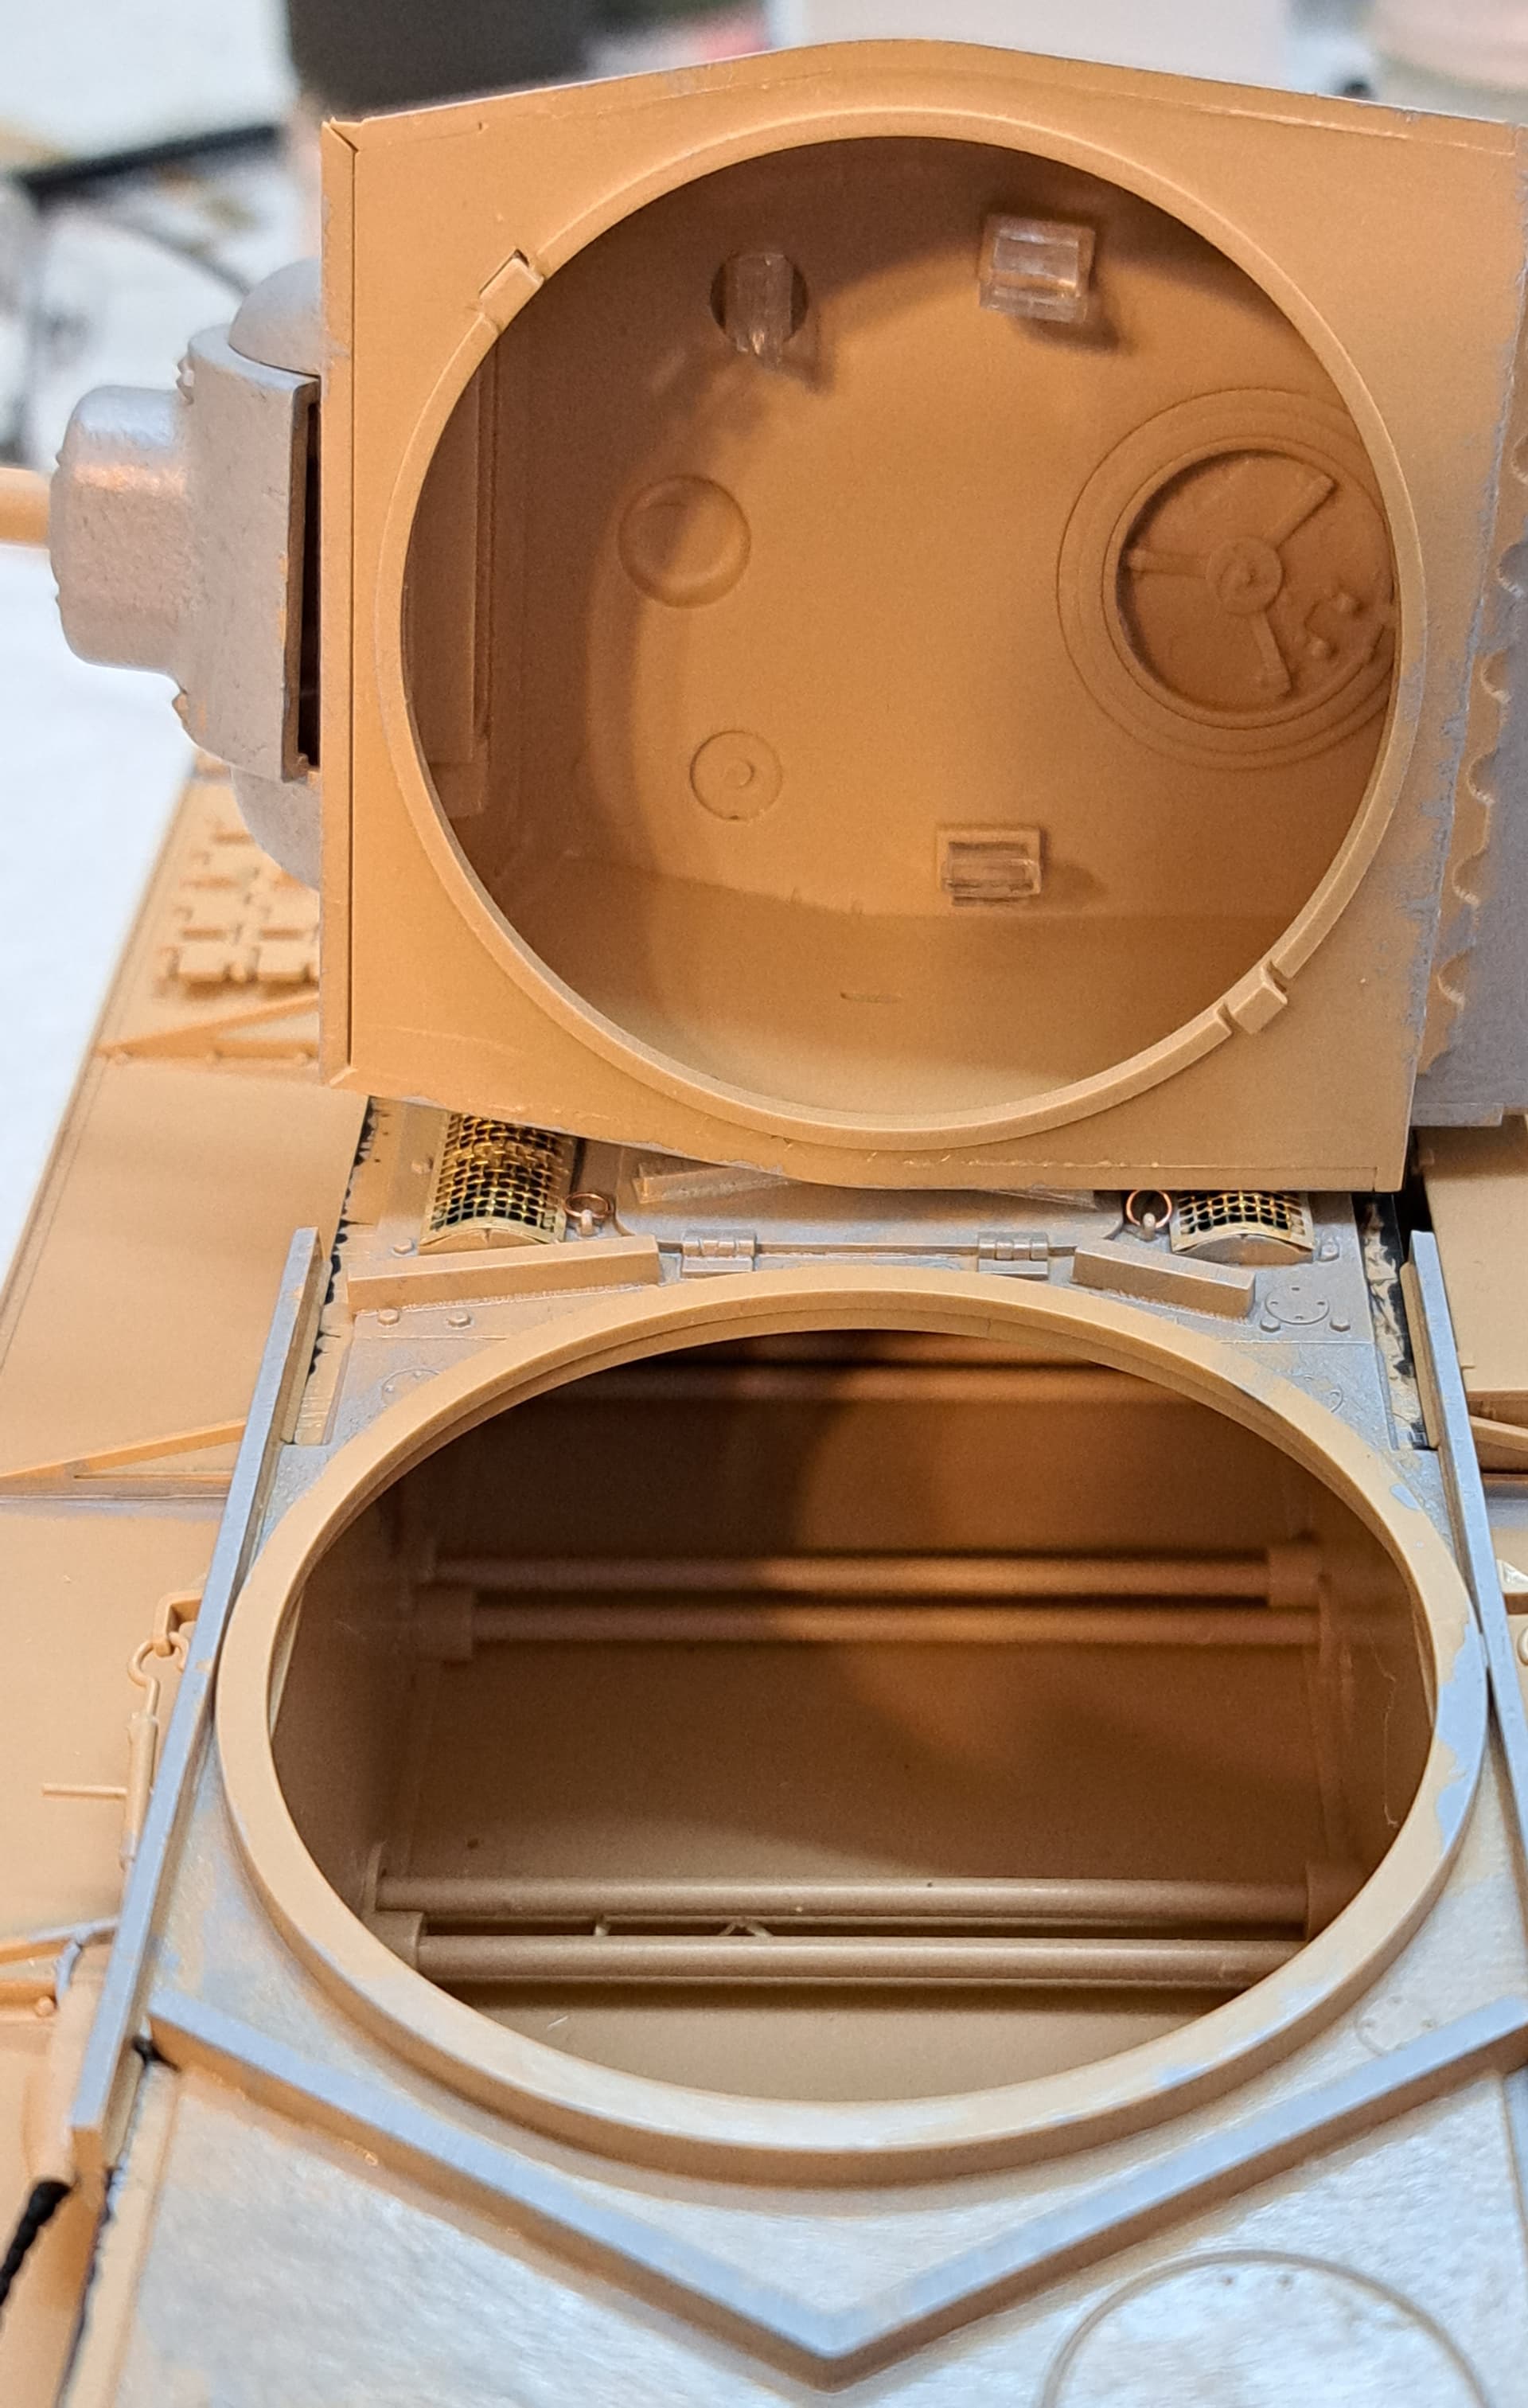
The V shaped front and rear turret ring armor makes a perfect guide for marking slot locations. Perfect task for the Xuron’s and a file. Snip and open to desired size with file.
Tested turret on & off etc

Having second thoughts on AA MG. I like the box look of the KV, it’s meancing, ready to brawl and very Russian.
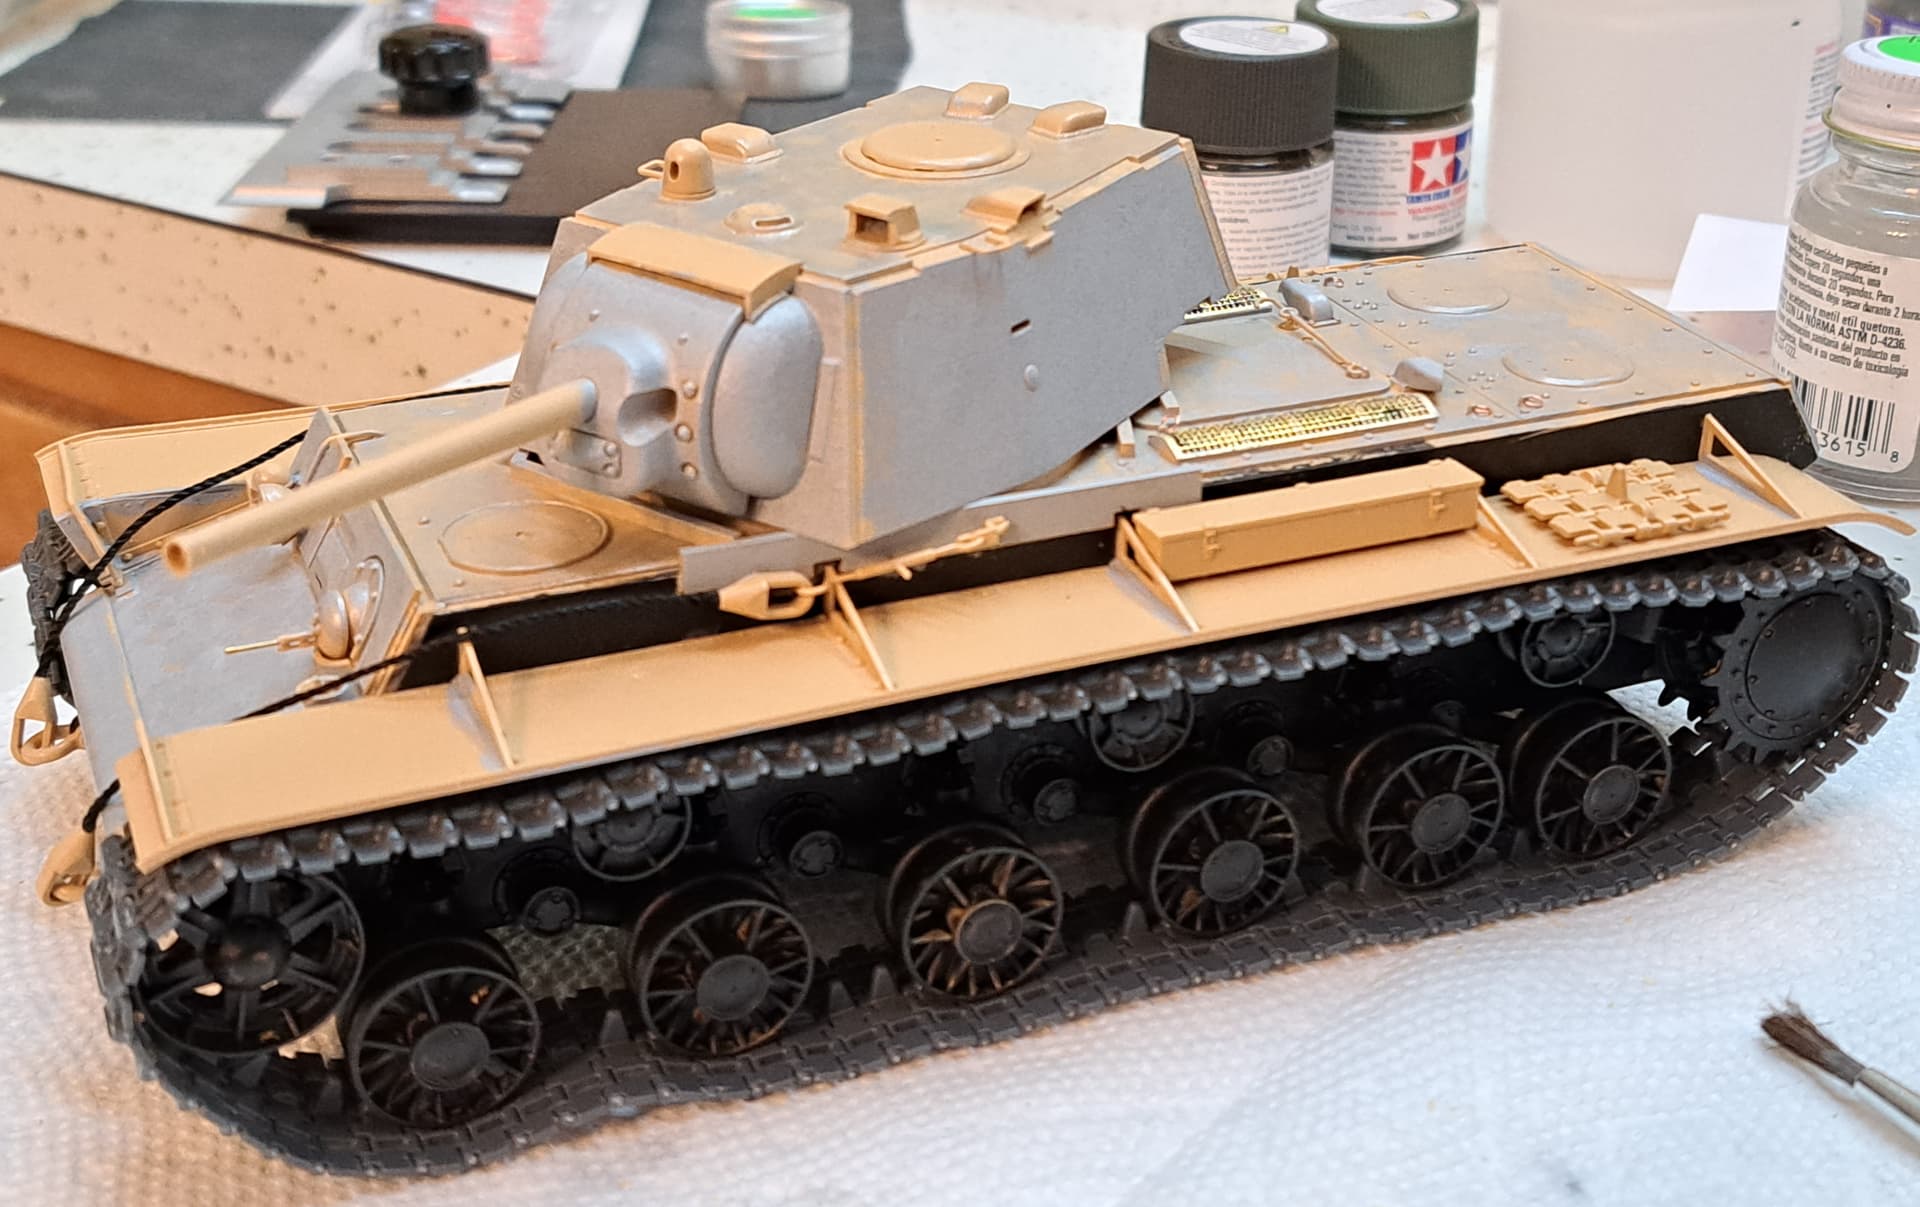
Will this tank look silly with a delicate AA MG perched on top of the hatch? All comments and opinions welcomed.
VS
5 Likes
Go AAMG
1 Like
I like it without the machine gun. Never seen one mounted on the turret like that before until now.
2 Likes
I always snip the tabs off the turret so that I can place the turret without scraping the paint. I also glue my turrets down. I say leave the AAMG off - it looks like lace on a bull.
3 Likes
Thank you each and all for commenting. I really appreciate your input.
Staying with the box look without AAMG.
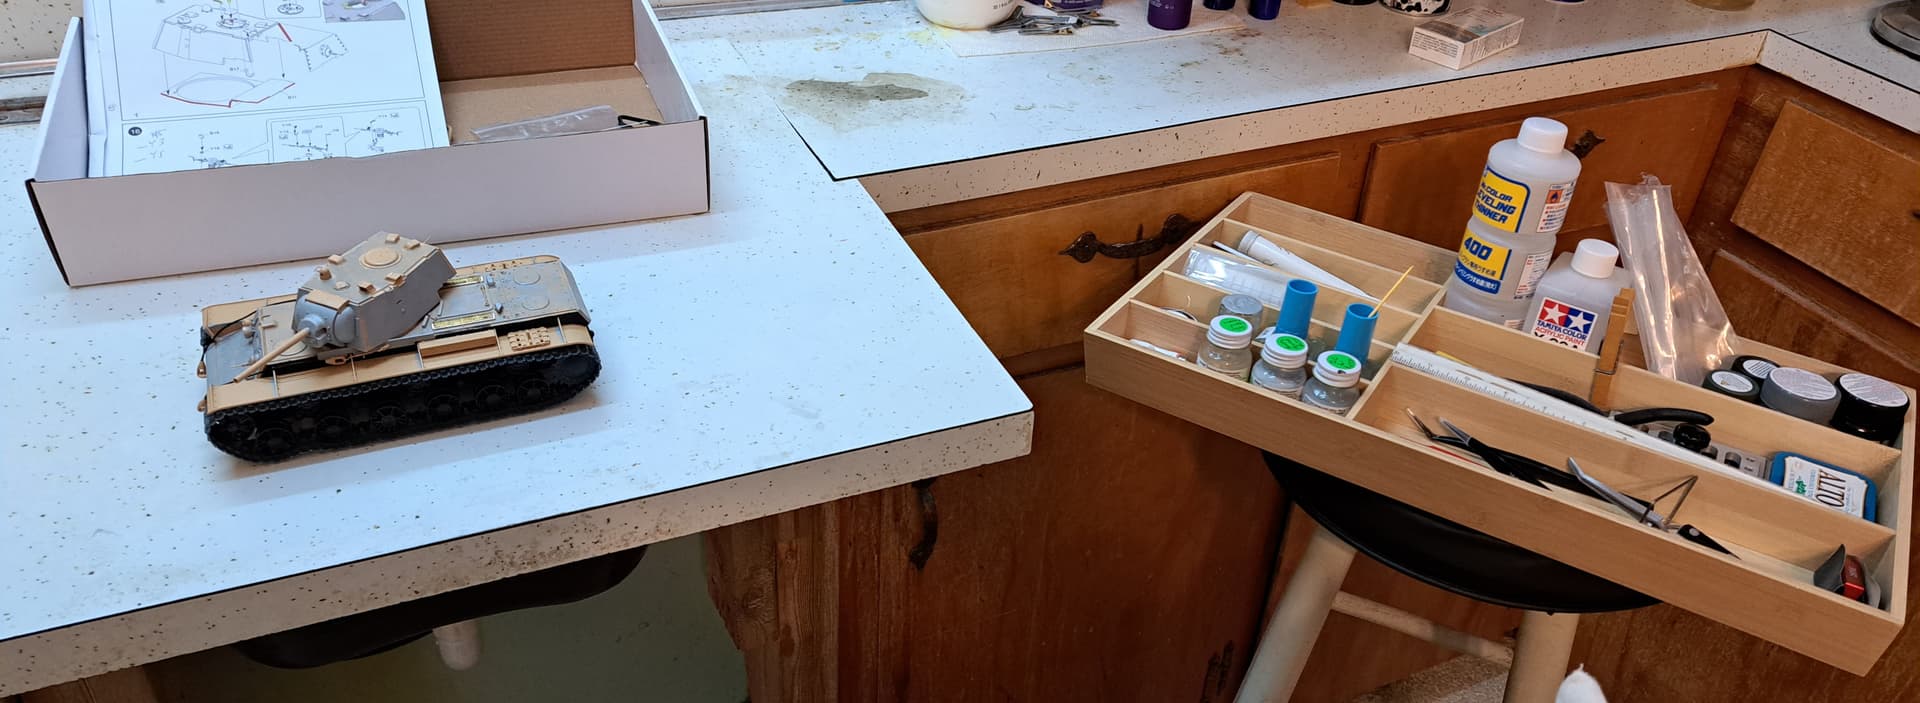
IKEA silverware tray as a new tool rack.

Getting organized for another field construction build.
6 Likes
That looks like a good idea. Does it come preassembled, or do you have to build it yourself?
Ken
2 Likes
My review and rating of Ryefield Model KV-1 1942 Simplified #5041. Just my opinion of course.
5 Price ~$54 now (paid ~$34 on sale)
5 Instructions
5 Molding Quality
5 Plastic Quality
5 Parts Clean Up
5 Ease of build
5 Accuracy
5 Fit
5 Doesn’t Require Aftermarket
5 Details built Out of the Box
** 50 points out of 50 **
Overall Best kit I’ve assembled.
The Gold Standard of what manufacturers should strive to produce. PE used when beneficial. Designed for easy part clean up. Well engineered for outstanding fit.
Zero complaints with this kit AAA+
Highly recommend.
5 Likes
Excellent job on an outstanding kit Wade. I might just have to get me one of these.
3 Likes
The lack of armour texture [compared to what Bronco had] is certainly a bit disappointing.
I love these reviews. If I ever feel brave enough to do a step by step build review, yours will be the guide on how to do it right.
2 Likes
@Chepster & @SSGToms, thank you very much! I definitely appreciate everyone taking time to read the review.
Hello @Annette_Dominic Tim, thank you for reading the review. I have a Bronco KV-122 and look forward to seeing how Bronco tackles the KV.
I hear what you’re saying on the armor texture, that’s a Goldie Locks, 3 Bears & porridge wild card in how much is enough by a kit manufacturer.
I’d rather do the armor texture myself and make it unique to avoid the cookie cutter look of uniform molded in armor texture creates. Dragon molded zimmerit being an example of molded texture that looks very uniform.
I’m very happy RFM went moderate with molded armor texture and think RFM was in the 5 star range with their decision. Look forward to the Bronco KV-122 and their take on armor texture.
Cheers ![]()
2 Likes