RFM5041: KV-1 Model 1942 Simplified Turret - Build

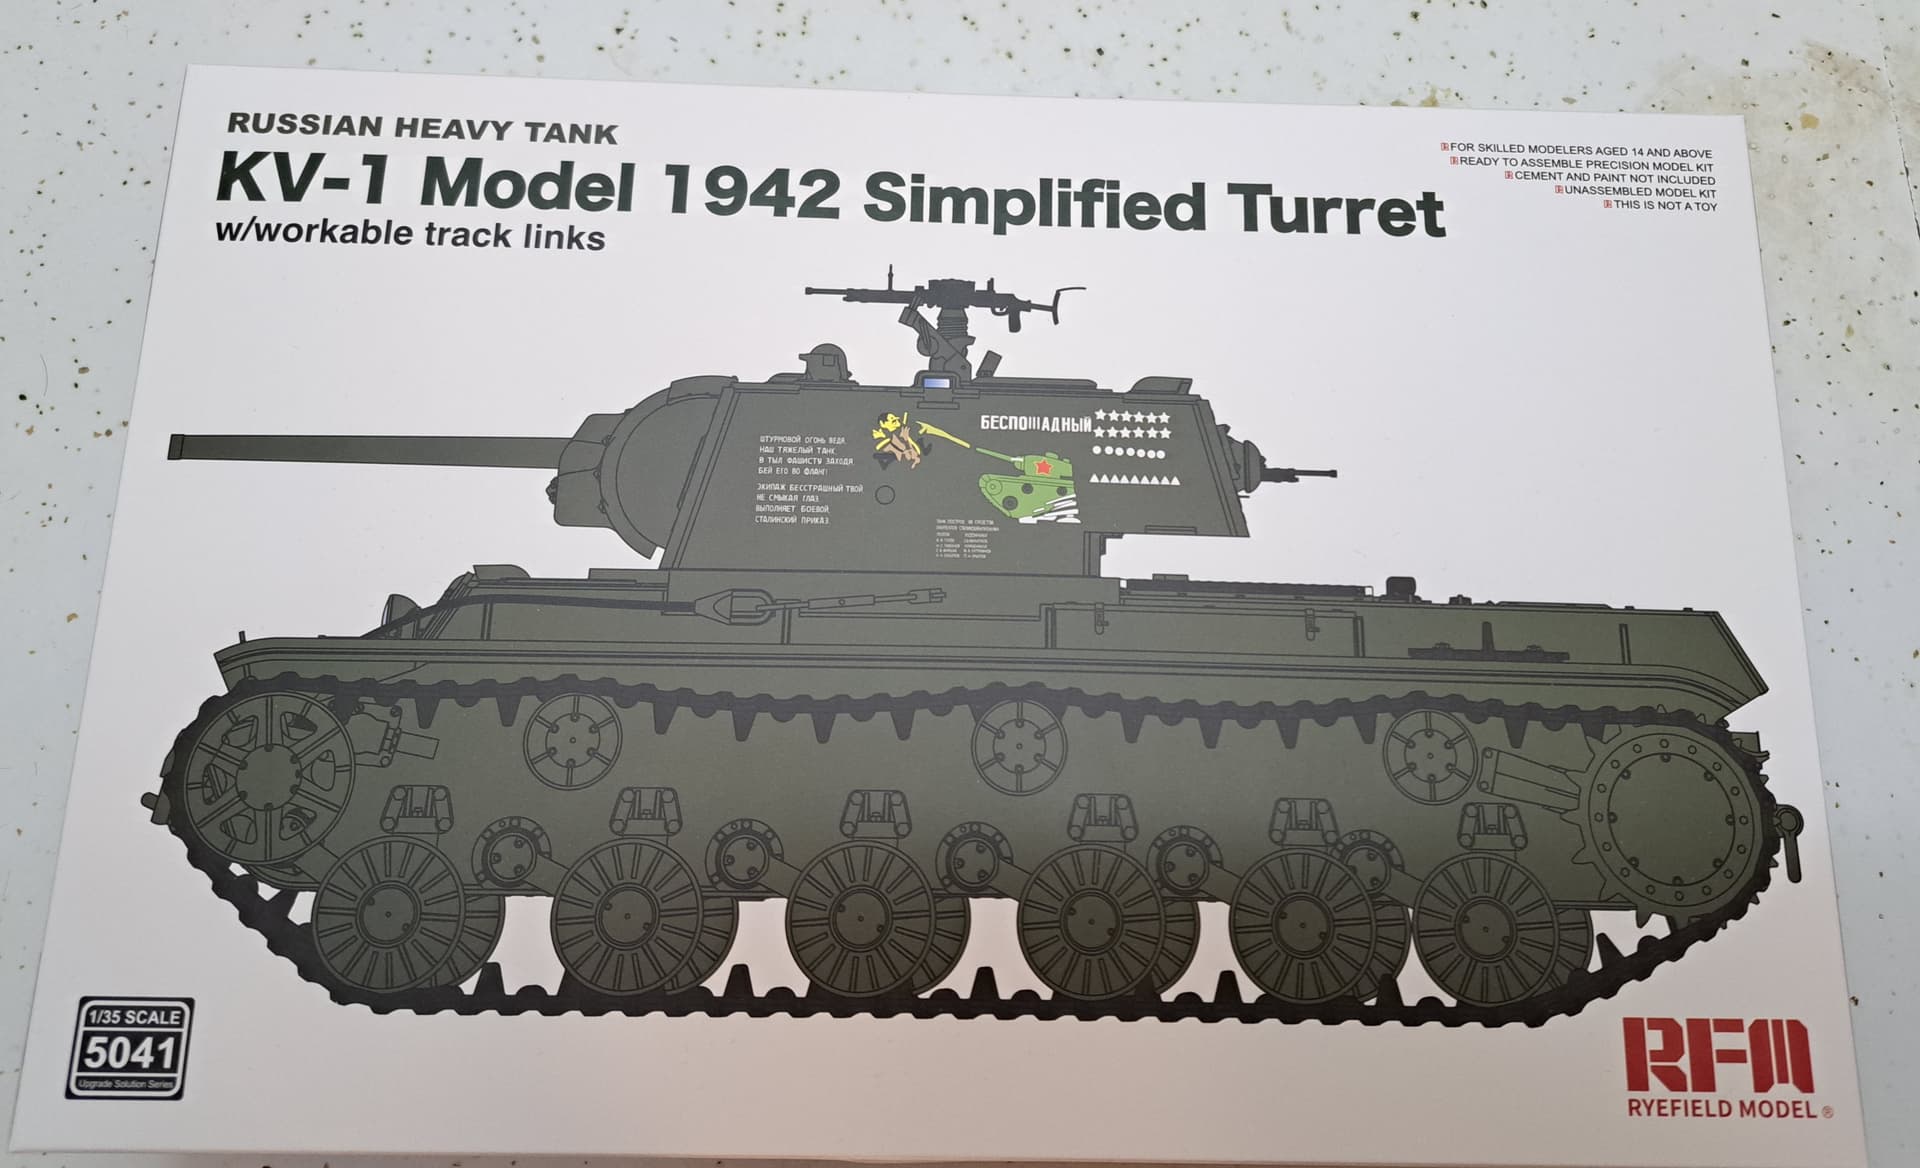
Goal to build the 2022 released Rye Field Model #5041: KV-1 Model 1942 Simplified Turret kit and see how it compares to my nearly new, 2020 release KV-1 Model 1941, Early Production by Tamiya. built two years ago.

The RFM kit has excellent reviews and comments. This was the first one that popped up when googling RFM’s KV-1 #5041.

For the OCD types, the Russian basically says the kit arrived in one month and one week.

My OCD made me check, just passing along the information. :wink:

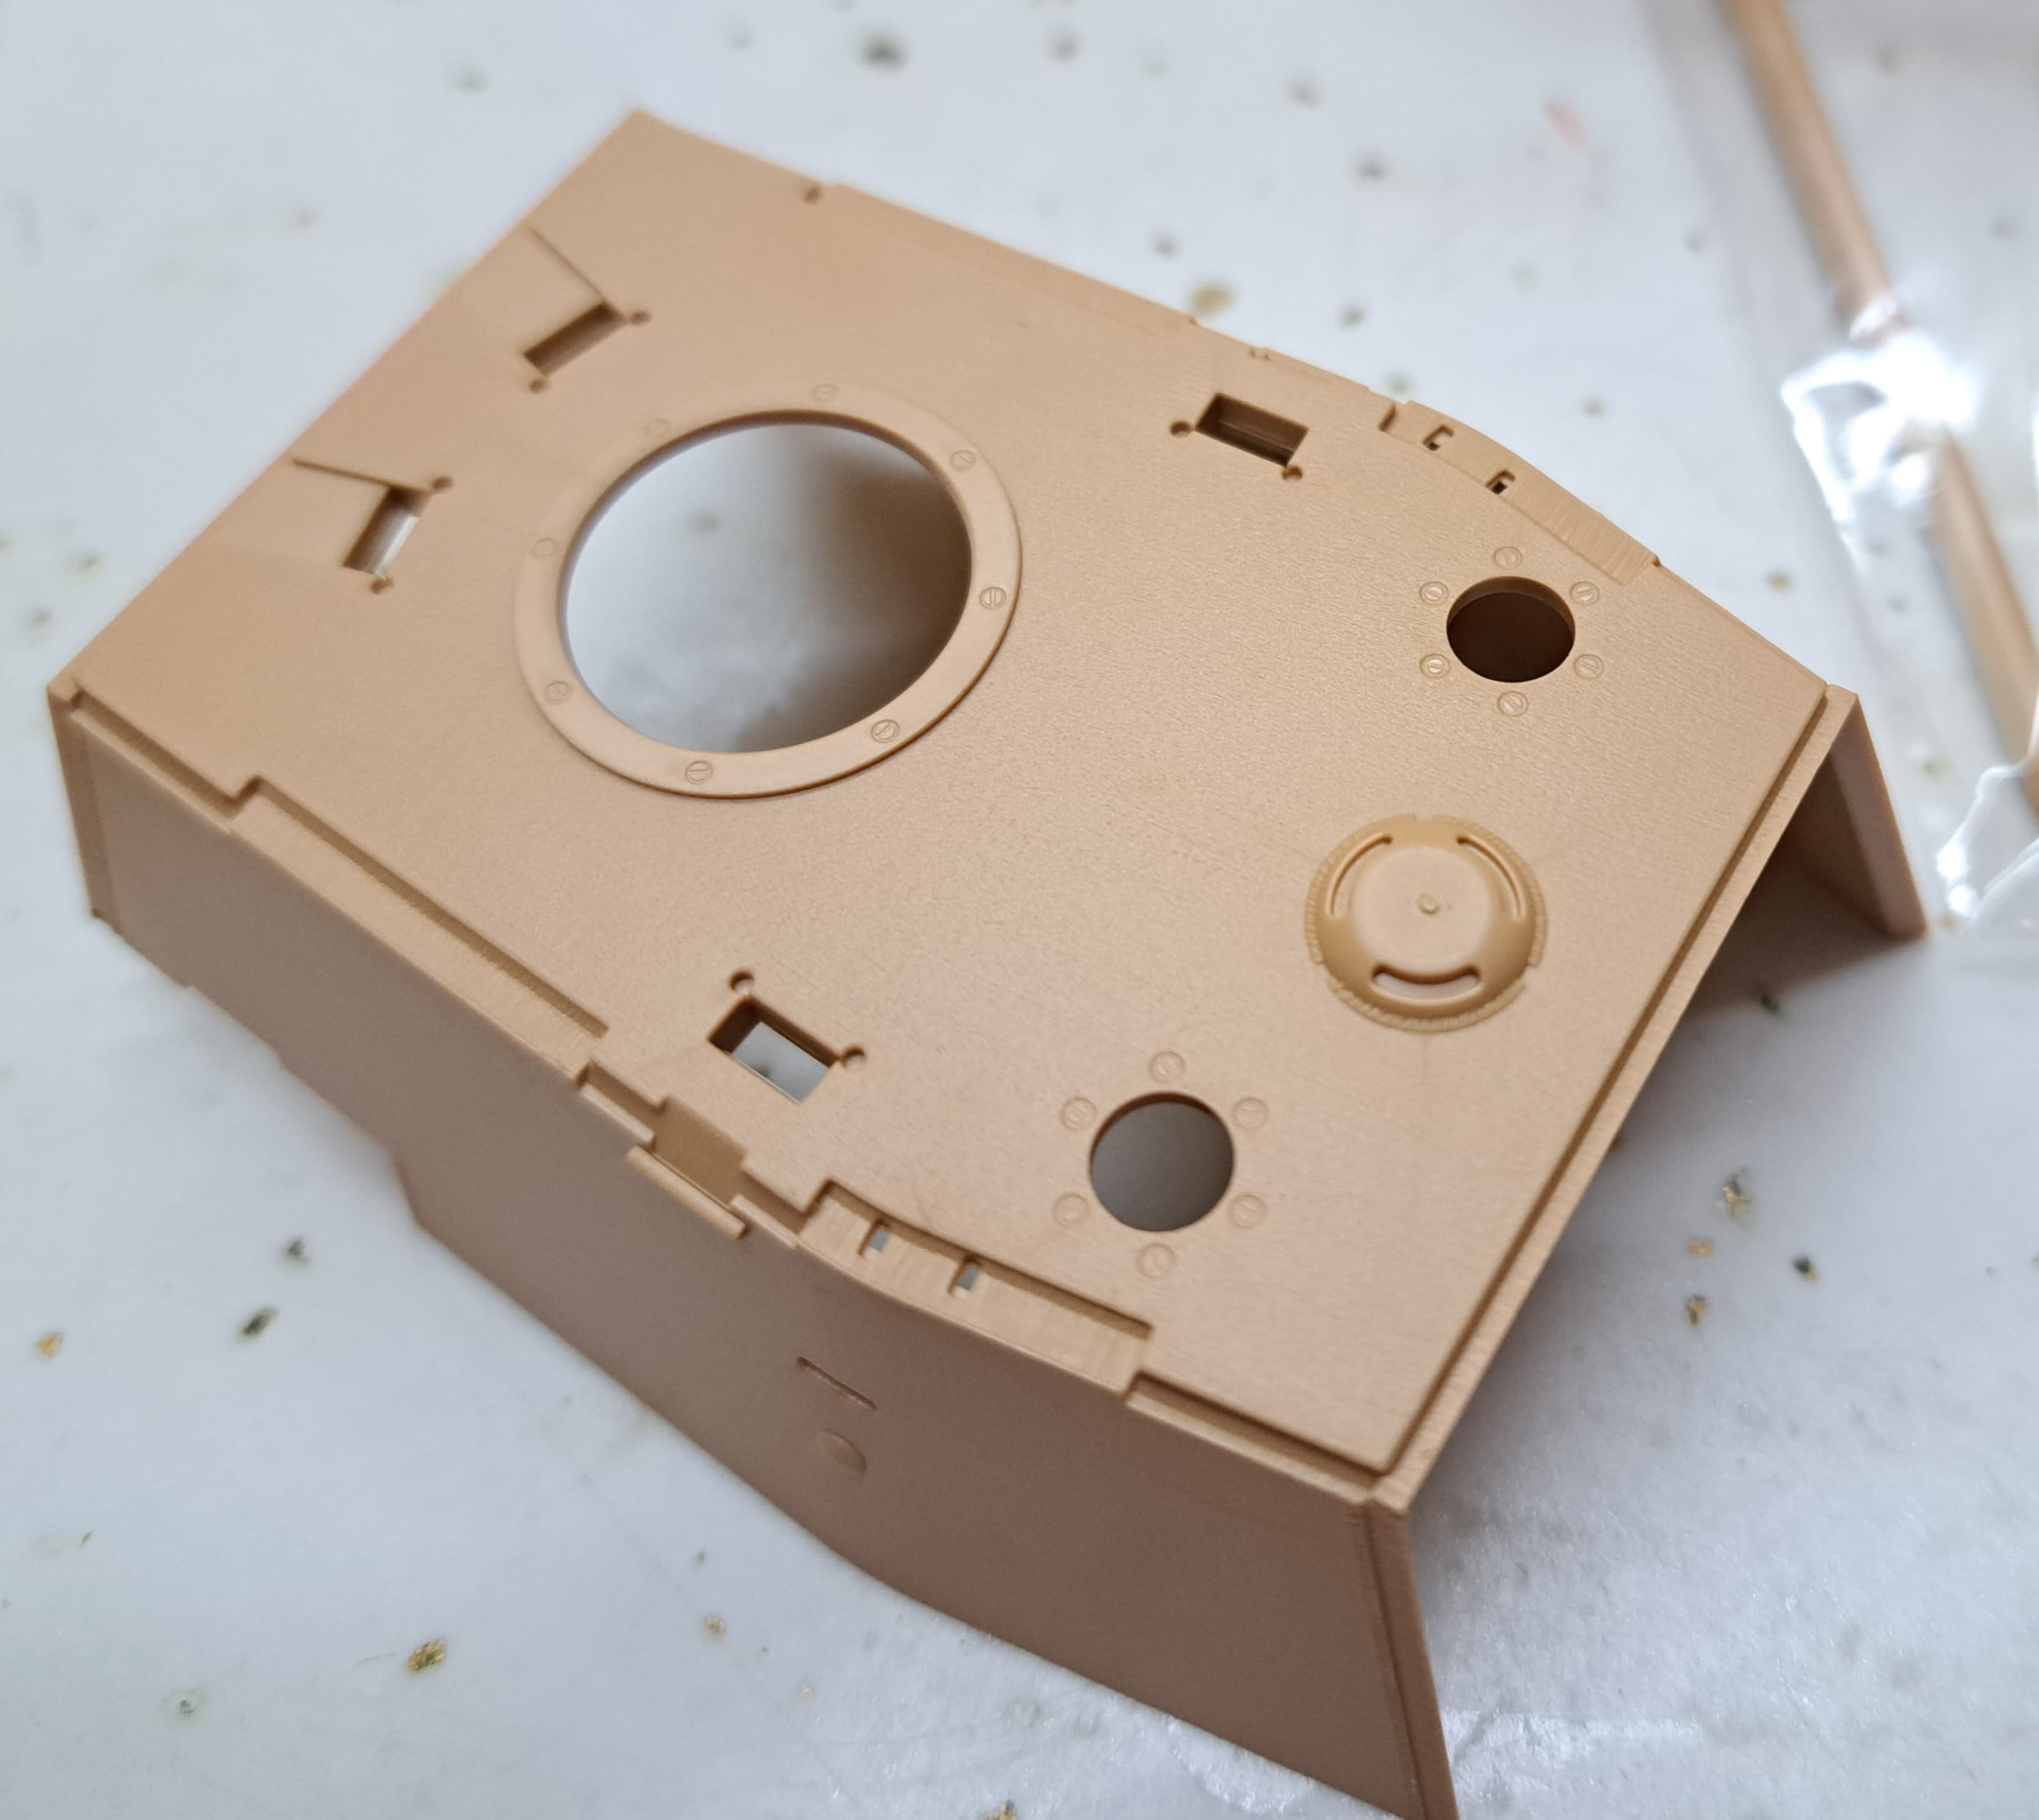
Here’s the test subject, obviously not much was spent on box art but it’s clear the cash went into molding a sweet looking KV-1.

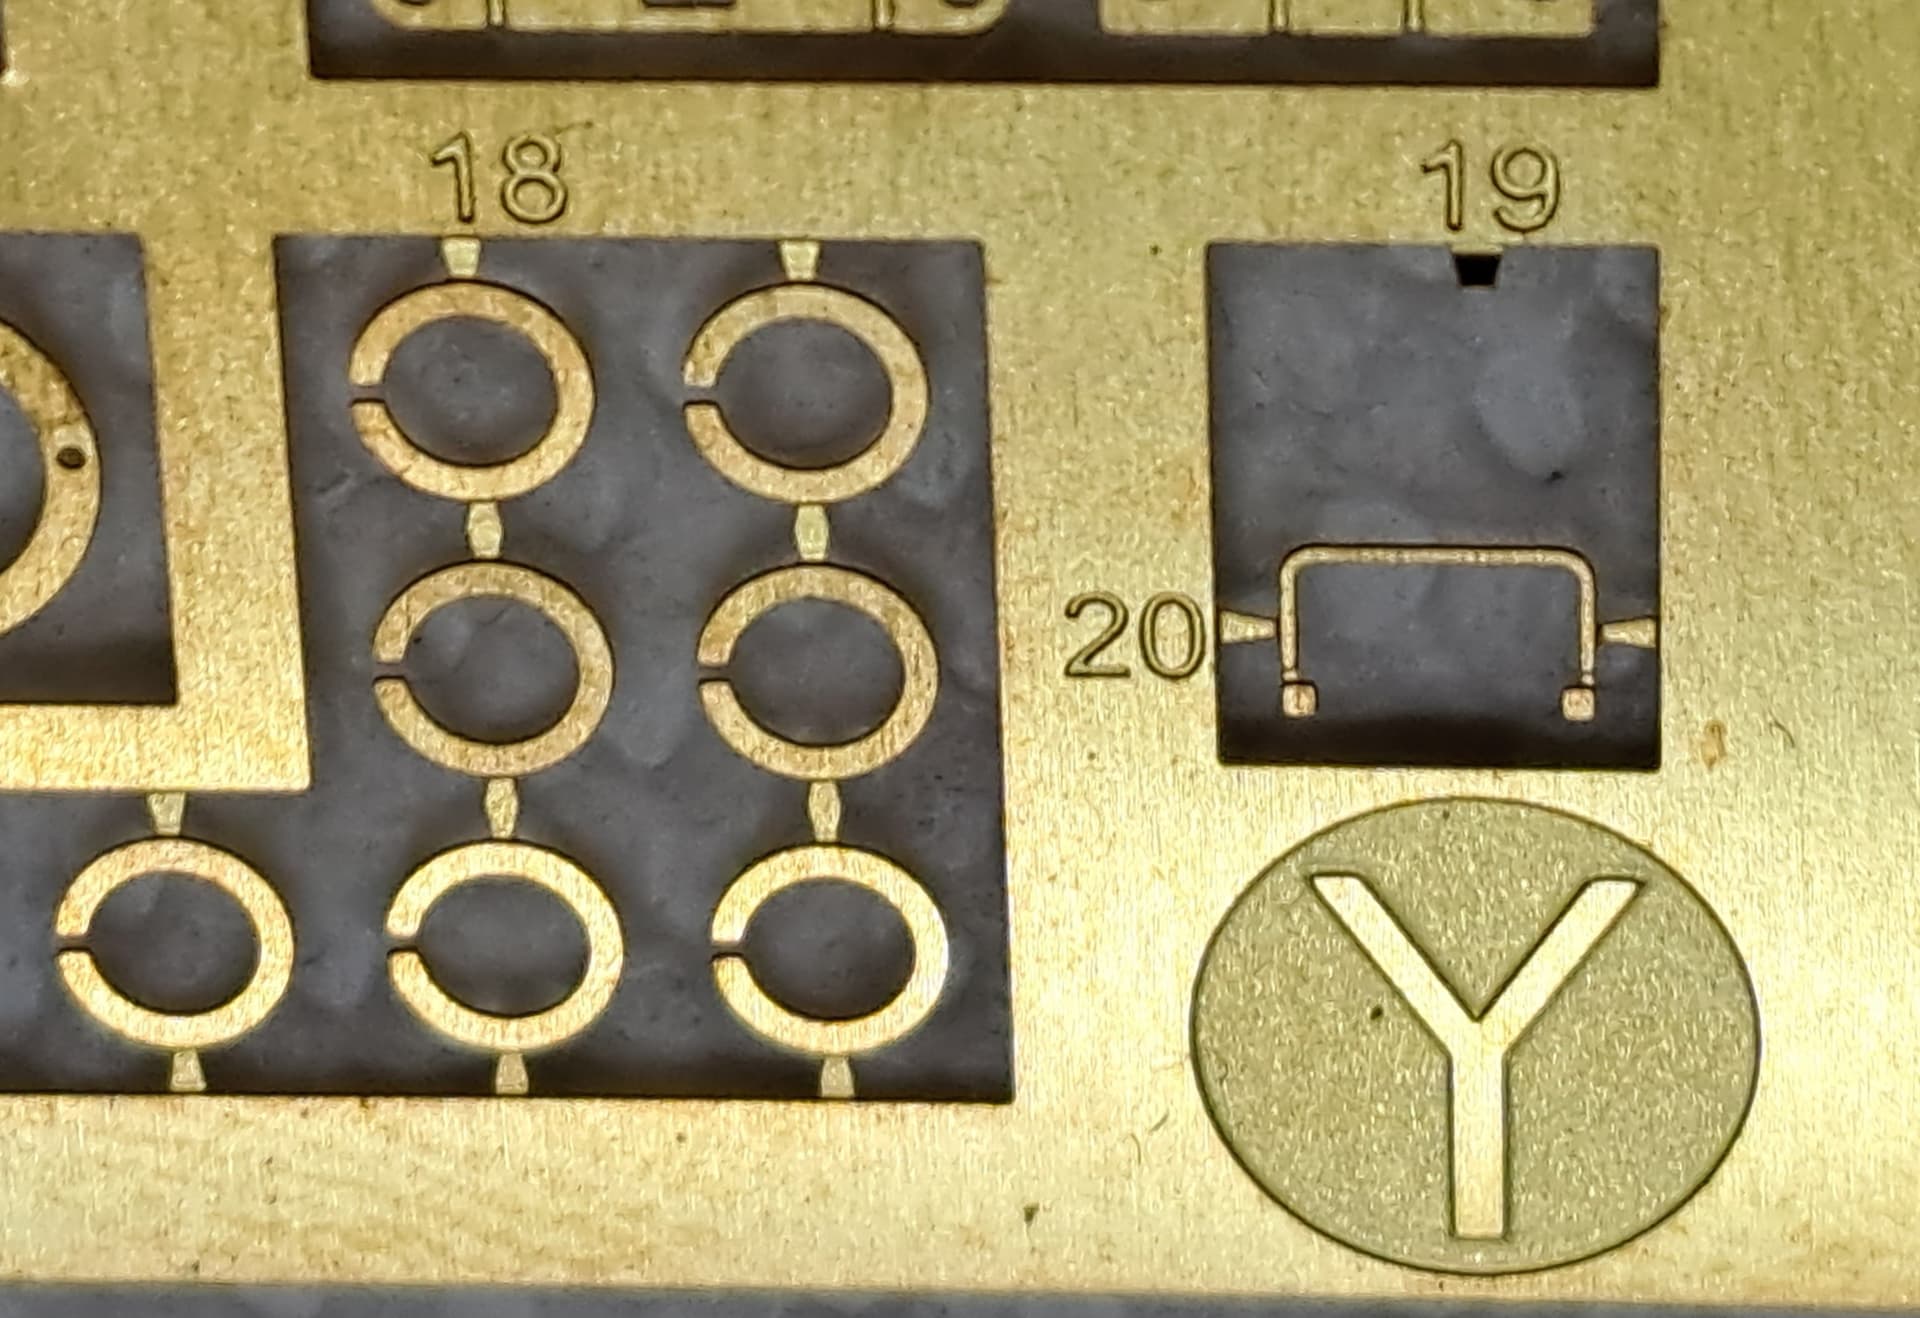
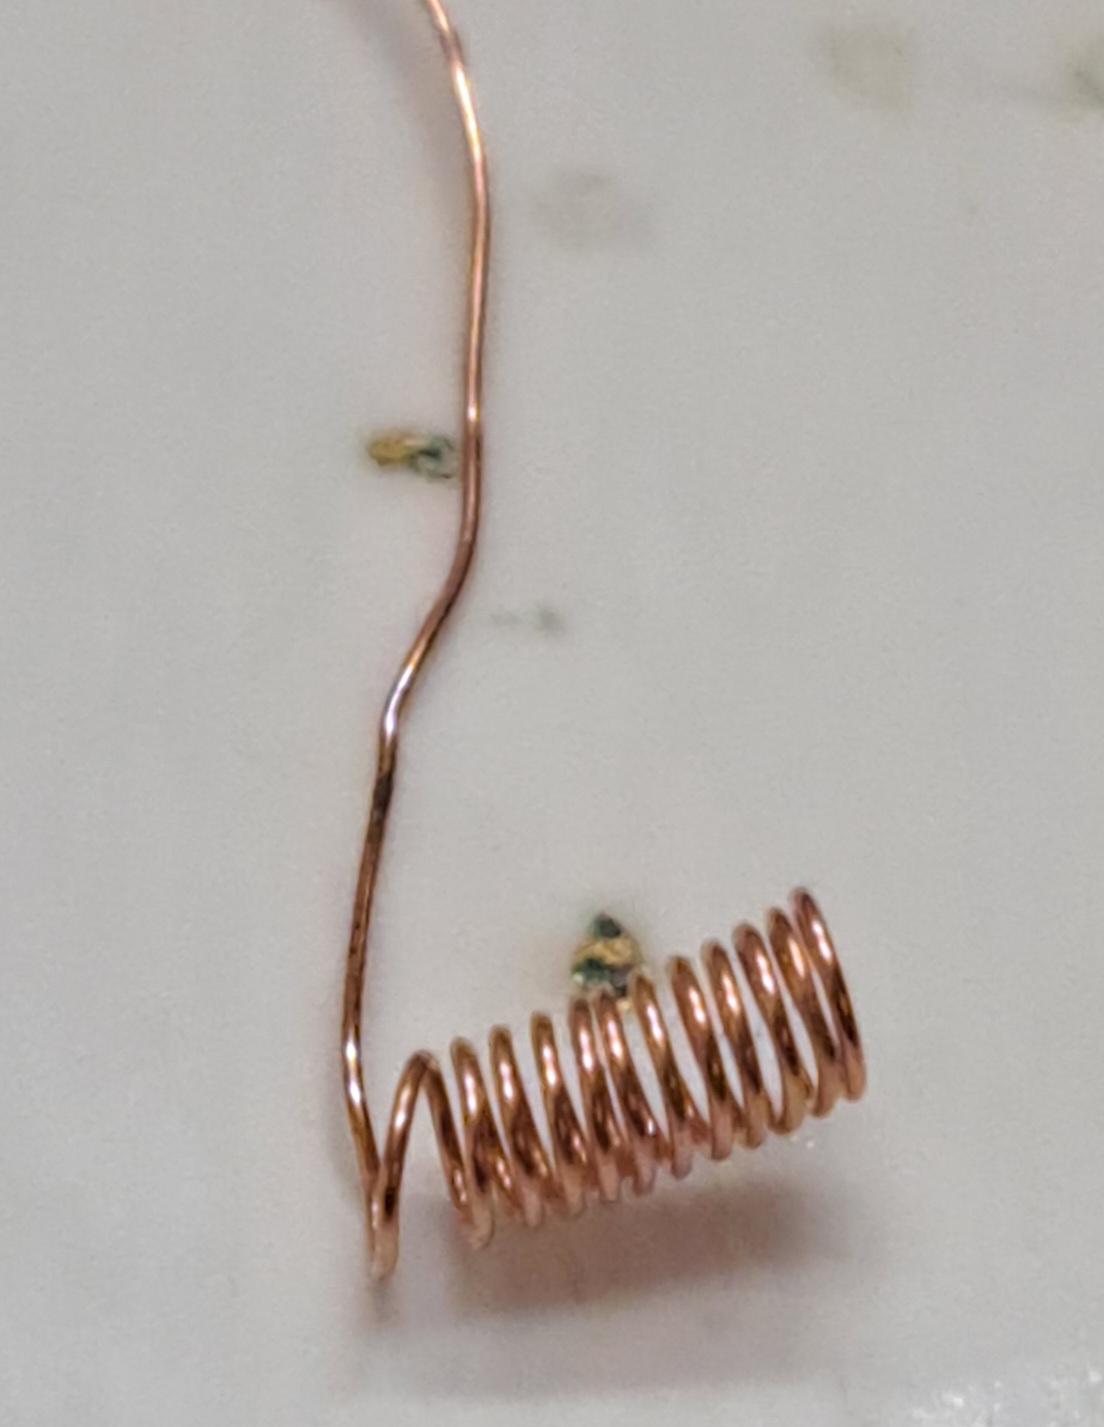
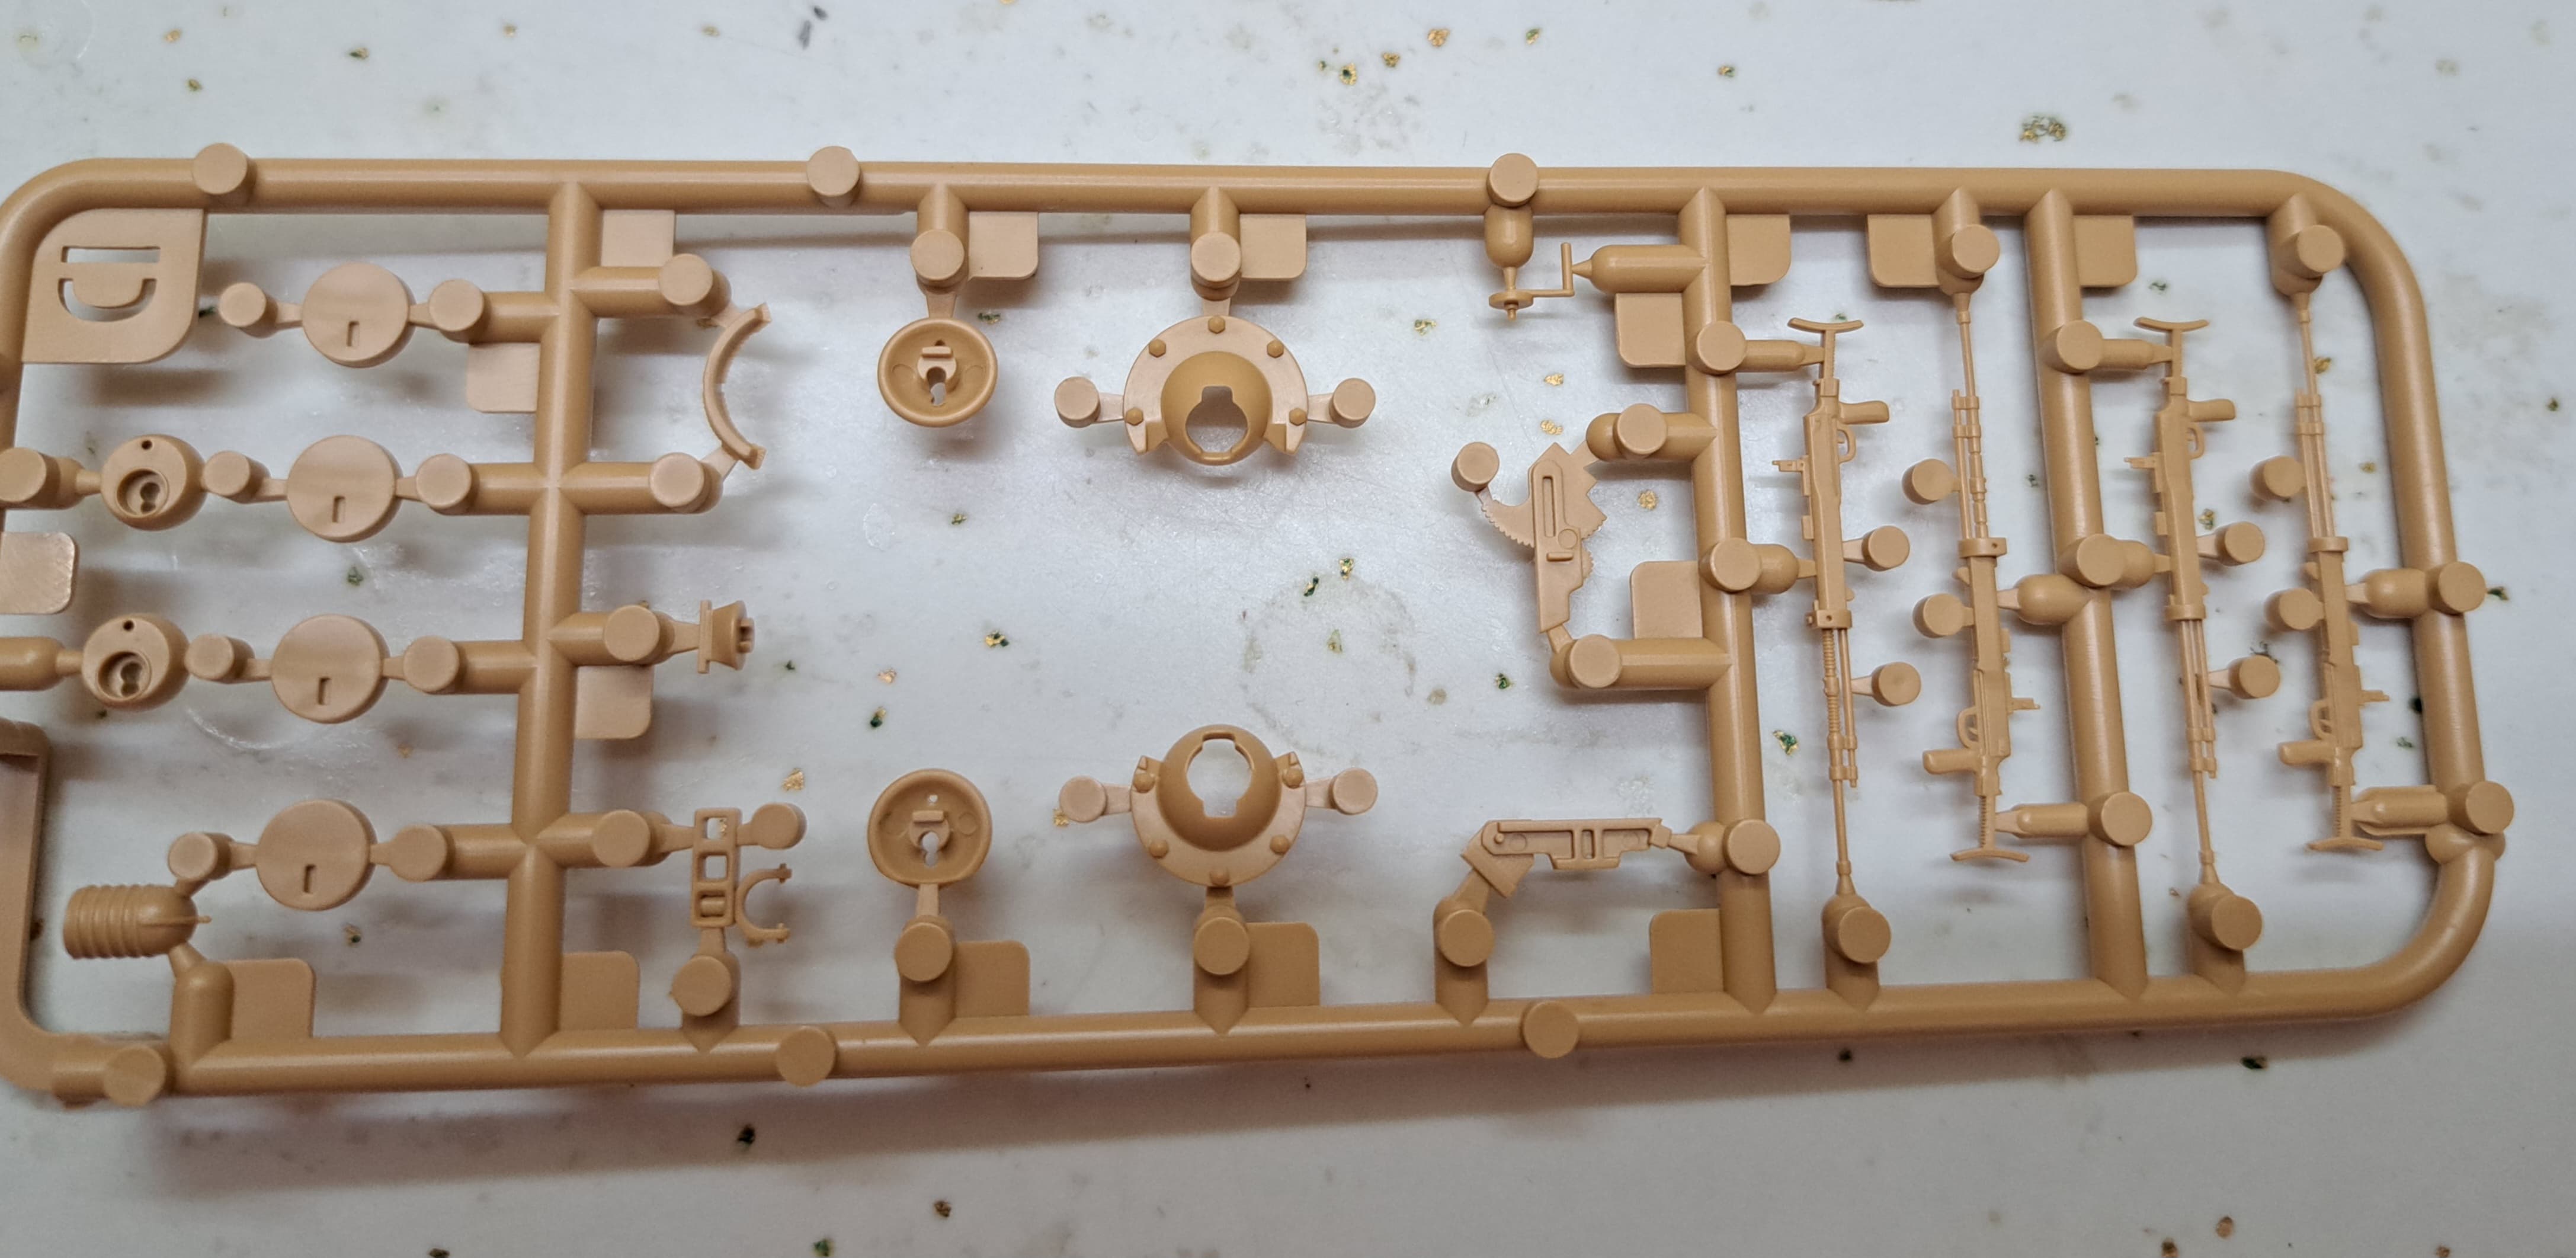
We have poly caps, clear plastic, nice photo etch & wire for the tow cable.

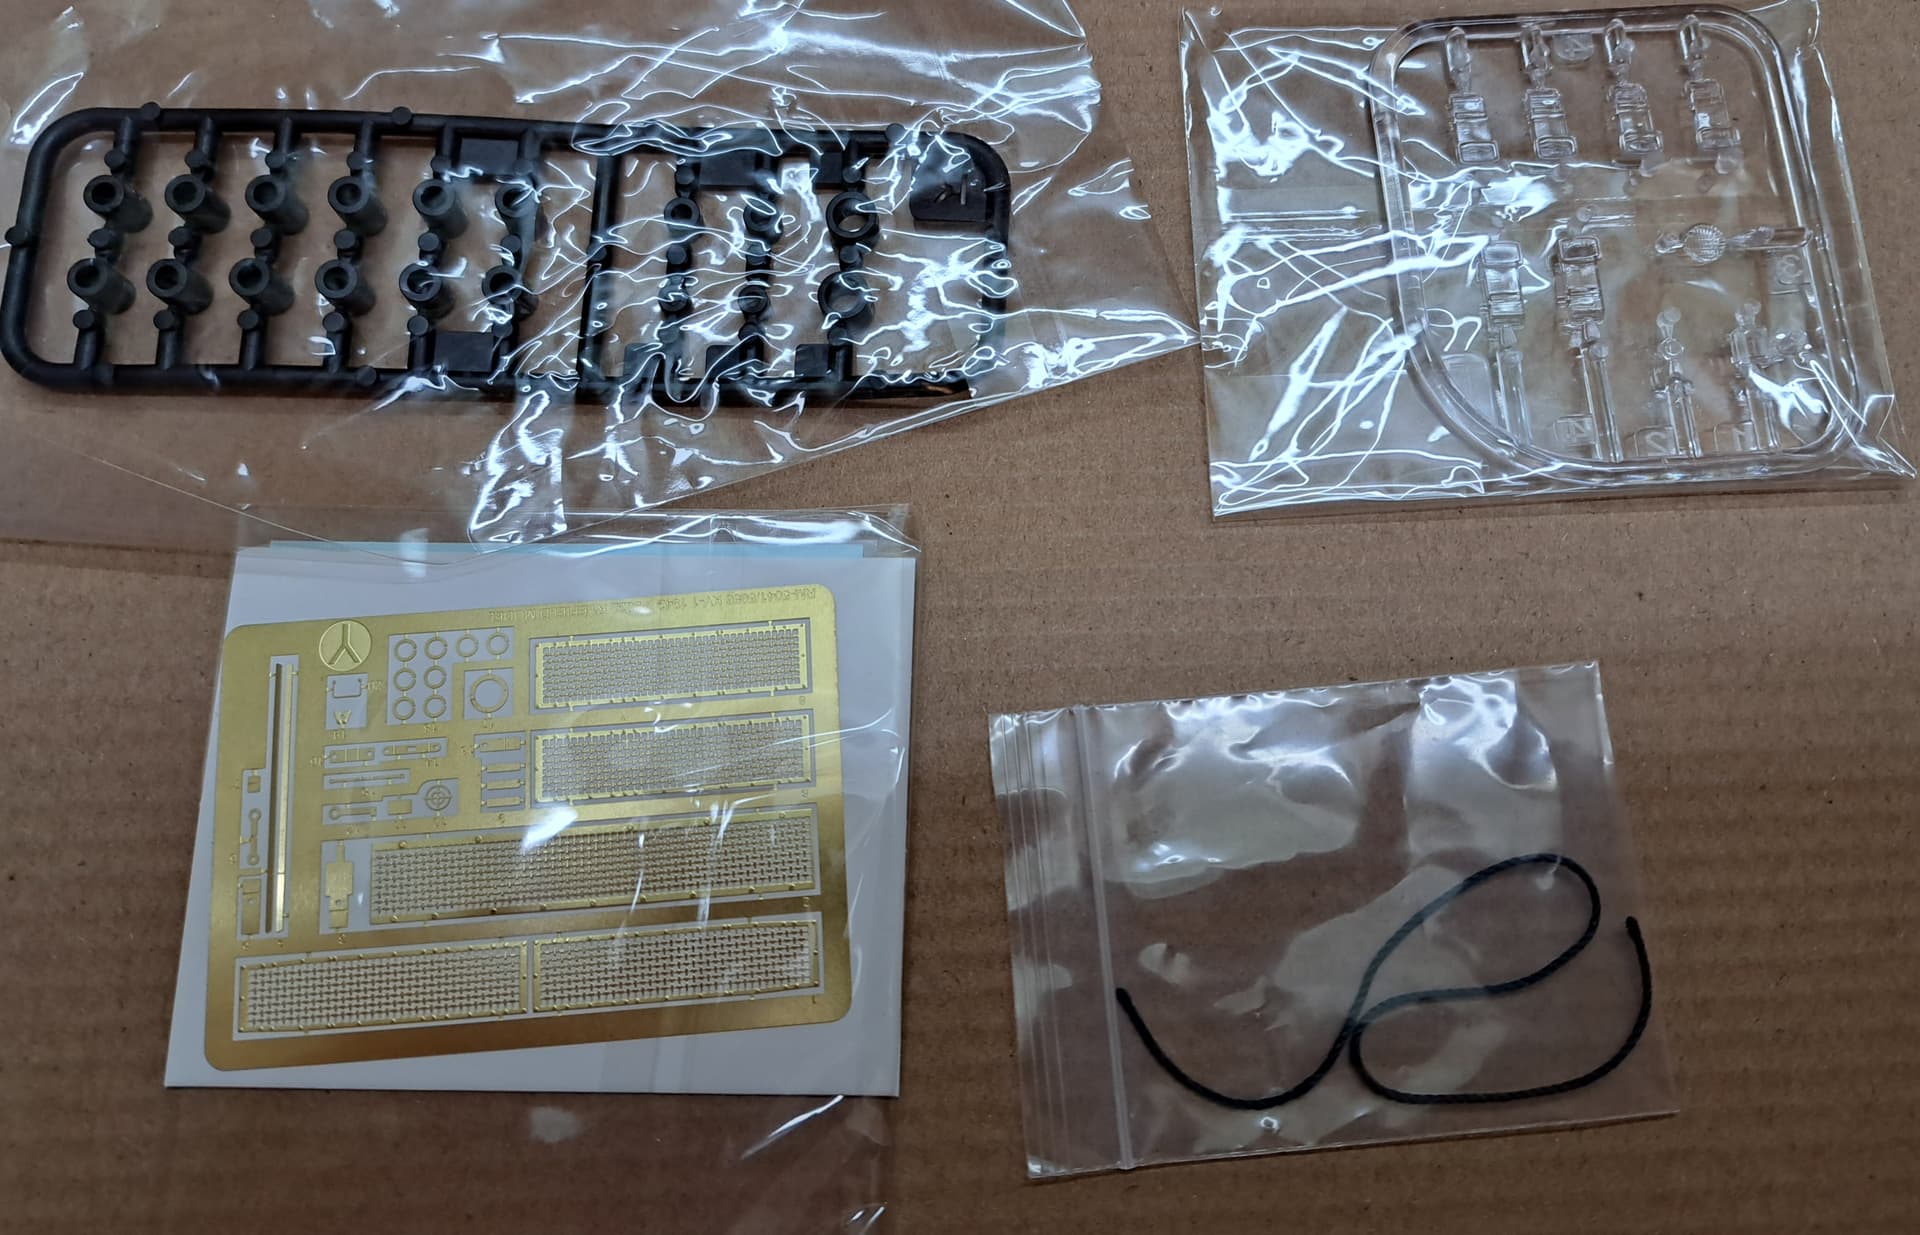
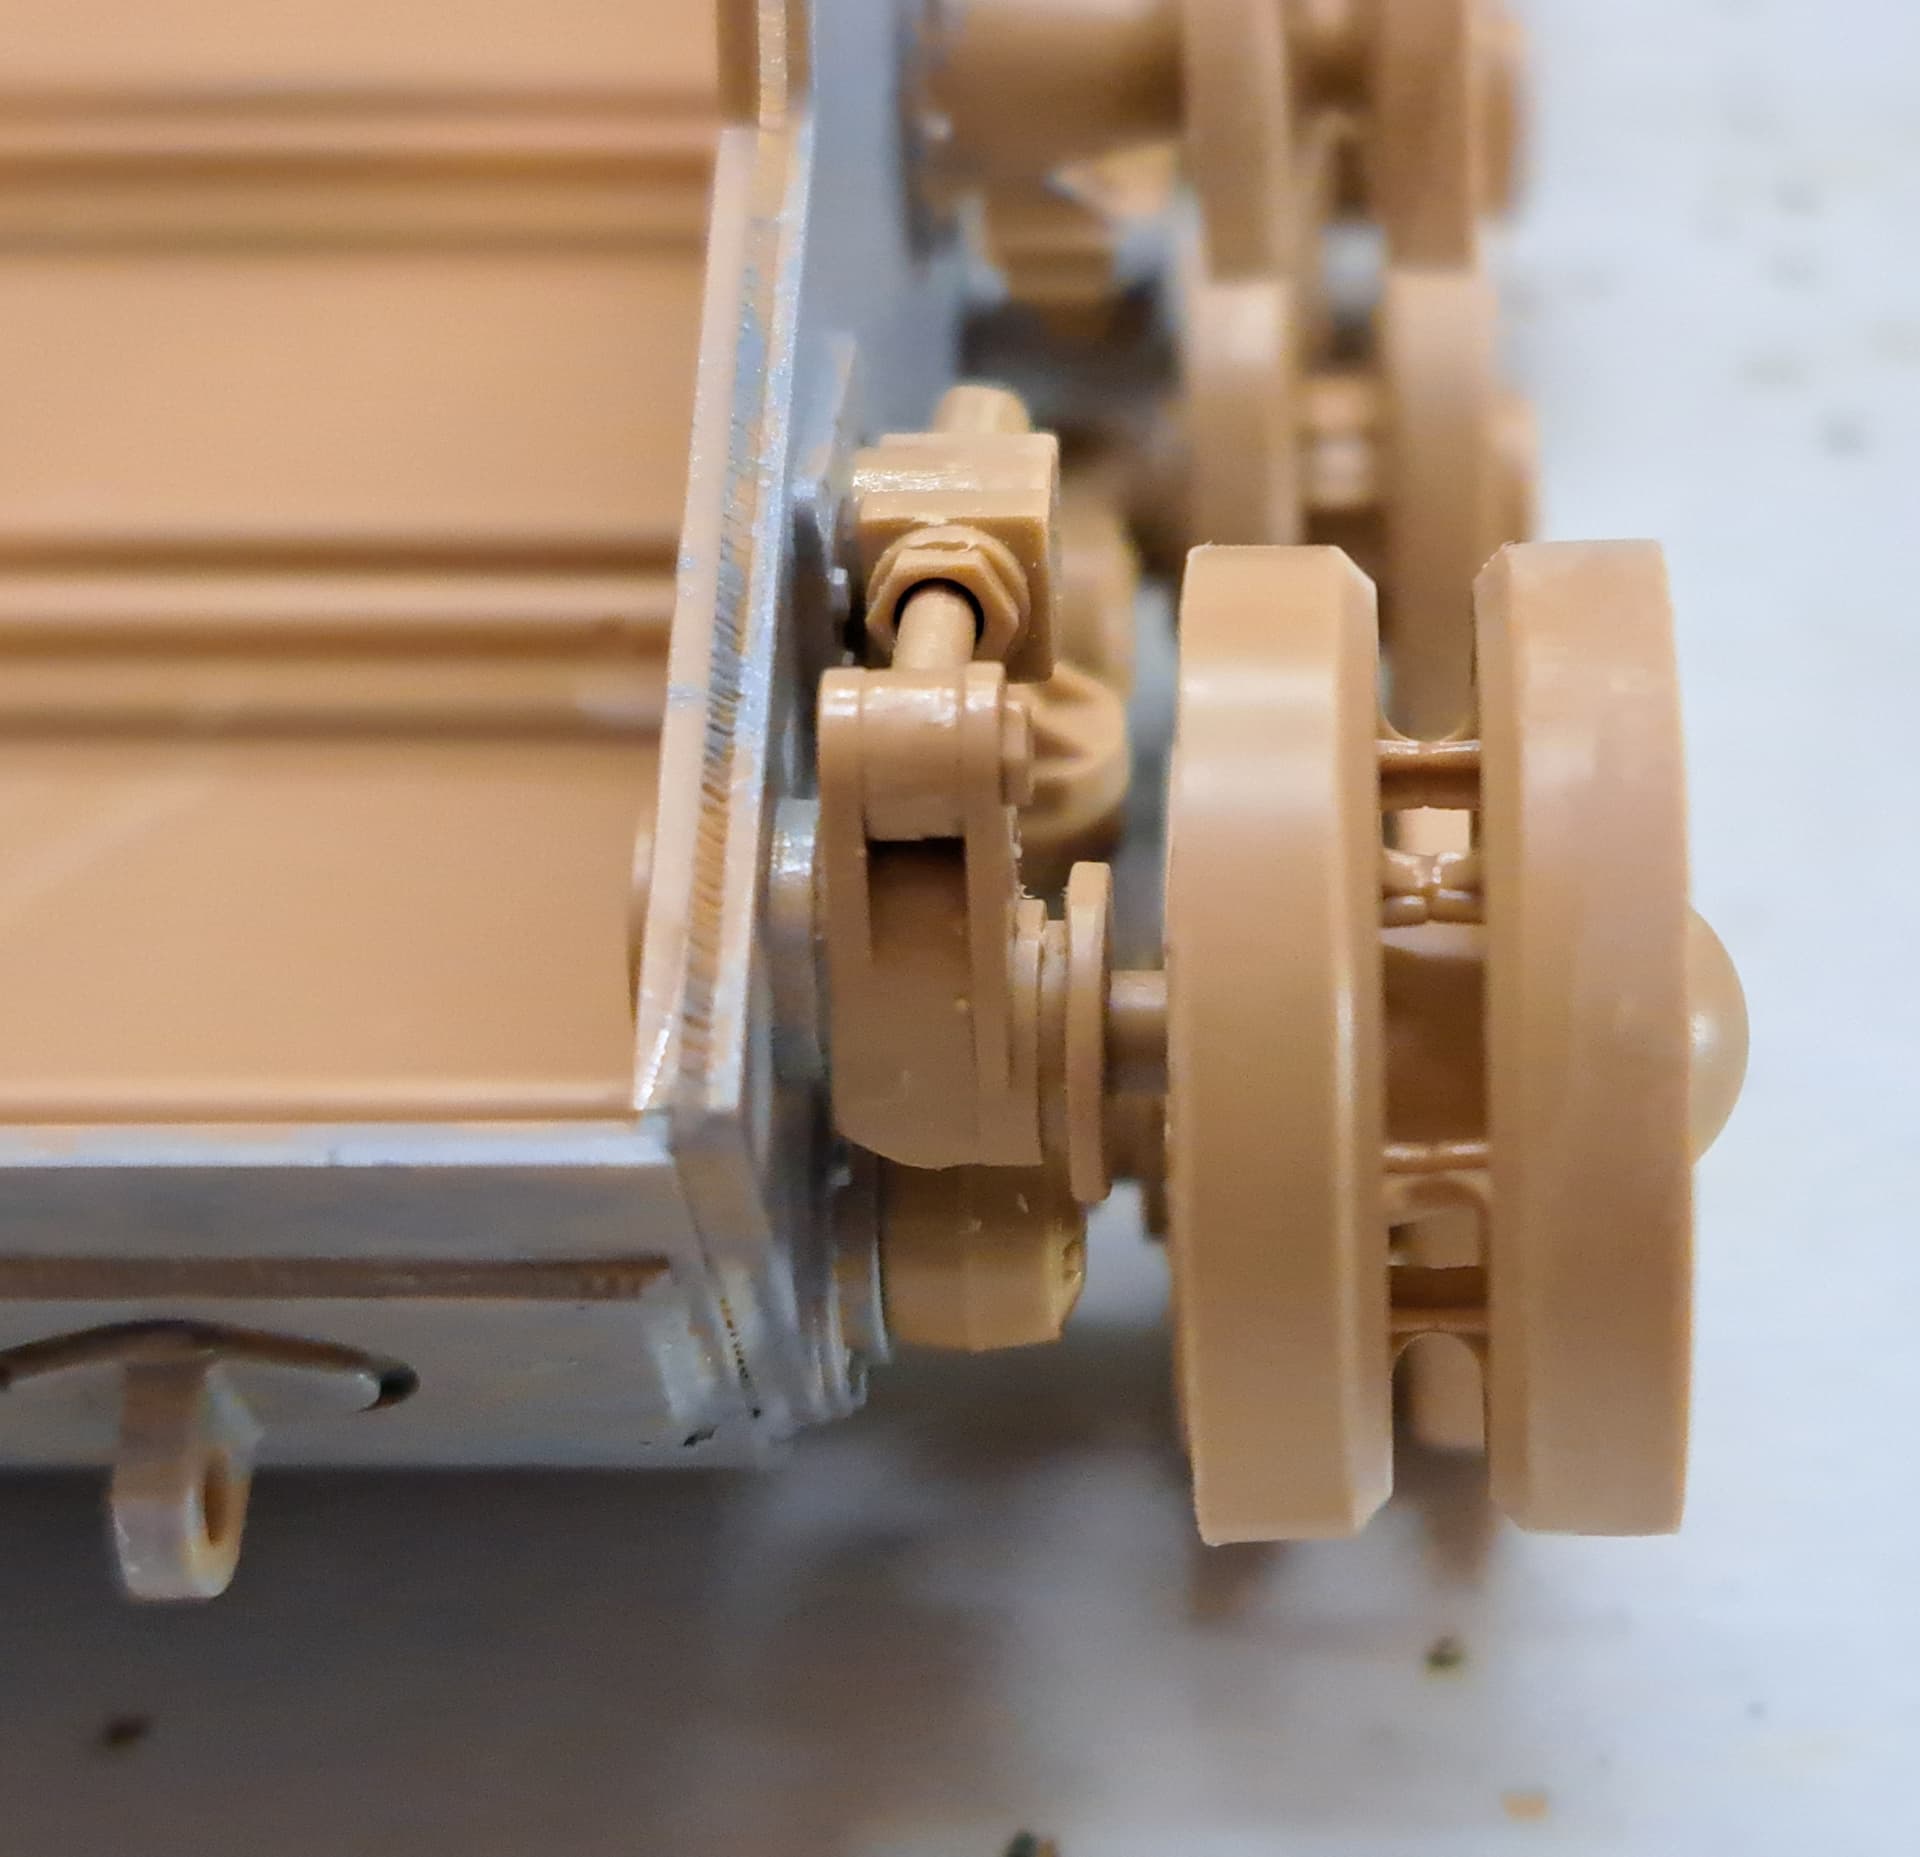
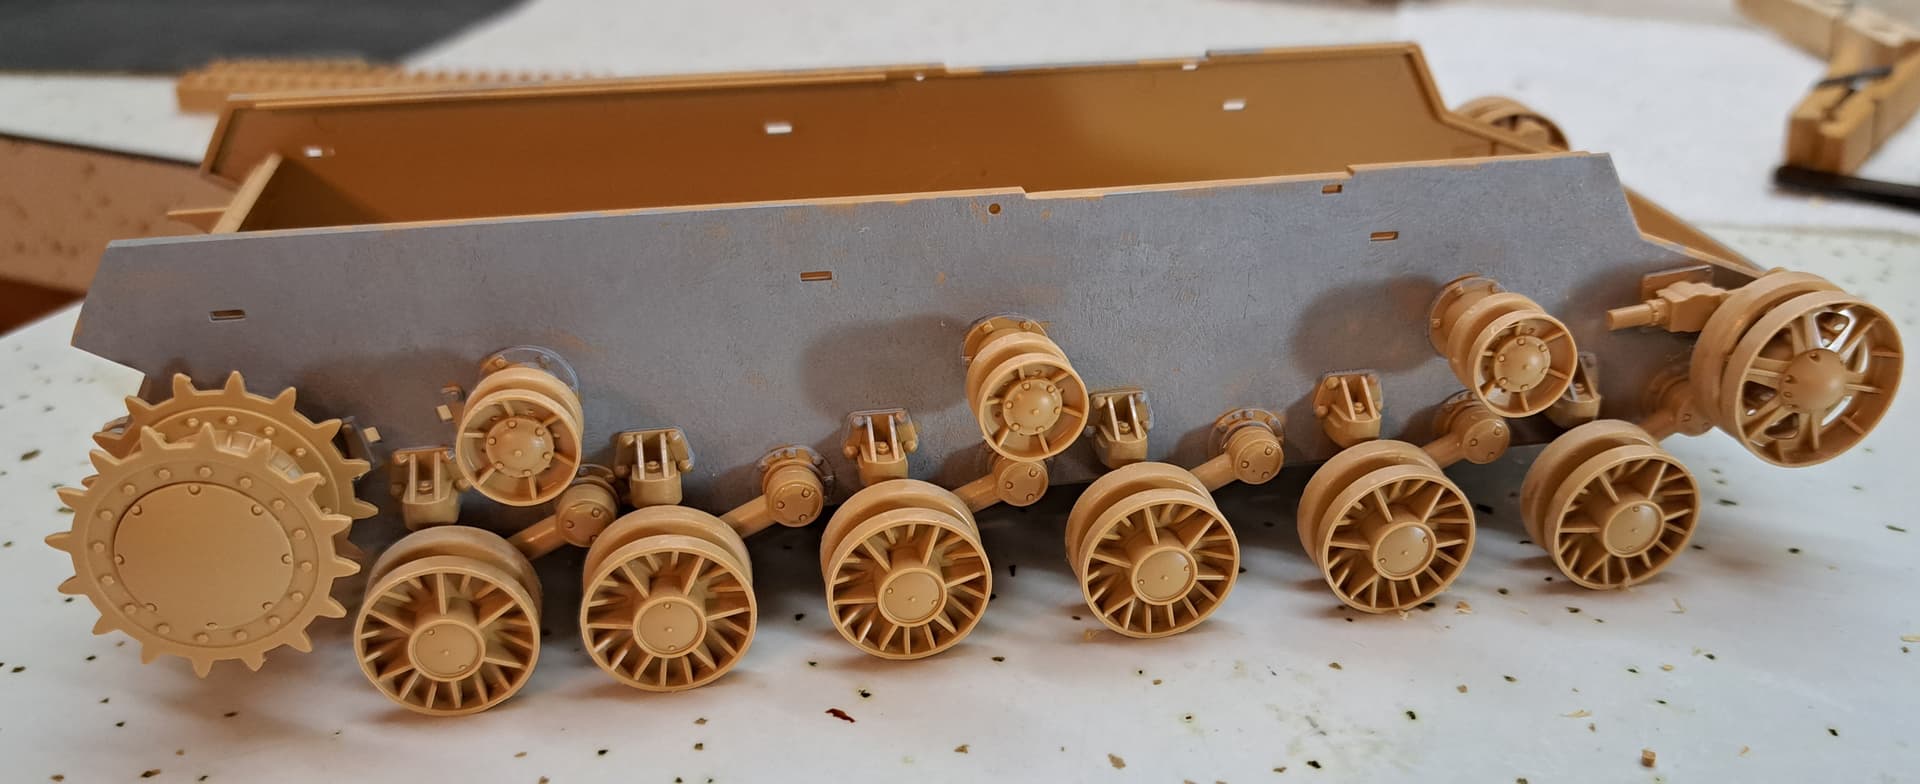
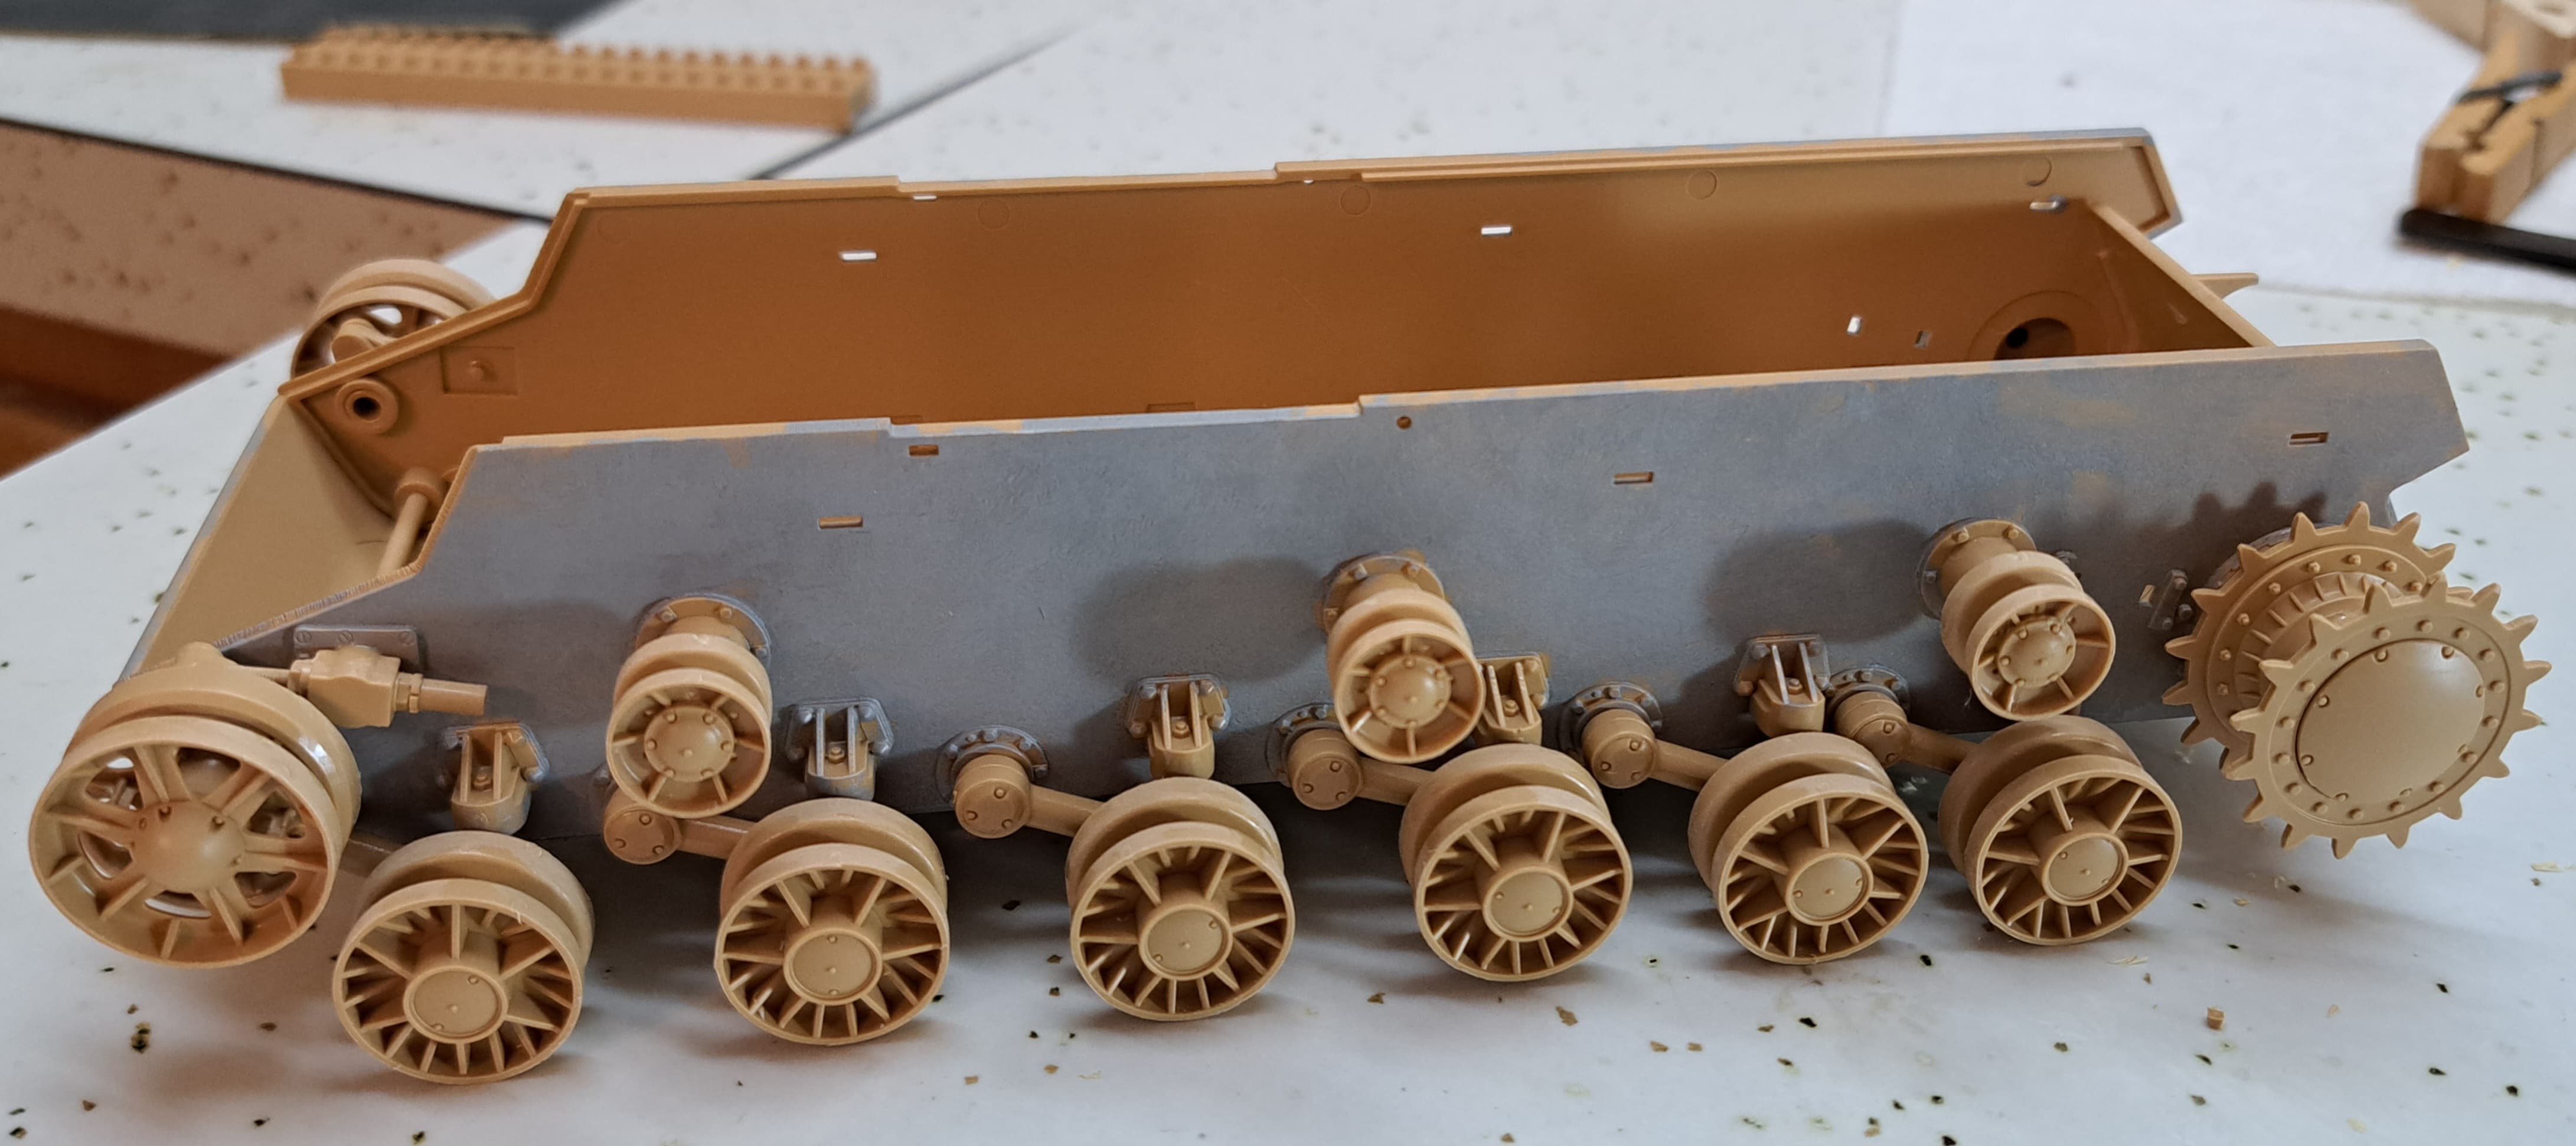
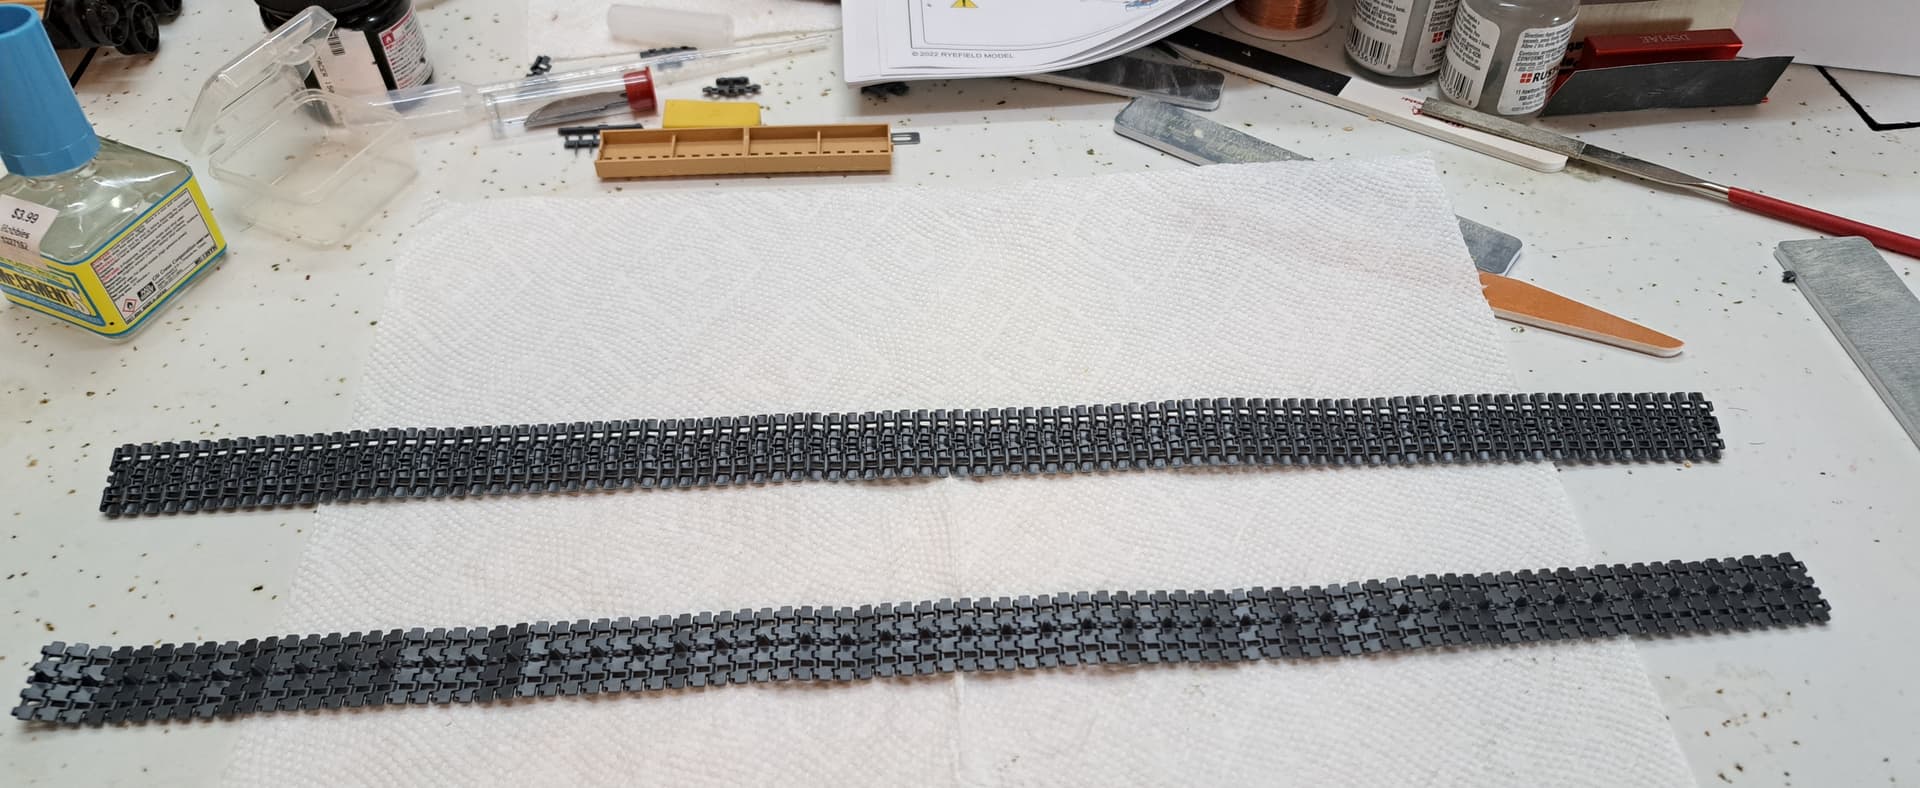
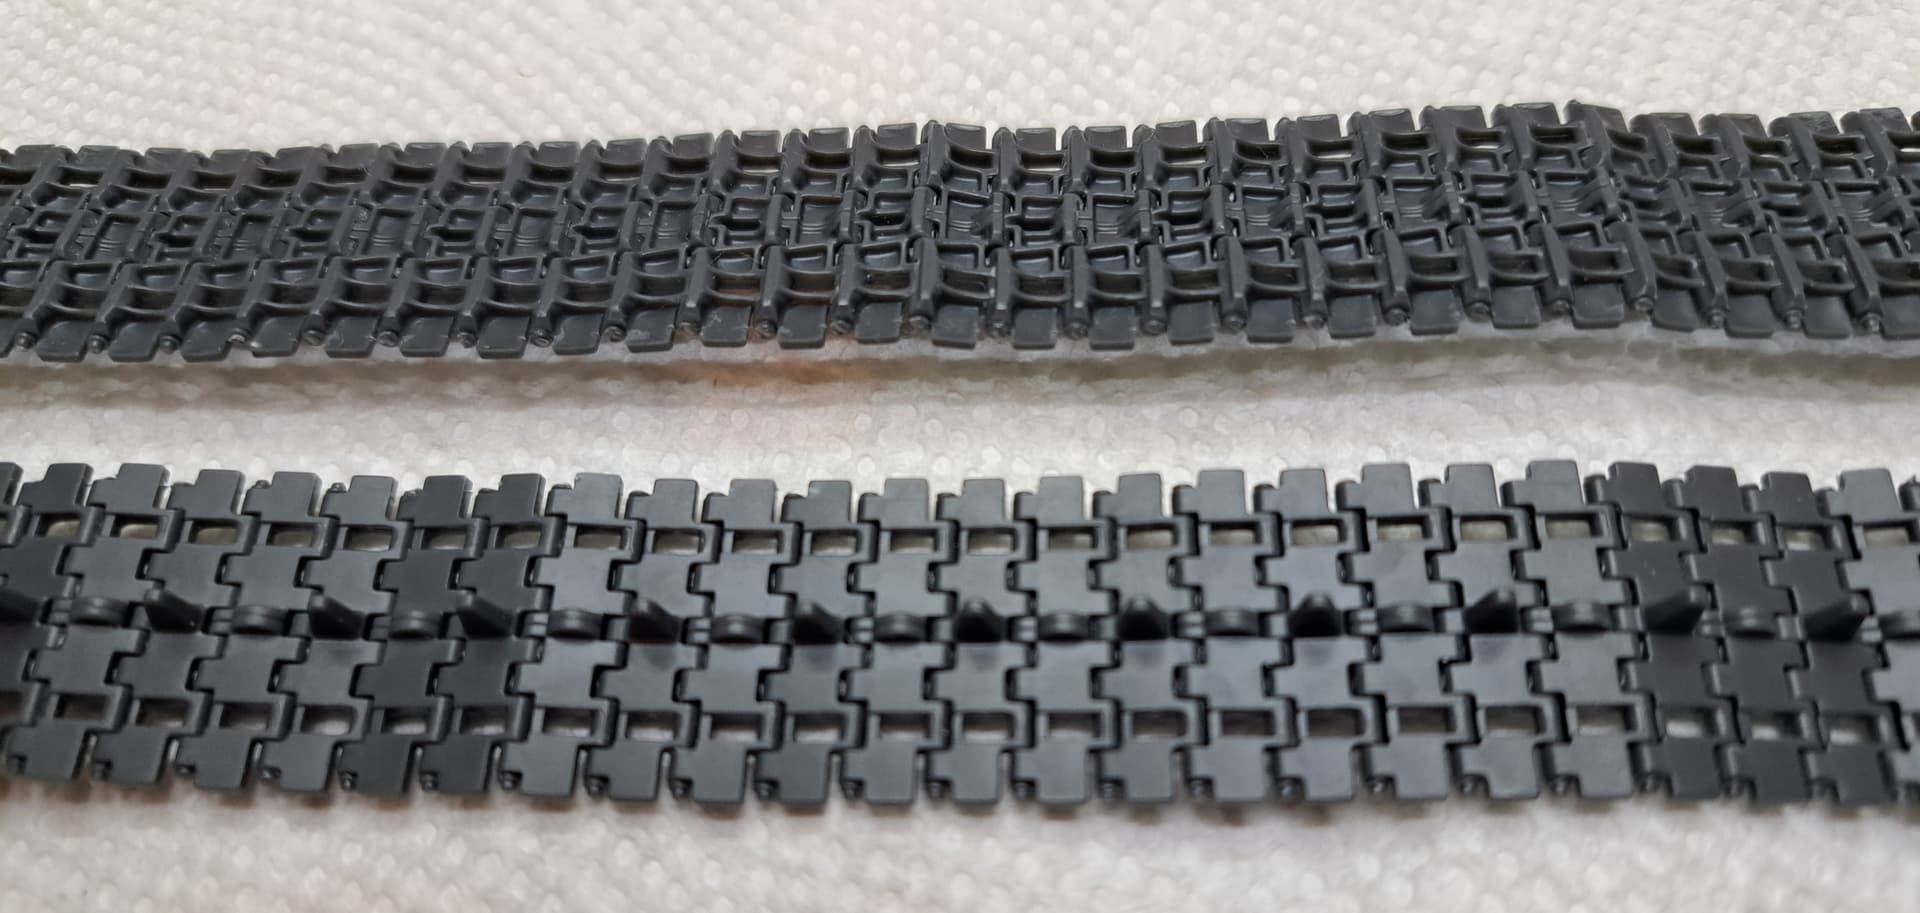
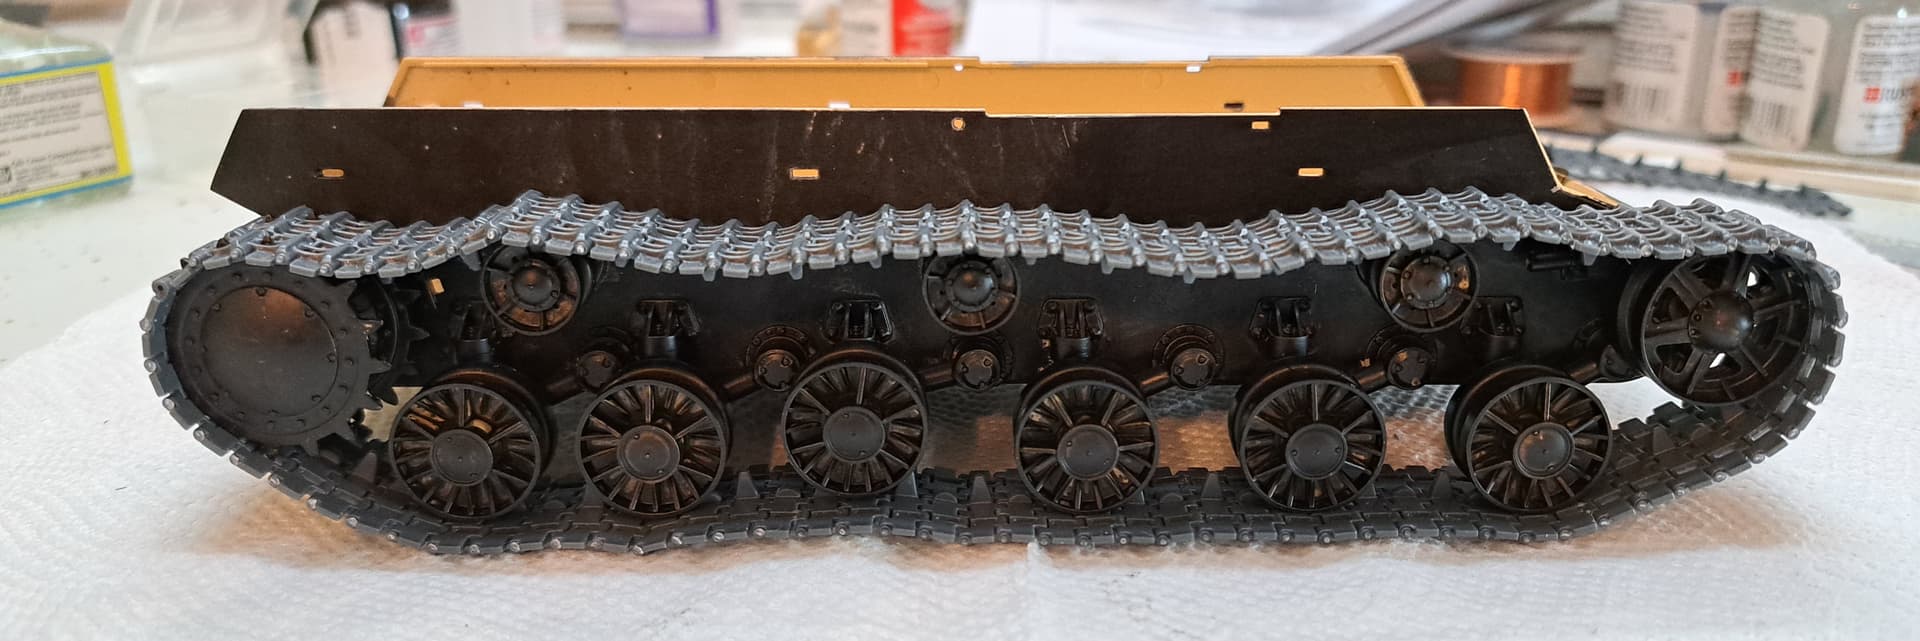
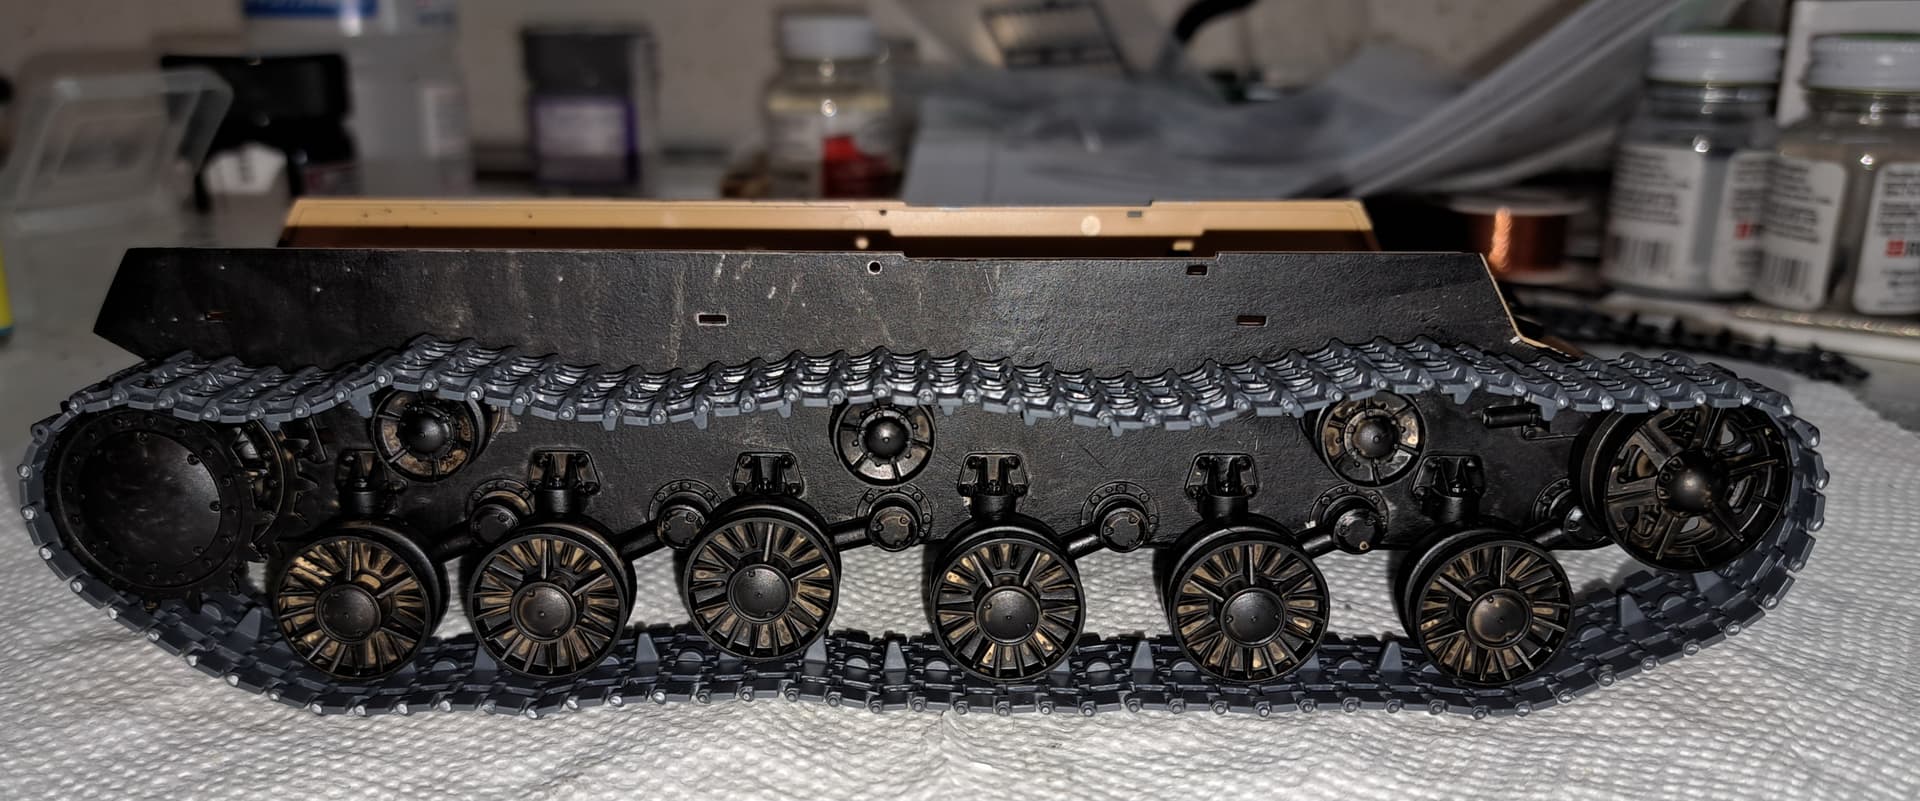
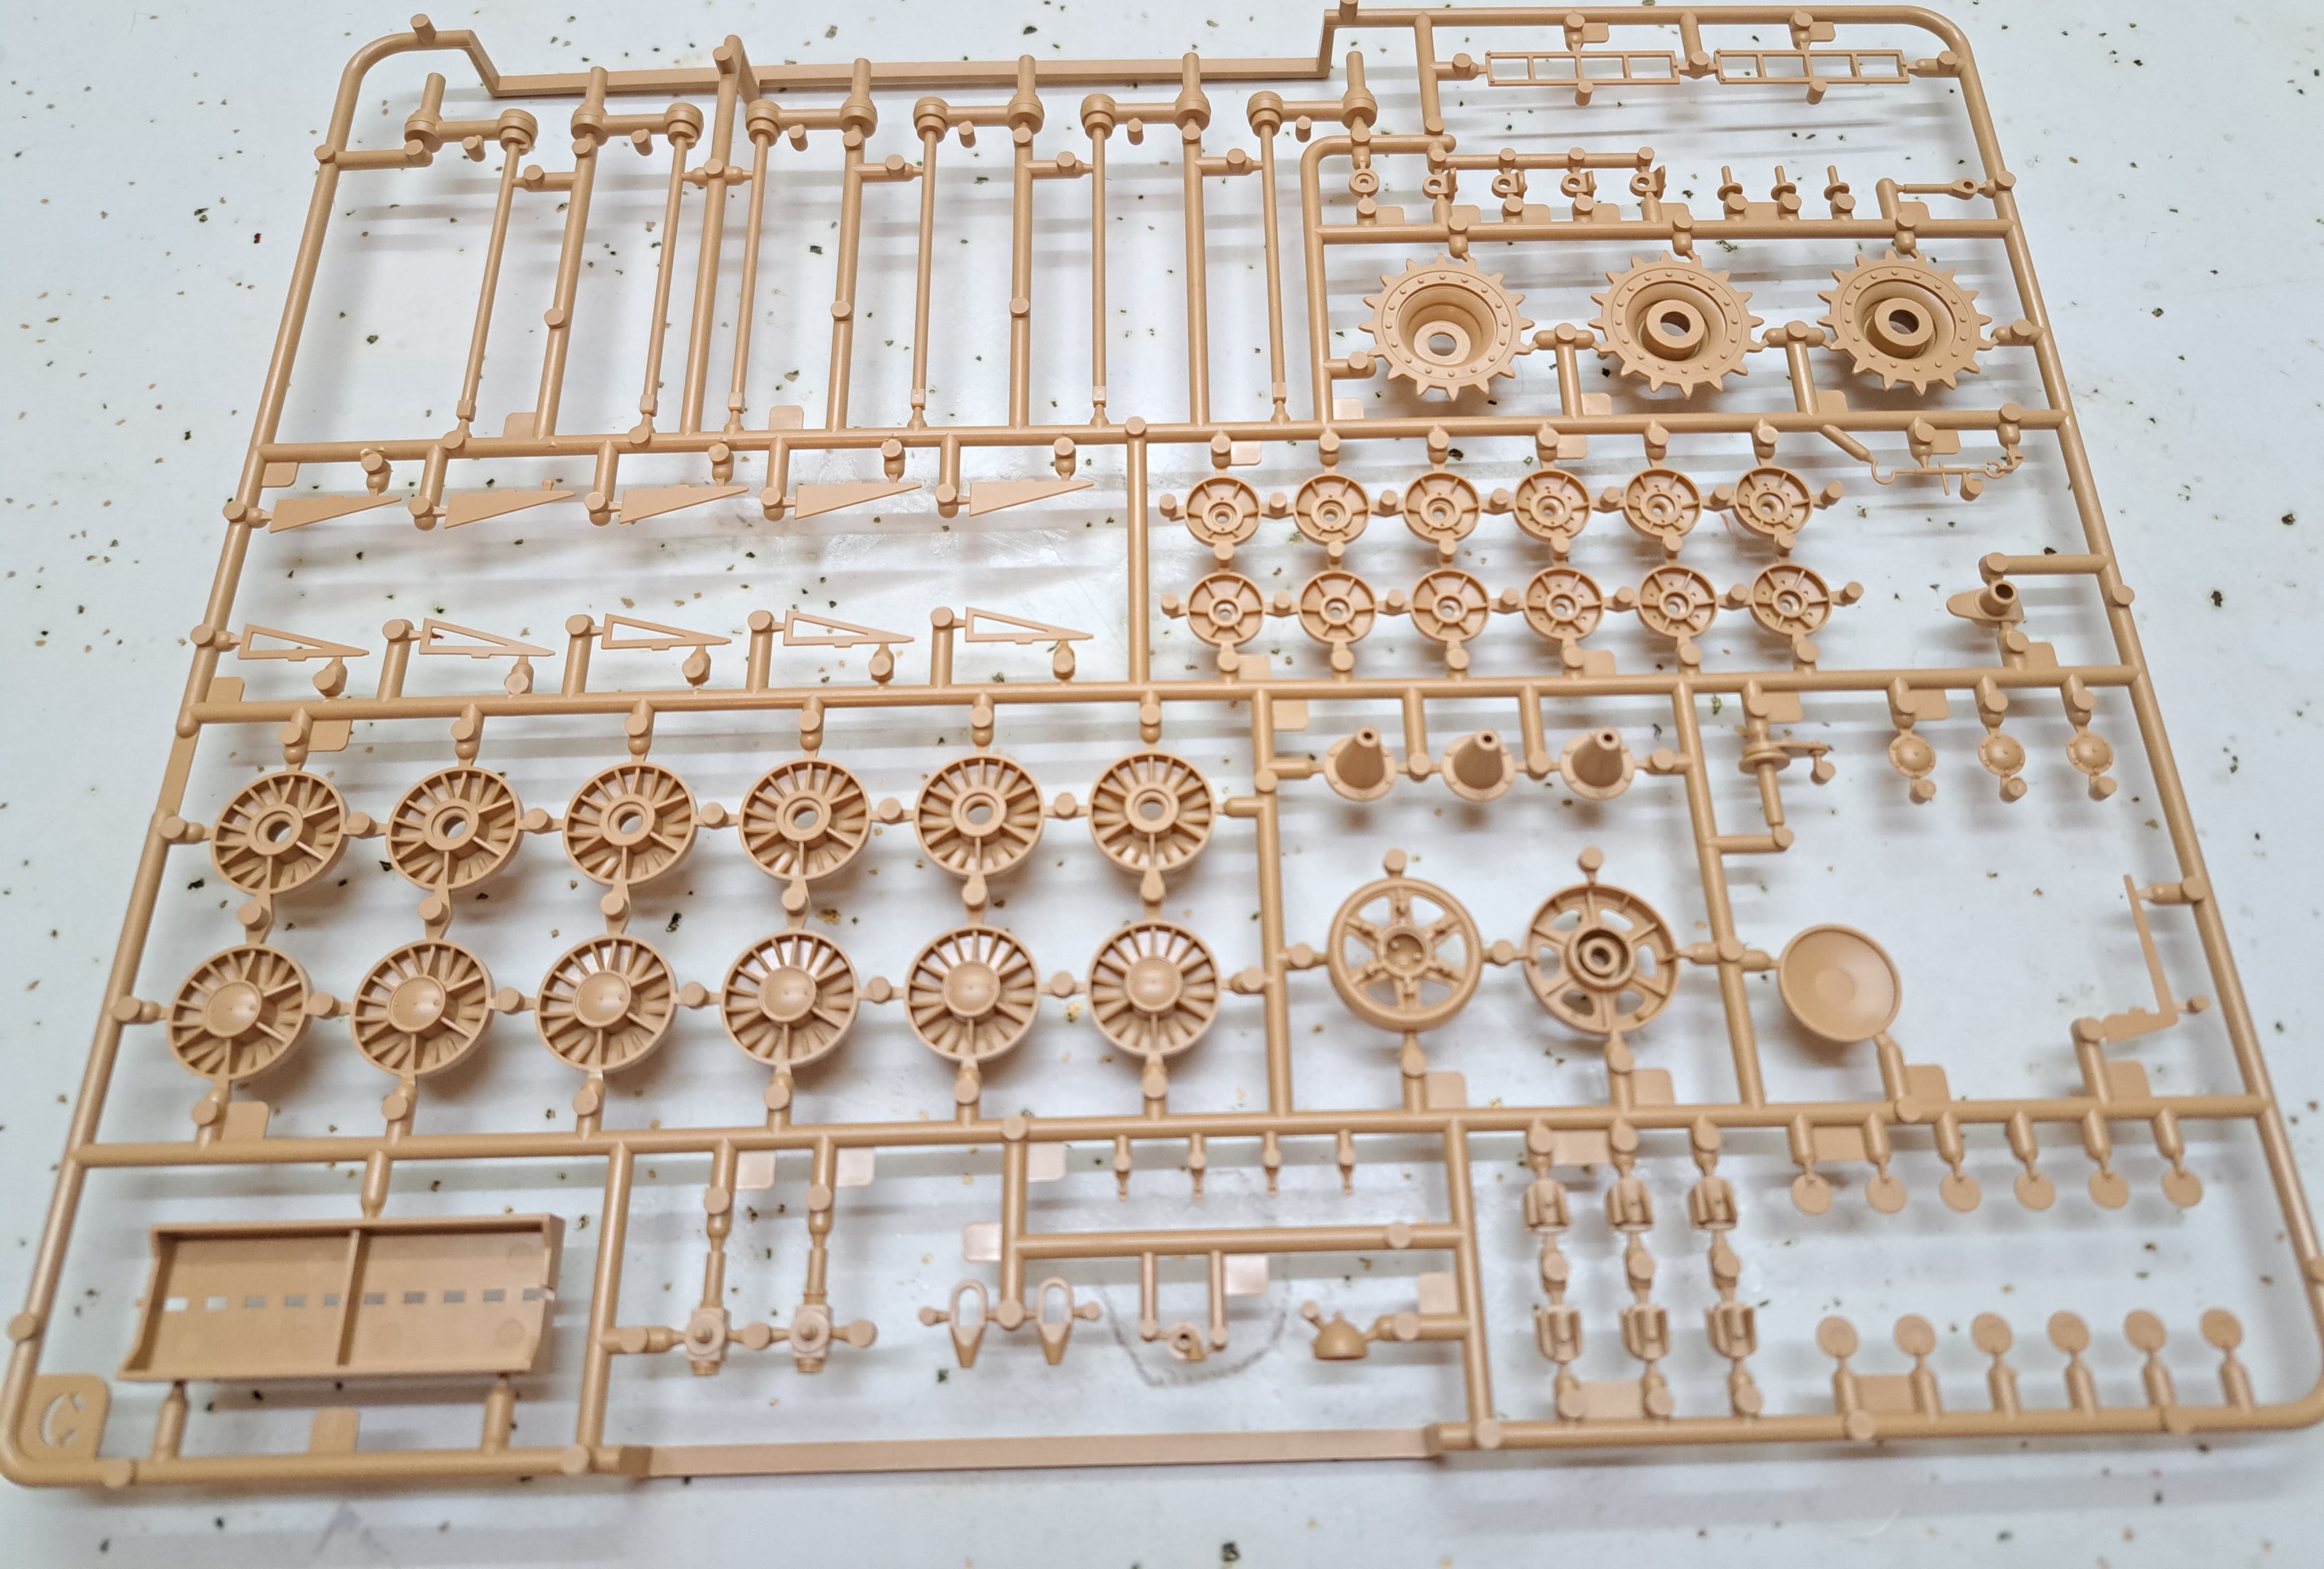
The tracks look promising and at least as good as RFM’s excellent Pz III/IV links.

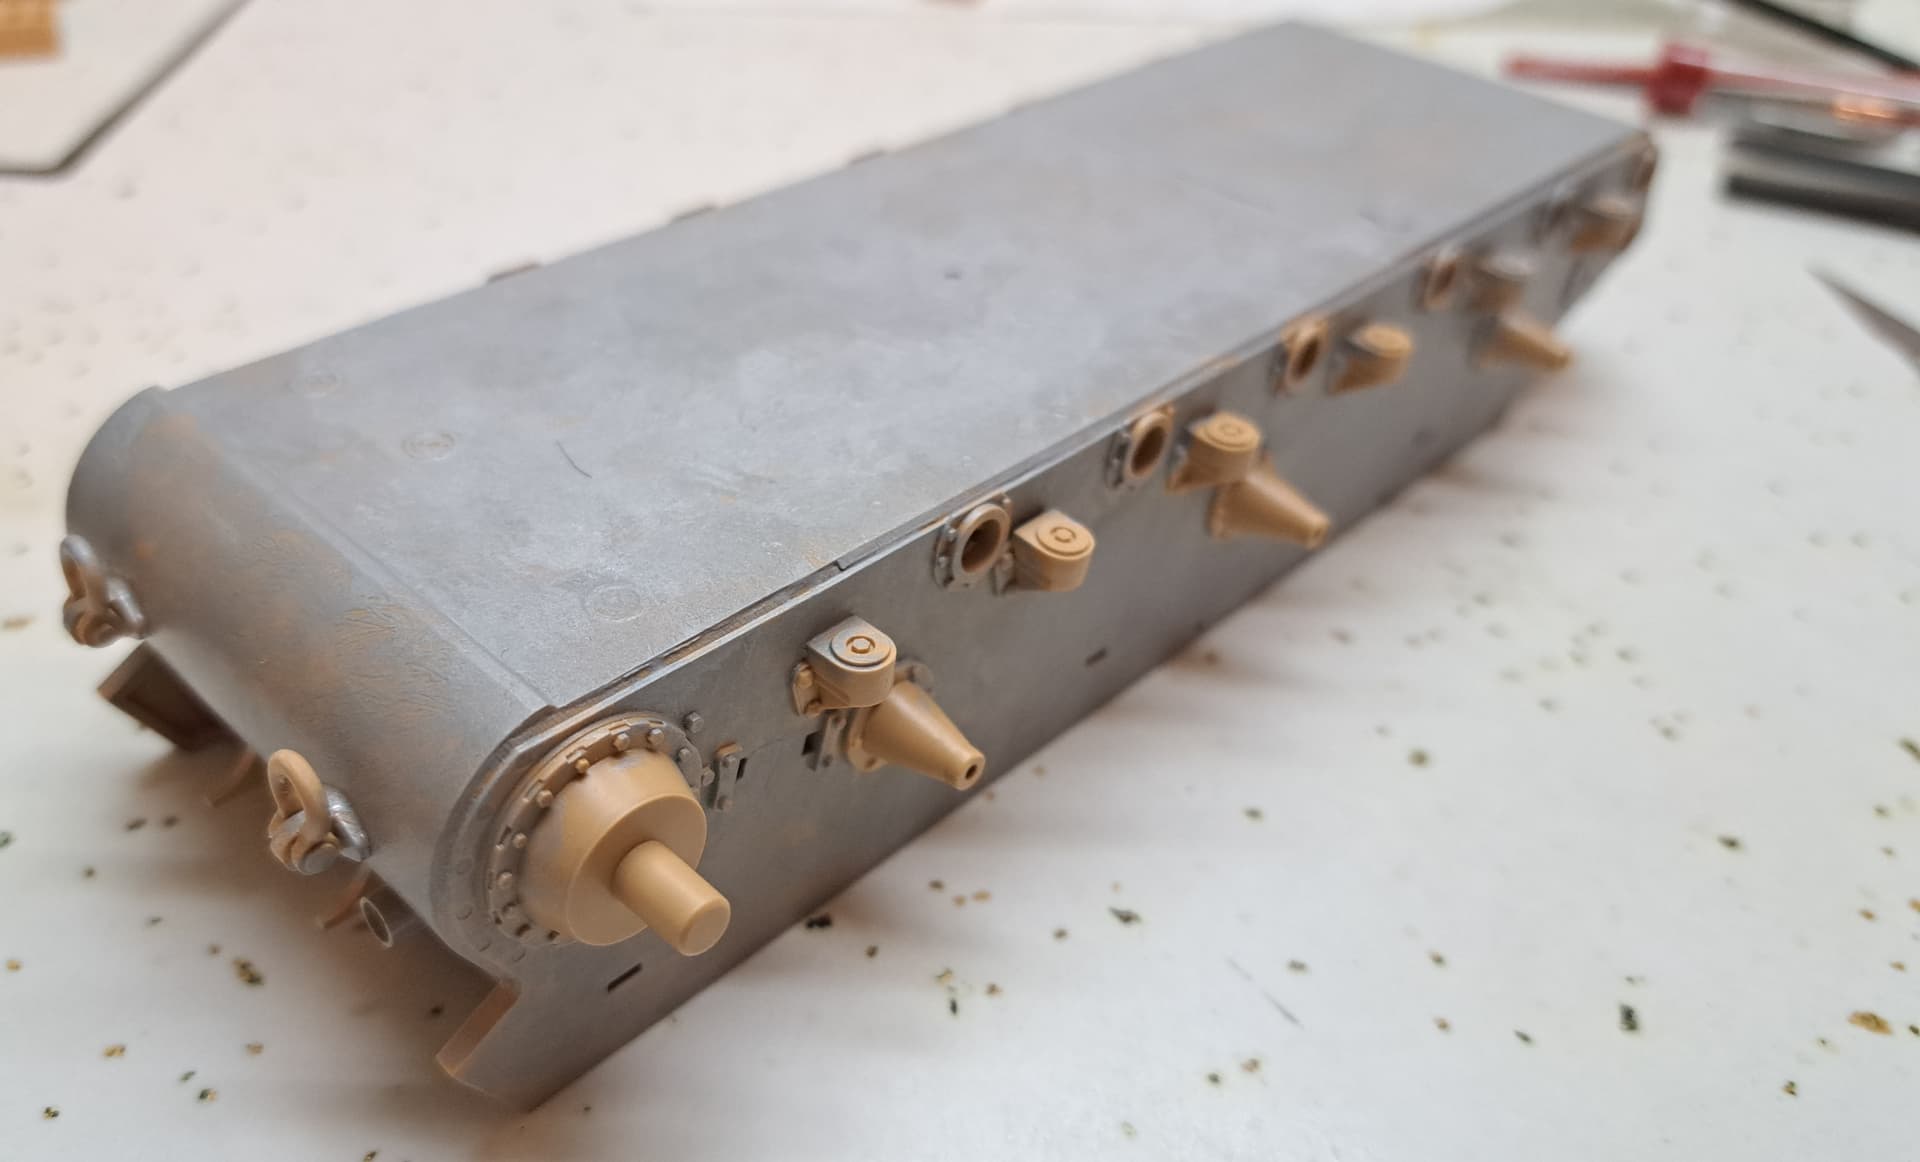
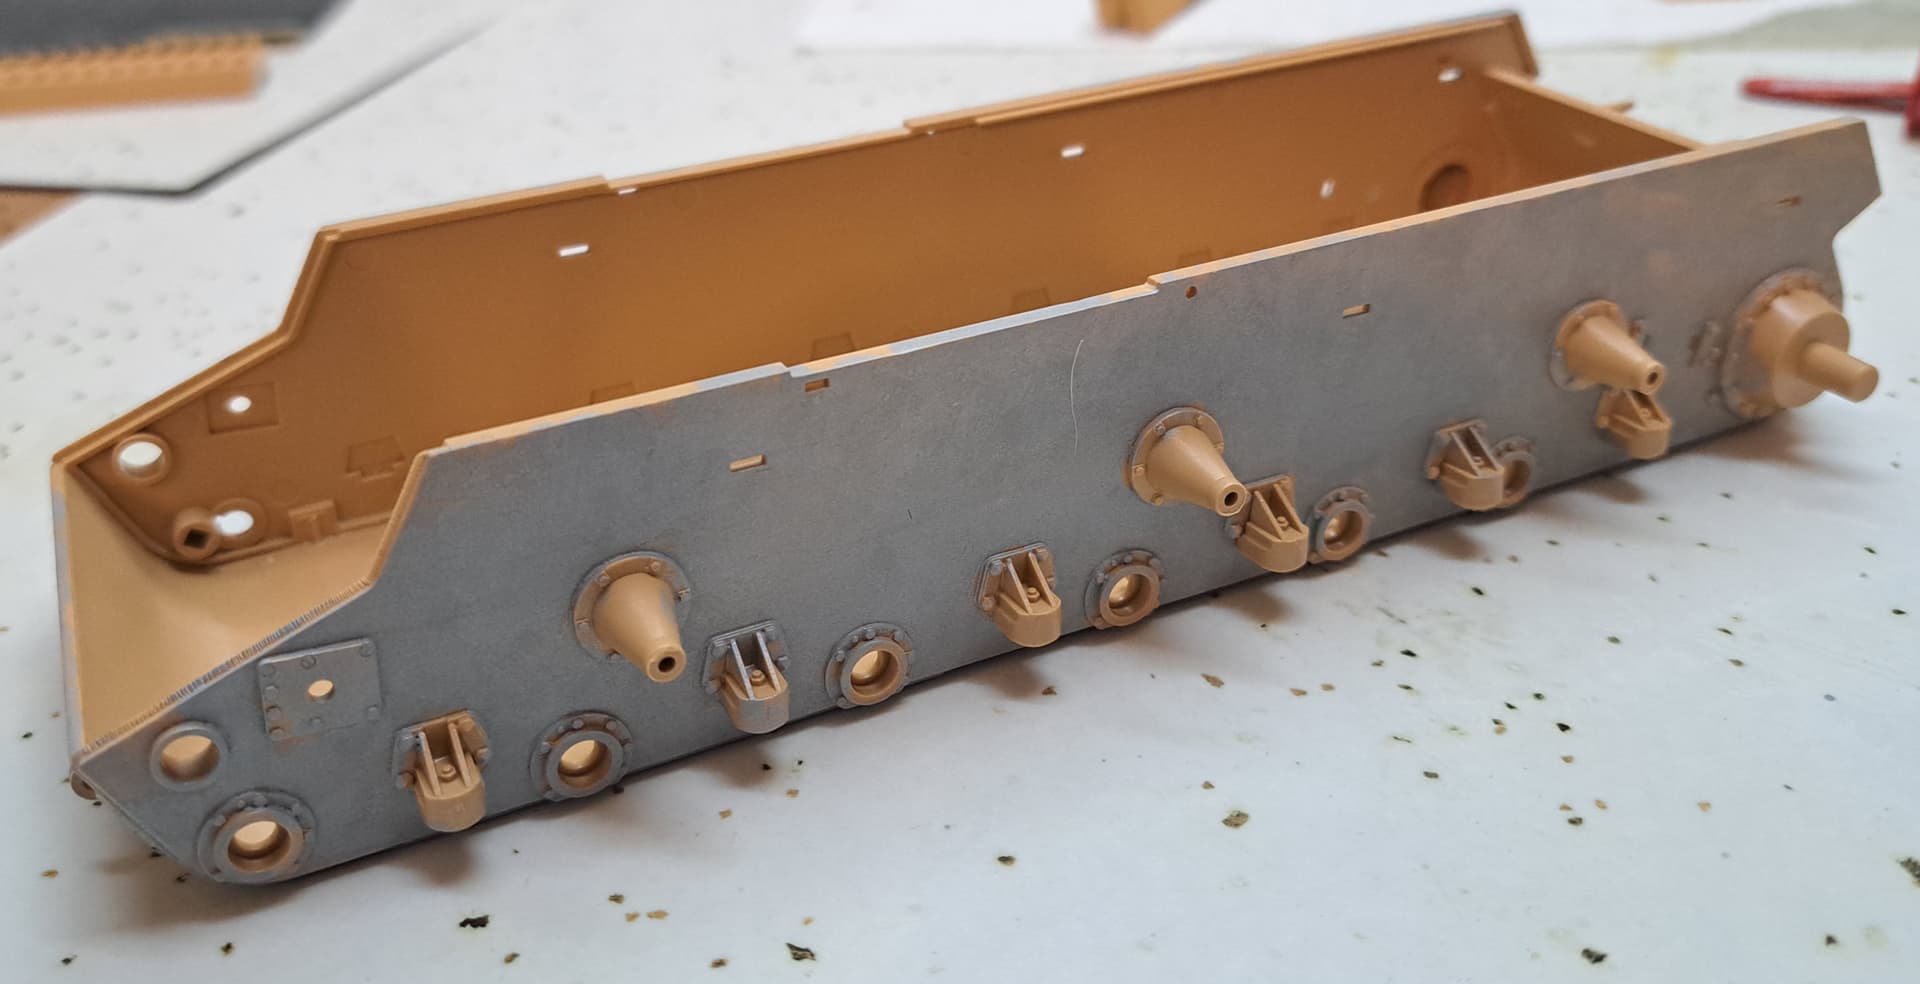
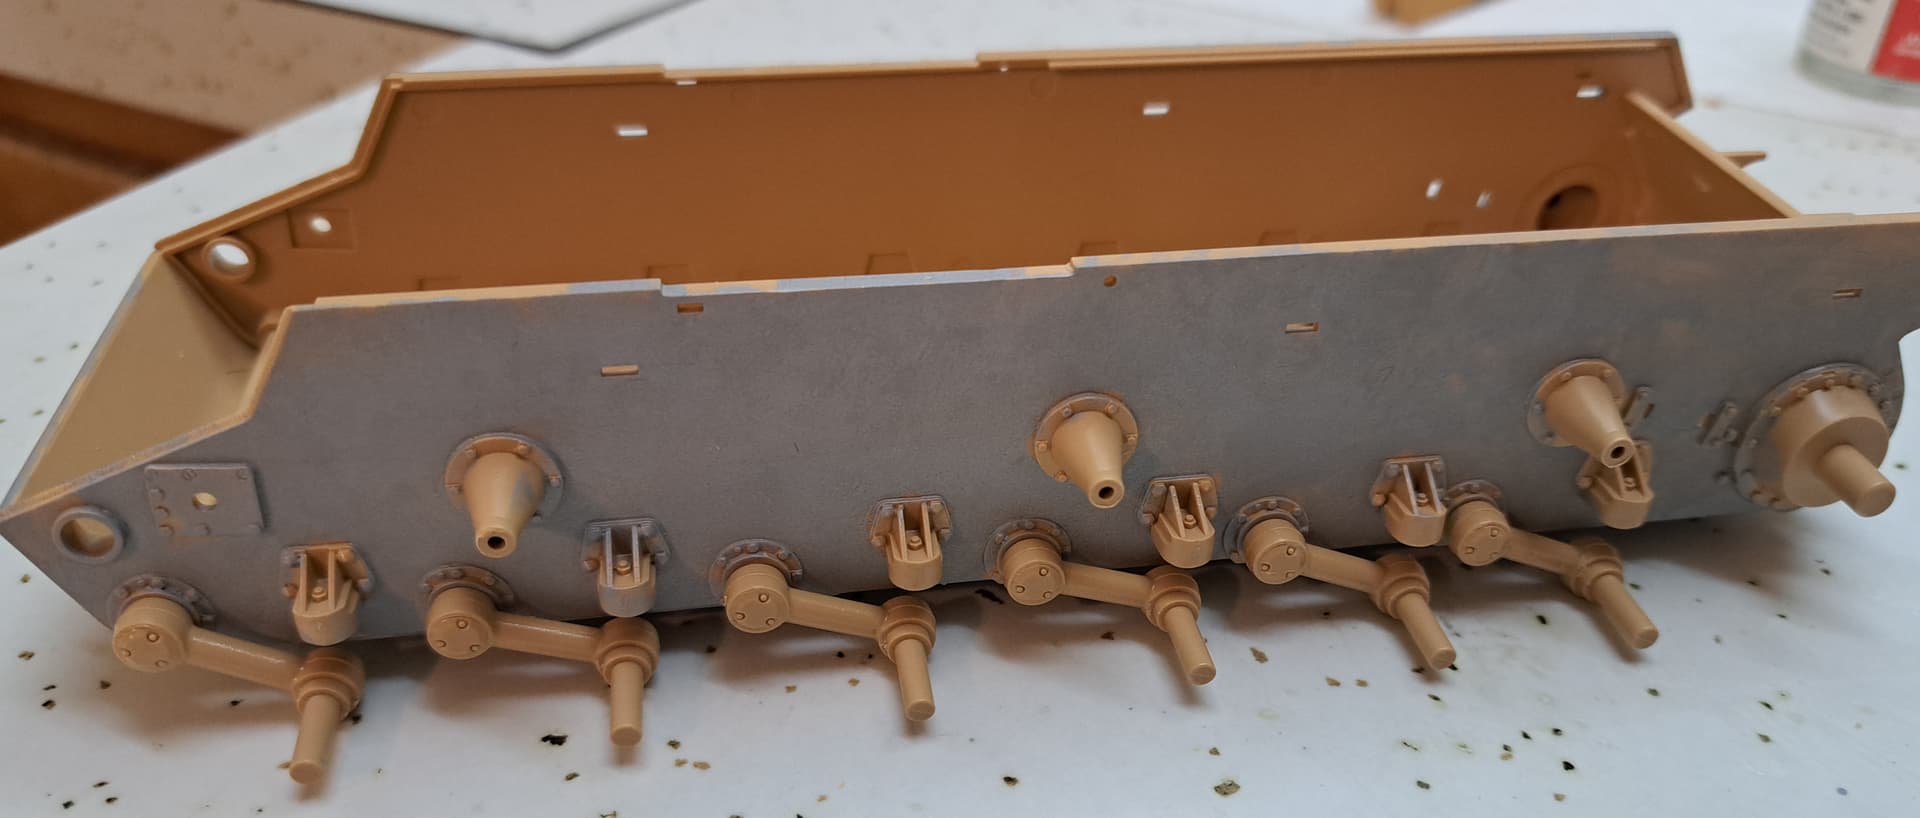
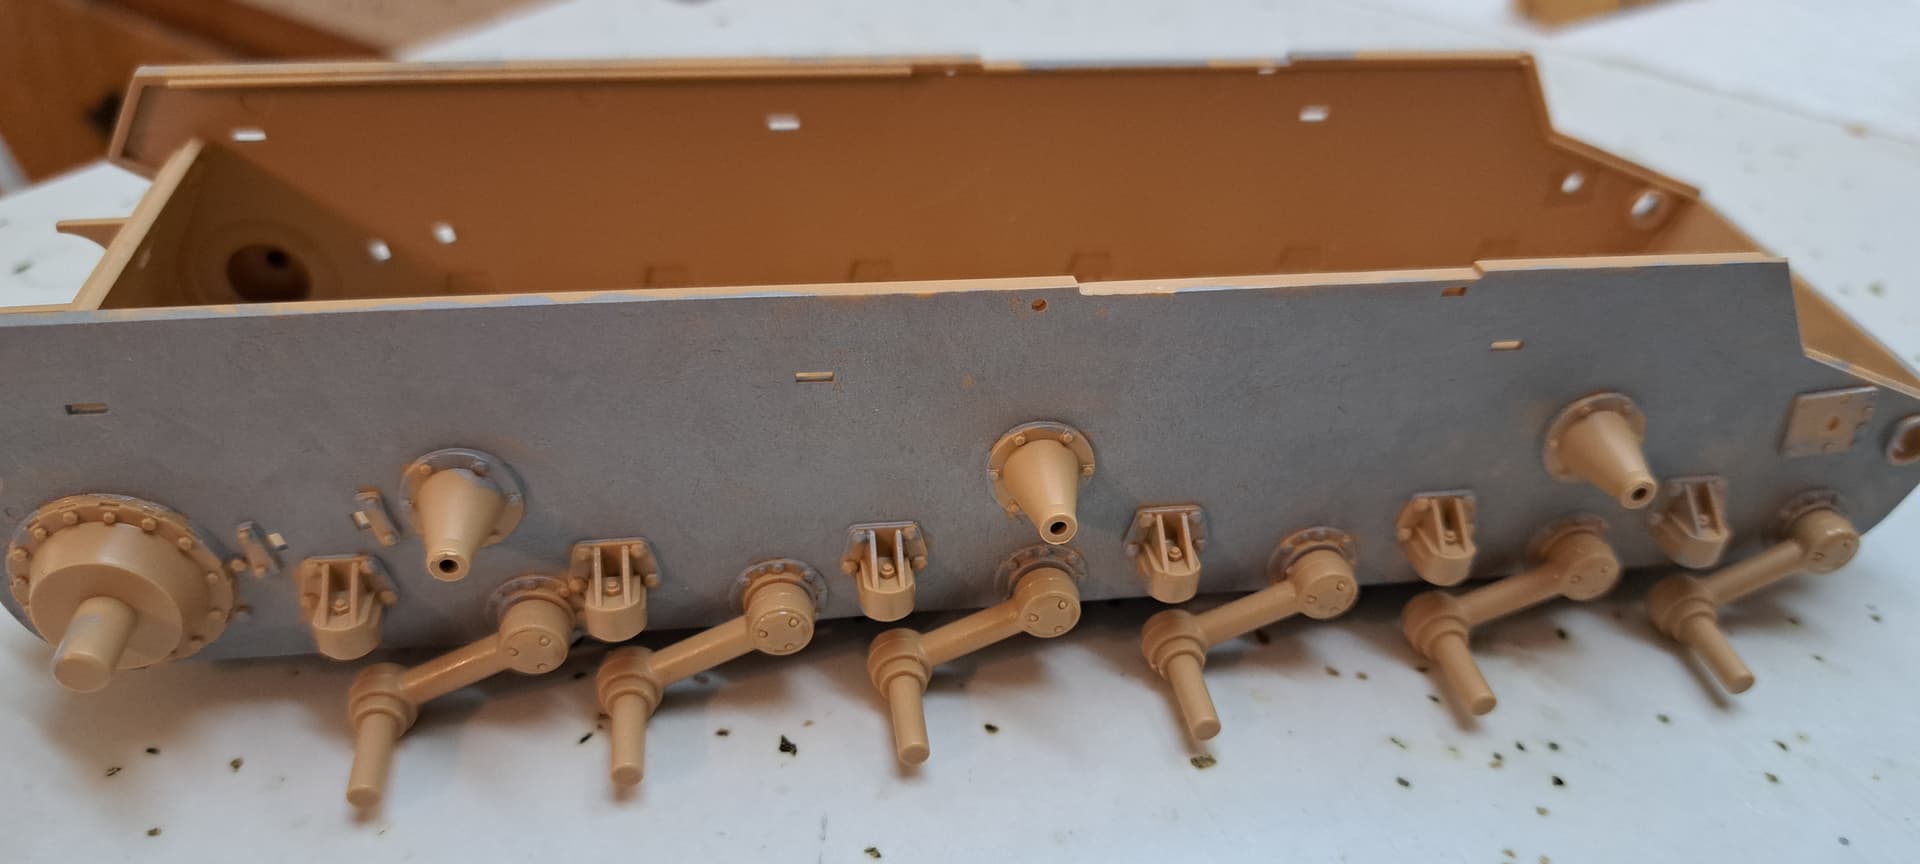
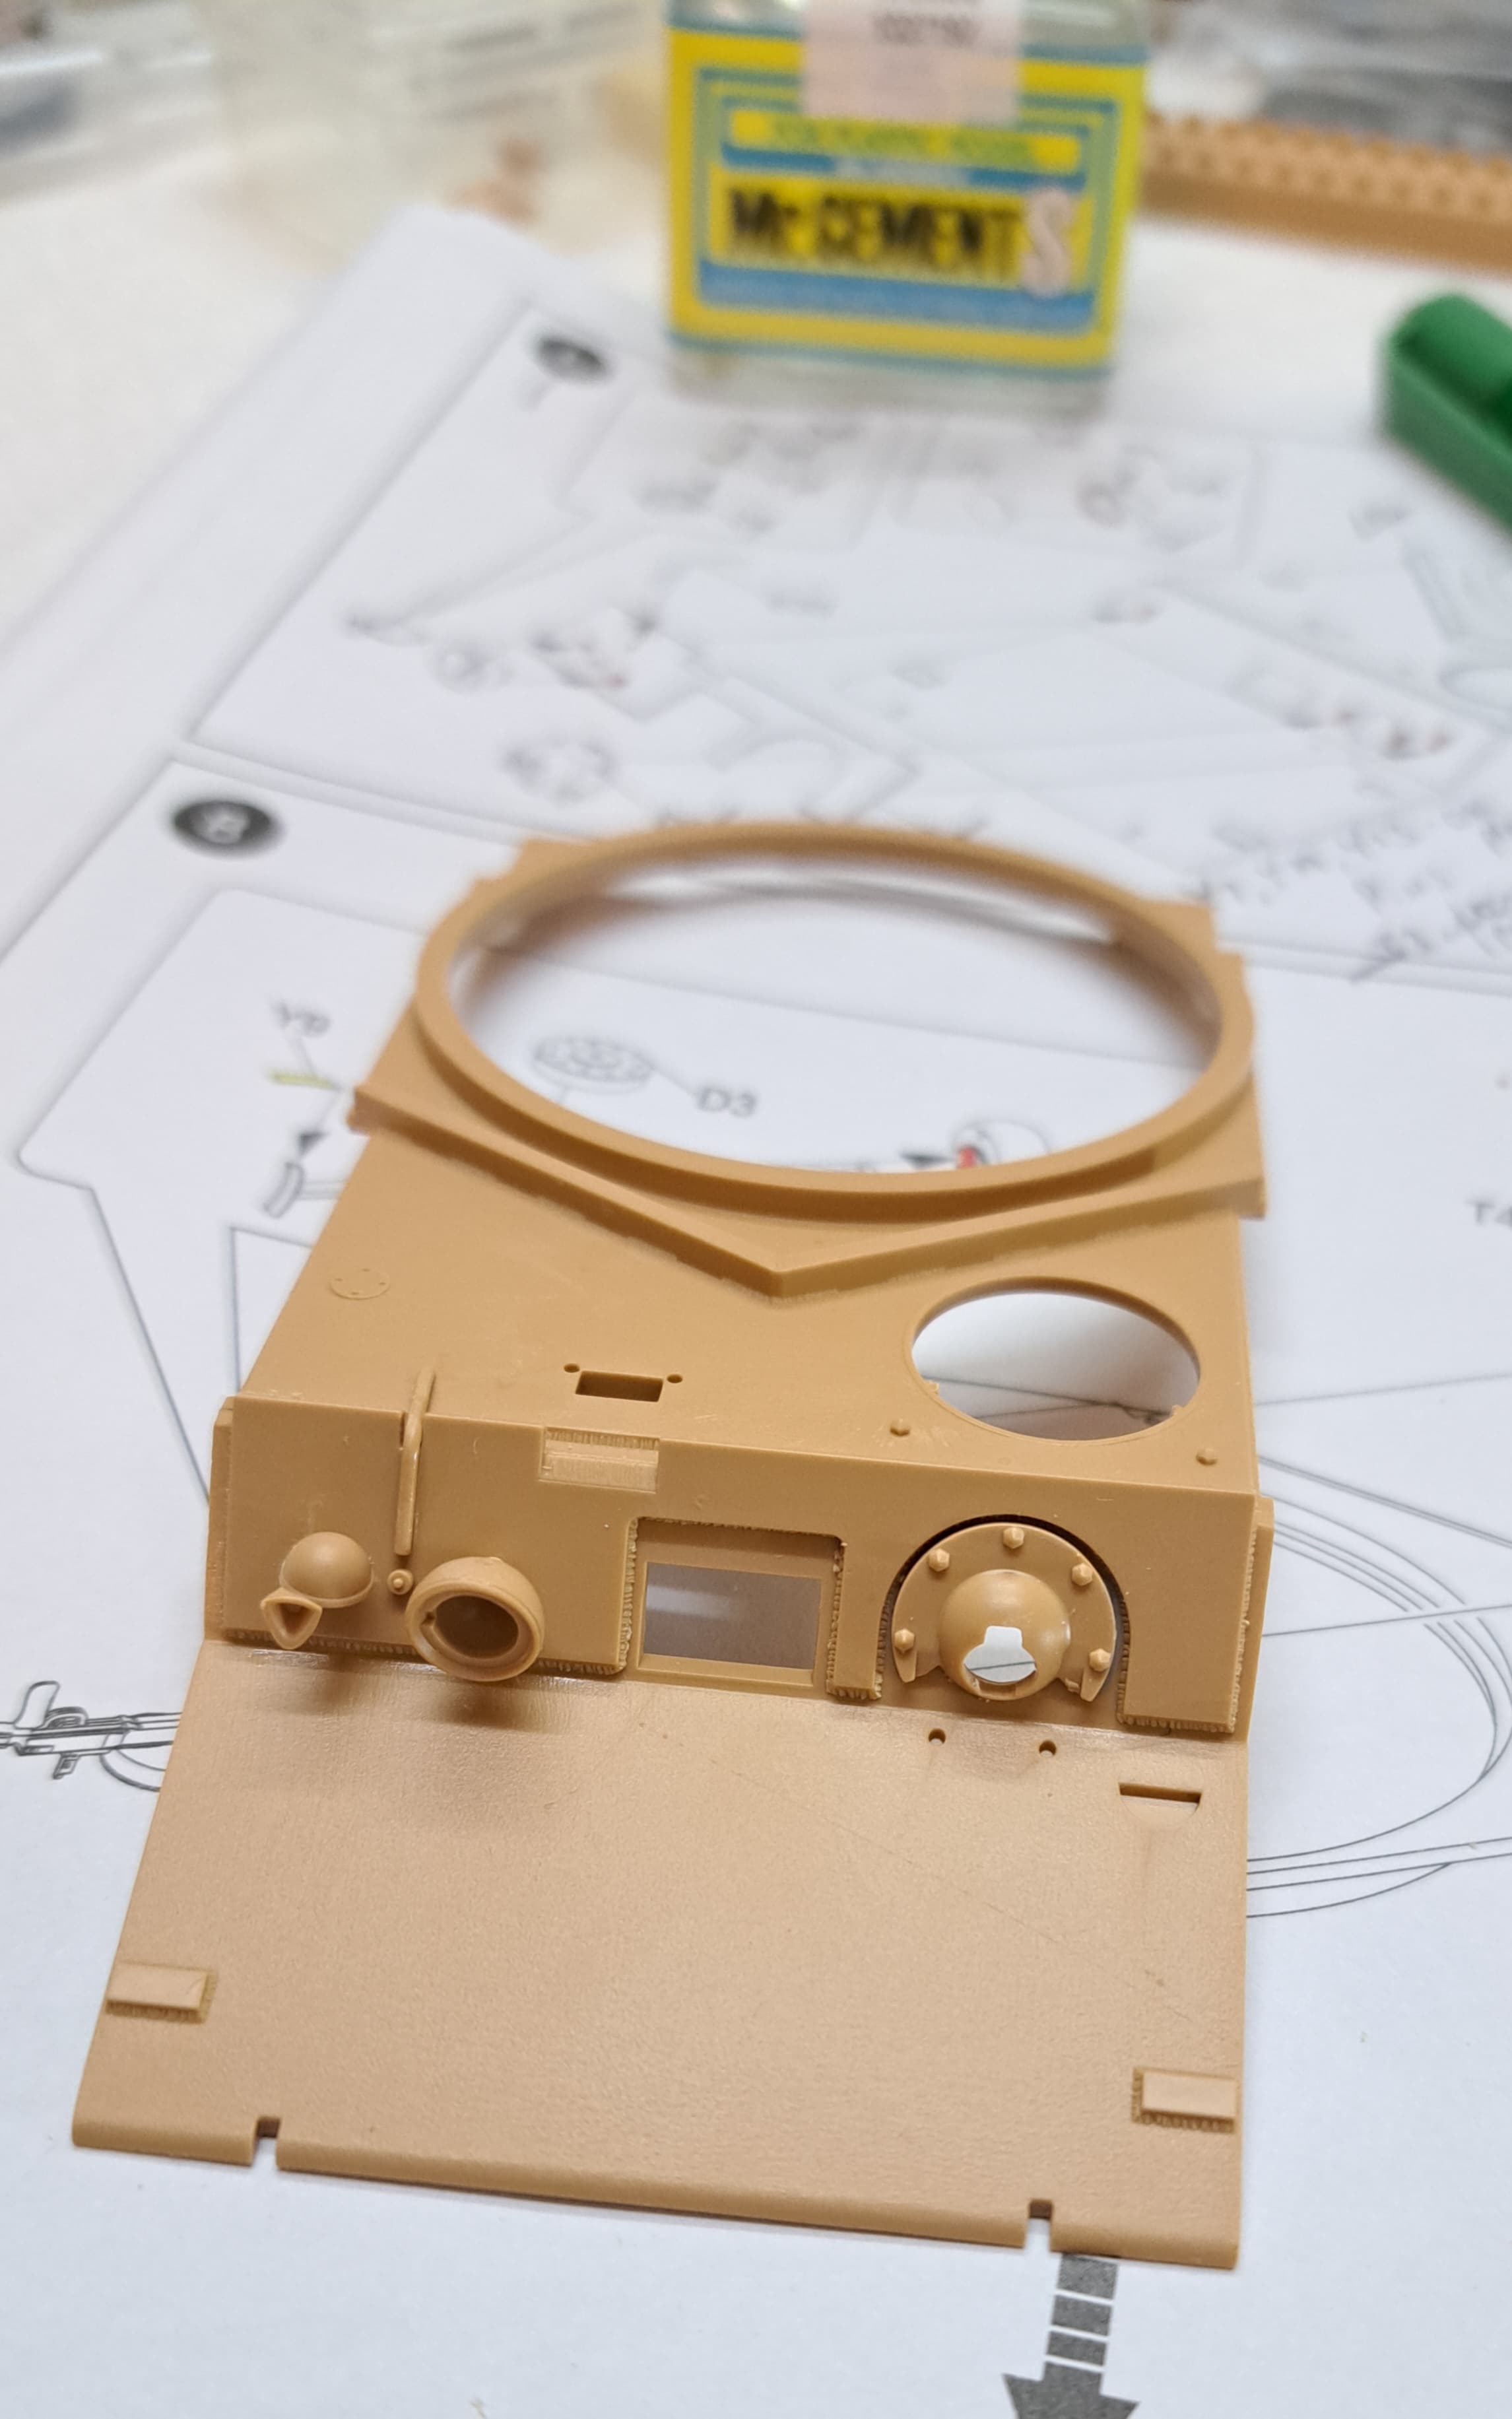
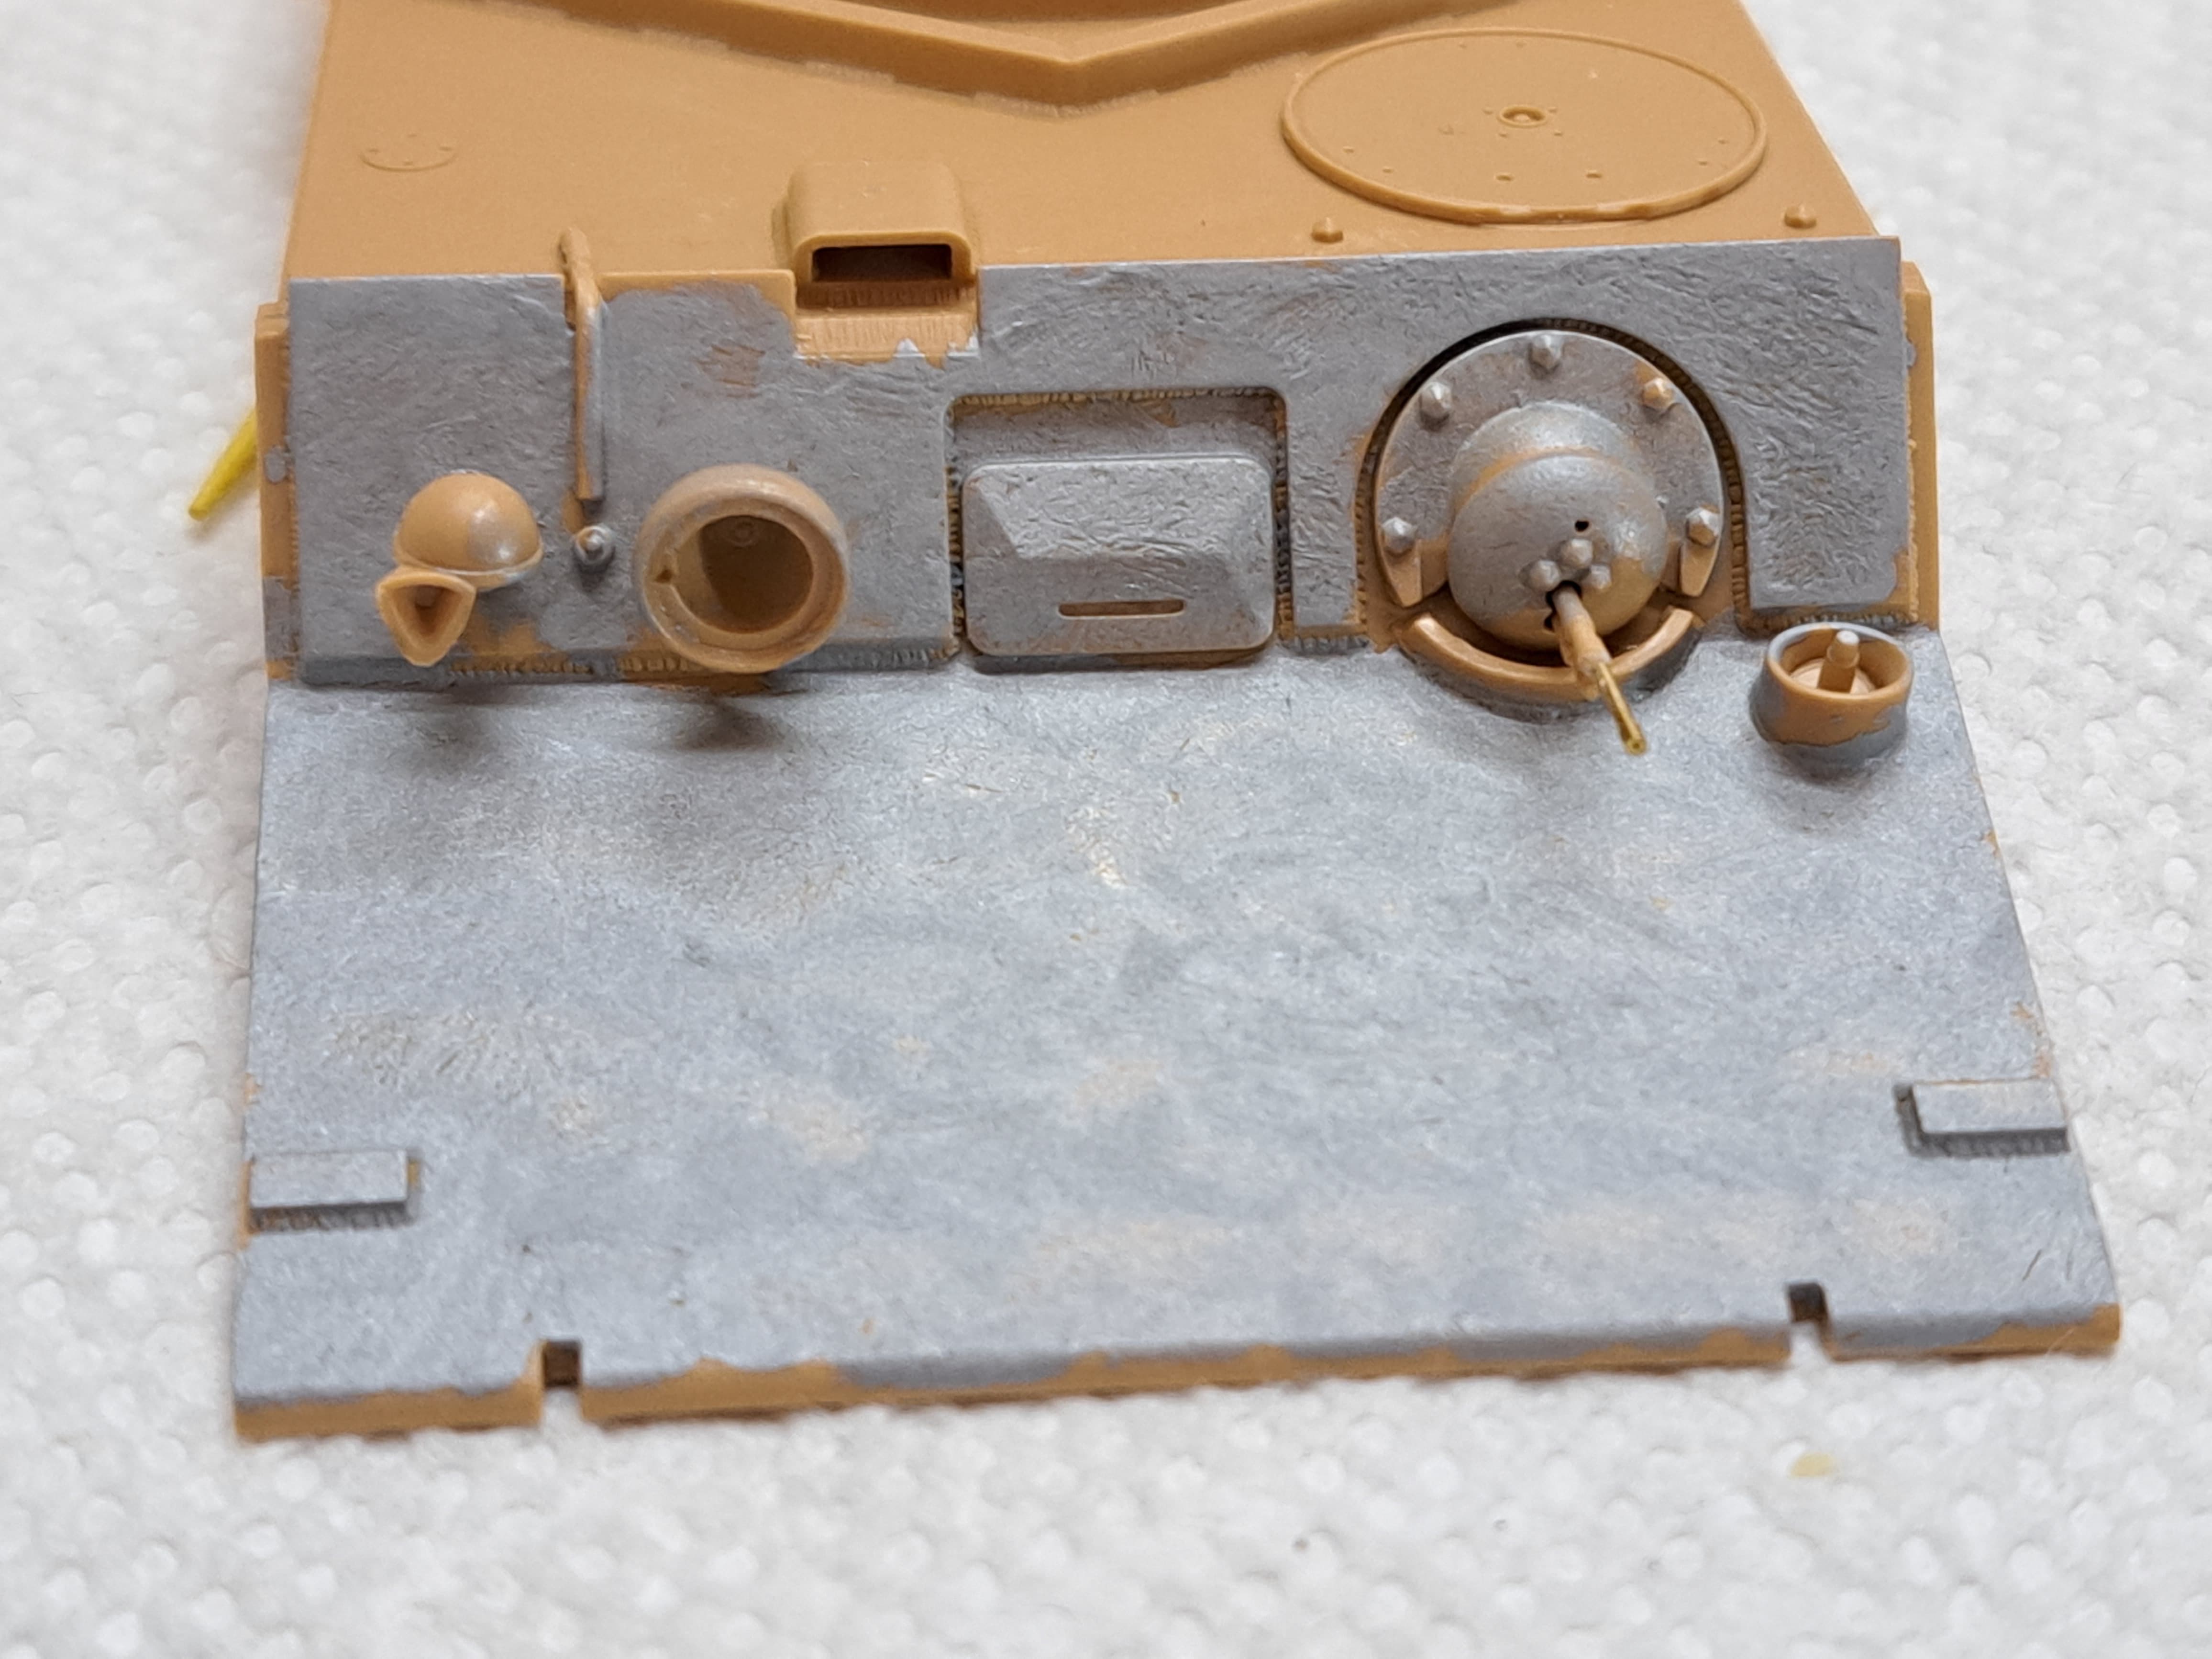
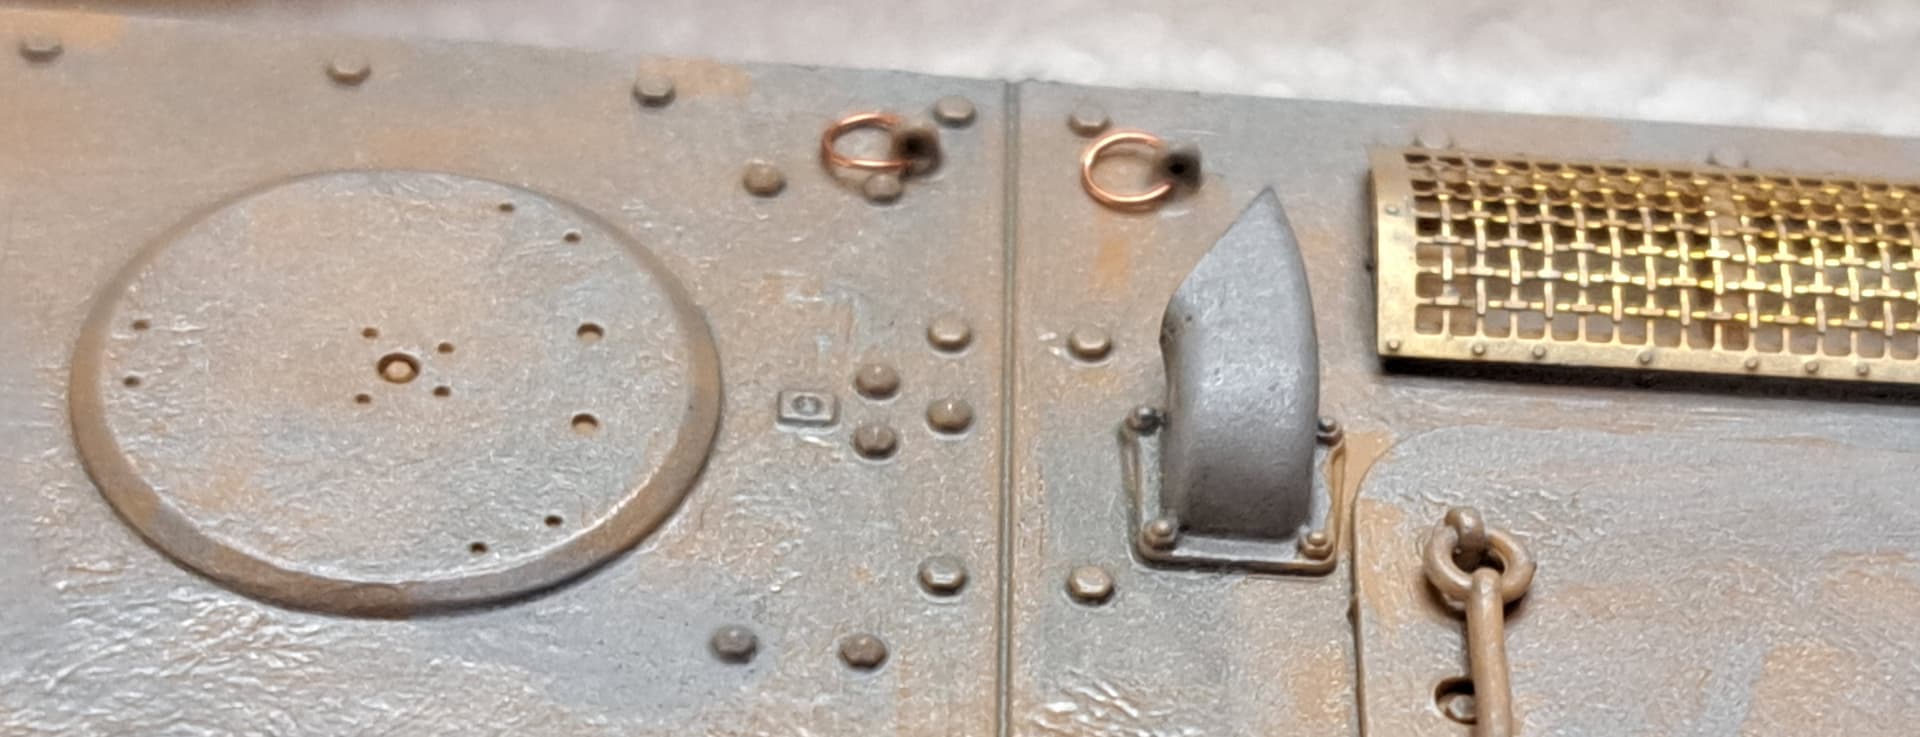
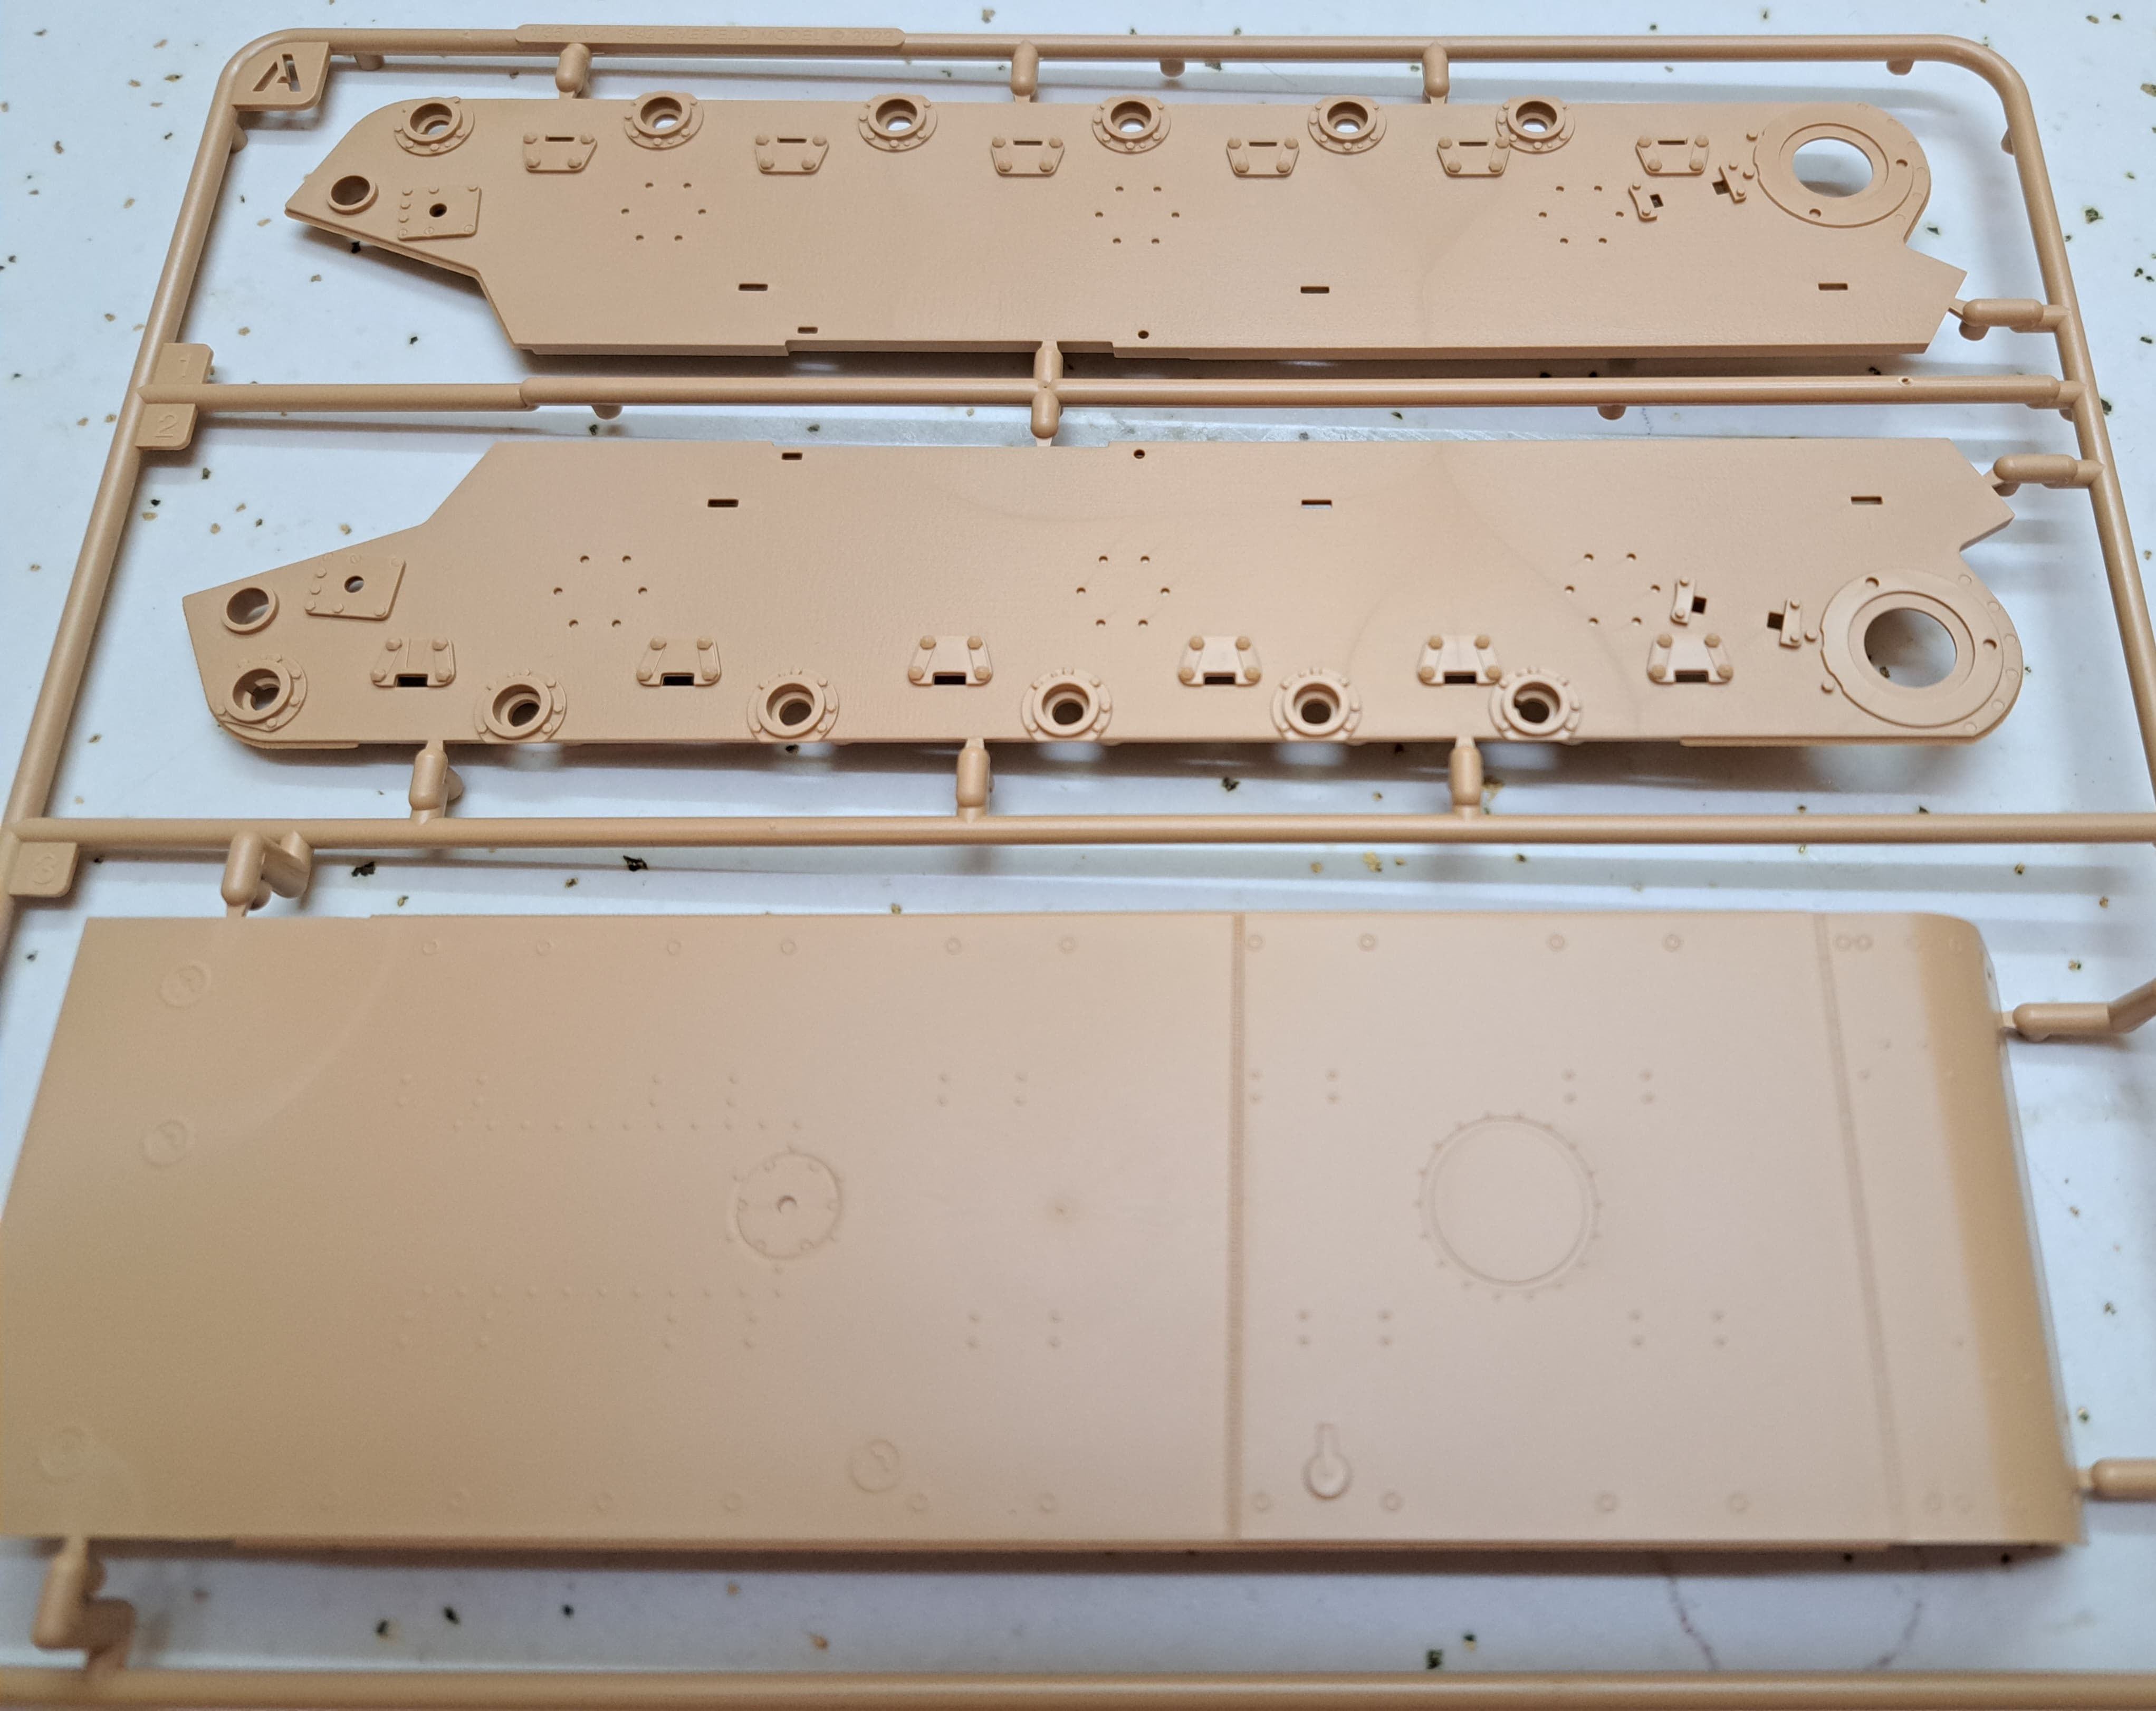
Punch mark free, very little clean up needed and flash free

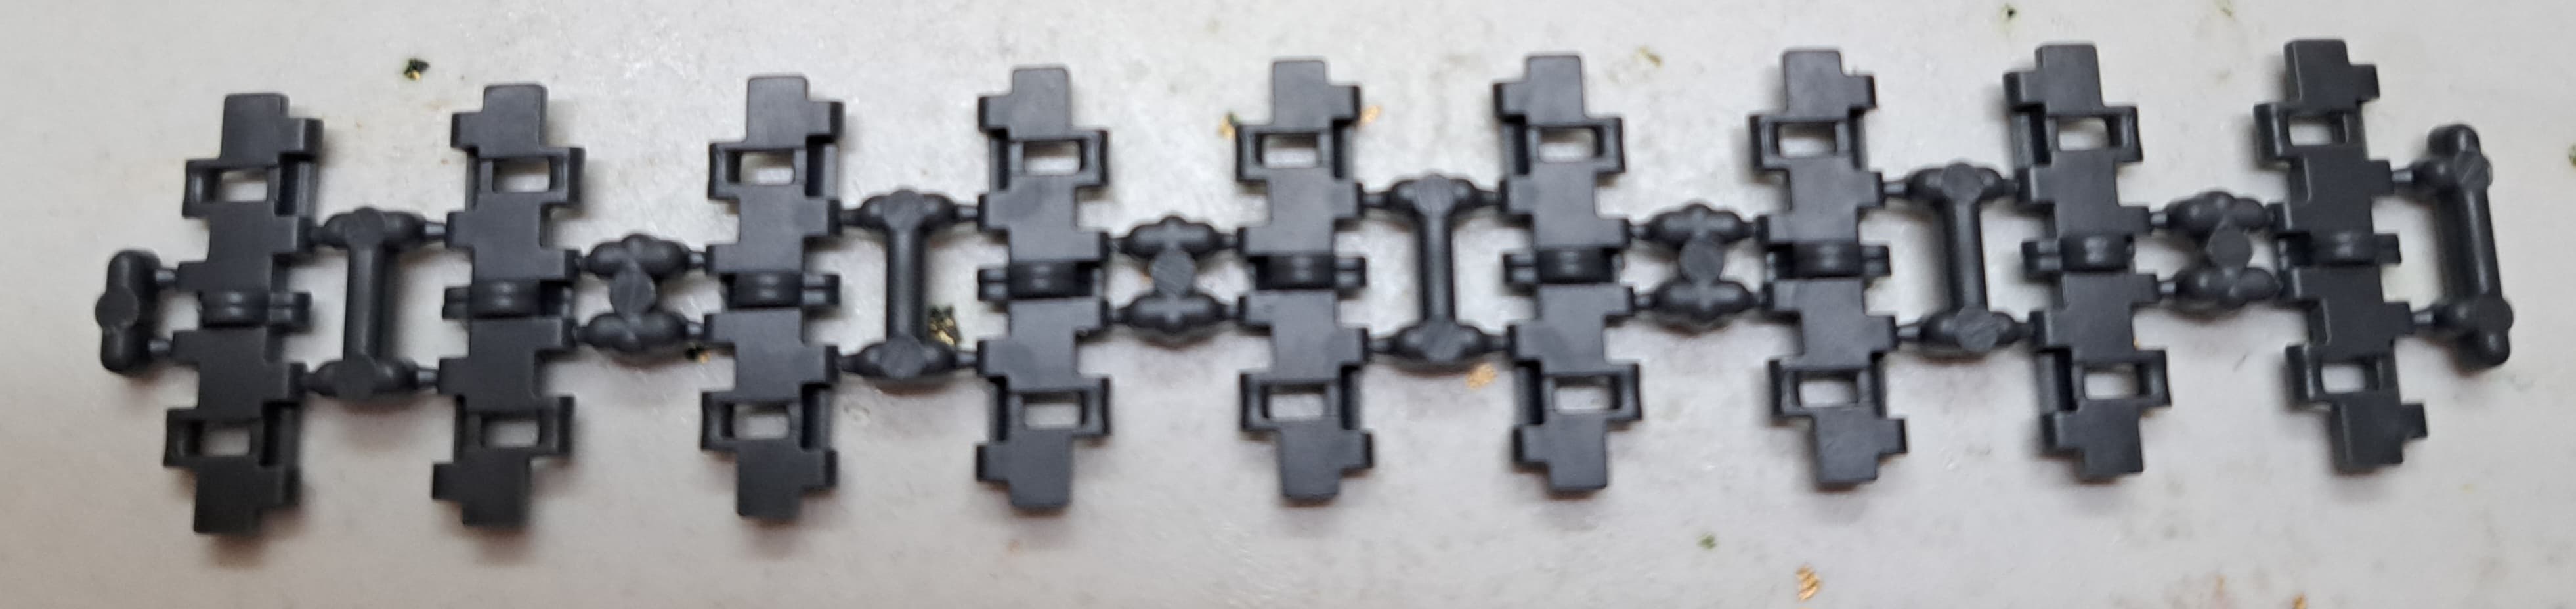
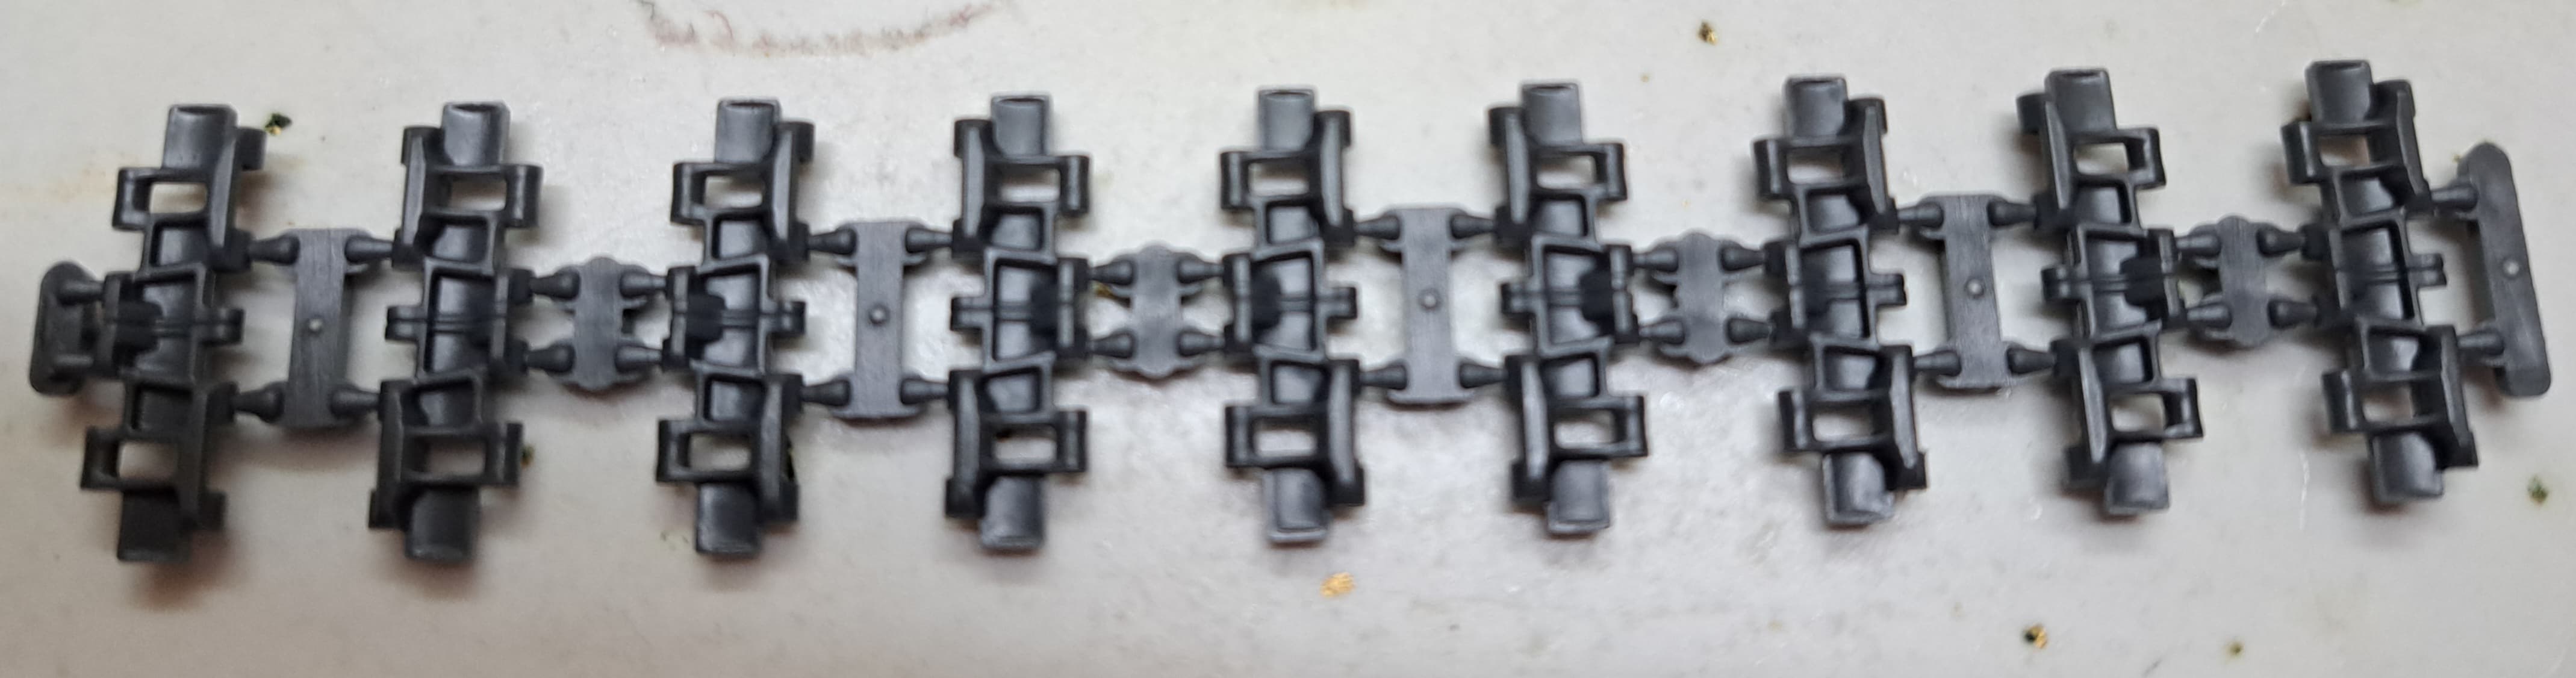
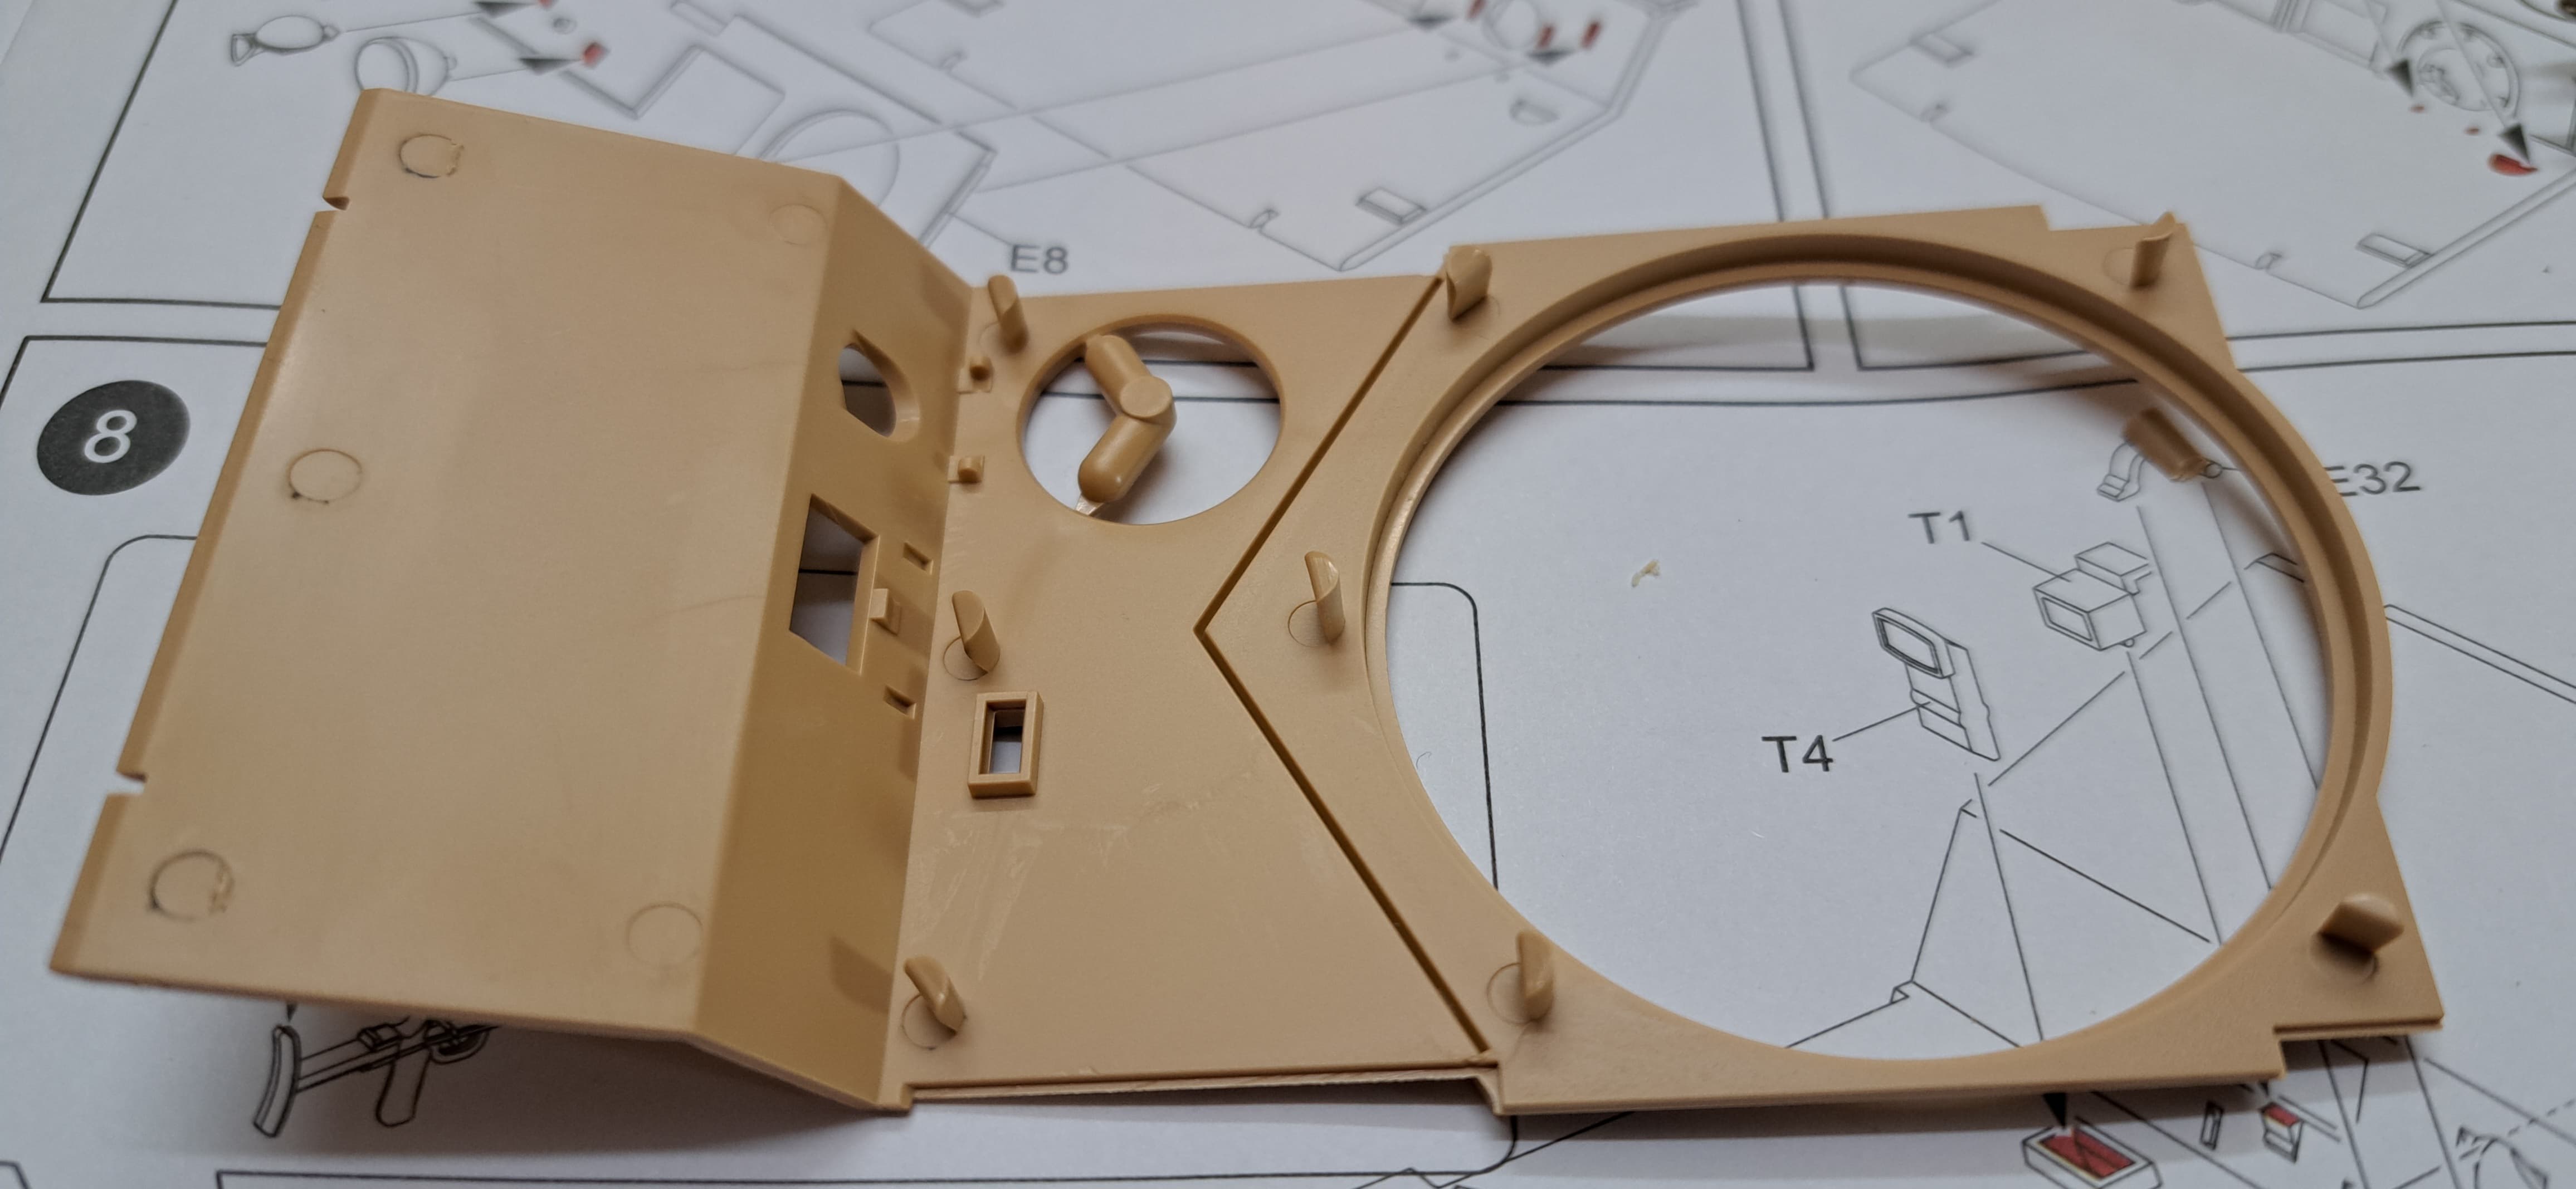
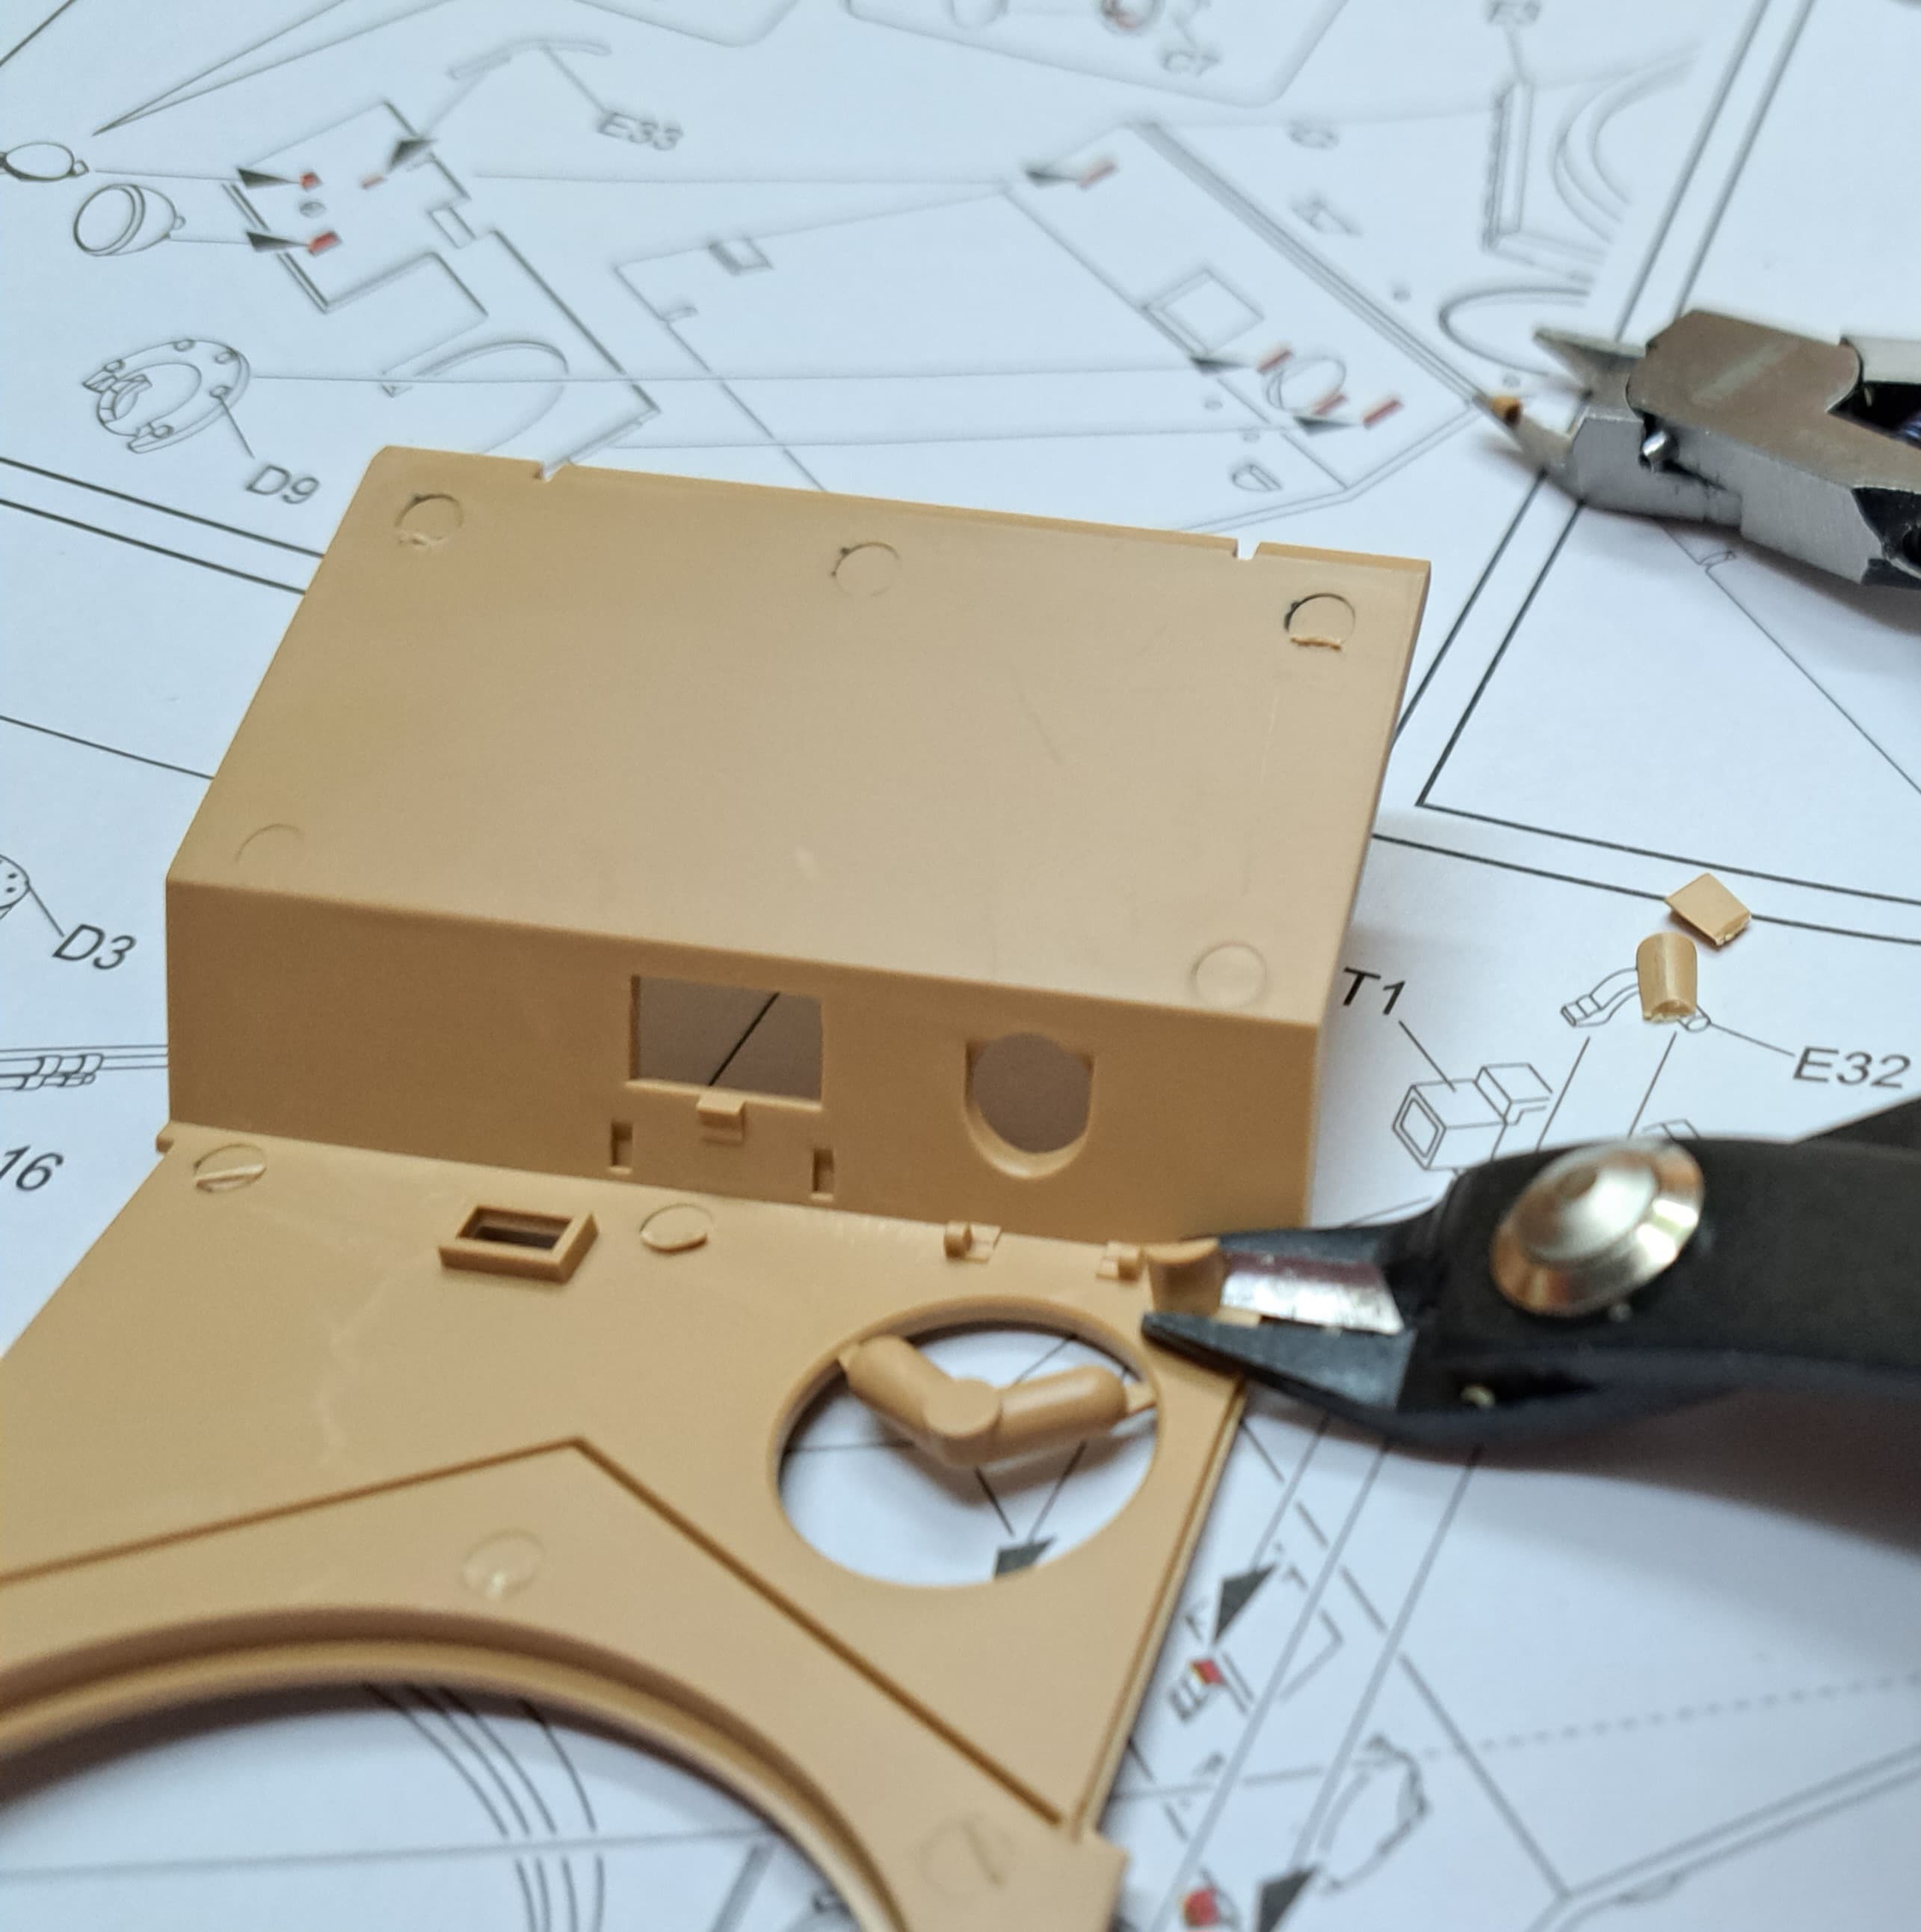
The plastic is all crisply molded, flash free, sink mark free, ejector pins appear to be placed to require minimum fuss. Most of parts in the kit seem to be for the tracks. Overall, total part count looks very reasonable!

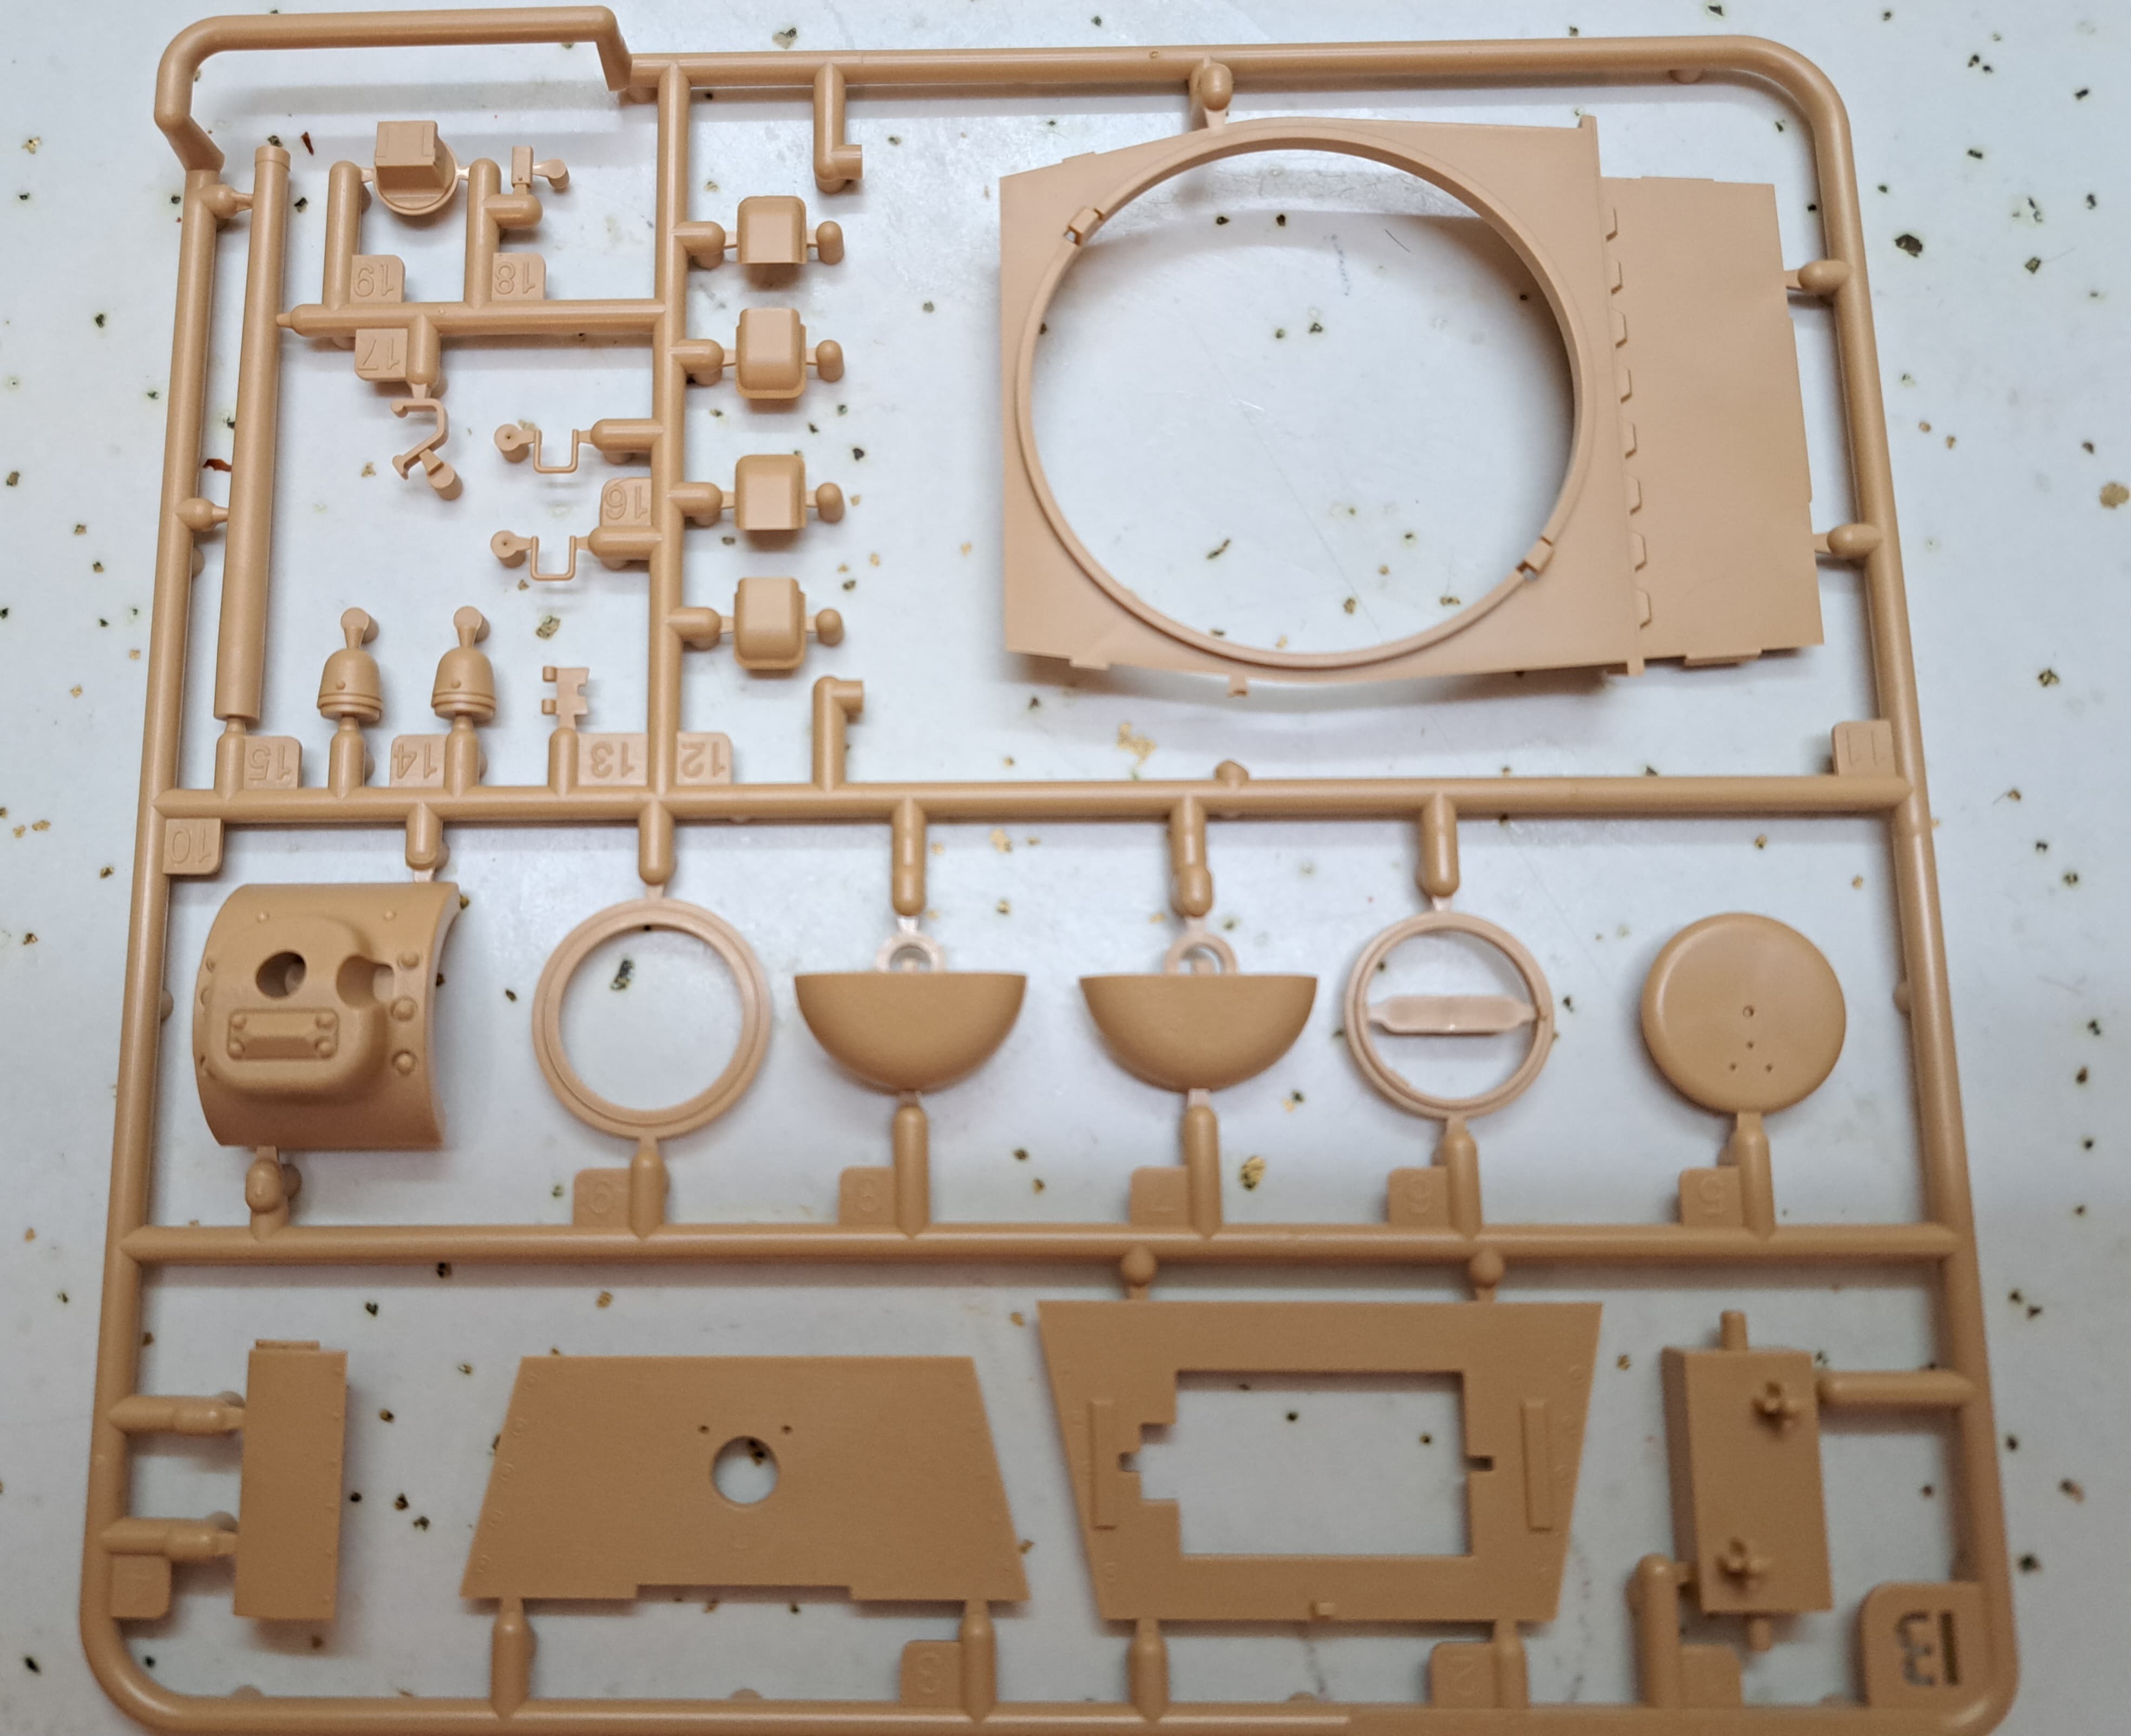
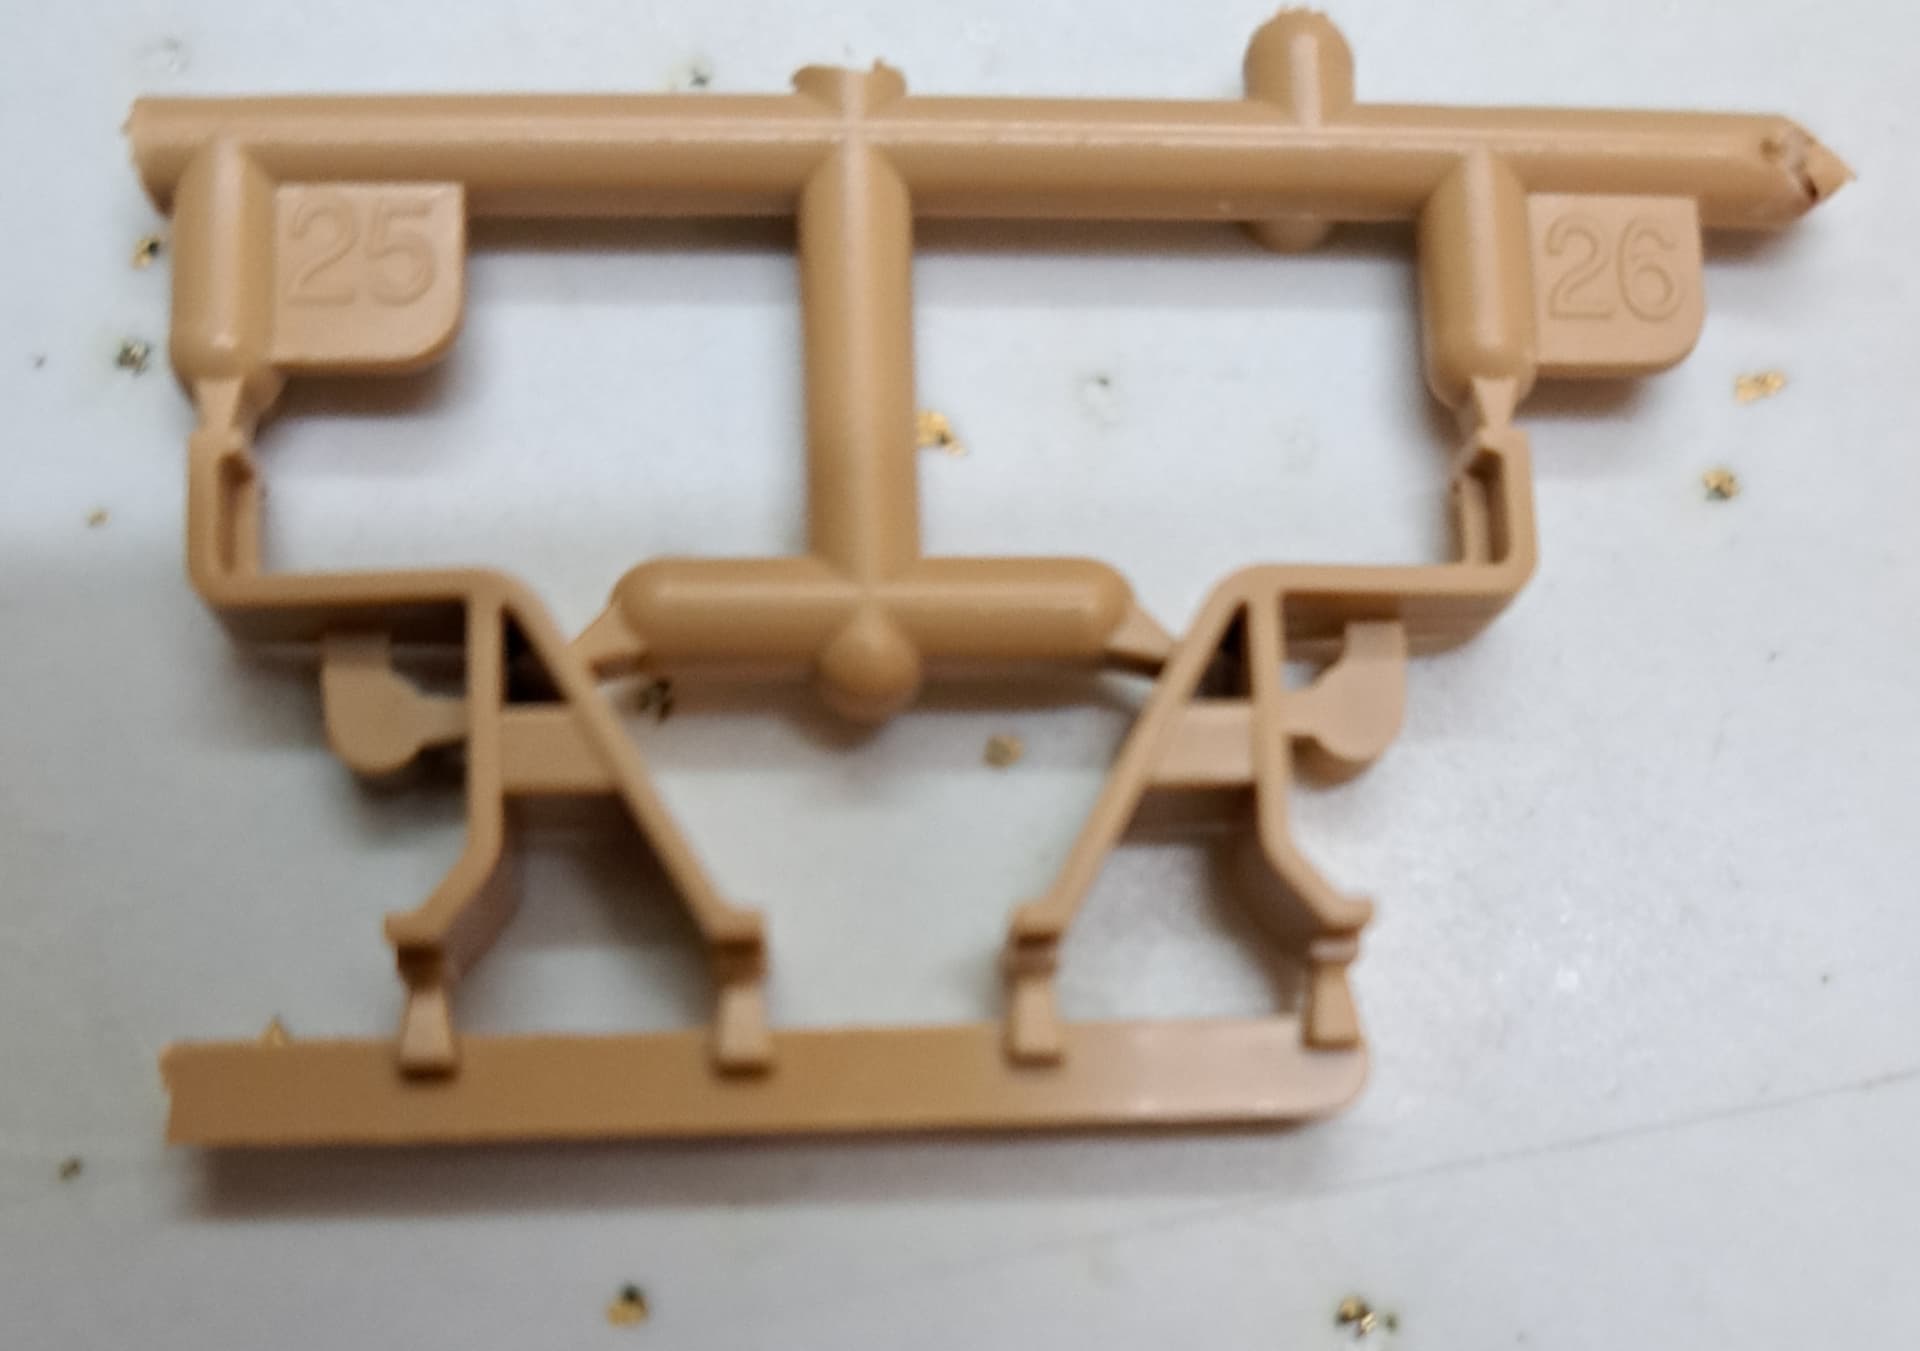
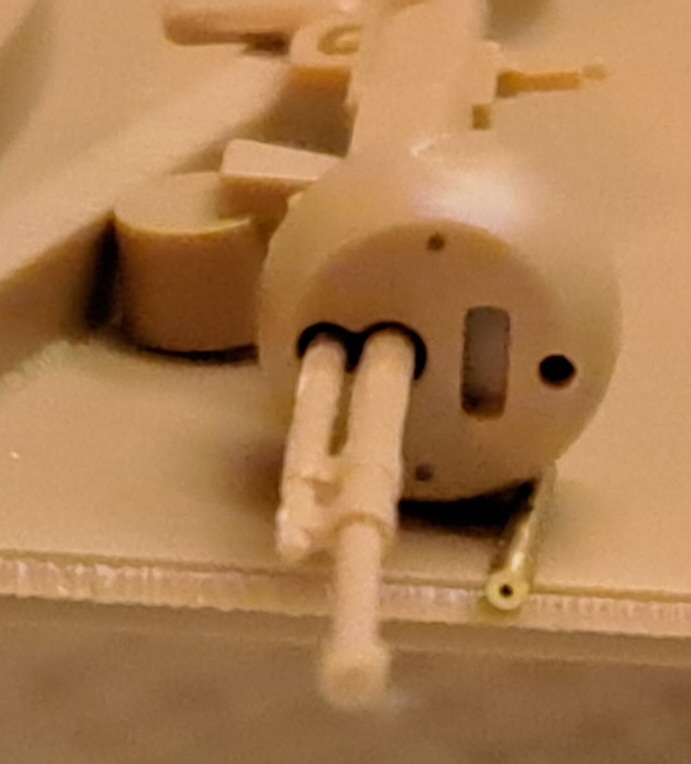
One mild disappointment, the MG barrels aren’t slide molded.

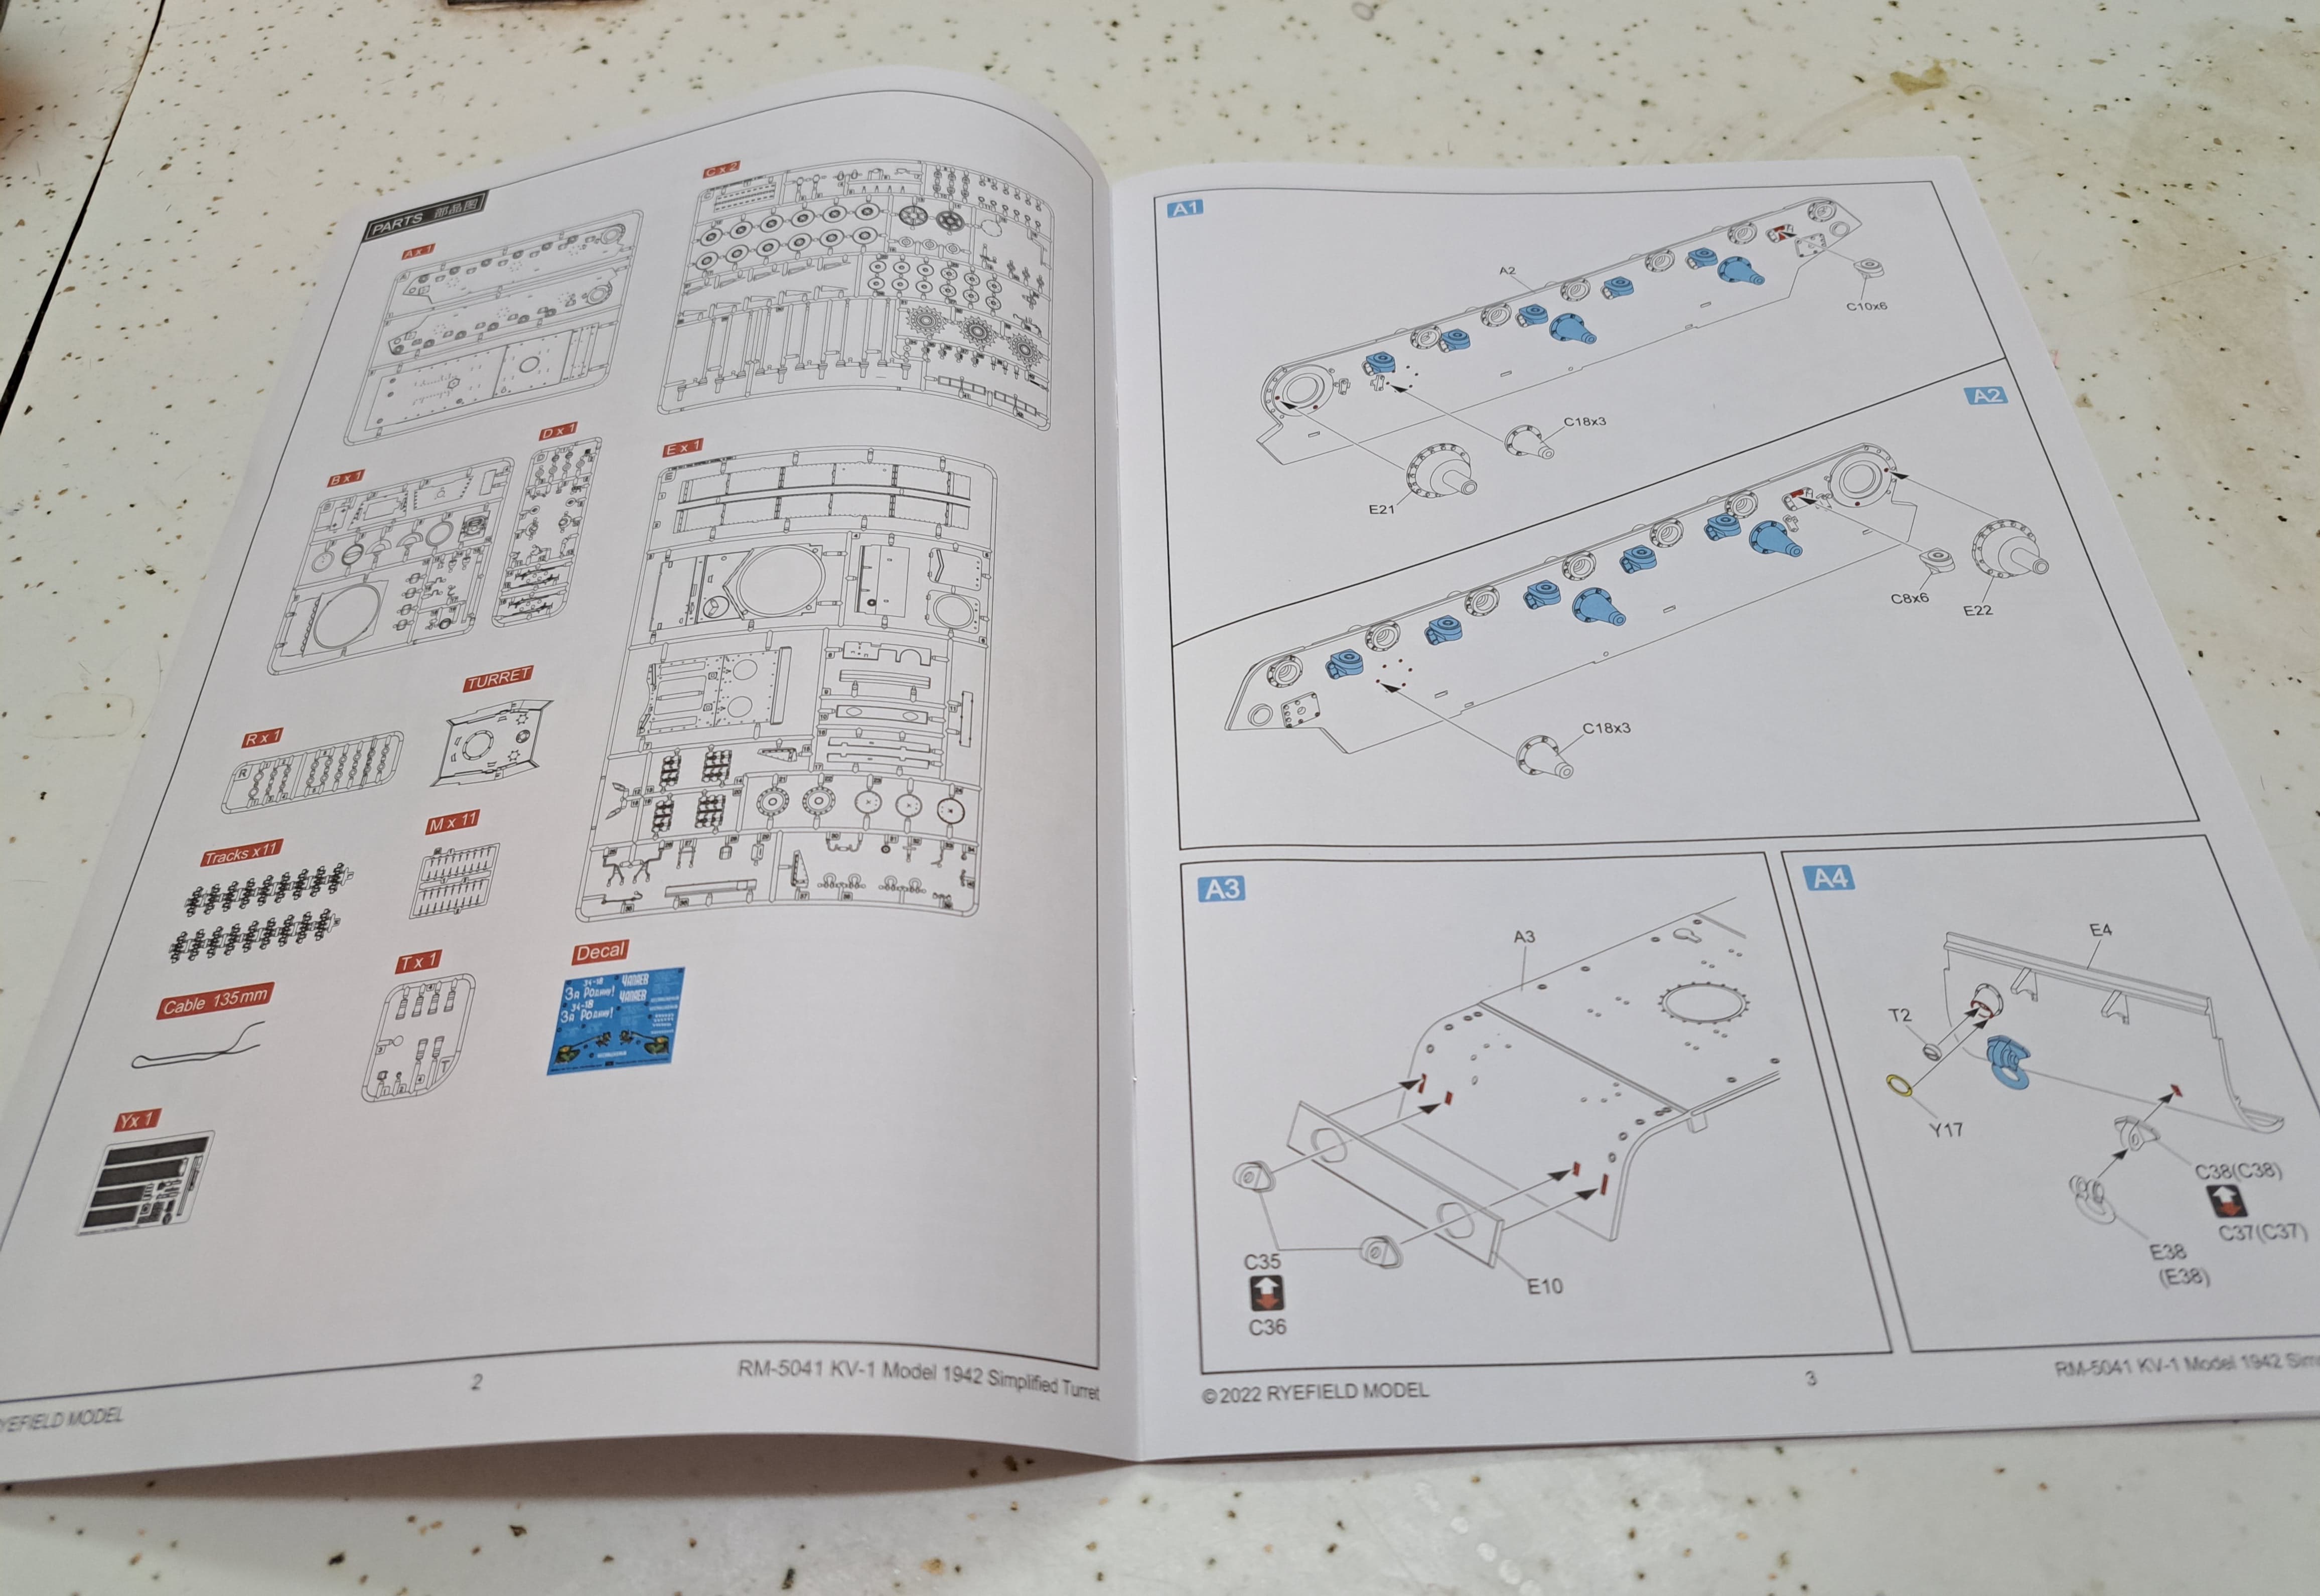
At 18 steps, the instruction booklet is well illustrated and appears very well done.

Cost of admission was very reasonable. The kit was released last year when all attention was focused on the Ukraine :ukraine:. Accordingly, the kit was available for a bargain price as a new release.

Hopefully, tomorrow will cover the first step building.

Background
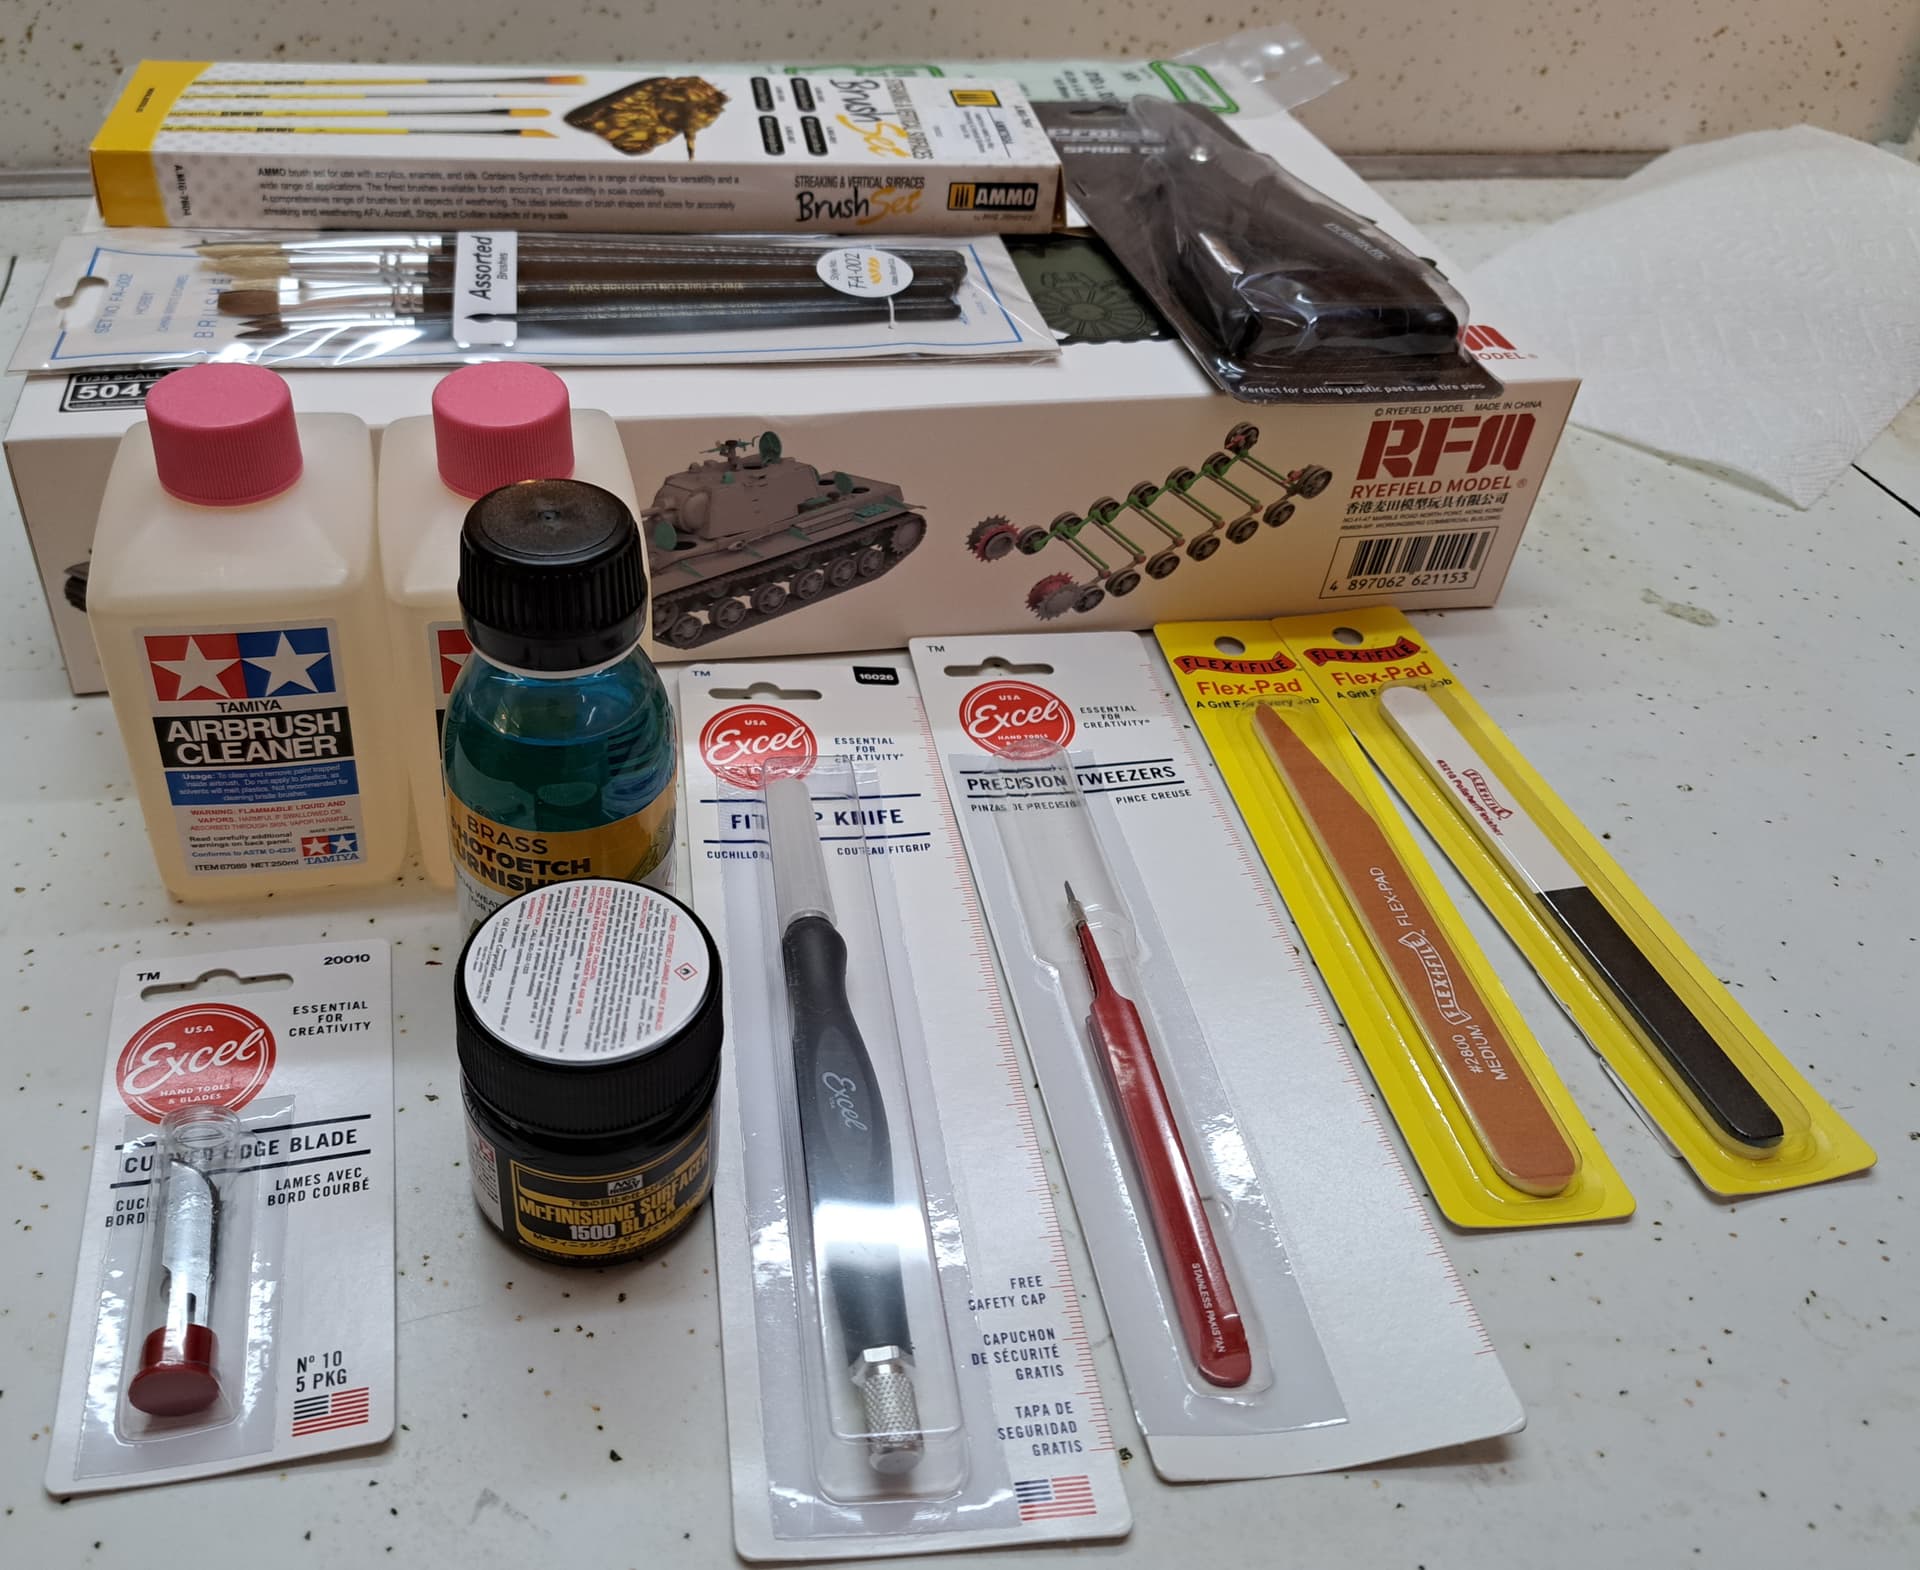
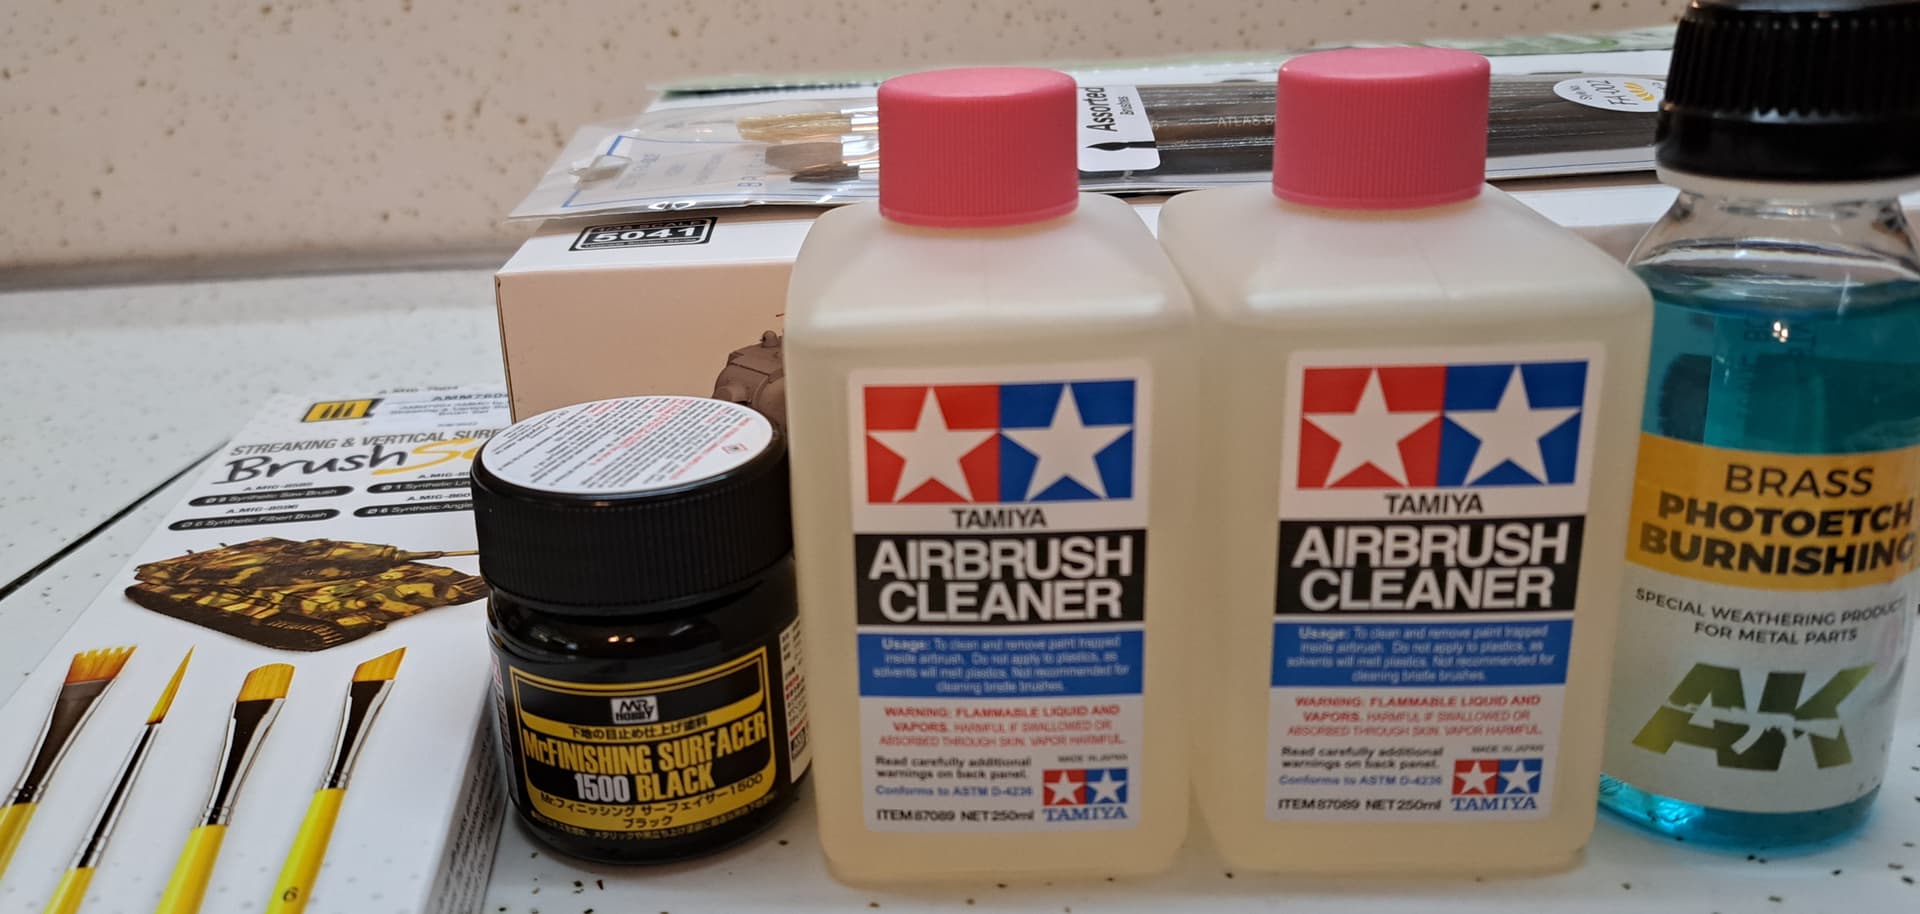
Why build when there’s ten completed models in the hobby room in various stages of painting? Six hundred miles from home for a couple of weeks, build this or no hobby time. Going to purchase an Xacto, Tamiya Extra Thin and a nail file (sanding stick) tomorrow as this will be a very basic build.

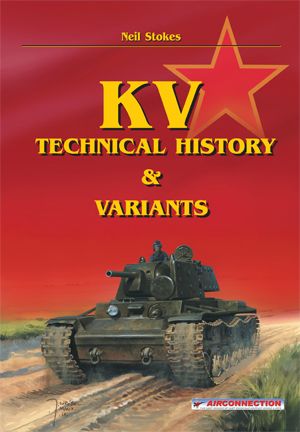
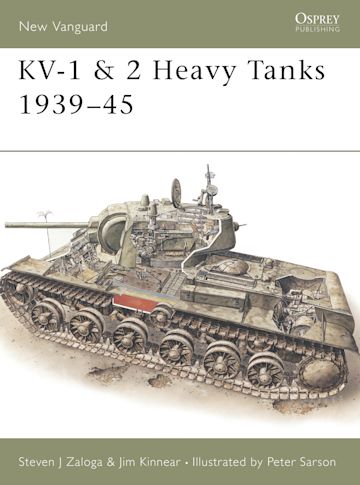
Thank you for looking and taking to visit. Please feel free to share comments and information as I know very little about KV’s and their details.

6 Likes

Its a great kit.

2 Likes

What a price! I’m very tempted to pick one up if I can get it that cheap…

Damon.

2 Likes

There needs to be links to your builds on the relevant Scalemates pages.

2 Likes

Excellent observation! Thank you

Scalemates: Rye-Field-Model-5041-KV-1-model-1942–Simplified Turret

Scalemates: Tamiya 35372-KV-1 Model 1941, Early Production

Should also list the best reference and only I have on the KV.

kv-technical-history-variants

rs=w_600,h_600

Basically, this is an exceptional book covering the KV in fantastic depth & detail. Amazon has copies for ~$250 if you feel the need to pay a premium price for a premium book. Hussar Productions, linked above has the book for ~$95 and that’s a very fair price for the quality of the work in my opinion.

There of course many other good and excellent references on the KV tanks. Osprey’s New Vanguard comes to mind.

9781472803214

3 Likes

Personally for KV series, I rely on Neil Stokes for my expert for information.

TLDR, a very good and accurate kit.

Look forward to your build. Maybe on another lightning deal I will get this kit. :man_shrugging:

3 Likes

Thank you for the link Ryan and kind comments.

There’s also a nice section on Tamiya multiple KV kits. All five have their own entry.

4bogreen-kv-series-tamiya

2 Likes

Neil is a walking encyclopedia of KV tanks. He’s in my model club and I see him often. He’s also a riot in person. His KV book is a fantastic value at $95. It’s a huge book and 2 inches thick, hardbound. Everything you could ever want to know about KV’s is in that book and on his 4BO website.
Have a blast building that kit, Wade!

3 Likes

Hussar will ship it to you for $35US…
Isn’t it something on how much it costs to ship things now?

2 Likes

Shipping is terrible these days every where it seems but I’d take Hussarany day over the $245 copy I saw on Amazon with free shipping…wink :wink:

1 Like

HobbyTown USA in Hickory, North Carolina was my first visit to a Brick & Mortar hobby shop in over two years. Very well stock hoppy shop with ample supply and large selection of model kits. Best overall, I’ve seen in probably 15 years. A+++

Quite the surprise, for me to see Pactra’s name on anything!

Found what I wanted.

Nice perk, found stuff I didn’t know I wanted!

While they didn’t have any Tamiya Extra Thin or Testor’s Liquid Cement in stock, they did have two bottles of Tamiya airbrush cleaner. Very happy to score Mr Hobby, Mr Surfacer 1500 Black in the bottle. Likewise, the AK PE brass burnishing fluid. Used to use Blacken It to treat PE before painting etc. Last of all, a set Mig’s fancy weather streaking brushes to try out.

The Tamiya Airbrush Cleaner being of essentially ~8.5 oz of Tamiya Extra Thin for $10. Definitely beats $5 for 1 oz in the little bottle :baby_bottle:.

6 Likes

I love the thrill of visiting a good LHS - it feels like Christmas morning when I was a kid…the searching, discovery, and score of a great acquisition. I always plan to spend 1 to 3 hours in a shop.
Nice haul there Wade! Good stuff! Enjoy your trip.

4 Likes

Step 1 went very smoothly, basic prep the side, rear plates then assemble. Parts C8 & C10 match to a specific side so one shouldn’t mix the parts despite the similar appearance. E21 & E22 require clean up for good fit. Options of tow mounts (C35,C36 & C37, C38) are important to consider if modeling a specific tank. Most critical is careful clean up of hulls sides & rear plates. The OCD may notice step A1 uses part A2 and vice-versa. Likewise, us OCD types will probably want to clip these raised KO pins just on principle on the rear plate E4’s inside face.

The hull literally clicks together and I assembled it when talking on the phone due to its Rolex like precision. Regarding fit bow armor plate E10 proved a little annoying for me to fit. It required a pair of clothes pins ond each end to hold in position. I may have missed a burr etc.

I like to add a bit of texture more to the armor plates being a NightShift fan. I think it helps in the weathering stage with making old school dry brushing & washes techniques pop. Thinned Tamiya Basic & Testor’s Liquid Cement. All the Molak Stucco Putty :wink: was back home as this is still an on the raod build due to real life requirements, Tamiya pinch hit accordingly.

5 Likes

Great start.
I think you’ll like the kit.

2 Likes

Dan, yes so far seems like an excellent kit easily the equivalent of Tamiya’s new KV’s in the fun :partying_face: :tada: :piñata: :confetti_ball: build category.

Step 2 - Add torsion bars🍸 went smoothly. Minimal clean up required. Checked to ensure it all lines up etc.

These quality KV kits from Tamiya & RFM could spoil model builder :yum:

7 Likes

Step 3 Assembly of Wheels

Goes like clock work. The idlers had a bit of flash that needed to be removed to ensure they can sit flush.

Step 4 Attach Wheels

Decided to keep mud scrapers E25 & E26 separate until base coated to make painting sprockets easier.

Wheels attached.

4 Likes

Step 3 to Step 5
Install running gear & assembly tracks.

Probably the easiest link to link plastic workable tracks I’ve assembled.

Being away from my hobby room, returned to brush painting to slap a coat of primer on the lower hull. Test fit of RFM’s tracks.

7 Likes

Steps 6 to 8 are combined as all focused on the upper hull plate and required only a small number of parts. The upper hull top had a lot of big raised knock out pins remaining.

Perfect excuse to get the old Xuron spec sprue choppers out and let them eat.

Before adding MG and texture. Not a fan of the PE brackets for headlight & horn. I’d rather had plastic. Will add headlight lens later.

I was disappointed the kit MG wasn’t slide molded with an opening in the end of the barrel. Decided to use an Aber Soviet brass MG barrel.

With MG & texture added.

7 Likes

I just had a look at the instructions on SM. The headlight and horn PE look teeny-tiny. You seem to have over came that minor obstacle. The texture looks good as well

2 Likes

Thank you! It’s interesting how I was worried the horn & headlight seemed too big! Good to know they look OK, with in reason.

Step 9 Upper Hull - part 1

Dreaded this step as it involved more photo etch. While the engine intake screens looked nice, the Y18 lift rings (?) left me cold :cold_face: as they look two dimensional that is flat & thin.

Rolled the dice with thin beading wire, wrapped around a drill bit and sliced into rings.

Far from perfect but at least the ring is round. Added light texture as well.

The screens cleaned up well with little fuss. Formed the curve with a ball point pen and paint brush handle. Very nice quality PE by RFM!

Front & rear upper hull halves ready.

Part will be fender clean up plus attachment.

7 Likes