Hi model builders,
I realized that I haven’t been keeping this thread up to date, but progress has been made. Rather than show each of the pictures I’ve taken (not to worry, it will still be plenty of pictures!  ), I’ll try and pick a few from various steps along the way. Ok, lets go:
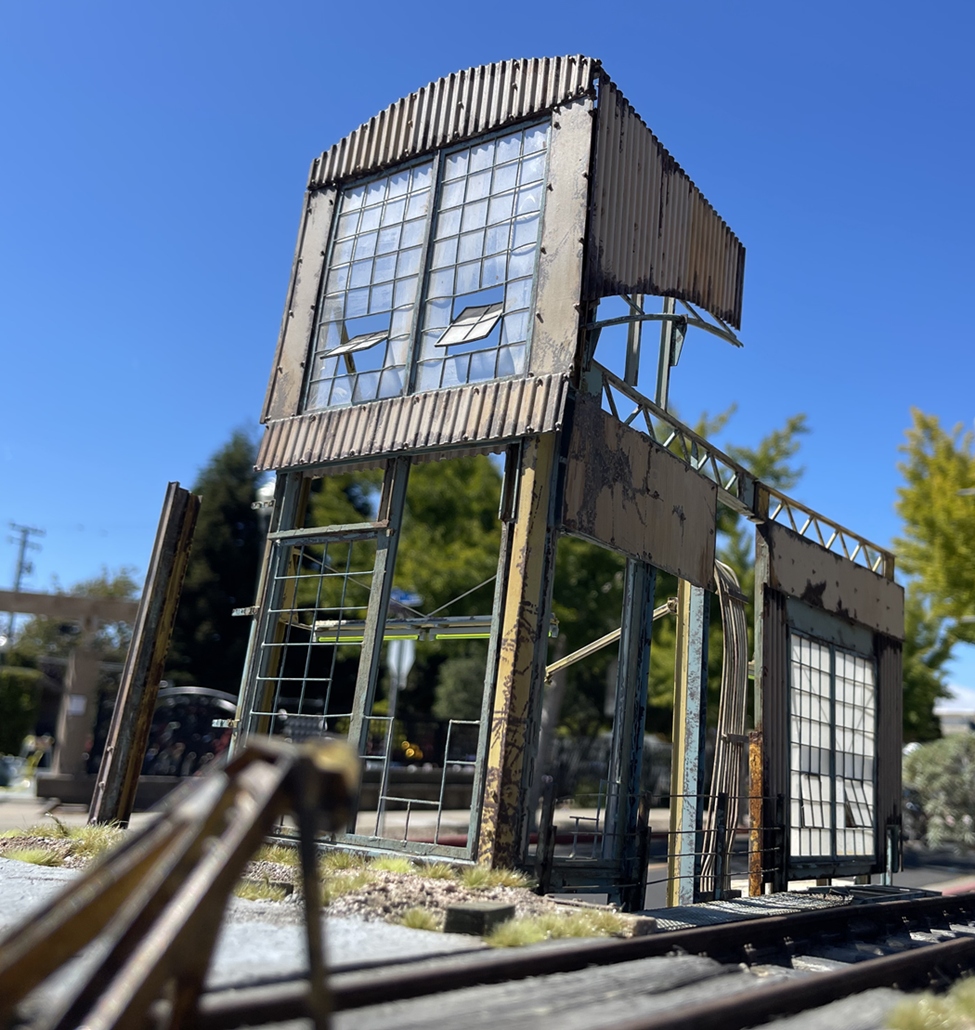
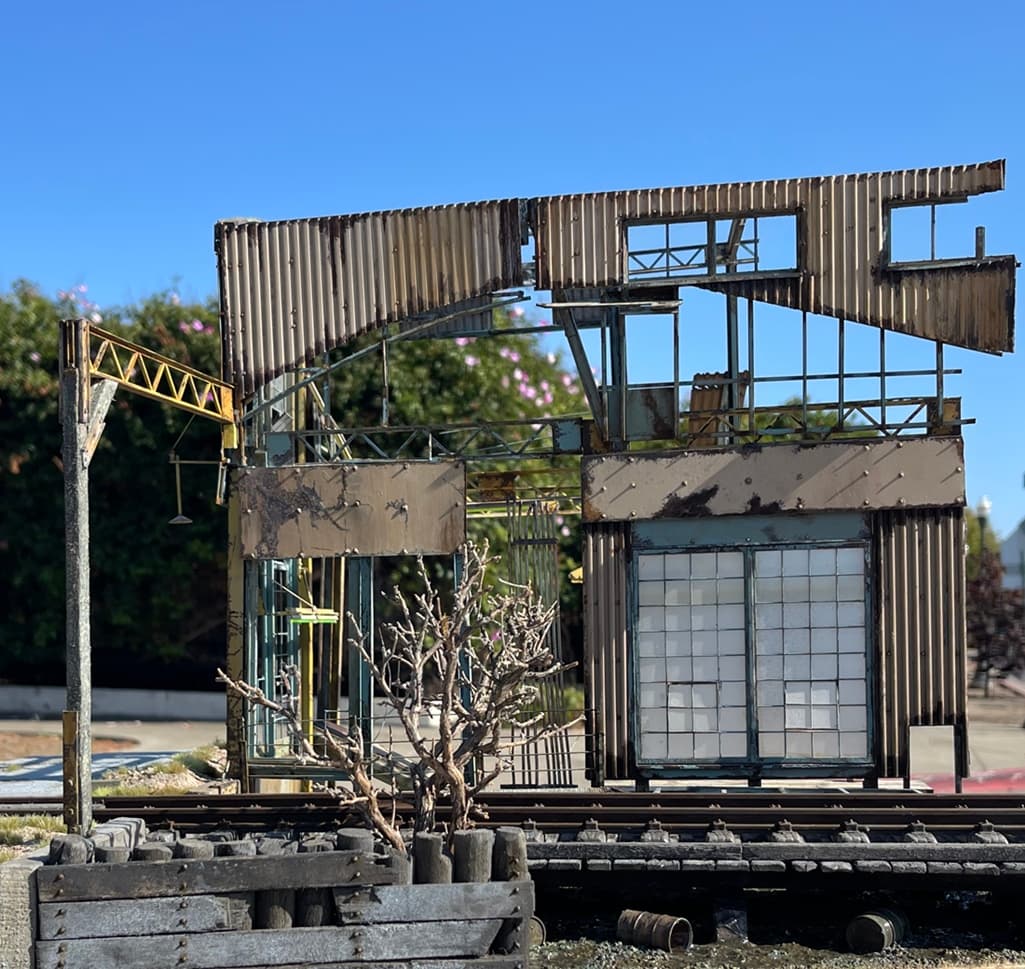
The series above included adding more substance to the building. While I want it to remain sparse, it needed a bit more to be convincing, and to actually stand up! It was not all that stable before - then:
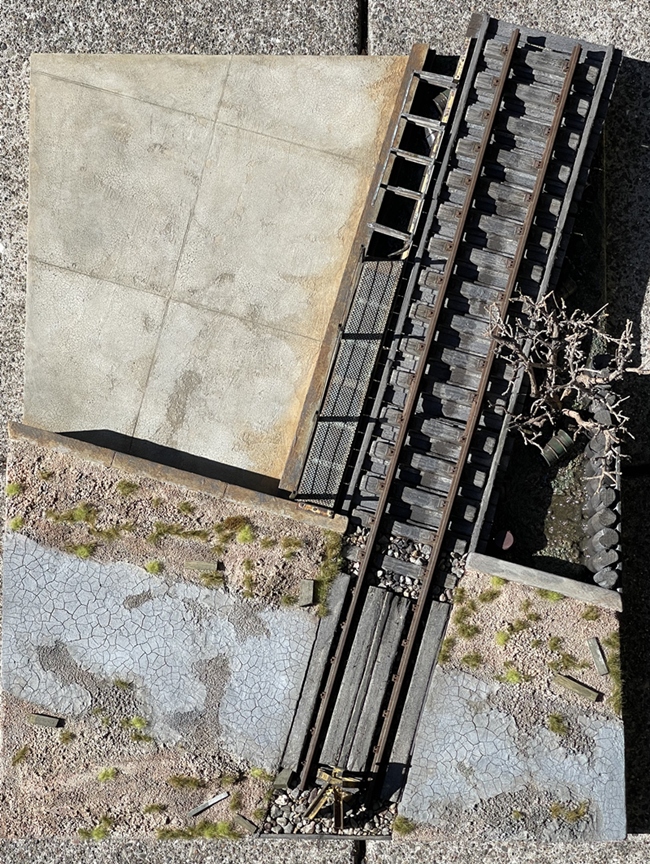
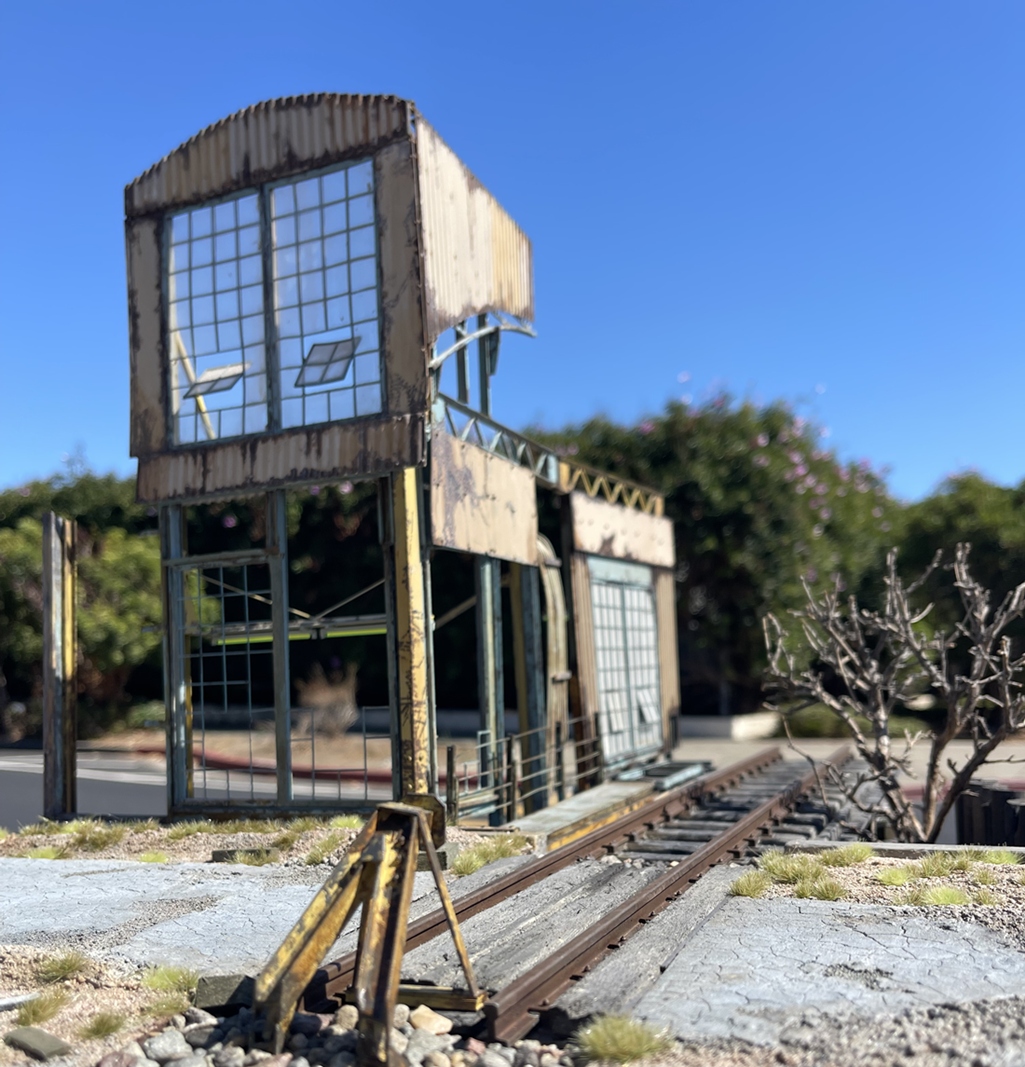
Next up was working on the edges of the base. A real challenge here is that the ground plane of the front of the project is higher than the rest, so the dio base has a clear step up. To make this look better, and keep it interesting I added what was supposed to clearly be a broken old bridge making it’s way off the top level. You can see it on the left side of the pic above, but while the bridge itself looks fine, it was hard to tell what was going on
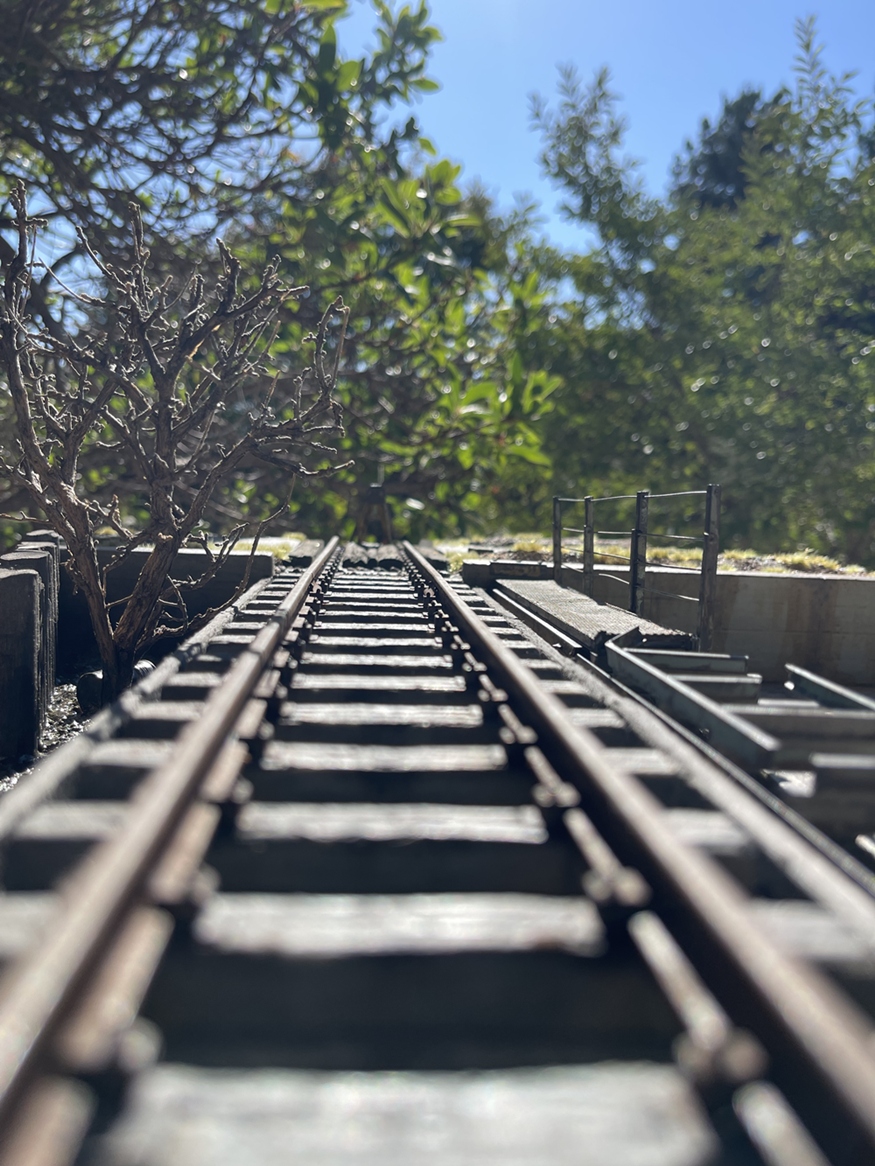
As I was curious, made up some study tests to see if this was at least heading in the right direction:
You can see the bridge on the left, which is fine but not great. I tried another from a different view:
This one really surprised me, I couldn’t have hoped for much better, but you can see, I cropped the bridge off, and went back to work:
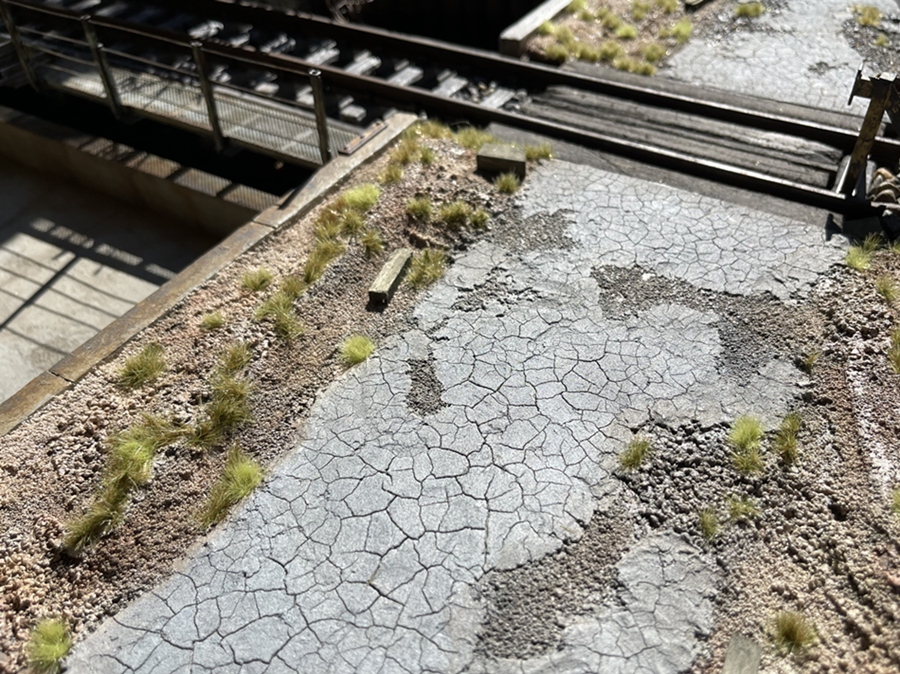
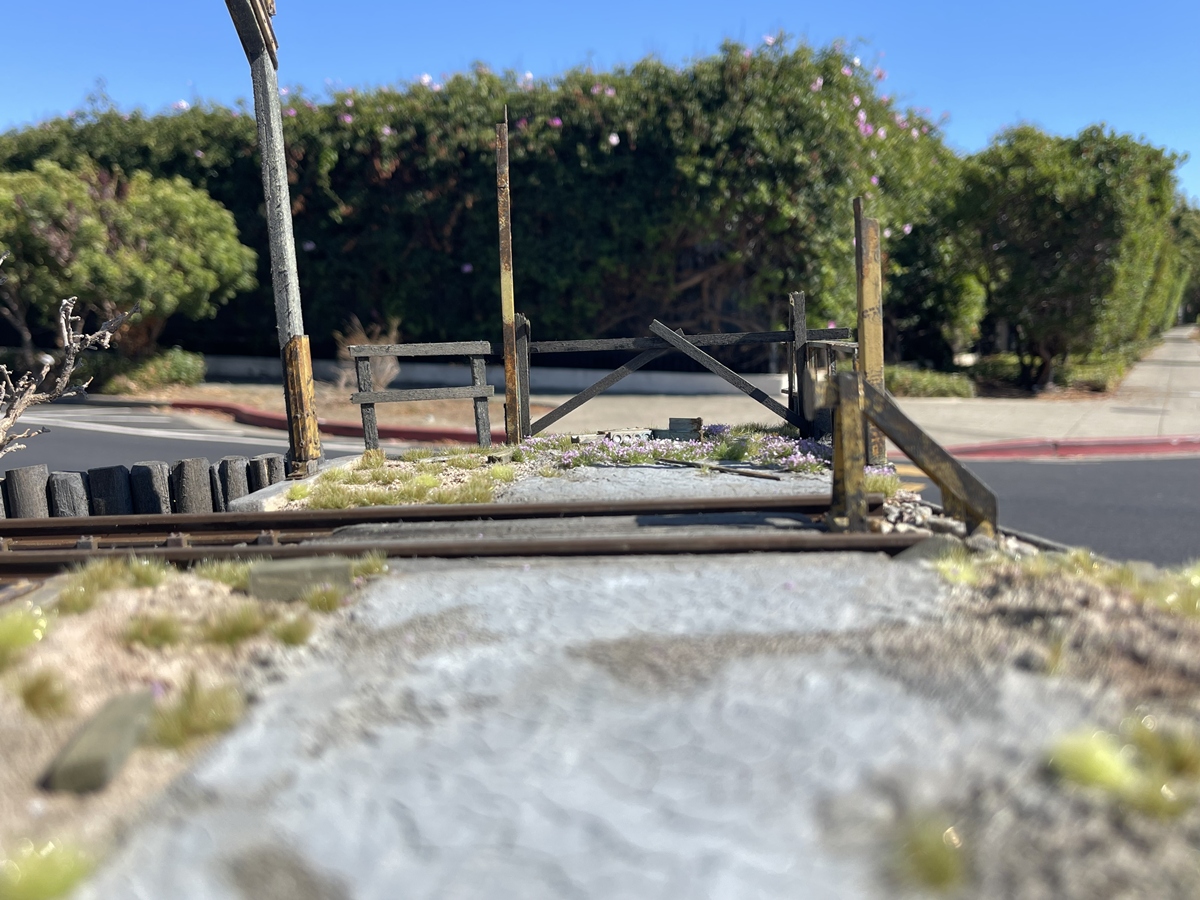
I went for a different approach on the abandoned bridge, adding guard rails and wood barricade - and I think it works better. As you can see the pink rigid foam insulation, you can also see what I am trying to cover up. The goal is to be able to photo this from all sides -
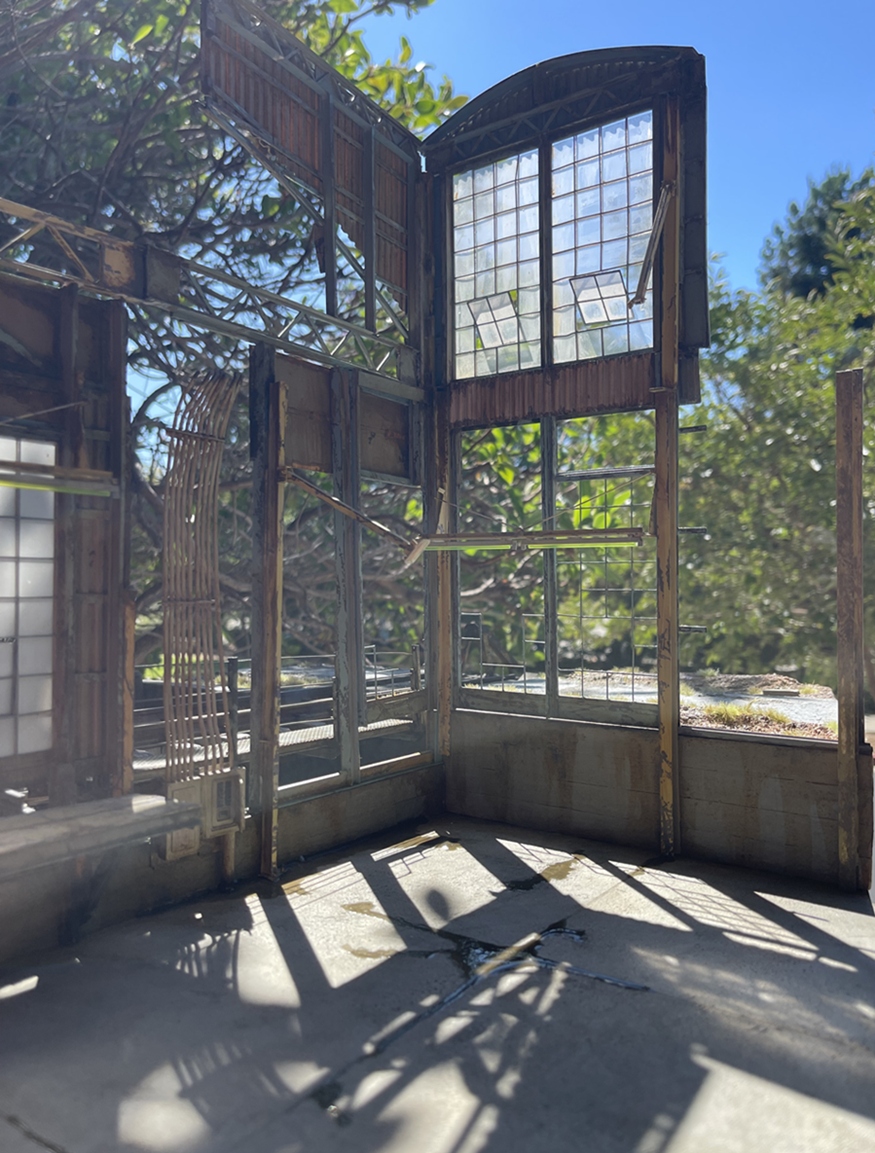
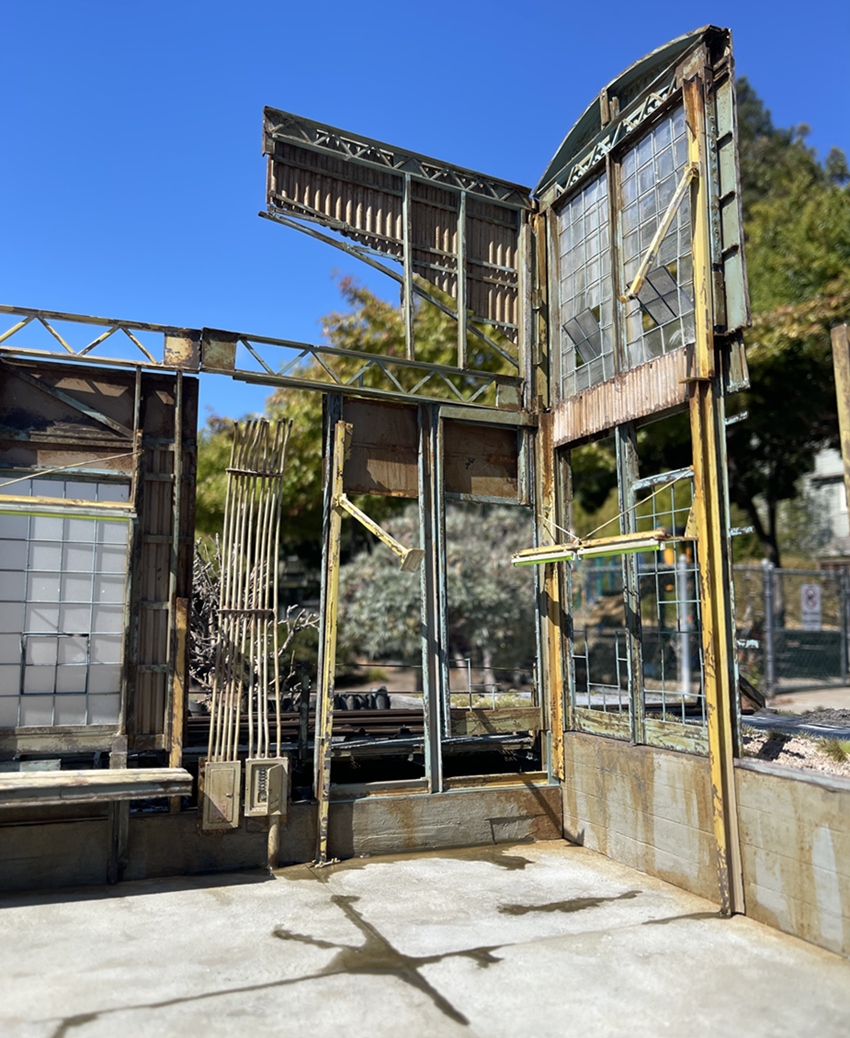
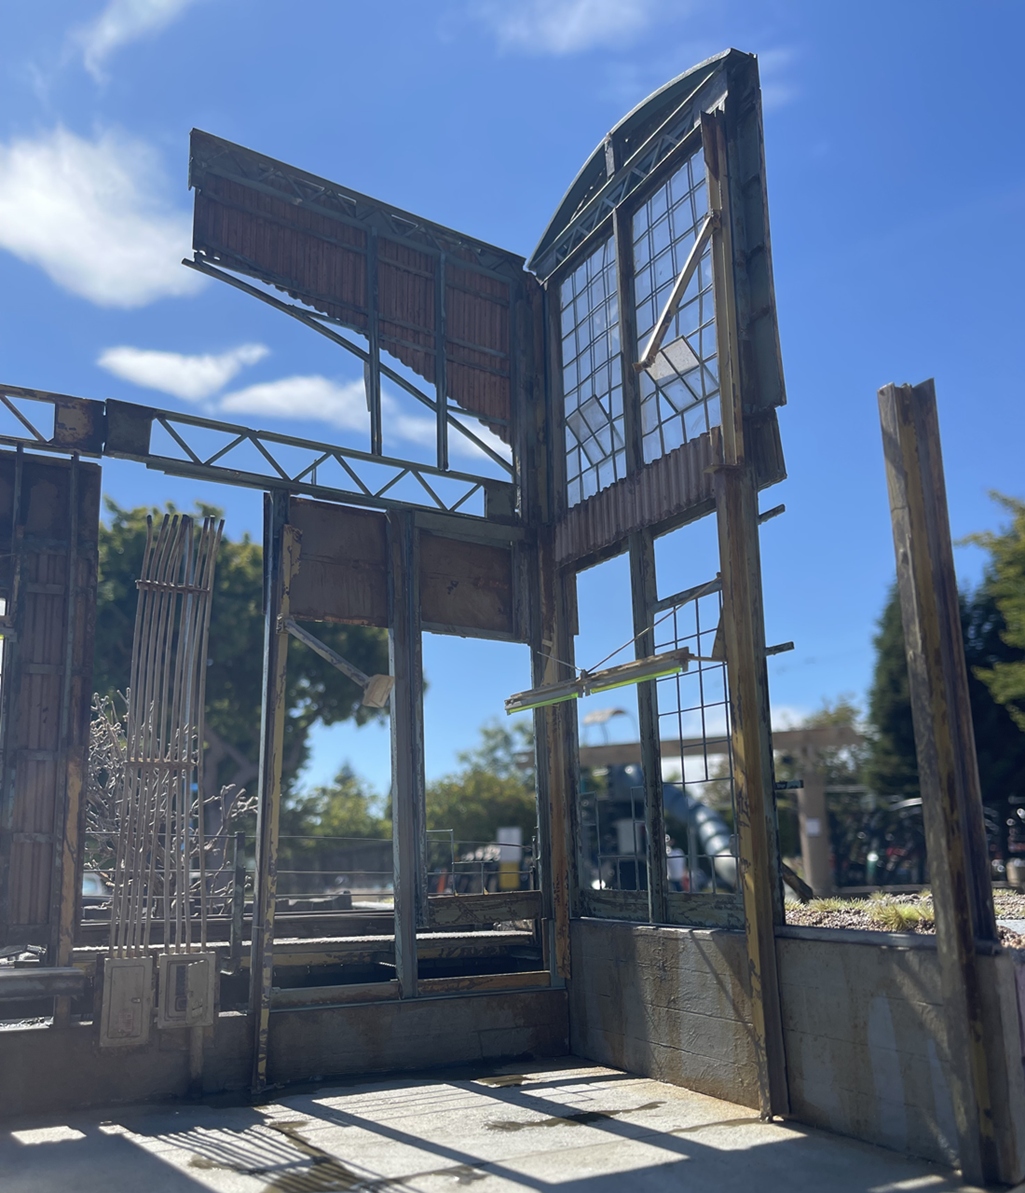
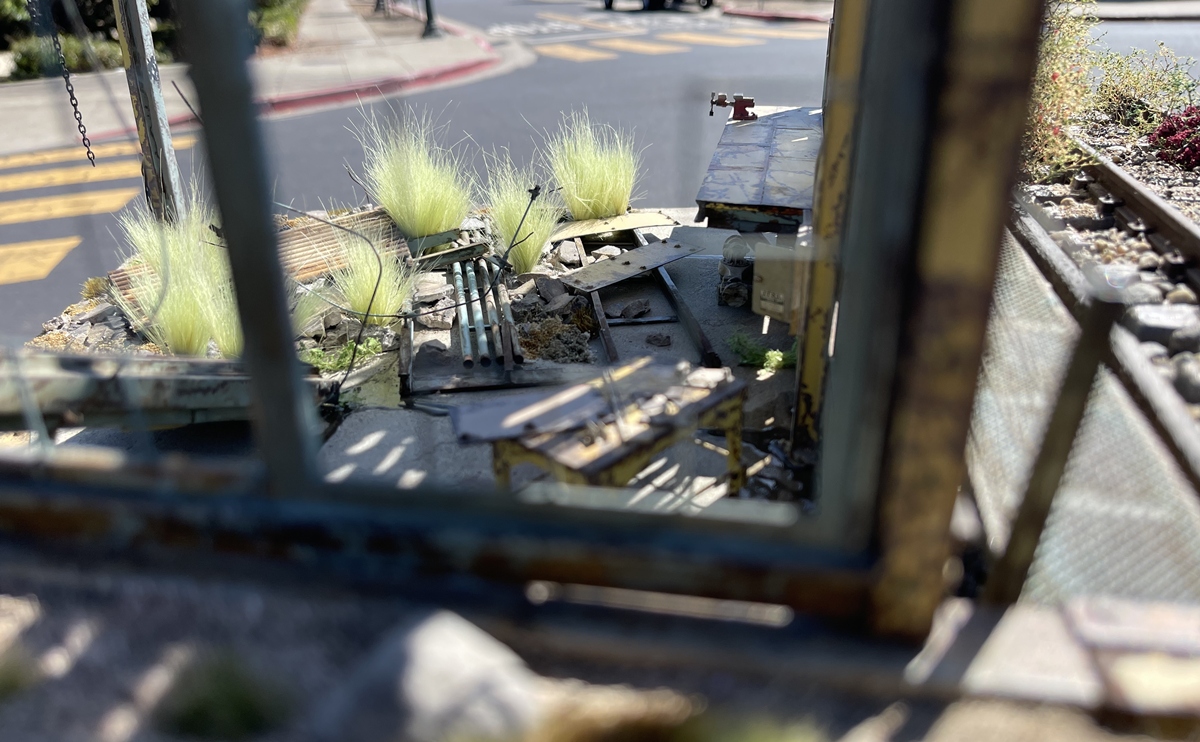
These are views from the top.
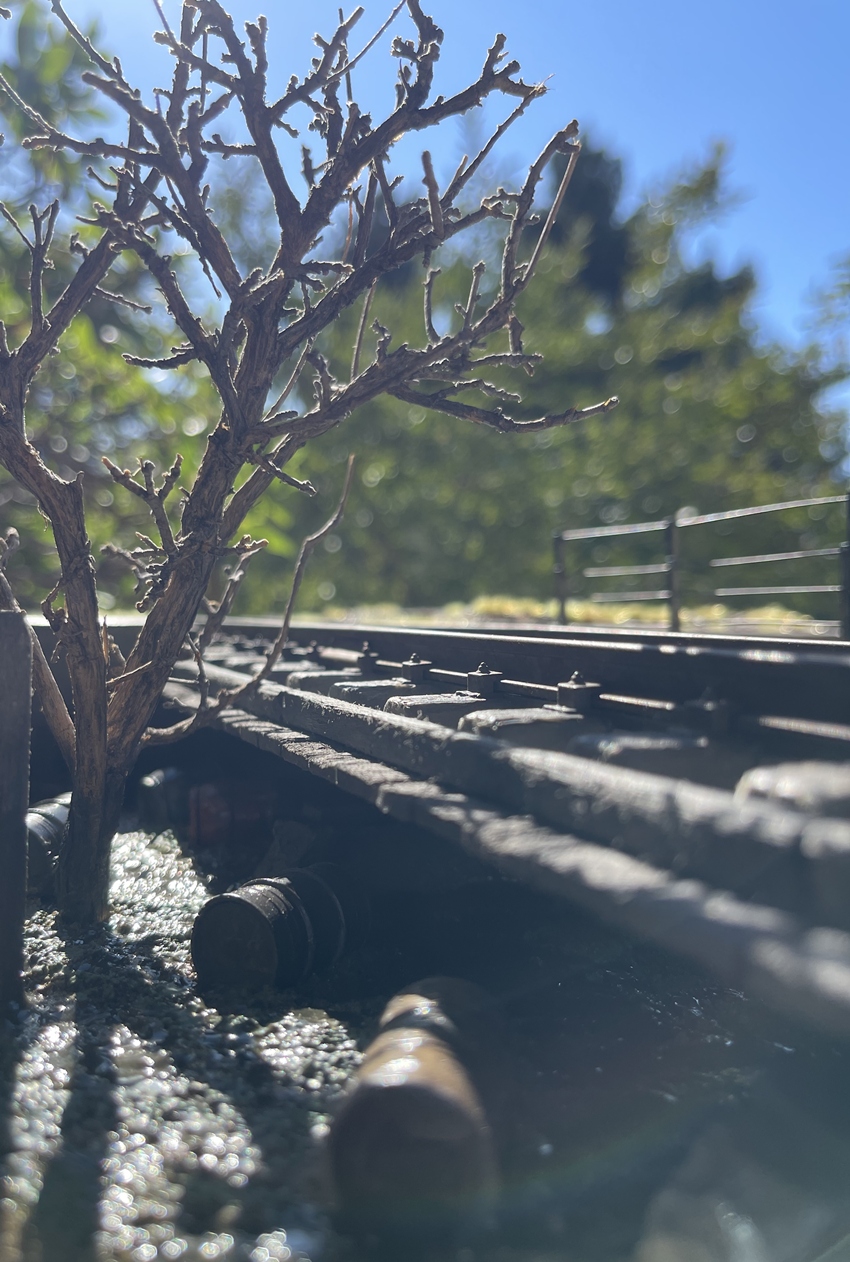
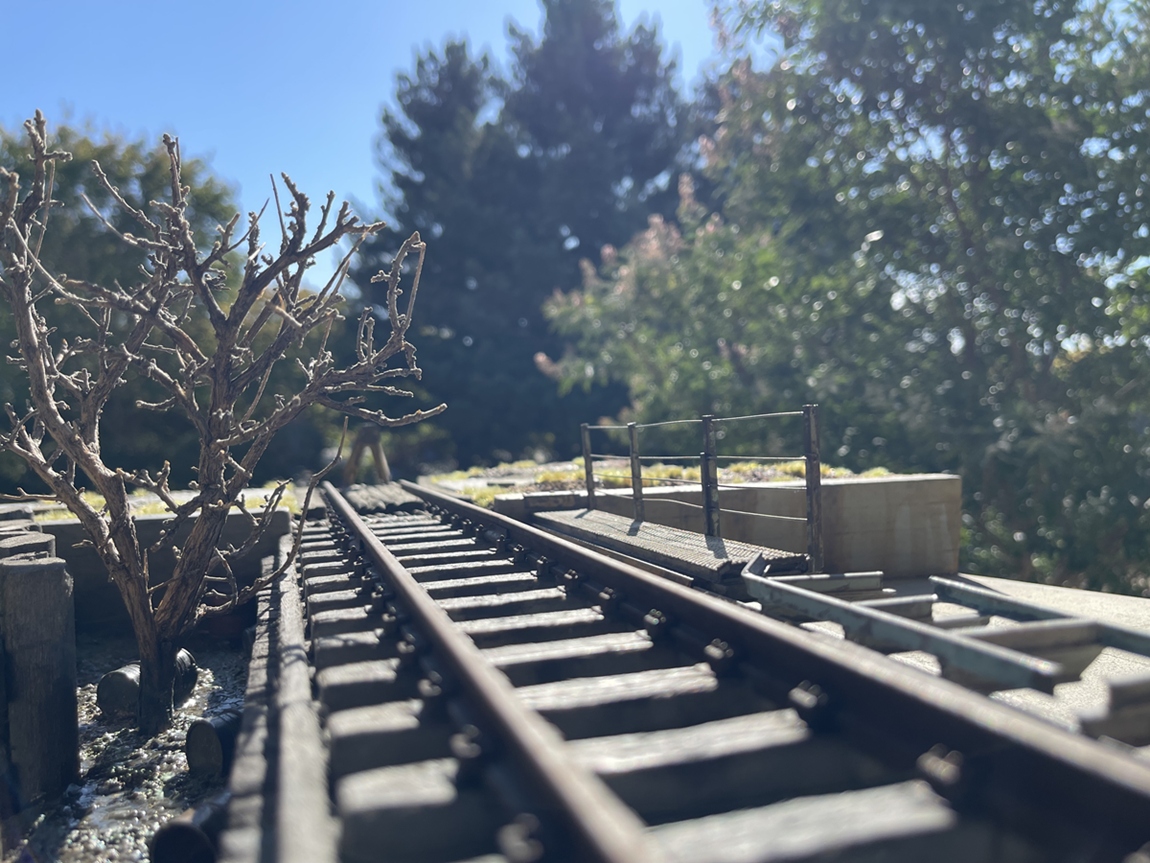
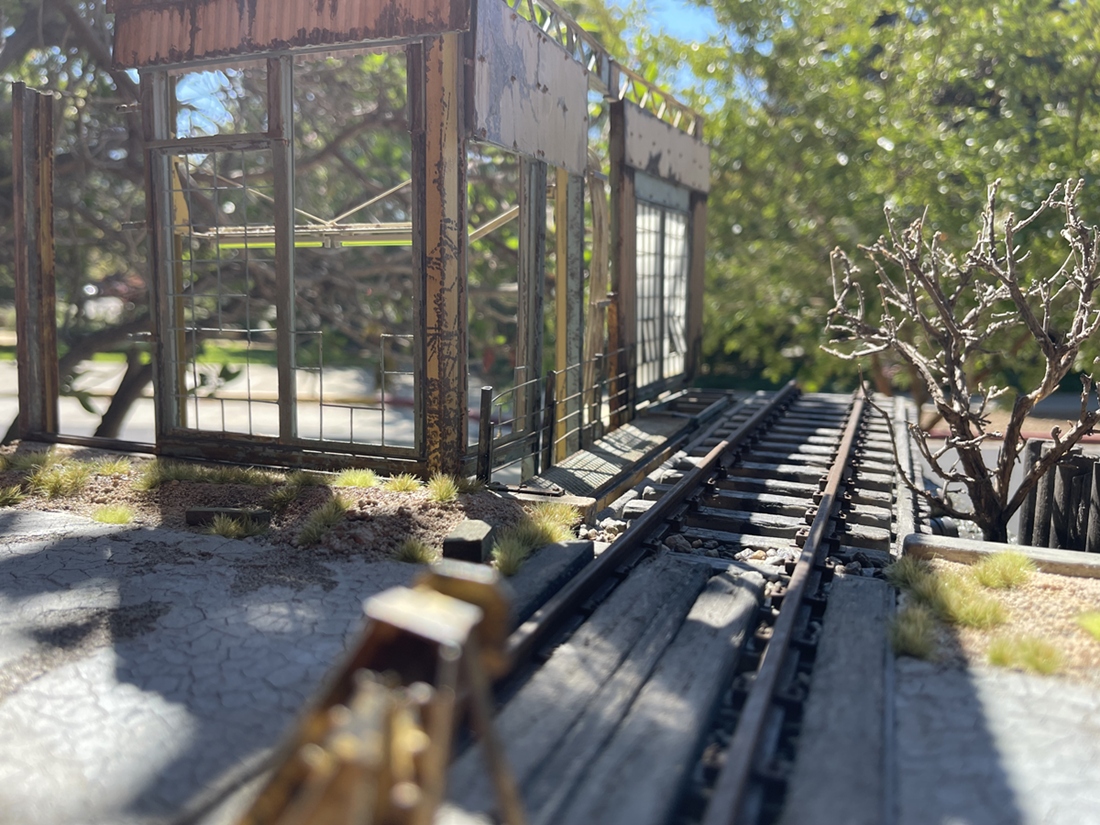
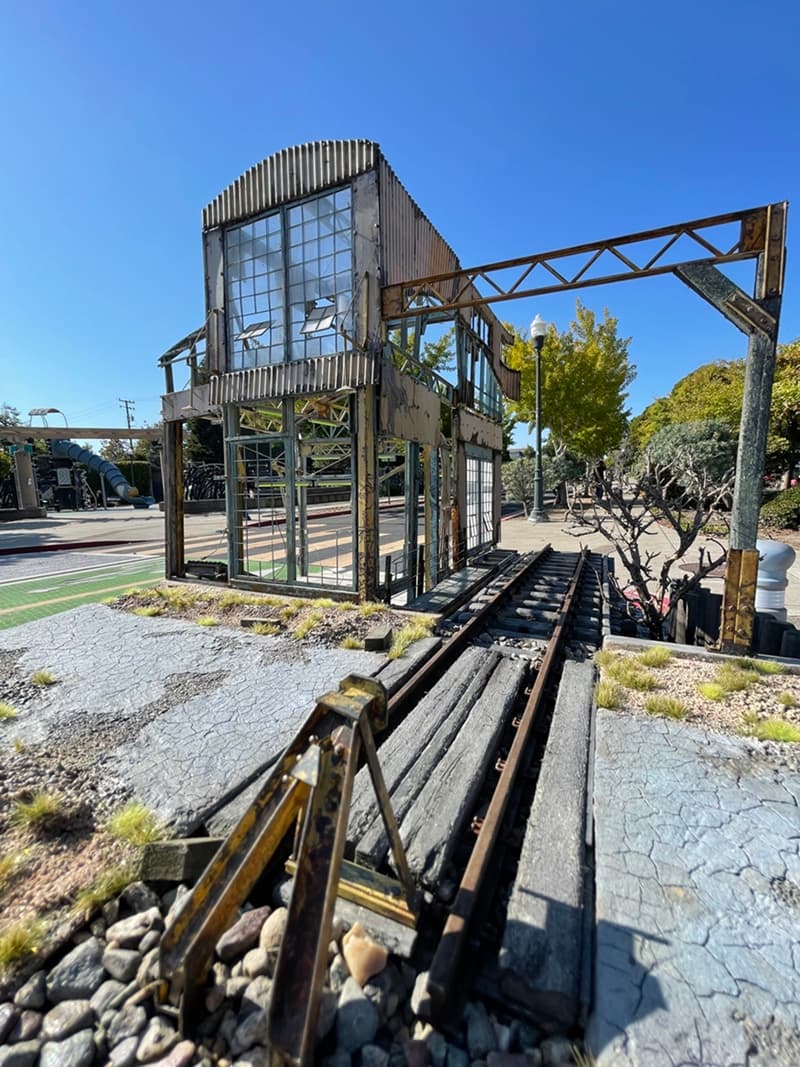
The task above was more subtle. The goal here was to obscure the hard ending of the train track. The purpose was not to build a wall, but instead to add enough vegetation to suggest the tracks continue, but because of the scrubby brush growing on the trestle, you can see/imagine it going beyond. Before doing this I wondered how this would grow on a trestle, and discovered that SP Railroad (and I imagine others) added ballast on trestles. Perfect - so I made the leap that over time and through neglect, enough organic material could collect and provide a suitable home for weeds and scrub brush!
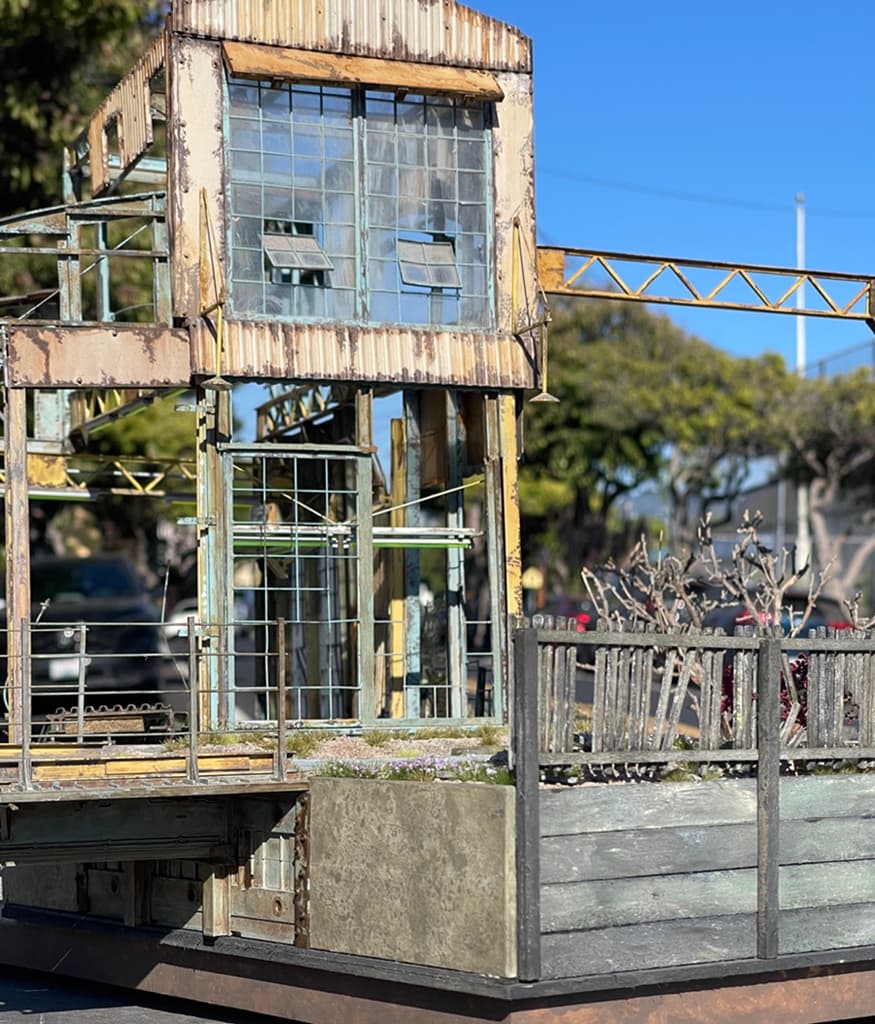
Next up was to add a steel bridge to the other side. I used steel just for some variety. It’s the deck in the foreground, which is made up from remnant parts from the 1/35 M1000 trailer kit, with many bits added
It’s on the left above. You can see the concrete abutment supporting it.
And above, a direct view.
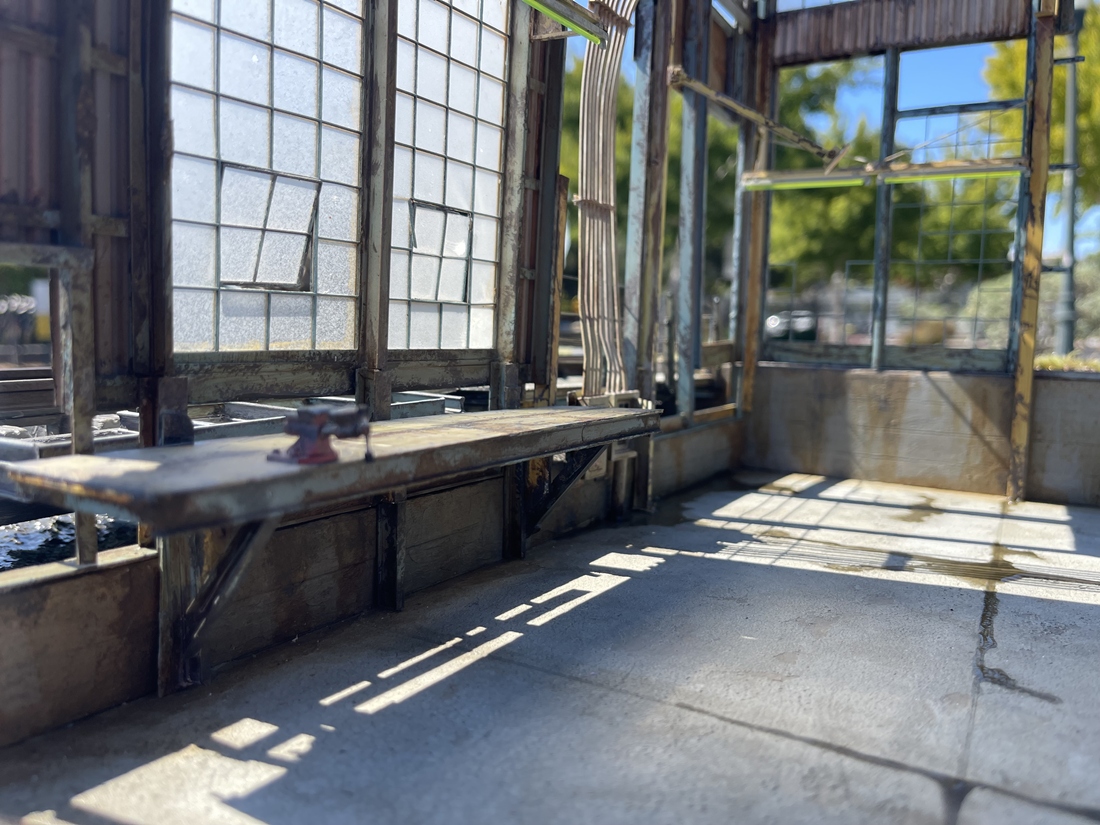
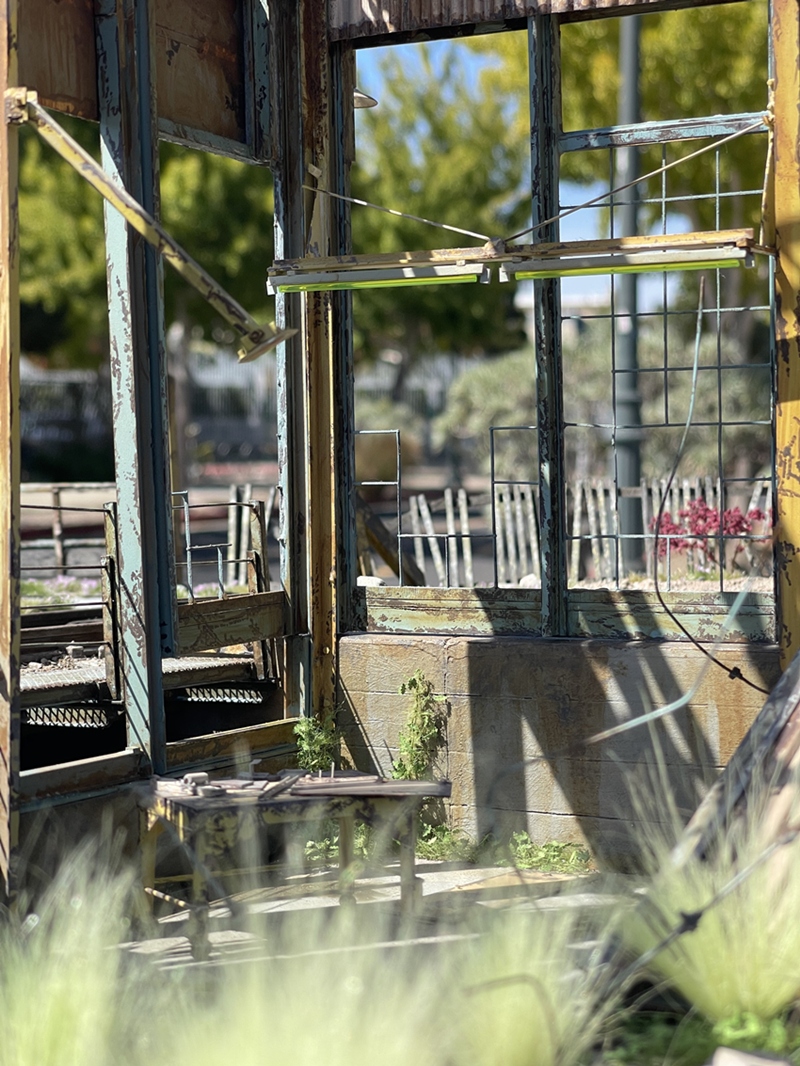
While I was at it, added some more to the area directly in front of the building:
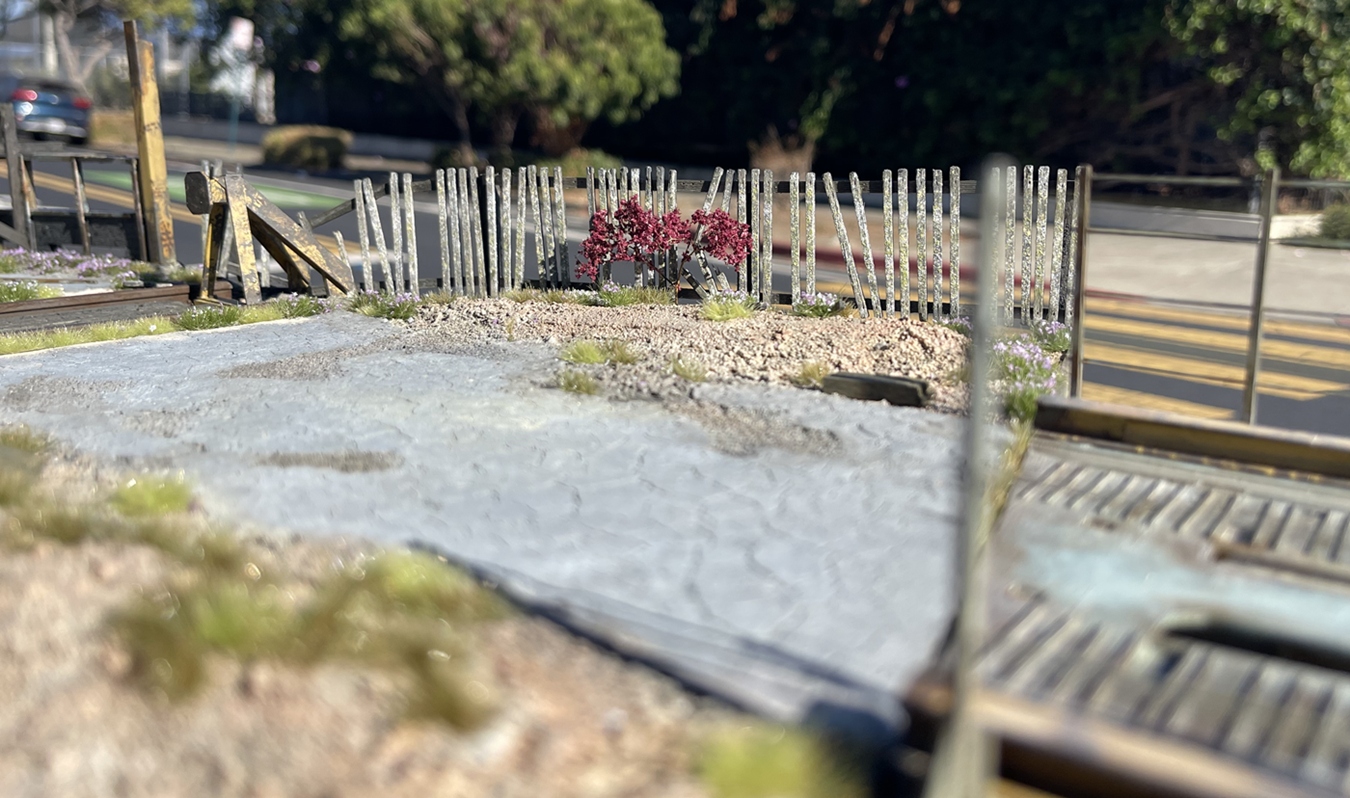
I really like this decrepit old fence - I wanted something like those you see along the shoreline - barely standing up, rotted, and yet still there.
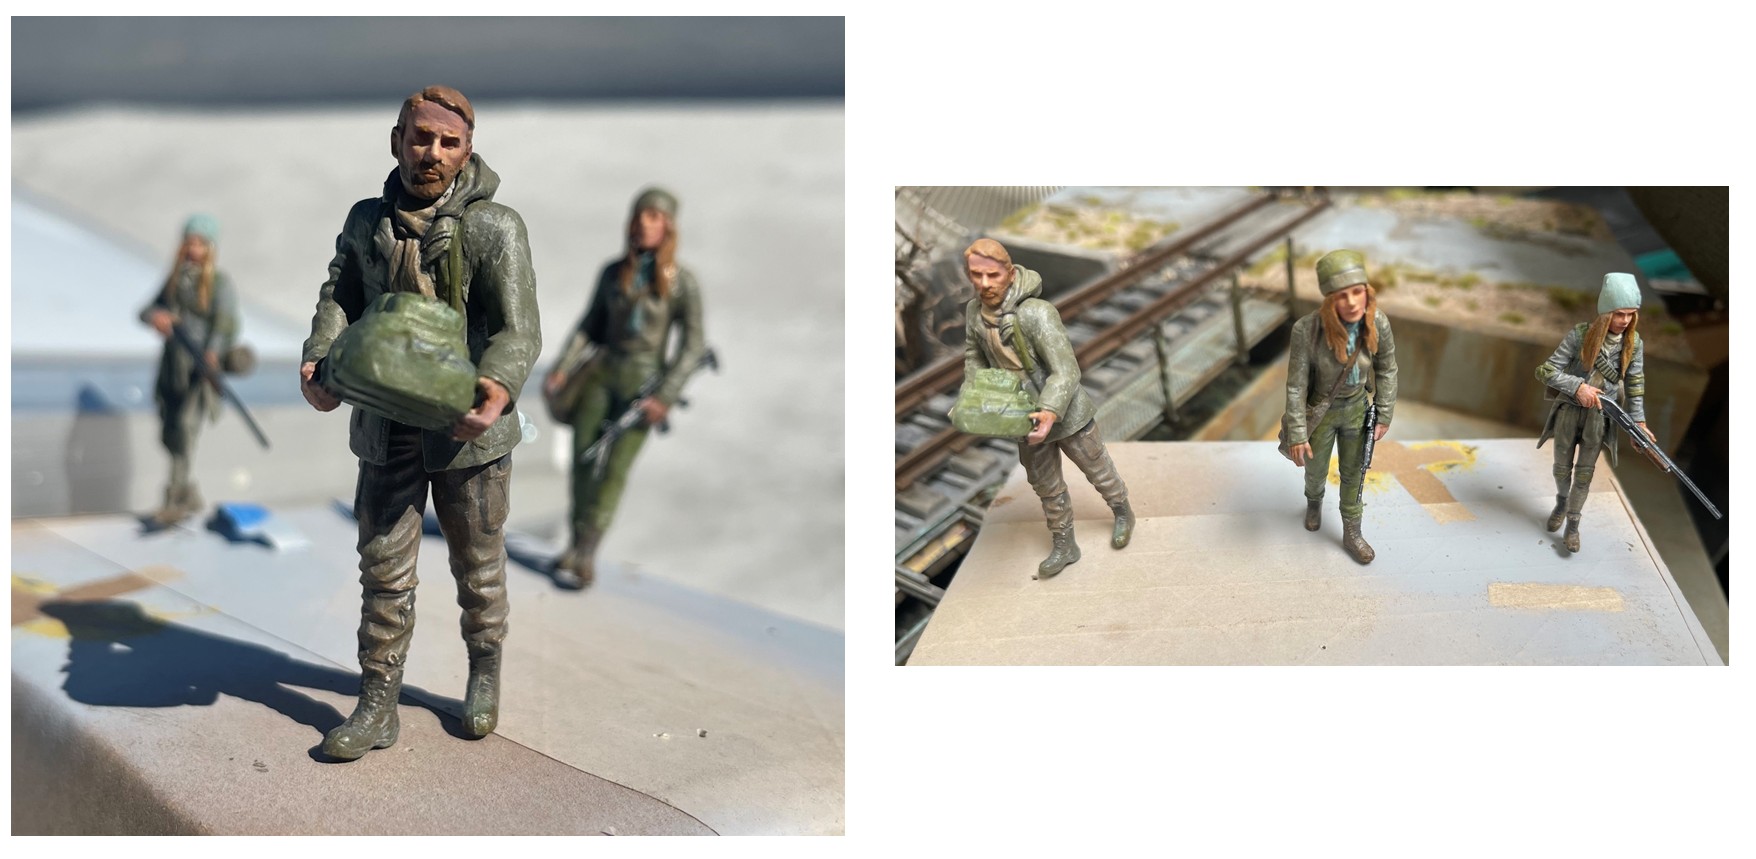
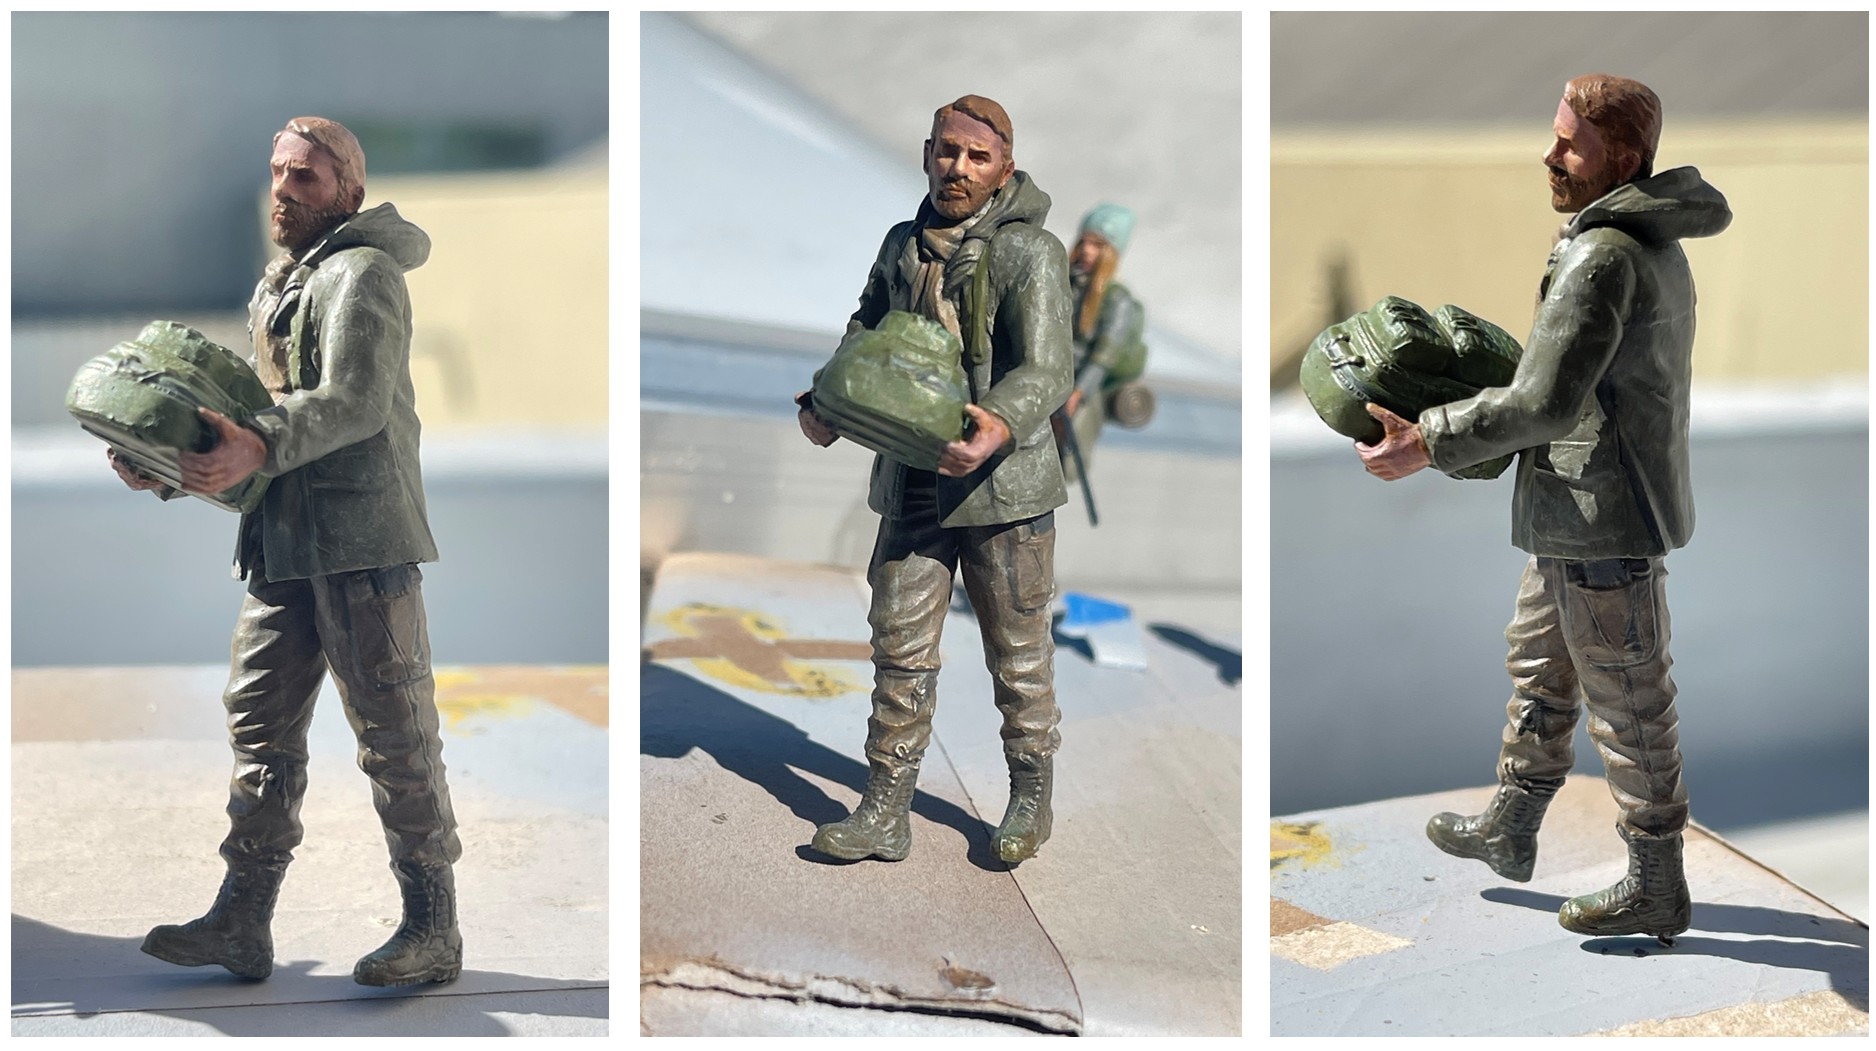
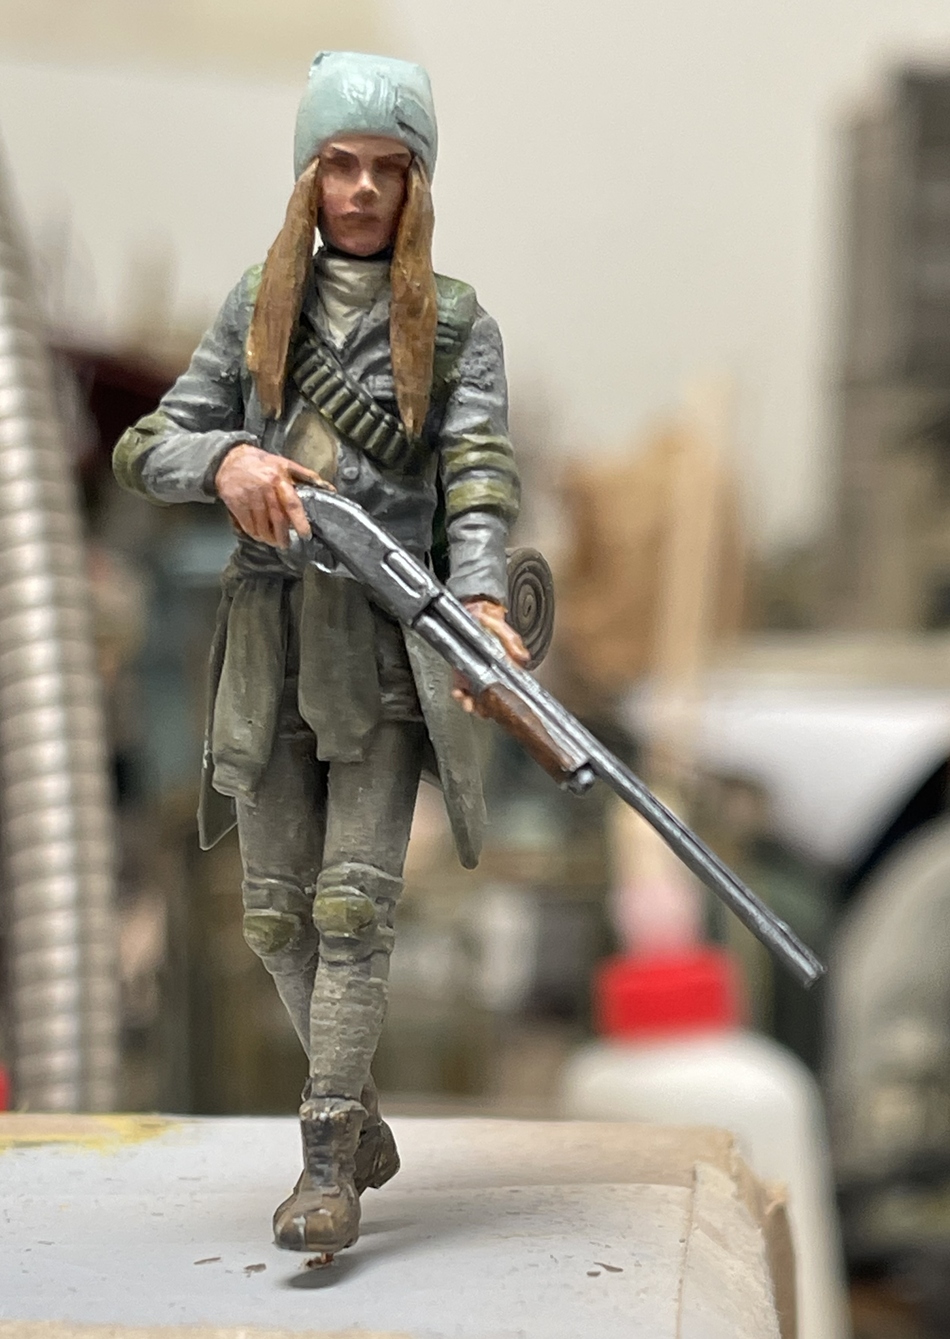
And just today, went back and did some work on the main figure:
In addition to my mediocre paint, and all the shine, I wasn’t happy that this forlorn guy was not looking straight ahead. As he was, he seems to be pondering how he will be strong enough to carry the tiny backpack - not good at all.
So, he was decapitated, and I reworked his neck to make him look forward! My thinking here is that if this guy is preparing to venture into the abyss on his railbike his look should reflect that, and not look like he is wondering if he remembered to pack his toothbrush!
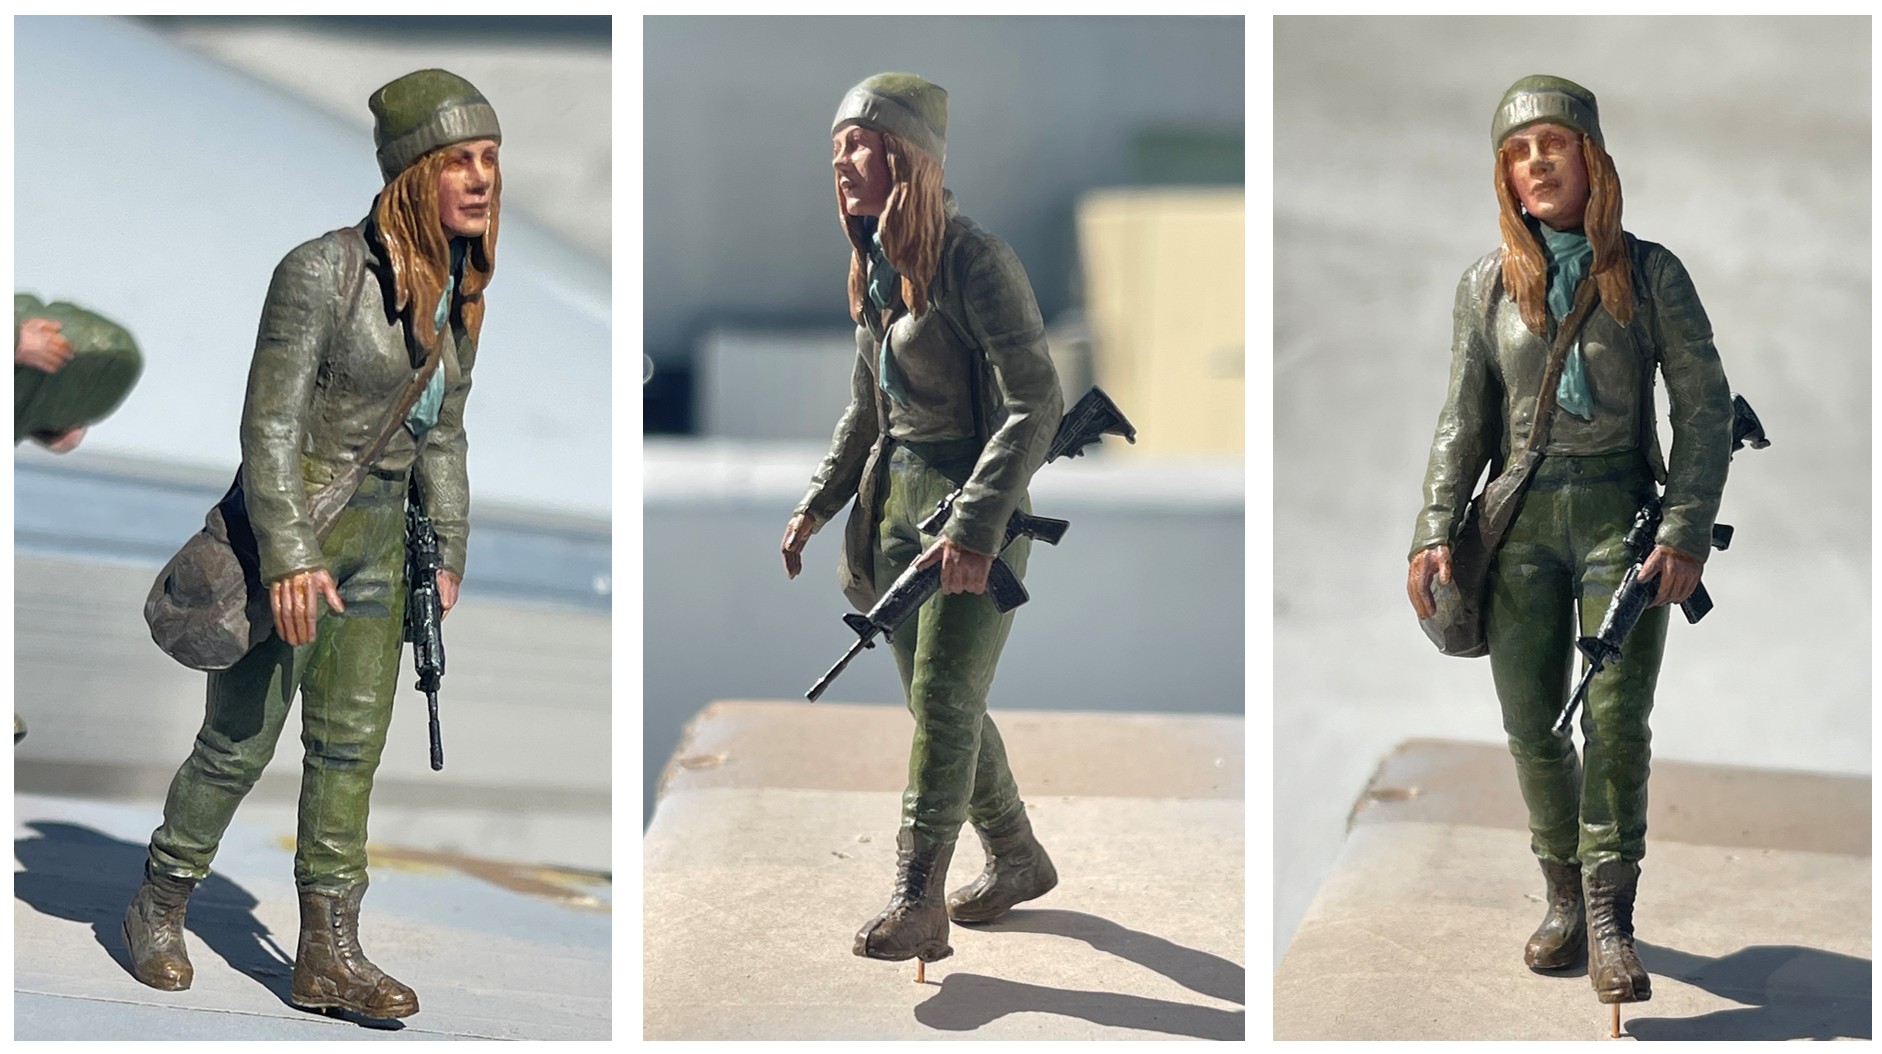
And now, yes! He is looking equally desperate but for good reason! I also coated him with some acrylic medium matte finish, and he looks a lot less shiny. I did the same with the woman:
She only received the matte finish, and also looks much better.
I include the younger woman as a reminder that I not skip the details! or else!
thanks for having a look
Cheers
Nick