Ride the line

I’m in the middle of a pretty big dio project and am a bit burned out, so, naturally decided it would be a good idea to start a new project. This project is loosely based on a movie our own @KoSprueone suggested in a railroad thread, called Stalker.

It’s a Russian film made in 1979. The description is science fiction, which is a bit of a strange “label”, but there you go. Should you decide to watch it be prepared for 2 hrs and 49 minutes of a relatively slow going journey, with subtitles. It’s interesting, but I won’t say it’s riveting. It does though boast some cool images and for me, ideas for a diorama! So, here we are.

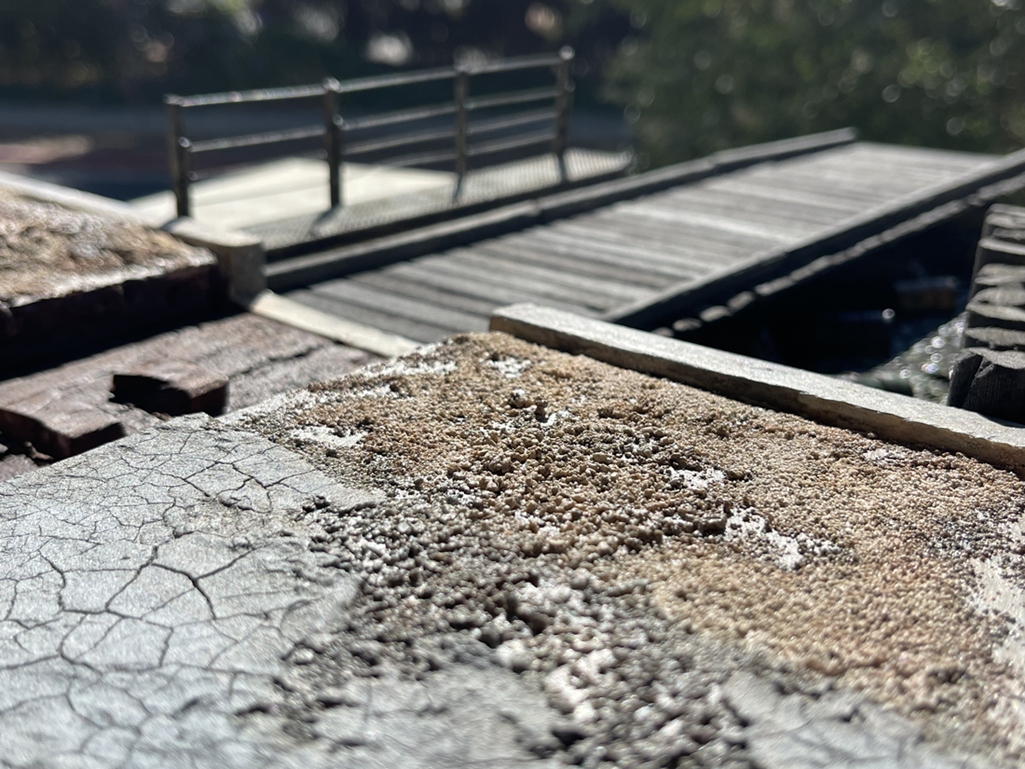
I started the project by adding to a kit I built about a year ago - making it ready for a journey:

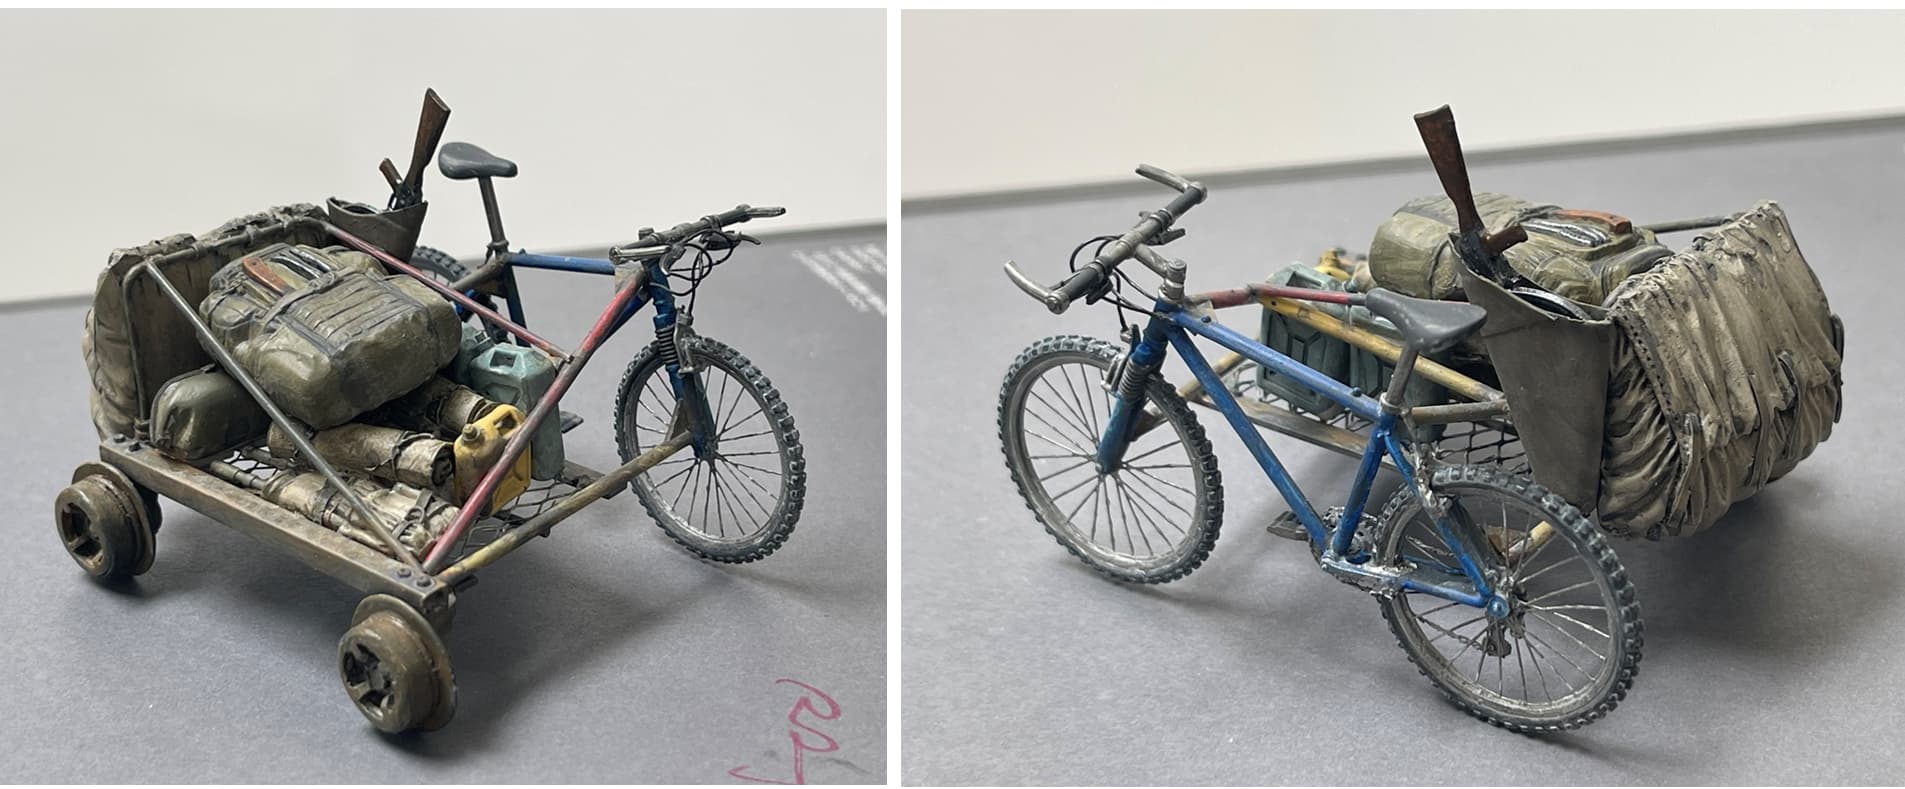
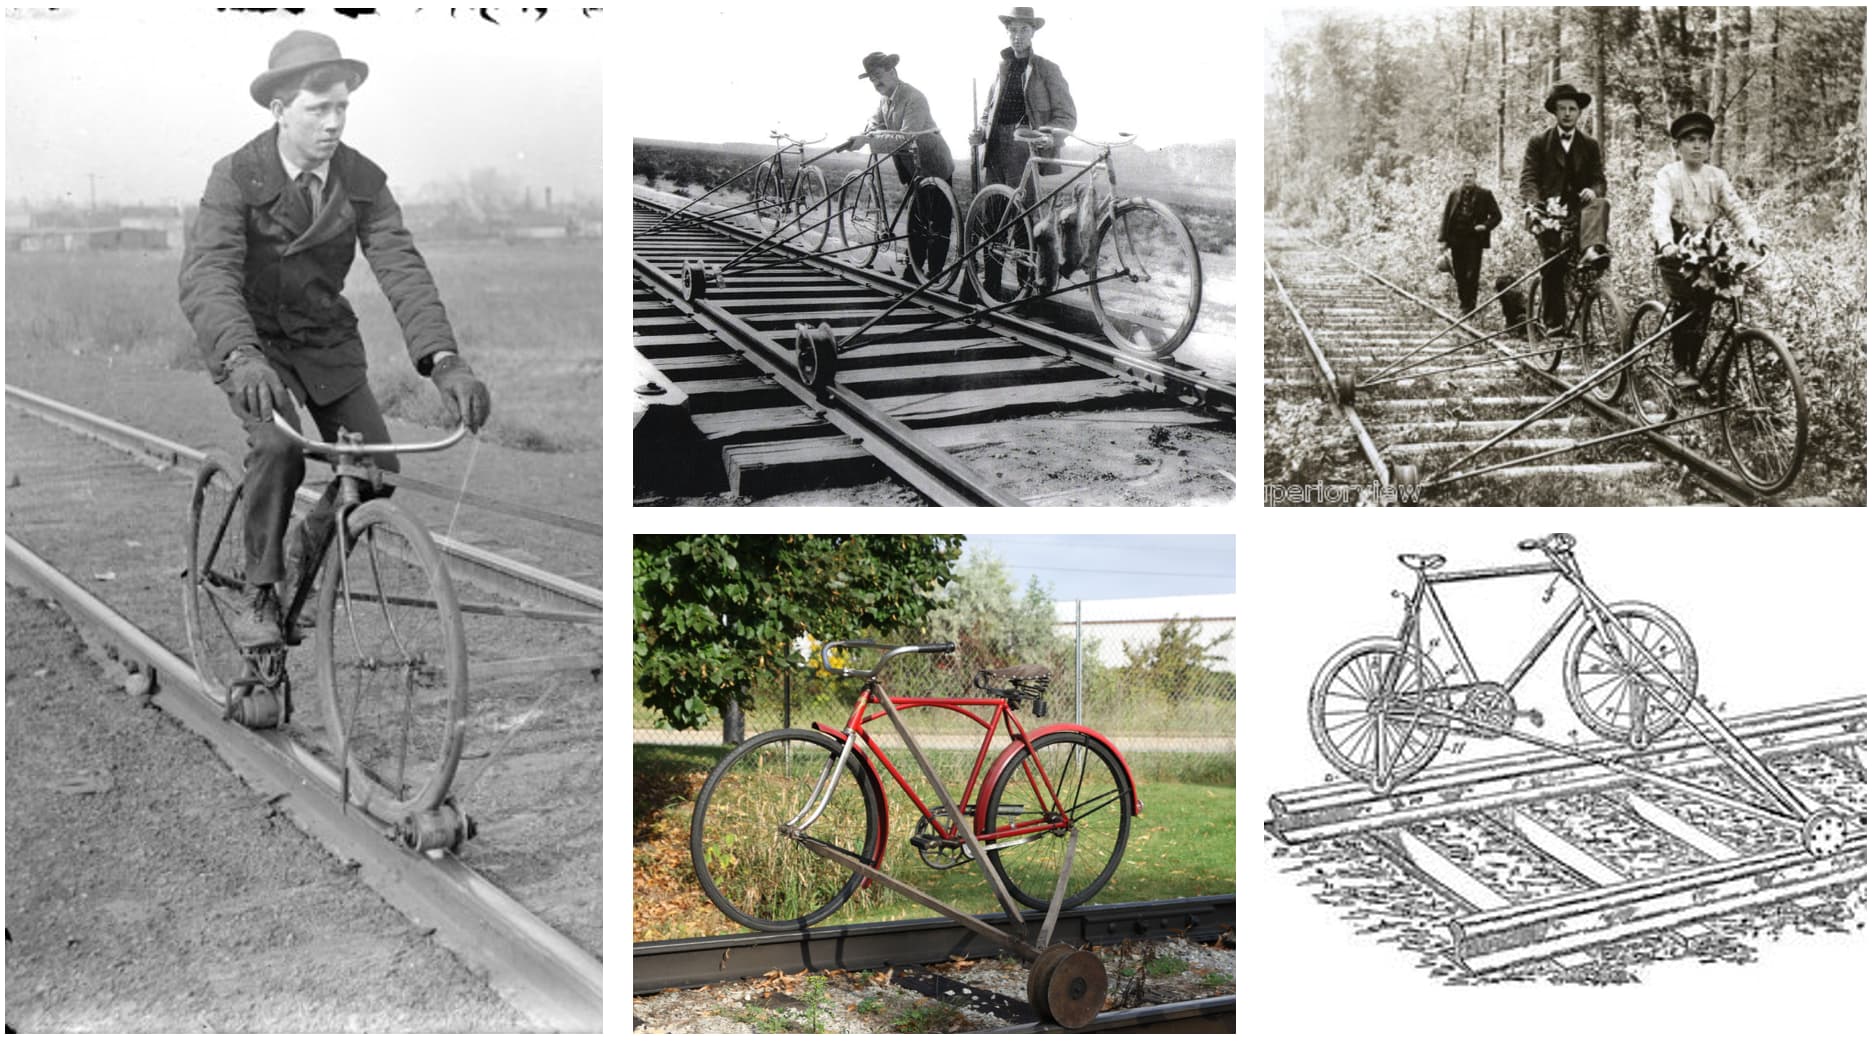
So the movie is in some ways pretty bleak - telling the tale of some folks on a journey into the “zone”. They start in a Land Rover, then onto a railroad speeded, and the rest of the journey is on foot. So, I didn’t want to build a speeder, and opted for a railroad bike.

First up, the vehicle:

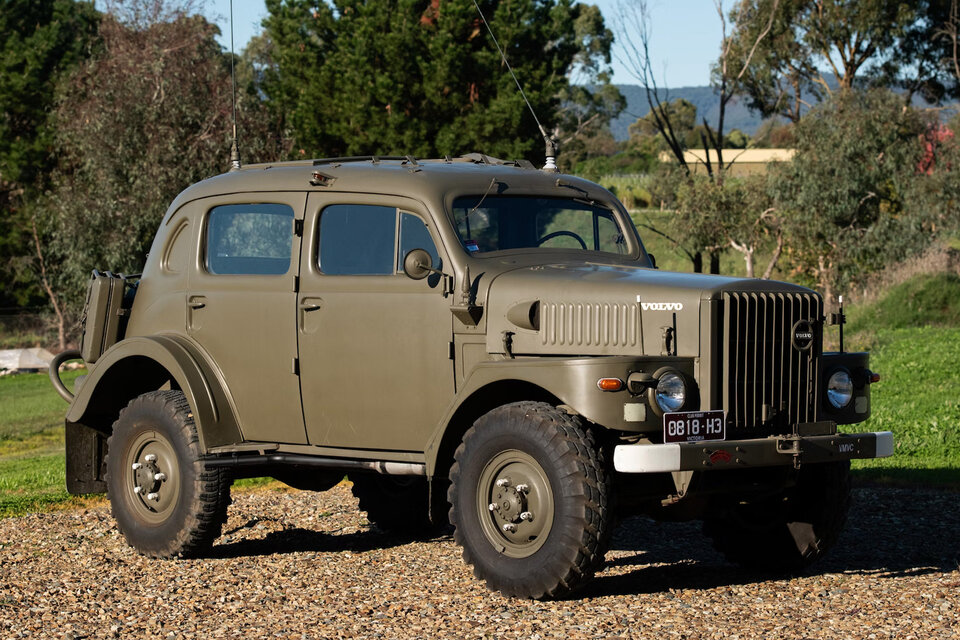
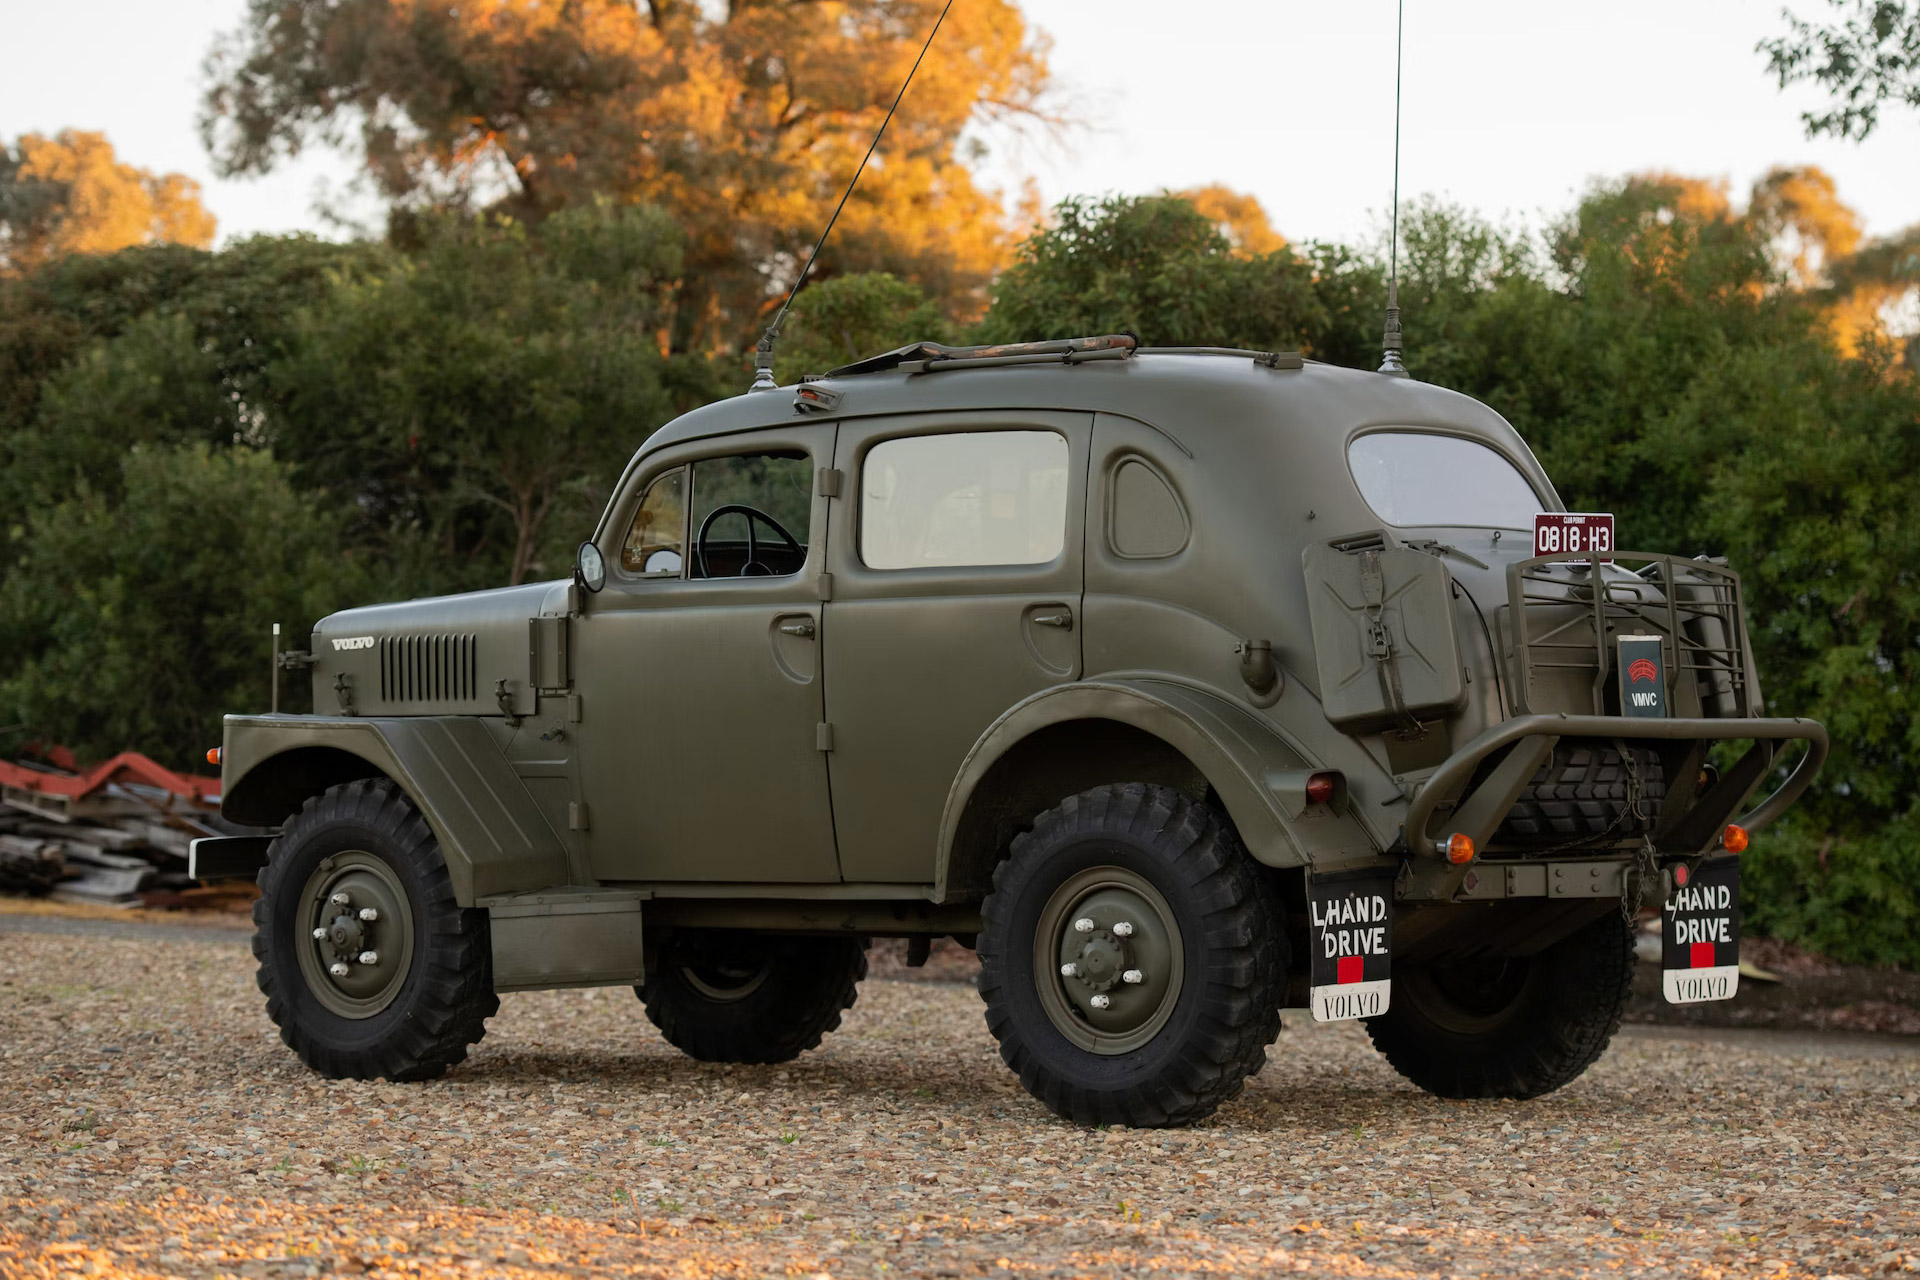
The Chevy canopy express 4x4 (above) is my substitute for the Land Rover. It will take our travelers to the rail line - from which one of them will, yes, you got it, “ride the line” to who knows what -

I really like this build, so was pleased to have a reason to start fooling around with it again. I added storage and spare tire.

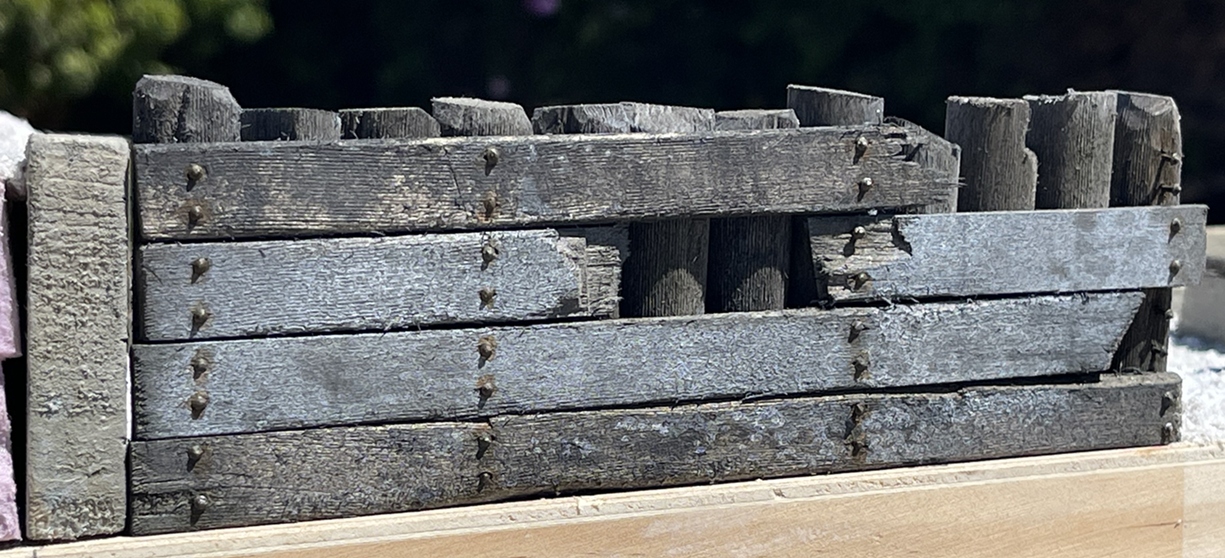
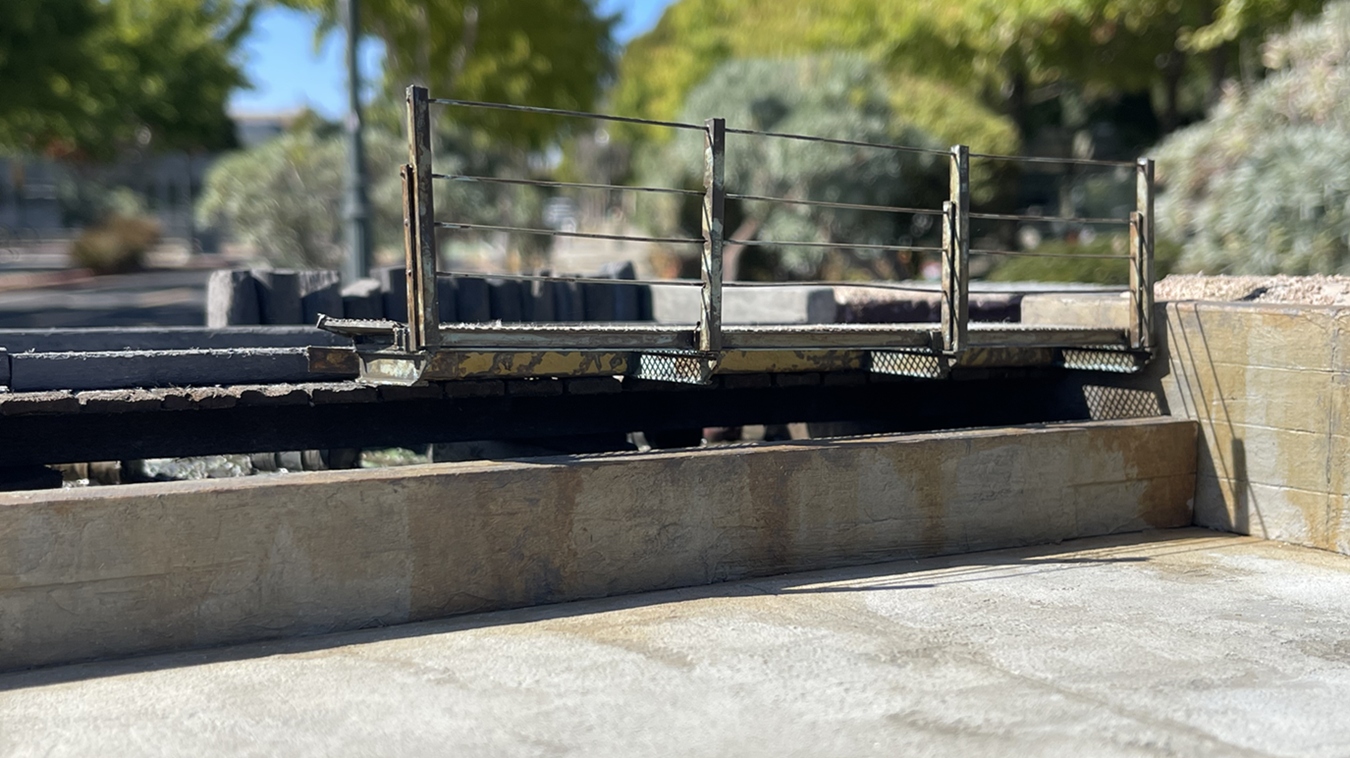
Then, on to the bike:

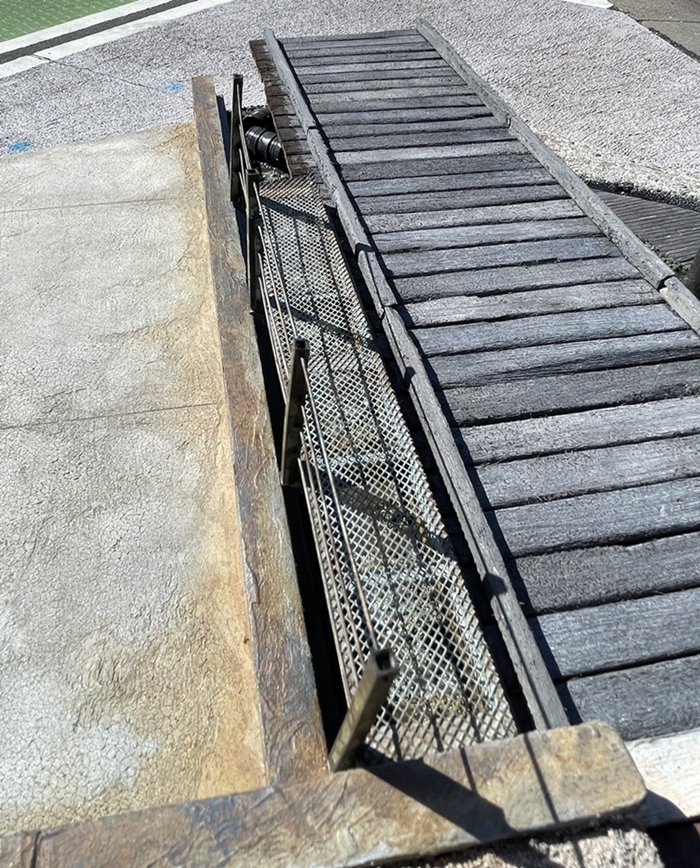
I was going to make a typical railroad bike, but decided if I were crossing the line, I’d like to have some supplies, so, built it up to allow for some cargo. This was not a joyous task. Building the bike was fine, it’s a 1/24 Fujimi kit that went together pretty well. I added a chain, rear brakes, and shifter and brake lines - all good. But, building the rail car required the third hand! Not a straight forward task at all! The wheels are from an HO scale truck, but widened to sit on a 1/24 G scale track. I enlarged the flange too. I attached the rail wheels to 1/35 scale wheel spindle assemblies from an MATV, then added evergreen and storage as needed, to make this:

So, pretty good. I intentionally mismatched the colors of the tubing to suggest this was assembled using found metal tubes.

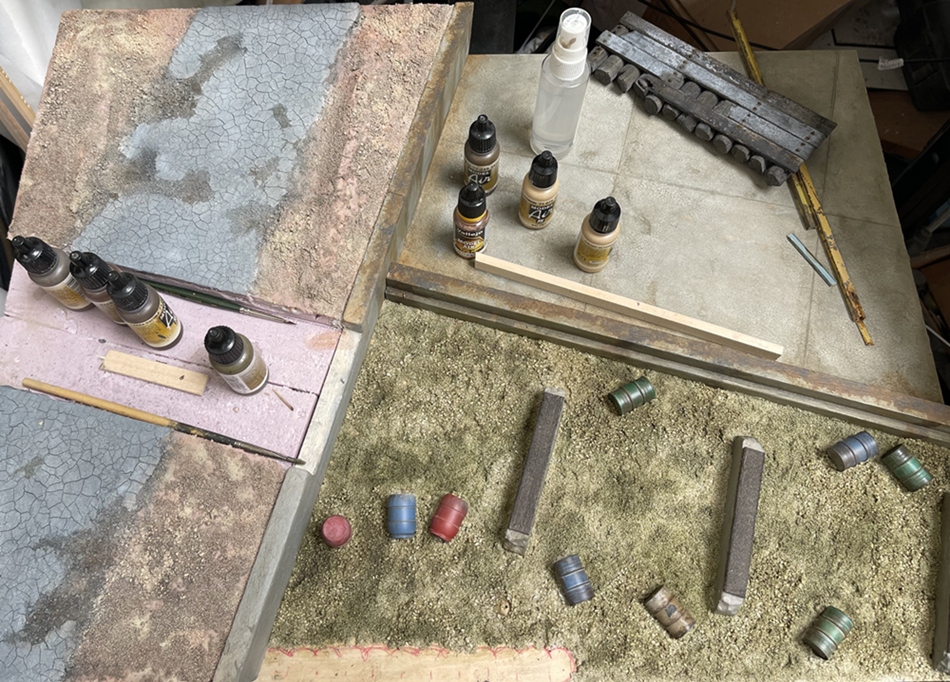
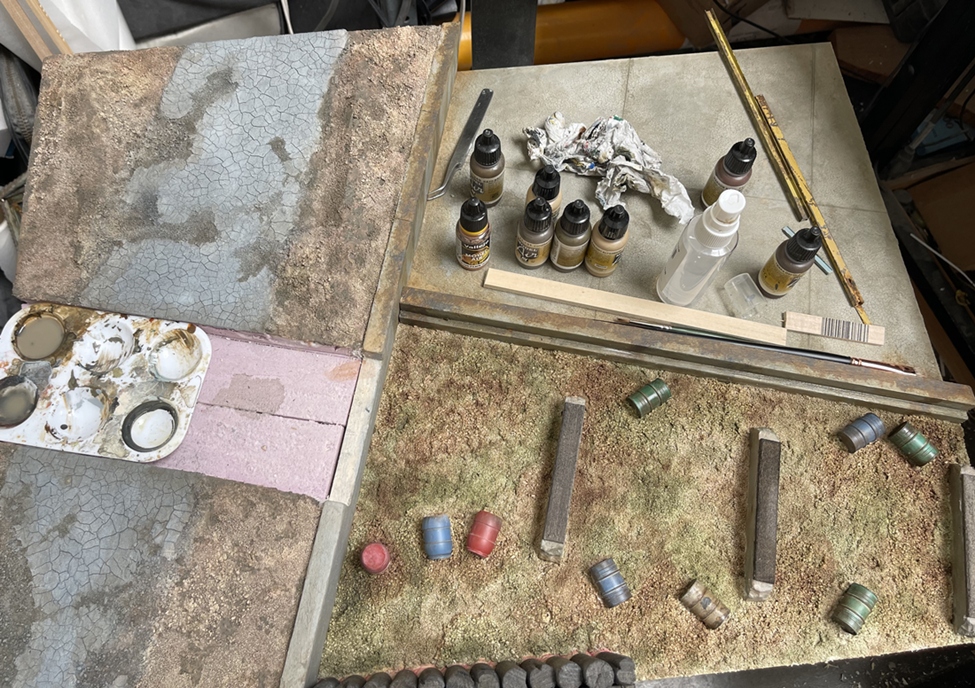
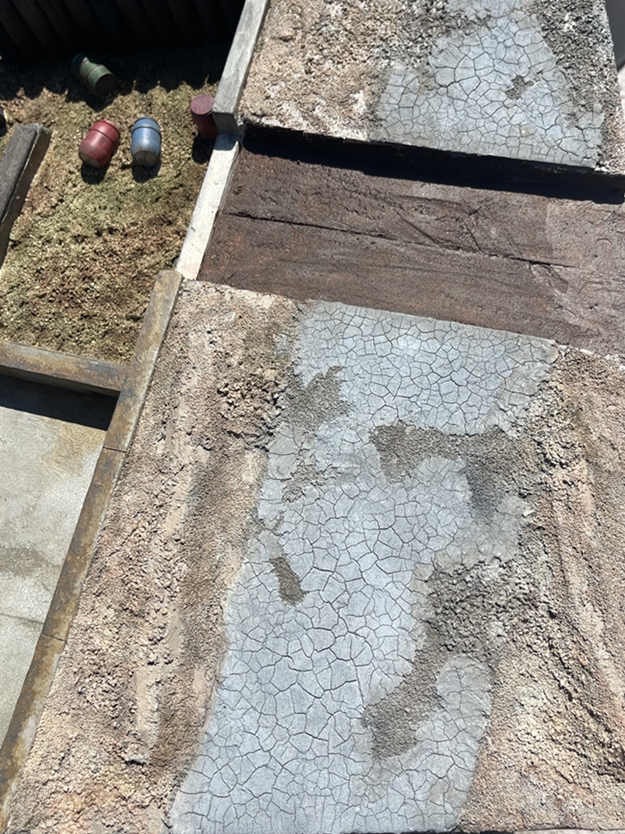
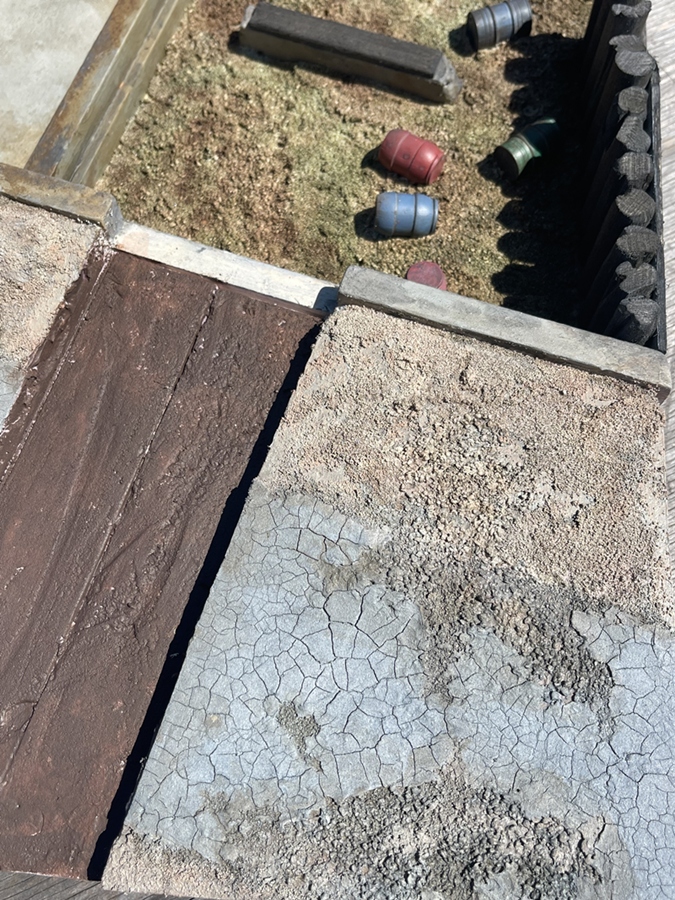
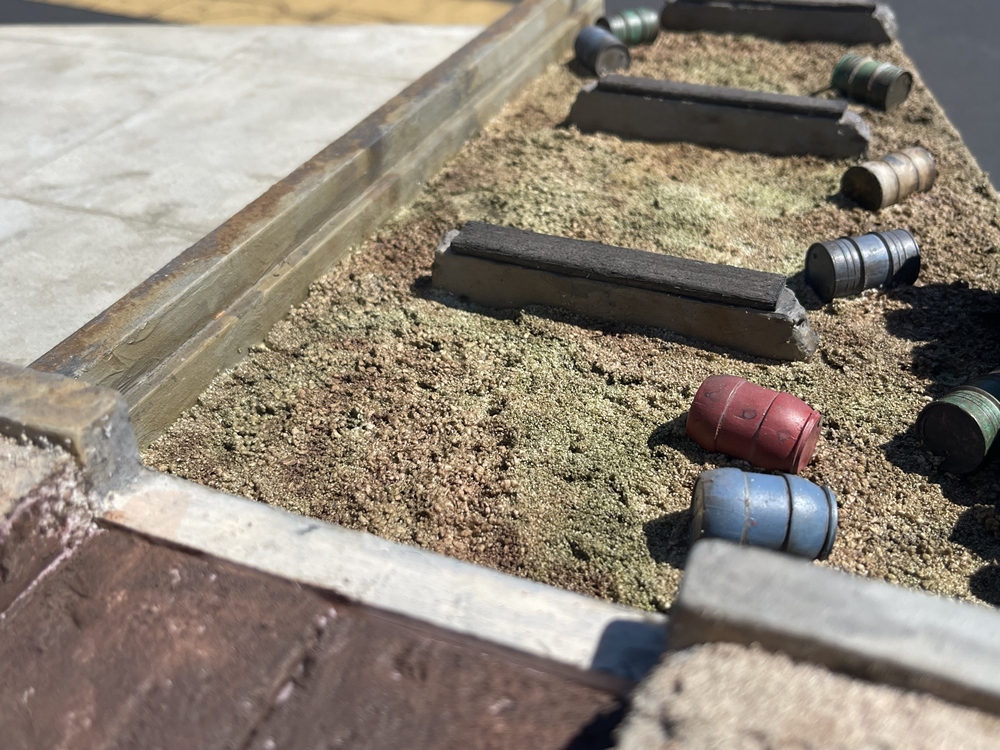
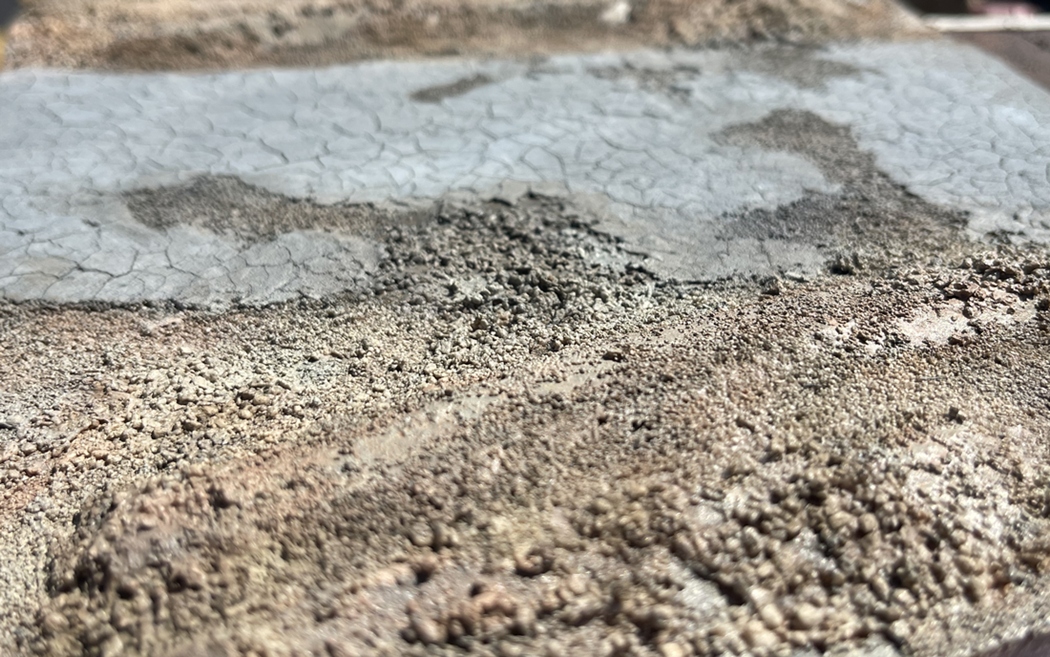
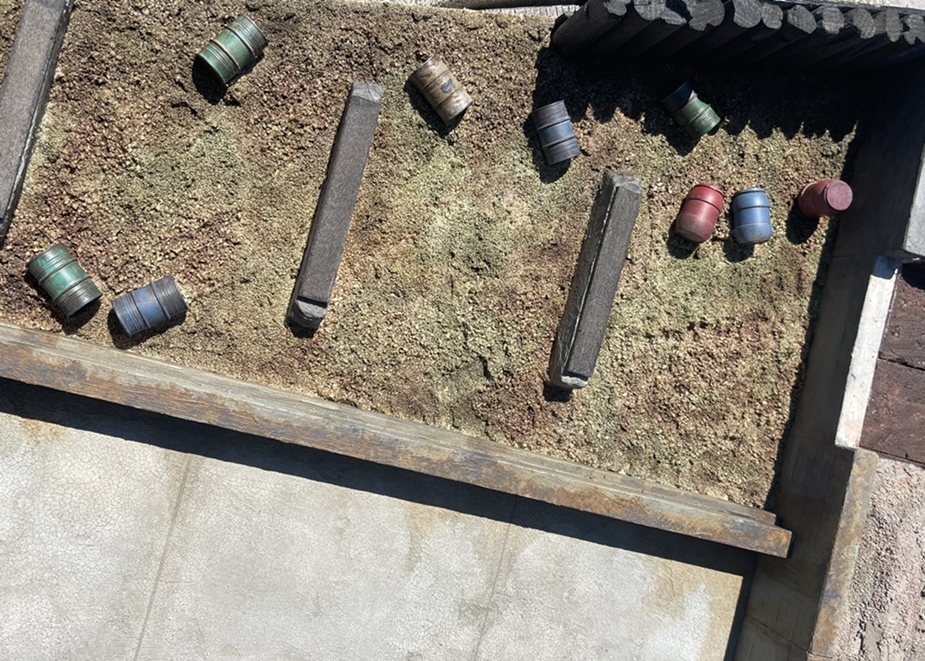
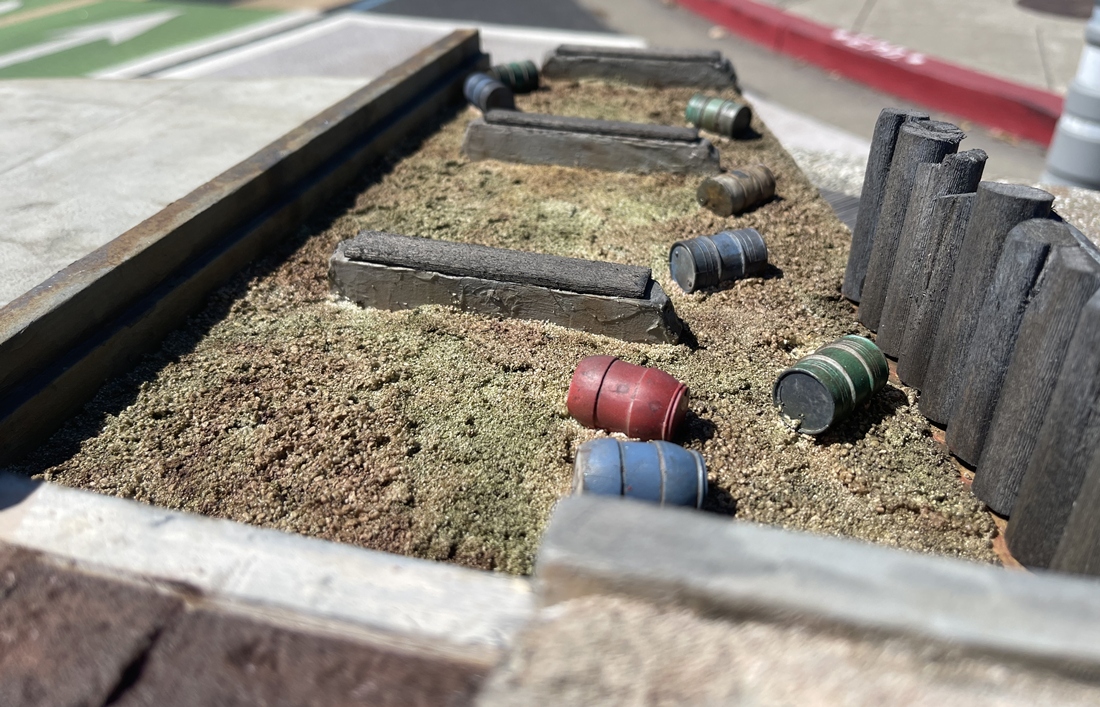
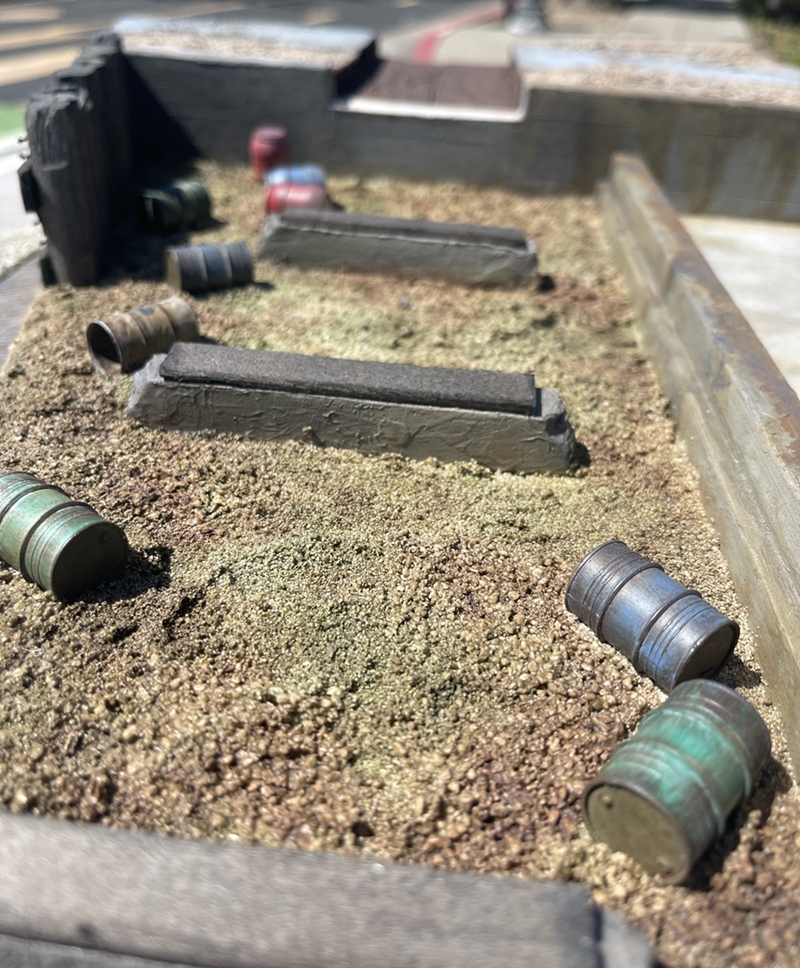
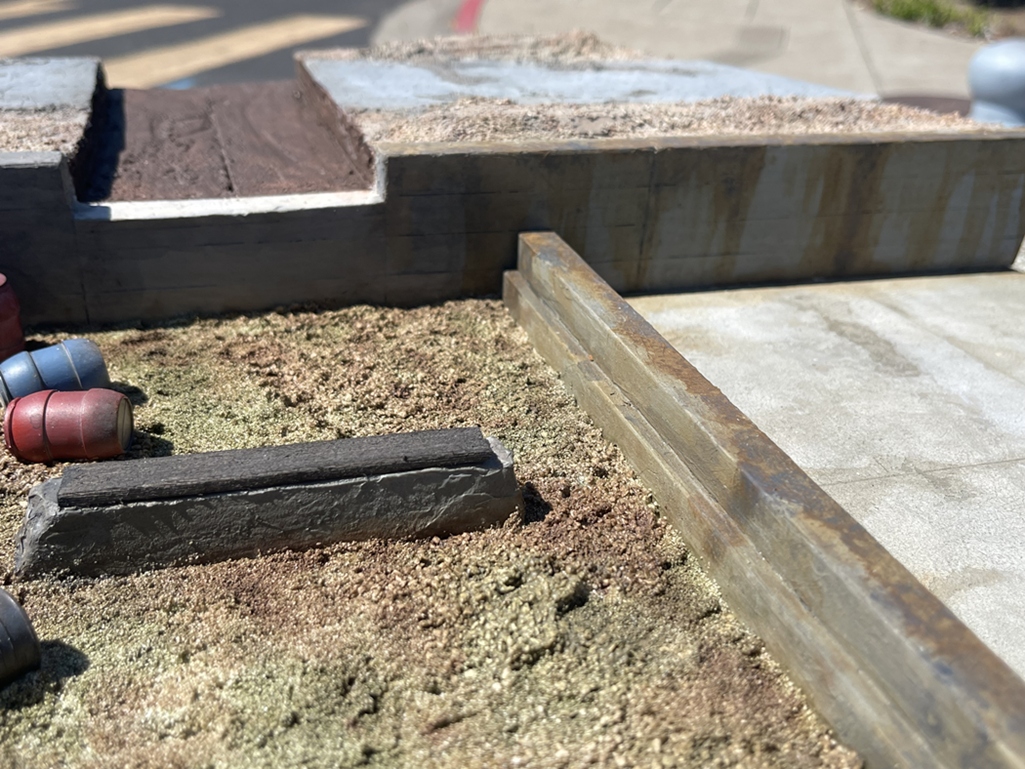
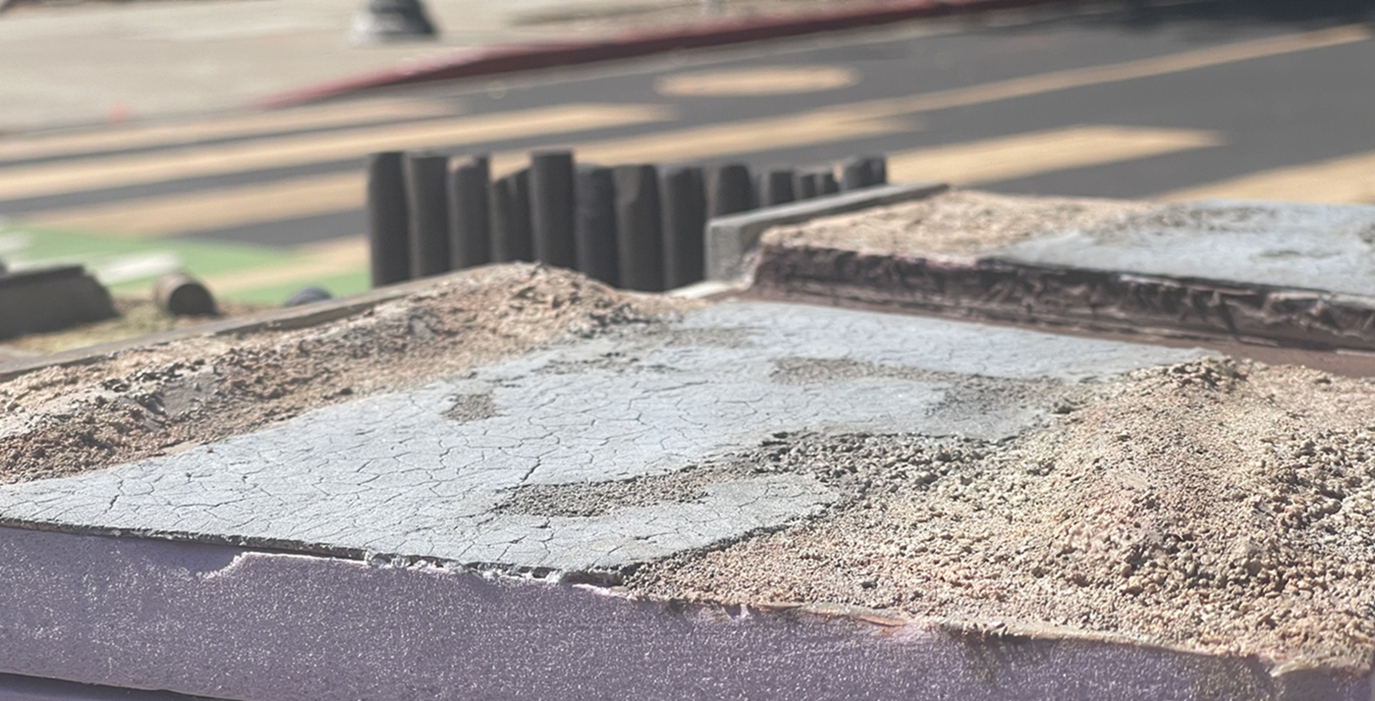
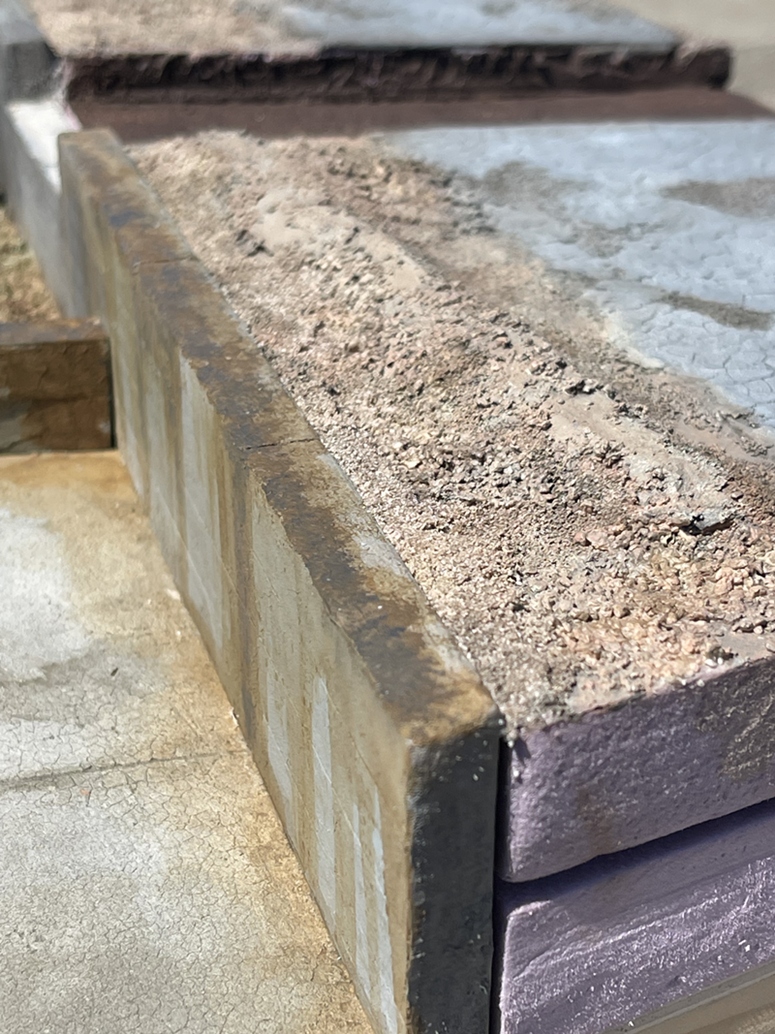
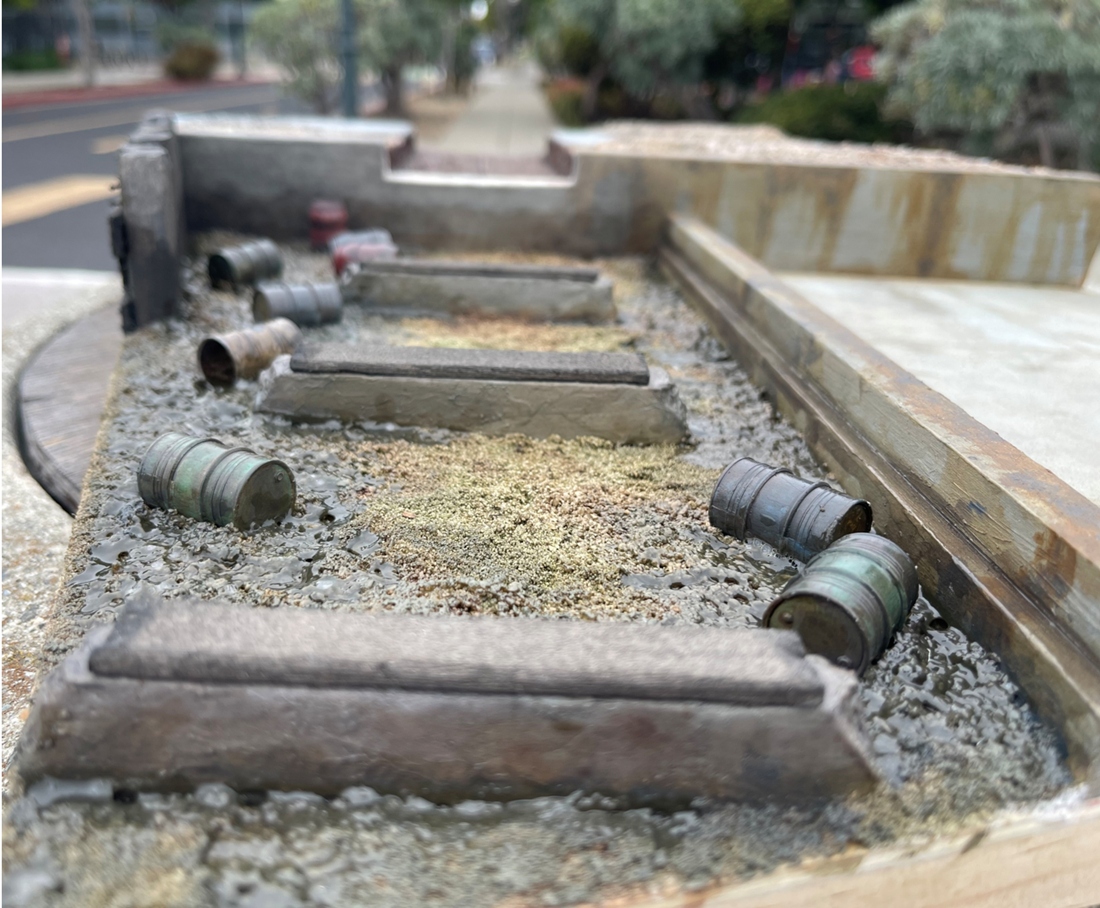
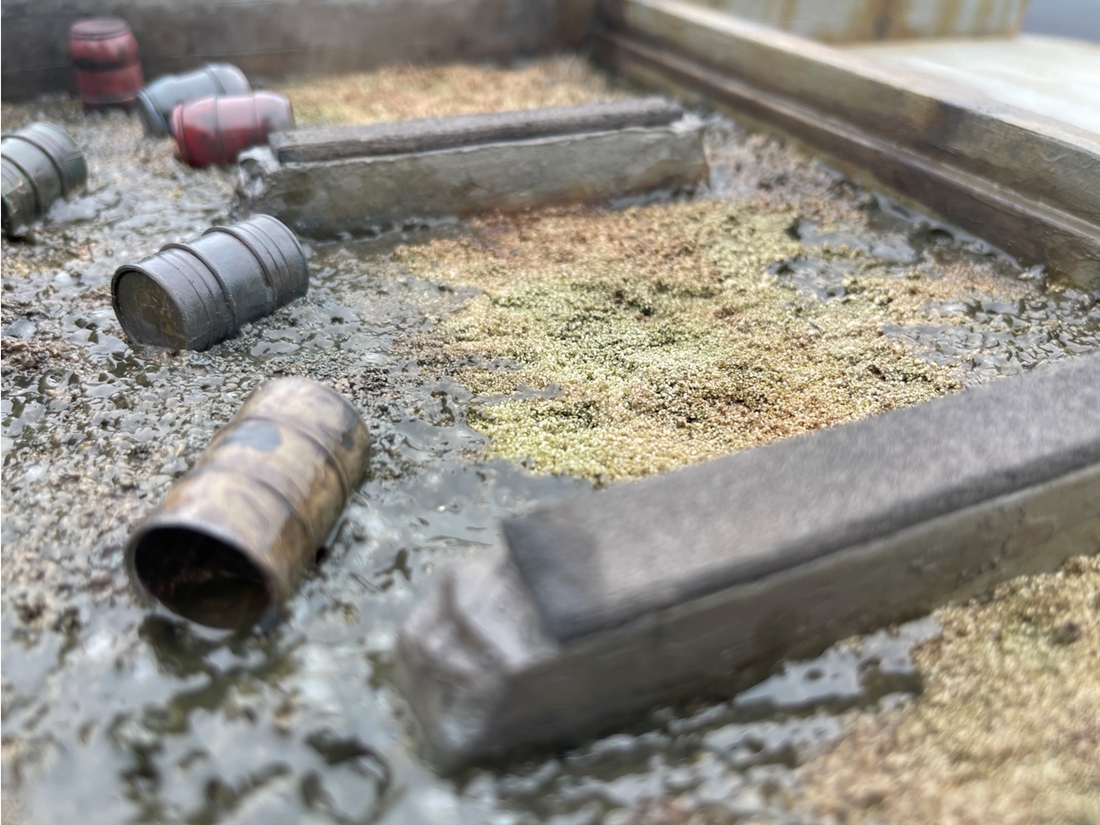
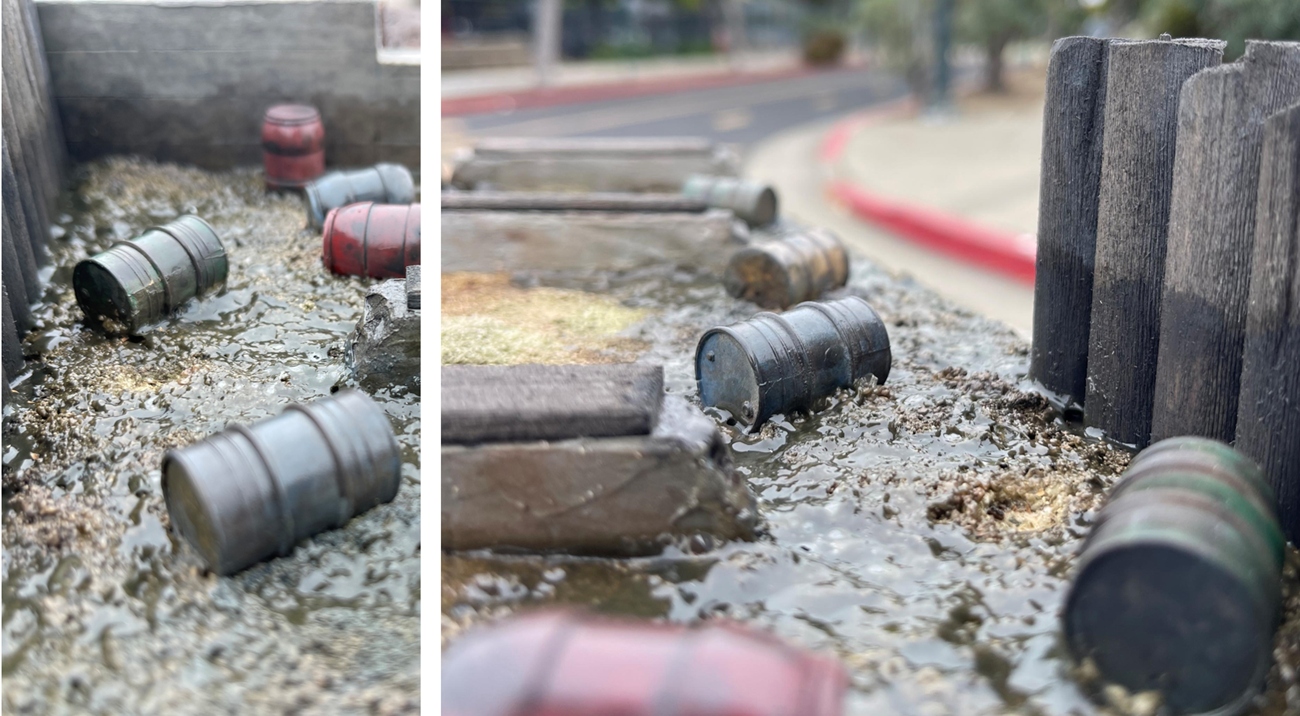
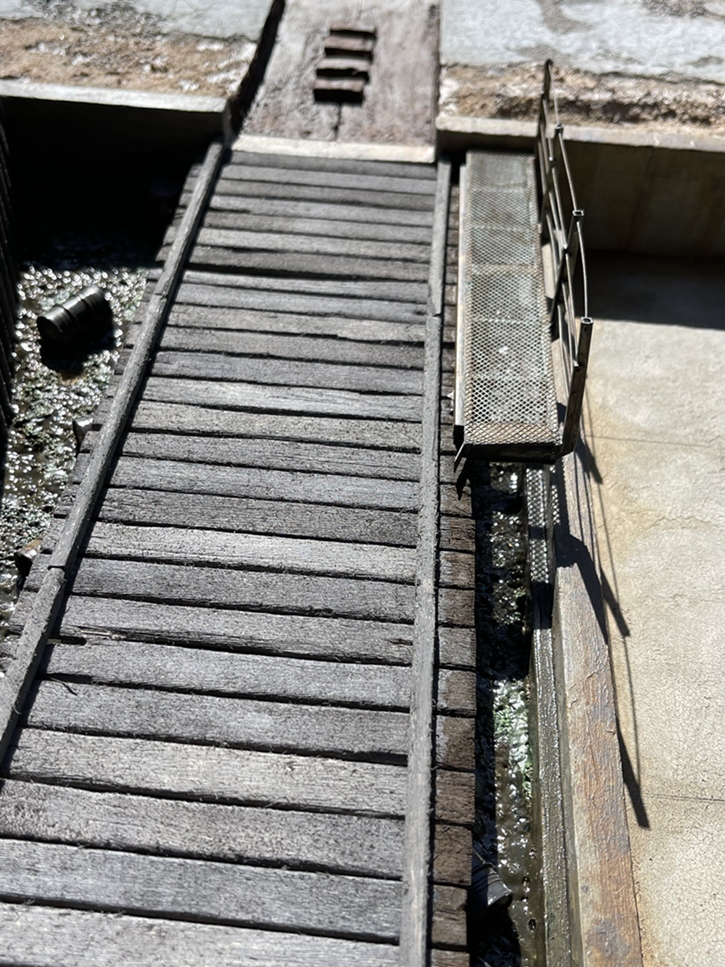
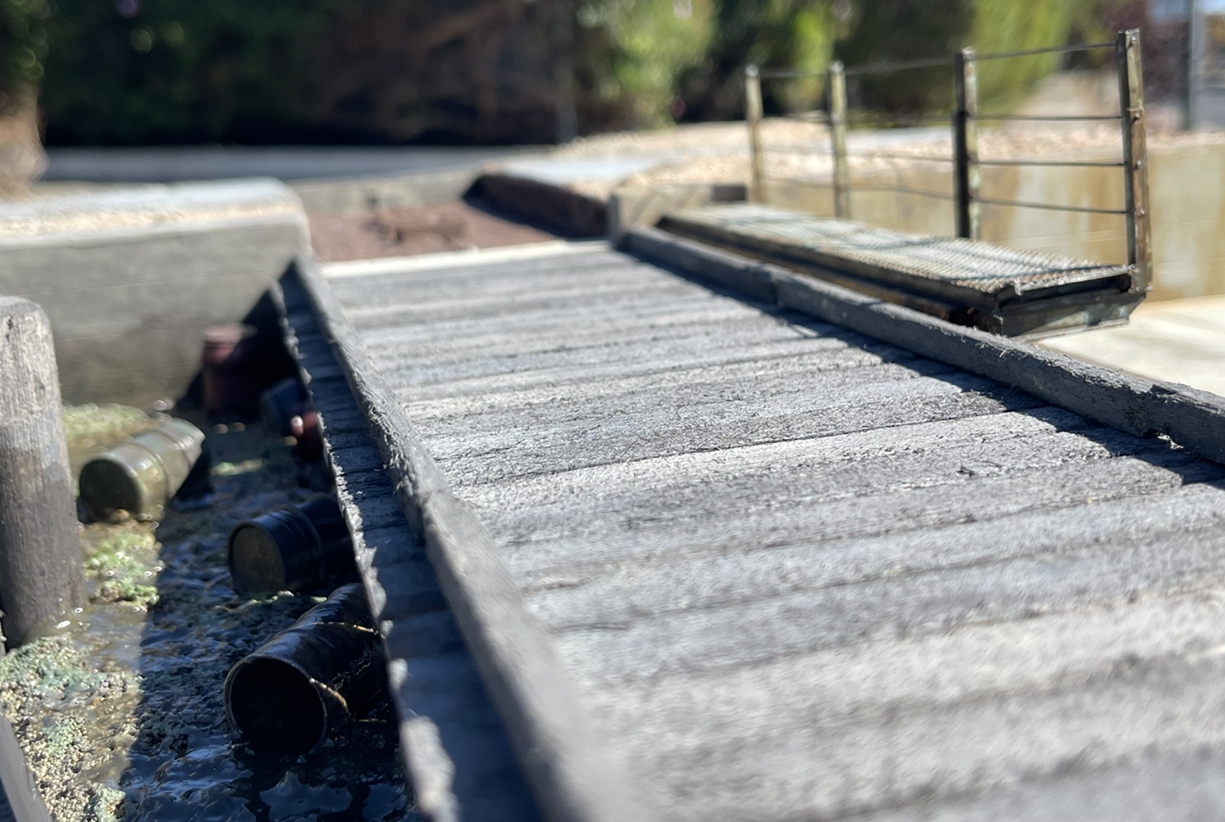
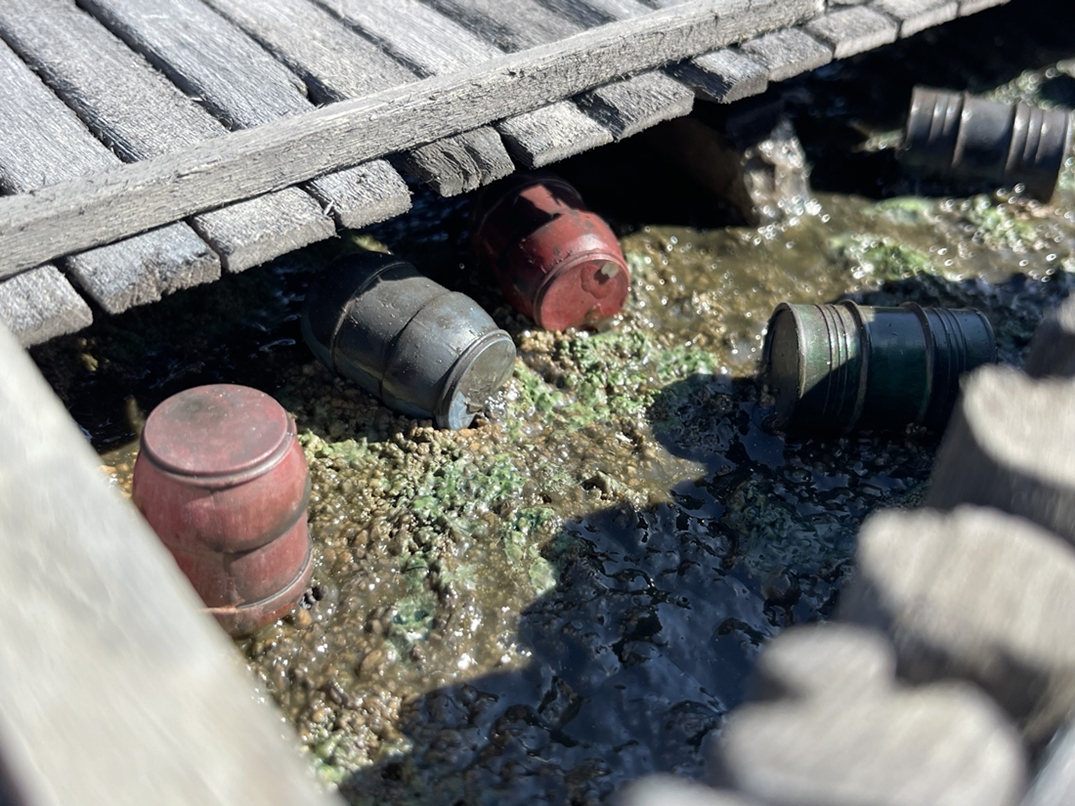
As for progress on the dio, here we are:

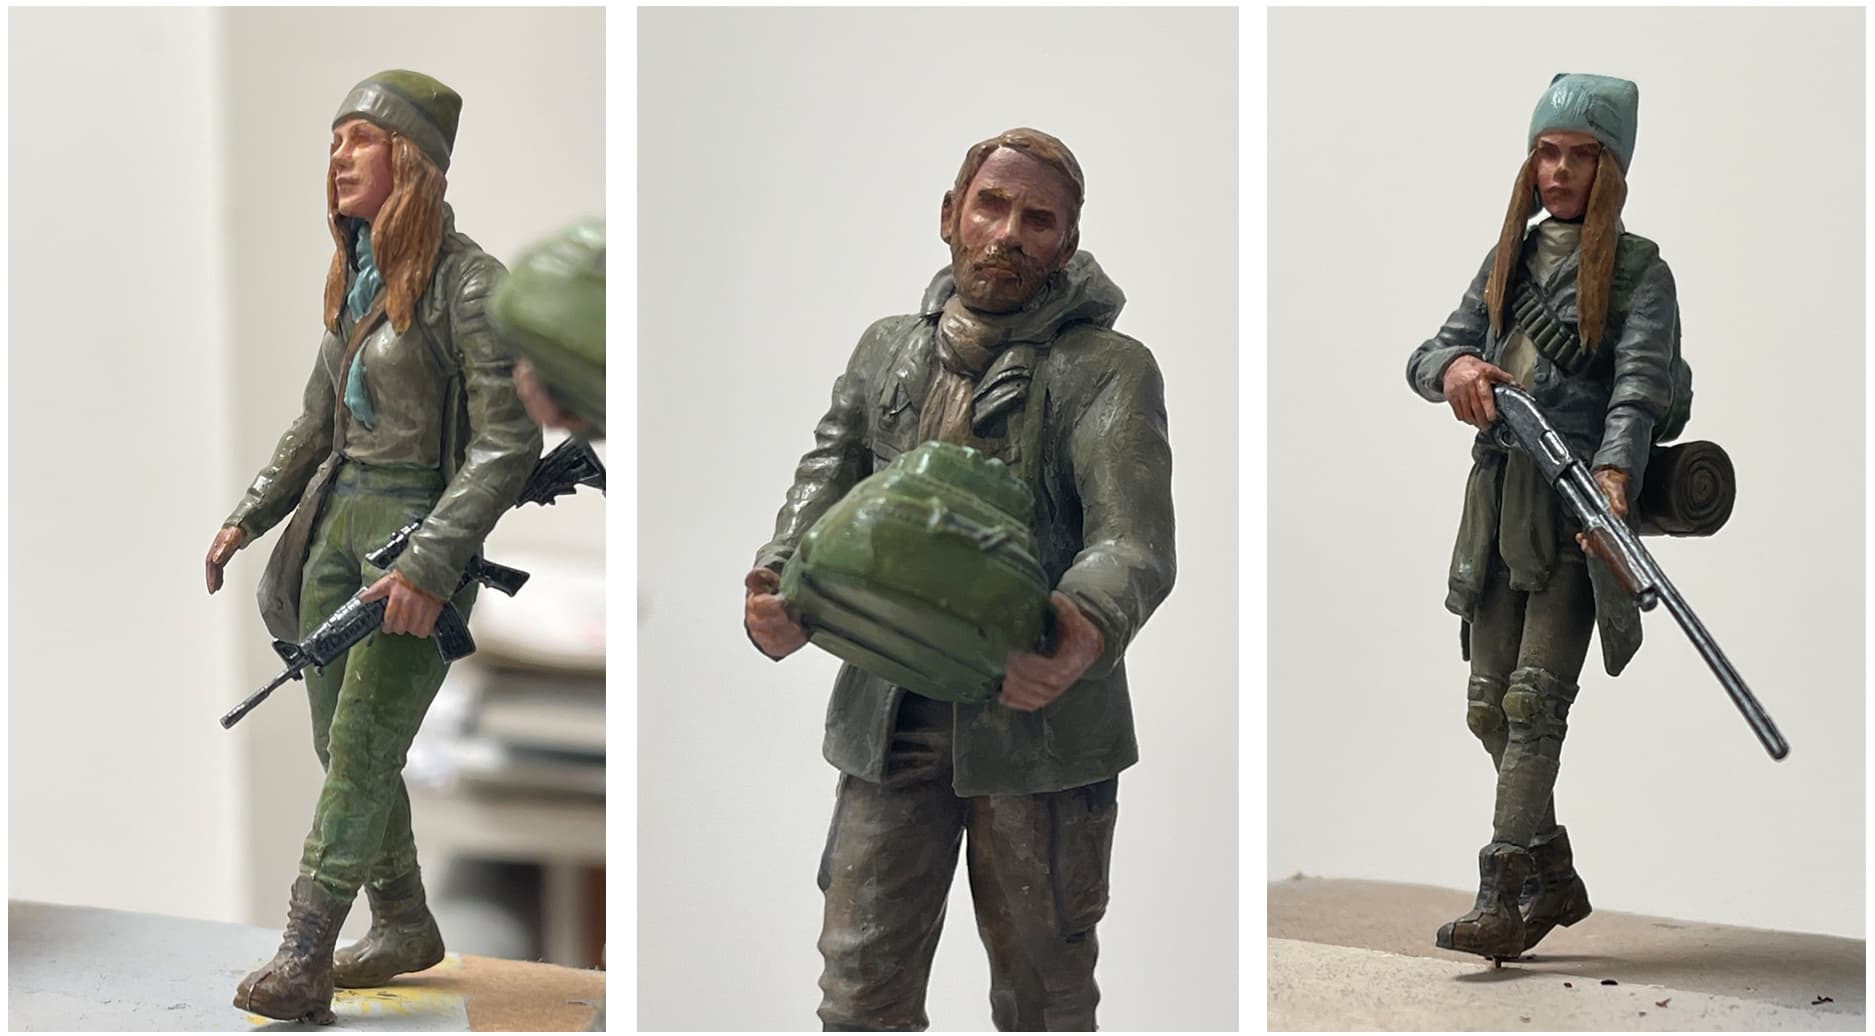
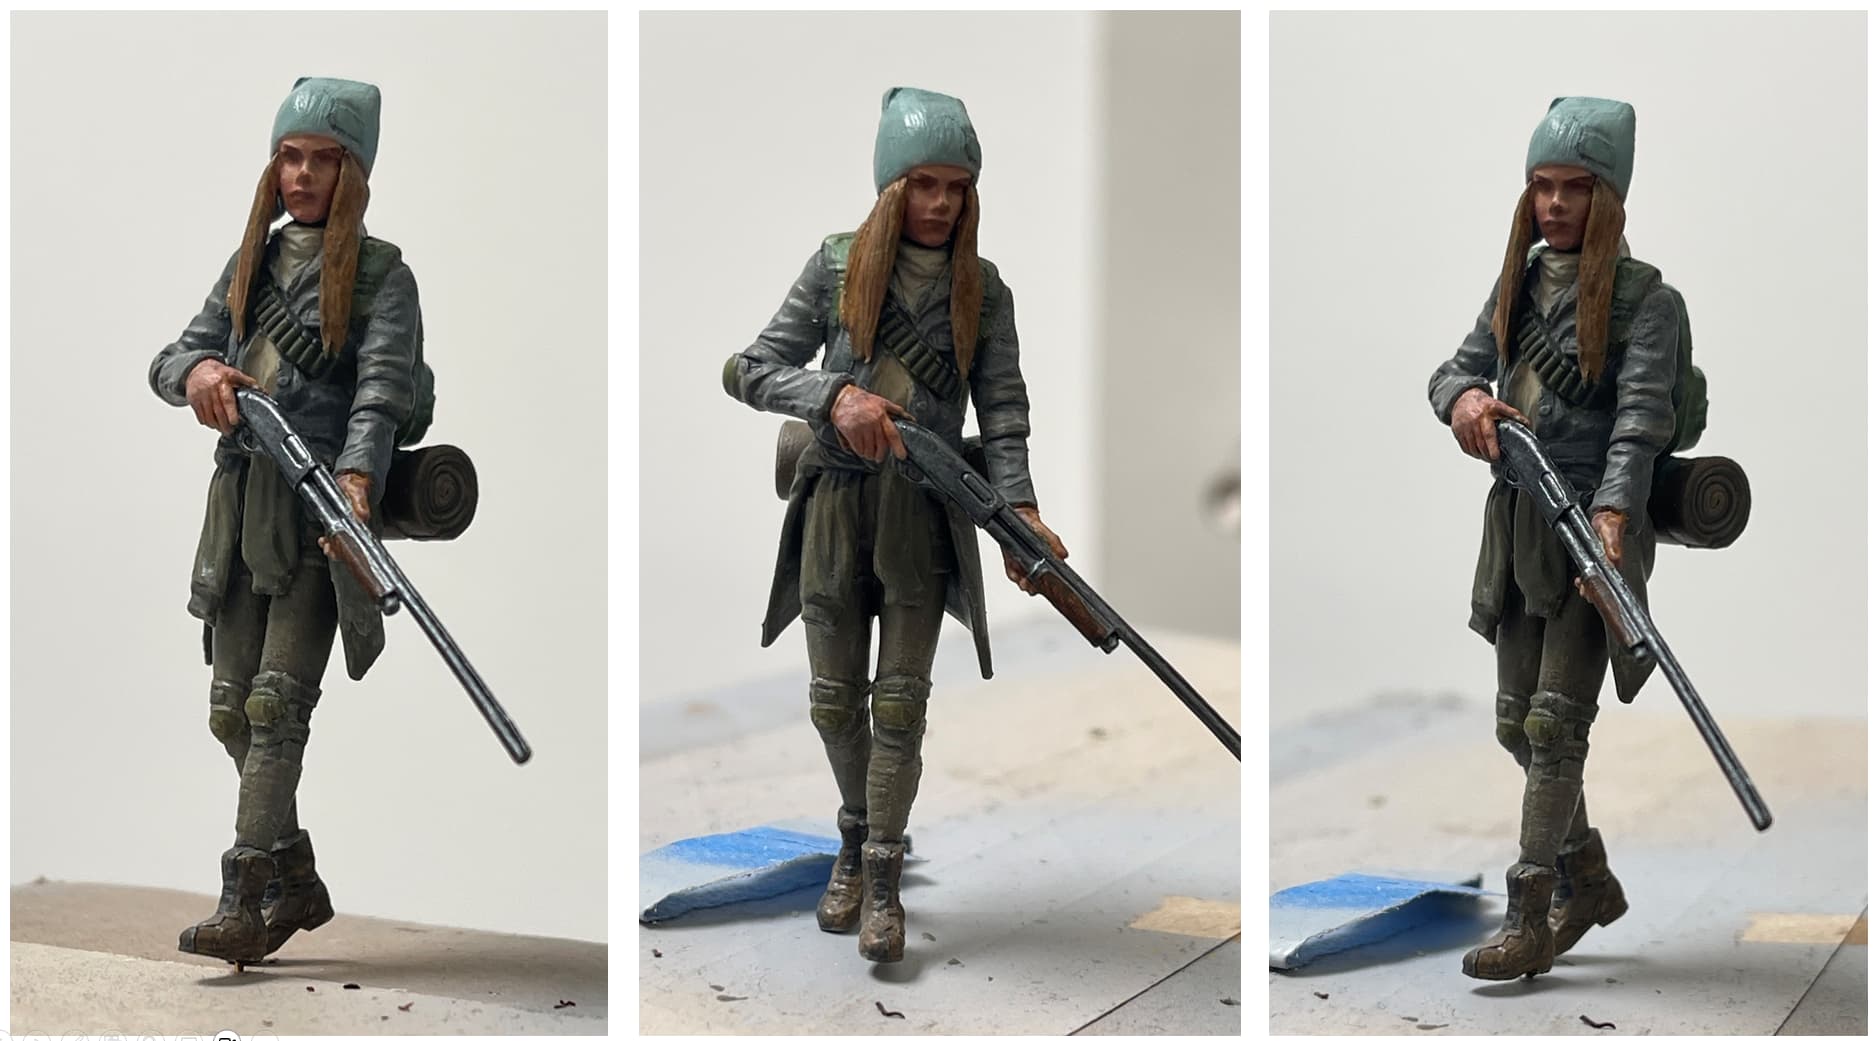
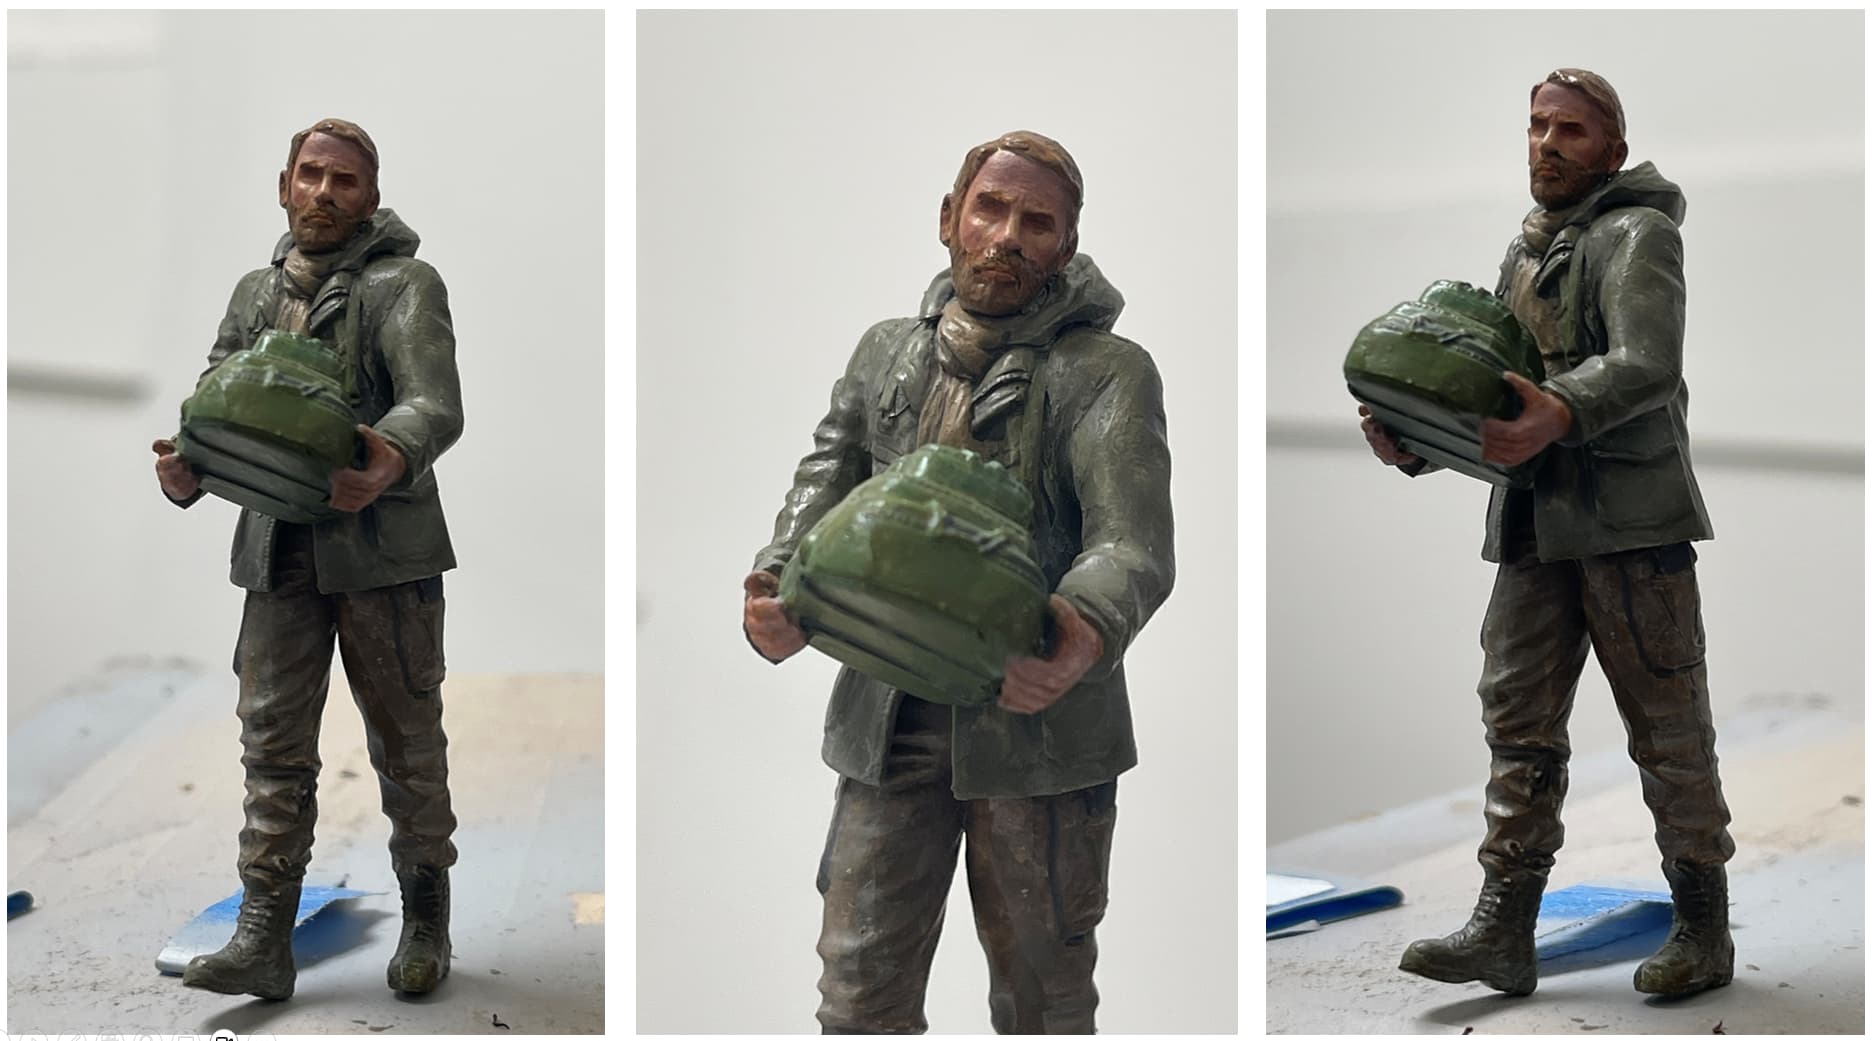
Ha! not much yet, but well underway! I’m using some Master Box figures. The first guy has been cut up and rebuilt into a pose I like. OK, on we go.

Thanks for having a look
Cheers
Nick

16 Likes

Man this is awesome. Love that rail bike rig. Is there a compressor on the Chevy or a bike pump in the stowage?

3 Likes

Oh boy, here goes another masterclass… I couldn’t recall the Chevy, so I went back and re-read some of your previous threads. One of the few upsides of a fading memory is rediscovering such joys (that and finding stuff in the stash you didn’t know was there…).

Cheers,

M

1 Like

This looks cool!
The car strongly reminds me of the Swedish Volvo TP21 “Sugga” as in female pig.

I really like the railbike and stowage too. Very well done.
Sometimes it is really liberating to put aside all (military) builds and do something completely different without too many rules.

Working on 2 dinosaur museumdio’s myself.

3 Likes

Very cool idea :+1:

2 Likes

Hello dio builders,

Glad to see some of you like this project! .

@KoSprueone, hi KSO, thanks - yes, the Chevy has all you’ll need, or in this context, whatever you can get! :grinning_face_with_smiling_eyes: :person_biking:

@MoramarthT, hello, and thanks! I reread what I wrote above :man_facepalming: well, yeah, not well written at all! I built the model of the Chevy truck about a year ago. It merges the front half of a Chevy pickup with the back half of a Ford sedan delivery, then made it into a 4x4. It’s based on something Chevrolet built in the 1930s-1940s called the “Canopy Express”, which was generally used by local salesmen - produce, general goods etc. It turns out there’s one of these rusting away in my neighborhood, and as I liked it, decided to make one, and make it a 4x4! So for this project, took it off the shelf and added some cargo.

@Ron that’s a cool rig! quite a stout little beast! As for the project, yes, I’m well past half way through another project, but man, it included a lot of slow going. All is going just fine, but I just got tired of it. I recently came across a picture of a railroad bicycle and thought it looked pretty cool, and while thinking about that, it occurred to me that it might serve as a good reason to go for a project influenced by Stalker.

@Johnnych01, Hi John, thanks! I wish I could say that this is something that I’d been considering for along time, and was inspired to pull it together - nope, not exactly that! :grinning_face_with_smiling_eyes: just seemed like the right thing to try and build!

OK, on we go! :person_biking:

As the truck and bike are almost done, time to focus more on the base:

In the midst of the really ugly stuff - the top picture is of the base with coats of gesso, followed by fine pumice gel, and coarse pumice gel. The second picture, from the next day shows a coat of crackle paste. The area on the right side of the picture will be a road, so it received a fairly thick layer, while the area to the left will be a concrete slab, so the layer is thin and gaps were left intentionally. Both areas have a base of the pumice gel, so not putting the paste on top shows a textured surface below.

The next photo is showing the first layer with some paint, really a stain - it’s Vallejo model air applied with a wide brush, but before painting the surface received a wash of Golden Wetting Aid, more commonly known as “wet water”. It allows you to make the paint into a wash, rather than the typical paint:

I’ve made more headway on the slab (to the left) whereas the road needs a couple of more layers of different colors to darken it up. It’s a bit hard to tell in the picture above, but there is a retaining wall between the road (elevated) and the slab, and a stem wall projecting out from the retaining wall. Both of the walls are made of basswood, with a layer of fine pumice gel, then shades of washes applied as described above.

Sorry about the bad light in the photo above, but it illustrates the general idea.

The picture above is slightly better - you can see the fine fractures to the slab surface, and the heavier look of the retaining wall. Both have rust stains.

For scale and intent, above the bike and the rider. He is a Master Box figure that’s pretty nice as is, but to make it work here, I had to rework his arms to change their bend, and hands cut off and reattached to reflect a more convincing posture for a guy about to get onto a bike.

I include the picture above showing a closeup of the slab. Still not great light - but, you can see the effect of using a thin layer of the crackle paste.

OK, on we go. I’ll keep working on the base, as it needs more textures and colors, which both take time to dry, and while that’s happening will build more figures and paint them -

Thanks for having a look,

Cheers
Nick

6 Likes

Here we are, still working on the ground plane. So far this has been interesting. The ground surface has concrete, asphalt, and rock and dirt, and the paint used is all variations of cool and warm greys. The washes include many colors highly diluted. So far pretty good progress but a long way to go.

OK, here we go:

This is on its way to becoming a decrepit industrial building. Concrete retaining and stem walls, and slab. I’m liking this so far.

And, the asphalt:

This is not as far along as the concrete, but it’s ok. Next - well, I decided I needed a wood pile wall along part of one side:

This turned out a lot better than even hoped. As you can see in the top picture, this wasn’t really needed, as we have an elevated level next to a concrete retaining wall, but, this just seemed like the thing to do!

Ahhh…the last picture, in the thick of it. The rail line will eventually go above this, as of yet unpainted area. I pressed the drums into the pumice gel, so they are set in place. The three horizontal bars are intended to be spread footings, while the concrete wall serves as an abutment. A pair of stringers will cross these, then a deck, and then the track, so plenty to do!

On we go, thanks for having a look

Cheers
Nick :man_biking:

7 Likes

I can assure you that you are not alone in that reaction…
:+1: JcY94N1

Cheers,

M

3 Likes

Hello model builders,

Sorry about the slow progress on this project…real work, real life, and a tedious process have contributed to my inability to push this forward quickly. That said, well, this project is really about textures and colors, so, they are getting their due!

On we go - first some WIP images:

This coloring/staining process is on one hand fairly straight forward - applying big washes over big areas, except, in real life, colors aren’t binary, and there are usually variations, especially between dirt and rocks. The colors are in the same family, but not the same. As such, on goes colors one, two, three, and so on.

I took this outside this afternoon, as actual sunlight tells no lies in photos!

The colors so far are only various washes made from Vallejo Model Air - I’m pondering the use of paint pigment but haven’t decided on that just yet. I usually do this as a substitute for fine earth/silt/dust, but so far I don’t see the need.

I’m thinking the area with the drums and barrels will get some sort of water/swamp treatment, but not sure yet.

Railroad tracks and ballast will be placed over the dark brown stripe. It’s painted like that so that even with the tracks and ballast, you won’t be able to see the pink foam base.

In the meantime, that is time between waiting for paint/stain to dry, I’ve been weathering lots of wood, and assembling some figures etc.

OK, thanks for having a look -

Cheers
Nick

8 Likes

Life has a habit of doing that but the progress is looking great. Keep at it Nick. :+1:

2 Likes

@Tank_1812, thanks Ryan - between real work and relative slowness of this process, it just takes time. It seems that unlike other projects, this one has required layer after layer of paint/stain washes, including on figures:

The skin on these is applied using ScaleColor flesh paint set. I mixed up colors as they suggest and falling back on my experience with the paint, diluting it with Vallejo thinner medium.

These are Master Box 1/24 figures and are pretty nice - this figure turned out pretty well, but she is hard to photograph! as she always looks dark, while in real life the colors are nice -

The second figure looks pretty good too, and as her face is tilted slightly upward, you can actually see her!

This guy looks pretty good too, but for whatever reason is also hard to photo and show the actual color - there you go…

I added the guy’s large backpack and a rifle scabbard. The scabbard is made using lead foil, which worked out fine.

OK, on we go. Next on the dio will be painting up the wetland area. Riding along the shoreline this morning I noticed the tide was out, so perfect! I took several pictures to use for reference!

Cheers
Nick :person_biking:

7 Likes

The figures came out really nice. It is shaping up to be another great diorama.

2 Likes

Yes, the figures and rail bike are looking good.

2 Likes

I started work on making up the wetland last night, and went out for pictures today. It turns out it was foggy this morning, which worked out pretty well. Before that, I went for a ride along the shoreline and took some more photos:

In the pictures above, you can see the look I’m basically after, and below, where we are today:

Finally, some pictures of the overall base. The dark brown area will eventually be covered by railroad tracks and ballast, so it won’t look so out of place. The area next to the slab is the wetland, and the area on either side of the dark brown is a road.

So we are making headway. I’ll add some more, brighter green here and there, so the currently very light green areas will be just a bit brighter like in the real life examples. I’ve since added some more “water” in the areas that look a bit wrong.

Unfortunately, the areas that will get more of the lighter green coloration might be largely out of view, as the trestle will be over much of it - that said, as I’ve discovered, if I don’t add the detail, well, chances are good that it will indeed be visible when we are done - so, rather than risk that, it will get more attention.

OK, thanks for having a look

Cheers
Nick

7 Likes

I’ve gotten onto something of a roll, and am having fun with this, so have kept pushing. Unlike yesterday, today was sunny, so no ambience, but very good lighting:

I added algae, weathered basswood to make a trestle, and a dilapidated styrene catwalk.

I’ve also been working on the railroad tracks. These have been tricky, as at 1/24 scale, the brass rails look great, but the obviously plastic ties look awful. To resolve this has required several layers of washes, coating each tie with fine acrylic pumice gel, and guess what? More washes! The problem is the real wood looks like real wood, and the plastic ties look like plastic ties!! :grinning_face_with_smiling_eyes:

Thanks for having a look

Cheers
Nick

9 Likes

It’s really coming together. :heart_eyes:

2 Likes

Clearly I need to pedal faster to catch up with where you’re at, just caught up with this diversion. Looks great already, but…a railroad bike? What IS that thing, euthanasia for railroad addicts? Anyhow now you’re just out-weathering yourself, I can almost smell the decay & wouldn’t be surprised if you’ve hidden a hydrogen sulphide dispenser under the bridge. I really like the figures too, albeit still sheen-y.

3 Likes

Hi Tim @Dioramartin what is a railroad bike you ask? Not something I was clever enough to concoct on my own! But, as sort of a now and then rail enthusiast I became aware of them. And, they are not something new, actually pretty old:

There you have it, a rail bike. Except, for my purposes, as our hero has a multi speed bike and he’s riding into the unknown, well, if I were him, I’d take some supplies, so I decided to make up a rail bike with some cargo capacity!

There are other options for carrying cargo on a bike:

Nope, none to my liking - and, as the idea is inspired by the move “Stalker”, they ride on a rail car, which I didn’t feel like making, so, we get a rail bike!

And yes, you mean of course the bright and shiny personalities of our cast of travelers, right? :grinning_face_with_smiling_eyes: Yes, yes, yes - there is that shine.

I’ll pretend that it came as a result of strange lighting :thinking: but know it’s there because as I was applying layers of colors, I stopped paying attention and rather than applying straight paint toward the end, I was applying washes of color, which of course in the world of acrylics result in a glaze…perfect. So, one of these days I’ll fix that.

thanks for having a look!

Cheers
Nick

7 Likes

Panniers mate, panniers! Front and rear! Aka saddlebags, which always seemed a misnomer to me as they’re nowhere near the saddle. Maybe on a horse?

As for the reflective figs, two words: Tamiya X-21 Flat Base. So I can’t count, but (for acrylics) if you mix some of that into your washes (stir well first, approx. 20% proportion) that should dull ‘em.

4 Likes

Fantastic updates and now some paint is on, there are so many great tone variations over the different surfaces, and the figures look really nice. Superb work.

4 Likes