Hi all,
I continue my very fast pace of modelling with the first completed build of 2025. This was a bit of a doozy so I thought I’d share.
I saw a picture of a Free Syrian Army T72A in Aleppo and it inspired me to do my own interpretation.

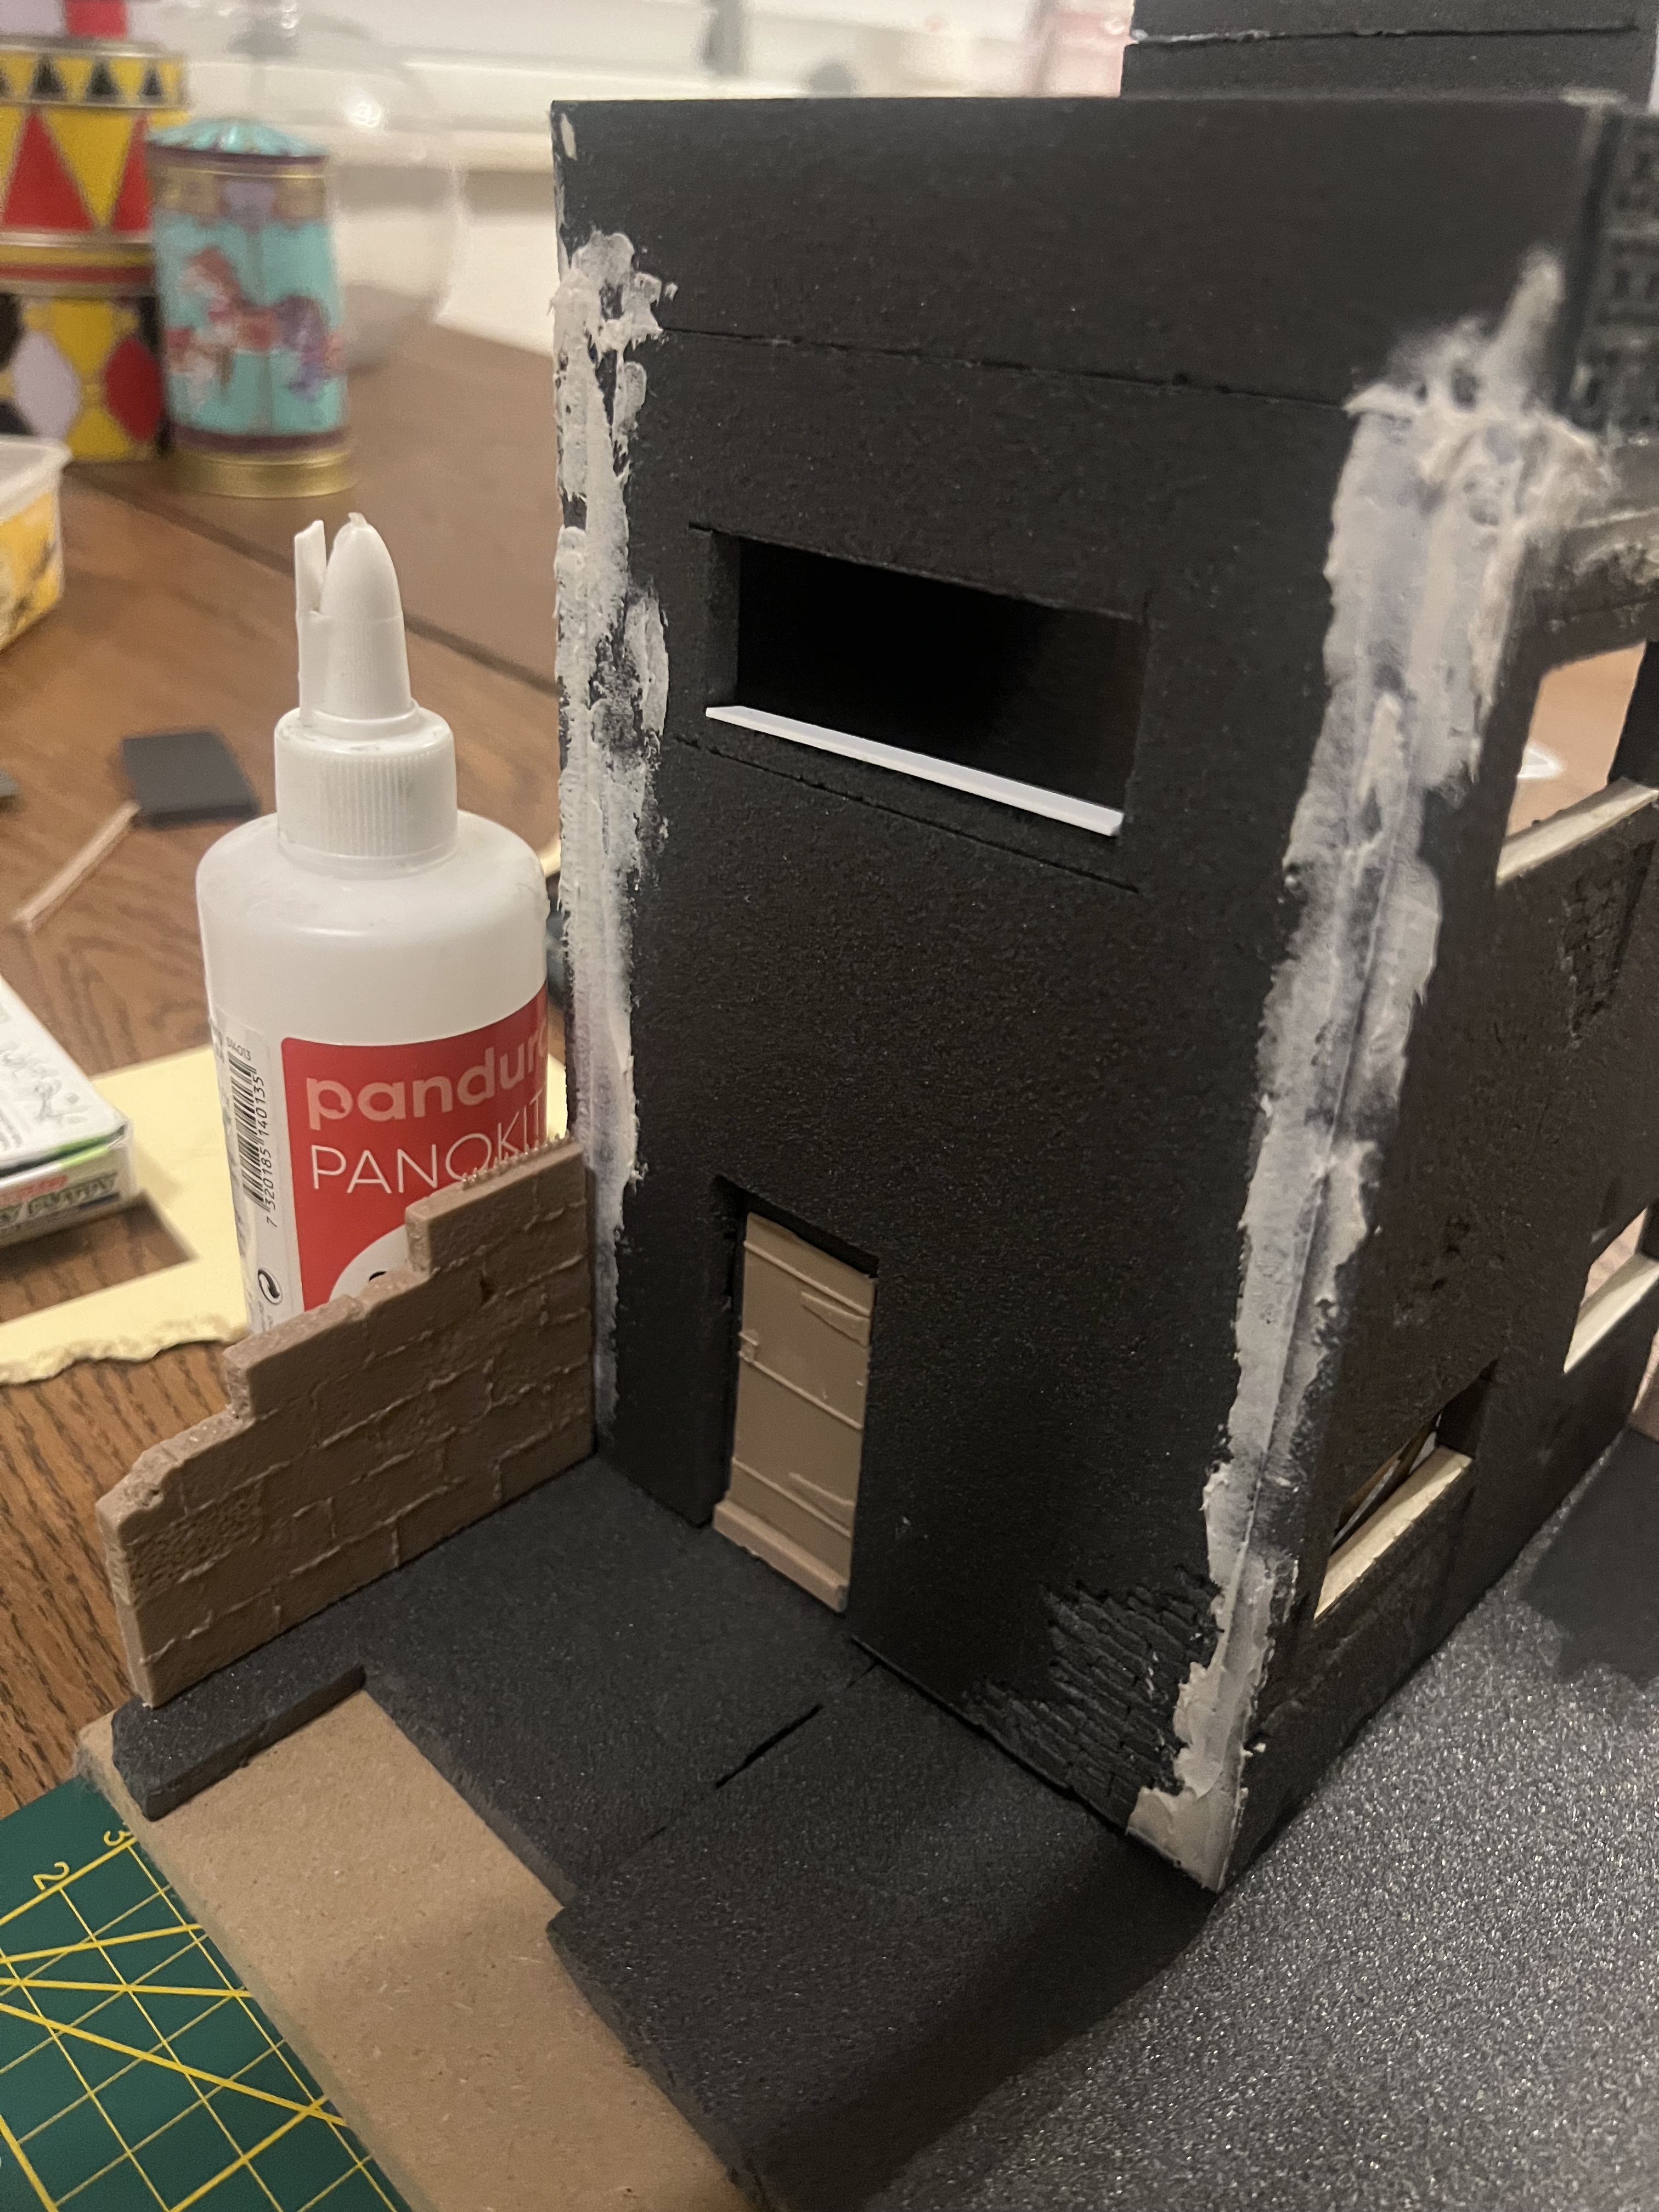
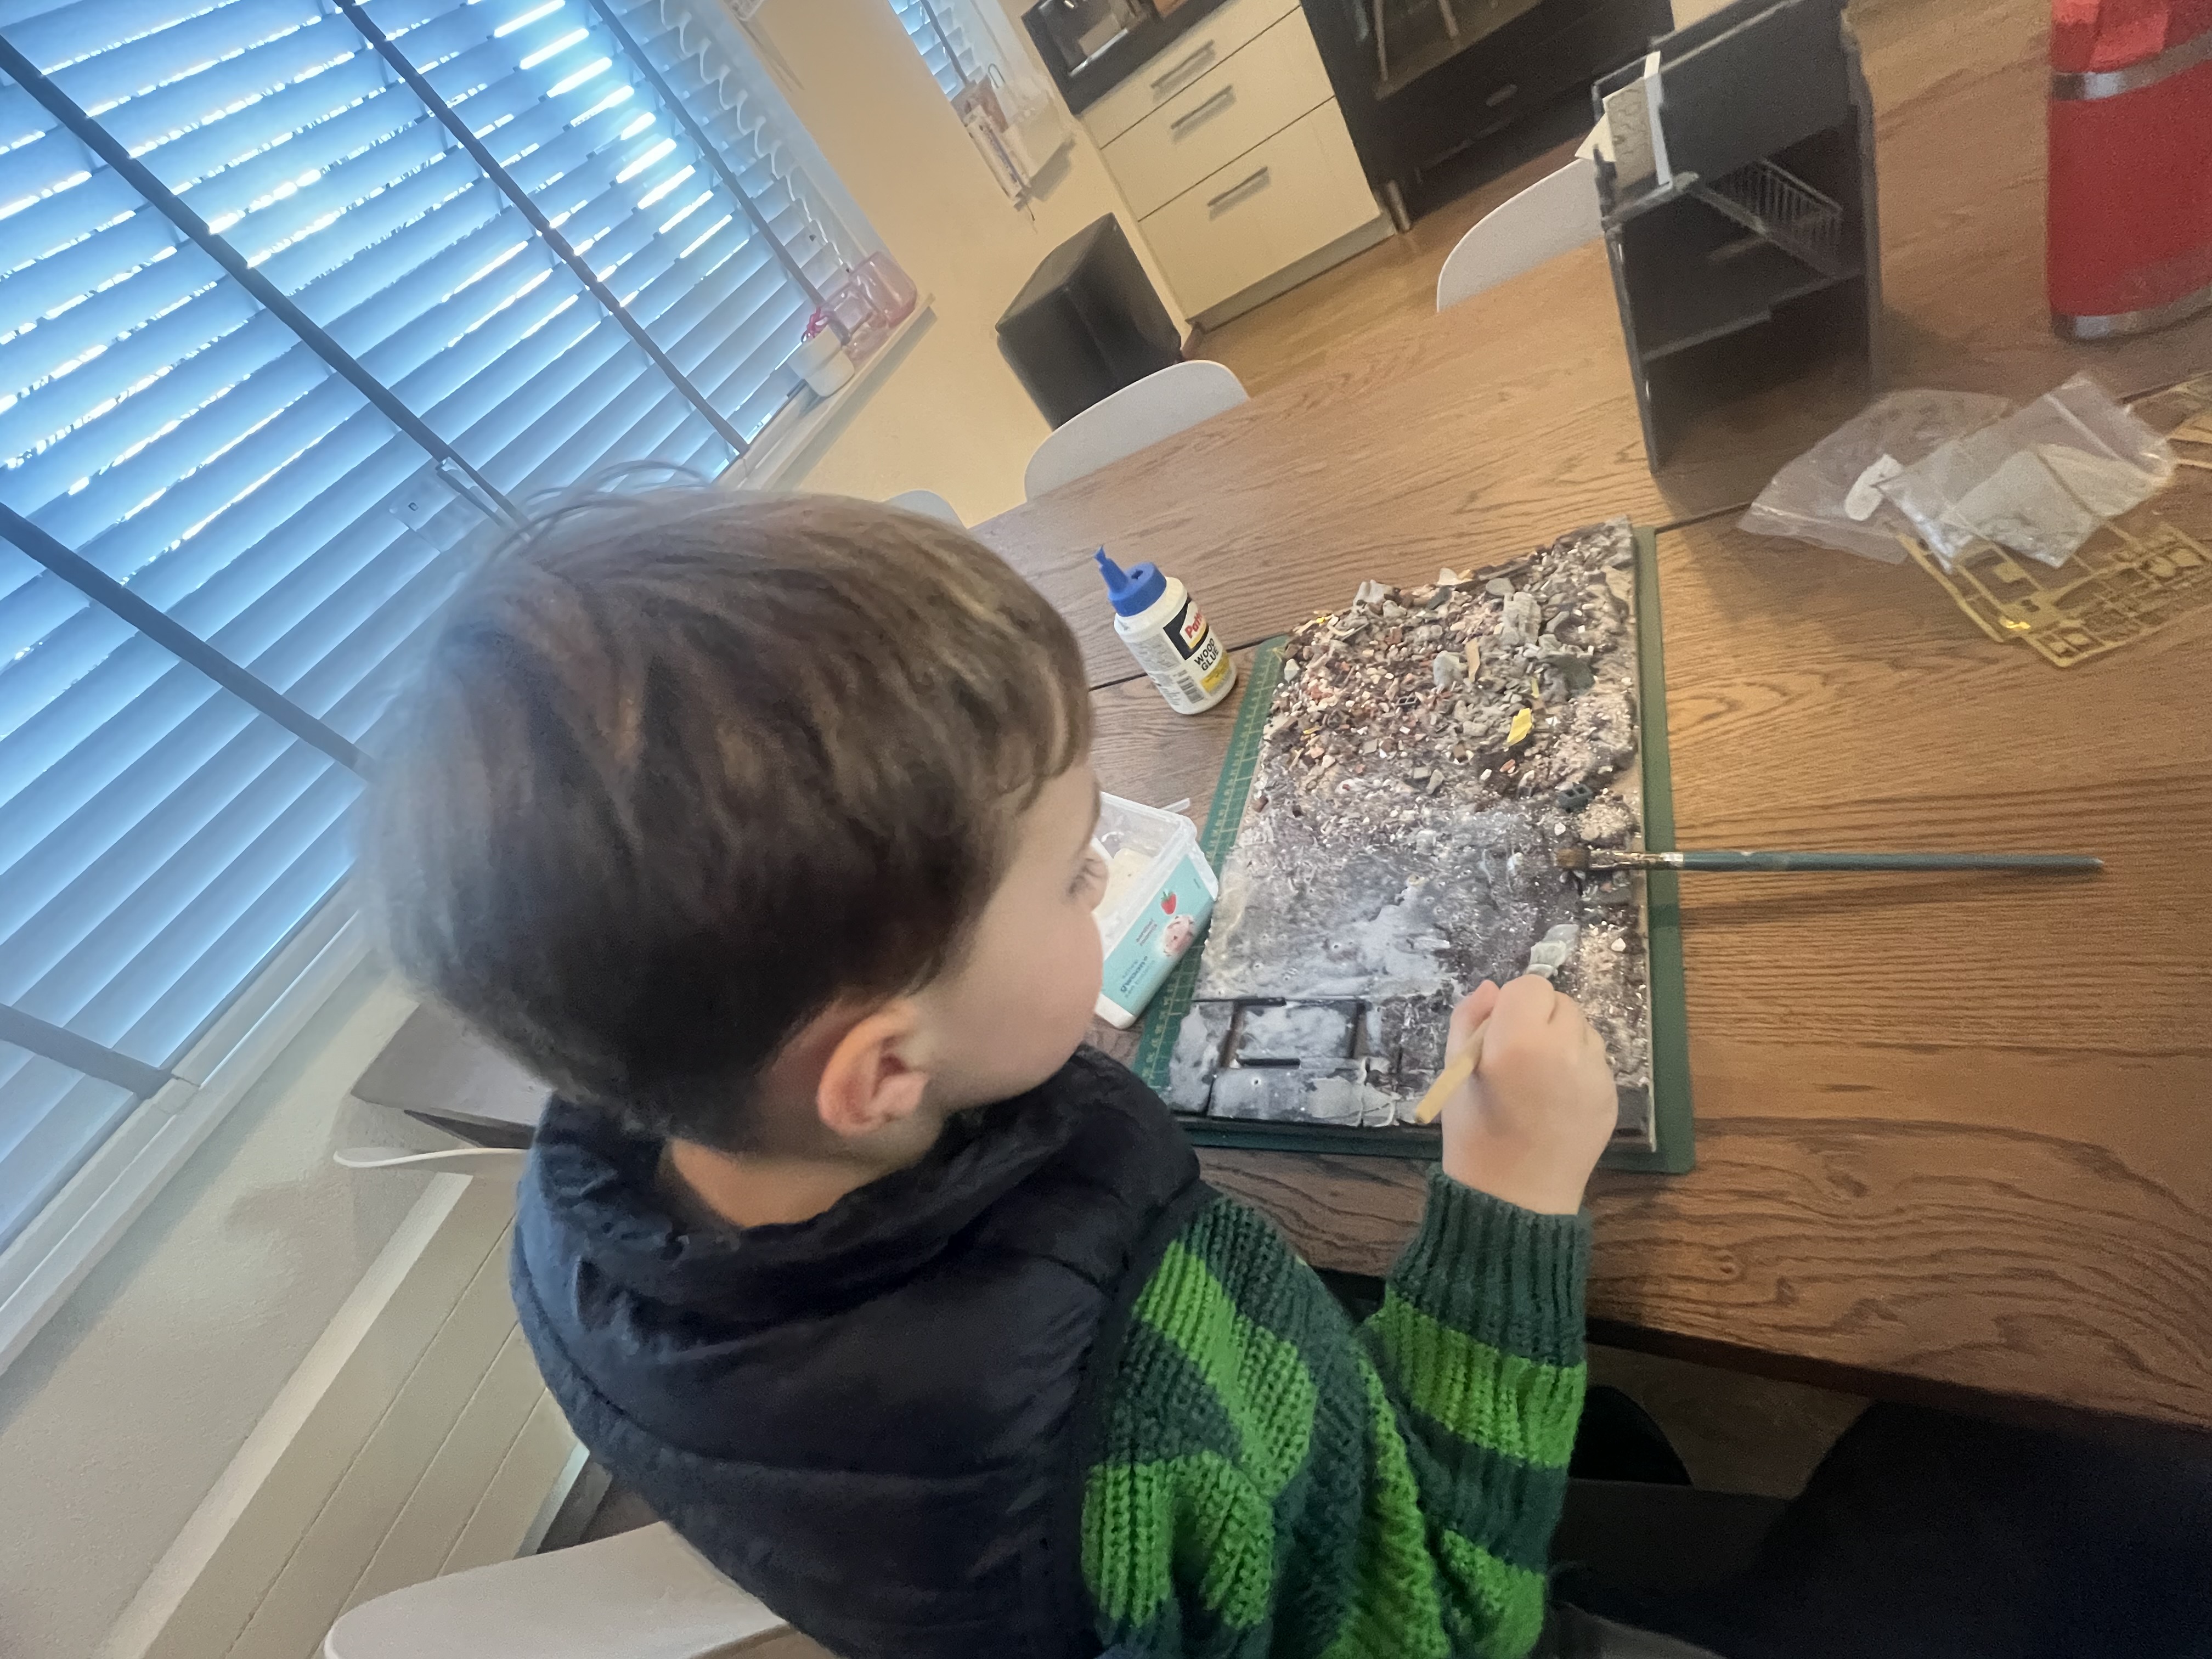
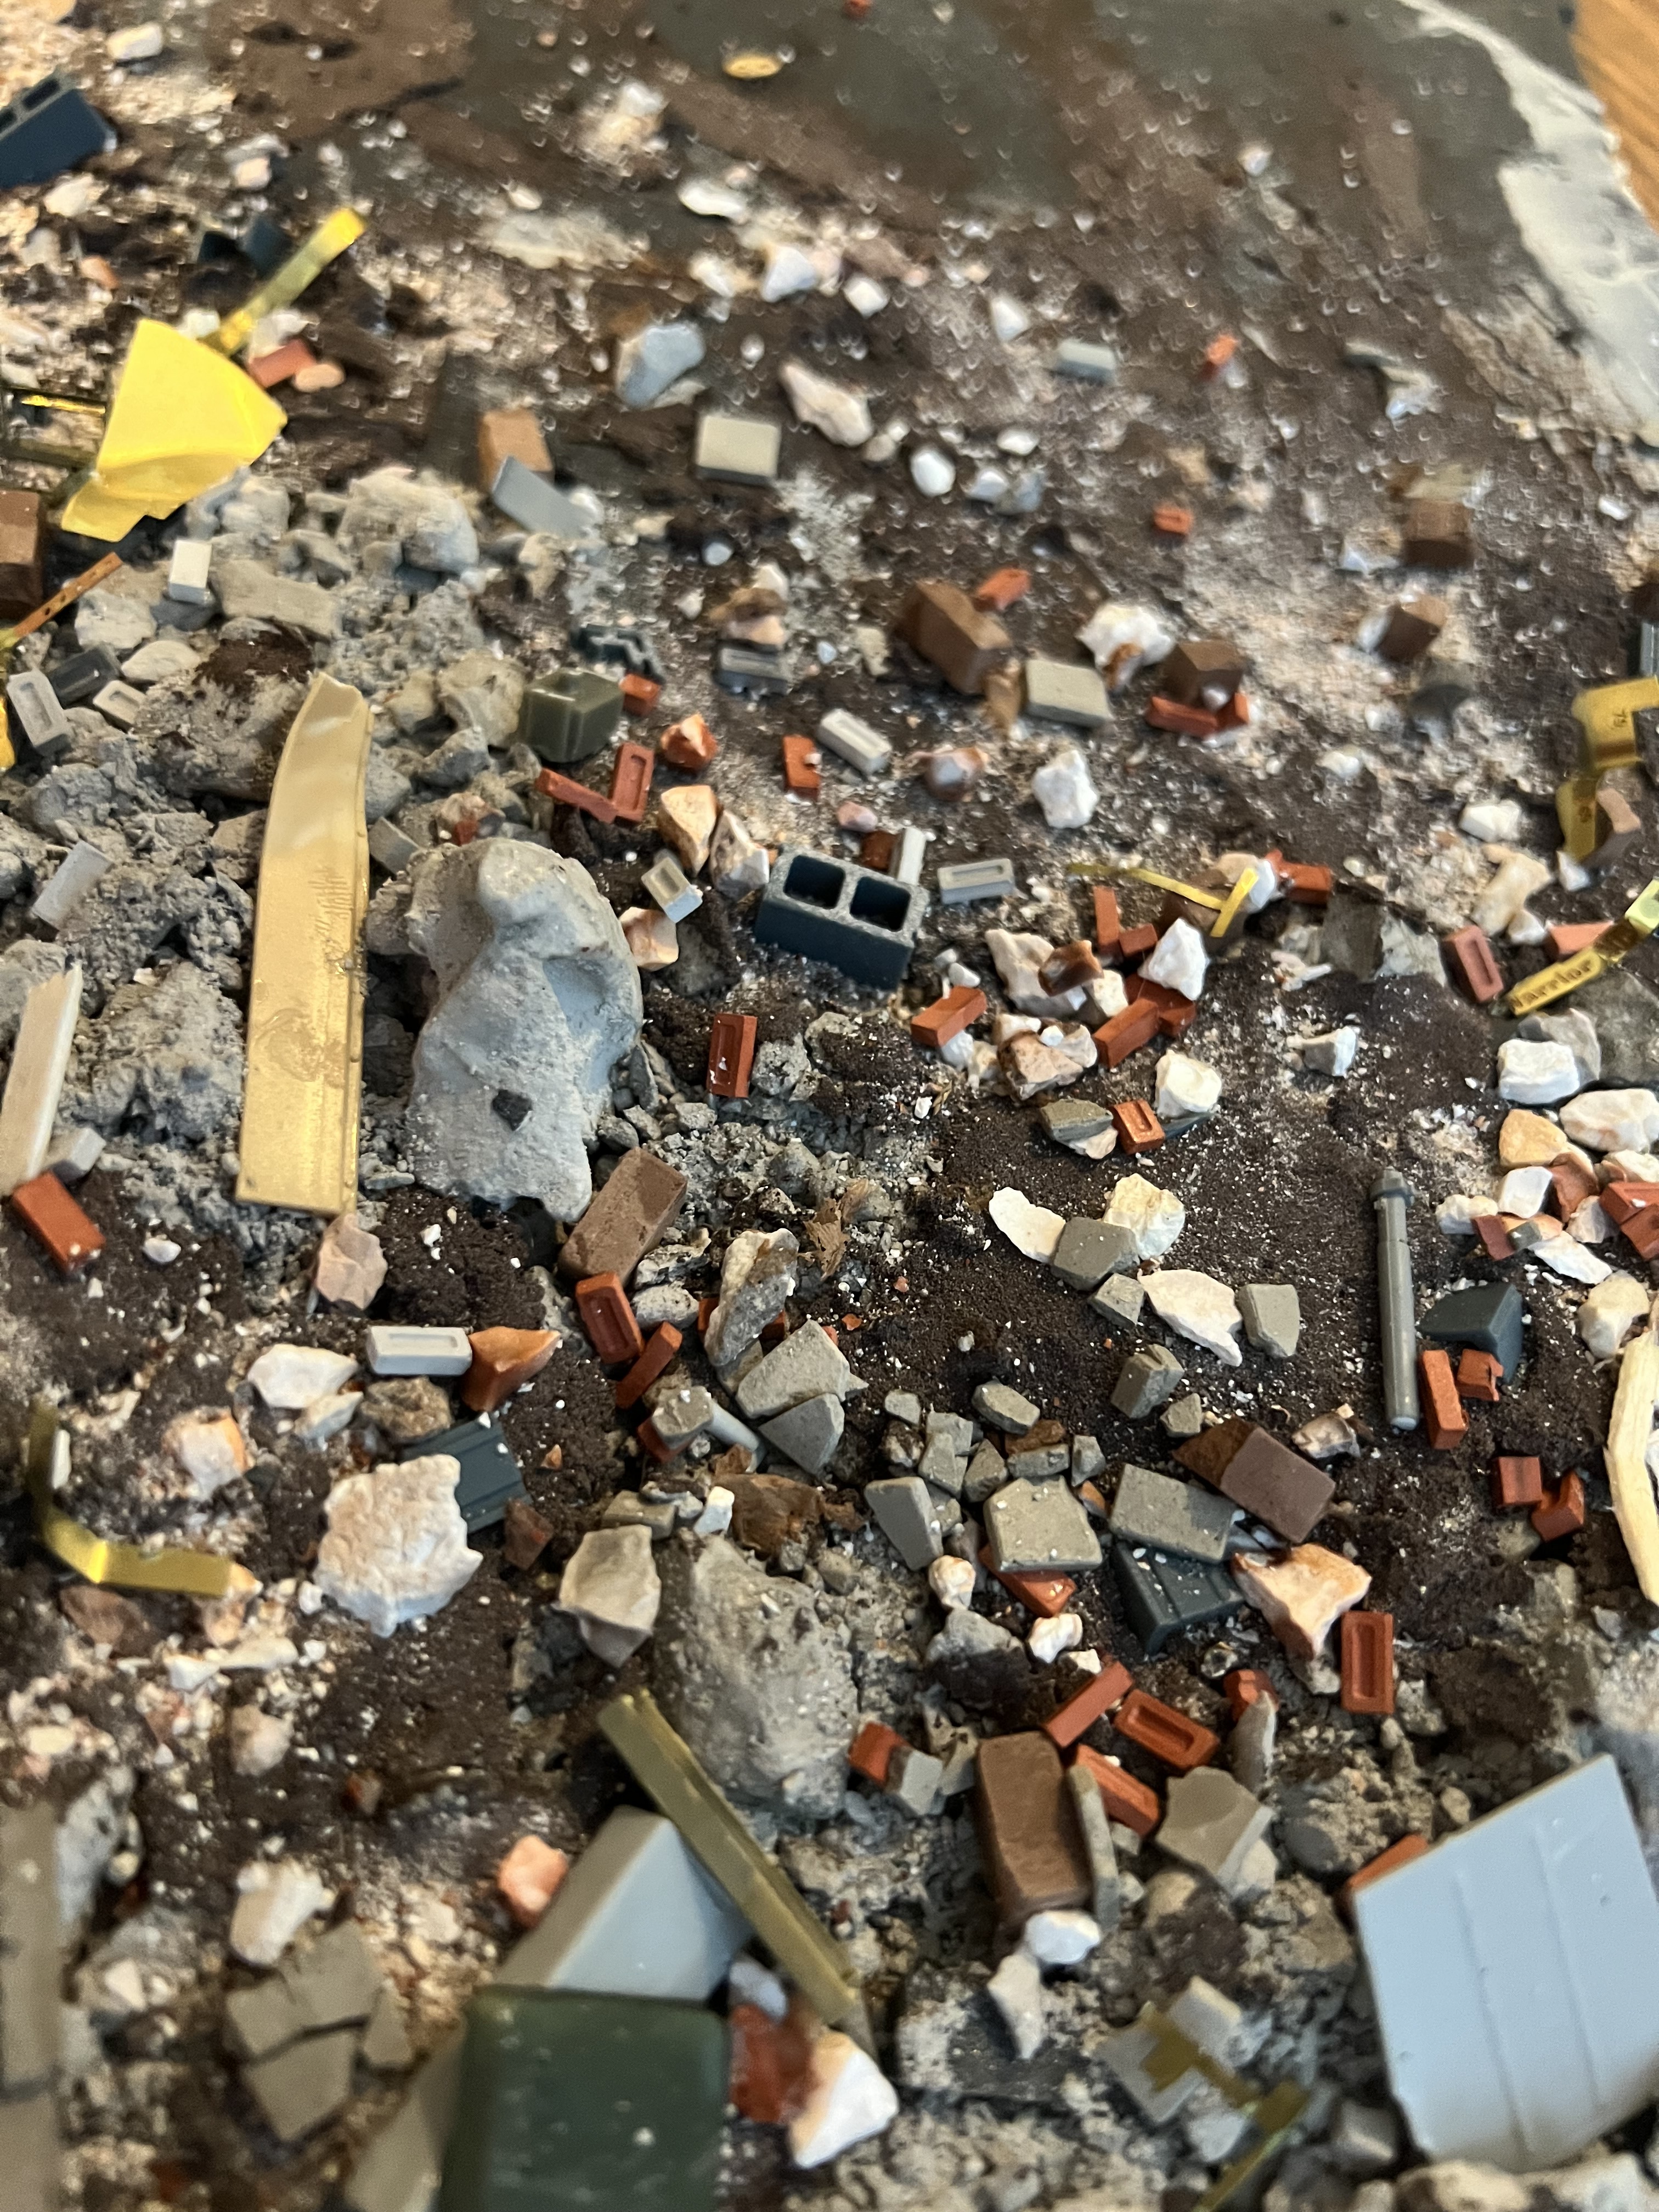
It was a really valuable learning experience and I learned a LOT. Over the next couple of weeks I’ll be adding this into an Aleppo diorama but for now here is the build.

Original model was one of the Trumpeter T-72s which as you will all probably know, I have a huge soft spot for and have absolutely loved every one of them in the series that I’ve build. This was, I am happy to say, no exception. Nice easy build, nothing too taxing but a respectable parts count so it is quite involved in parts, but never irritatingly so. Fit was fantastic as you’d expect from The Other Big T, and it went together in about 30 hours all in. It was interesting to see which parts were deleted or removed on the Syrian wagons. I removed both front fenders, the horn, didn’t fit some of the turret bits and pieces as well, all as per the reference photos.
I tried to recreate worn running gear by taking chips out of the rubber rim but I think over-did it in some places so it just looks weird now. But you live and learn!
I also went a bit OTT on the casting texture on the turret and could do with gently sanding this down a bit but it certainly looks rough and ready and “goes” with the theme of the build if that makes sense.
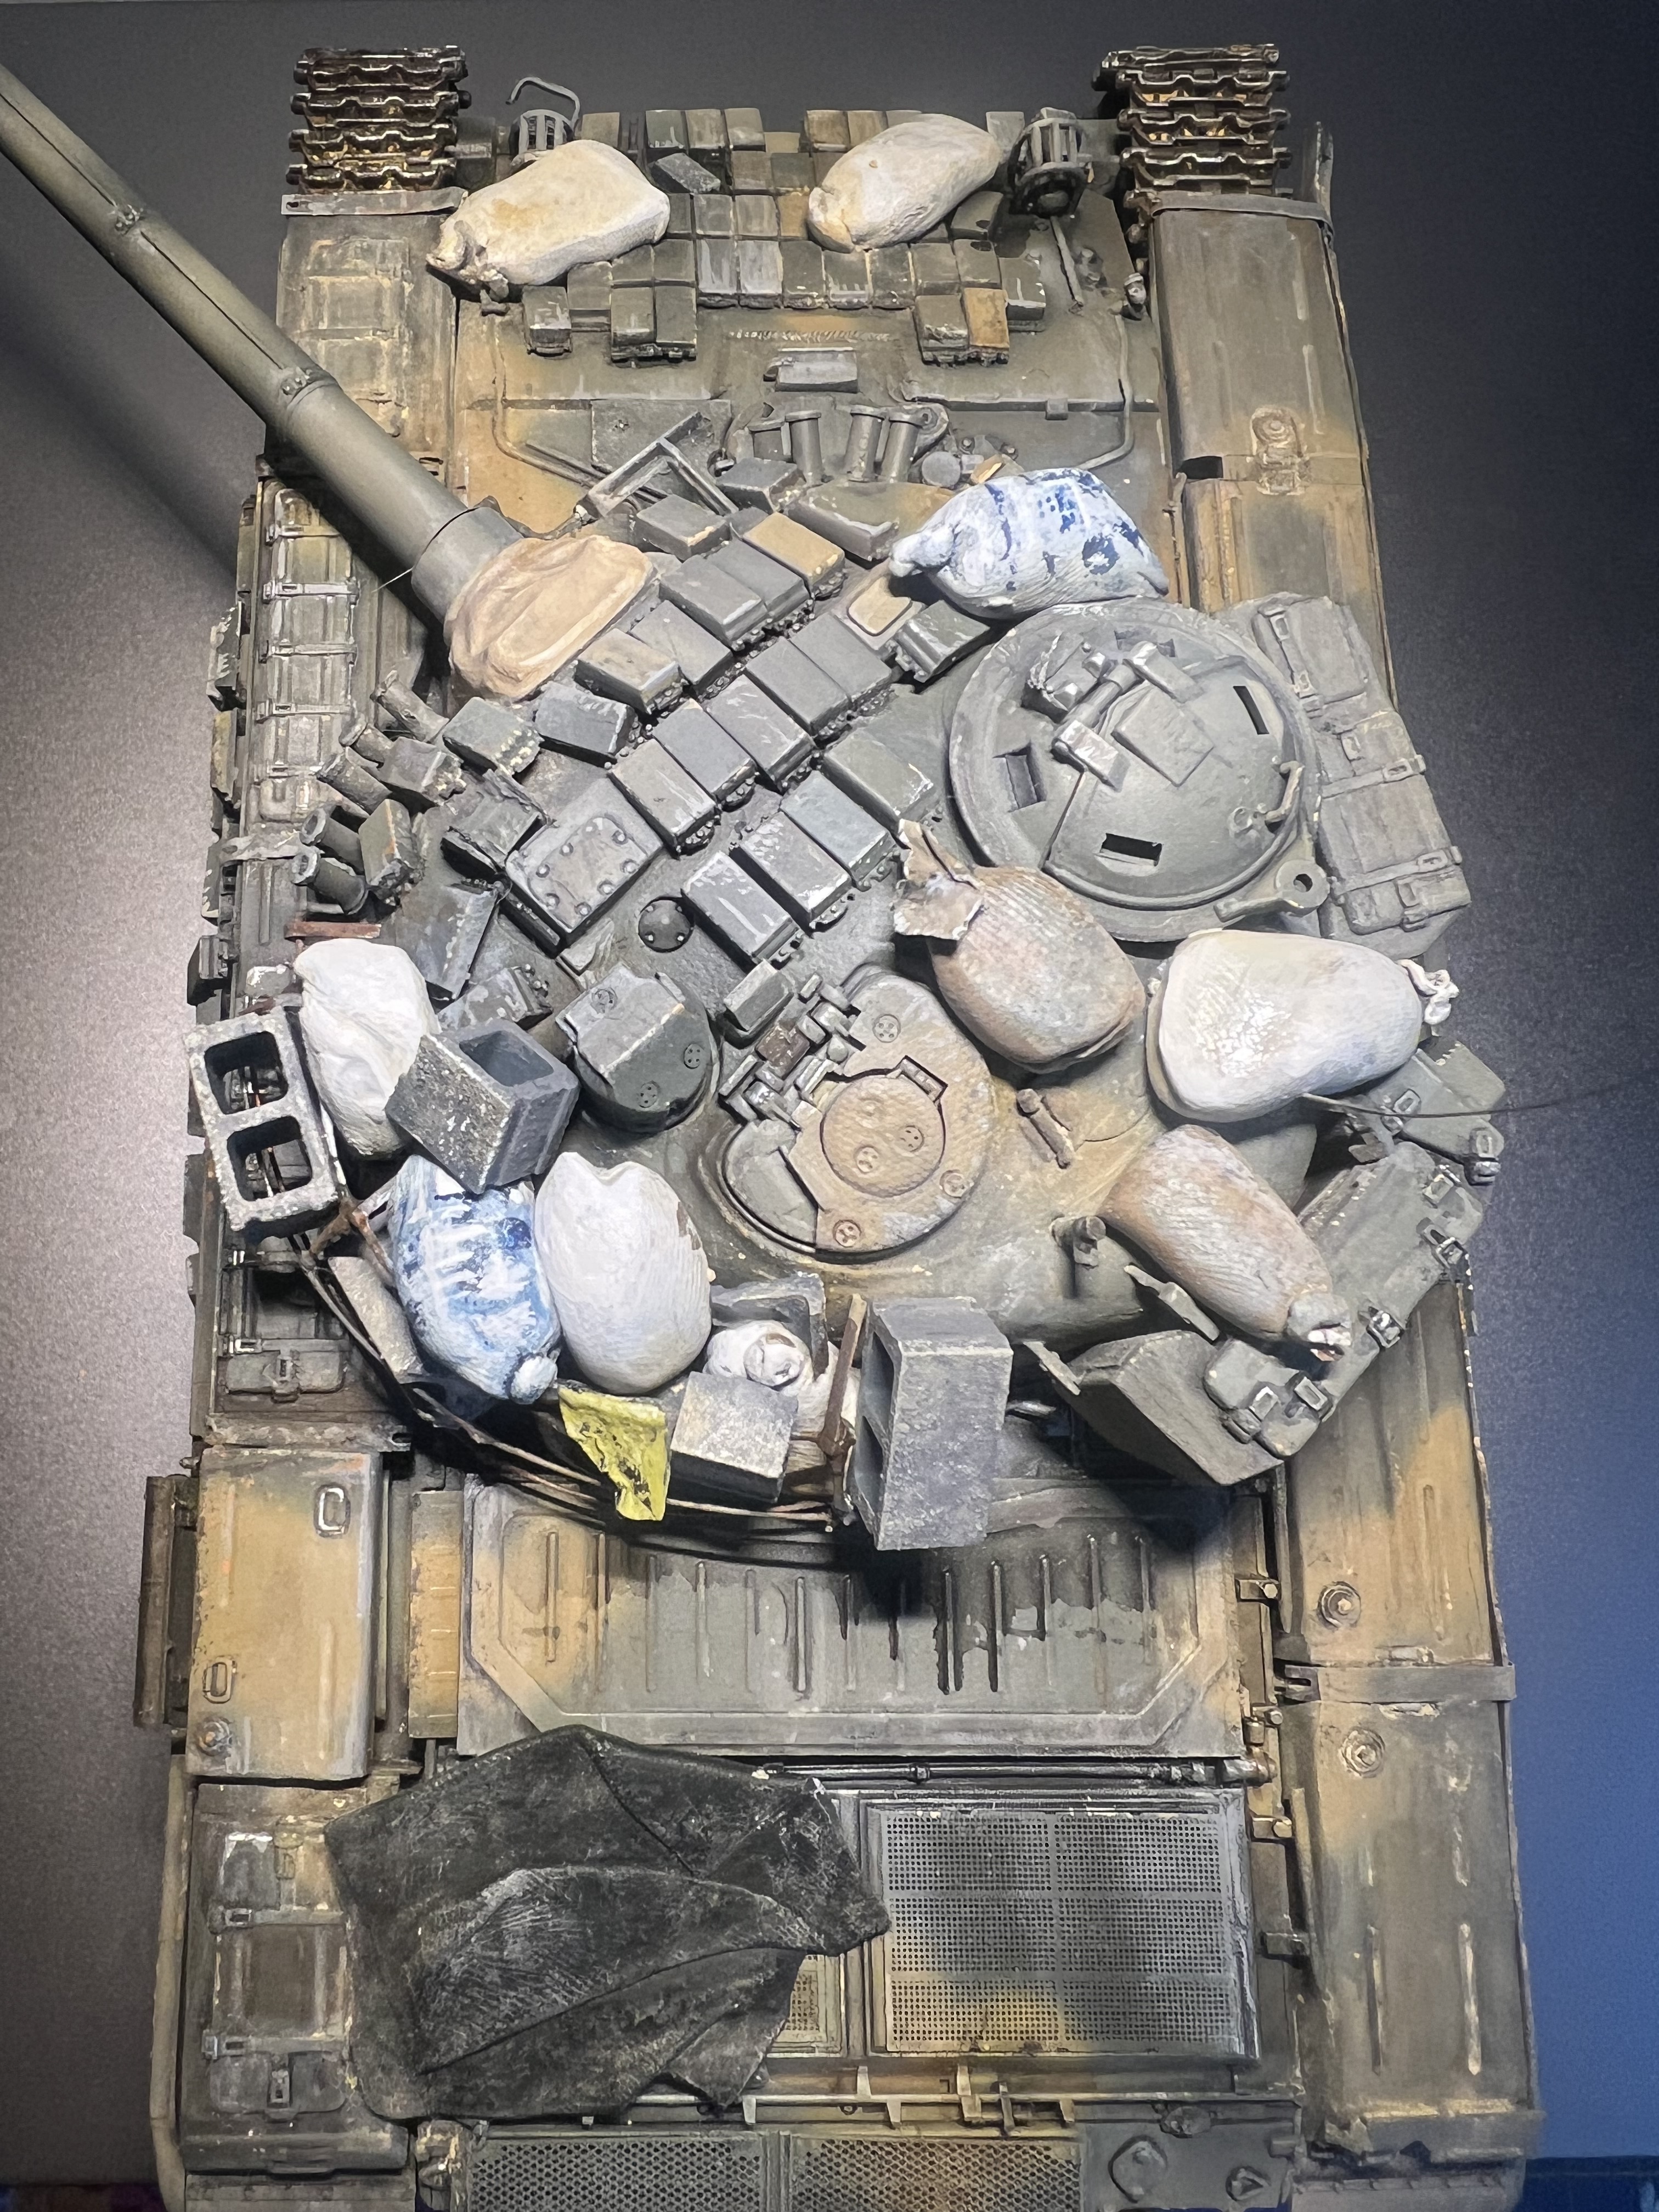
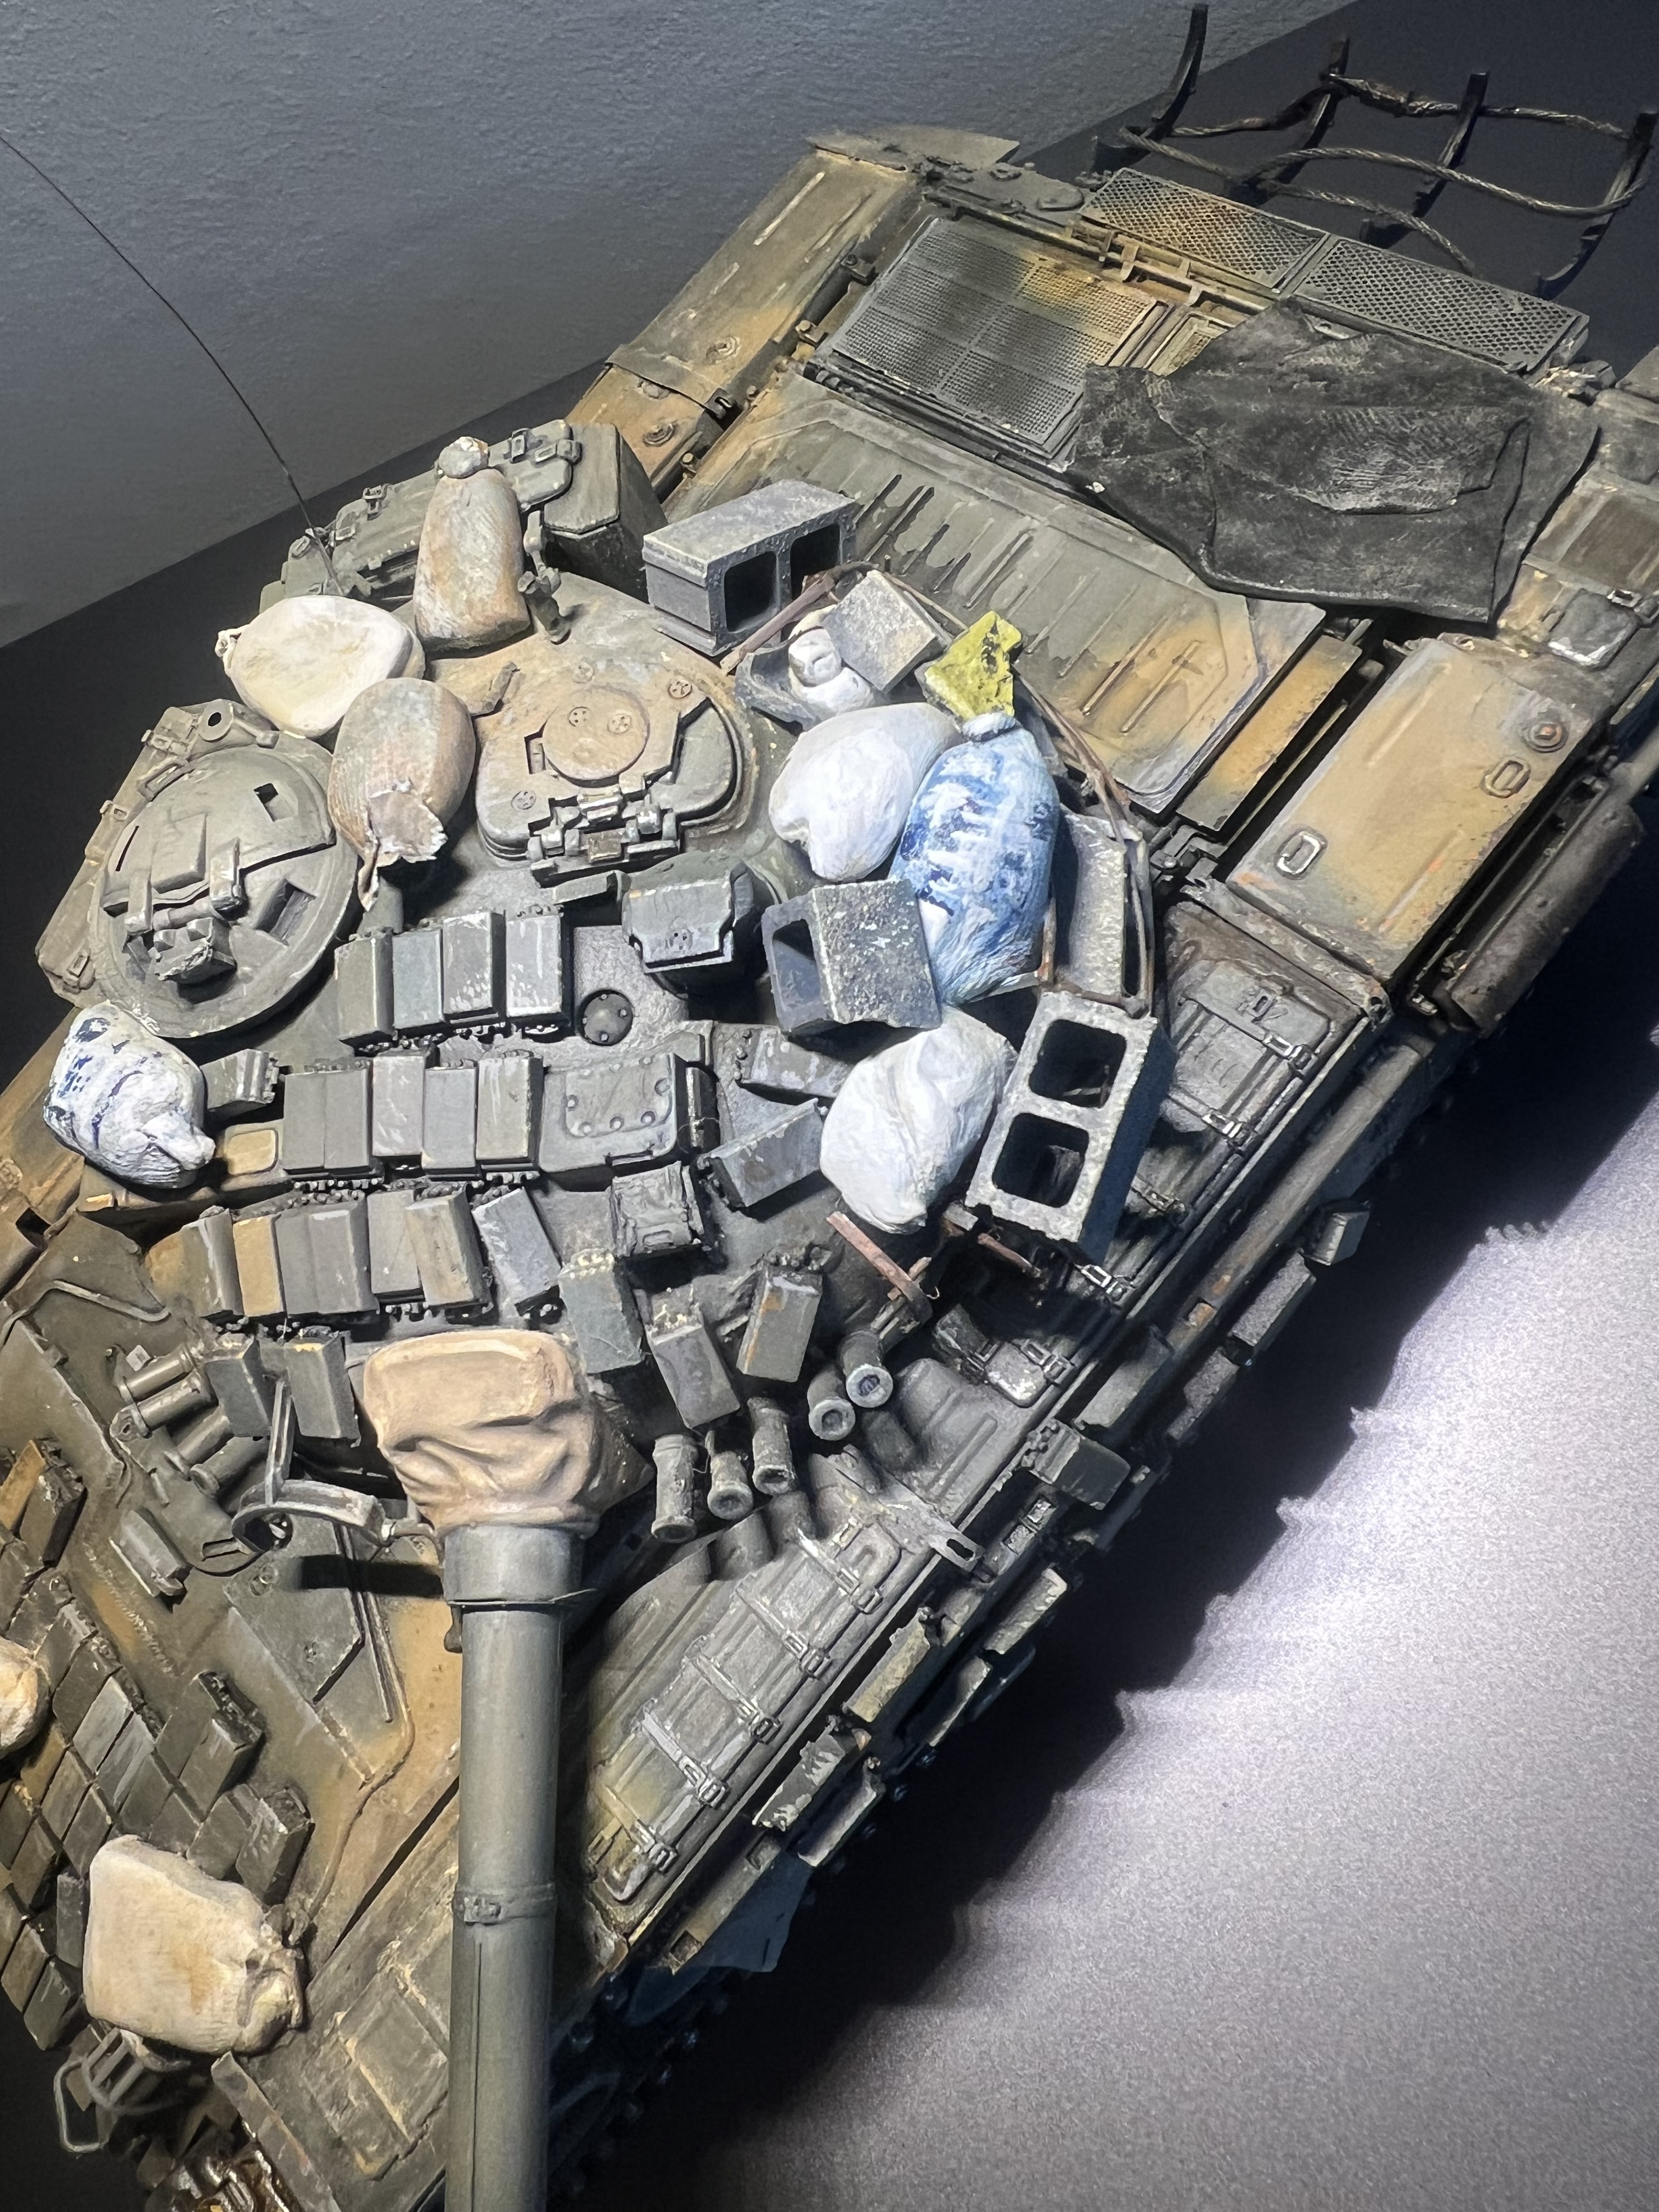
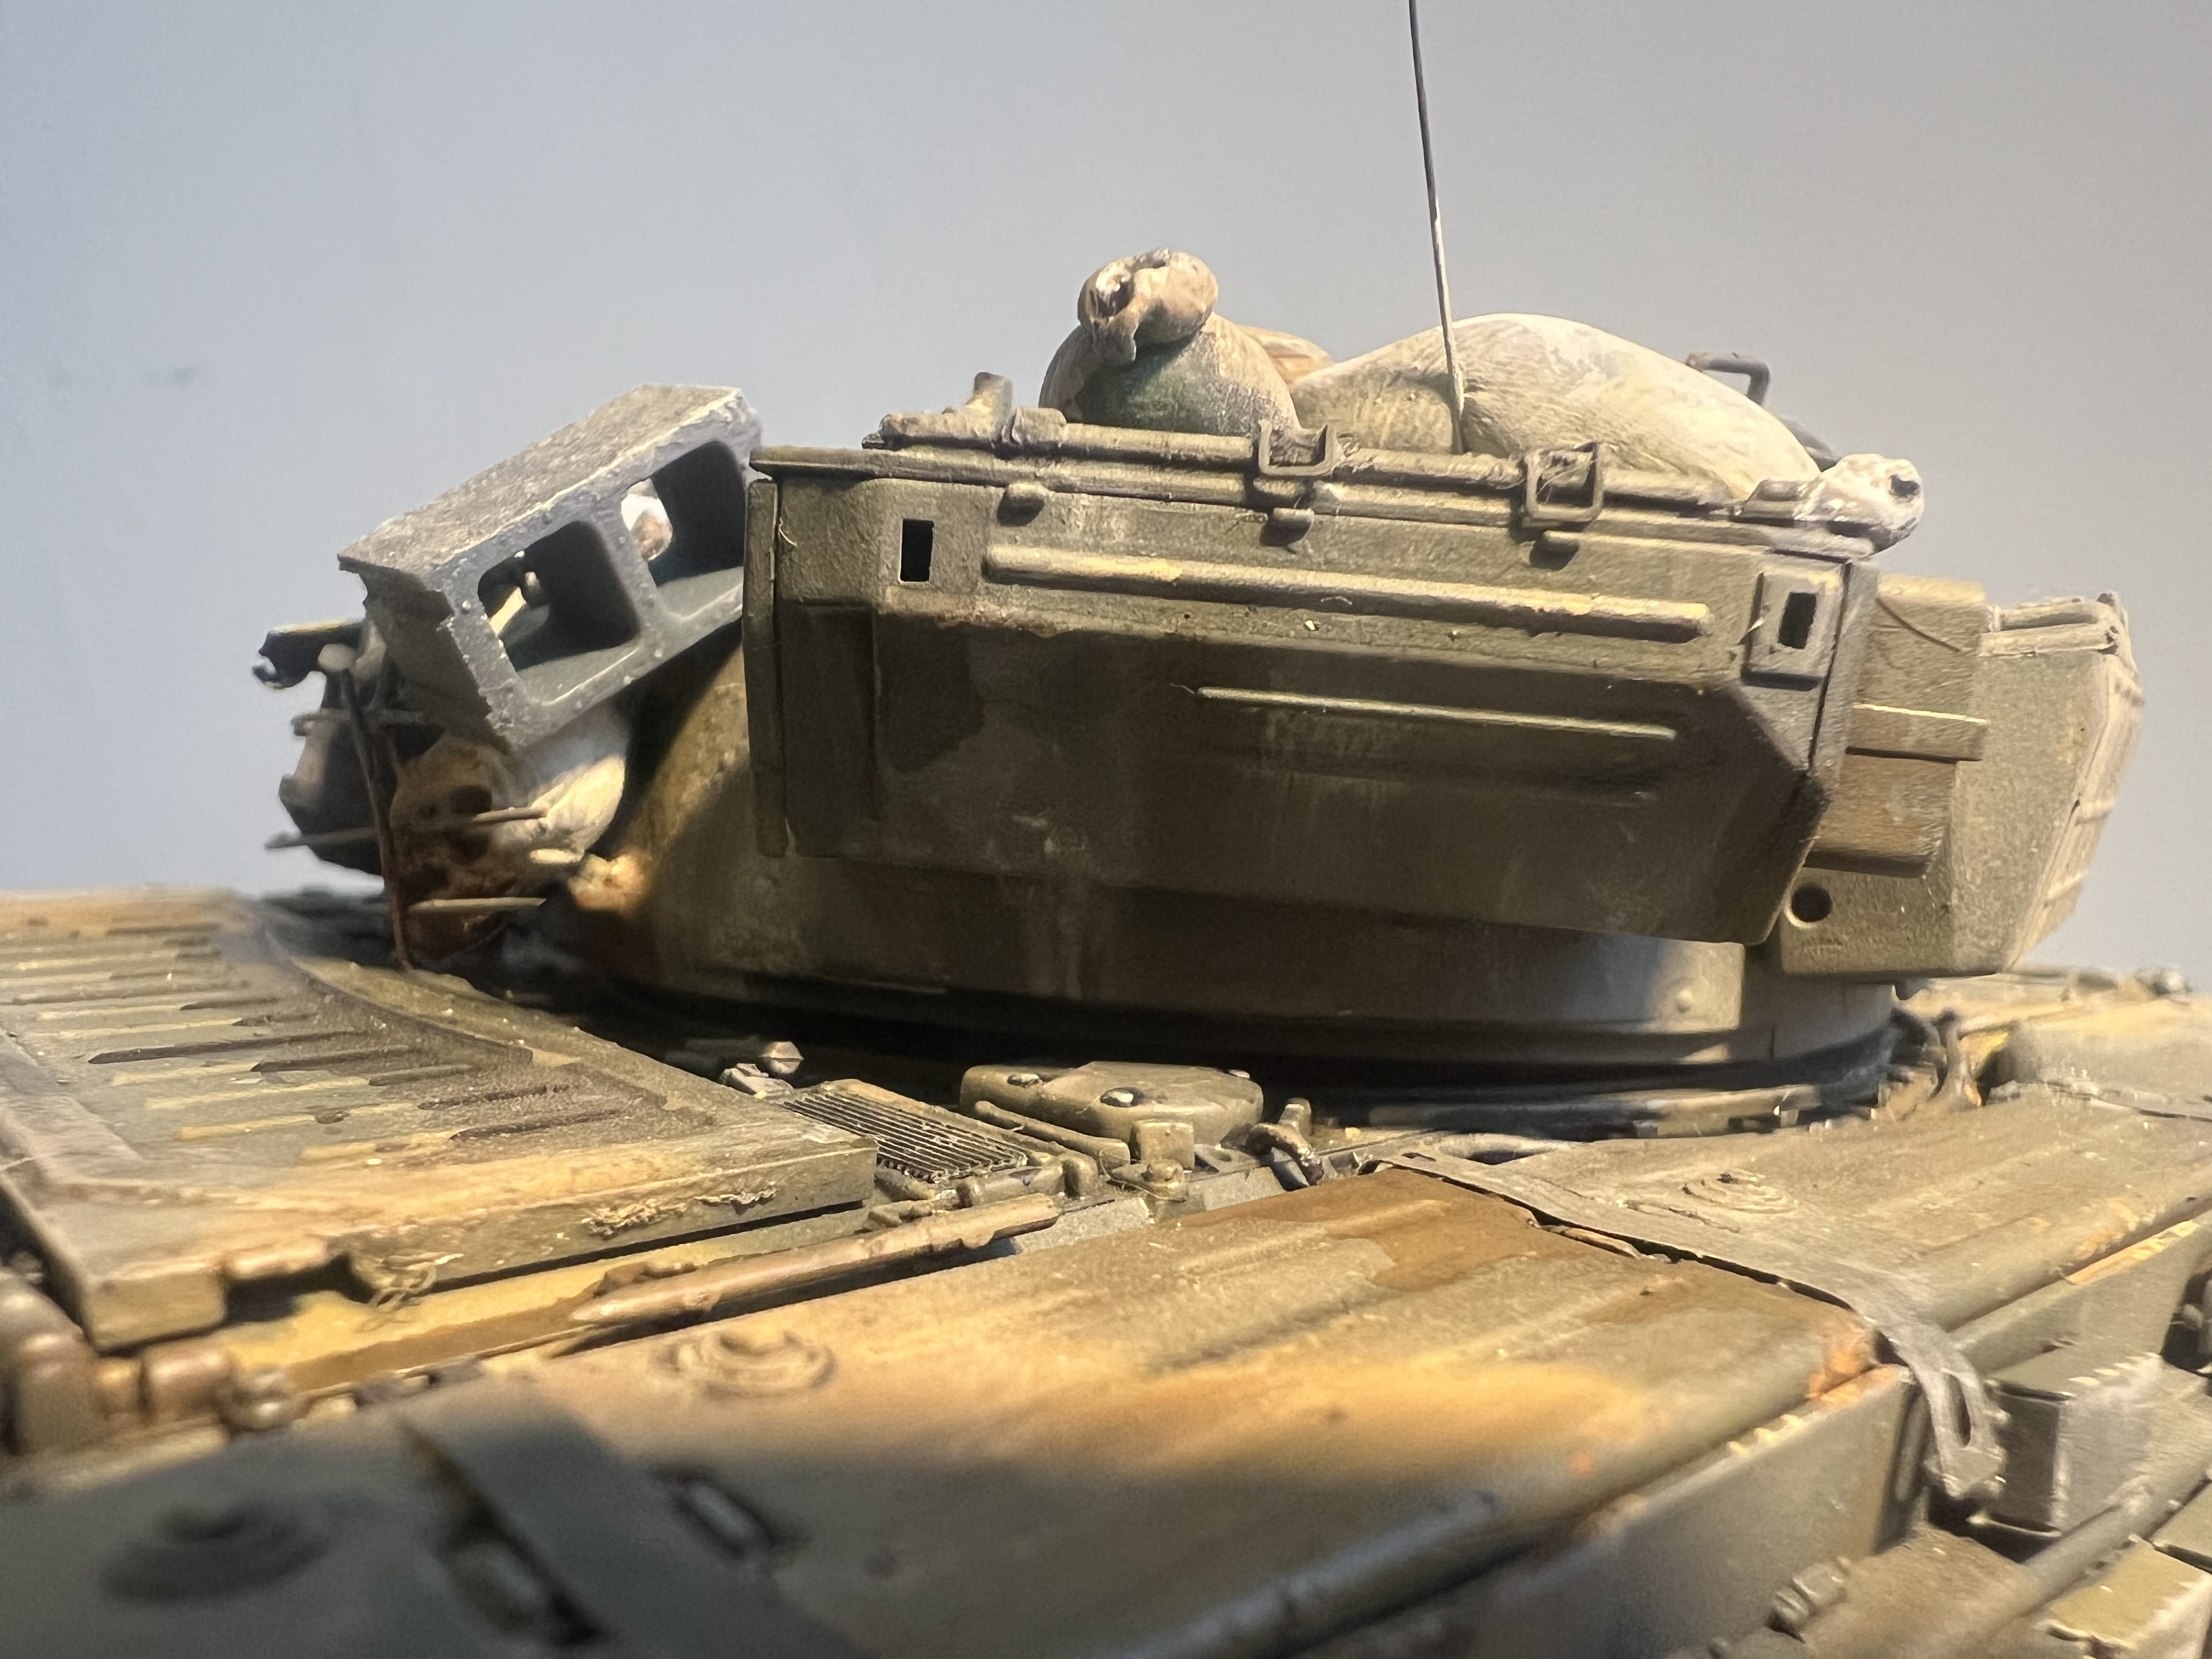
The big challenge here right from the off was to make a Russian 4BO green scheme look desert yellow and to really make the dust convincing, and to make the mods necessary to get as close to the reference photos as I could. The other main issue was that I’d need to scratchbuild a really sketchy field-mod rebar cage to the front left side of the turret. Some of the T-72s in the pictures I looked at had it on both sides, many just on this one side. I have no idea why. It had to be really a botch job to make it look obviously a half arsed field mod and not something more permanent. Accordingly, I made some big sandbags out of Green Stuff and fitted them in place, thinking that the rebar would press into them to make them more realistic in terms of how they fit in place.
The black tarp is my first attempt at making one out of Green Stuff.


On the sandbags, many of the reference photos show large white grain sacks being used for sandbags, and smaller ones that are older and darker in colour which are more like sandbags in a traditional sense. I got half way through trying to smooth over my thumbprint indentations in them before I realised I liked the texture so left them on there. The concrete blocks are 3D printed resin and added right at the end. I really enjoyed the stippling on these to create concrete texture.
Painting was a black primer layer with a metallic red primer over the top, then a hairspray layer and then pre-shading with German Camo Pale Brown and pre-shade highlights in US Desert Sand. Unfortunately I left too long from the hairspray layers to the main base coat so the worn effects were not anything like as noticeable as I’d have liked, but as it turned out I just compensated by doing more chipping.


The chipping is something I’ve always struggled with and I really pushed myself here. I am trying to get away from the mindset of “chipping = chipping brown” and realising that you can chip with greys, gunmetals, whites and even black and I’ve used all these colours in this model for the chipping at different junctures.
Base coat was Russian 4BO but lightened with Gull Grey and then highlighted using Desert Sand.
I went to town on the Shaders, using Dark Olive and Starship Filth to add a lot of nice fake shadows and contrast.


As far as I can tell, the yellow camo was added in the field at unit level in a hurried and not very uniform or precise manner and I used Tamiya Yellow Green for this but trying my best to make it really vague and soft edged. The thinking was that it should be so washed out by the end that you would barely see it. In hindsight I wish I’d highlighted it in a brighter tone as I think the model needs the brightening up as per the reference photos.
Weathering was the full gamut of absolutely everything I could think of - pigments, oil stains, streaks in enamel thinner, streaks in oil paint, oil dots, more chipping and scrapes, dust passes in three different colour light browns using the airbrush and a couple of different types of dust washes for the tracks. There are mud effects, splash mud, thinned enamel paints as a crude wash for the running gear… rust washes on there (which I very rarely use), airbrush streaking in white, soot in airbrush German Grey with black pigment brushed over it, etc you name it, its on there.
I hand painted the Arabic word for “RIGHTEOUS” on the turret cheek (an artistic license thing as none of the photos I saw had it, I just think it looks cool)
The two white grain bags on the current sides I sprayed with chipping fluid and then hand painted a company logo on there as if they were just picked up off the floor. Sadly the chipping effects removed too much of the logo and it just looks weird and marbled now, so I may repaint these.


What we have on completion is a T-72 that resembles the one in the picture but is obviously darker. I am working on a mini diorama for it and will add more light dust pigments on the running gear when it is added into the scene so I will naturally look brighter once it is in, so I’m not too worried. There will be a masked Rebel soldier figure stood on the rear deck as well but I’ll save him for last.


More: