I want to make my own rivets , whats your guys favorite methods?
2 Likes
Outside of 3D decals or plastic ones?
Dots of PVA applied with a needle.
One guy did every single rivet on the Trumpeter 1/35 scale CH-47 using tiny little balls form a water filter.
You can add raised rivets to sheet metal or thin plastic by impressing them on the back side with a riveting tool or a gear from an old Tamiya motorized kit.
Depressed rivets - same riveting tool.
Some people have used a punch to make rivets. I don’t think they look quite right but it does work. Which kind of rivets exactly are you trying to make?
1 Like
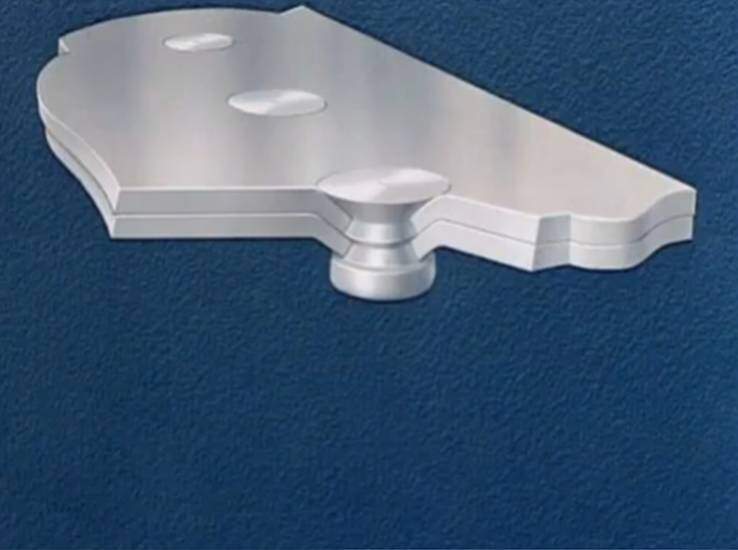
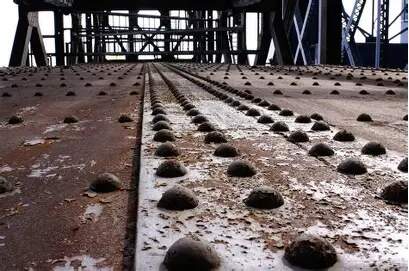
Raised rivets like the 2nd picture
1 Like
A domed punch-and-die set, like this one, though what I did was buy spare punches and use those in my regular punch-and-die set, as that was much cheaper and I don’t have an unnecessary die lying around. These let you punch domed pieces from thin plastic card, which is a lot of work but they do look convincing.
If you already have a punch-and-die set but don’t want to spend more money, you can improvise punches with (old) drill bits: take a close look at the rear end of the shank, to see if it’s pointed or flat. If it’s pointed, you can punch domed rivets using that rear end of the drill bit, though be careful not to break the bit. Only use old, worn ones for this, not your best set 
As an added tip for making domed rivets: colour one side of your plastic card with a permanent marker before punching rivets and always put the coloured side down in the die. That way, you can tell at a glance which side of the rivets should go outward — otherwise, trust me when I say that it can take a lot of peering at each one to work out whether you’re looking at the inside or the outside of it.
2 Likes
BNA have some due for release, could suit, just need to select the size. I have used their hex bolts and they are good,
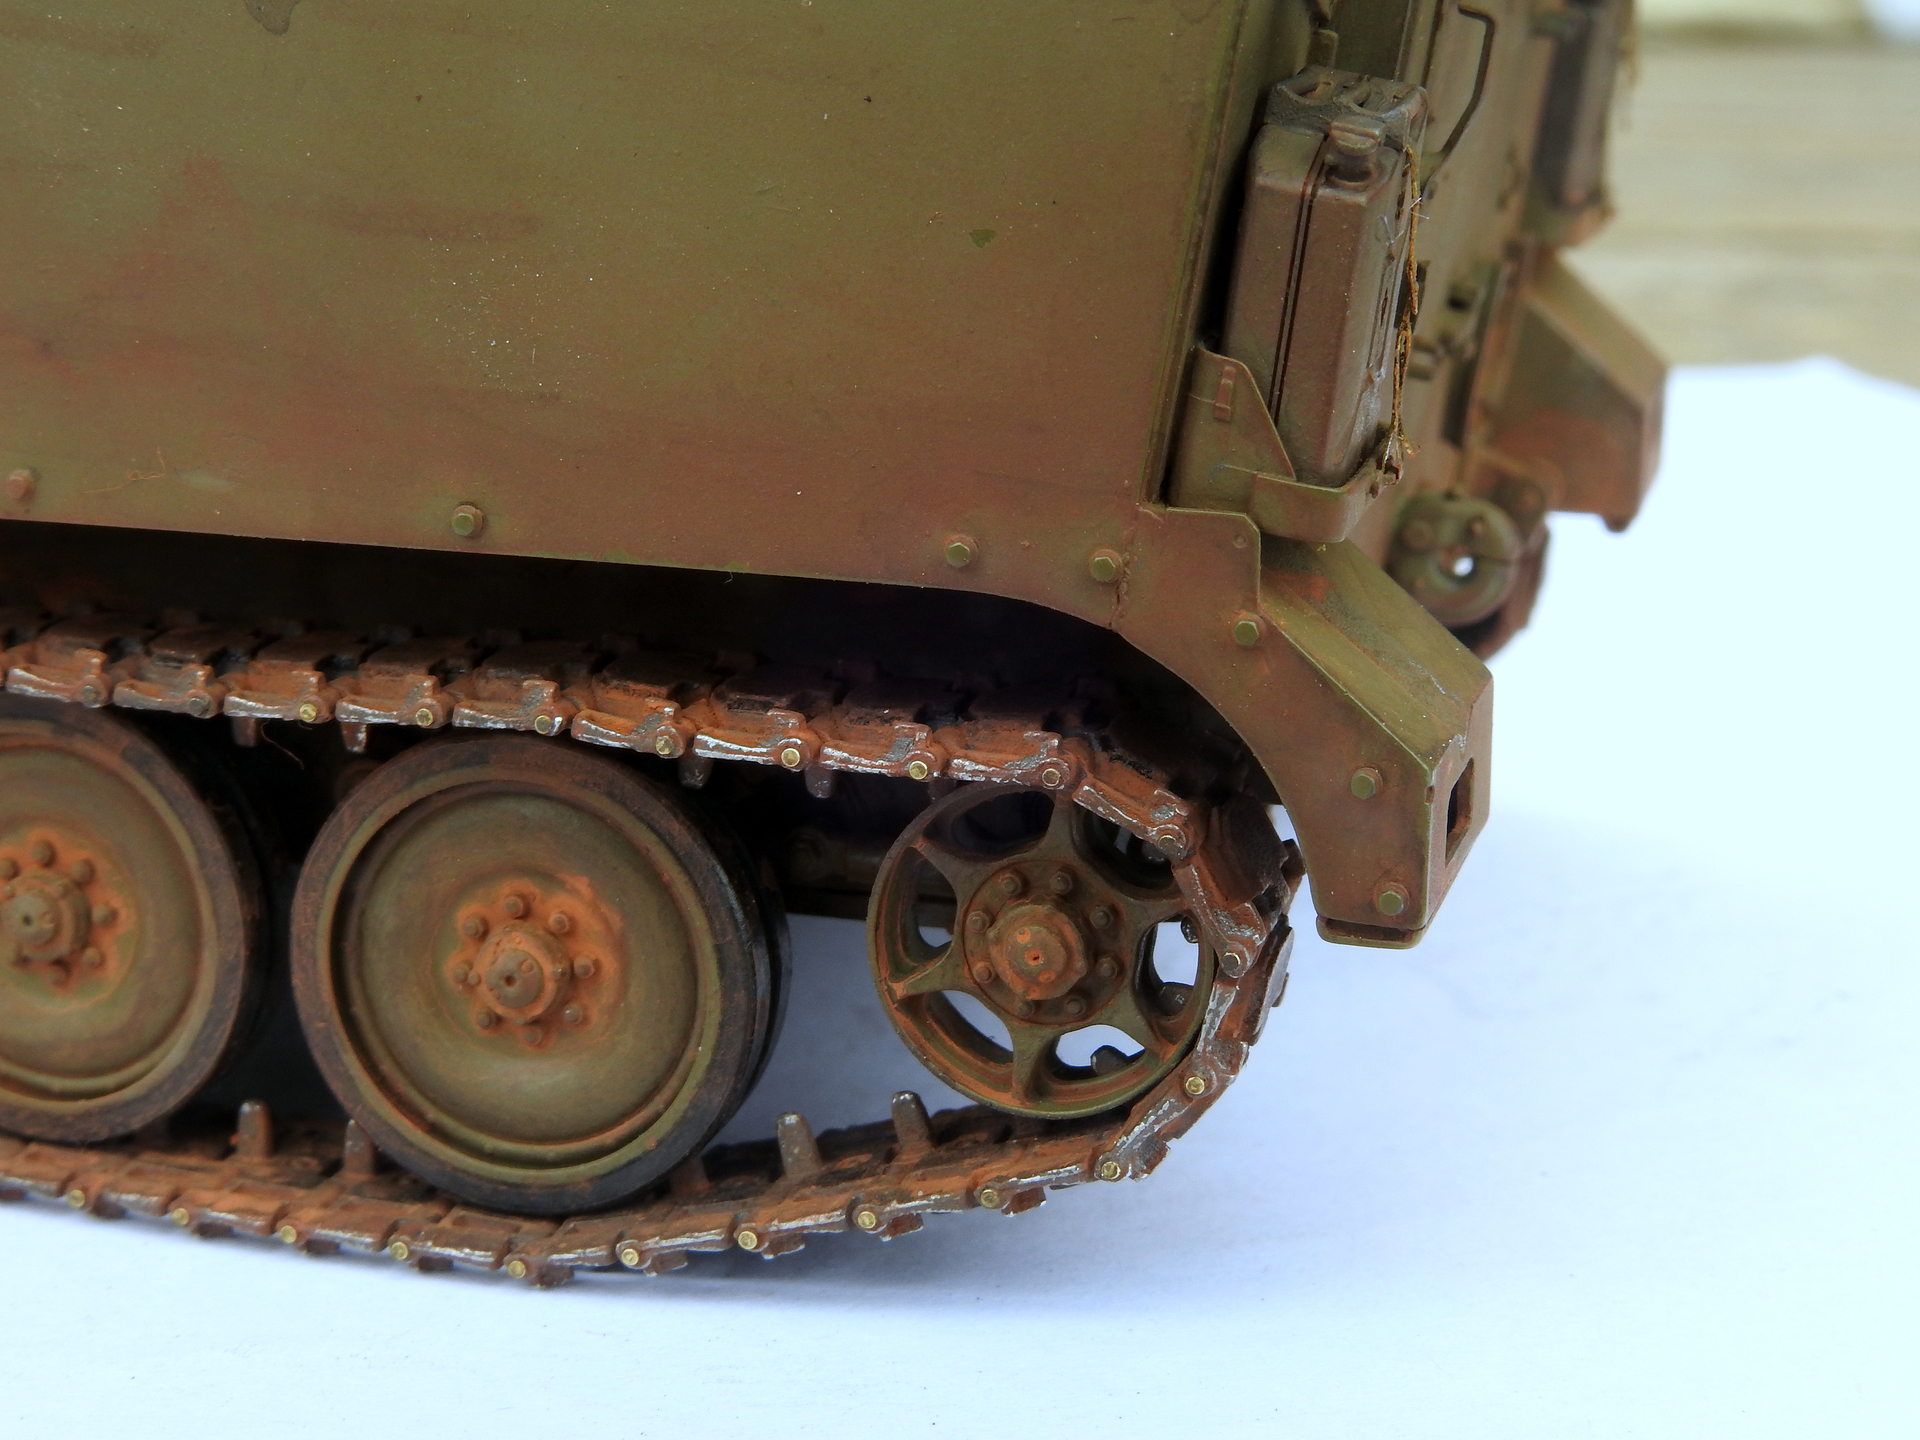
3 Likes
Meng produce sheets of styrene rivets double sided sheets, one side is domed the other conical 0.8, 1.0, & 1.4 MM dia. if thats any help & the pt no is SPS-009
they also do a range of nuts and bolts the same
Keith
2 Likes
If we’re talking buying them as opposed to making them, I tend to favor the railroad HO items which have been avaialble for decades. They come on ‘stems’ and are slightly offset so you can rotate them slightly to insure they’re all in perfect alignment. Hard to do with the kind you just shave off or punch out.
2 Likes
It never occurred to me that is the reason they’re offset, I just chalked it up to less than perfect molds.
3 Likes
I did not realize that either, and that’s good to know.
Placing styrene heads or punchings is quite easy if you apply them in a particular way.
- Put a brand new #11 blade in your handle.
- Put a drop of cement (liquid, but low volatility, like Testors) on a smooth flat surface like a razor blade or a piece of glass. You want a raised bead or puddle.
- Gently stick the blade tip into the rivet and just touch the cement. You don’t want to dunk it, just wet the bottom.
- Touch the wetted rivet were you want it to go. The cement’s adhesion to the model will normally pull the rivet off the knife tip. A little manipulation will get the stickers off - you’ll learn. If all else fails, clean off the blade and start over with a new rivet.
- You normally have some time adjust the position of the rivet. I’m often able to push a row in line with a steel straightedge several minutes after application.
- Give the rivets time to dry, then brush over them with something like Tamiya Extra Thin to set them. DON’T use that f-ing mop in the bottle lid, use a 00 or 000 brush. (That’s really what you should always use.)
KL
3 Likes

Yep!
2 Likes
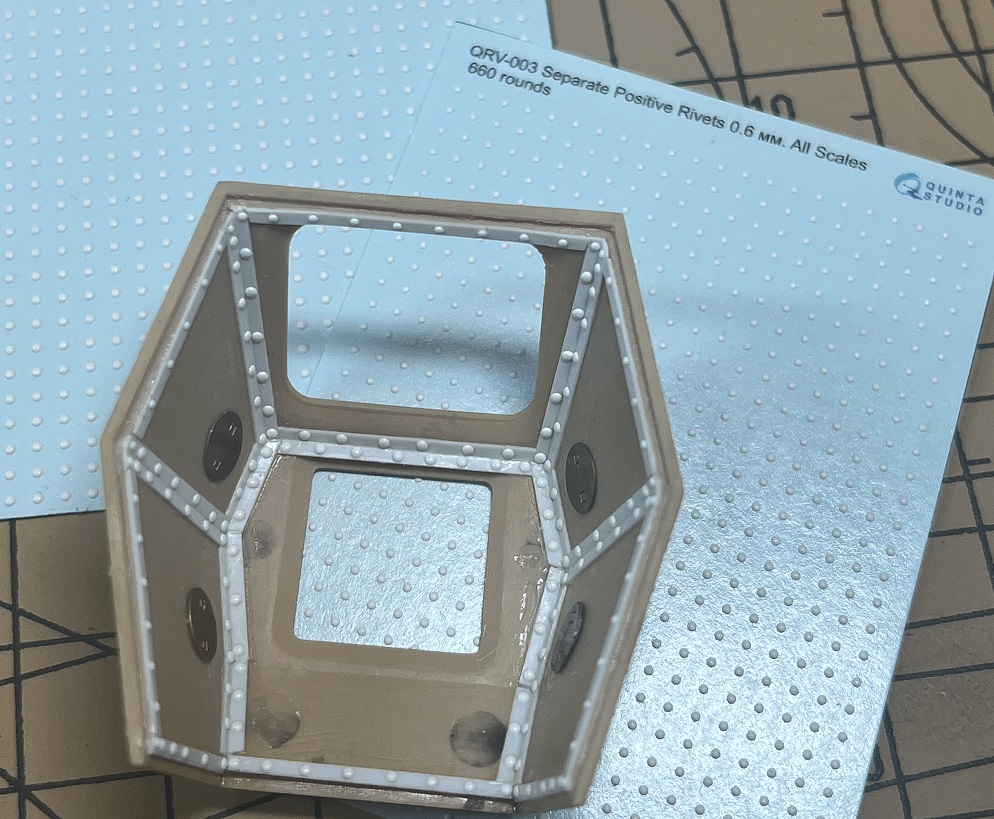
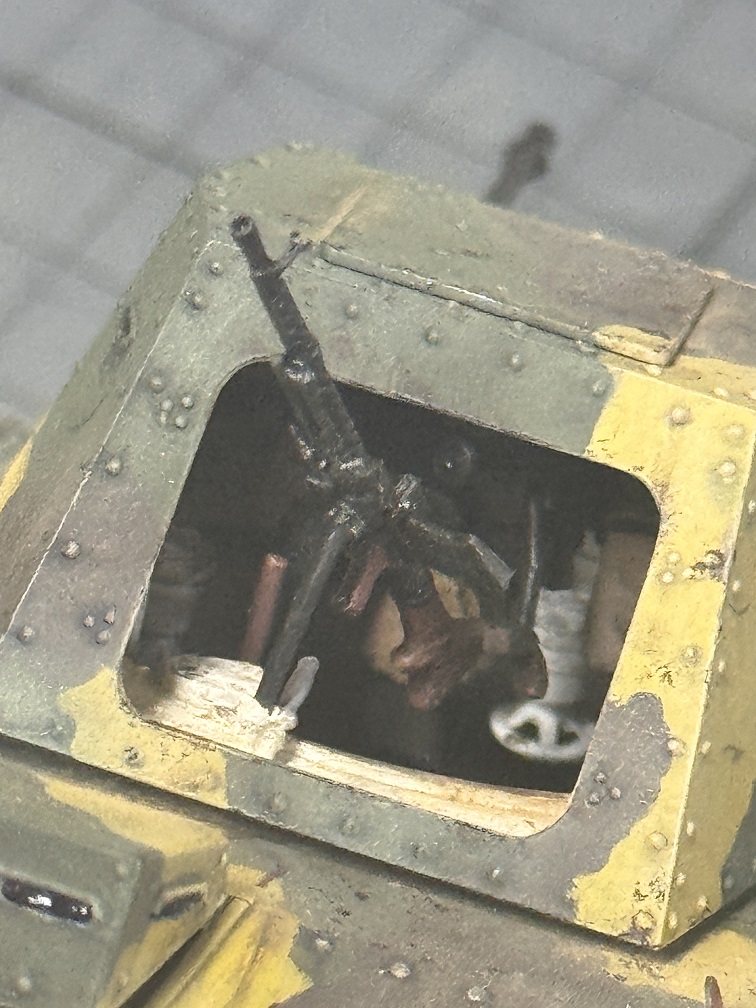
I’ve done rivets every way imaginable in the last 25 years - aftermarket resin and plastic (Grandt Line, Meng, etc.), cut off of old kit parts, blobs of white glue or cyano, punch and die sets, punched out of lead sheet with drill bits on an eraser, push molds using molten styrene, etc. But to produce many I am now partial to the 3D decals offered by Quinta and others. Here’s the inside of a turret I recently did with Quinta ones.
5 Likes
Not actually related to how to make rivets, but a few years ago I put together a DIY tool to make it easy to get them at the correct spacing. See this thread on Missing-Lynx for a PDF of it that you can download and print out.
1 Like
Those look pretty good, with nice relief. The 0.6mm size would be 0.024 inch or 0.826 diameter scaled up from 1/35.
KL
1 Like
In this case, I wasn’t too concerned about the exact size, although they are pretty close based on the very few interior photos available (3 that I have found), given the extremely limited view inside. In reality, some of them should be nuts and bolts but again, given the limited view, I wasn’t too concerned.
2 Likes