Roden 1/72 S.E.5a Wolseley Viper Build Log

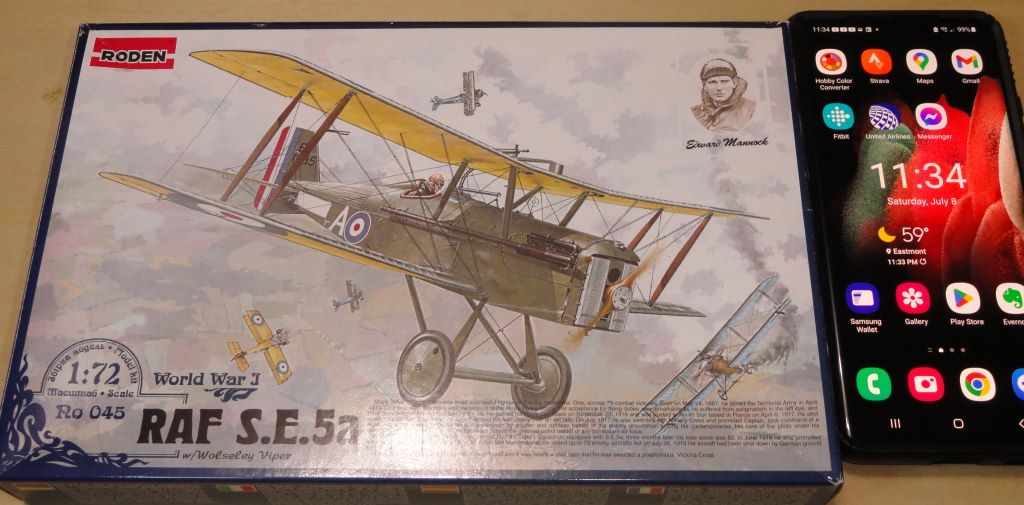
Not a big kit but a lot to do, so I’m going to try and capture it all in a blog. It worked pretty good to keep me on track when I built a 1/72 SPAD XII last year. So, I’m gonna try it again to keep me honest. Here’s what I’m starting with:


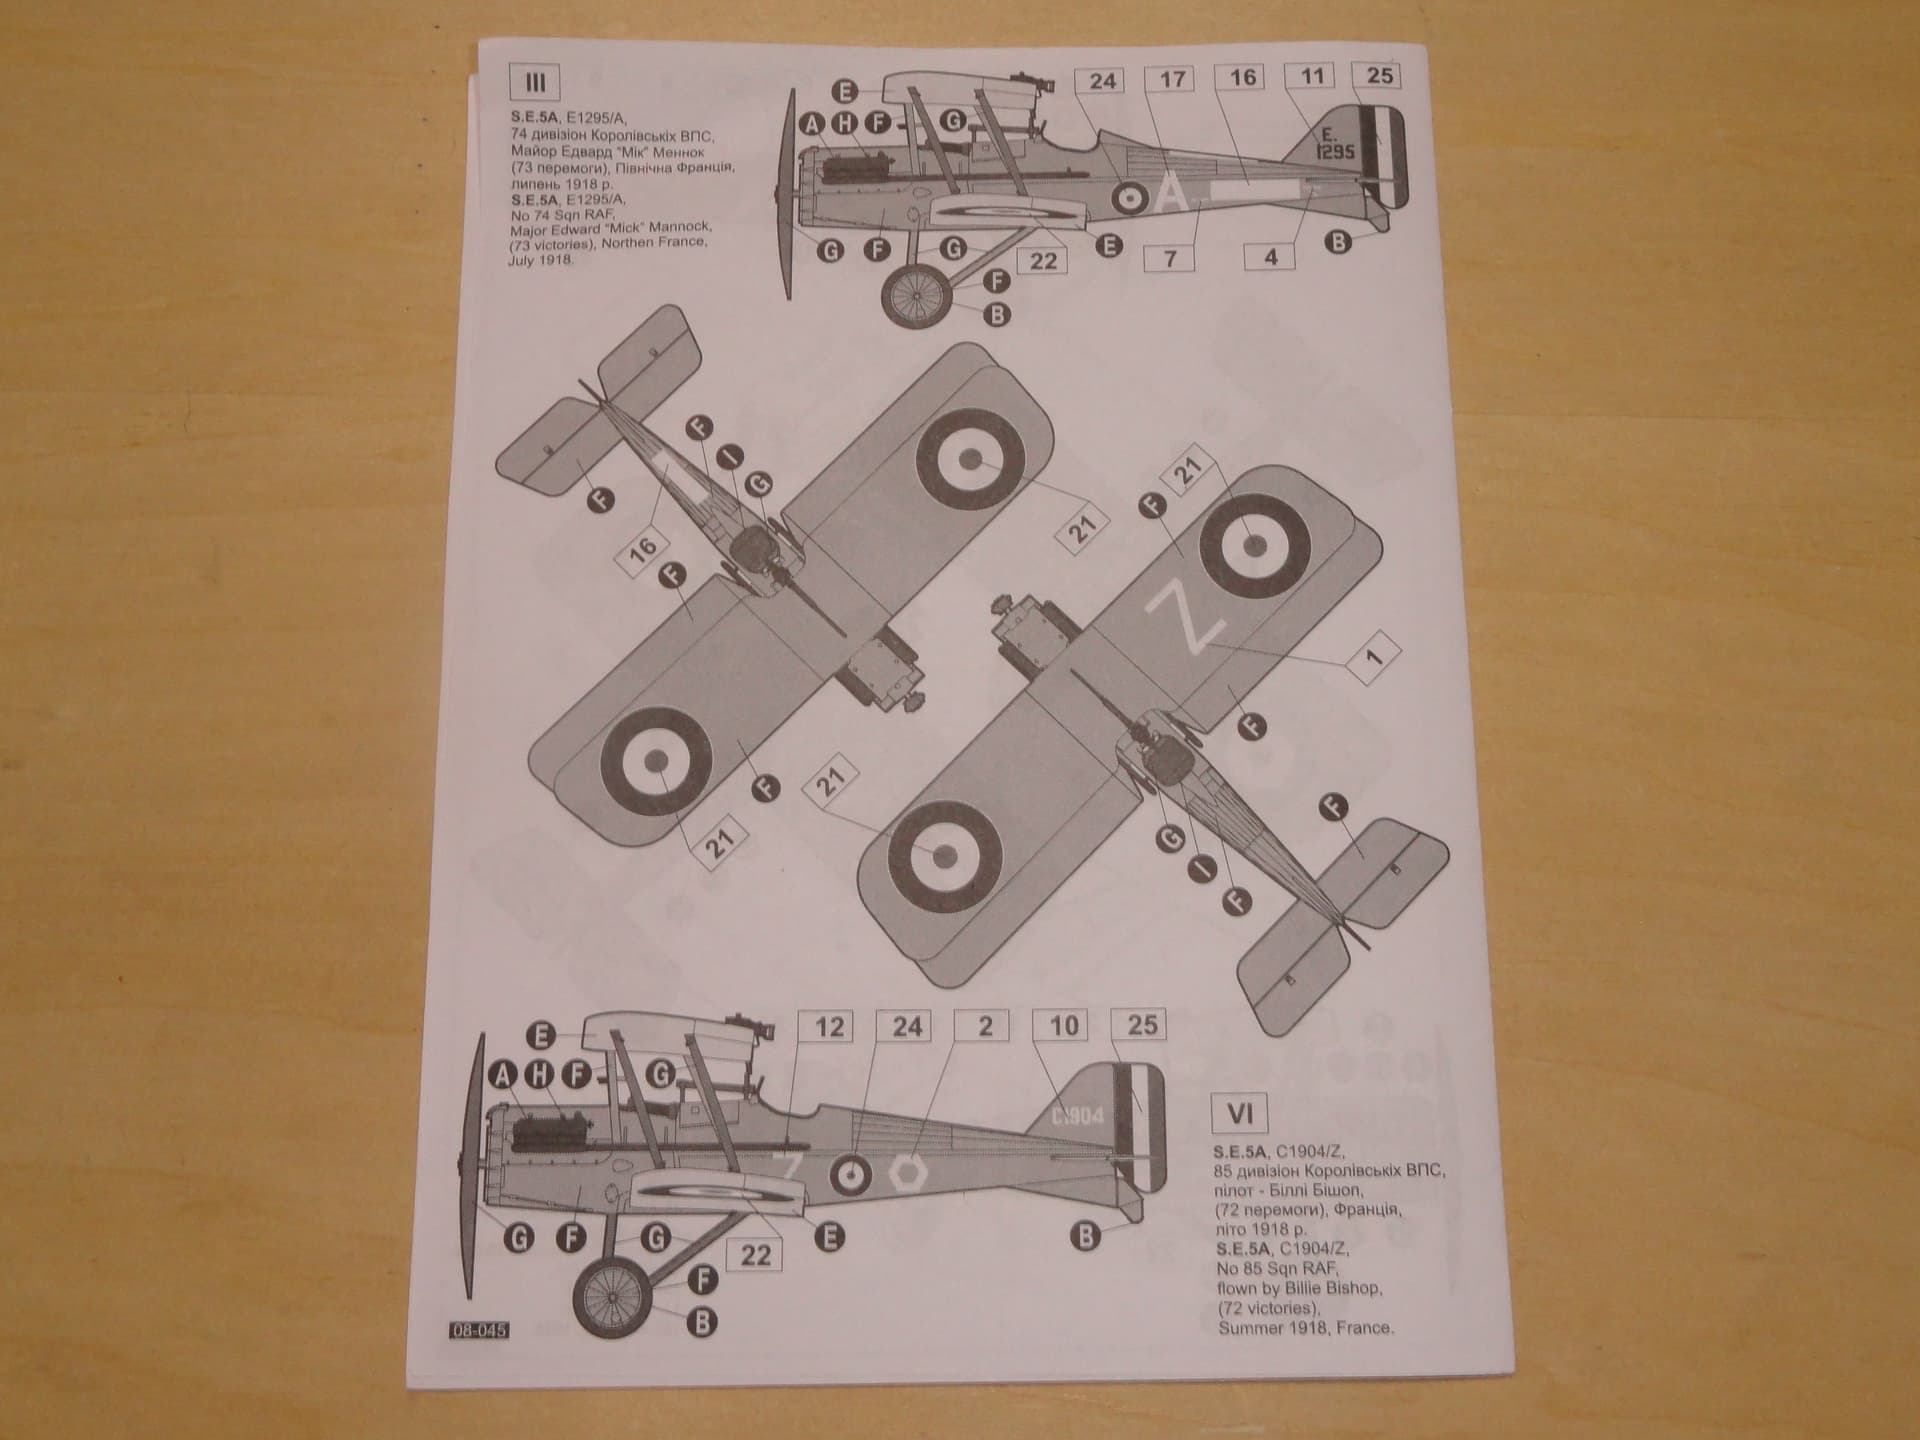
My plan is to do Billie Bishop’s ride.

Part of my plan is to try a new rigging method. In the past I’ve drilled all the holes for the lines in the wings and fuselage and some blind holes in the top wing, then assemble everything except the top wing. I superglue lengths of transparent thread in the top wing holes. I glue the top wing in place then pull all the lines, tension them, super glue in place, trim and touch up the paint. This time I was going to predrill all the holes, assemble, paint, and then try to route the lines thru the wings and fuselage, glue the top wing lines. After the top wing cures, I’ll pull the lines taut, superglue the ends, trim and touch up.

I was also going to try this assembly jig from one of our NWSM modelers, Jack Mathews, that was featured on Model Paint Solutions. A Brilliantly Simple Biplane Assembly Jig. I’ve already made the jig parts.

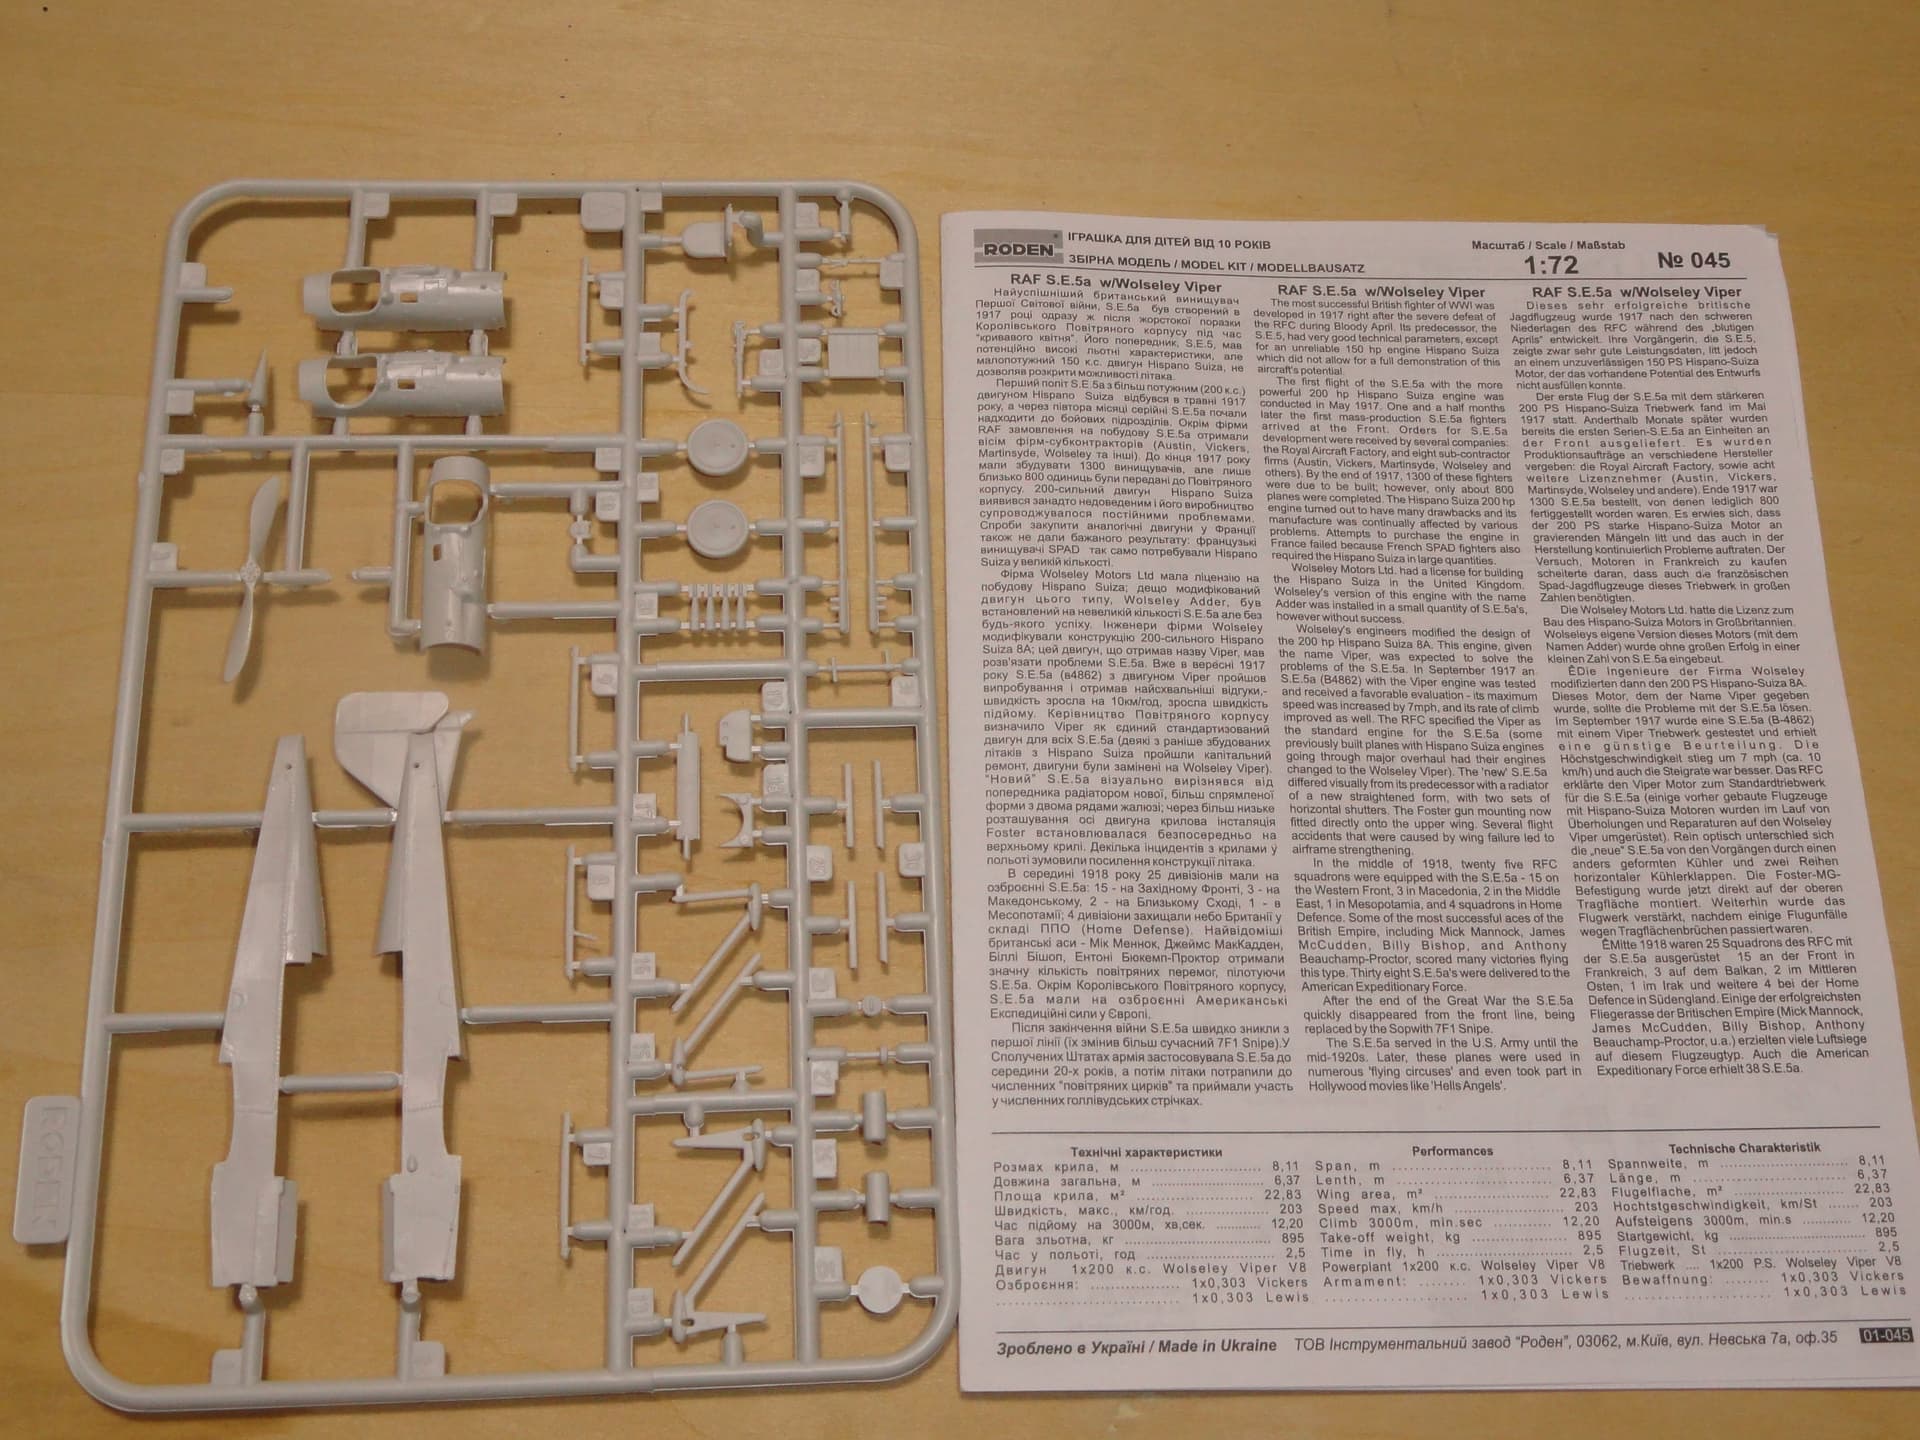
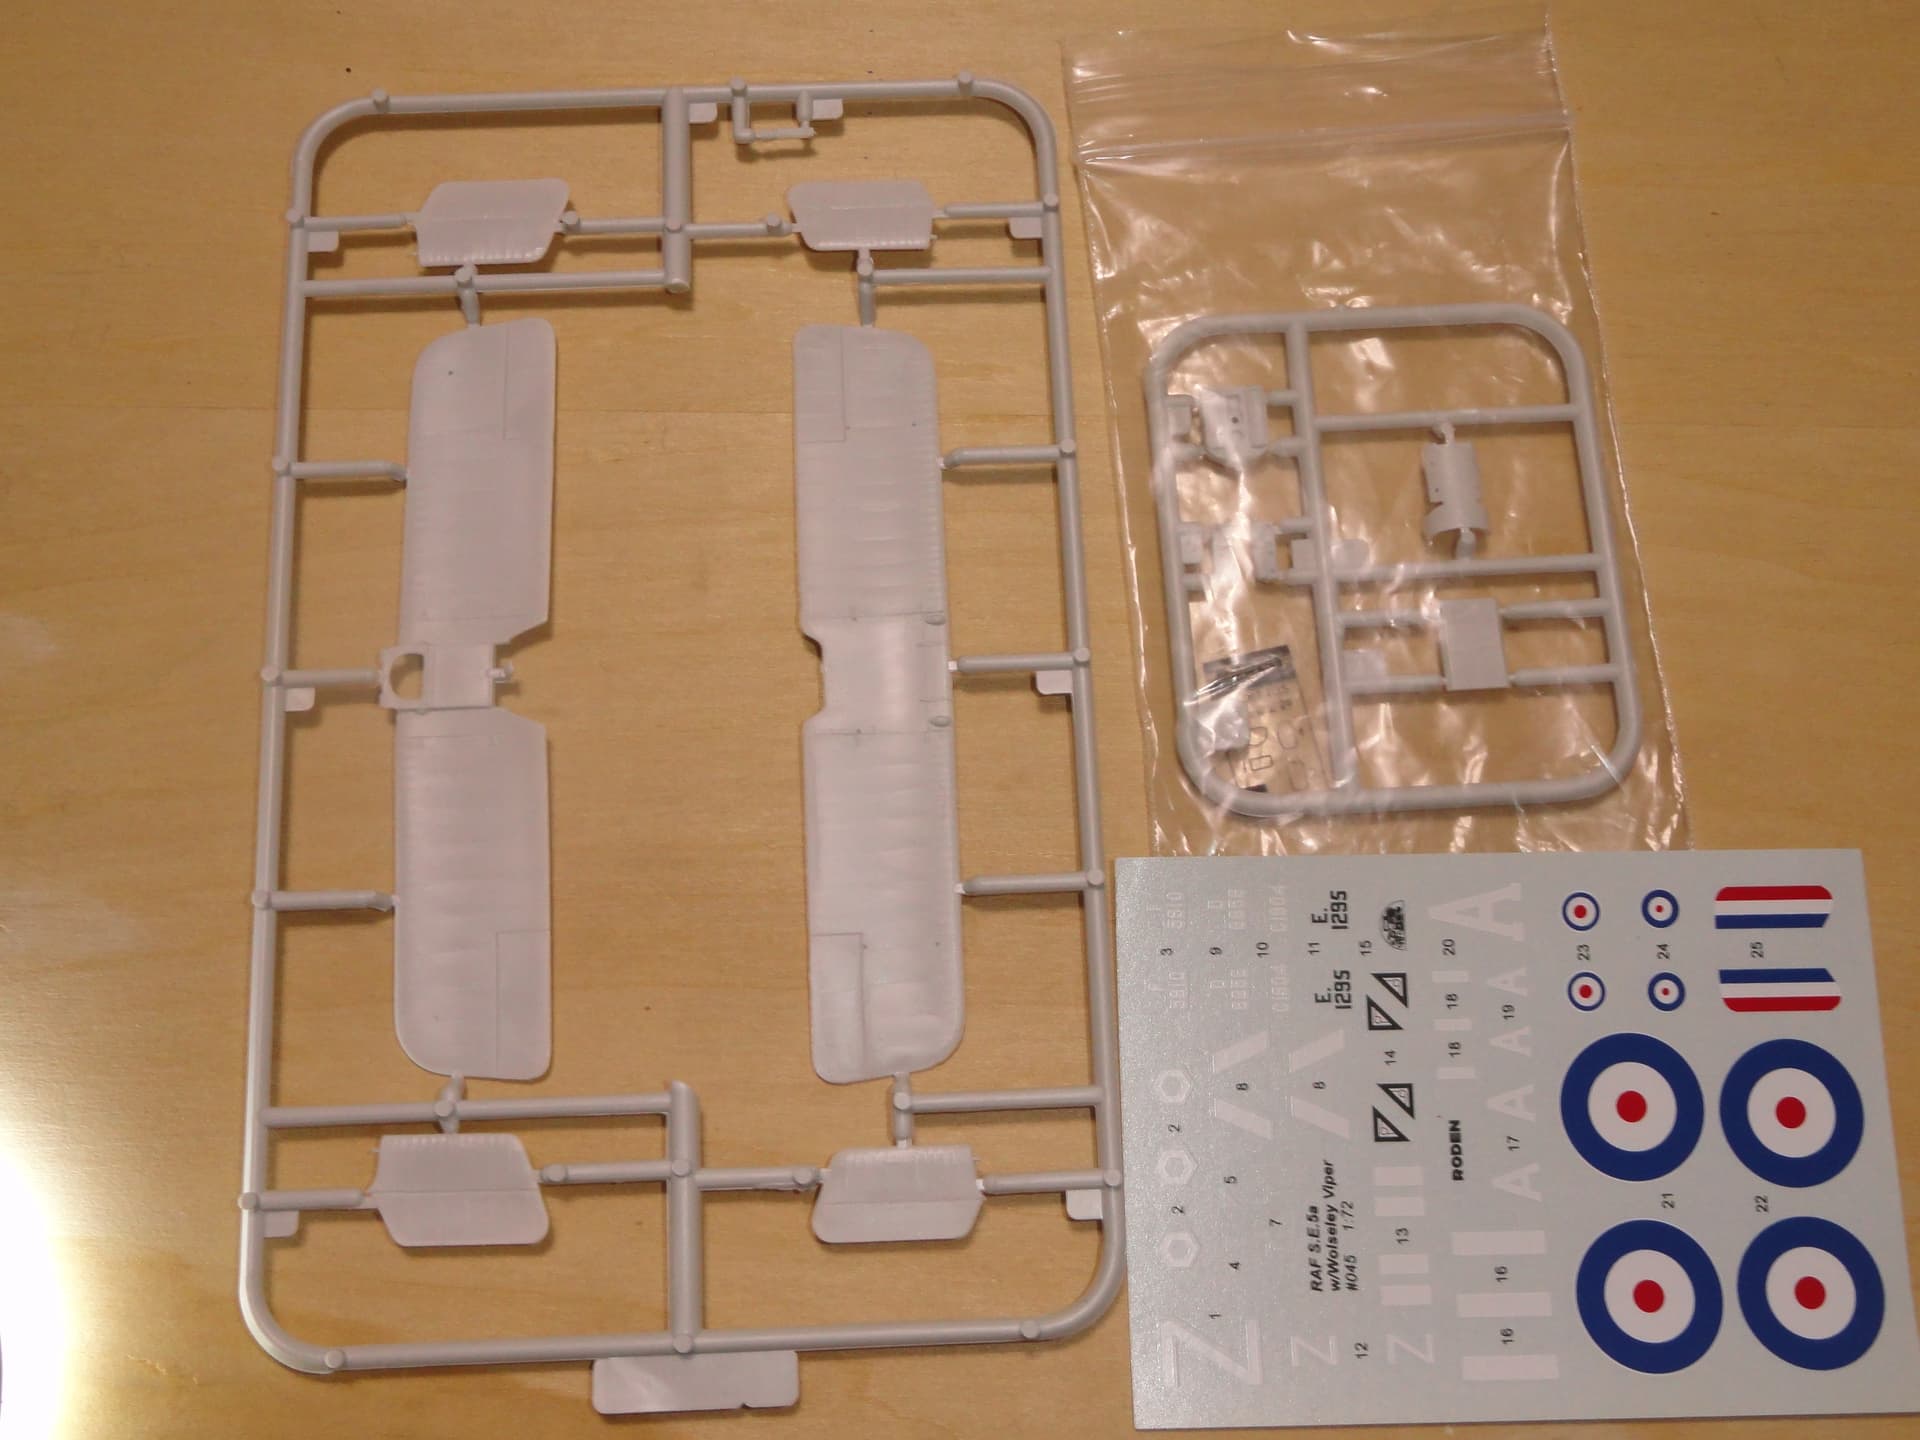
The Roden kit is way more complicated than the Revell SPAD. Where the SPAD had close to 20 parts, this one has over 40. Revell had like 3 assembly steps, Roden has 11. Plus, it has a more complex decal sheet including cockpit gauges and a unique set of decals for the little windows over the pulleys controlling the ailerons and elevators. So, this one is going to take a lot more attention and focus. Another reason to do a detailed blog.

But maybe I’m overthinking this whole process. I spent 2 nights trying to organize the painting and assembly steps to make sure I didn’t miss anything or get to an assembly step and find out the part wasn’t painted. There’s almost 80 lines in this list, and I’m sure I’ve forgotten something.

I am worried about doing the rigging. I’ve gone in search of rigging plans for the S.E.5a and haven’t found much in the way of good ones. What I did find was a set of photoetch rigging for the kit. I went ahead and ordered it since it might solve the twin wires problem that I was going to ignore.

2 Likes

I’m thinking of renaming this project “Two Steps Forward and One Step Back”.
I was worried about rigging plans and cast about on the web and found the instructions for a photoetch set that I ended up buying. Then I decided I needed more documentation, so I tracked down an old S.E.5a “in Action” on Amazon and ordered that. Then I remembered the Wingnut Wings had great rigging instructions in their assembly manuals, I might be able to find one online. I found one on ScaleMates. Two steps forward, one step back.
While I’m waiting on the photoetch and the book, I start working on the pre painting so I can get the assembly started. When I tried to reuse some thinned down gloss black paint, I mostly got black thinner out of the airbrush. Turns out the paint solids had turned into a single blob that wouldn’t break down. Tonight, when I tried to drag the flight surfaces to the paint shop for some pre-shading, one of the elevators flew off into the either. No loss, the kit had two sets of elevators. I go back and grab one of the other elevators and clean it up for painting. I’m about to start pre-shading it and I see that they’re two different sizes. Two steps forward, one step back.
I also started painting the cockpit interior. Got the forward cowling painted, then the ‘In Action’ book showed up. According to it, the forward cowling the instructions said went into this model was used on American planes only. Mine’s going to be an RFC plane, uses a different cowling, gotta start over again on that part. Two steps forward, one step back.
:wave:

1 Like

I decided that I was going to make a display base for the completed model, but I don’t have any 1/72 WWI pilot figures. That’s Ok, I’m sure I can order some online. I found some in California, I ended up with a set of 48 figures, not that I’ll ever build 48 WWI planes. But they’re in a soft plastic, painting them could be a problem, Two steps forward, one step back?
OK, I was going to pre-shade the wing ribs with a dark gray then overcoat the undersurfaces with linen. Kind of an enhancement over the straight linen I used on my SPAD. It was right there in my notes, thin linen 50%. Except that I can’t find any linen paint. I was sure it was from Tamiya, nope, not in their catalogue, Model Master? Nope. Any of the stray paints I have laying around? Again, nope. Pull the SPAD out of the cabinet and turn it over. Looks like I used MM Camo Gray. OK, what else could I use that looks like linen. The instructions call out for a Humbrol Matt Linen. Look that up, it’s kinda yellow. I don’t want that. Check some sources for matches, OH, OK, Tamiya Deck Tan. Fair choice, but that’s the color I’m already using for the pre-shading. OK, maybe I can use Tamiya Buff. Two steps forward, one step back.
I’ll try switching gears and see if I can make some progress on some sub-assemblies. I get the sky light placed in the top of the cockpit. Then I get the back half of the Browing machine gun installed. Move on to the collimating sight, get some holes drilled in the ends, paint some aluminum around the ends and place a couple of drops of clear glue into the holes for lenses. While that dries, I start building up the Lewis machine gun. Gun’s OK, where’s the mount??? Crap can’t find it anywhere. Gotta have something up there. Maybe I can fake it. Super glue some airfoil sections to some 1/32” solder. Maybe that’ll work. When while that cures, I start on the rest of the cockpit. Next up is the instrument panel. There’s a decal for the instruments. Ah, where is that decal sheet? I know it was all alone in a plastic bag inside of the kit box, or was it on the side table? Did I put it in the big notebook of decals. Nope. Great.
:stuck_out_tongue_closed_eyes: :wave:

1 Like

Not sure how I missed this one.

Probably a bit late, but the Haynes SE5 Workshop Manual is a very good reference that includes a lot of in-progress photos of a replica build and any number of period photos. With the exception of prototype marking schemes, all the data you’re likely to need (and much more) is there.

I’d love to see some photos if you’re documenting your build.

Cheers,
Colin

1 Like