I cannot agree more! Tim’s the man when it comes to taking these old and hard to build kits turning them into a treasure chest of gold doubloons.
Great idea!
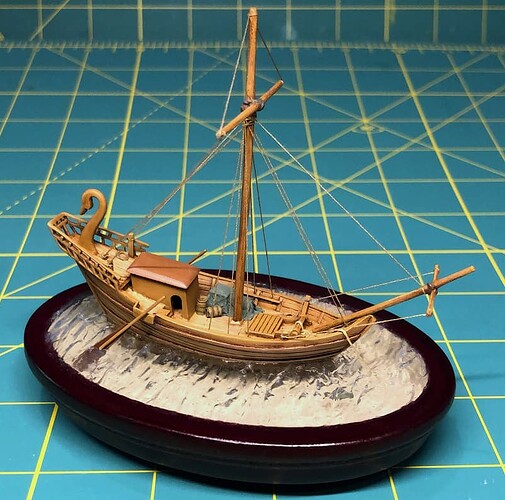
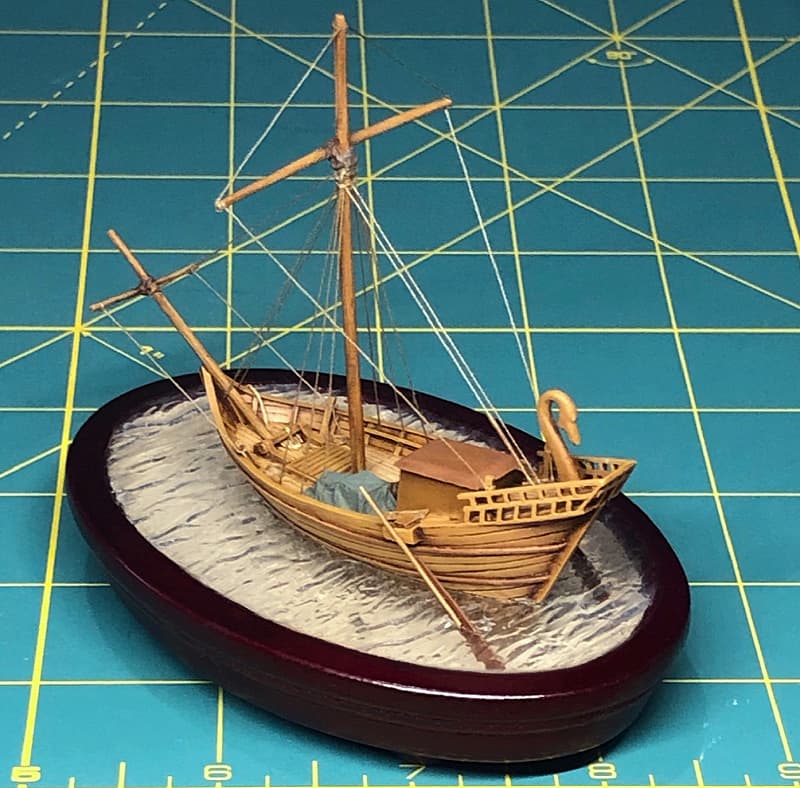
Great looking little ship!!! My only comment is that the “water” is too clear… I think that is because the bottom is too light… No colorization at all… Love the ship though!
Trivia Fact: “Starboard” comes from Steerboard, meaning the steer board was located on the right-hand side of the ship. Maybe that came later, during medieval times, or during the Viking era.
![]()
![]()
And “Port” comes from parking the ship with the “Steerboard” away from the shore/quay…
Cheers,
M
Originally ‘ladebord’, the side from which cargo was loaded; this changed to ‘larboard’ in the 16th century from association with ‘starboard’; this was changed to ‘port’ in the 19th century by an official naval order to eliminate any potential confusion between ‘larboard’ and ‘starboard’ under noisy conditions. ‘Larboard’ continued to be used for some time by civilian mariners, but the ready distinction between ‘port’ and ‘starboard’ pushed it out of use.
I must agree my friend, a tint in the bed (or in the medium) would’ve popped - but I can still imagine it’s on the pristine crystal shores of a Greek island, or some tidal estuary in the eastern Med. Besides I think most viewers would be too busy saying “YOU’RE KIDDING!!!” seeing the perfect refraction of the oar-blades – I know I was ![]()
Wow Tim! I’m just catching up on your build. Love the work you do with these small subjects. You’re turning this into another gem. The detail you’re able to coax from these kits amazes me. Looking forward to watching your progress.
John
This is looking so COOL Tim! Wow, for being a “small, simple project” when you started, this kit has turned into a challenging, though sometimes rewarding, build that is going to look awesome on your display shelf. Well done Tim!
JPTRR Senior Editor
I cannot agree more! Tim’s the man when it comes to taking these old and hard to build kits turning them into a treasure chest of gold doubloons.

Wow Tim! I’m just catching up on your build. Love the work you do with these small subjects. You’re turning this into another gem. The detail you’re able to coax from these kits amazes me. Looking forward to watching your progress.
John
Tom, Fred, Erwin, Tim, and John - thank you for your kind words!

Great looking little ship!!! My only comment is that the “water” is too clear… I think that is because the bottom is too light… No colorization at all… Love the ship though!

I must agree my friend, a tint in the bed (or in the medium) would’ve popped - but I can still imagine it’s on the pristine crystal shores of a Greek island, or some tidal estuary in the eastern Med. Besides I think most viewers would be too busy saying “YOU’RE KIDDING!!!” seeing the perfect refraction of the oar-blades – I know I was
Erwin and Tim, thanks for your observations! I agree, the clear water is perhaps too clear. I experimented with tinting it with Tamiya clear green and blue which gave it a nice color, but even the lightest translucent coating made the underwater hull, steerboards, and fish practically disappear. I wanted to show these off, so I decided to pretend the ship is in some extremely clear, shallow stream somewhere in the Empire… ![]()

Love this build. Something different from the usual ships on here ![]()
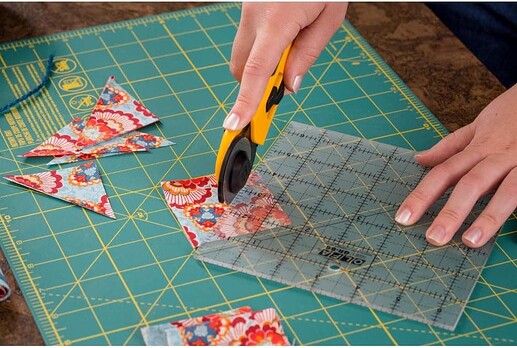
What I want to know is how/why your green cutting mat is so pristine! ![]()
![]()
I really like your little boat nice idea with the water and the fish.

I really like your little boat nice idea with the water and the fish.

Love this build. Something different from the usual ships on here
Robert and Rory, thanks! This one is a little different from my usual builds as well, but why not? ![]()
What I want to know is how/why your green cutting mat is so pristine!
Mark, I go through quite a few of those green mats as they get filled with paint stains and cuts - they’re on my desk in my living room, so I replace them when they get too ugly. They are actually rotary cutting mats for quilters, but I like them!
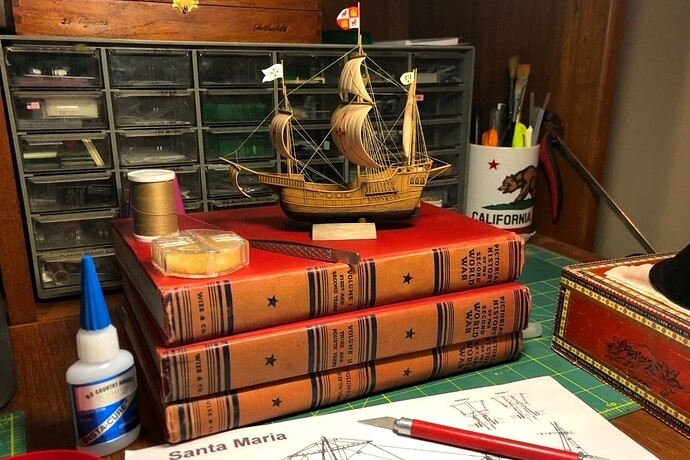
Also, the red background on some of the pics is a set of books stacked on my desk to raise models to eye level when I want to work on close detail. High tech!
More than you wanted to know, right? ![]()

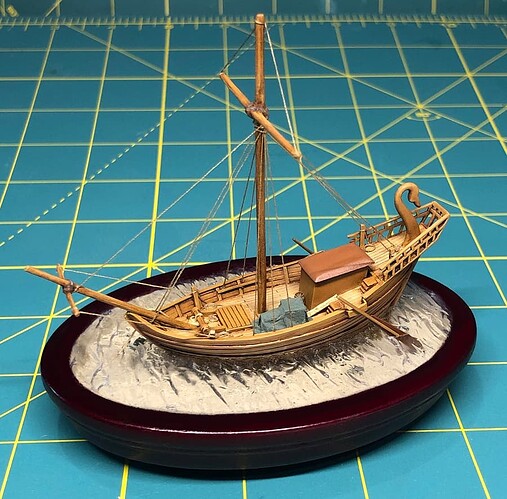
A final detail was to add a mooring hawser forward.

Before anchor chains became common in the 19th century, ships generally used natural fiber cordage to secure their anchors (in this case a bit of line left over from a Revell Viking ship kit).

As with the steerboards, the hawser goes from the model through a little hole in the acetate and can be seen going down below the surface.
Hmm…A little too late to add an anchor-stone on the sea bed! ![]() …unless your water disk is not glued down yet.
…unless your water disk is not glued down yet.
![]()
![]()
Hmm…A little too late to add an anchor-stone on the sea bed!
…unless your water disk is not glued down yet.

The thought did occur to me, but the “water” is so shallow that an anchor would have highlighted that that the little vessel is basically aground! I decided to content myself with the hawser discreetly disappearing under the water in front of the ship.
I’ve tried to break from my typical pattern of glacially slow model construction with this fast, simple project… and at less than a month start to finish, it has indeed been lightning fast (at least for me)! Rushing things has resulted in some dumb mistakes that would probably have been avoided if I’d just gone at it more slowly, though. It was enjoyable, but I’m going back to the “build for fun and finish when you feel like it” approach.
Anyway… here it is, done!

![]()
That is the important part.
The ship has taken quite the journey and has weathered the storms well to enjoy her well earned rest at her home port. Good job Tim. ![]()
Nice little display piece. ![]()
![]()
![]()
![]()
![]()
![]()
![]()
