Hi all
this is my new project, as always I start with a picture (or a grouping, as in this case) in most of the cases I pick the ideas and the pictures from a fantastic serie of books from Stefano di Giusto “Panzer in OZAK” theme, wich is my favourite modelling theme, he has also a website, www.panzer-ozak.it.
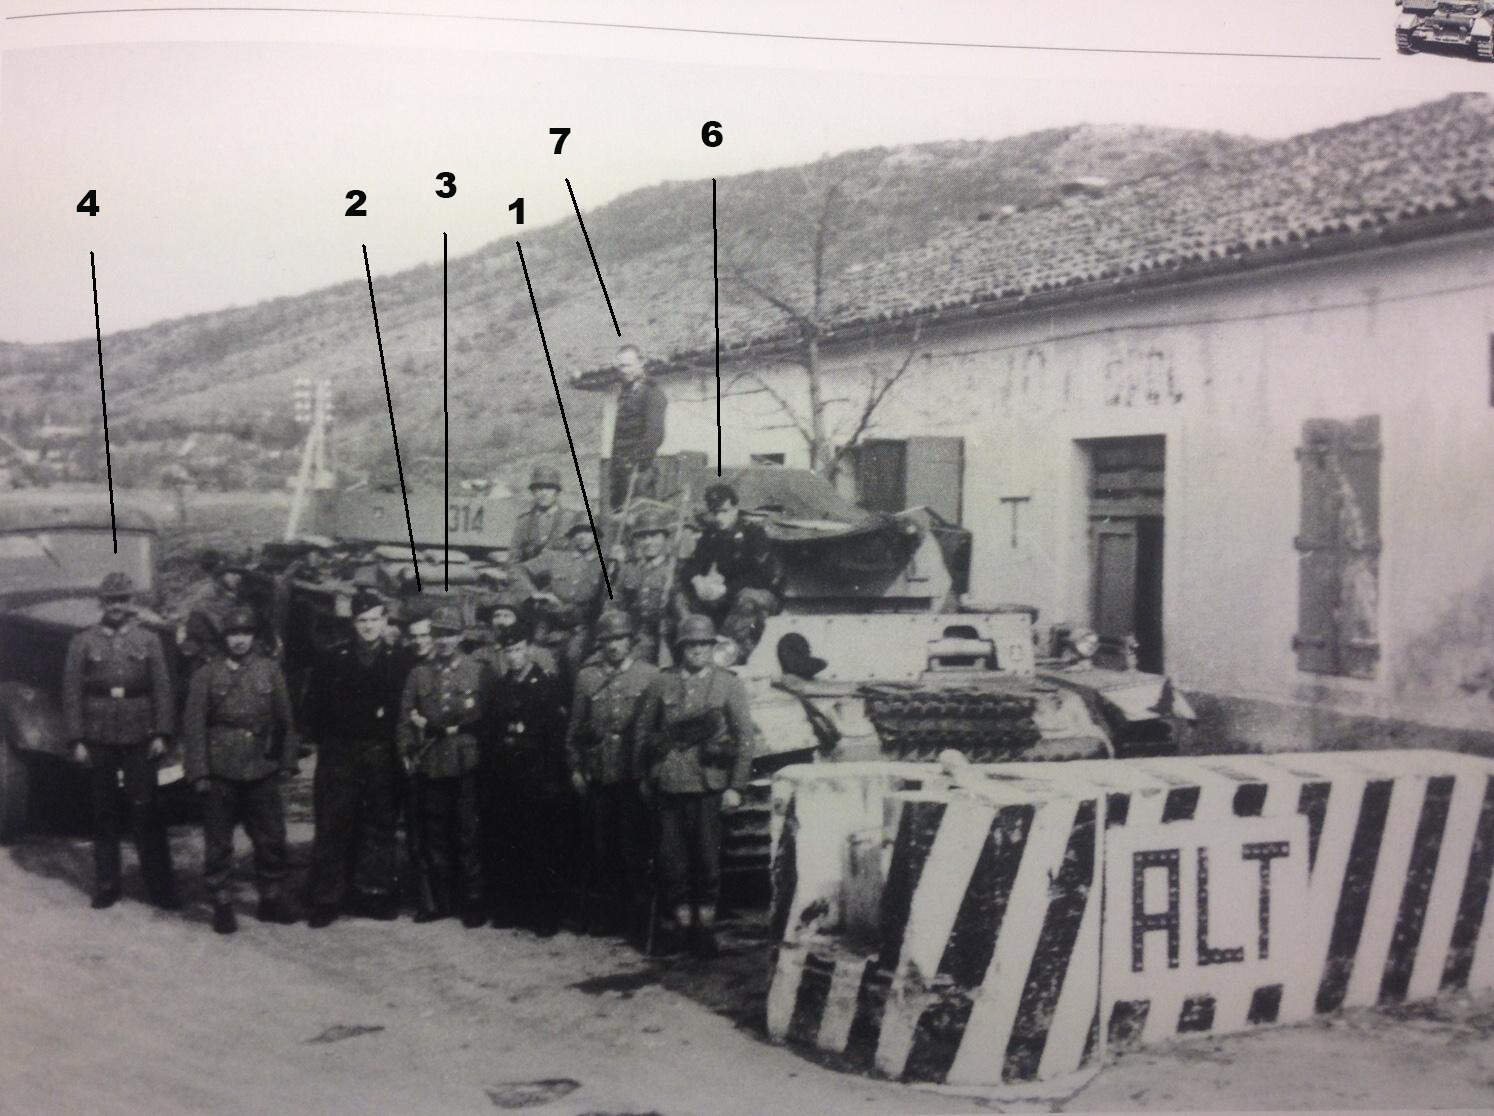
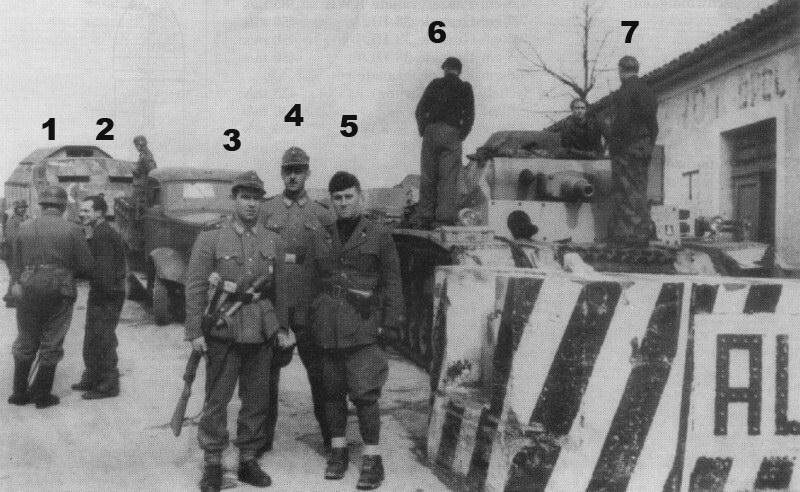
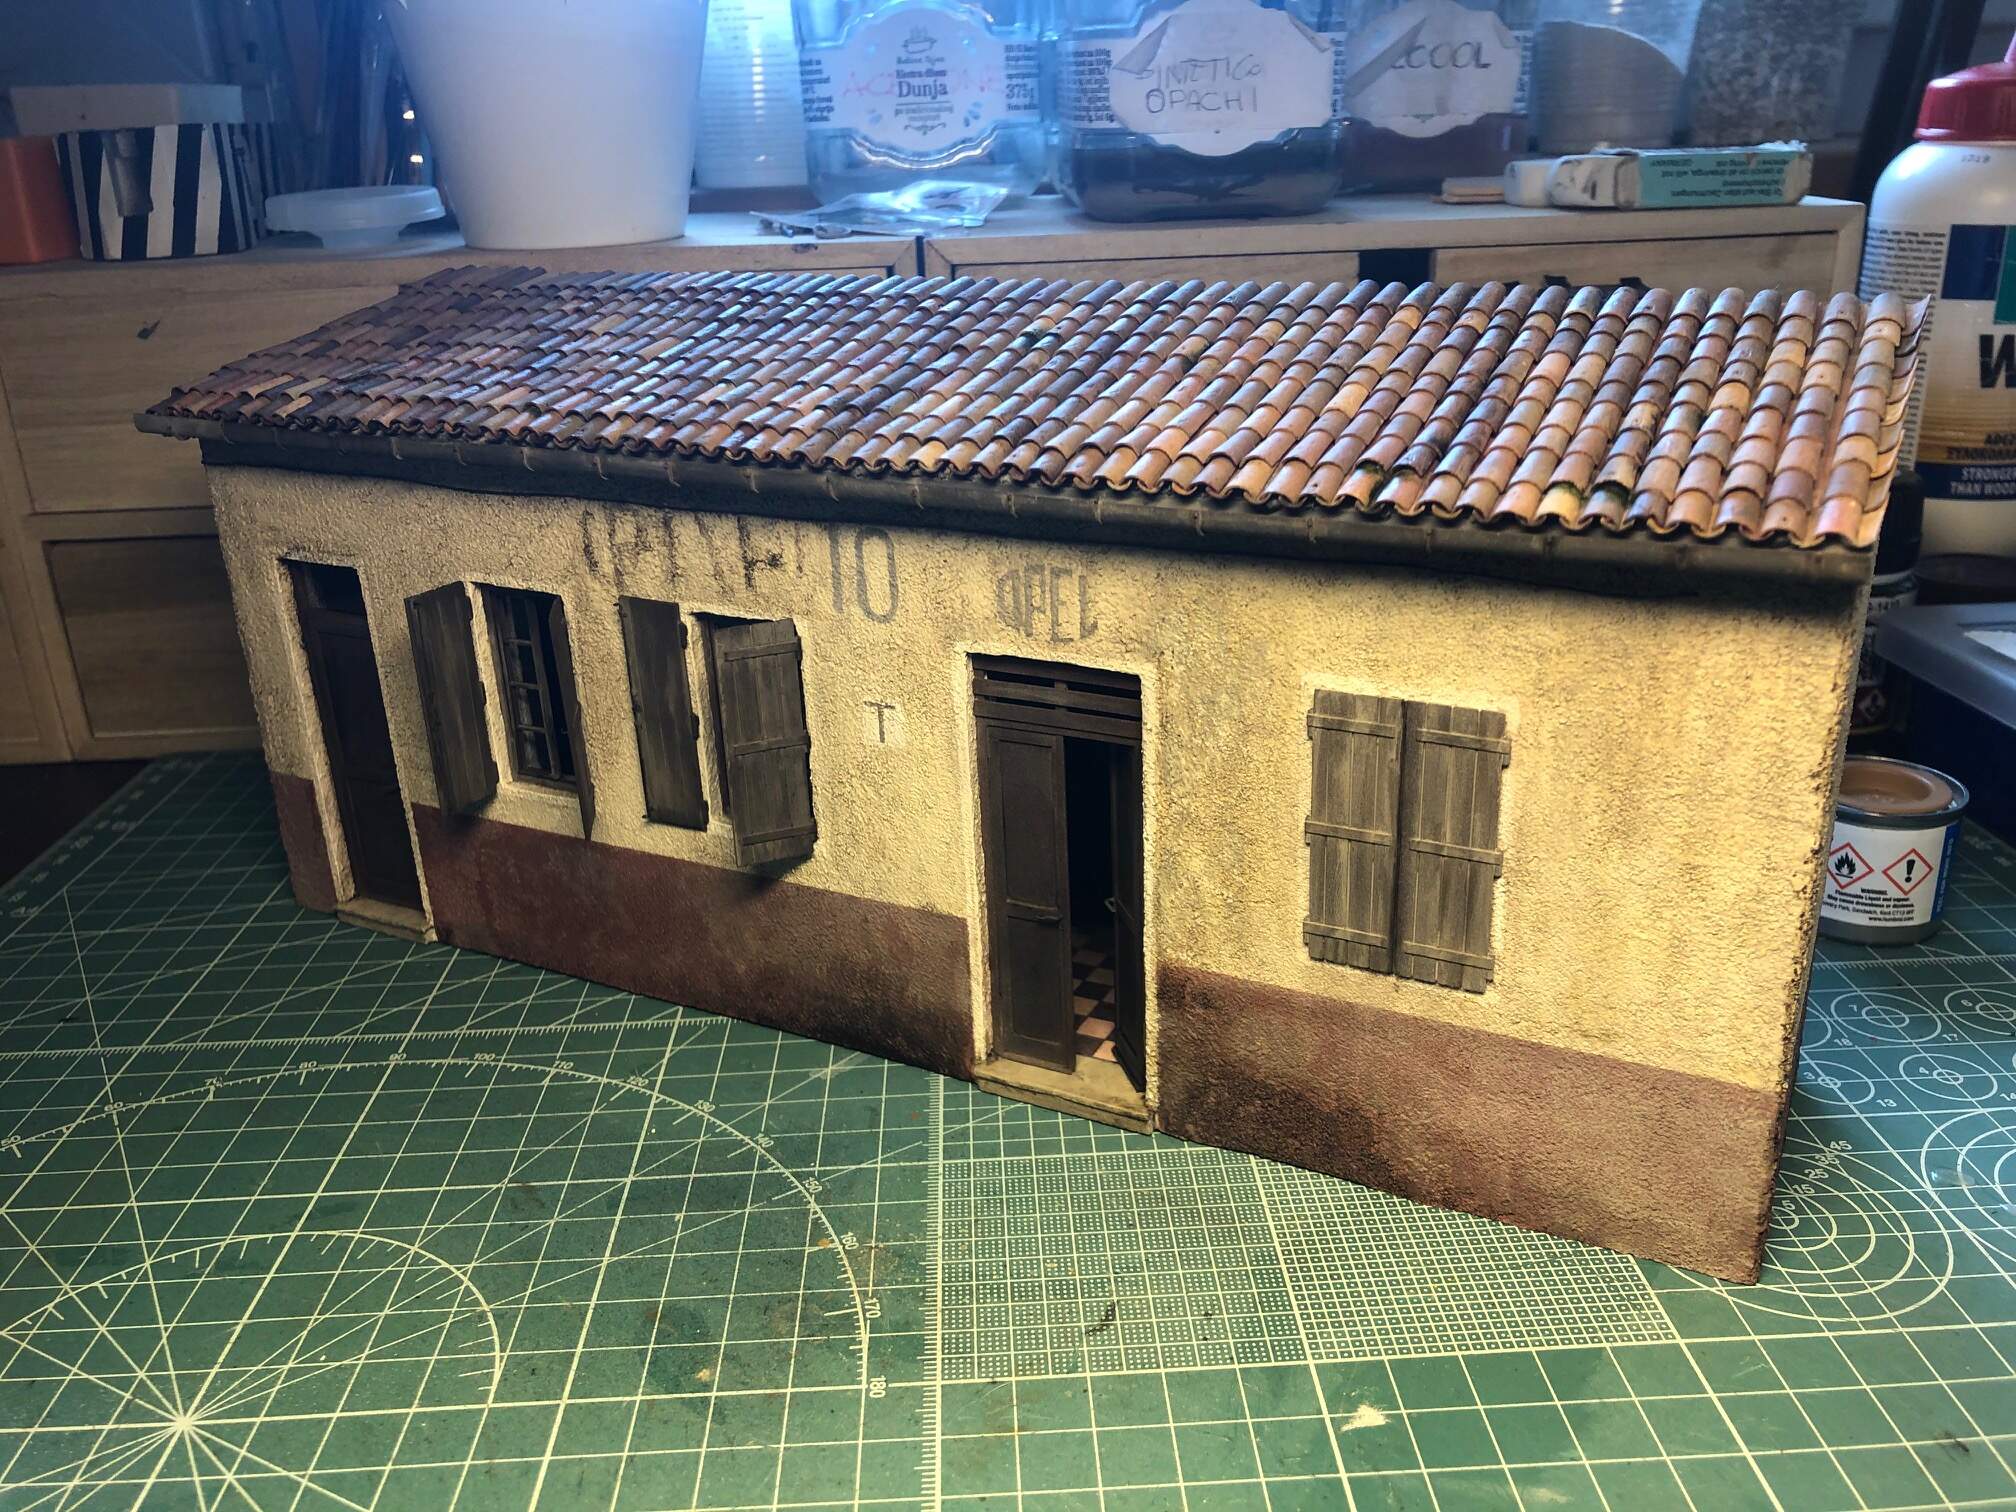
So I found some pictures of the Rupa Junction site, a crossroads near the slovene-croatian border wich was a stronghold on the Rijeka Straße the road connecting the town of Trieste and Rijeka, the stronghold was in fact a building (a Gostilna, wich means a pub) and the germans put also some concrete road blocks.
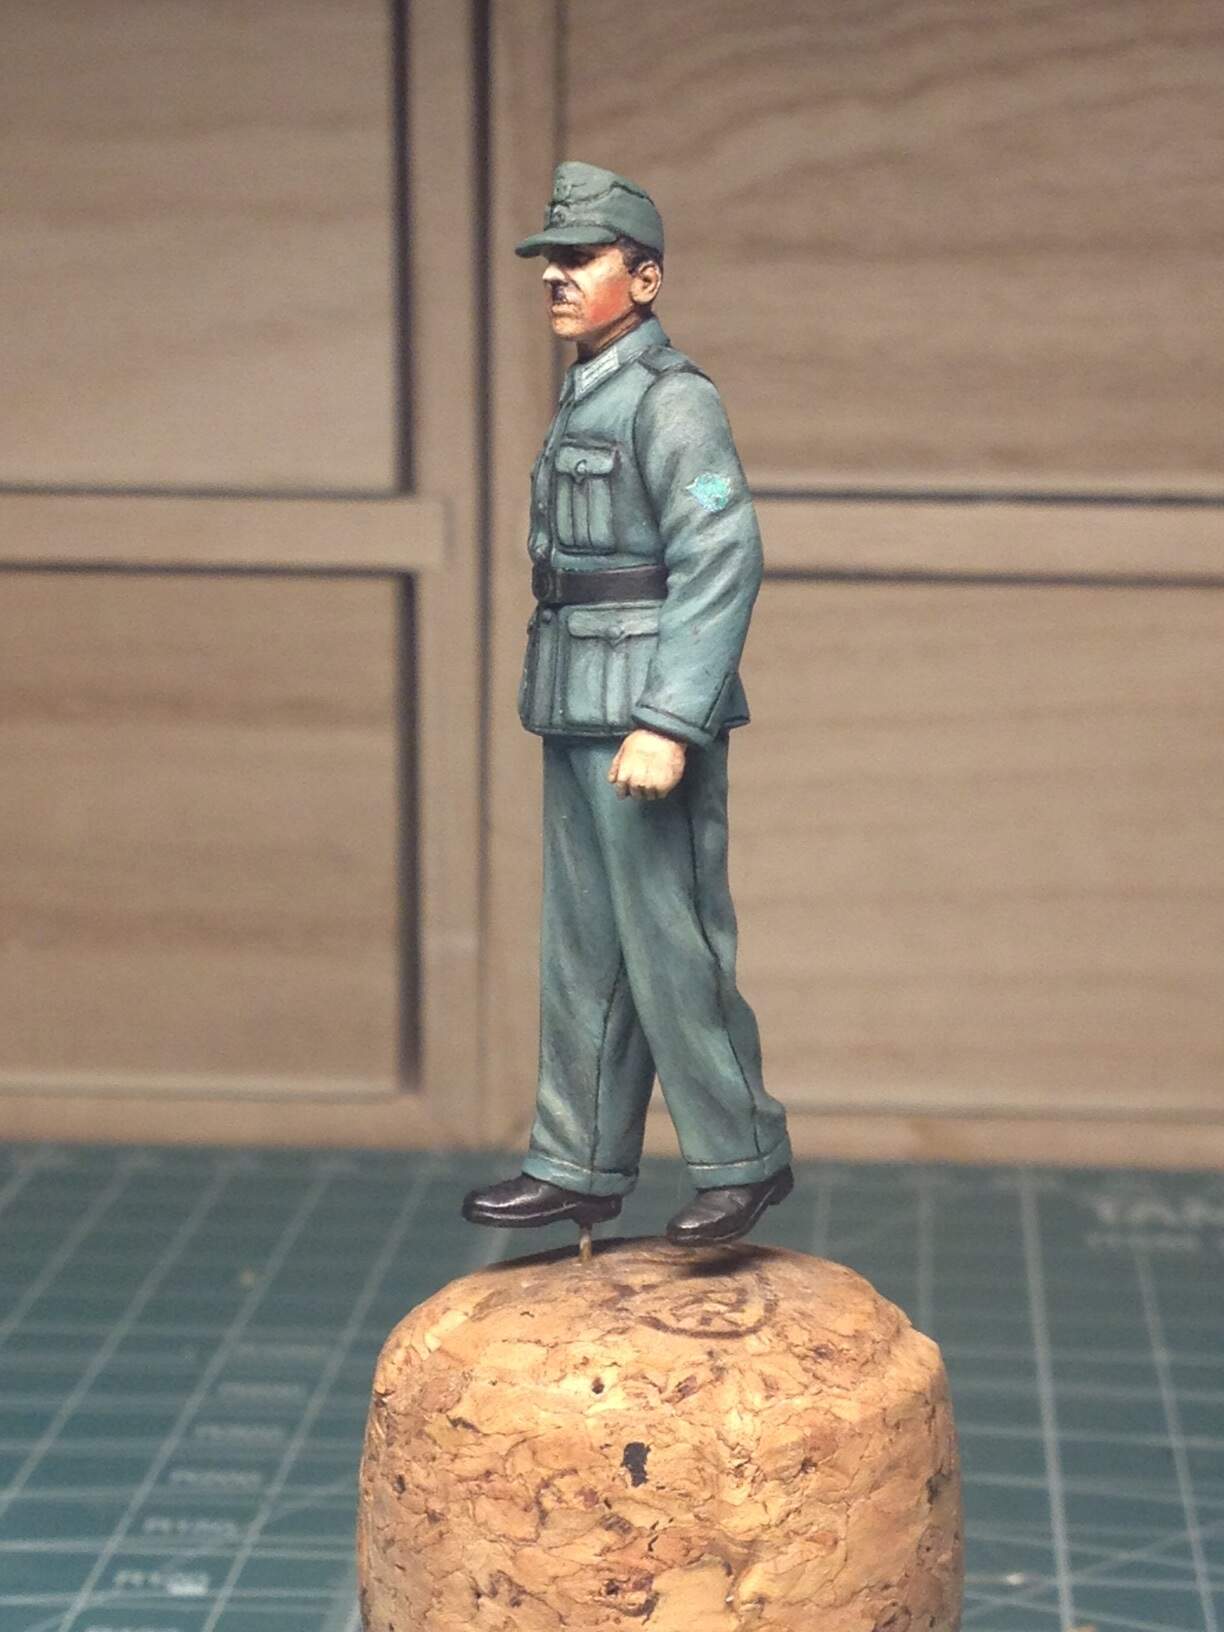
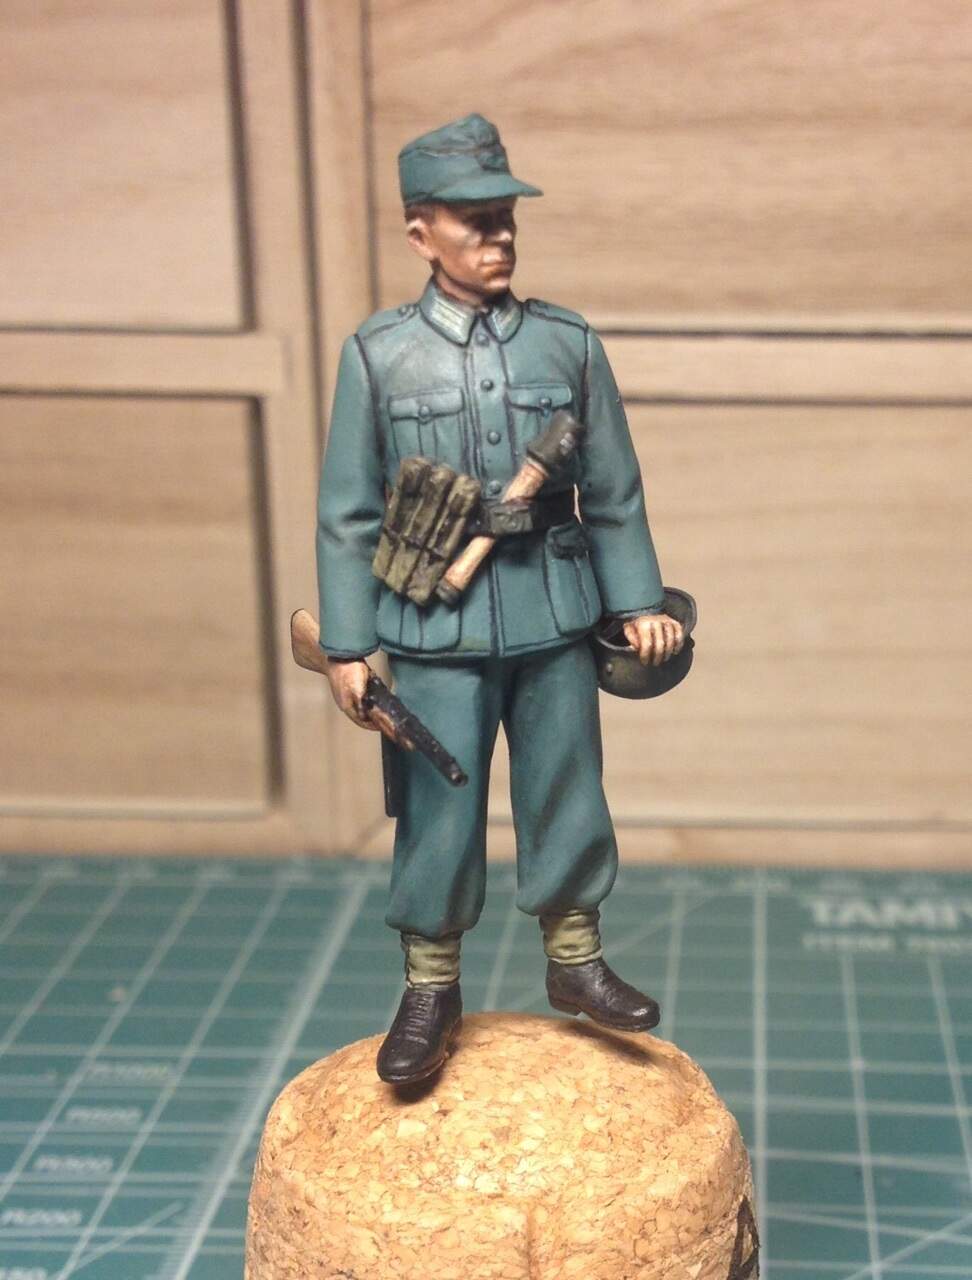
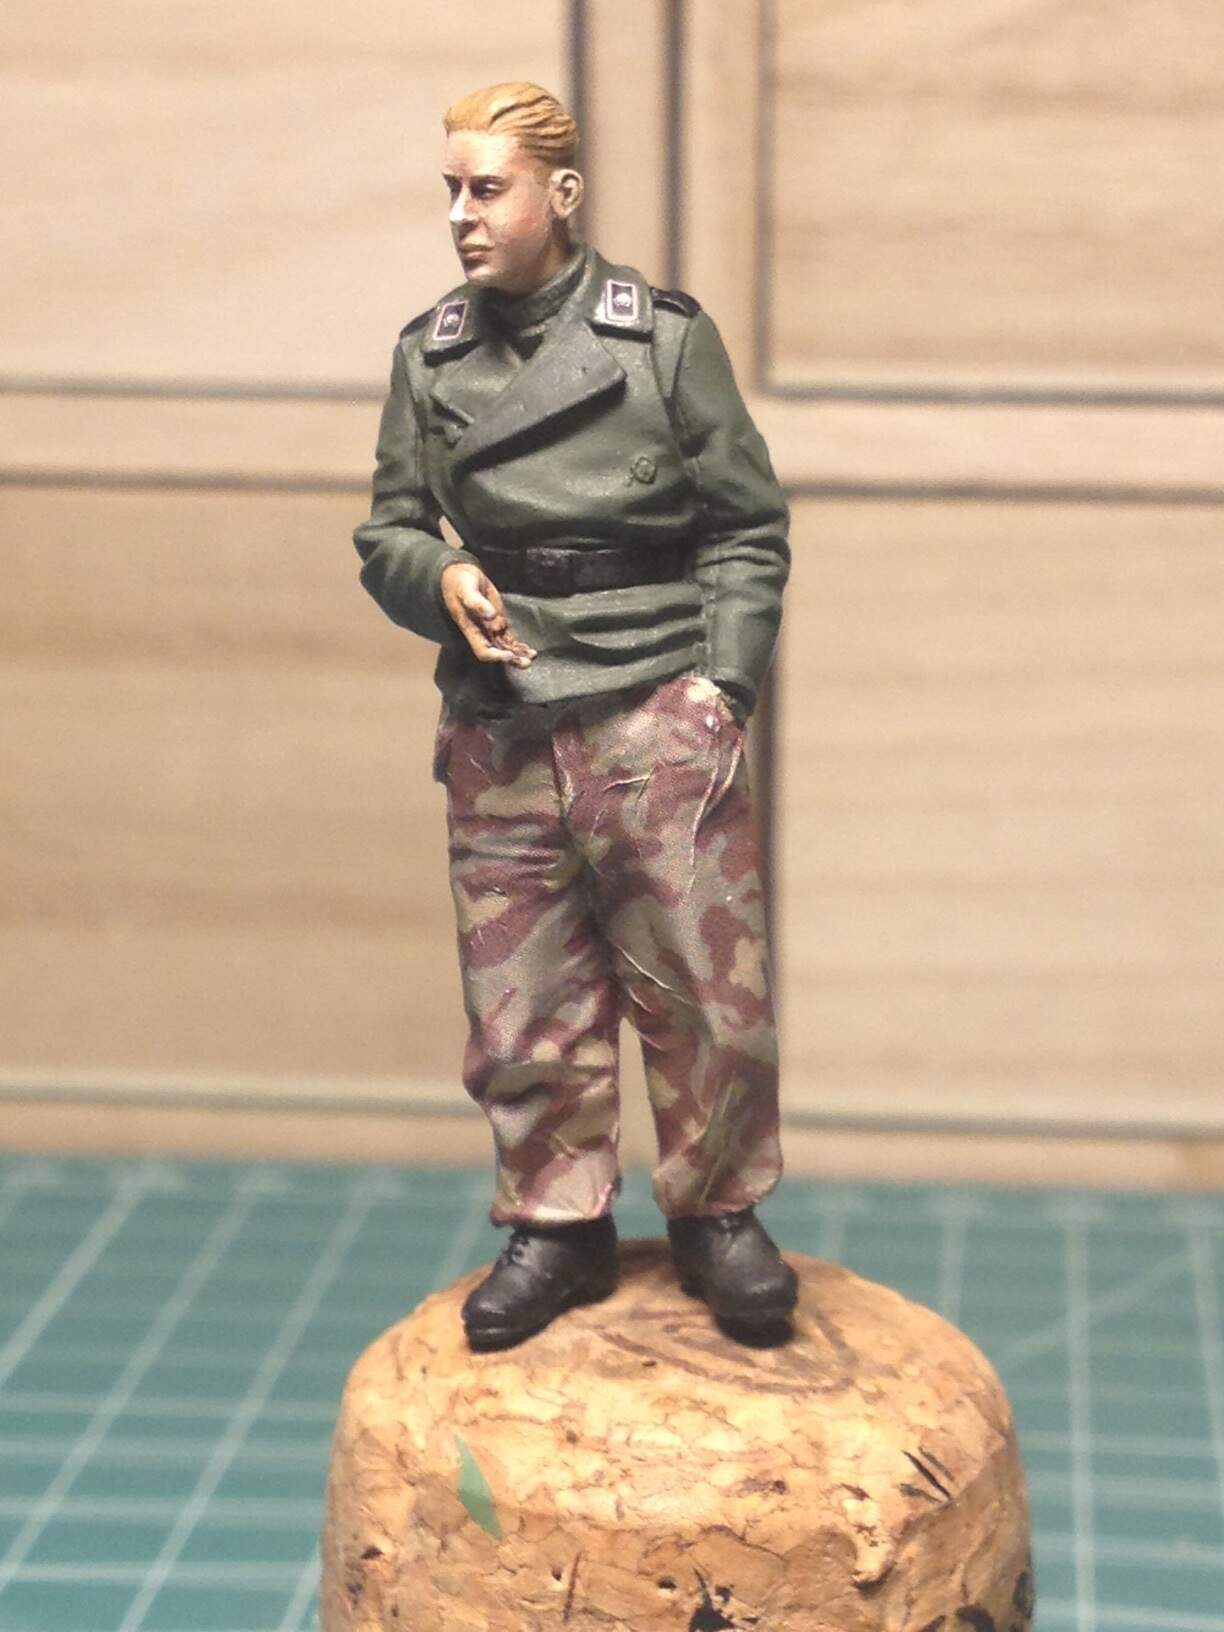
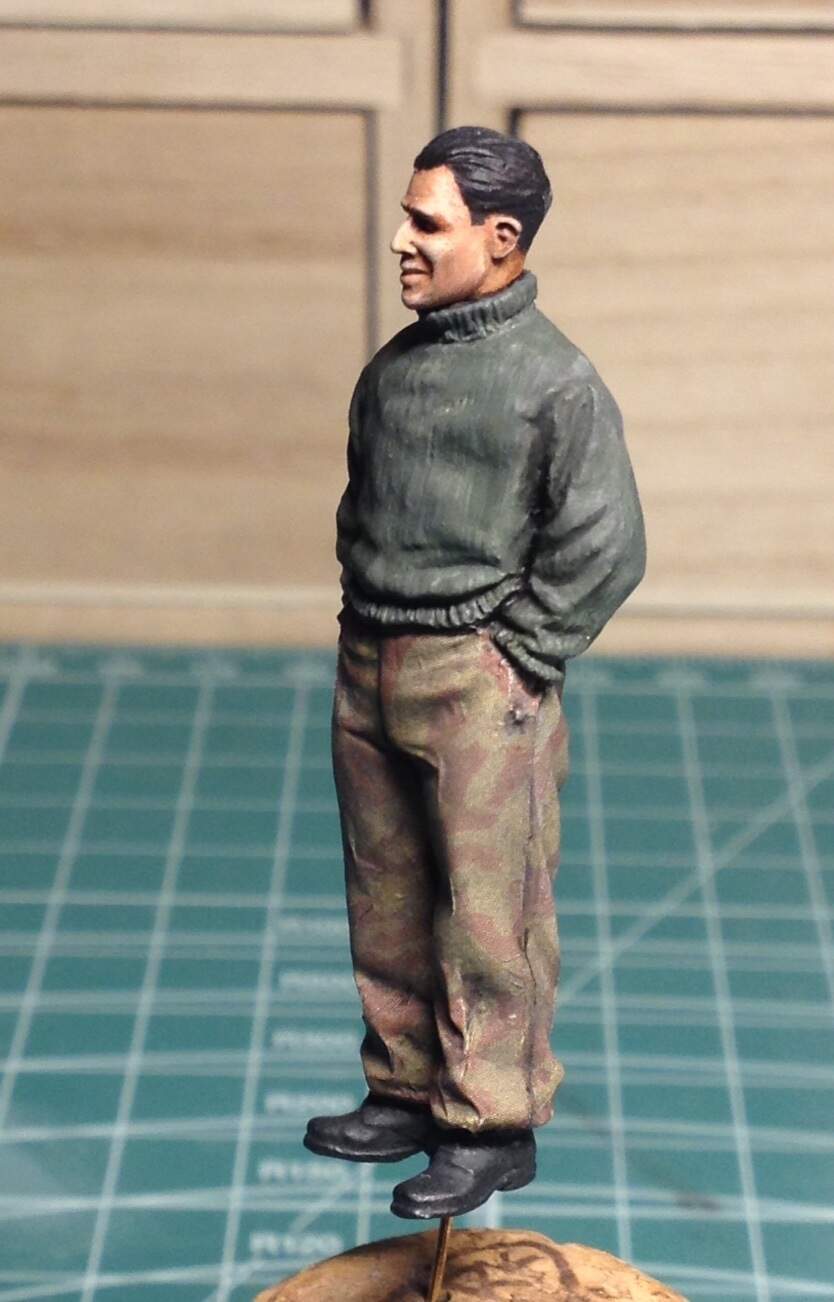
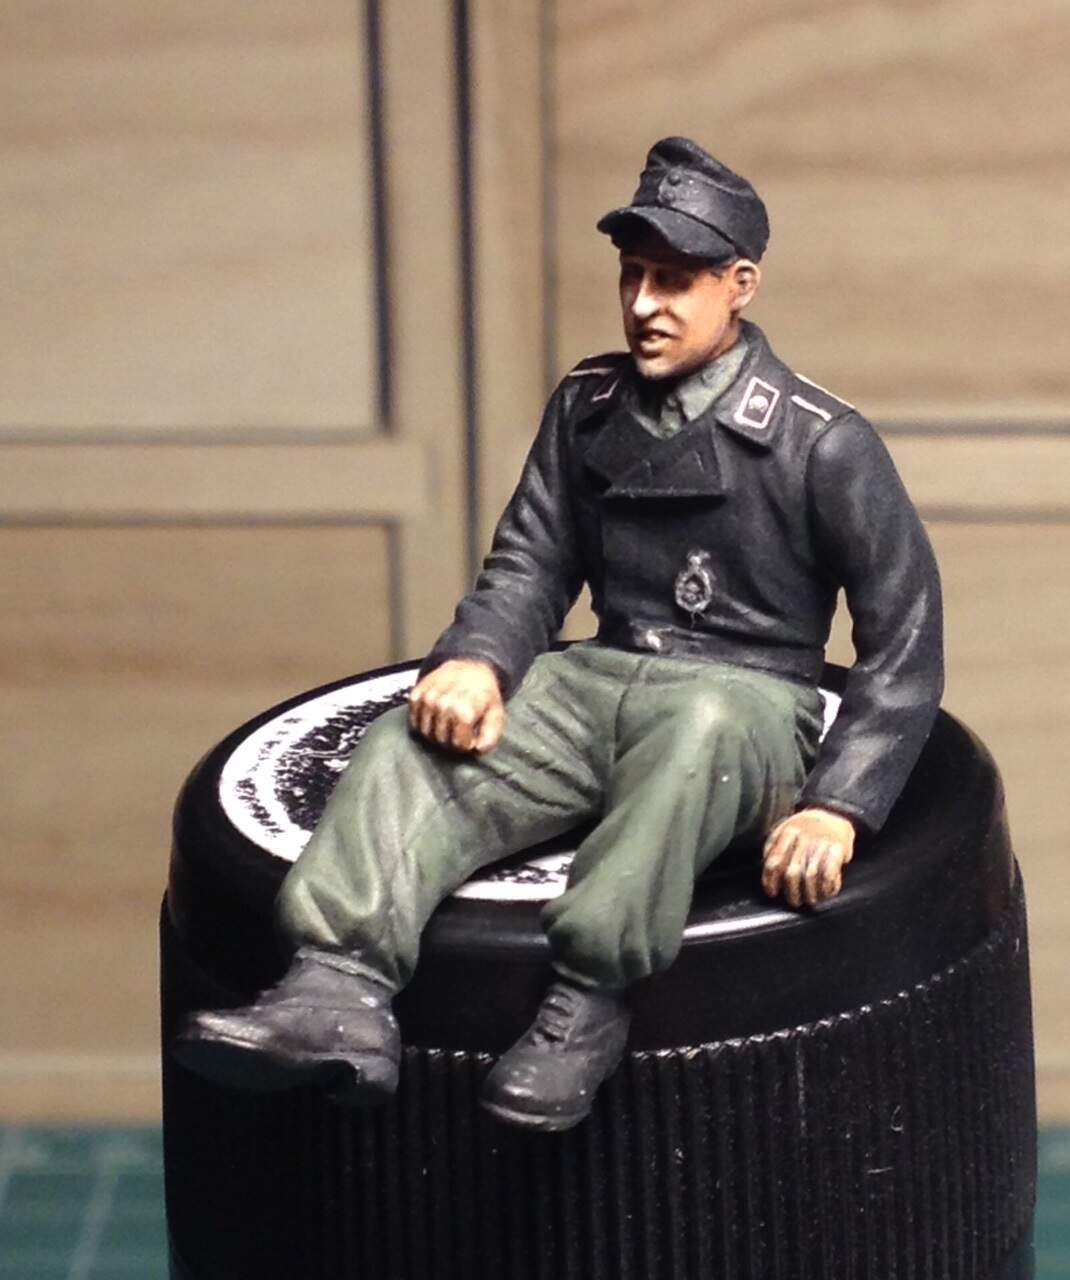
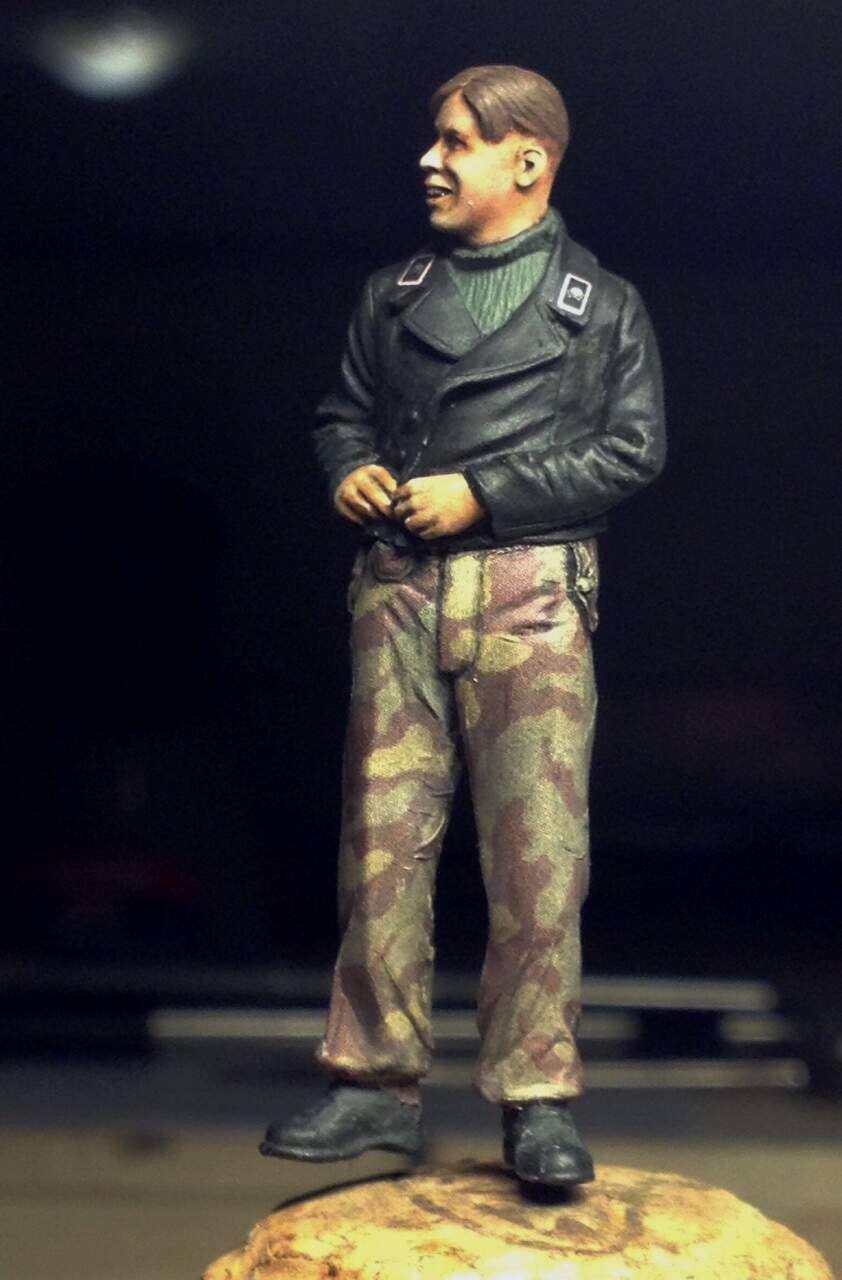
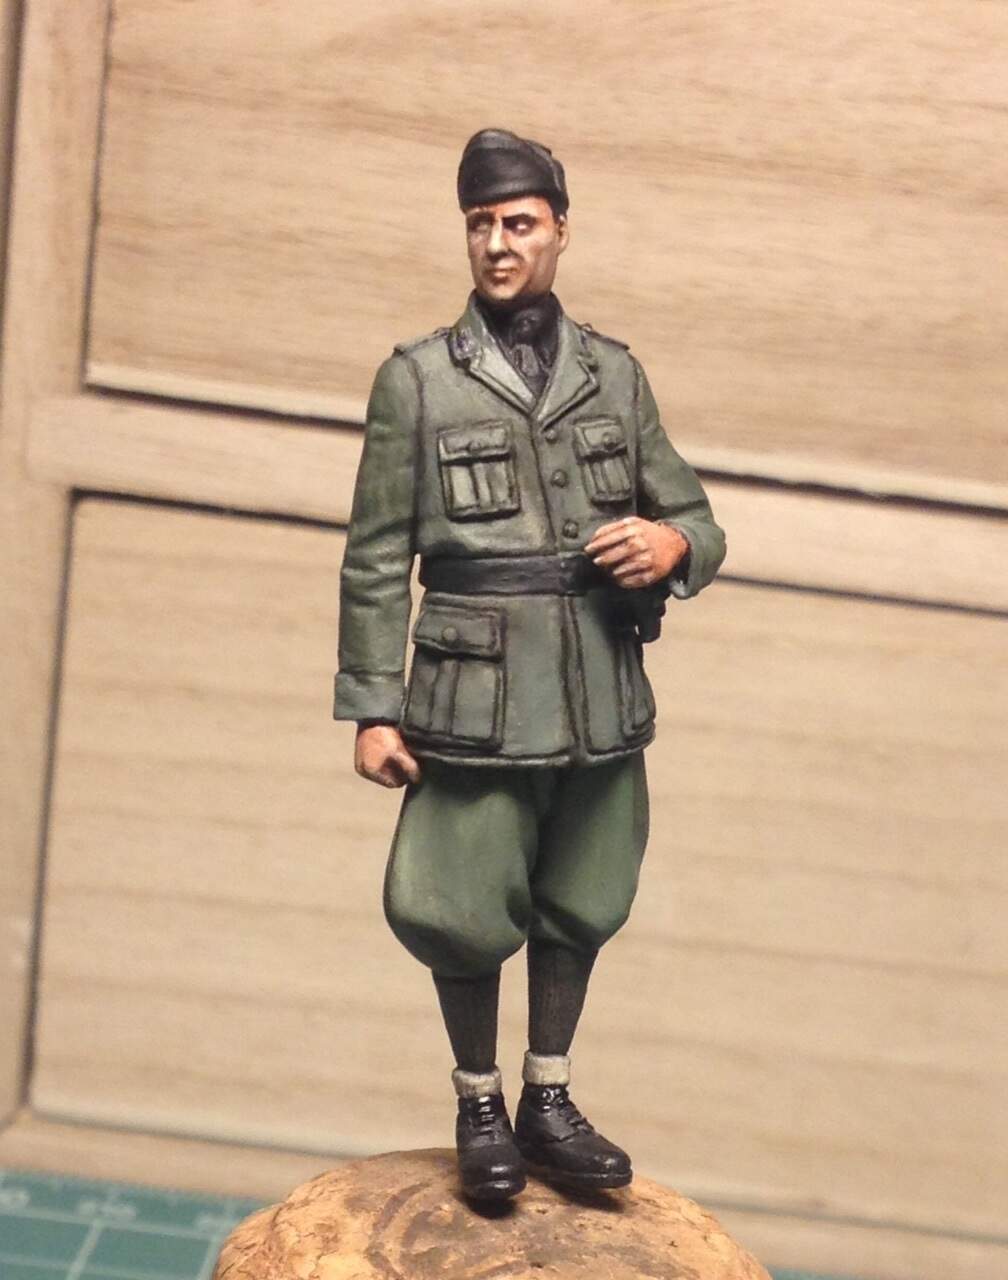
I used several figures from different brands, I mixed up some Alpine, Wolf, Yoshi resin figures, alongside with some plastic ones, I found very helpful the Tamiya Feldgendarmerie set, and also some Miniart slightly converted; the heaviest conversion was the italian soldier, wich came from a Hornet head, a Masterbox bust, Tamiya trousers and Miniart high socks and boots.
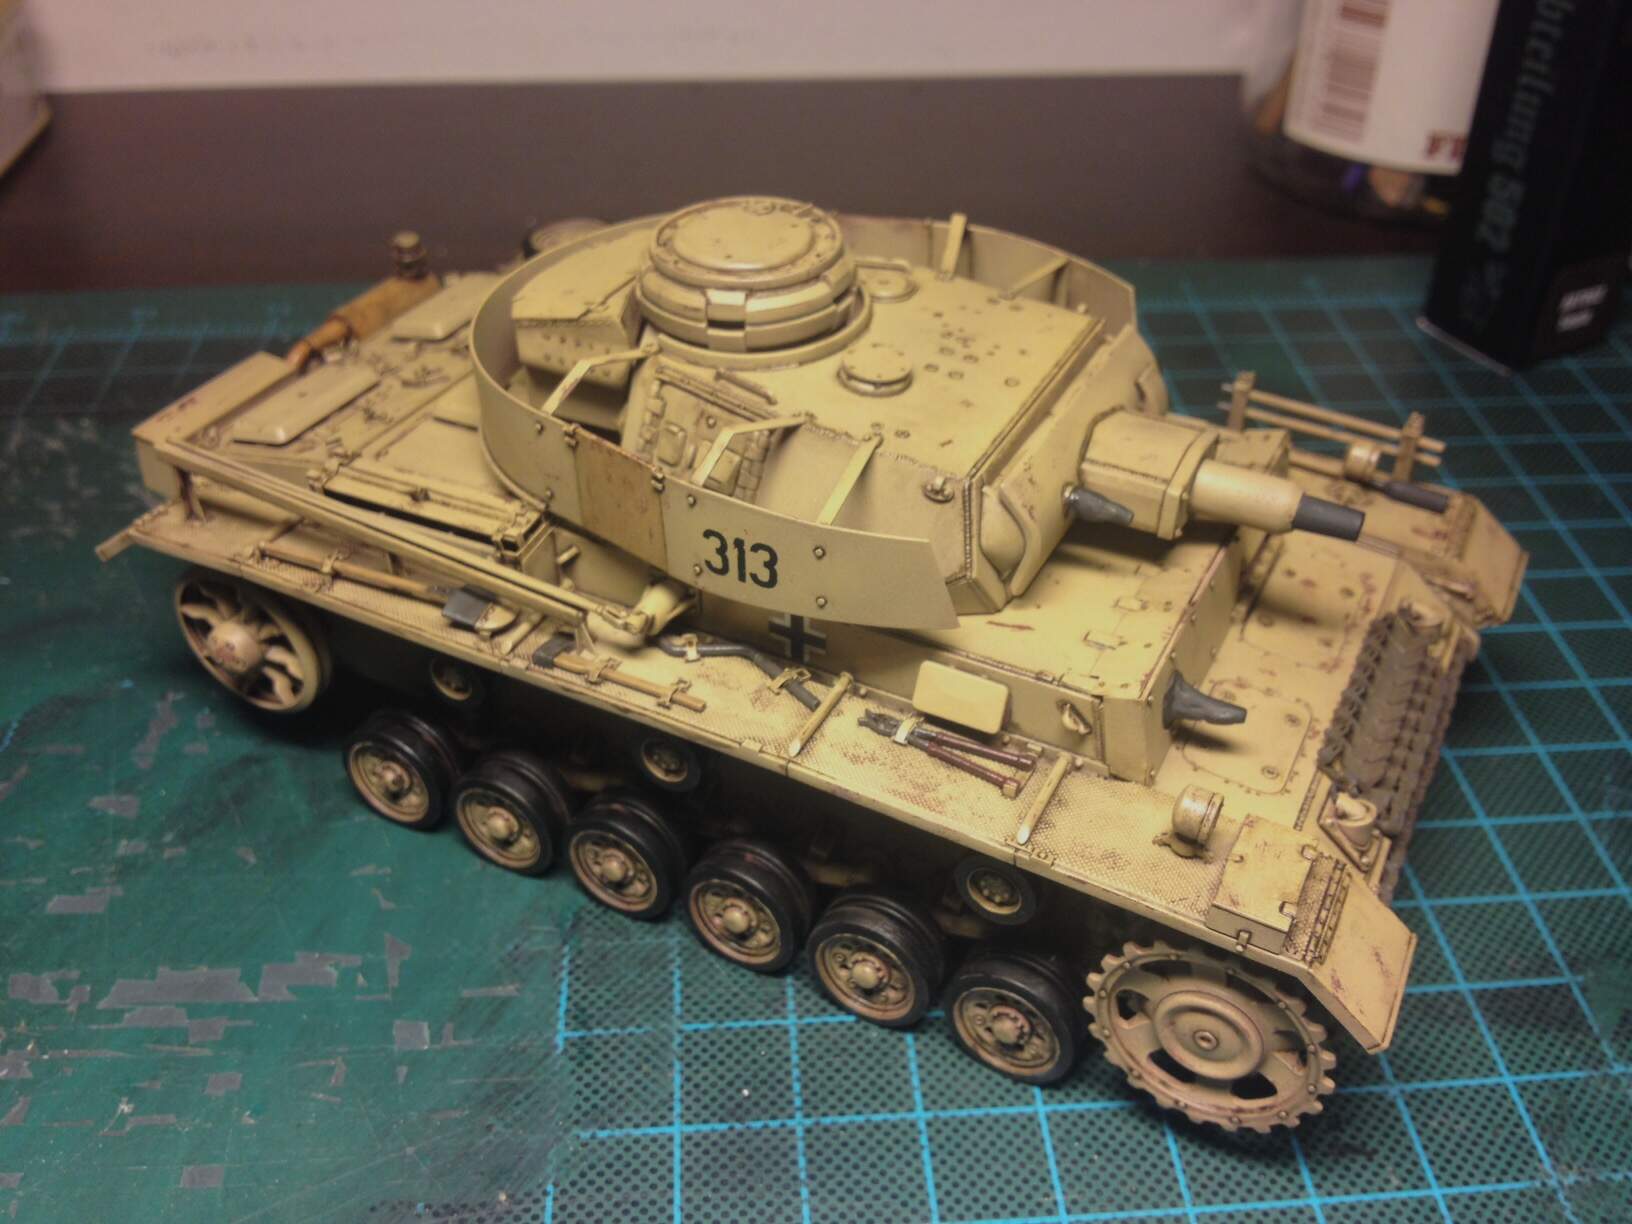
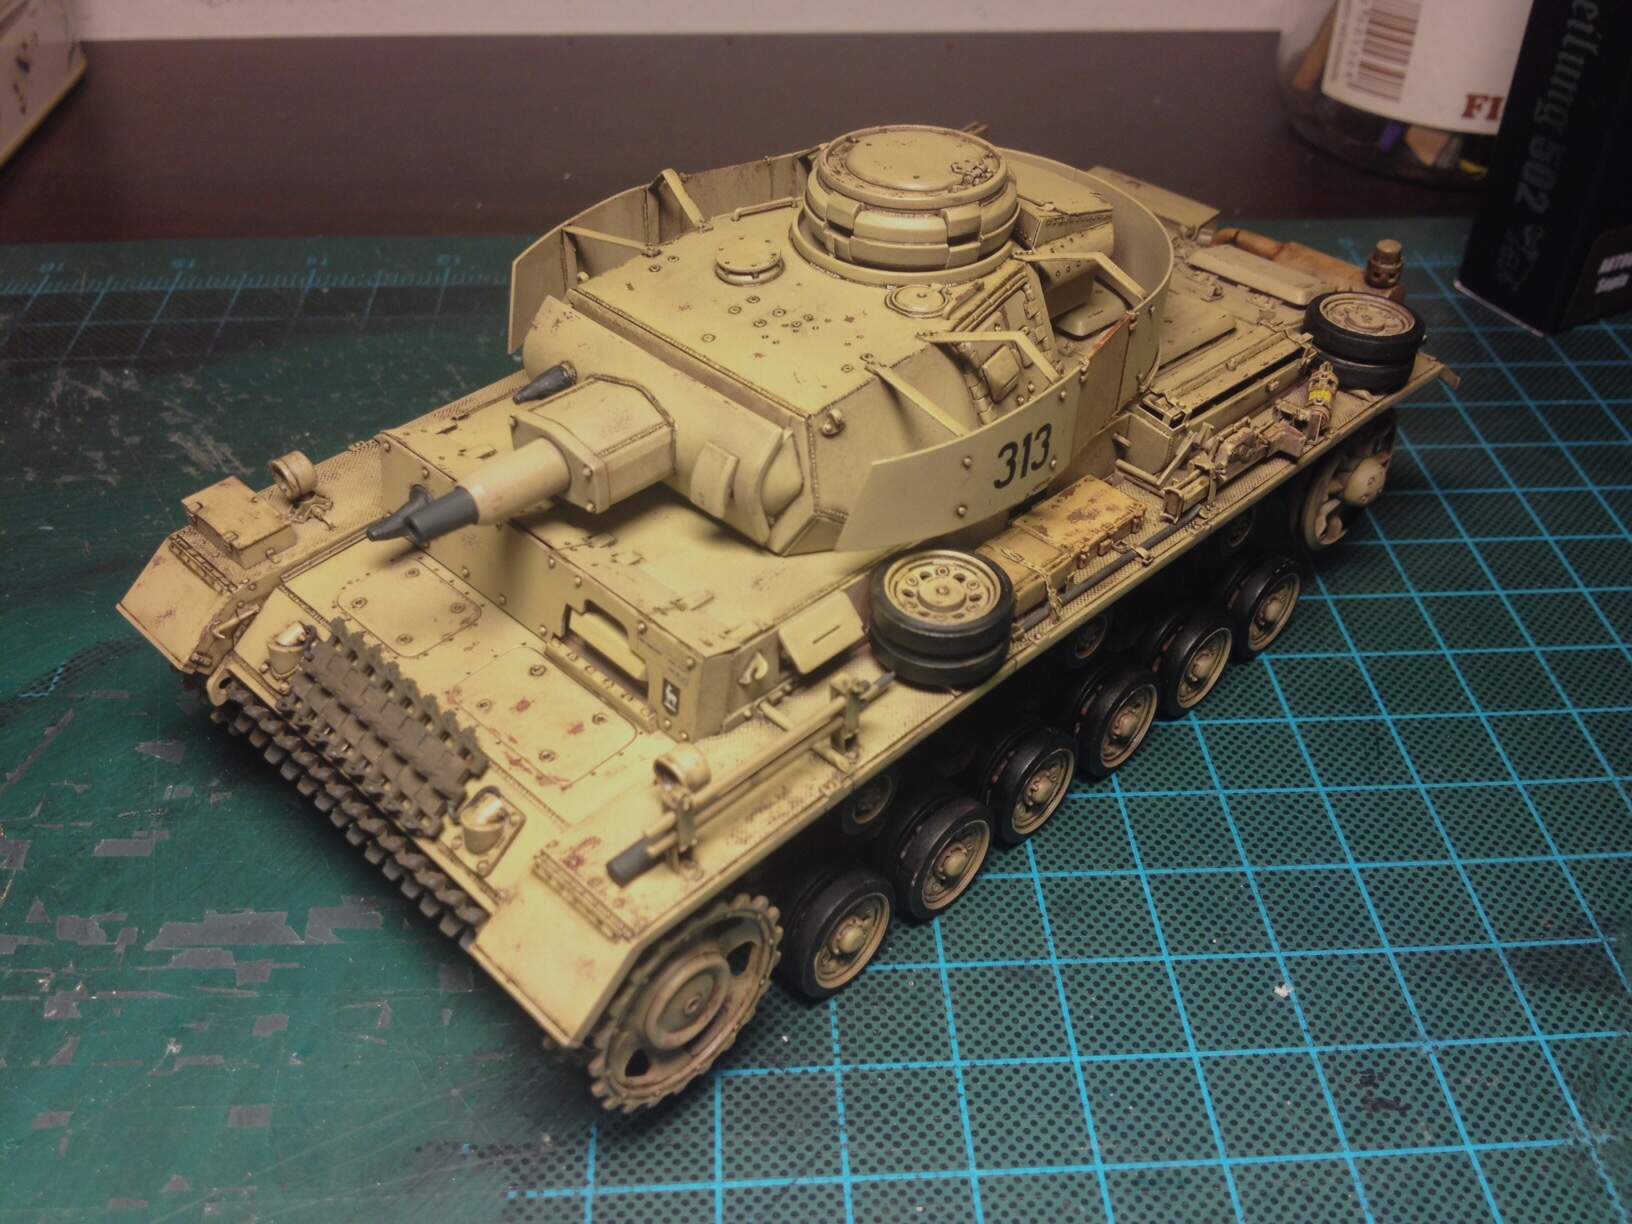
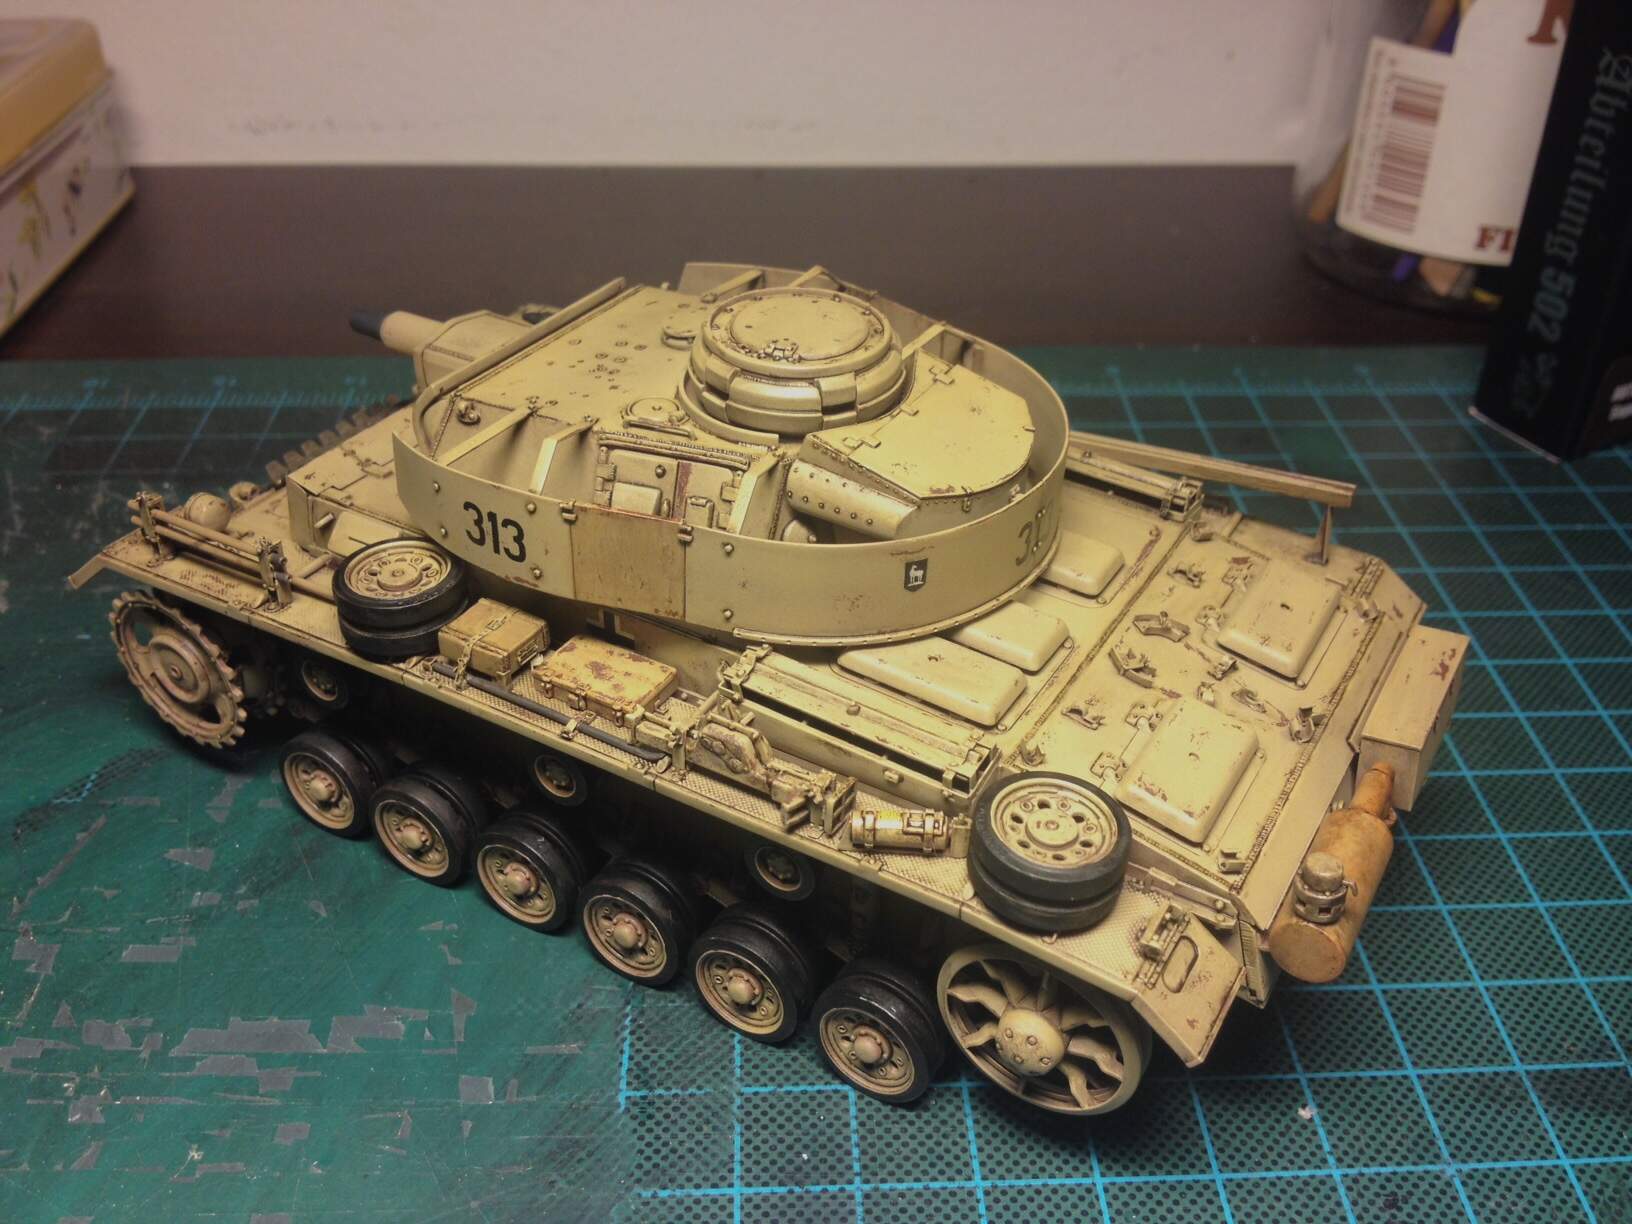
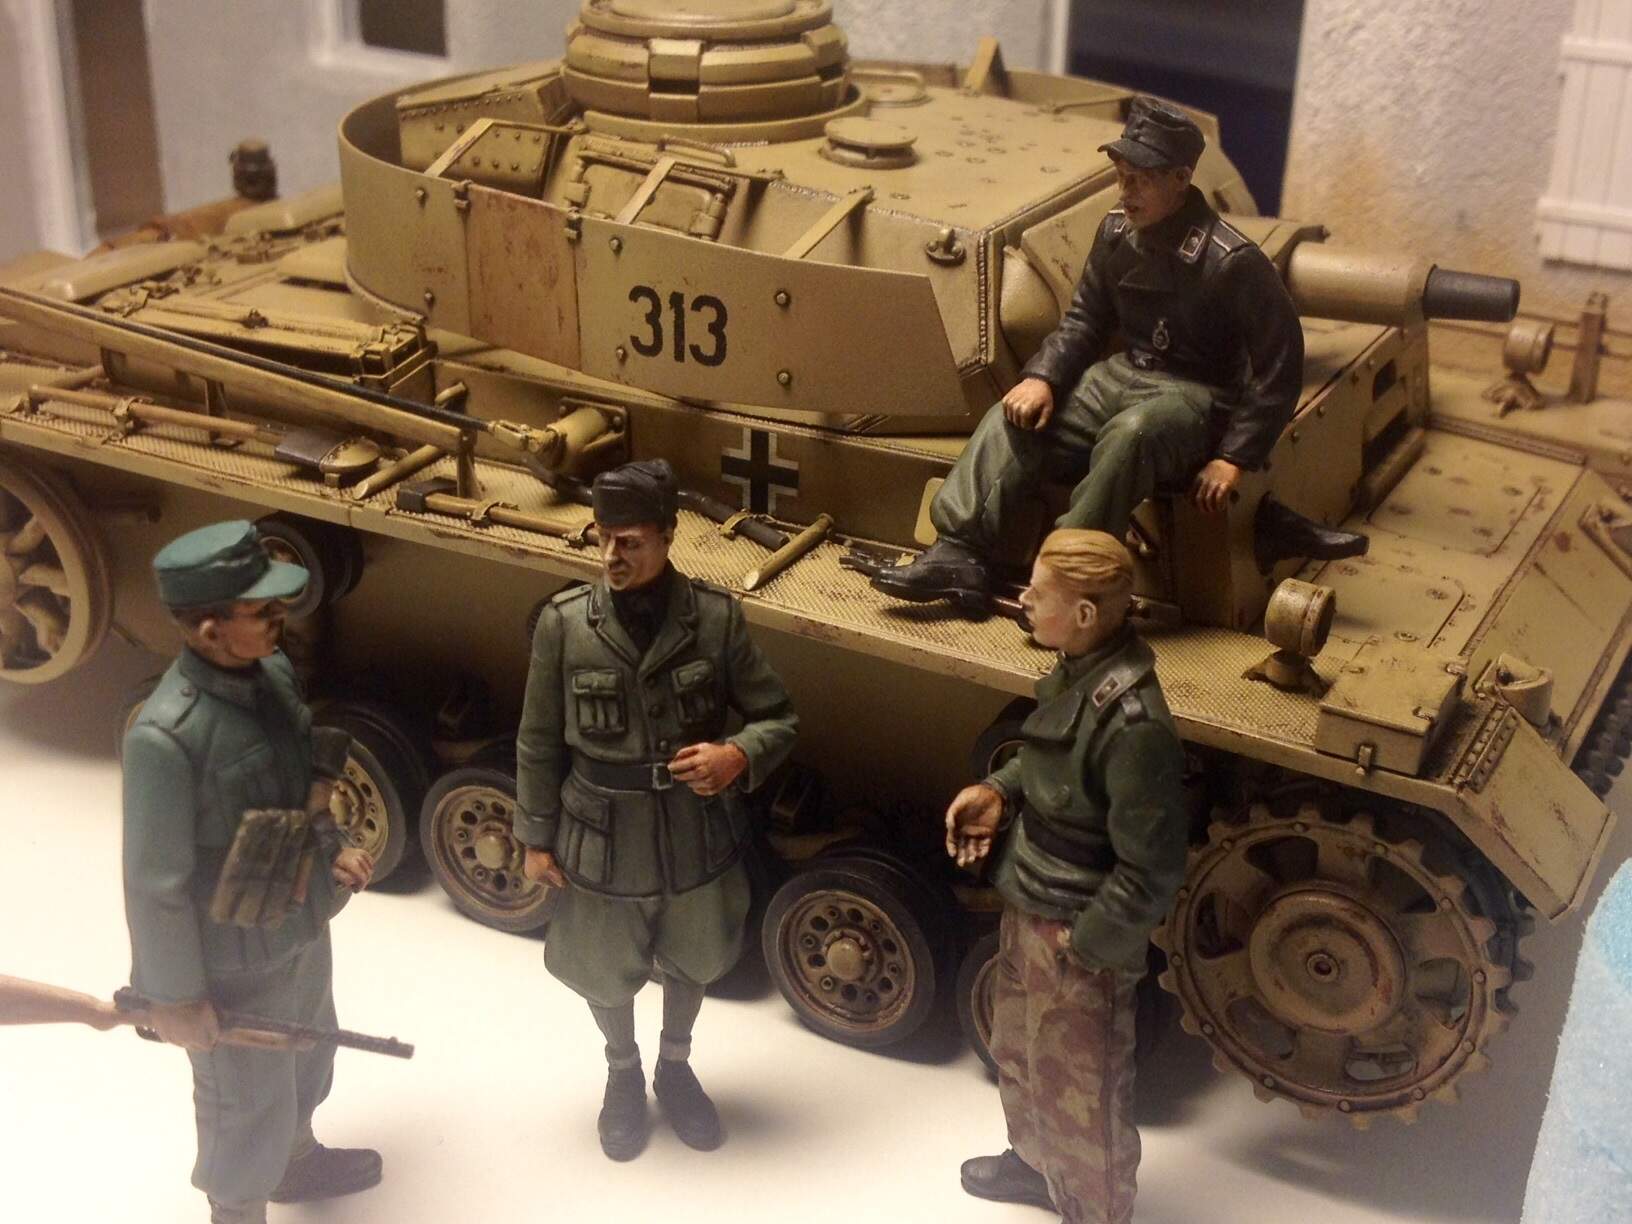
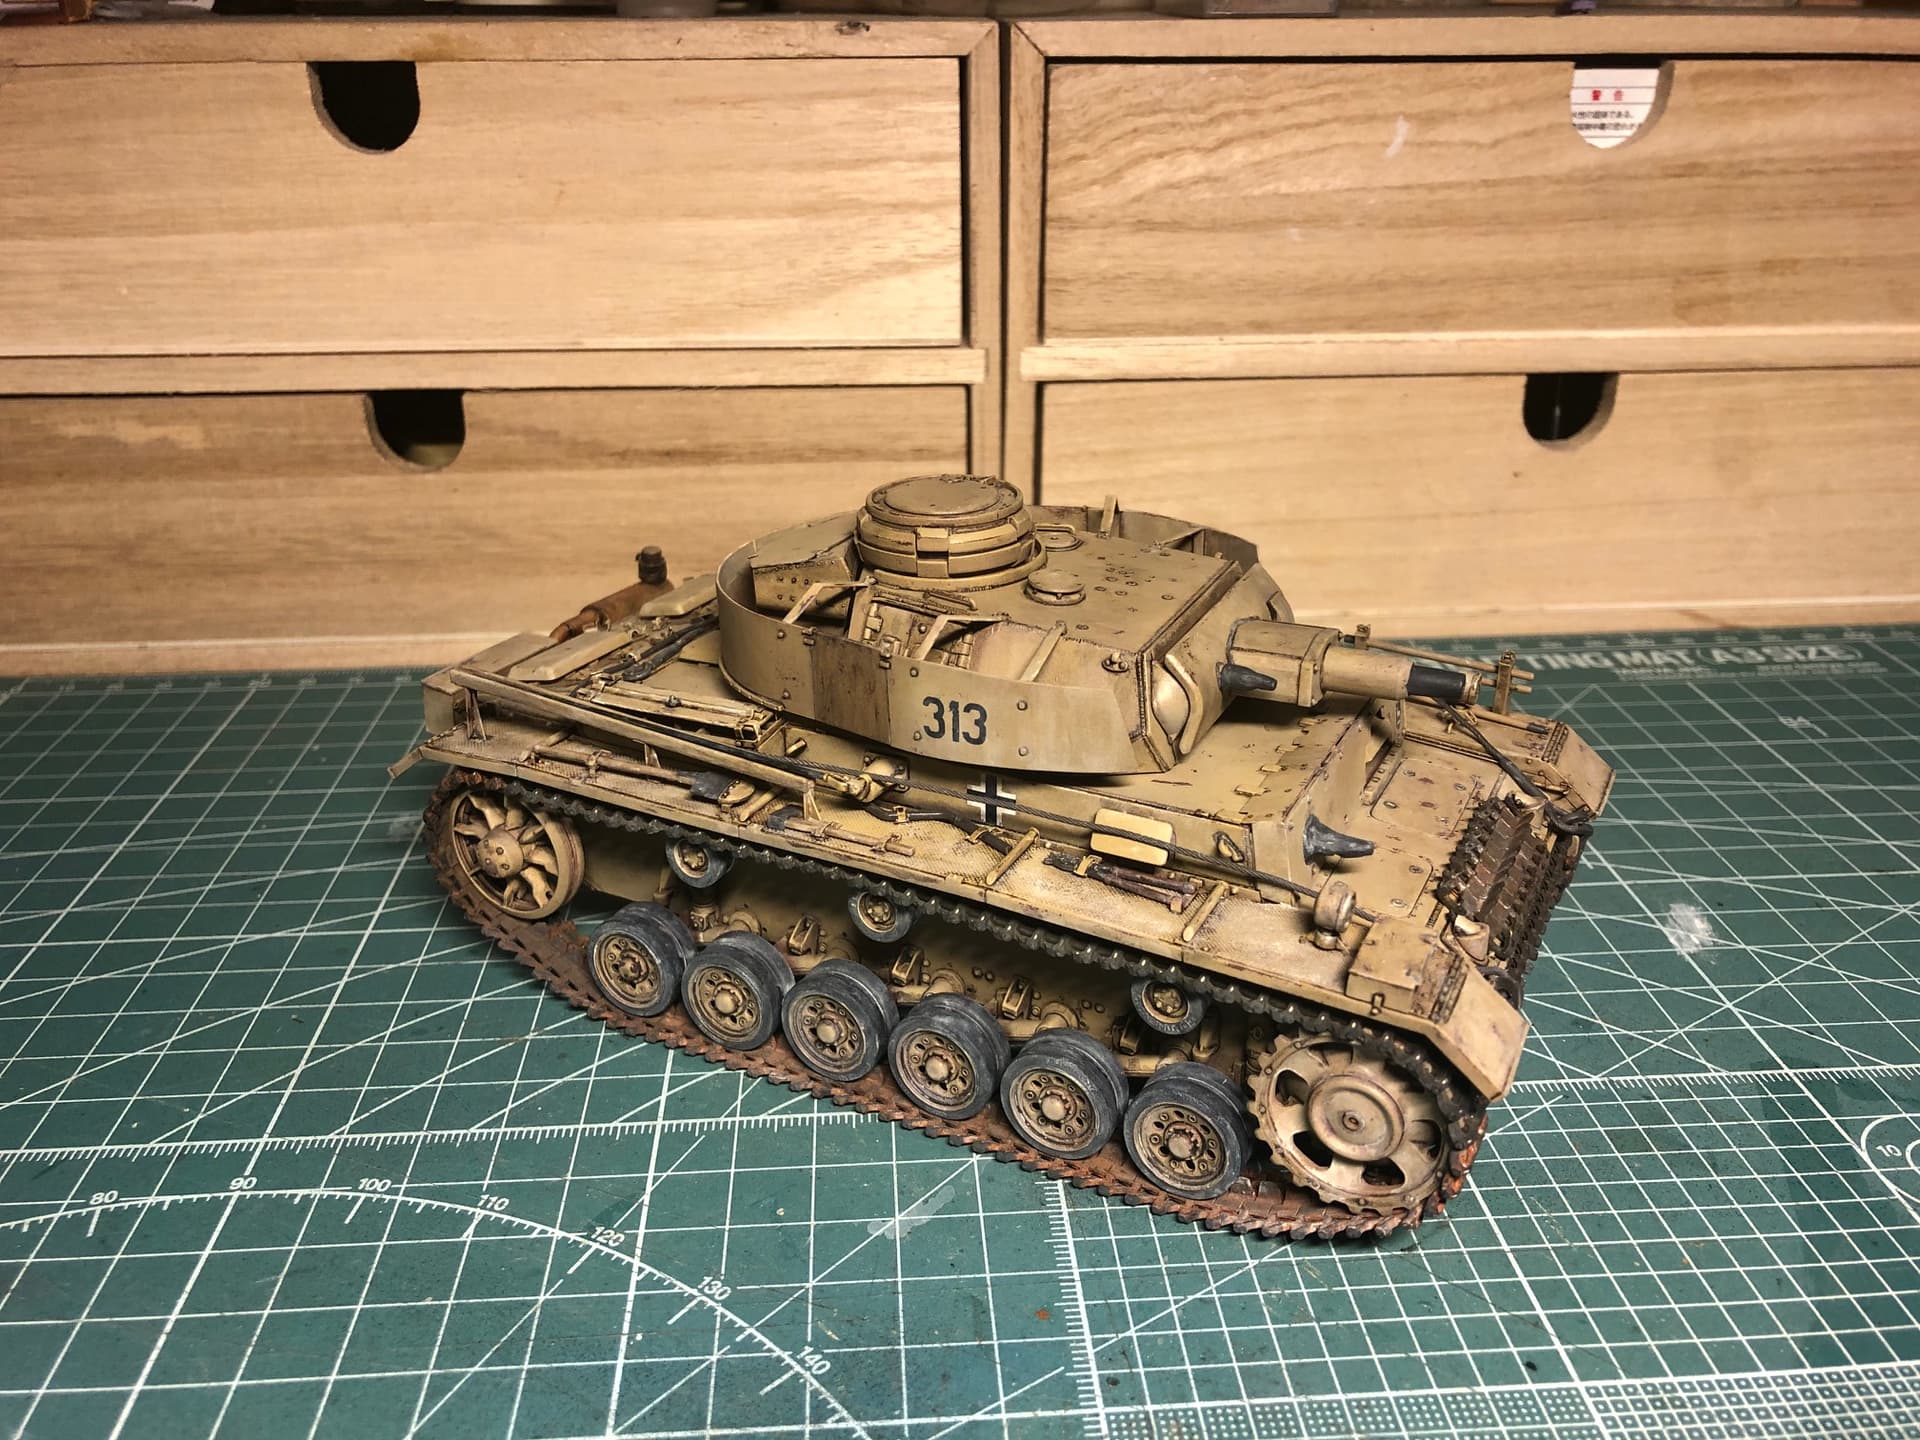
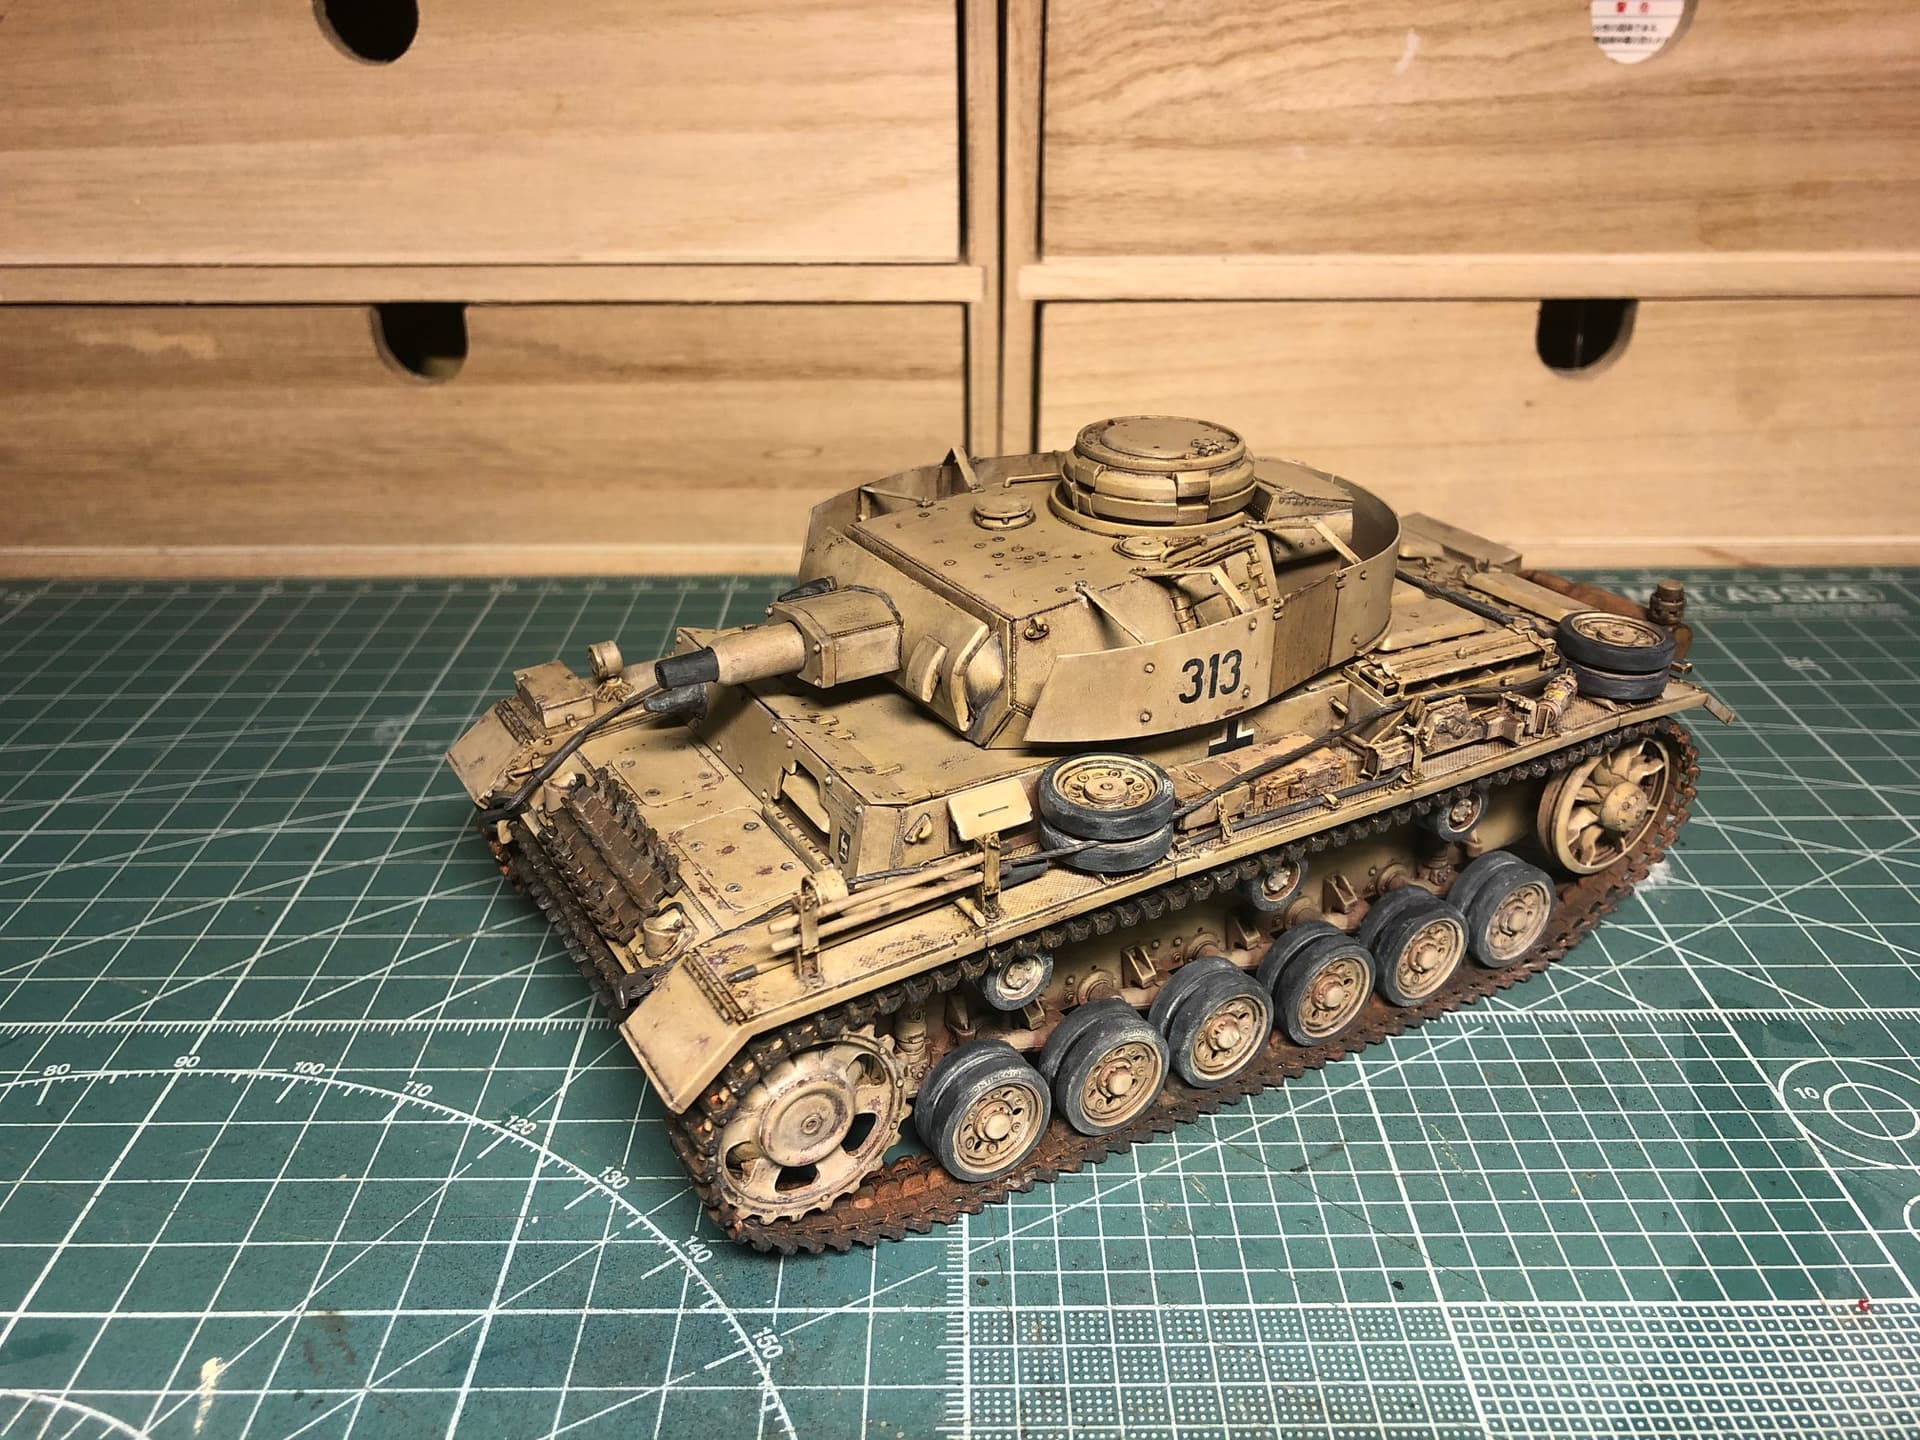
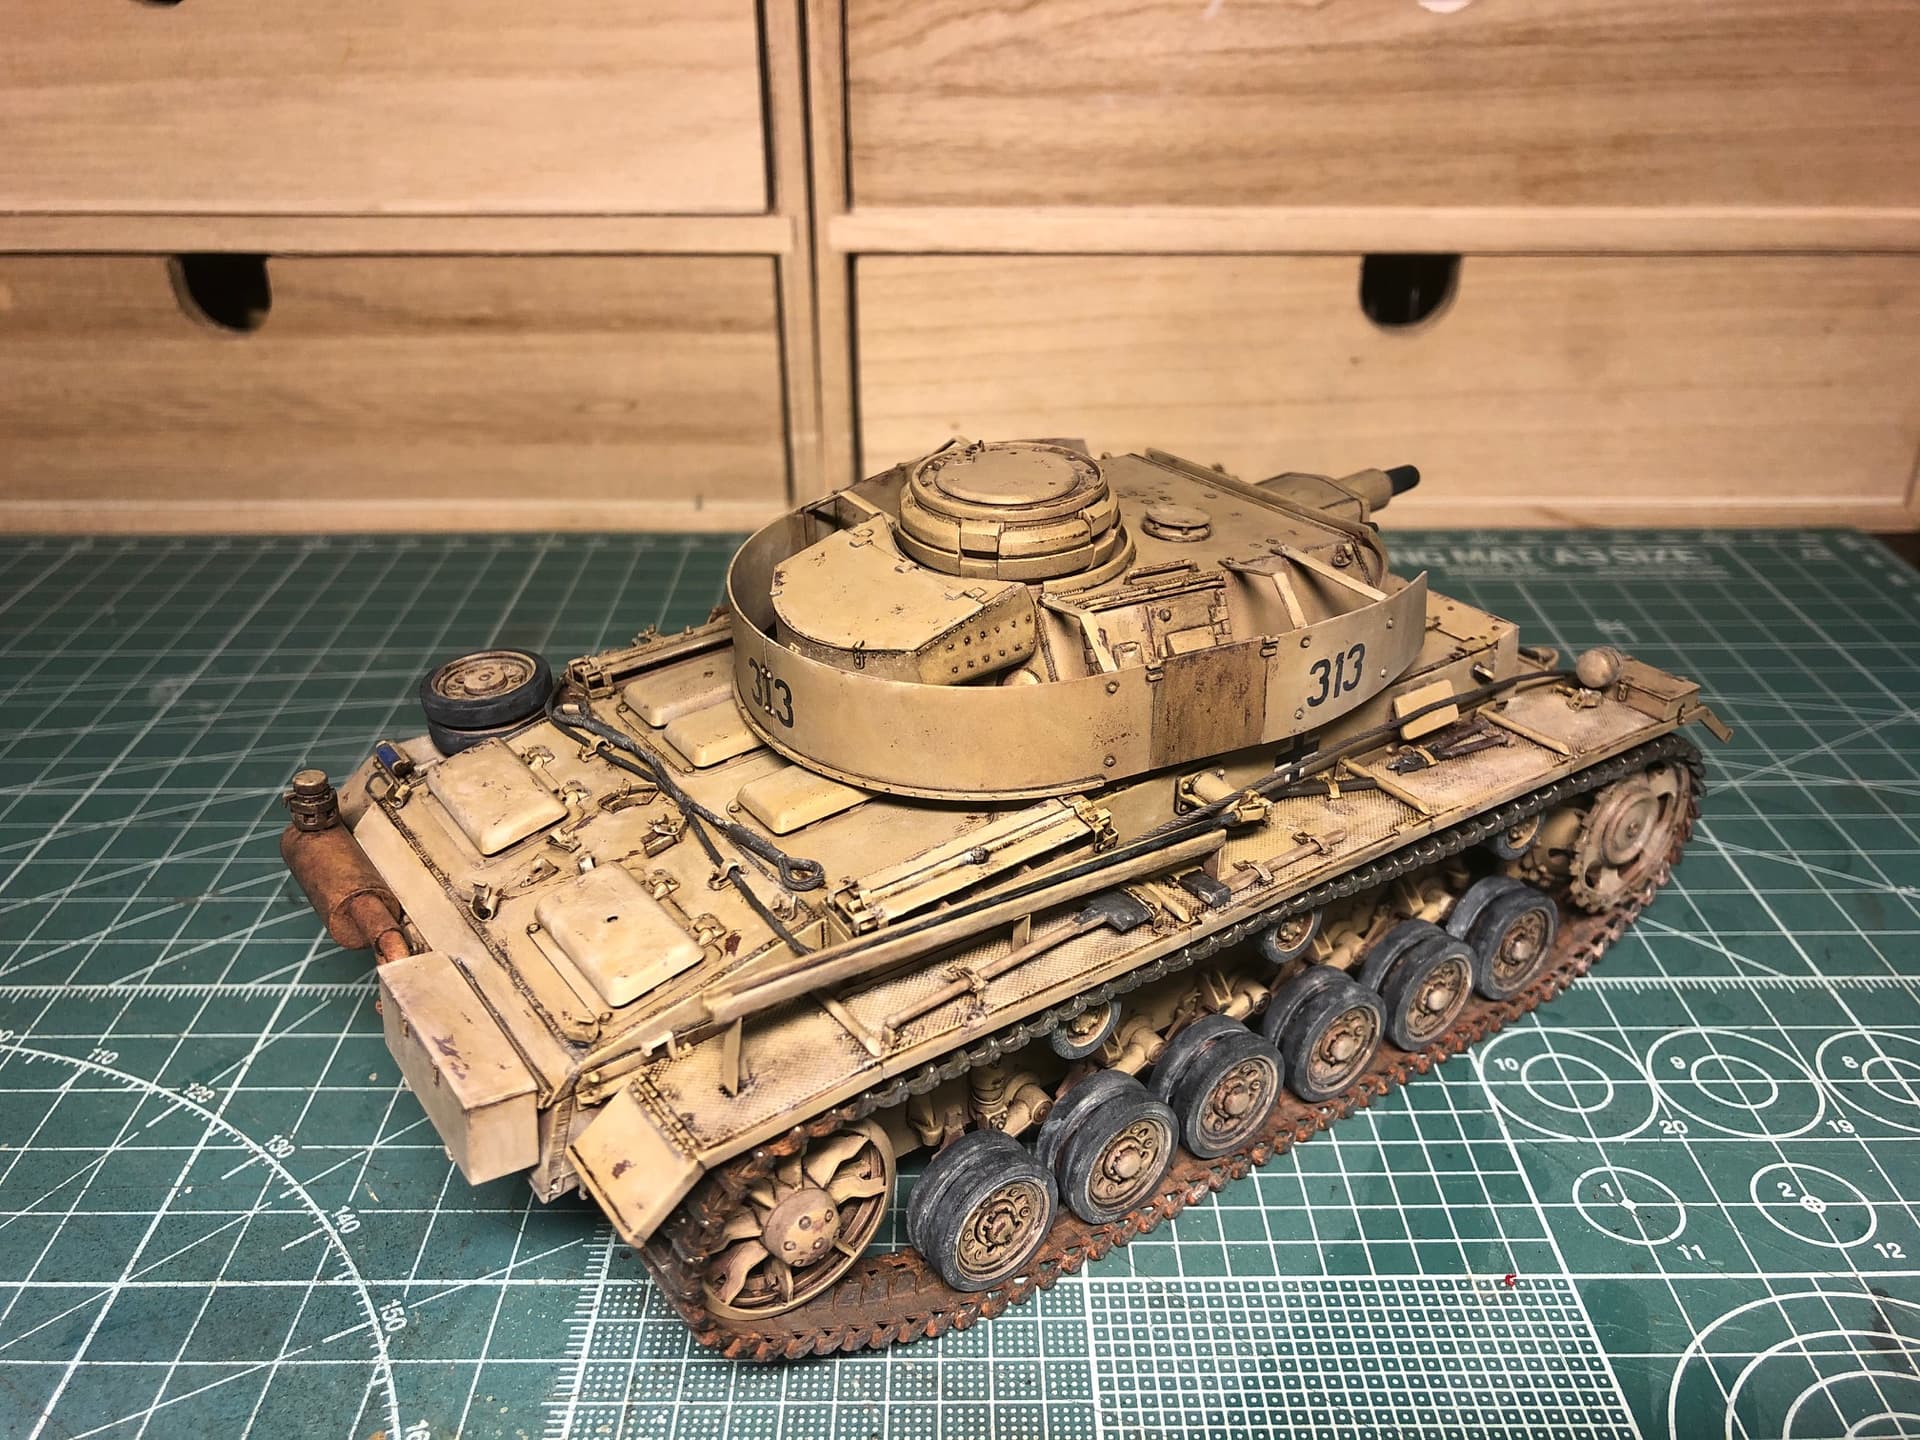
The tank is a Dragon smart kit Pz III ausf N, I used some Pe set from Aber and tried for the first time the hairspray technique, I am satisfied with the result in not being too much worn.
The italian camo trousers are made with a Crossdelta decal set, I think I will set them better, as there are some unwanted folds.
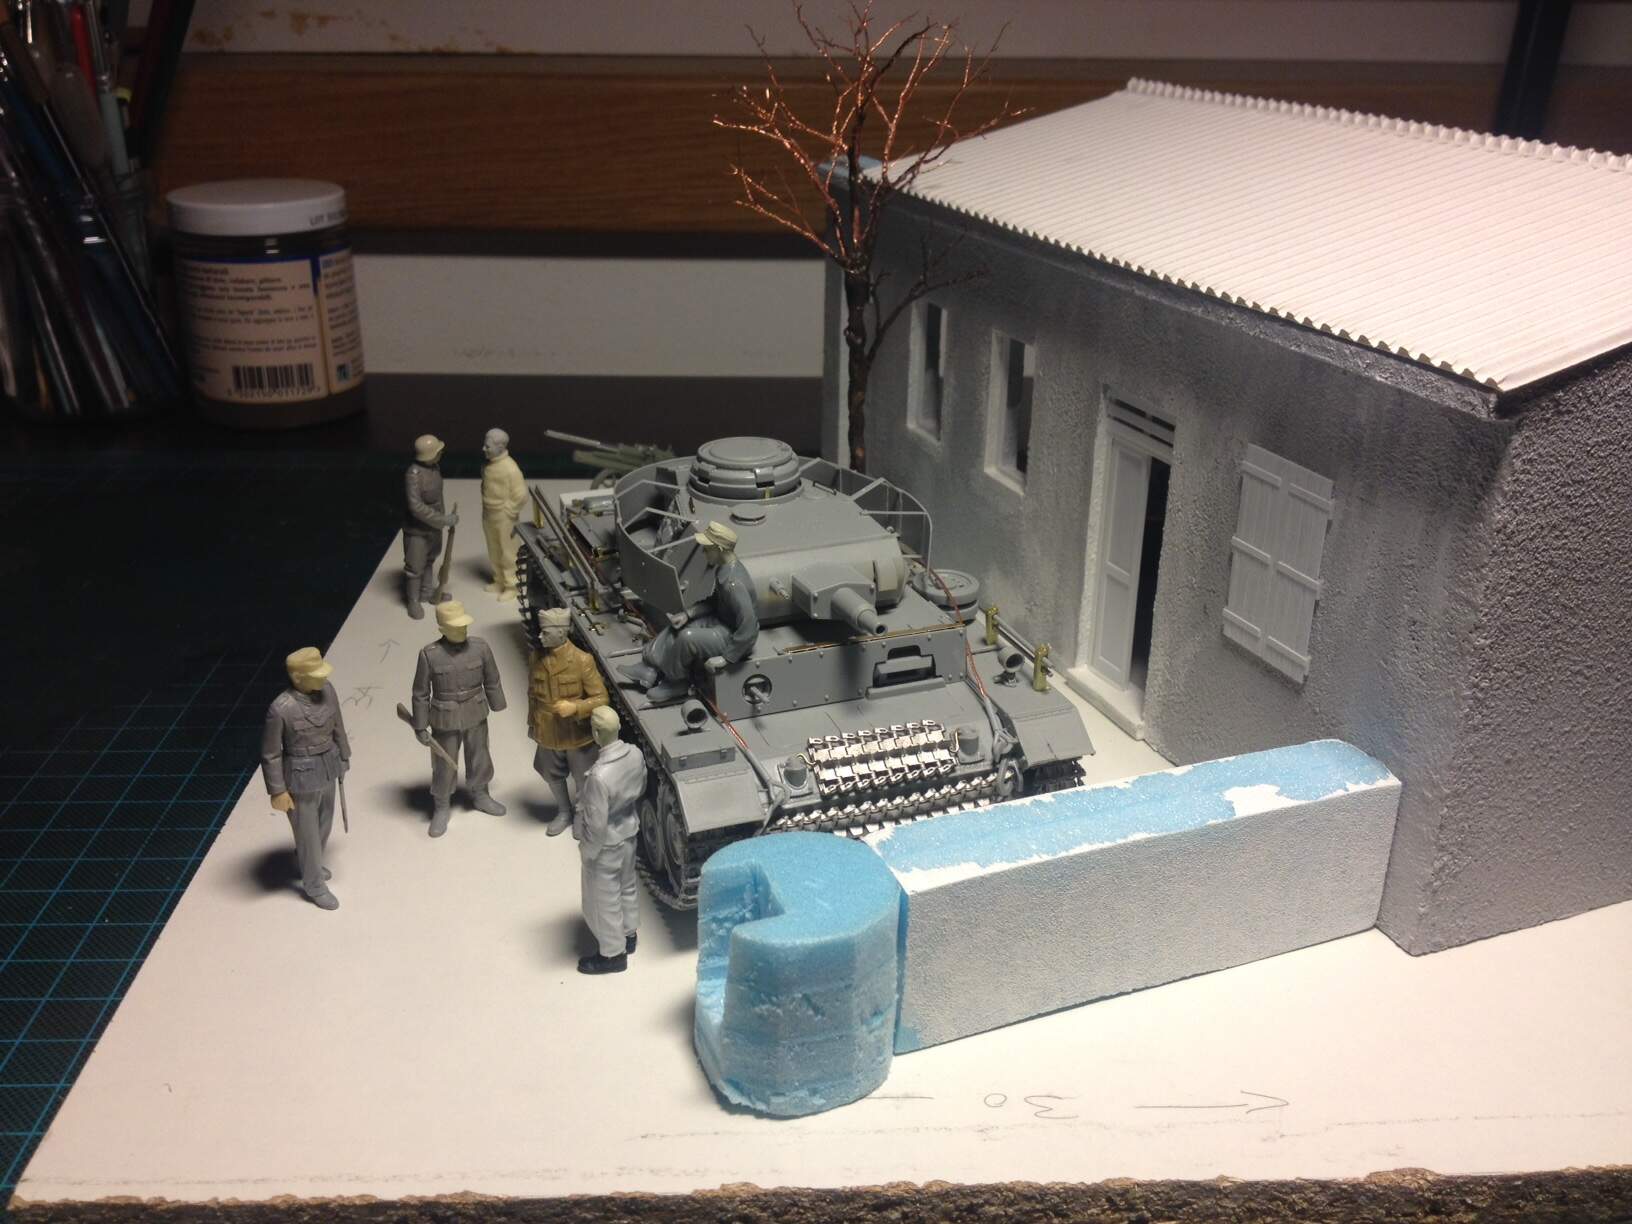
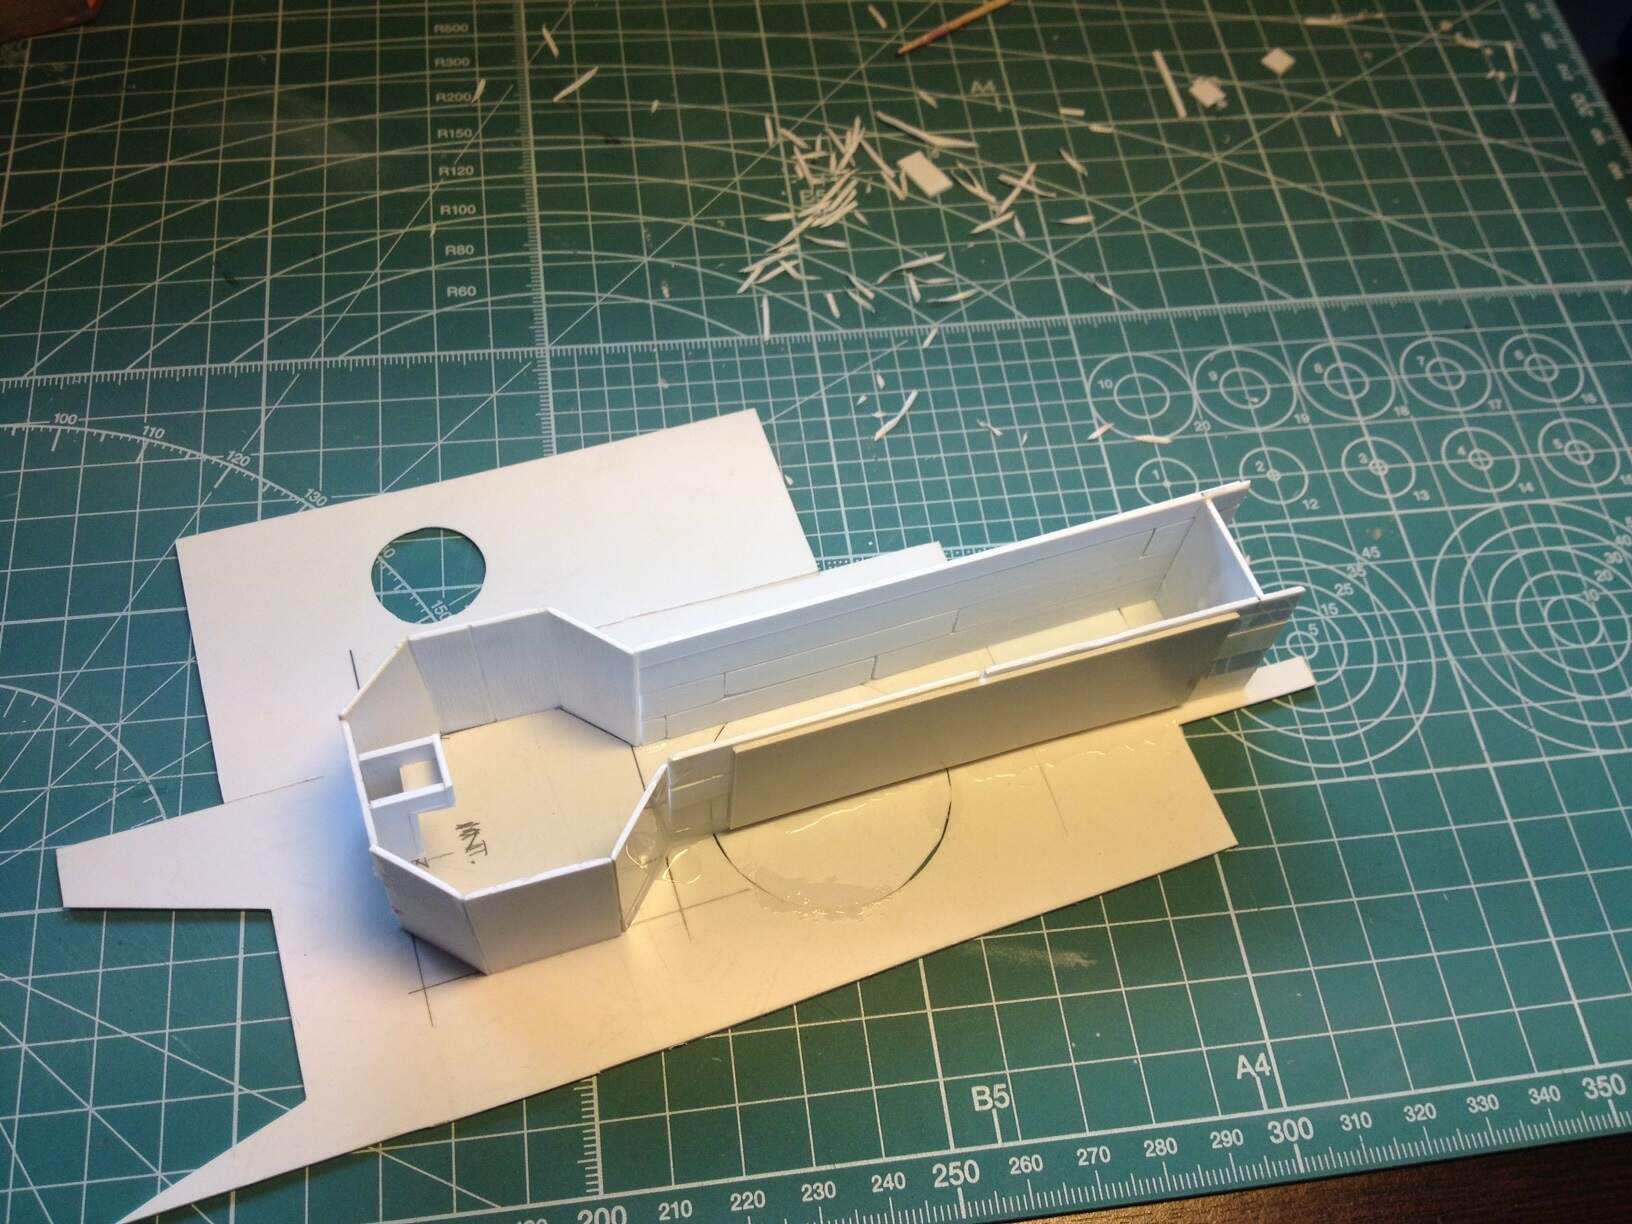
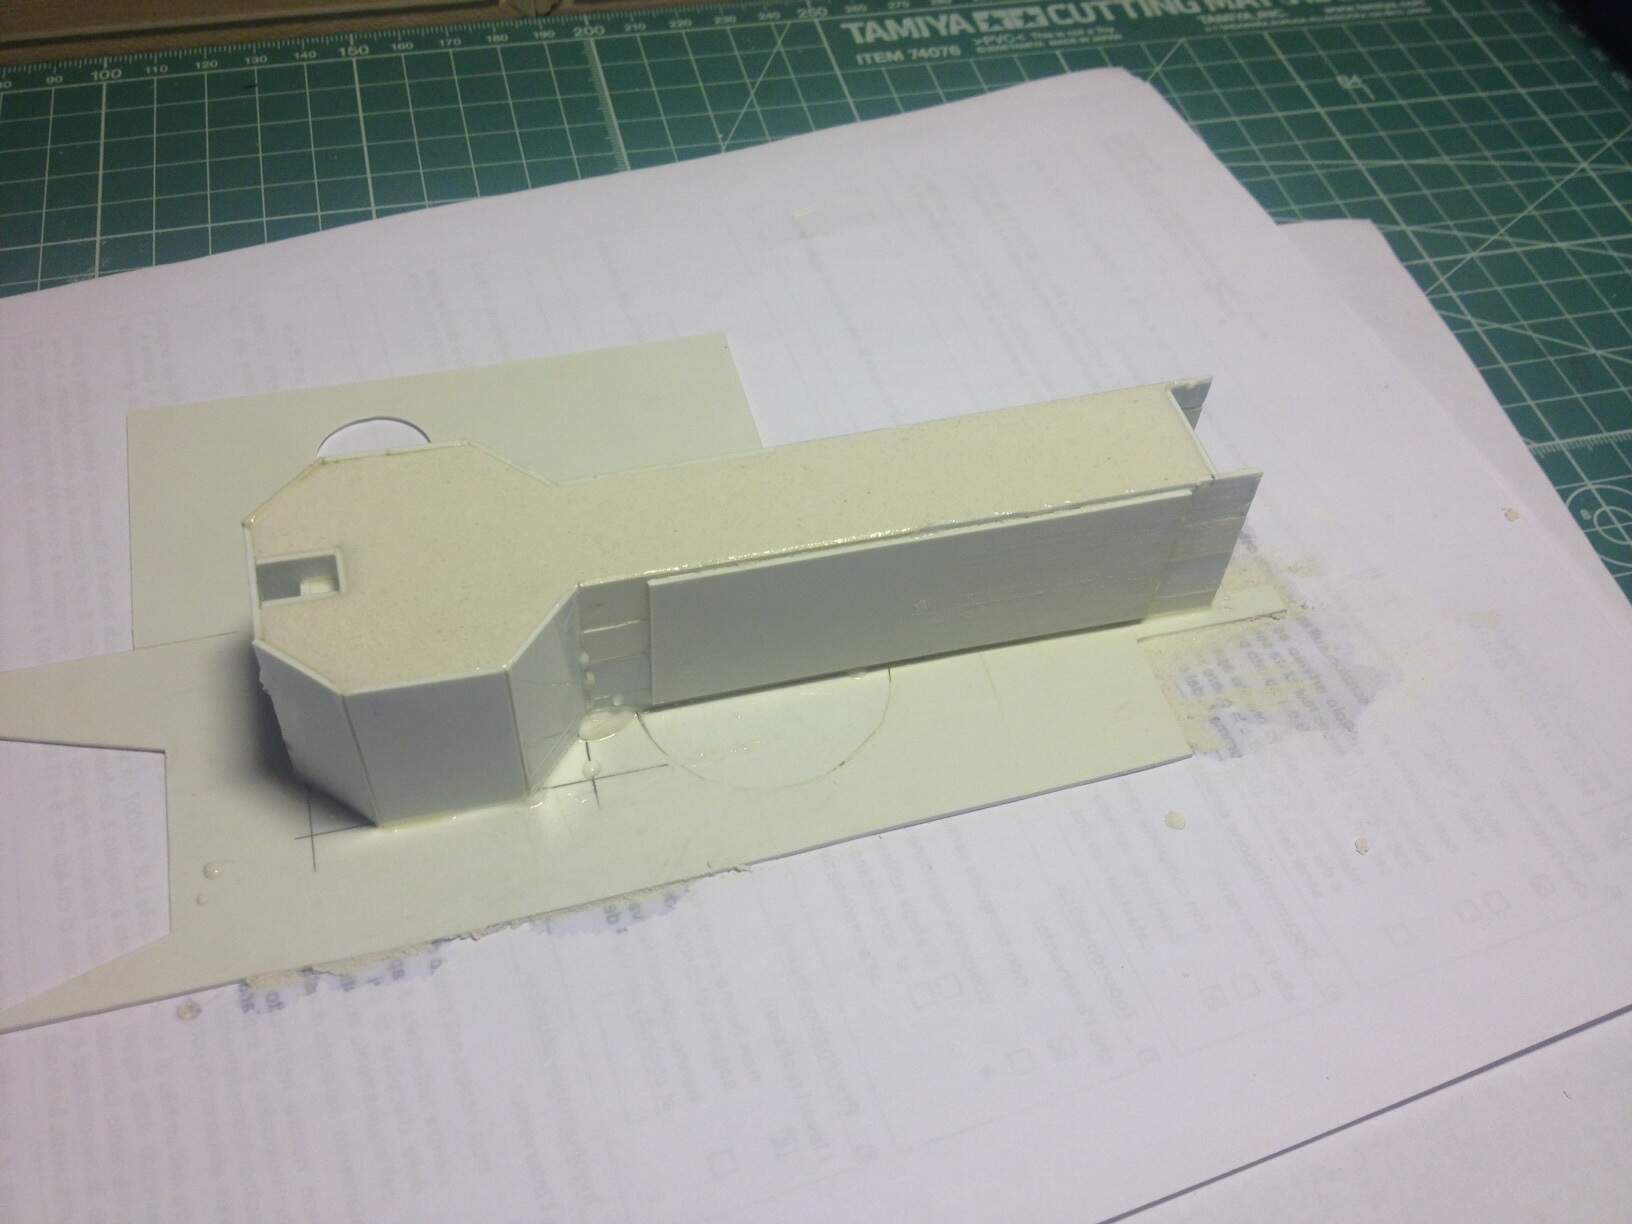
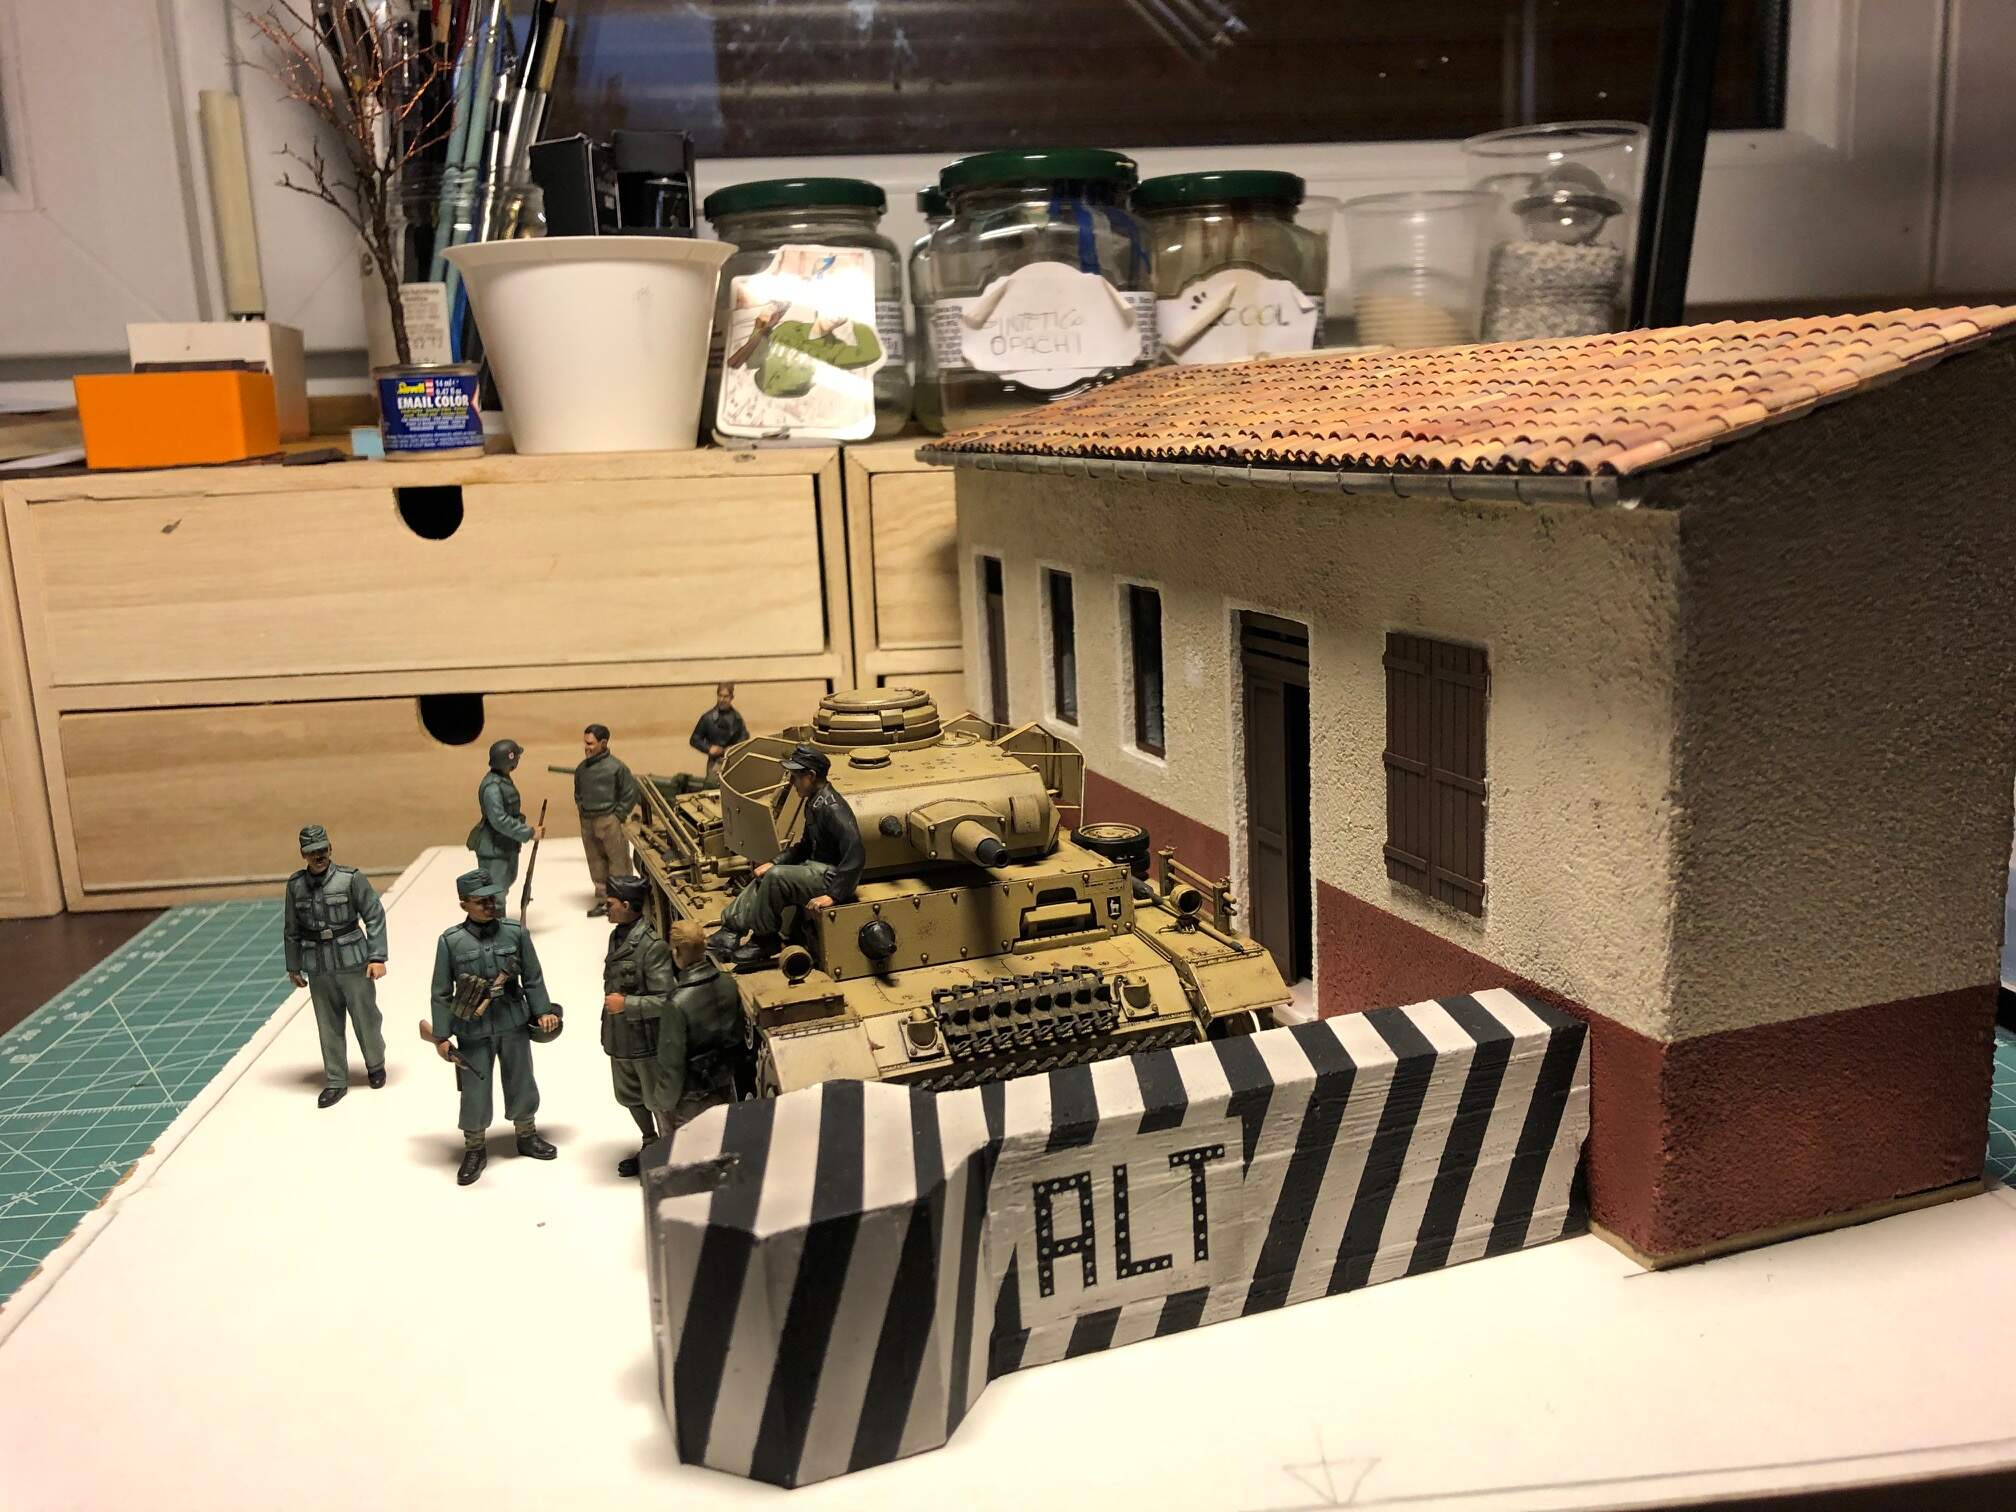
So here is the work in progress, alongside with the historical pictures, the numbers refere to the figures I will portray (for disscussion porpouse only).
The setup…
The tank…
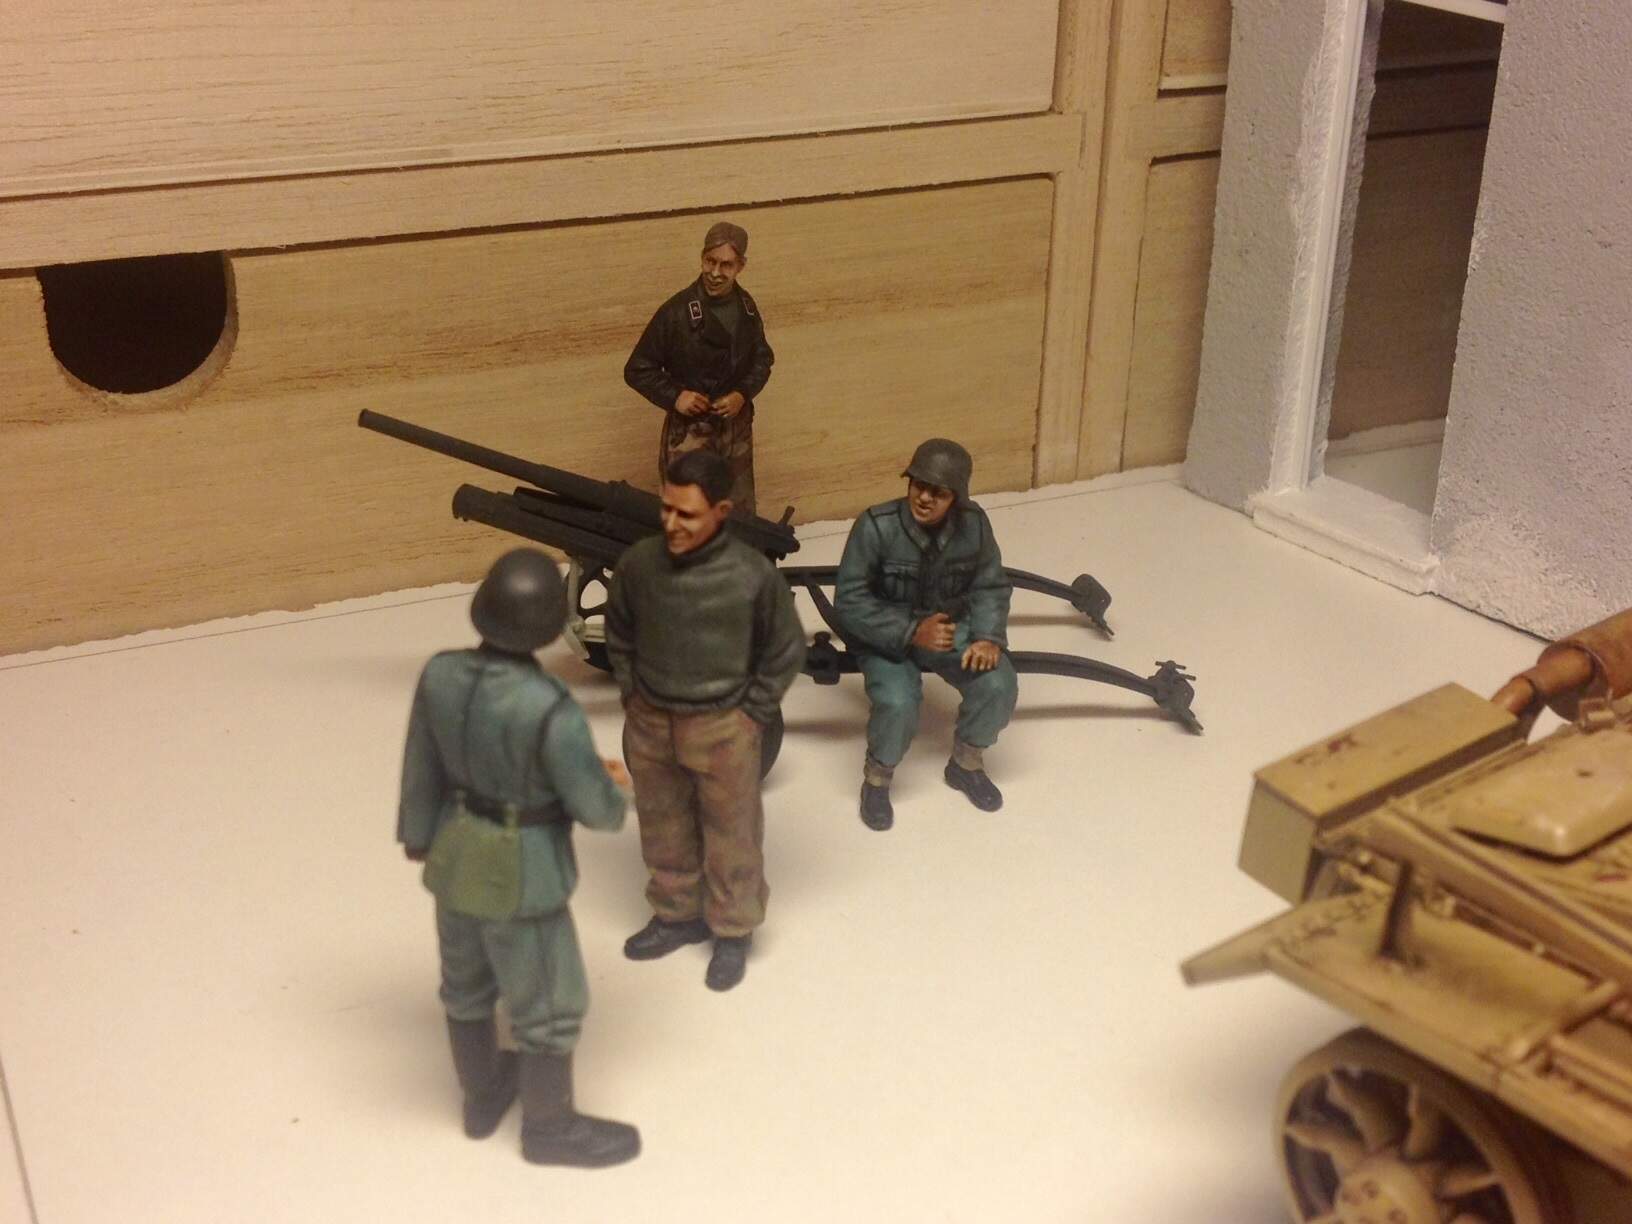
and the figures, already painted…
And the final stage, before the diorama base…
10 Likes
Excellent job so far especially the figures!
Wow, this is really good stuff! The figures and the tank are excellent and the building looks pretty good too. Can’t wait to see it finished!
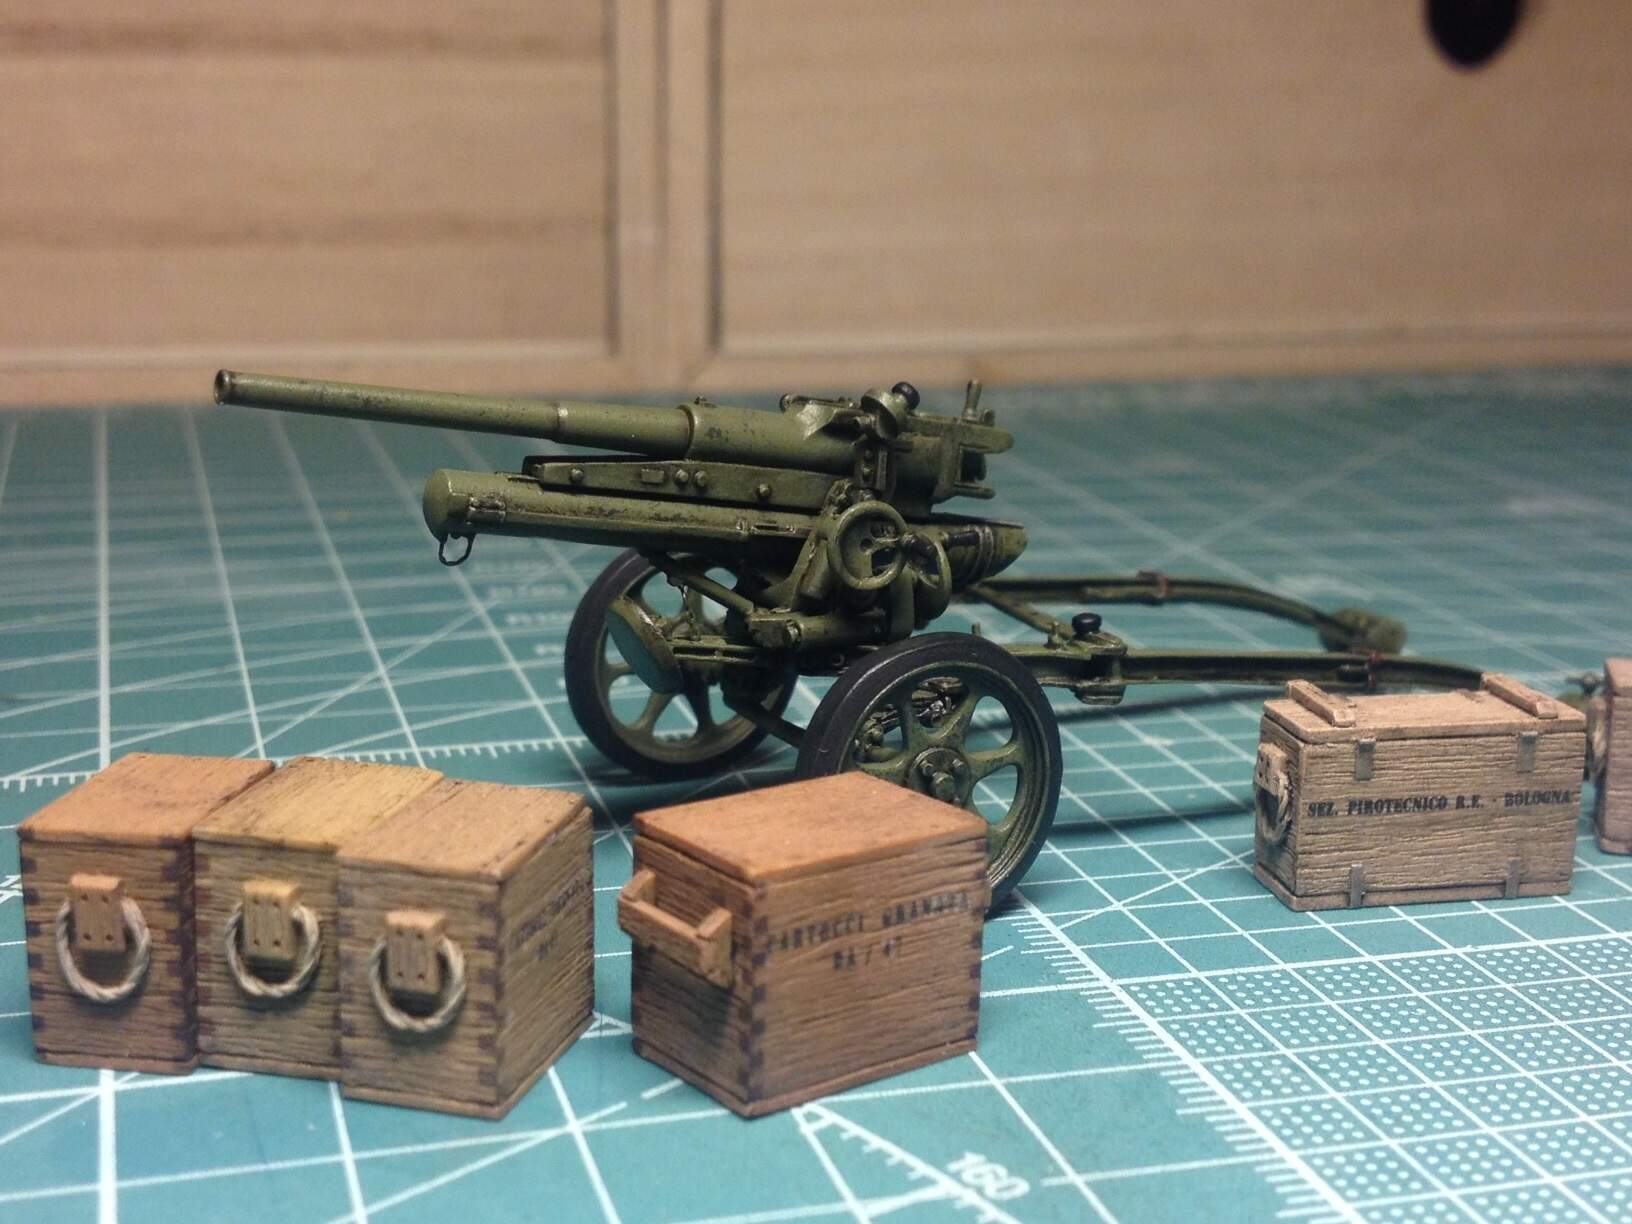
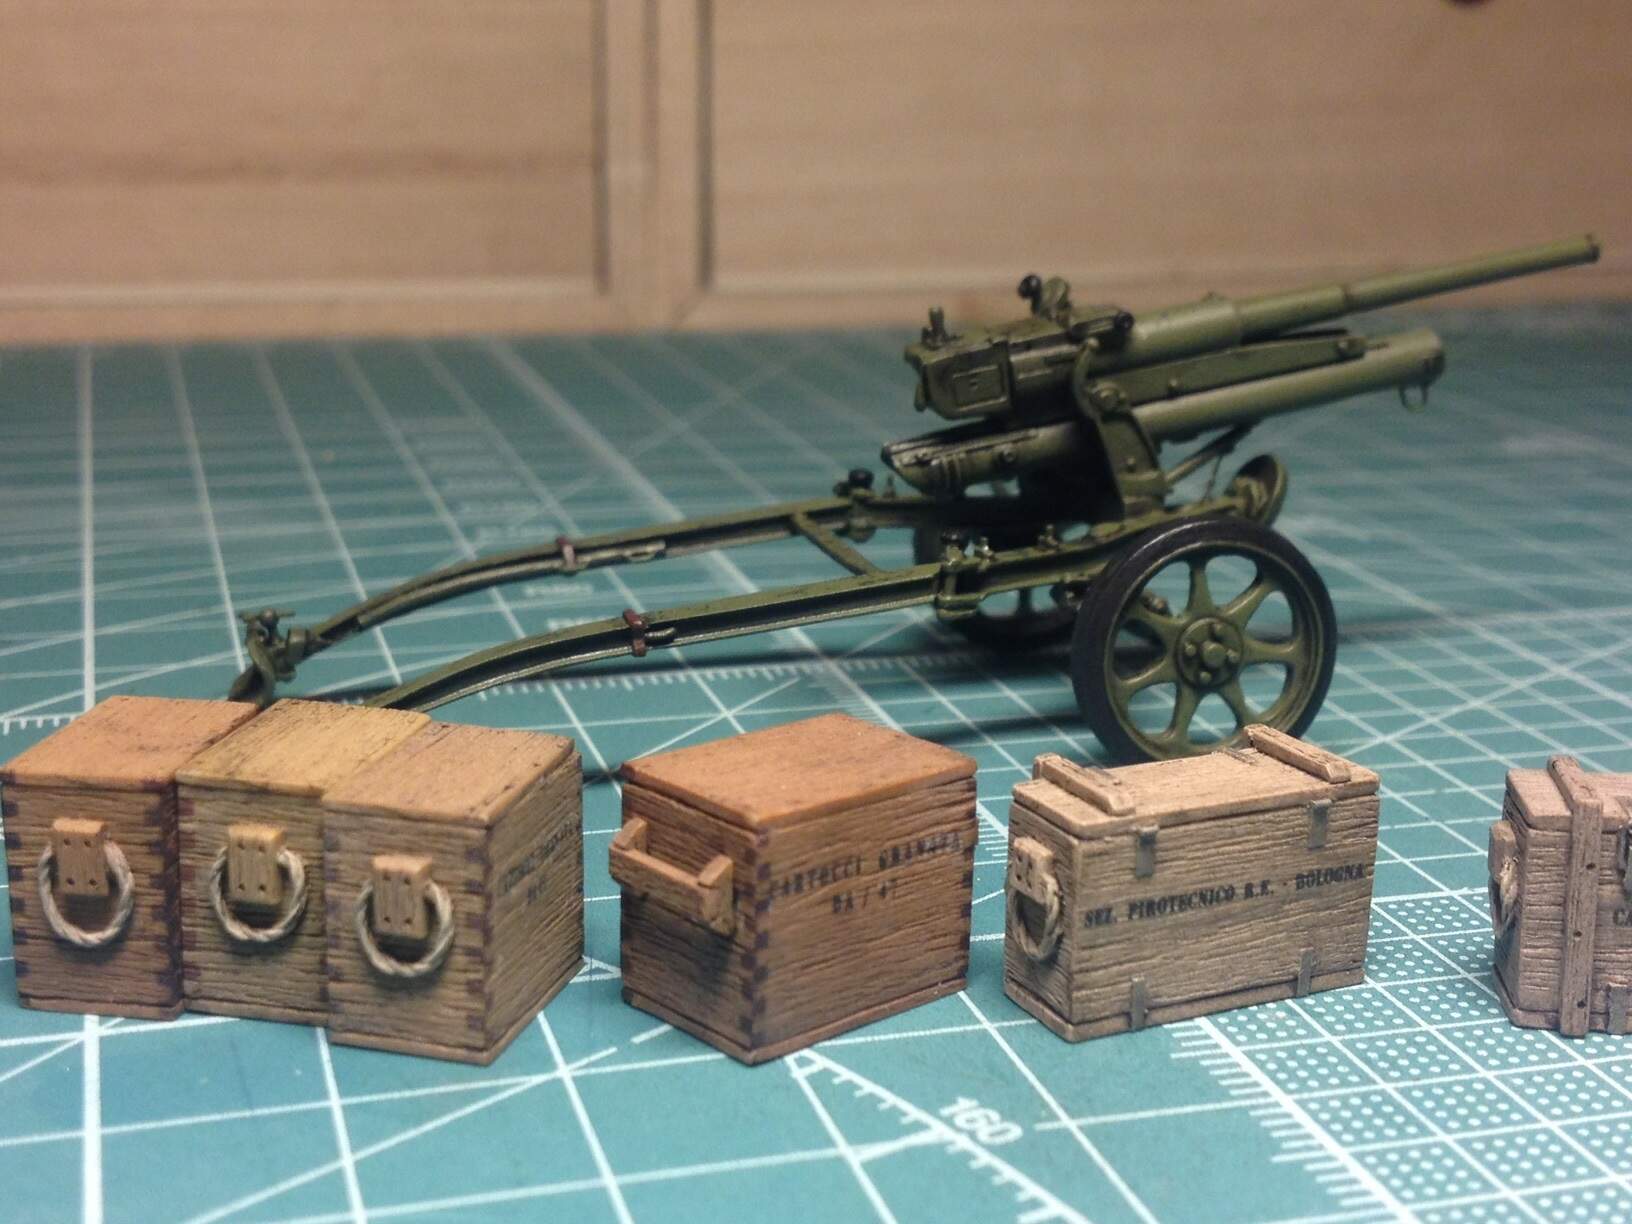
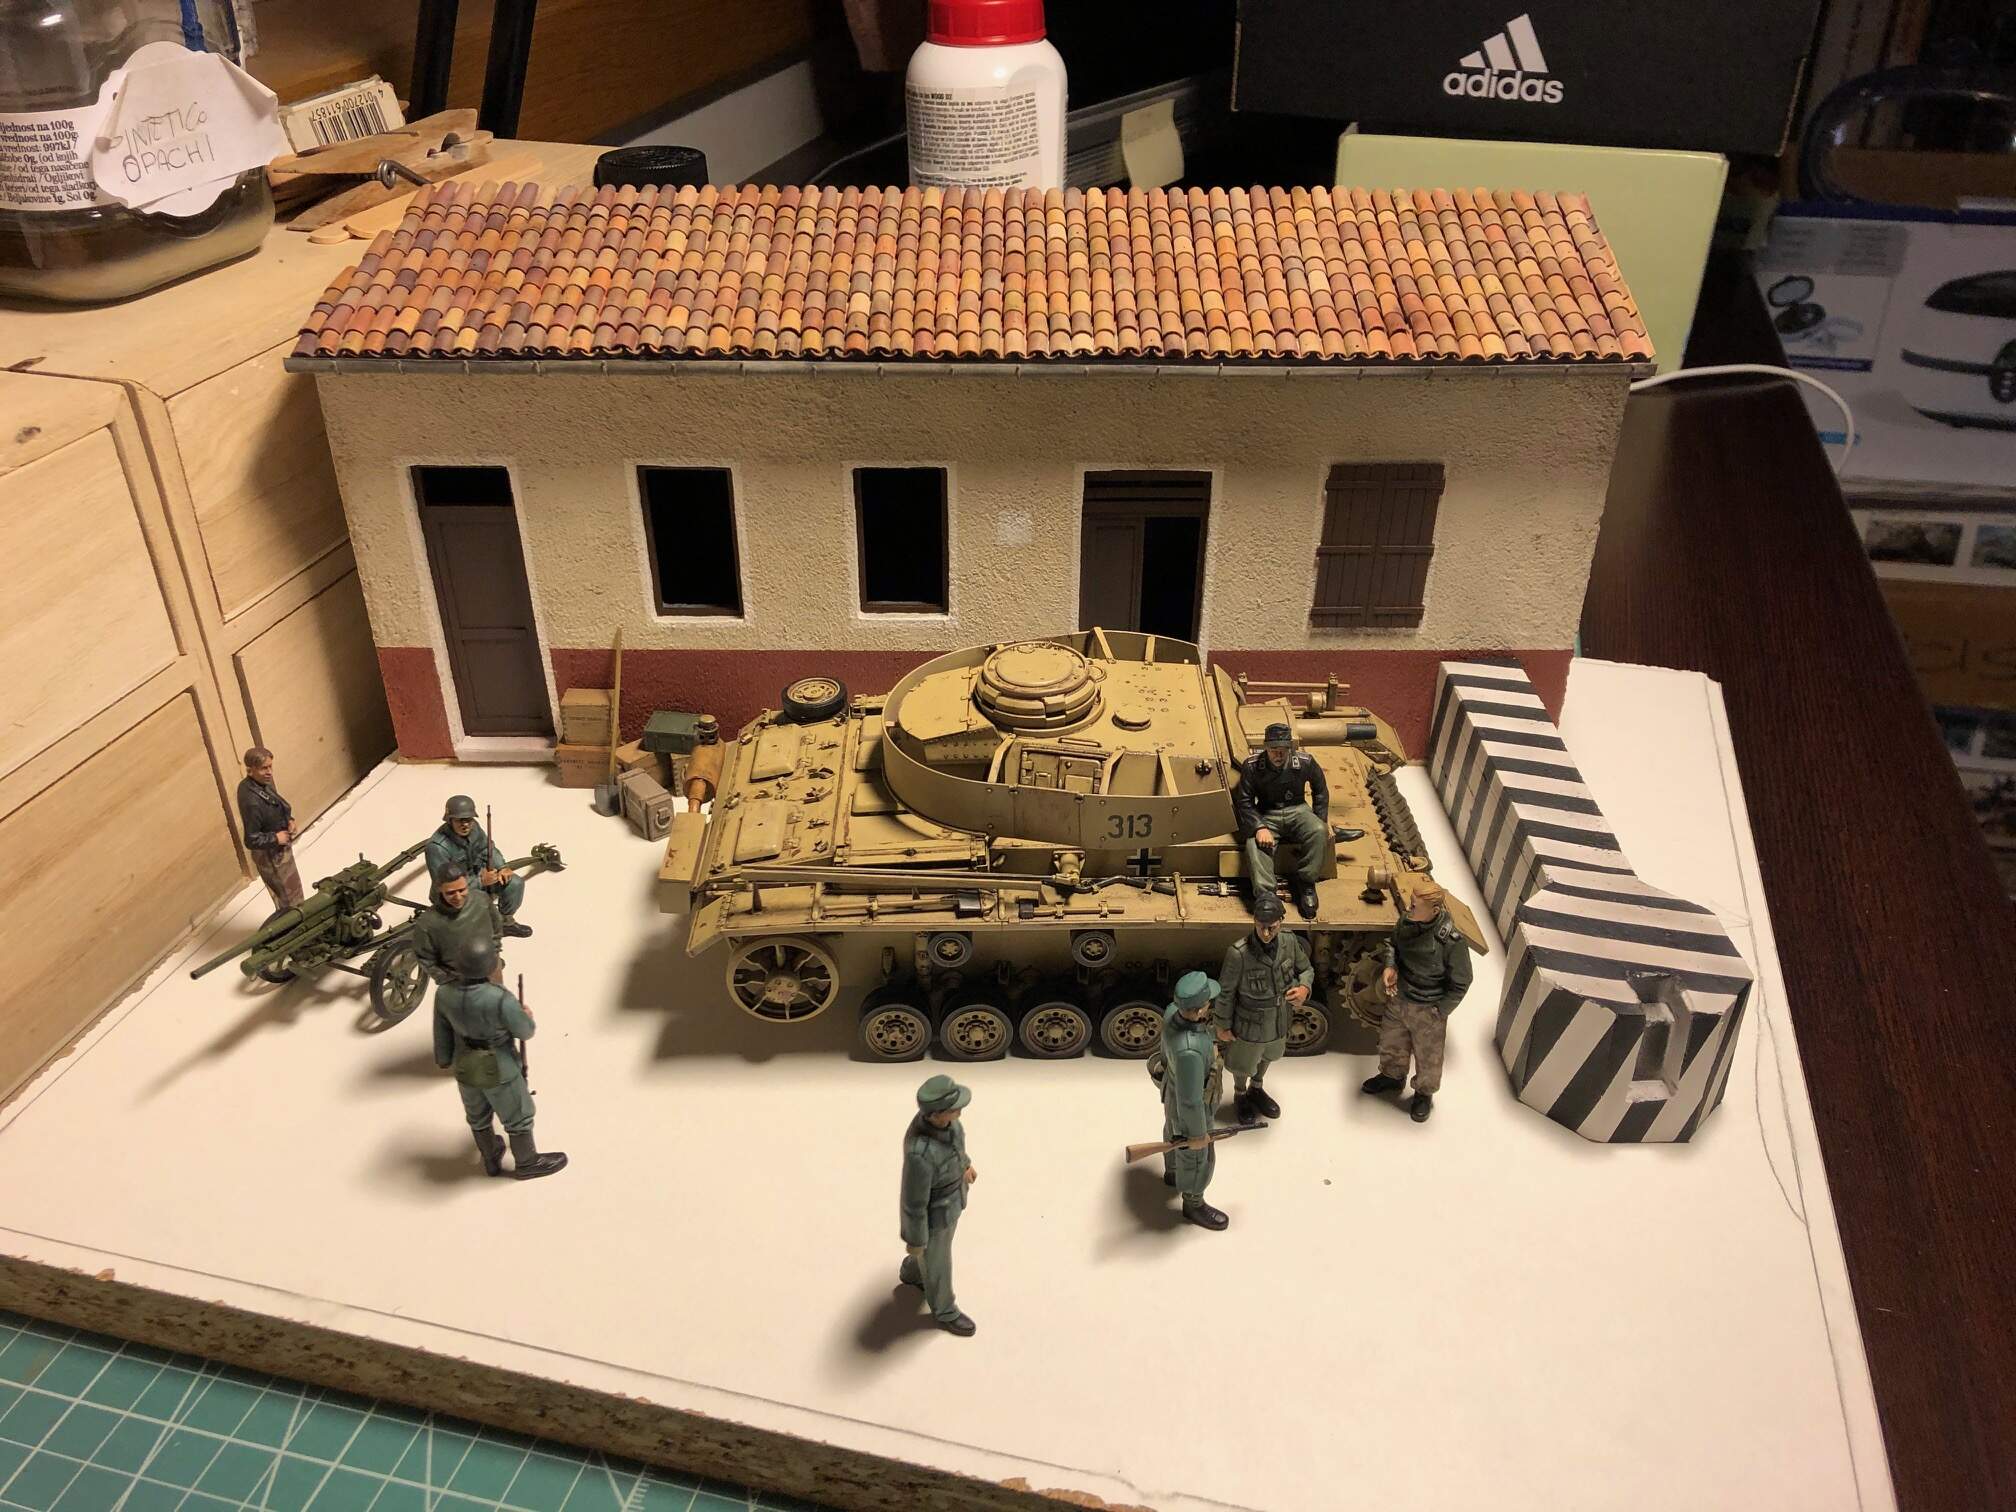
Hi all, I painted also the italian gun “elefantino” with its ammo boxes, all items are Model Victoria.
Cheers
Alessandro
3 Likes
Looks great and the figures are very nicely done. Great attention to detail. Looking forward to seeing more.
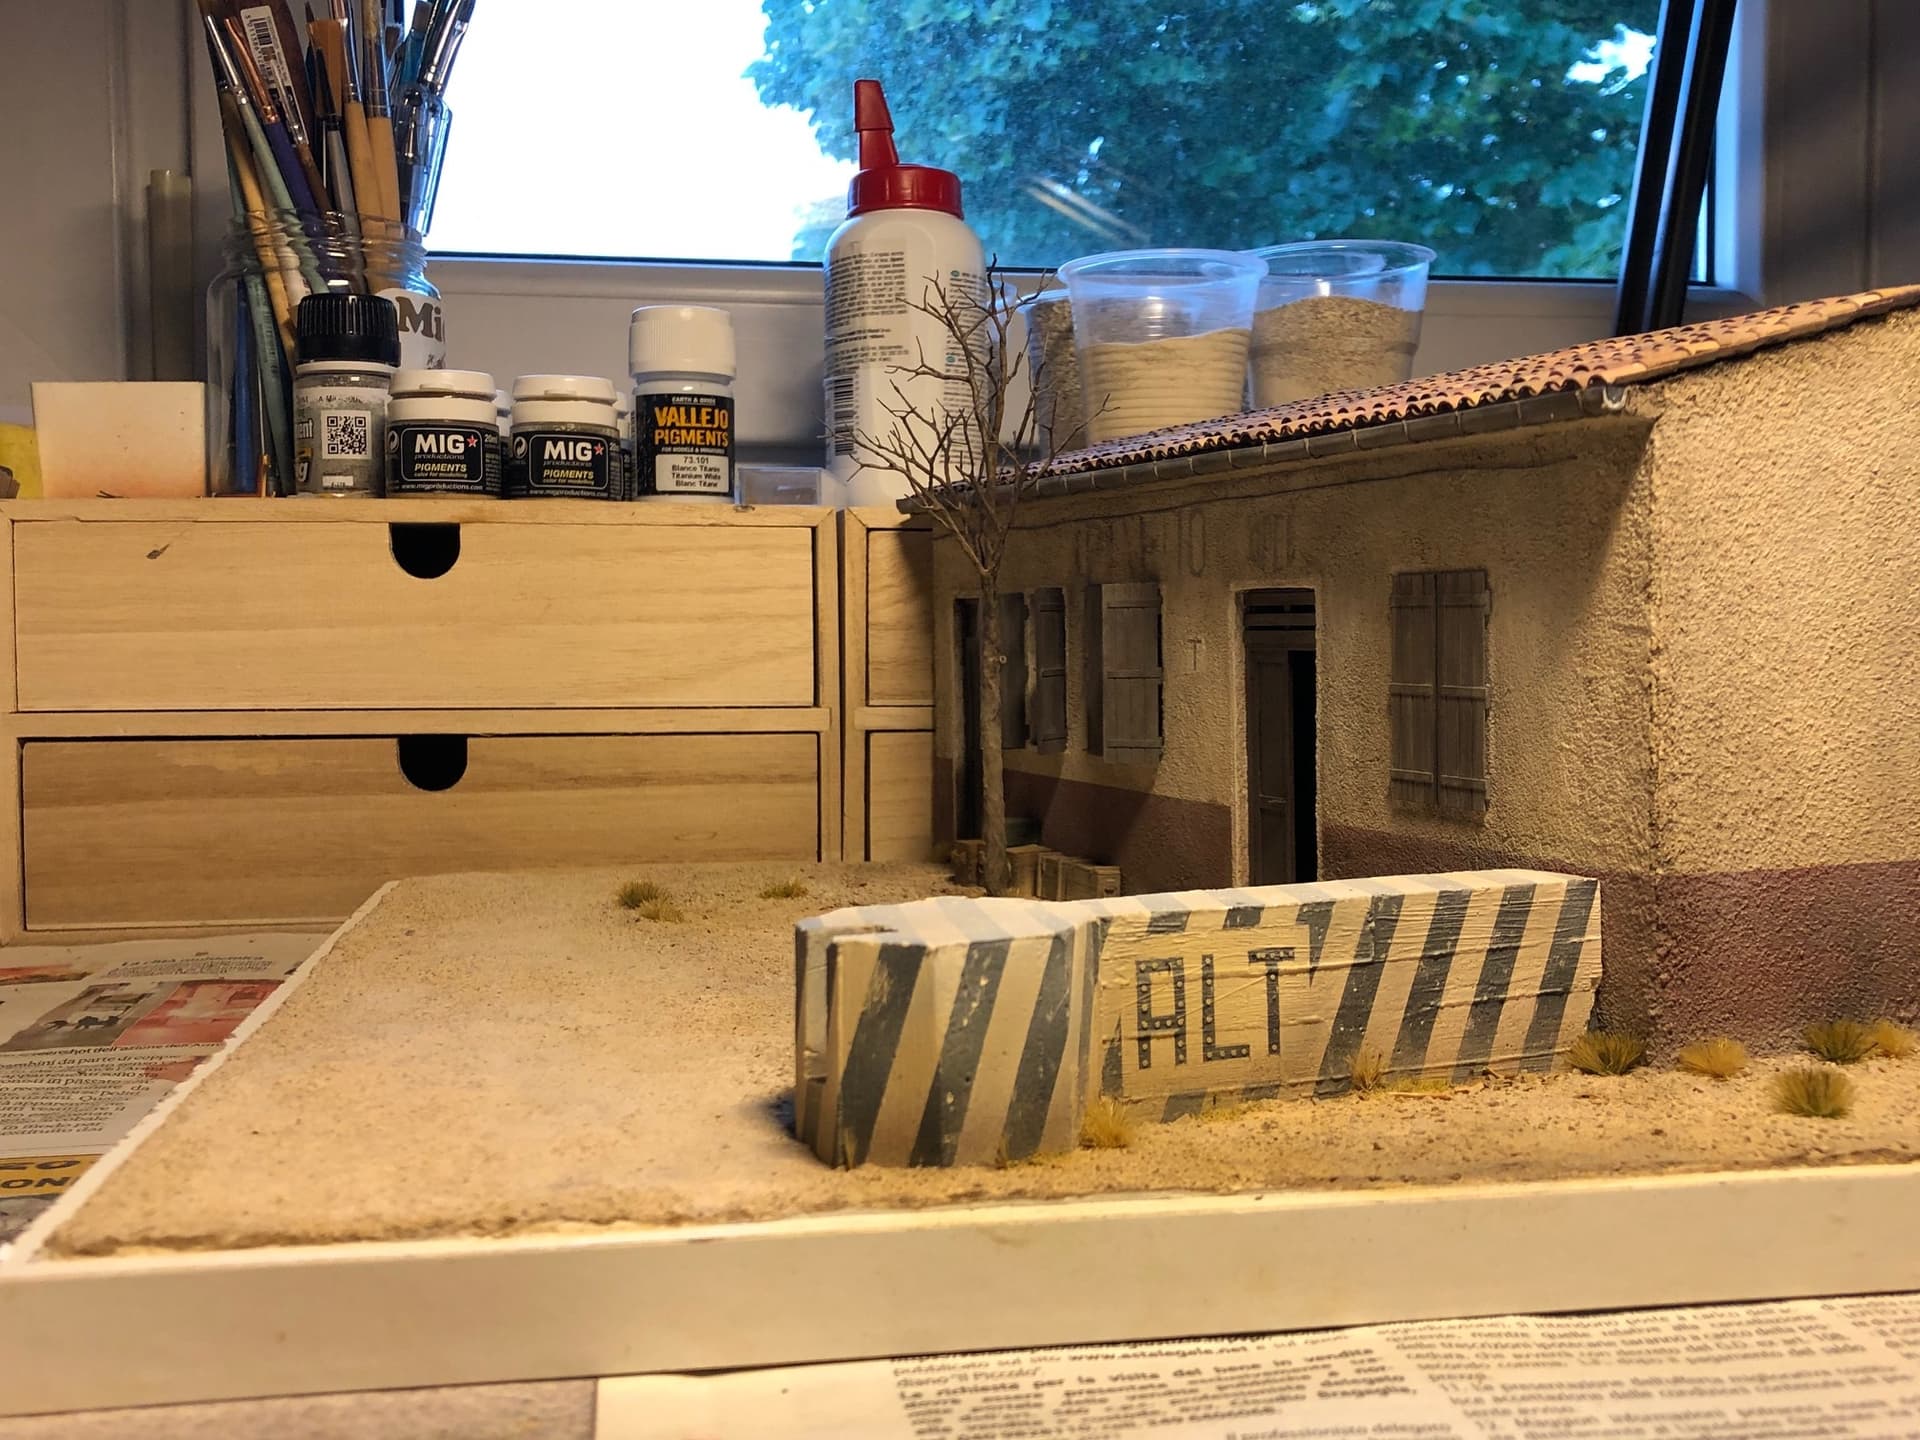
Hi all here is the road block, I made a plasticard mould and then poured in some ceramic, unfortunately some air bubbles came out so I need to fill them…
Cheers!
Alessandro
1 Like
Hi all
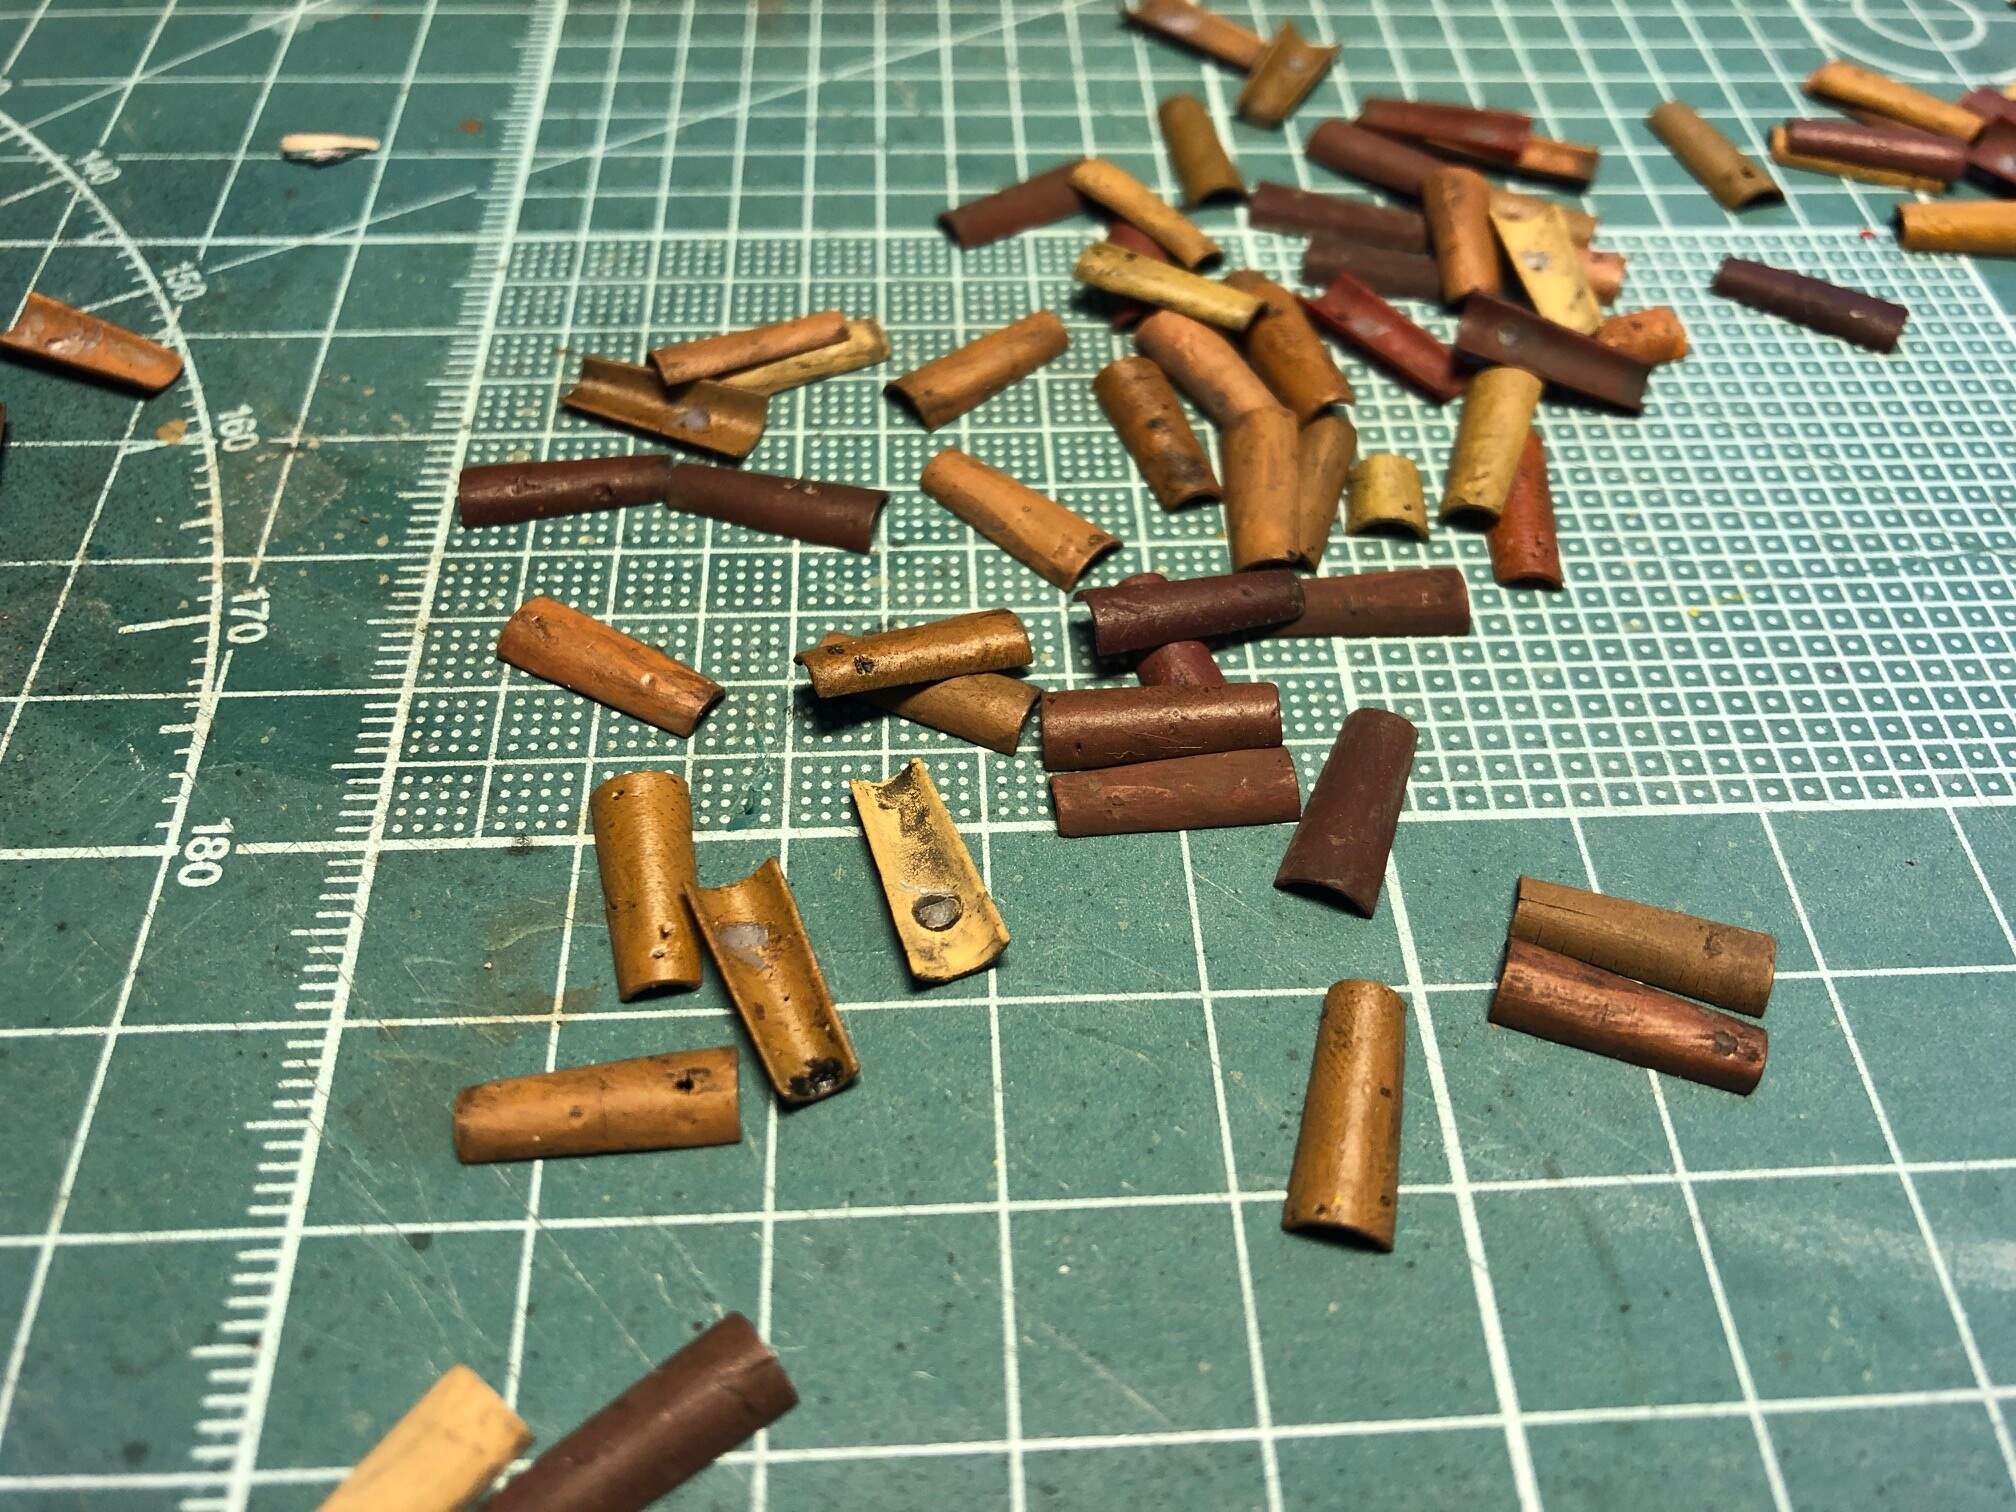
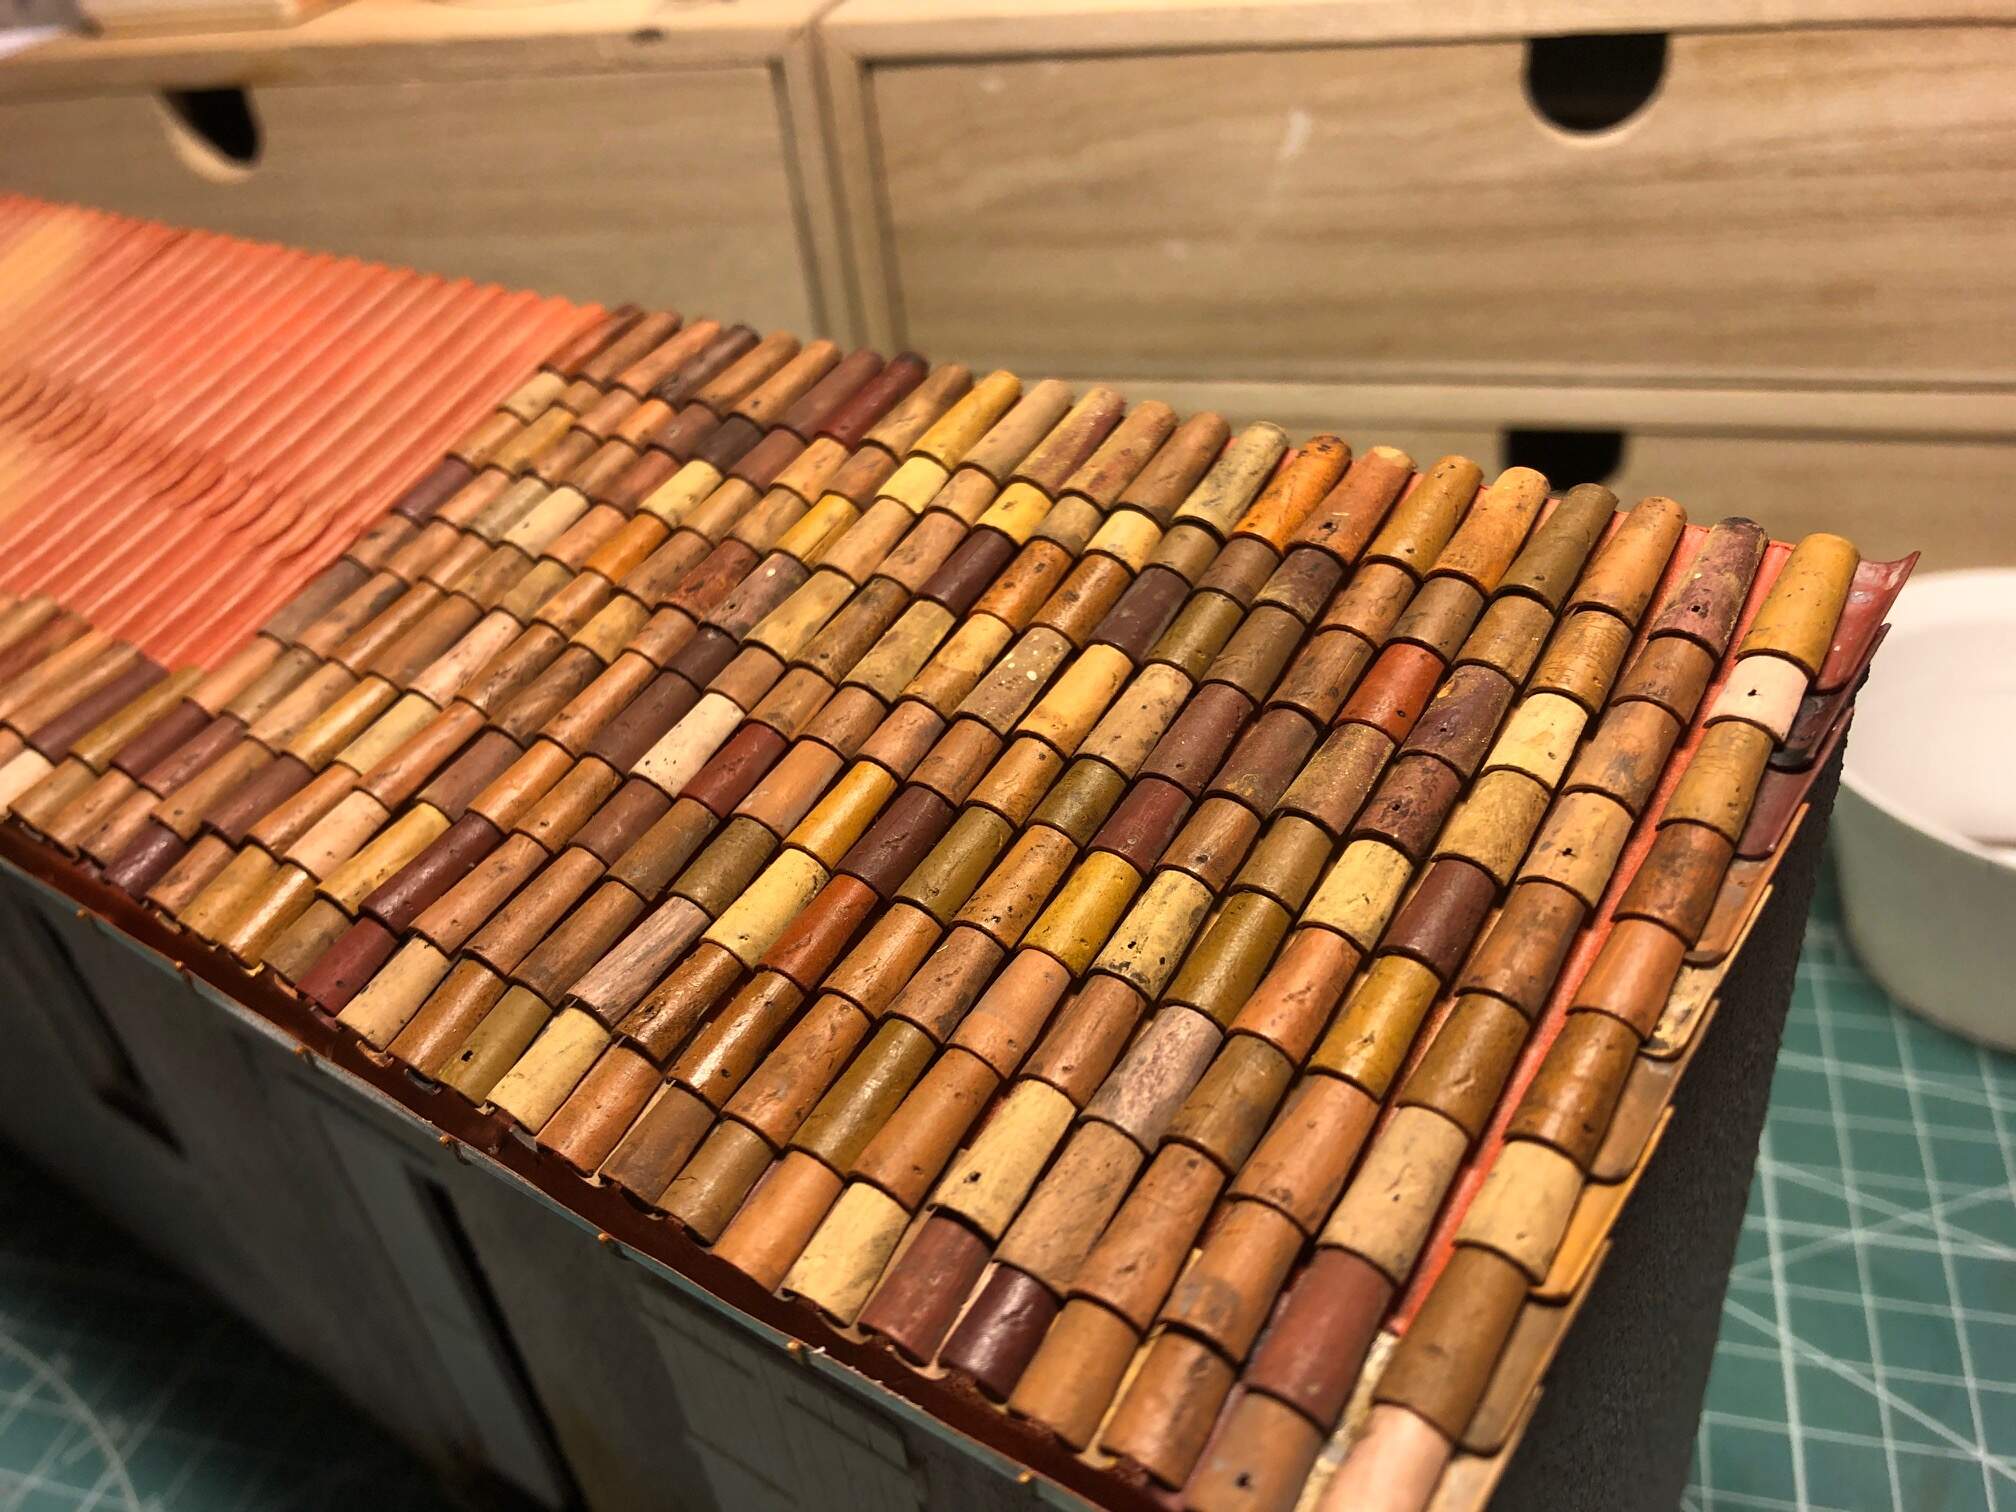
Roof tiles time!
I found a small firm who replicates the peculiar roof tiles used in the mediterranean, its name is Scientific Models. they do 3D printed roof tiles, among a lot of other things.
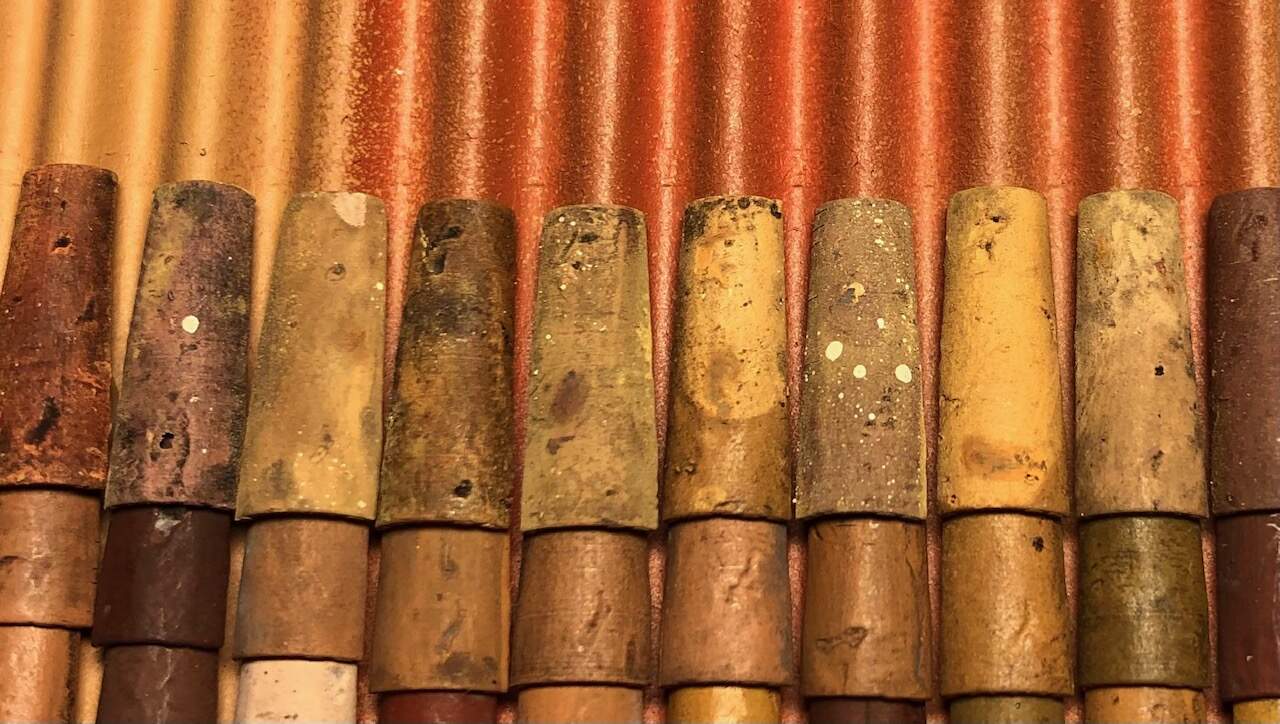
The tiles are very well detailed indeed and thin, there are several types because in reality each tile was hand made and not two were the same, the pictures speaks for themselves, I love them!
They just need some sanding and painting. I used Tamiya acrylics and abt 502 oils.
When I will end the roof, I will blend the colors with some washing or fading or filtering or… I don’t know…
Cheers!
Alessandro
4 Likes
Great job on everything Alessandro ! Love the figures and elefantino too.
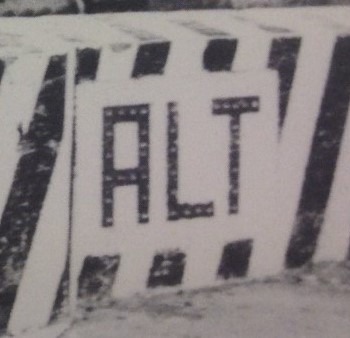
Hi Metalhead, thank you, so I ended the roof (before the expectations) and painted the concrete barrage, now all I need is to replicate the small circular reflectors on the writing, I think I will use some punch and die set on a silver painted paper…
Cheers
Alessandro
4 Likes
The building and tile work look great.
1 Like
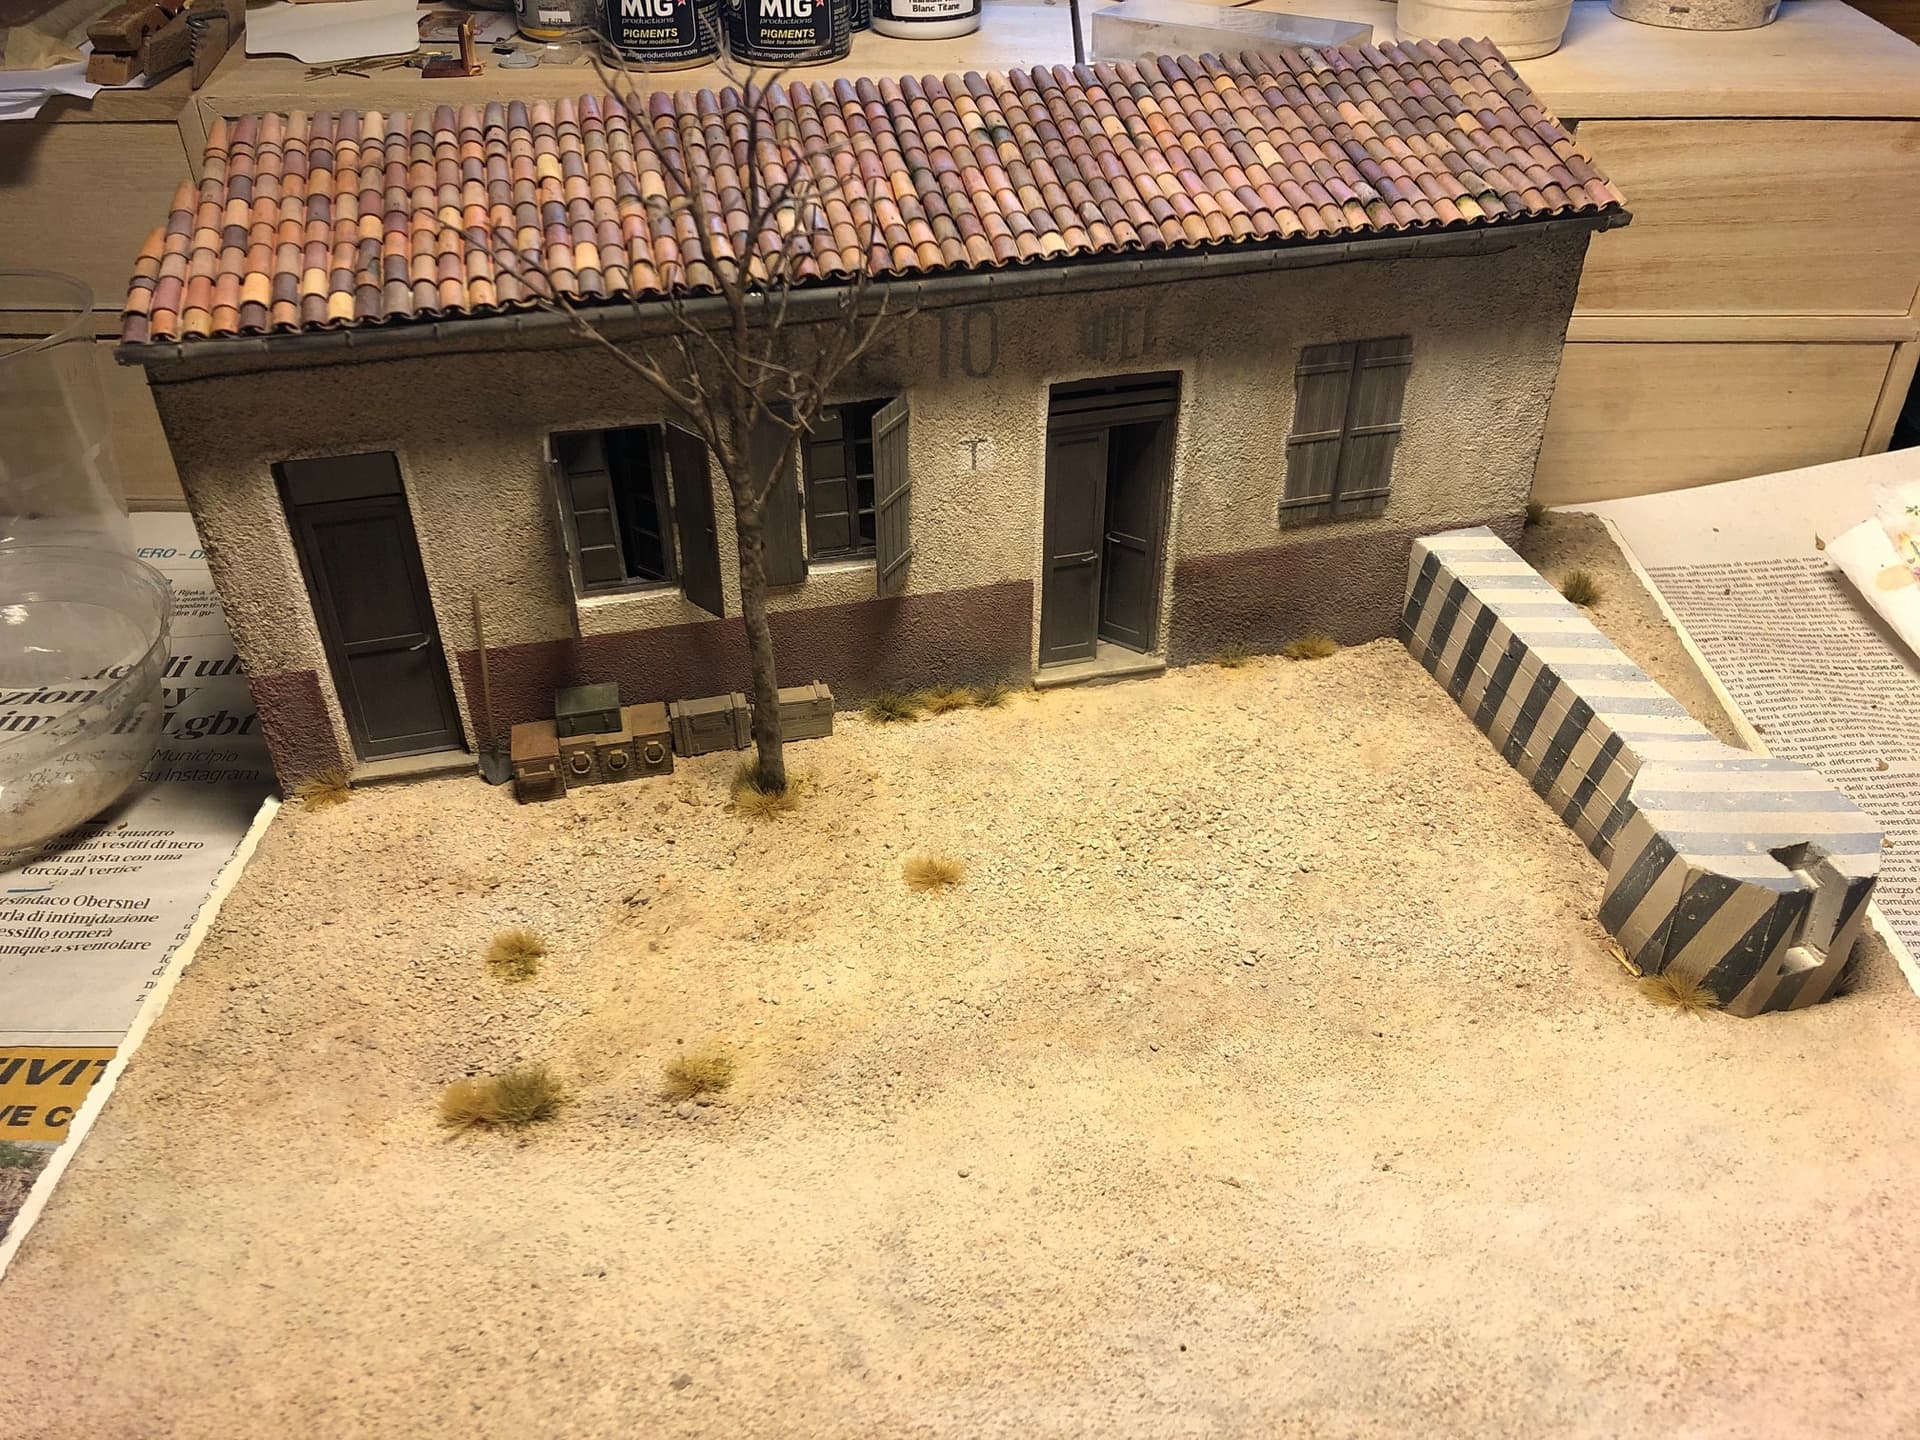
Hi, thank for the replies, here a small step ahead, basic colours painted building, then overall diorama setup, it starts to get sense now.
I made the reflectors with actual refletctor stick, it looks convincing.
Cheers
Alessandro
1 Like
I started the weathering of the building, for the writing I used some hand made stencils and my airbrush. I think it needs just some light drybrush and it’s over.
Cheers!
Alessandro
5 Likes
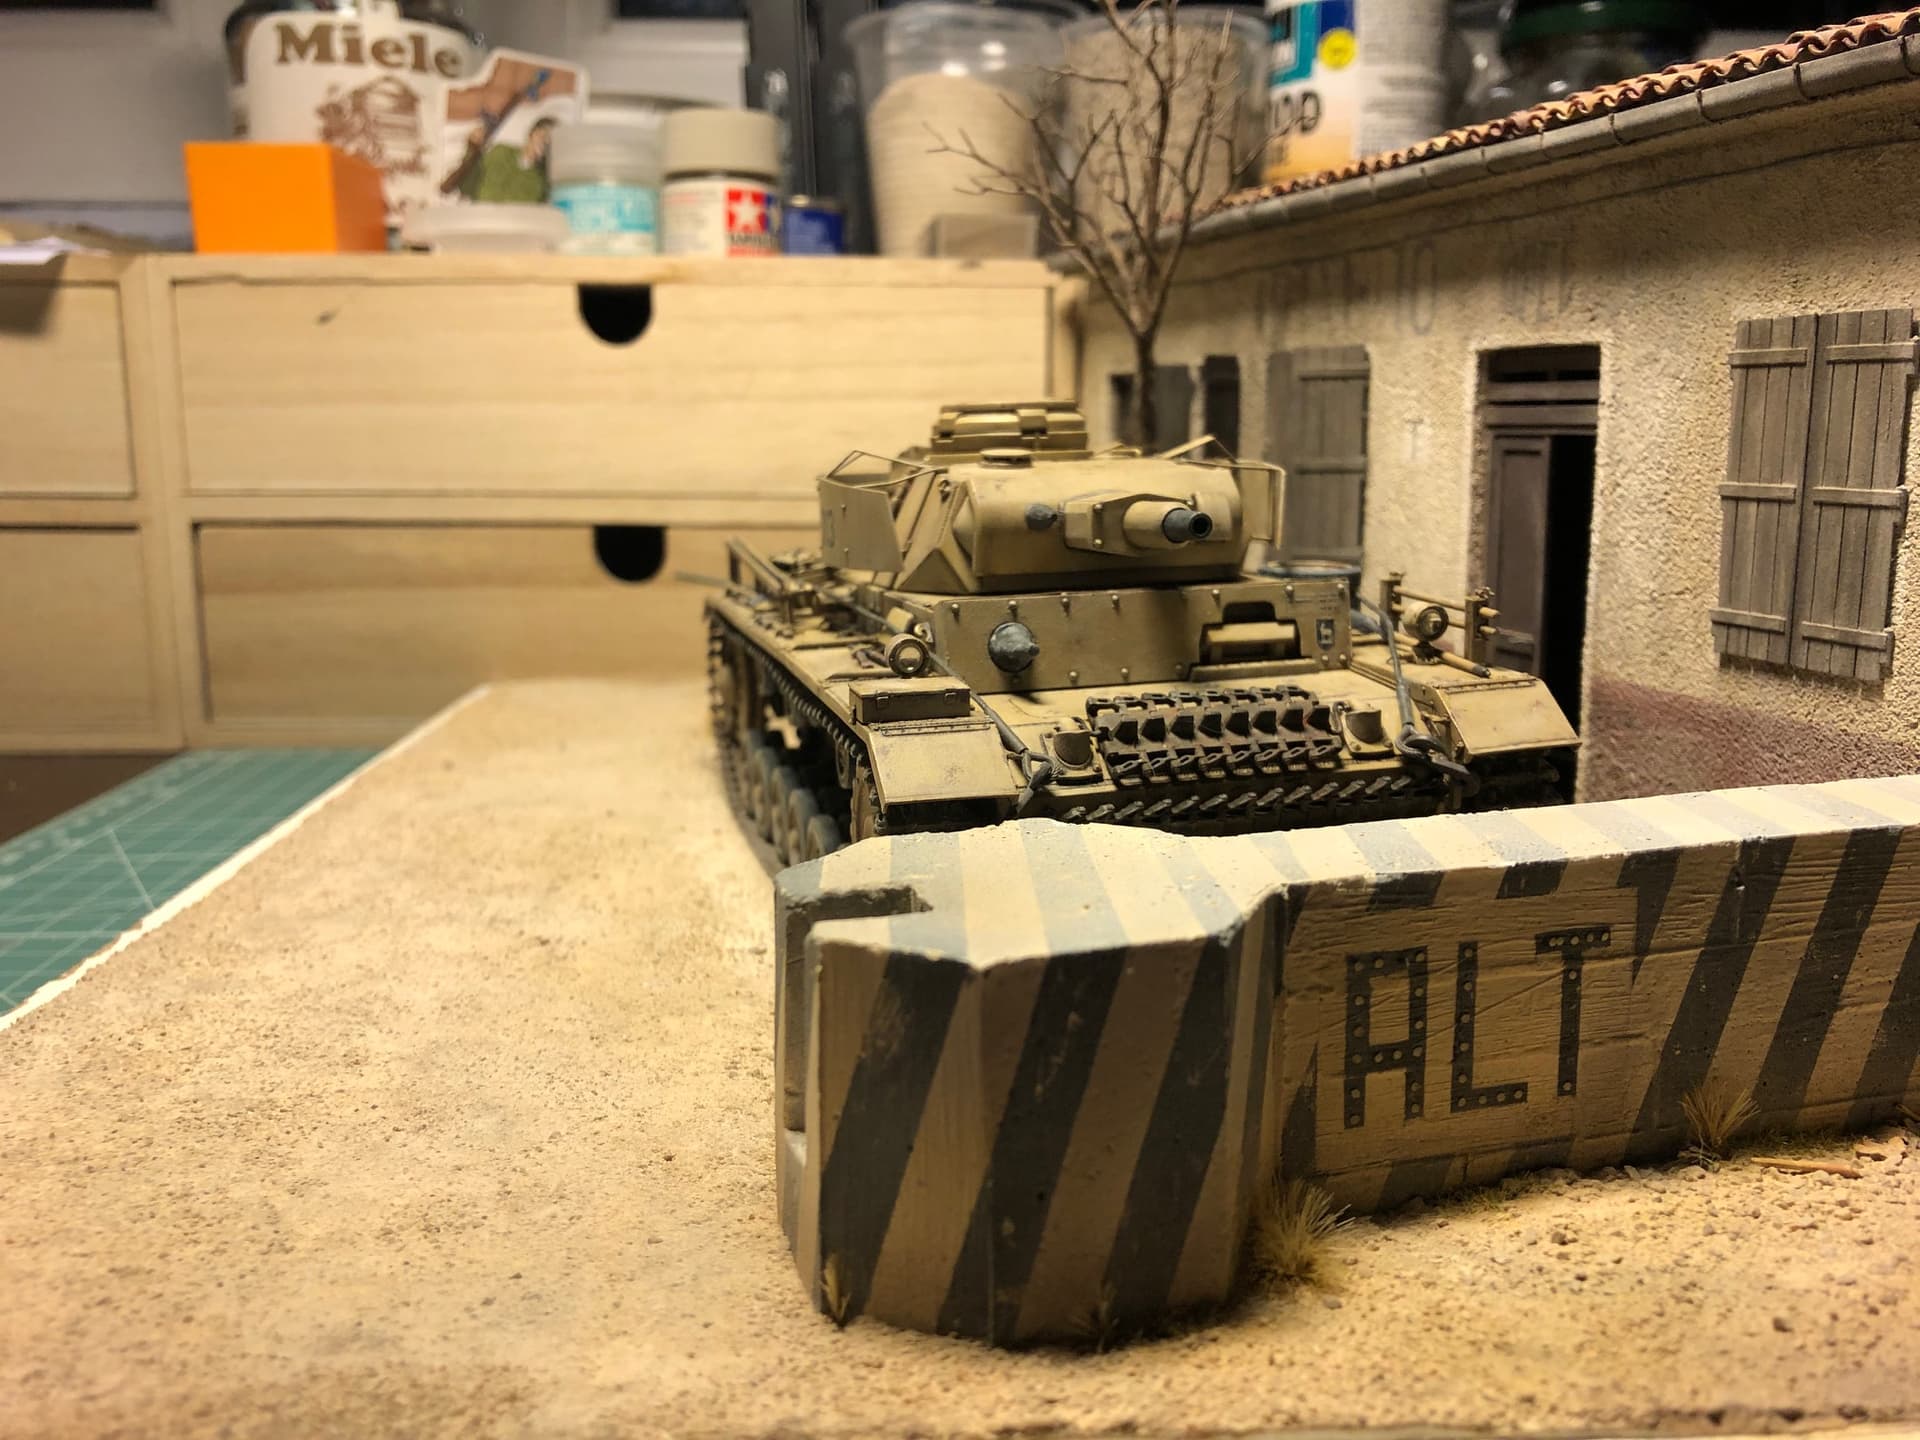
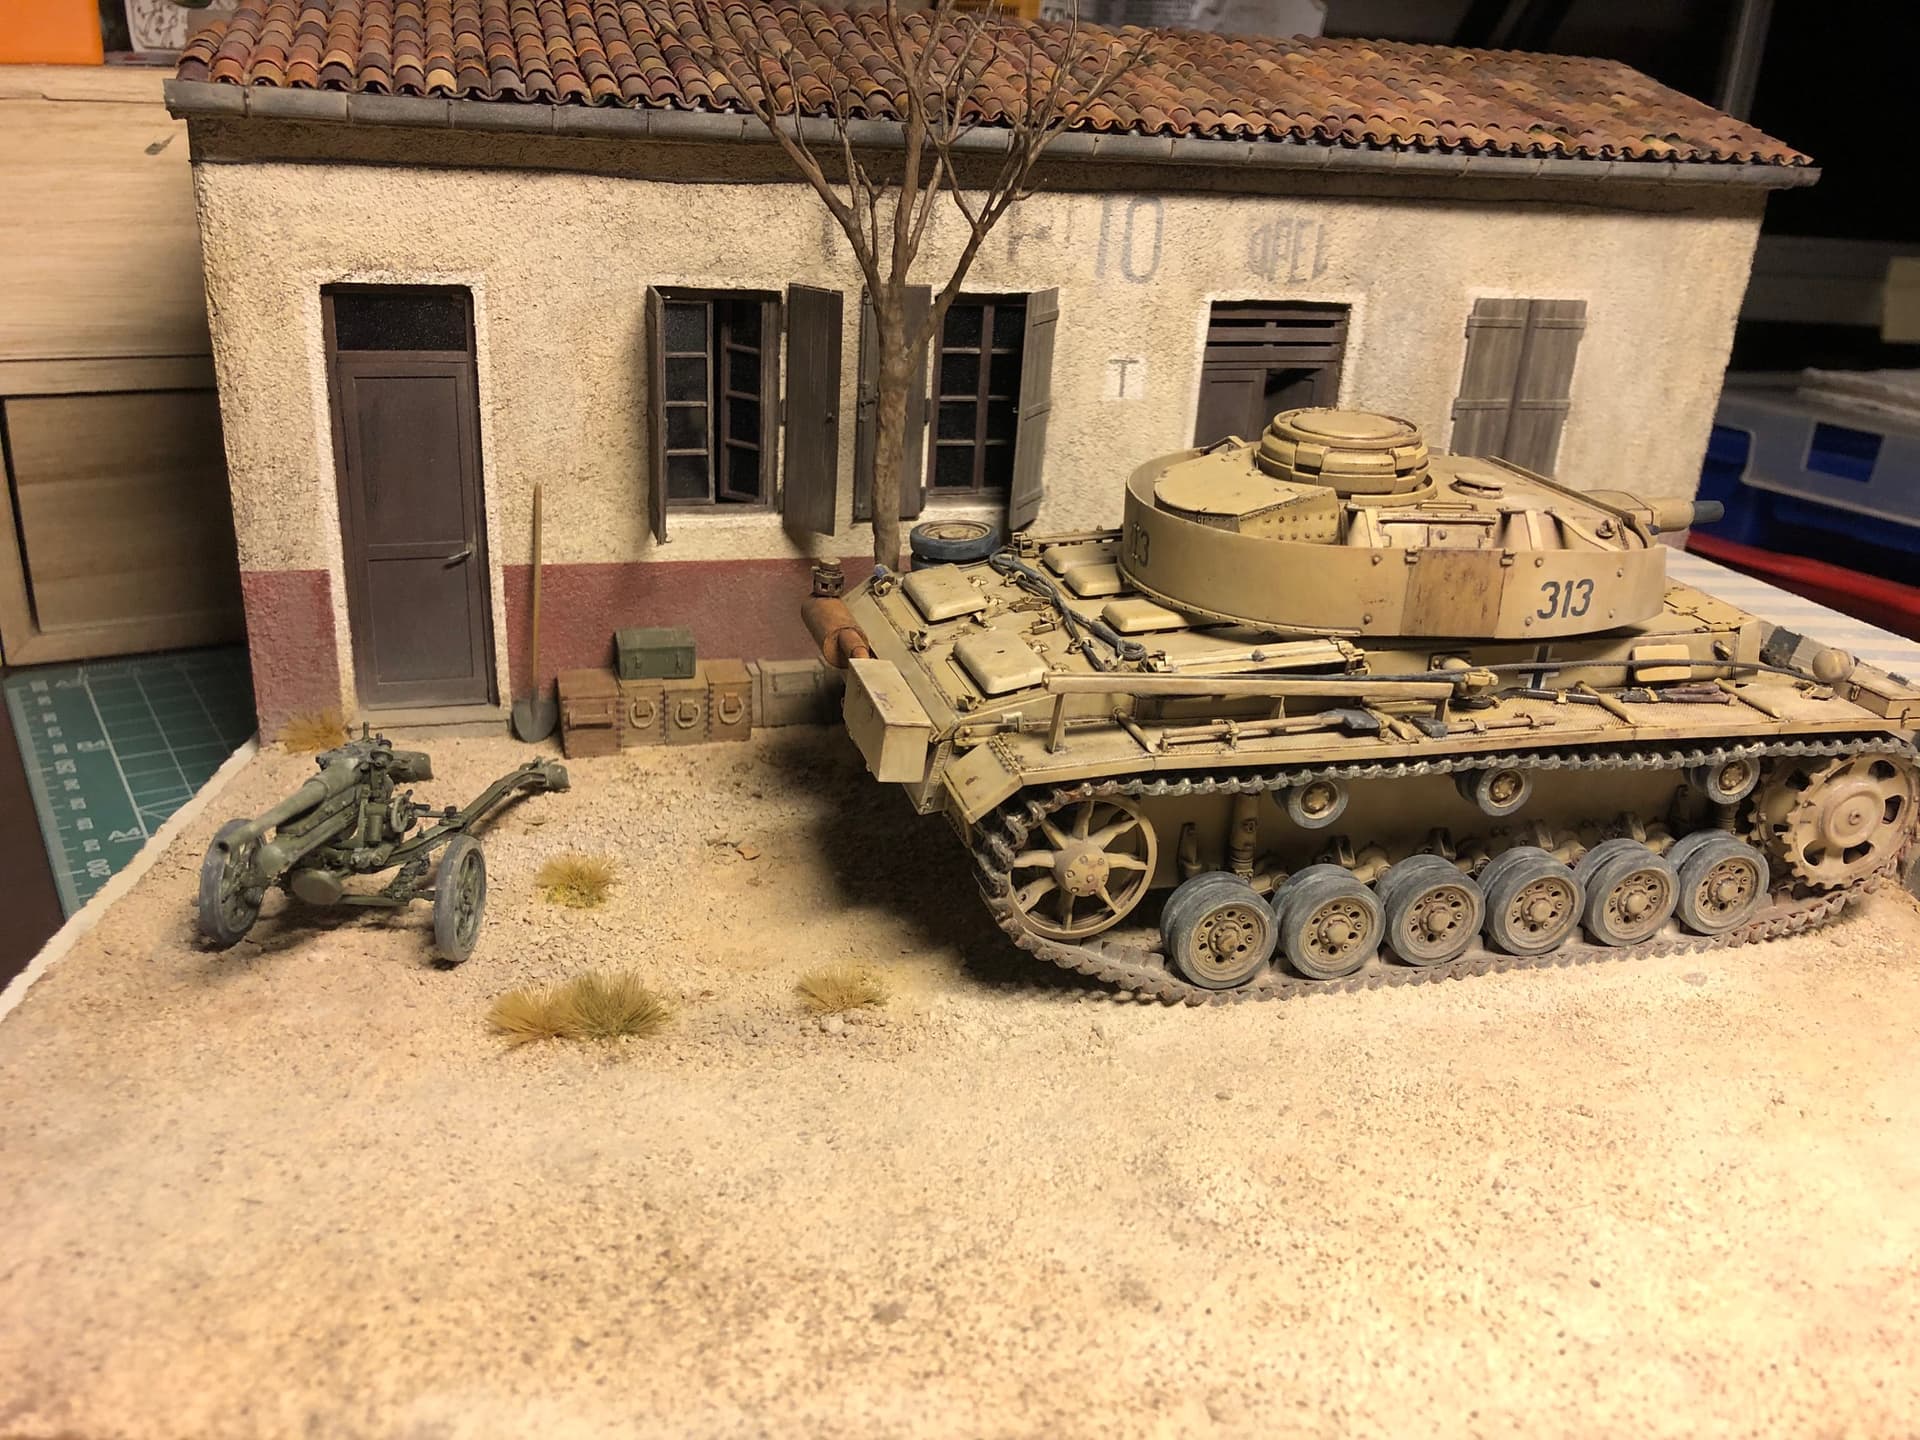
Hi all, thank you for the replies, here is another update, the ground was set, the tank was aged with oils.
Next step will be the tank glued to the base and then the figures.
Cheers
Alessandro
8 Likes
Wow! That tank is beautiful! Nice job with the oils.
1 Like
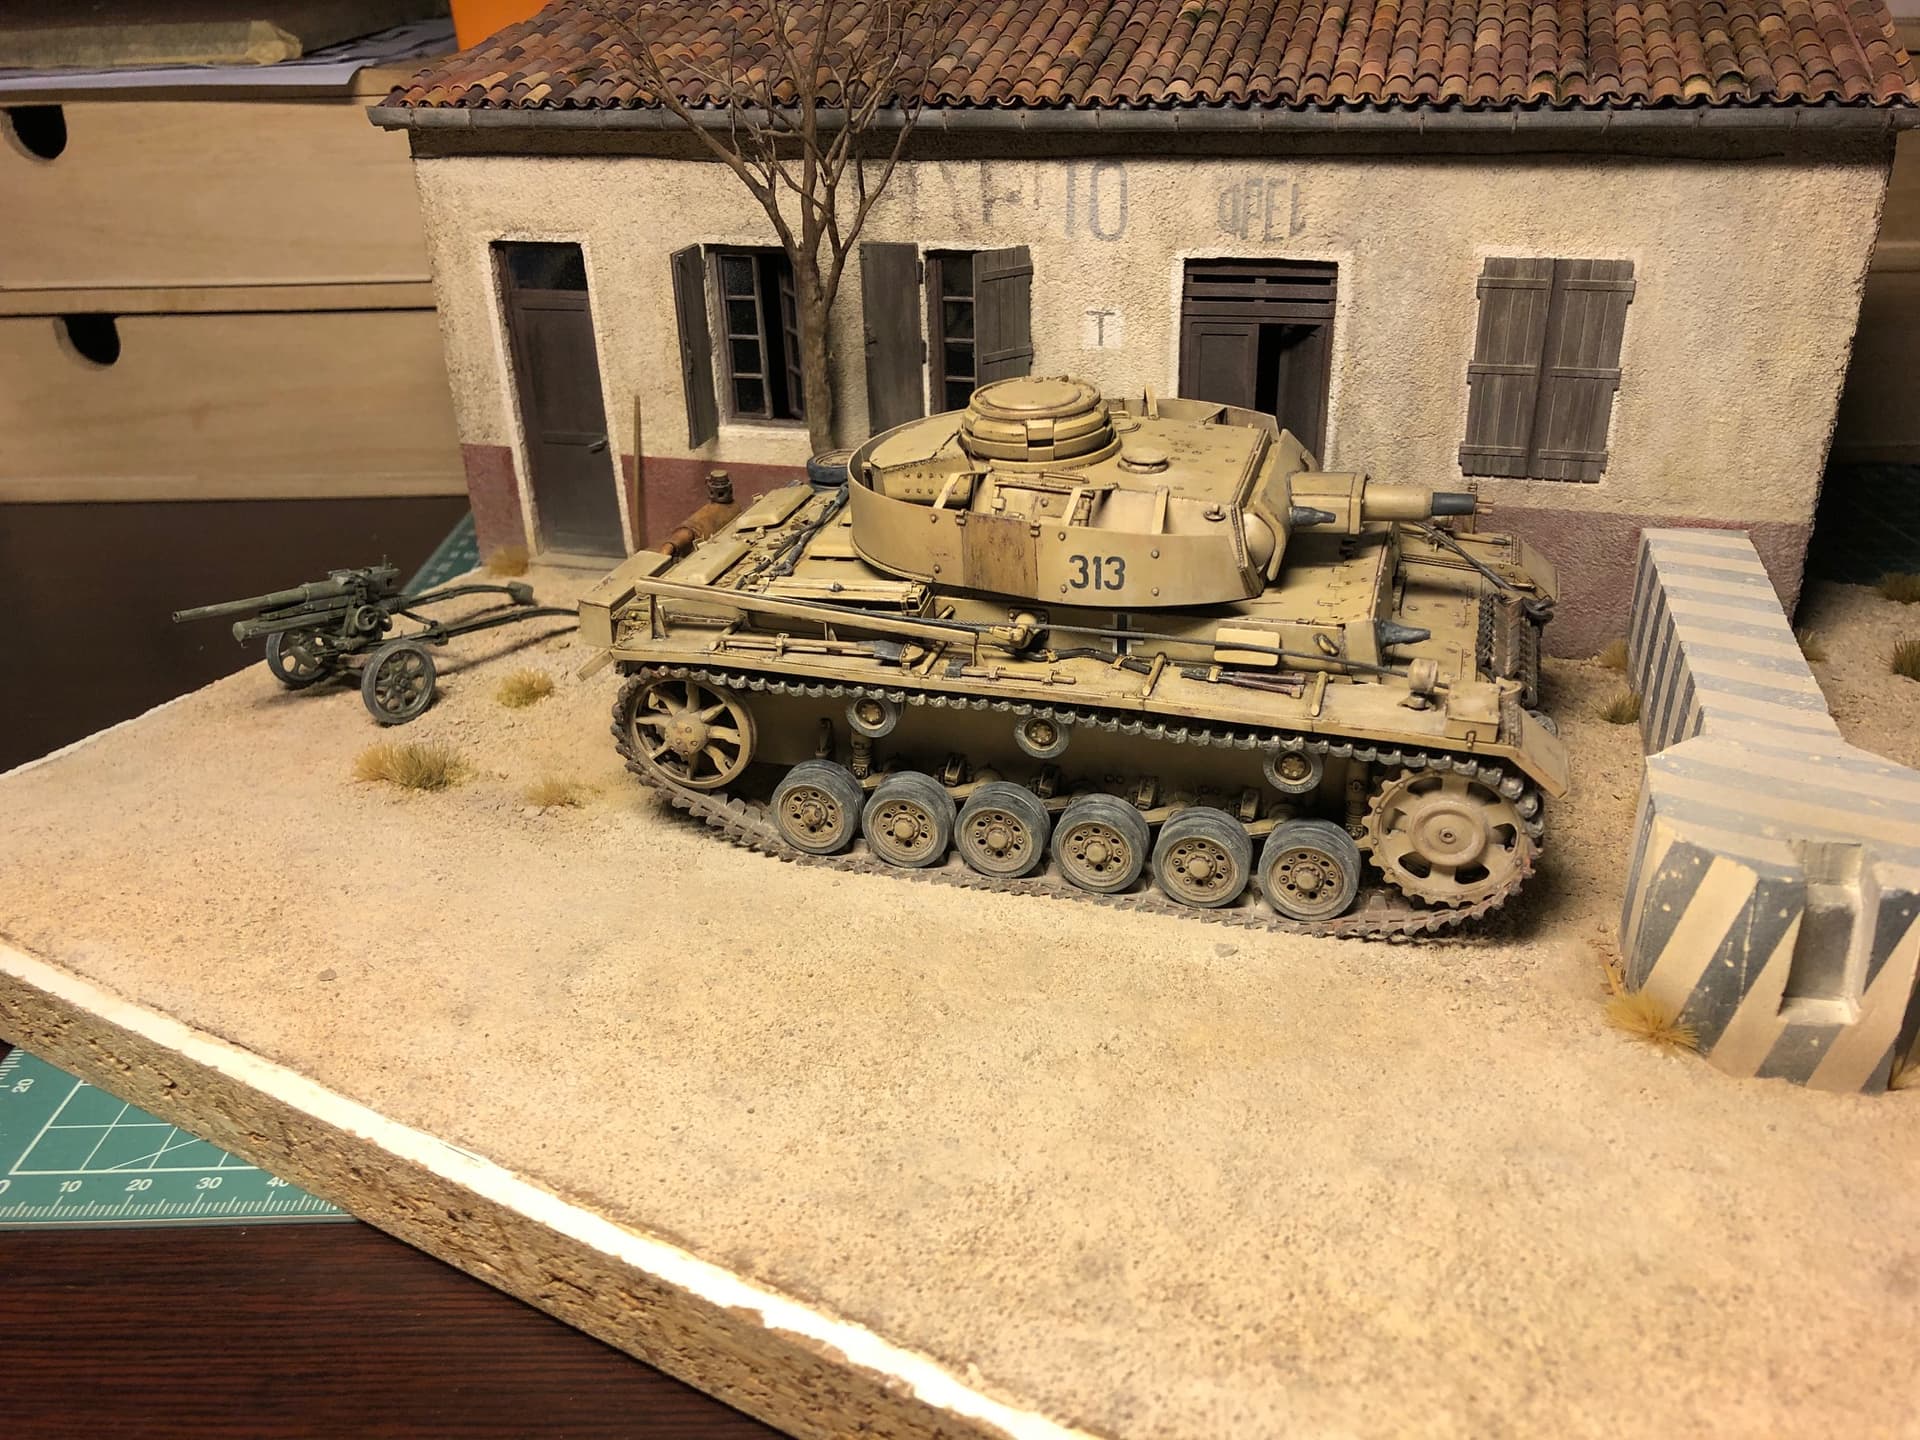
Hi and thank you for the replies, here is the tank and the gun fixed to the base, I put also some pigment to blend the colors.
Now the only thing to do is to put on the boys.
Cheers
Alessandro
8 Likes
Damn, I had forgotten all about this. The building, groundwork and now the tank and gun are fantastic, the finish on all parts of it look really very nice and you cant fault it. Great work and looking forward to see more once the figures are on 
1 Like
Nice, I never heard of OZAK before, but considdering the number of nationalities in a small environment, I can see why you like it.
That T between door and window, does that stand for telephone? If so, a connection is not evident or is it on the invisible part?
A tip on my side: first finish the base before adding the figs. Dat will make them less prone to knocking them about…
1 Like
This is exceptionally good.
1 Like