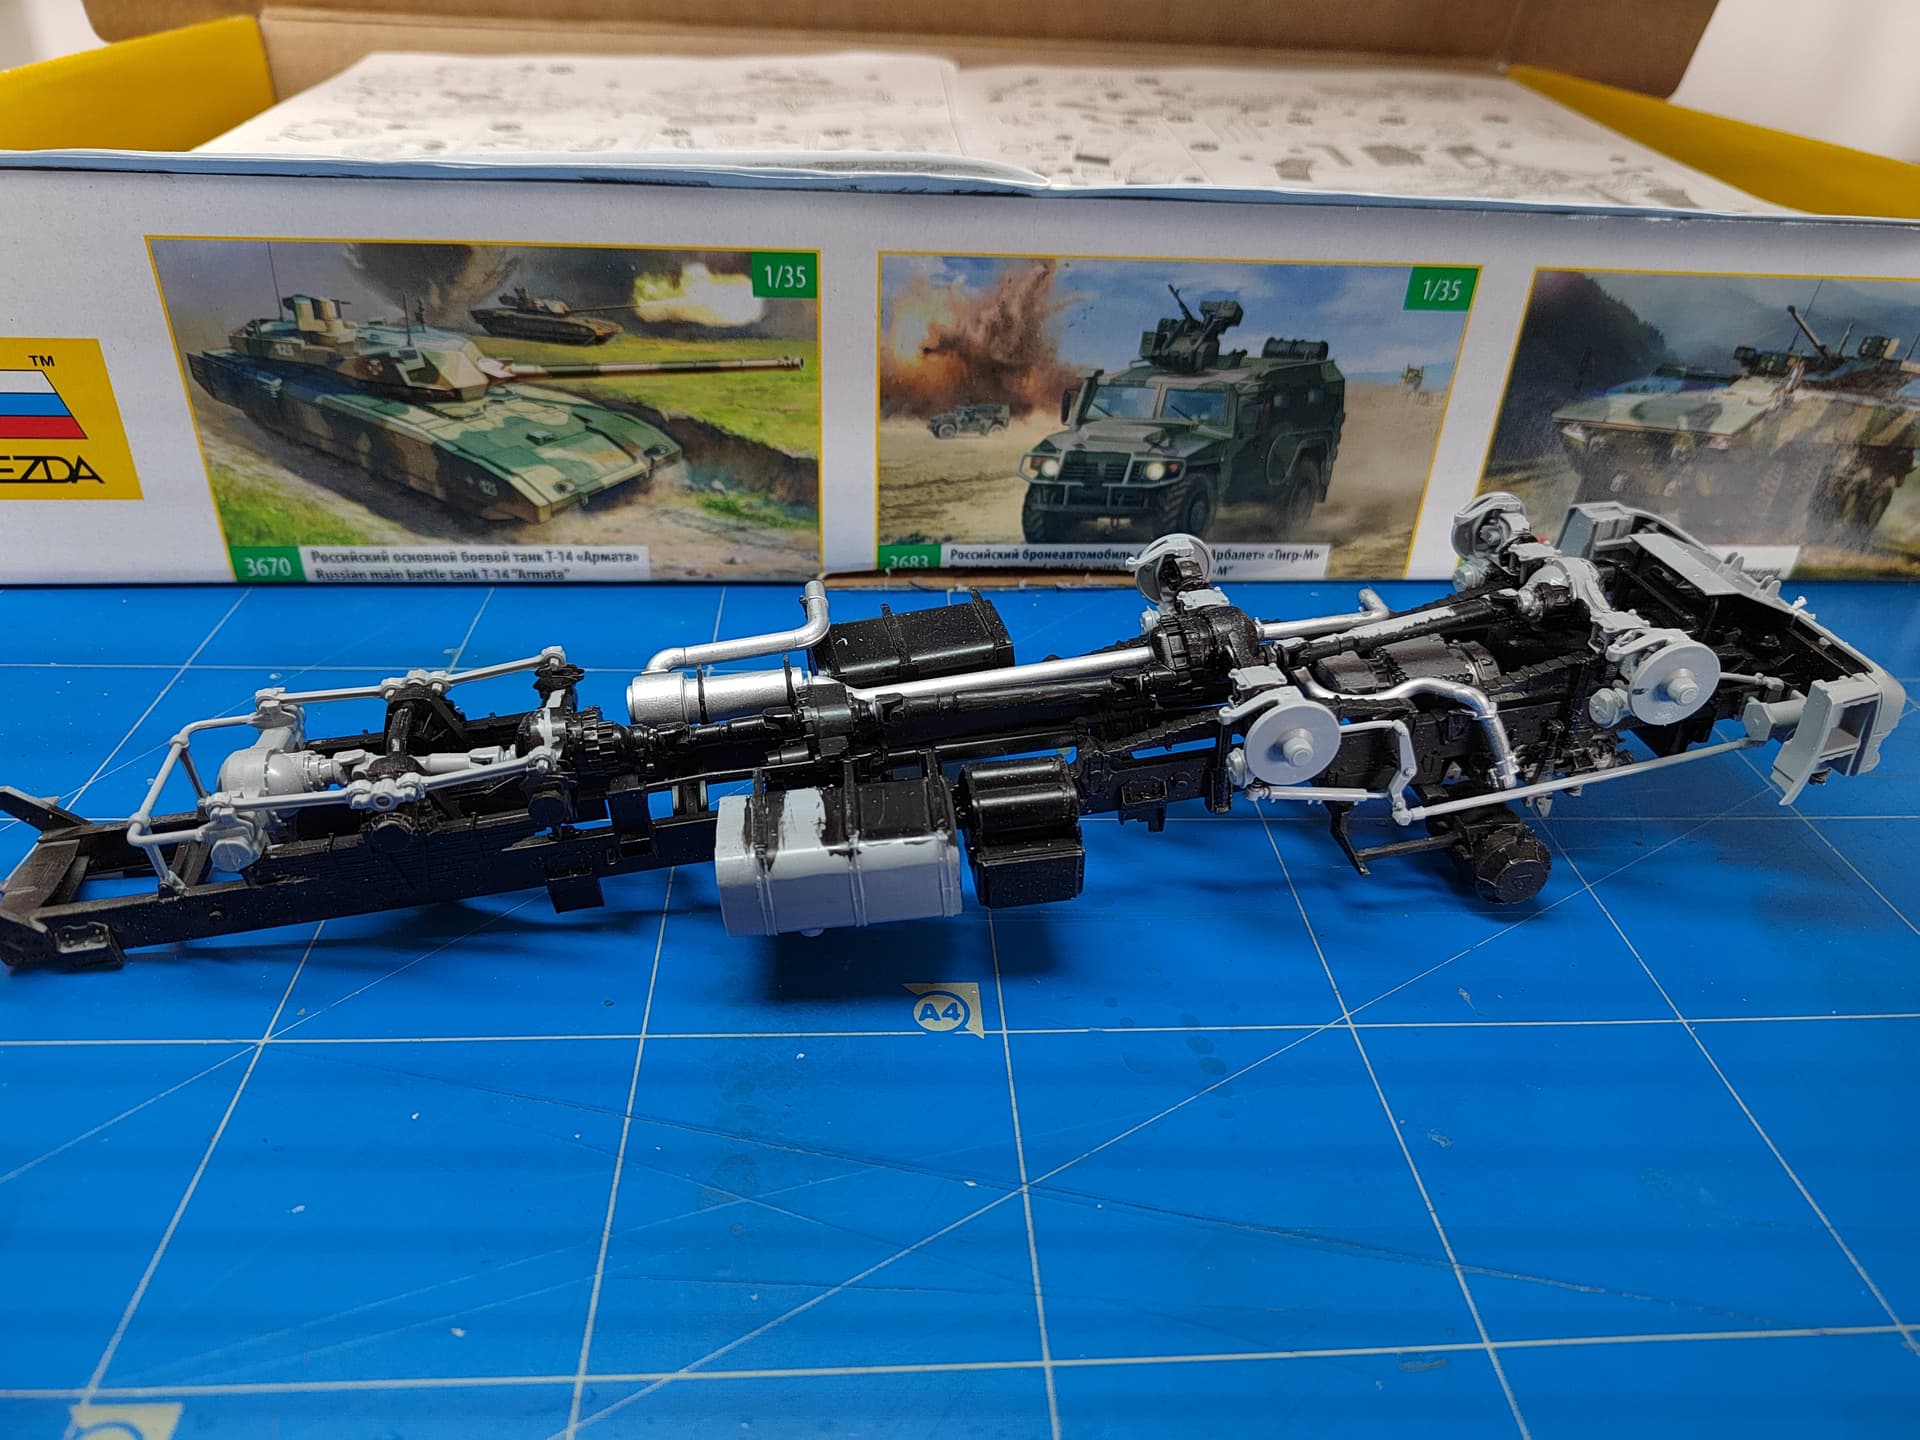
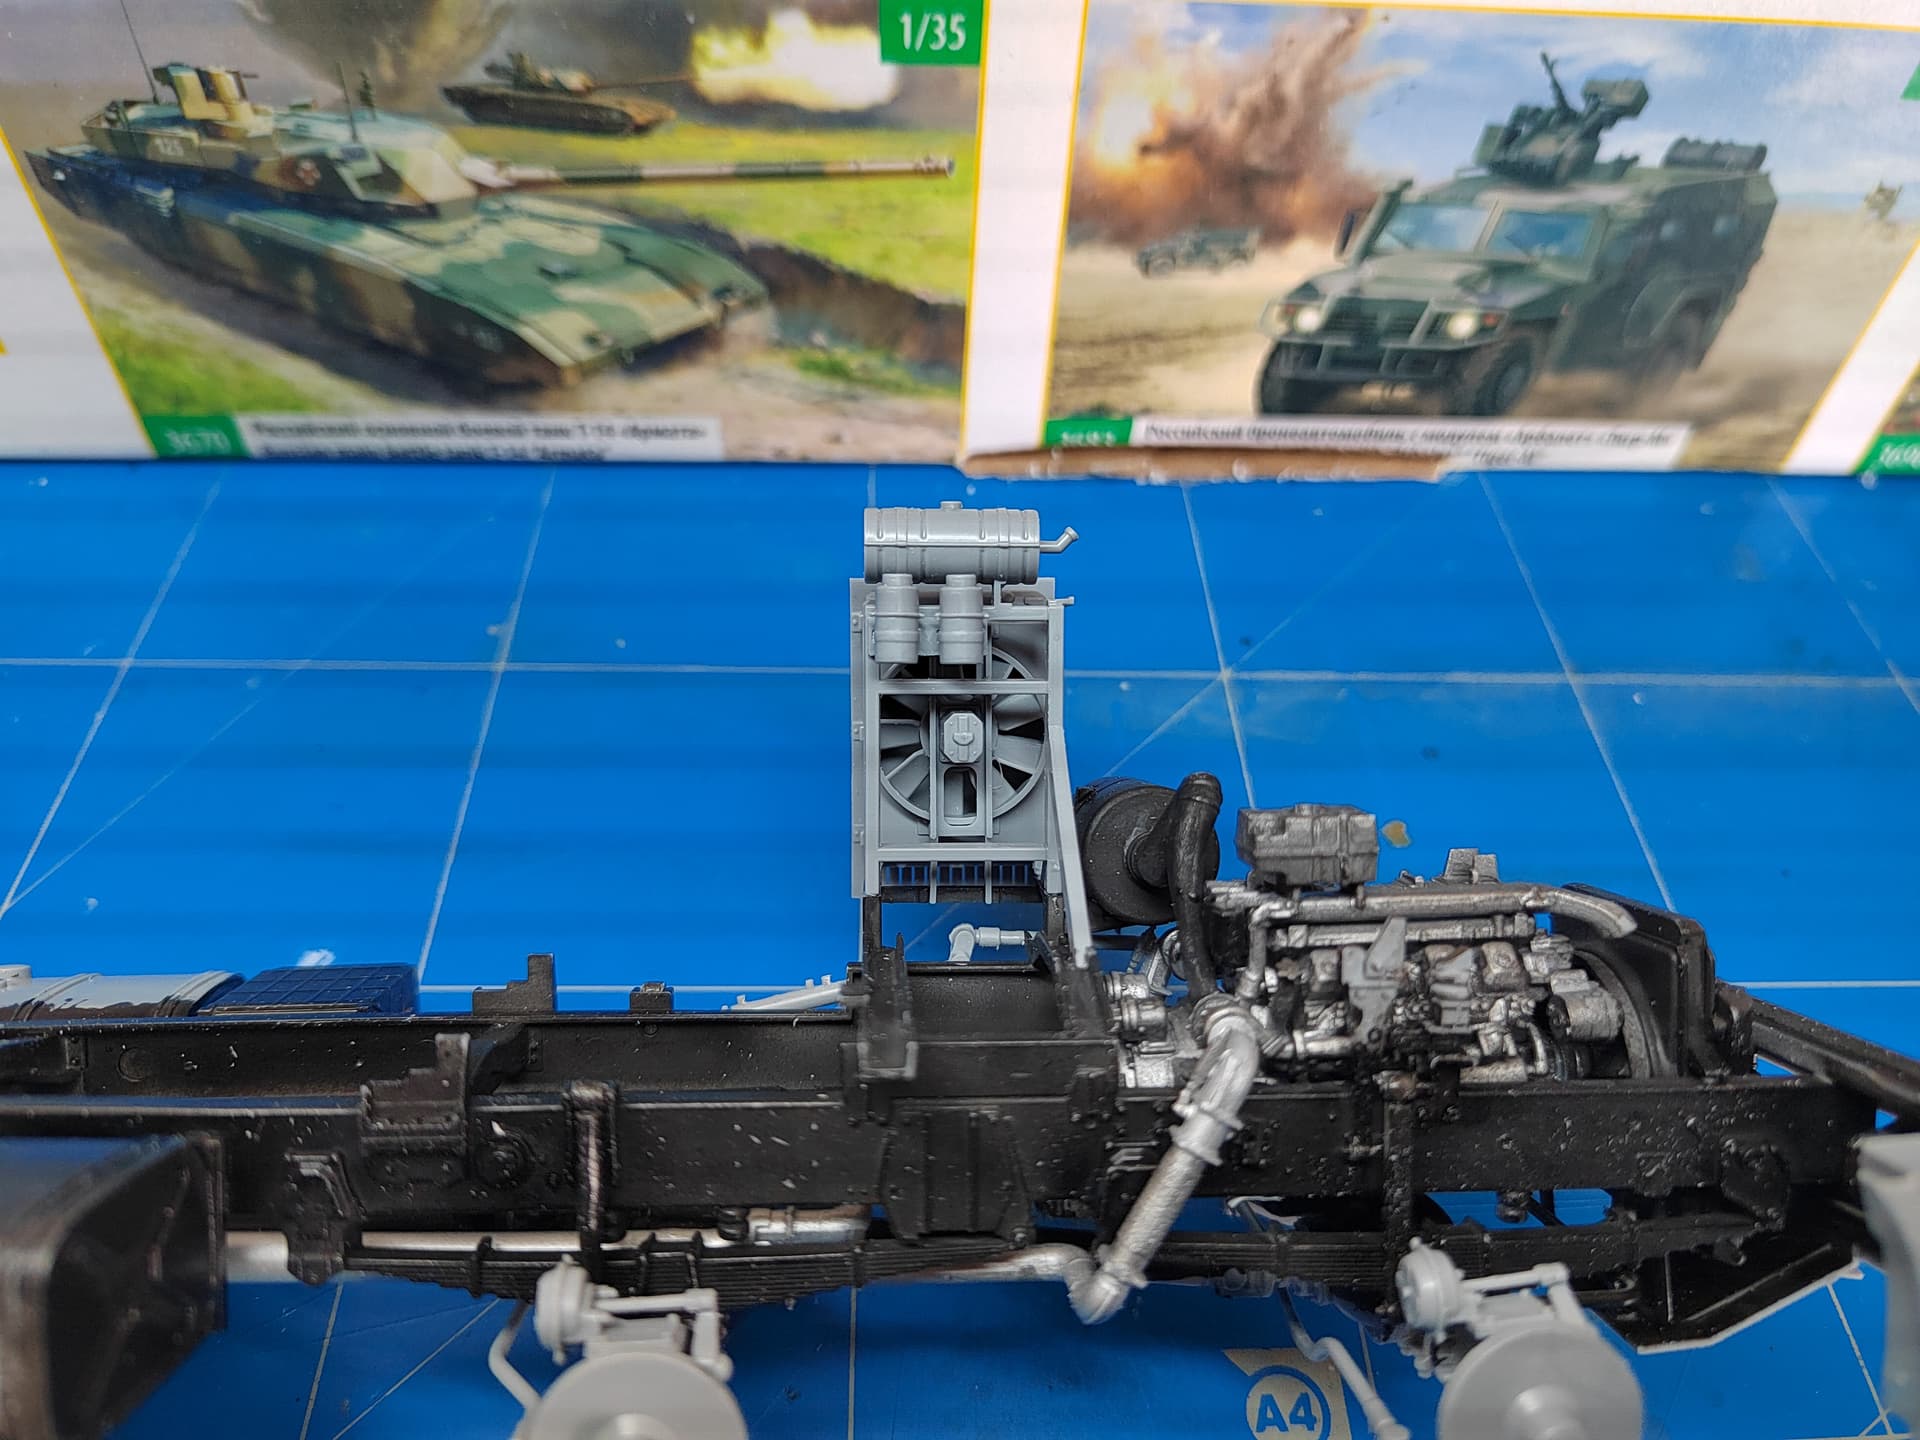
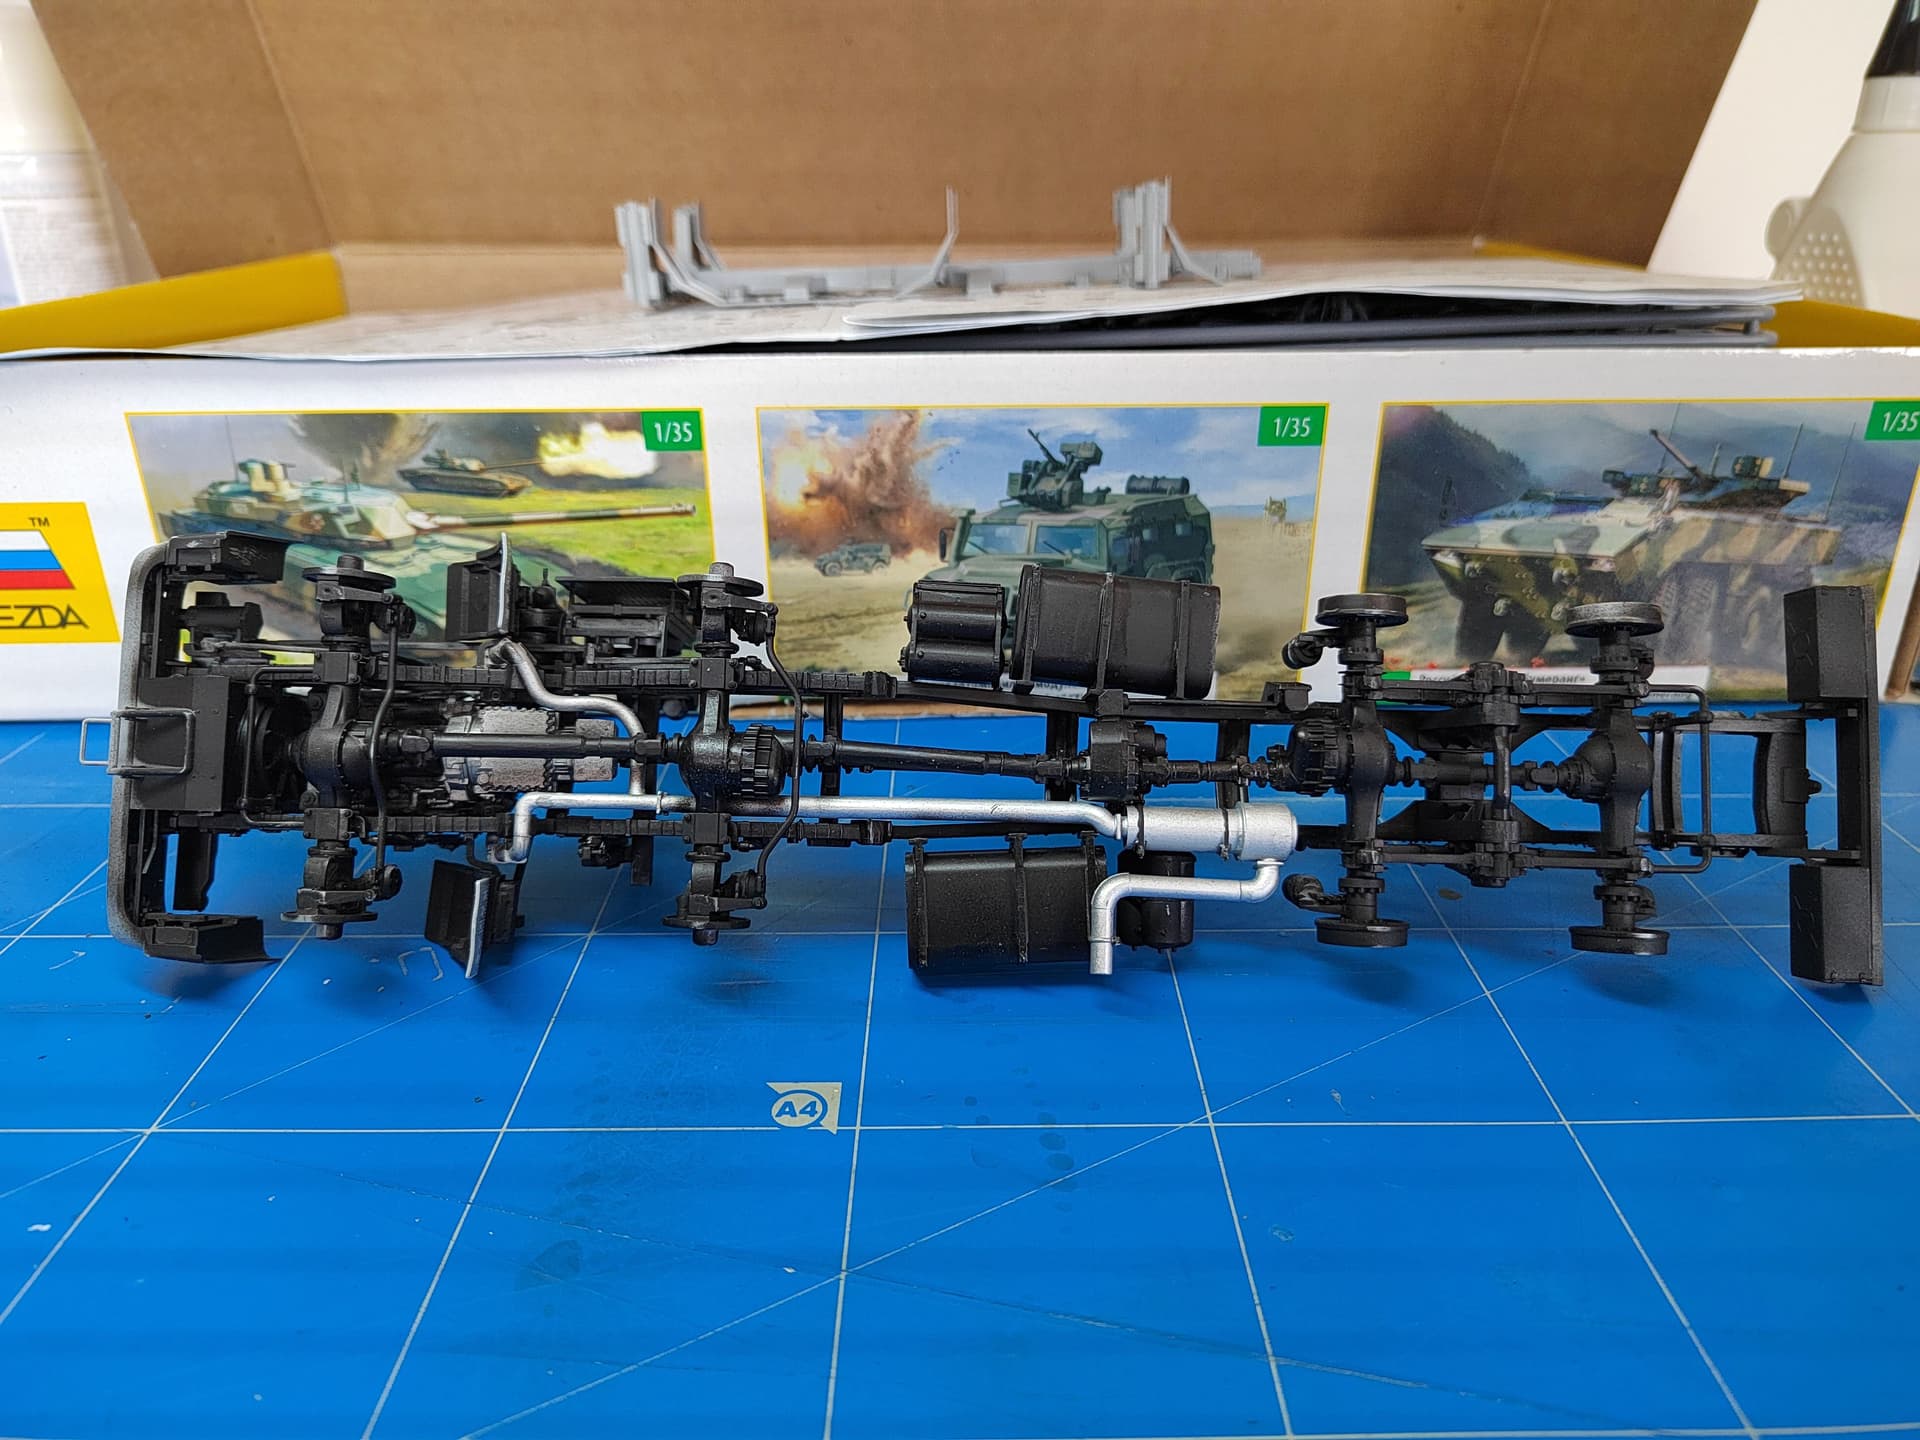
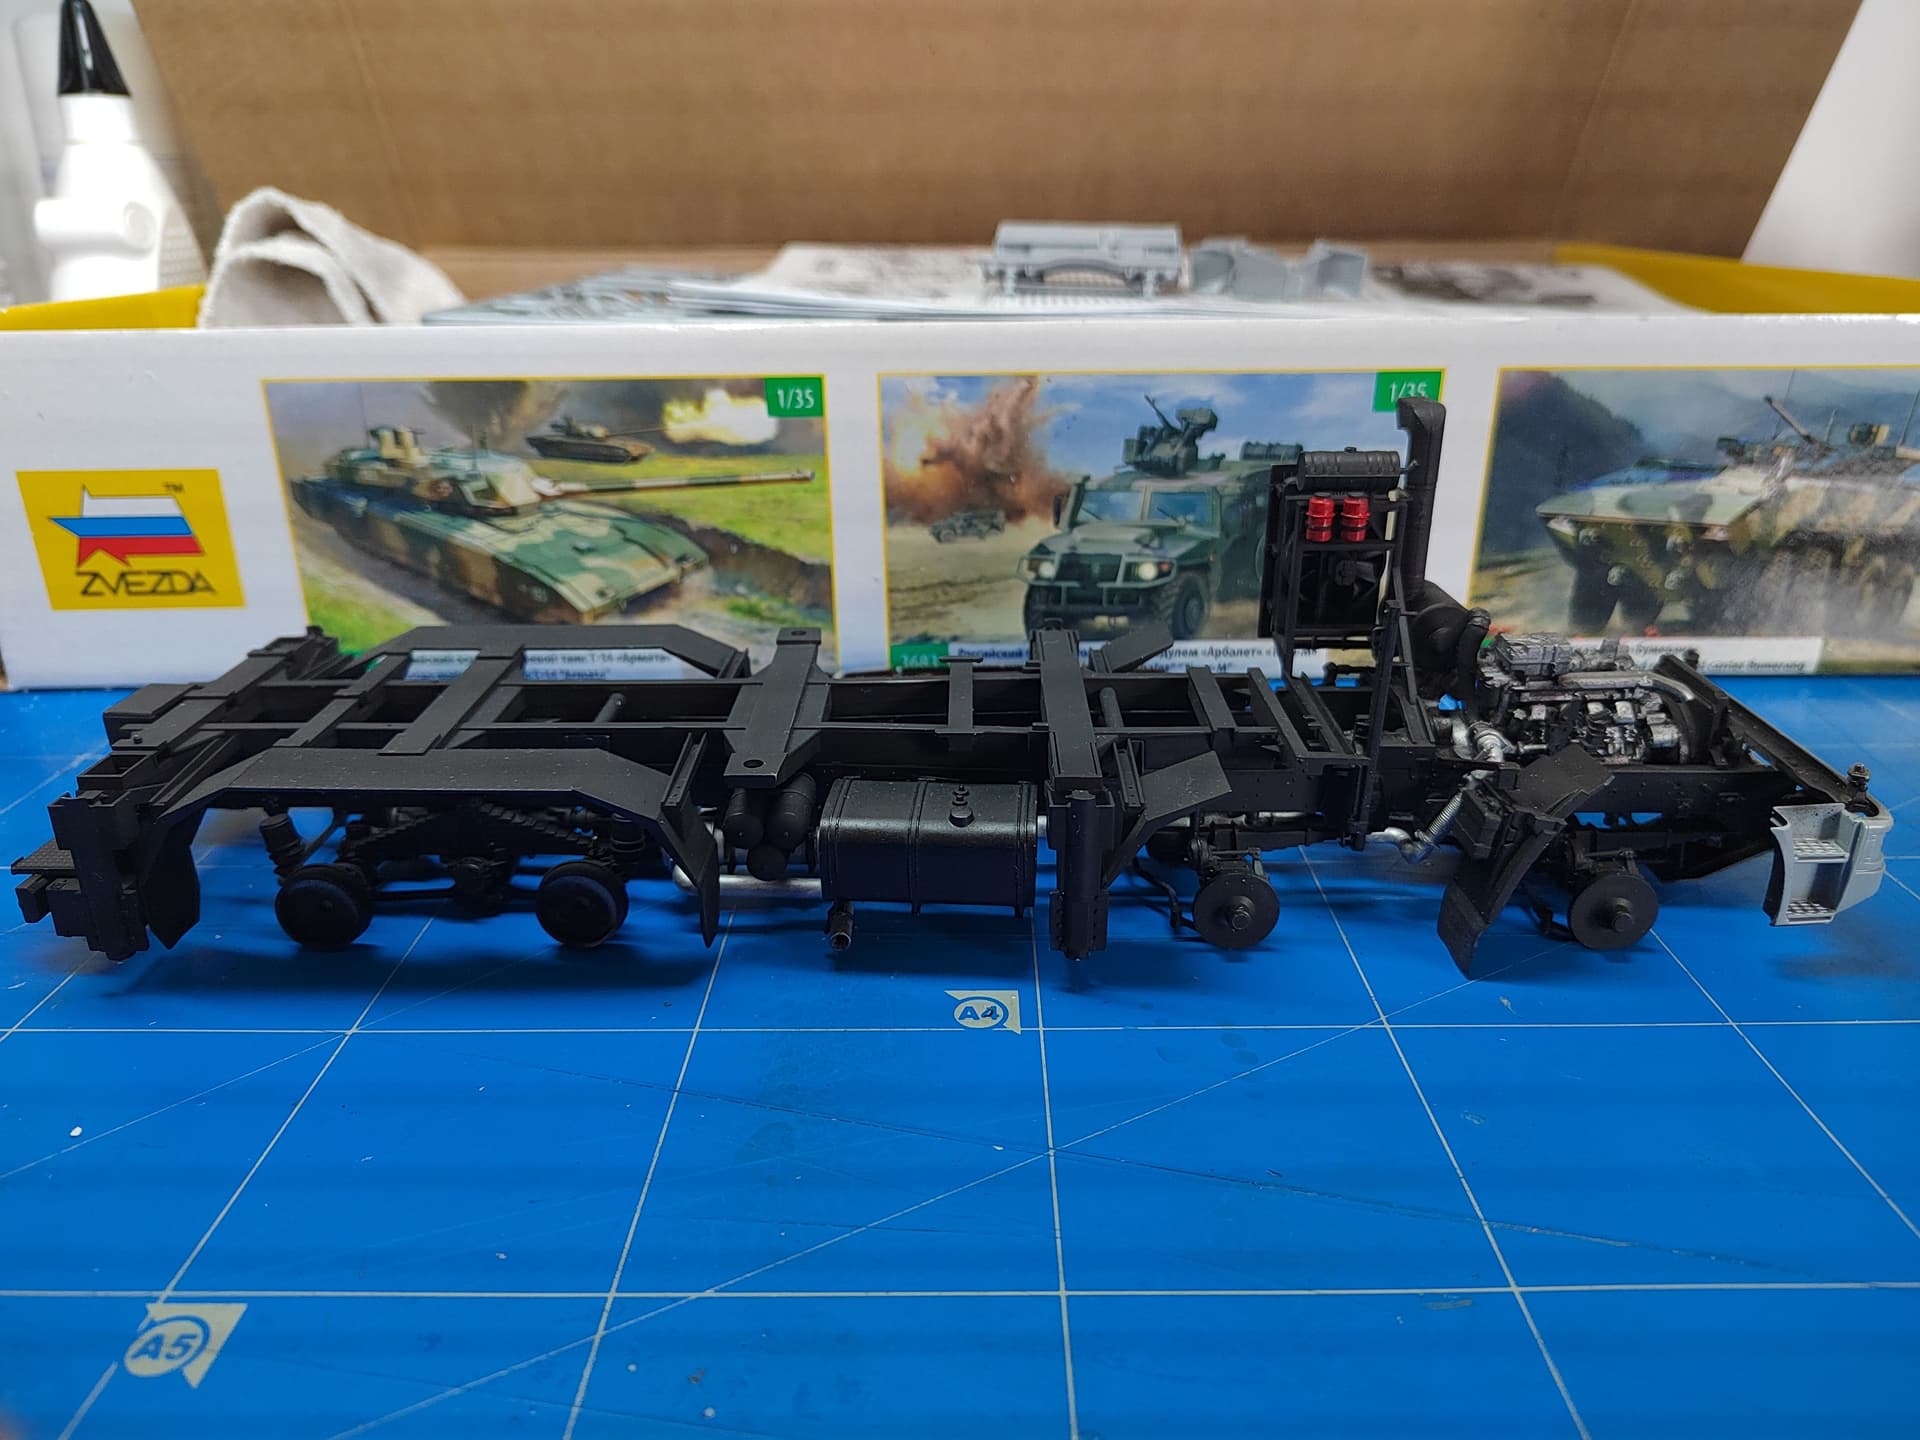
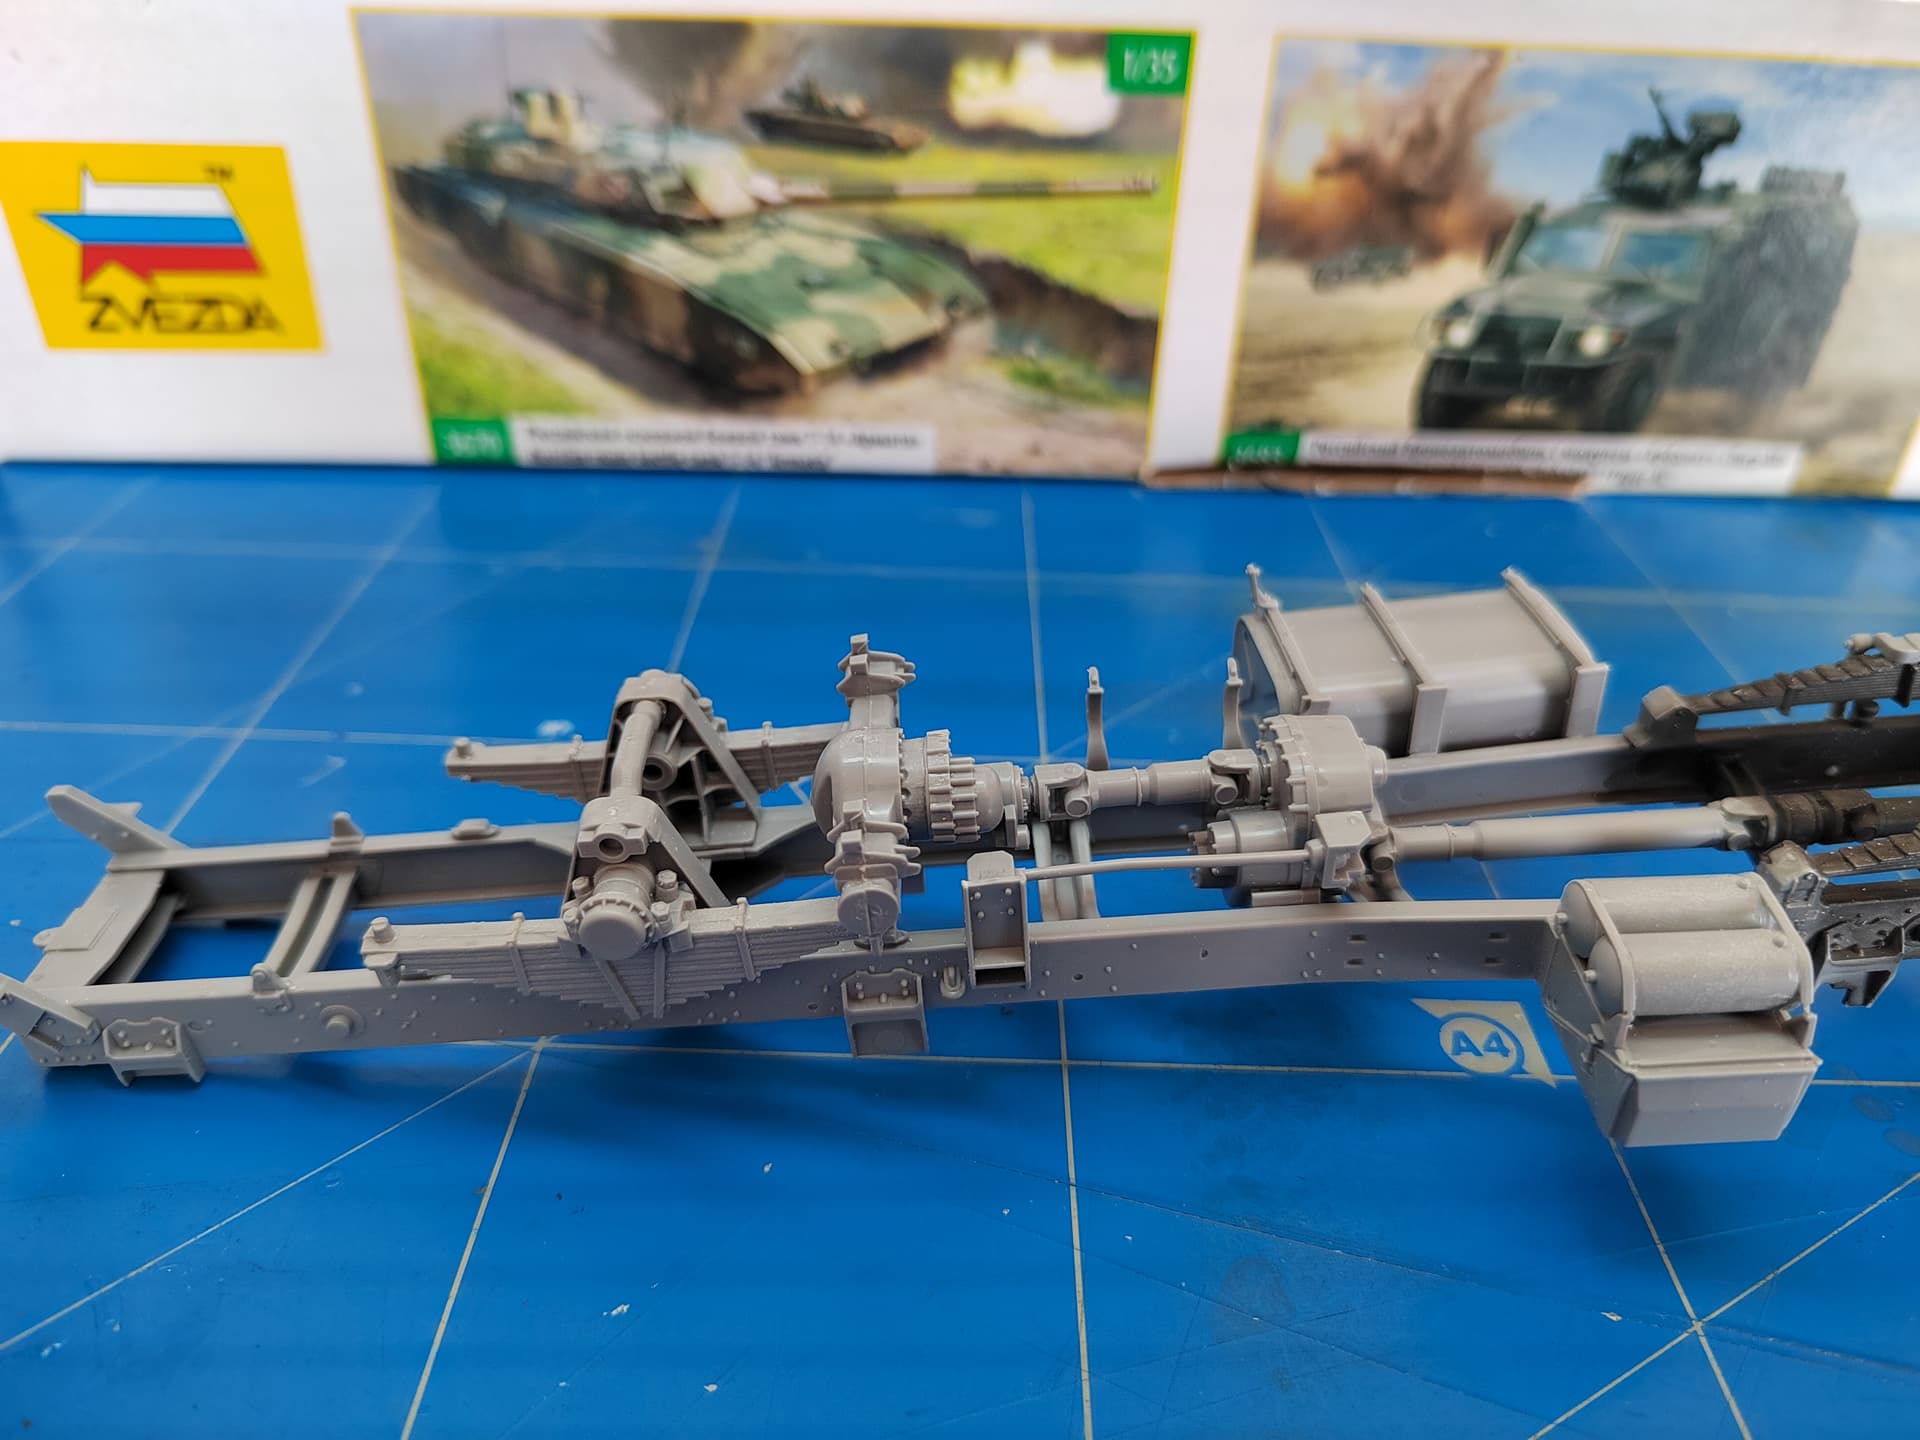
More progress on the chassis.
Olivier
Superb work Olivier !!
It does build up nicely, and with lots of nice detail as well.
Looking superb as usual Olivier. ![]()
Thank you guys.
I managed to make some great progress lately as the week-end may not be productive.
I encountered my first trouble with the axles. First when you assemble the halves of the rear ones the ends are not flat and present a small step which MUST not be sanded down. Unfortunately you only notice it when it is too late. ![]()
The steps is used to give the outer part the right orientation.
On the front axle there is a D shaped part at the end which inserts into the wheel support. It is way too large and needs a thorough sanding to do so.
Olivier
Engineers who slept during physics class.
https://www.youtube.com/watch?v=TpoZoJOOwnQ
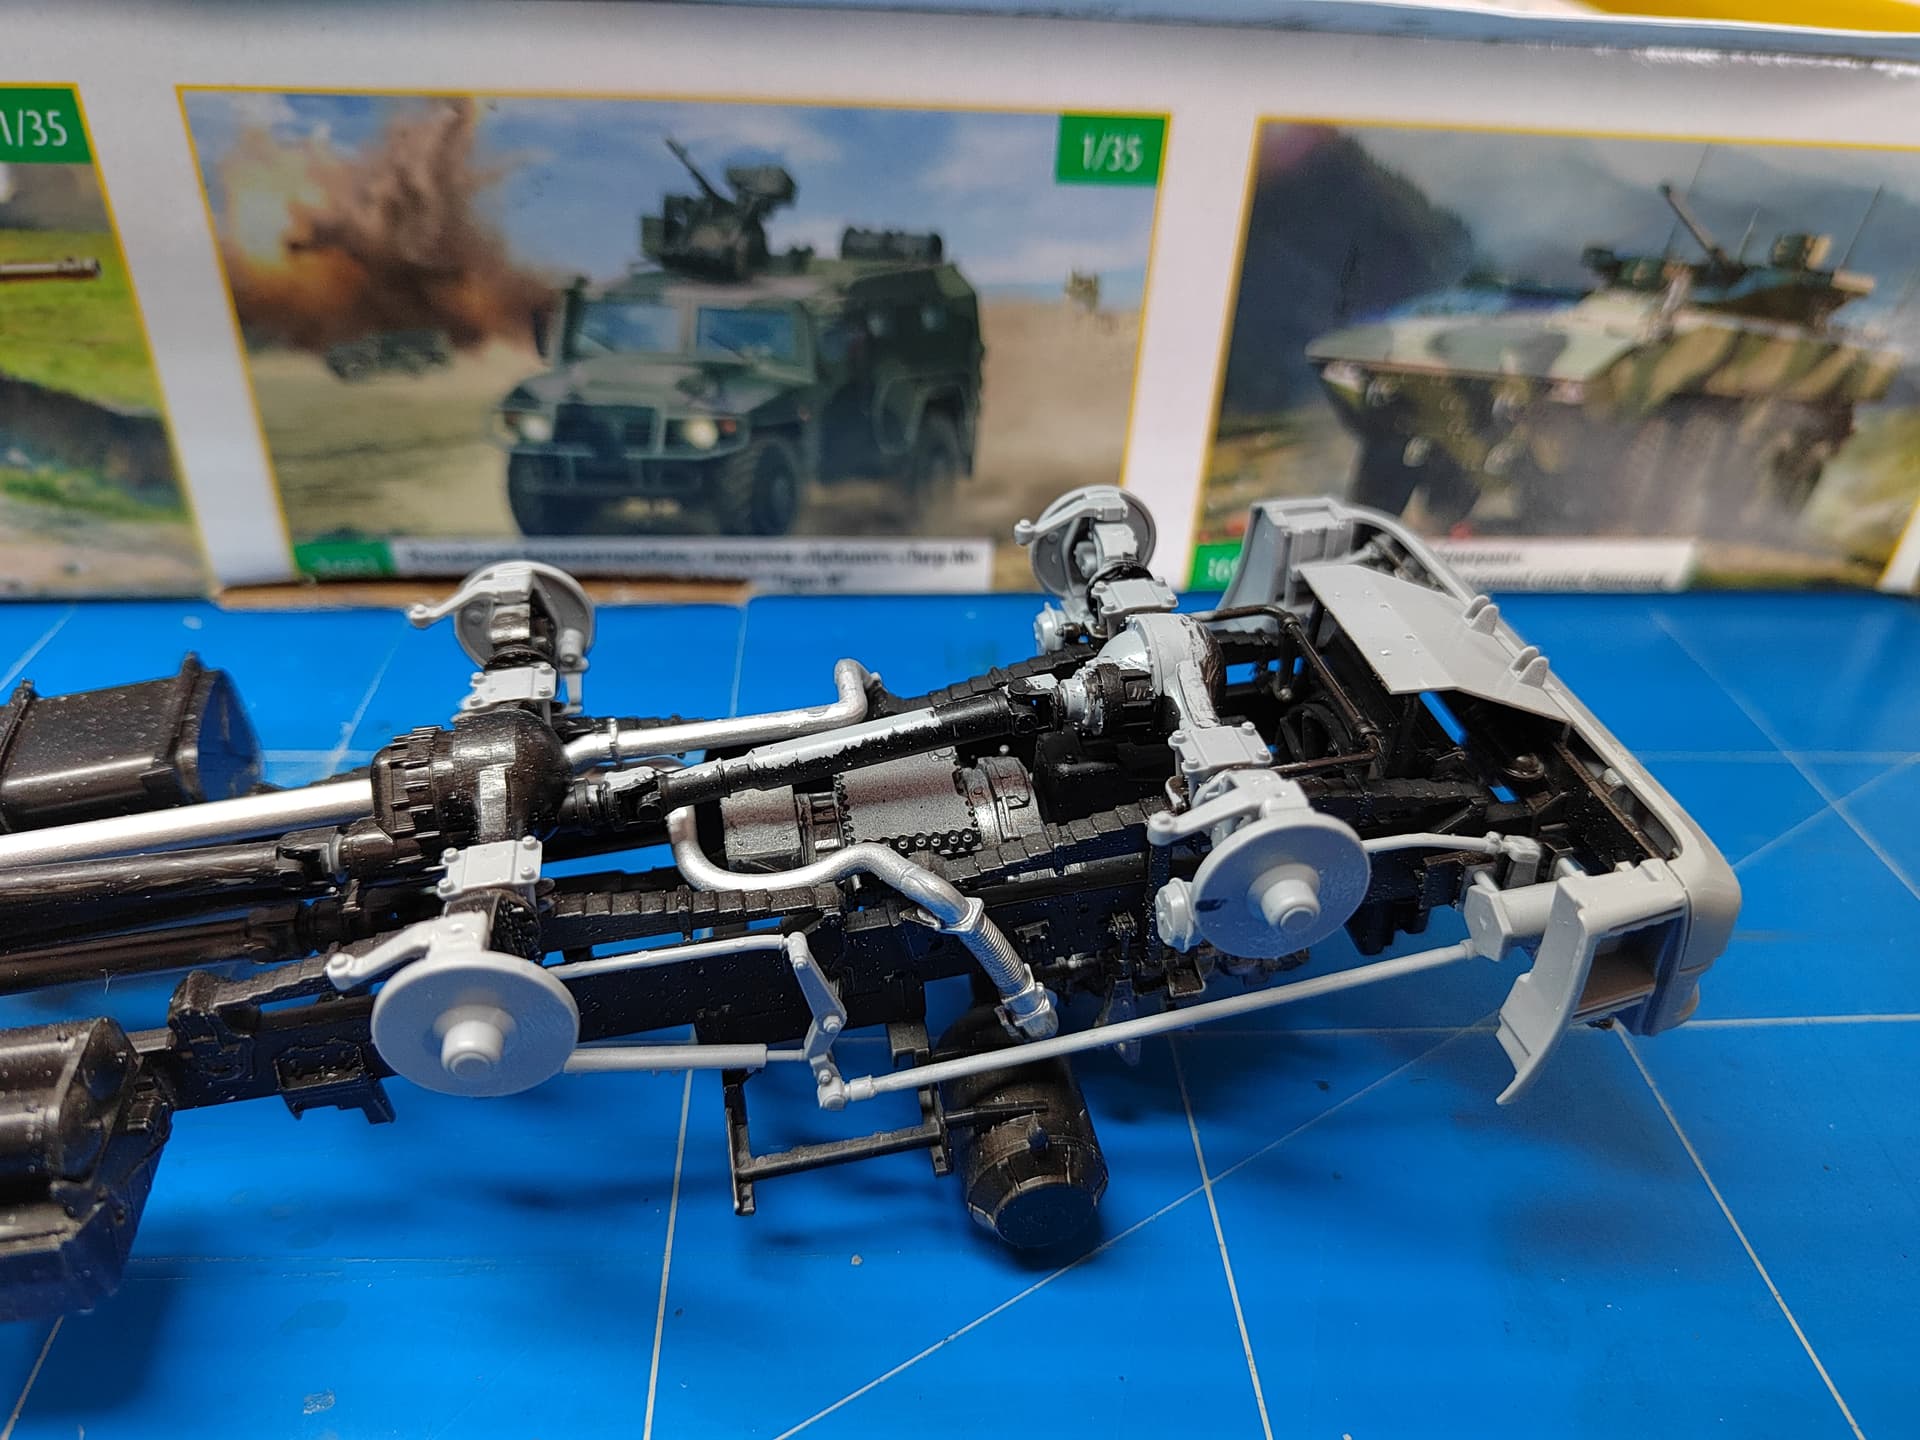
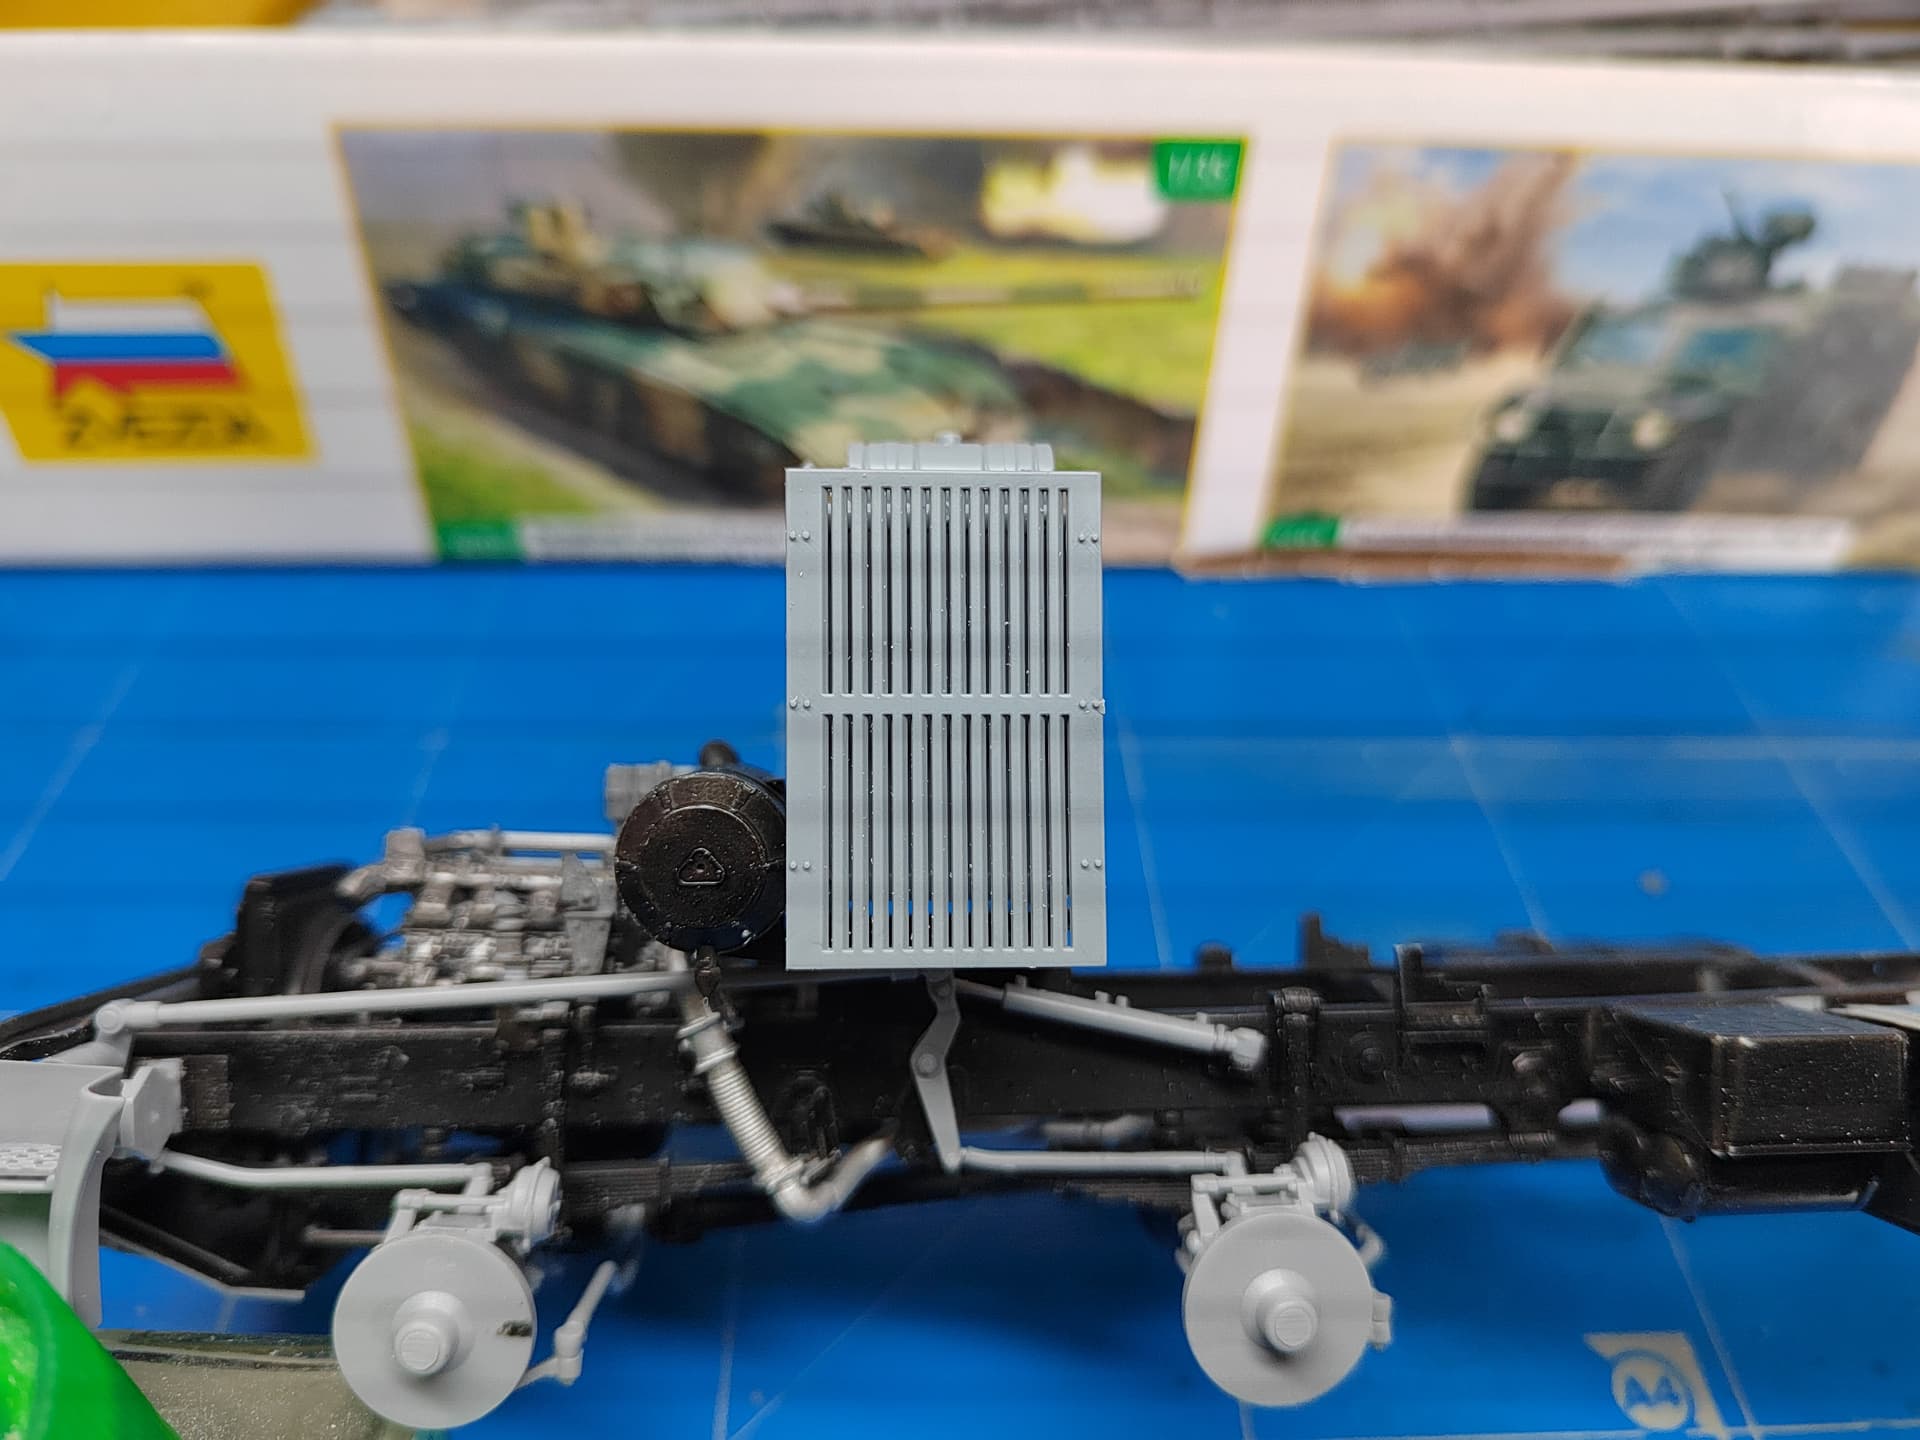
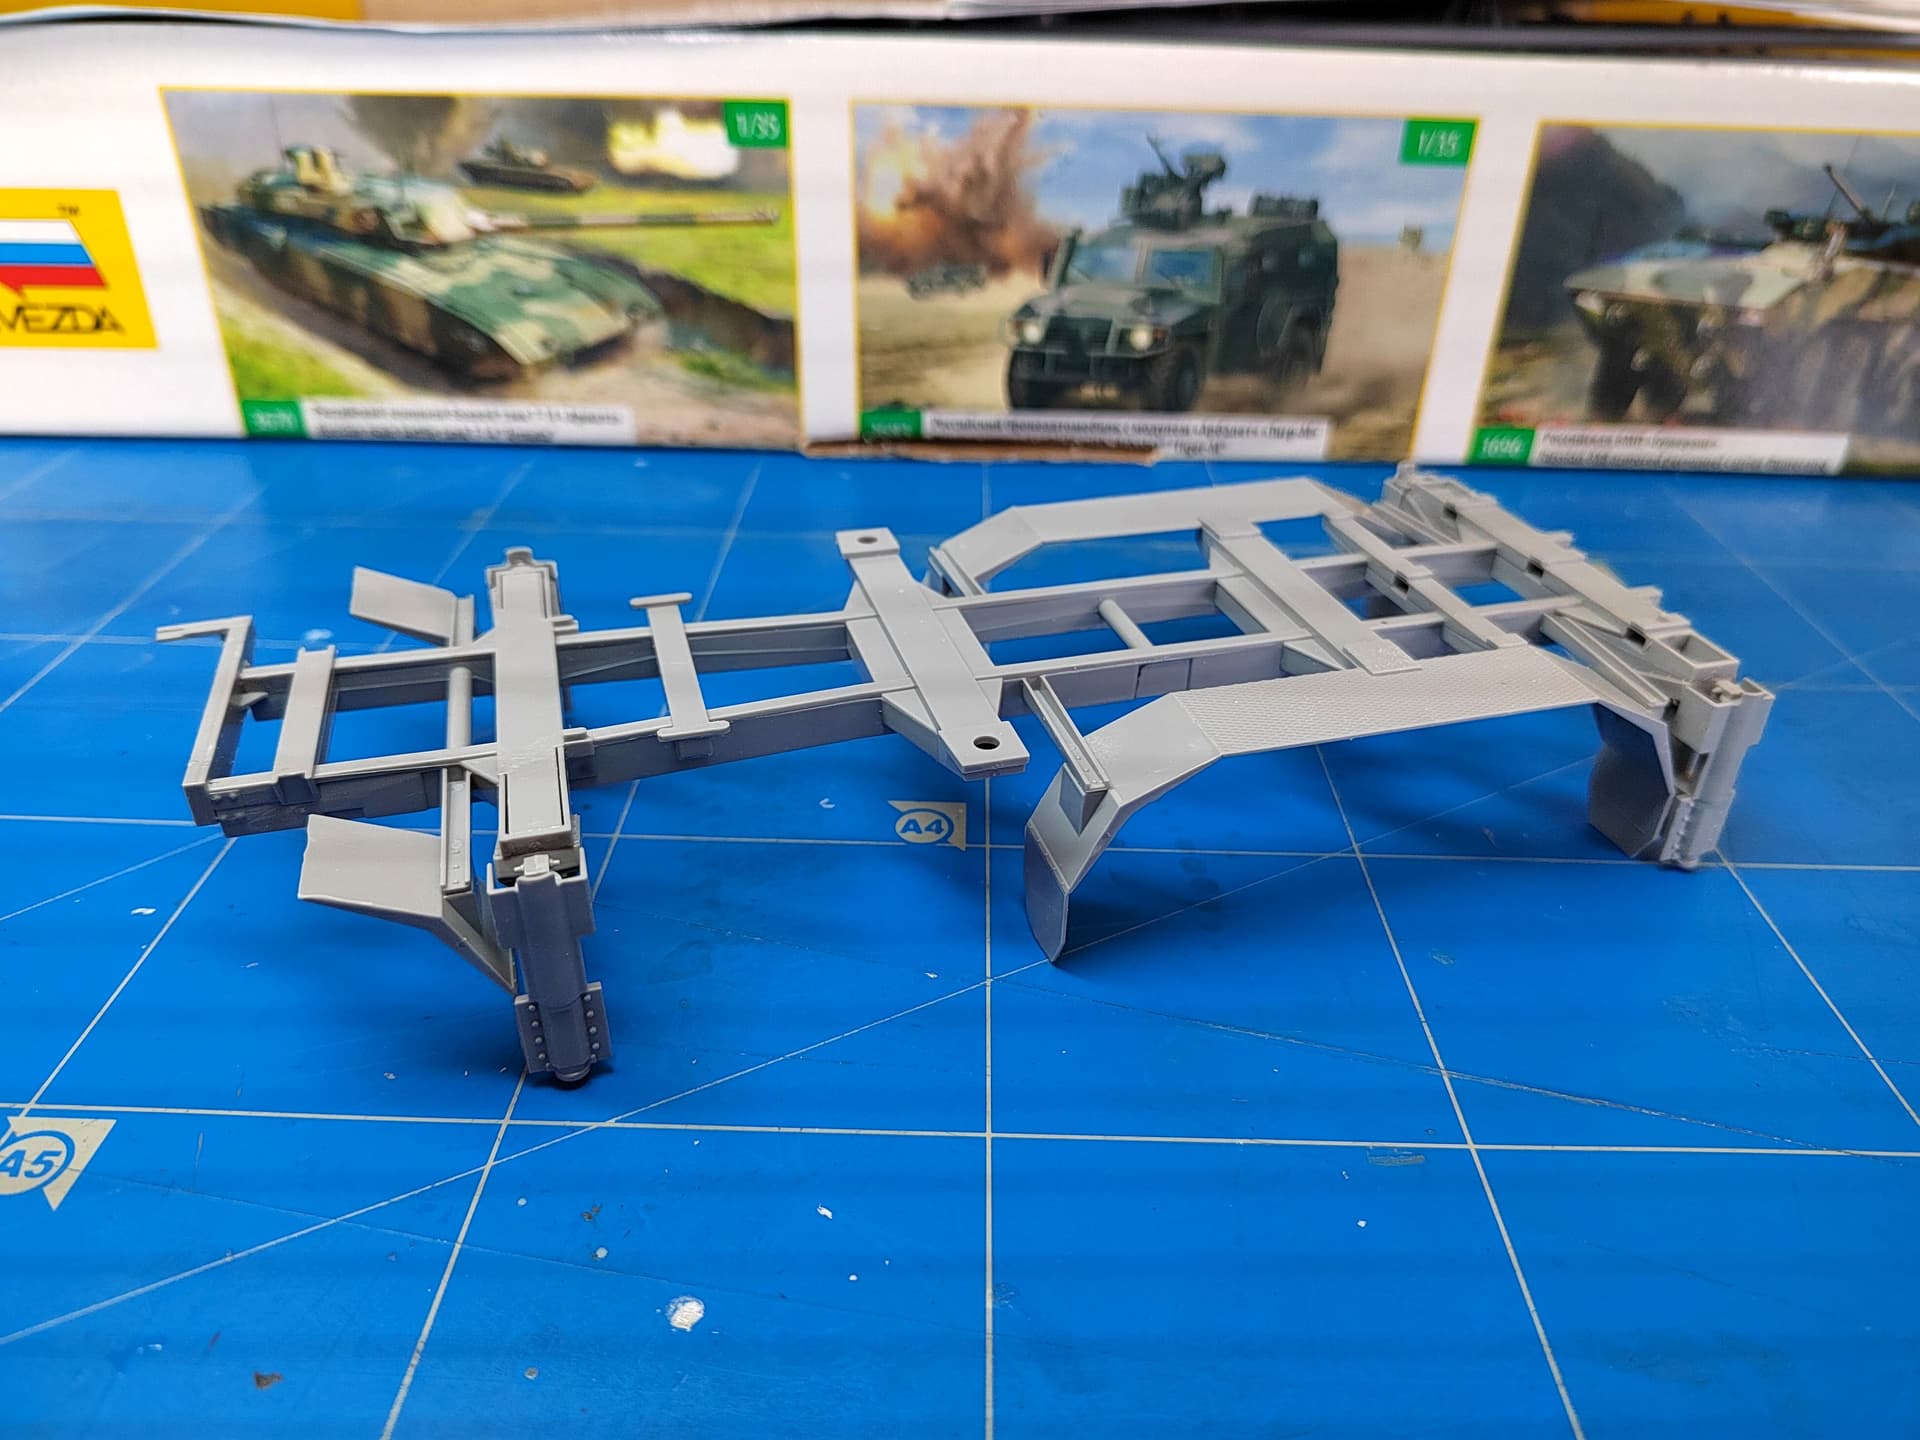
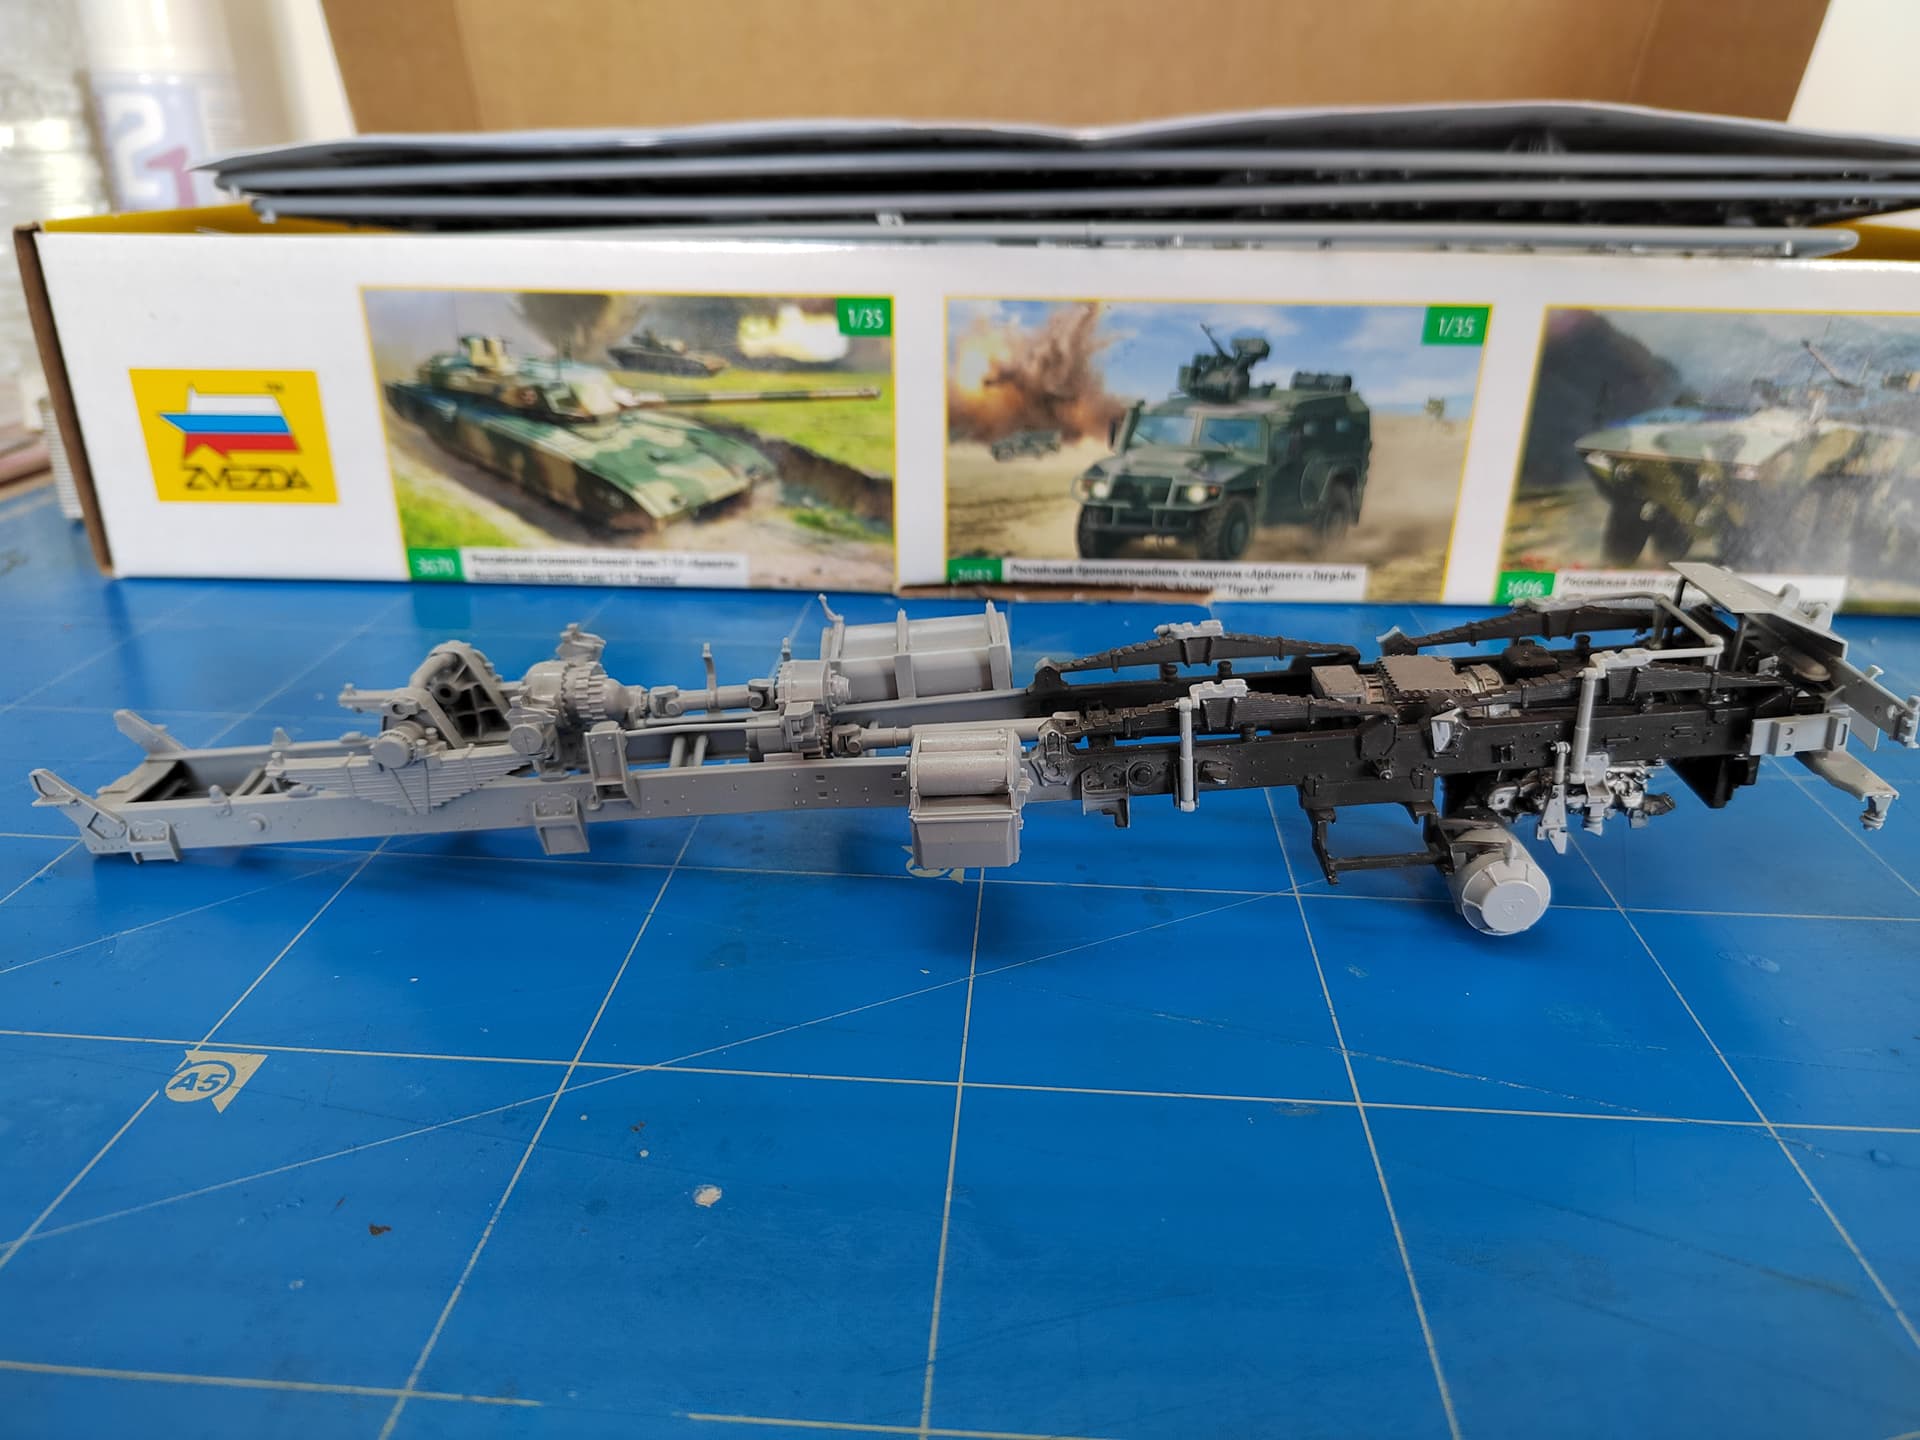
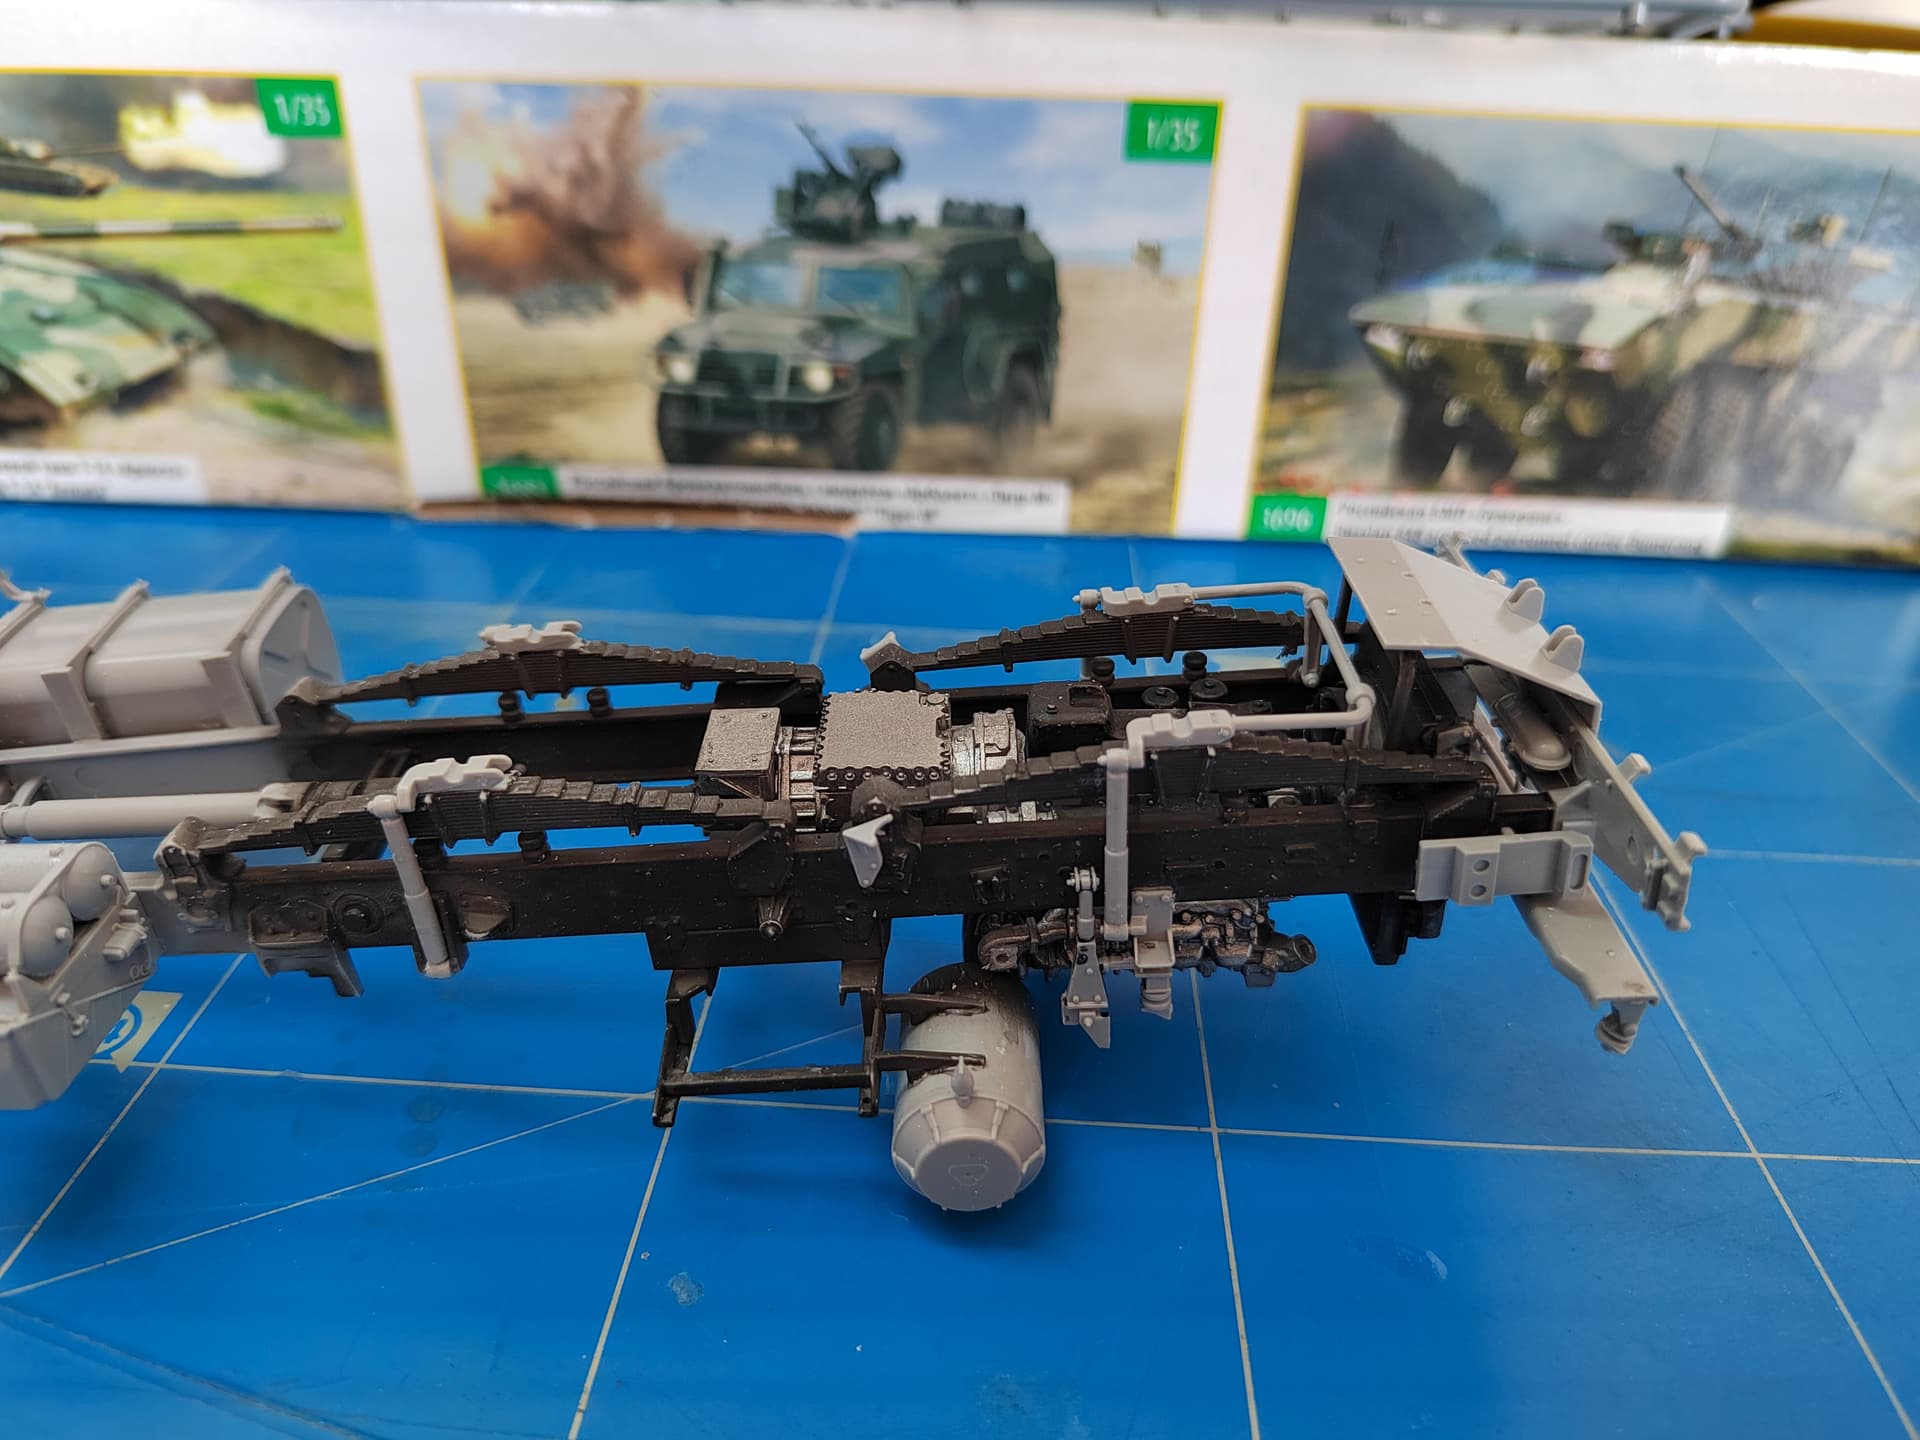
The chassis is nearly complete. The supporting frame for the combat module is assembled but not glued yet. I need to paint it before.
Olivier
There are some photos of Serbian Pantsir in 3 tone cammo if it is of any help.
links:
Marko
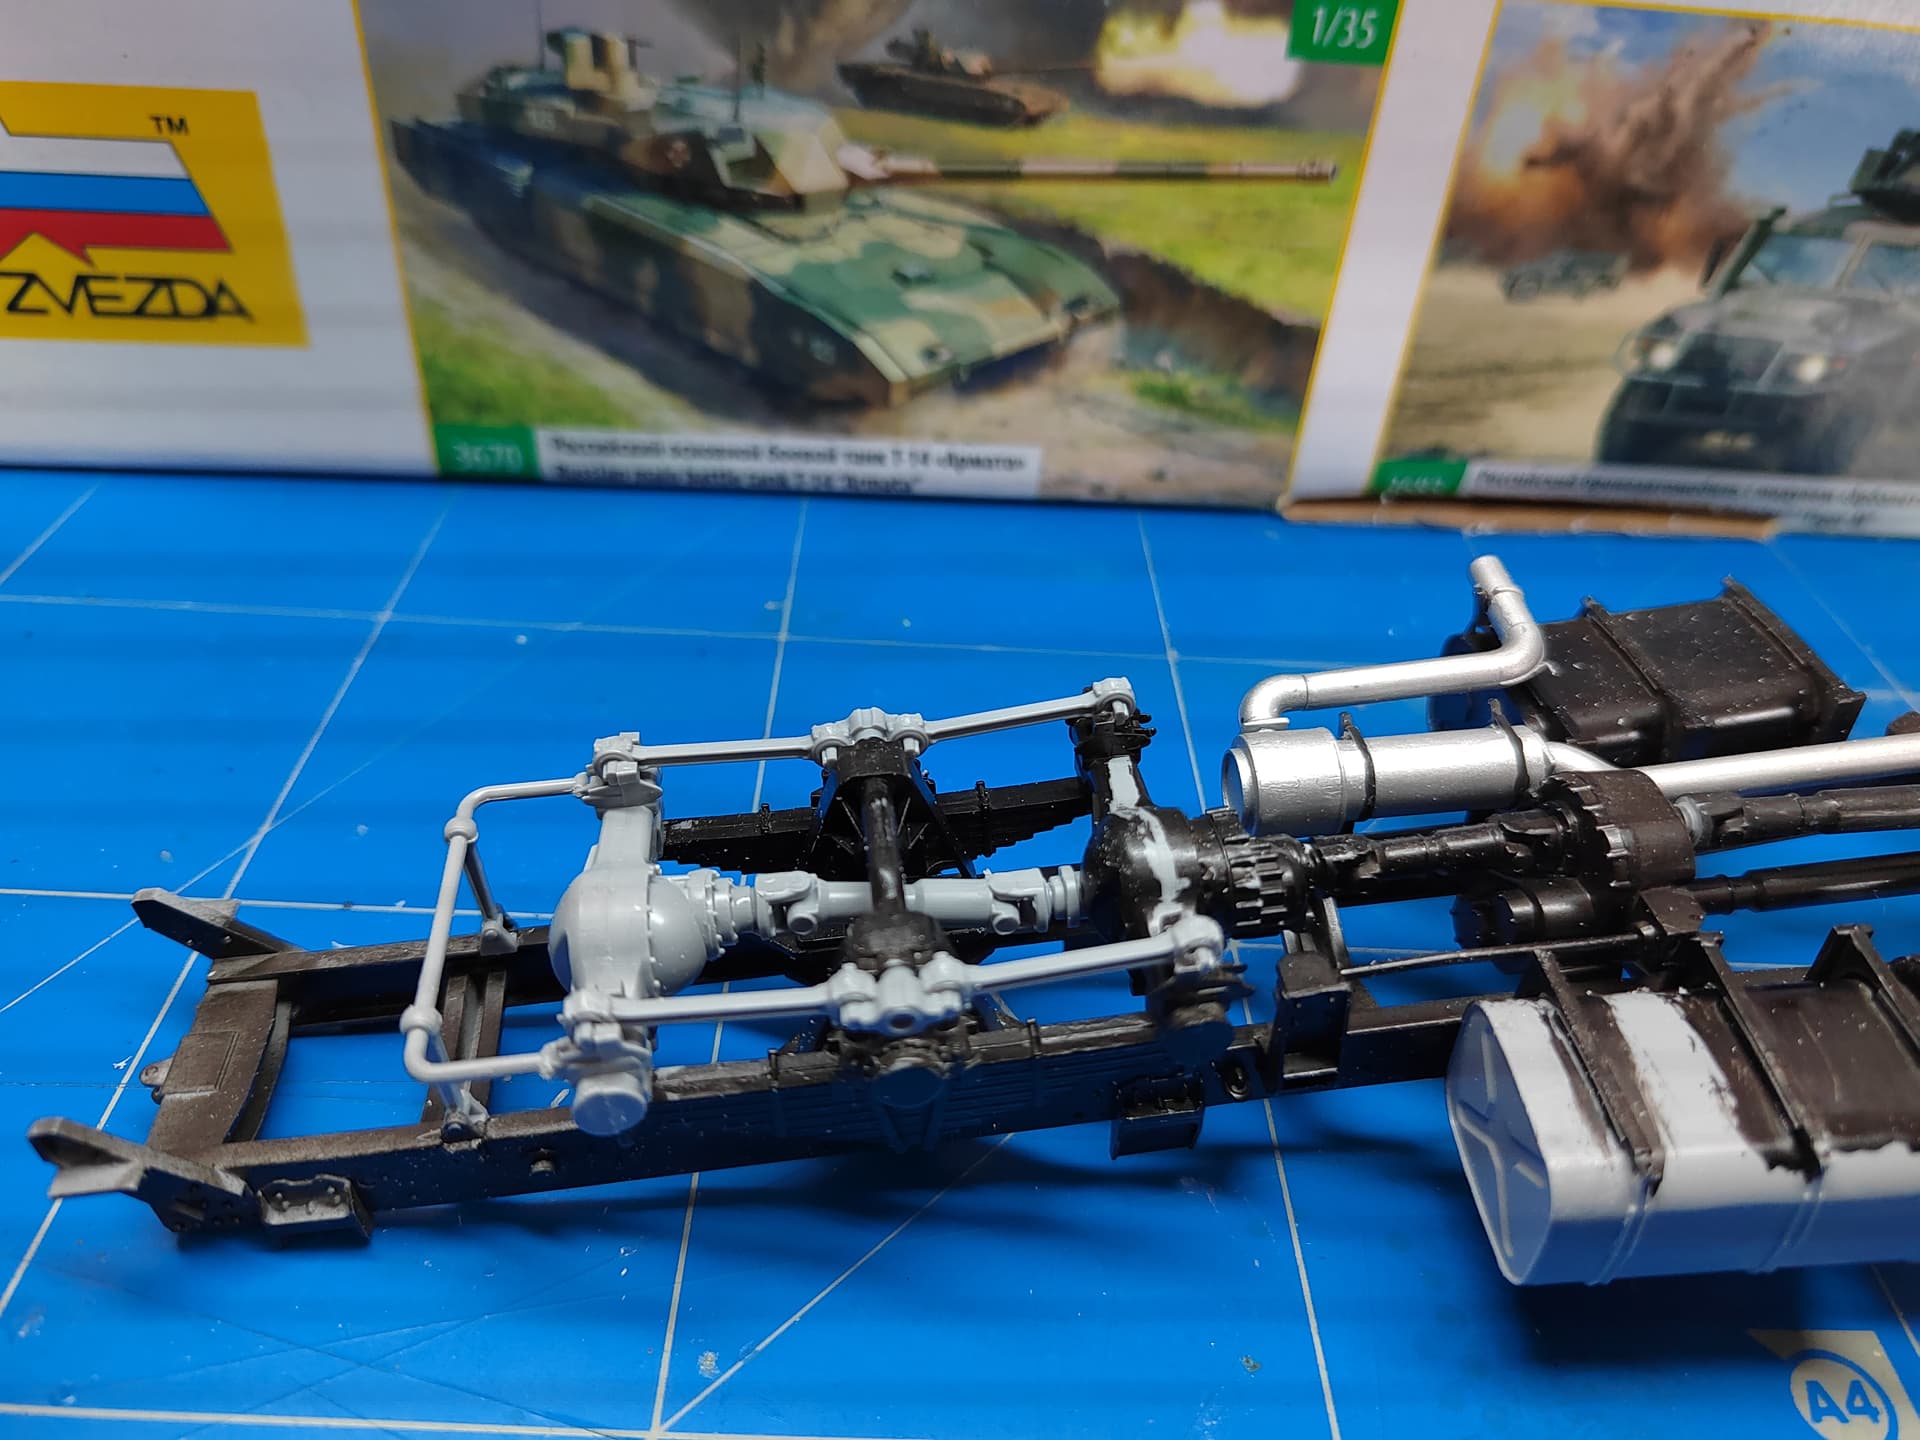
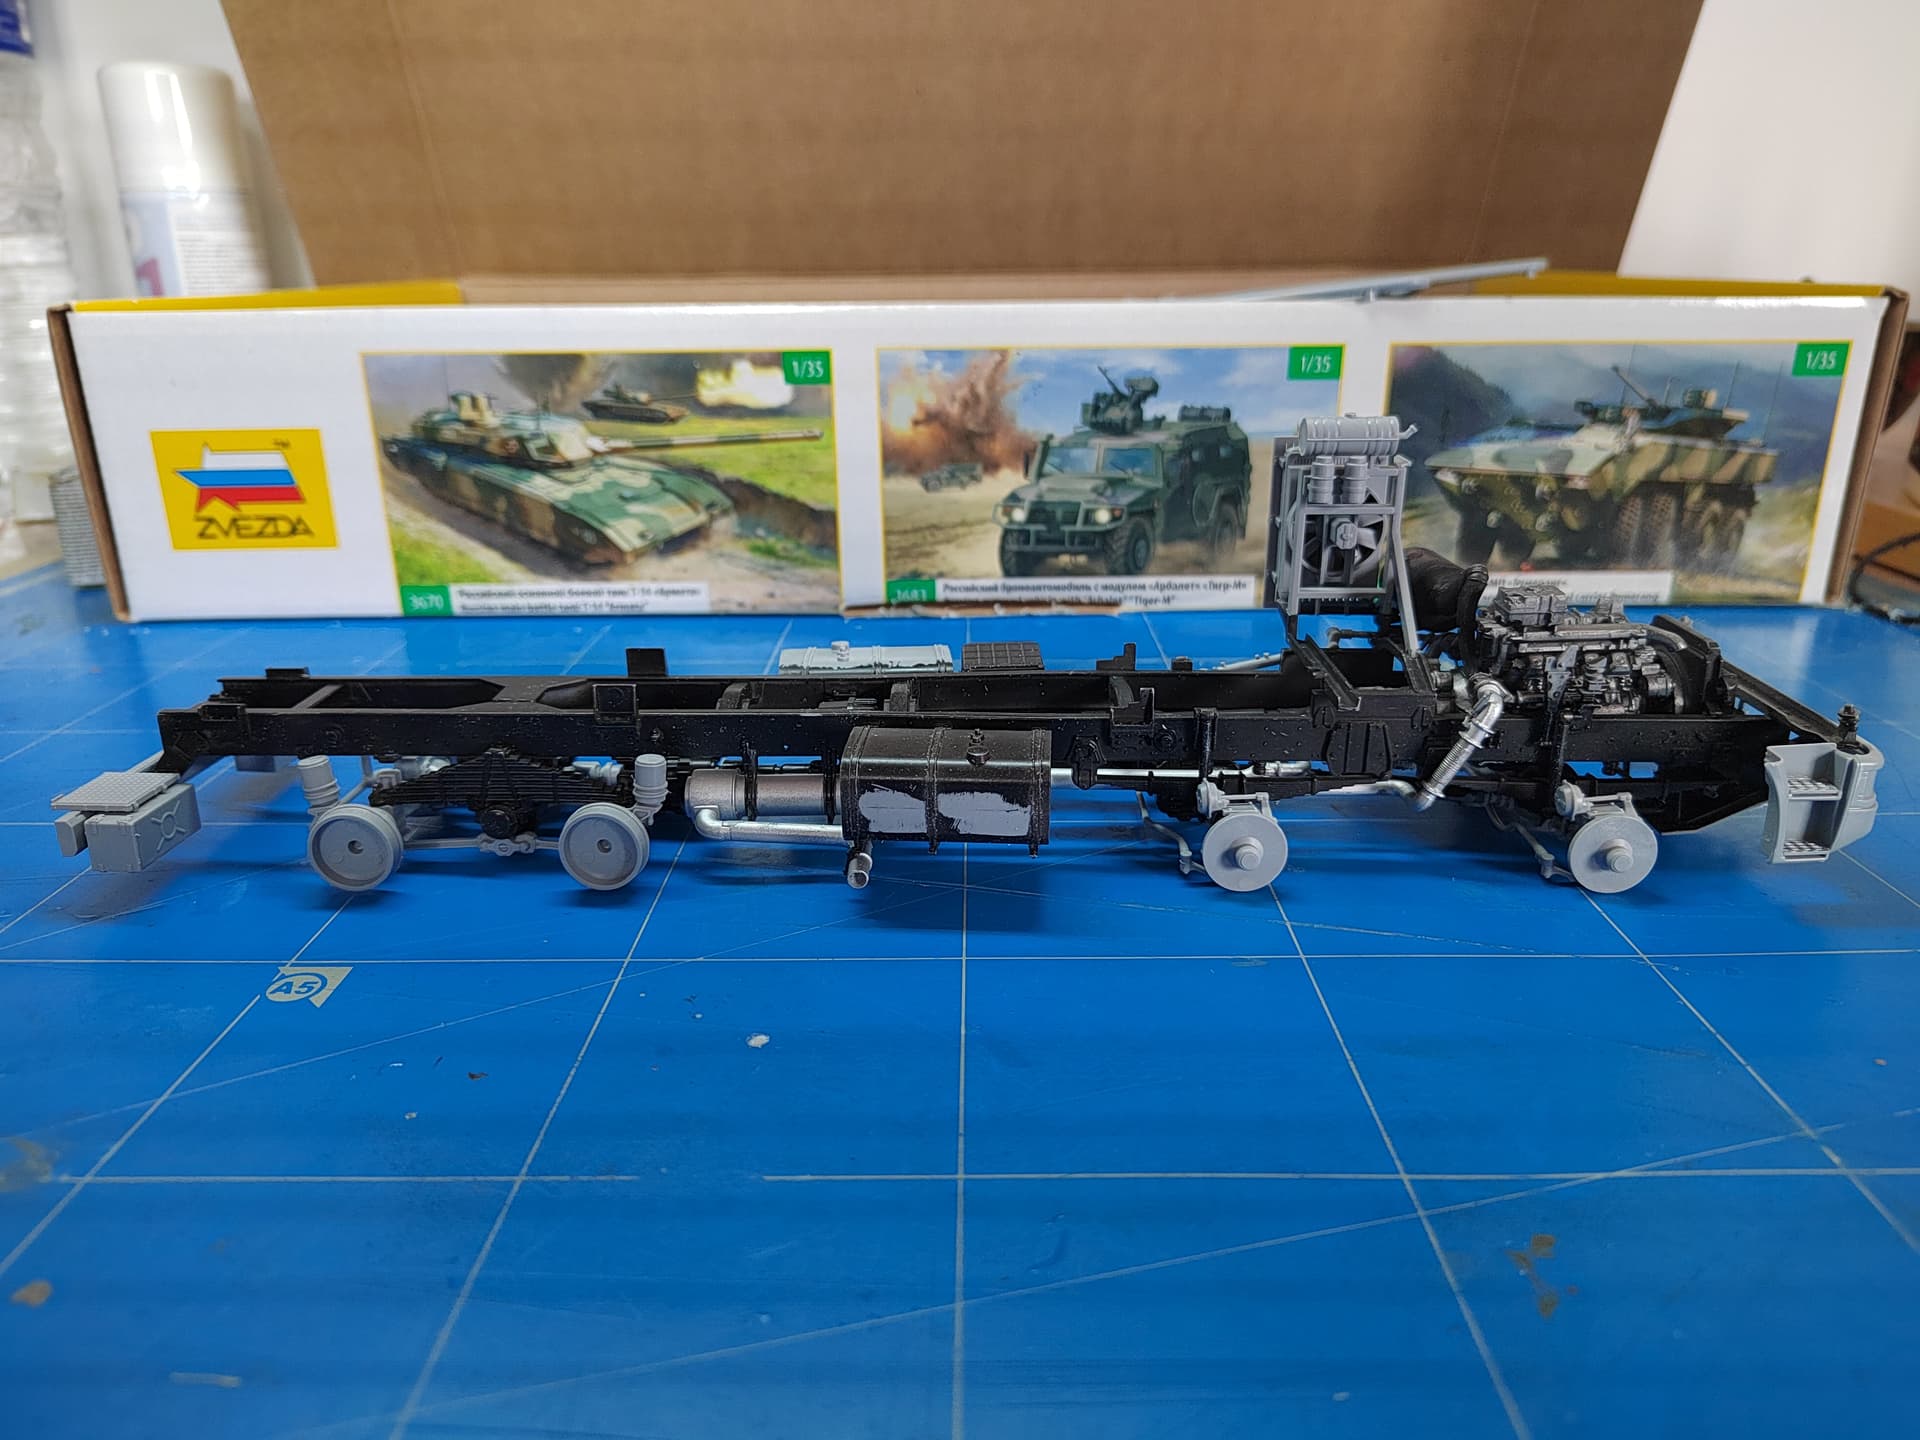
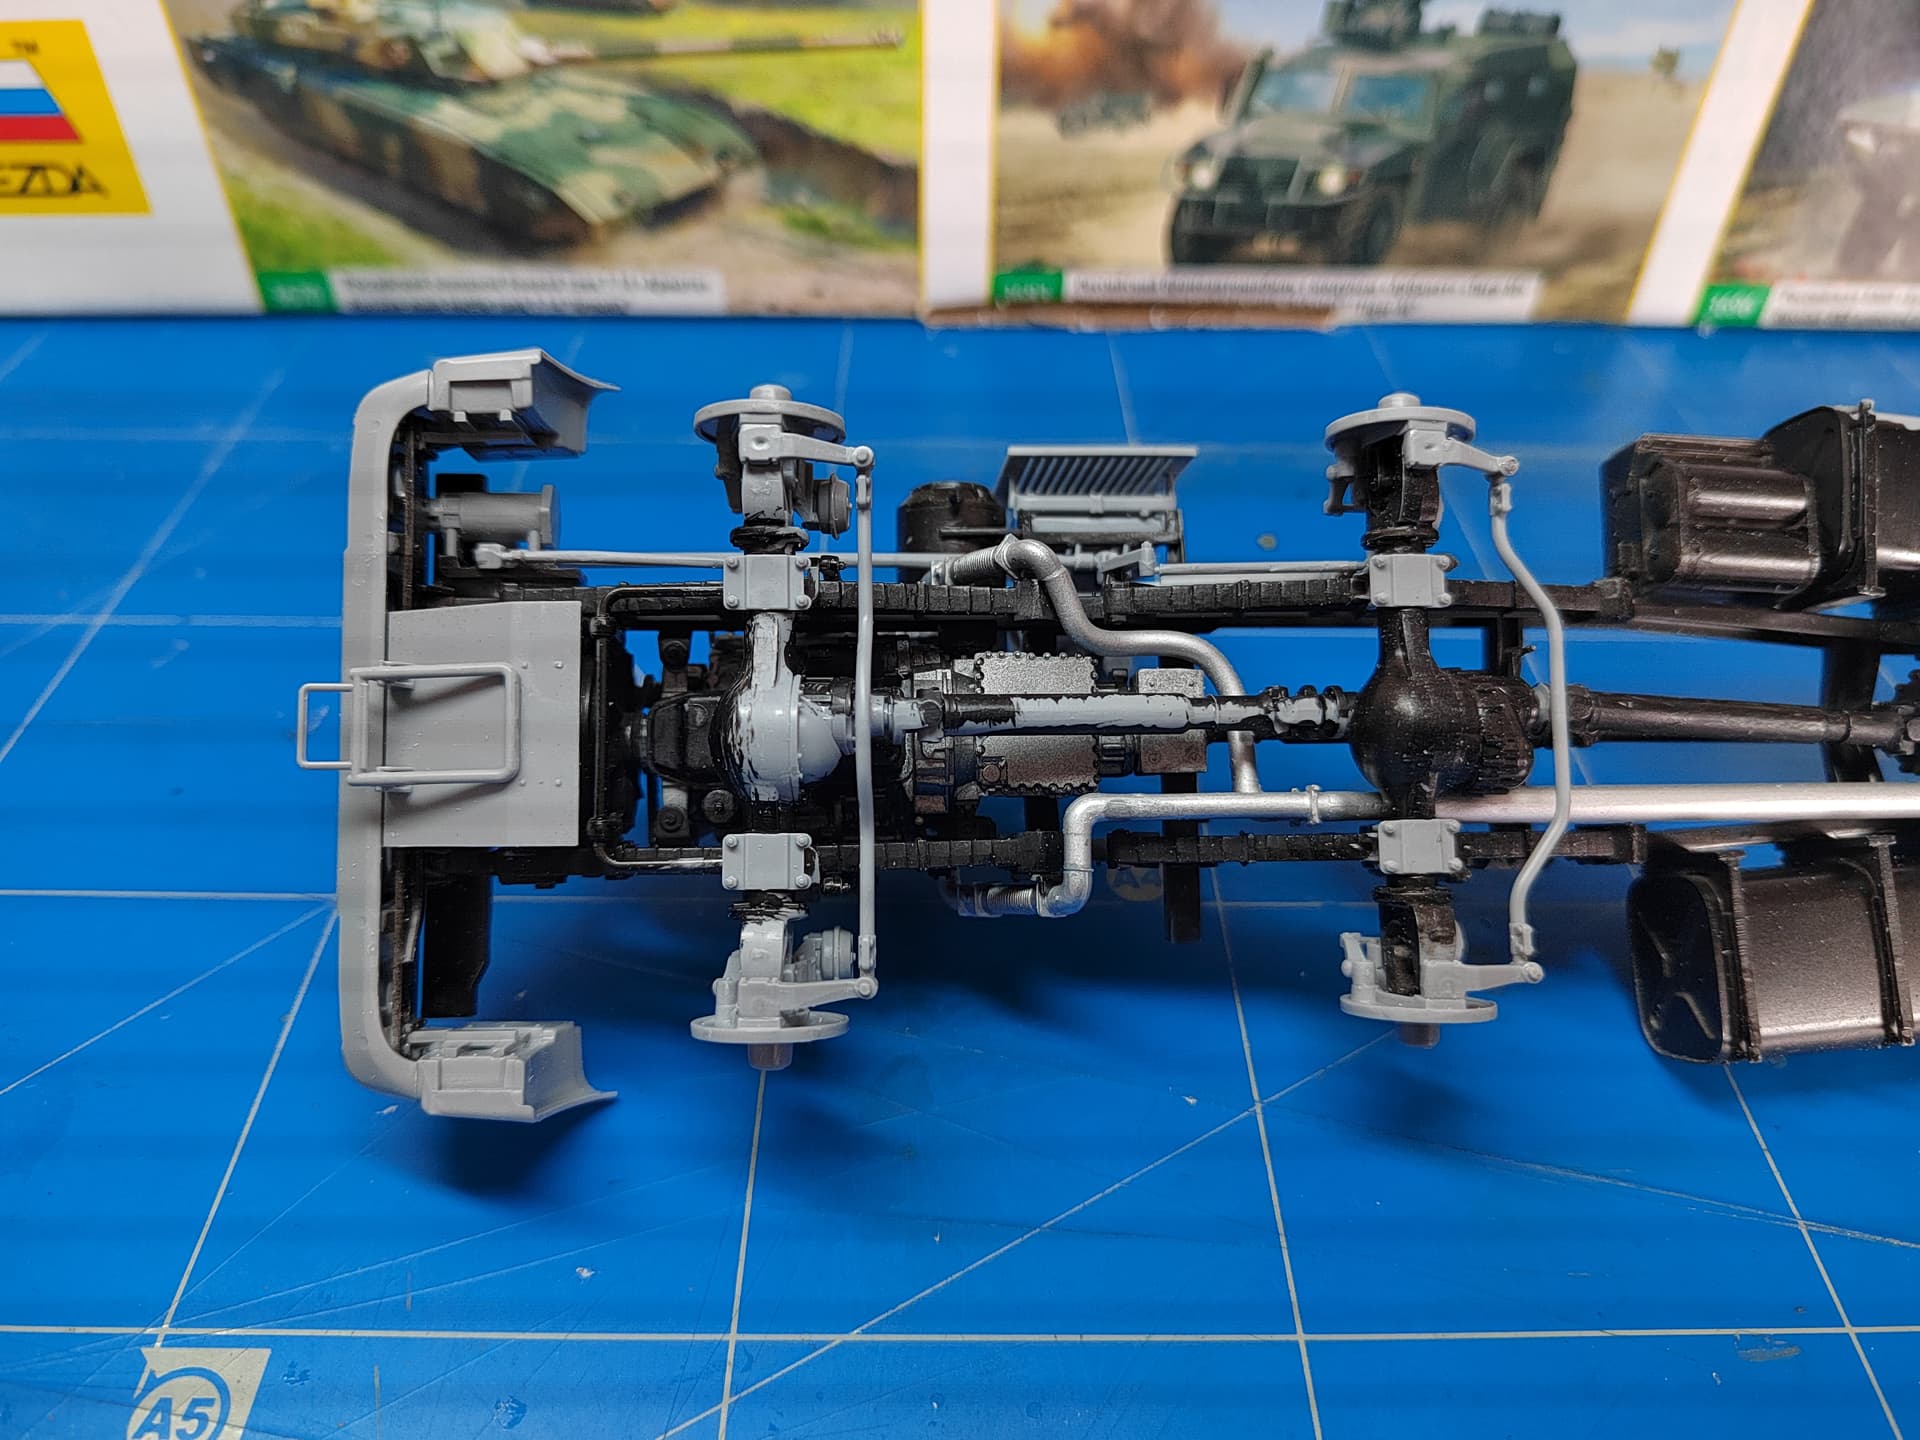
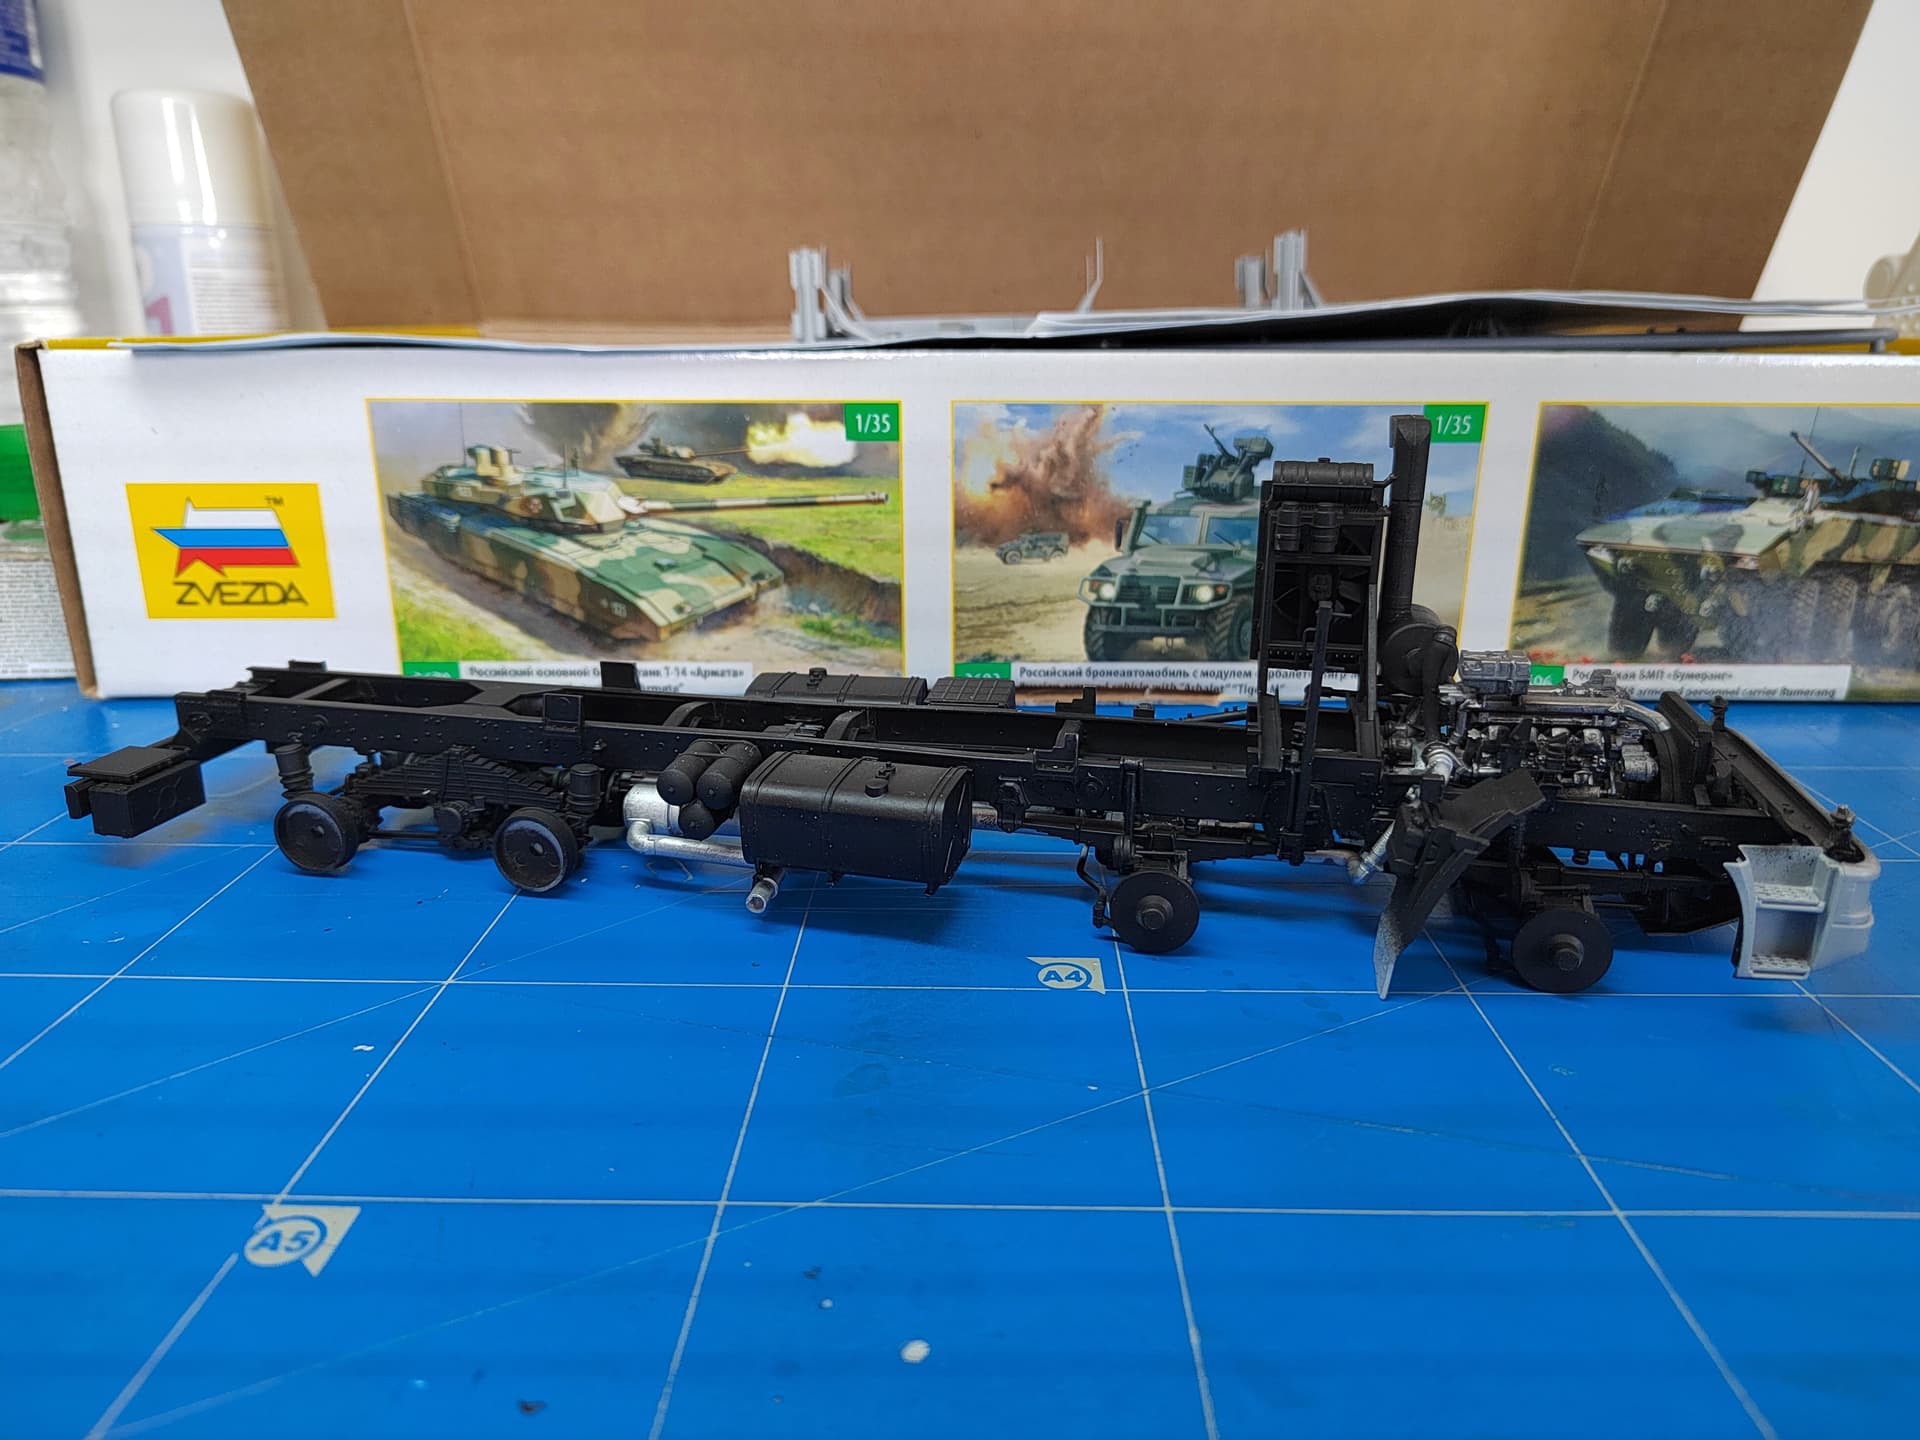
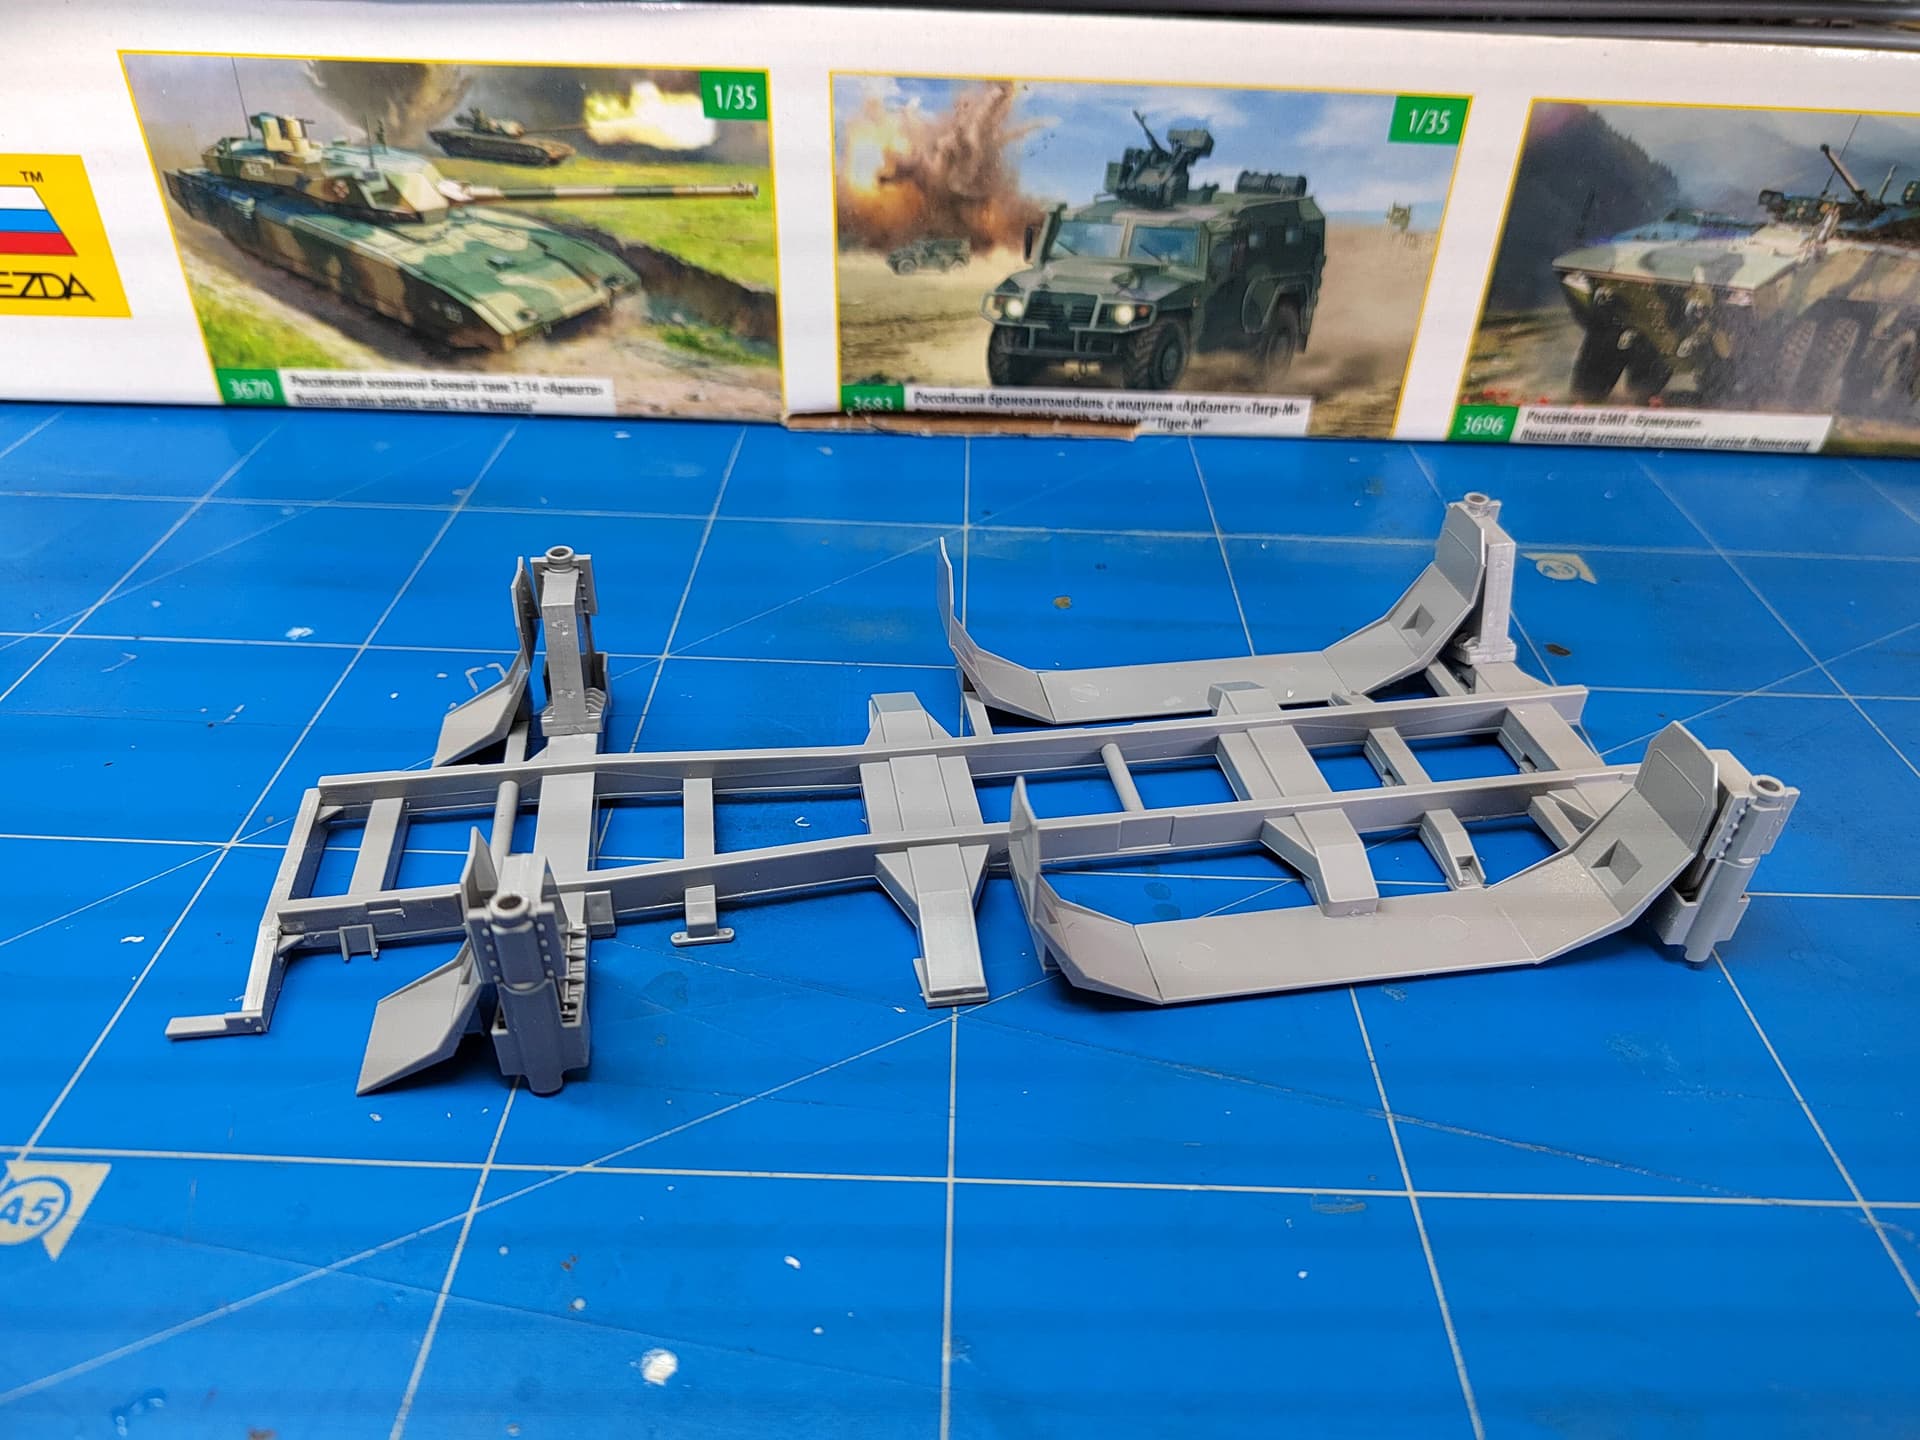
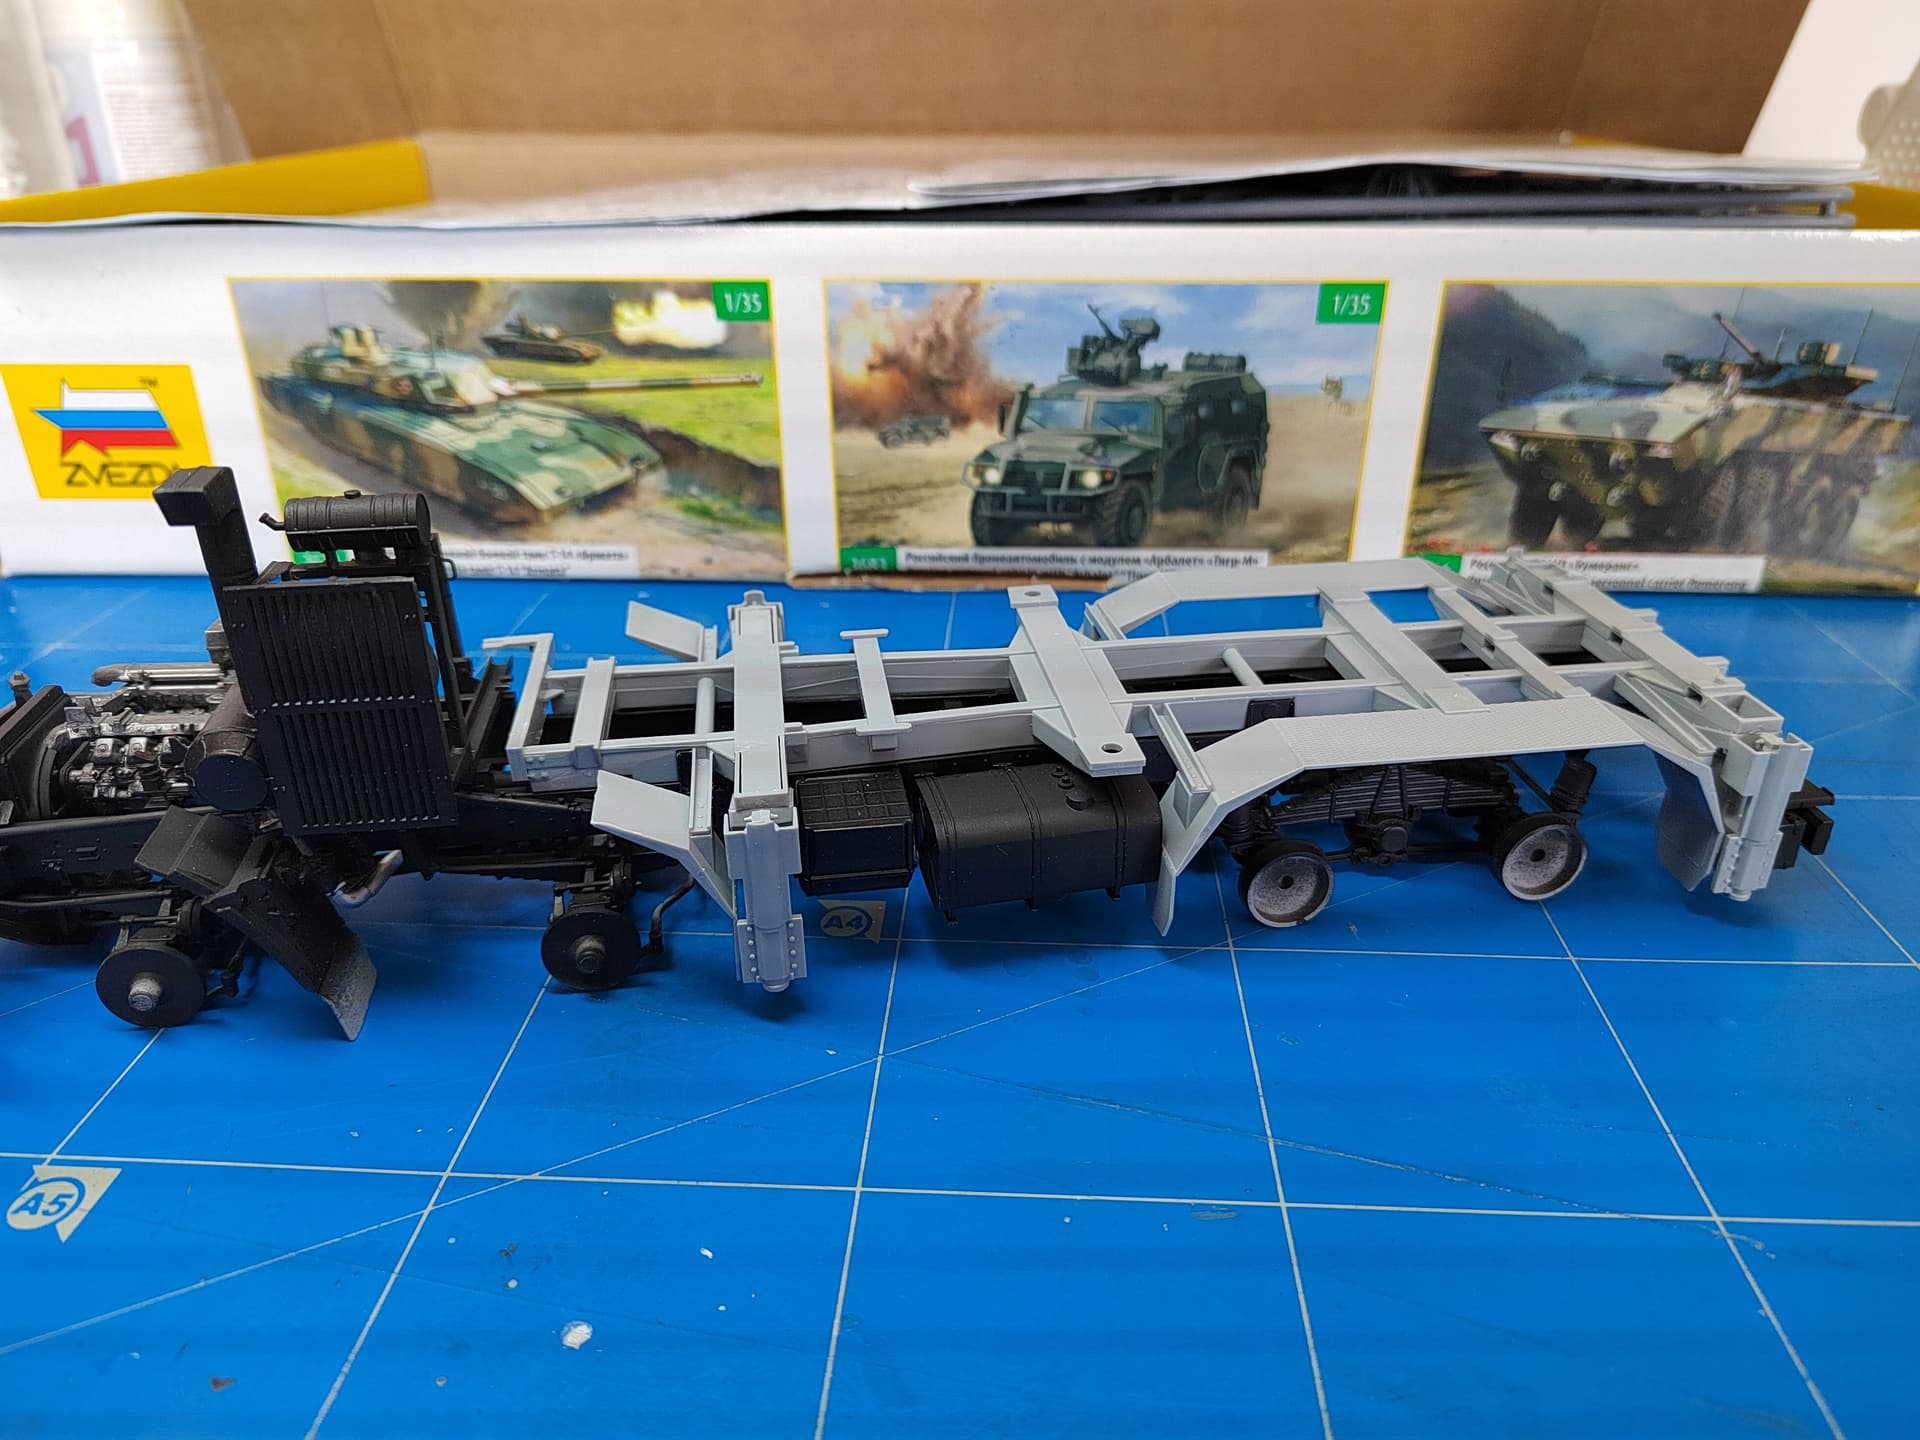
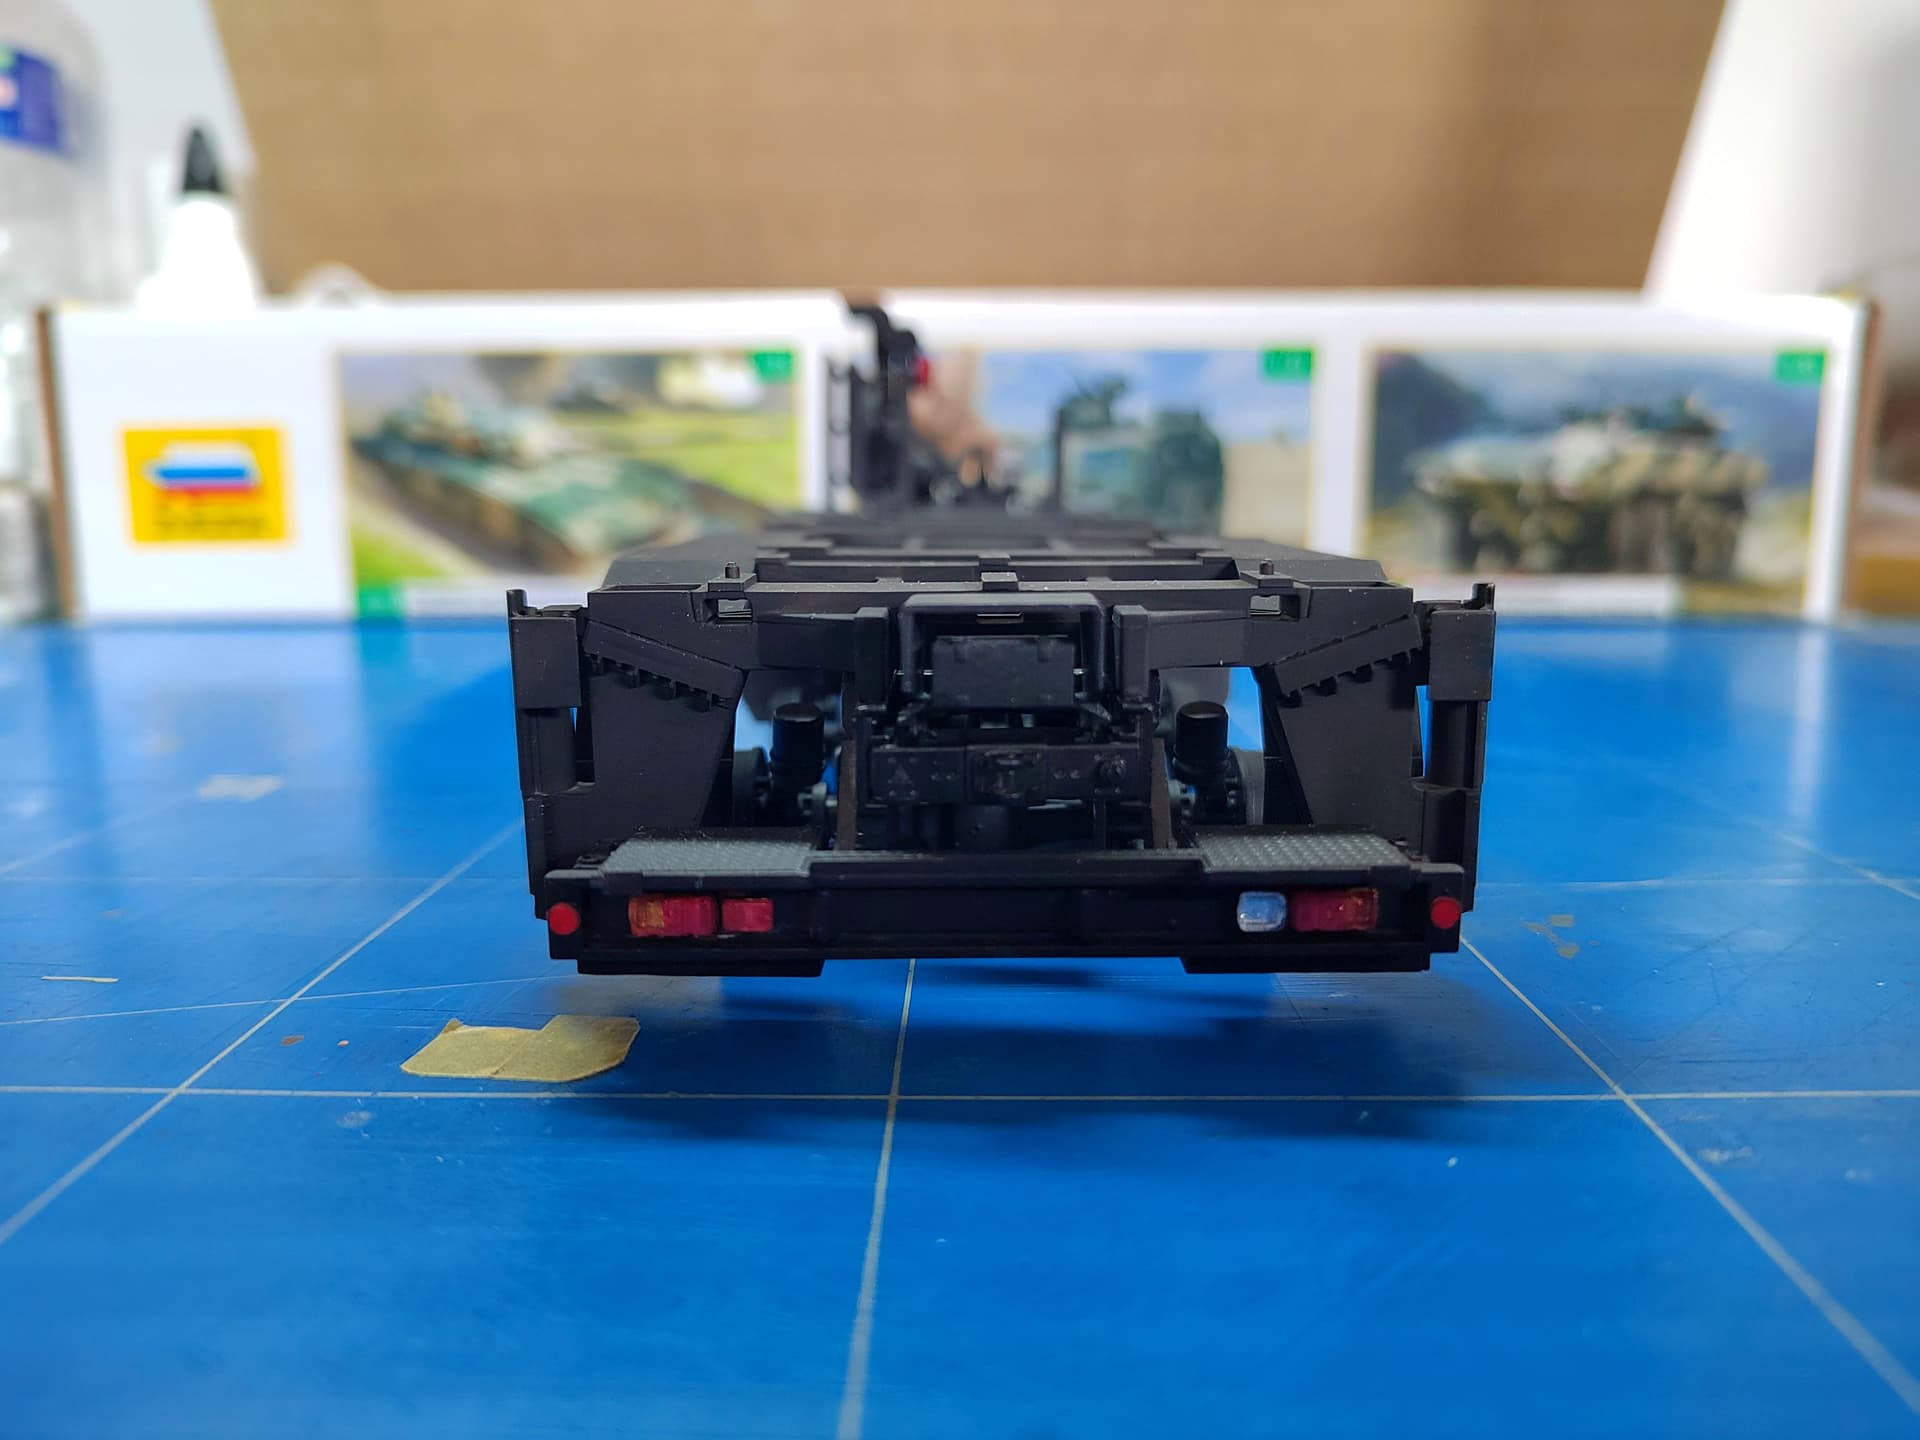
The chassis is over. The wheels will be added later after the rims and the tires are painted.
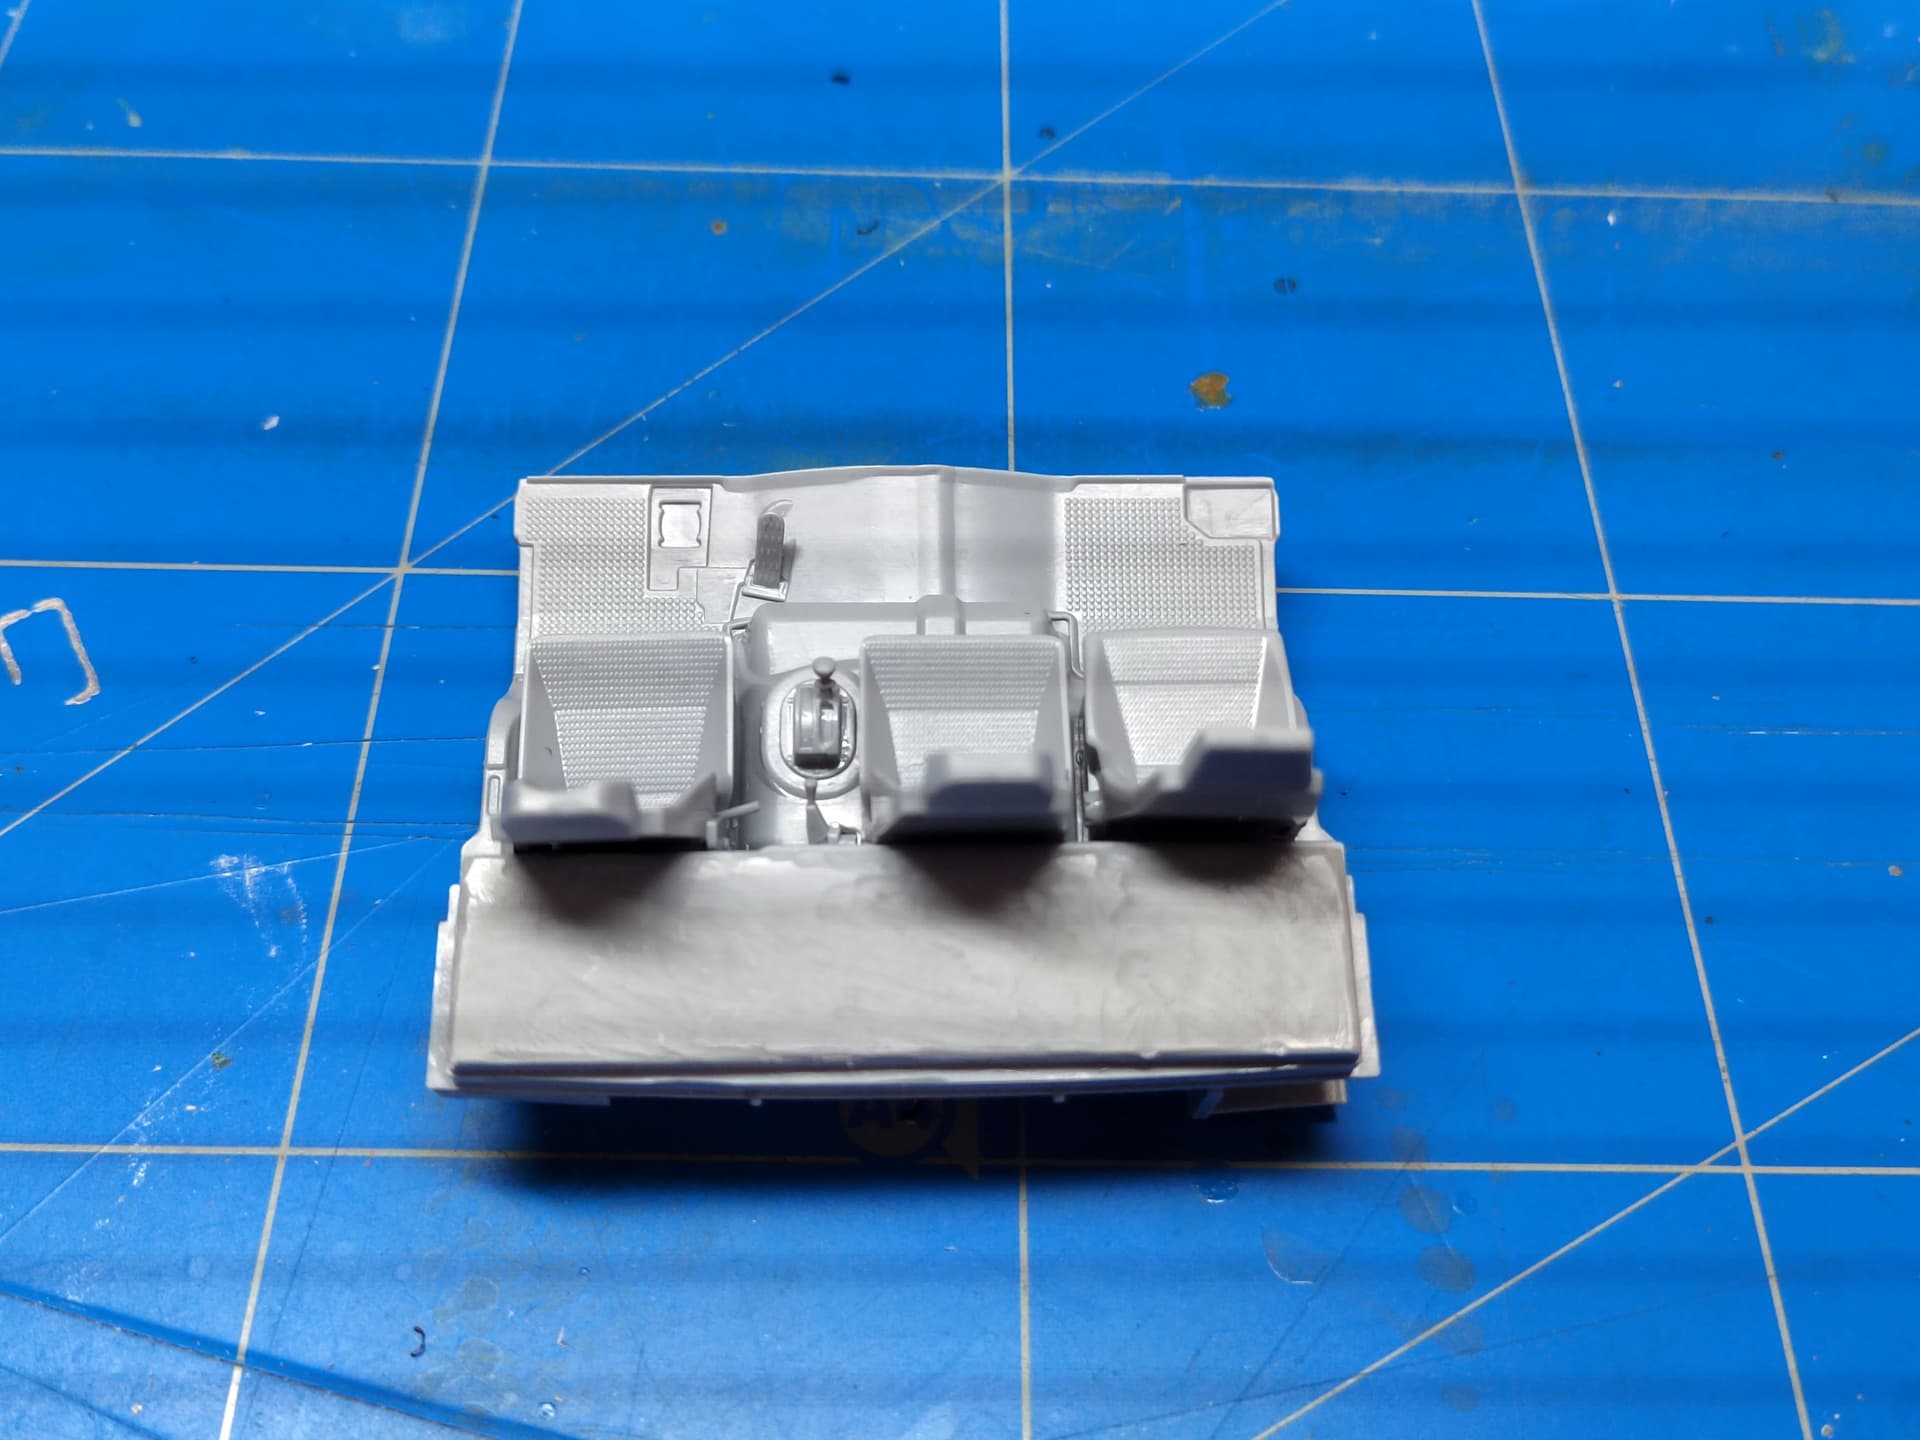
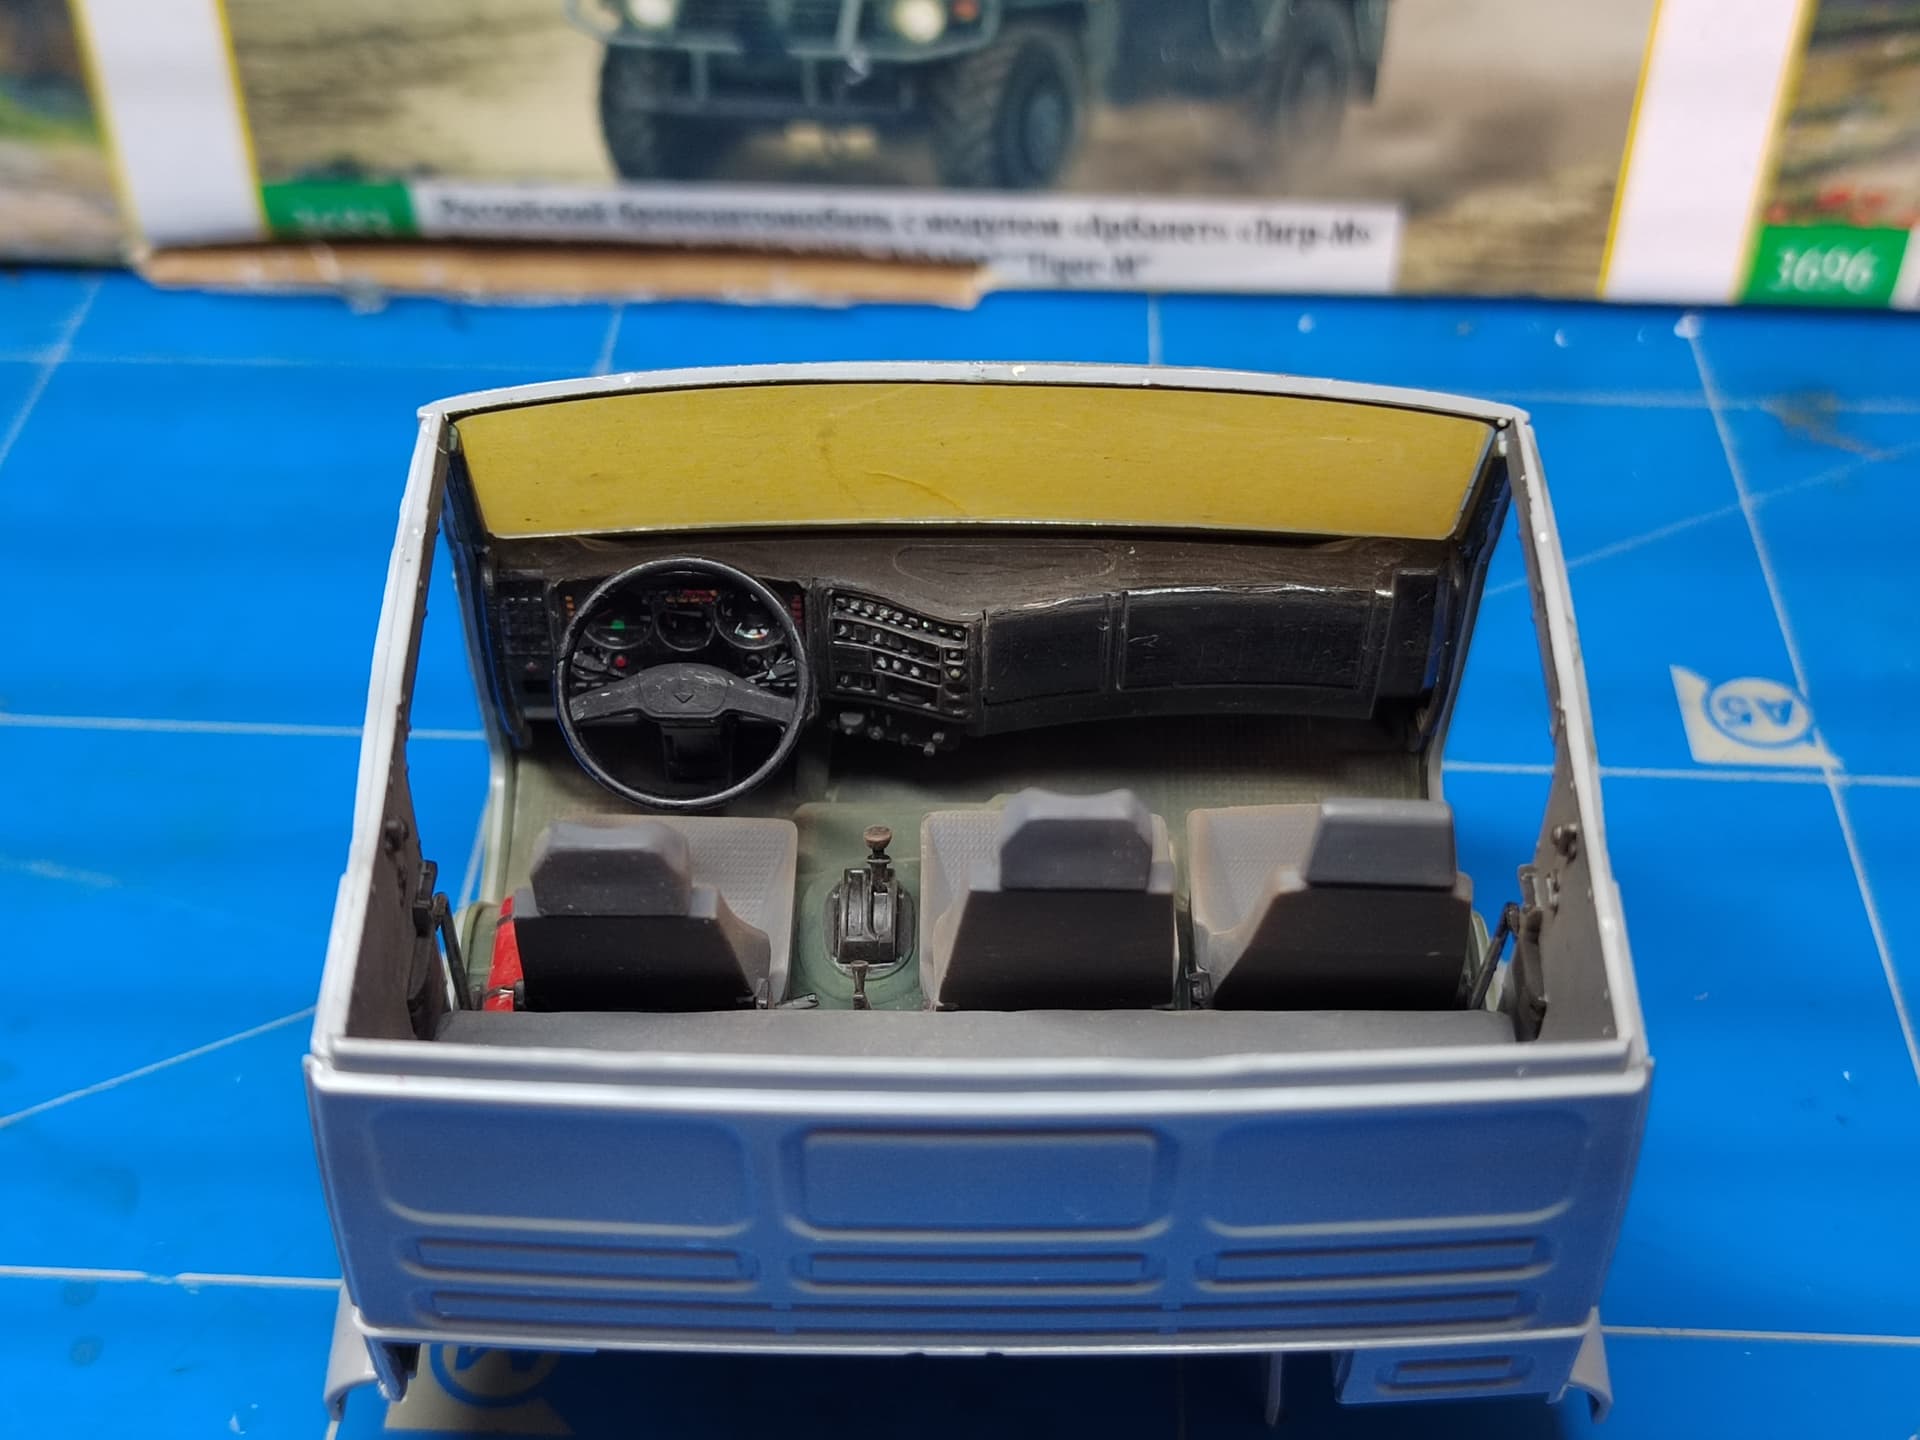
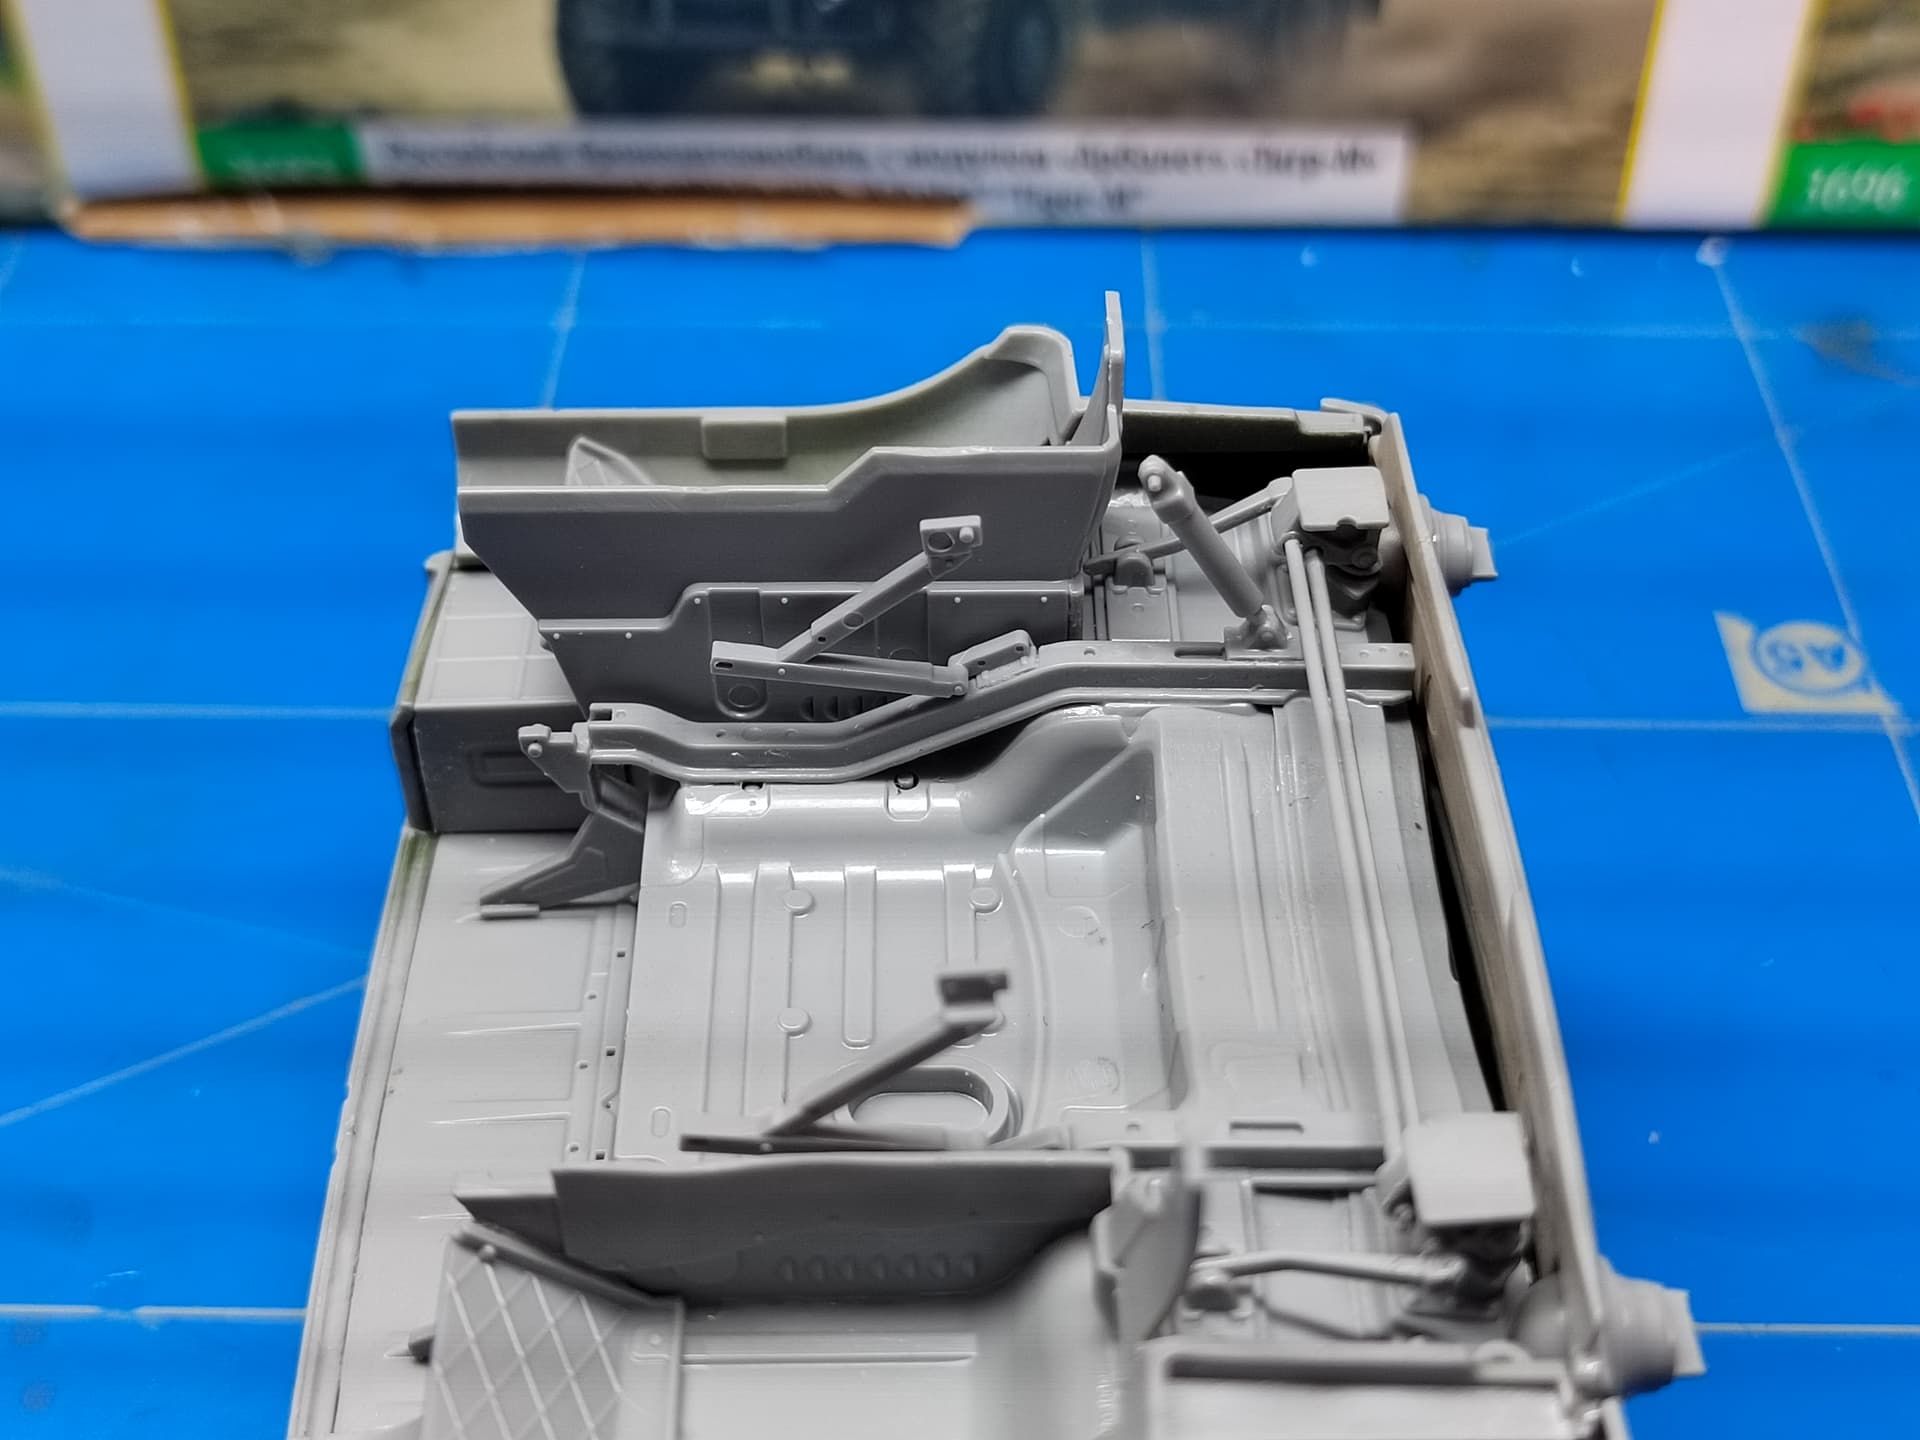
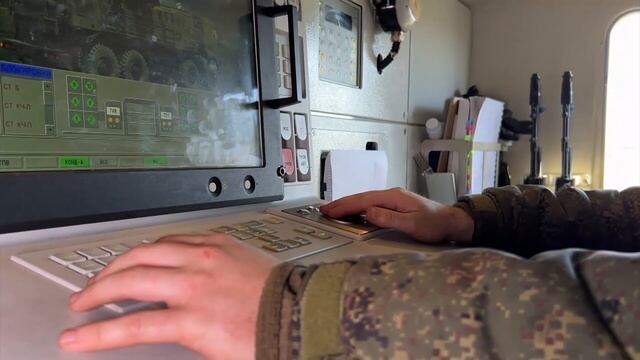
The cab floor is ready for the paint booth. You have to paint it before going on. At least I’m not capable of painting a complete cab with all the details inside.
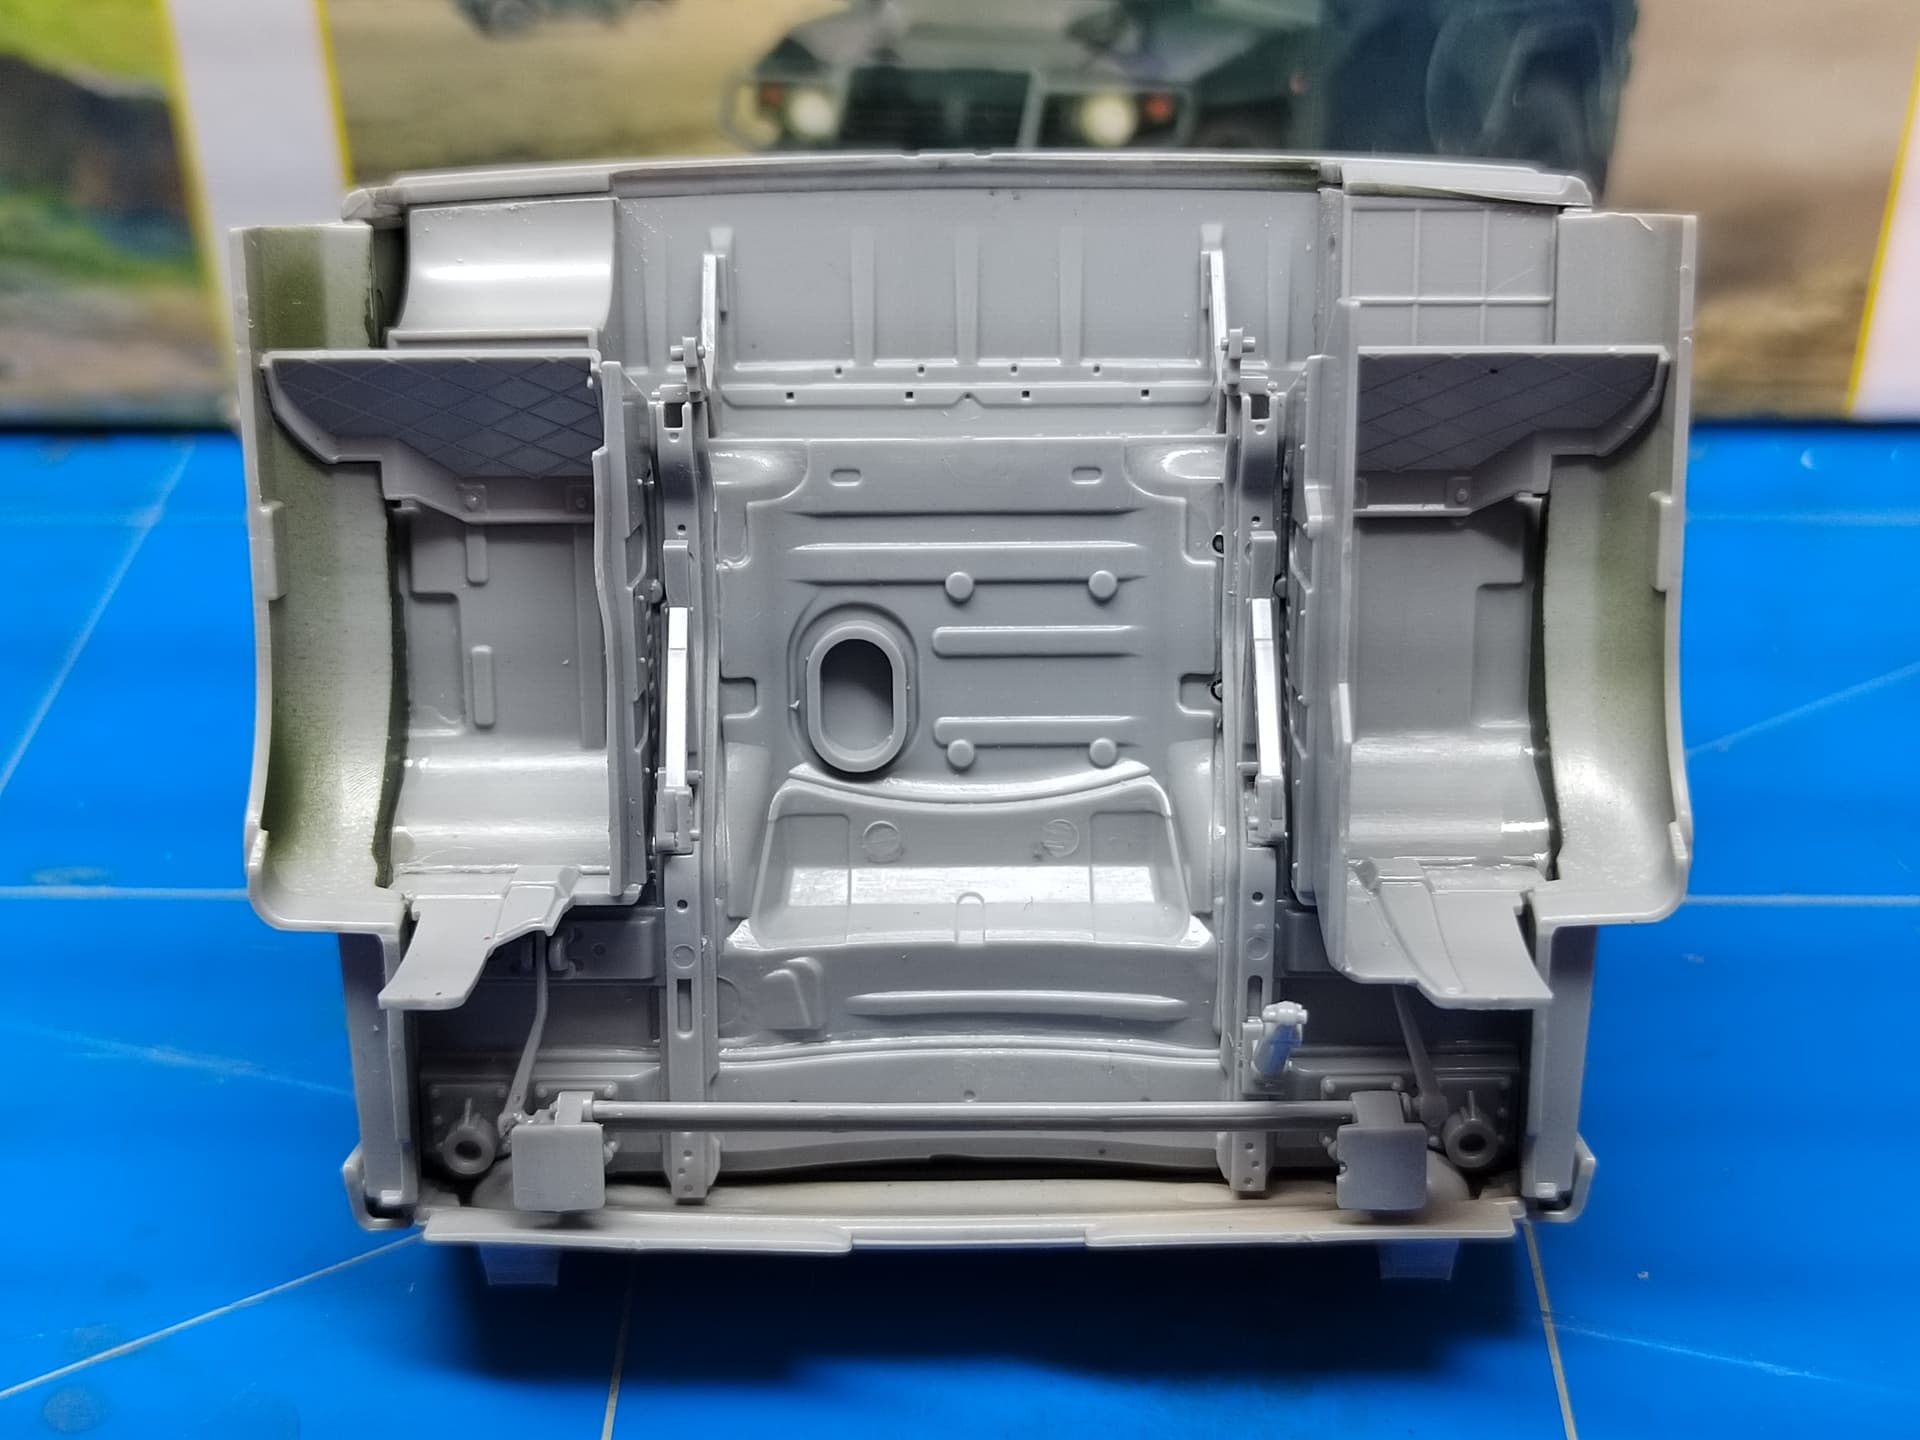
You can appreciate how Zvezda detailed the under side of the cab even though it will not be visible at all unless you depict a flipped cab during an engine maintenance.
By the way Zvezda instructions for the interior colors are not comprehensive. If someone had pictures to share I would appreciate.
Olivier
Thank you Carlos.
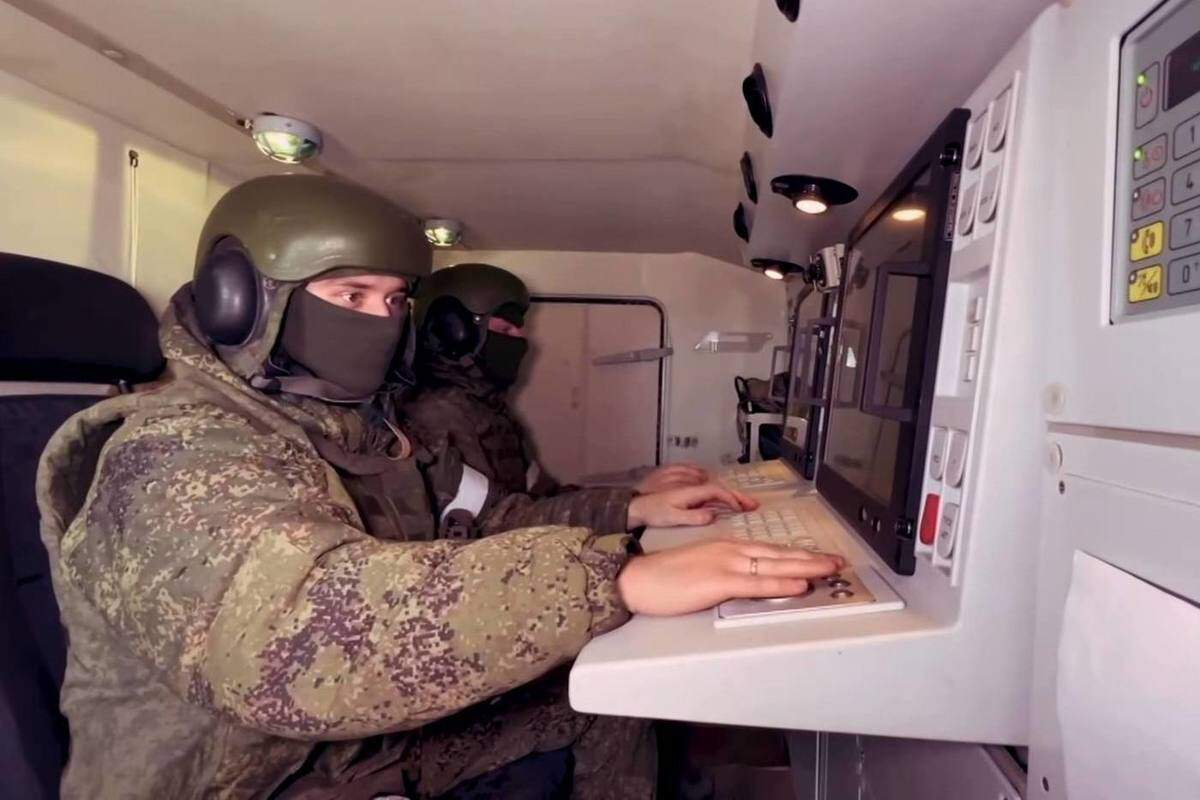
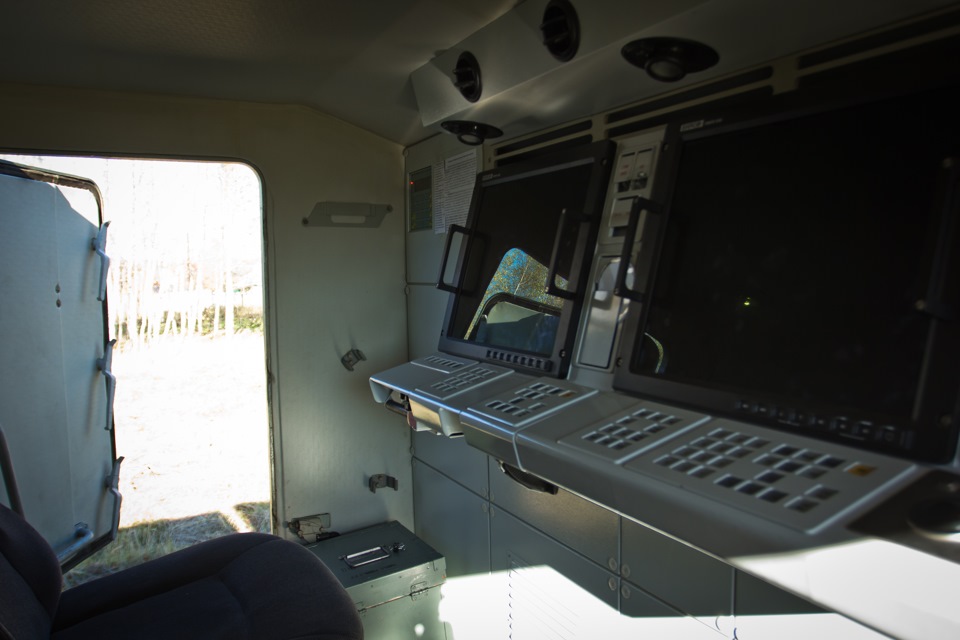
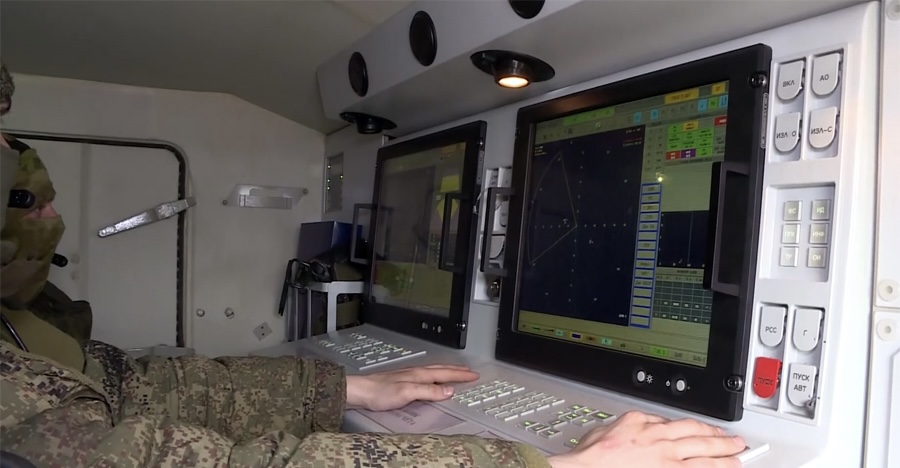
Unfortunately Zvezda do not give an interior for the control module unlike Trumpeter.
Olivier
You’re welcome.
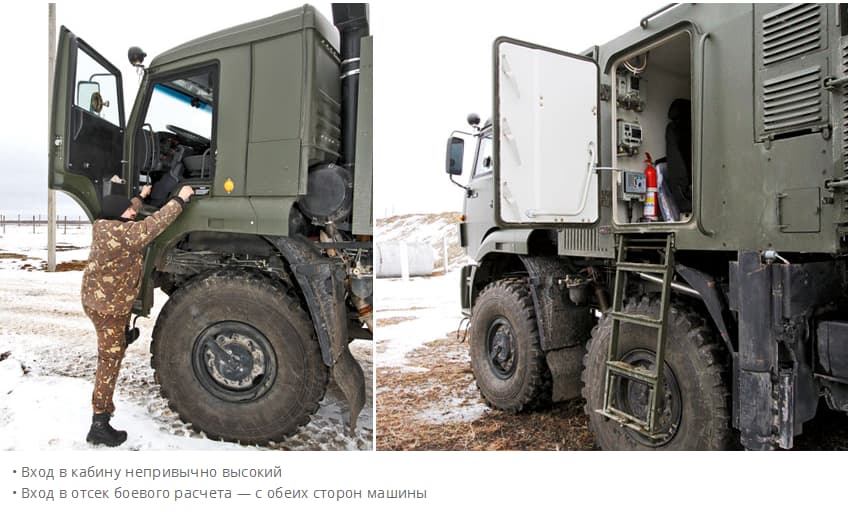
In case needed, this site has the best walkarounds I have found (for all Soviet/Russians vehicles, in fact).
https://www.dishmodels.ru/wshow.htm?p=2869&np=all#blockpre
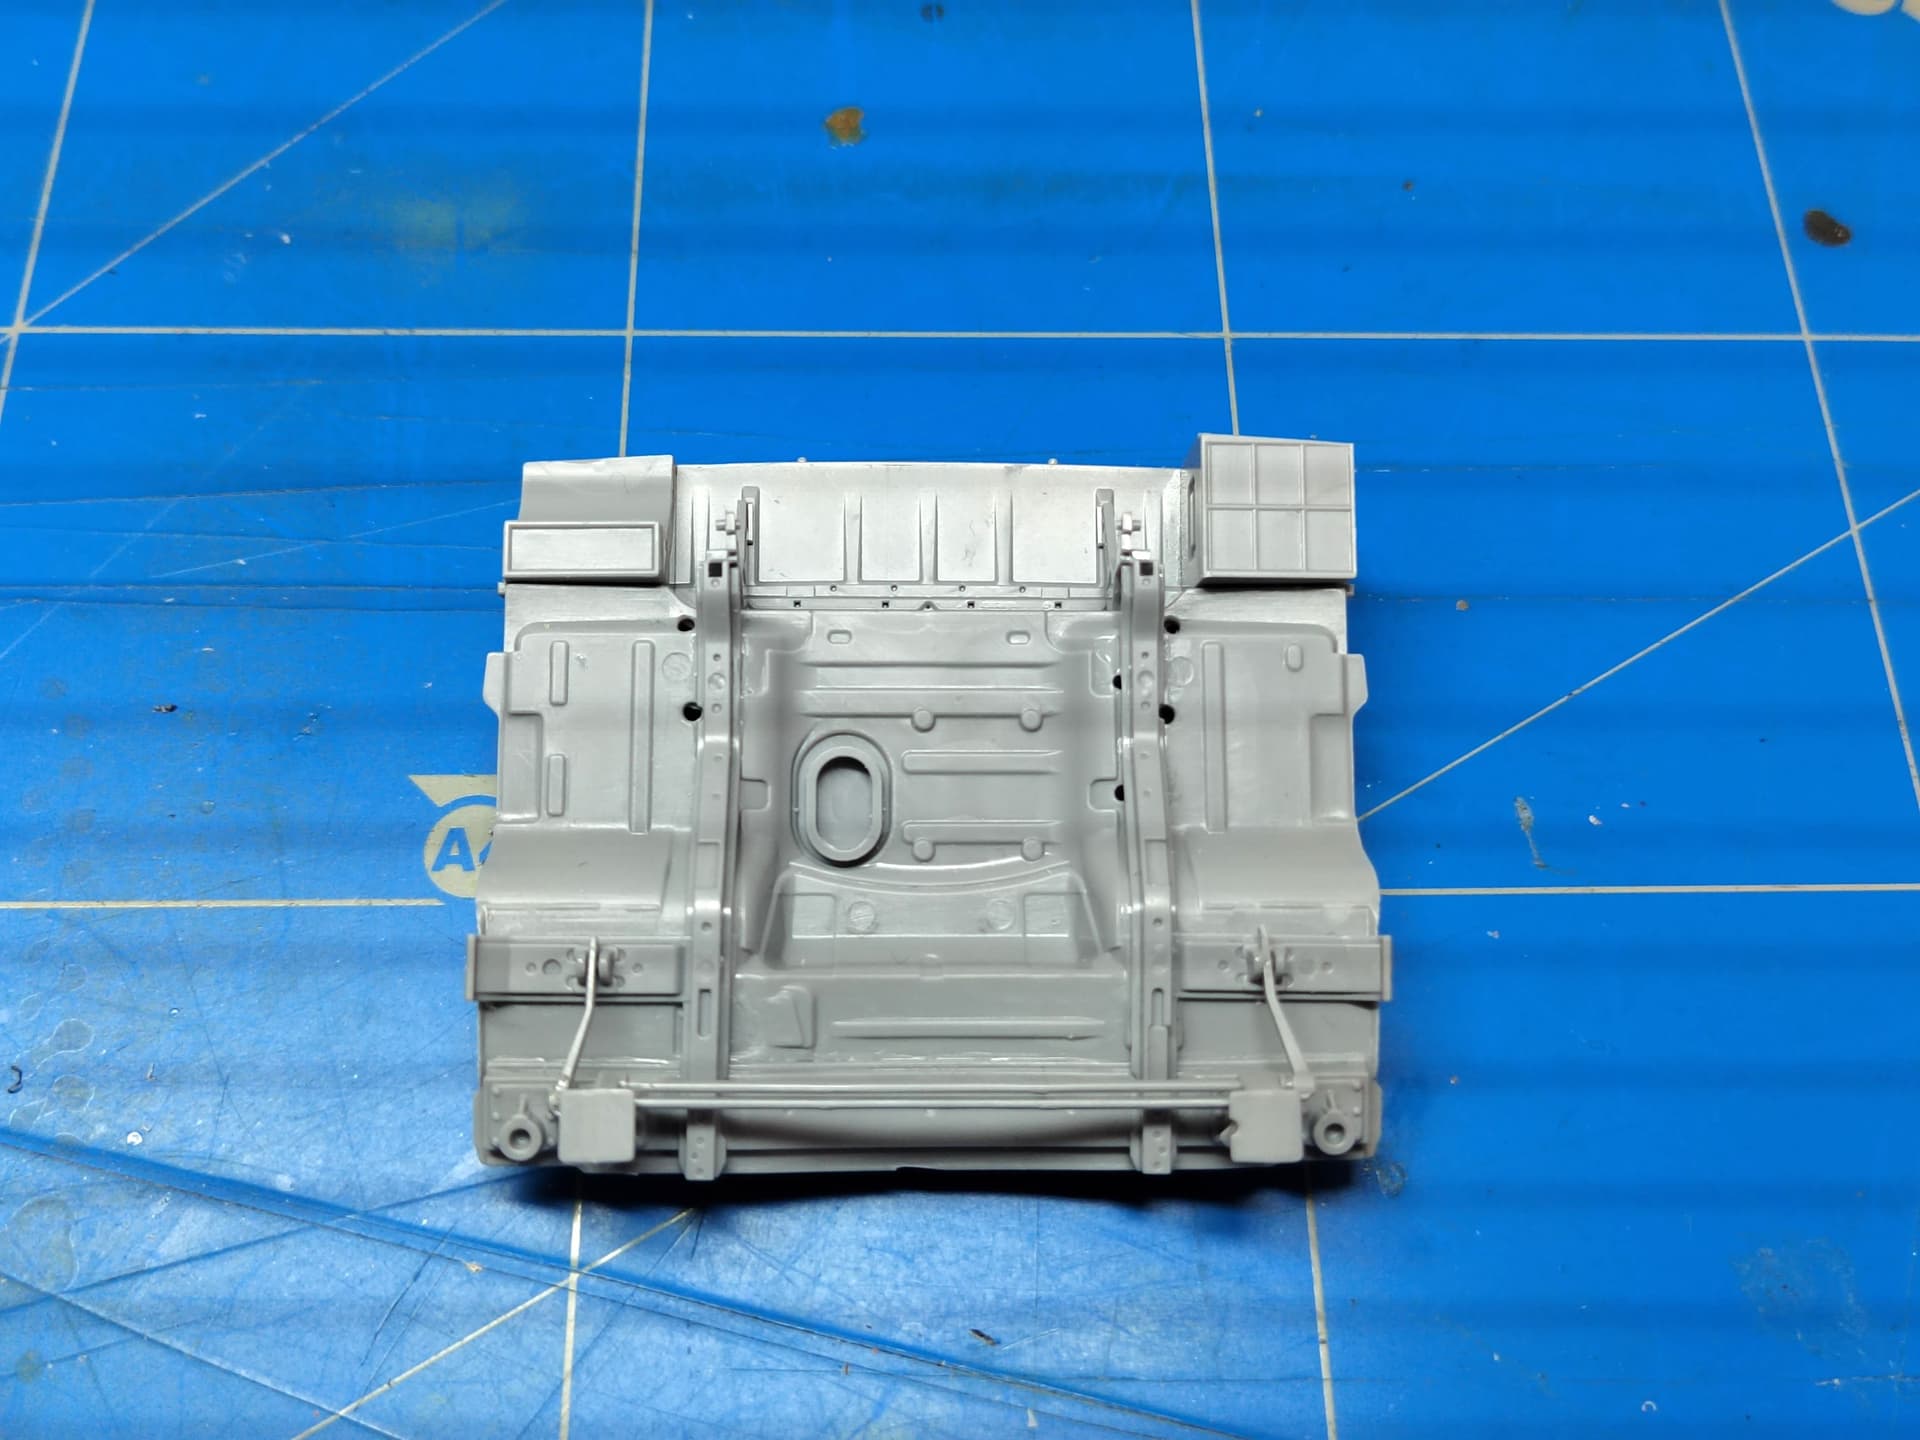
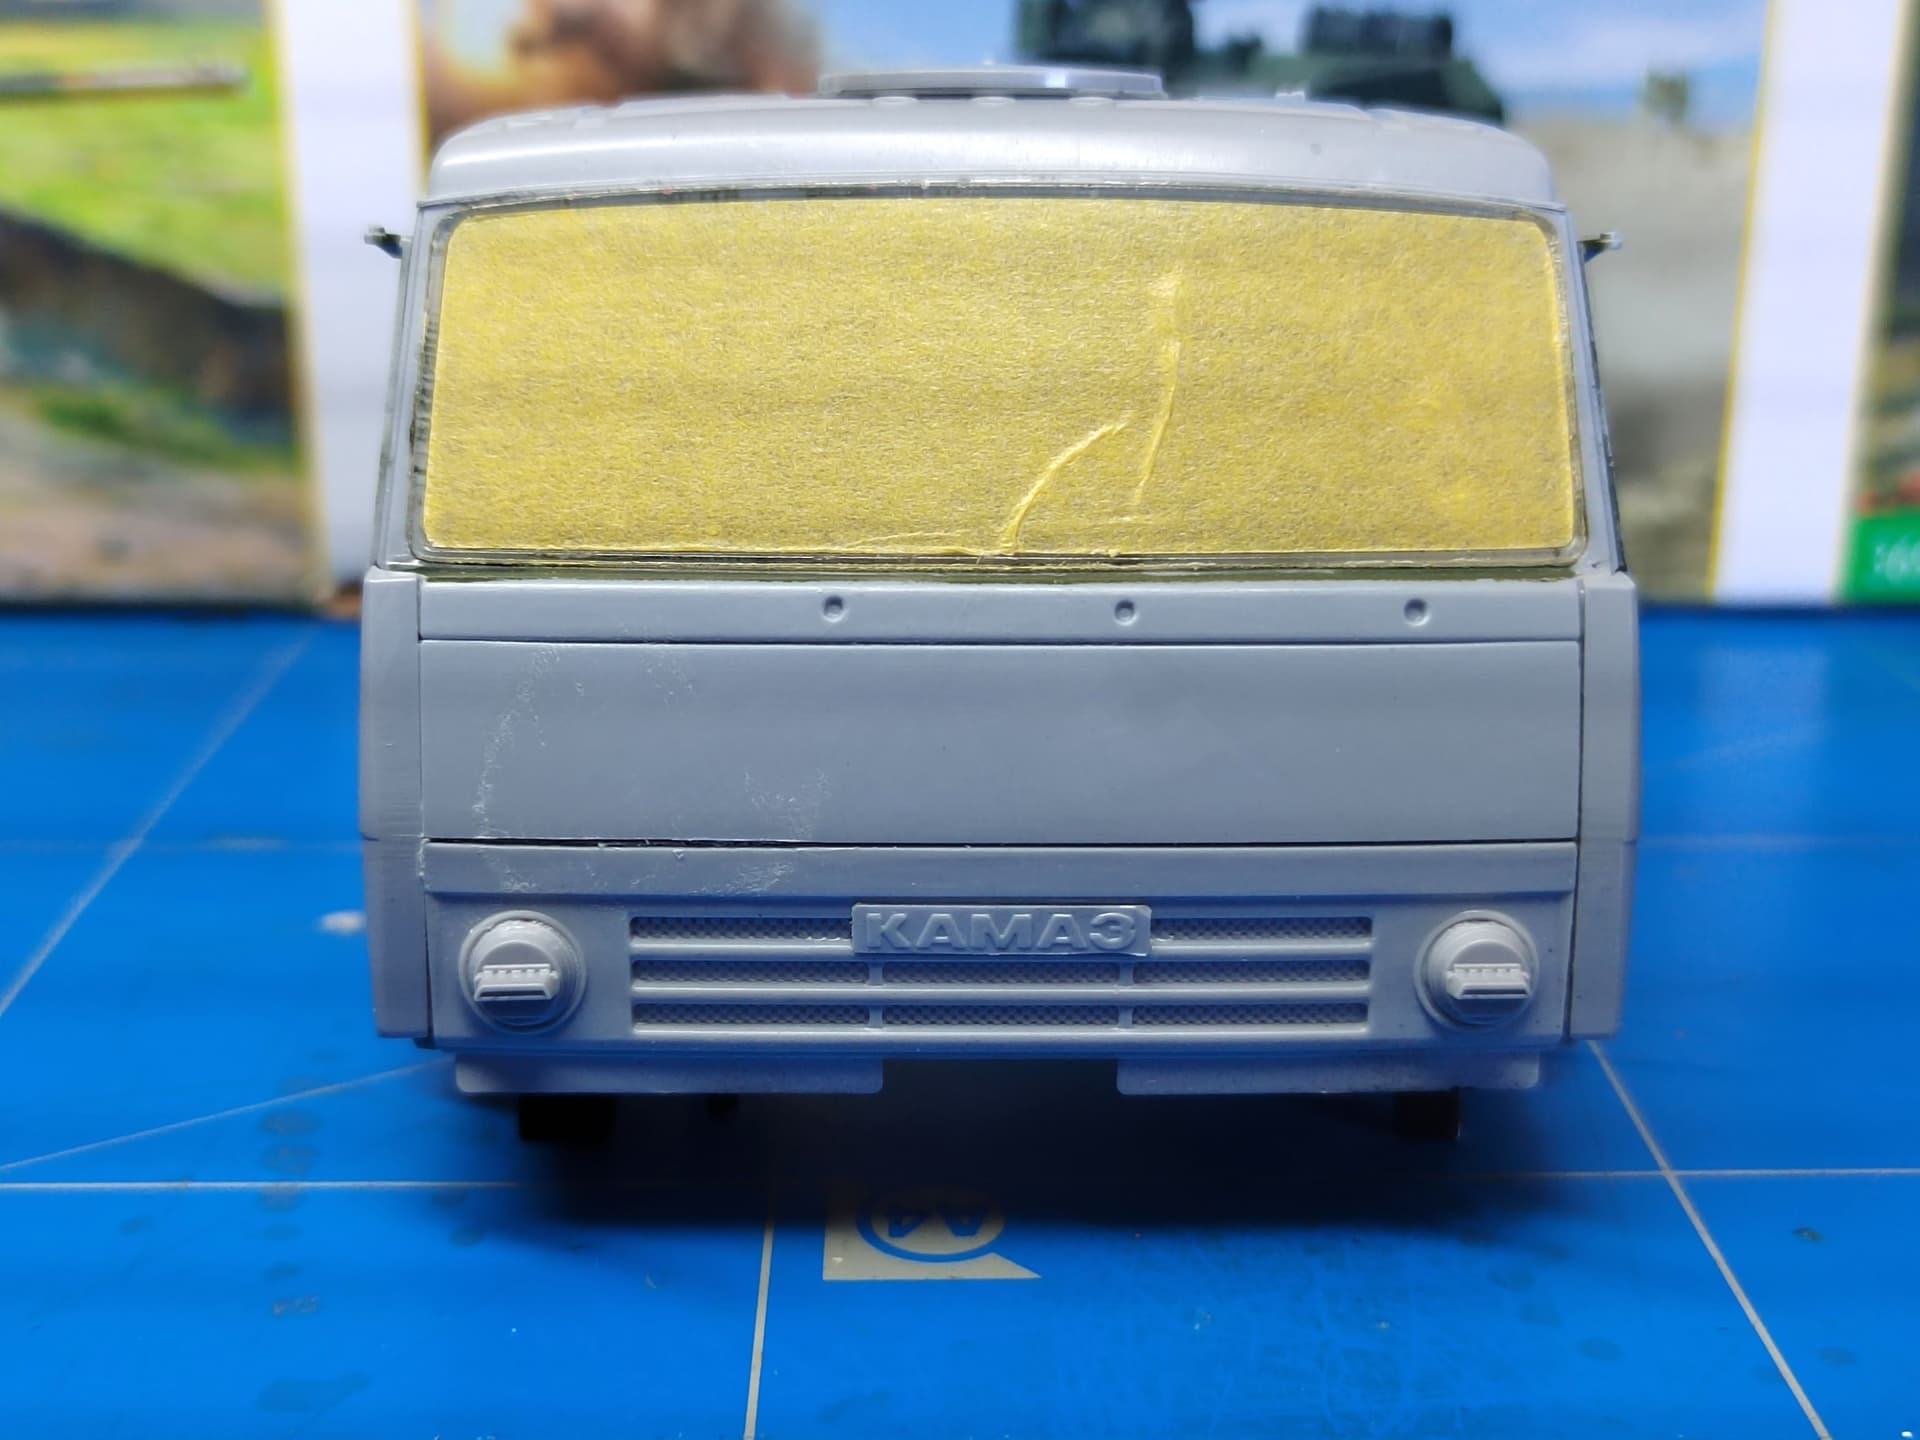
I’ve nearly completed the driver cab. The fit was so poor that I used superglue to keep all the main parts together. A dry-test on the chassis proved I didn’t make major mistakes.
The interior is painted and partly weathered as in the end very little will be visible even through the large windscreen.
Olivier
@ruzzaa thanks you for the pics. They will be useful for those building the Trumpeter kit.
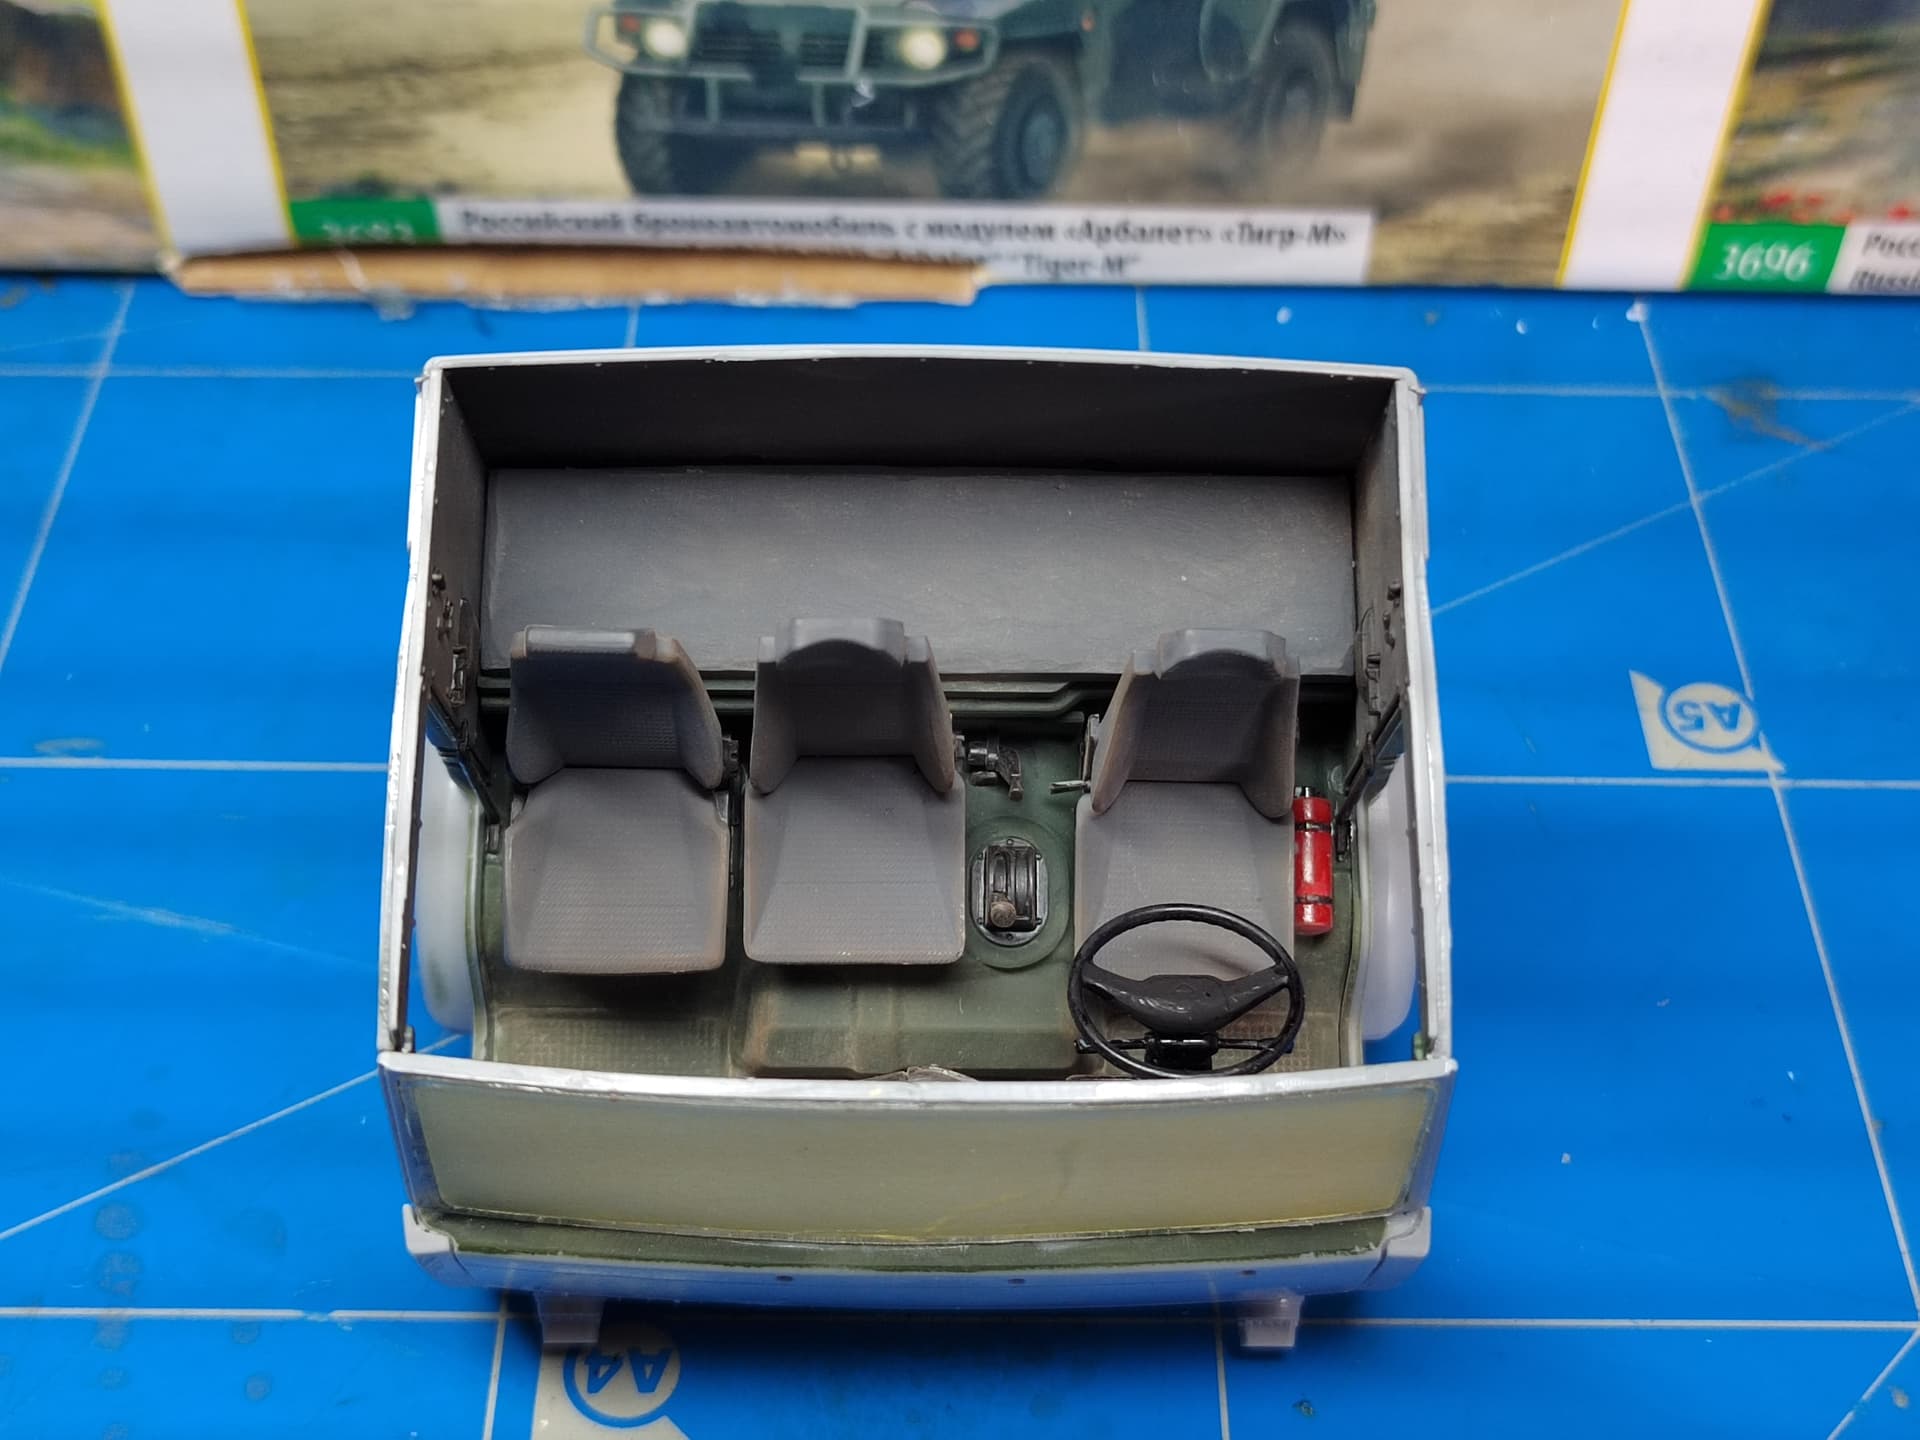
Here are the pictures of the cabin with the doors attached.
I still need to glue the wipers and the rear view mirrors. This will be done after the painting.
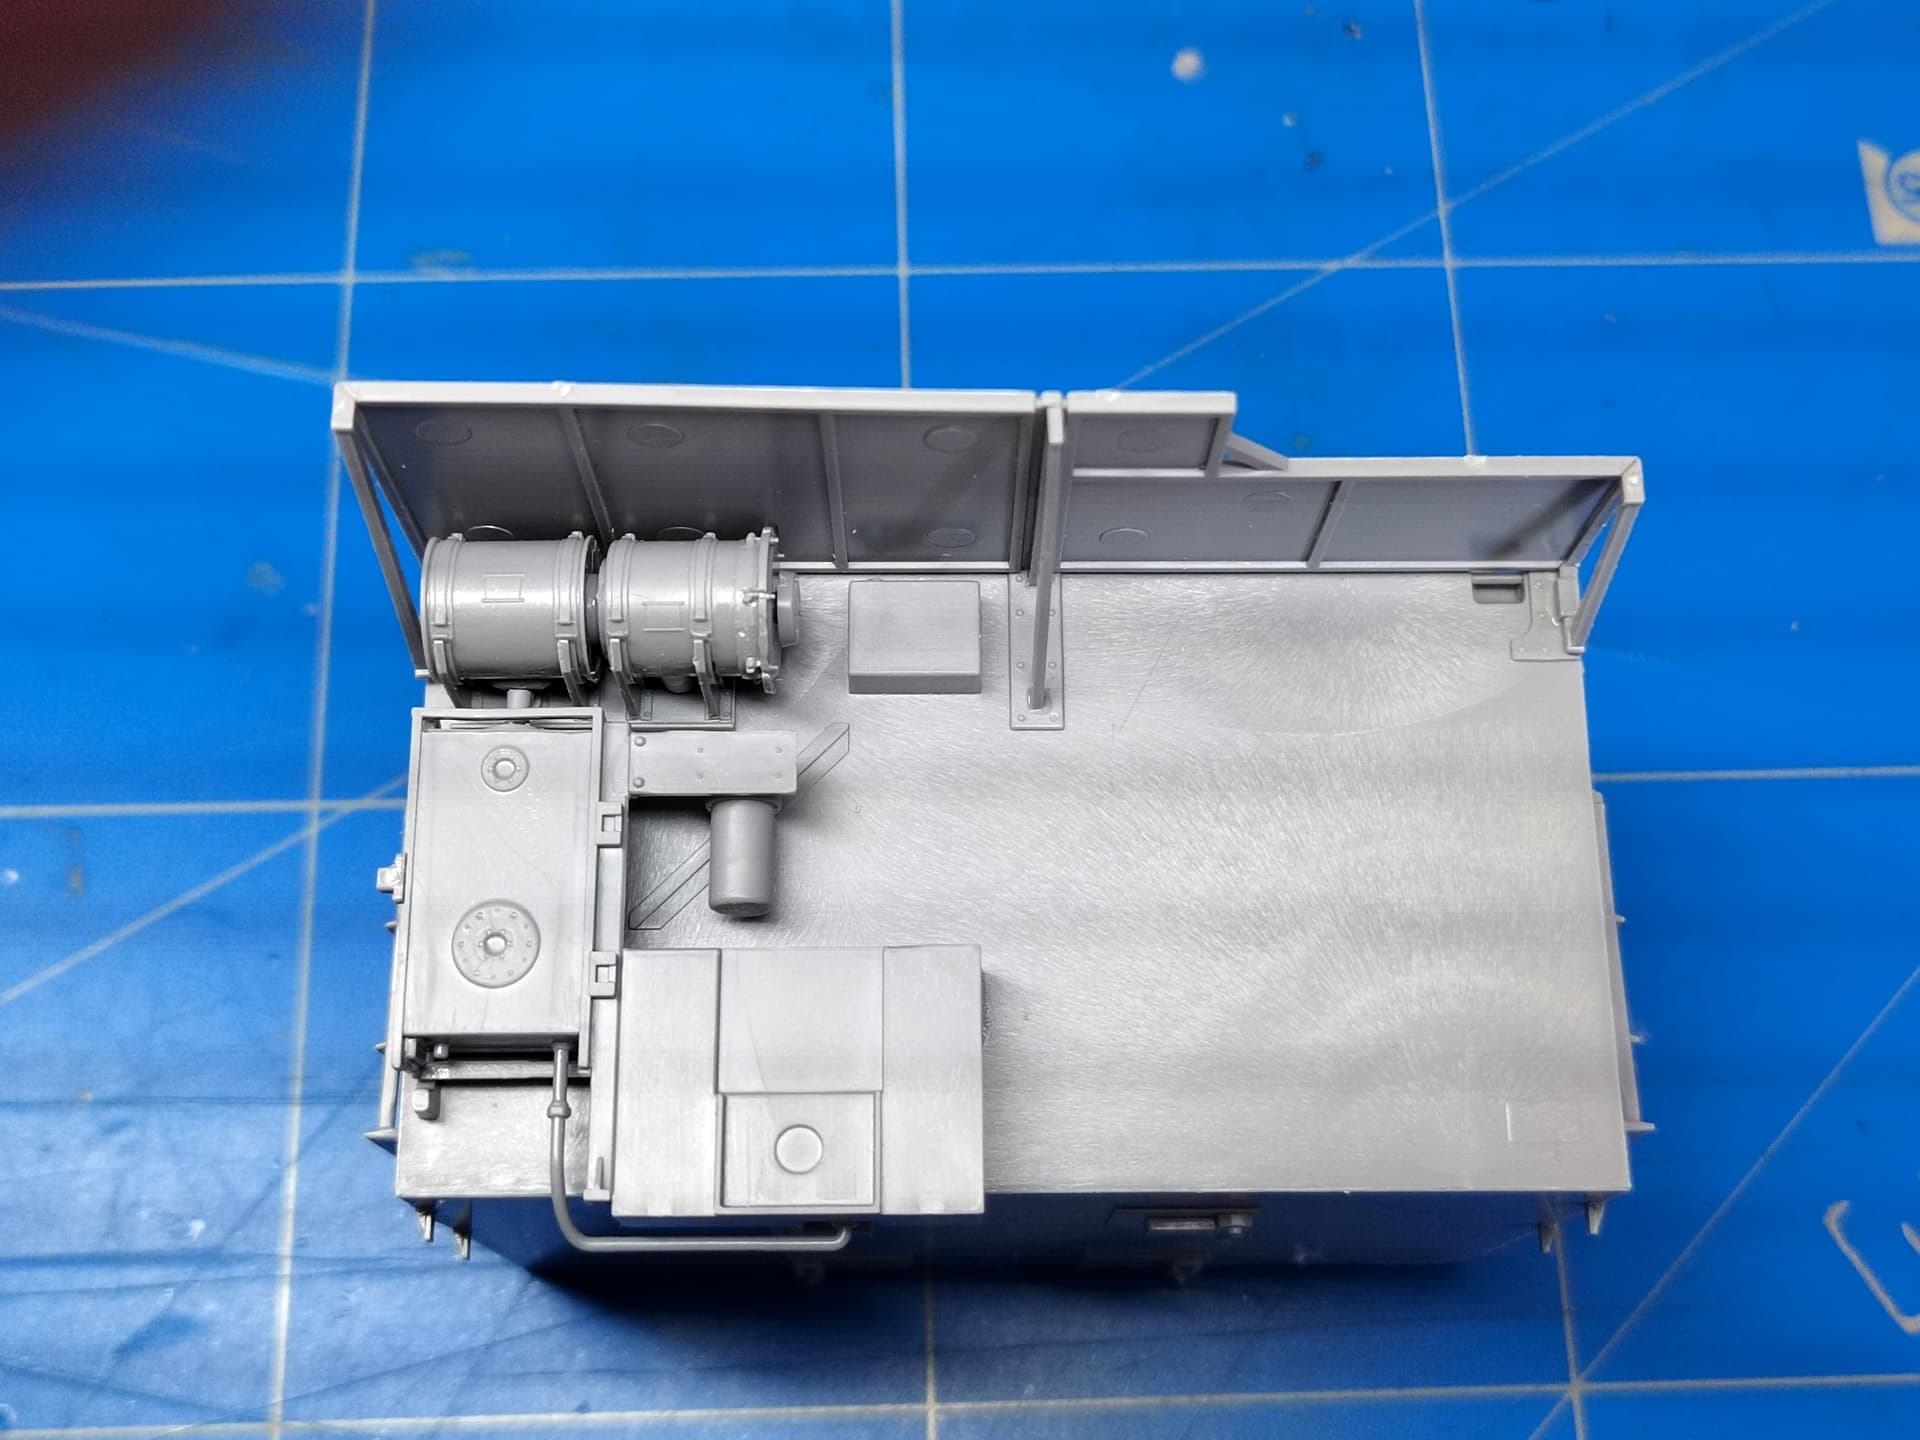
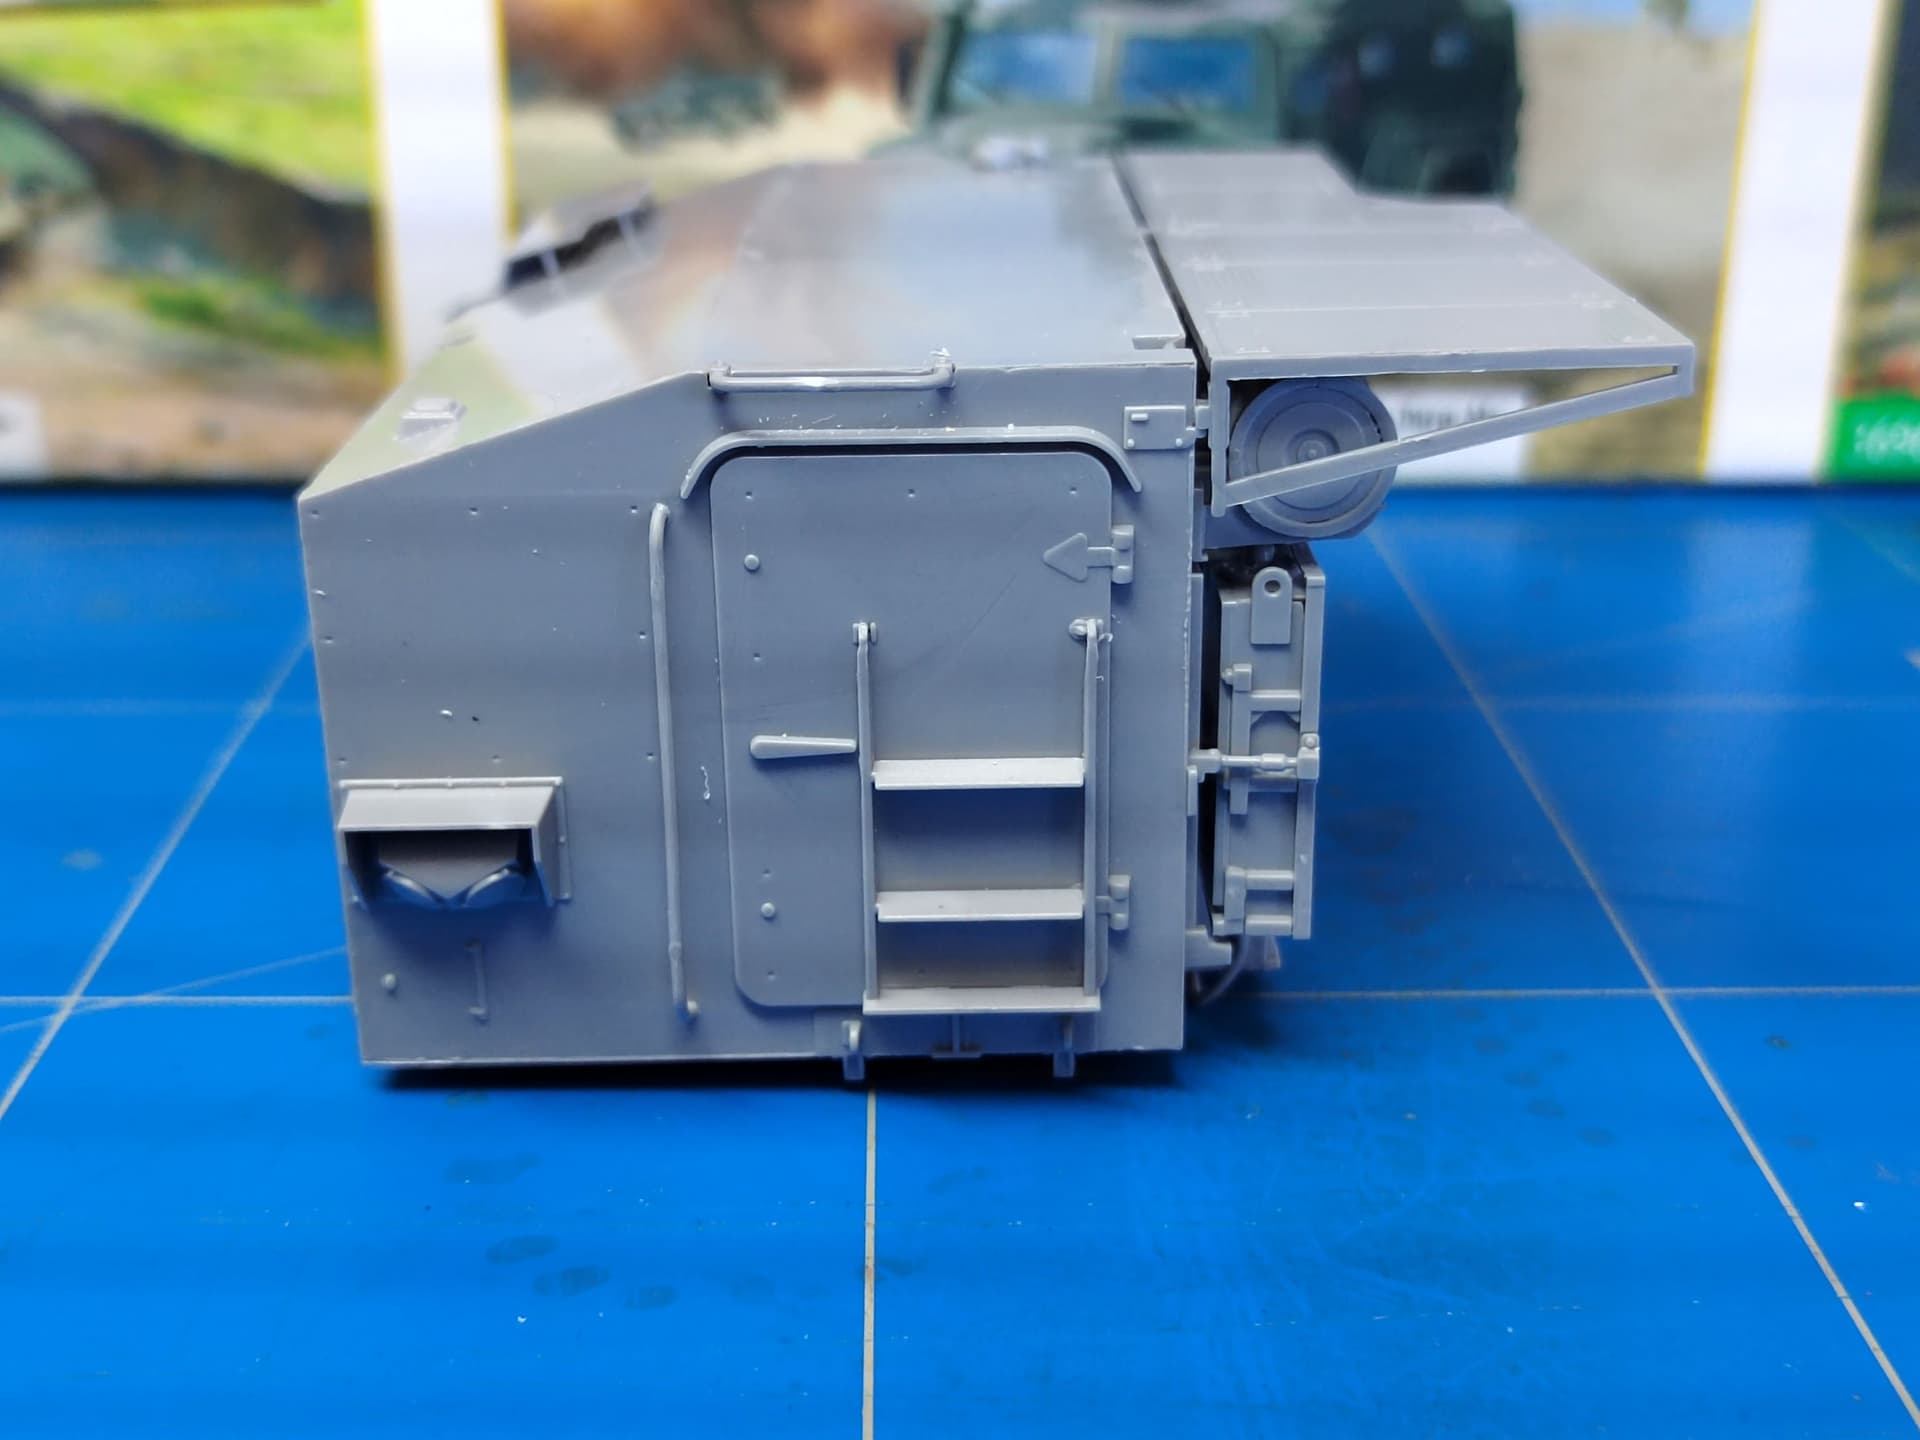
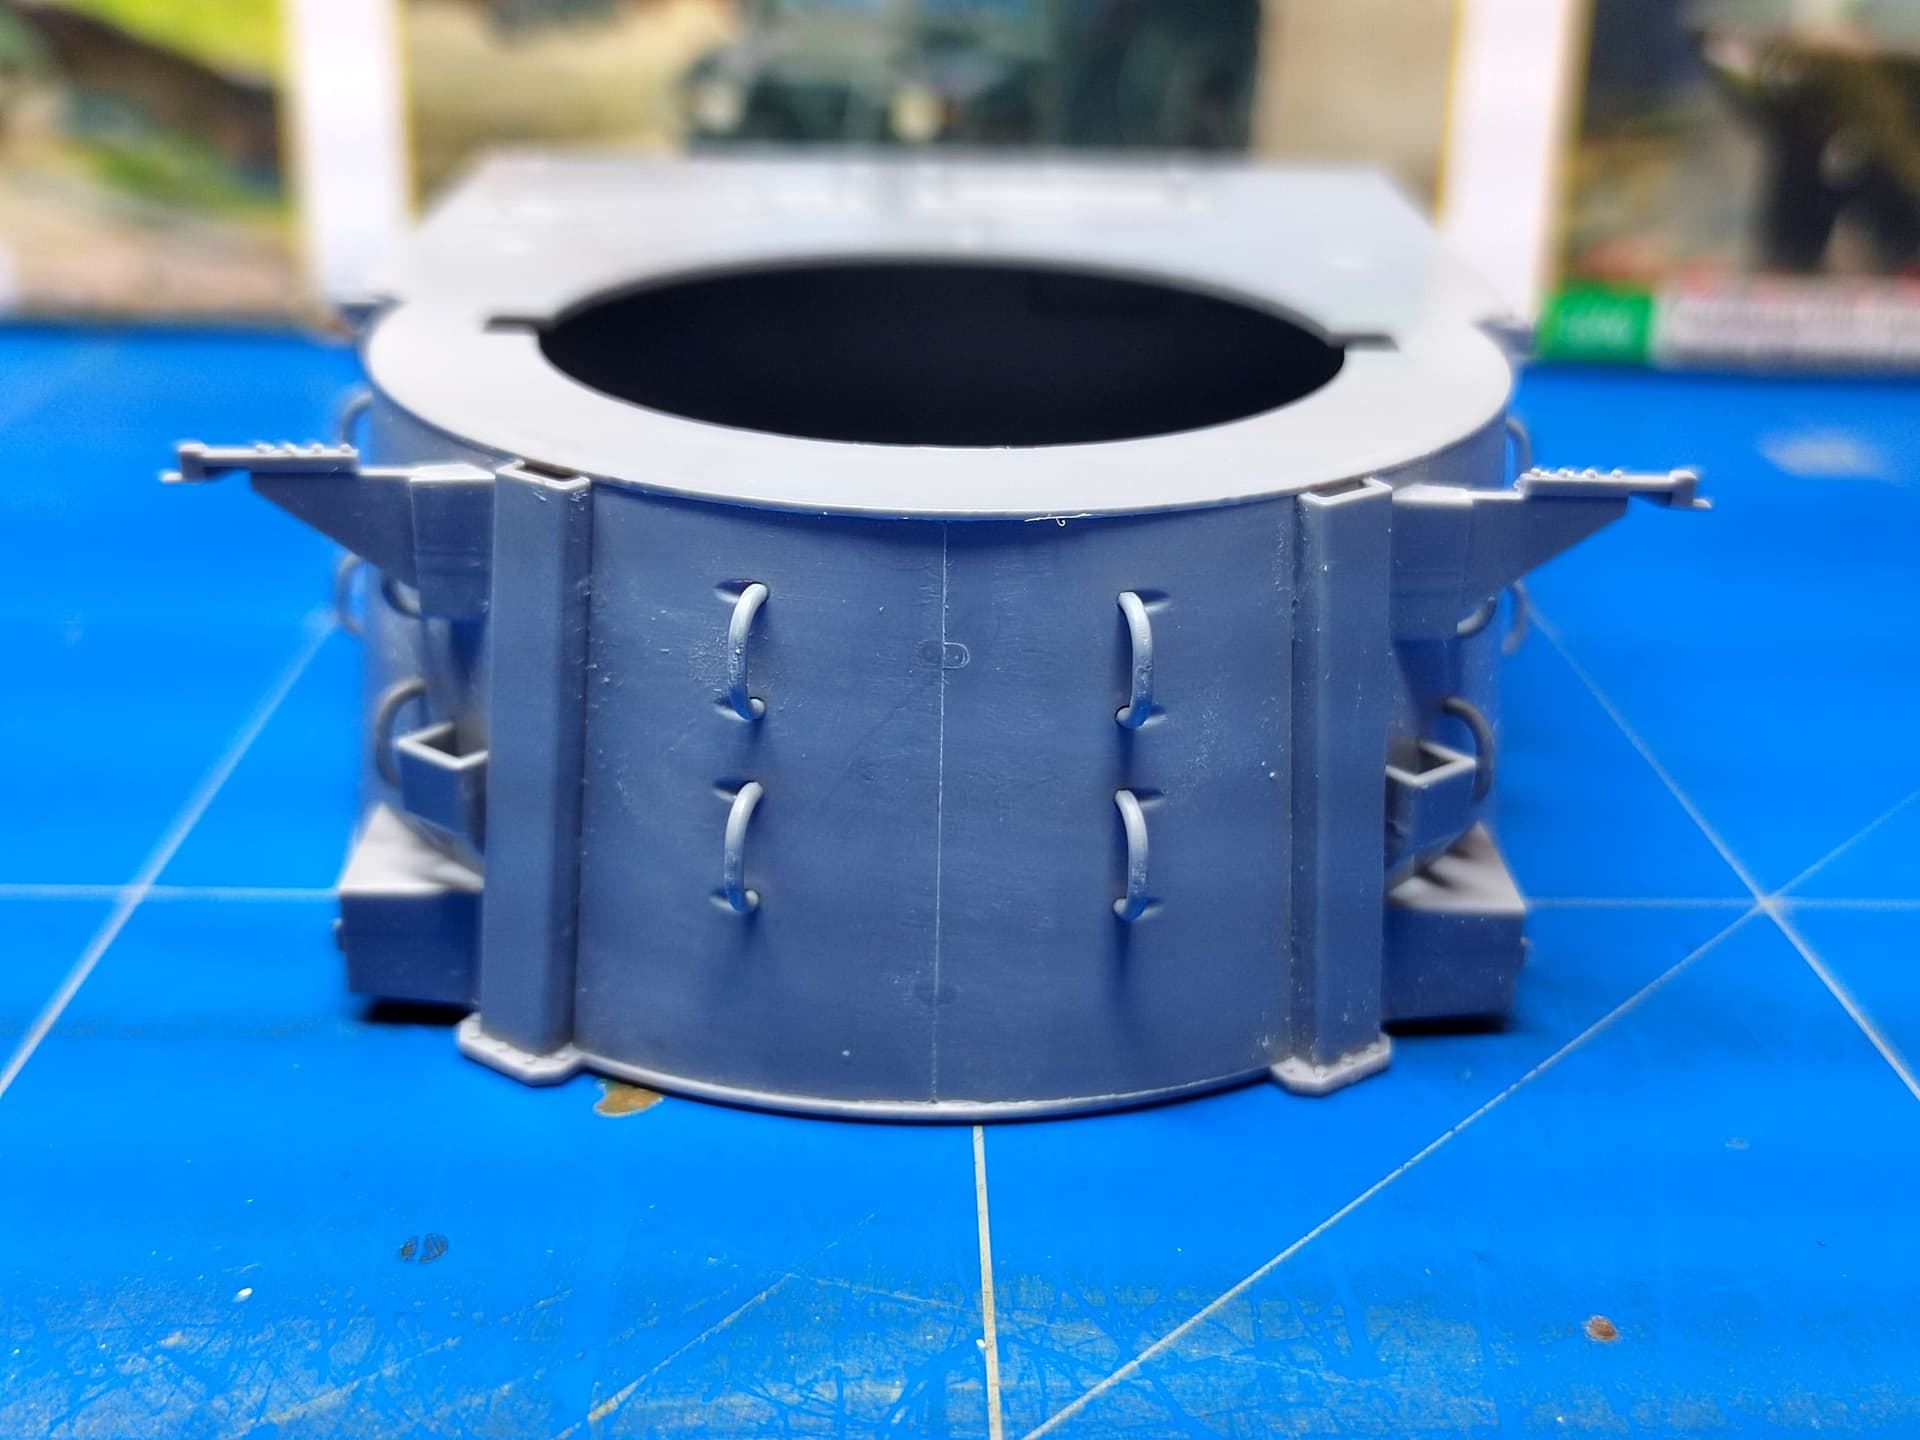
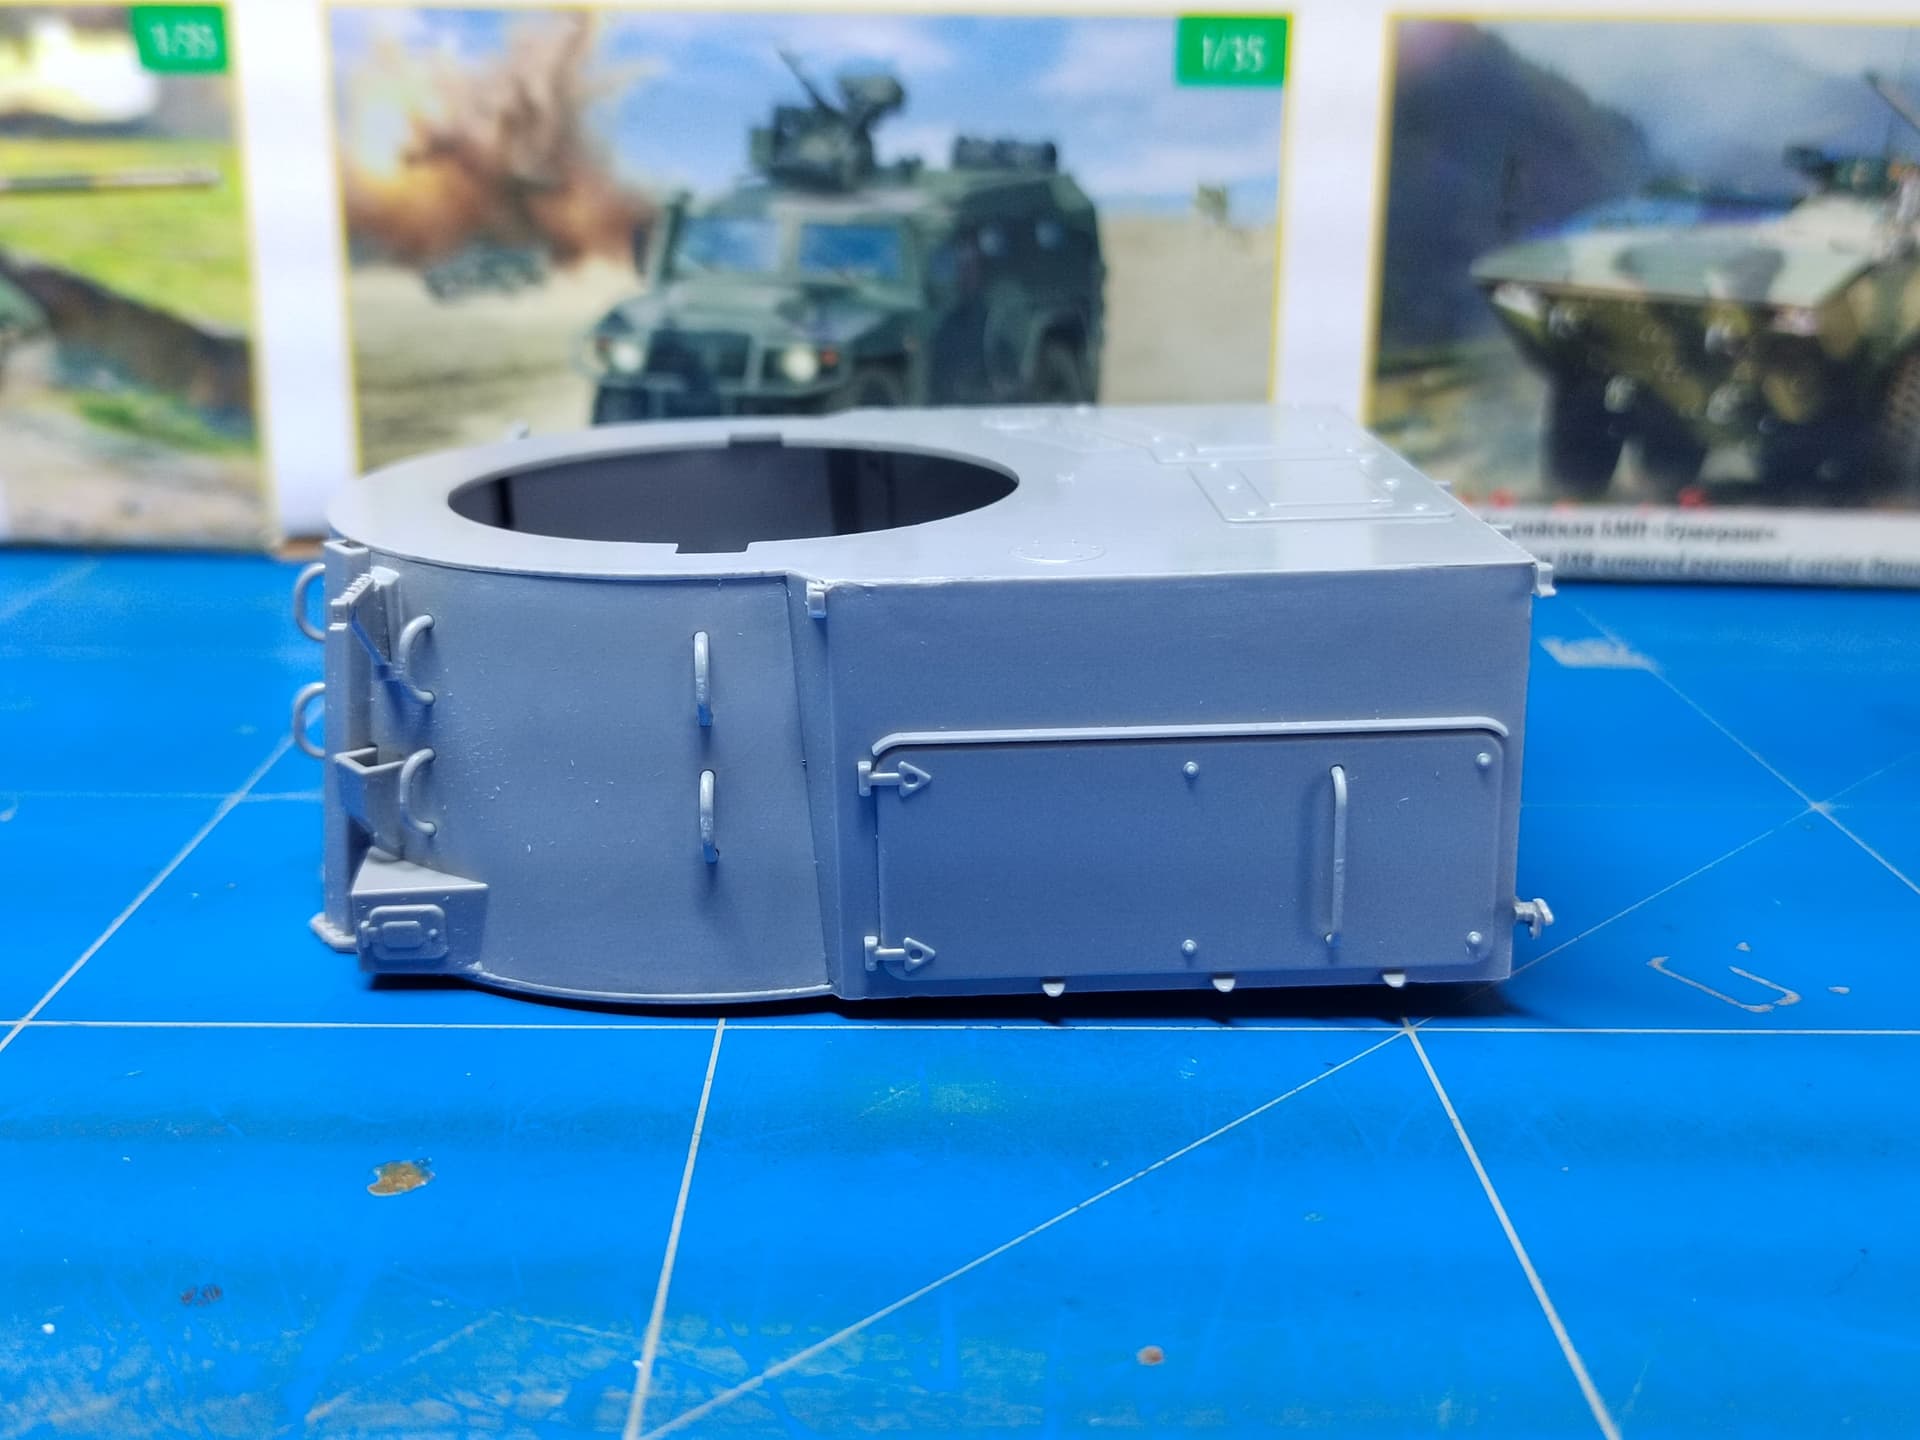
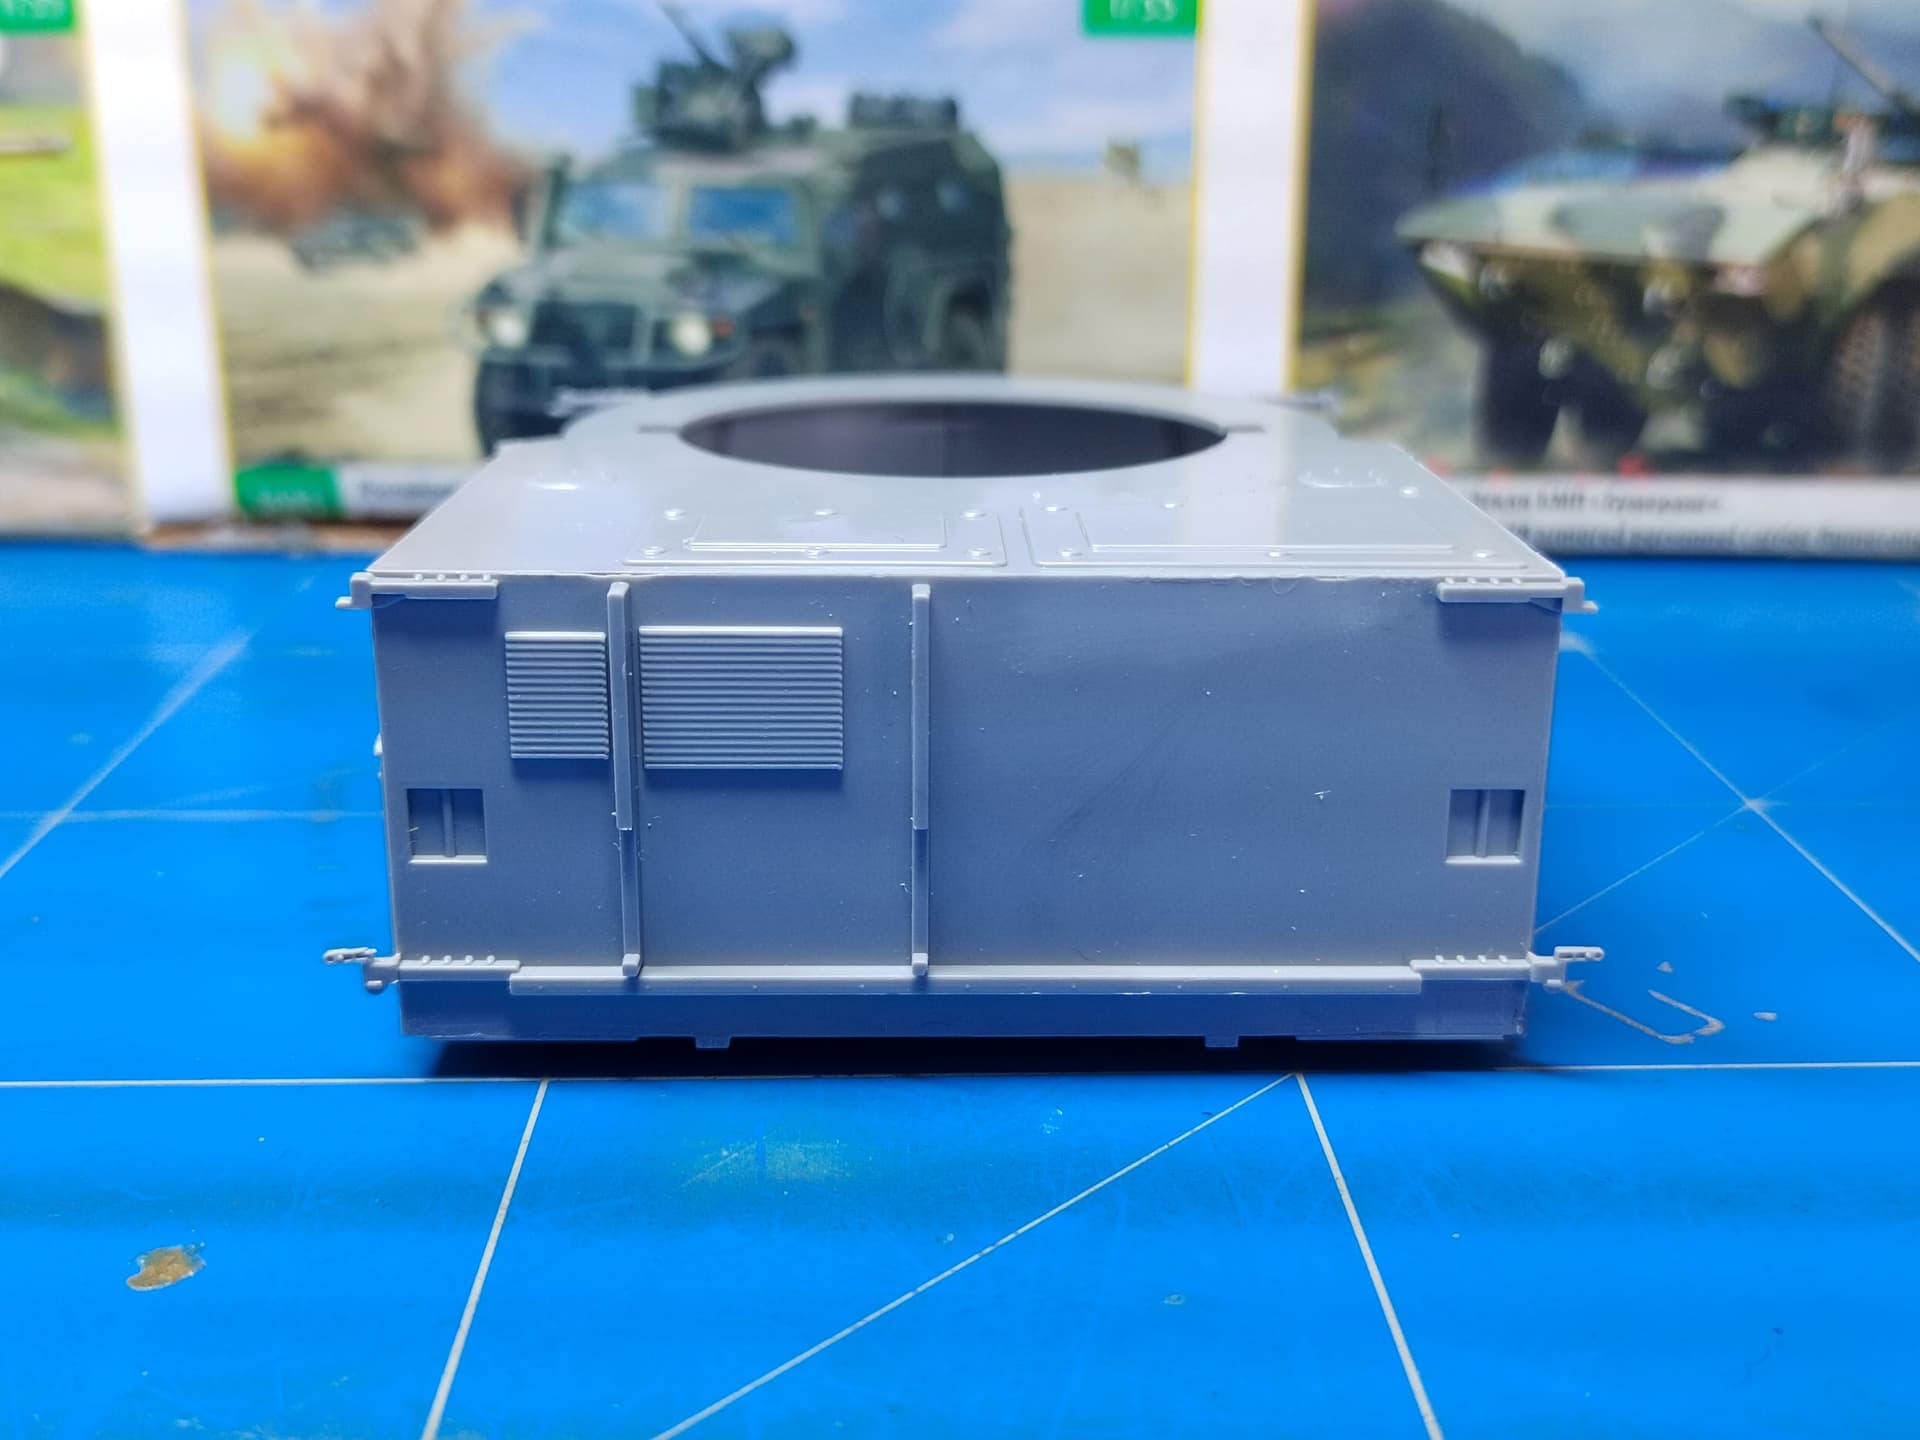
The control module is ready too. It was an easy build.
I test fitted the module onto the chassis just to discover that a part of the frame prevents the module to fit. You need to remove the part. The best is not to glue it at the step concerned. (Part F30 at step 20-a).
Olivier
Looking good Olivier … Now you mention it, I think I had the same issue with the control box not fitting … but my cab did go together with no issues as I remember …
Fit issues may also result from bad modeler skills. ![]()
I found that the positioning tabs are sometimes too tiny. I could have misaligned some parts at the very beginning.
Olivier
100 % true …