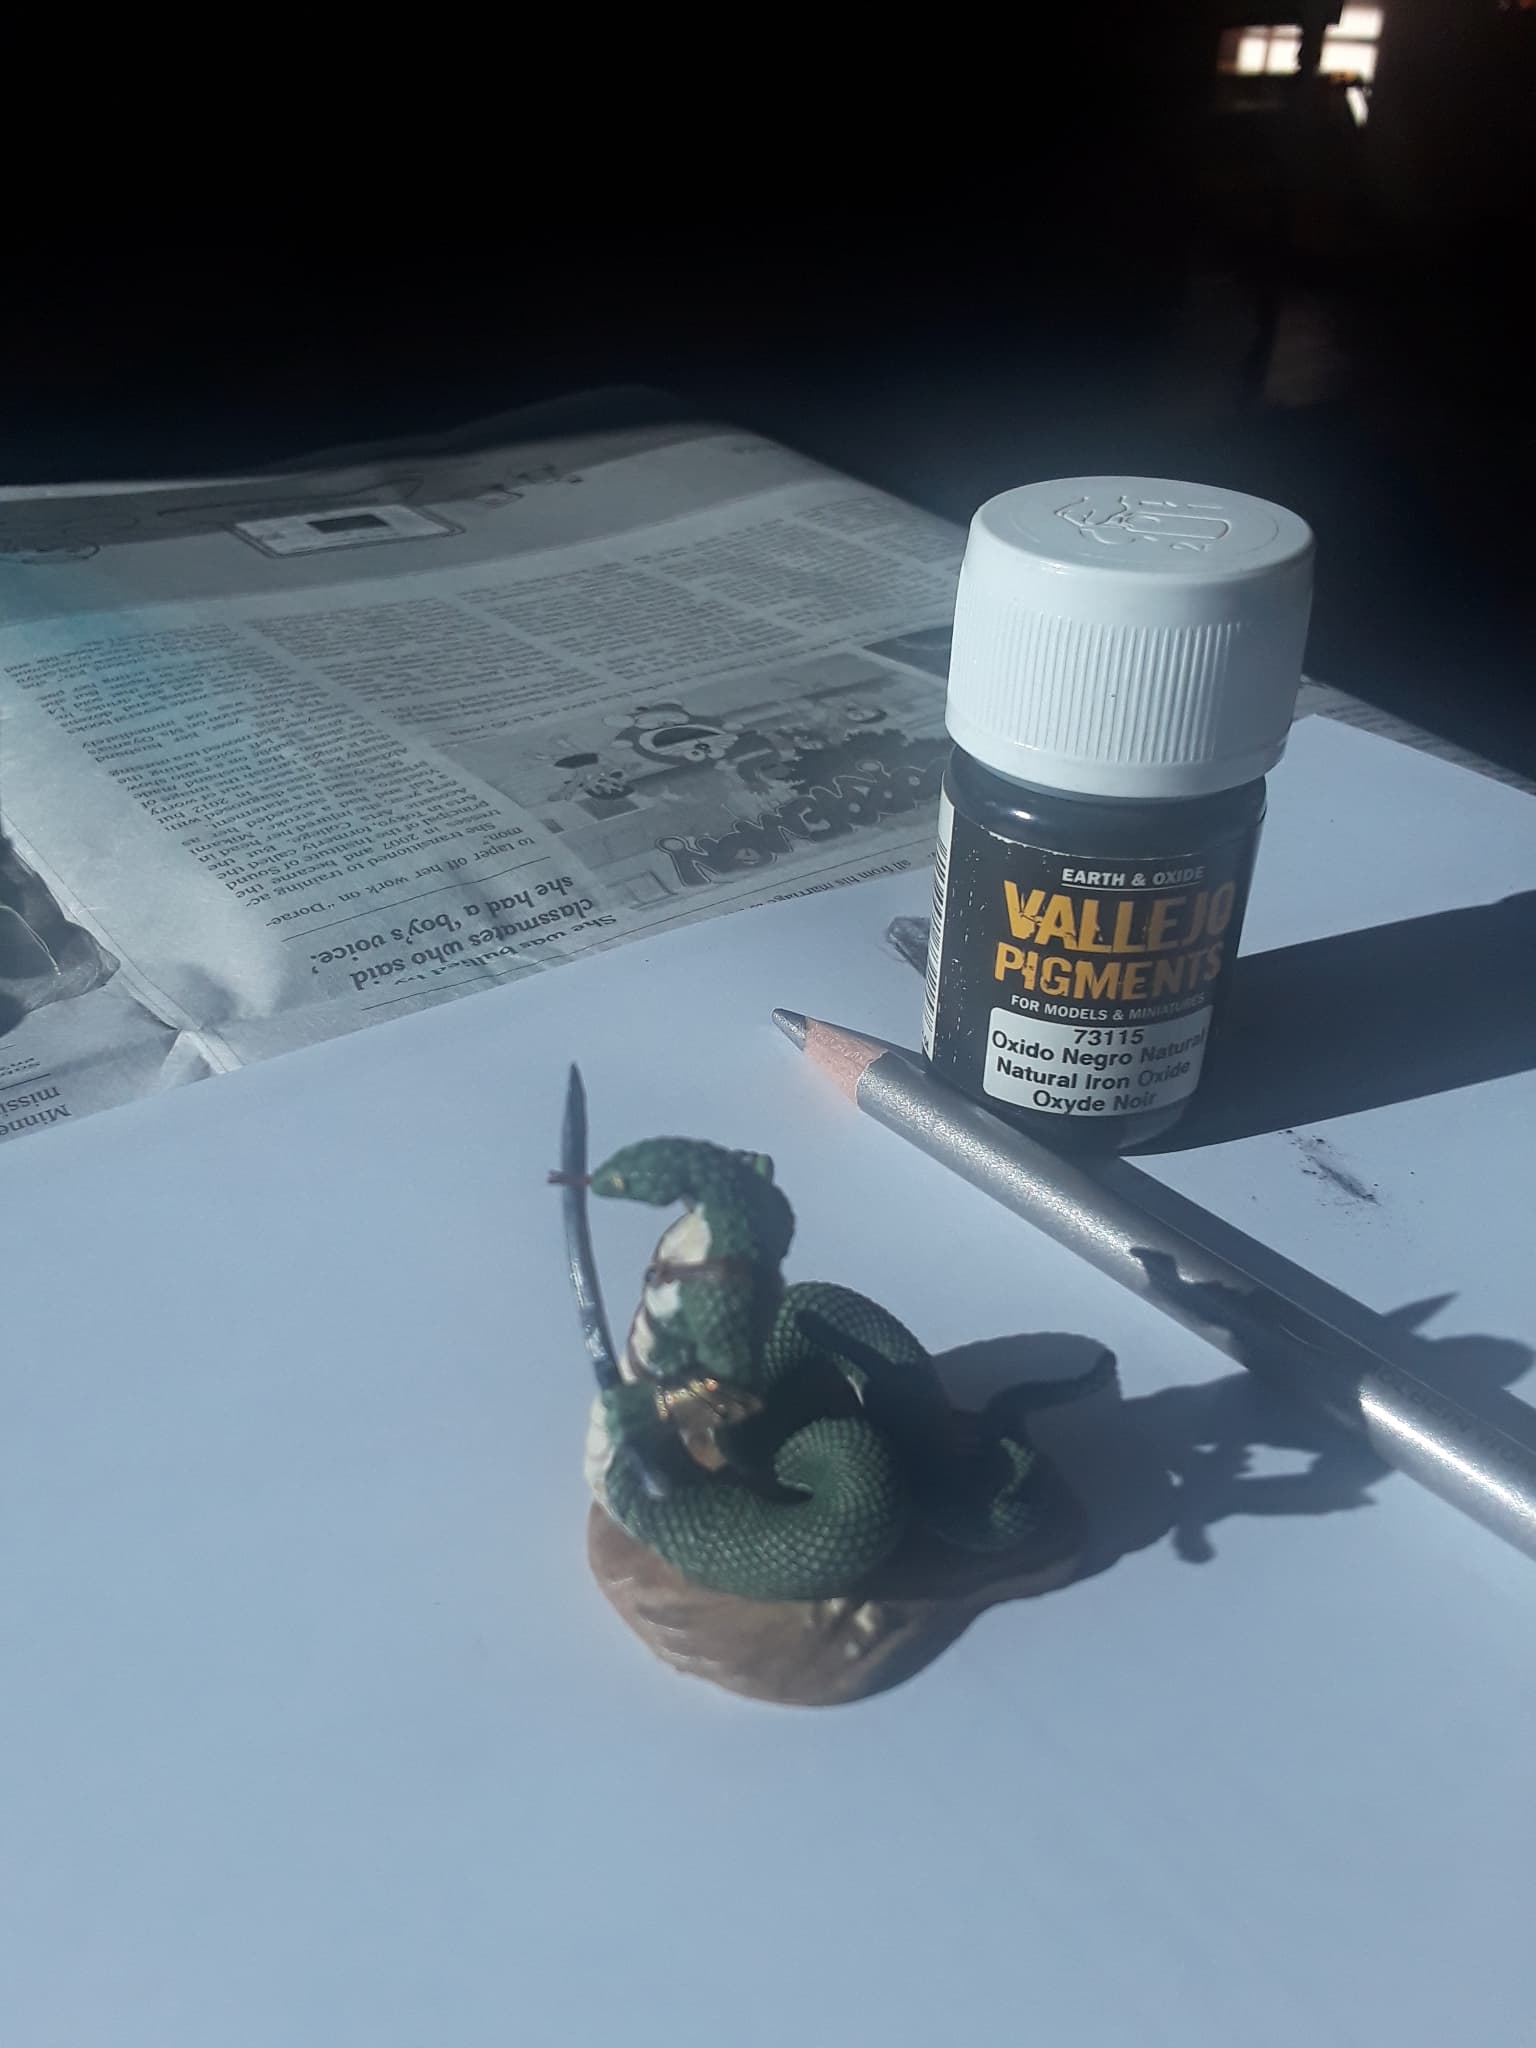
Hello, checking in a giving an update on my entry. Used Vellojo Natural Iron Oxide pigment and a colored pencil for the sword of the Yuan Ti Abomination D&D figures. Have the hilt of the sword to paint and I will call this one completed. I was thinking of sealing everything with a layer of Dullcoat but I heard that pigments can disappear when flat coated. Anyone have a suggestion or two?
6 Likes
Sadly I lost my Mojo after the show ended. A very good ending, IMHO. I still intend to finish it. Ve done the BRDM-2 in the scene, I think what slowed me down was the (Jeep, Range Rover?) with the hard top.
1 Like
Coat it with MARABU clear spray from the rattle can. I was never disapointed with that.
But please try it before …
1 Like
Jeep or a Range Rover…
That’s always a important problem, especially for me as a Land Rover Addict ![]() can’t remember what there was.
can’t remember what there was.
1 Like
I just remember it involved some scratch building and I wasn’t up for it at the time.
I will definitely finish it though.
1 Like
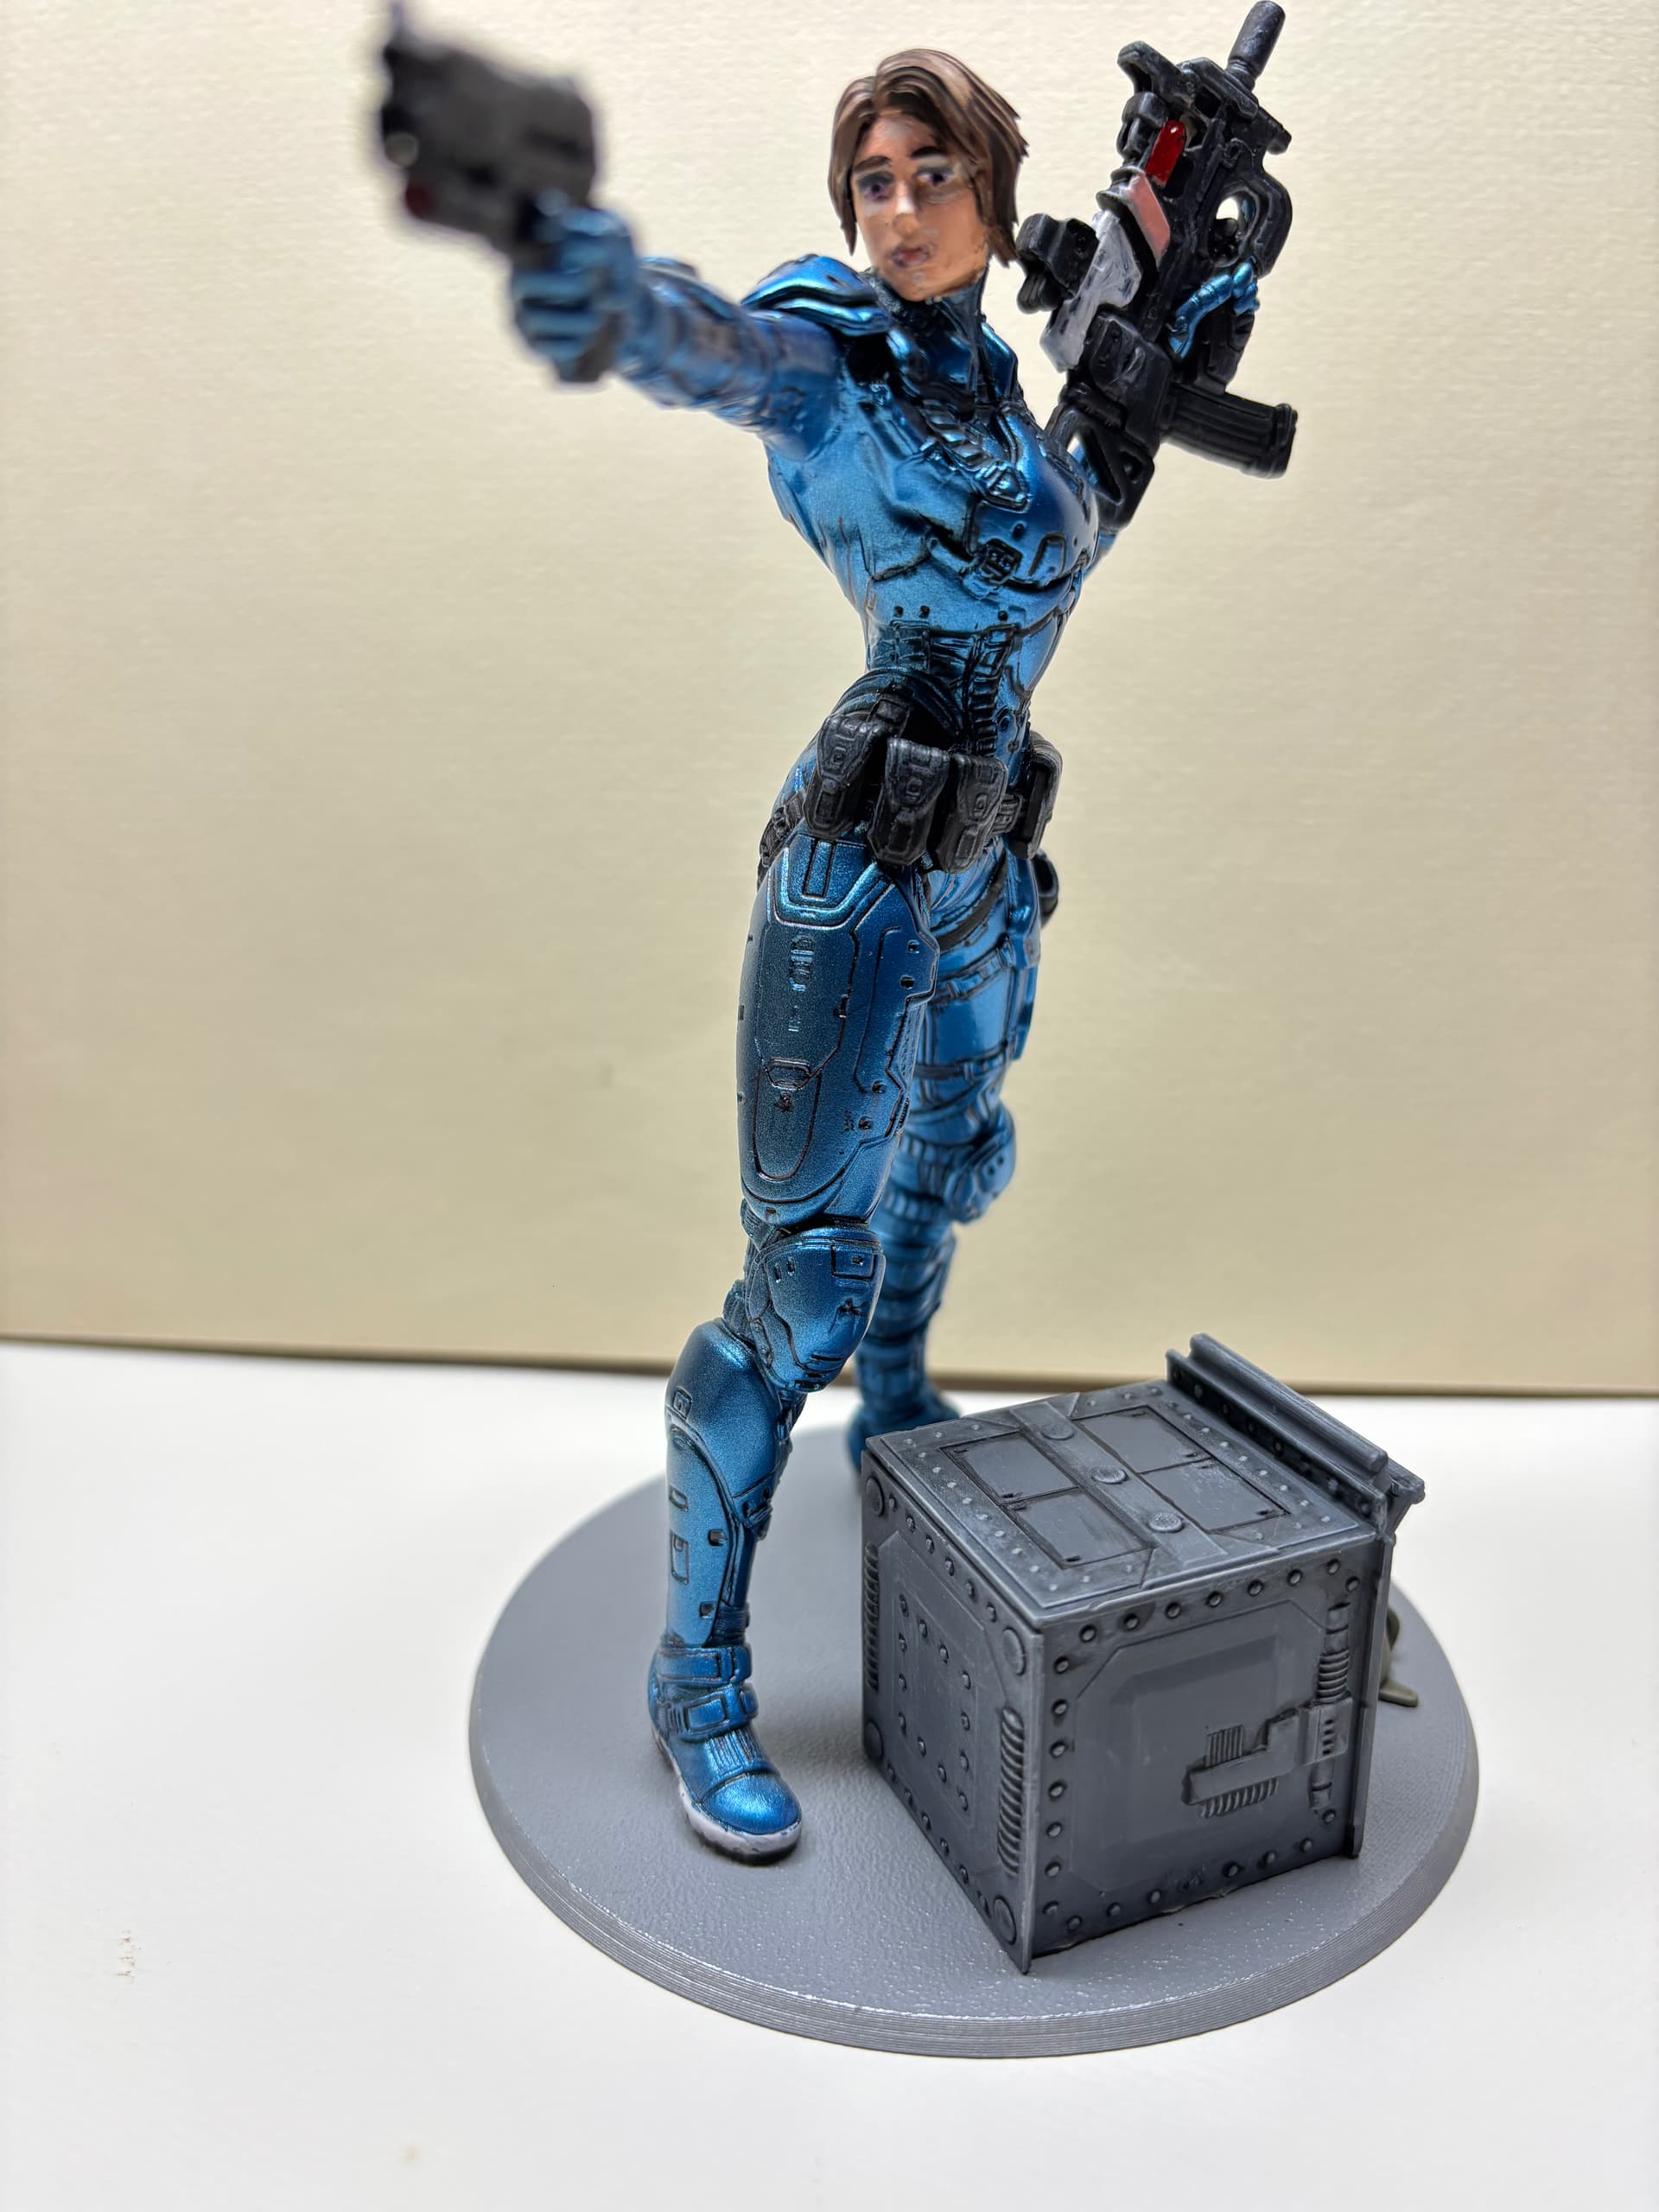
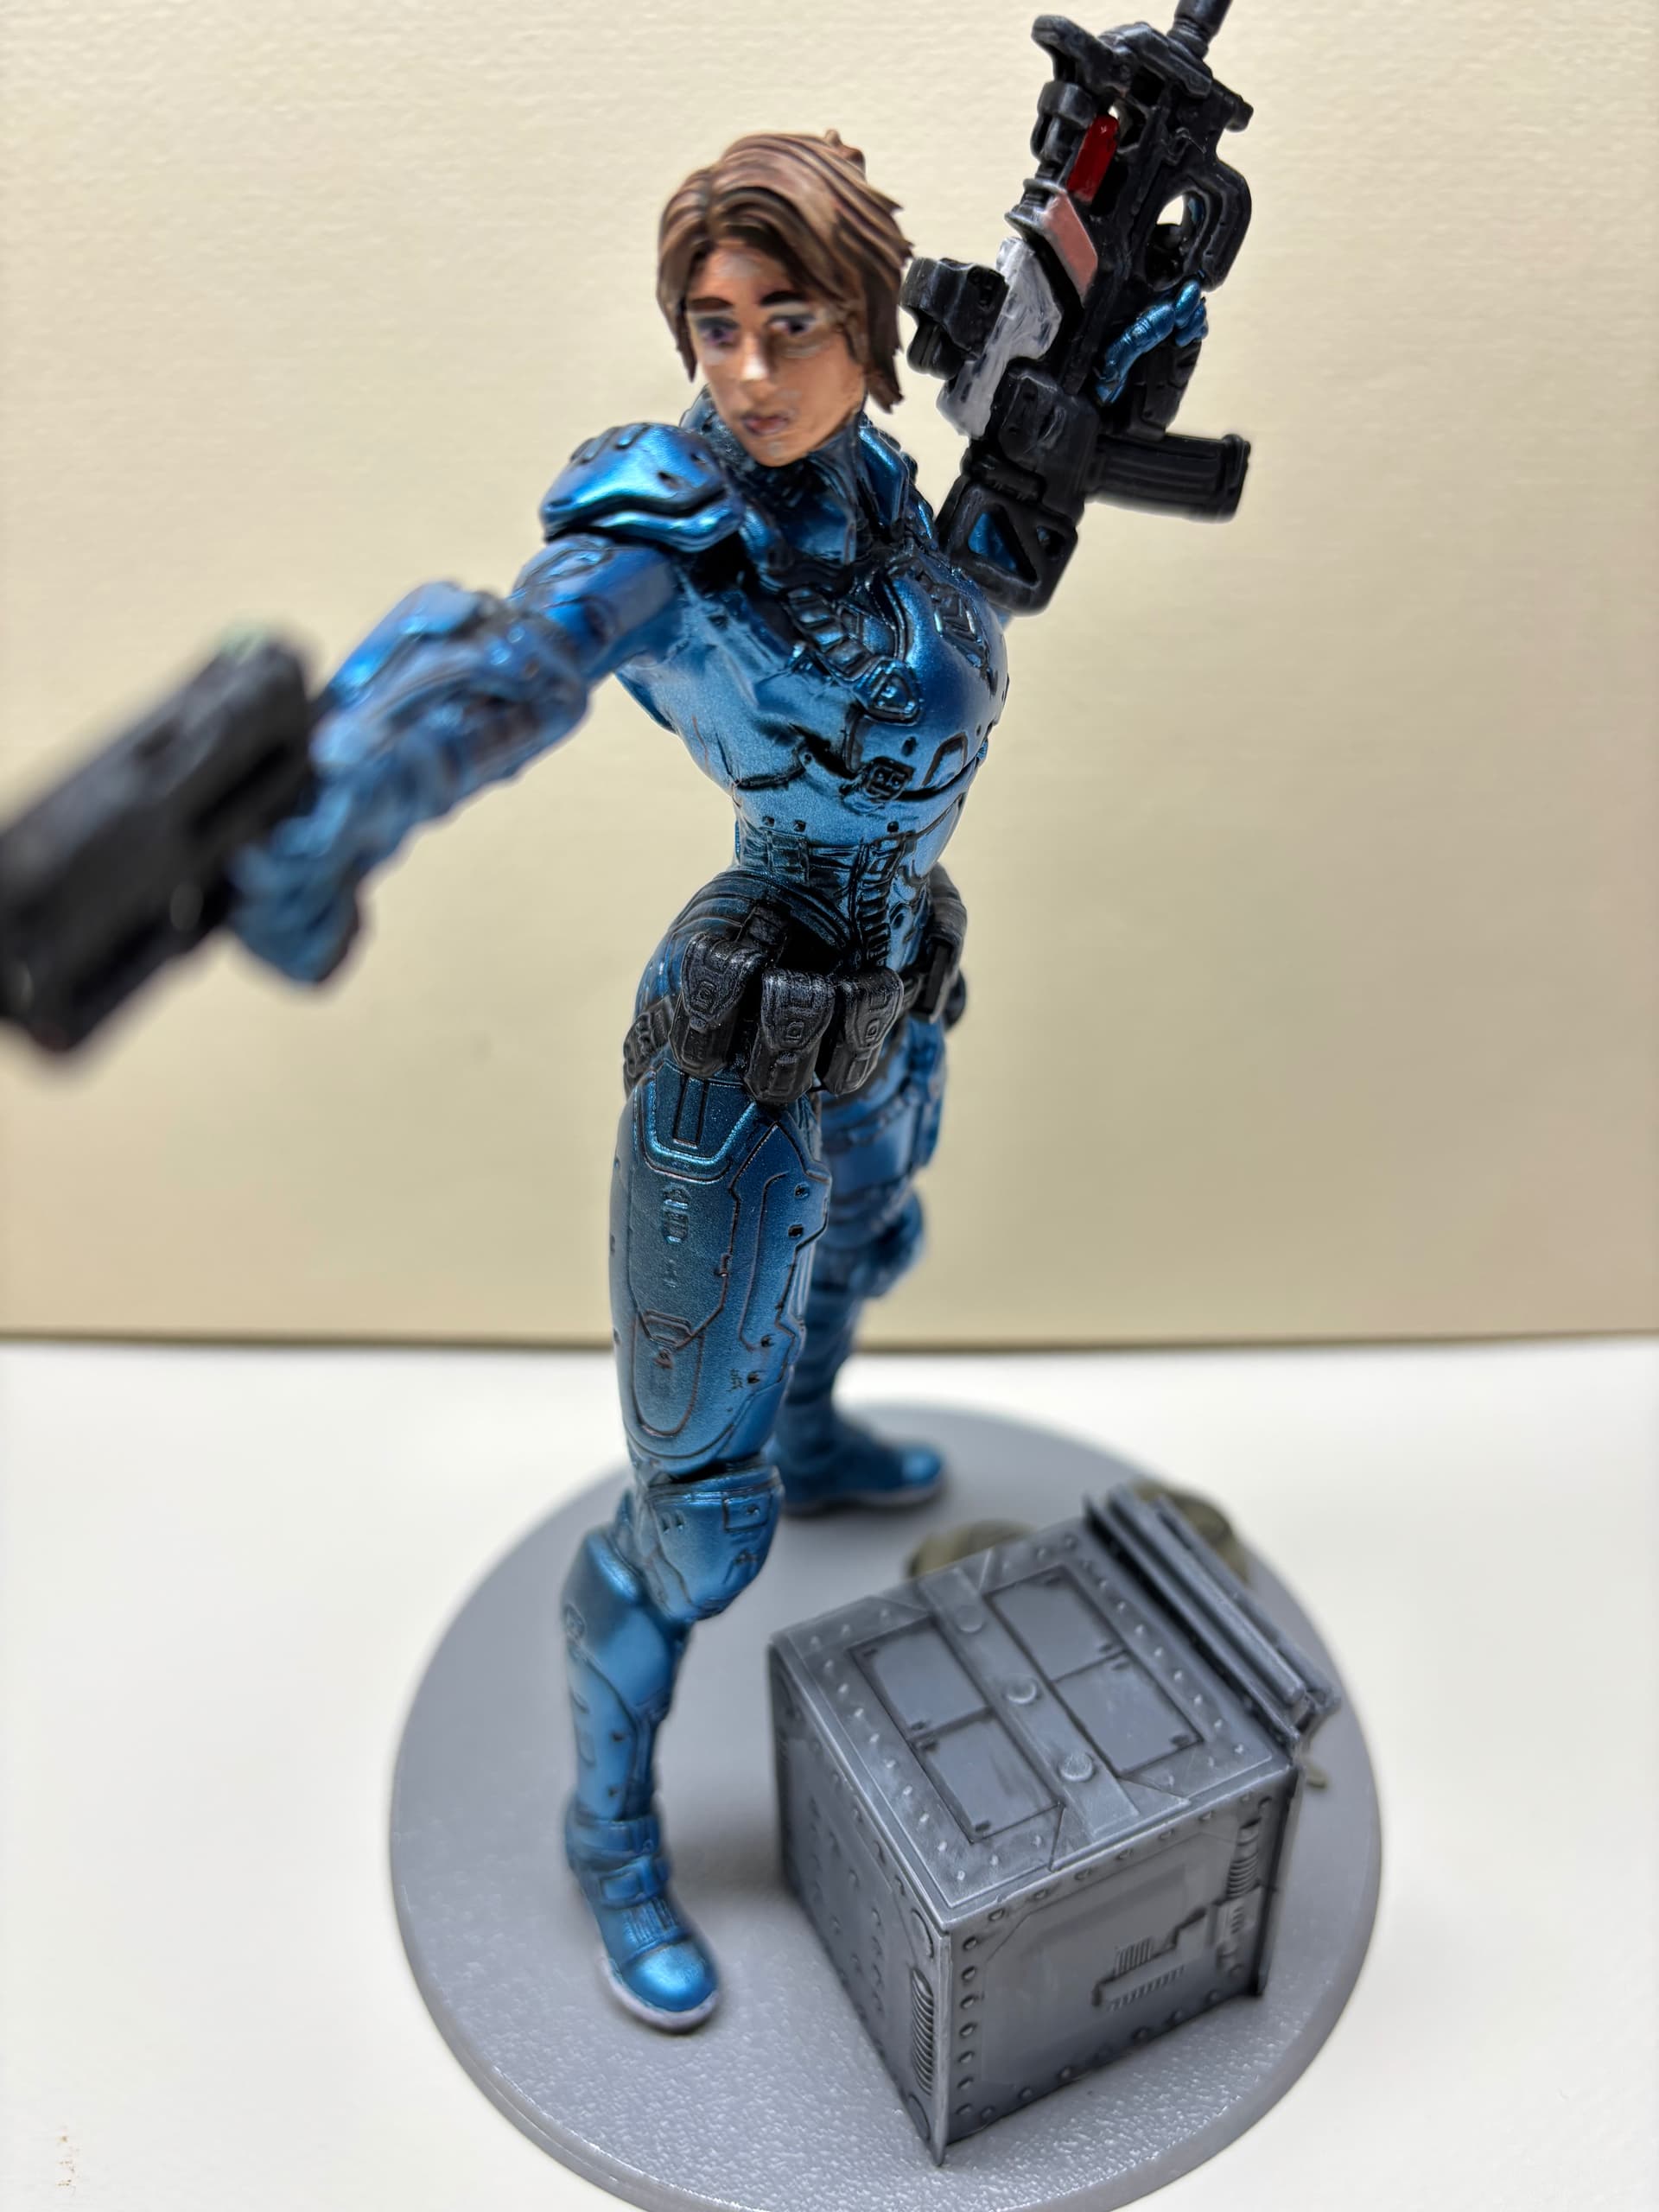
I like that metallic blue.
4 Likes
@18bravo Thanks. I admit that it’s a poor quality photo even though I don’t know why. The lighting was super bright white that the flash didn’t go off because there was enough ambient light.
1 Like

I like it already. Its neat, original and scratch built !!
On some of your other ones, I think you have been a bit to self critical of how they look or build up. I have genuinely liked them all. The way I look at it is a space craft, can be any shape, and dimension and in no way has to have a uniform look … in space, aerodynamics dont apply so you can have bits hanging off it wherever you feel like gluing them. Looking forward to seeing this one develop.
2 Likes
Looks great, Doug!
2 Likes
Wow! That looks cool!
So, I’ve had a slight disaster that I’m hoping doesn’t become a catastrophe. I was painting the wing and the dropped it, only to catch it between my legs, which I thought was incredible until I realized I had bent the wing substantially and broke it. Ugh.
I’m hoping to get it straightened out enough to hold together in the model, but I don’t believe I will be able to keep the wings movable, and will model them in the “closed” position.
 IMG_6387 by [url=Zon Sullenberger | Flickr]
 IMG_6388 by [url=Zon Sullenberger | Flickr]
Hoping to pull this off now.
Happy Modeling,
Zon
9 Likes
This will definitely makes sense in a day or two.

@Johnnych01 Thank you. I sincerely appreciate the kind words. You may be in for a very small surprise. I suspect you will not be alone.
7 Likes
More progress.
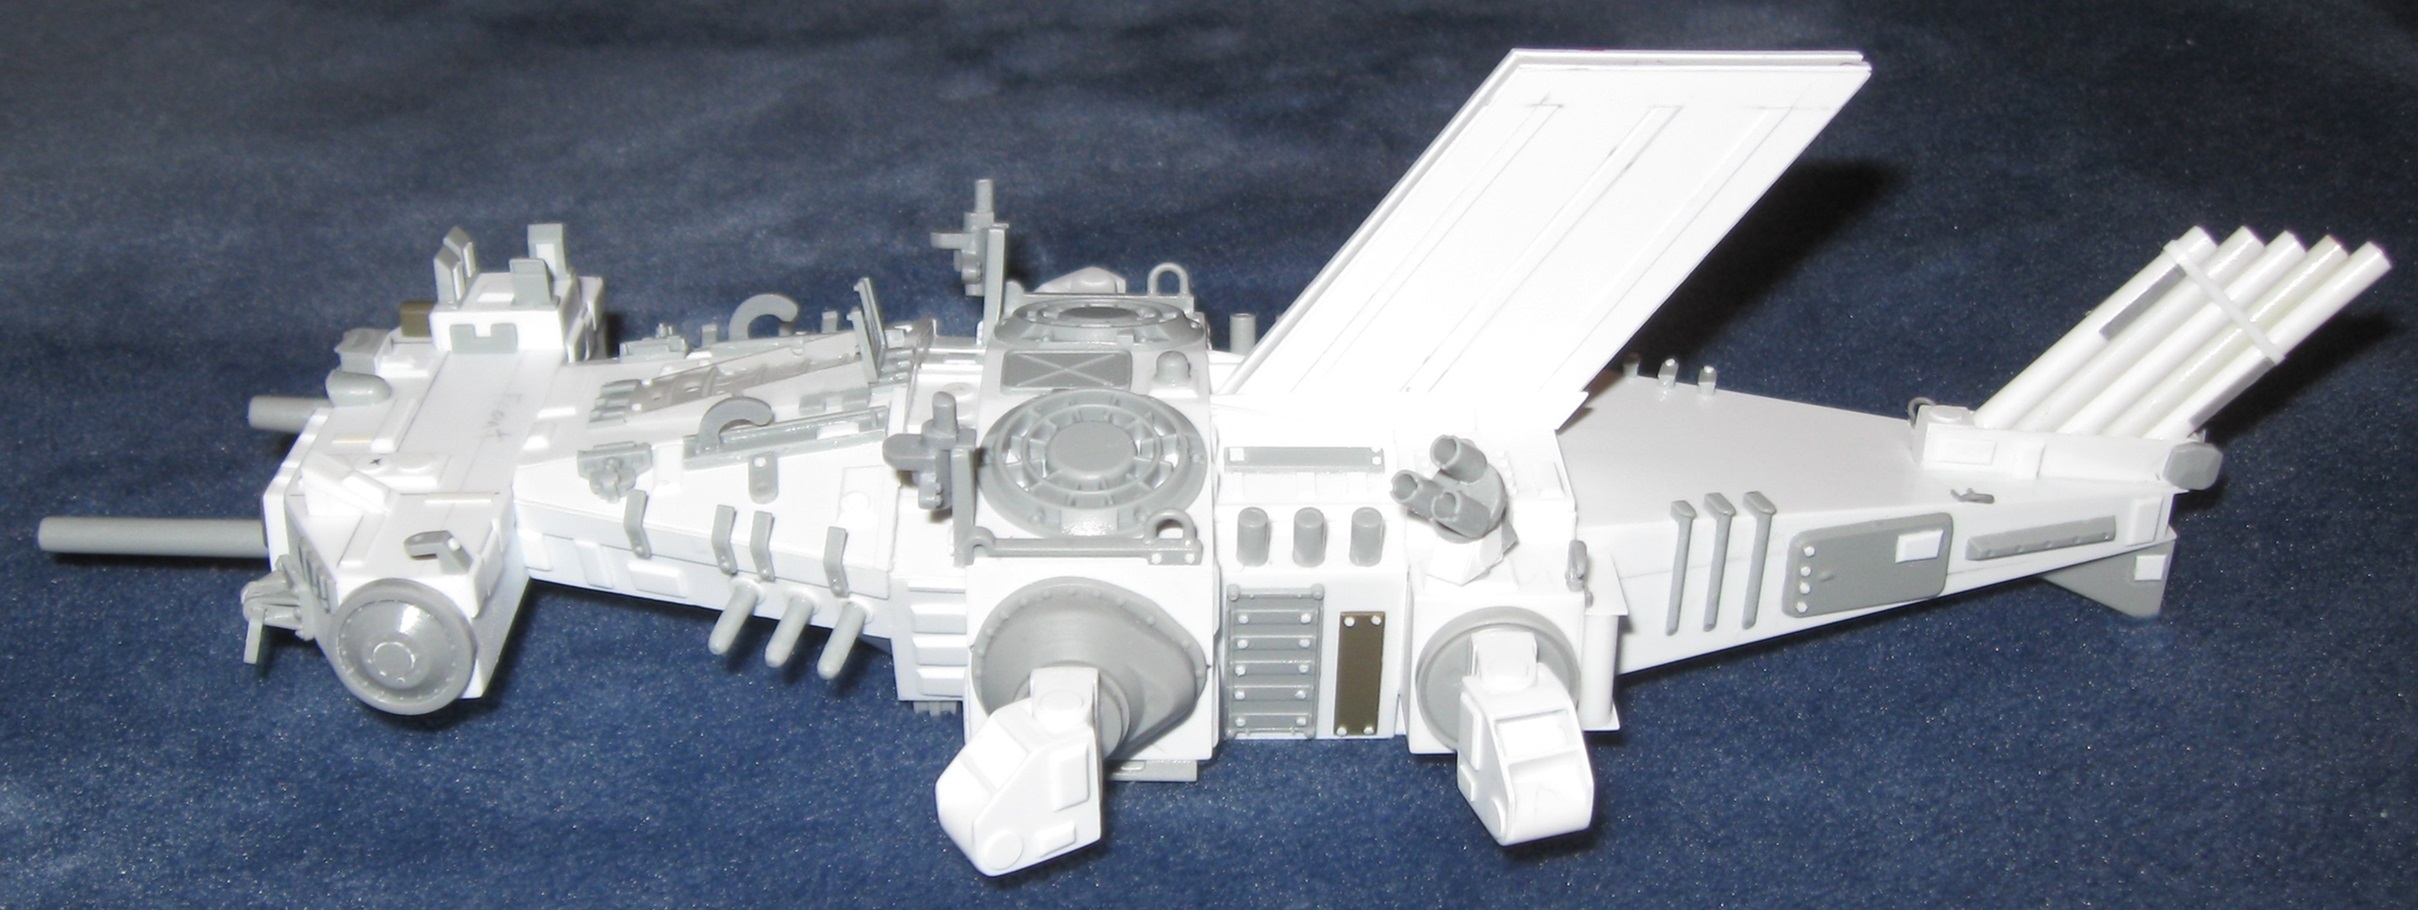
This stopped being realistic some time ago so I kinda went crazy adding little details. It is now festooned with access panels, sensors, and weapons to the point of nonsense, making it something of a throwback to the 1970s.
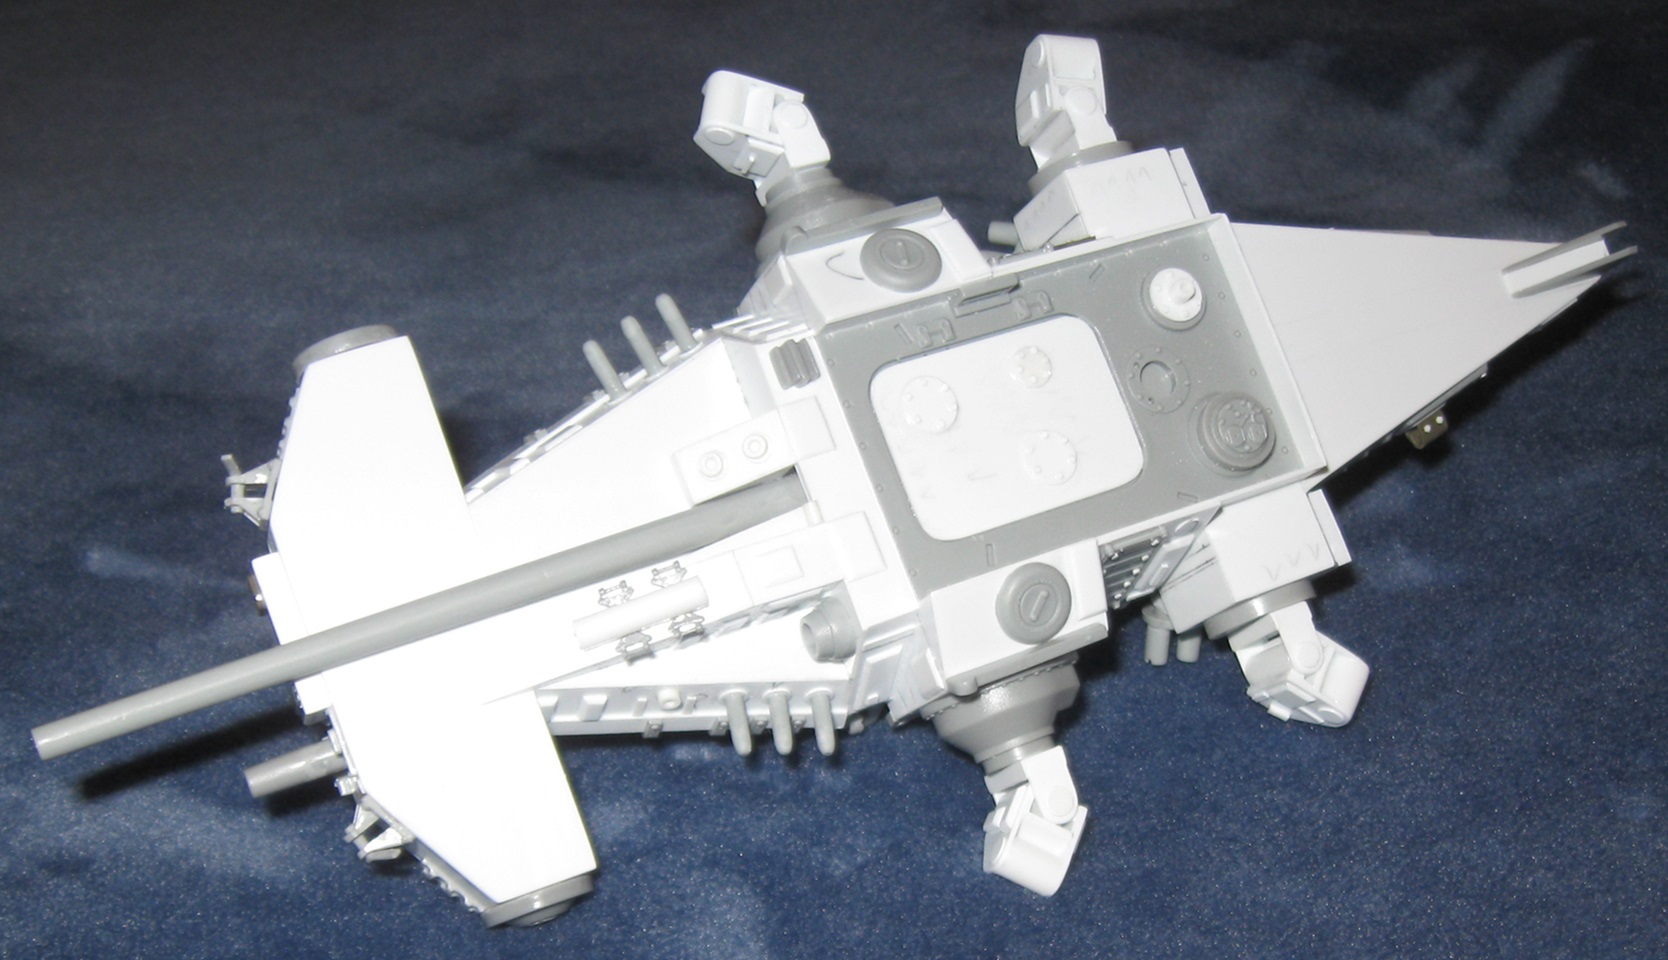
The underside is also fairly far along. In essence, this was intended to be a Sturmgeschutz with an auto loader flipped upside down. (The back ‘fin’ is the magazine for a quick firing, 75mm auto cannon. If you look closely, the feed slot for the magazine is visible.) In that regard, I think the mission was accomplished.
8 Likes
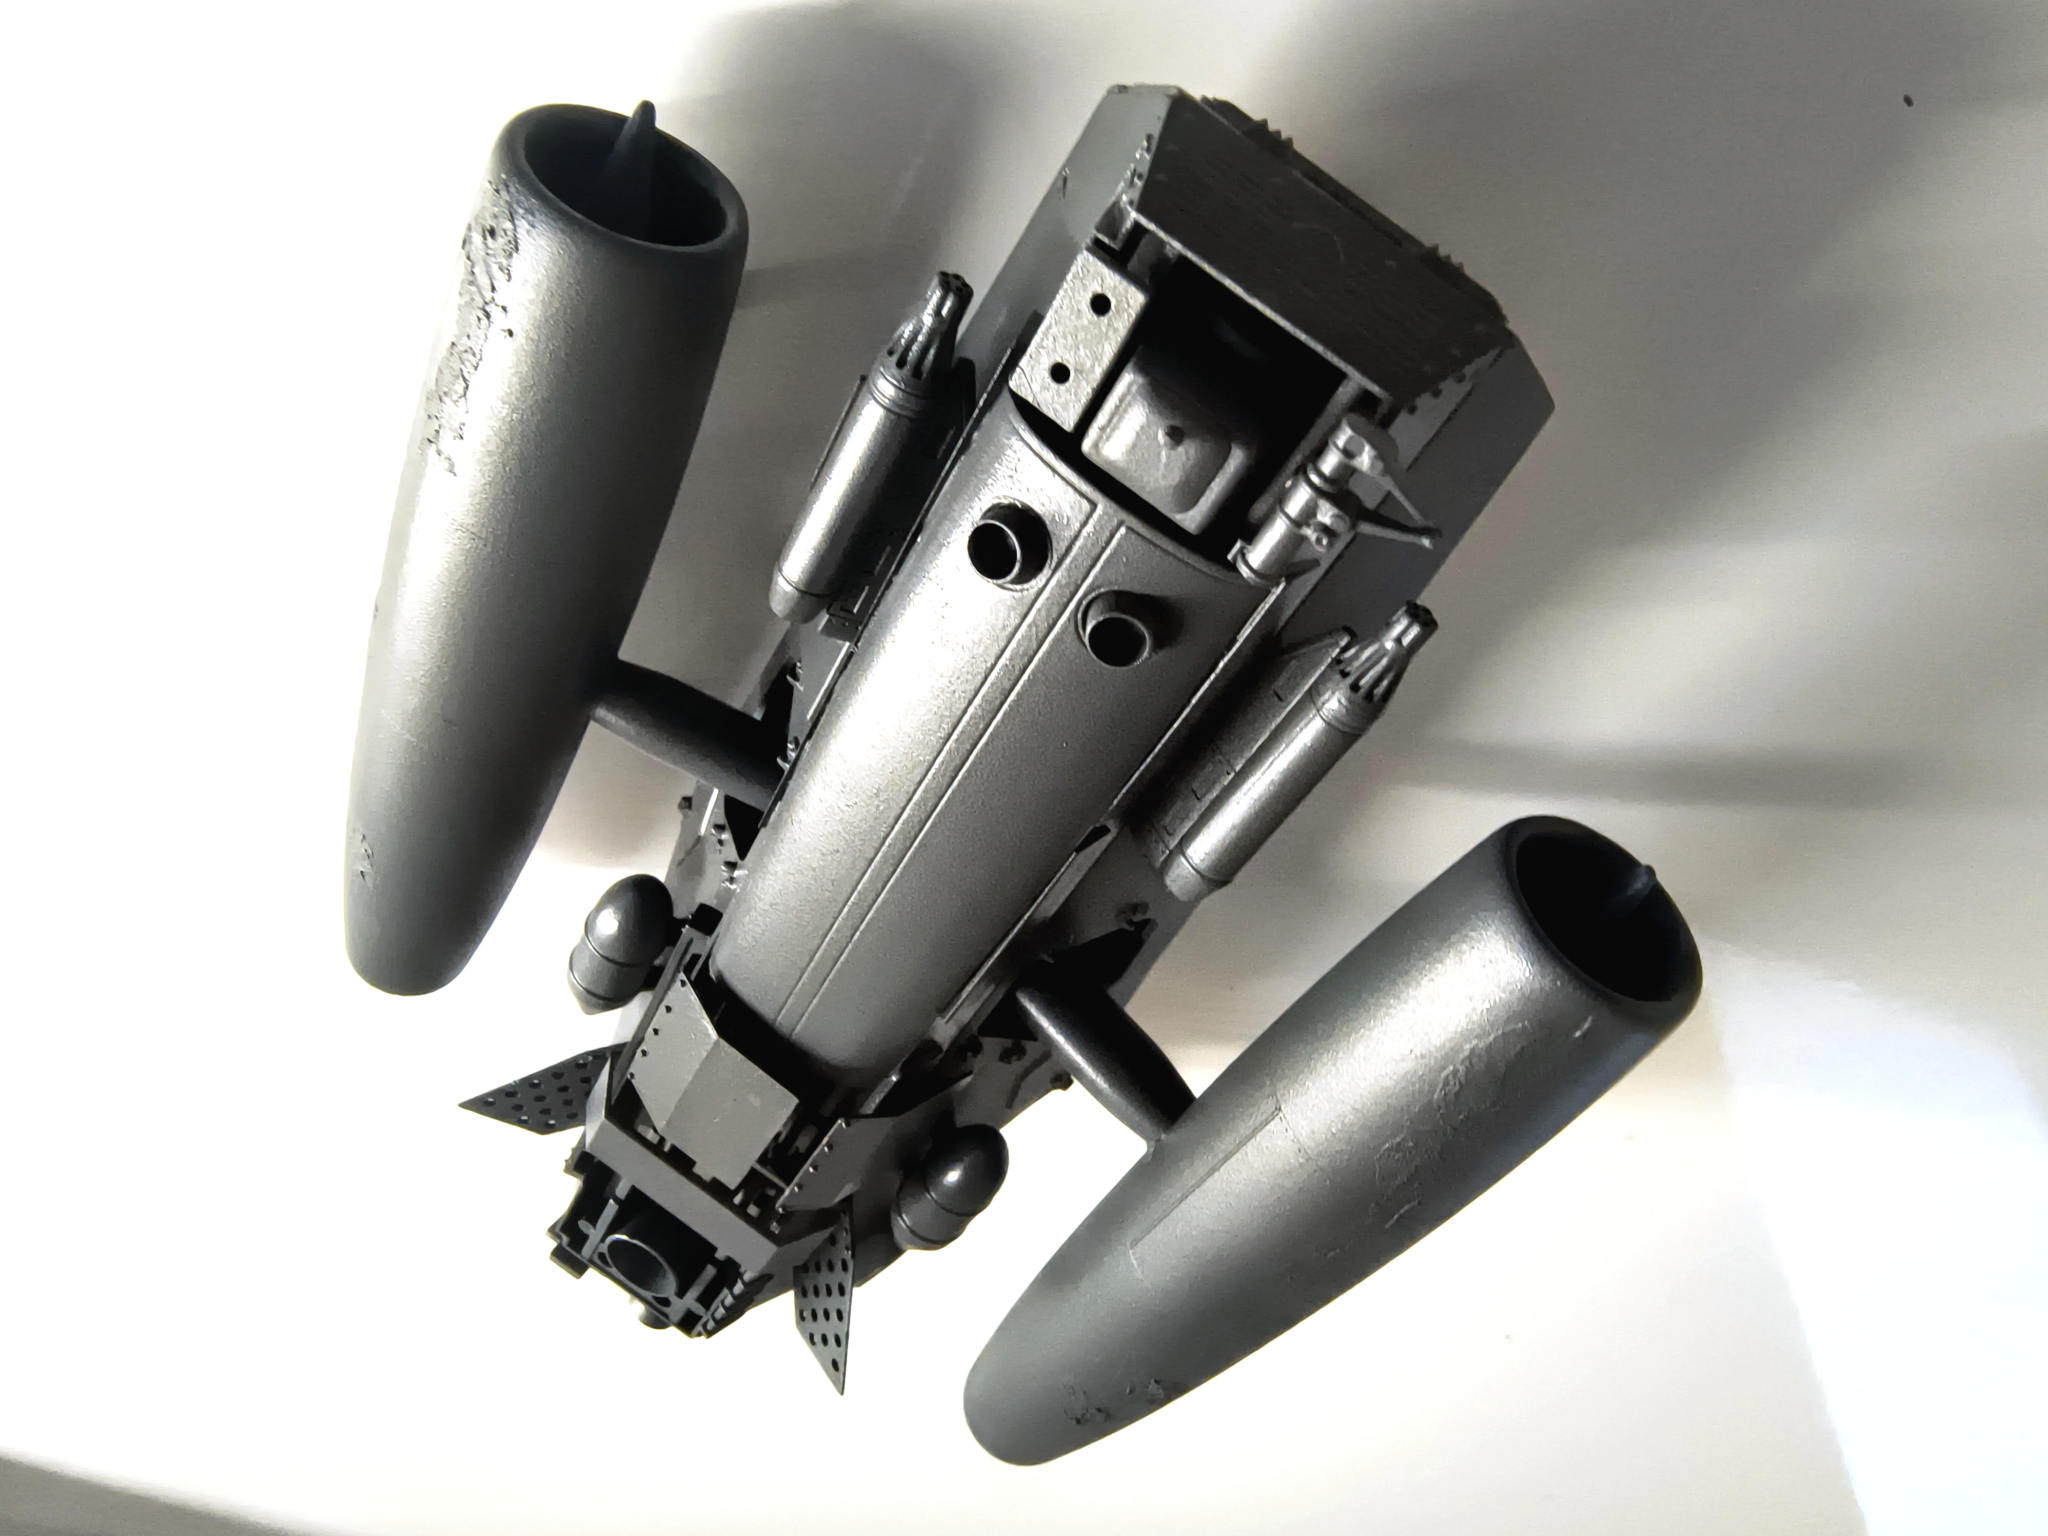
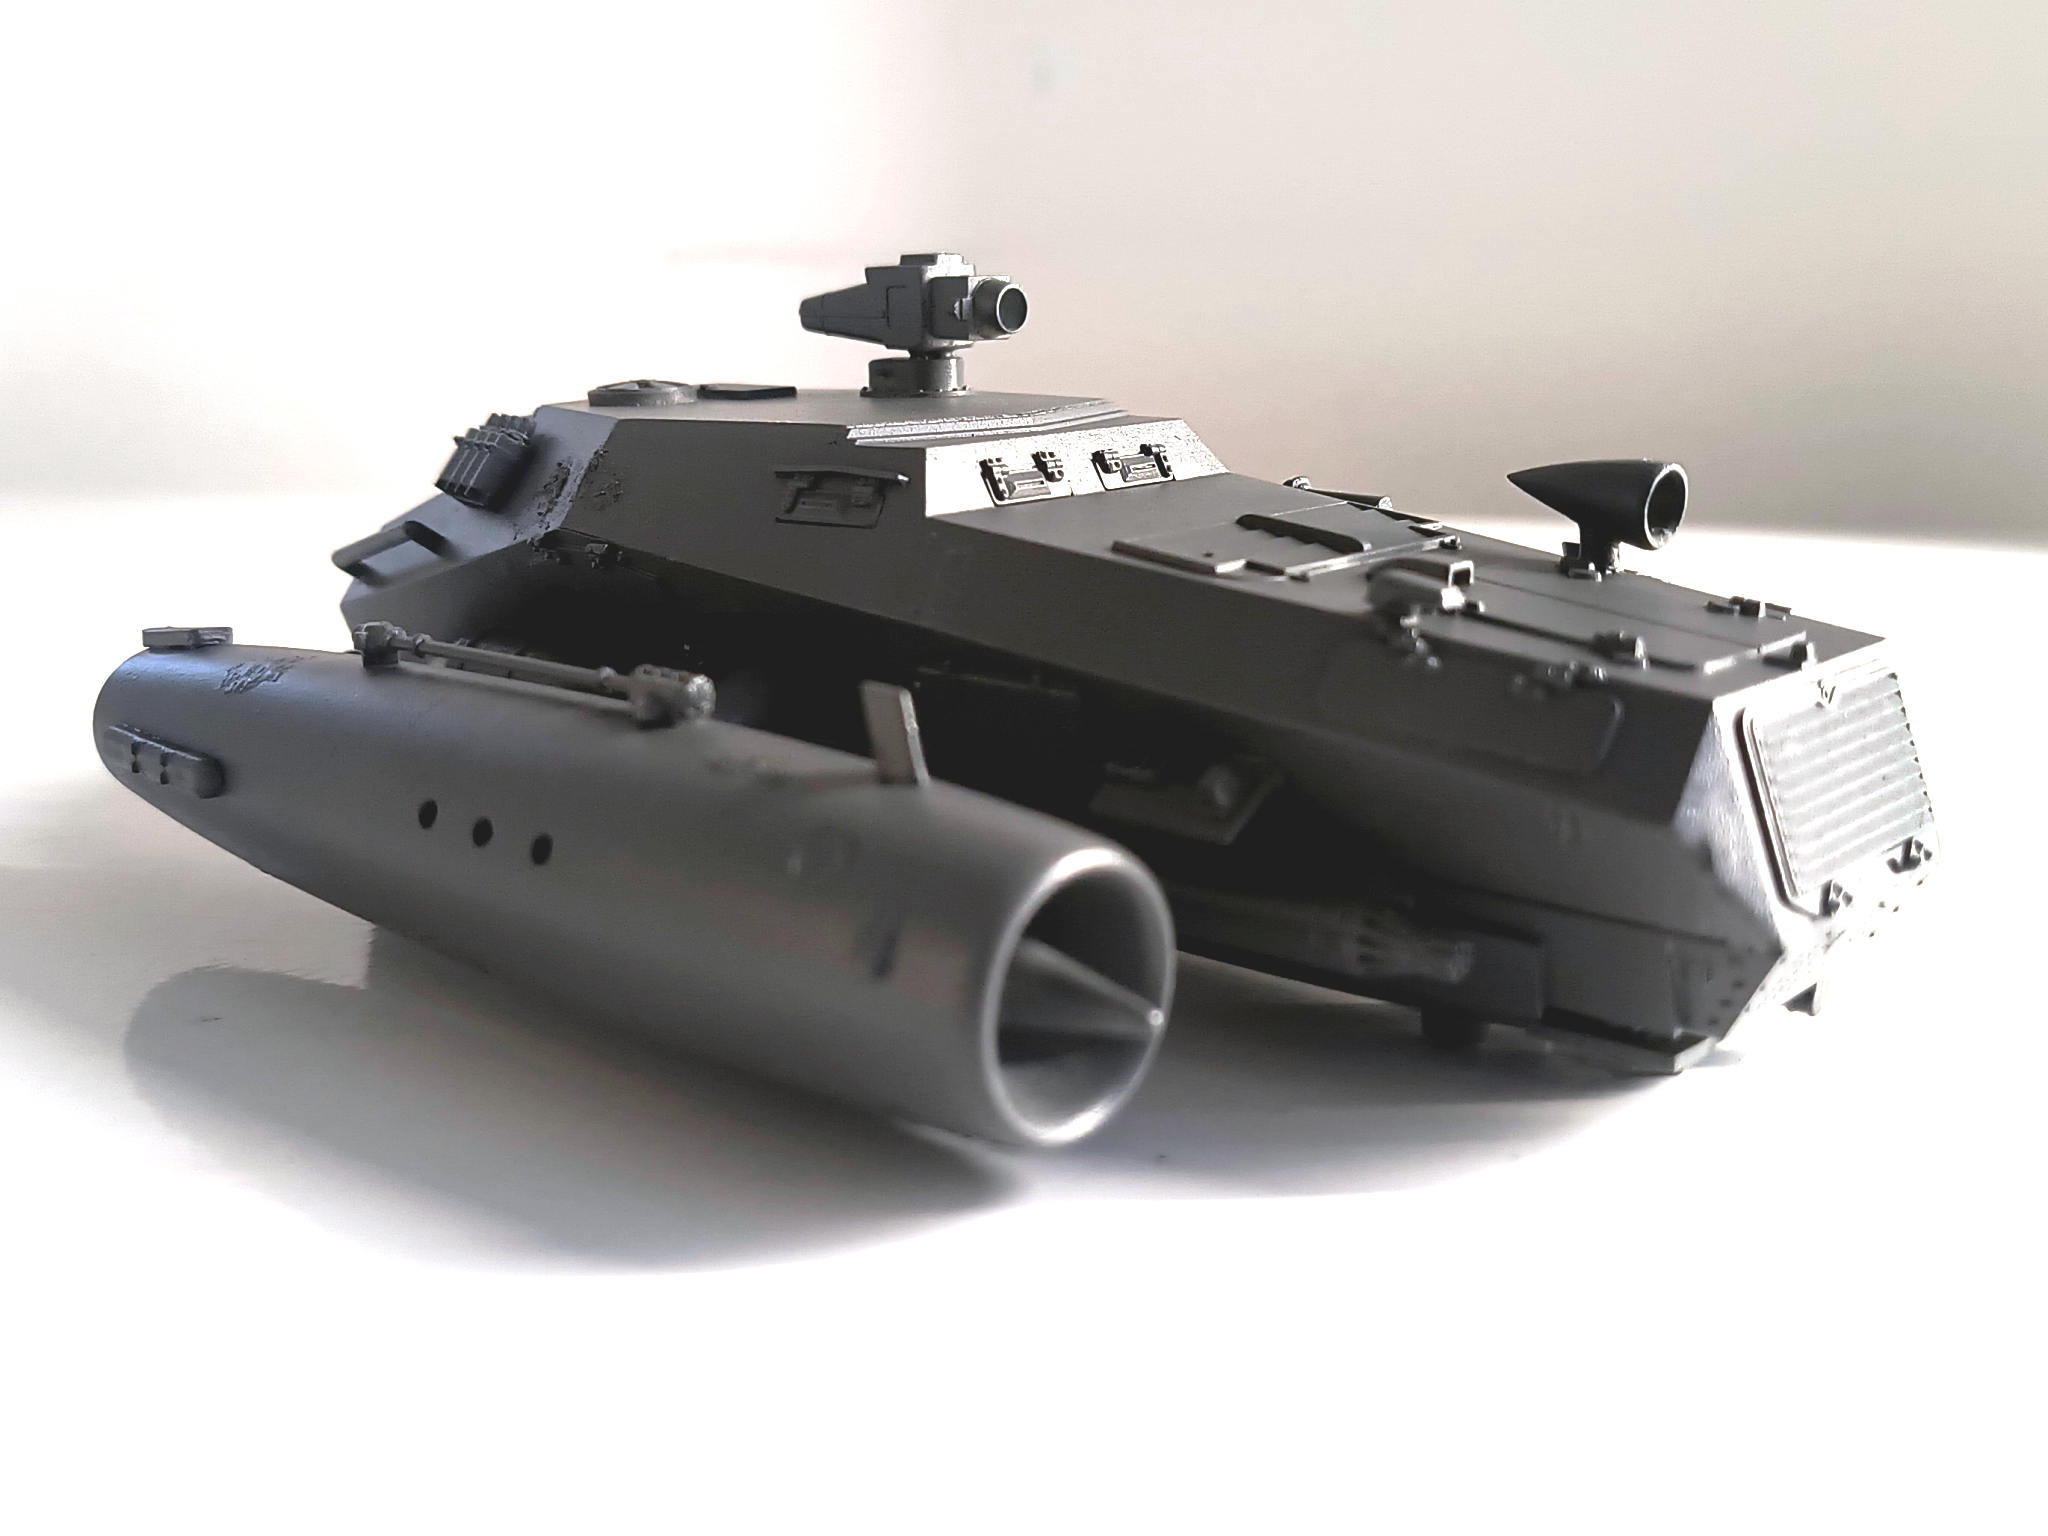
Basic grey from BELTON is applied.
Cover it with mat clear for the following varnish and washings for the white camo.


12 Likes
Nothing wrong with that. The Sulaco was quite convincing.
2 Likes
Now thats cool looking
3 Likes
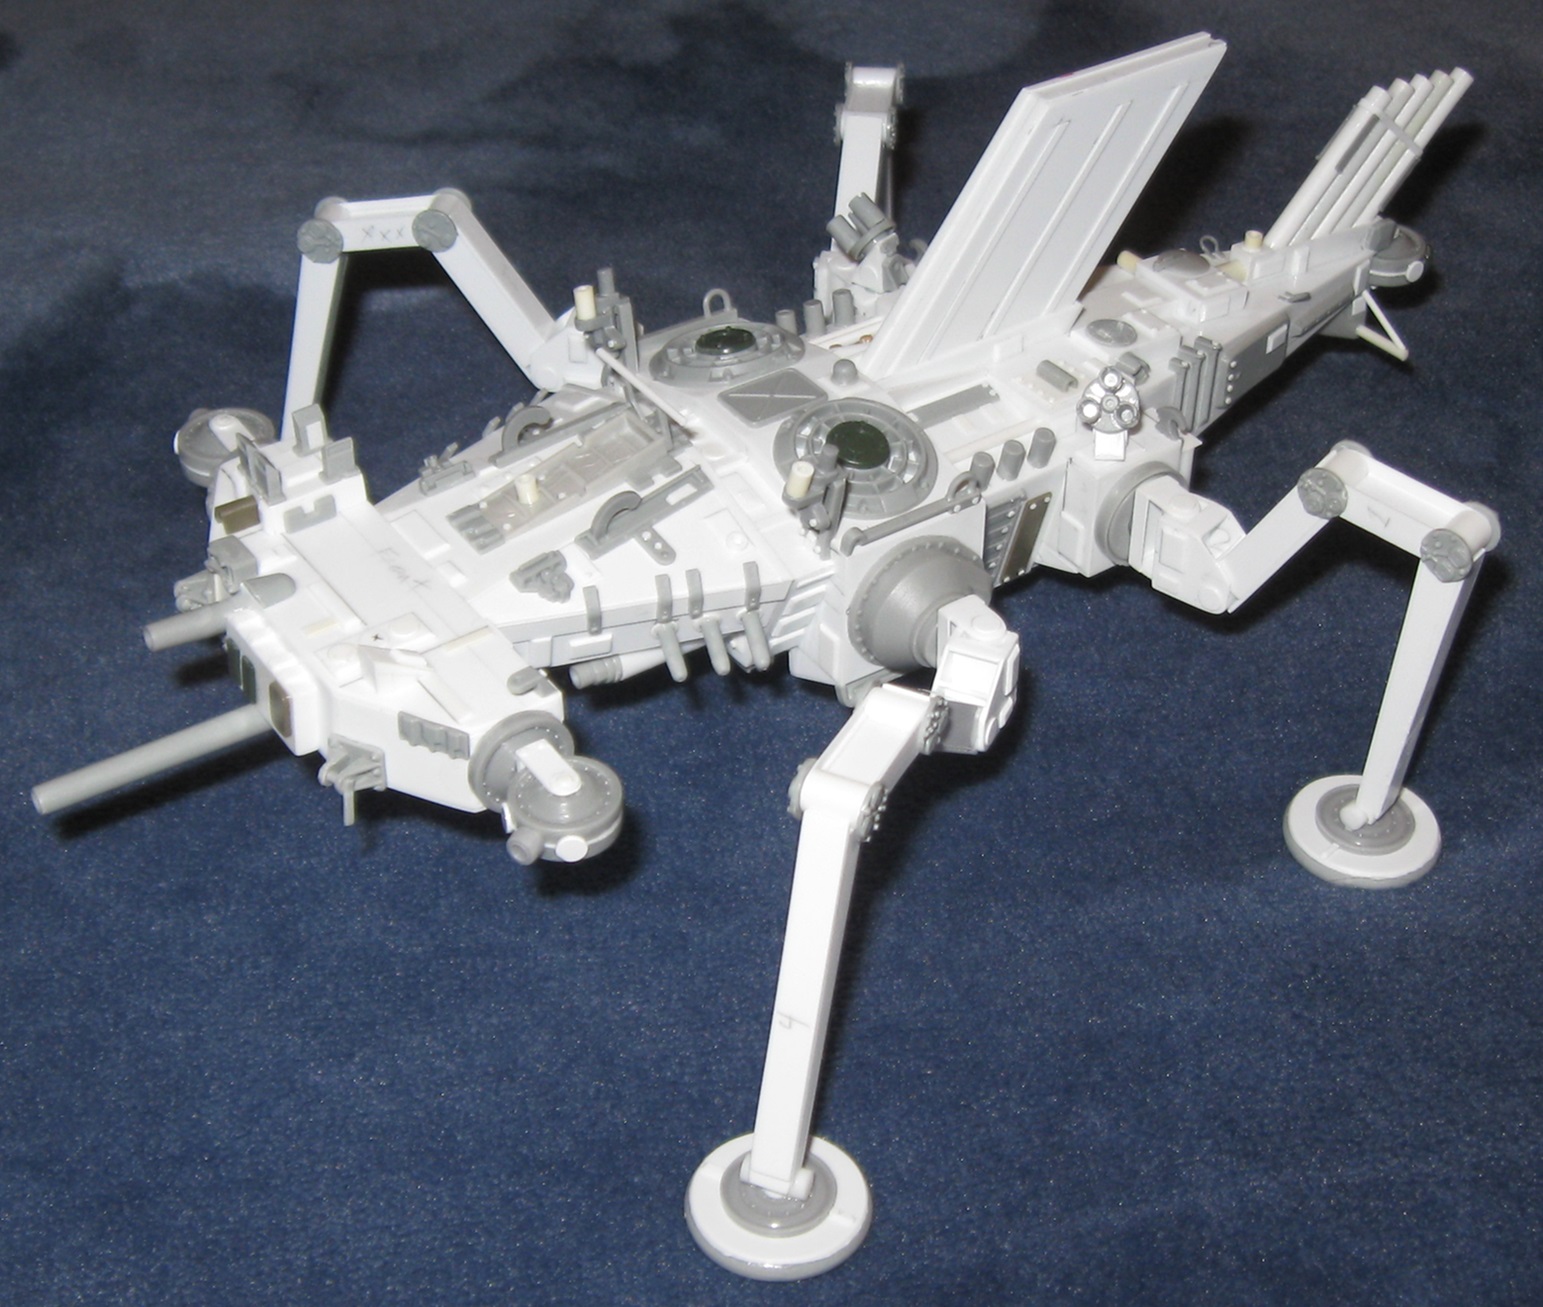
Doug that’s an excellent build. I thought it was a starship, the legs are a big surprise! Totally changes my whole concept of the vehicle. Outstanding scratch work and great use of greeblies. It looks convincing.
7 Likes
I think a few hands will be going up to admit to not seeing that coming … Legs are a very clever touch.
5 Likes