Learned that the hard way! Wonder if anybody makes a variable heat iron of sorts for reshaping Styrene without burning one’s fingertips. ![]()
![]()
—mike
Learned that the hard way! Wonder if anybody makes a variable heat iron of sorts for reshaping Styrene without burning one’s fingertips. ![]()
![]()
—mike
I think the best way is to use hot water.
Maybe combined with a thermometer to find the optimal temperature …
Hot fingers would still be an issue though …
For tightening stretched sprue I have used a punk stick/incense candle. It has that warm but not hot temperature.
There exist variable heat soldering irons. They would give you a way to apply focused heat but I don’t know if the lowest setting might still be too extreme.
As mentioned by @Uncle-Heavy an electric hot water bath might be what you want.
https://www.amazon.com/IVYX-Scientific-Digital-Laboratory-RT-100°C/dp/B07T81P5KN/ref=asc_df_B07T81P5KN/?tag=hyprod-20&linkCode=df0&hvadid=366433085252&hvpos=&hvnetw=g&hvrand=2395919377216409262&hvpone=&hvptwo=&hvqmt=&hvdev=c&hvdvcmdl=&hvlocint=&hvlocphy=9004464&hvtargid=pla-816378450681&psc=1&tag=&ref=&adgrpid=77908285804&hvpone=&hvptwo=&hvadid=366433085252&hvpos=&hvnetw=g&hvrand=2395919377216409262&hvqmt=&hvdev=c&hvdvcmdl=&hvlocint=&hvlocphy=9004464&hvtargid=pla-816378450681
Another option is to heat a metal tool and transfer the heat that way.
Heat the metal tool in the hot water?
That won’t get you far. I was thinking of using a tabletop butane torch. I use this at work, mostly for wax and root canal filling.
Sorry but all these ideas are still WAY too hot for Evergreen styrene. Even a match flame or a candle will cause an almost immediate reaction in the plastic.
Stick with Uncle Robin’s statement; hot water it best.

Or if you can lay your hands on a couple of these, they’re quite good for bending between - versatile too, they can straighten some things right out. What?
My link for the hot water bath fits your parameters. See above.
For those who want get familiar with polystyrene:
“Thermoplastic materials become fully liquid at their melting point (210-249 degrees Celsius or 410-480 F, in the case of Polystyrene), but they begin to flow at their glass transition point (100 degress Celsius, 212 F, for PS).”
Flowing point is a bit to dangerous, shape will distort, so I would start with hot tap water and gradually add small amounts of boiling water
I agree. I’m sticking with hot water. Flame is too dangerous and is not allowed in my work area. ![]()
![]()
![]()
![]()
![]()
![]() … Tim might disagree!
… Tim might disagree! ![]()
Still, kinda’ surprised I haven’t come across a dedicated tool specifically designed to work with Evergreen and similar products. … I was just curious. ![]()
![]()
—mike
@Whitney_Foreman Whitney, as a prolific scratch builder, do you have any special tools or techniques for curving Evergreen strips into perfect circles or complex curves, you can share with us?
Please see above for background etc.
Buff,
First off, MANY THANKS for asking.
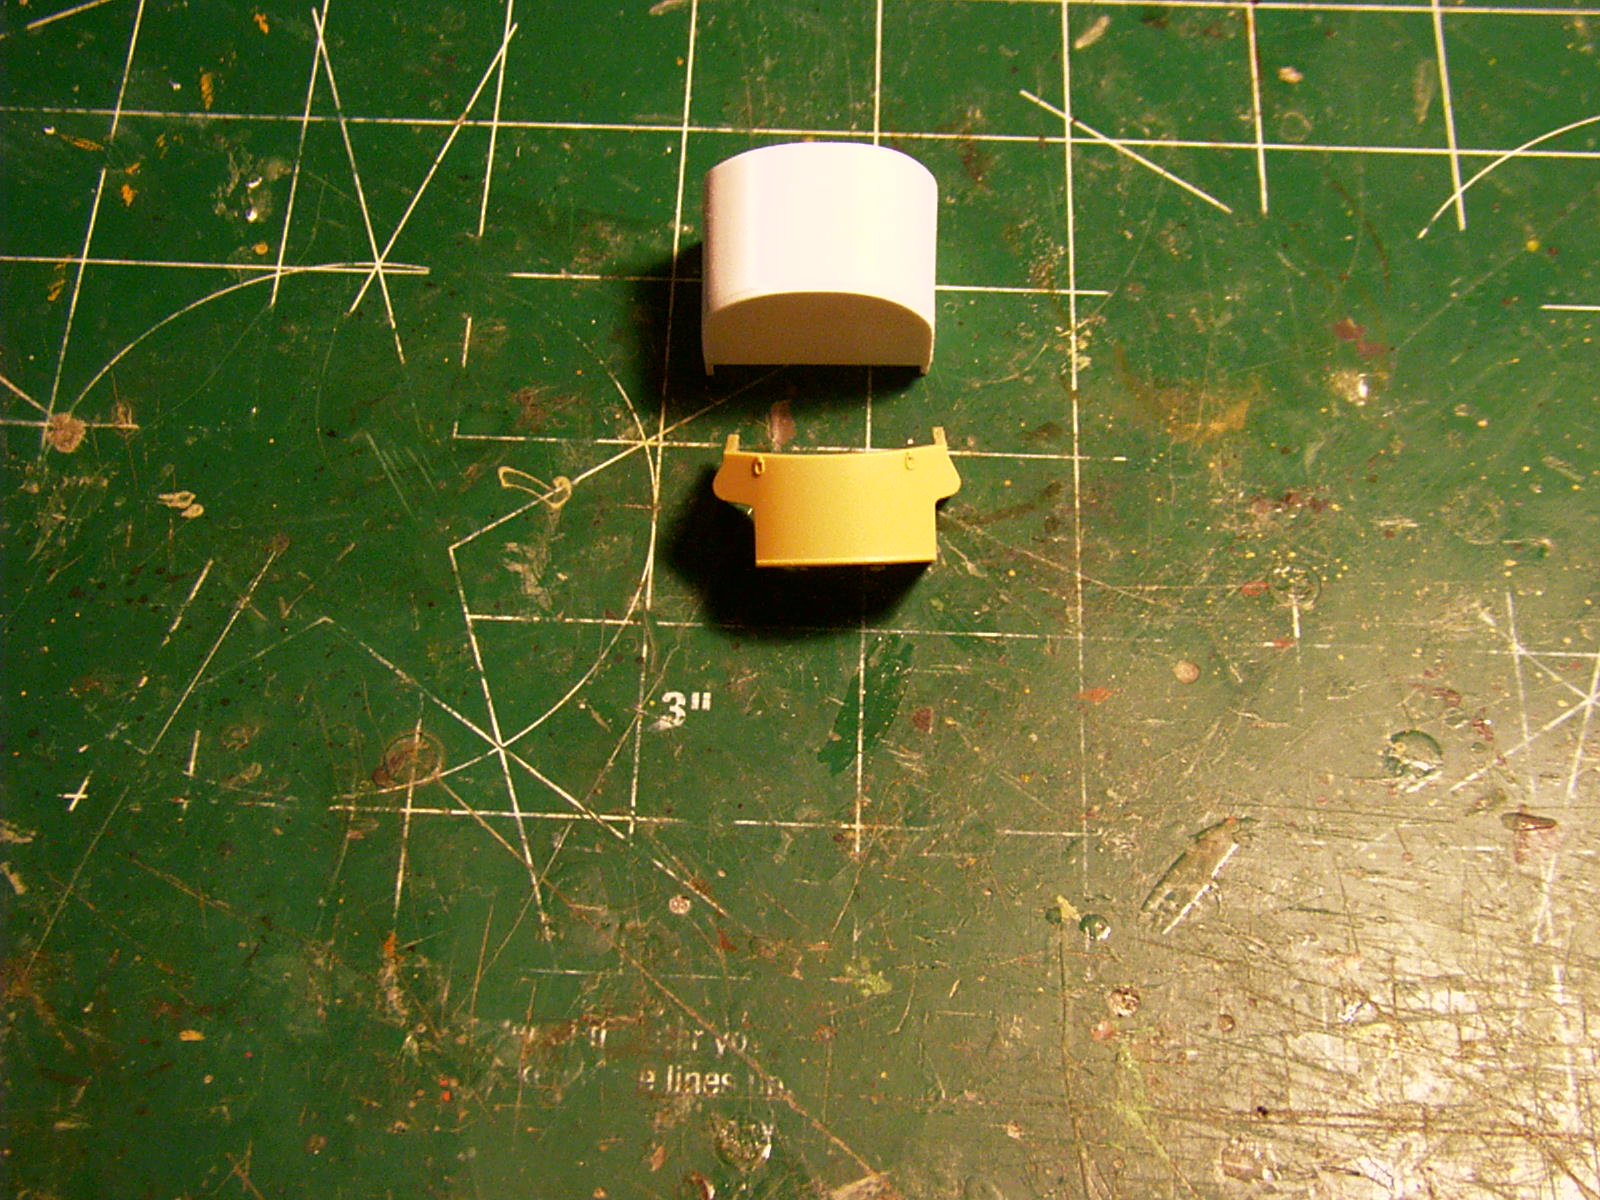
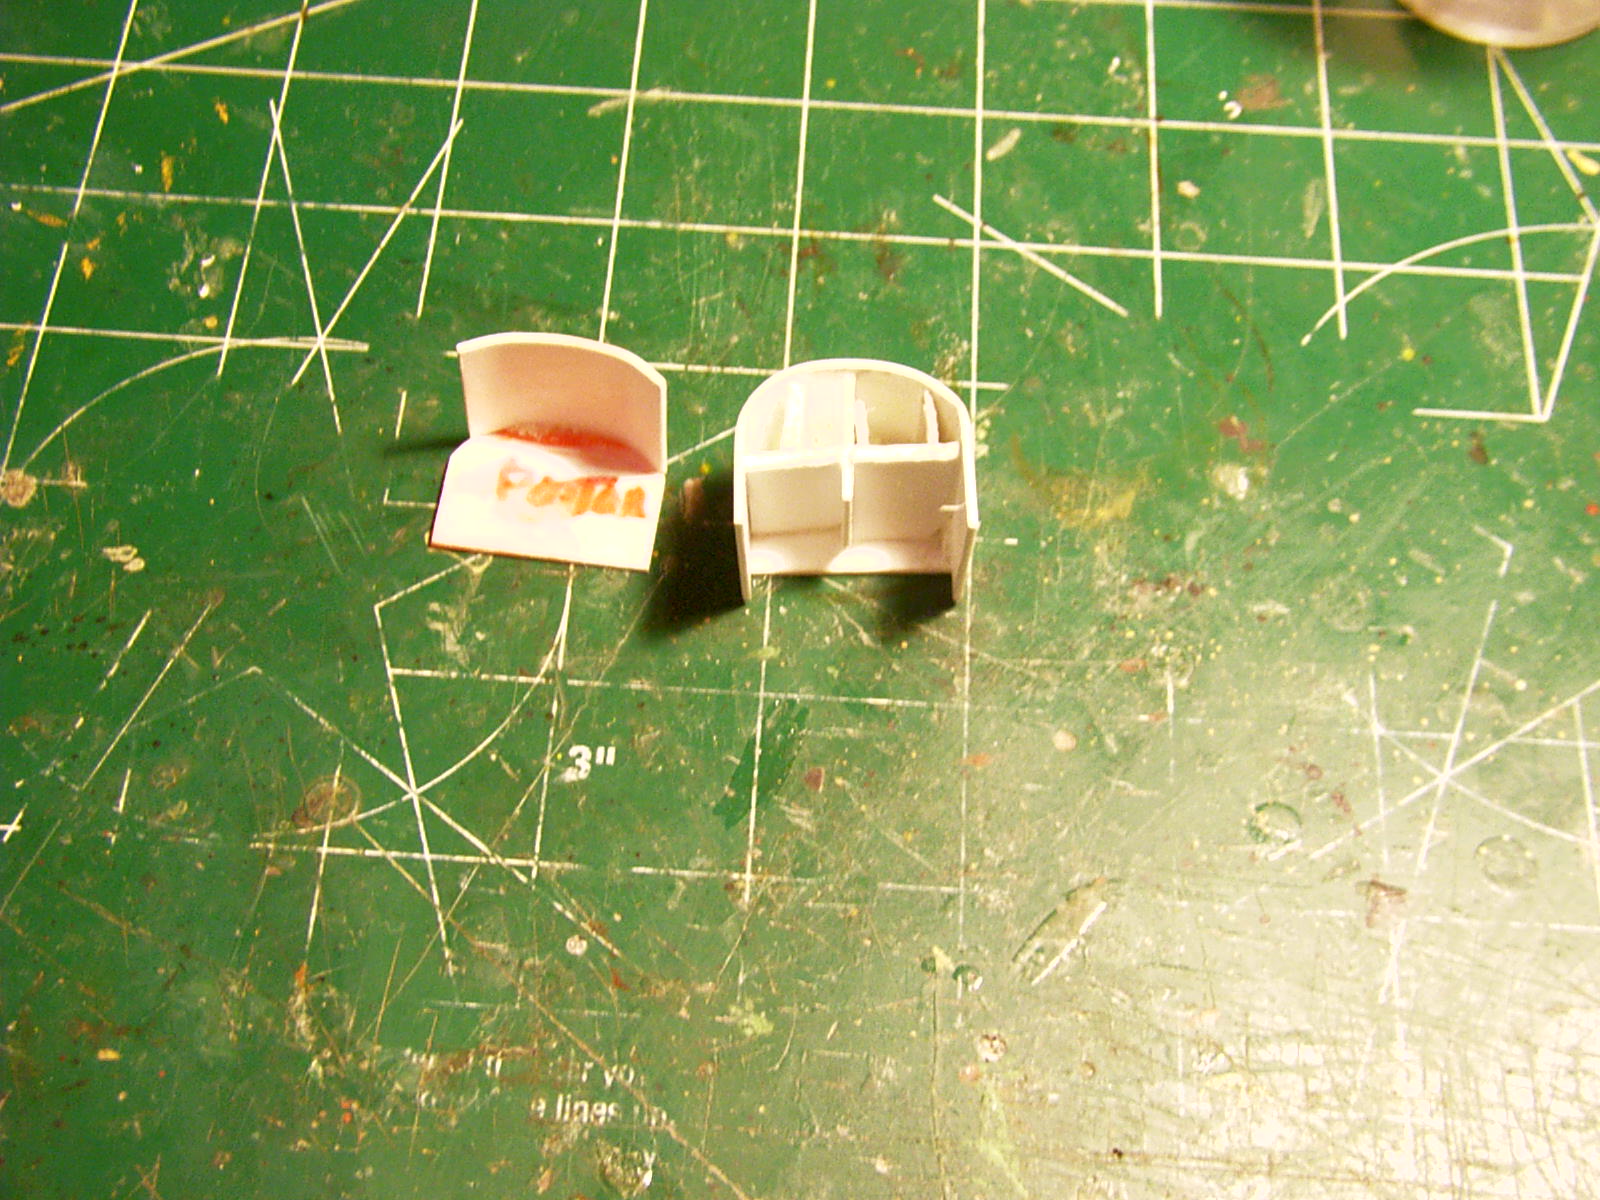
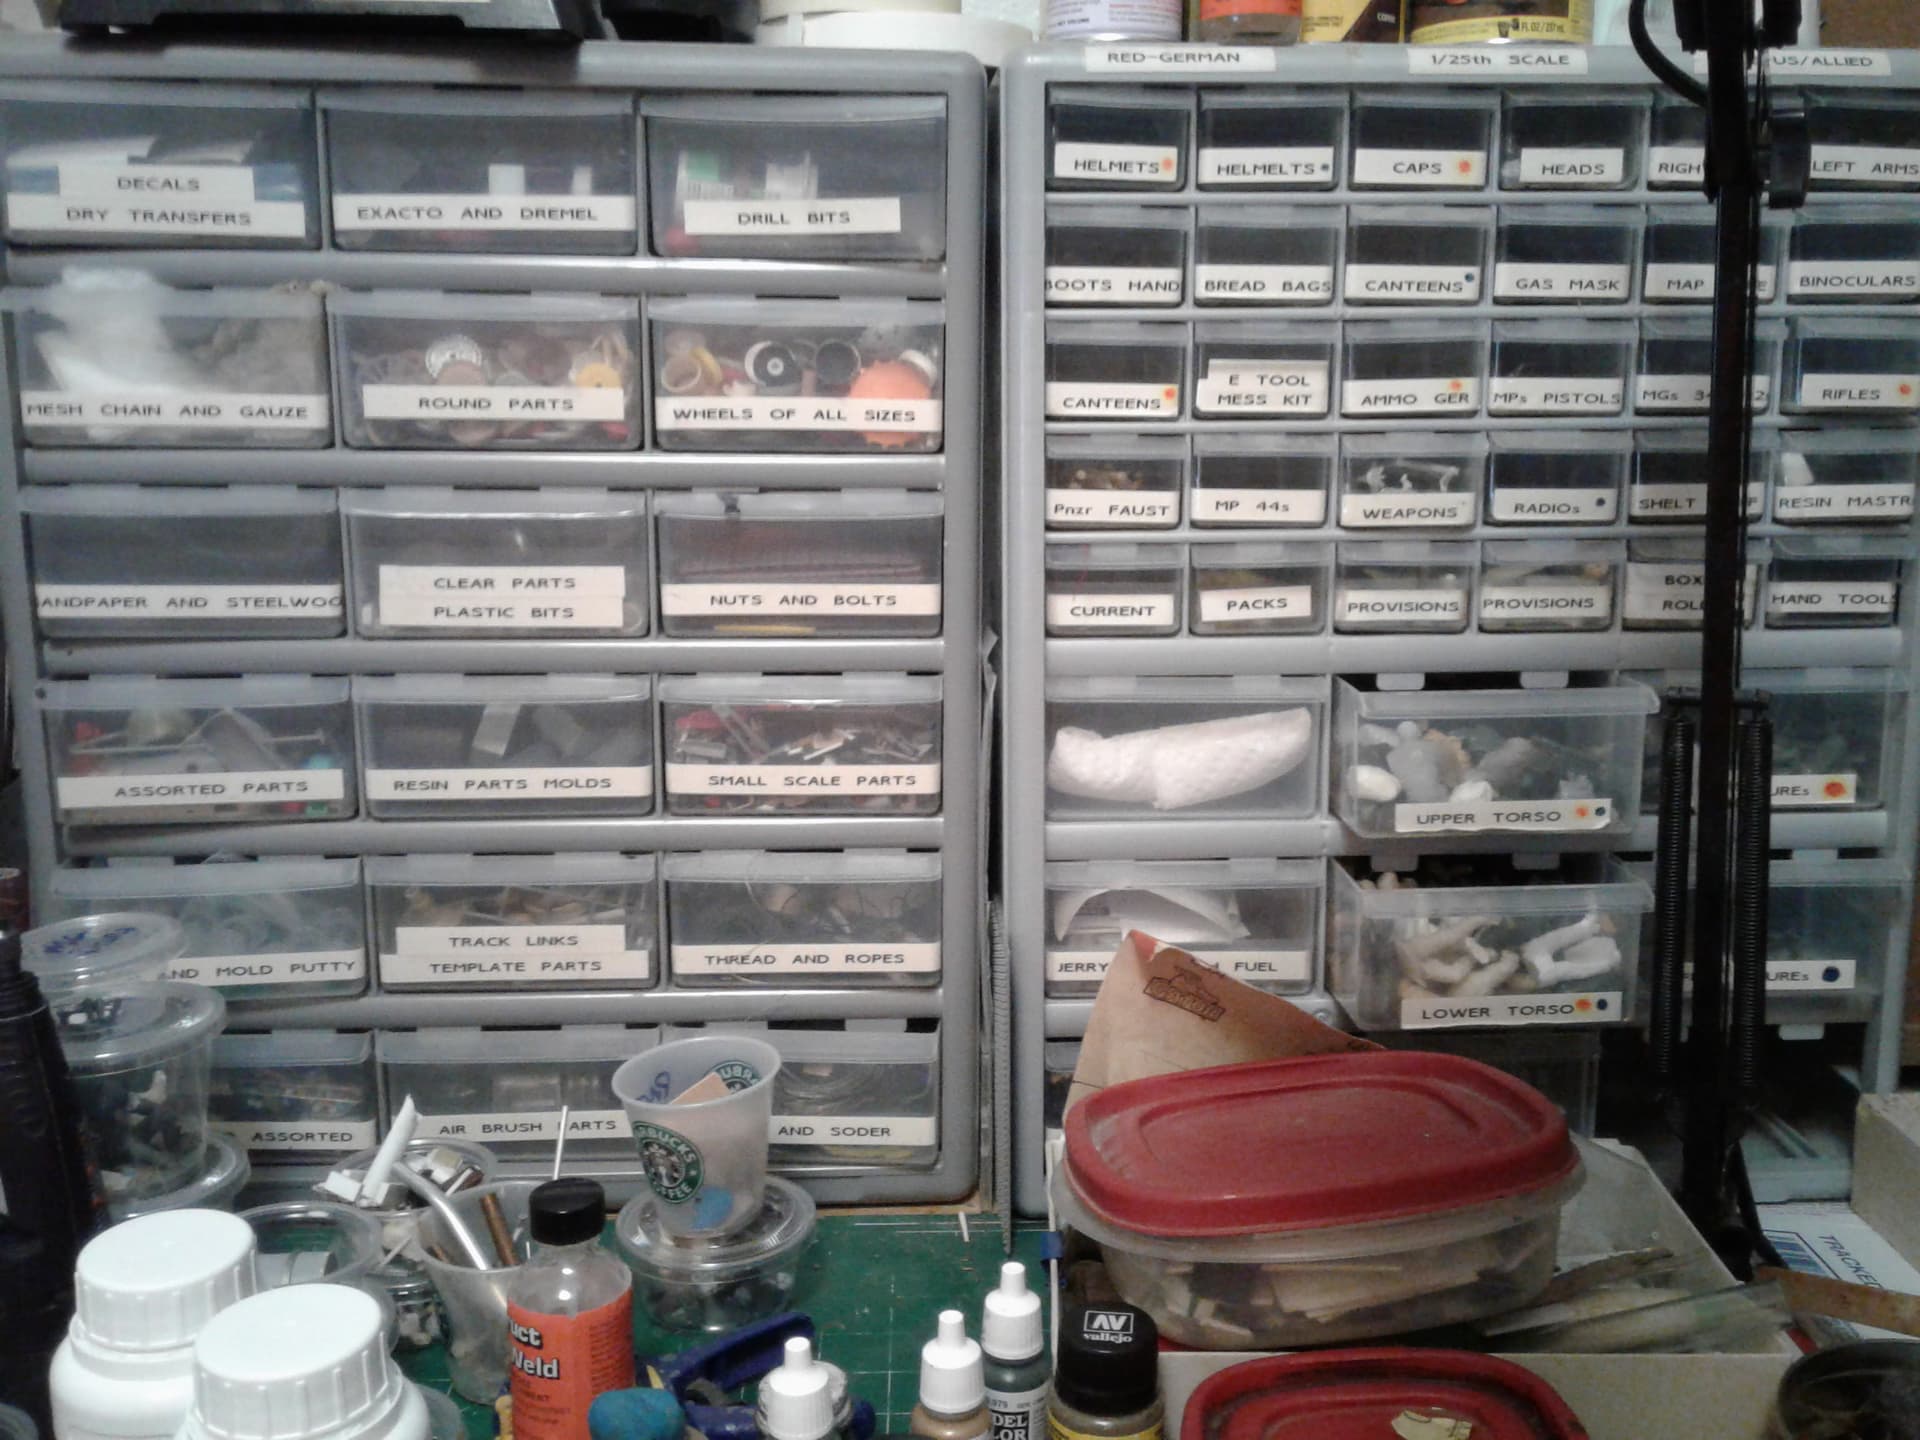
Sadly, i really don’t have any “masterful wisdom”. I never mastered the compass, so for me I am always on the hunt for plastic circles. I find them in kid’s games at Ace, Fred Meyer, Walmart and the like. I also use a ton of junk car wheels. For me, I am sort of lucky because can use 1/25 1/24 car wheels. When I was a 1/35 guy, I collected old 1/48 Bandai or Aoshima kits, anything for Japan, they seemed to have a ton of various “round” parts. Additionally, I am a HUGE fan of scale Railroad parts. Doesn’t matter the scale you get or the scale you are building. Grandt Line is the prime name, but once you are down that rabbit hole, you’ll find tons of stuff. As an example, on my Ferdinand, I used HO window frames for the shape of the engine vents.
AS I mentioned I collect. I spend a couple hours a month just roving through Hobby Lobby Arts and Crafts store. You can’t believe the things you’ll find, and very easy on the pocket box as well. The one nearest me carries tons of real model supplies, as well as reasonably priced kits.
Lastly, when I need to “curve” or bend plastic strips, tubing or sheet. It will always come down to the thickness of the project. Ultimately, I use a combination of techniques, perfected after YEARS of trial and error.
My mentor Shep Pain was the MASTER of what he termed “gizmology.”
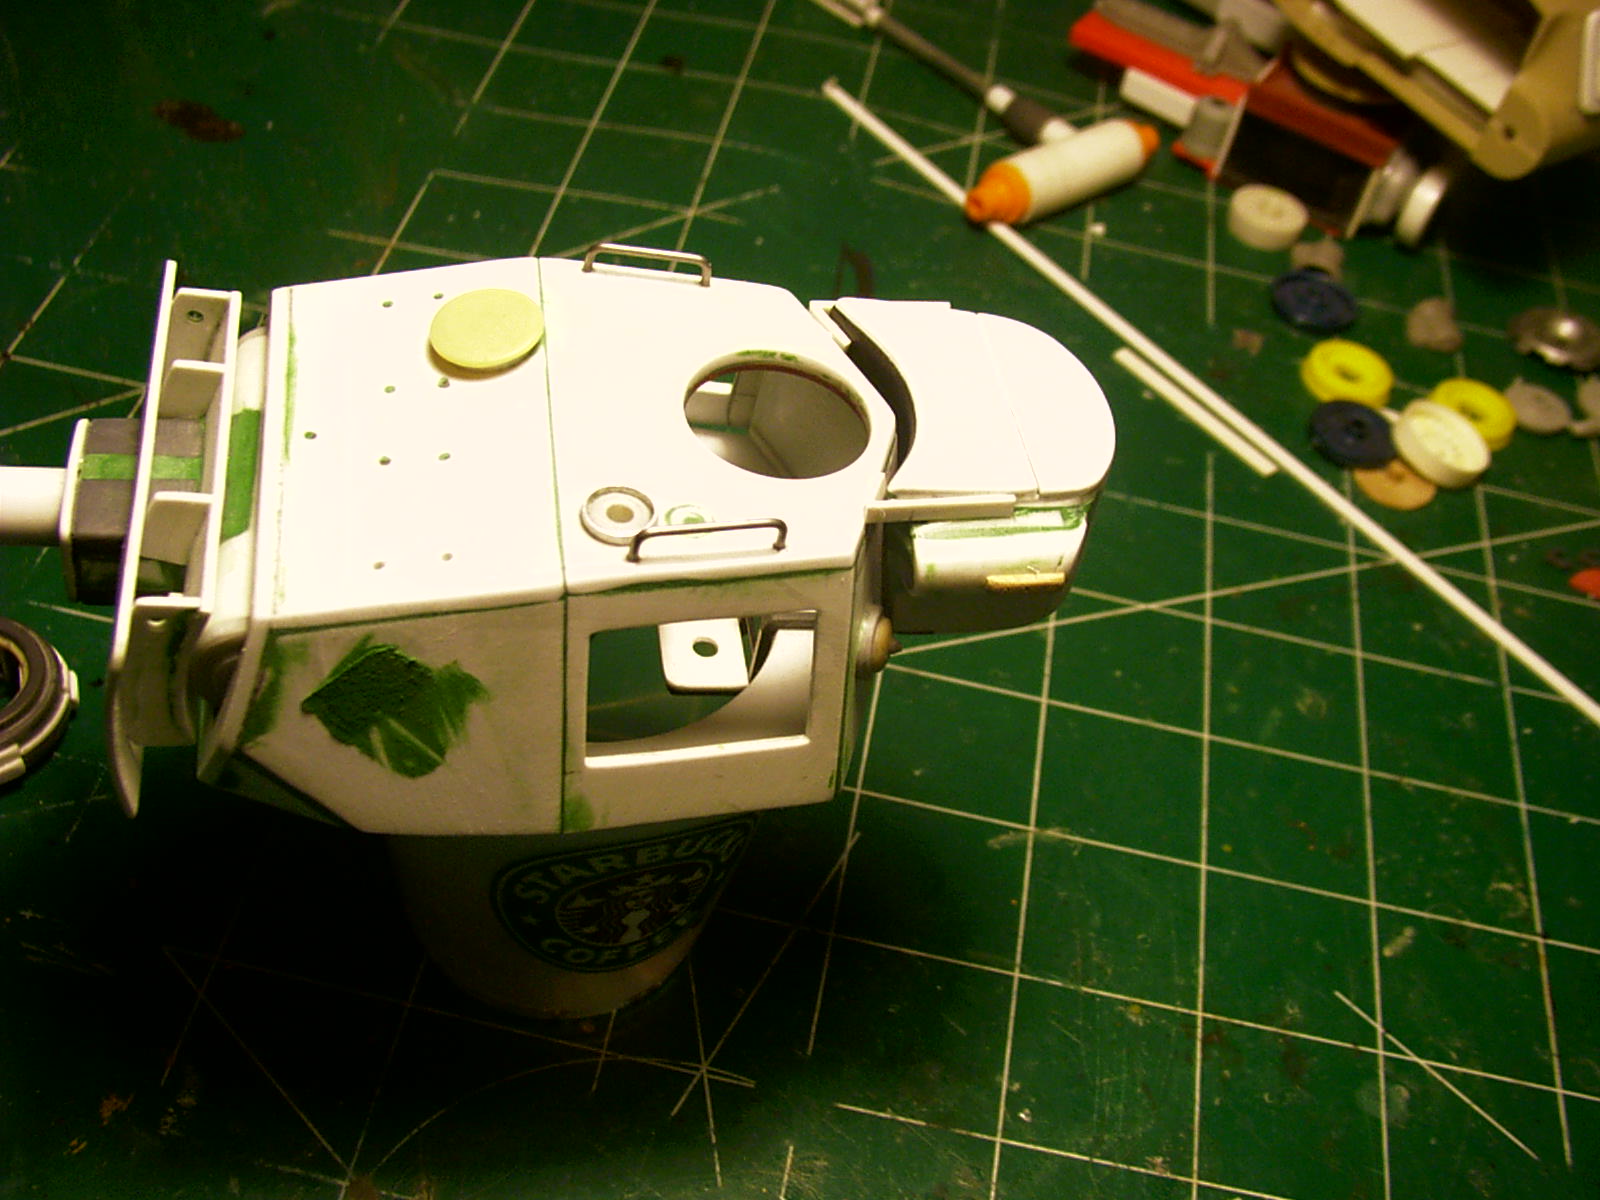
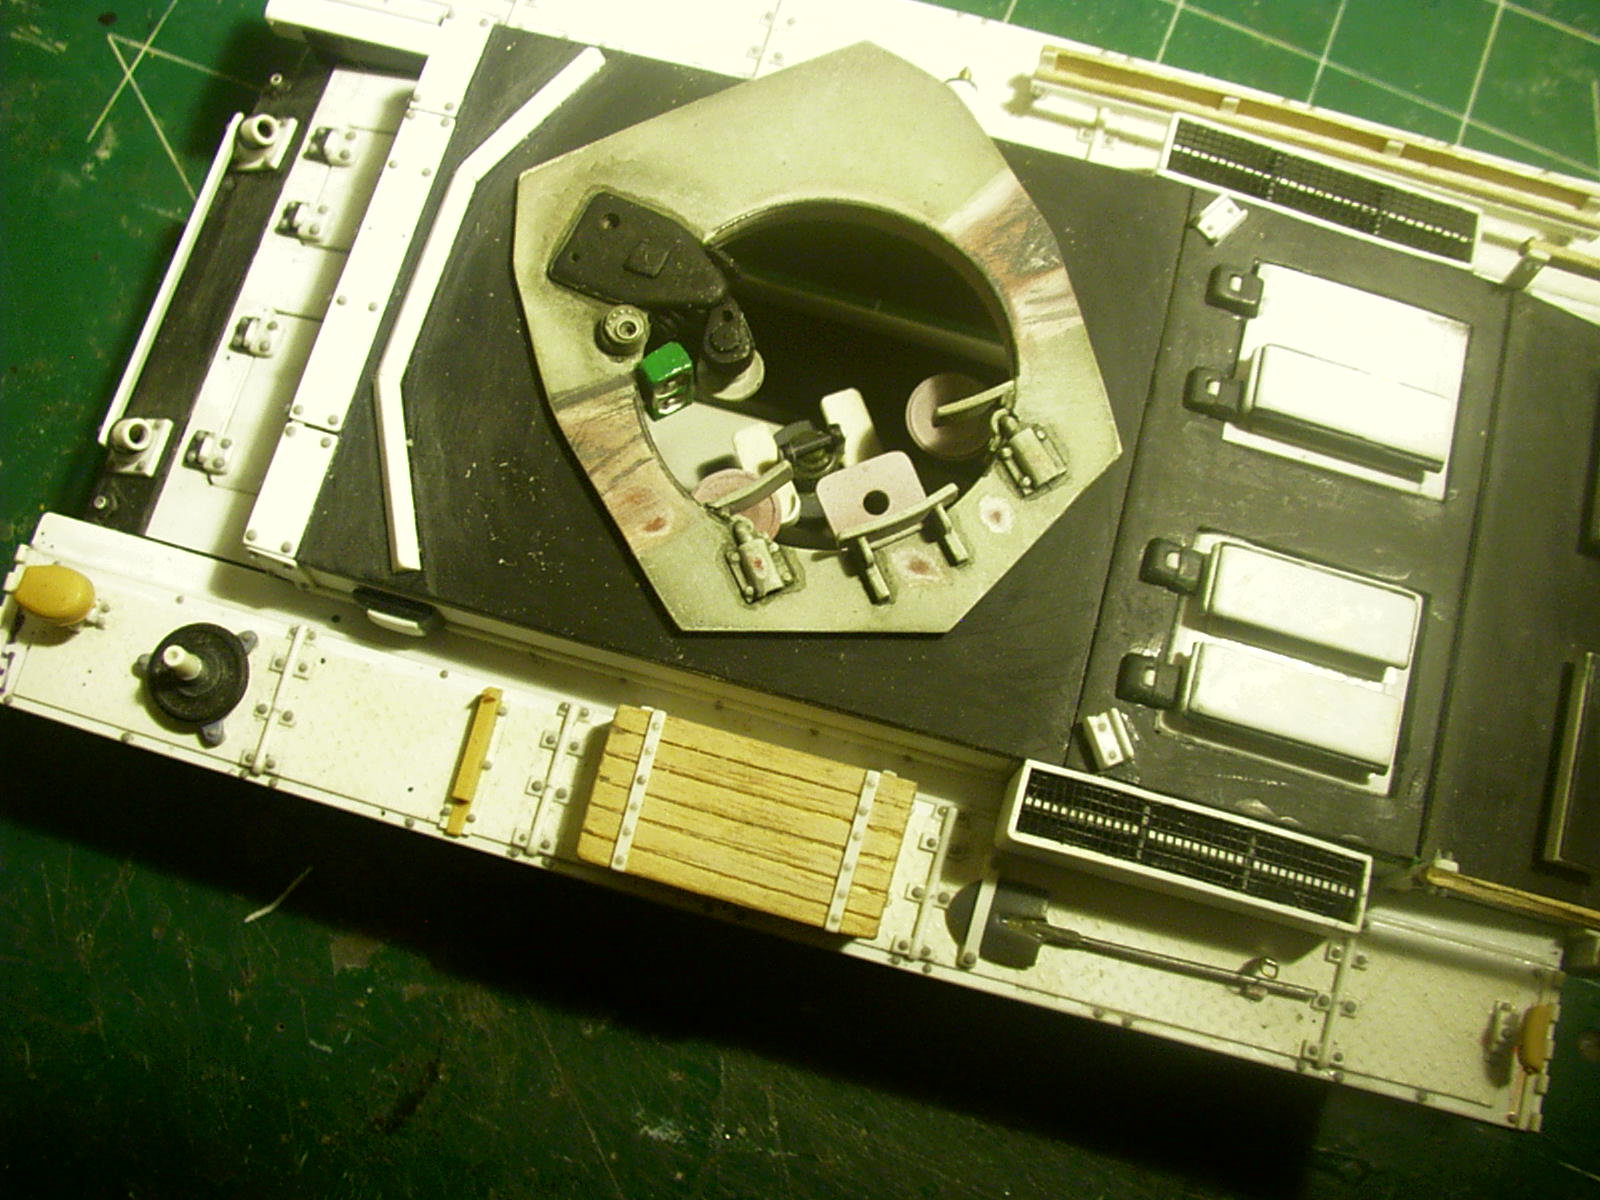
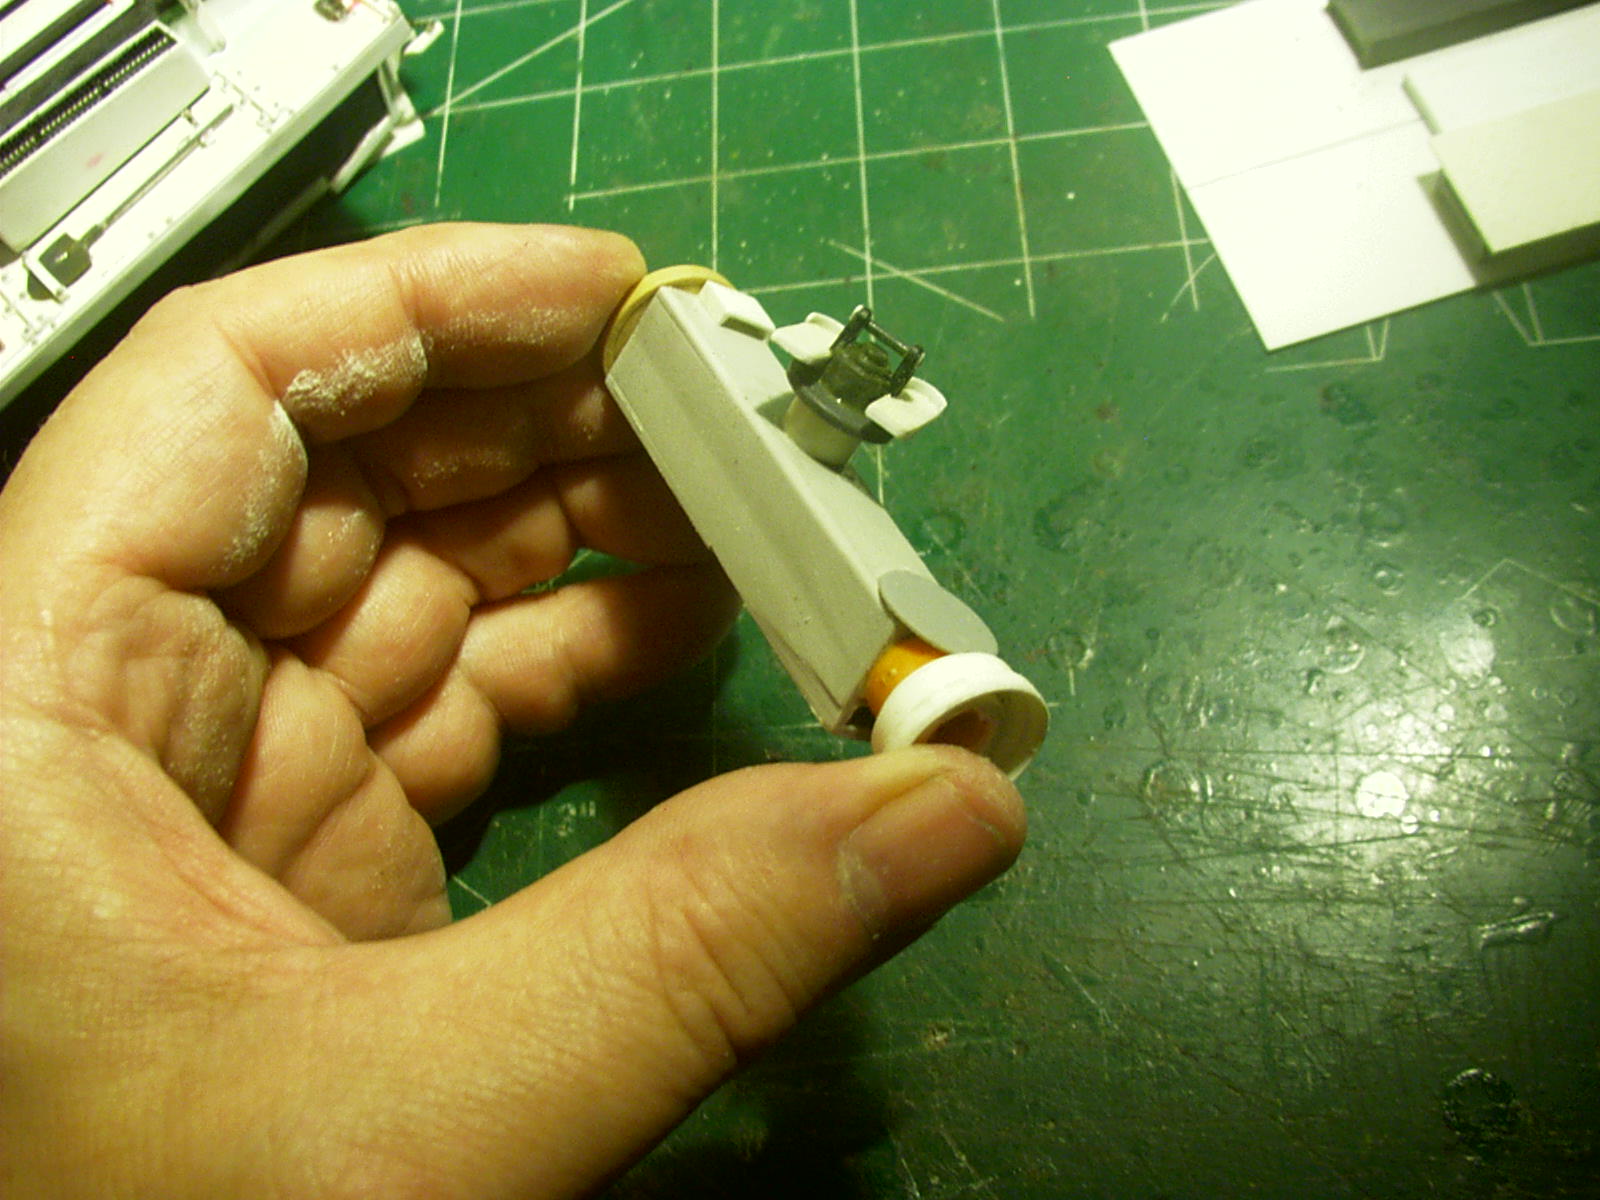
When I built my PzIII the turret stowage bin was, just sitting down and “trying”. The turret copula was basically a repurpose 1/48th B-24 wheel.
Here are some pictures :
Thank you.
Both Robin AND Tim are trying to get us into hot water!
(Different KINDS of hot water but still the same!)
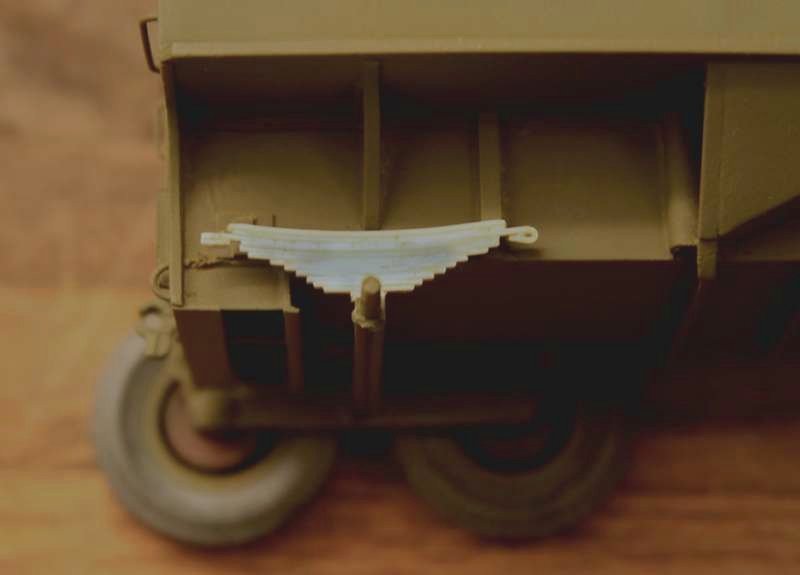
OK, this is going to be hard to describe this process for making gentle curves and arcs in Evergreen:
Ever watch your Mom wrapping Christmas presents and using that narrow crinkled style ribbon? At the end of the process she would pull the loose ends of the ribbon past the bar of her scissors, holding the ribbon under her thumb and it would come out in a tight curly-q, pigtail configuration?
To some degree Evergreen will do the same thing. Hold a strip of Evergreen between the handle of your knife or the round shaft of a screwdriver under your thumb and pull the plastic strip through. It will come out the other side formed into a gentle curve.
Do this several times and the curve will get tighter and tighter.
How this won’t let you form a gun ring for a Deuce or the tight circles seen in the gas can rocket above but it will give you very usable arcs and curves for other scratch built items (No hot water required!)
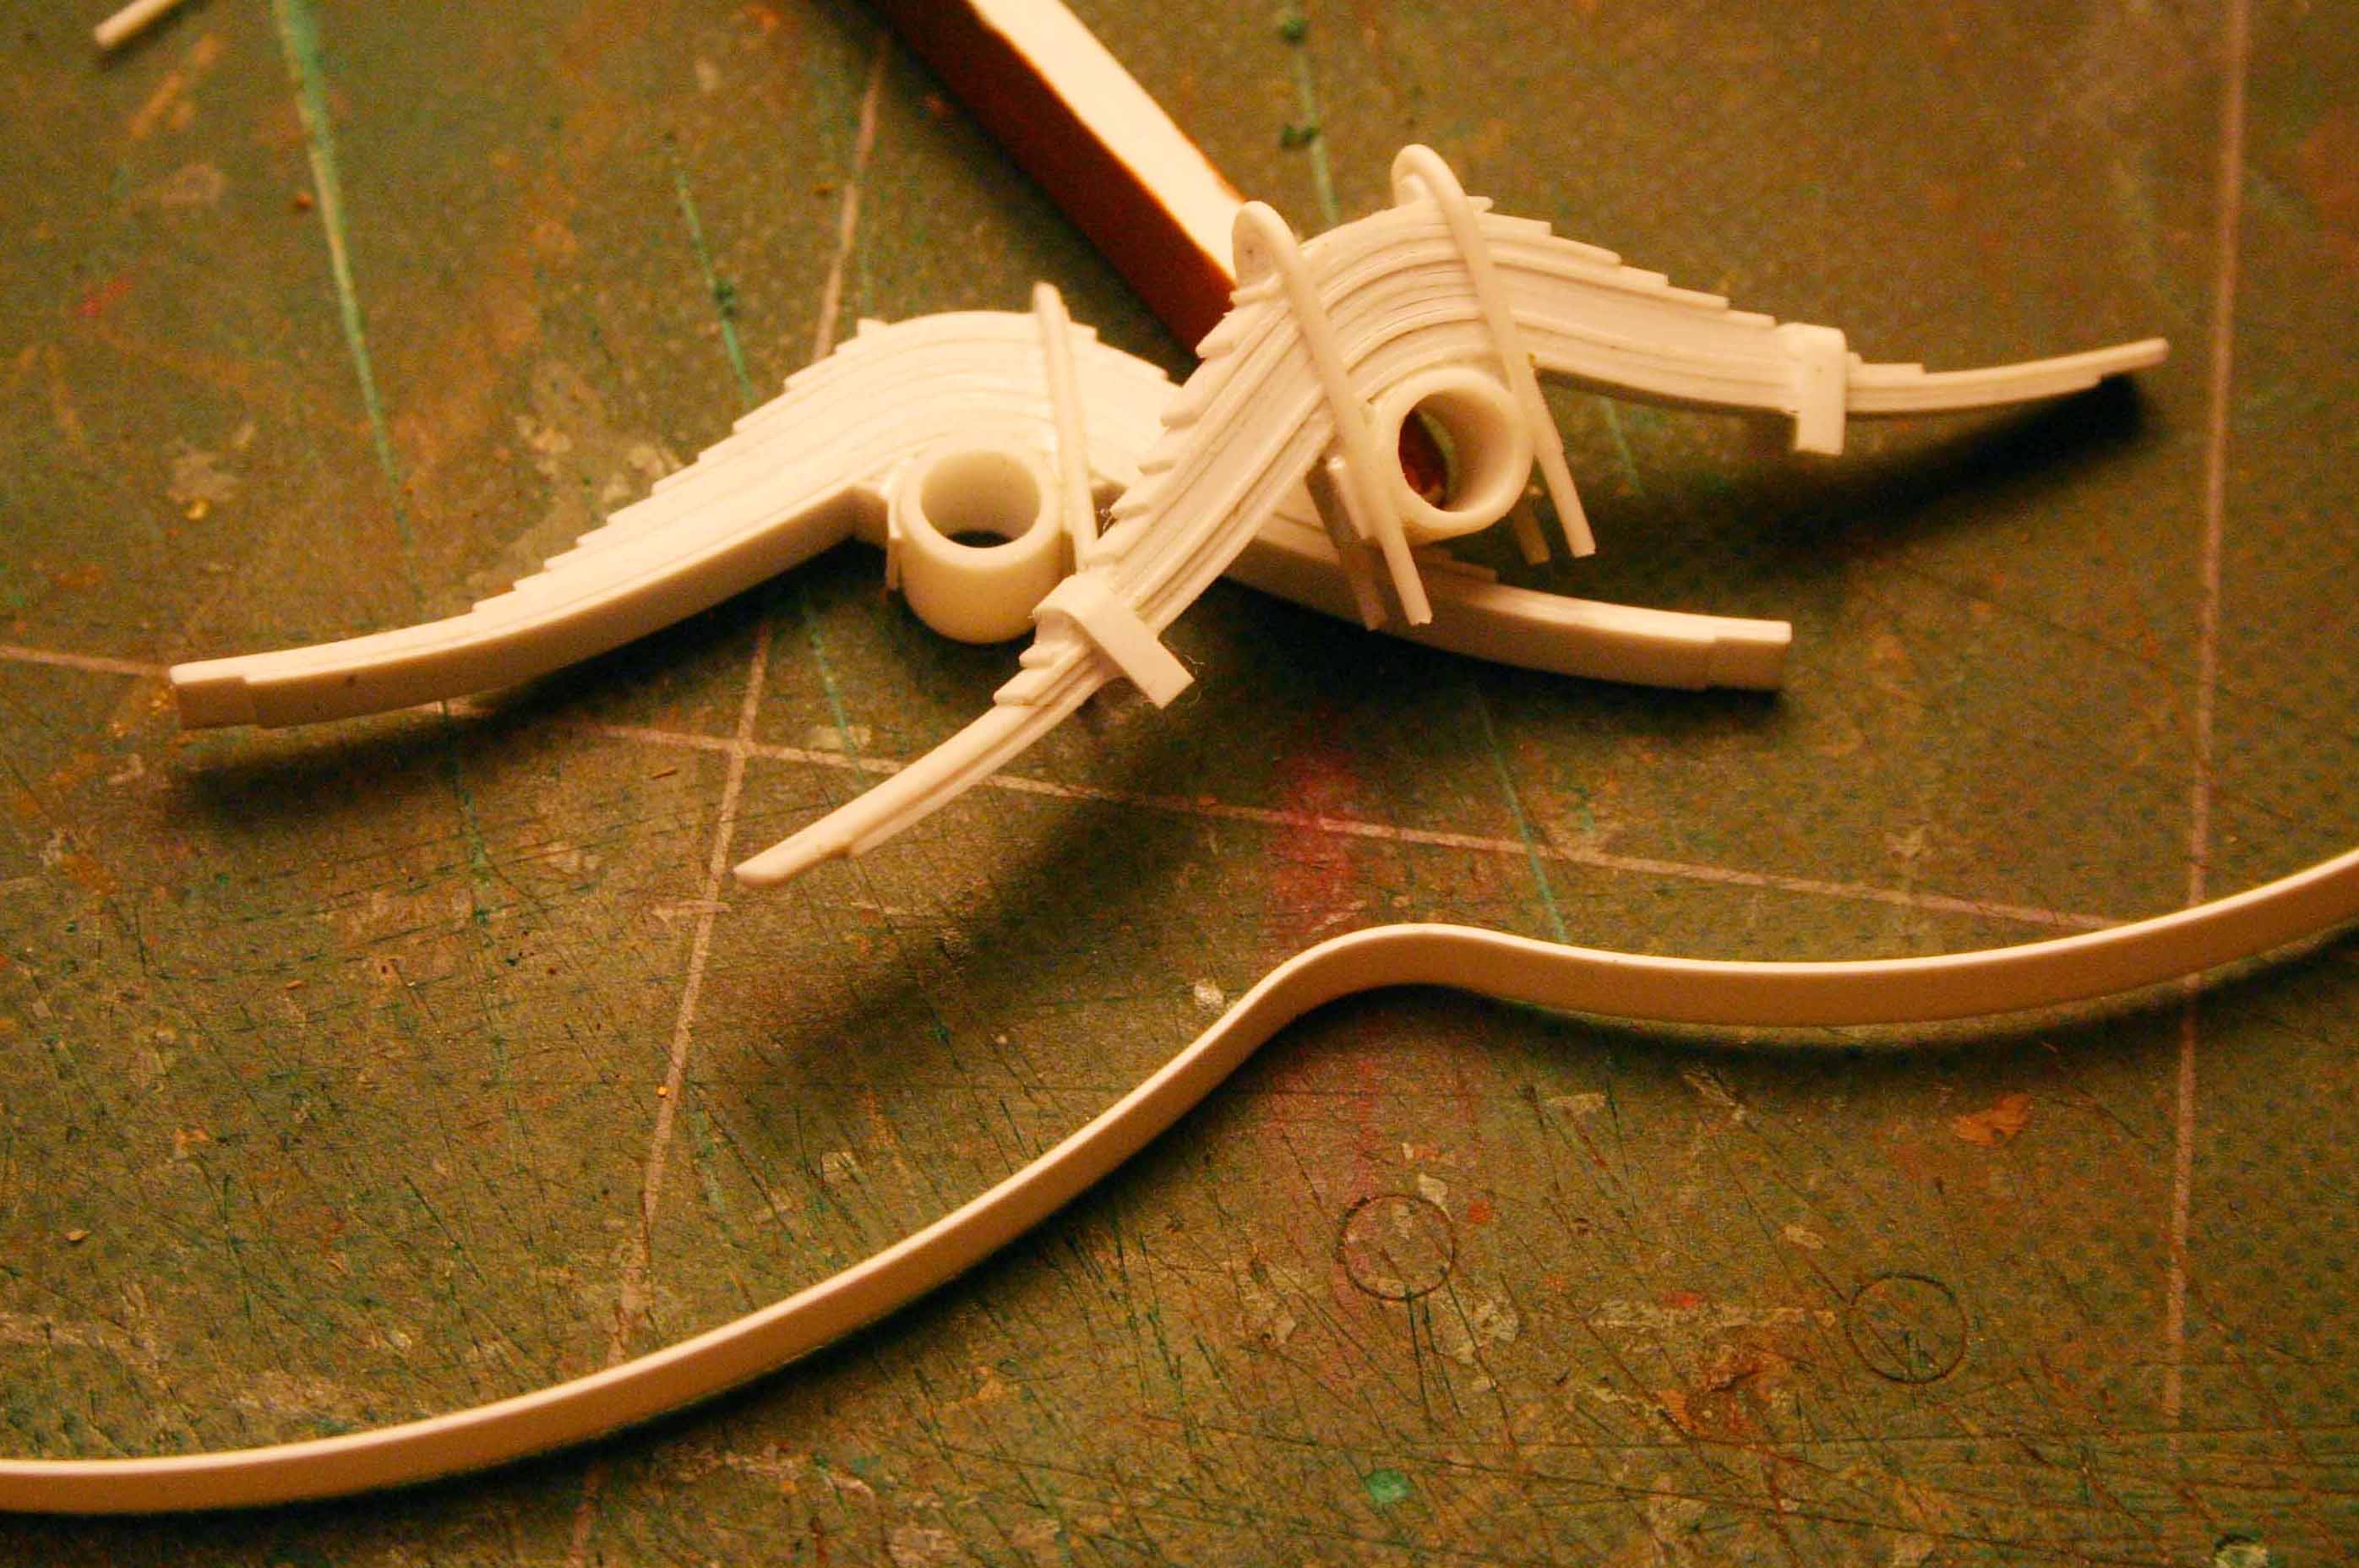
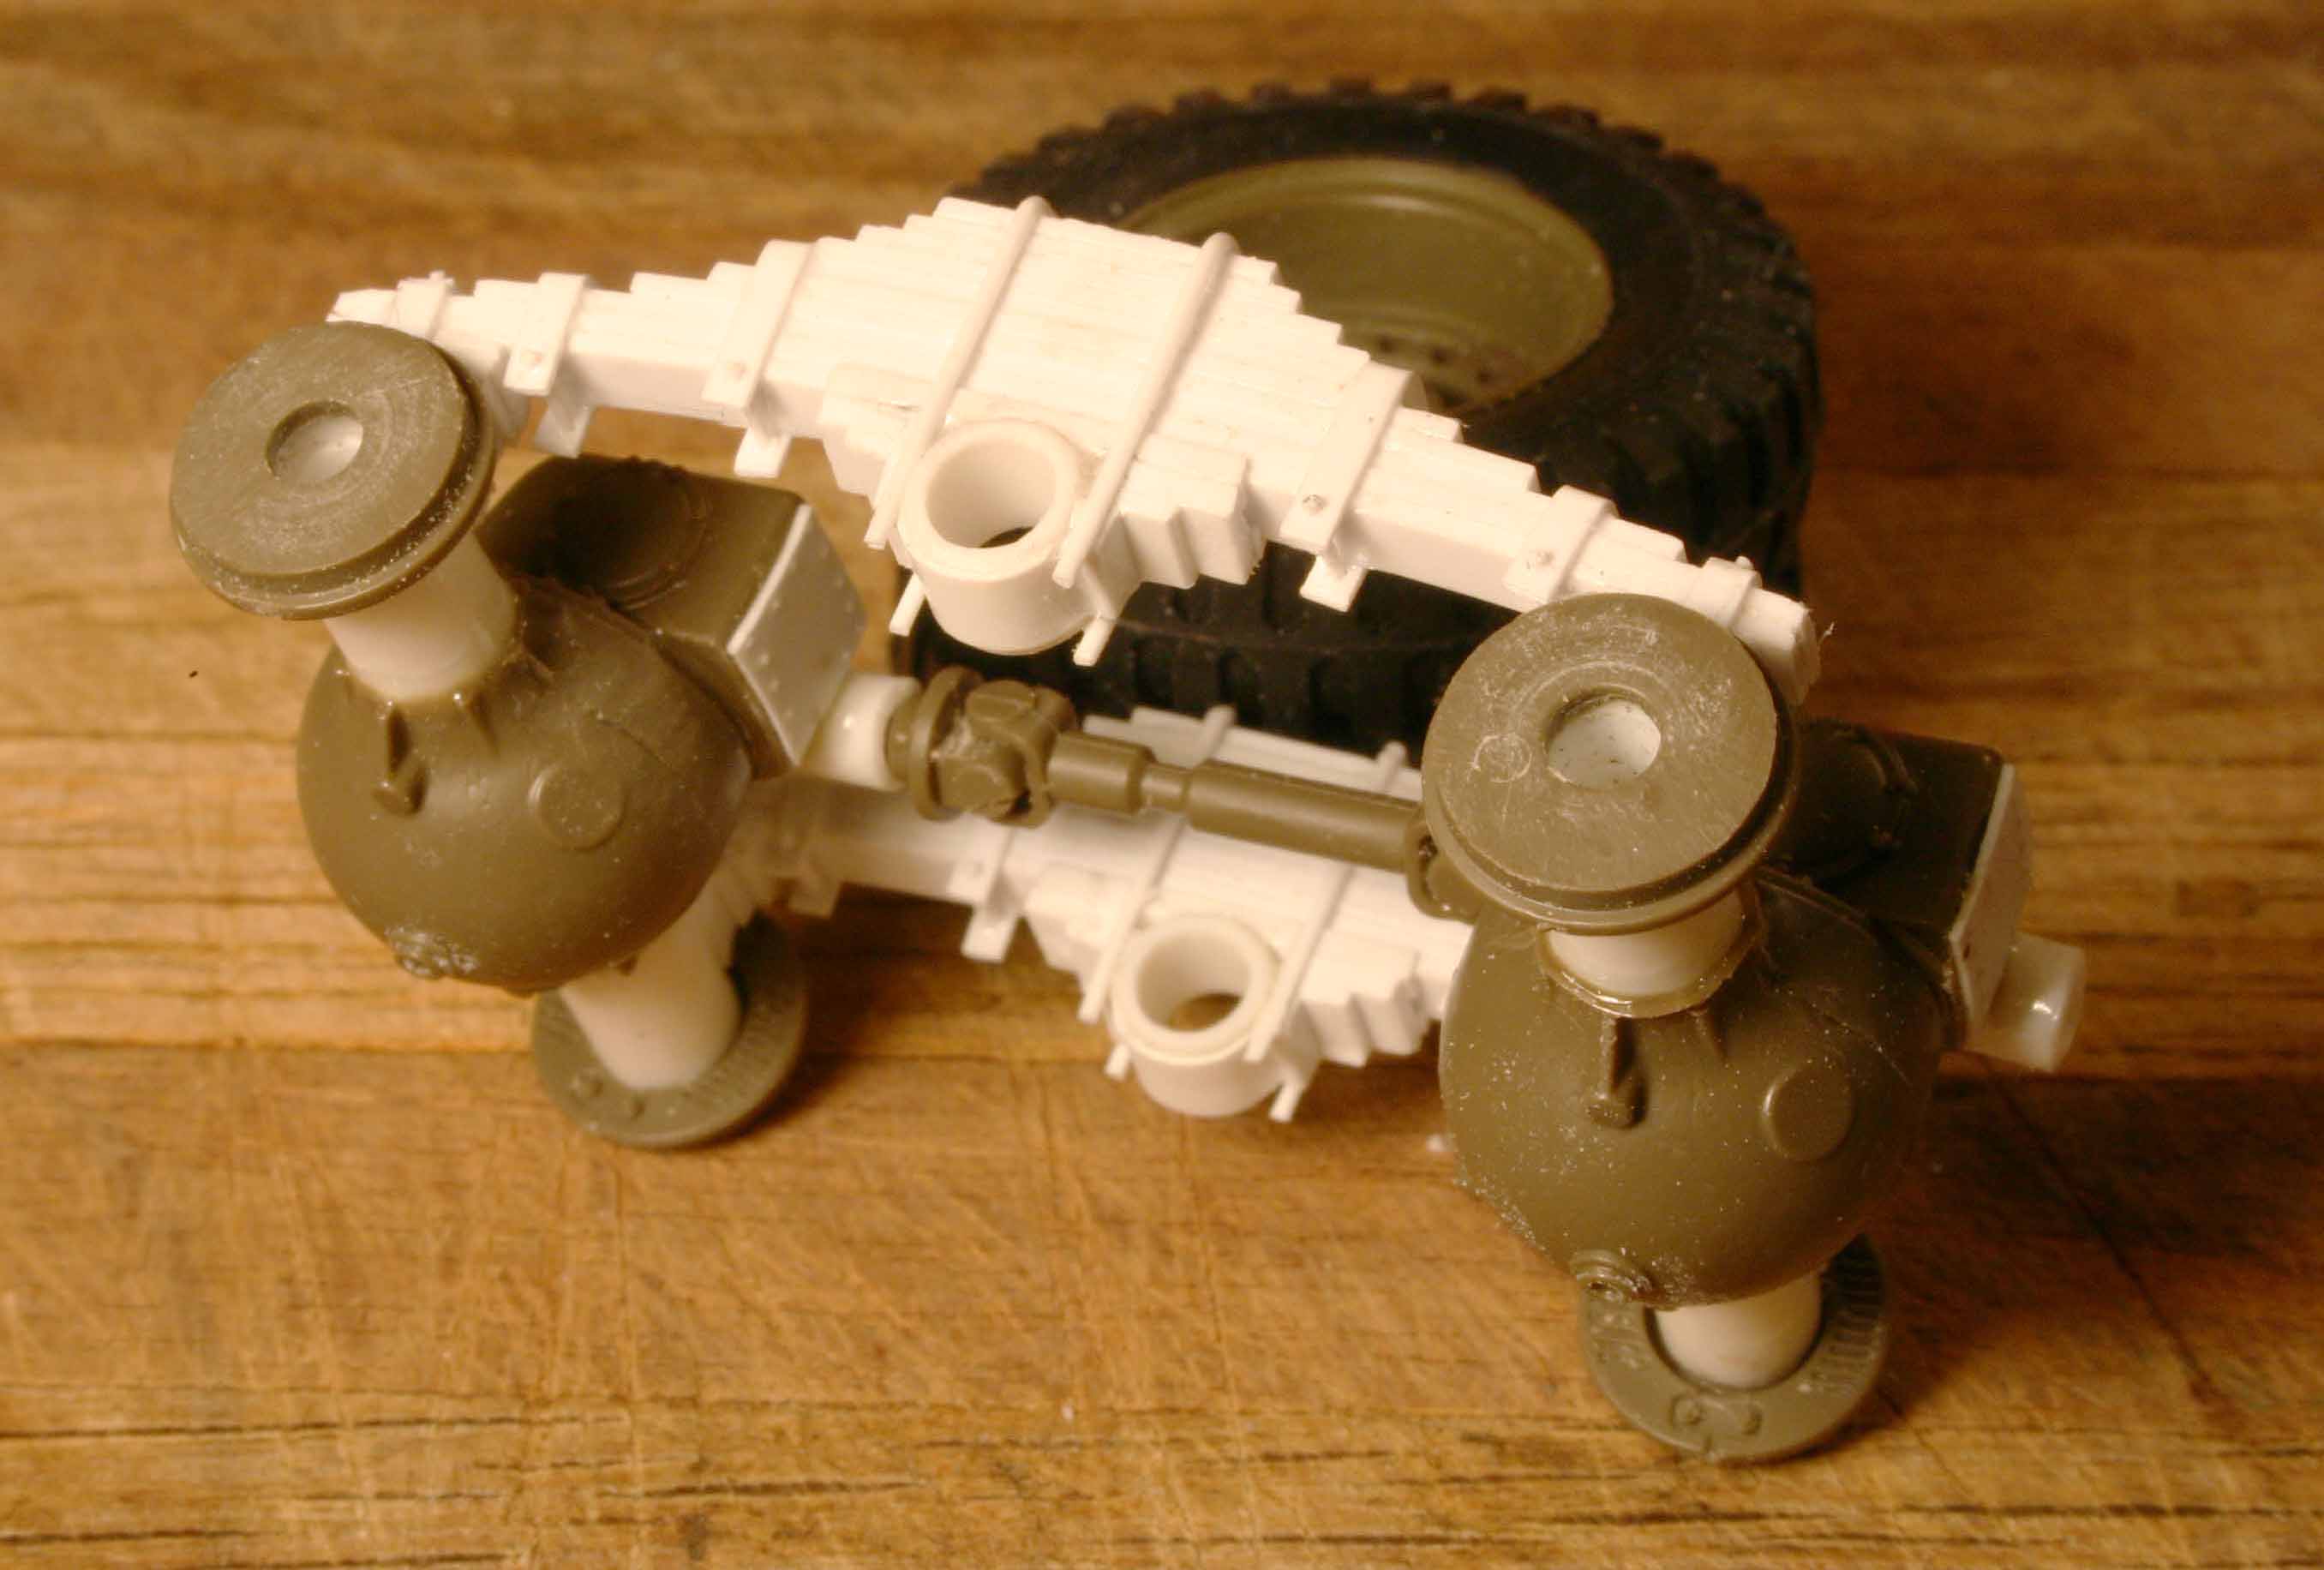
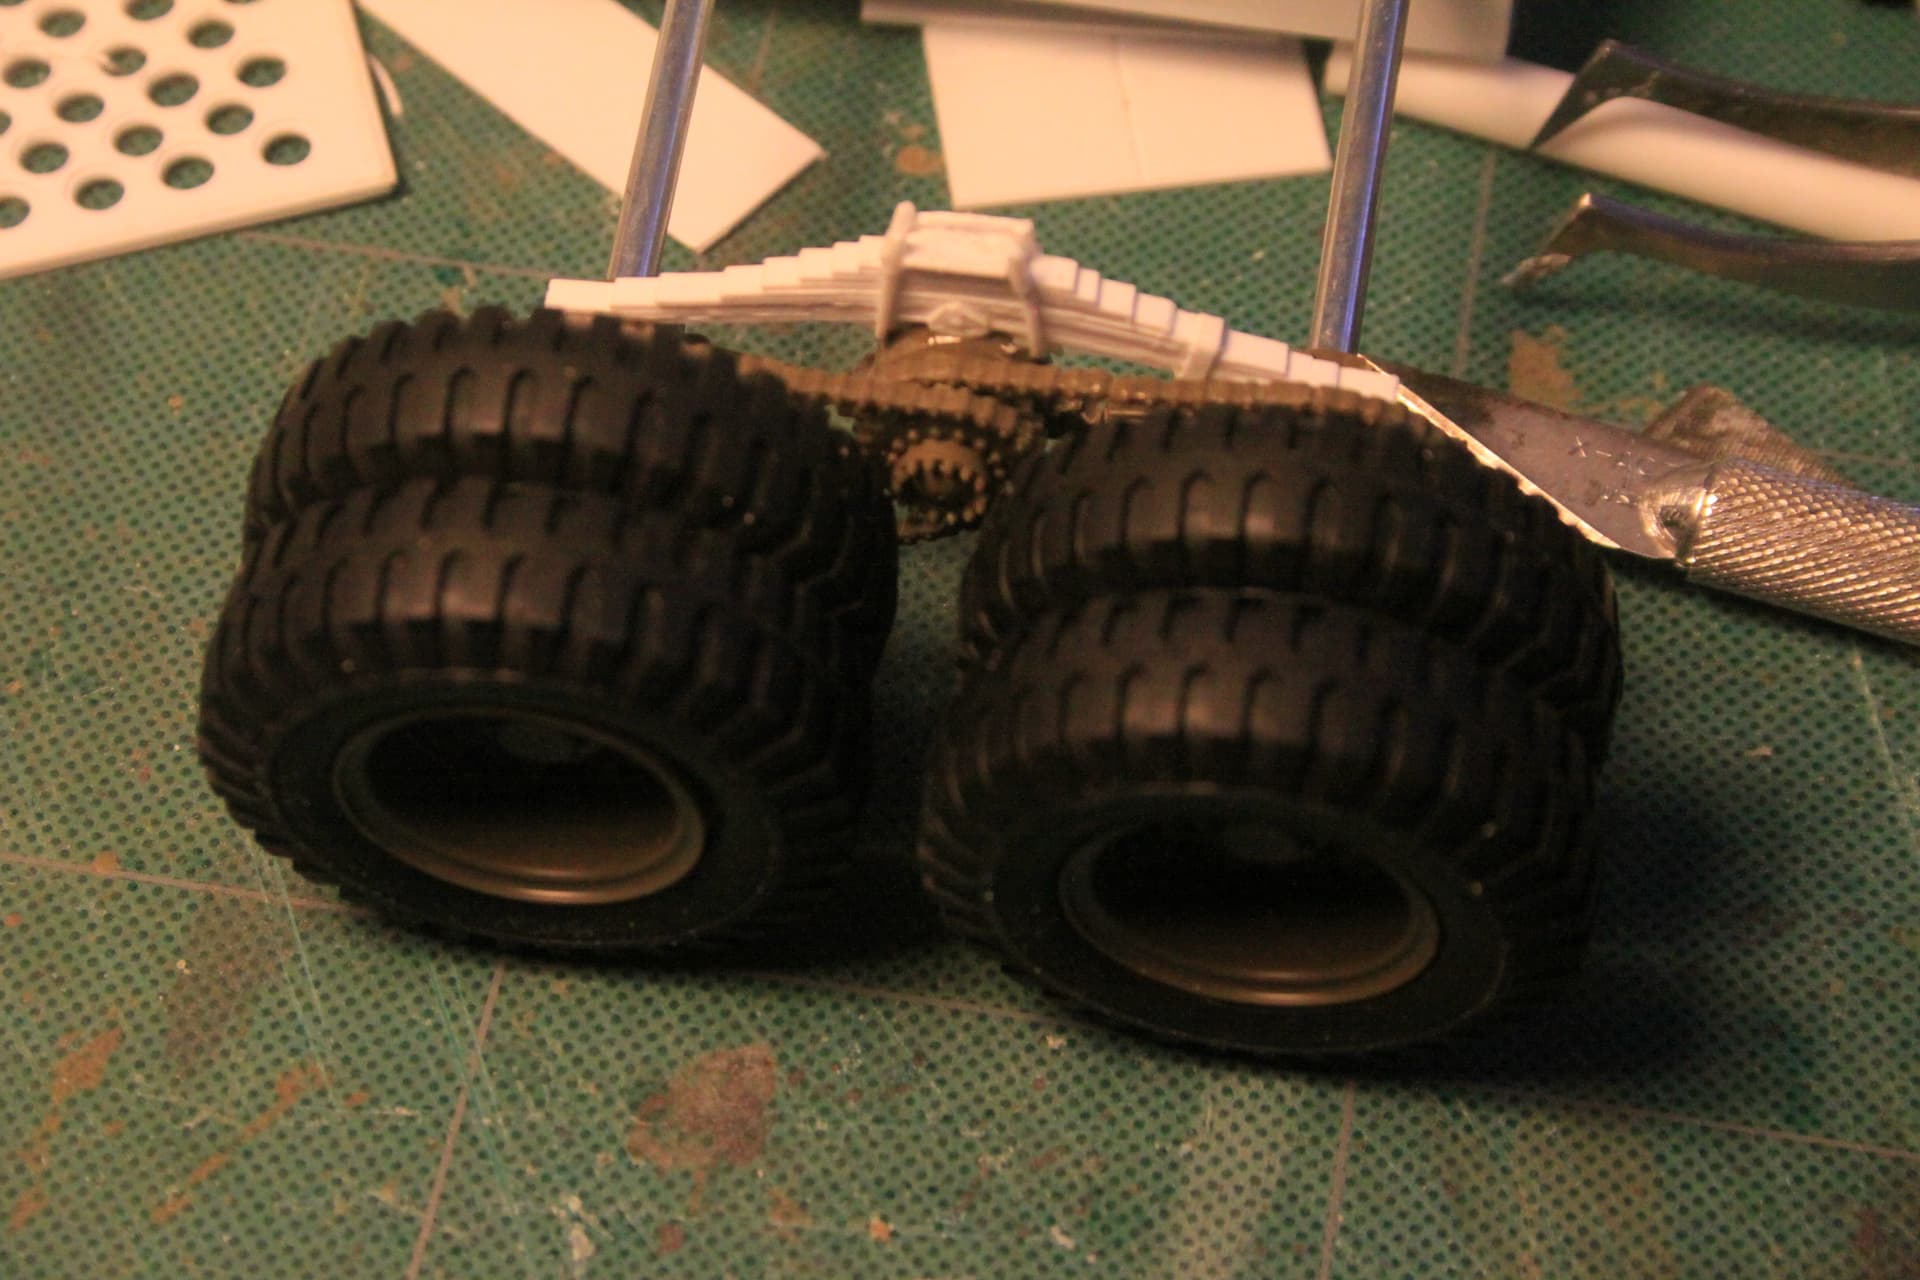
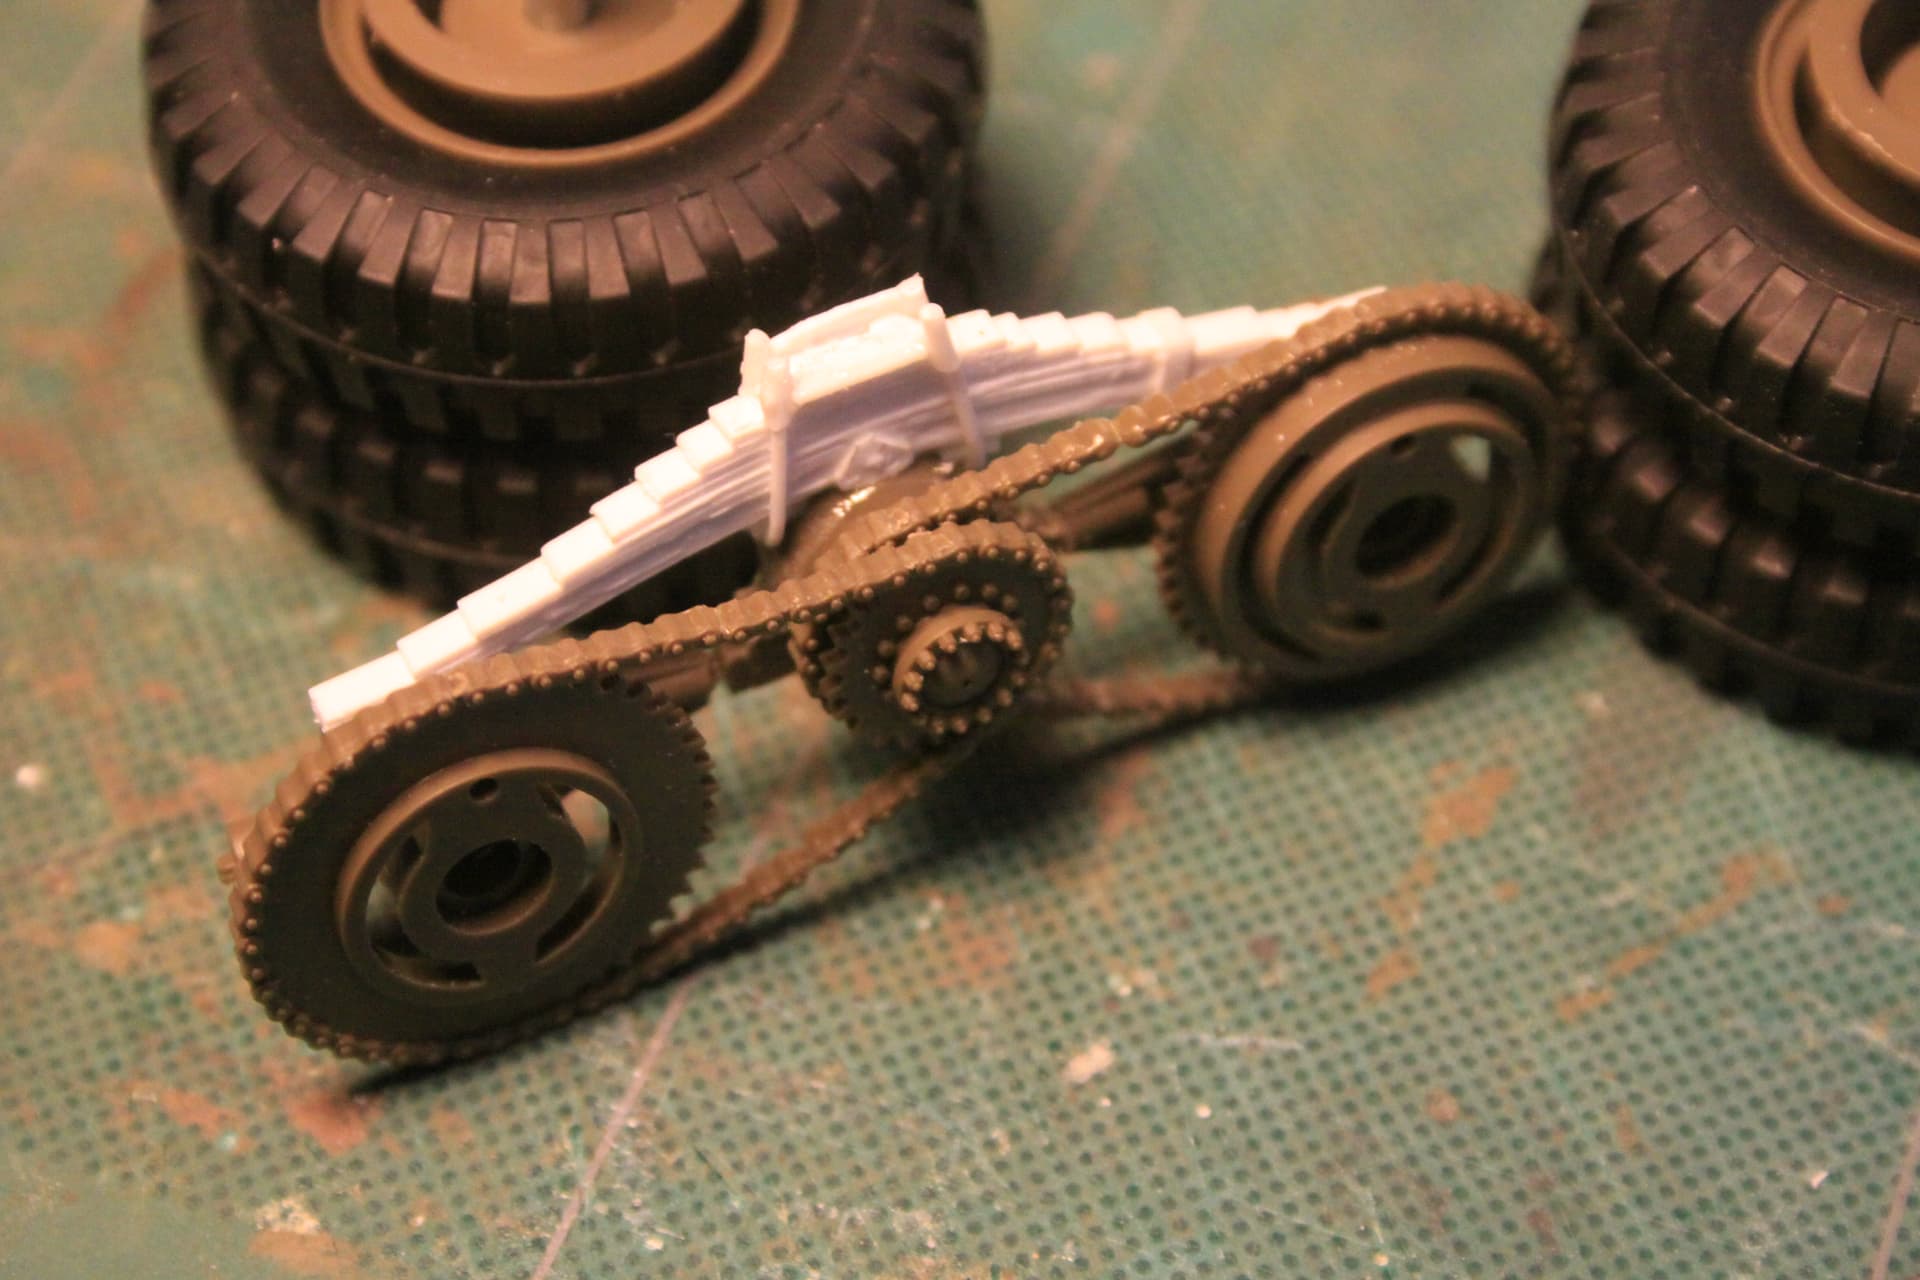
Say for example; custom made Mack truck “Camelback” leaf springs:
OR . . .
The Evergreen has a very nice “memory” for such gentle bends, much like thin brass or tin.
Hello fellow scratch builders and kitbashers,
I went back and through this thread - lots of nice work being showed, and good tips and advice being shared! Reminded me of a scratch campaign or two which I really enjoyed participating in ![]()
I use quite a bit of Evergreen stock materials, mostly because it is easier for me to find than Plastruct. I have found that for strip and sheet materials, Evergreen does the trick. For specialty shapes, like channels, “L” and other angled pieces, I prefer Plastruct, as it is a bit more rigid, so the model remains a bit more stable than with Evergreen - this is not a universal “rule” ![]() , as I use what I have at hand at the time.
, as I use what I have at hand at the time.
I’ve also found Evergreen rod is more flexible and adaptable than Plastuct - I was glad to read that I wasn’t the only one! lol - I use styrene rod for many purposes - it can be really helpful - not only serving as it’s actual shape and for filling gaps, but also for use as a ledge on other curved surfaces, when adding another layer of sheet material - ha - so I made a mess of that sentence - the point, styrene rod is worth keeping handy! And of course, hex rod is a great and inexpensive source if you need to make lots and lots of bolt heads!
I also use many bits from K+S, such as alu and brass tubing, rods, and sheets. Along with various small diameter section of solder for hoses and wires. If you look on line, or have a good fishing supply shop nearby, you can find some really fine solder used for tying flies. Finally, I don’t throw away many spare sprues from plastic kits or etch kits. I use the leftovers when I can as they often provide just enough detail for interesting parts that are not easy to scratch - like U-joints and various parts needed for hydraulic fittings. As others have mentioned they can also provide a good source for things that need to be round - which can be hard to make.
About midway through the thread above I saw some discussion of whether posting old builds is ok - it seems it might be ok - so here we go. I’ll remove this post if it’s not OK.
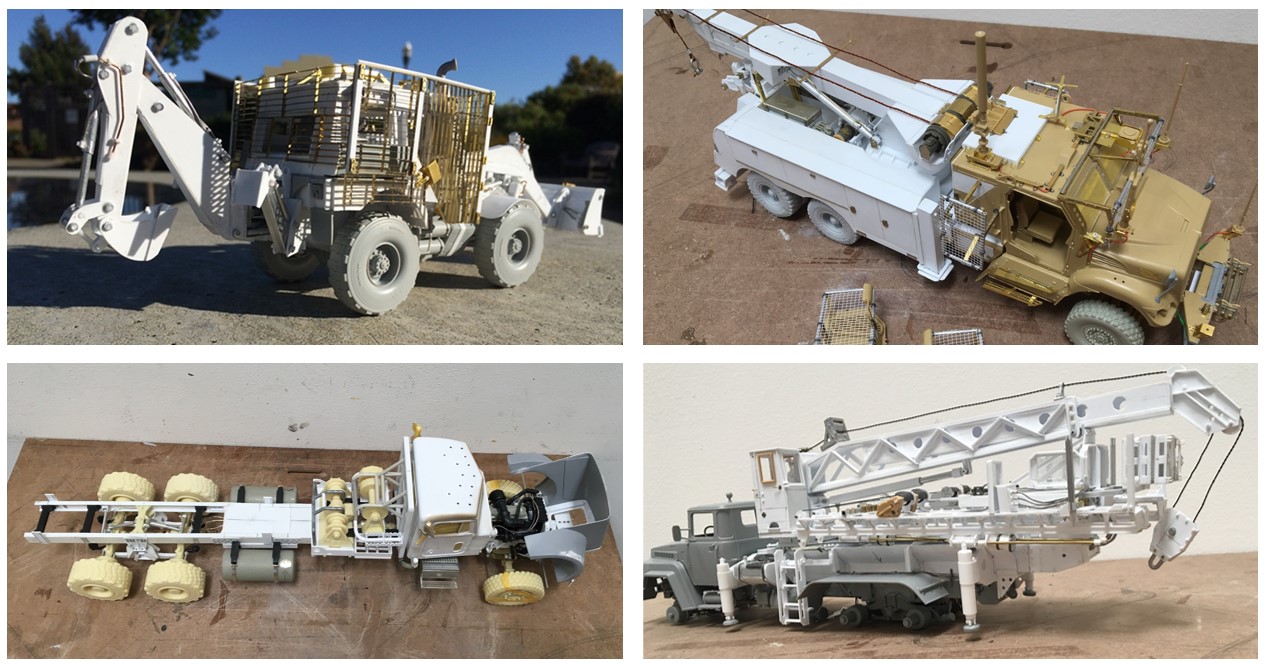
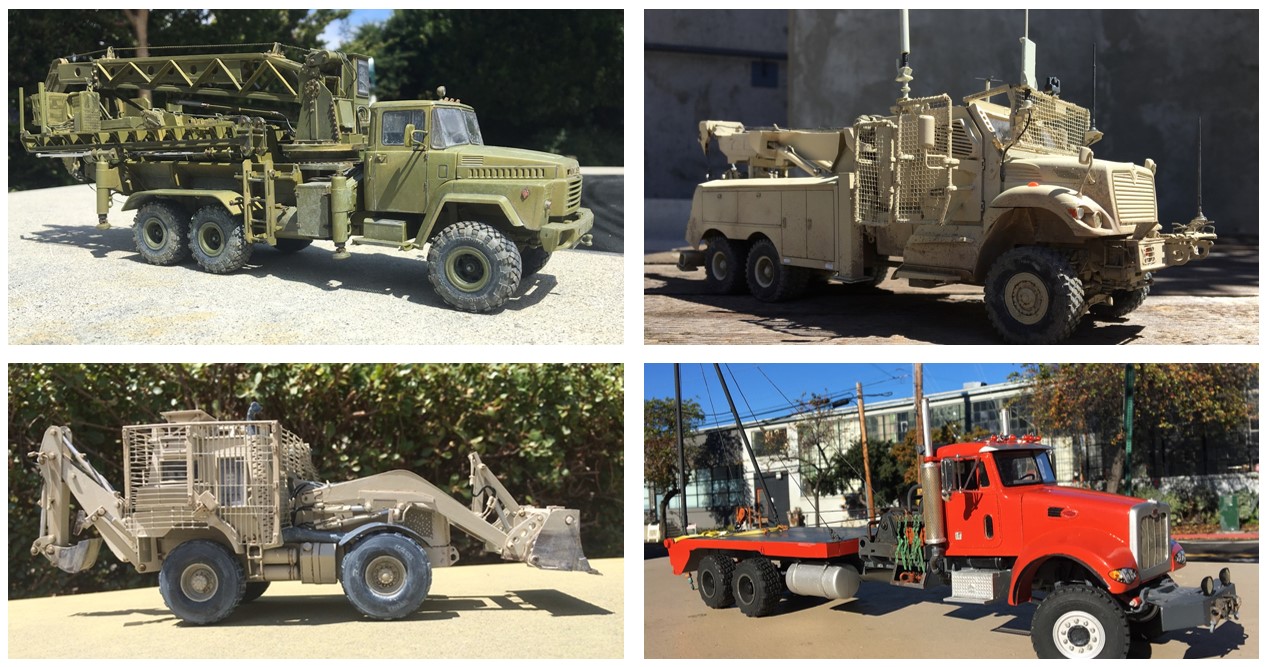
I prepared two graphics - one of WIP, and the other of the completed projects. They were each a challenge to build and required a hodge-podge of parts, materials and methods:
The backhoe is my try at the JCBHMEE, and as the story goes, about a year after, someone released a kit! ![]() perfect! This was almost all scratch, except for the tires and wheels, from an old Italeri HEMTT. As this has a boom and bucket, it required hydraulic cylinders and lines, and pins for movement. I used bass wood to make the core of the frame for this, as tractors don’t use chassis like other rigs. Styrene was CA’d to the wood subframe and bolt heads added so it didn’t look like a toy. The slat armor bits might be from a Stryker set - don’t recall?
perfect! This was almost all scratch, except for the tires and wheels, from an old Italeri HEMTT. As this has a boom and bucket, it required hydraulic cylinders and lines, and pins for movement. I used bass wood to make the core of the frame for this, as tractors don’t use chassis like other rigs. Styrene was CA’d to the wood subframe and bolt heads added so it didn’t look like a toy. The slat armor bits might be from a Stryker set - don’t recall?
The wrecker uses the cab from a Kinetic MRAP, with a scratch chassis, suspension (rear walking beam), front leaf springs, and bed. This was also heavily dependent on junk box remnants - at the time I was enjoying building up the Panda MATV’s (not exactly enjoying! a tough kit to build) so, had bits and pieces. Challenge here was to build up a chassis and bed strong enough to hold it’s own weight, while not looking out of scale or clunky, and figuring out the wrecker boom, stabilizers, related parts, etc.
The lower right is a Takom KRAZ tractor, with a pile driver added (thanks to Angel who some how came up with a digital shop manual for this!) The bed on this truck has a lot going on - there are several layers that fold out when un use, so I built it like I imagined you might build the real thing in several layers which were pinned together. At one point, the parts slid and folded out! A good coat of Vallejo paint eliminated that feature - lol
The truck on the lower left is a 1/24 scale Peterbilt winch/gin pole truck I finished about a month ago. The cab is from a kit, and the wheels, axles, and winches from KFS. The chassis and rear suspension is evergreen, and front leaf springs over a drive axle are made of thin strips of brass bar. The front fenders are bent and curved evergreen sheet - this was tedious! As the curves are concentric and compound - so, after several attempts to get it right, I took what I could get. The cage around the winches is made out of old sprue, pinned and glued together - worked great.
Here they are done:
The funny thing about scratch work, when I first decided to give it a go, I read somewhere that a good thing to start with would be to build a cube out of styrene sheet - perfect, how hard could that be??? well, it’s not easy - 8 corners, 90 degree angles, and no internal support. So, I would not advise anyone to start with building a cube! it’s not that easy, or in the end, all that useful. Instead, I might start with adding some reasonable level of detail to a kit - a bench with some brackets, grab rails, etc. While these sound easy enough you will immediately see if you didn’t make it square or flush, or, if you guessed on the wrong scale thickness etc - and go from there. Practice helps too!
Cheers
Nick
In general order of recent appearance (last 8h). @ Whitney (Whitney_Foreman), Michael (165thspc), Nick (Stickframe), Peter (petbat), and others in the thread. Thank you for those contributions — all very useful!
Hey Stick! Glad to see you’re still slicin’-and-dicin’ in the big-top! ![]()
I’m not worthy. ![]()
![]()
—mike
Stick, 10,000 Likes
Or in other words "Ho-lea Shi - . . . .
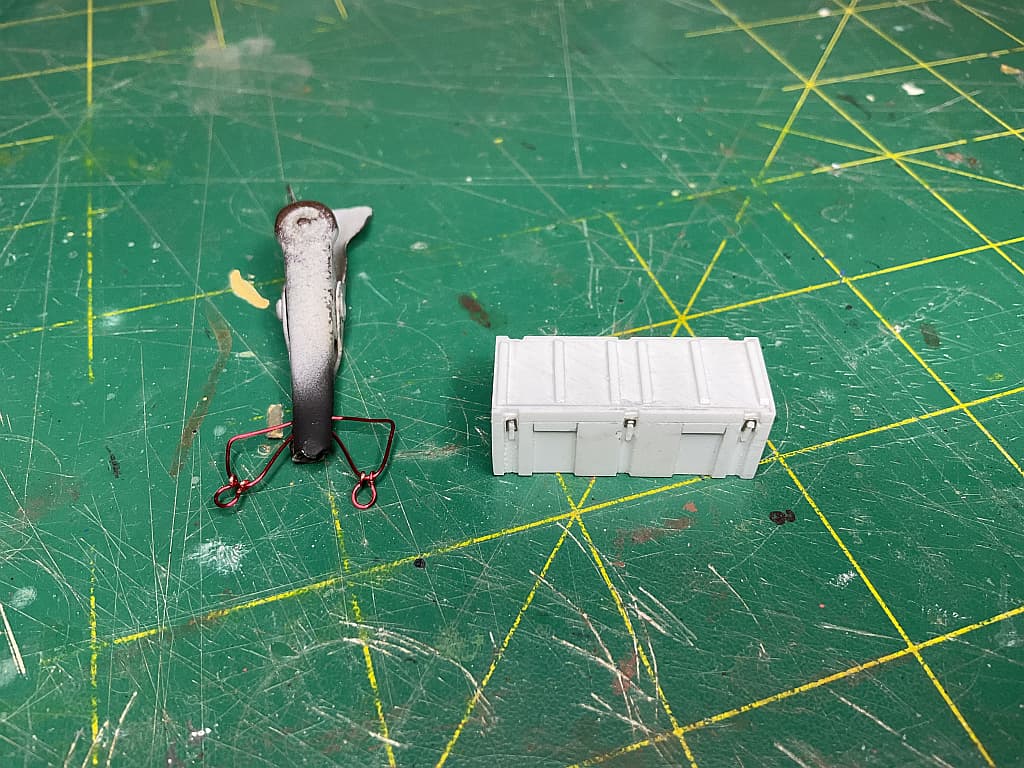
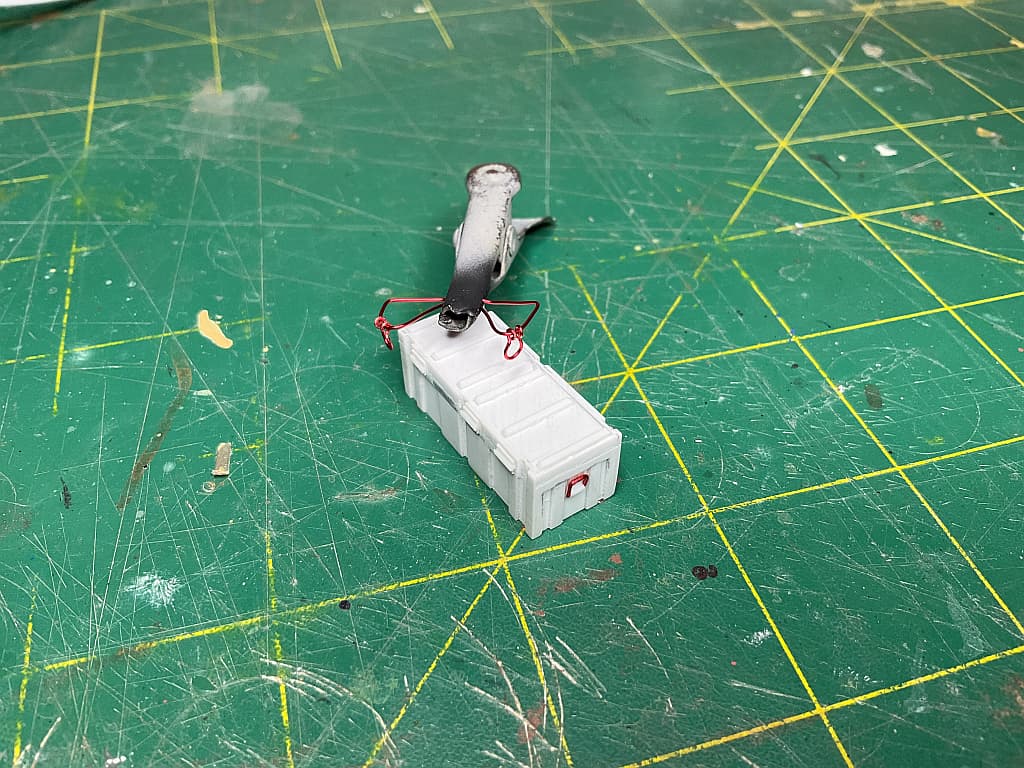
Peter just what is that wire structure being held by the roach clip?
You called it a shackle. Could it be an engine lifting jig/frame or some such???
Inquiring minds would like to know!