Yes mate. The 2 larger ones towards the rear and either side of the centre line, working on 2 smaller ones to fit in the oval-shaped details at the front for stability and directional control.
All still mucking around with concept at this stage.
Cheers, D
2 Likes
Just discovered this thread D - FUN !
2 Likes
A very small progress report . . .
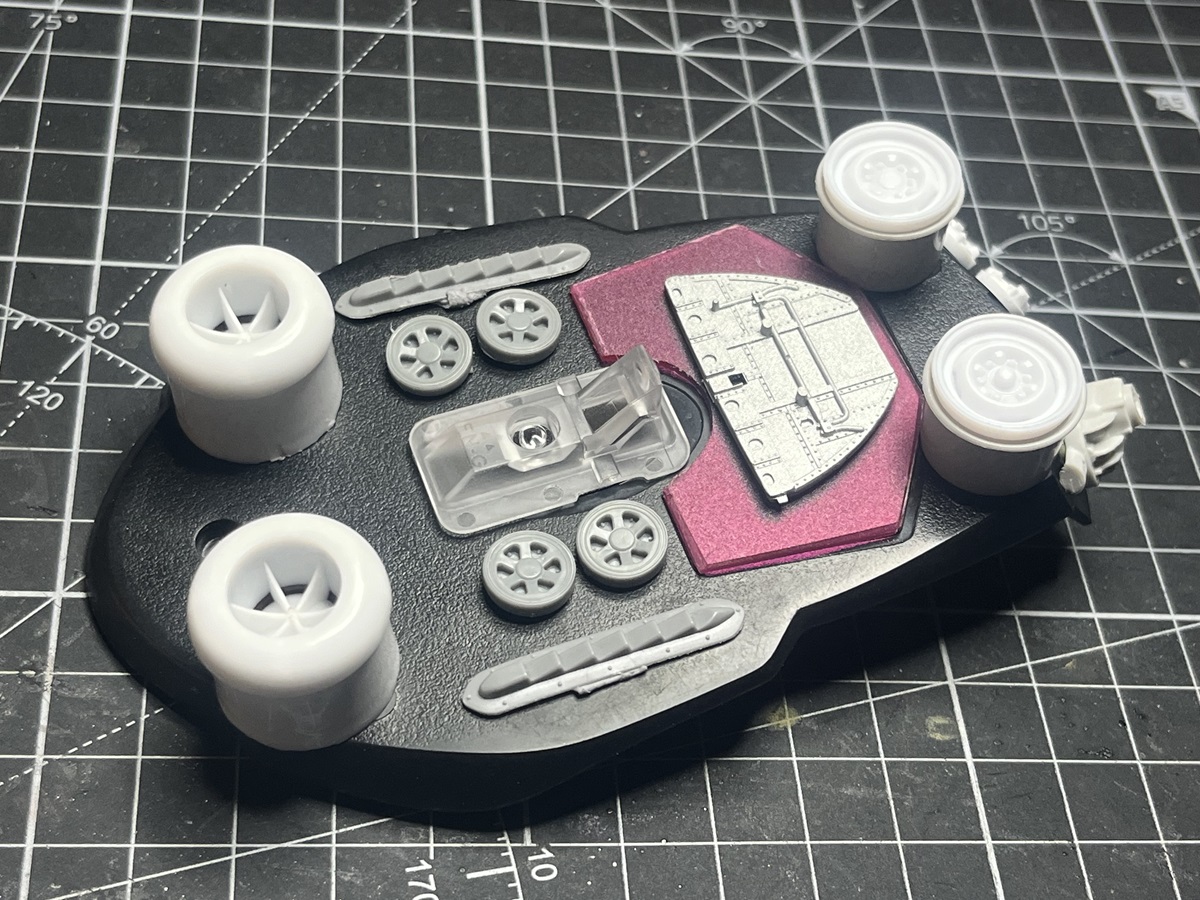
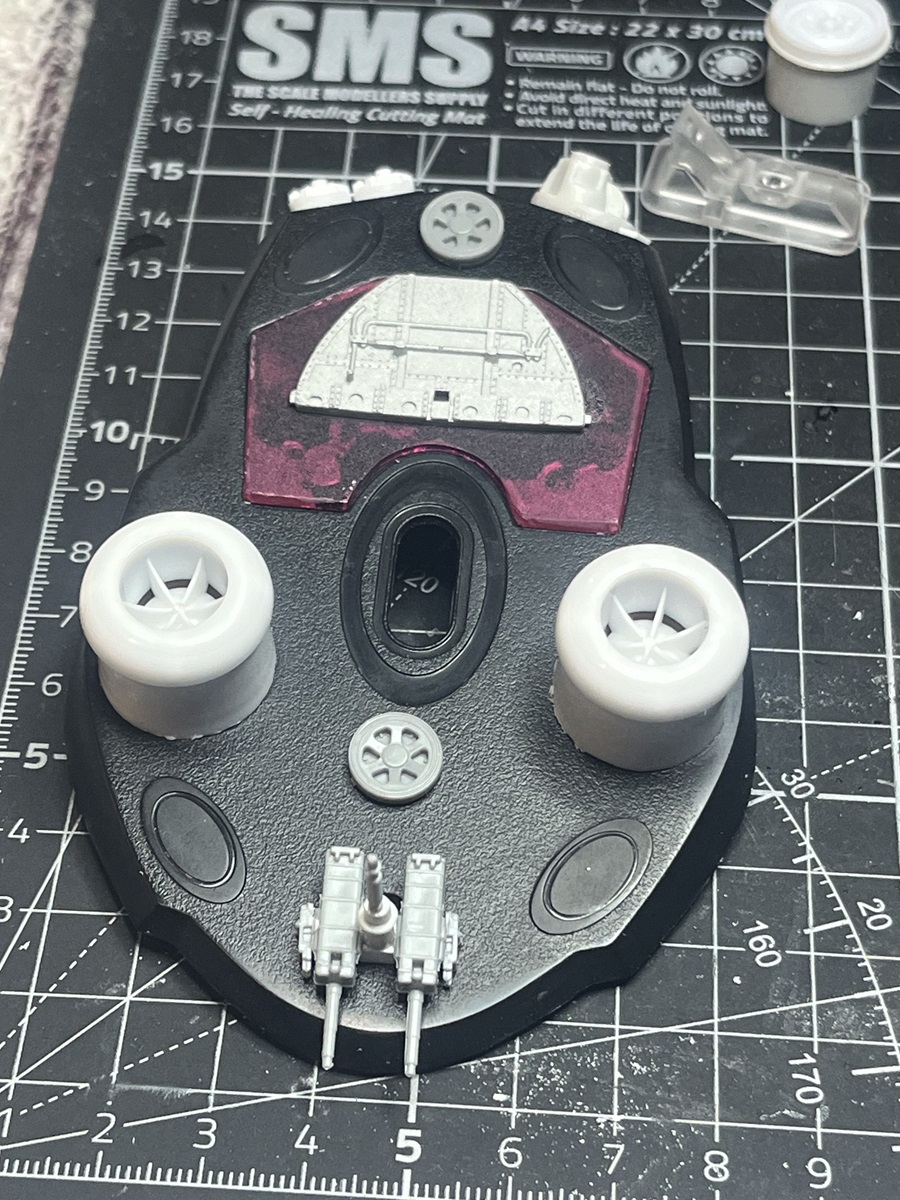
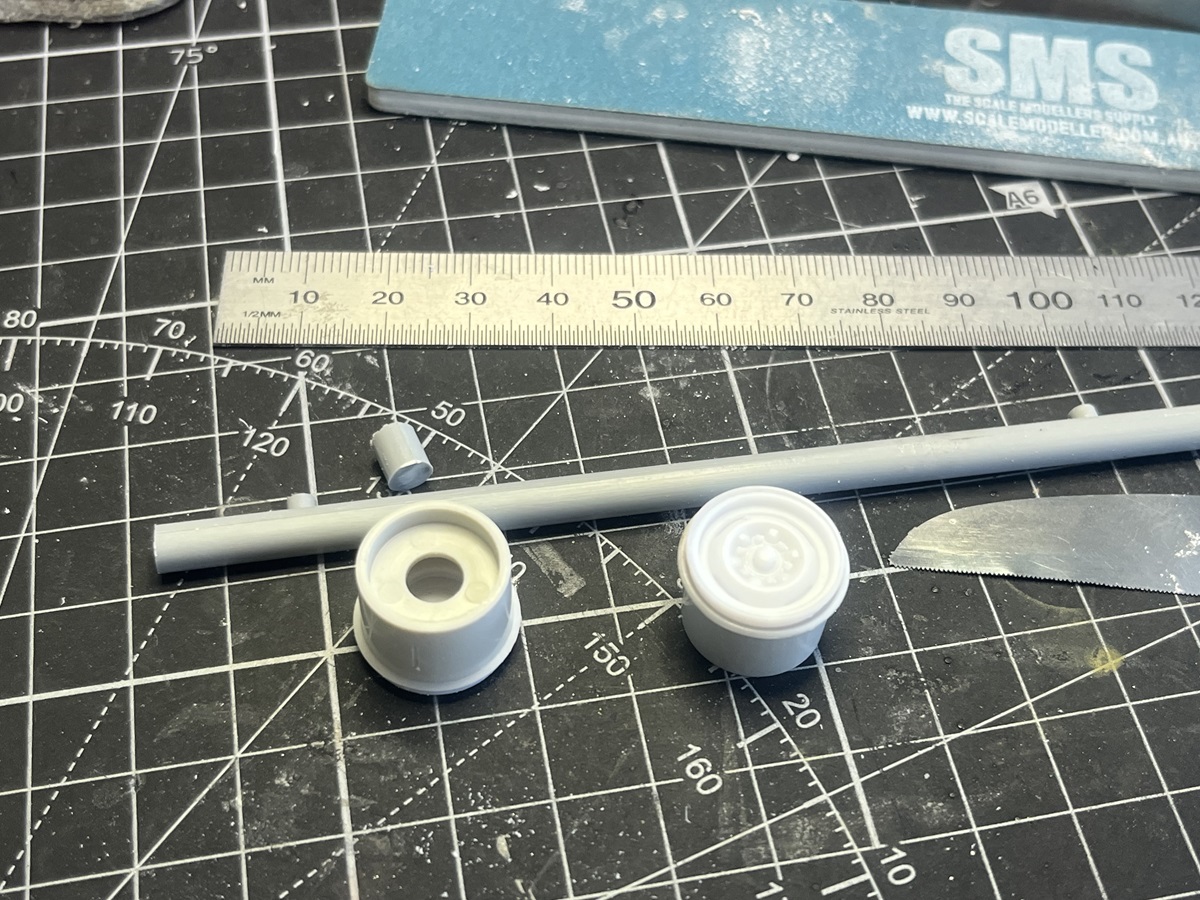
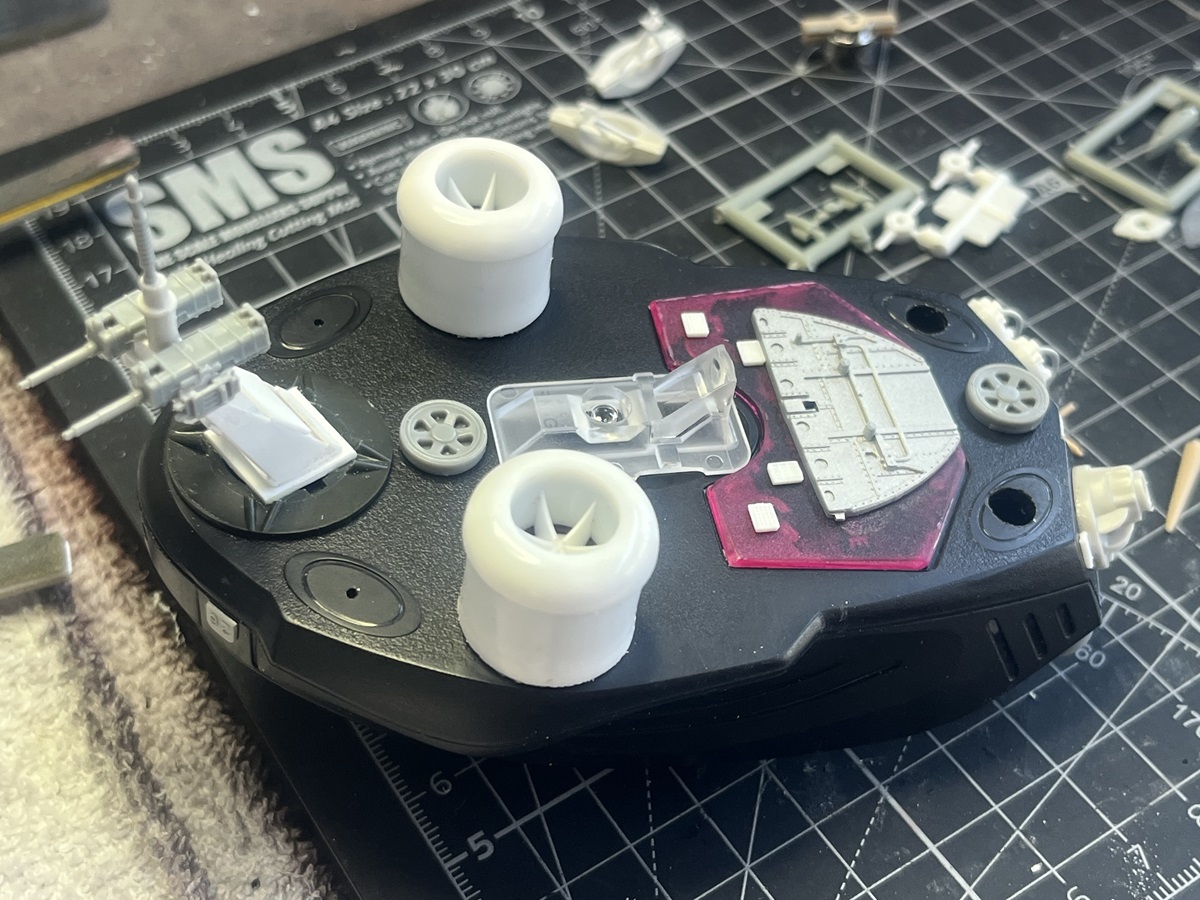
I stole the caps off two of my kids “Pop-Top” drink bottles to use for larger lift at the front end, and the two 1/25 wheel rims will be mounted on bent shafts at the back for smaller lift and directional control.
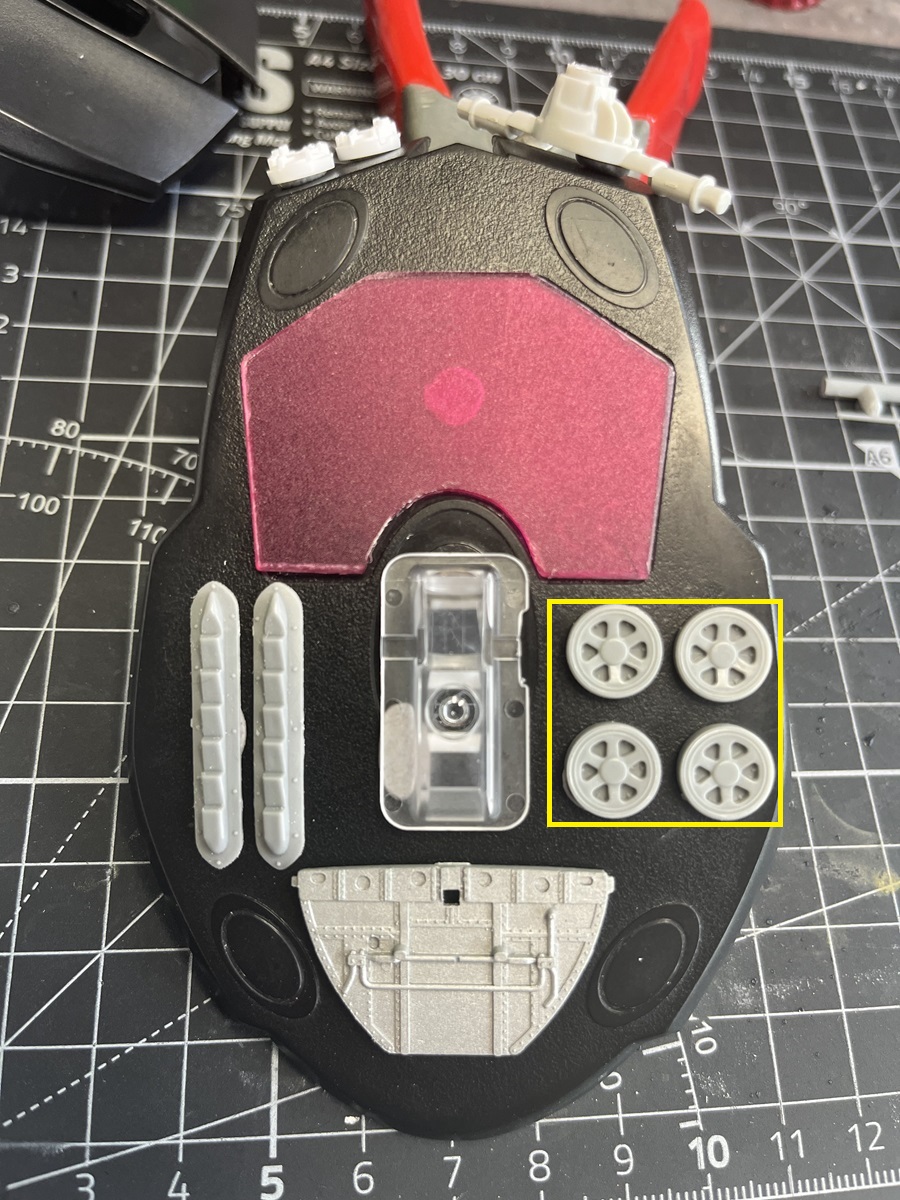
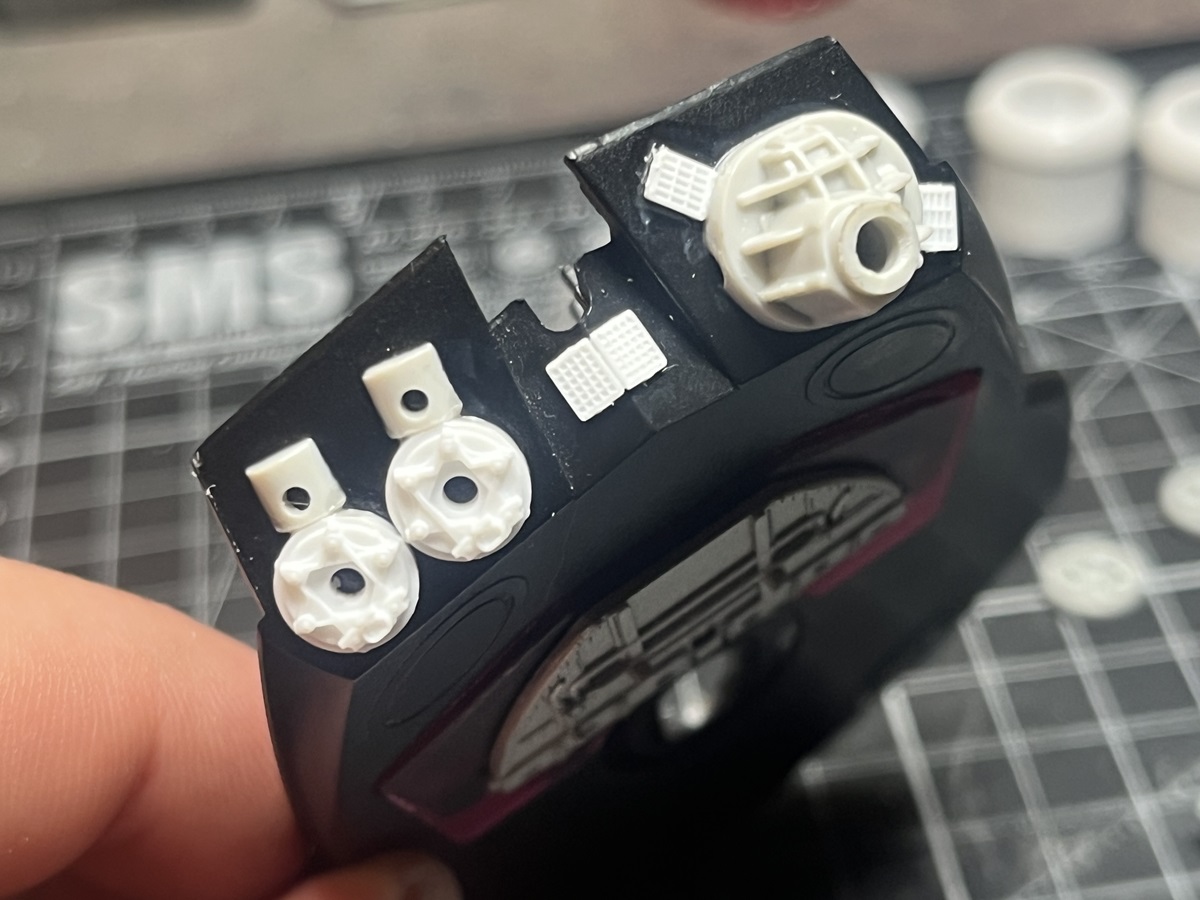
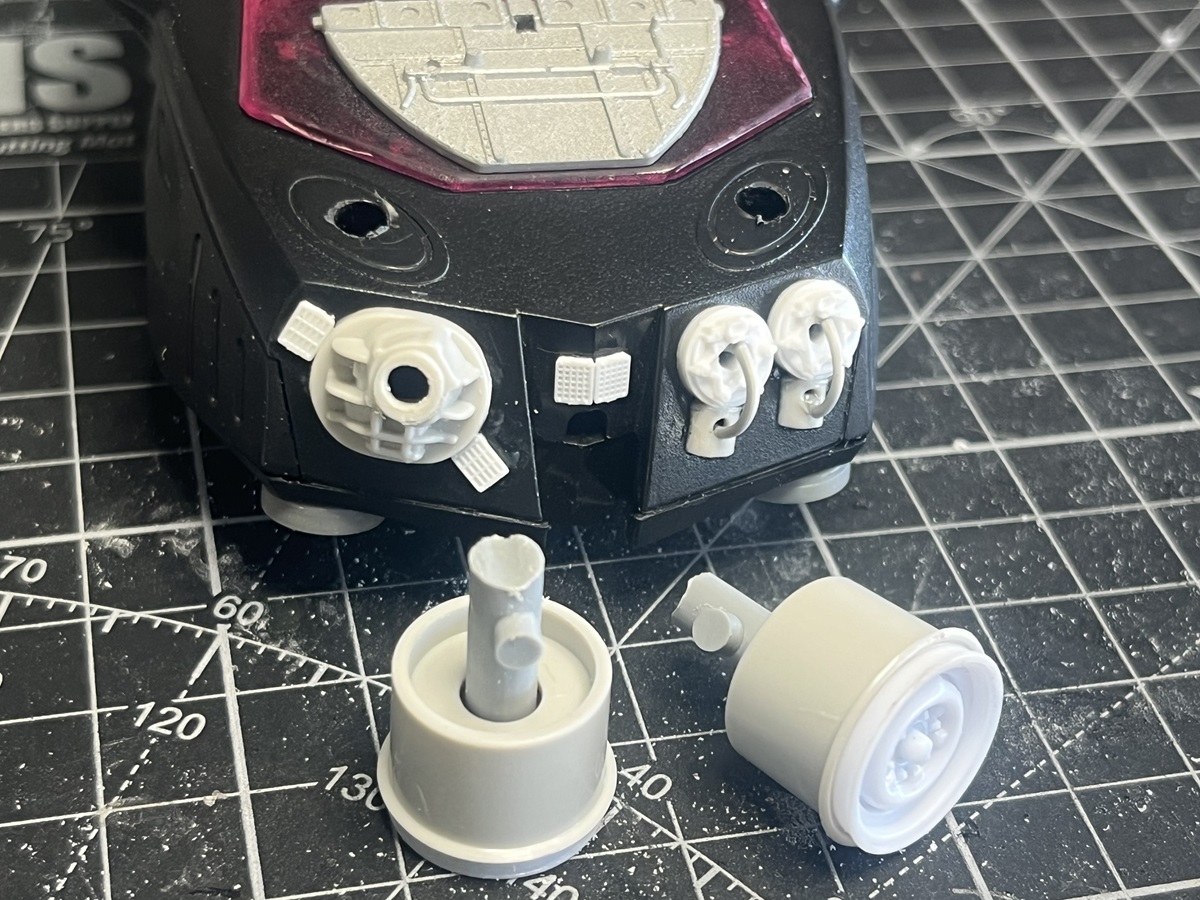
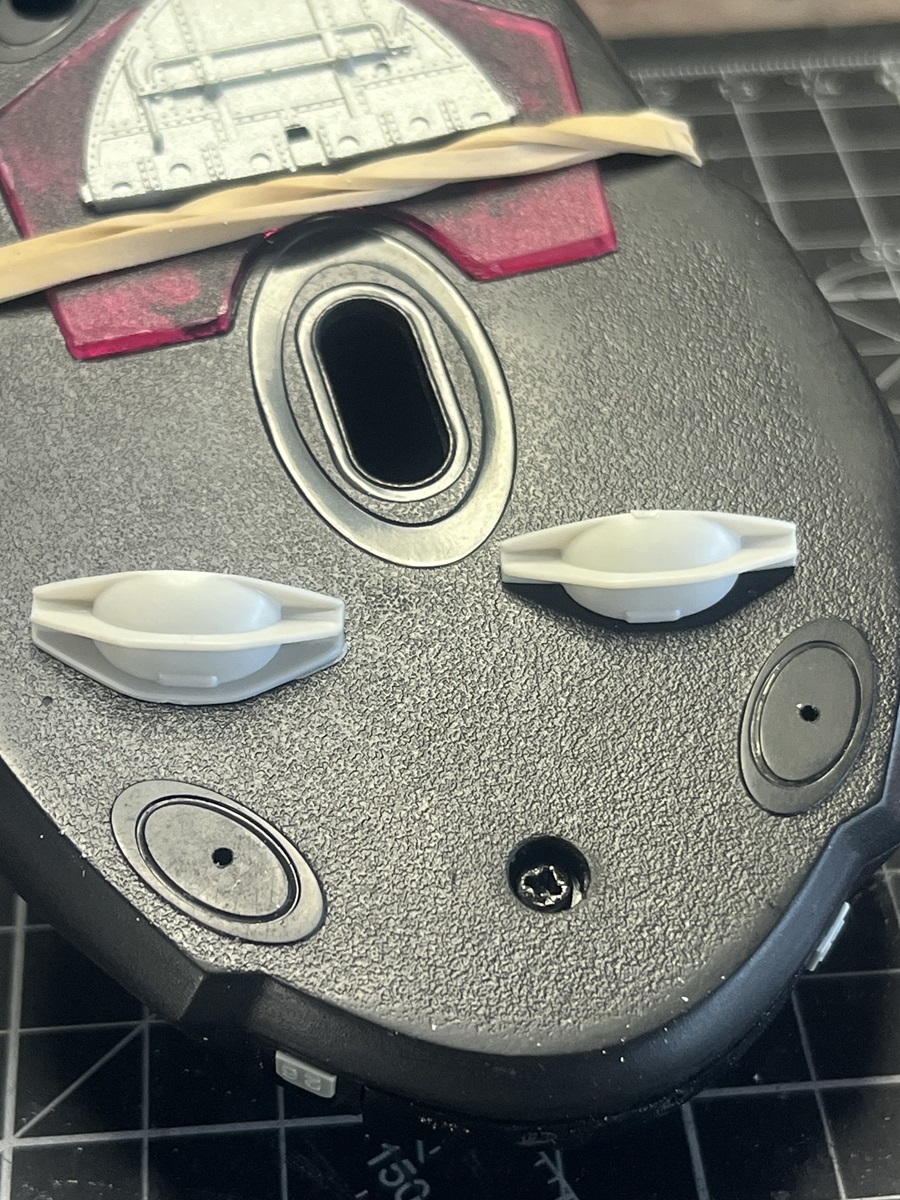
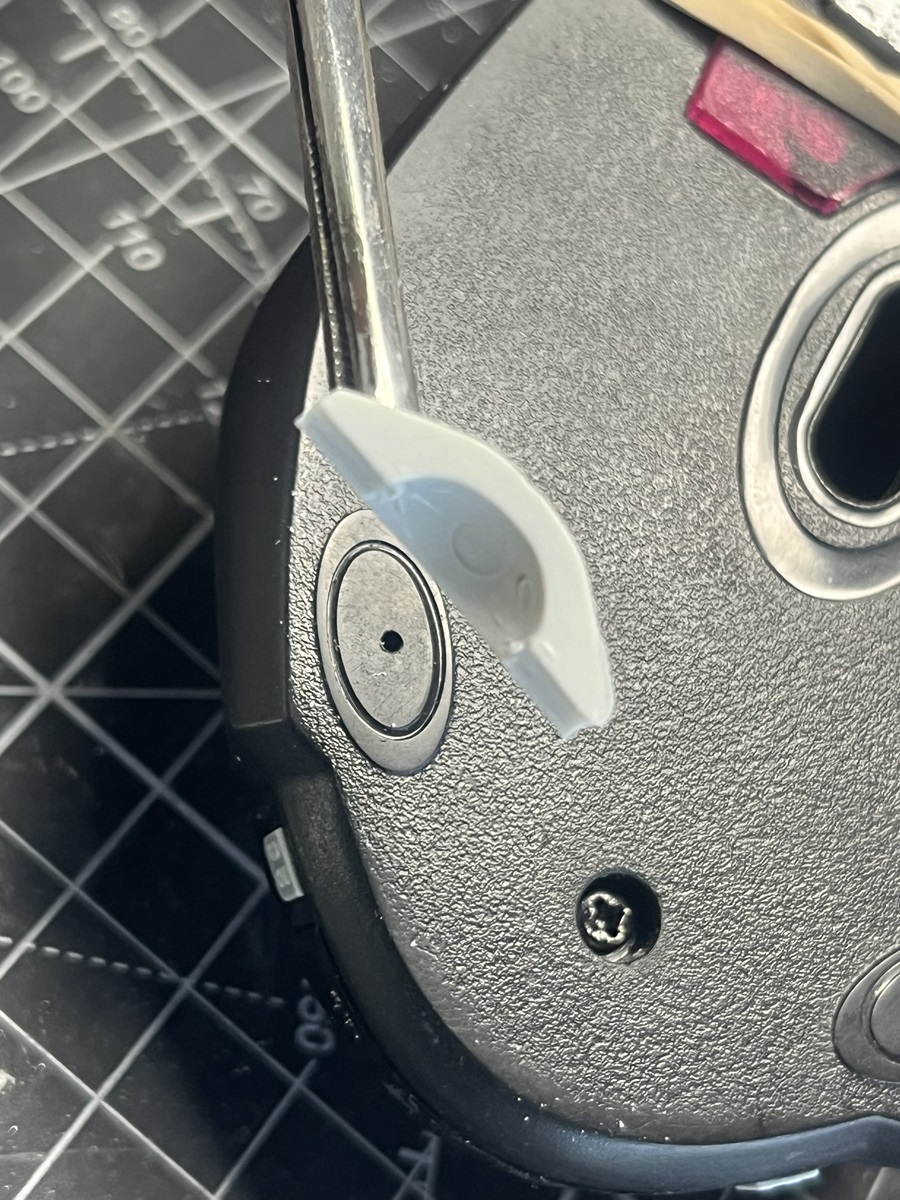
I’m still undecided about the grey parts, whether I do them symmetrically as in the above image, asymmetrically as below . . . . 
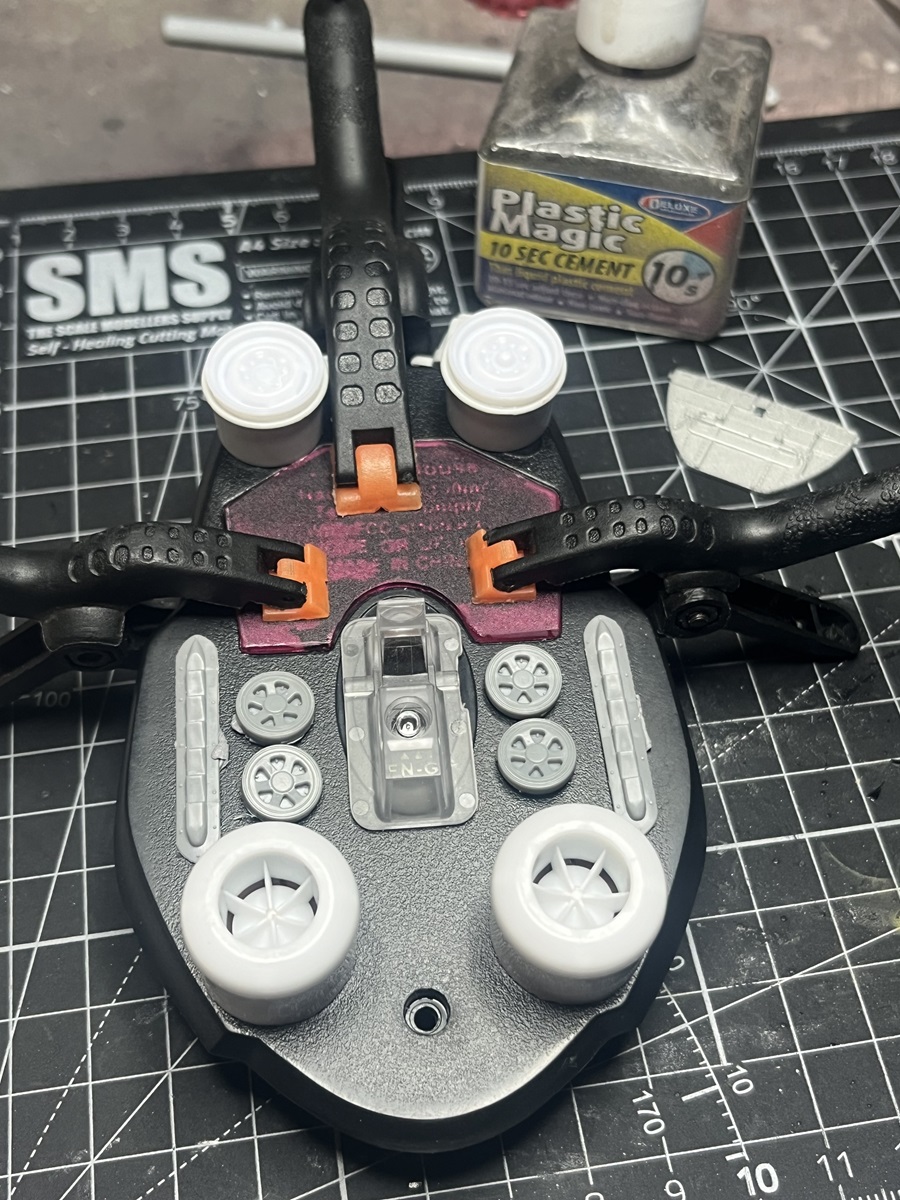
I think I have also found that the Deluxe Products Plastic Magic “10 sec” cement will bond the styrene to the mouse plastic, that will save a lot of mucking around with CA!
With regard to the vehicle itself, I’m thinking this will be an unmanned recon/surveillance/comms drone so I can load it up with antennas and dishes and a few self-defence toys and not worry about cockpit or windows at all. Keeping it simple for my first attempt at something like this!
Cheers, D
7 Likes
IMHO, a symmetrical distribution for the items shown in the photo. You can always add a few small greeblies in the gaps between those items to break up the uniformity. With regard to the four wheel-centre type discs, how about keeping one for another project, keep the rear pair of the symmetrical distribution where they are and use the third as a cover for the visible screw-hole in the third picture?
Regards,
M
4 Likes
Thanks for the feedback Tom. As I said, my first time doing something like this so there will be a lot of adjustments along the way 
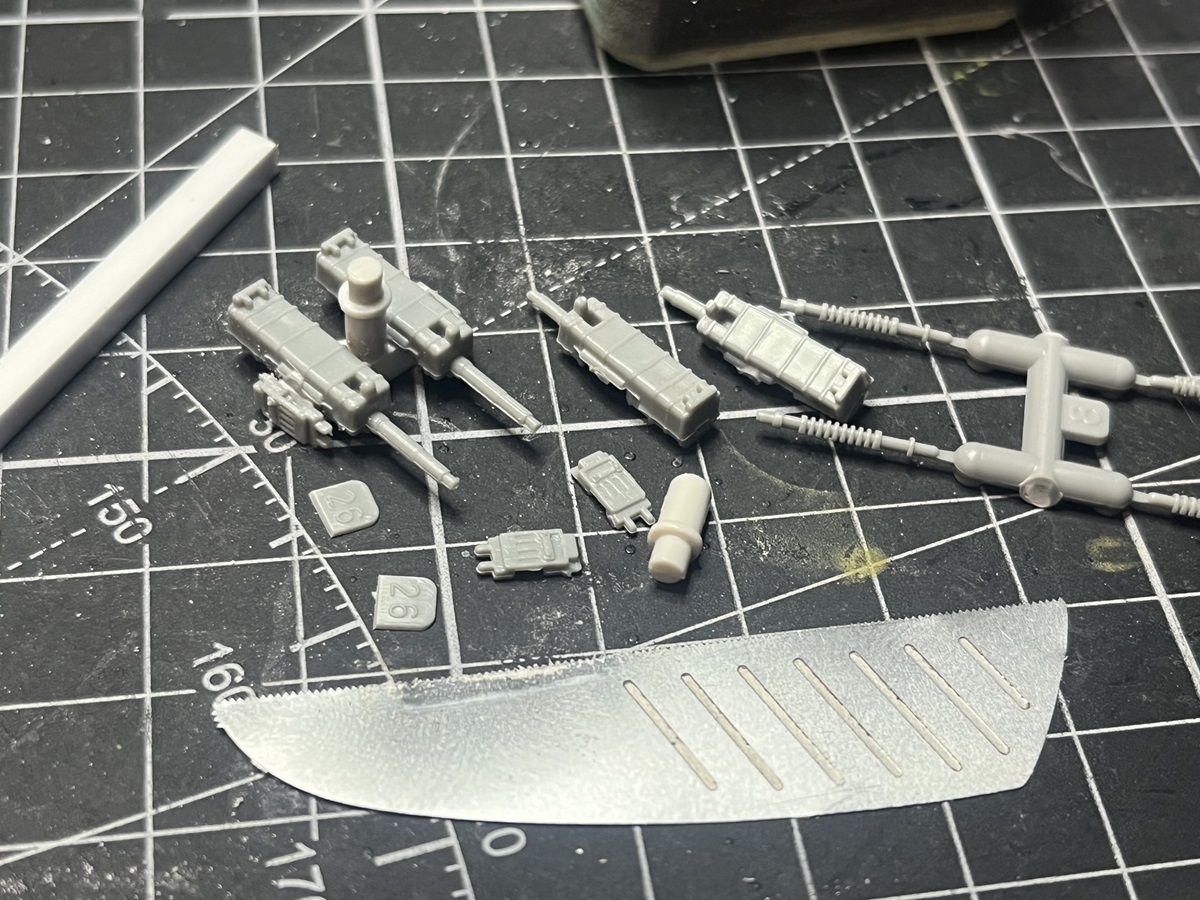
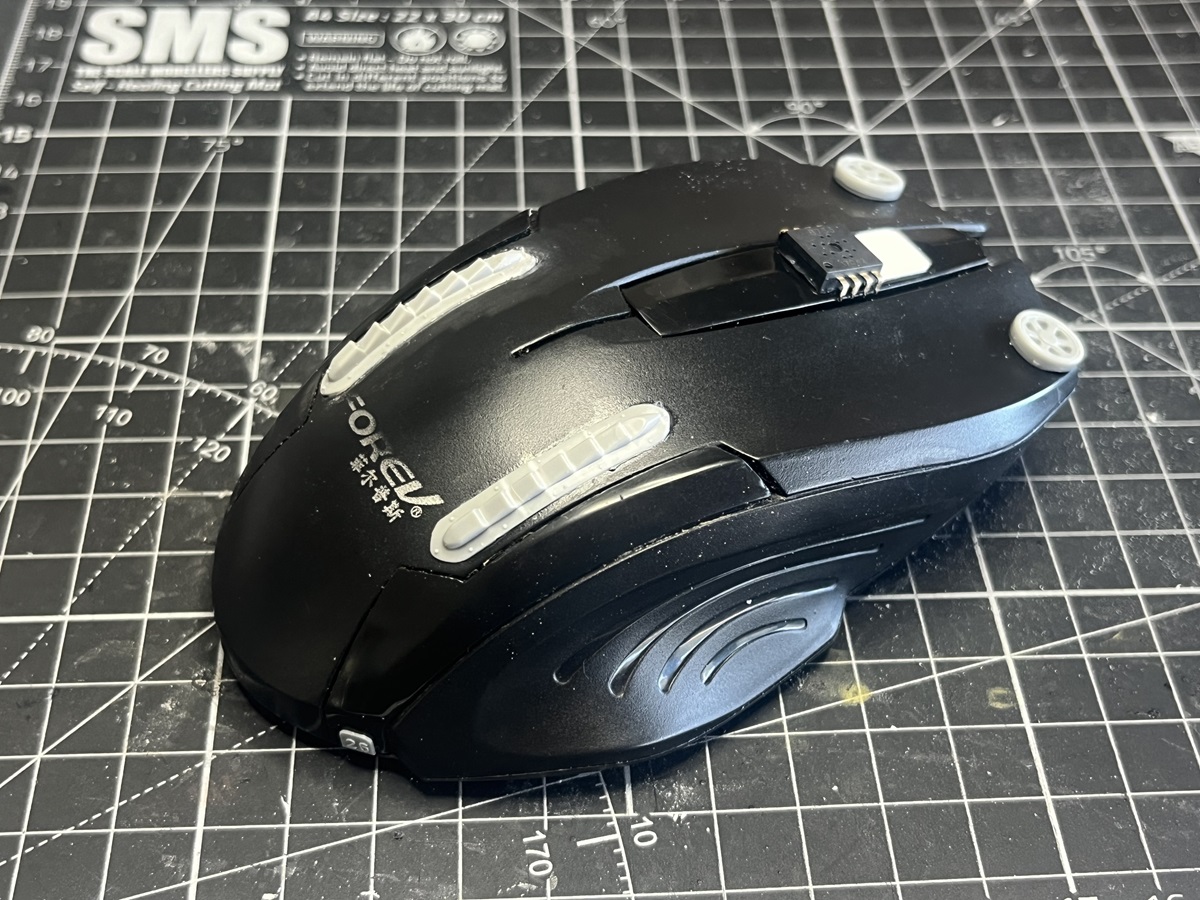
Spent some time last night with spares and scraps putting together a bit of defence for the unit.
Then I glued on a few surface details at the back end.
I decided to re-jig my approach to the underside and pull the main lift back to the middle a bit where it will be more balanced beneath the heaviest section of the profile. This will also open up space at the front end for hardware with a clear forward-facing aspect. I can add some receiver dishes and antennae there as well. I will make up a mount for the guns to keep them further forward and raised off the deck.
The sawtooth exhaust and 2 of the wheels will fit nicely on top now as well.
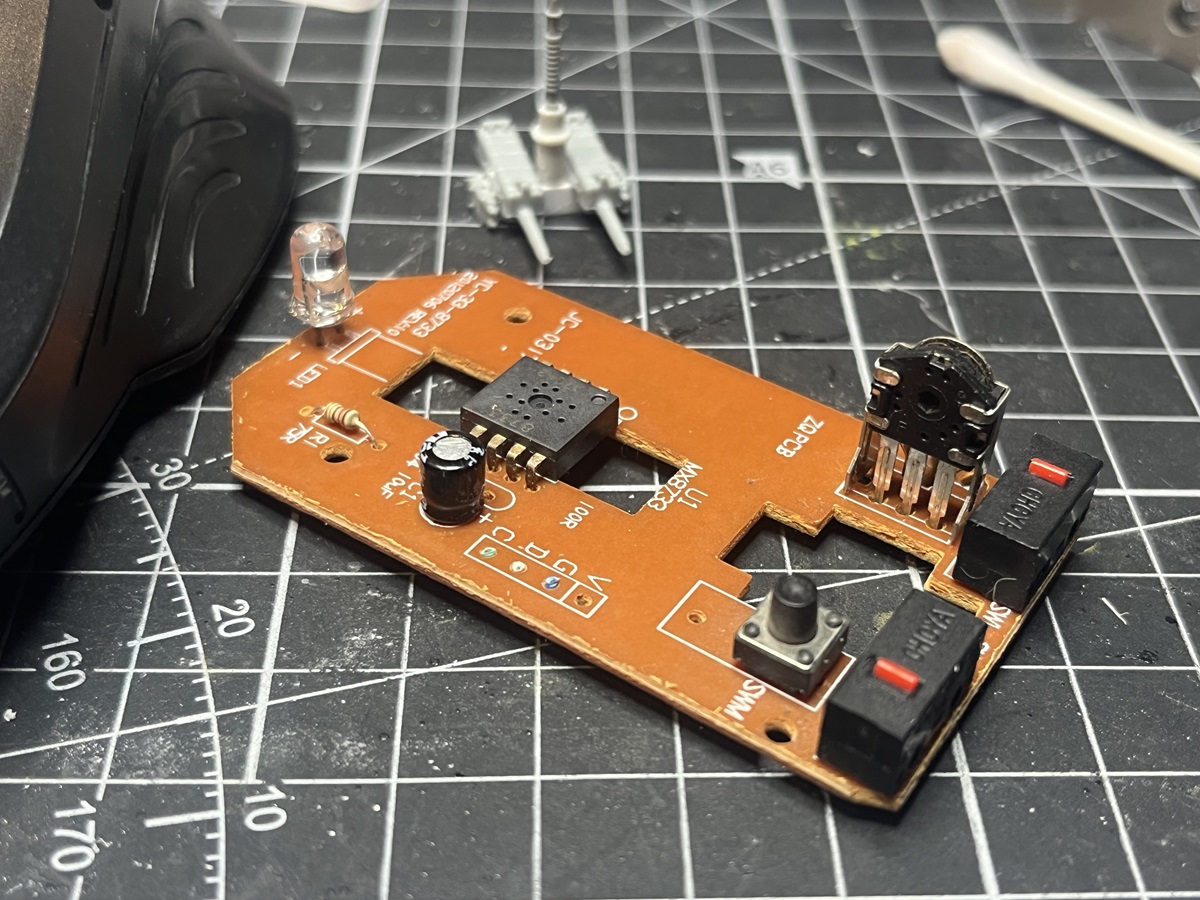
And lastly, the PCB from inside the mouse has some cool greeblies that will be added along the way.
Cheers, D
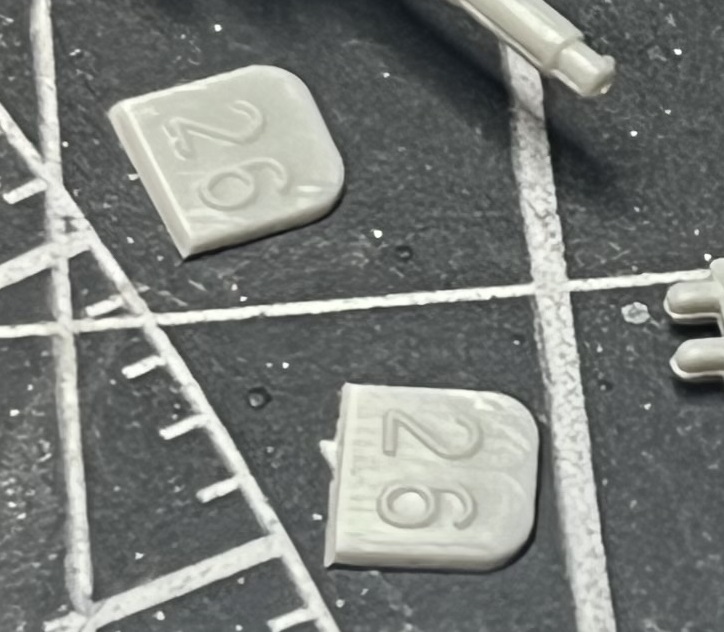
EDIT: Something I forgot to mention, I picked this up a while back and you guys might already be on to it, but the part number tabs from your sprues can be used to provide a really cool raised serial number detail for scratchbuilding.
7 Likes
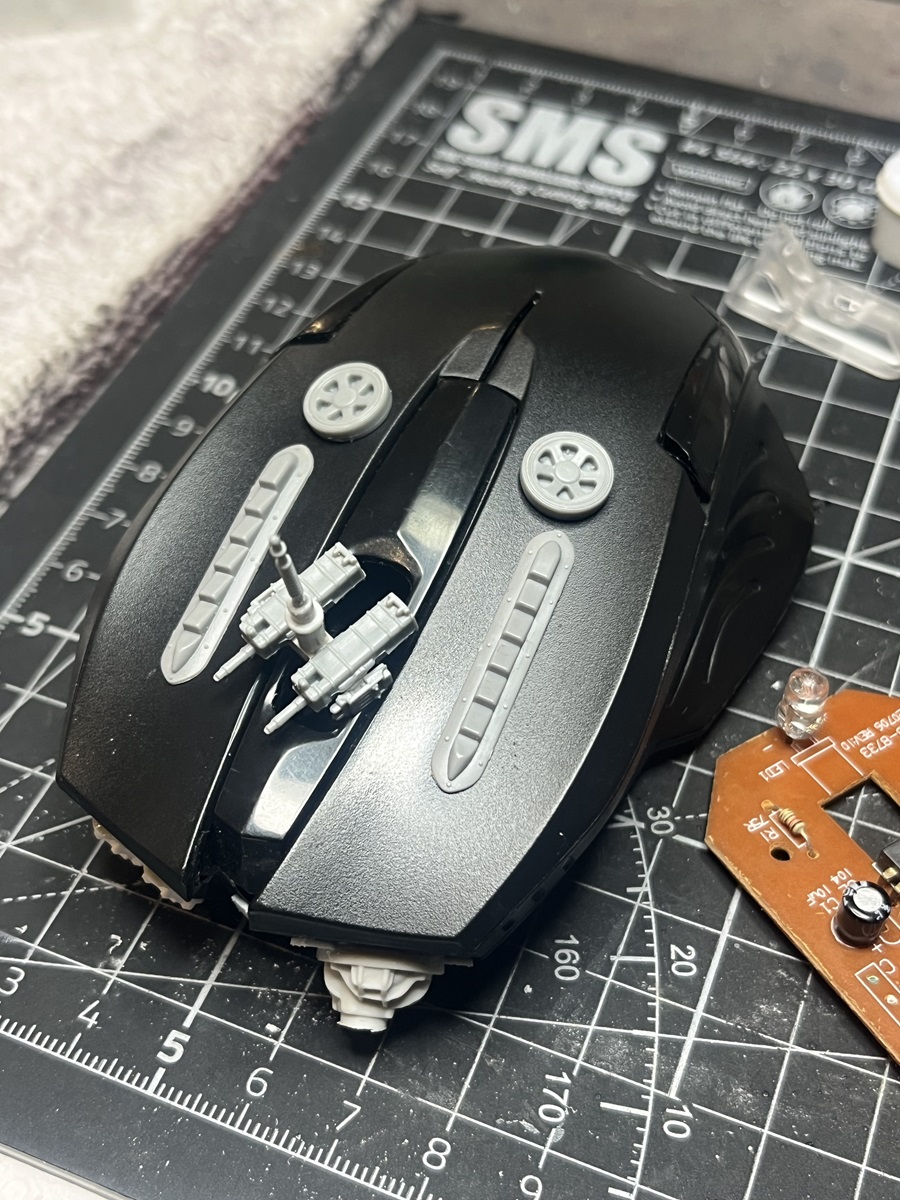
More tinkering today, this pure imagination stuff is very addictive!
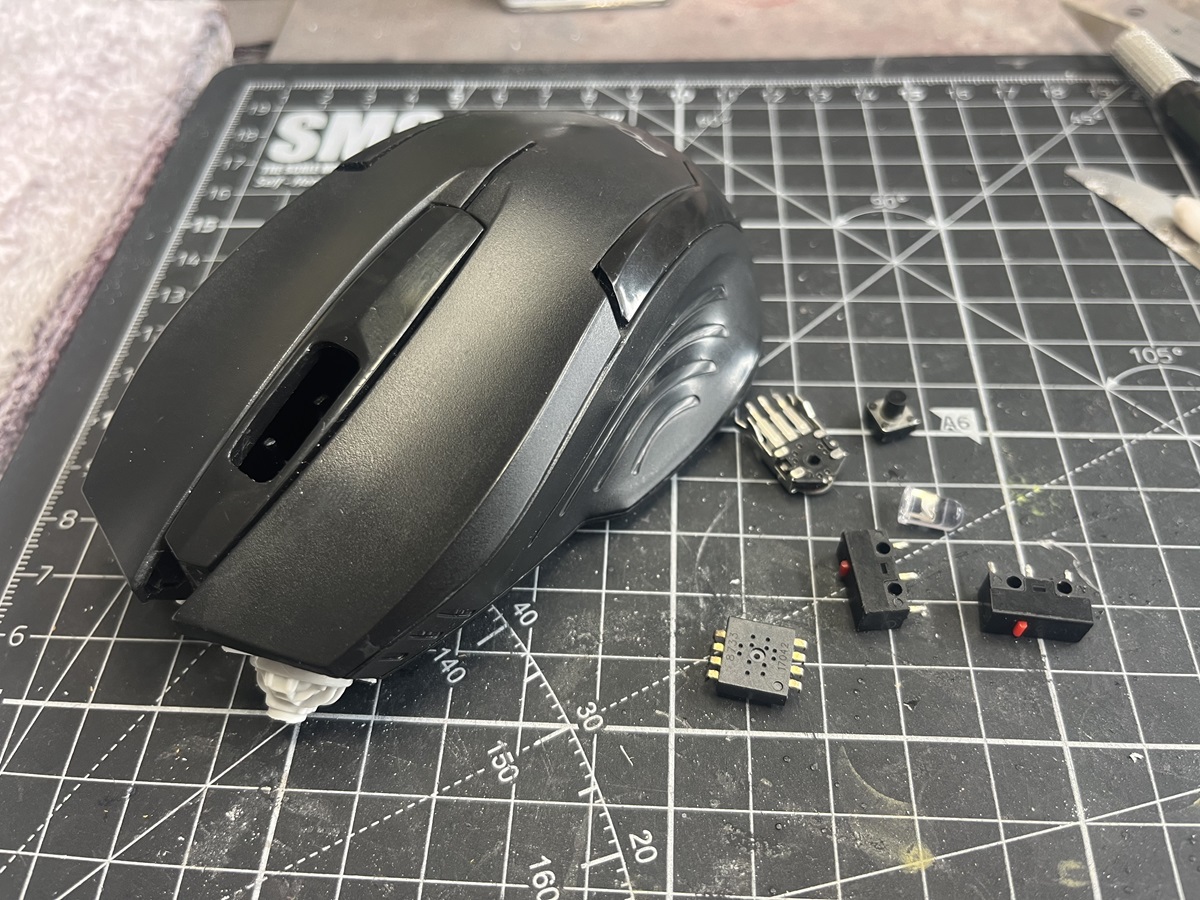
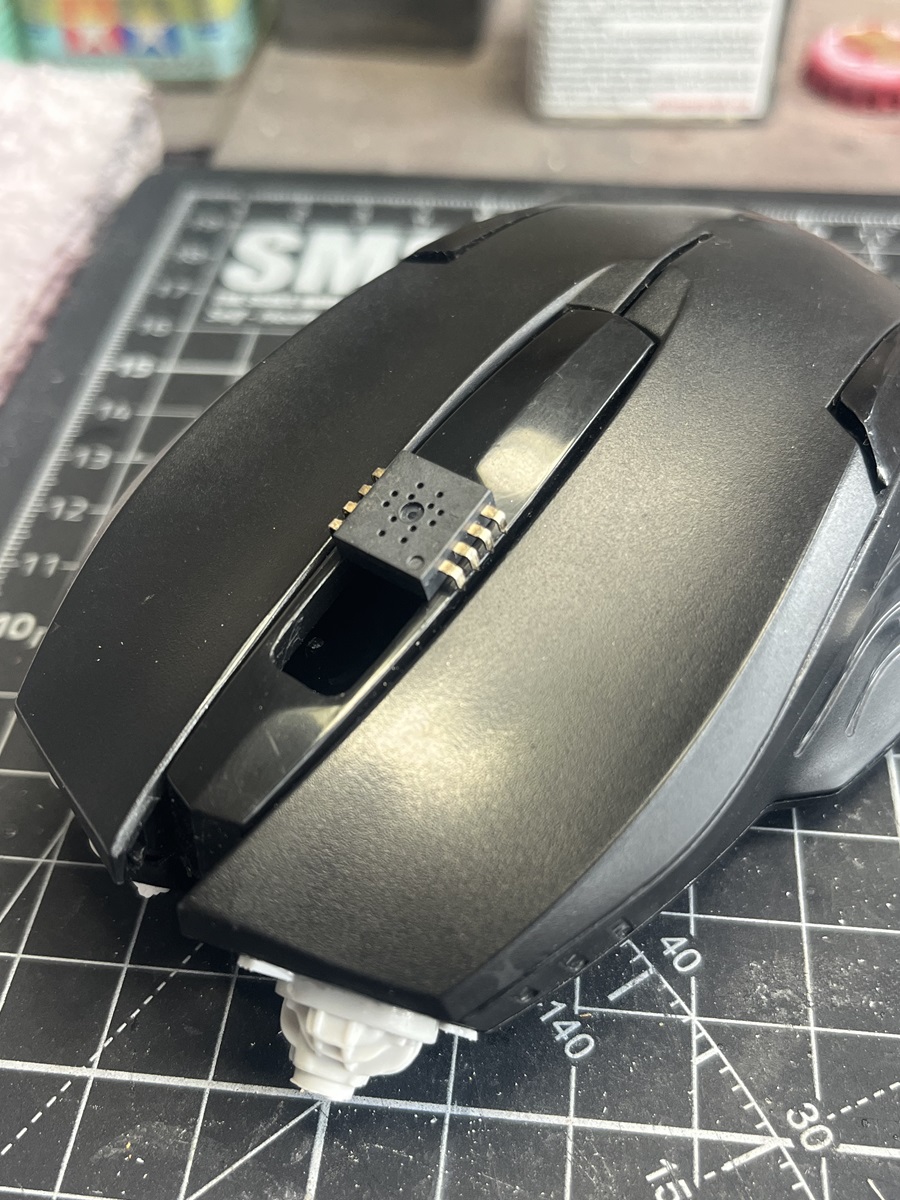
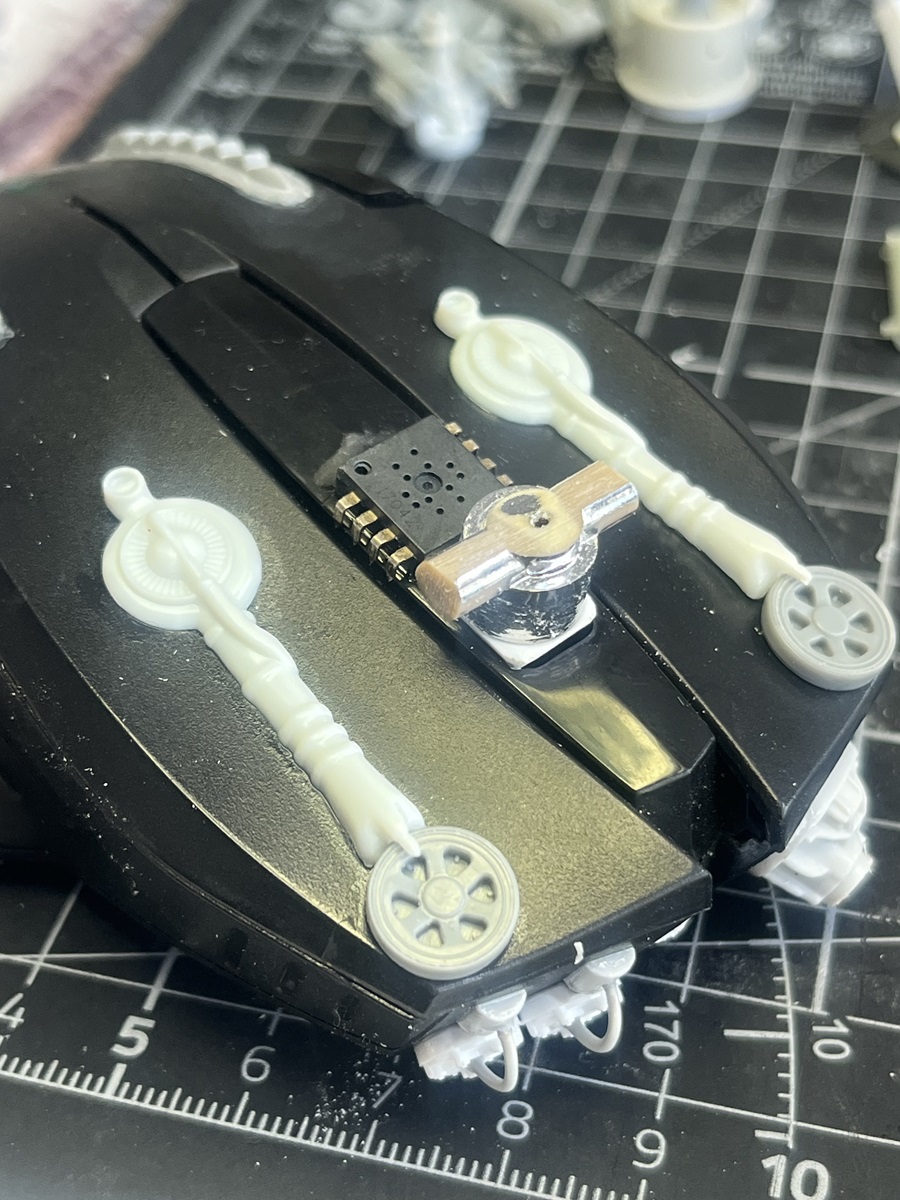
I dismantled the PCB and started thinking about where things might go. I really want to use all of these major components in the build somewhere. Just seems right!
This bit fits nicely on top . . .
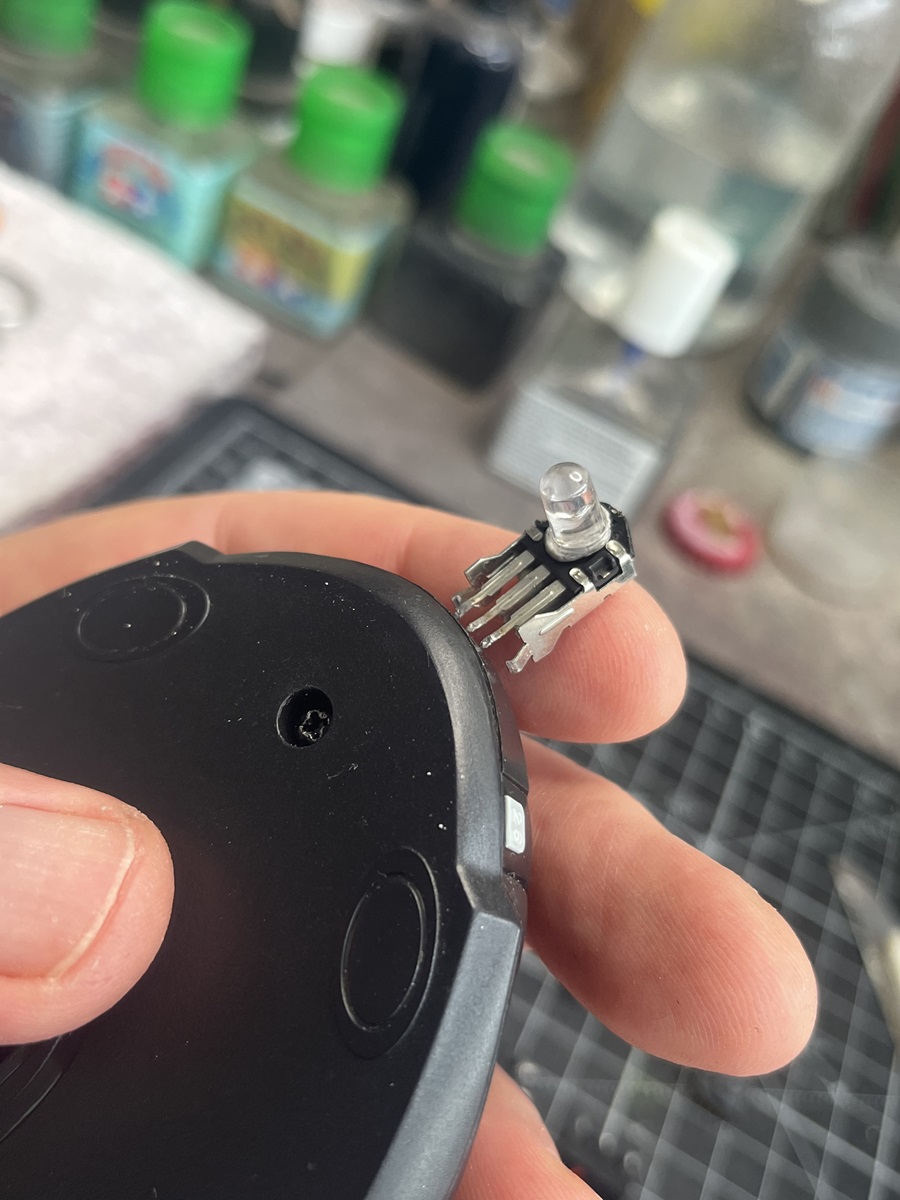
This clear thingo will glue on the other doodad and stick out the front, like a surveillance camera . . . .
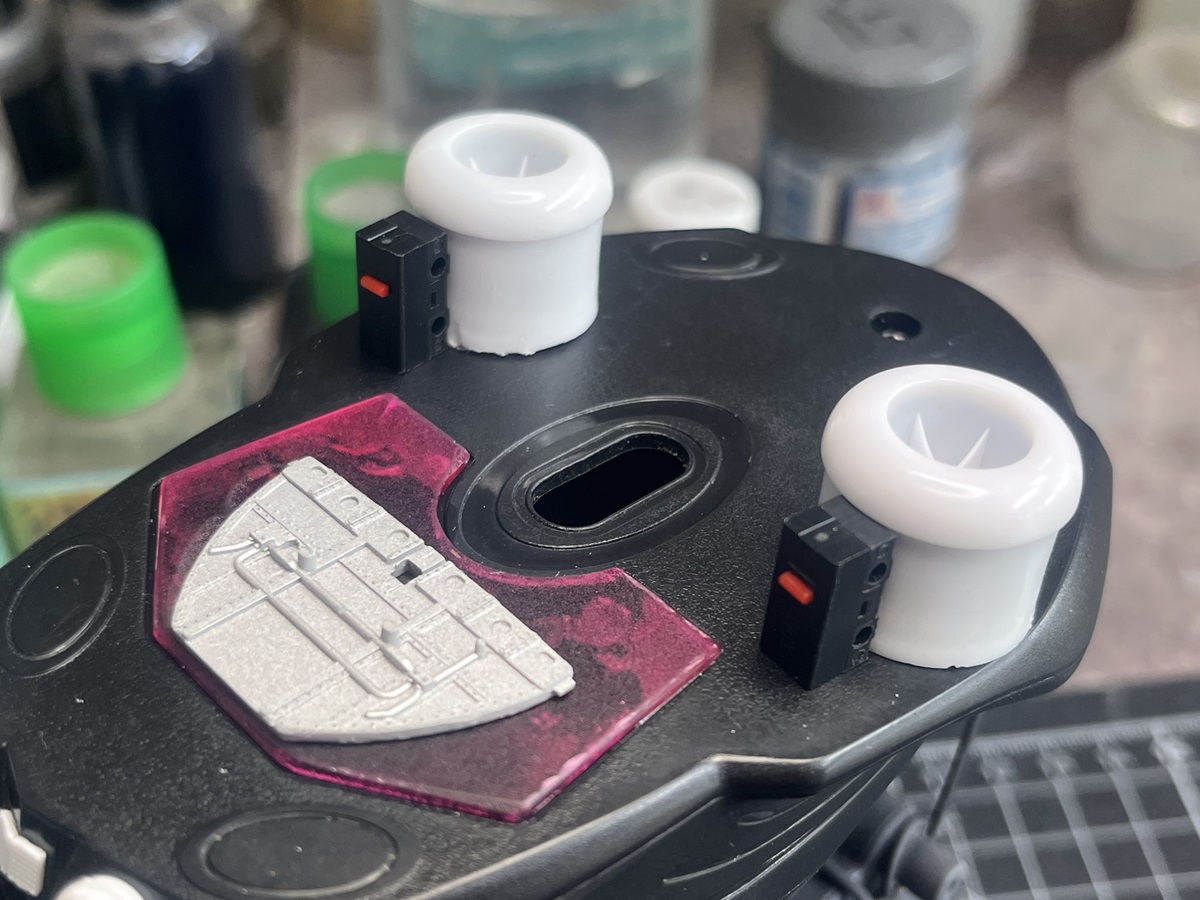
These 2 box jiggers will fit upright behind the main lift thrusters . . . . . . .
Or maybe laying down. And the little button bit fits nicely here too . . . . . .
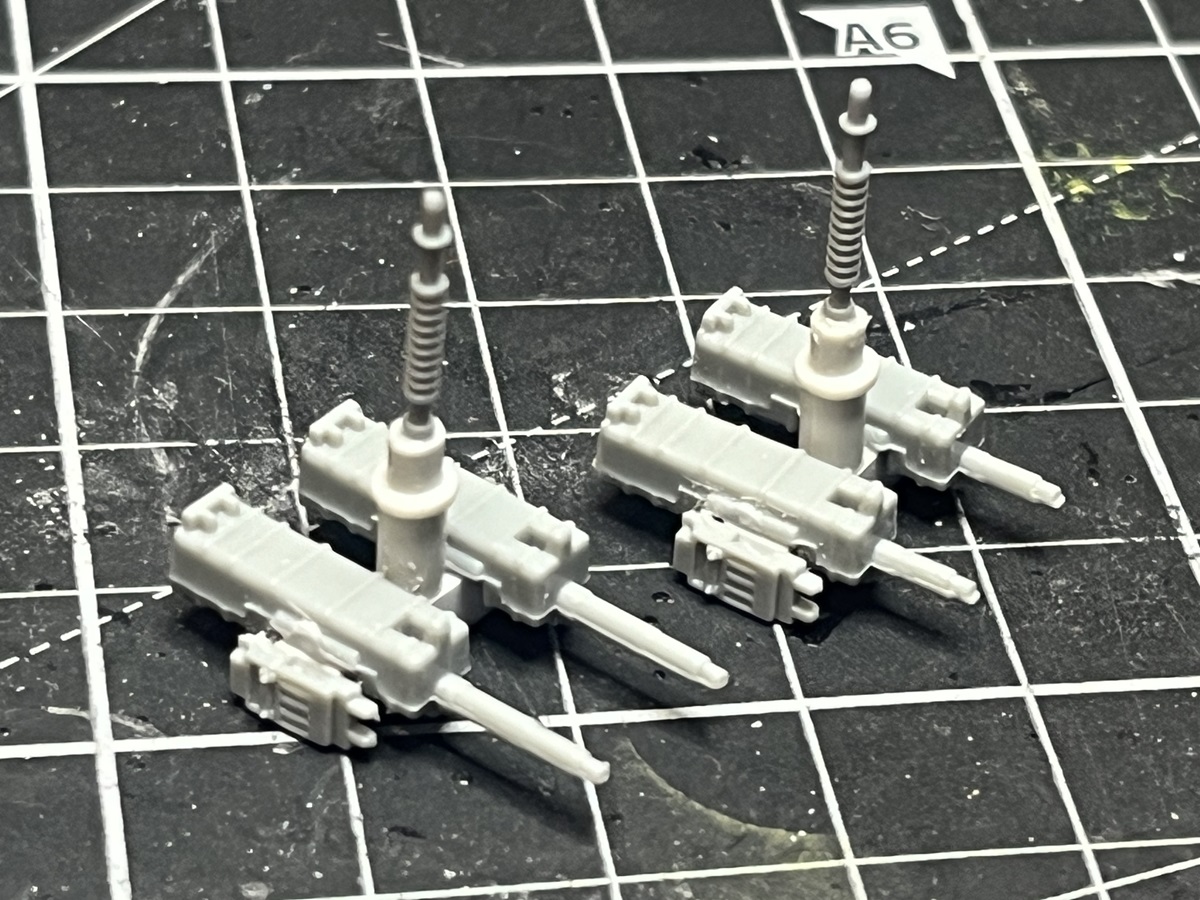
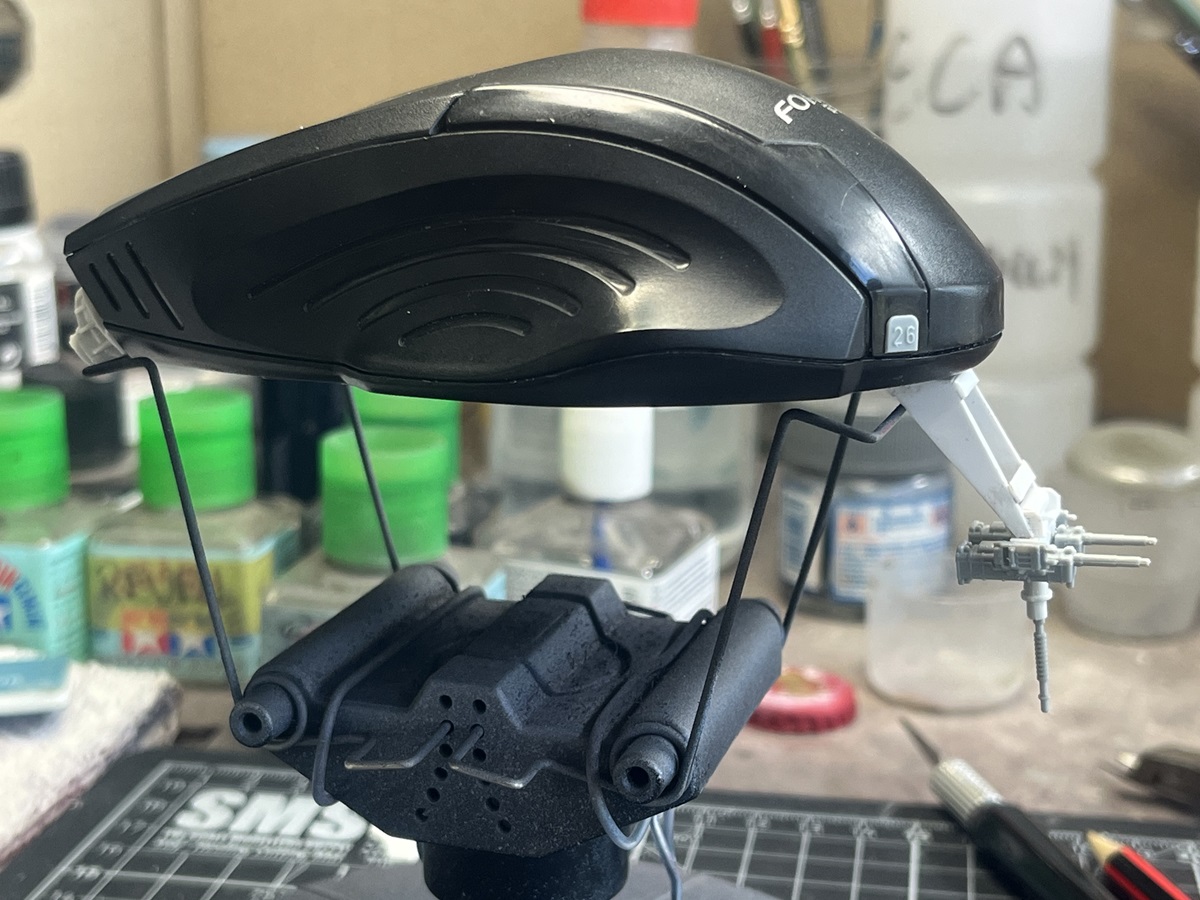
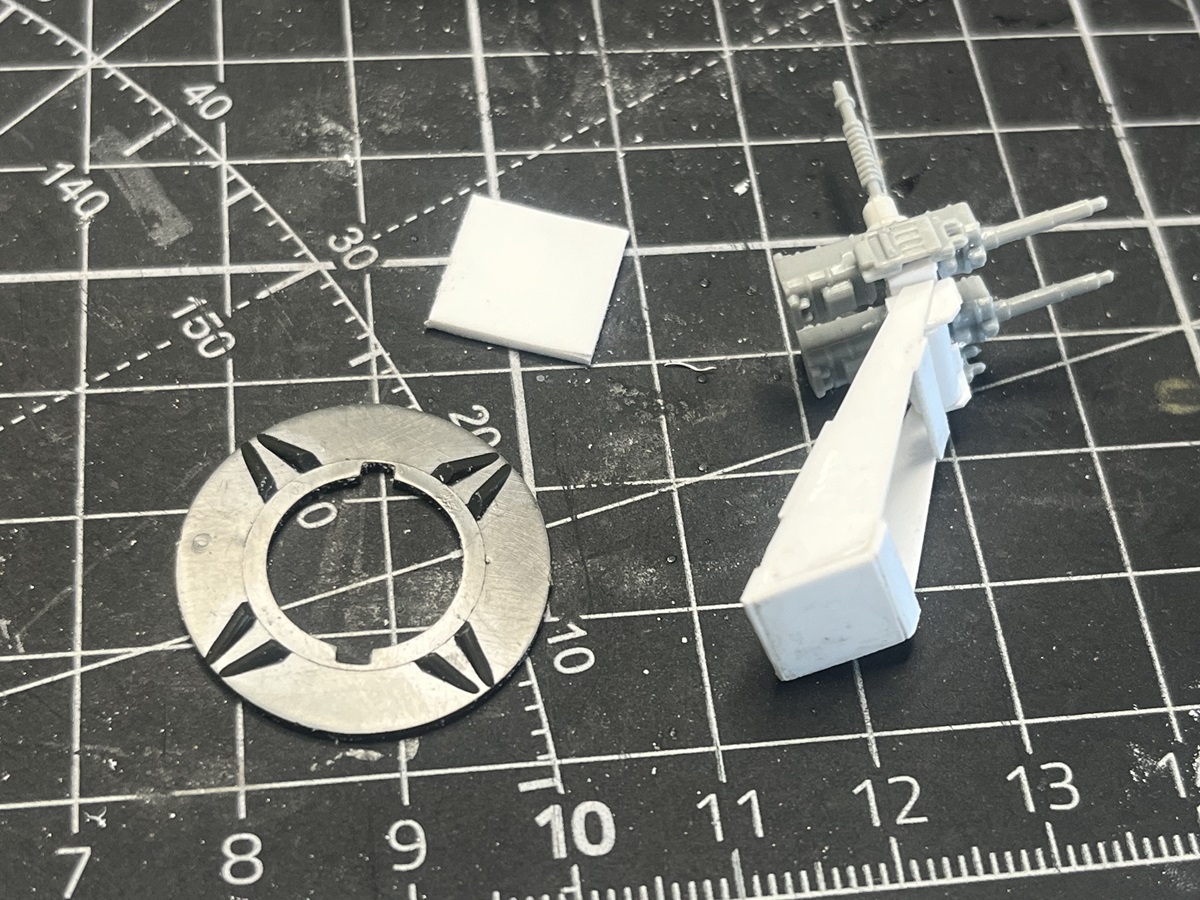
I also played with some sheet styrene and sprue and made up an offset mount for the front guns, still some tubes and wires to be added. This will fit to a base mount, just Blu-Tac’ed in place here . . . .
Cheers, D
7 Likes
Progress update . . . . .
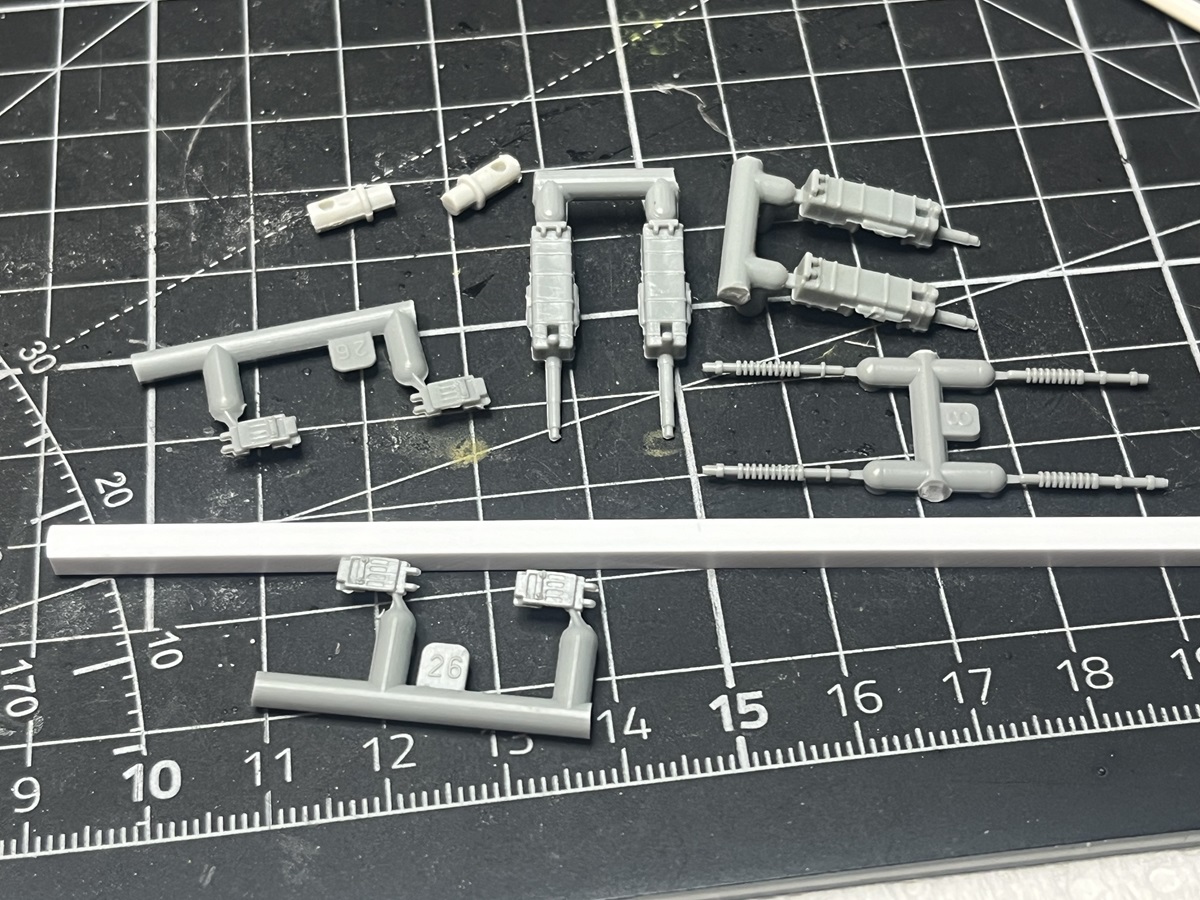
The rear thrusters will be mounted on hinged arms for directional control and stability. I used some sprue for the arms and an end mill on the Dremel to groove the end of the sprue to take the hinge joint.
The base of the unit has been drilled where they will be located. I will drill into the end of the little sprue nubs and add some wiring out onto the thruster heads.
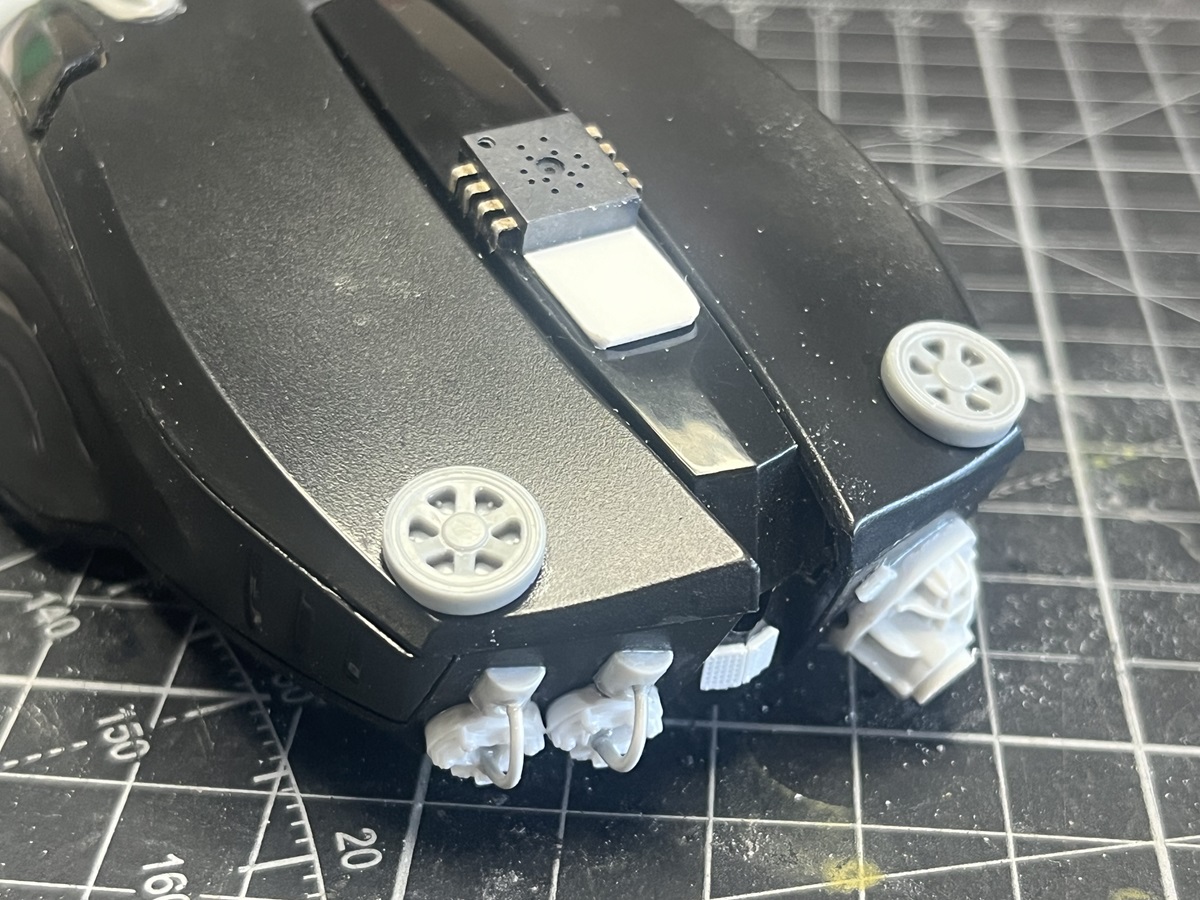
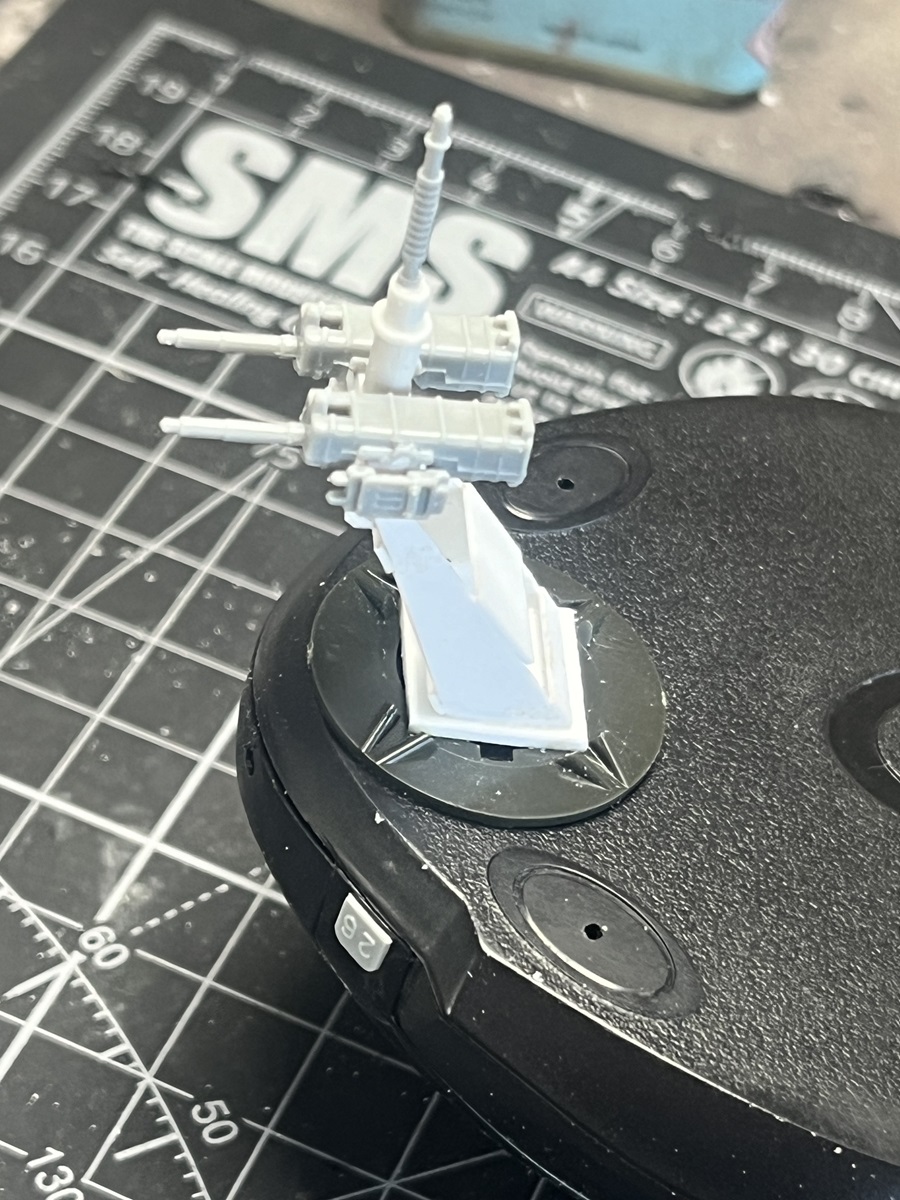
I relocated and added a couple of items to the top and used some 1mm styrene sheet to blank off the mouse wheel hole and create a mount plate for the rear guns.
A couple of holes drilled in the front and the mouse wheel part fits in neatly. The glass dome will be left off until the end.
Cheers, D
8 Likes
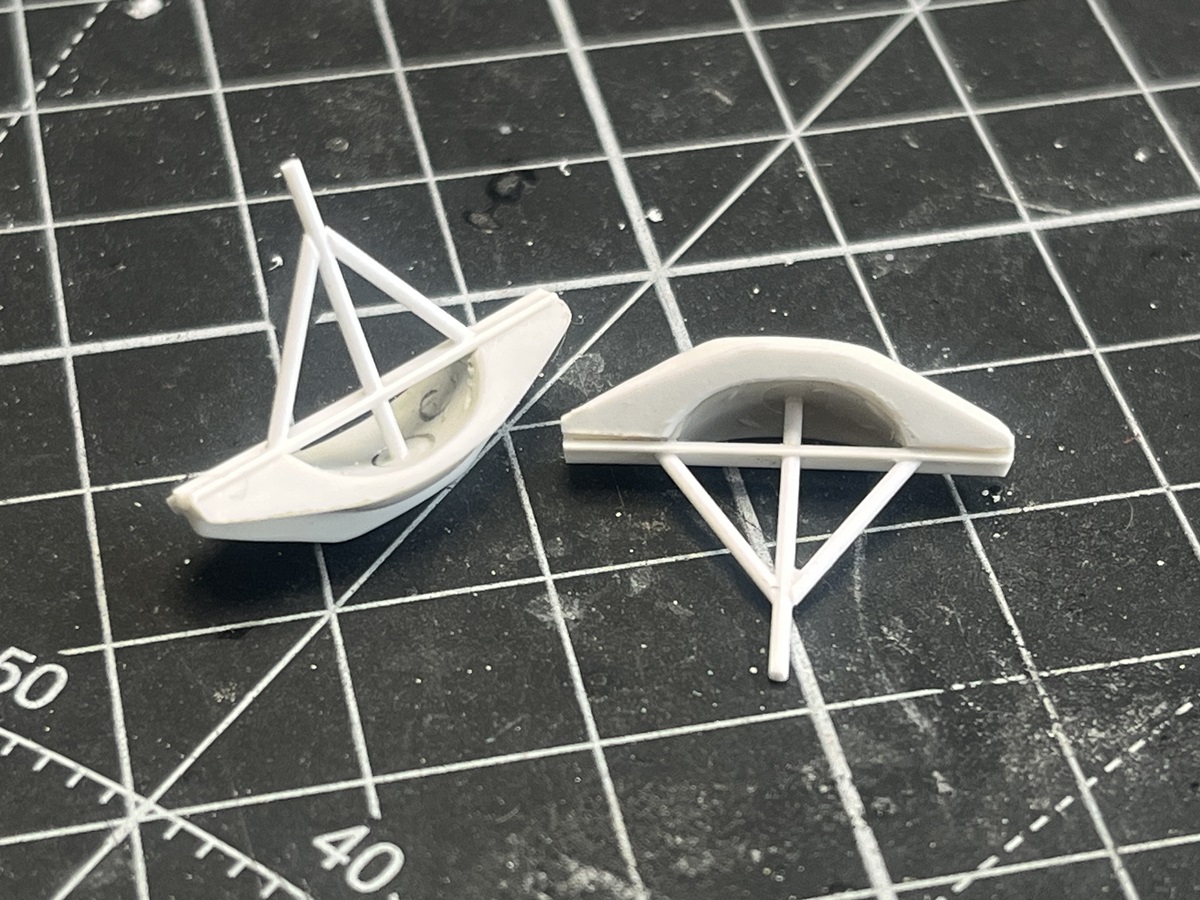
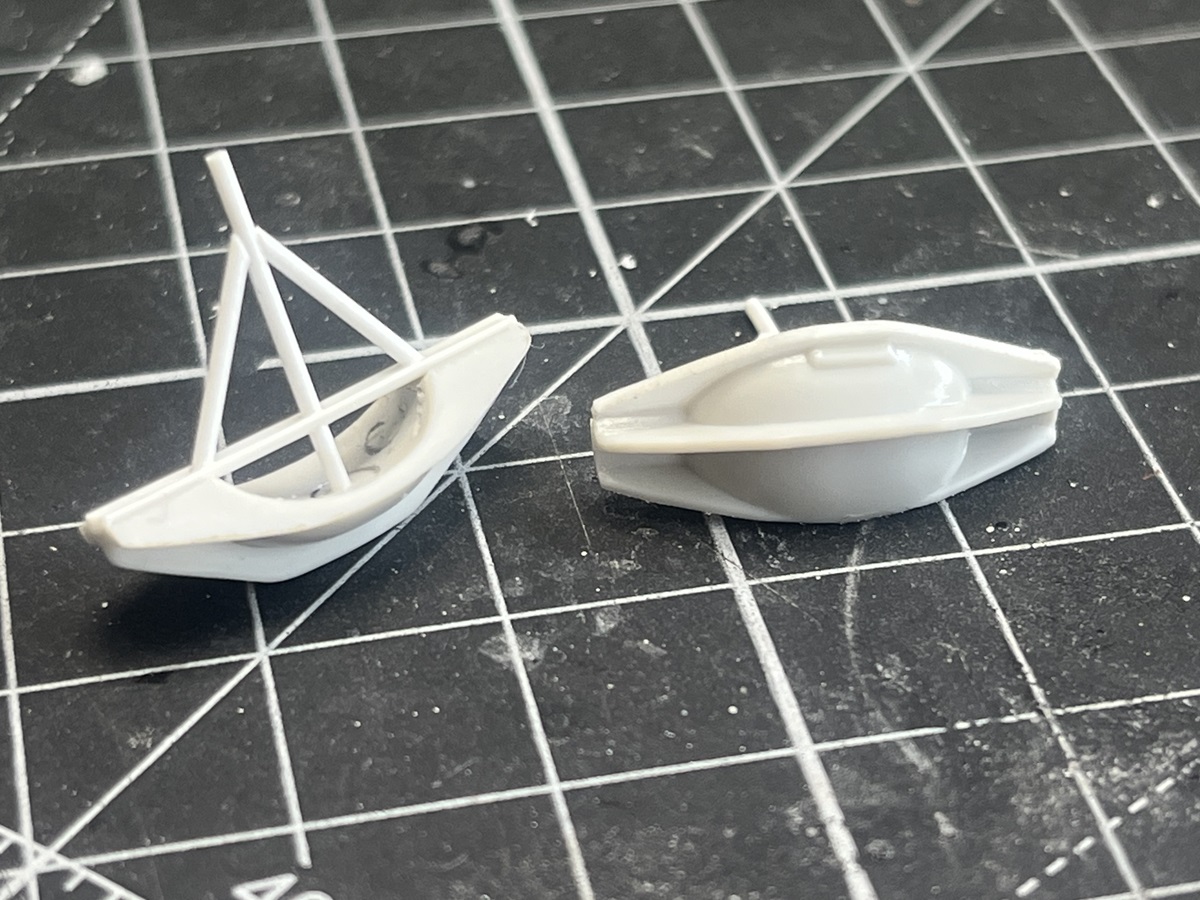
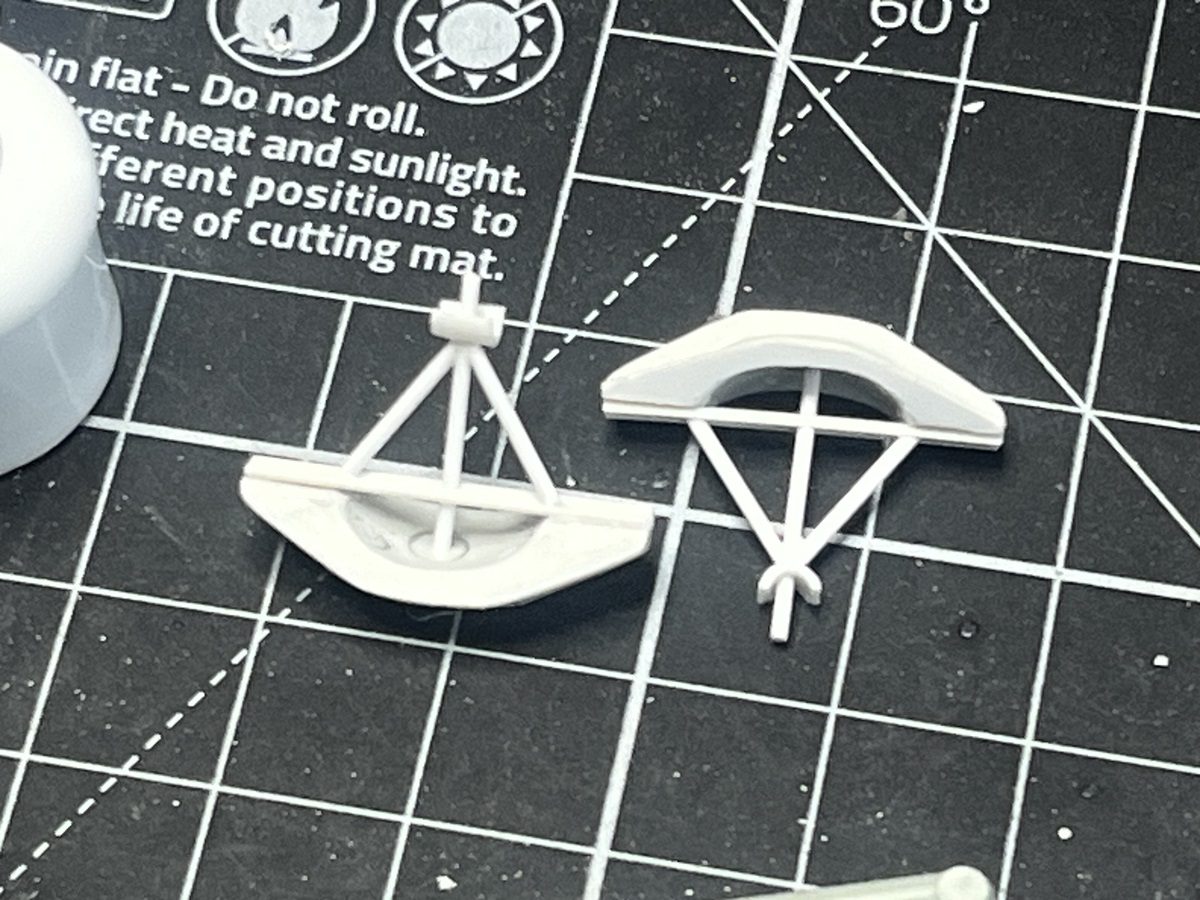
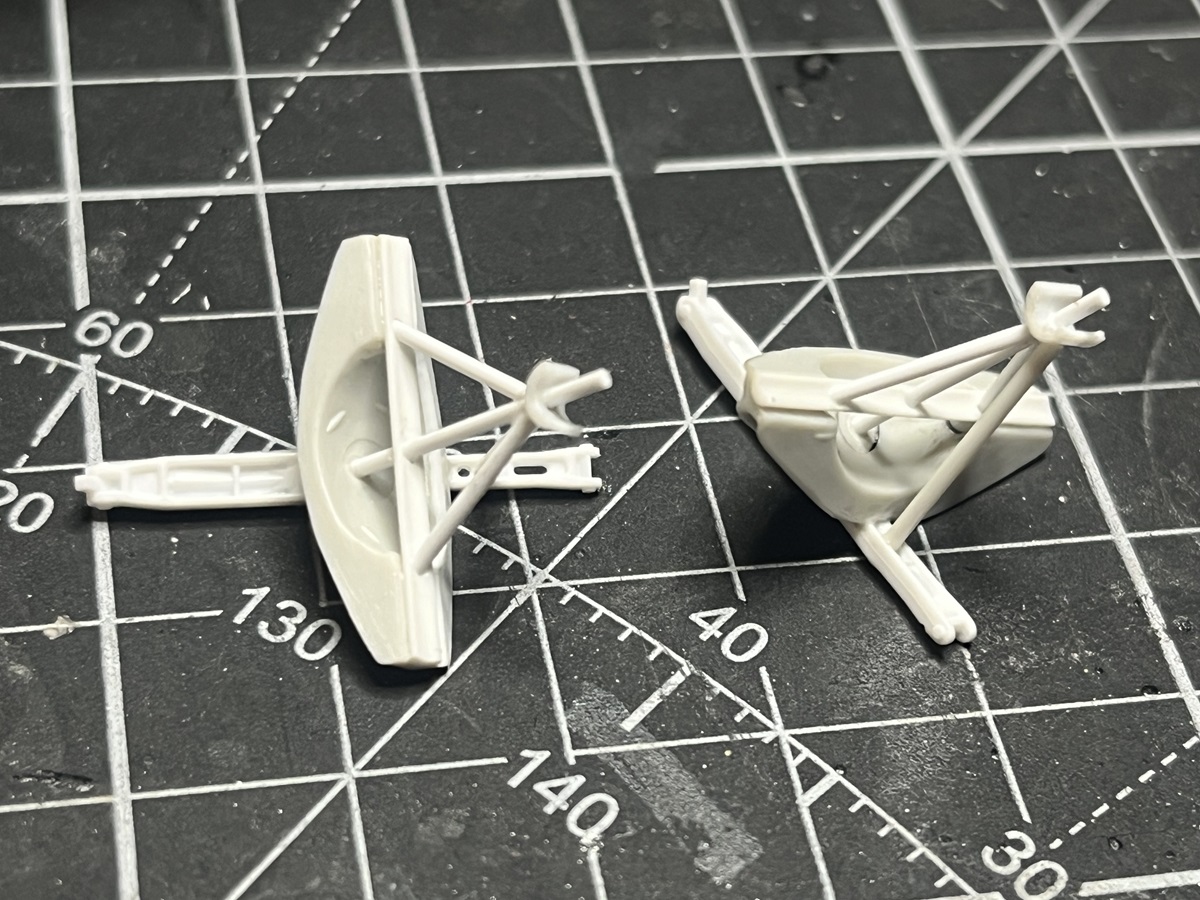
I was hunting through my spares bins for something vaguely parabolic to make a pair of receiver dishes for the front end and found a set of differential halves. Yep, these will do.
They were asymmetrical so I added a piece of flat sheet to one of them and shaped it up, then added some half-round and rod stock to gizmo them up.
These will be mounted on tripod frames under the nose.
Cheers, D
4 Likes
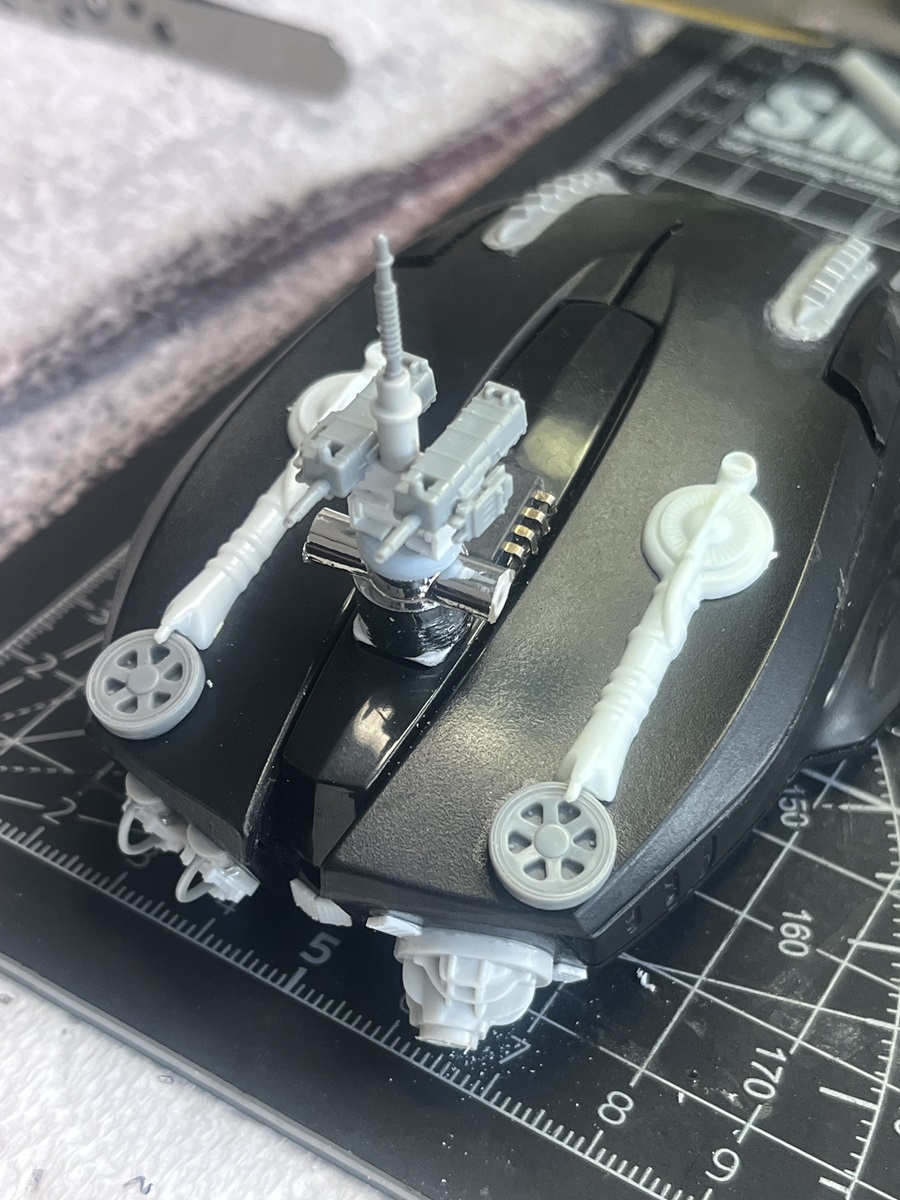
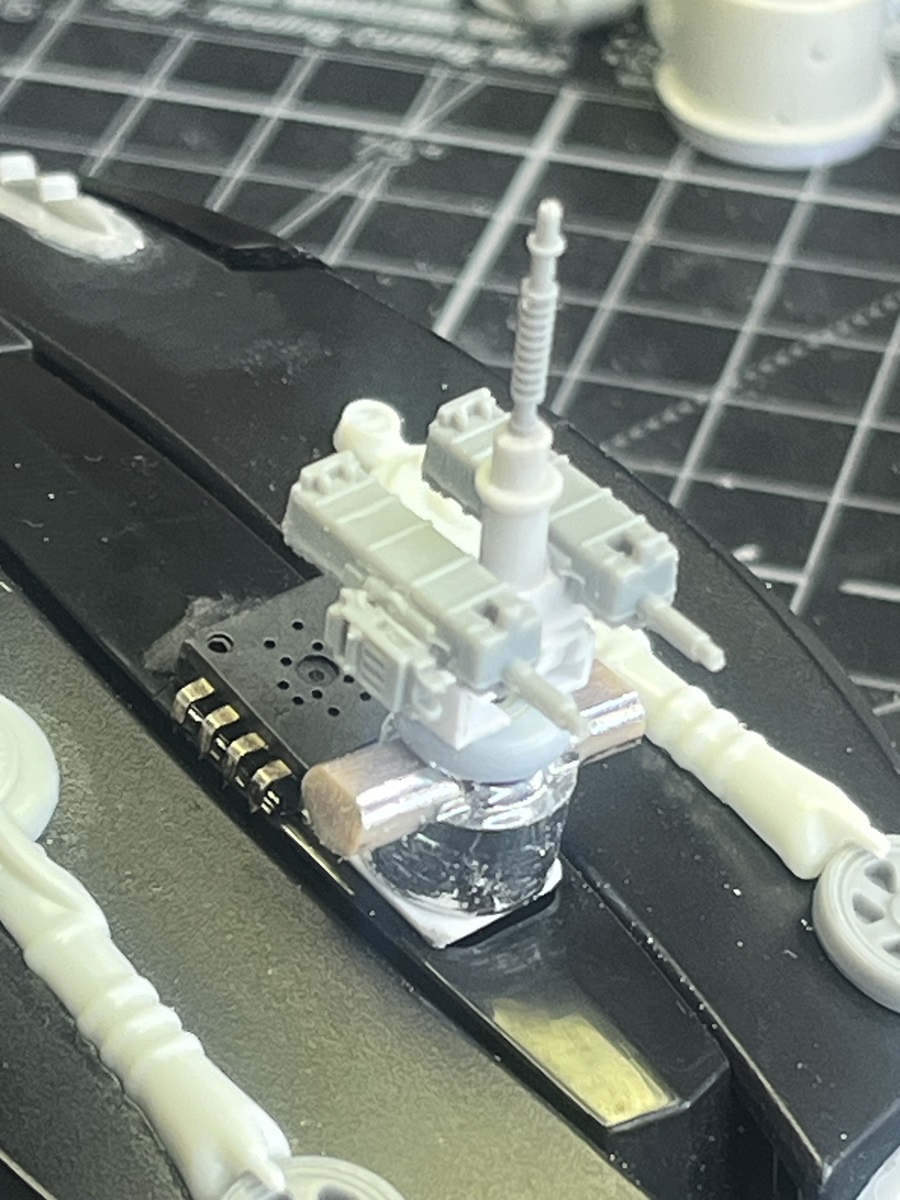
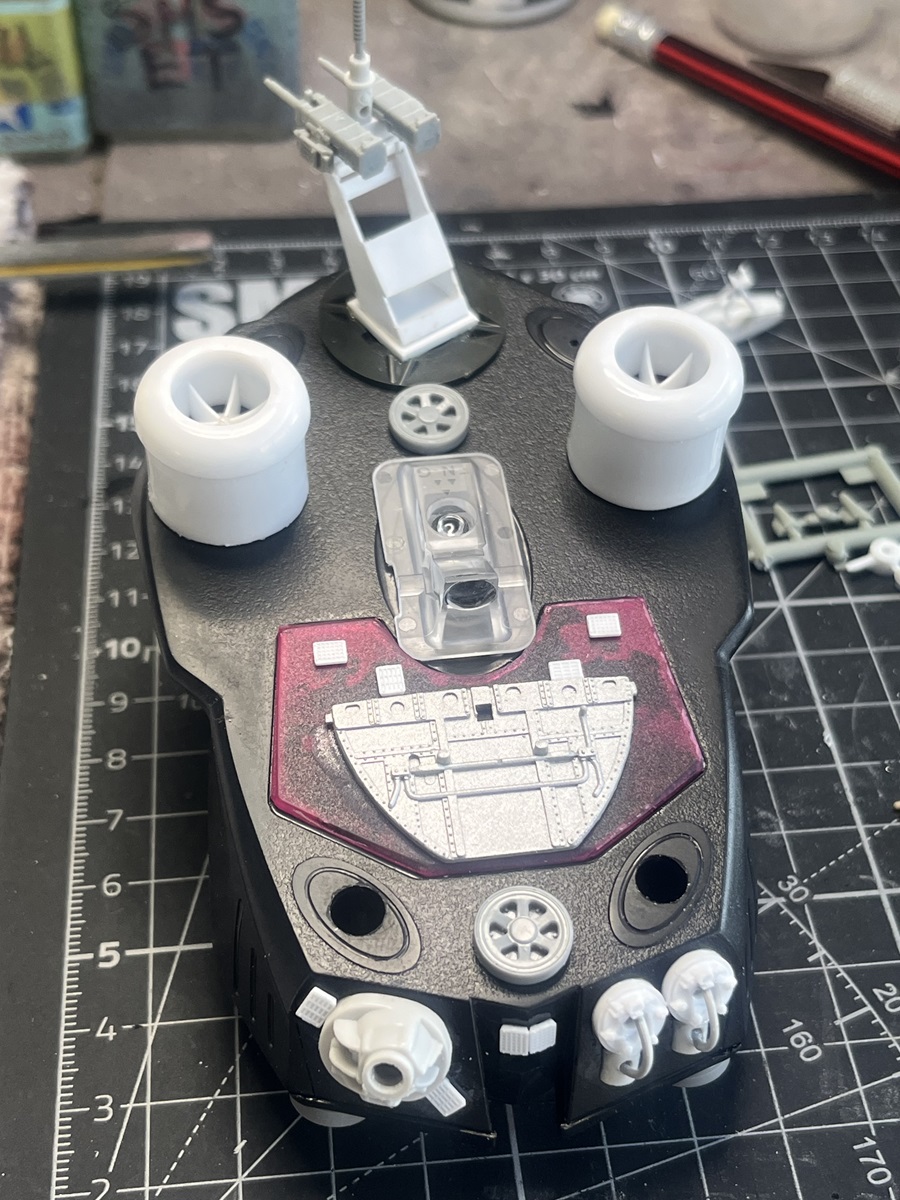
A pair of superchargers from a P-38 liven up the top surface nicely, and an ugly big chunk of chrome sprue will do the job as a base for the upper guns.
I’ve got no idea where this big green round part came from, but it works as a rotating base for the lower front guns.
Some more layout work on the underside as well.
Starting to take shape, almost ready to start priming some of the sub assemblies.
Cheers, D
8 Likes
Hi folks.
Great work going on here, imagination running wild!
I’ve had very little bench time recently but managed to work out a mounting system for the front receiver dishes on the “Mouse Thing” using some stock rod and spares from a 1/48 F-16 landing gear set.
Almost ready for primer now but still undecided on a colour scheme. Maybe a dark desert tan or a dull red.
Cheers, D
4 Likes