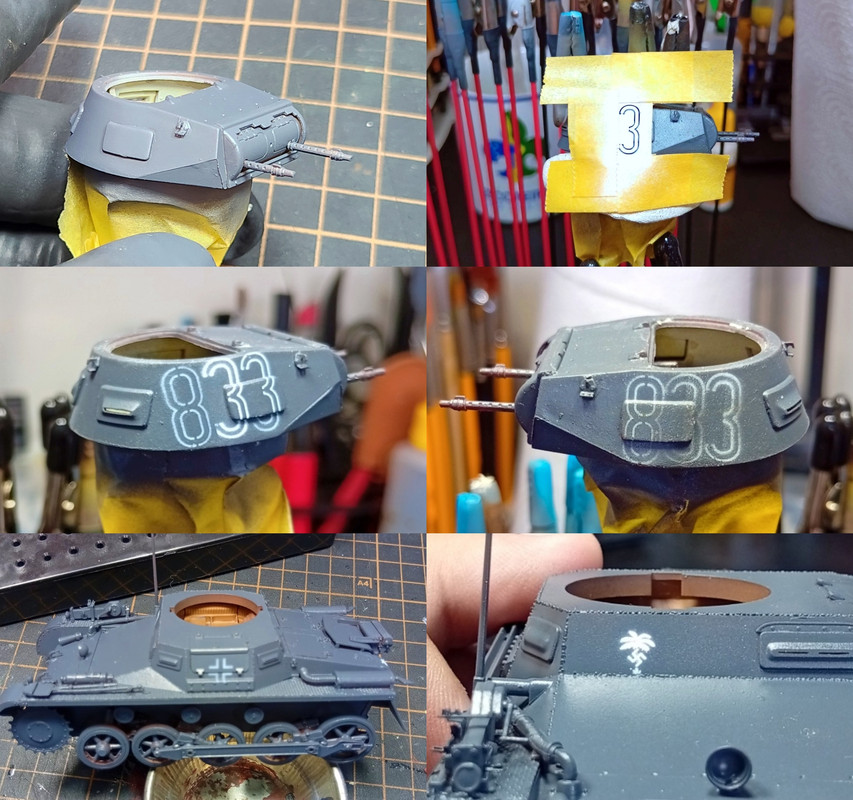
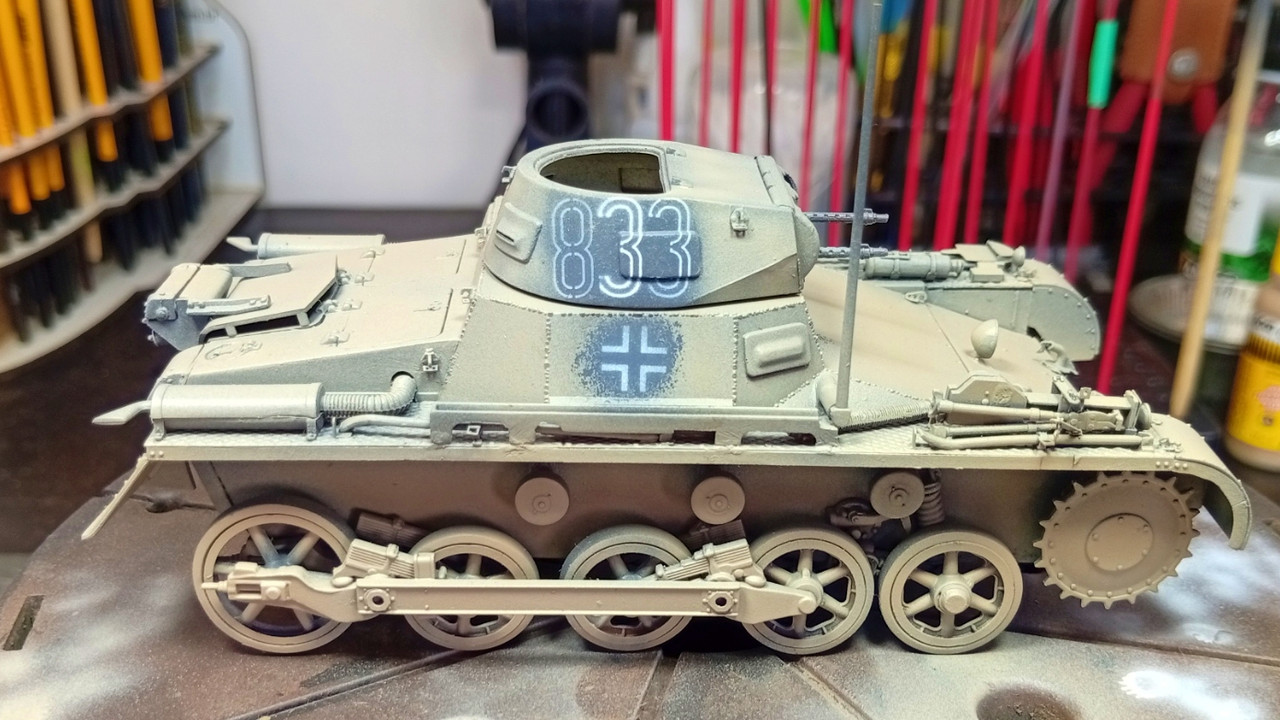
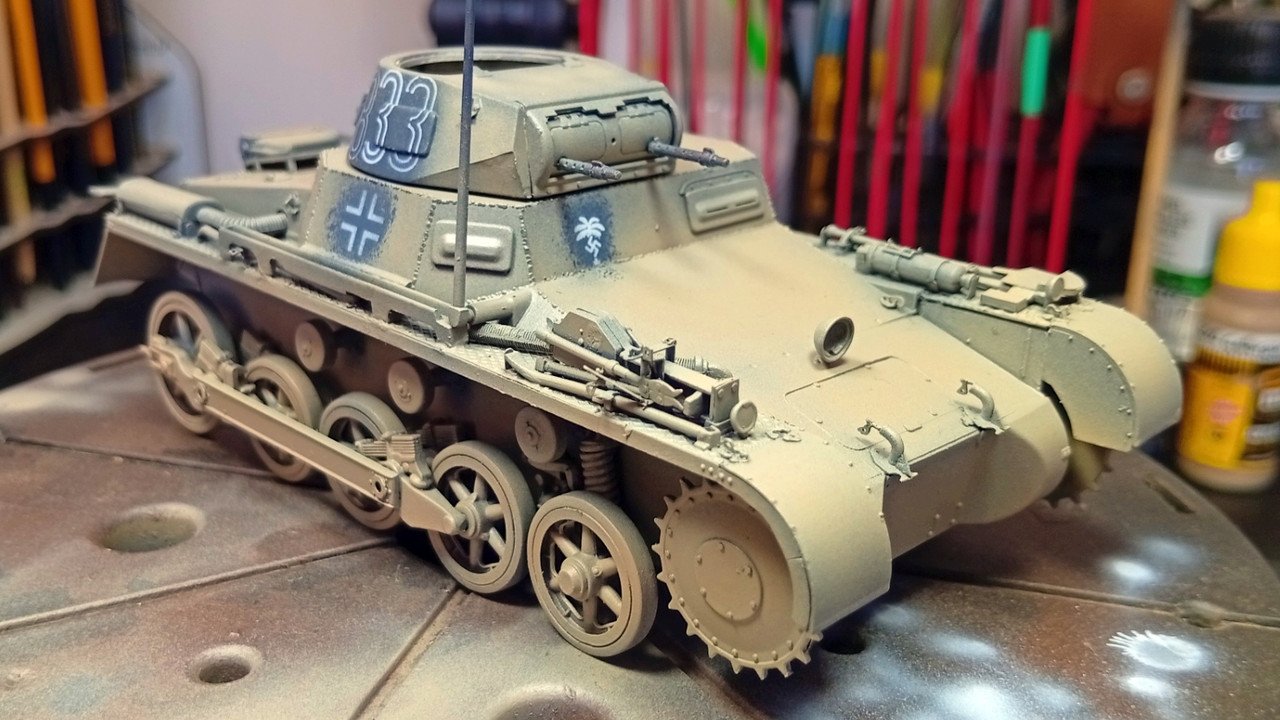
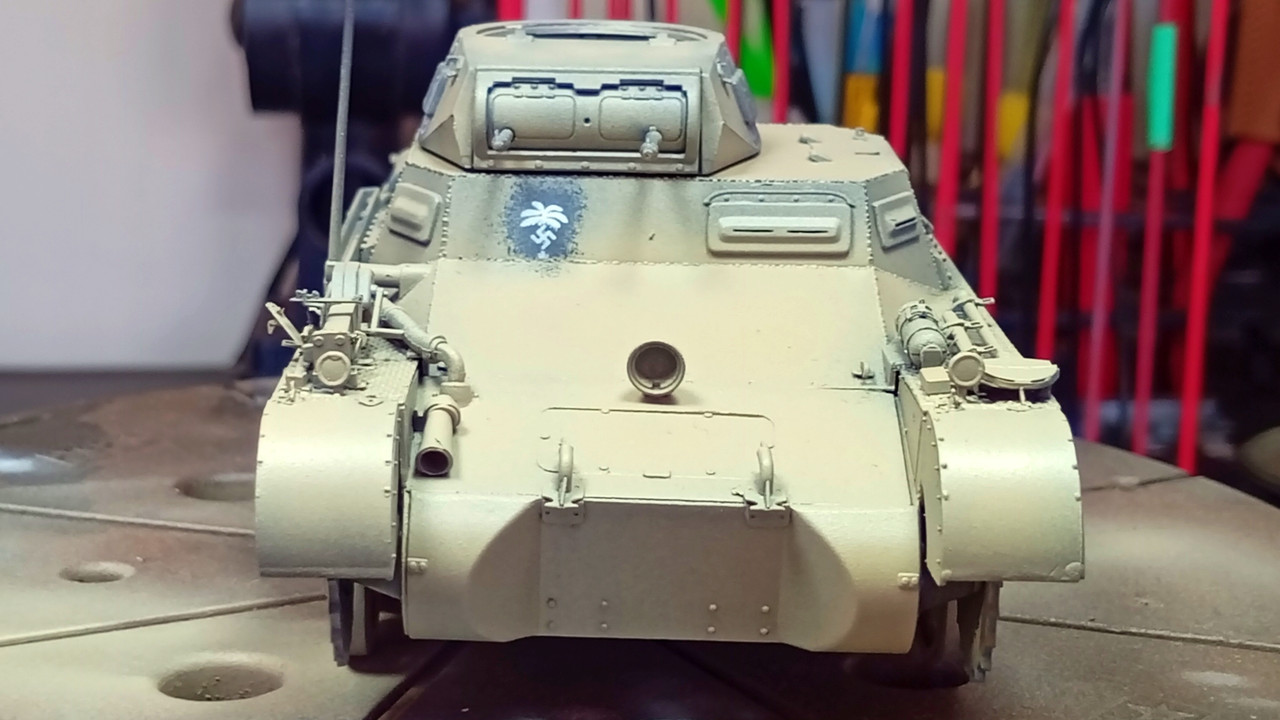
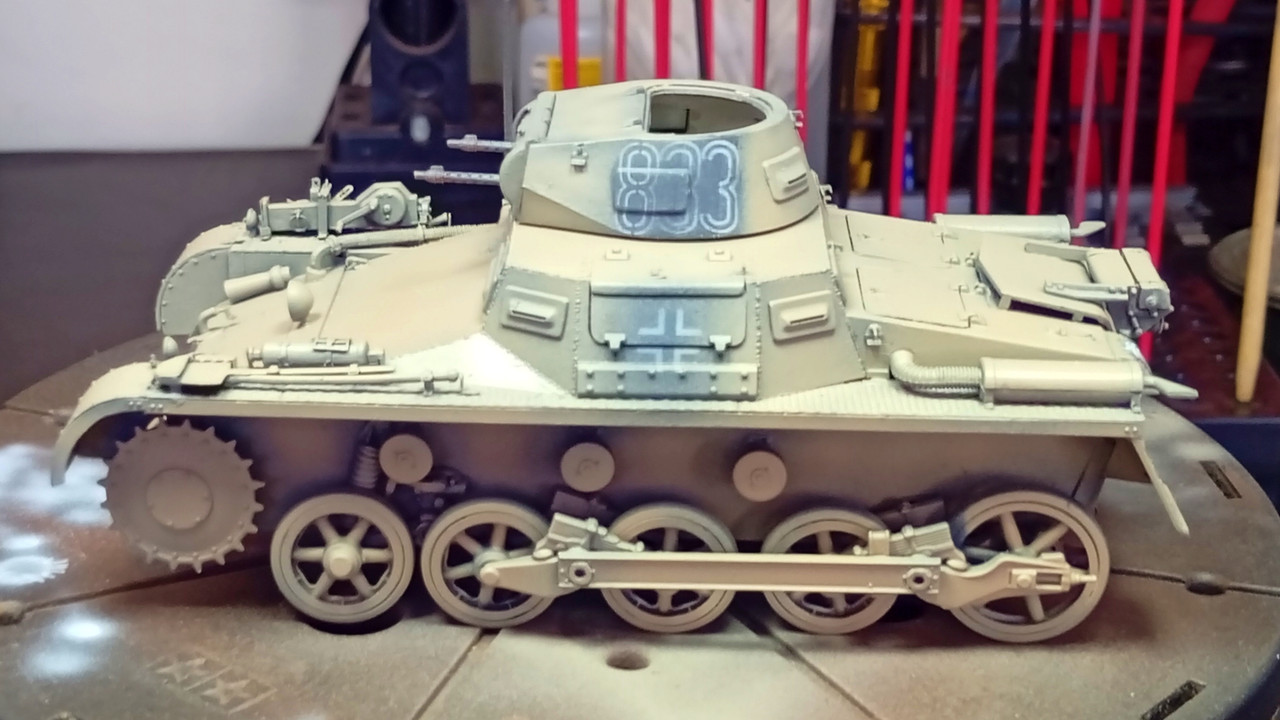
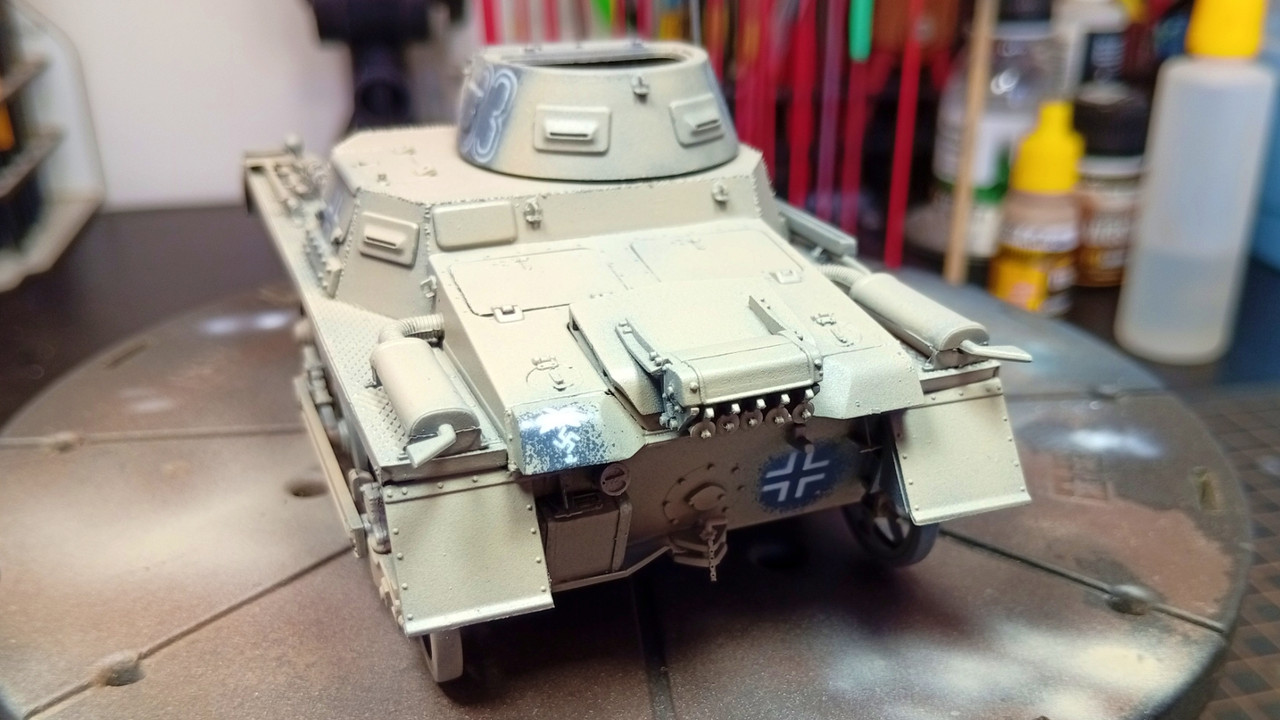
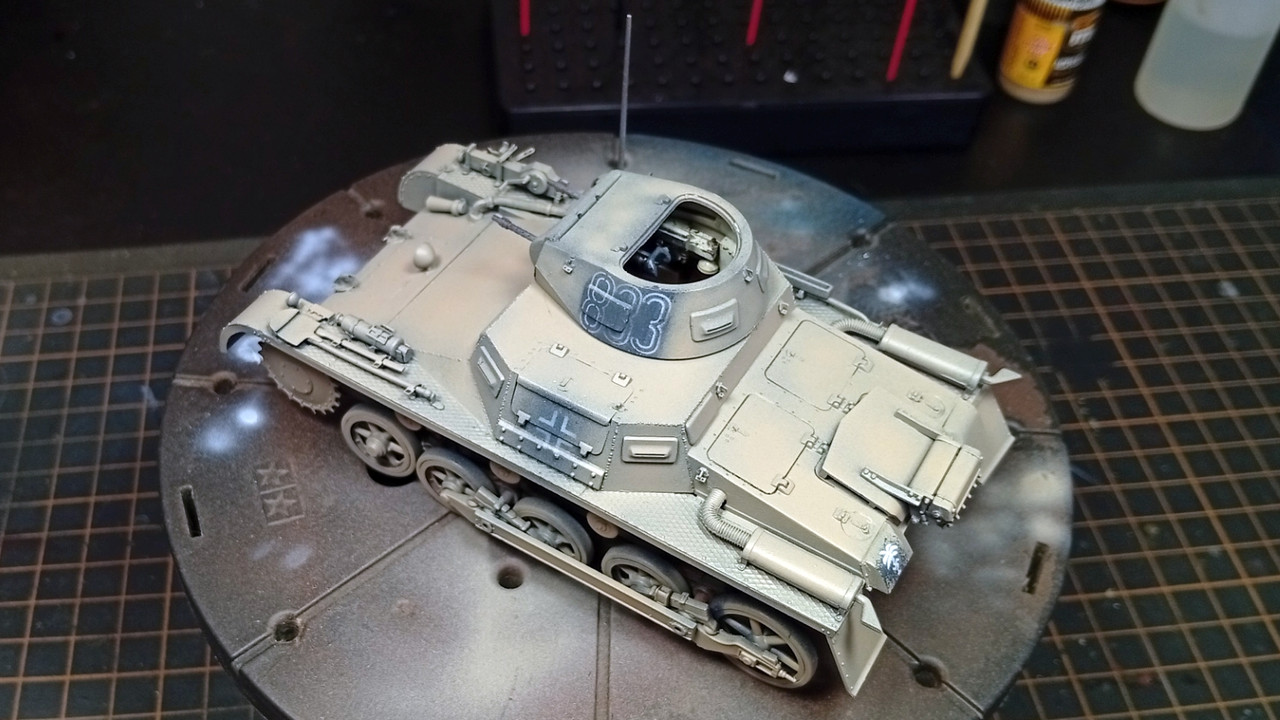
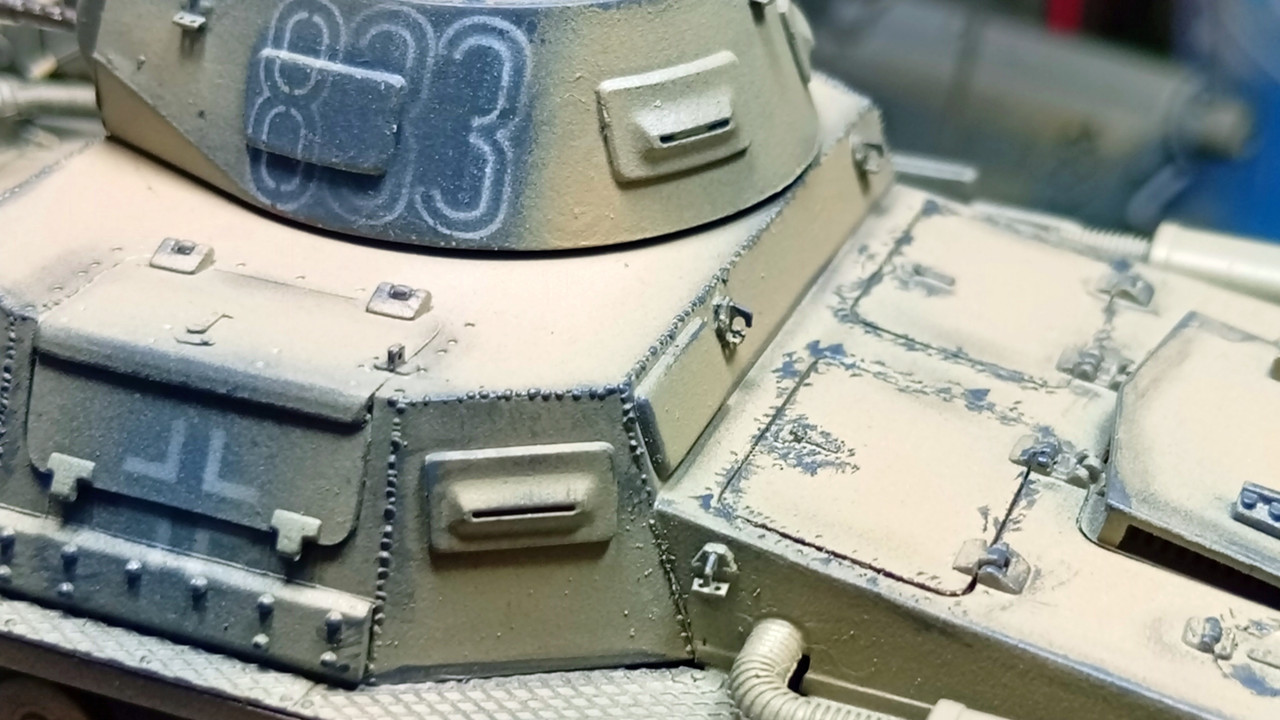
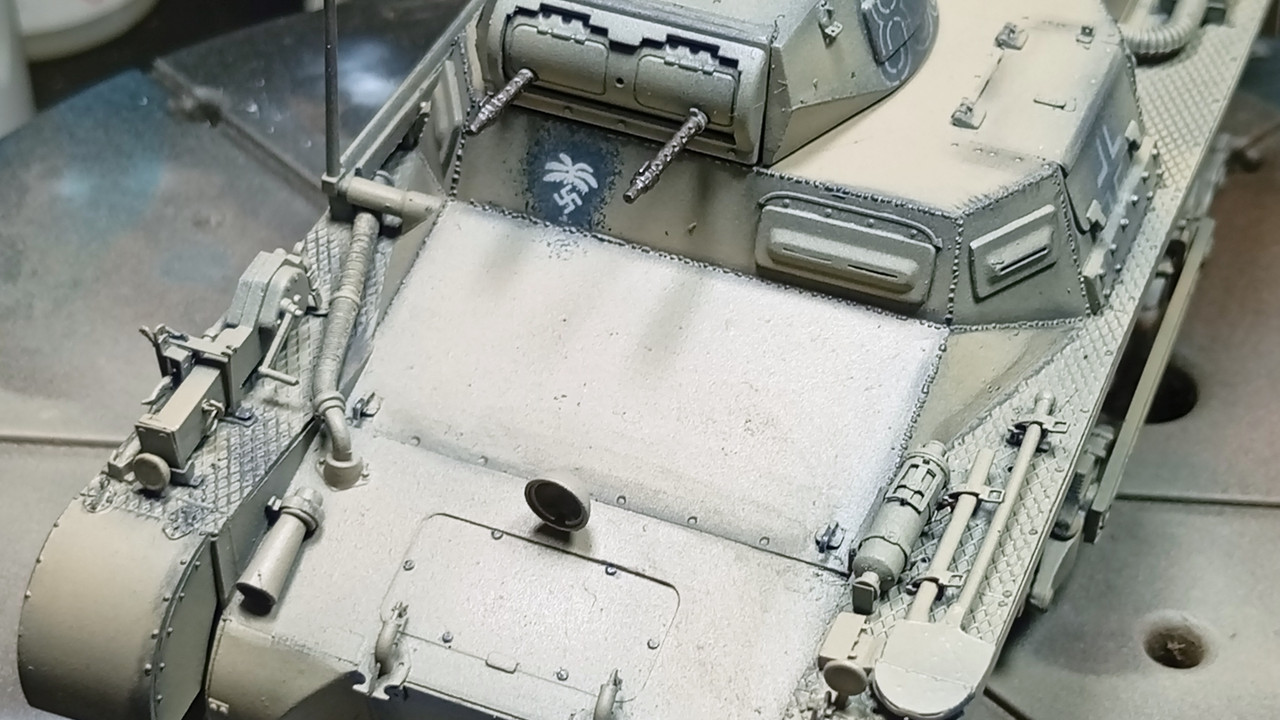
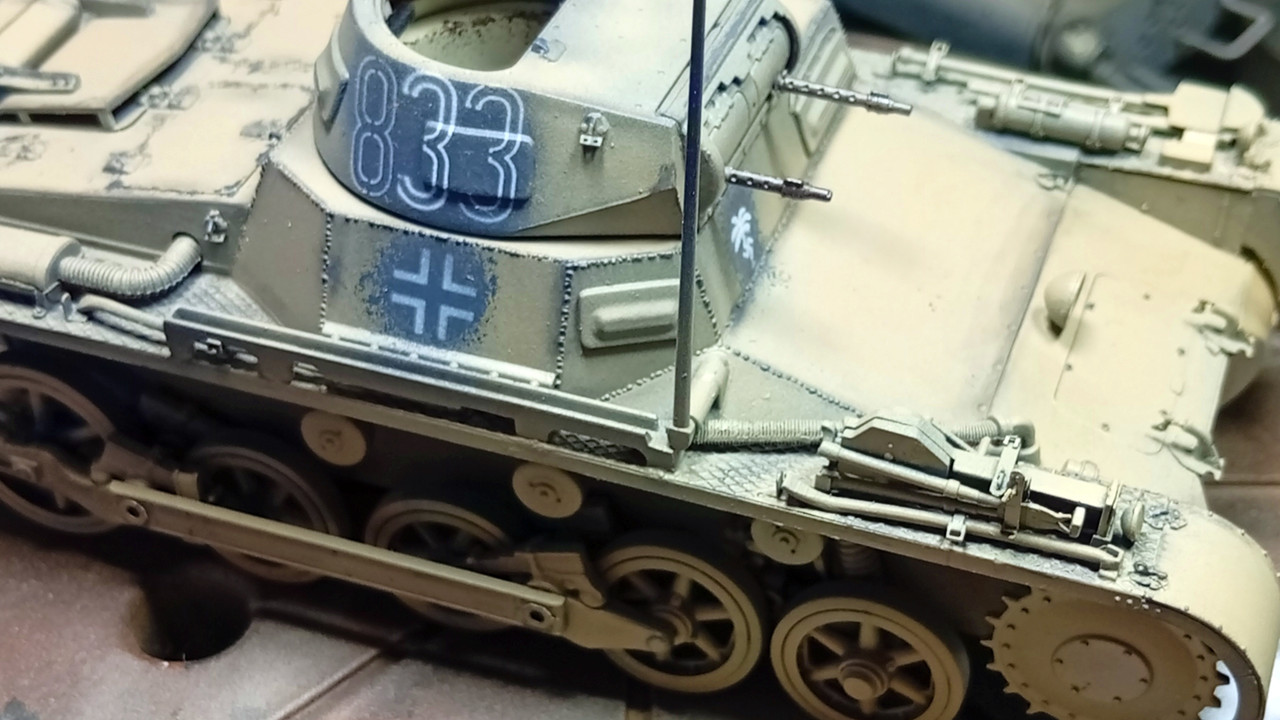
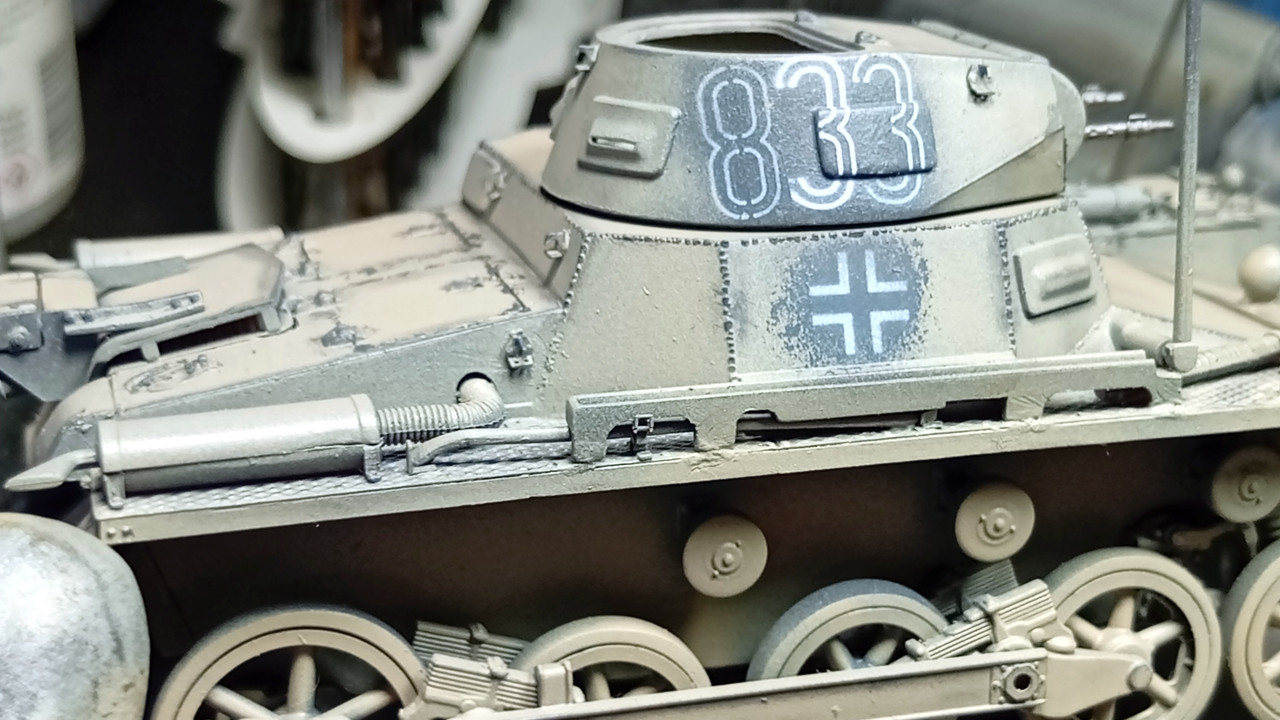
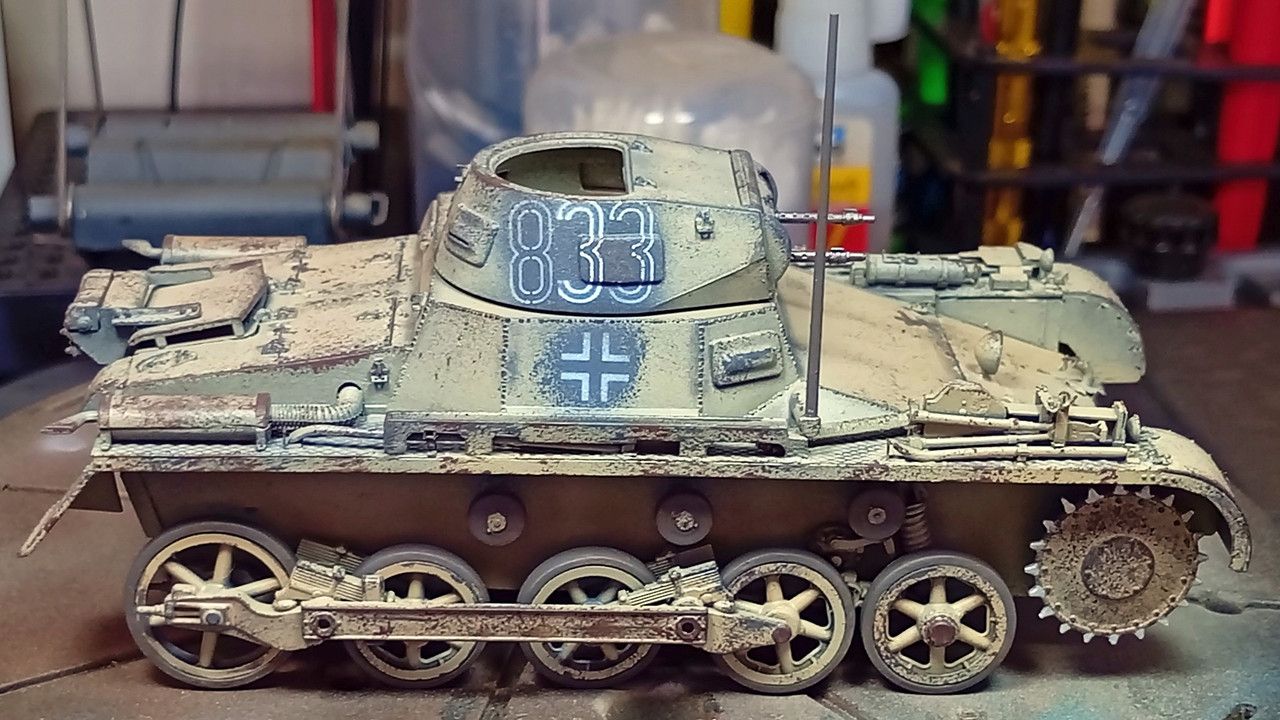
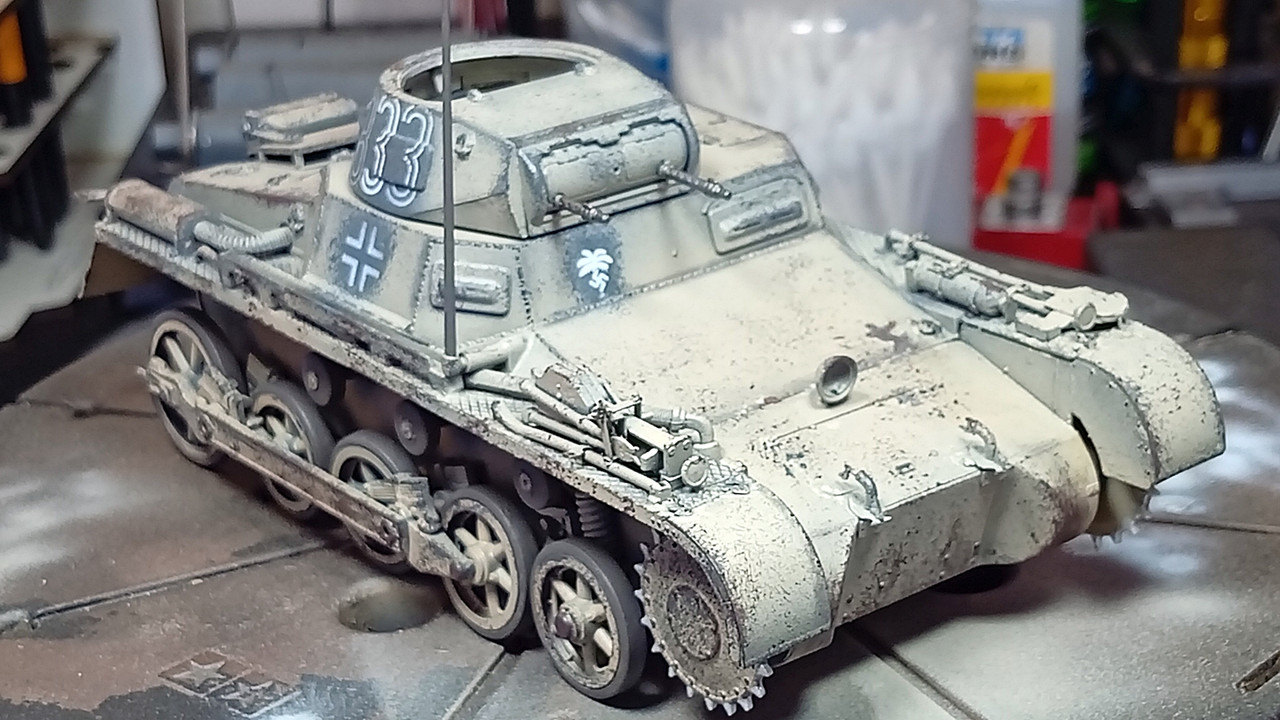
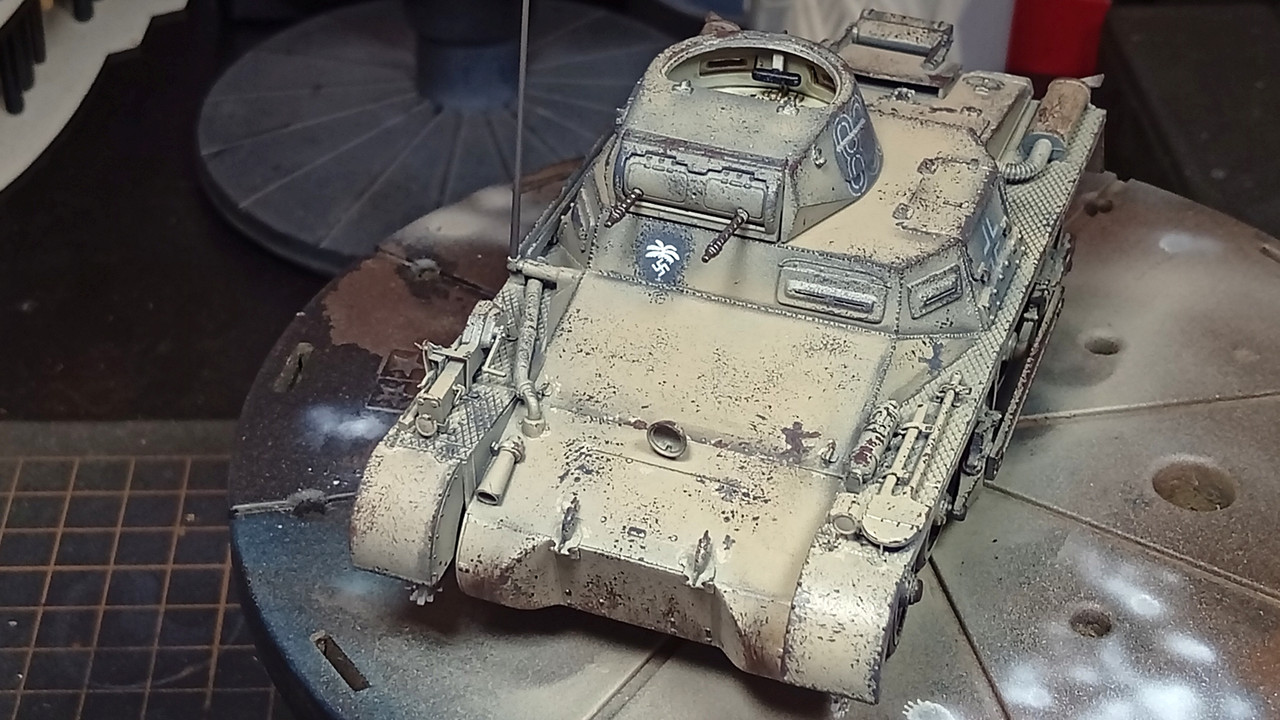
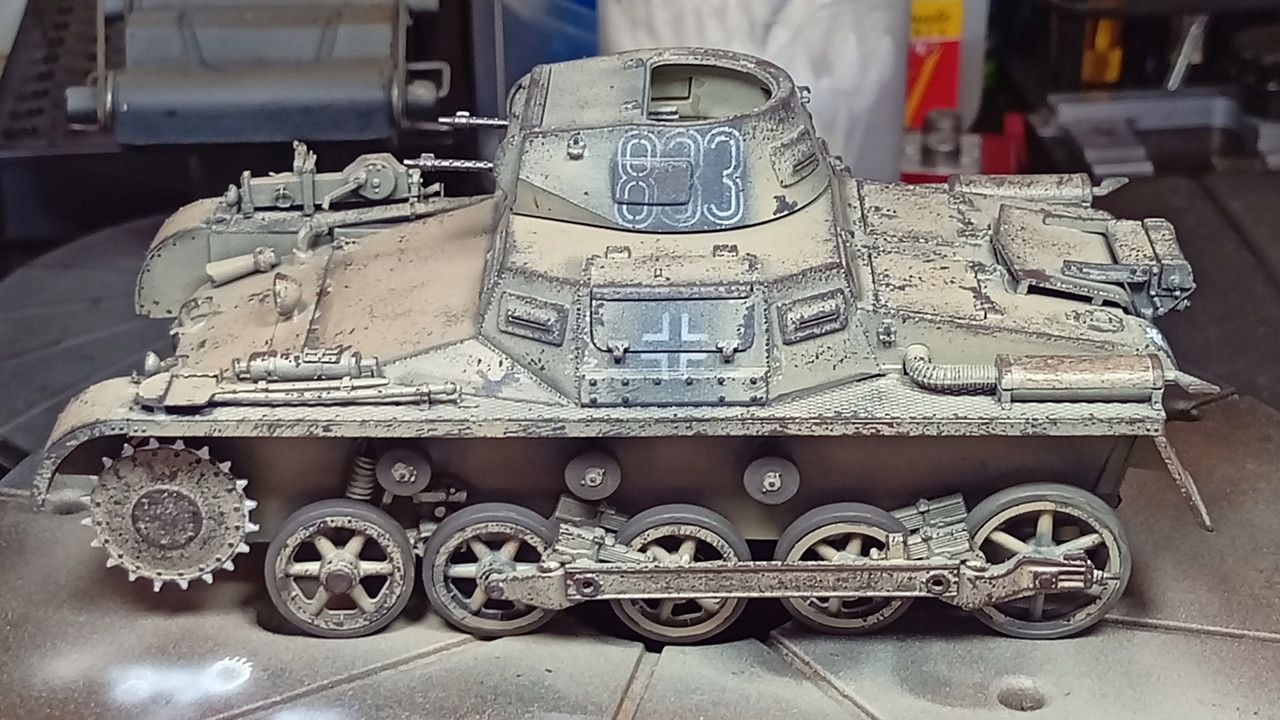
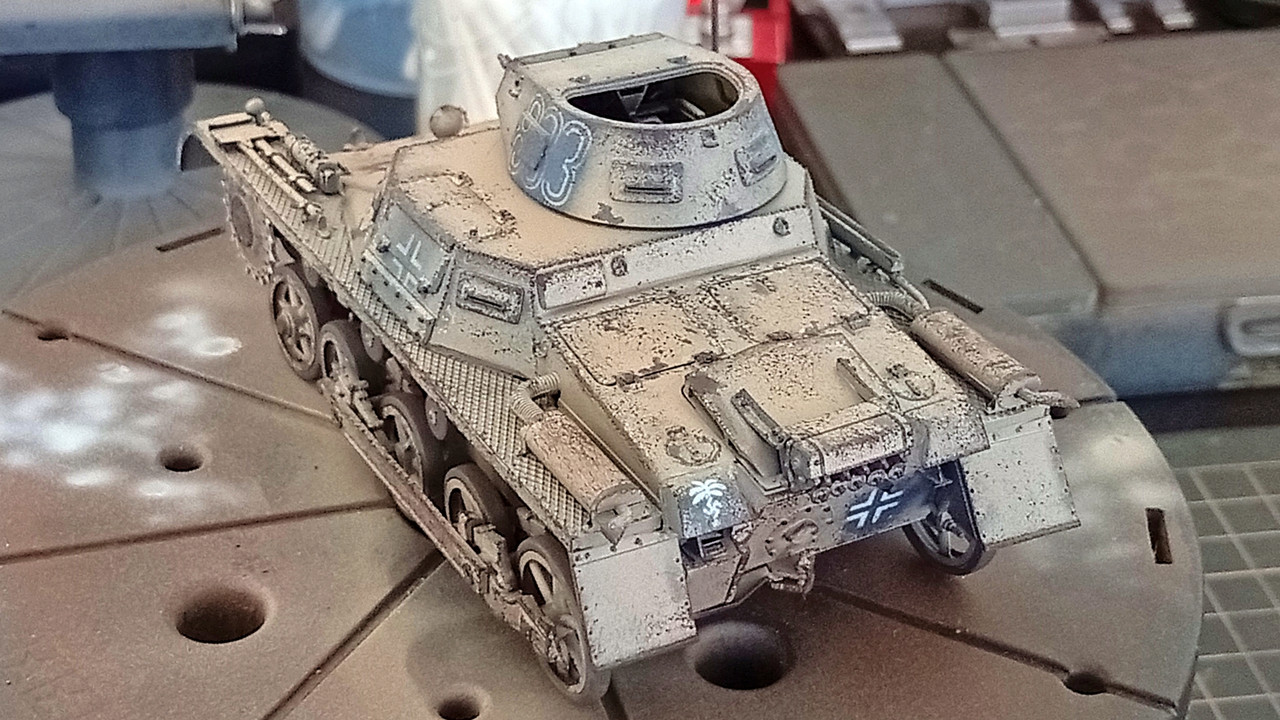
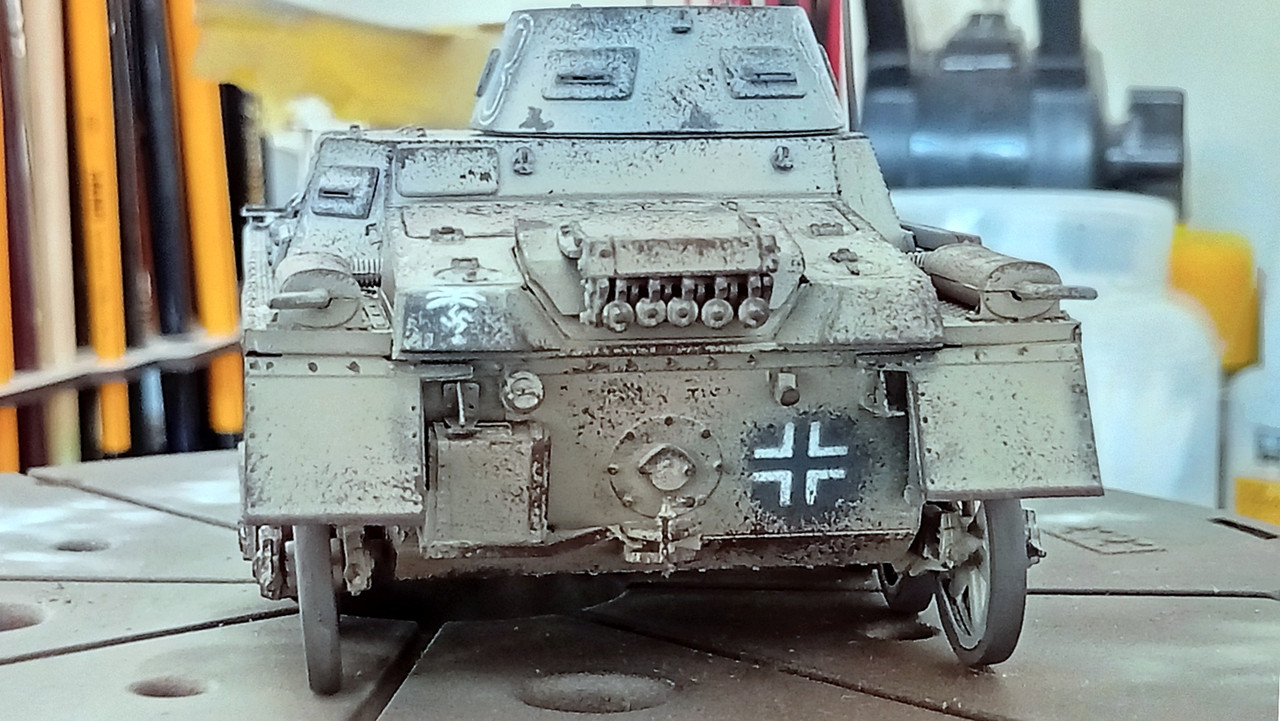
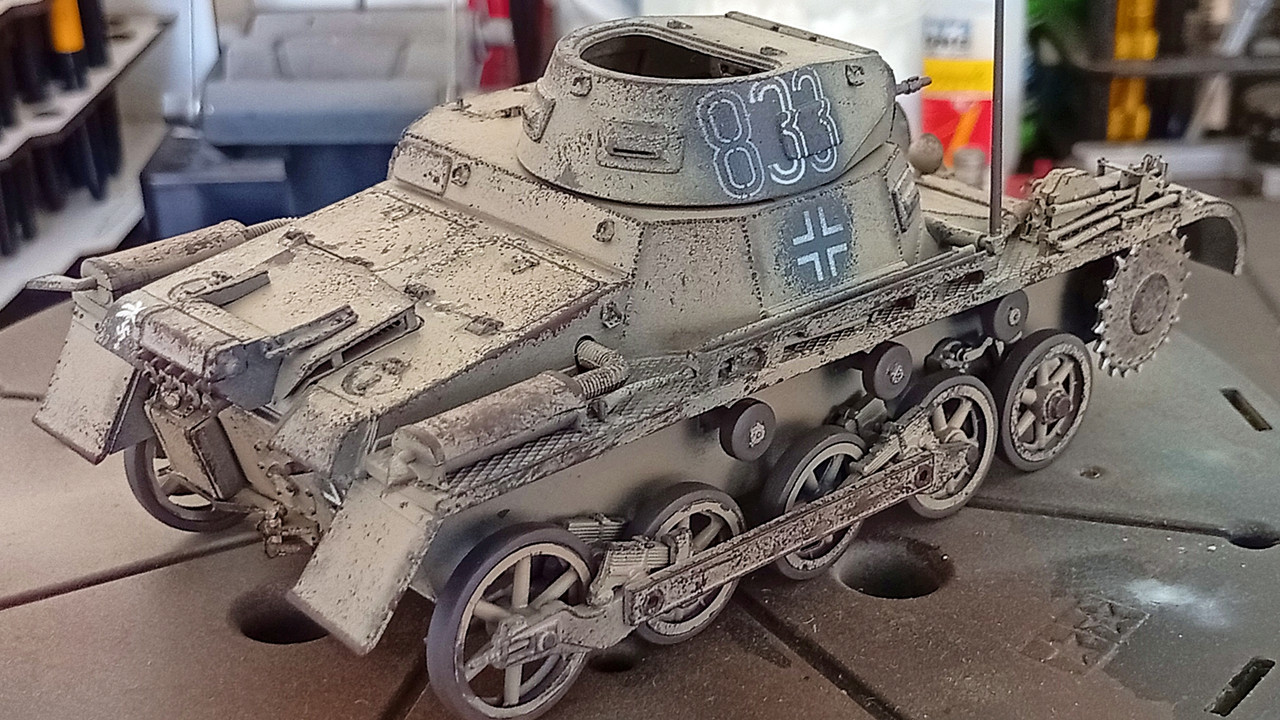
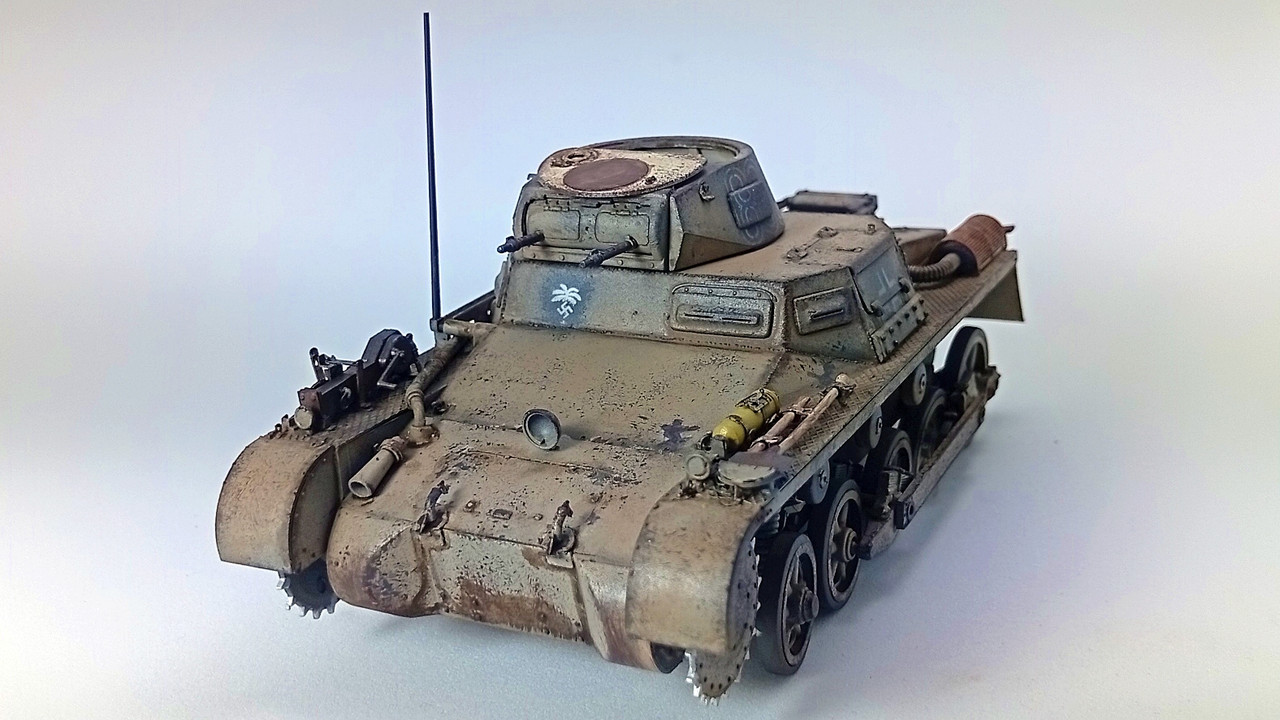
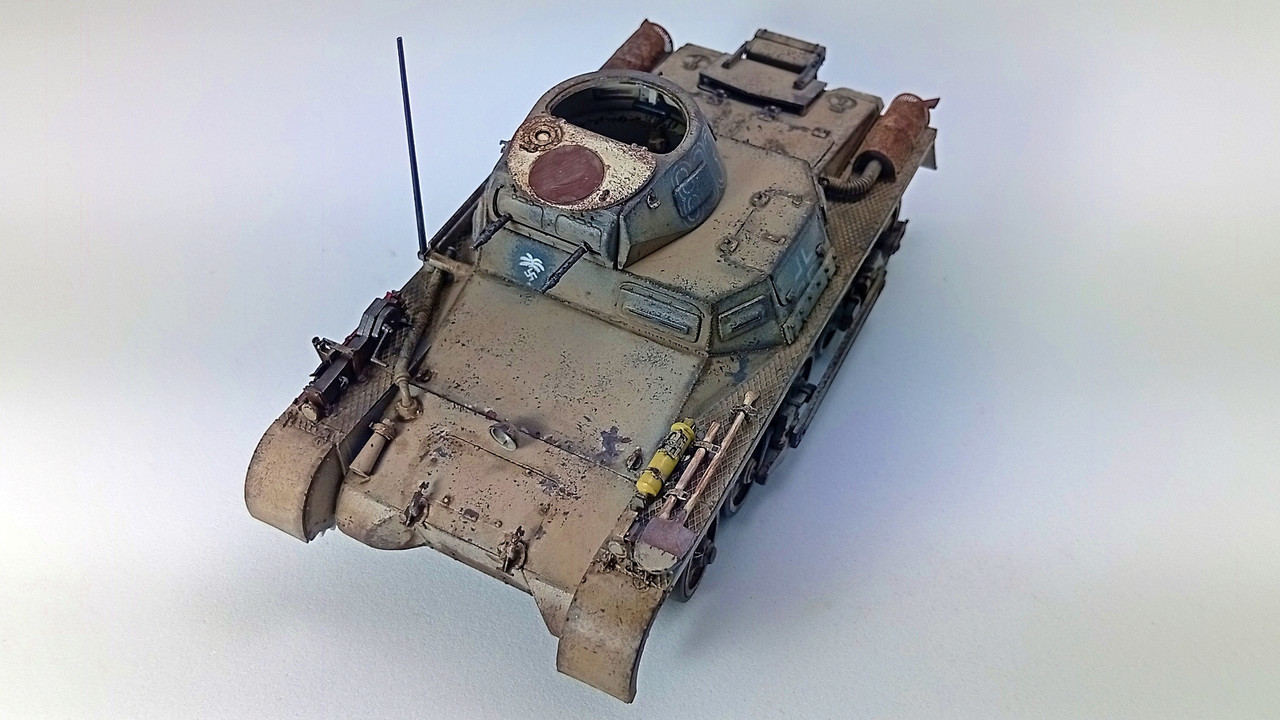
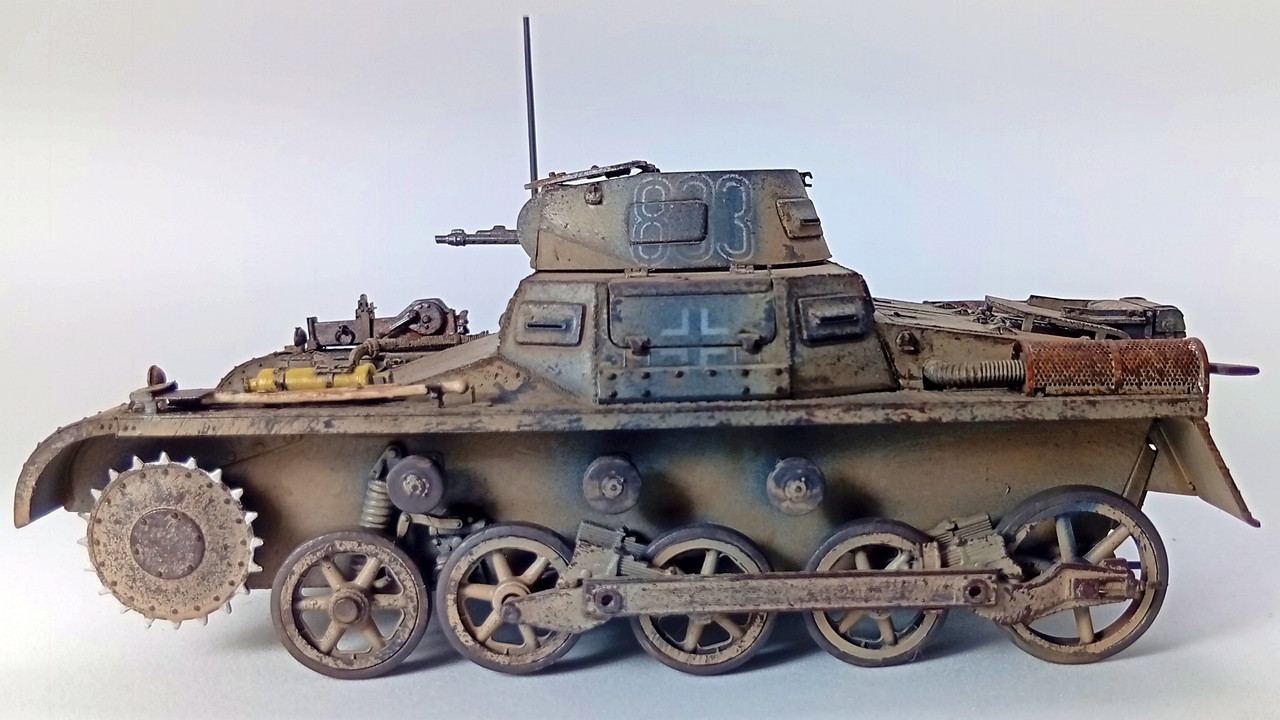
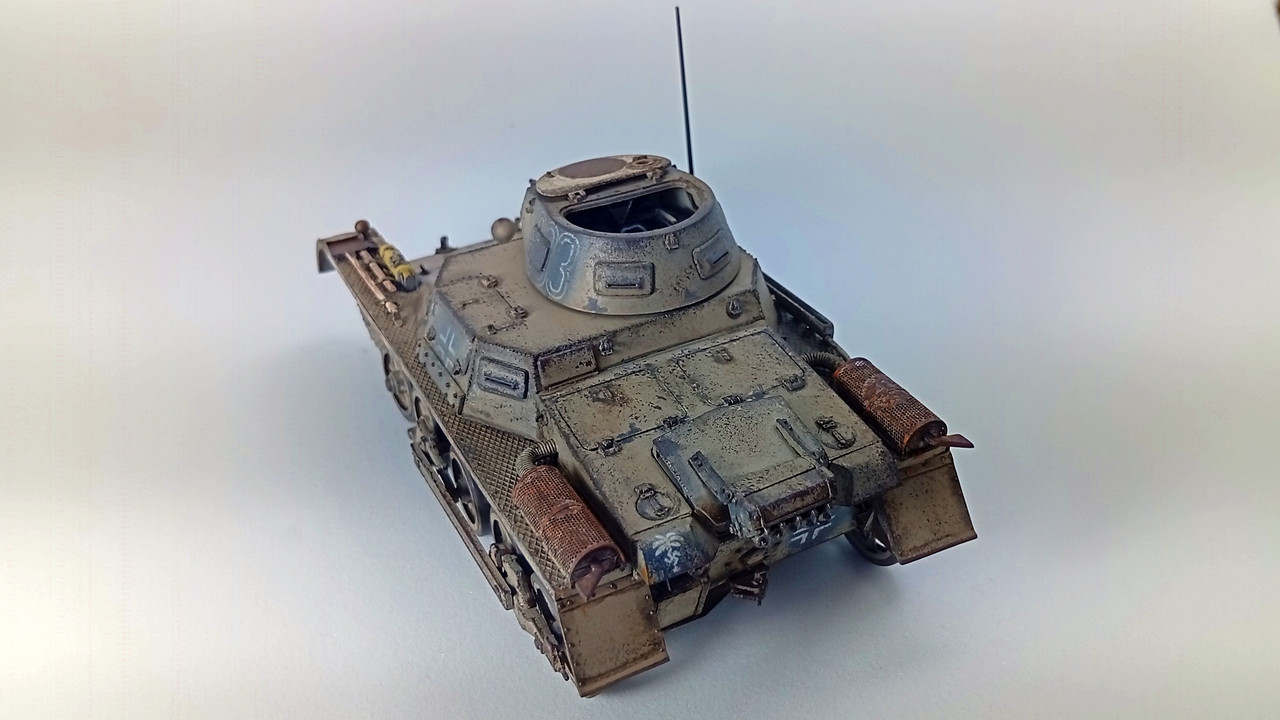
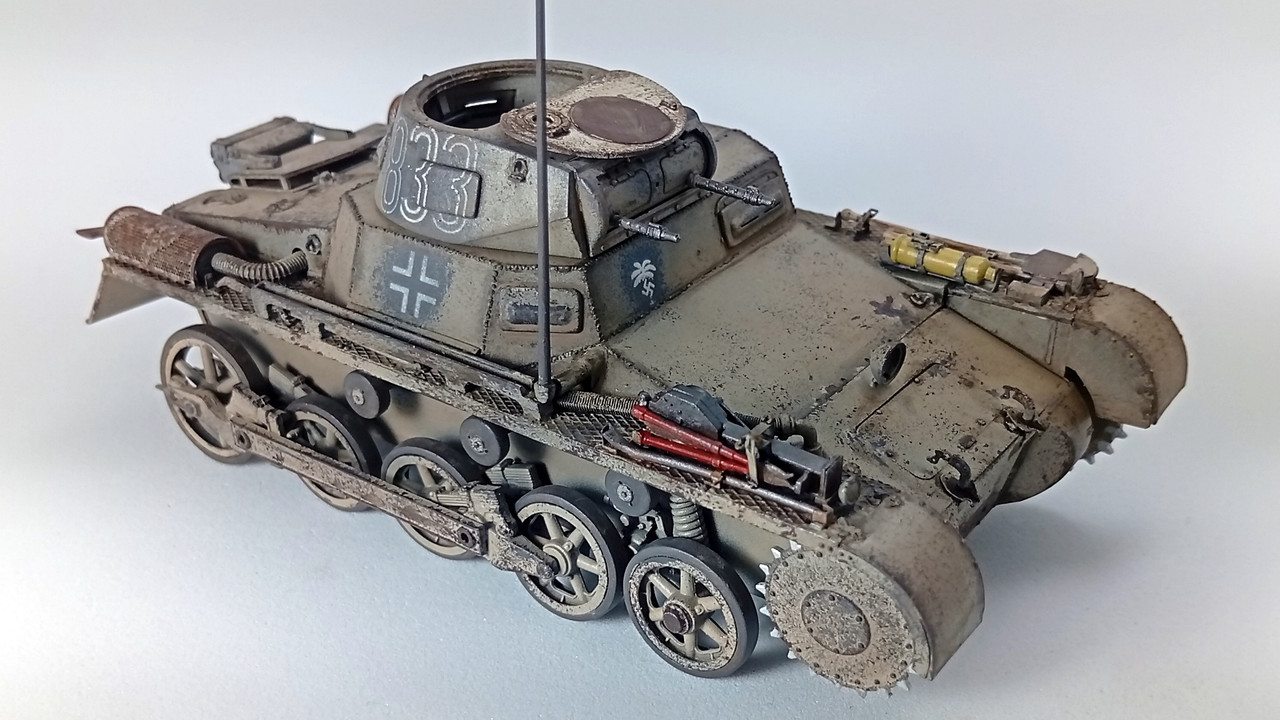
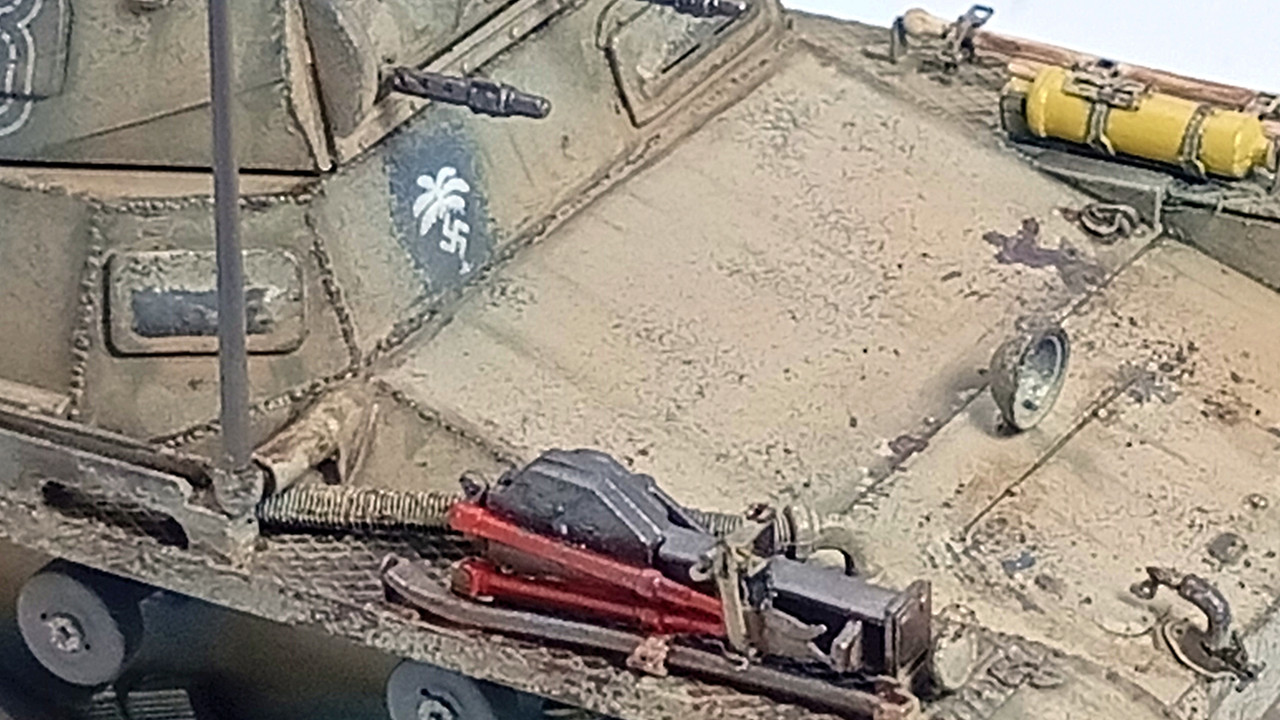
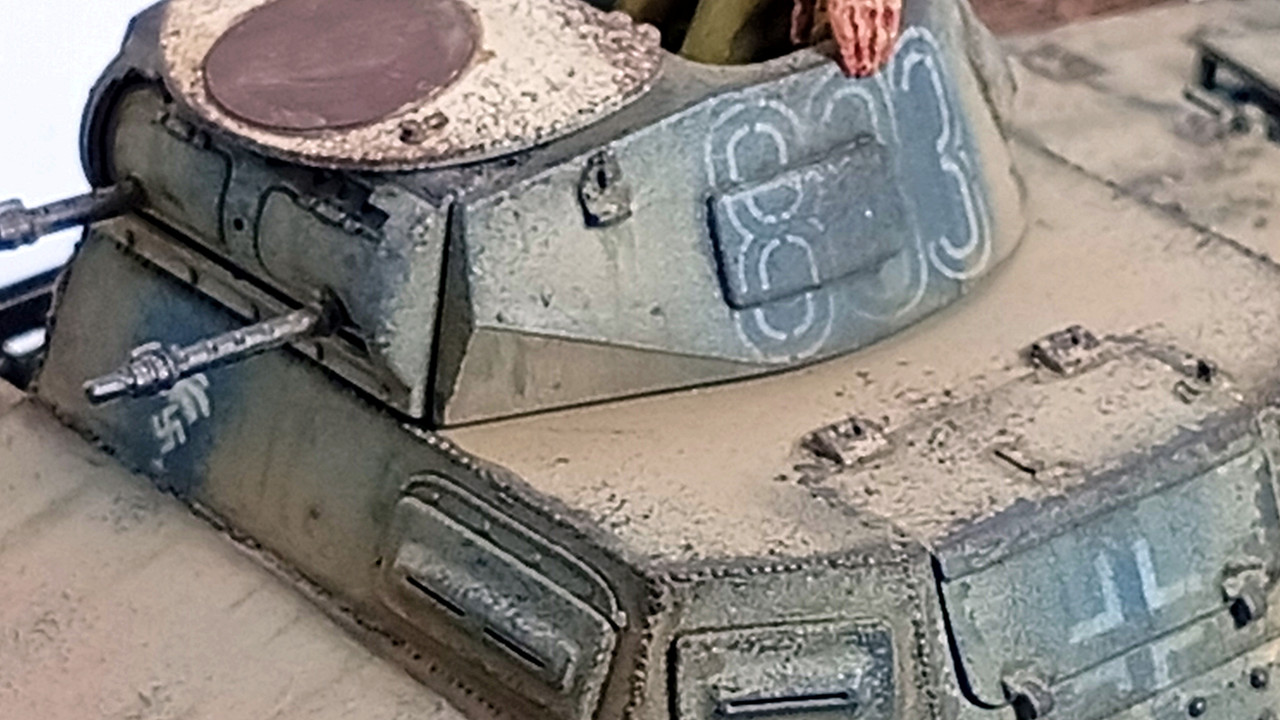
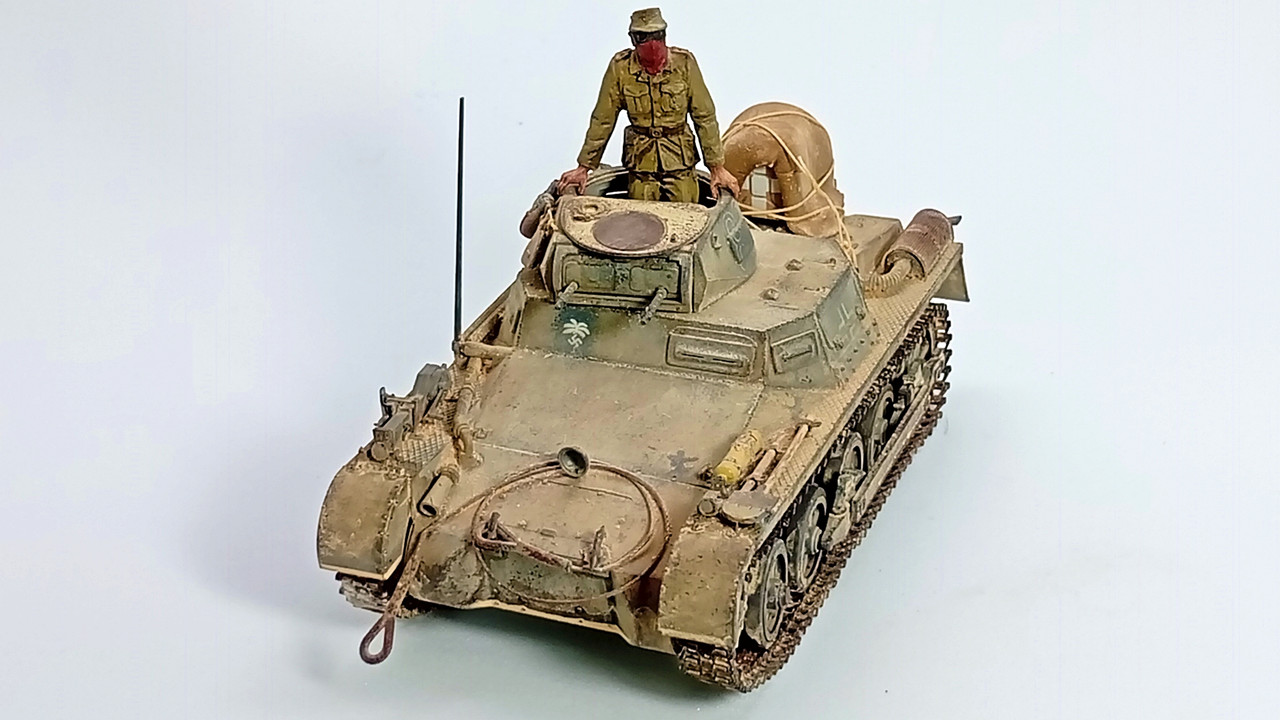
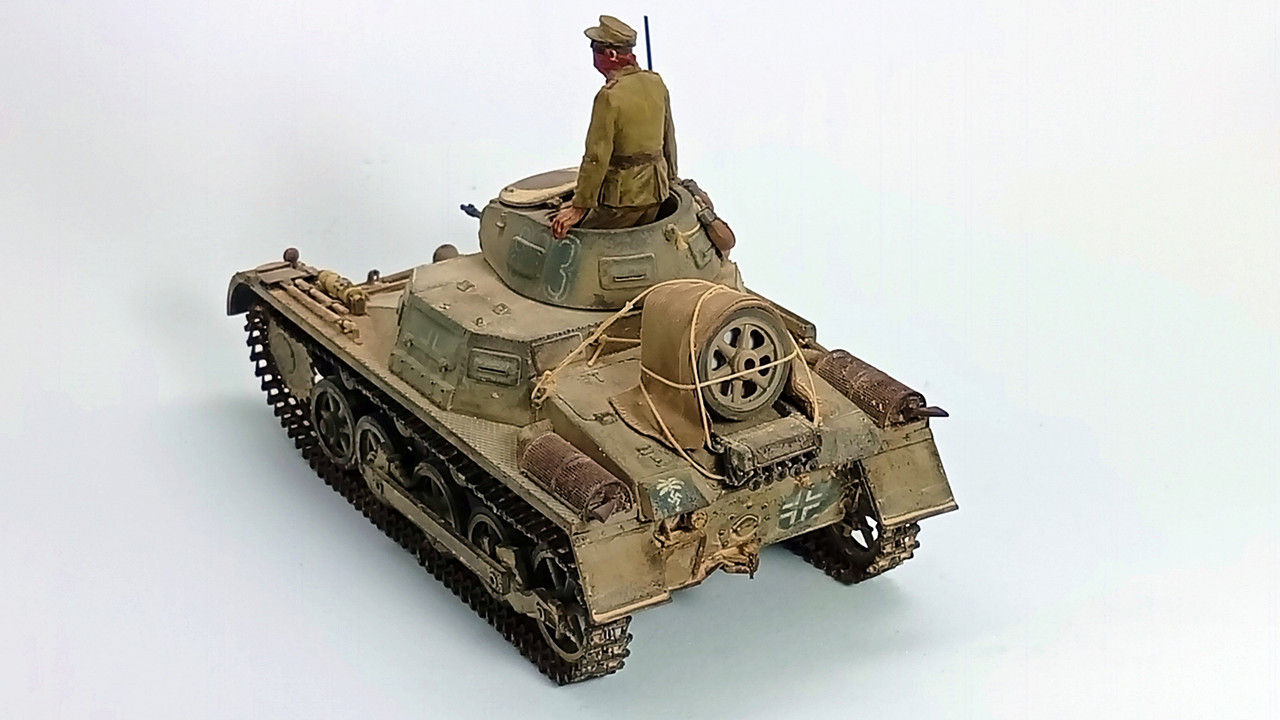
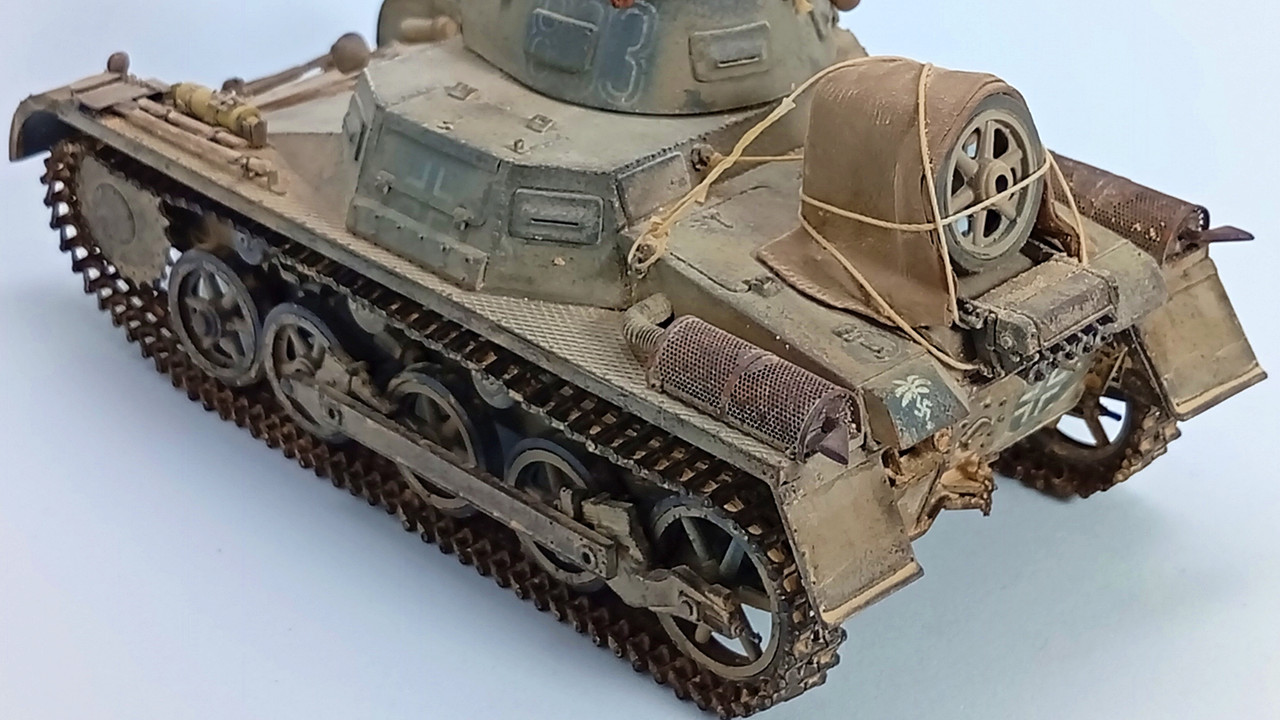
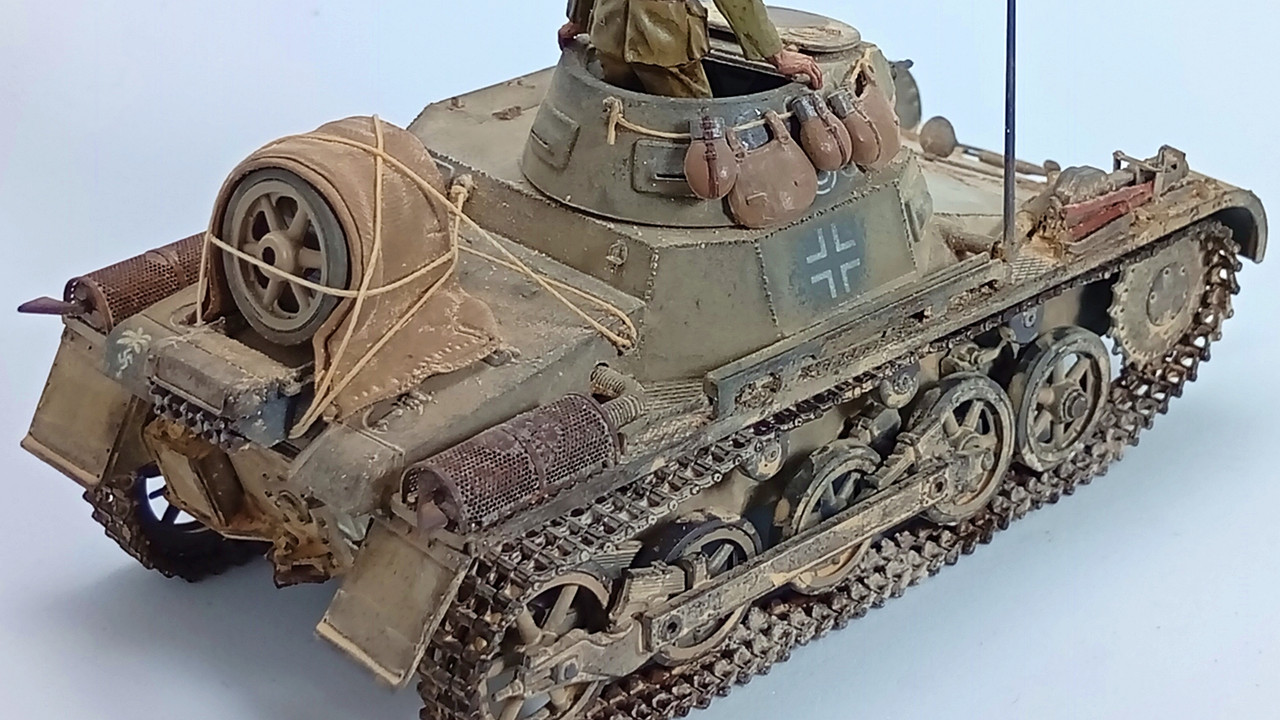
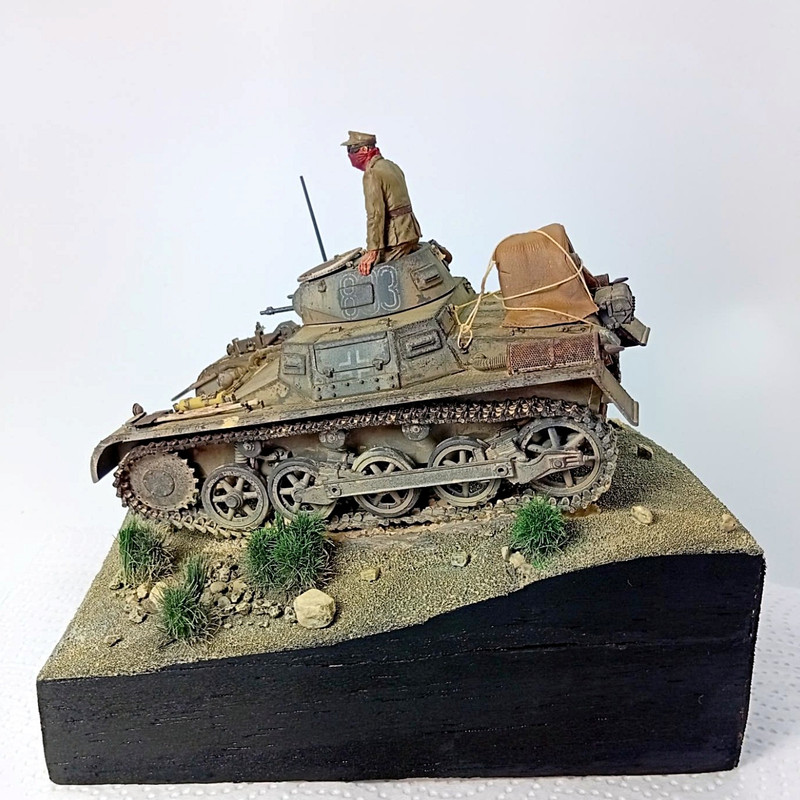
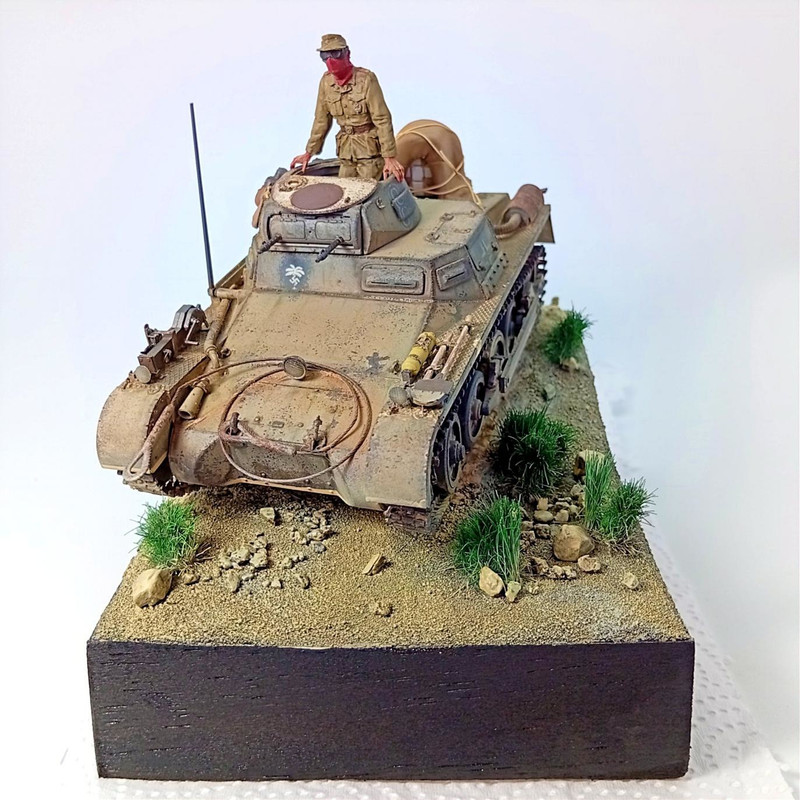
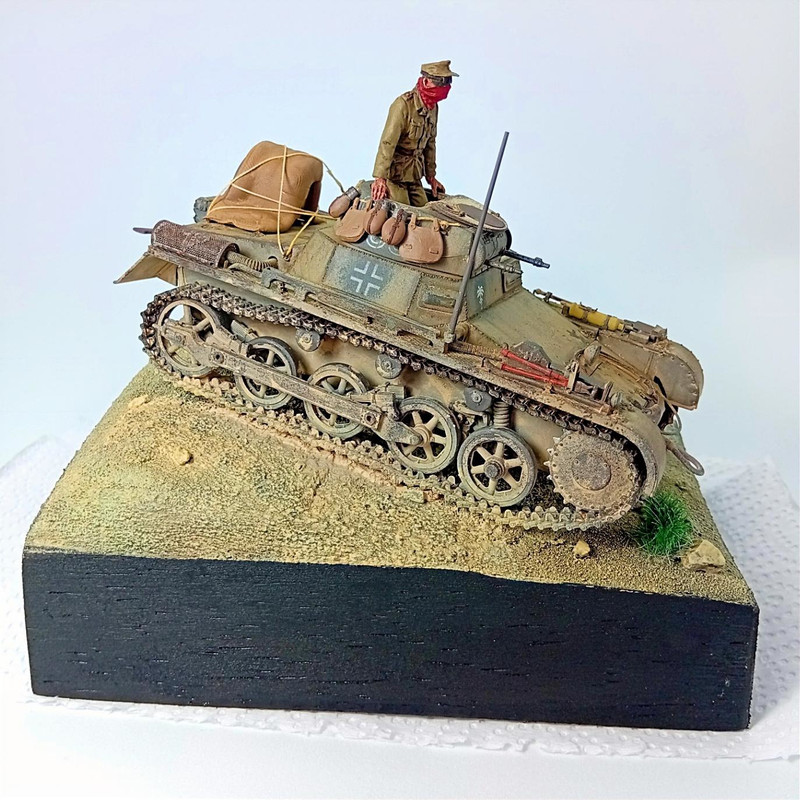
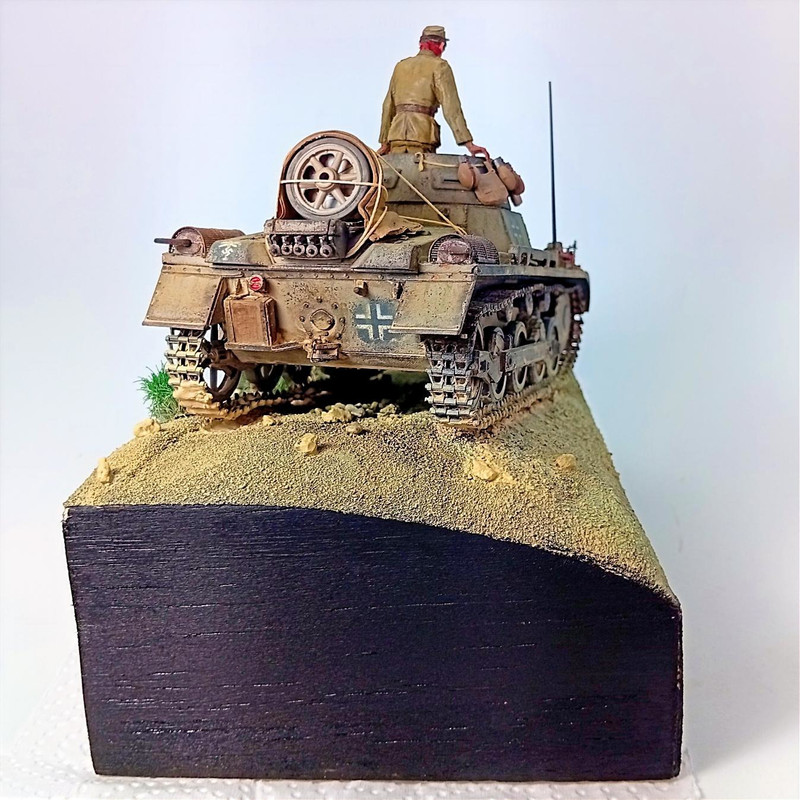
I fixed the markings as much as I could; in fact, I lost count of how many times I redid the process until I reached this point. In the previous times when I had used stencils, I had two factors in my favor that I didn’t have in this situation:
I had the ideal number of stencils to set up the number outside and paint it all at once, and I had the ideal number of stencils to assemble the number outside and paint it all at once, and
The application area was larger. The application space was larger.
It wasn’t perfect, but it was done with care… According to Cortella (Brazilian philosopher), doing something with care means doing the best you can with the conditions you have… in my case, I didn’t have experience.
Continuing with the painting.
I used RAL 8000 Gelbbraun from Ammo (a.mig-0013) diluted in a 70/30 ratio with Ammo Acrylic Thinner (a.mig-2000).
I tried to leave some stains (imperfections) in the coverage of this color over the Dunkelgrau RAL 7021.
I didn’t apply a mask over the markings, and the little bit of paint that “stuck” on top I cleaned with a damp brush before letting it dry completely, I did this on the Africa Corps markings and the Balkenkreuz on the rear.
For this technique, I used Streaking Grime for DAK (a.mig-1201).
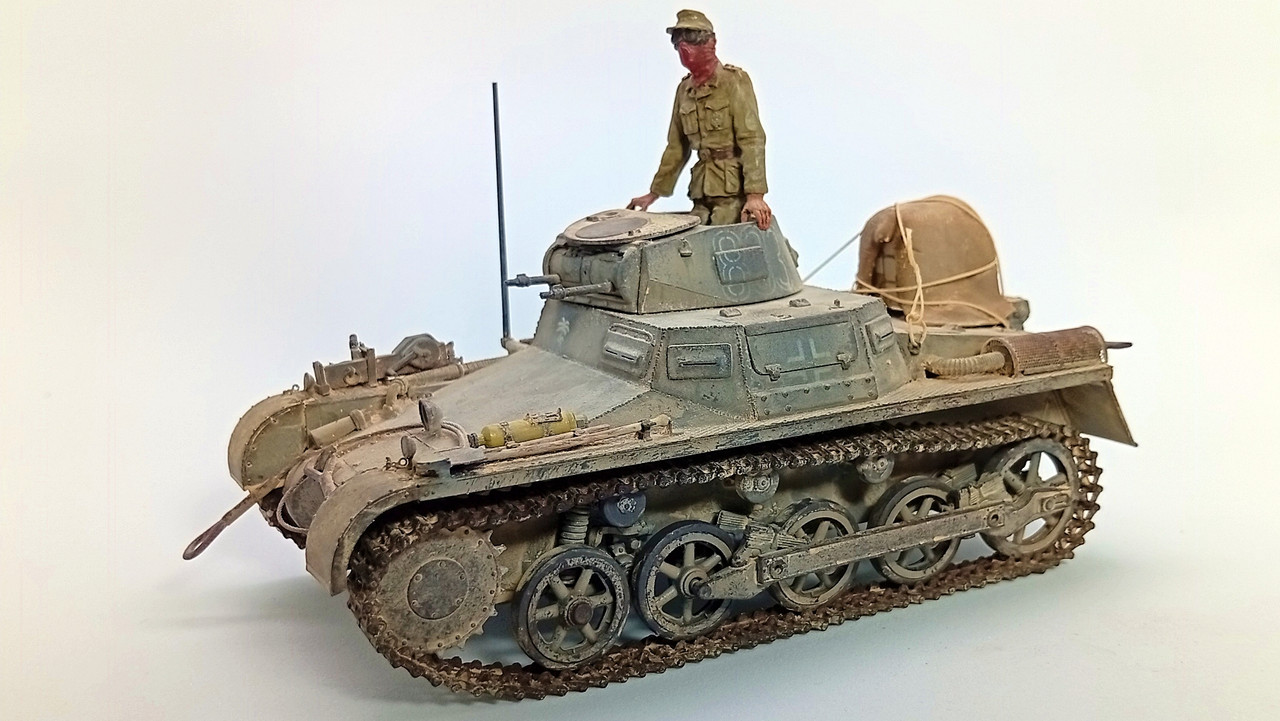
I didn’t load much, as the vehicle is in the Libyan desert, where rainfall is low, even near the sea in Agedabia.
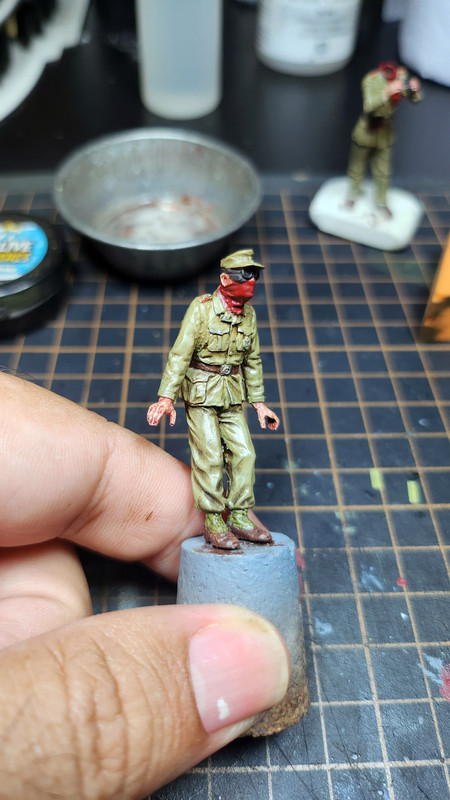
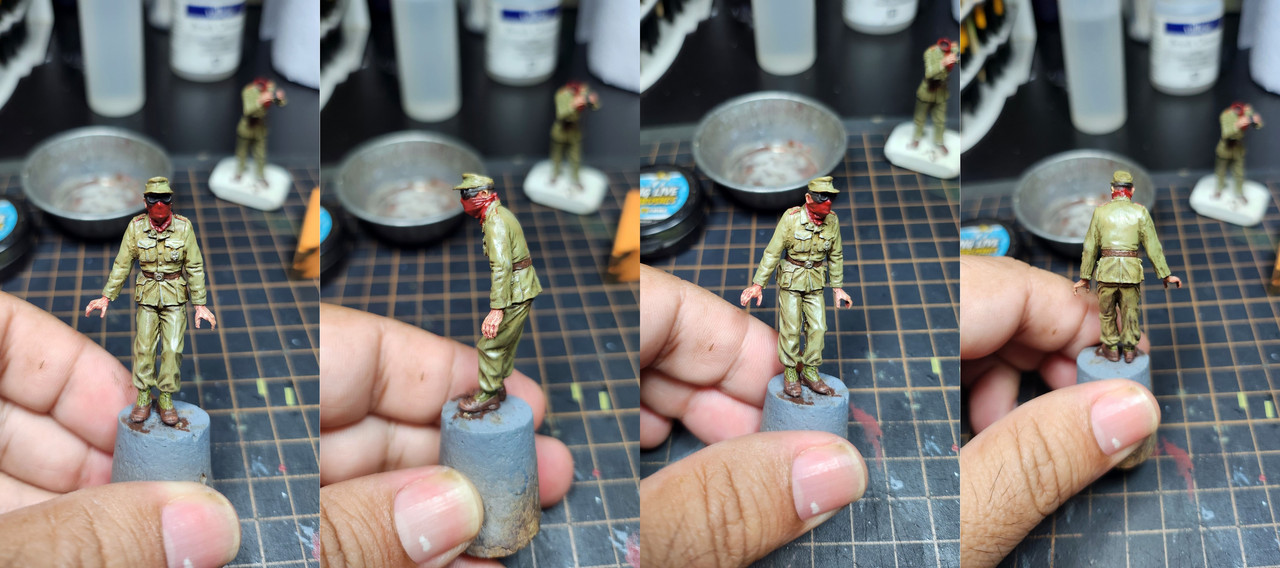
Thanks for the compliments, DAKjunkie.I use my phone, a POCO 75 from Xiaomi. I confess I need to improve my photography skills and get a phone with camera software that can make the most out of the lenses.As for the blood, I didn’t think about it; I’m saving that technique for a diorama I plan to put together based on Normandy.
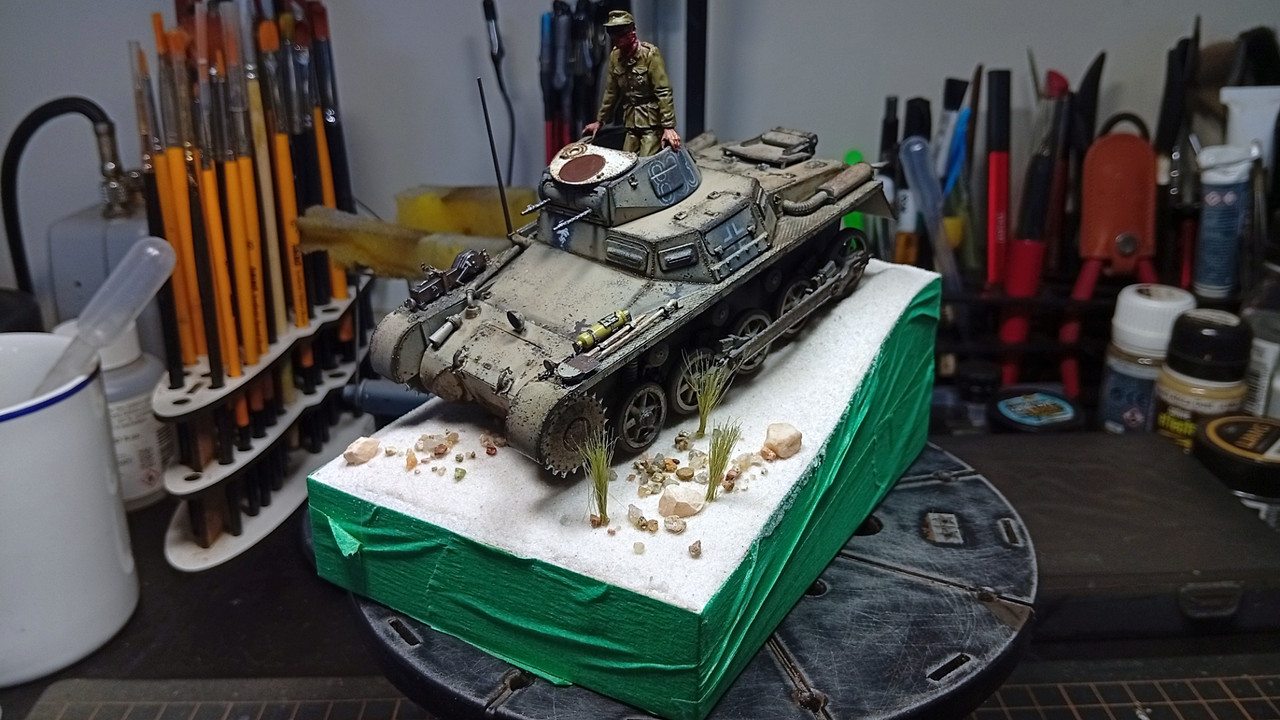
Since the vehicle will have a desert base set in North Africa, and in rare cases, the vehicles ended up with mud and dirt stuck to them, this step was removed from the process. When I do this step, it’s after applying dust.
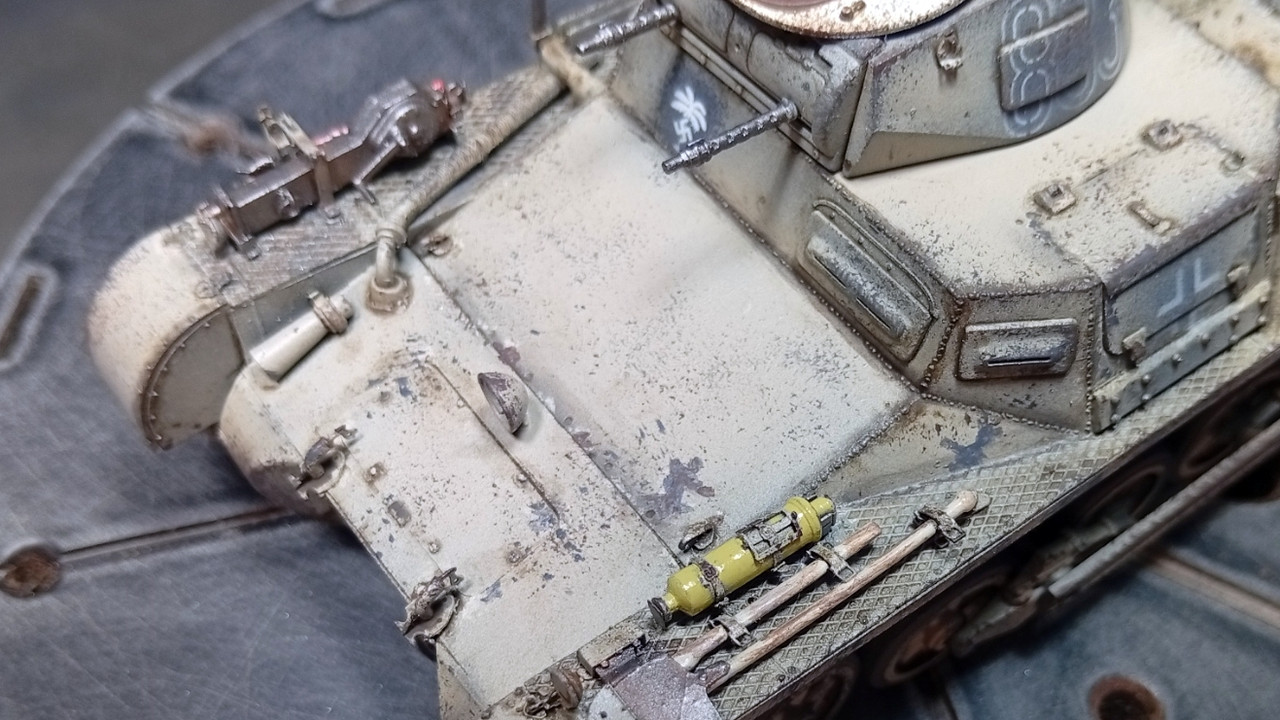
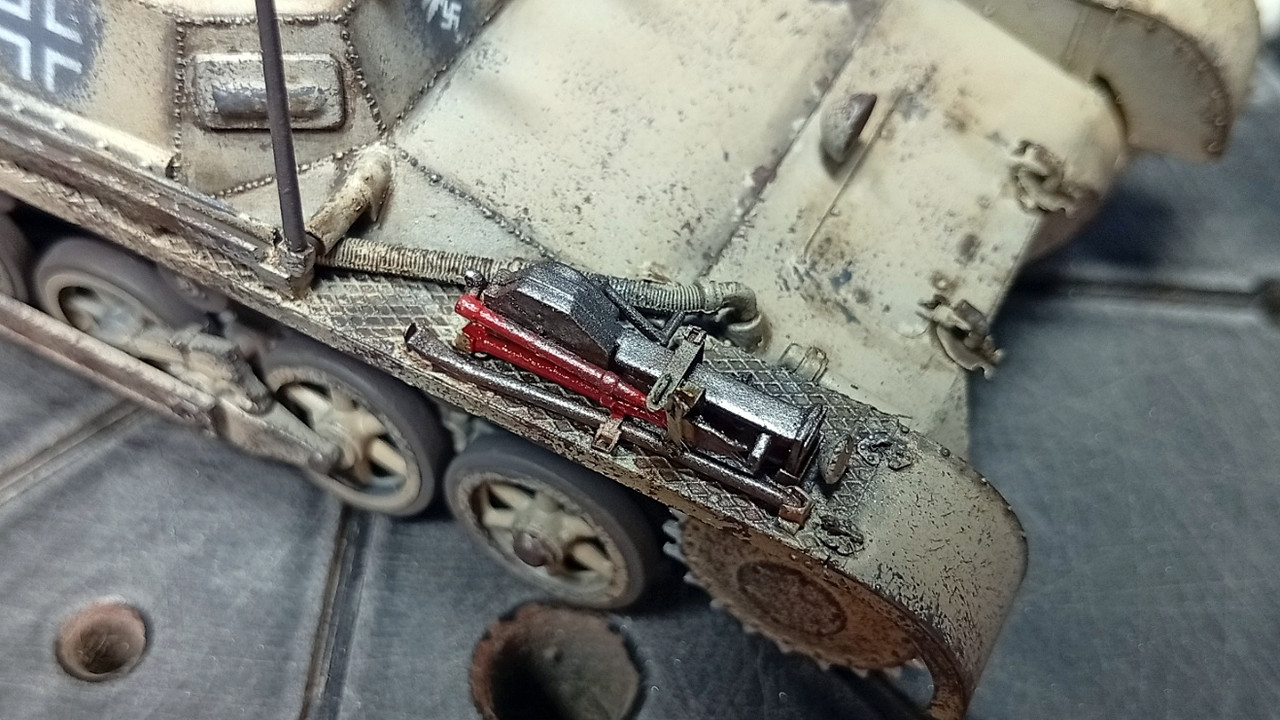
To create the dust effect, I used North Africa Dust pigment (a.mig-3003) on the top and for the bottom, I applied Nature Effects North Africa Dust (a.mig-1404). To enhance the setting, I decided to add the luggage before dusting it so I wouldn’t have to repeat the process twice.
Base paint with RAL 7021 Dark Grey (a.mig-0008) Base coat with RAL 7021 Dunkelgrau (a.mig-0008)
Markings applied with stencil in Matt White color (a.mig-0050) Markings applied with stencil in Matt White color (a.mig-0050)
Translucent airbrush of RAL 8000 Gelbbraun (a.mig-0013)
Chipping
a. Brush and sponge - RAL 7021 Dunkelgrau (a.mig-0008)
b. Brush - RAL 8000 Yellow Brown (a.mig-0013) + Matt White (a.mig-0050) [50/50] Brush - RAL 8000 Yellow Brown (a.mig-0013) + Matt White (a.mig-0050) [50/50]
c. Sponge – Chipping (a.mig-0044)
Pin Wash – Africa Korps Wash (a.mig-1001)
Tools
a. Metal Metal
i. Base: Gun Metal (a.mig-0045)
ii. Lavar: Óxido (a.mig-3510) [5/95]
iii. Drybrush: Polished metal (a.mig-3031)
b. Madeira Madeira
i. Base: Old Wood (a.mig-0036)
ii. Cor 2: Old Wood (a.mig-0036) + Chipping (a.mig-0044) [50/50]
c. Bakelite: RAL 8012 Red Brown (a.mig-0014)
Exhaust protectors: sponge with the colors Chipping (a.mig-0044) and Medium Rust (a.mig-0040) Exhaust protectors: sponge with the colors Chipping (a.mig-0044) and Medium Rust (a.mig-0040)
Protection with Satin Varnish (a.mig-2052)
Filter – Grey for Yellow Sand (a.mig-1505)
Streaking – Grime for DAK (a.mig-1201)
Dusting the top of the hull – North Africa Dust (a.mig-3003) + Light Dust (a.mig-3002) + Sand (a.mig-3012) Dusting the top part of the hull– North Africa Dust (a.mig-3003) + Light Dust (a.mig-3002) + Sand (a.mig-3012)