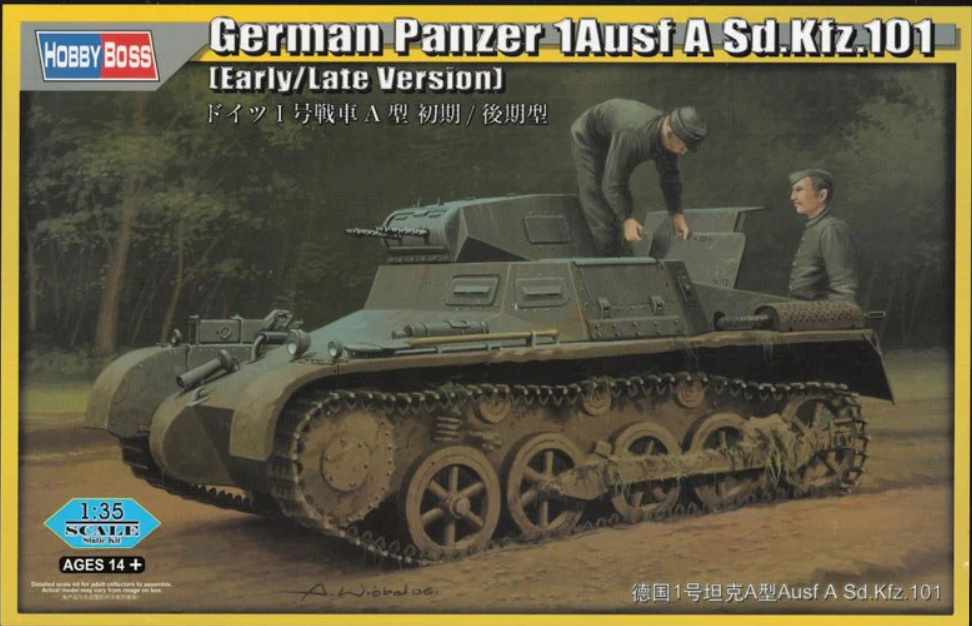
Sd.Kfz. 101 Ausf. A - HobbyBoss - 1/35

Starting another one with the Afrika Korps theme…

The kit
Painting scheme
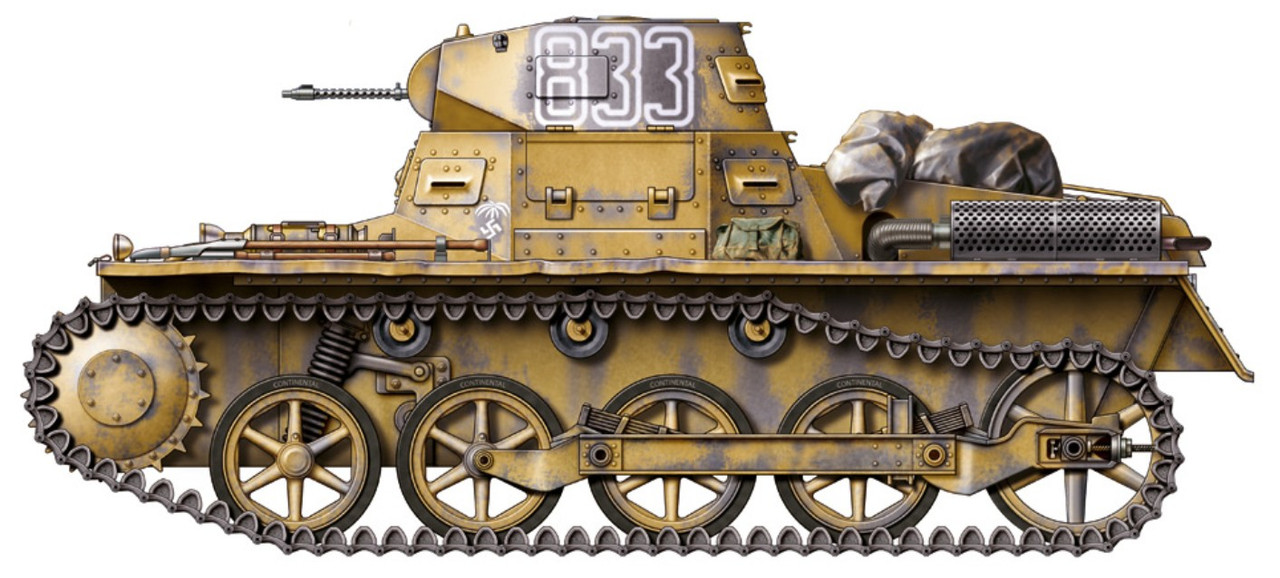
The 5th Panzer Regiment had its light tank companies equipped with the PzKpfw I, so their first battles in Africa were against British light armored vehicles. This Panzer I had a light layer of Gelbbraun (RAL 8000) over the original Dunkelgrau (RAL 7021) base. The crew left the tactical number exposed on both sides of the turret, outlined in white; indicating the vehicle as the 3rd unit, from the 3rd platoon, of the 8th company. The white DAK insignia was painted over the original color (gray) on both sides, and on the left side of the front hull plate. These vehicles used to have a white Balkenkreuz with black painted on the left side of the rear engine plate.

Main reference
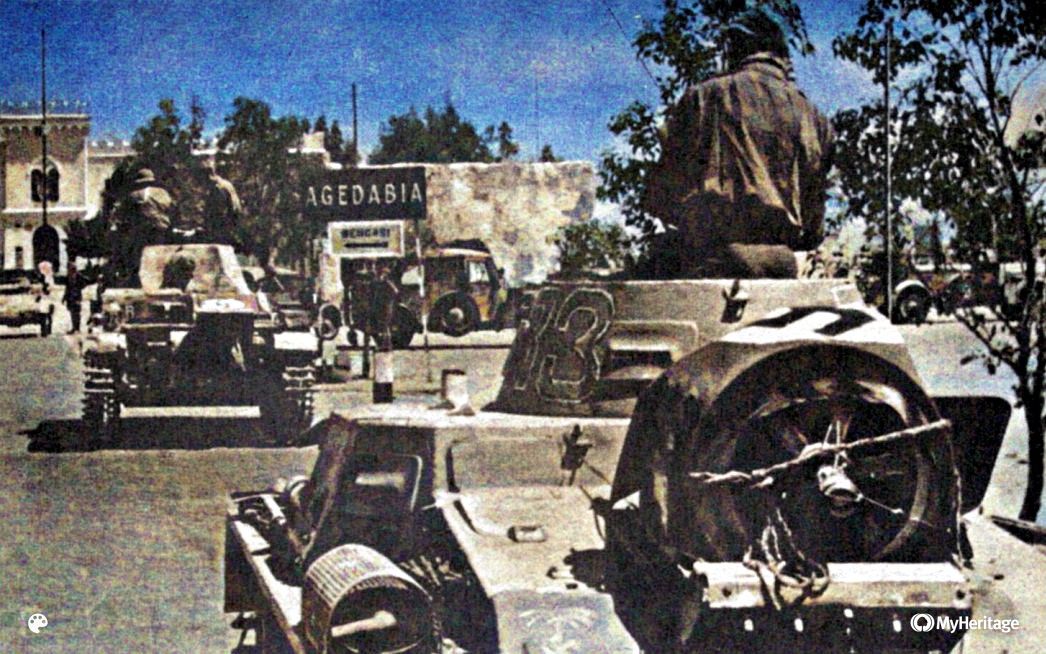
The 5th Light Division entering Agedabia on April 2, 1941, after the city was abandoned by the British contingent, which retreated in the face of the rapid advance of German units. In the image, we see one of the PzKpfw I Ausf. A, probably the ‘883’, with the Gelbbraun color applied over the Dunkelgrau.

Brief history
Due to the embargo imposed by the Treaty of Versailles, after the First World War, the Germans were prohibited from producing and acquiring armored vehicles for their army, among other restrictions.
Even with the prohibition, in 1933 the Heerewaffenamt opened a contract for the mass production of an armored vehicle between 4 and 7 tons. Among the various proposals presented, the chosen one was Henschel with Krupp’s engine. Production began in mid-1934 under the designation Panzerkampfwagen I A (Sd.Kfz. 101).

Next, we have the table with the general data of the armored vehicle:
Manufacturer - Henschel, MAN
Production period - 1934 – 1936
Units built - 477 vehicles
Weight - 5.4 tons (5400 kg)
Length - 4.06 meters (13.19 ft)
Width - 2.10 meters (6.76 ft)
Height - 1.7 meters (5.64 ft)
Engine - KRUPP M 305 with 4 cylinders, air-cooled, with 60 hp/2500 R.P.M.
Transmission - 5 forward gears and one reverse
Track width - 280 mm
Armor - Ranging from 7 mm to 13 mm
Armament - 2 MG13 machine guns of 7.92 mm
Ammunition - 3125 rounds
Fuel - 2 tanks of 72 liters (38 gallons) located in the engine compartment
Range - 200 km on the road or 140 km off-road
Maximum speed - 37 km/h (23mph)

The Sd.Kfz. 101 was originally developed as a training vehicle to assist in the training process of Panzer crews; however, the German high command, upon getting involved in the Spanish Civil War between 1937 and 1939, sent the Condor Legion equipped with the small Panzer I into the conflict. This campaign was the baptism of fire for the Panzer units, and it also demonstrated that despite being inadequate compared to its Russian competitor, the BT-7, when well employed, it could yield interesting results. The small one also participated in the Polish Campaign, the occupation of the Netherlands, and the campaigns in Norway and France. Already entering obsolescence, it was initially used in the Campaigns of Greece, Africa, and the Soviet Union (Operation Barbarossa).
8 Likes

Work has begun…

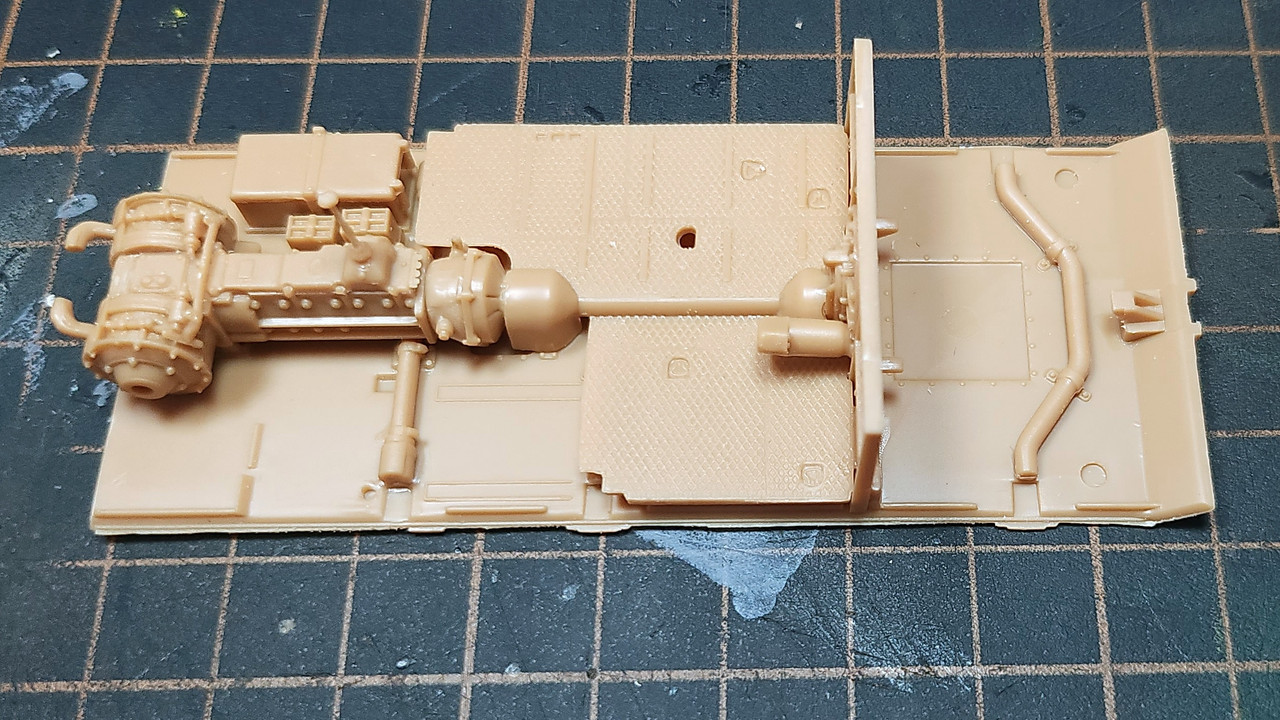
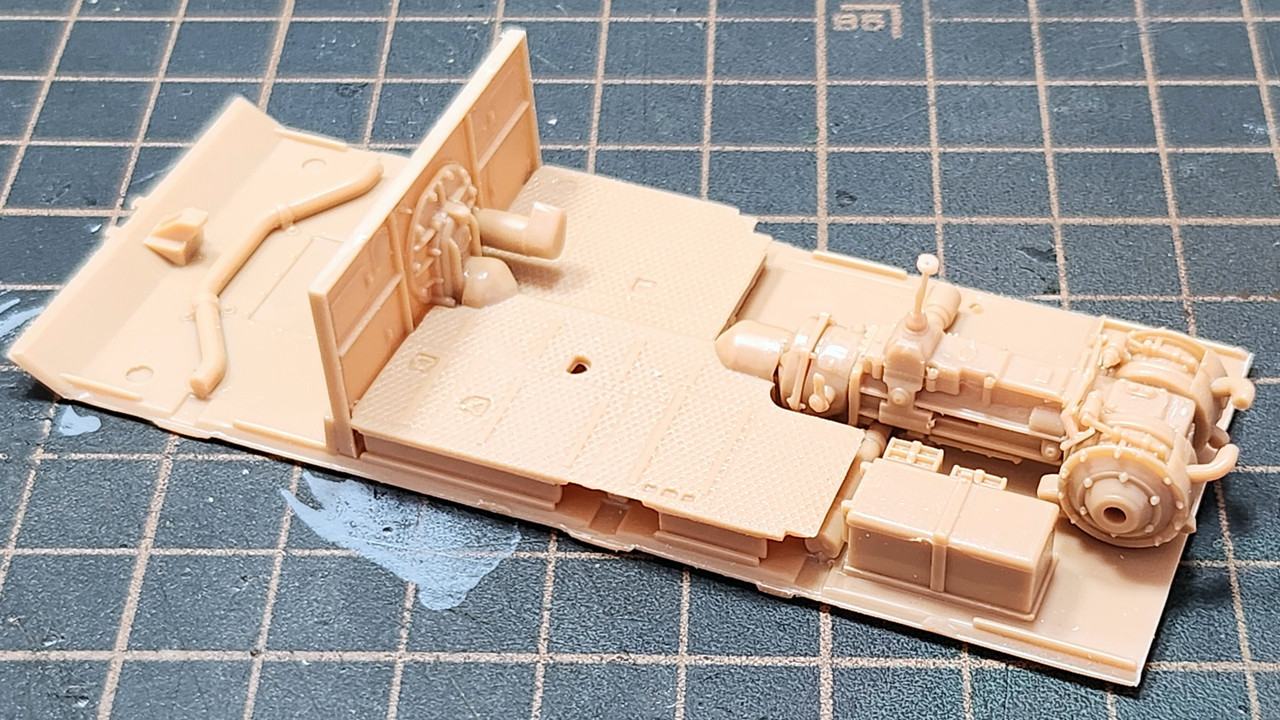
First stage of assembly completed.

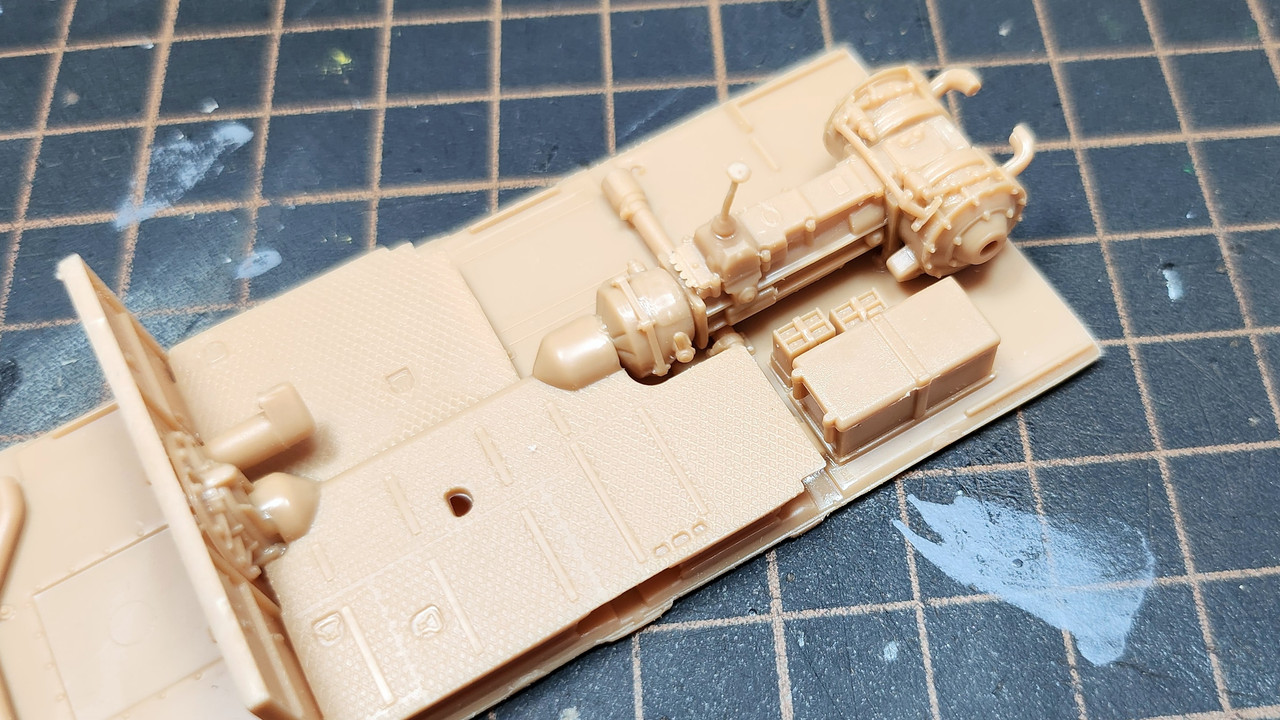
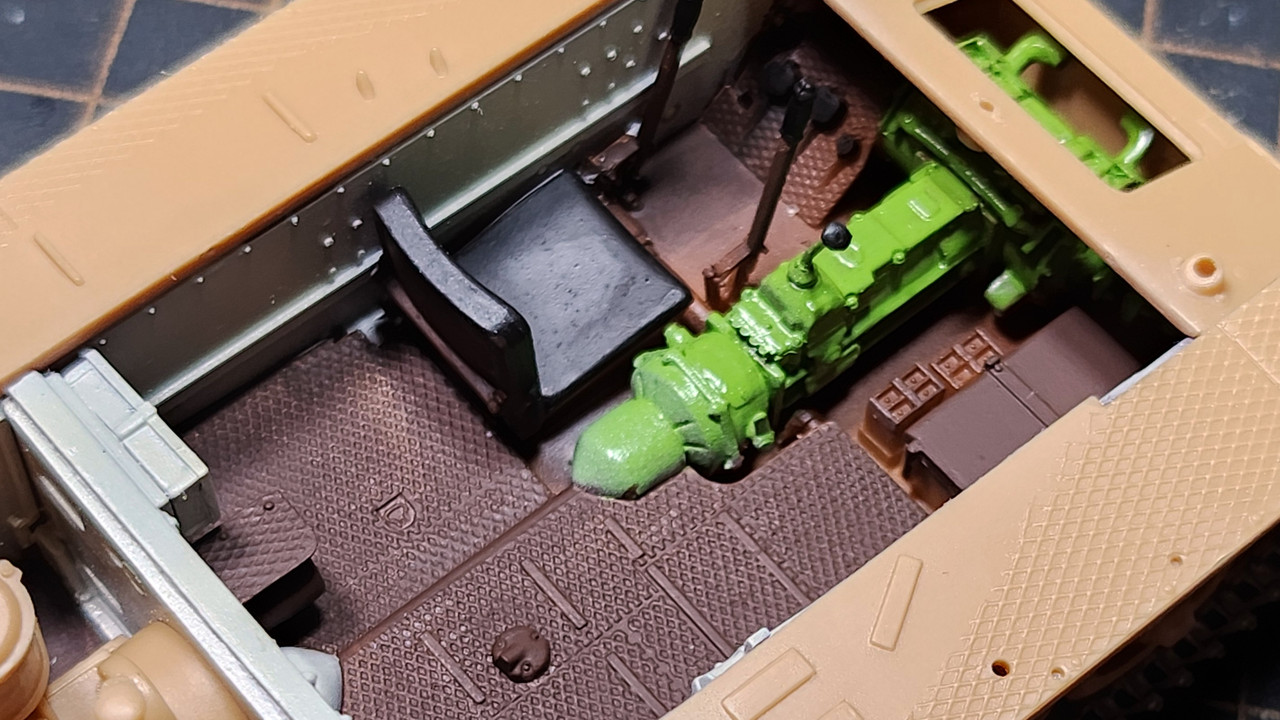
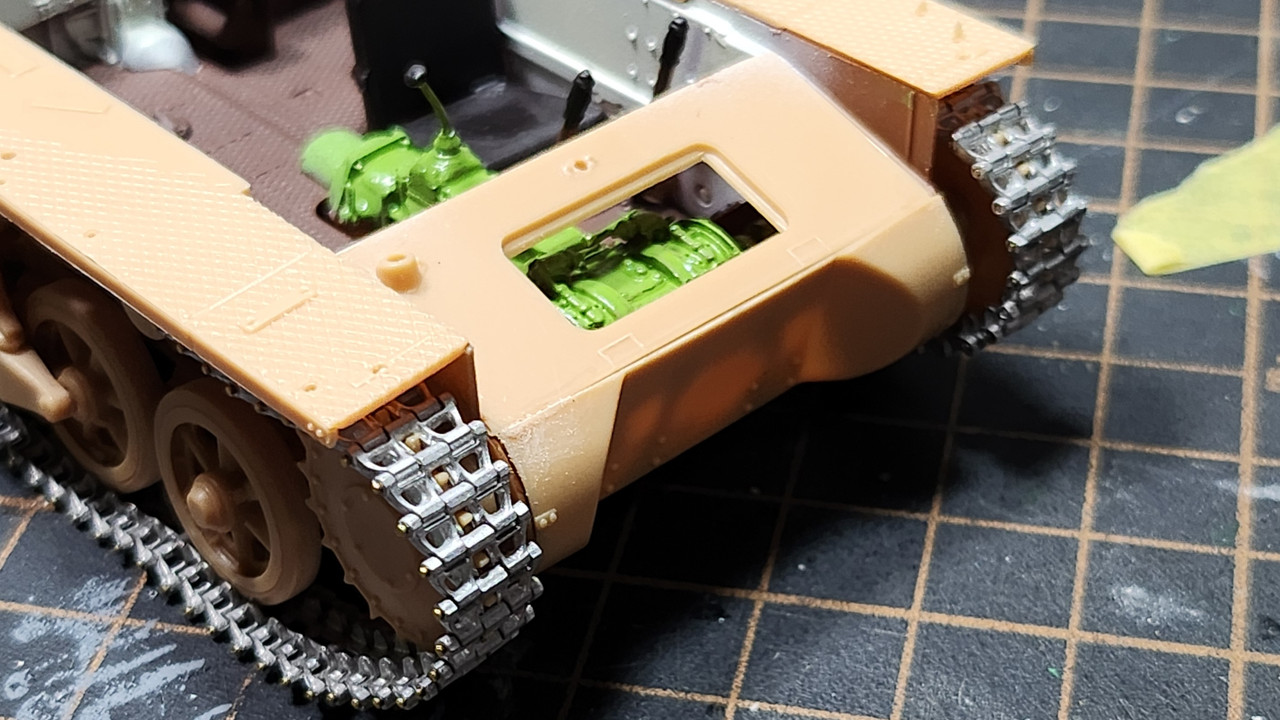
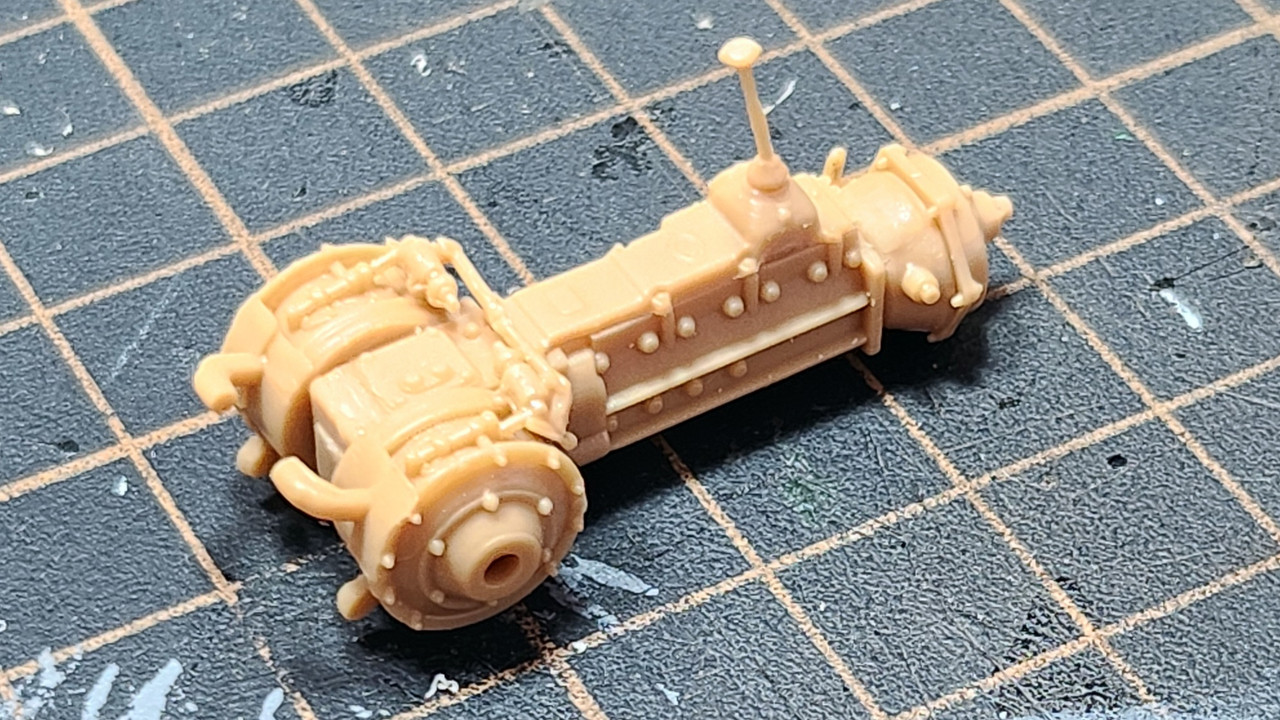
Assembly of the transmission

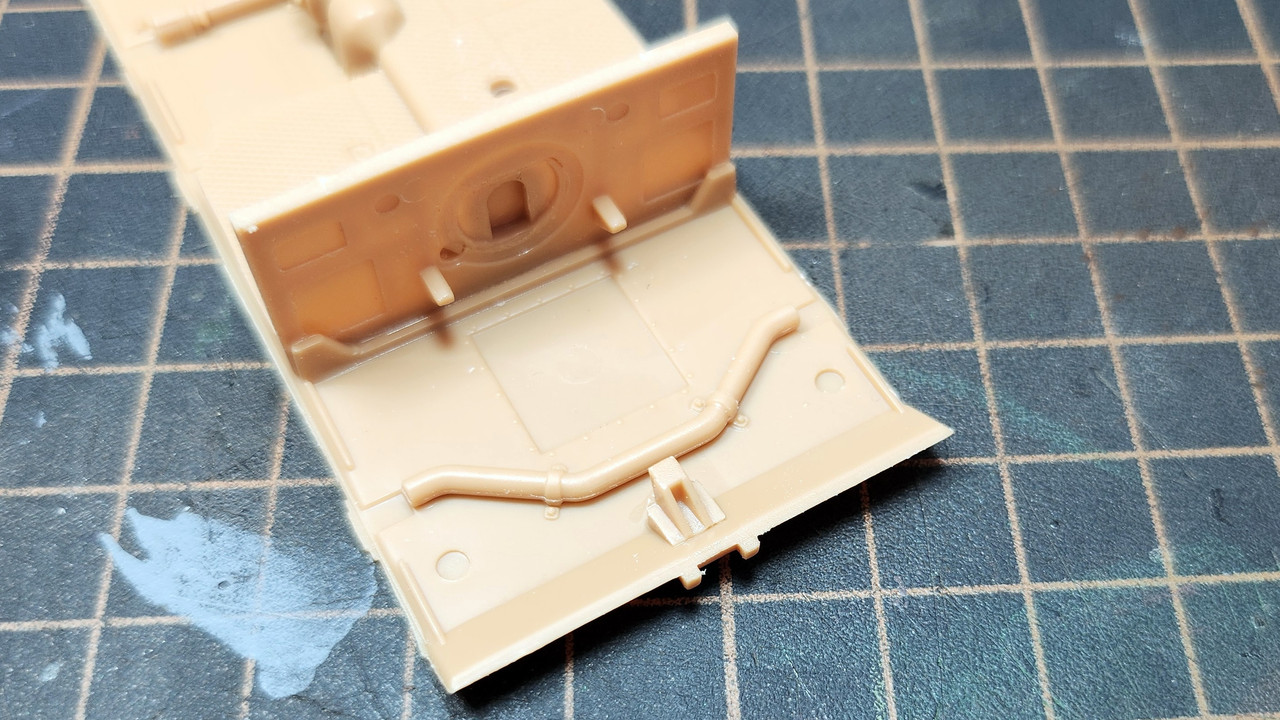
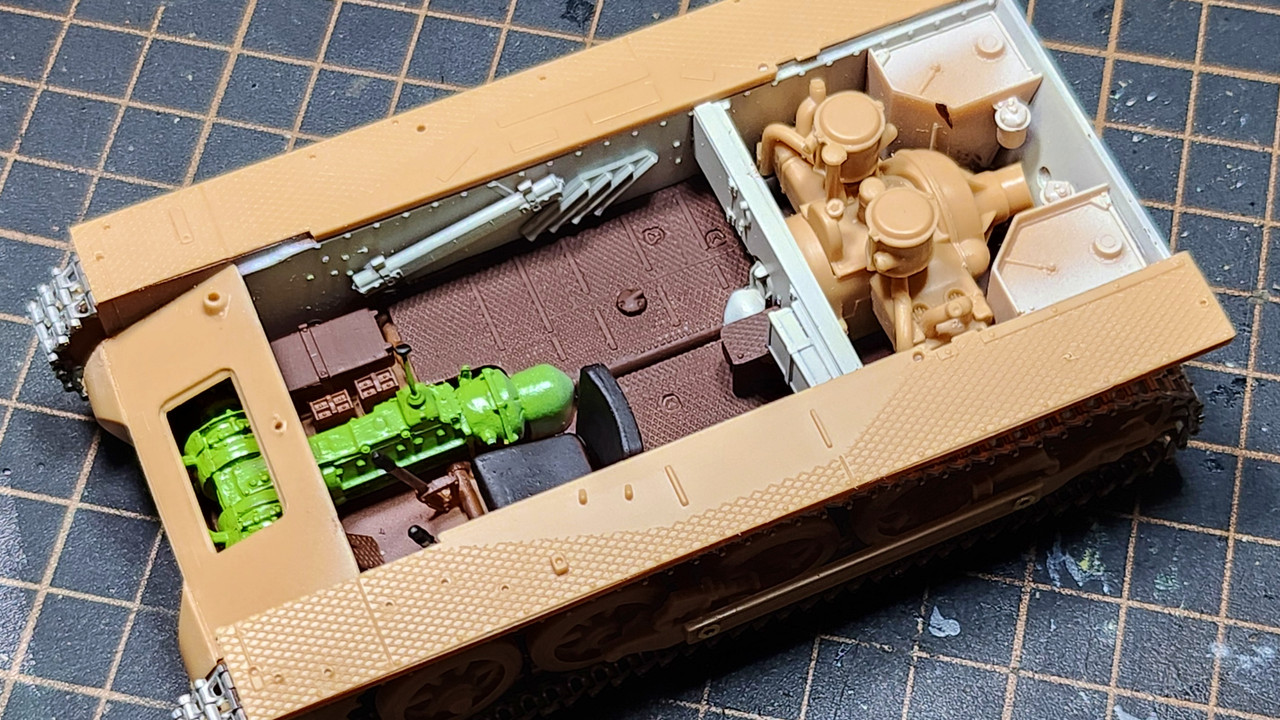
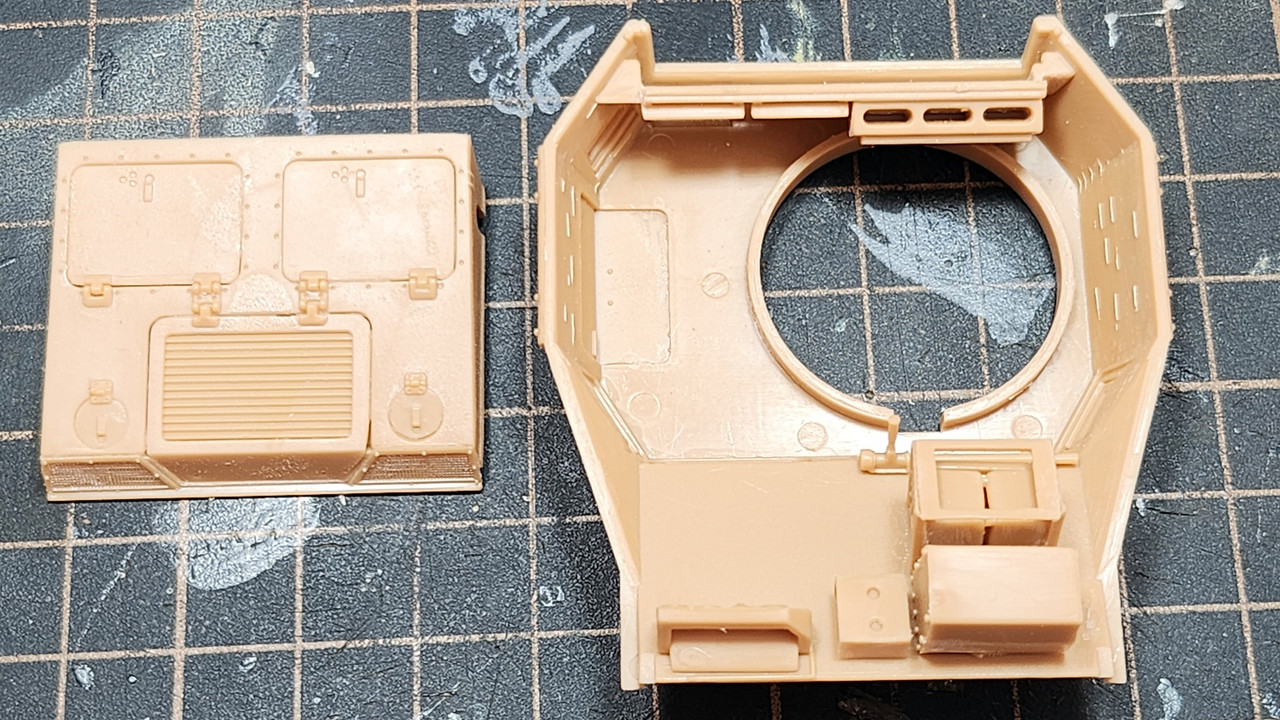
Installation of the transmission, battery rack, and engine firewall

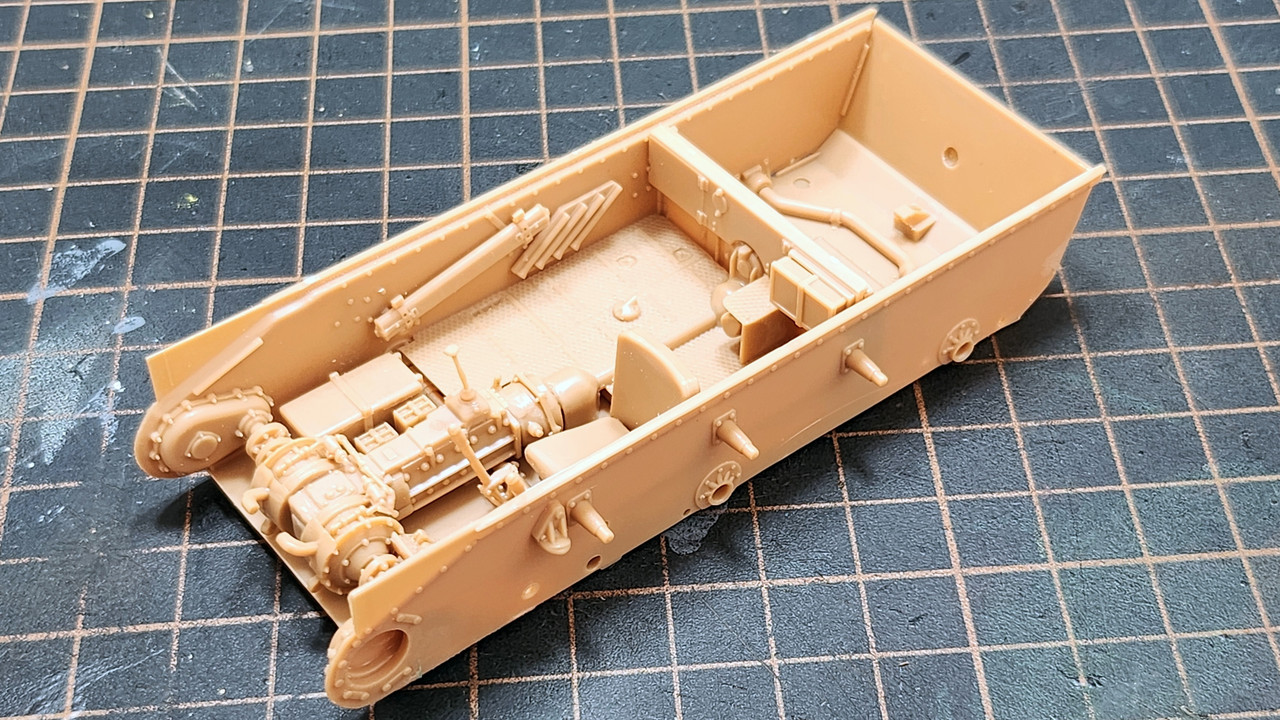
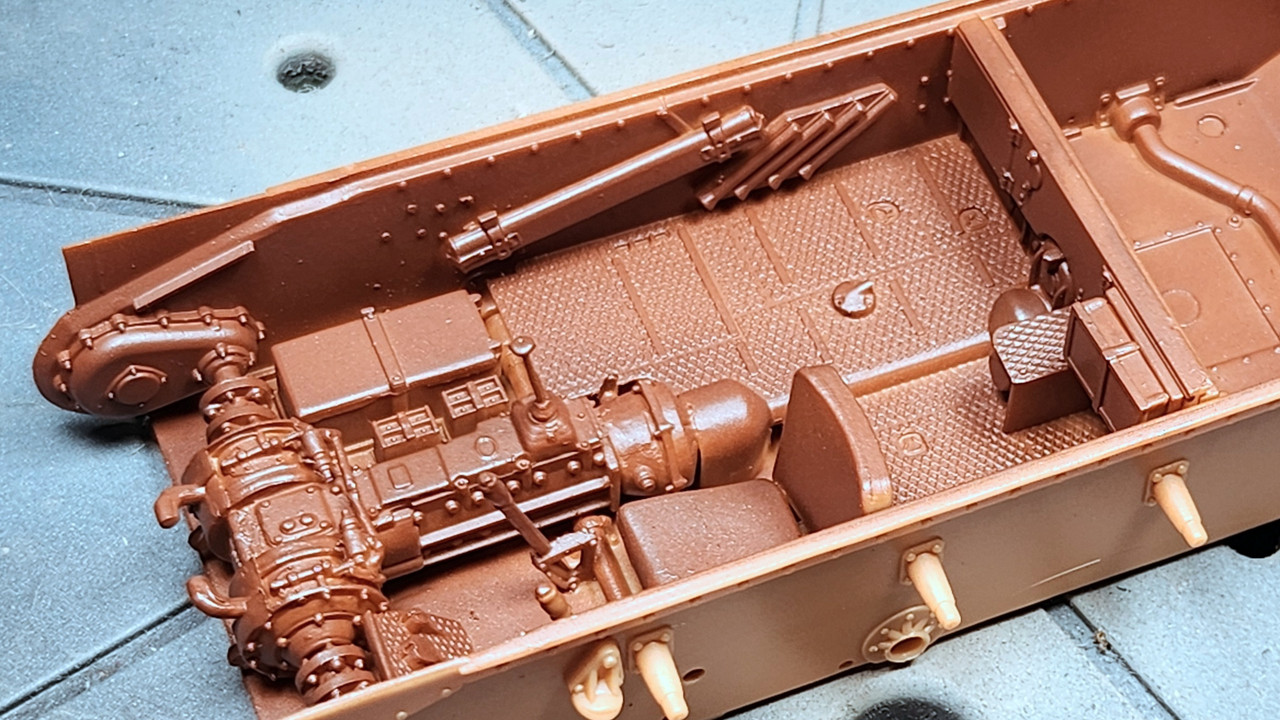
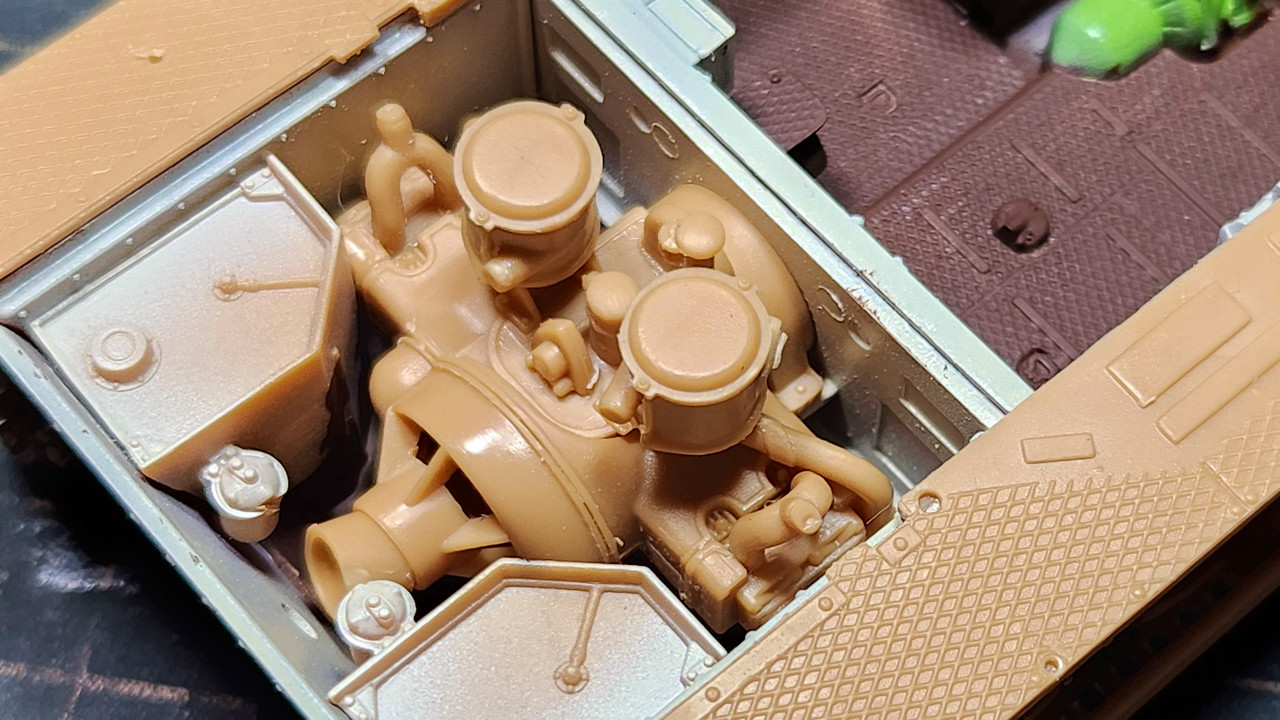
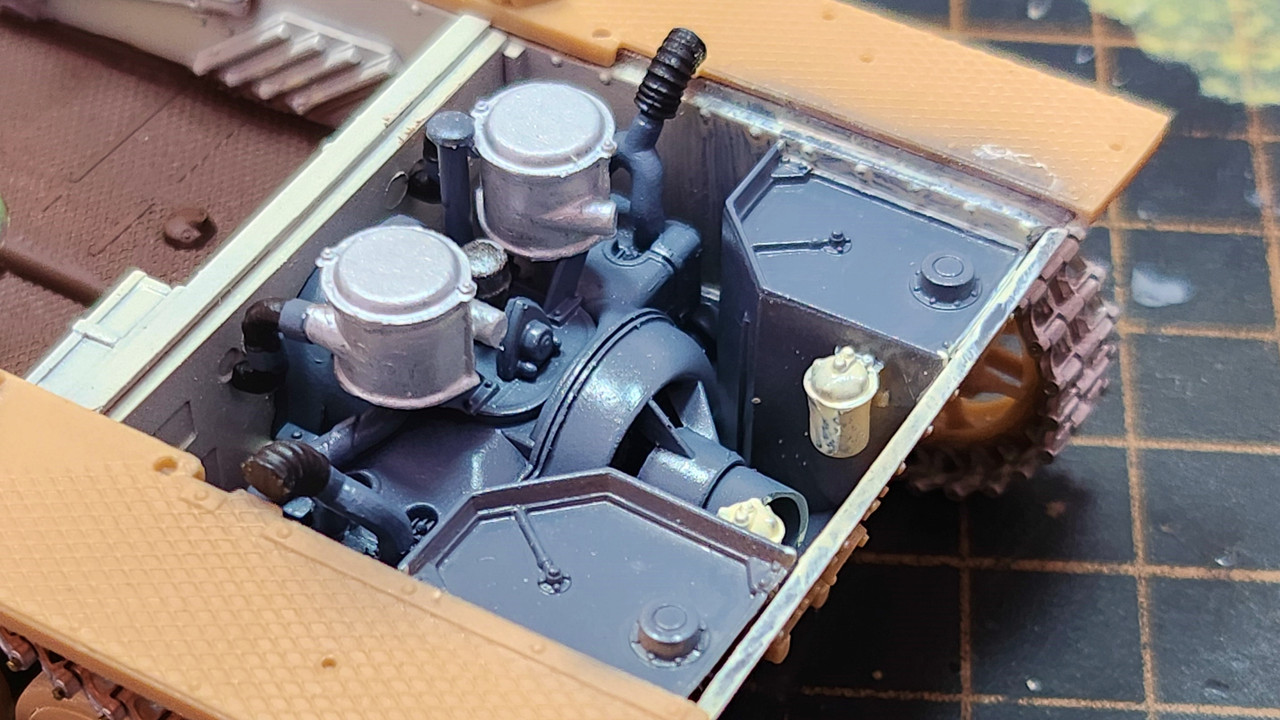
View of the engine compartment

10 Likes

Nice start. How much of the interior are you going to be able to see?

2 Likes

Lovely start mate! I do like a ‘scene setting’ introduction.

2 Likes

Hello Tim,

First of all, I am a fan of your work on the Ardennes diorama; I will constantly use it as a reference.

Regarding your question, very little or almost nothing. I have no idea about leaving the hatches open, so I will use the interior for training when it’s the Sd.Kfz. 251/1’s turn. 251/1.

3 Likes

Thank you, Sam,

I always do some research to avoid making things too out of the box. The research helps me understand how the vehicle was used and the context it was in, as it will probably go to a small base.

4 Likes

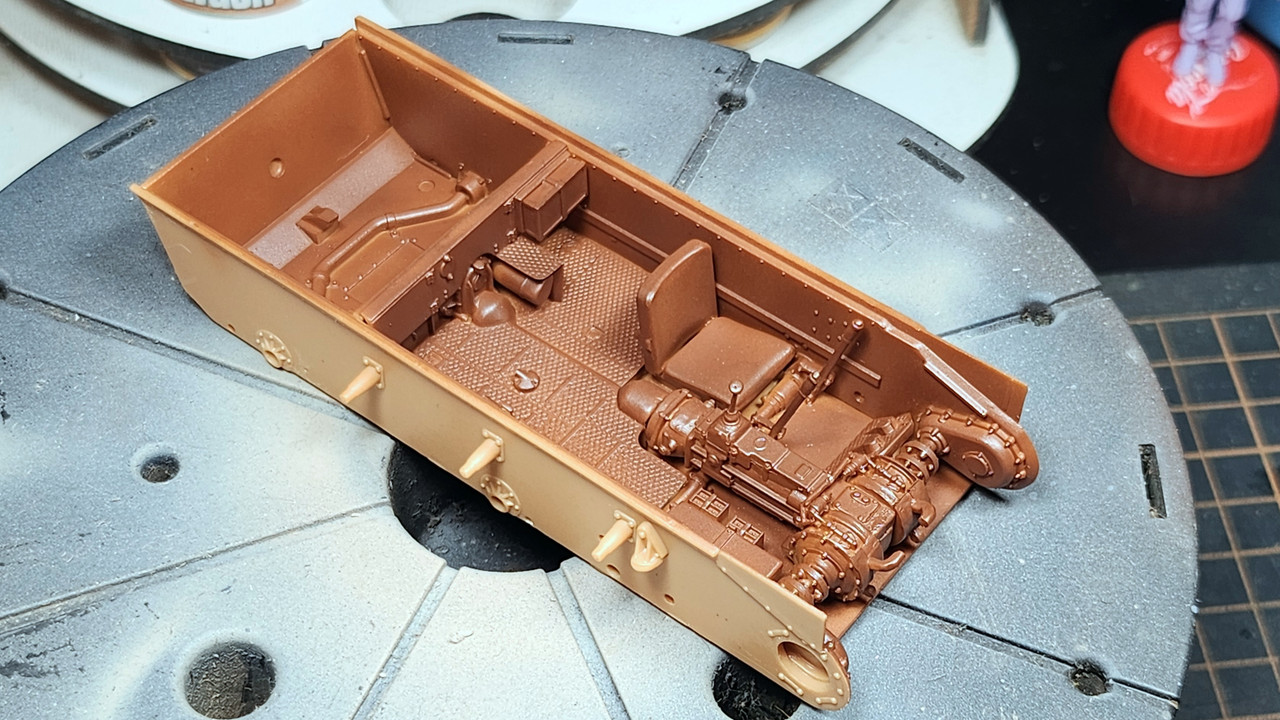
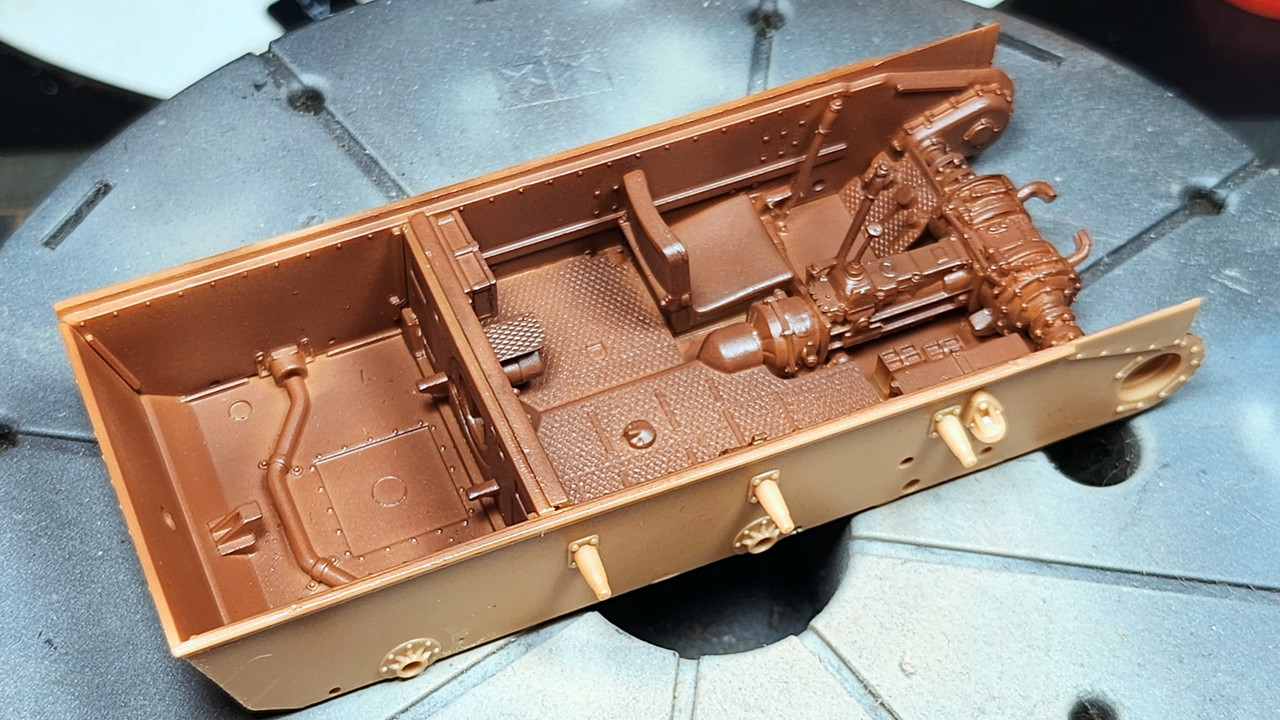
Second stage of assembly.

Assembly of the lower hull sides and the rear of the engine compartment. I applied primer A.MIG-2026.

4 Likes

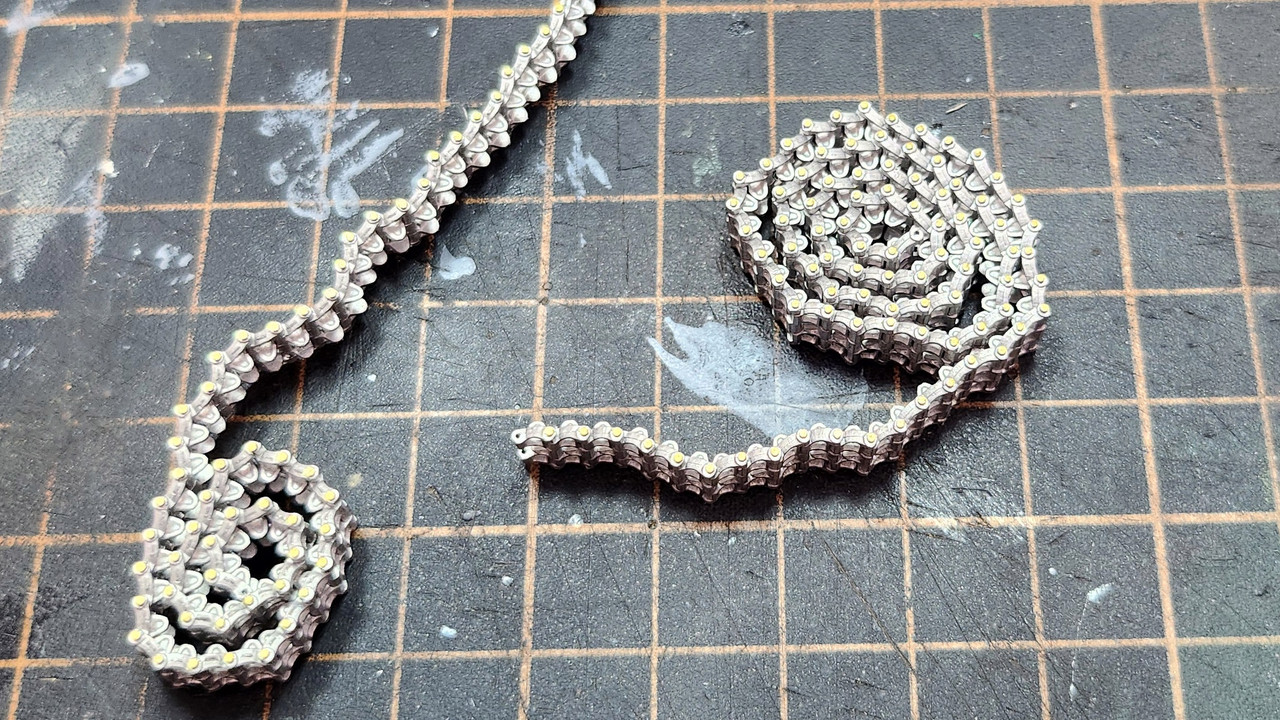
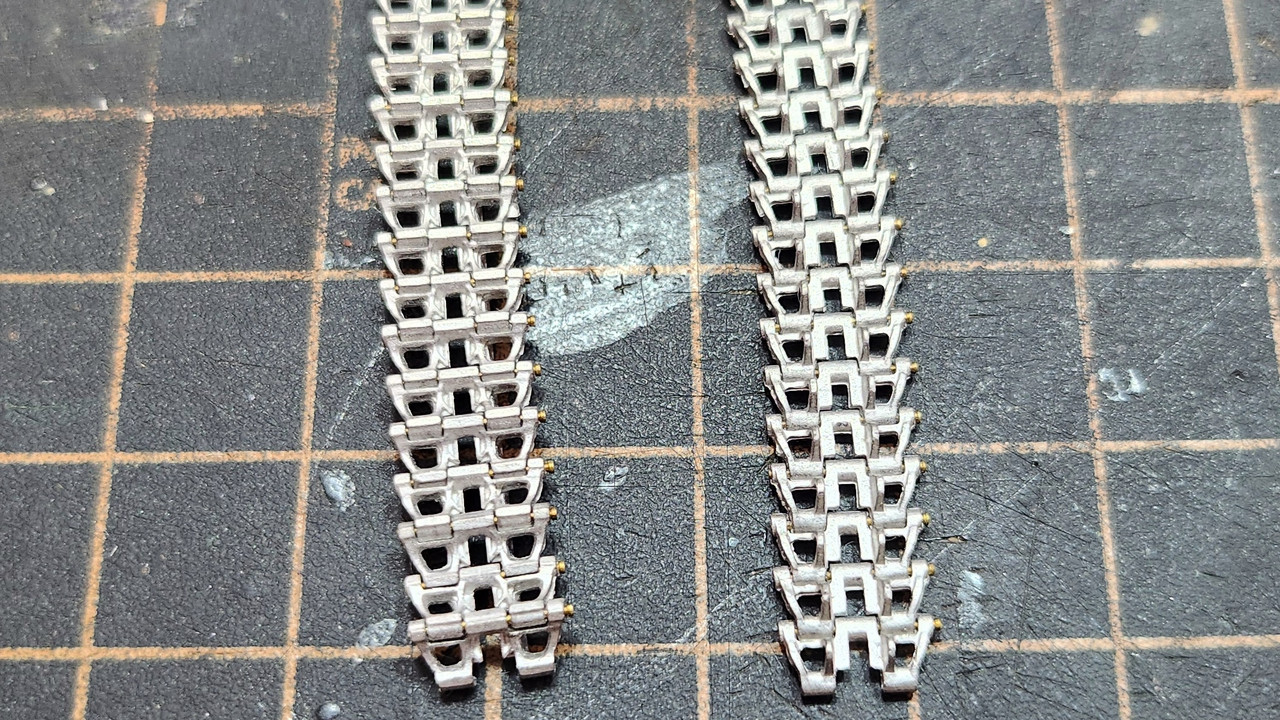
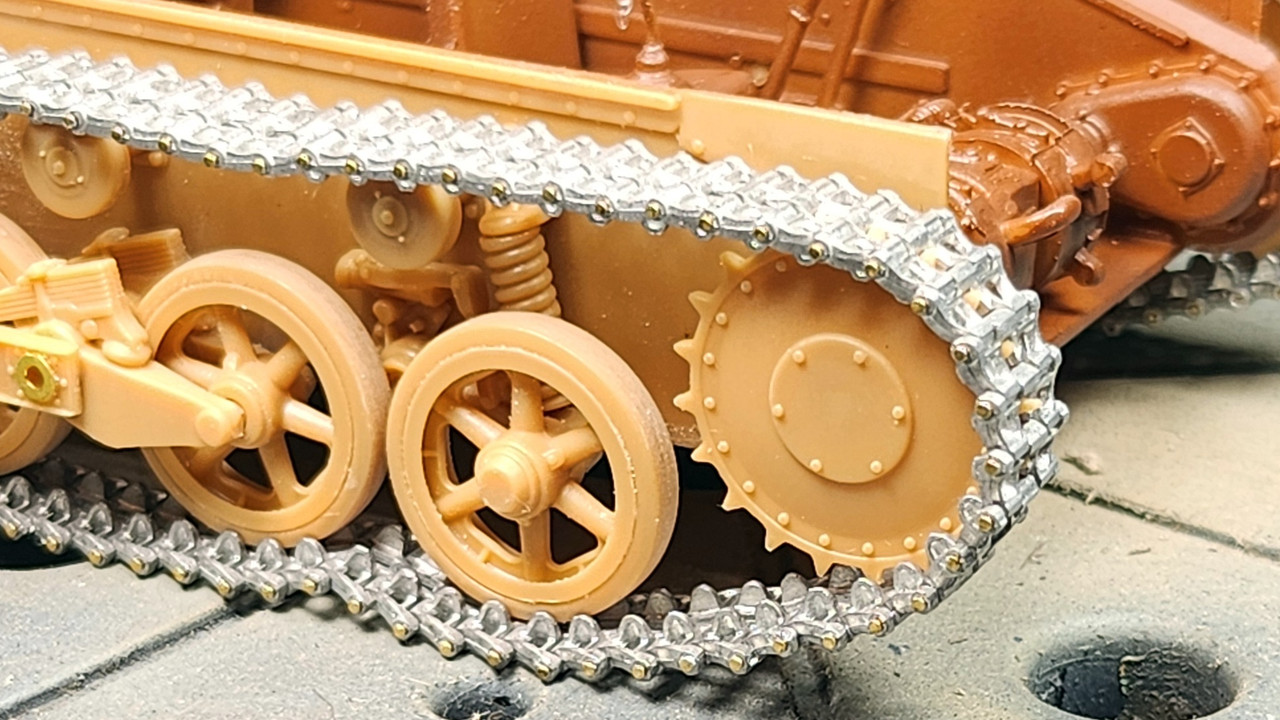
I finished the tracks, and it was quite a bit of work.
They fit well and the pins that came with them make the work faster.

3 Likes

Updating the assembly…

Stages 3 and 4 completed.
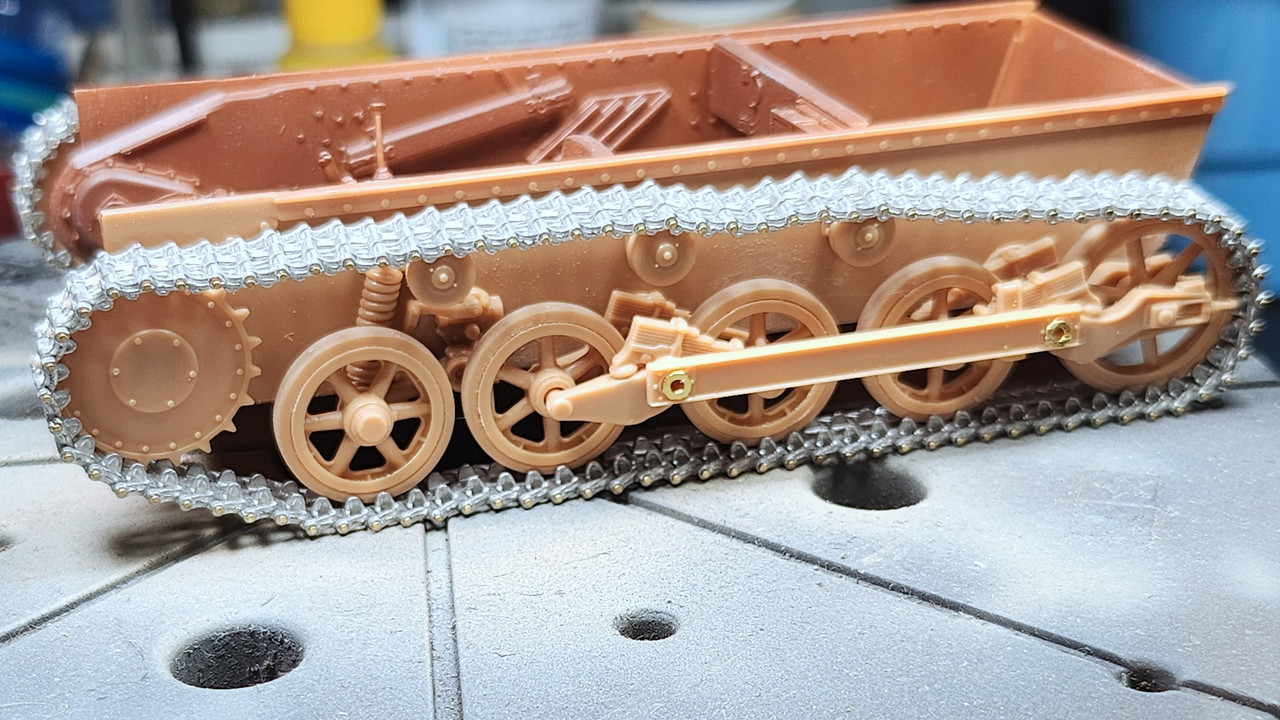
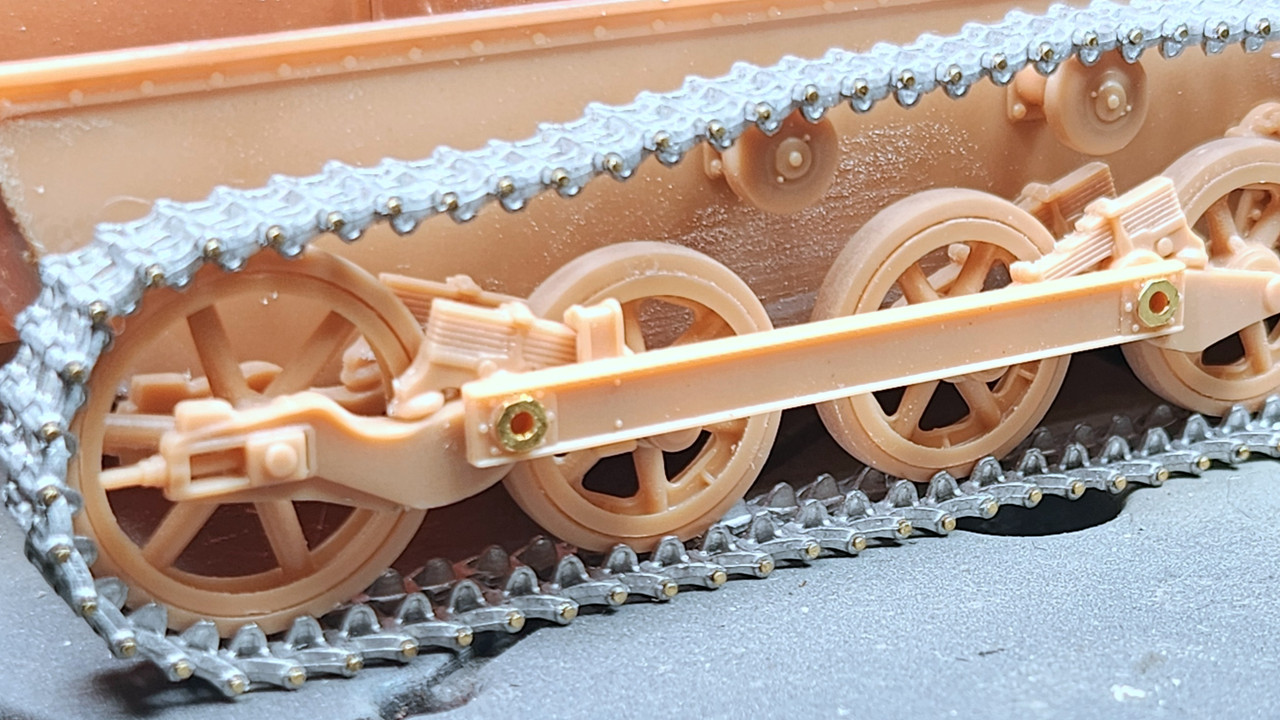
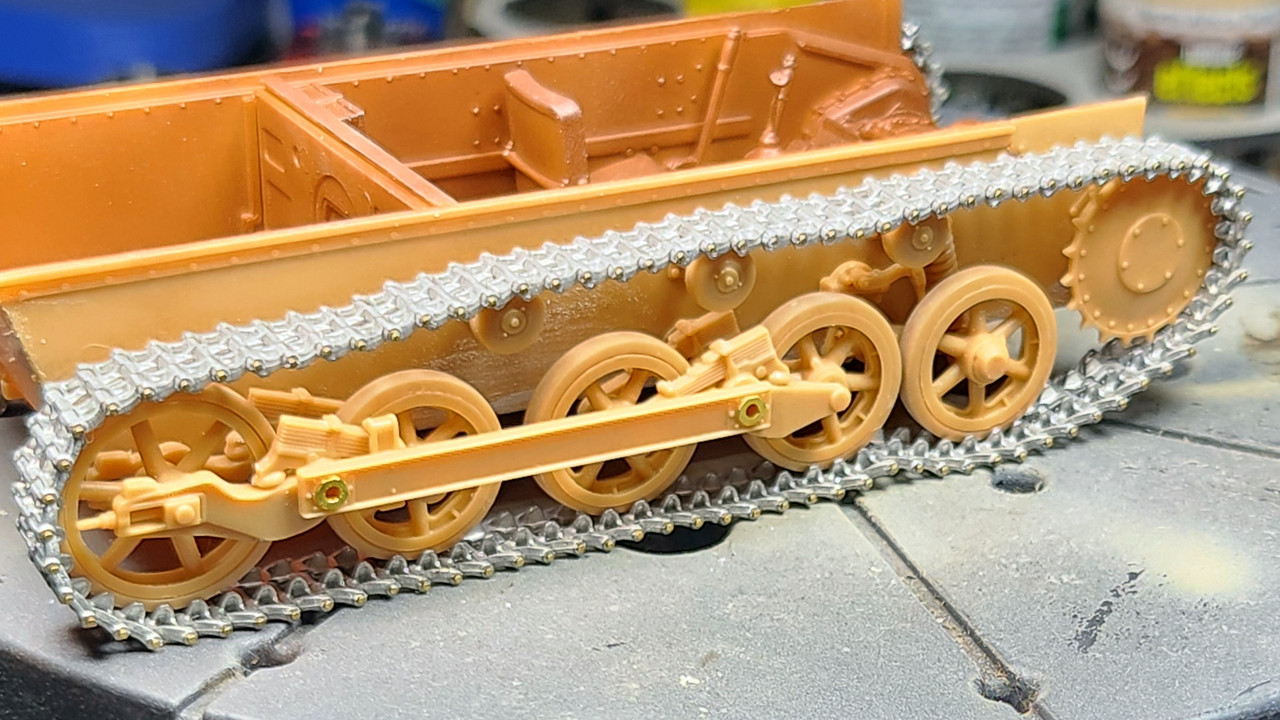
After assembling the suspension and wheels (without any issues), I installed the tracks. The manual says 87-88 original plastic links, however, I had to use 89 to keep it as it is, I’m thinking of adding one more to increase the drop.

5 Likes

Assembly stages 5 and 6 completed

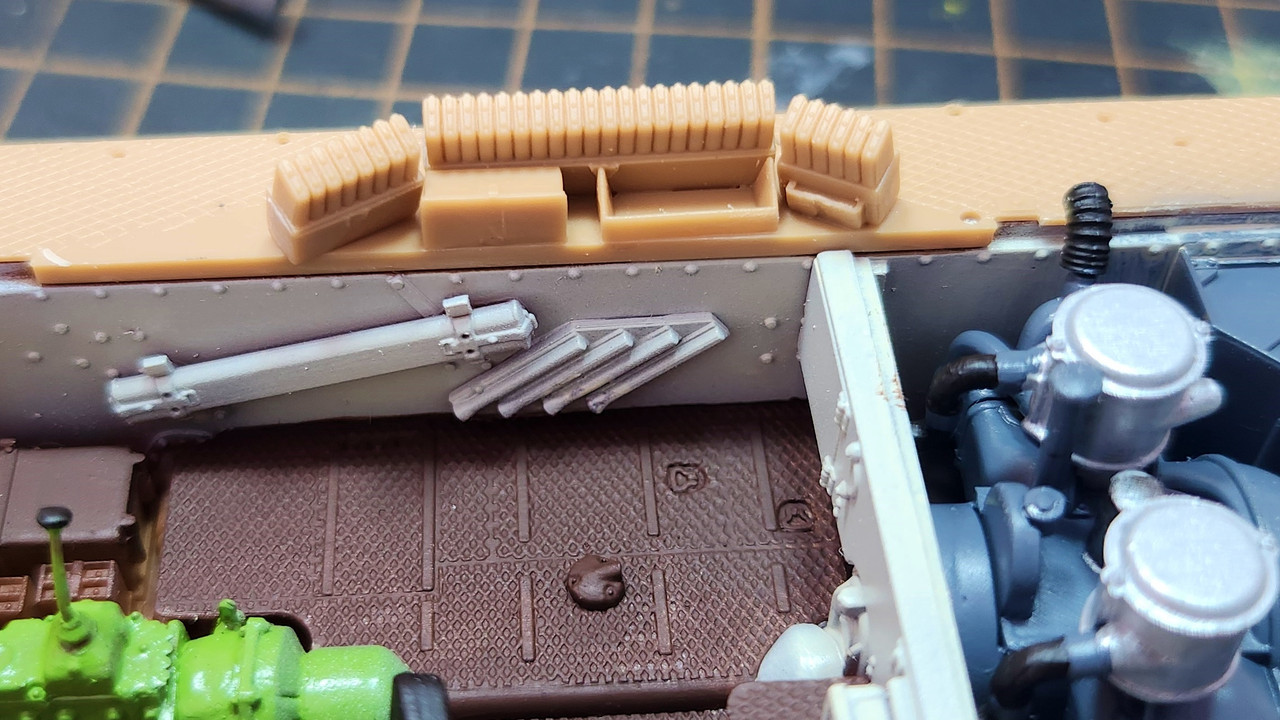
I painted the transmission according to some material I saw from AMMO, but since it will be hidden, it doesn’t make much difference.

The side walls I used RAL 9001 CREMEWEISS (a.mig-0017) and the floor with SHADOW RUST (a.mig-0043).
The engine ended up with the starter entry crooked, I only noticed after it was installed. It is not yet fixed, I will paint it outside with GREY BASE (a.mig-908).
4 Likes

Stages from 7 to 9

The engine will be hidden.

Actually, the entire interior won’t be exposed.

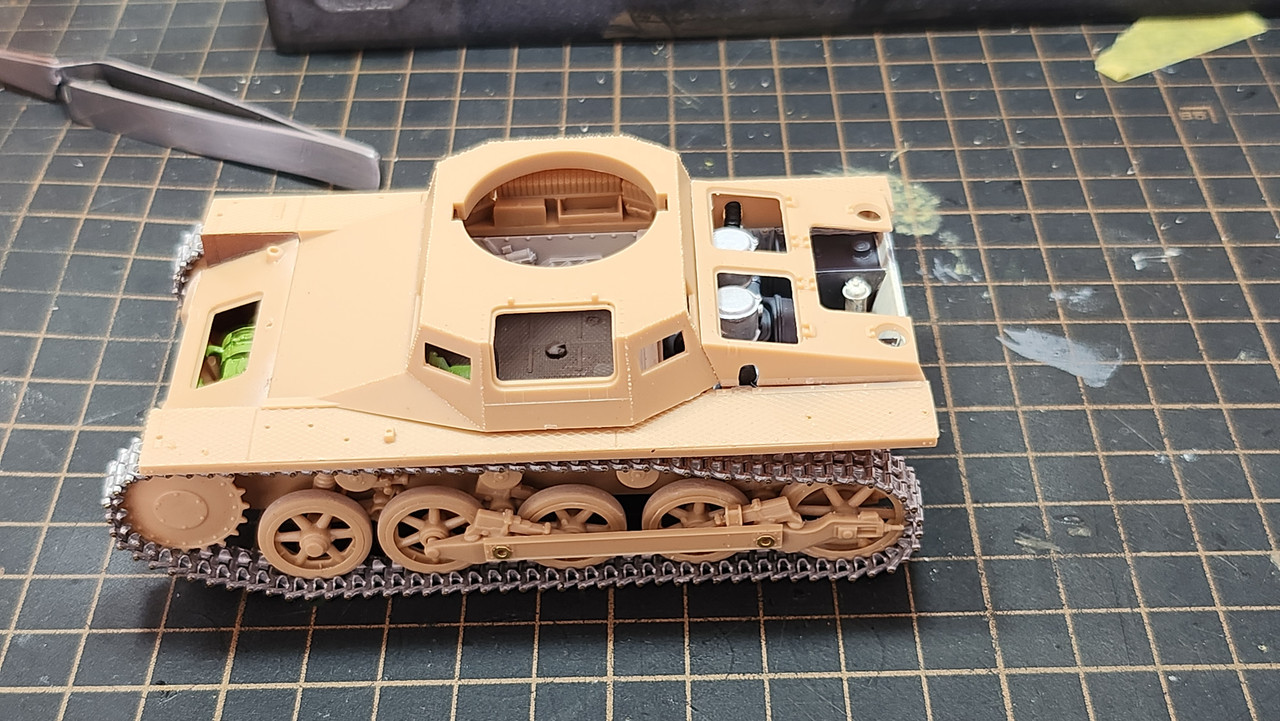
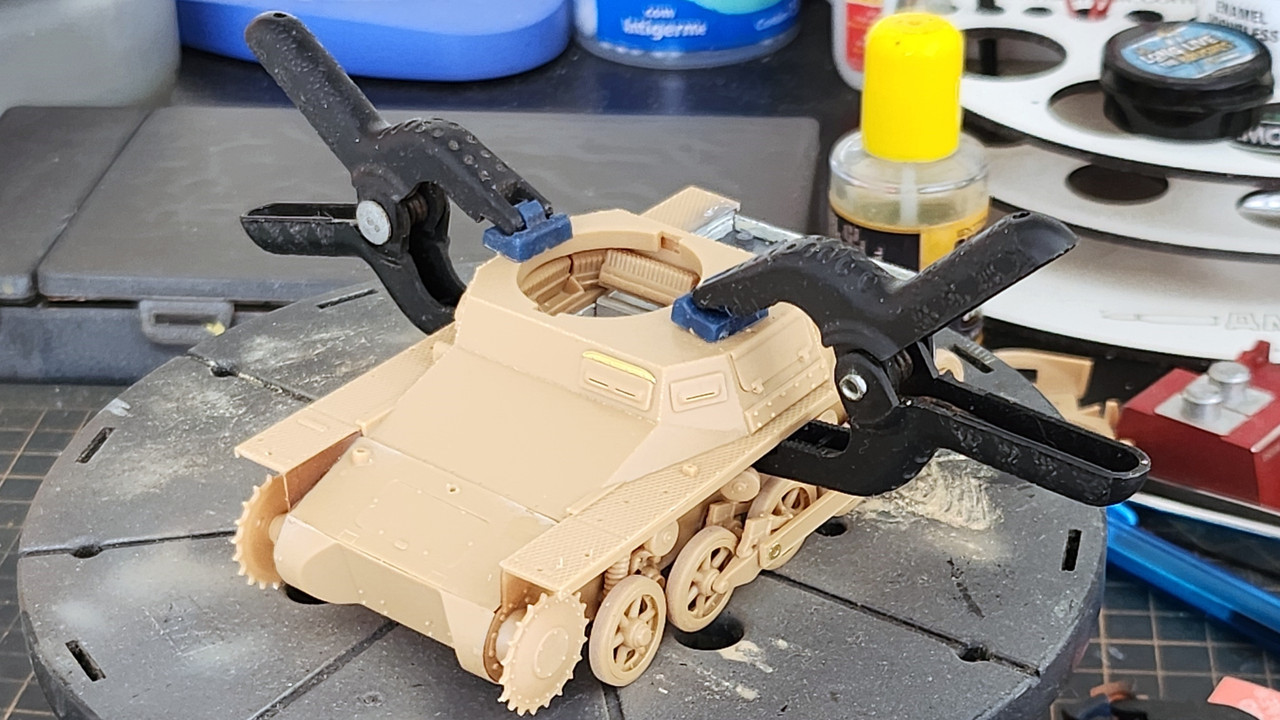
Fit test

The photoetched parts are still to come.

Gluing the top part of the hull

5 Likes

Updating the project…

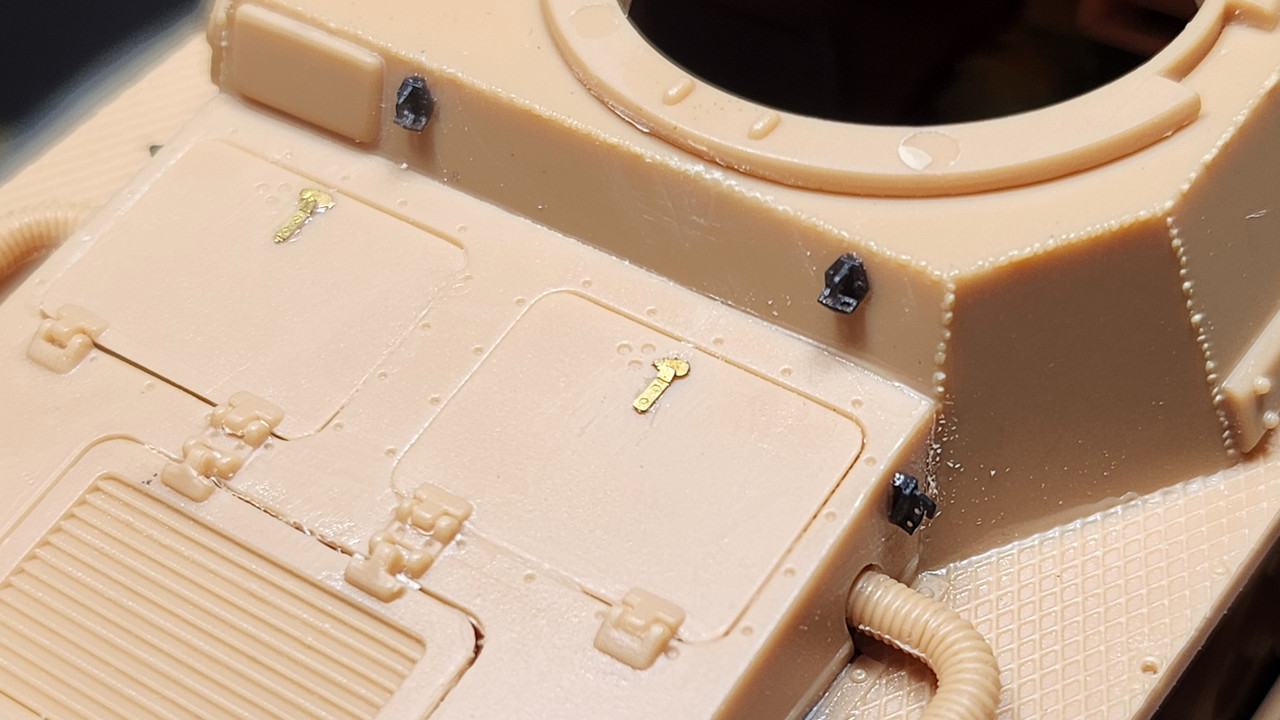
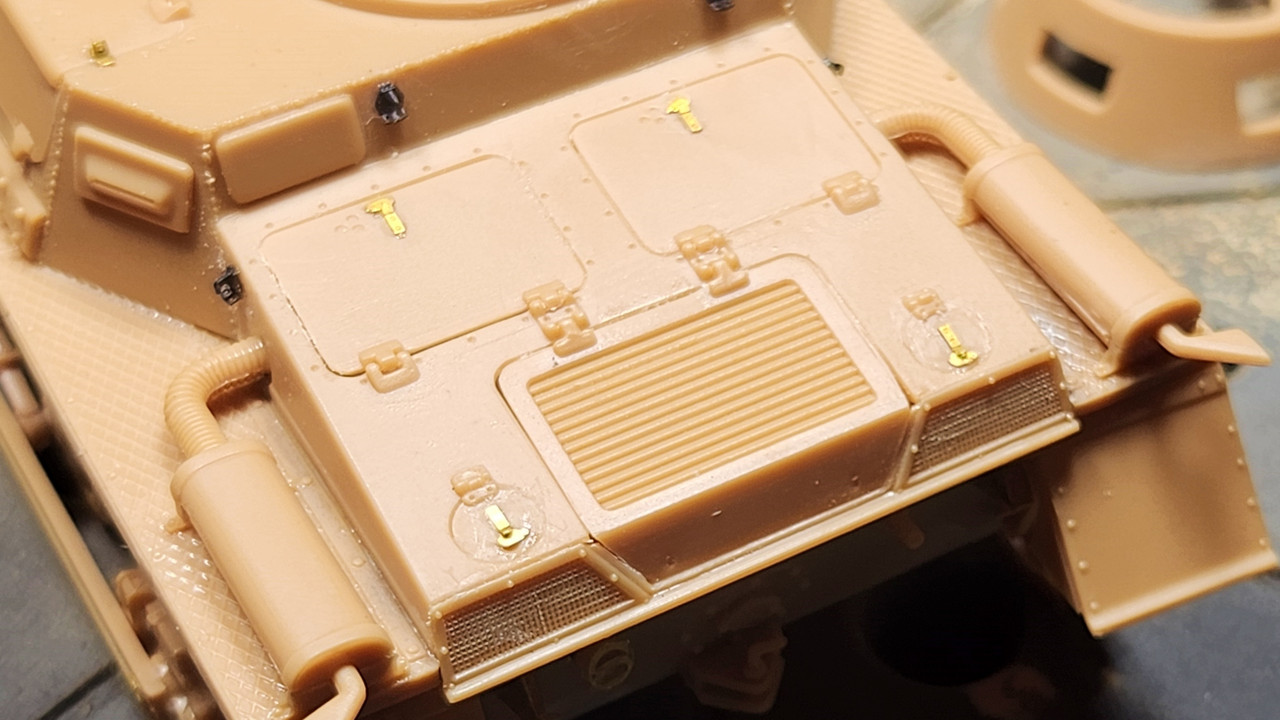
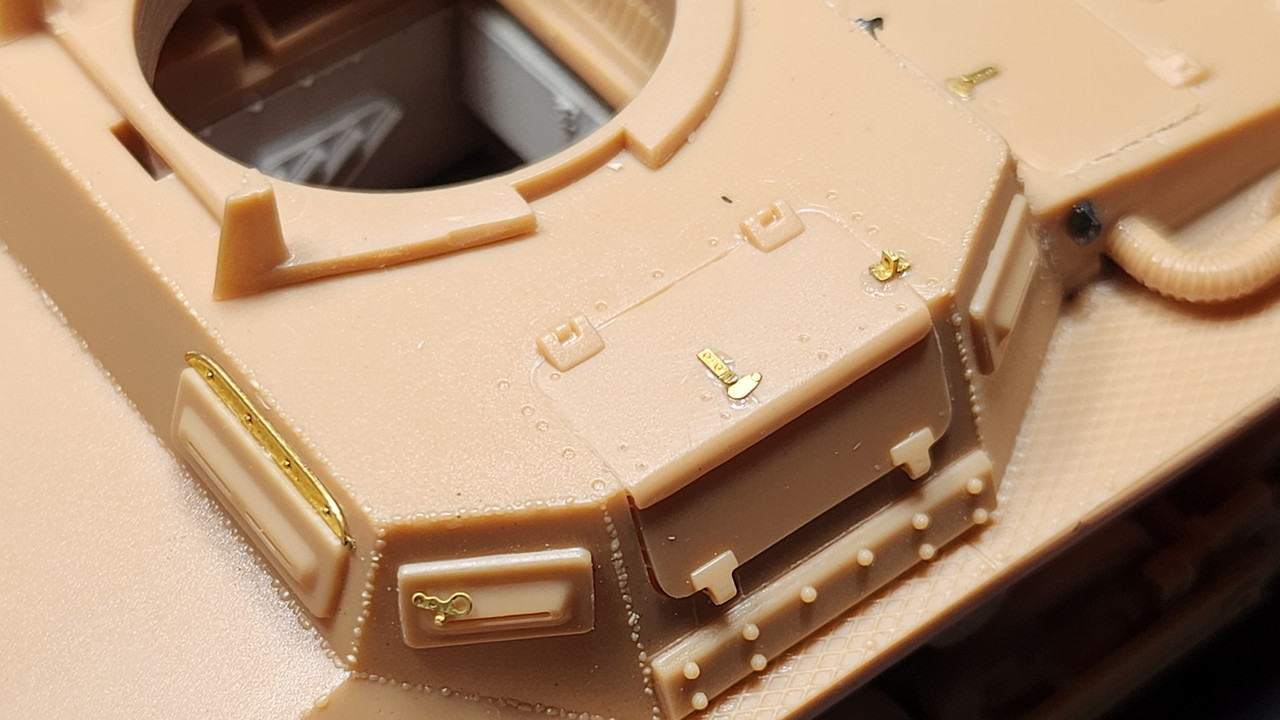
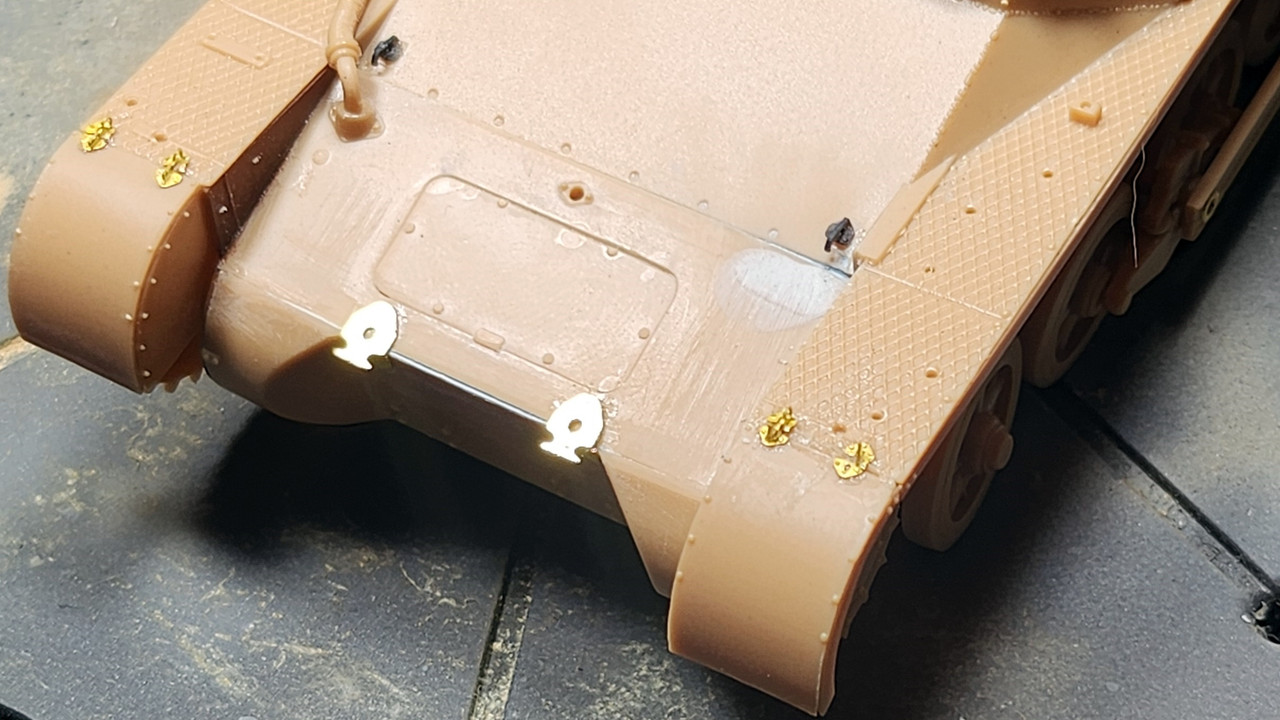
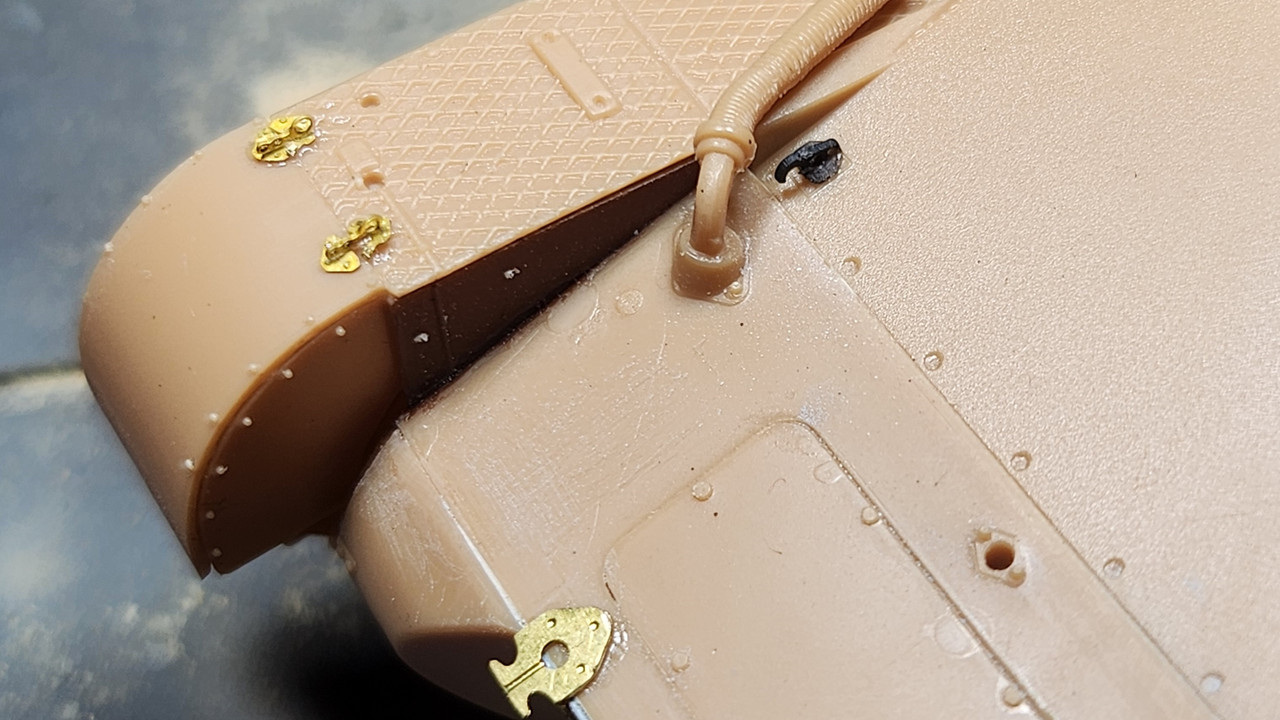
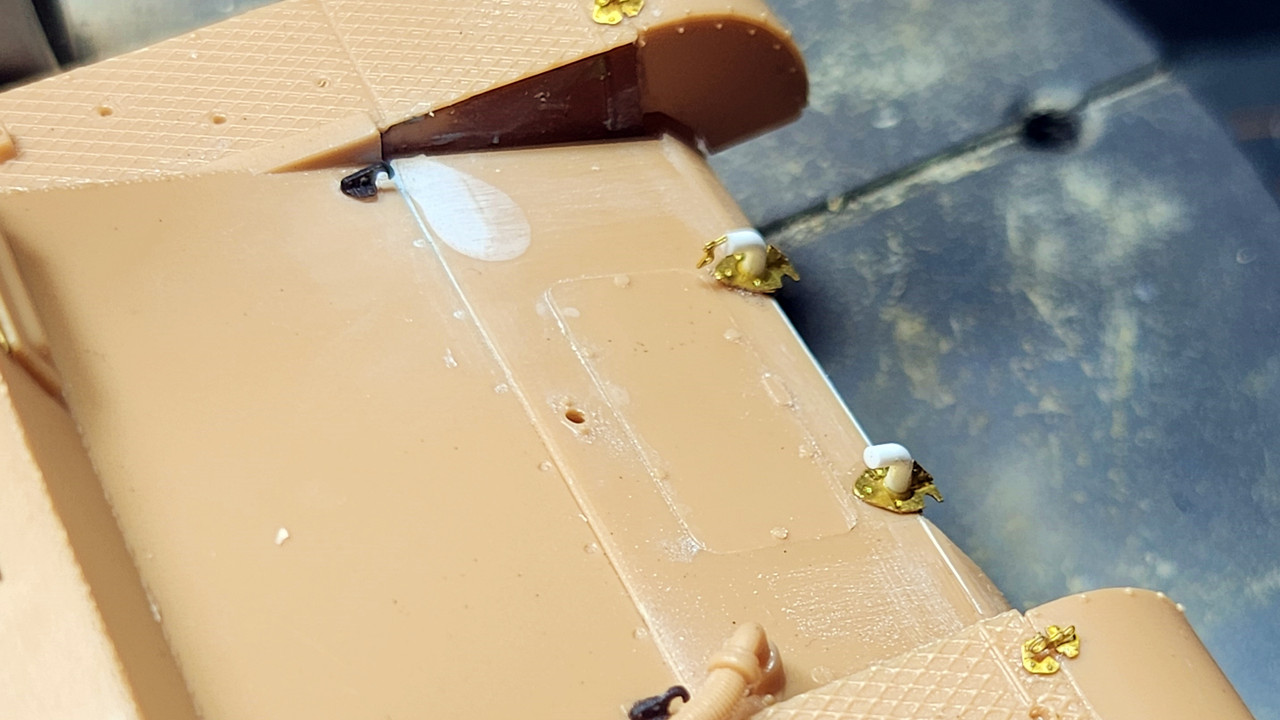
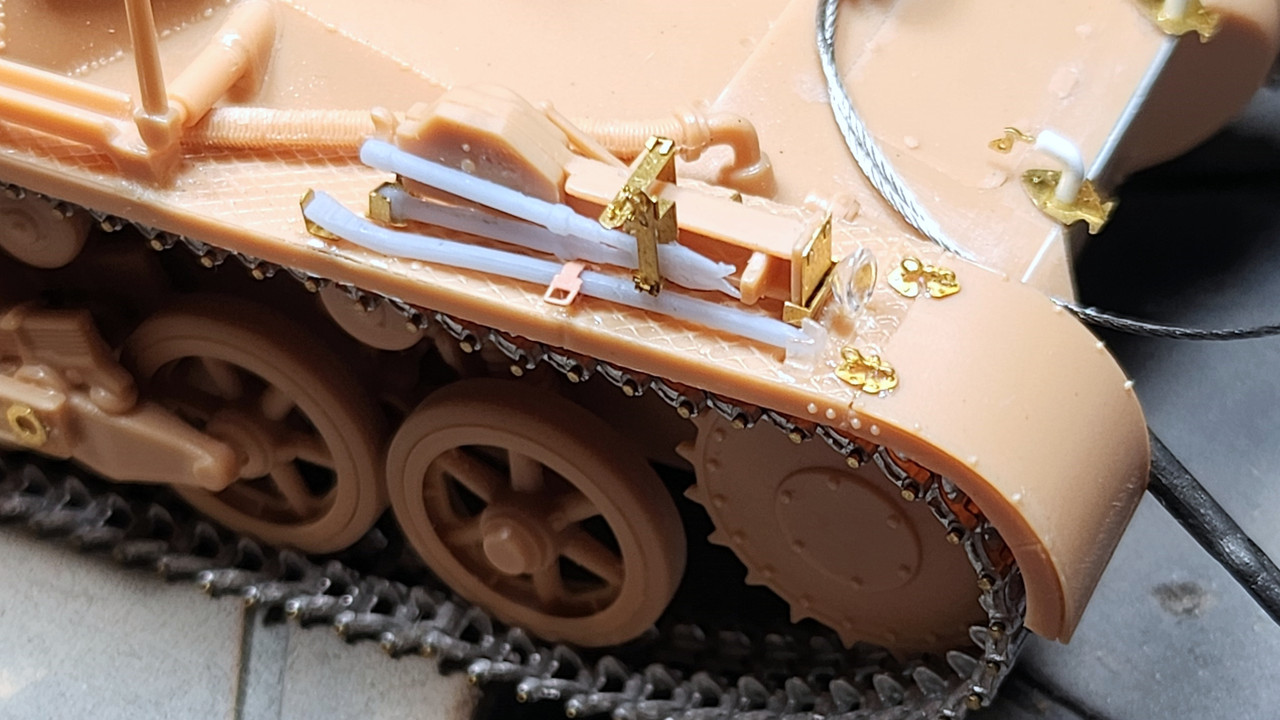
I really liked these 3D printed hooks from TREX Studios, even though their color disappears on my cutting board, they look much better than the PE from the set and the kit.

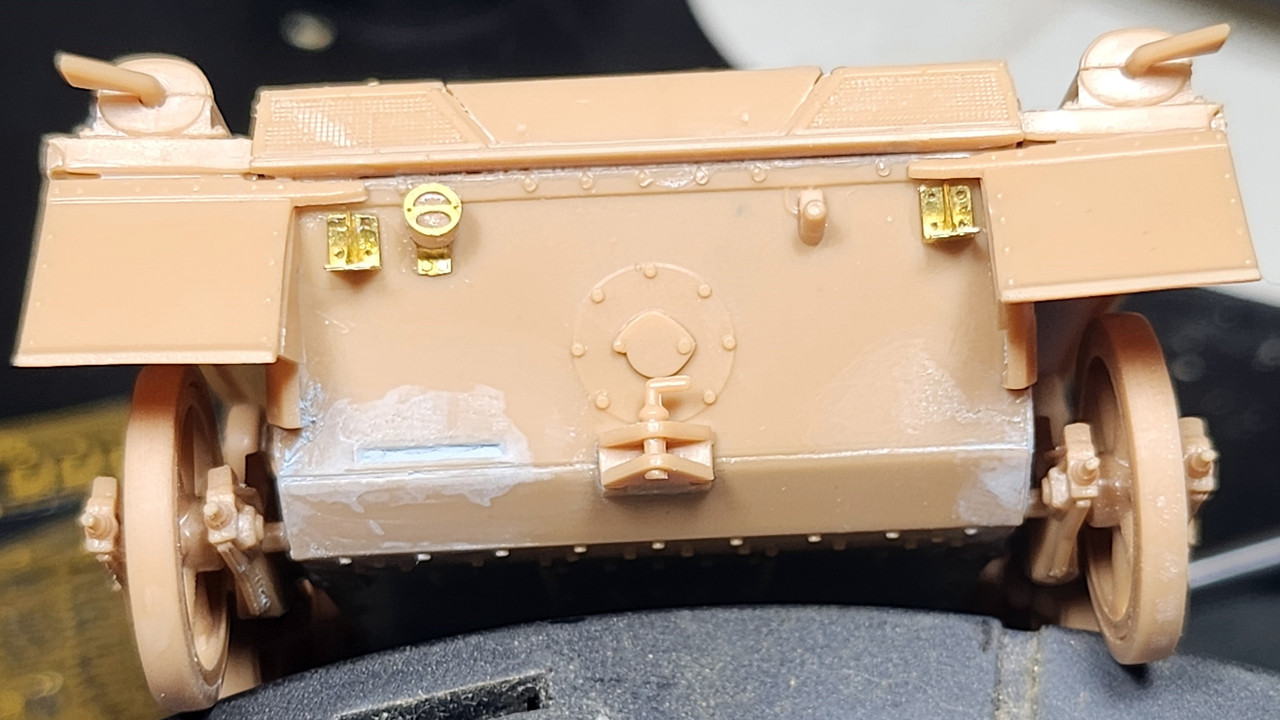
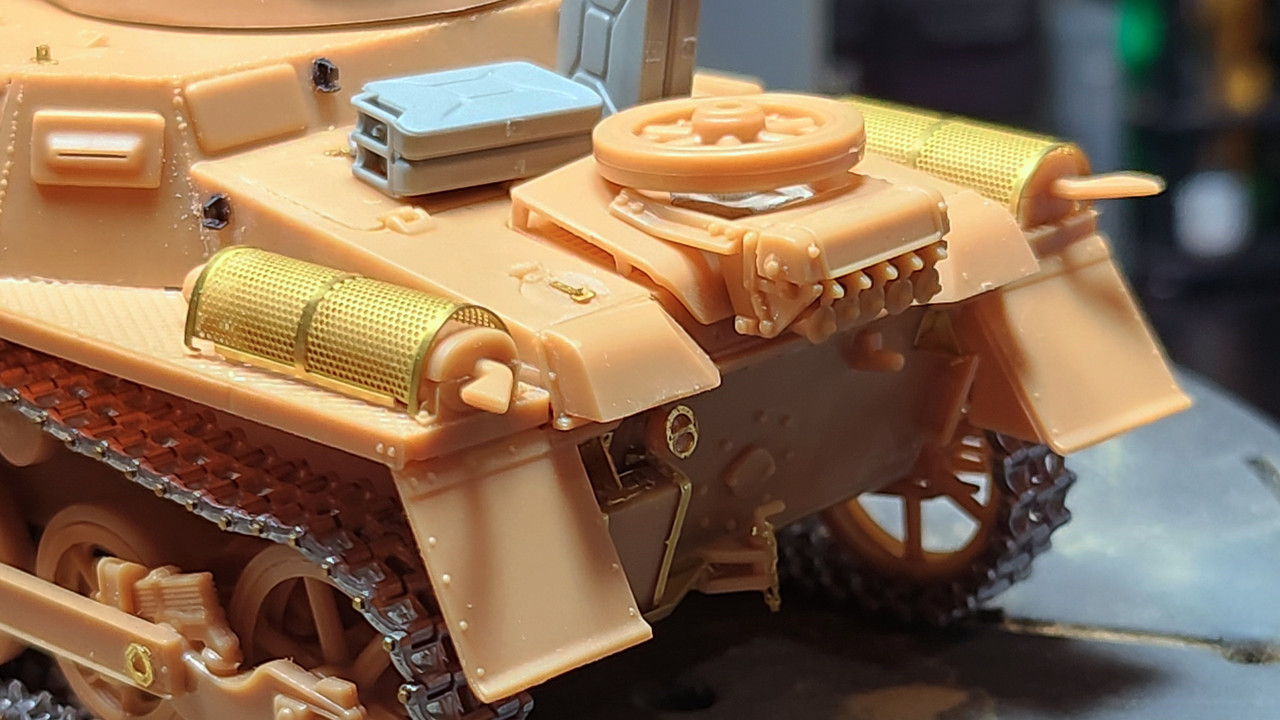
A little bit of bodywork on the rear

Handles for opening access to the engine and fuel.

I found a piece that had gone missing from its spot :smile:

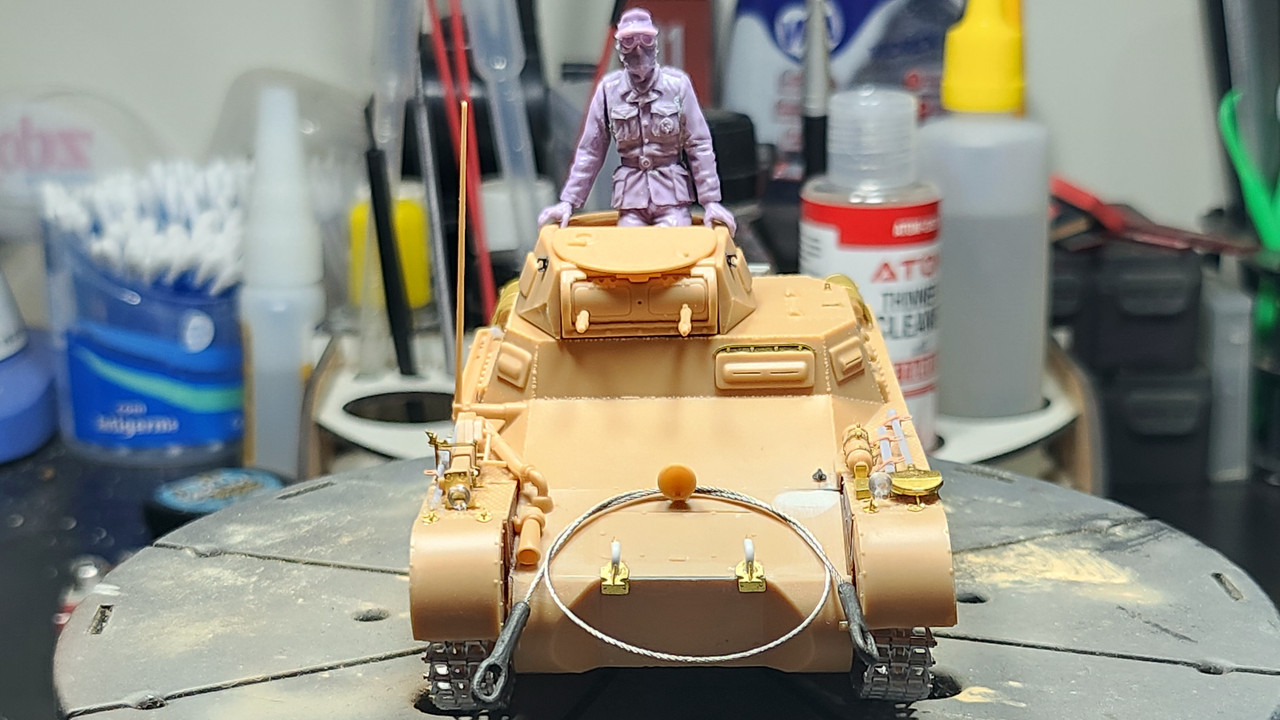
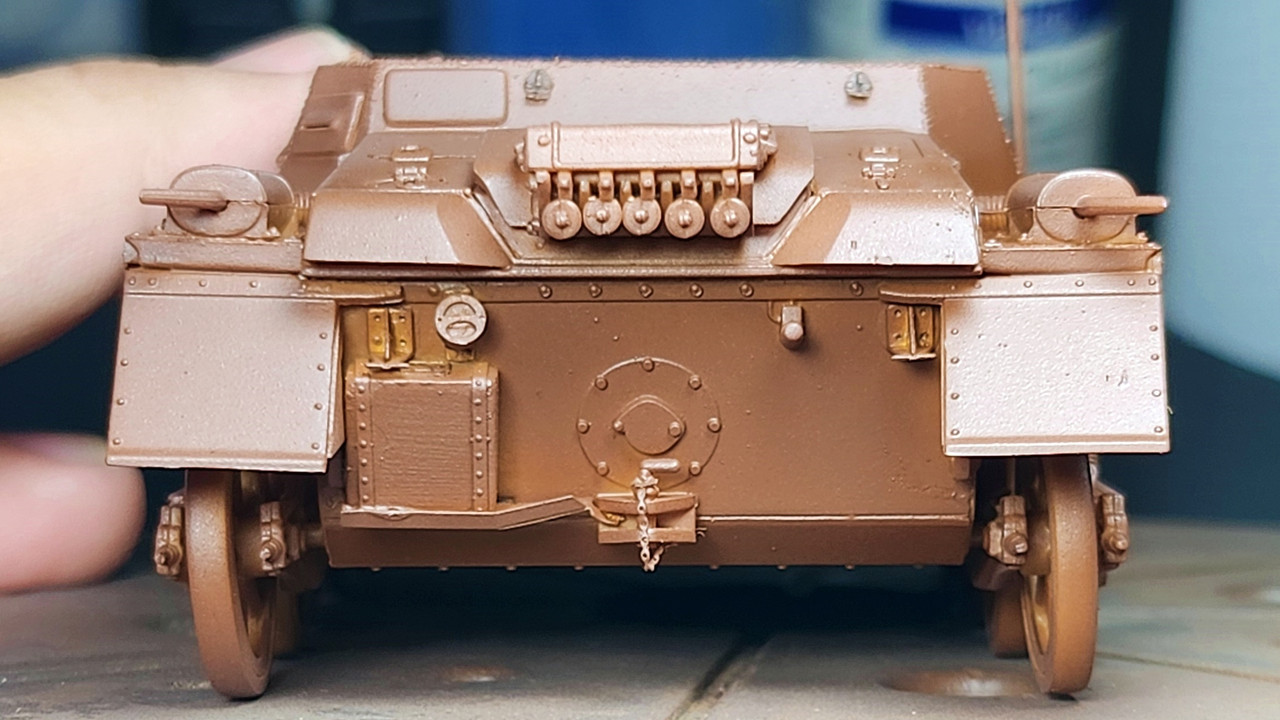
Front view

7 Likes

It’s coming along nicely Ricardo! It’s also moving quickly too!

Está indo muito bem, Ricardo! E está andando rápido também!

2 Likes

Thanks, @SamS

1 Like

Update…

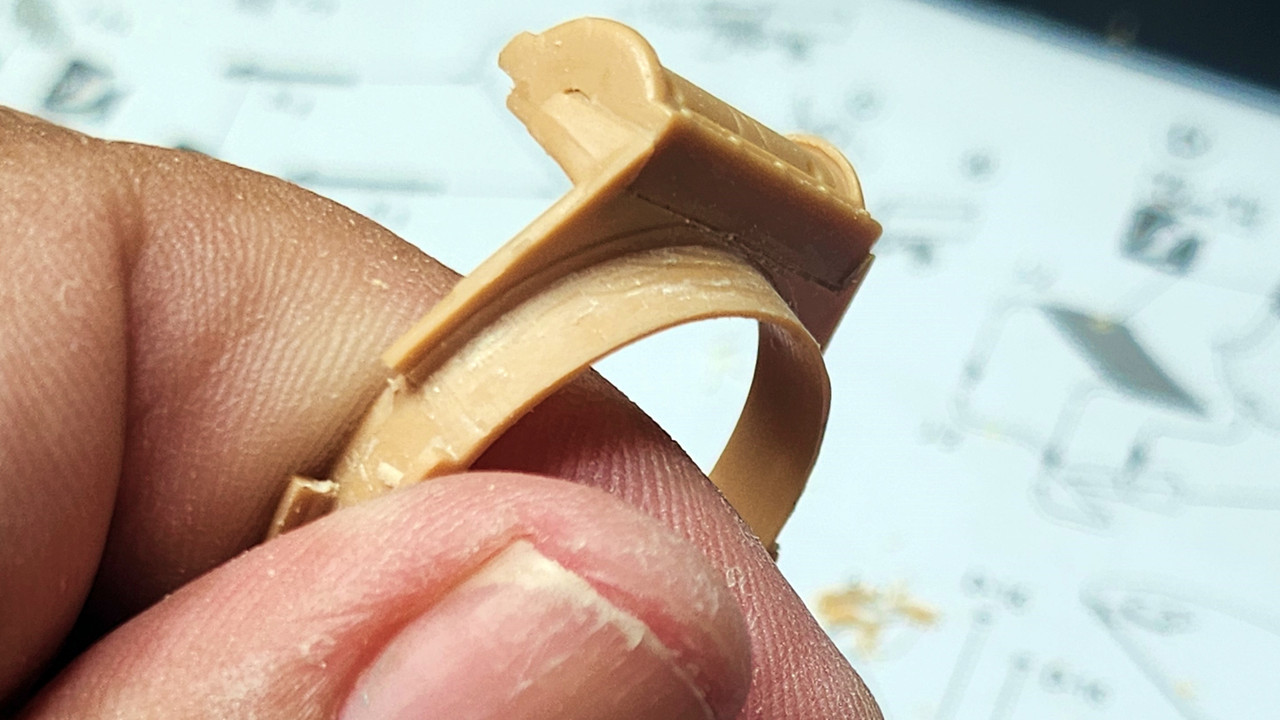
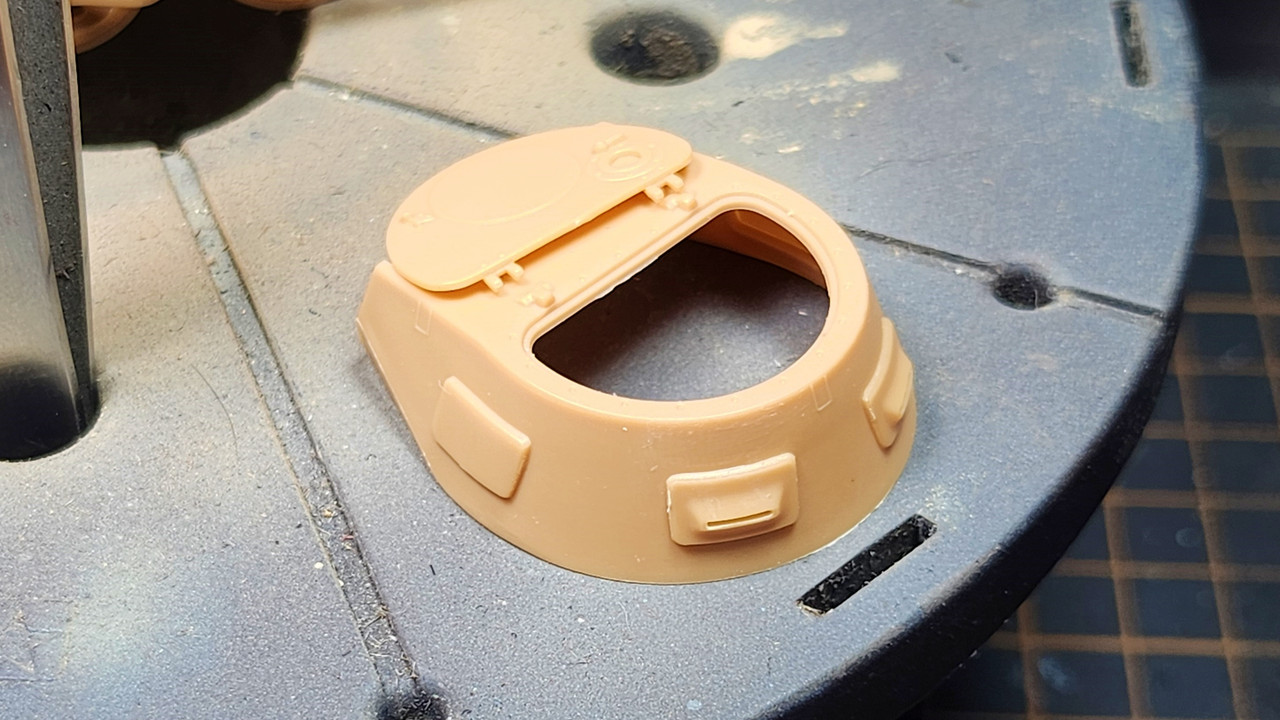
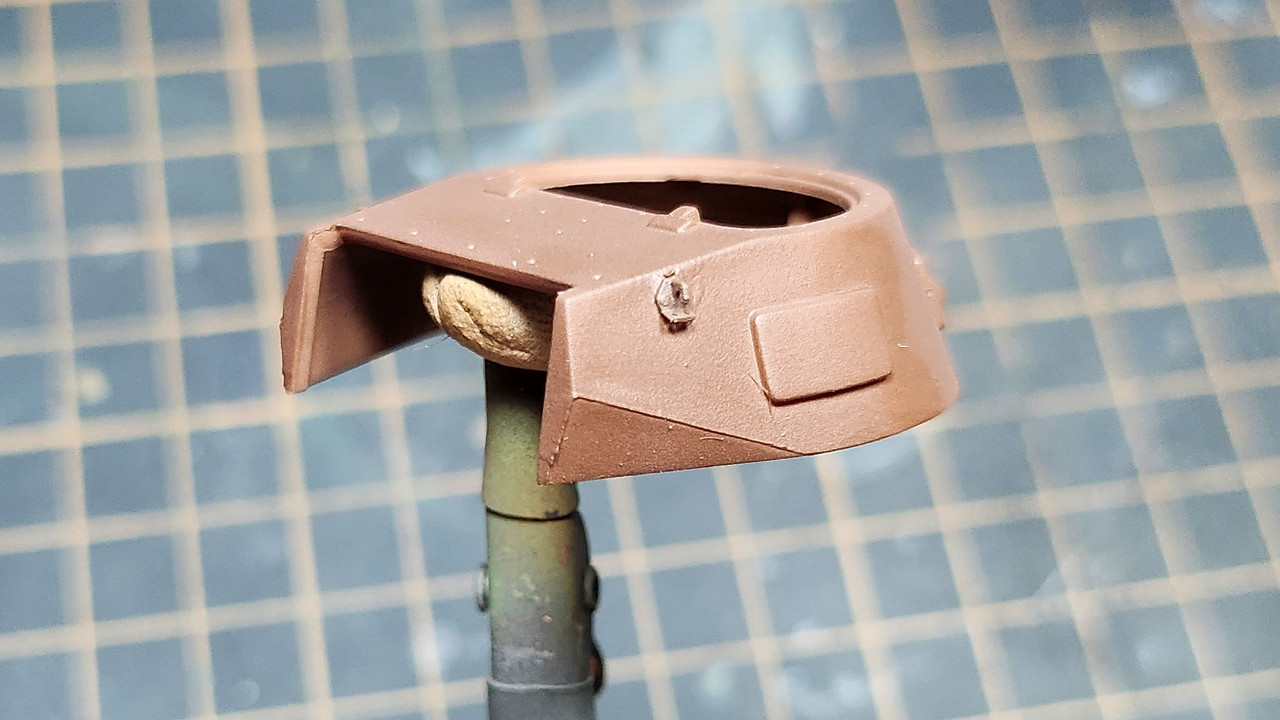
I had to grind down the lower ring of the tower. It was fitting too tightly and it was very difficult to rotate the tower, but after sanding it, it turned out very, very good. I used the micro grinder with 180 grit sandpaper and then gave the blade a final clean and adjustment.

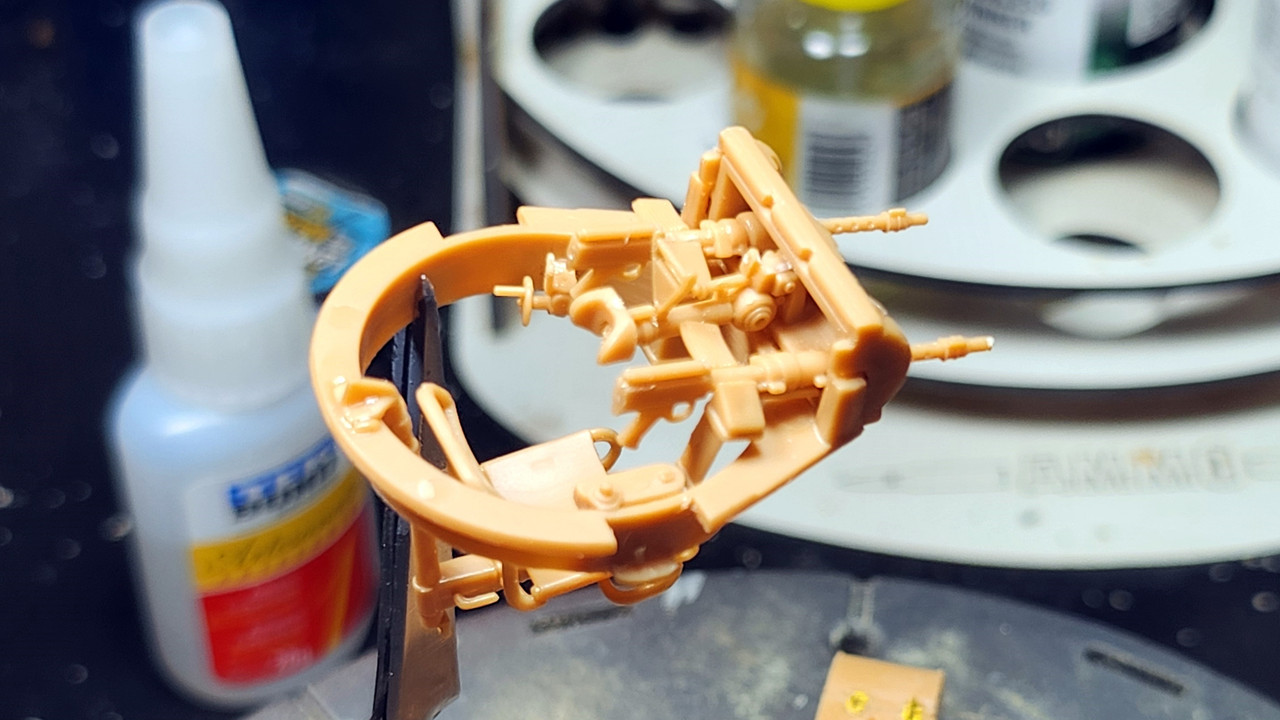
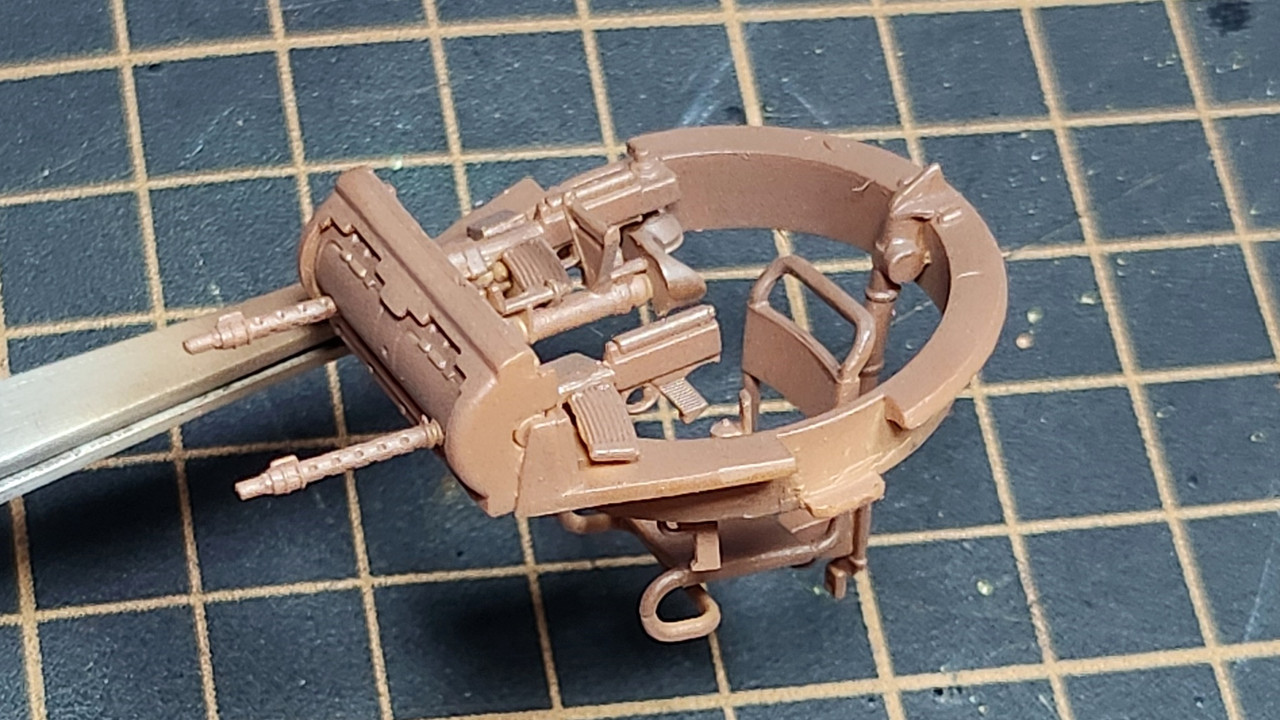
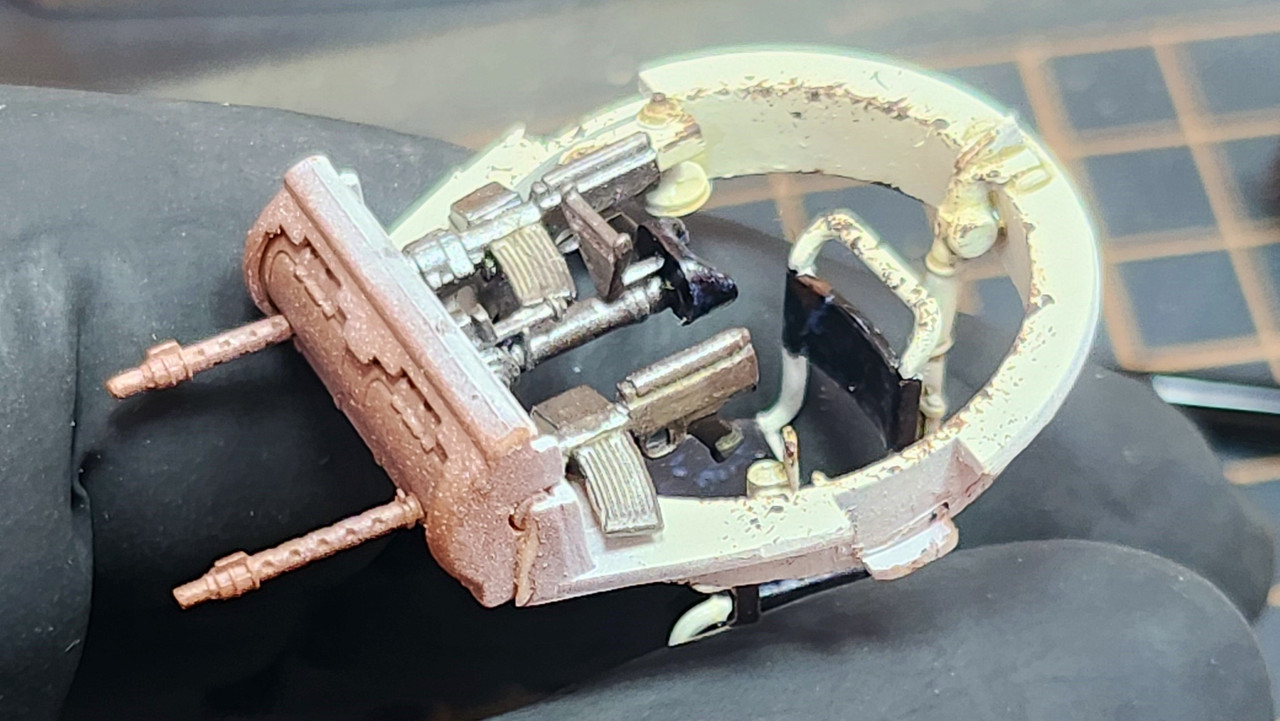
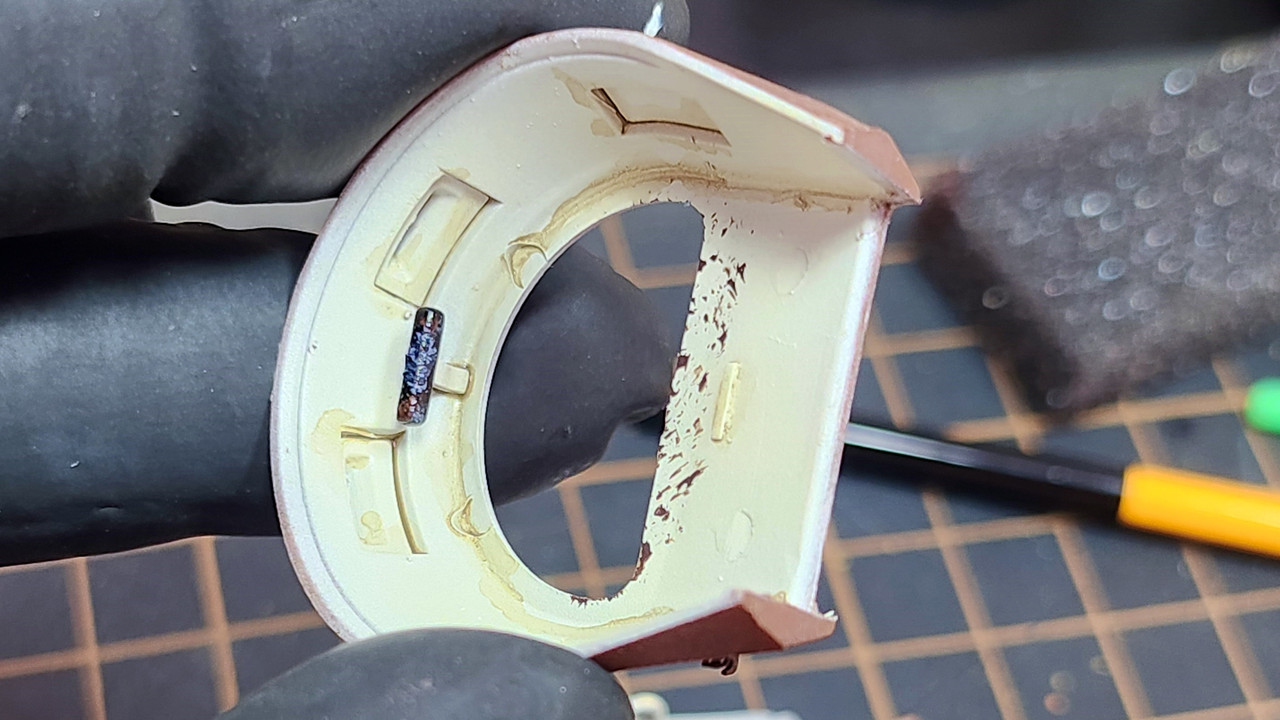
Interior of the turret ready for primer.

Detail of the front hooks.

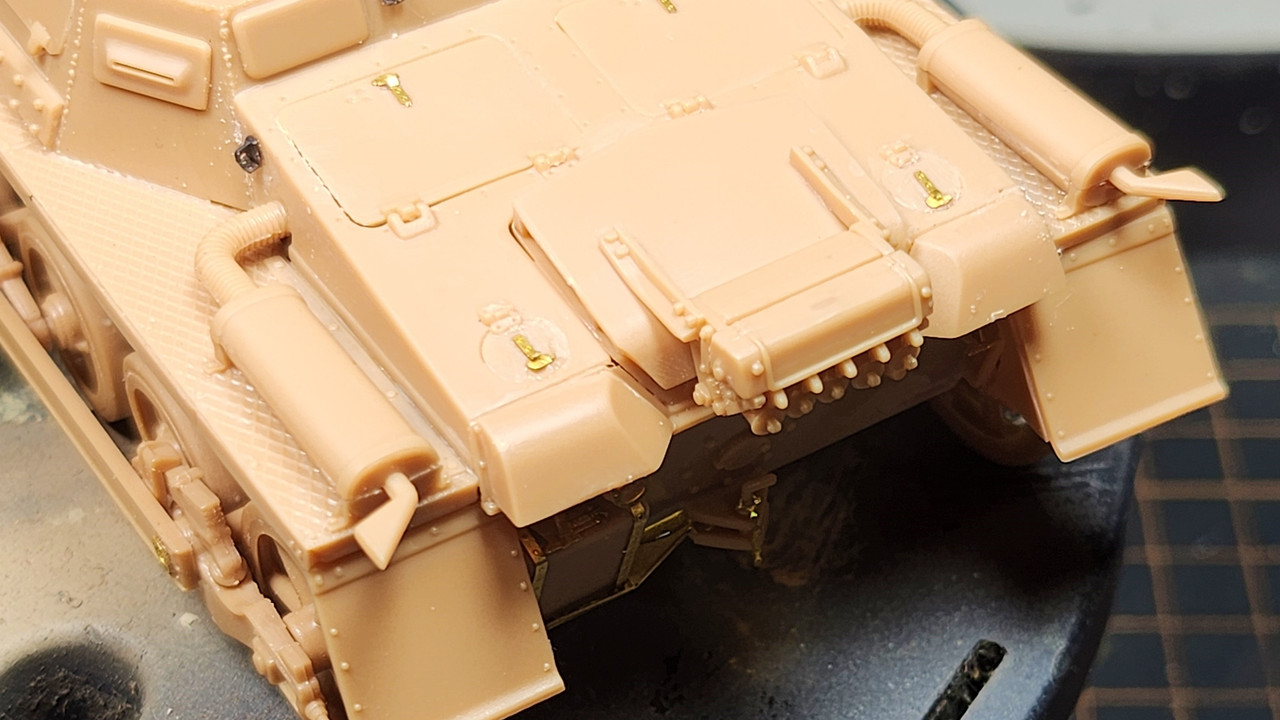
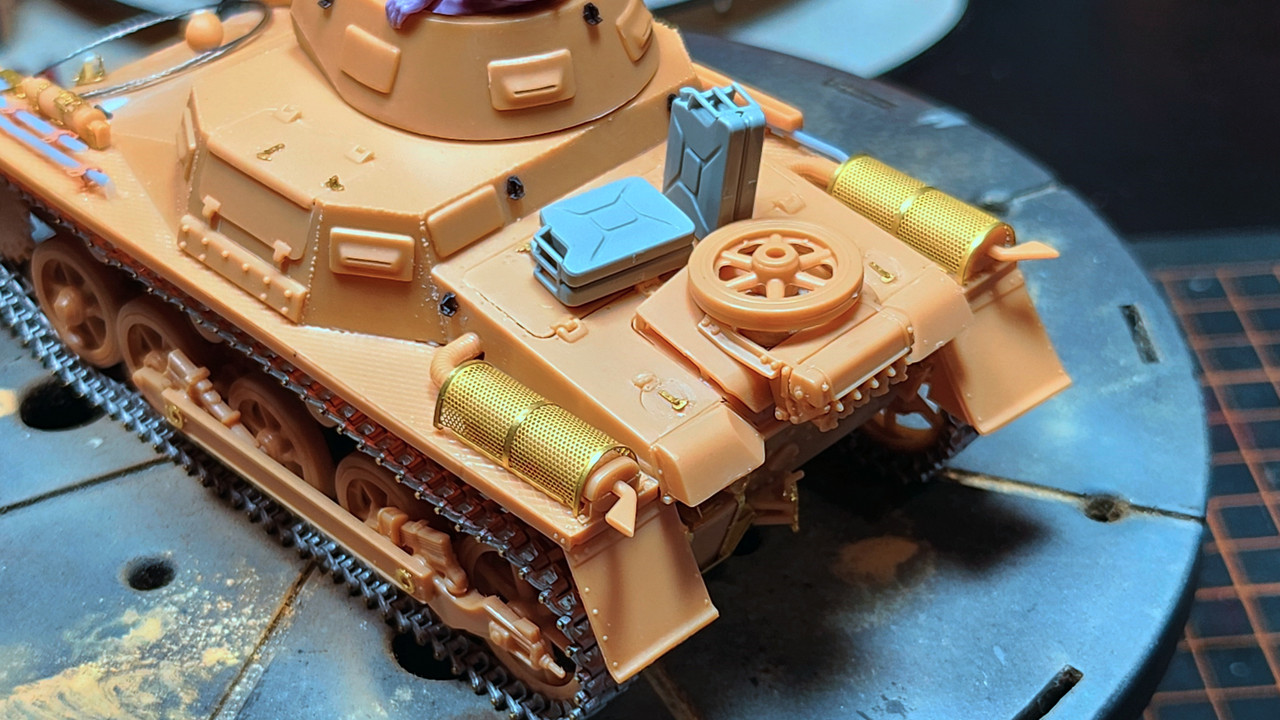
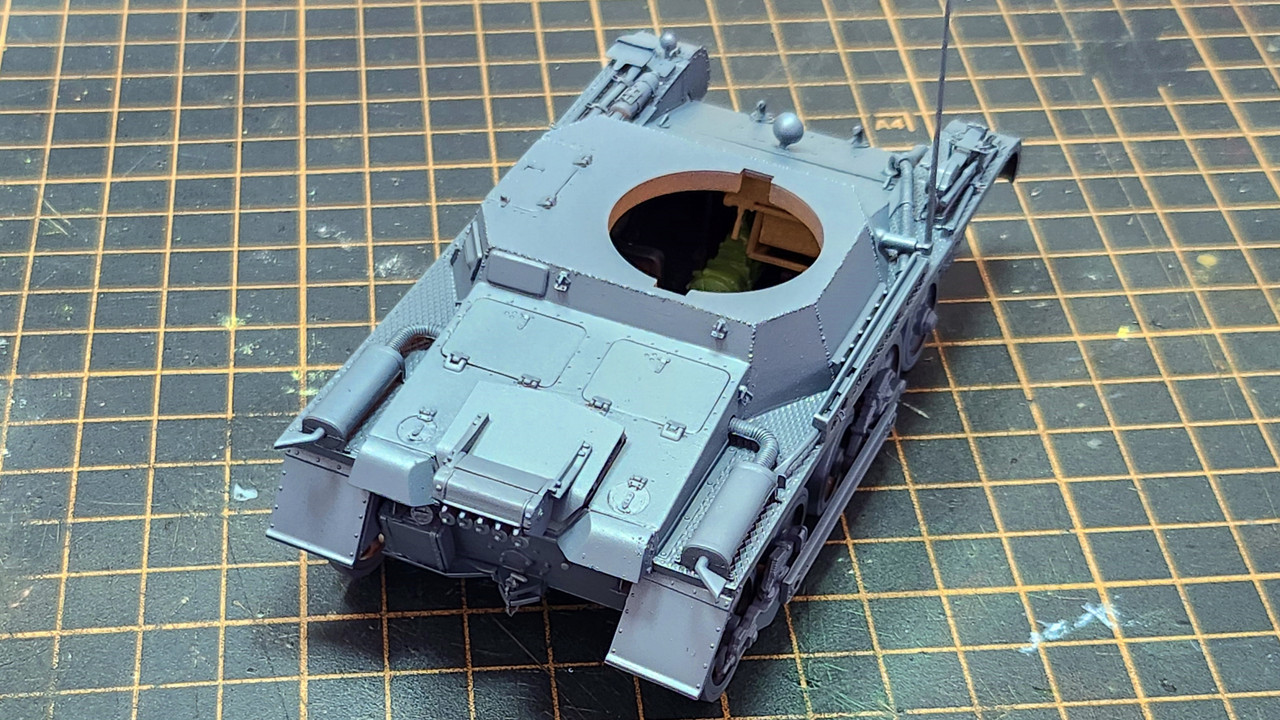
Cover for the engine lid and disperser for the fume loads. The chains are still missing here.

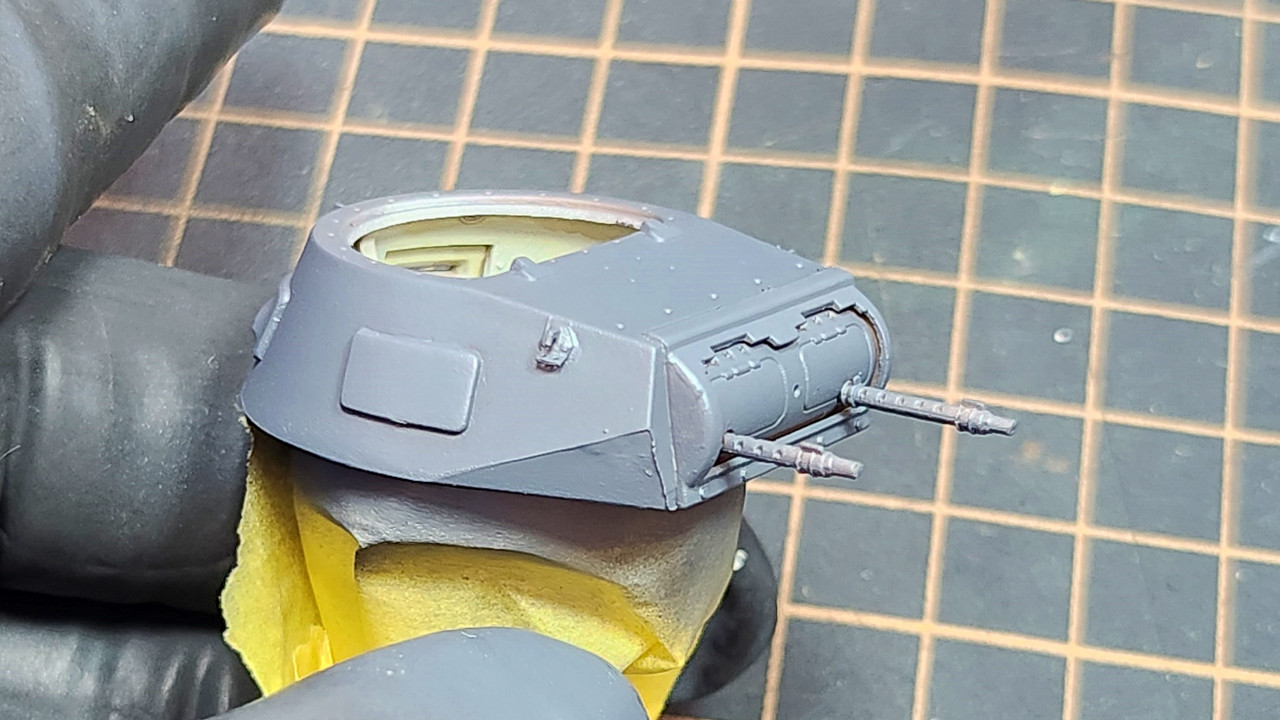
Top part of the turret ready to receive the hooks.

5 Likes

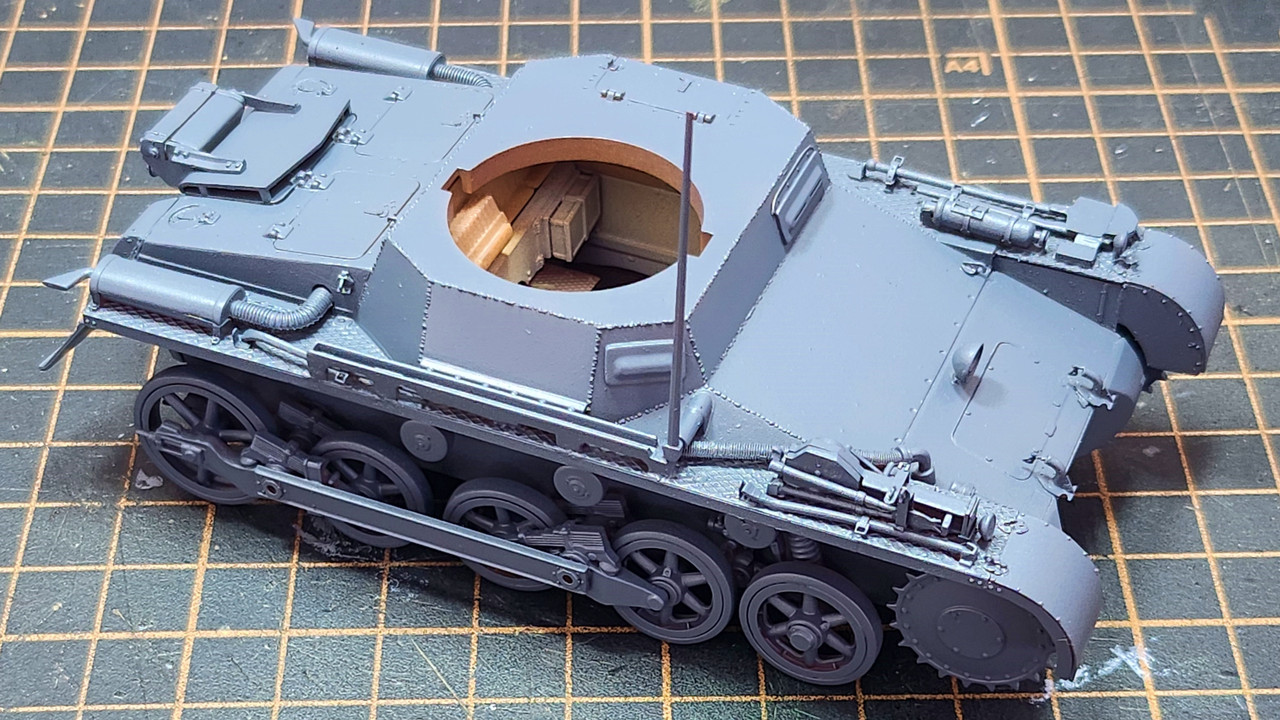
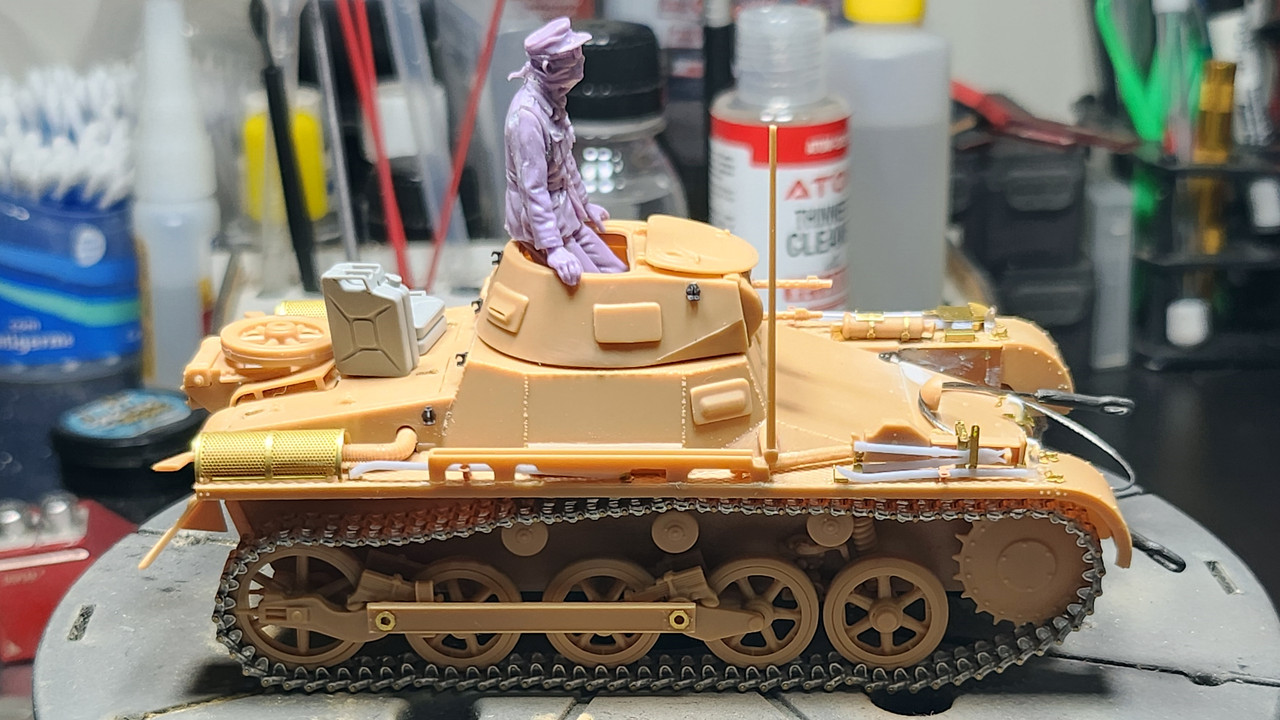
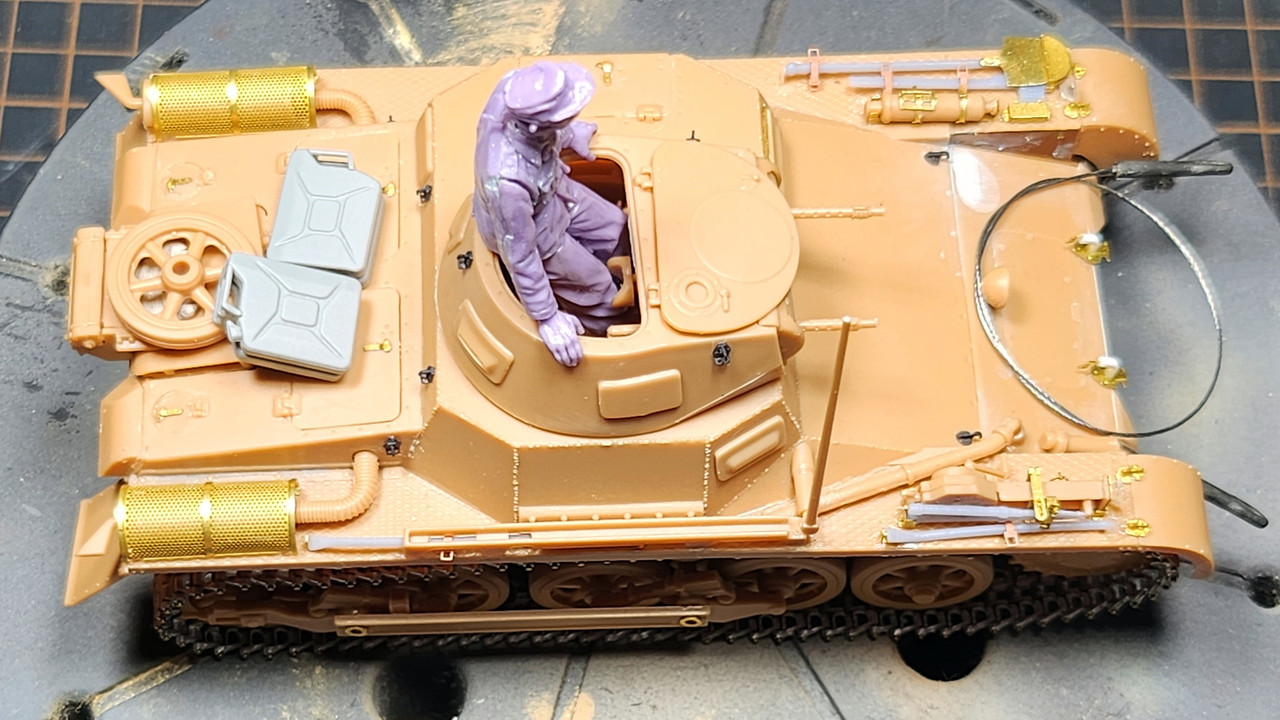
Assembly completed

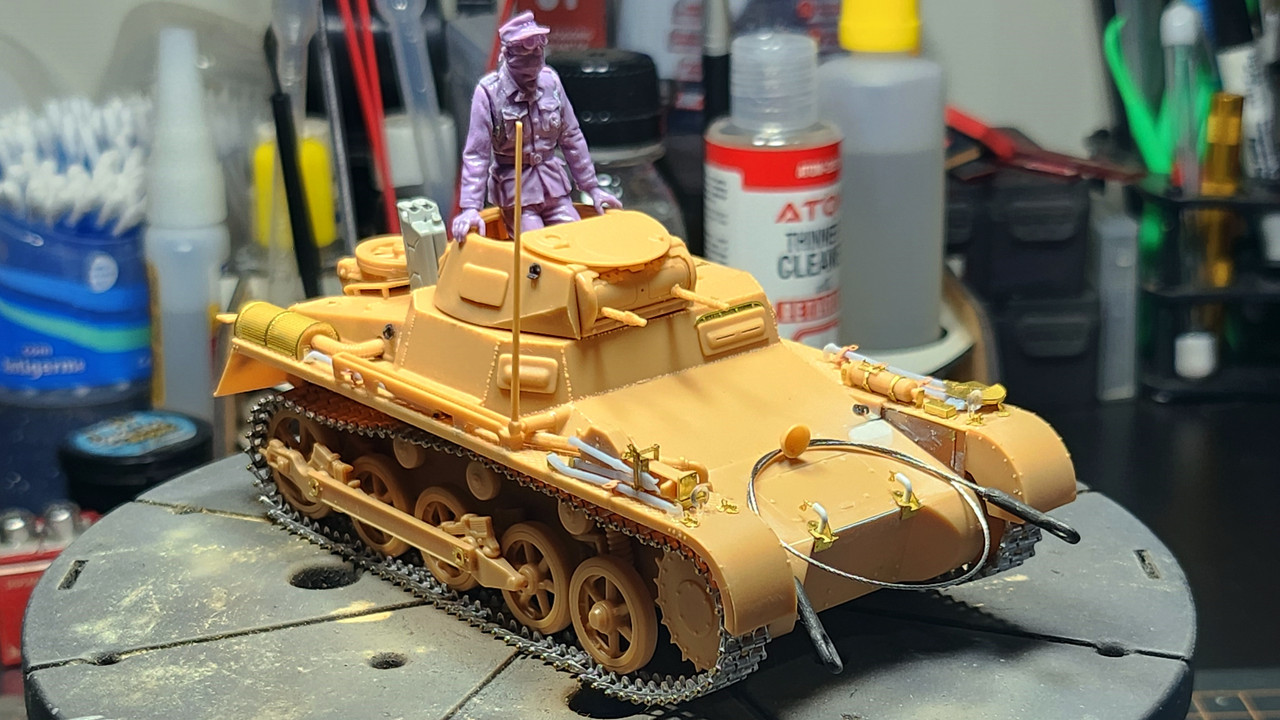
Overview of our little boy ready. I haven’t glued the parts of the turret yet.

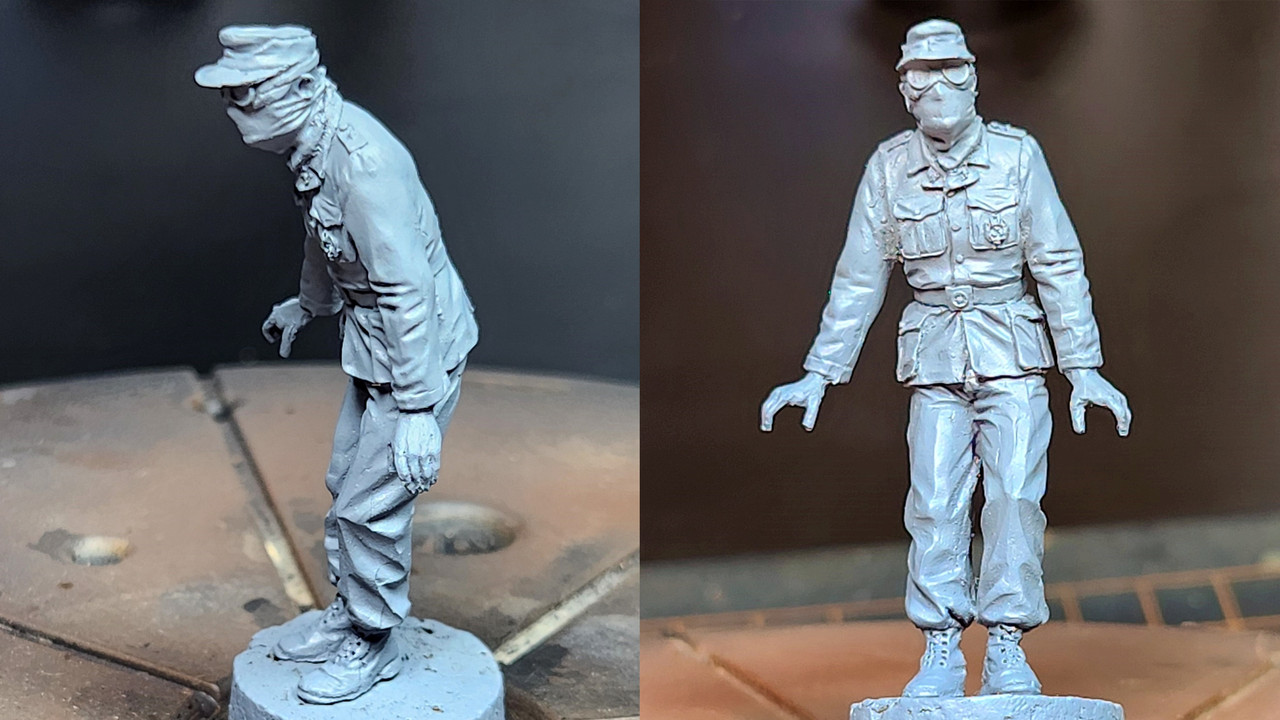
I still need to fix this commander’s arm…

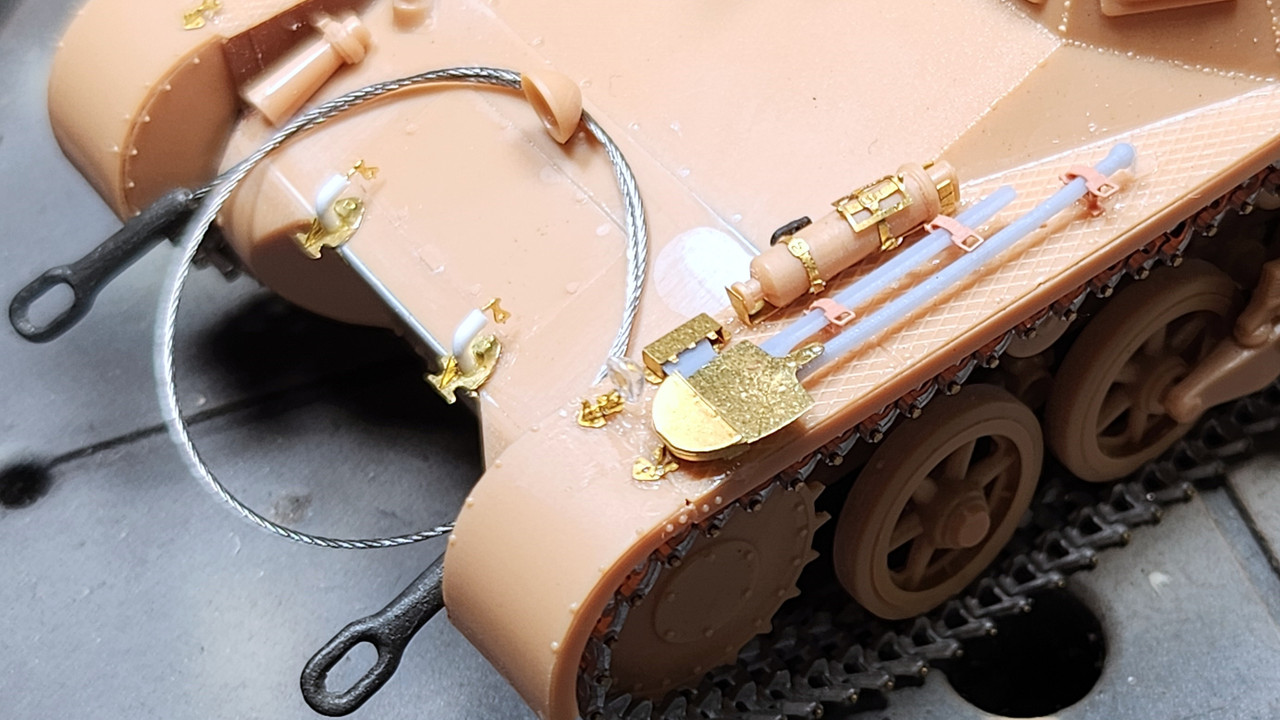
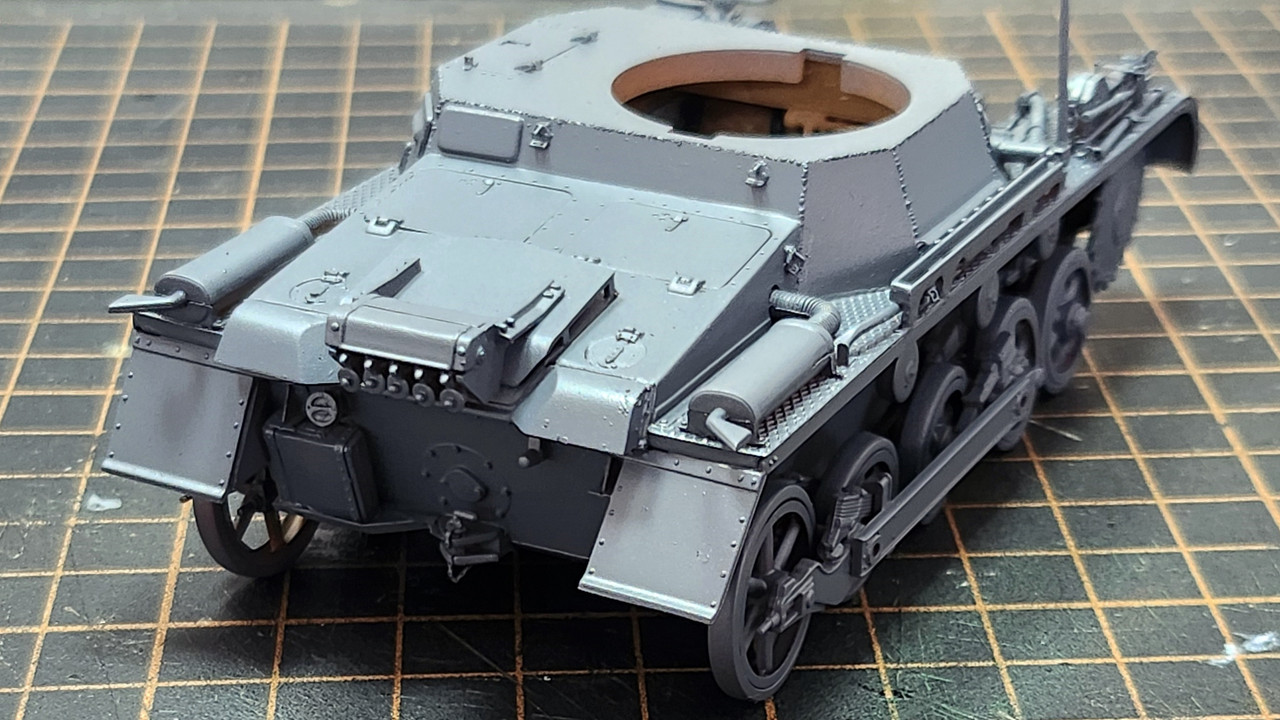
Front detailing
The “ready-made” 3D clamps from Ammo by Mig are no good, they are too fragile and become translucent when in contact with glue, which makes the work much more difficult. The tools are better than those in the kit, but there are better sets in photoetched or even as scrap from other models.

Using 3D tool clamps is a marvel, they have good detailing and don’t give the hassle of photoetches.

Detailing of the rear

4 Likes

Nice progress and that’s a lovely figure! Where is it from?

2 Likes

Sam, I bought this figure on AliExpress 4 years ago, but nowadays it is no longer available from the seller.

2 Likes

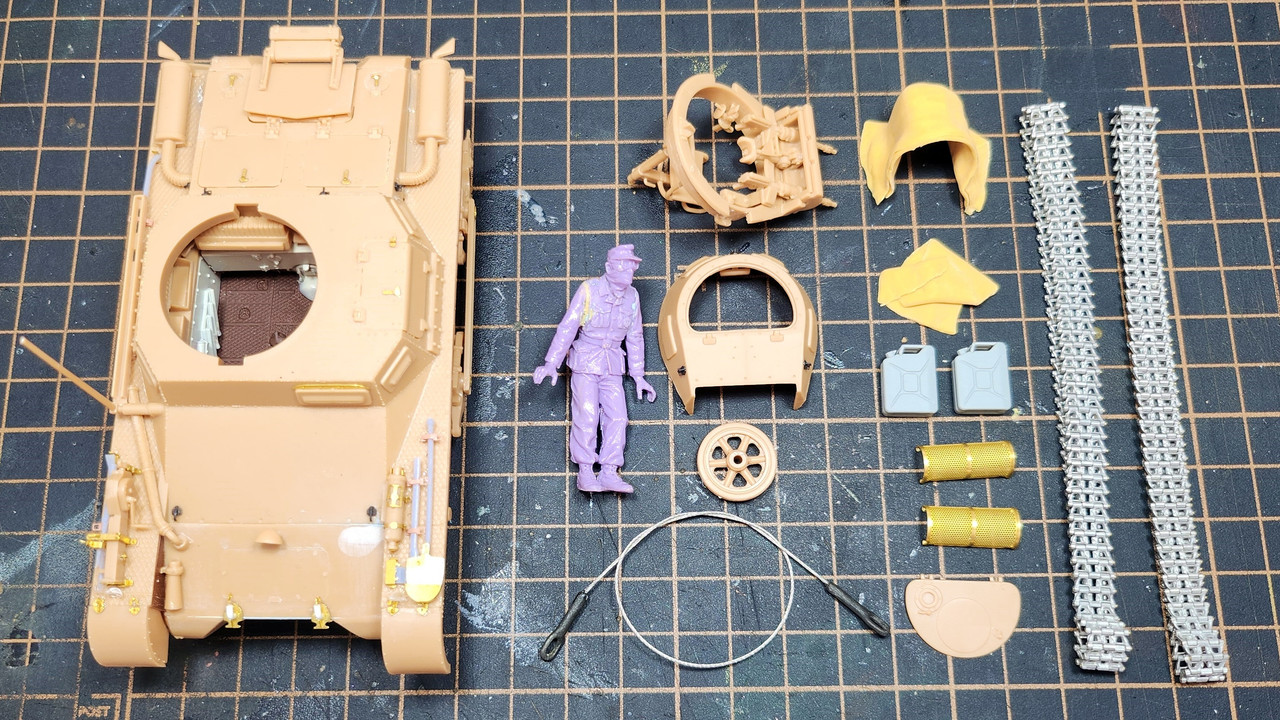
Disassembled for painting

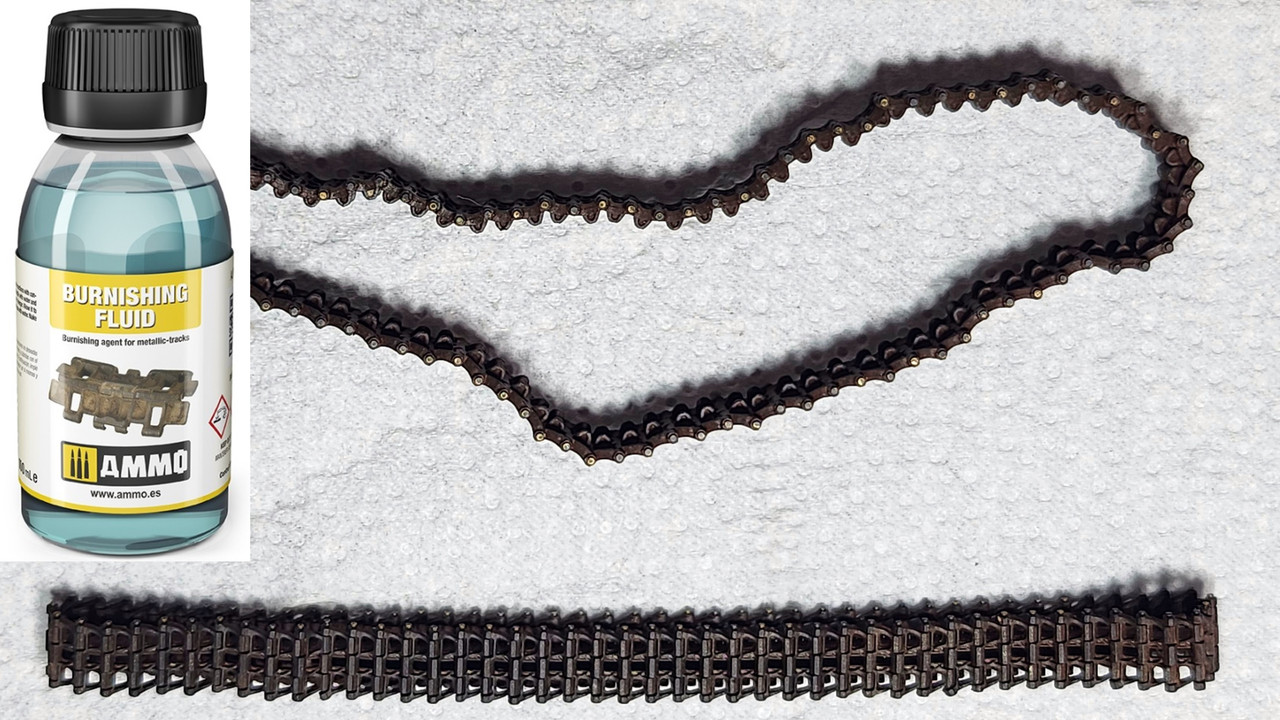
For the tracks, I used the Metallic Tracks Burnishing Fluid (a.mig-2020). Just place the product in a plastic or glass container to cover the entire piece and submerge it. In a few seconds, the reaction begins. I used gloves and tweezers for handling, and after reaching the color below, I removed it from the product and let it dry on absorbent paper.

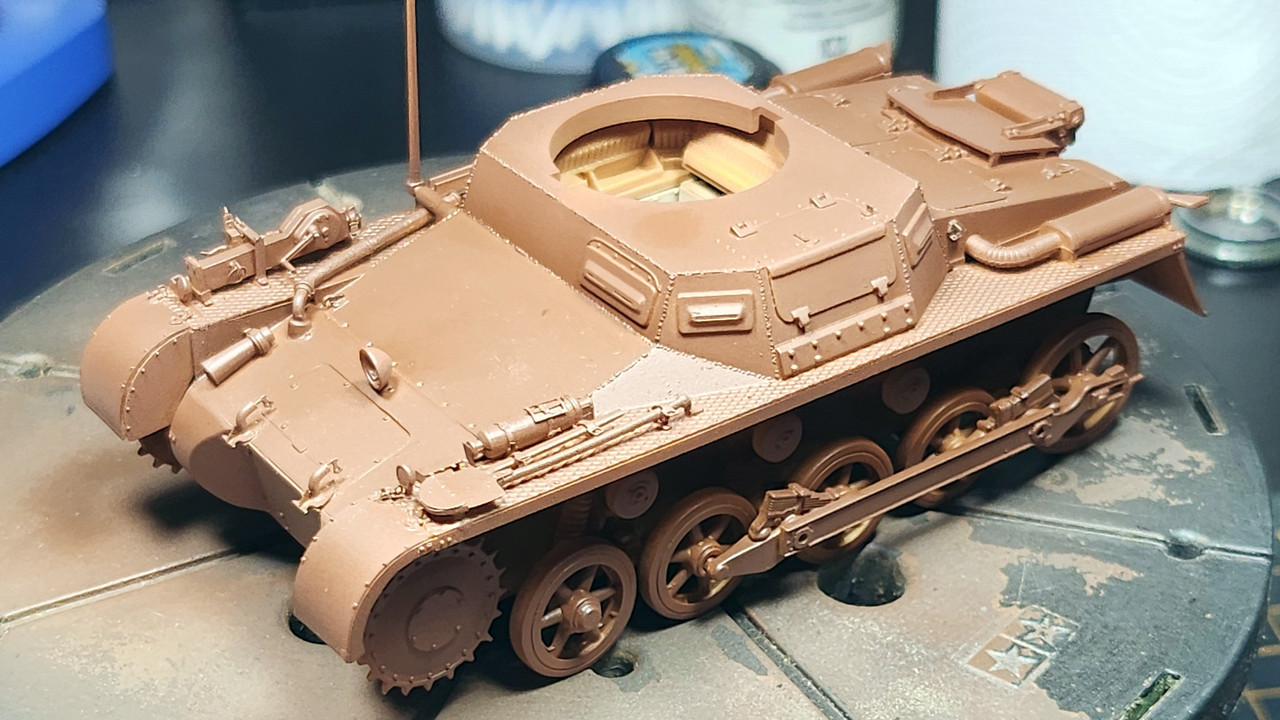
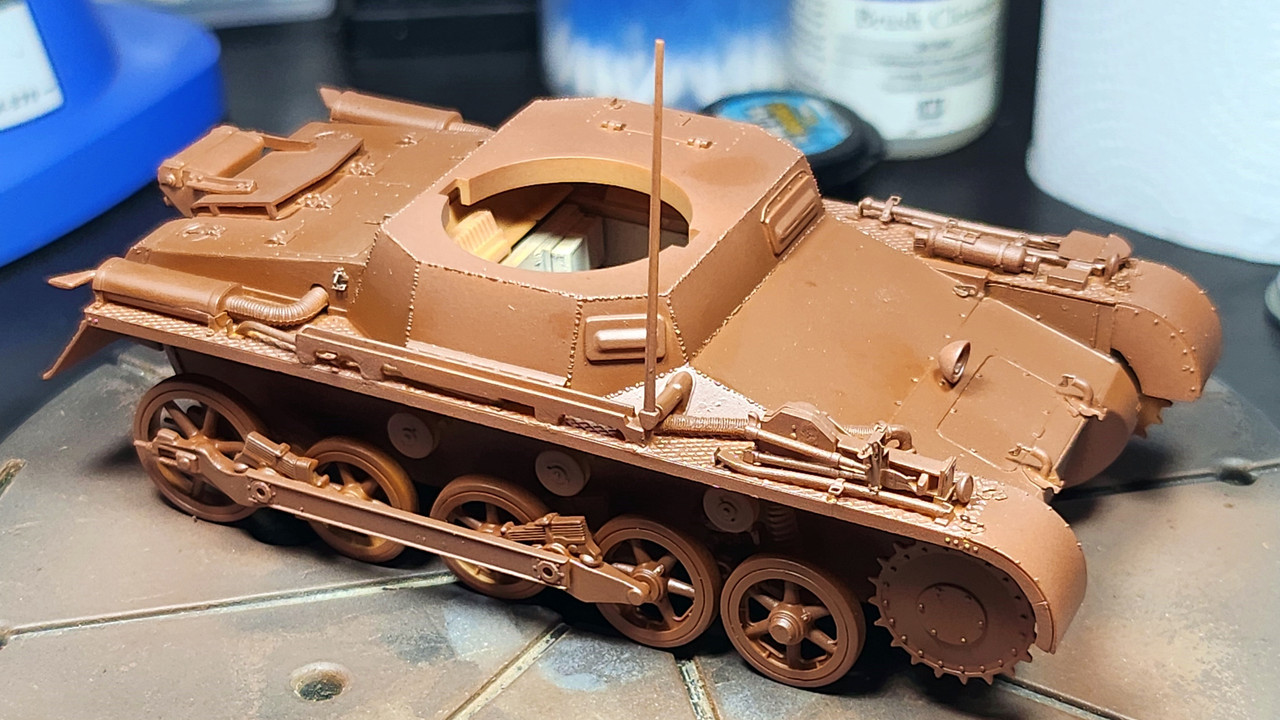
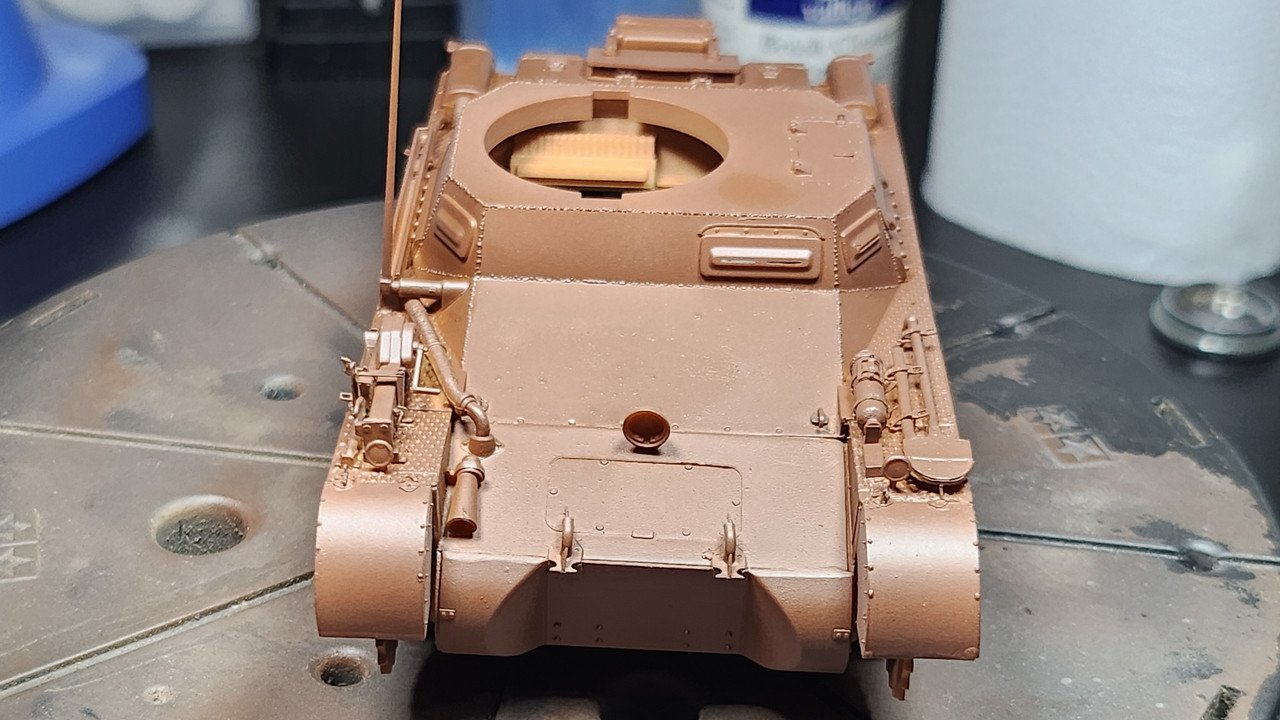
Primer applied in the color Brown Oxide (a.mig-2026).

In the picture, I used the Grey primer (a.mig-2024).

4 Likes

Interior of the turret

The camera isn’t good.

But all that interior will be hidden.

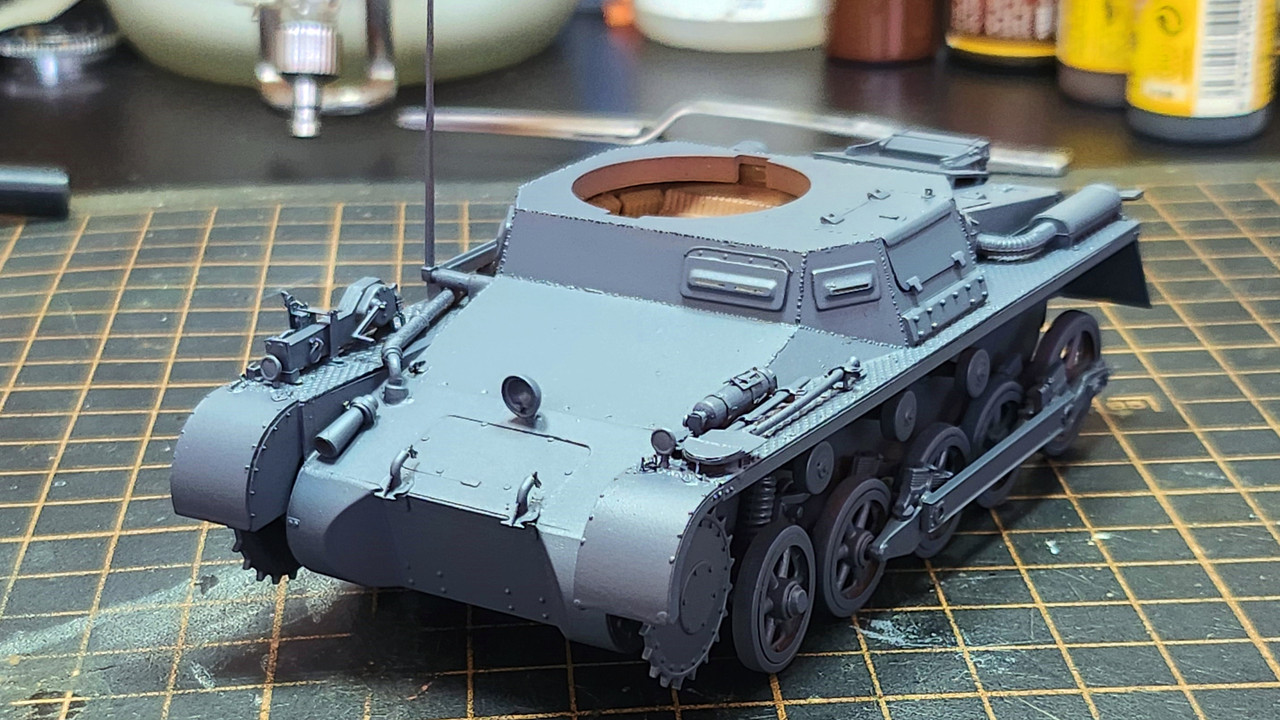
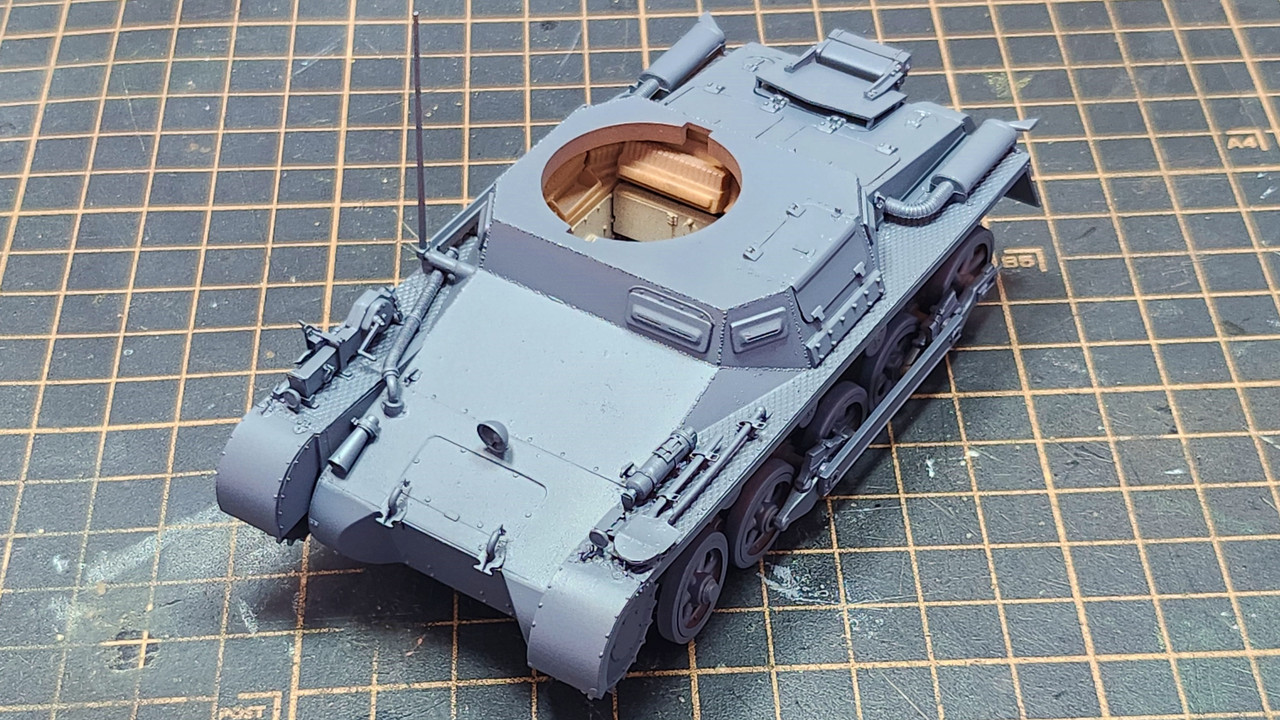
Base coat painting with RAL 7021 Dunkelgrau (a.mig-008)

4 Likes