Introduction
The German army has turned its gaze to armored cars since the early days of World War I. In the East, where the line of contact was more fluid, and often maintained by patrols rather than a static line of defense, these vehicles were able to fulfill the role that was traditionally intended for cavalry. Although they did not have the almost unlimited ability to cross the field like mounted units, the armored protection and firepower offered eventually compensated for the unavailability of resources such as fuel and maintenance.
As the confrontation unfolded, the first projects used, which were nothing more than cars or trucks for civilian use equipped with armor plates and a gun, gave way to vehicles built specifically for this purpose.
When hostilities ceased, the German army had more than 200 armored vehicles and this number does not include the A7V tank and other fully tracked models. In the battles fought in the Baltic States and Ukraine in 1918 and 1919, the Germans made use of motorized reconnaissance units and it can be fairly said that the doctrines of combined arms operations that would characterize the German military of the period 1939-1945 were tested there.
Although the Treaty of Versailles prohibited Germany from developing, or even possessing, modern weapons, particularly armored fighting vehicles, the restriction did not directly specify armored cars, so a program was initiated in 1926 and contacts were granted, largely secretly, for the development of armored cars capable of traversing narrow trenches, overcoming low obstacles, cross smaller lakes and rivers and advance through the mud.
Initially, vehicles with eight or ten wheels, called 8-Rad and 10-Rad, respectively, were ordered from Daimler, Magirus and Büssing-NAG. Following the concept of offensive reconnaissance, armored cars were to be equipped with a fully rotating turret mounted with a 37mm gun, which was the most powerful anti-tank gun of its time. The program was canceled with the Great Depression of 1930, and later resumed in 1933 with Hitler’s rise to power, resuming Germany’s plans for military expansion. However, the 8-Rad and 10-Rad vehicles were too expensive and the designs had not progressed far enough, forcing the army to use 4-Rad and 6-Rad armored cars that were based on civilian vehicles. These vehicles were restricted to roads and dirt terrain, but could be purchased in sufficient numbers to equip the armored car companies of the reconnaissance battalions in a relatively short time. Their size also limited the type of gun they could carry, with the 4-Rad vehicles being equipped with an army-standard MG 13 machine gun, while the 6-Rad armoured cars were armed with a 20mm KwK 38 cannon and an MG 13.
As these 4- and 6-wheeled vehicles were put into service, Büssing-NAG began the contract for the development of an 8-Rad armored car specifically for armed armored reconnaissance, meeting the strict requirements imposed by the German high command. The new design incorporated all-wheel drive and steering, as well as a second driver’s position at the rear, allowing the vehicle to be driven as fast in reverse as it was in forward gear. The armored hull was equipped with a turret with a 20 mm cannon and a machine gun and half were to be equipped with a short-range Funkspreehgerät A radio. Some units were converted into command vehicles, removing the turret and extending the sides of the superstructure upwards to make room for the more powerful Funkgerät (FuG) 11 radio array, as well as the Funkspreehgerät A.
Despite the effort and expenditure invested in the armored car programs, the field commanders complained, as early as 1939, that the models in service did not have the capacity to adequately fulfill their role as the spearhead of the army and requested that they be replaced by tracked vehicles. But the tracked armored vehicles could not come close to the more than 80 kilometers per hour of a wheeled vehicle. And so, in late 1940, a new 8-Rad program designed to provide reconnaissance units with an armored car with vastly improved off-road performance and sufficient firepower to engage and defeat enemy units resumed.
The last development before the 234 series was the Sd.Kfz. 233 series which retained the chassis and superstructure of the 8-Rad design, but was armed with the 75 mm L/24 gun. In addition, most were fitted with a more powerful engine and from November 1942, each armoured reconnaissance battalion was made up of a platoon of six Sd.Kfz. 233 although supply never met demand. This trend of providing what were initially reconnaissance formations with heavier and increasingly powerful combat vehicles continued until the end of the war. The first 75mm Sd.Kfz. 233 armoured cars saw action in late 1942 in Tunisia, with many still in service in May 1945.
The project of the Sd.Kfz. 234 had its beginning at the end of 1940 and already thinking that the vehicle should operate from North Africa to the coldest Russian winter, an air-cooled diesel engine was chosen. The chassis were built by Büssing-NAG in Leipzig-Wahren, while the armored bodies were supplied by Deutsche Edelstahlwerke of Krefeld and the towers by Daimler Benz in Berlin-Marienfelde and Schichau of Elbing, with engines from Ringhoffer-Tatra-Werke AG of Nesselsdorf. In total, 478 vehicles were built in 4 variants.
The first tests with the prototype began around July 1942. Due to problems with the excessive noise of the first engine, a second model was developed, the Tatra 103. The vehicle had eight-wheel steering and was able to quickly change direction thanks to a second, rear-facing driver’s seat; The transmission had six front and rear gears, with eight-wheel drive. Power was provided by an air-cooled Tatra 103 diesel engine. The Sd.kfz. 234 was the first and only German armored personnel carrier to use an air-cooled diesel engine. This was originally intended as a temporary solution until the engine could be redesigned to work better in harsher tropical climates, however this never happened and so the Tatra 103 was used until the end of production.
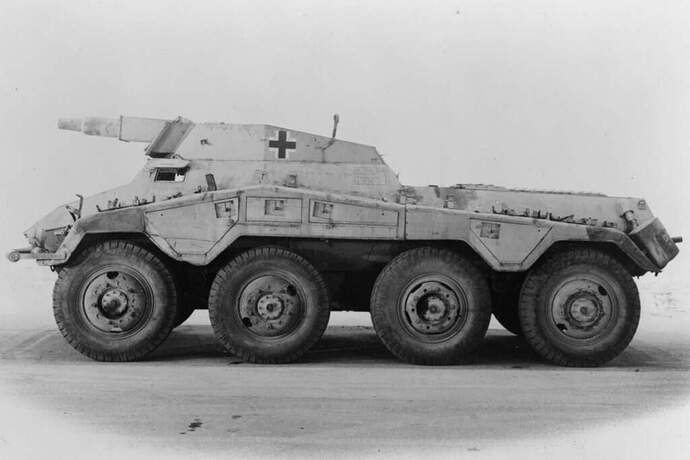
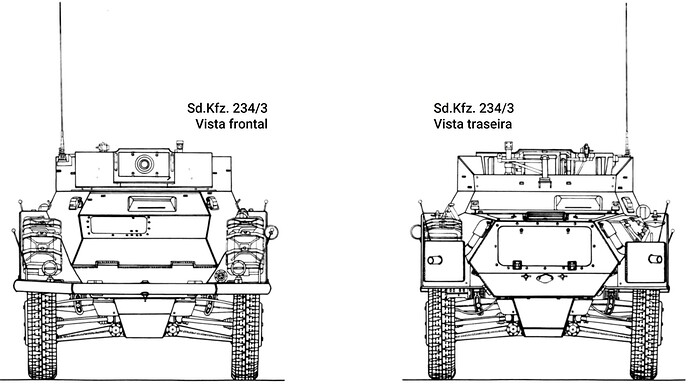
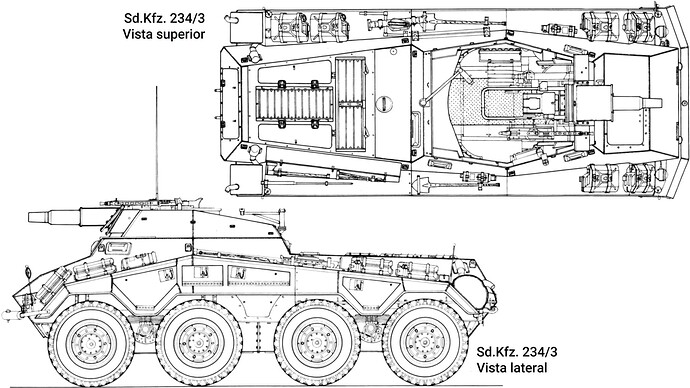
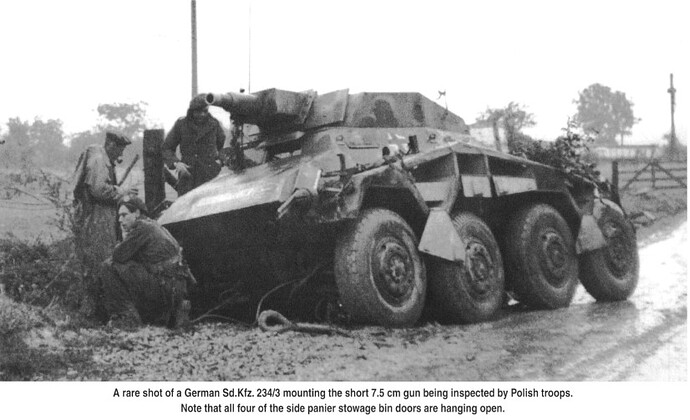
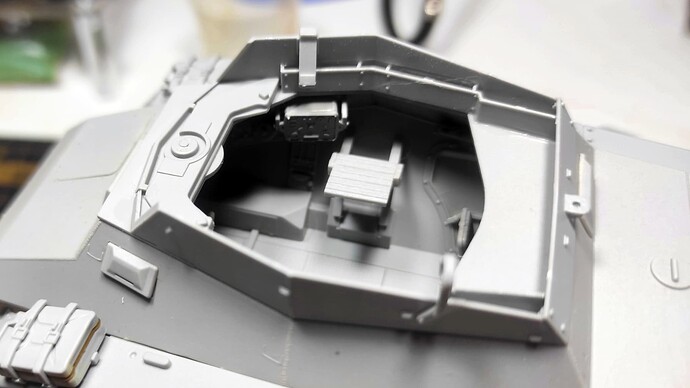
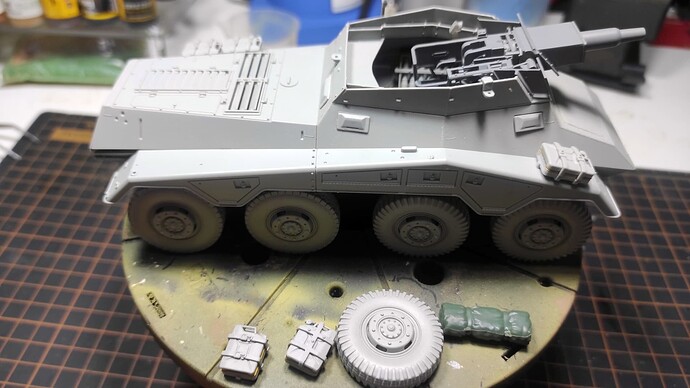
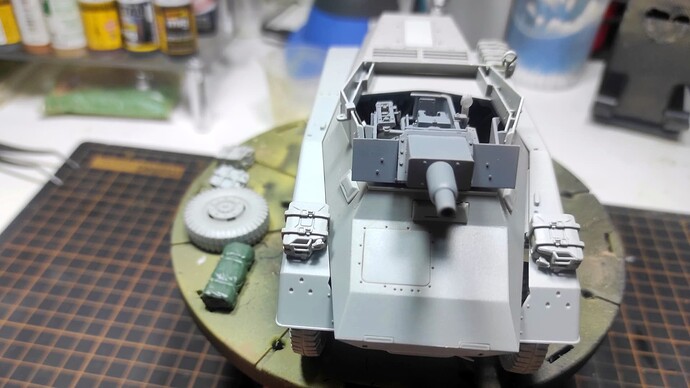
The Sd.Kfz. 234/3, was produced between June and December 1944, simultaneously with the 234/1, totaling 88 units that served as a support vehicle for the reconnaissance vehicles. It had an open-top superstructure, on which a 75mm short-barreled K51 L/24 gun was installed. This gun was intended for use against light targets, however, when using a hollow-charge projectile, the penetration power exceeded that of the 50mm L/60 gun. The first examples were allocated operationally in July 1944, as a supplement to the 233 in operation since mid-1942.
The 116th Panzer Division had in June 1944 thirteen Sd.Kfz. 234/1 and received in July three more Sd.Kfz. 234/3 in its reconnaissance battalions. On August 20 of that same year, a report no longer indicated any armored cars or any other armored vehicles. Already in September, the battalion reported that they had only three armored cars and thirty half-tracks, which probably came incorporation, in the same month, of the remaining 108th Panzer Brigade.
As they operated at the forefront, the number of photographs showing these vehicles in German service is quite limited. In fact, most of the images available depict captured or abandoned vehicles, and while many are of mediocre quality, they show important details. Similarly, few production records survived the war.
Technical details of version 234/3:
- Weight - 10.5 tons
- Length – 6.02 meters
- Width - 2.36 meters
- Height - 2.10 meters
- Crew - 4
- Shielding – from 9 to 30 mm (homogeneous laminated)
- Arma principal - 75mm L/24 K 51
- Secondary weapon - 7.92 mm MG 42
- Motor - Tatra 103 V12 diesel de 211 hp
- Suspension - independent on each wheel
- Operational range - 1,000 km on the road; 600 km off-road.
- Maximum speed - 90 km/h
The model
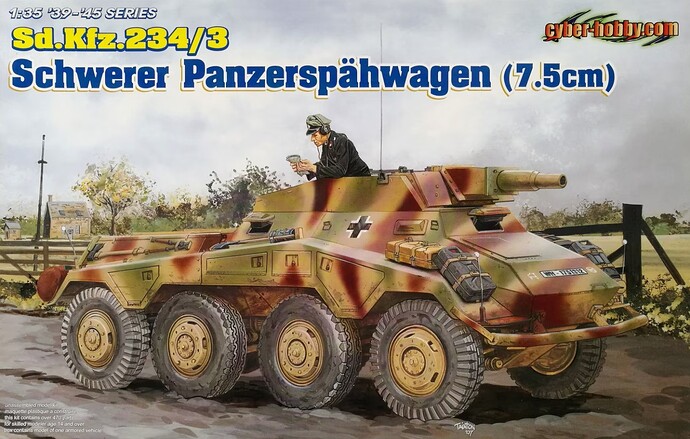
Manufacturer: DragonModel name: Sd.Kfz. 234/3 Schwere Panzerspähwagen (7.5cm)Reference Number: 6257Scale: 1/35Year of Release: 2007
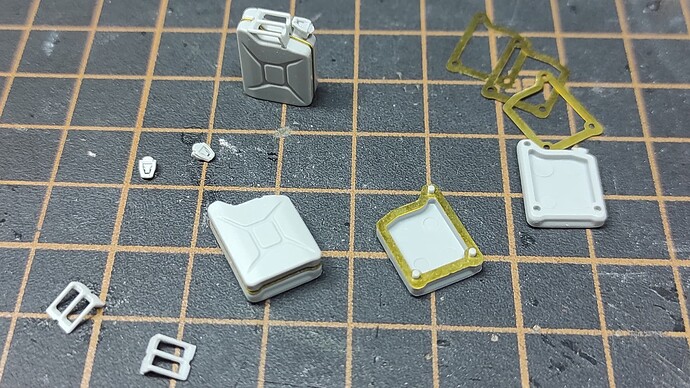
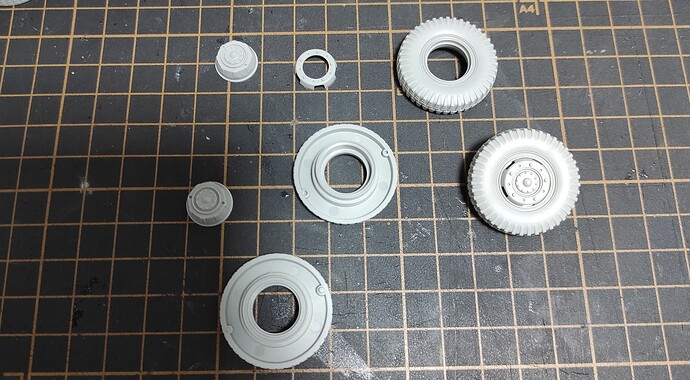
The kit comes in a standard Dragon box (385x245x85 mm) being the main common trees for the 234/1, 234/2 and 234/4 model kits with additional sprues for /3 version.
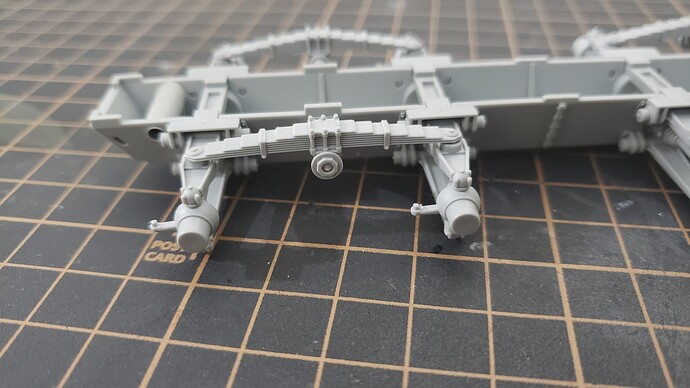
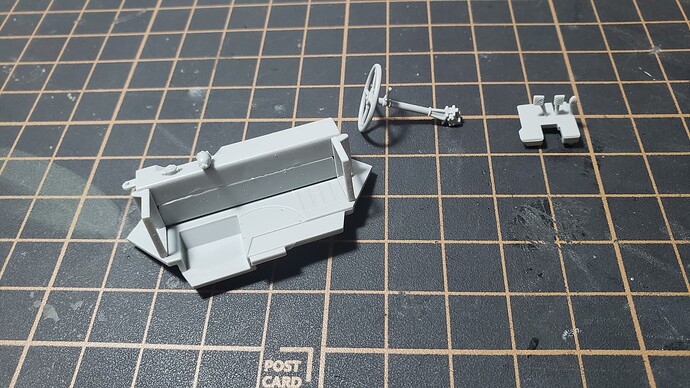
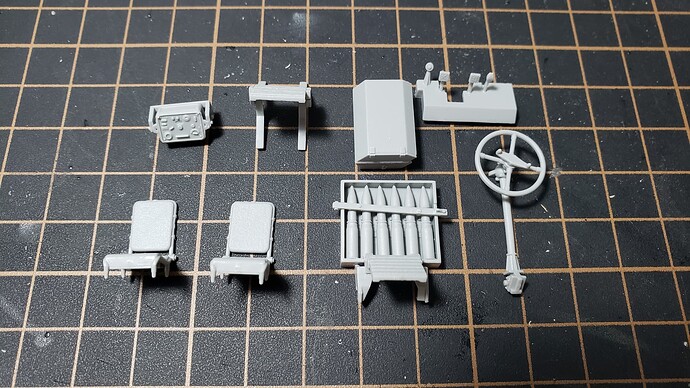
There are almost 470 pieces distributed in 15 sprues (trees) of different sizes. In addition, there are, of course, photoeteched, metal beacon rods, transparent parts for the periscopes and two sheets of decals. The parts are of high quality and very precise, which is standard in the brand.
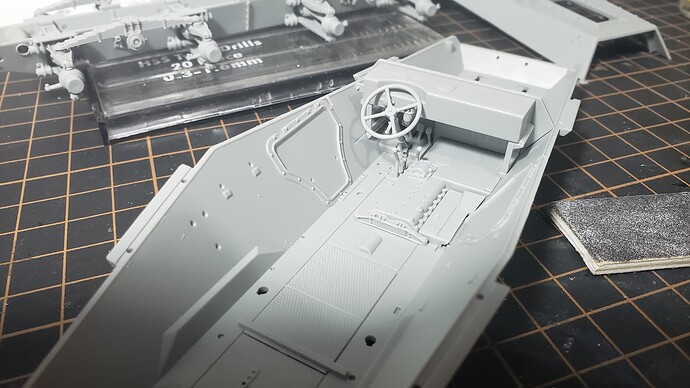
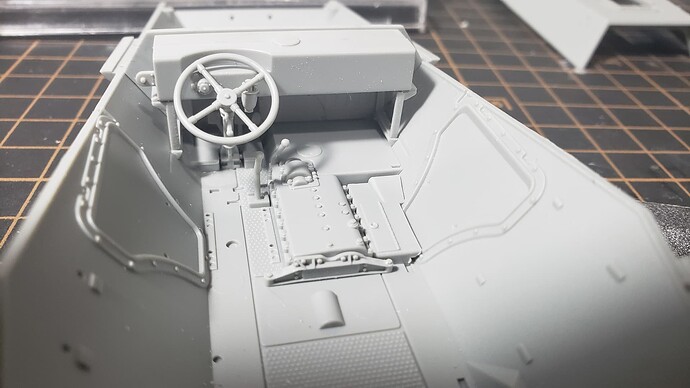
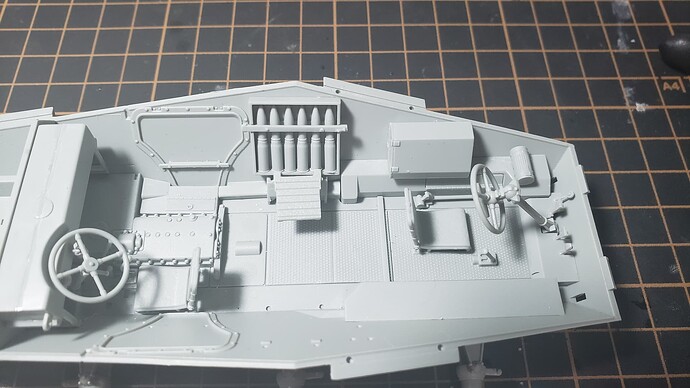
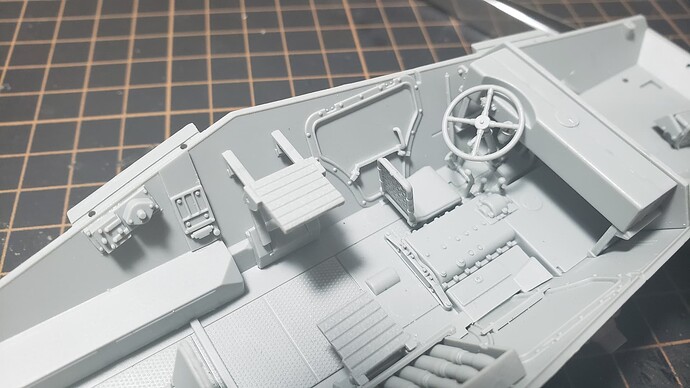
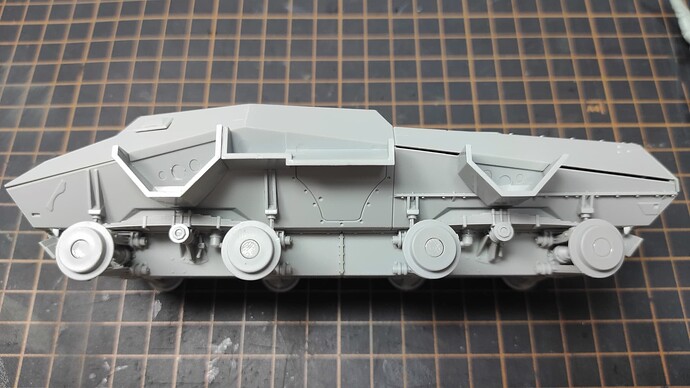
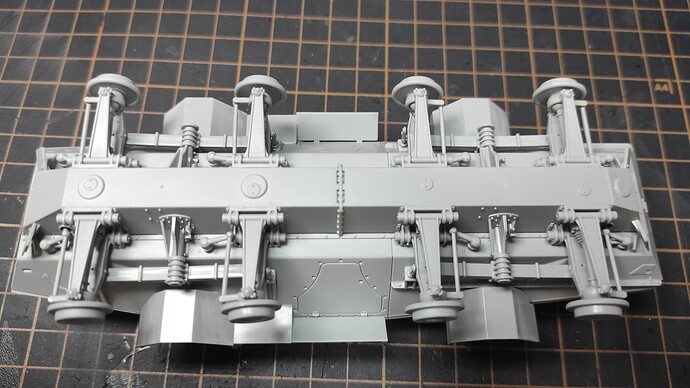
The model has interior detailing, which will probably double the construction time.
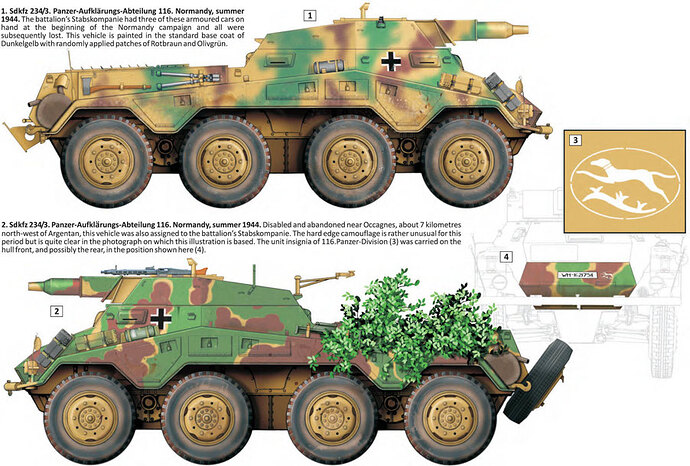
The manual has 8 pages, with 28 assembly phases, in black and white with blue details and does not have a history of the model, as usual for the brand. The color scheme is presented on the last page, making it possible to construct three different units: 116 Pz. Div. (Normandy, 1944); Div. Ullrich von Hutten (Germany, 1945) and Unidentified Unit (Normandy, 1944).
Chosen paint version
Image 2 - SdKfz 234/3 Panzer-Aufklärungs-Abteliung 116, Normandy, summer 1944
