Cut into it, even just partially to give it some support. Mast and attachments look great. Reminds me of the fun of putting up our 8m masts …
2 Likes
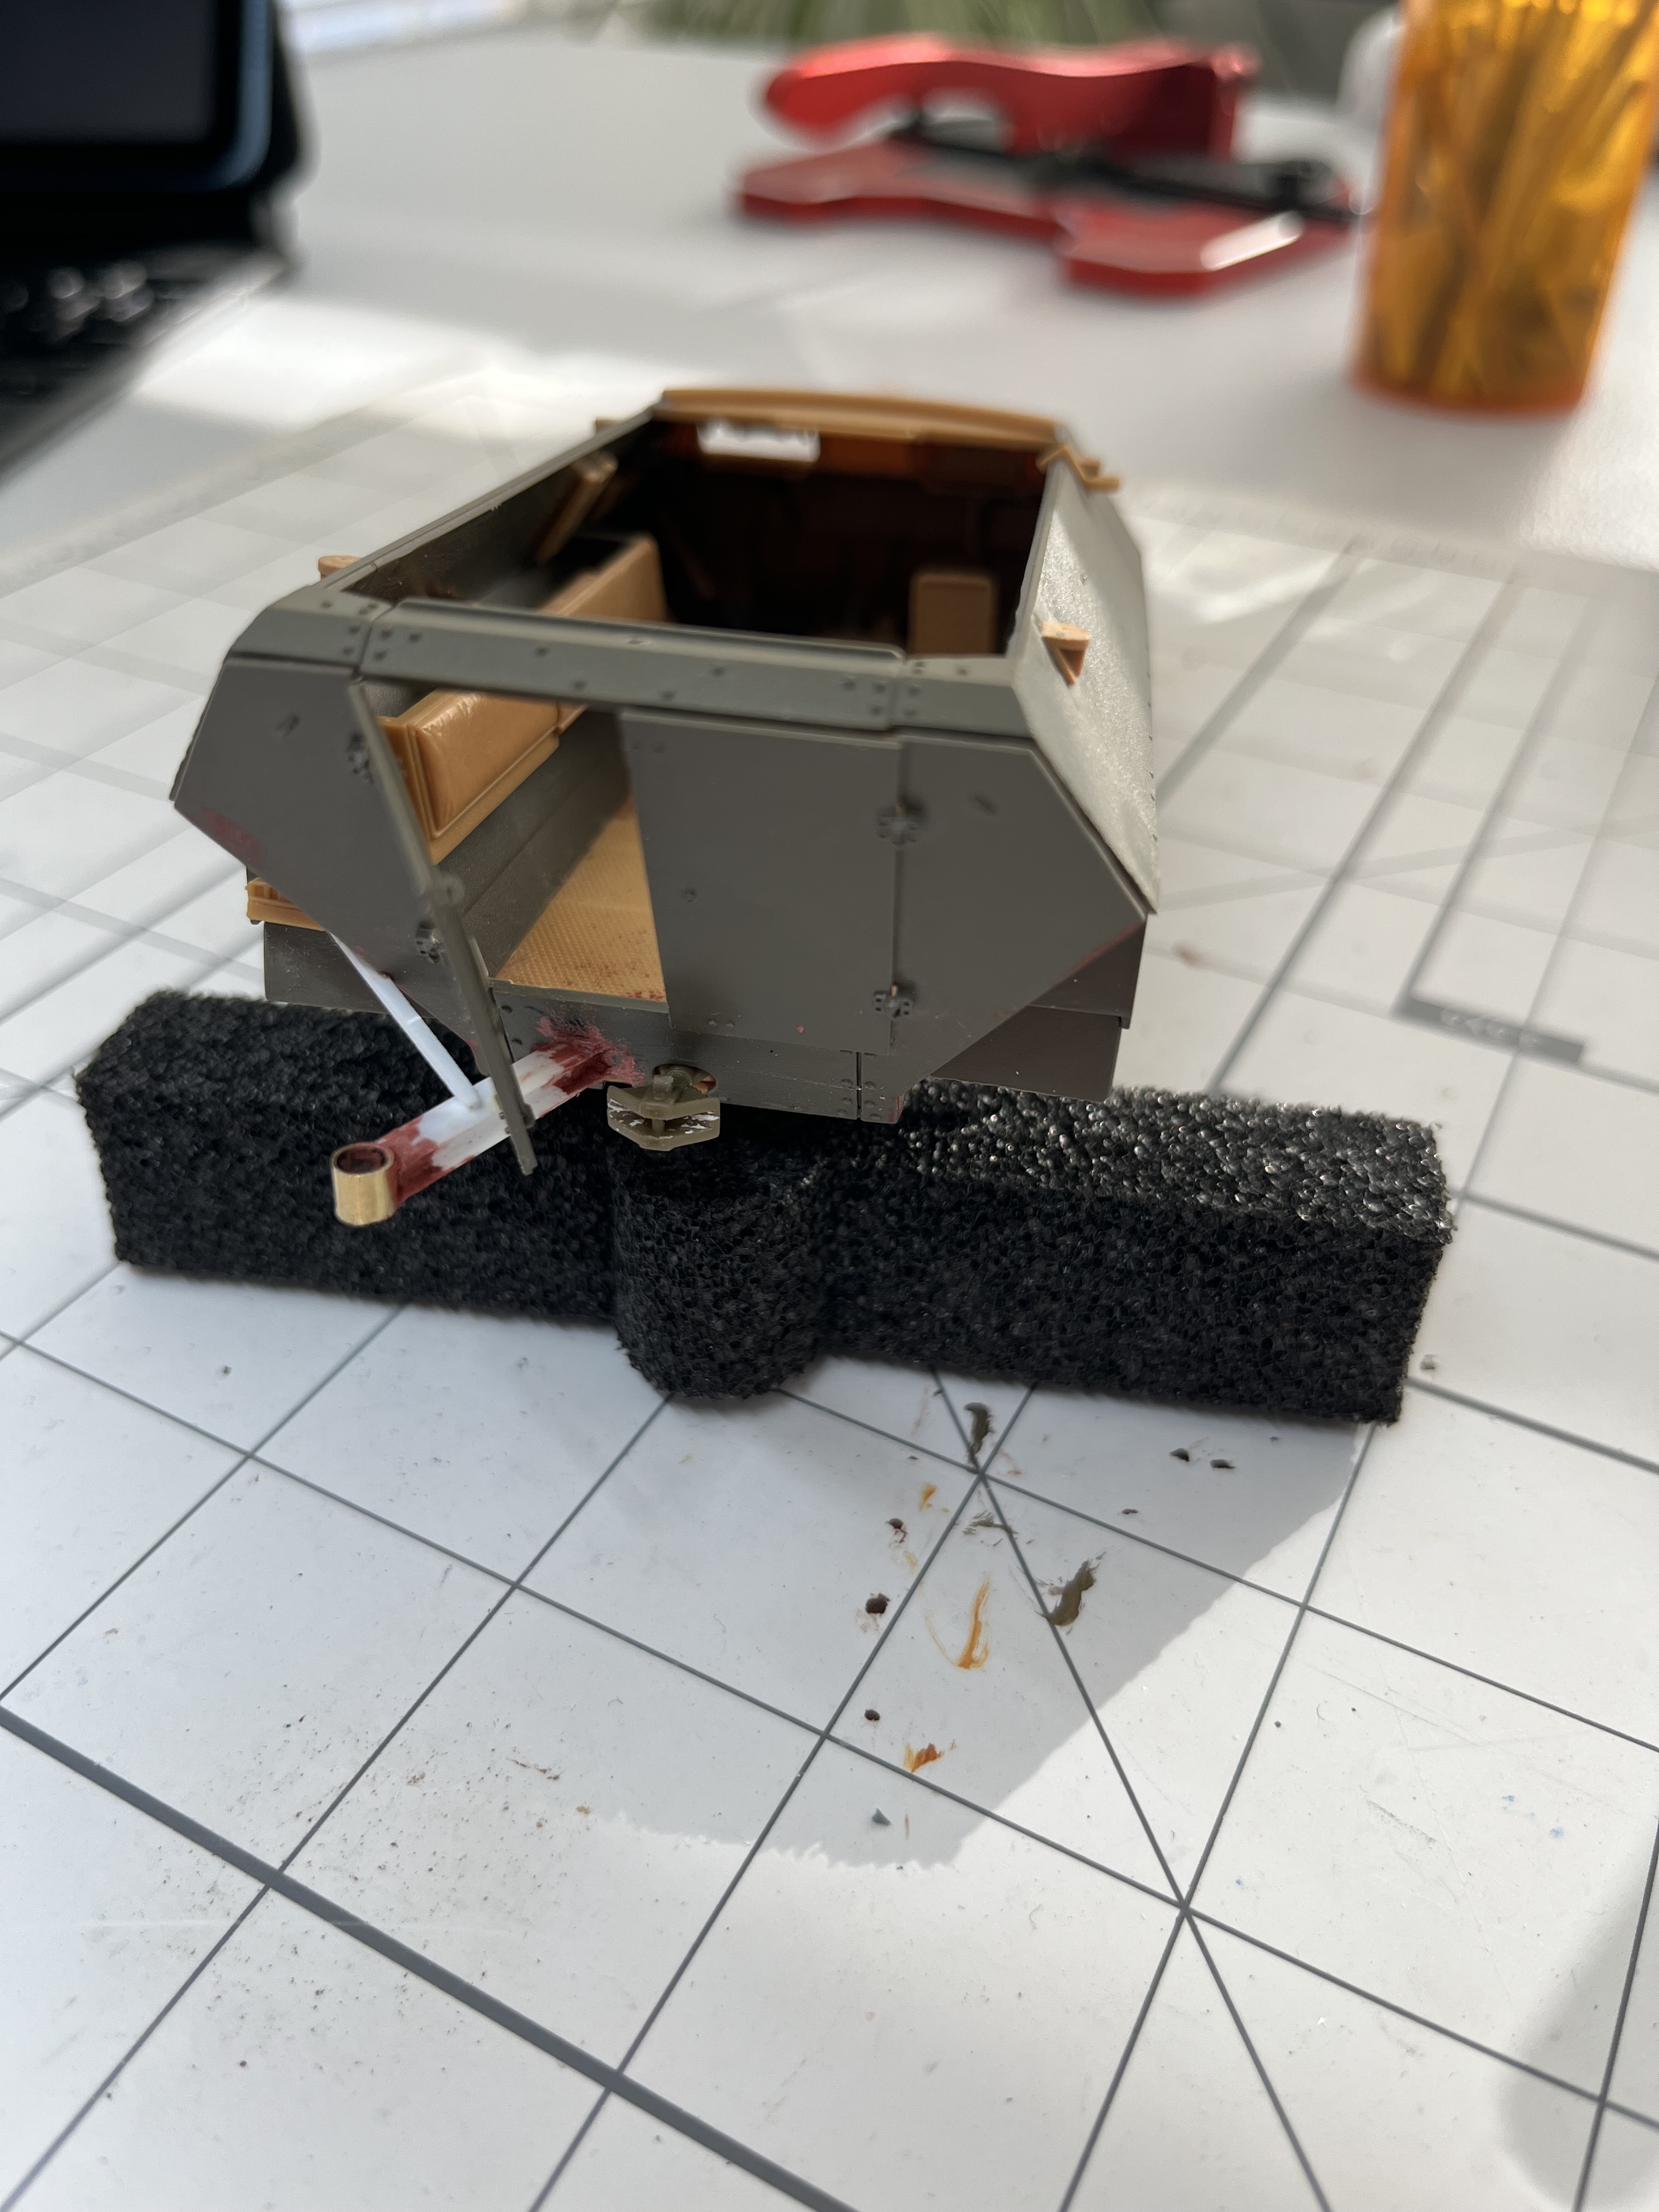
Day 19
Today’s task was the mast H beam support. I followed the advice of others and inserted the H beam into the model. It took some finagling and a heat gun to get the beam at a right angle, but I managed. I now realized I should have taken pictures of this, d’oh! Once glued in place I used Bondo for the seams. I hope the Bondo will help strengthen the joints.
I need to source bolt heads for a more finished look of the mast.
8 Likes
I don’t think it will require a counterweight. I won’t know until the wheels and tracks are on. If it is light I can add some weight into the engine compartment.
2 Likes
Great job on the H support … set up looks really nice … Try MENG bolt heads and nuts … Do various sets in different sizes … My go to ones… Easy to find on Amazonian…
1 Like
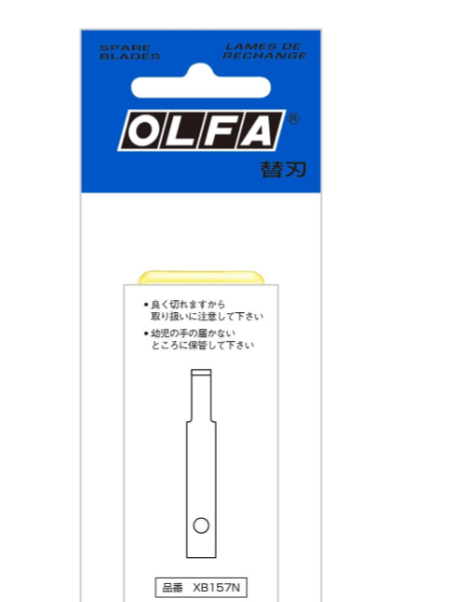
Great job. If you have an old model lying around, they can often be a good source of various rivets and bolts, especially on the lower hull or underneath.
I use a blade like this to remove them.
3 Likes
Thanks for the great idea but I don’t have any old models. This is only my 2nd build after a 40 year break.
I will look for those Meng bolts.
3 Likes
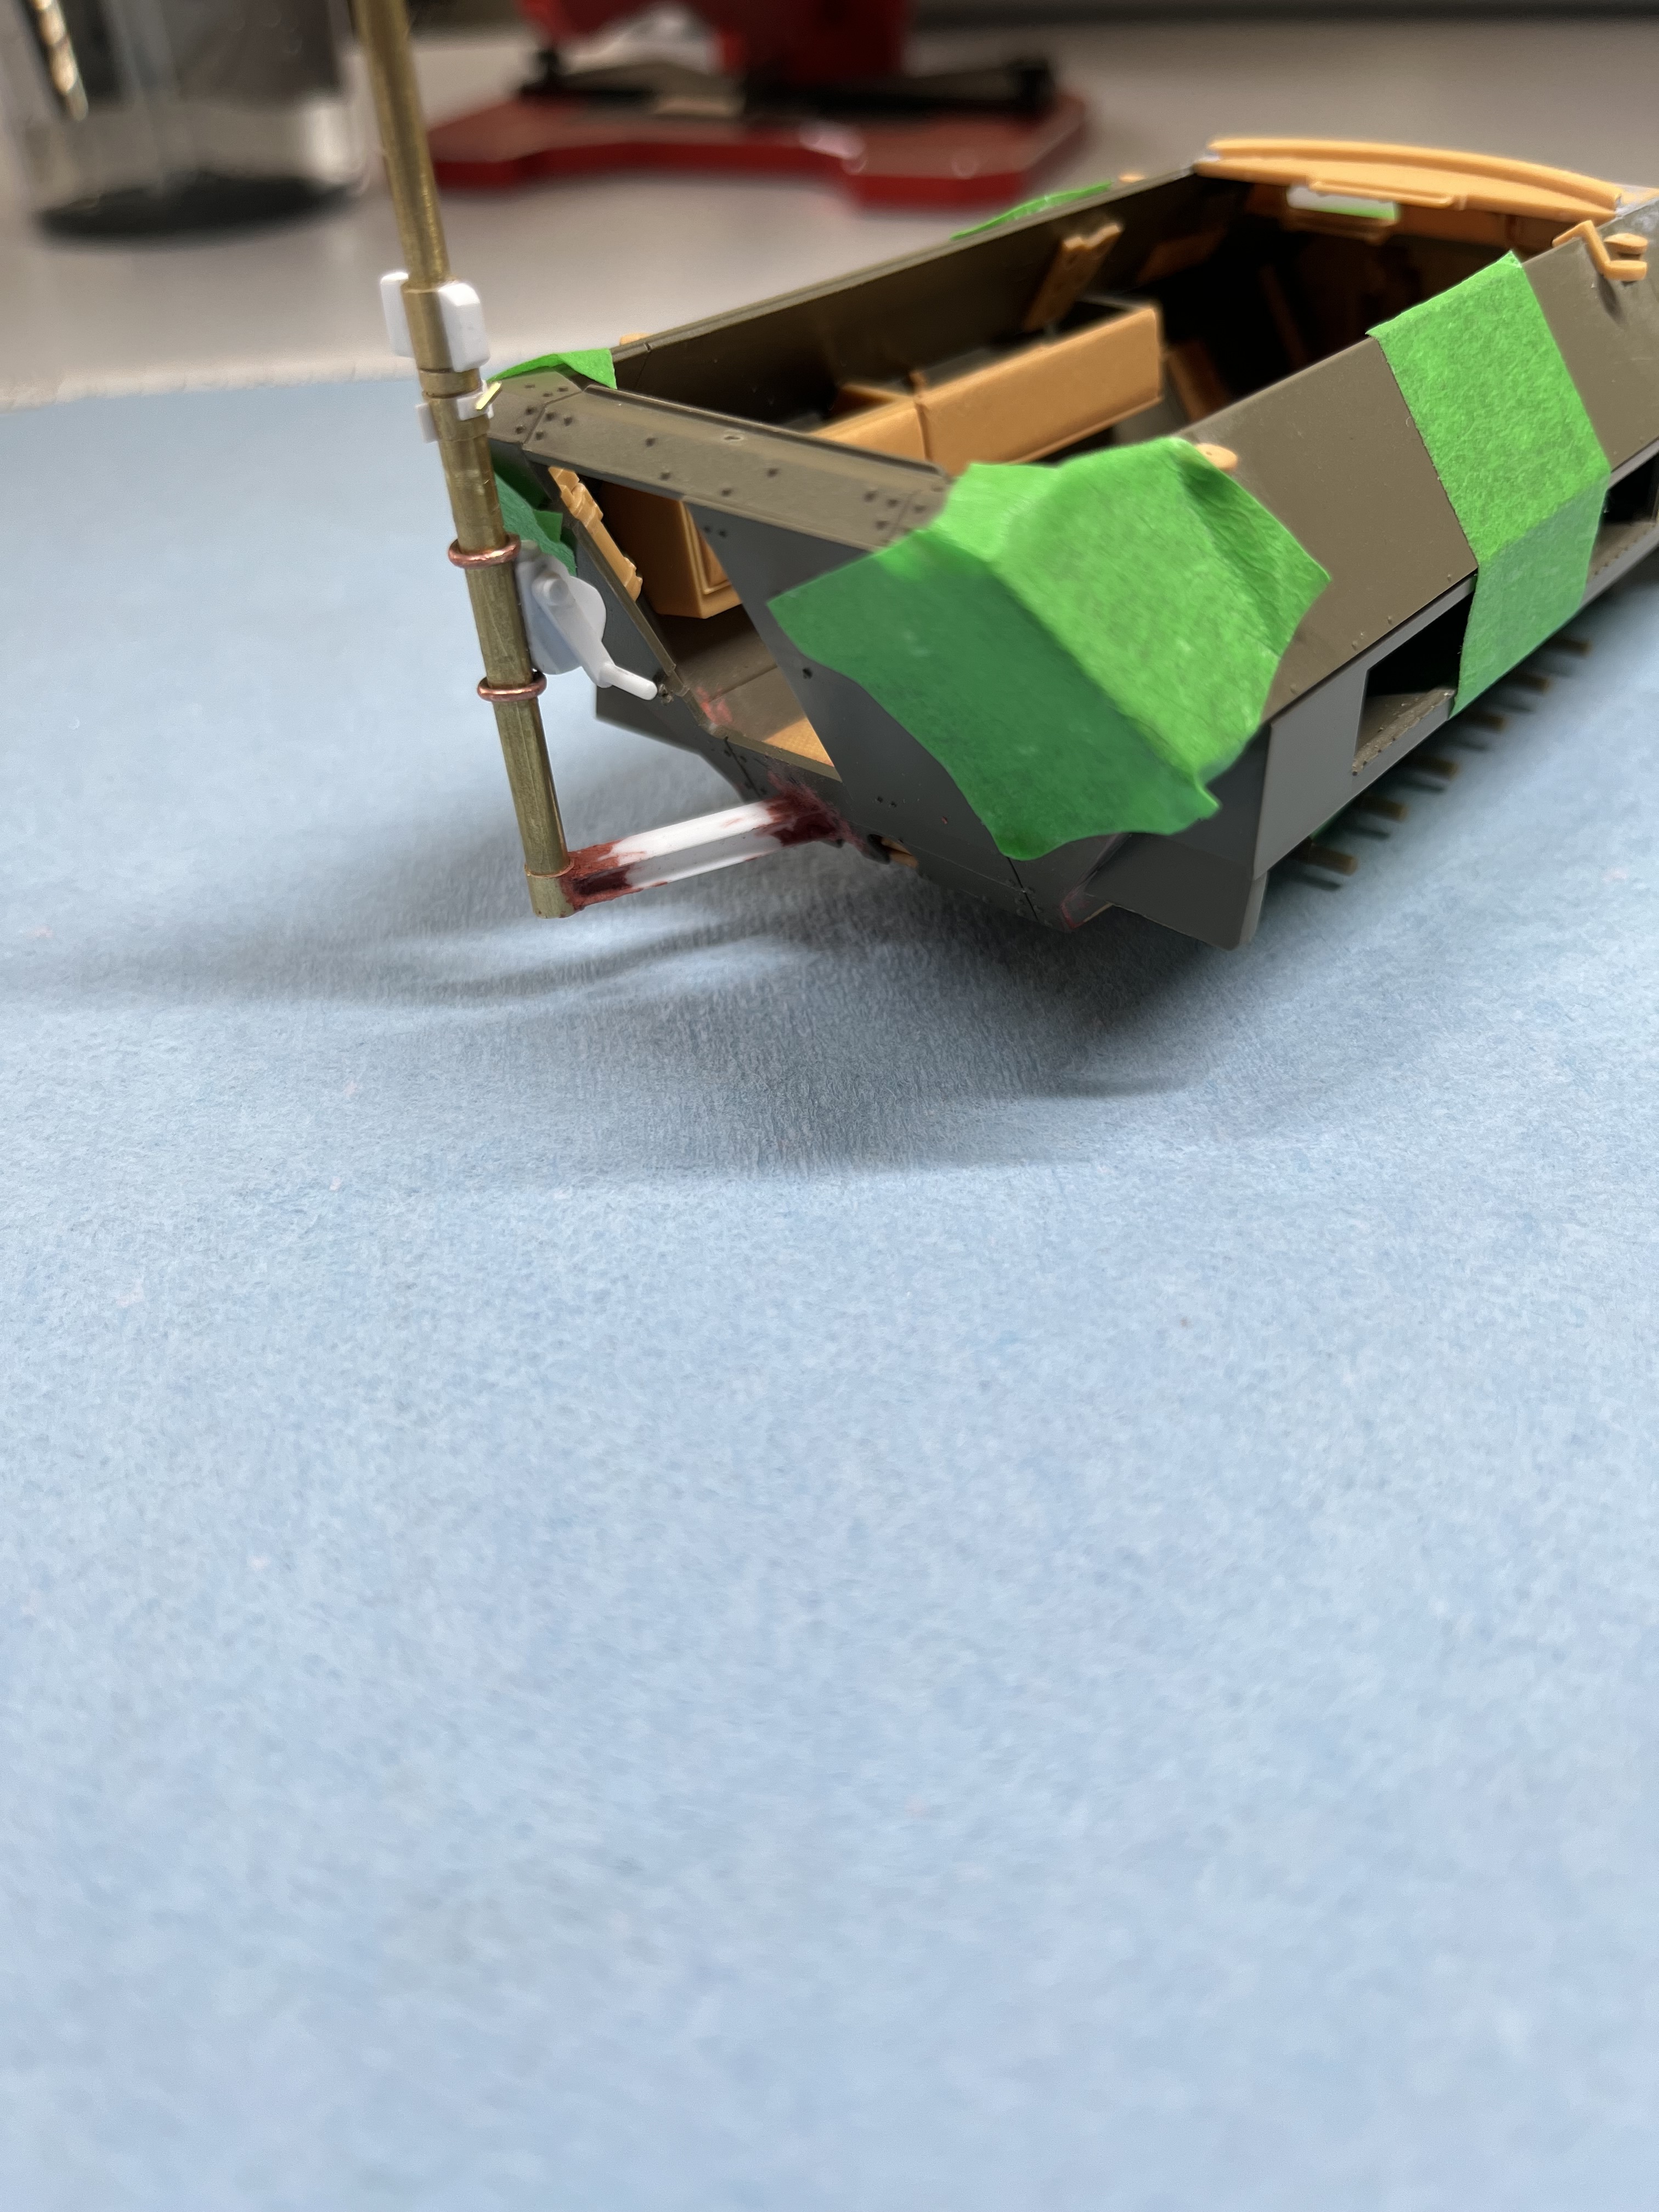
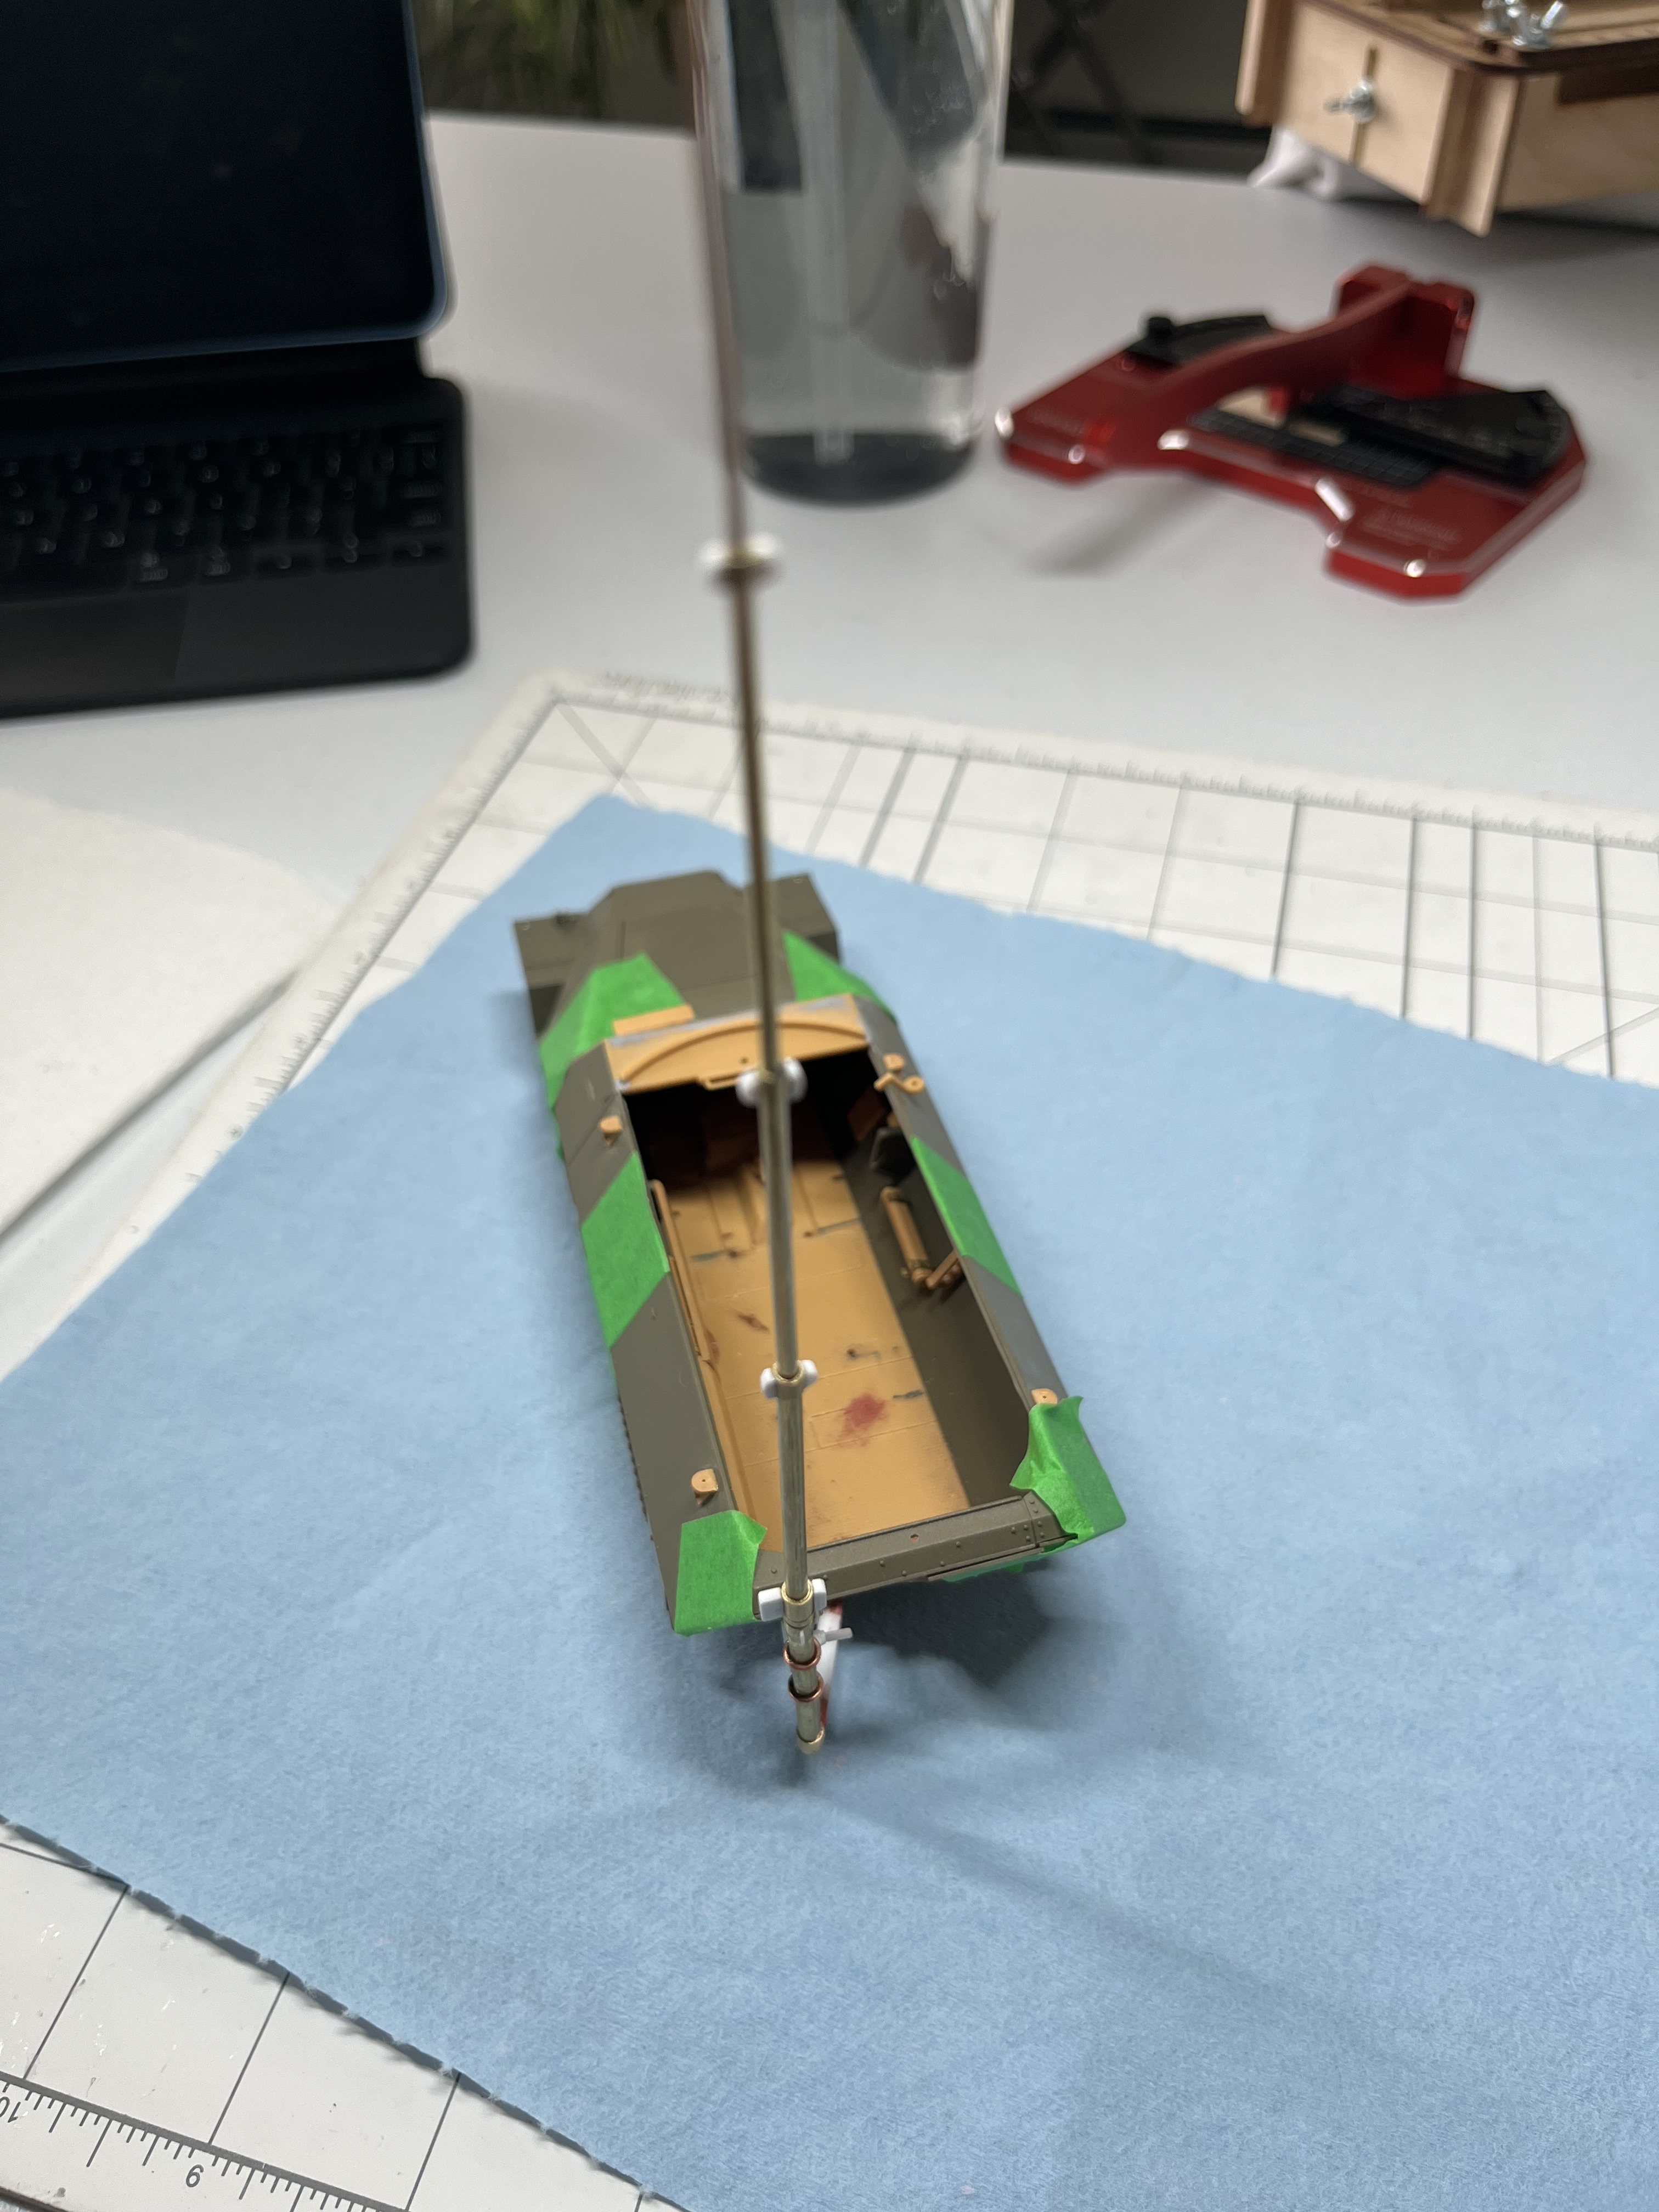
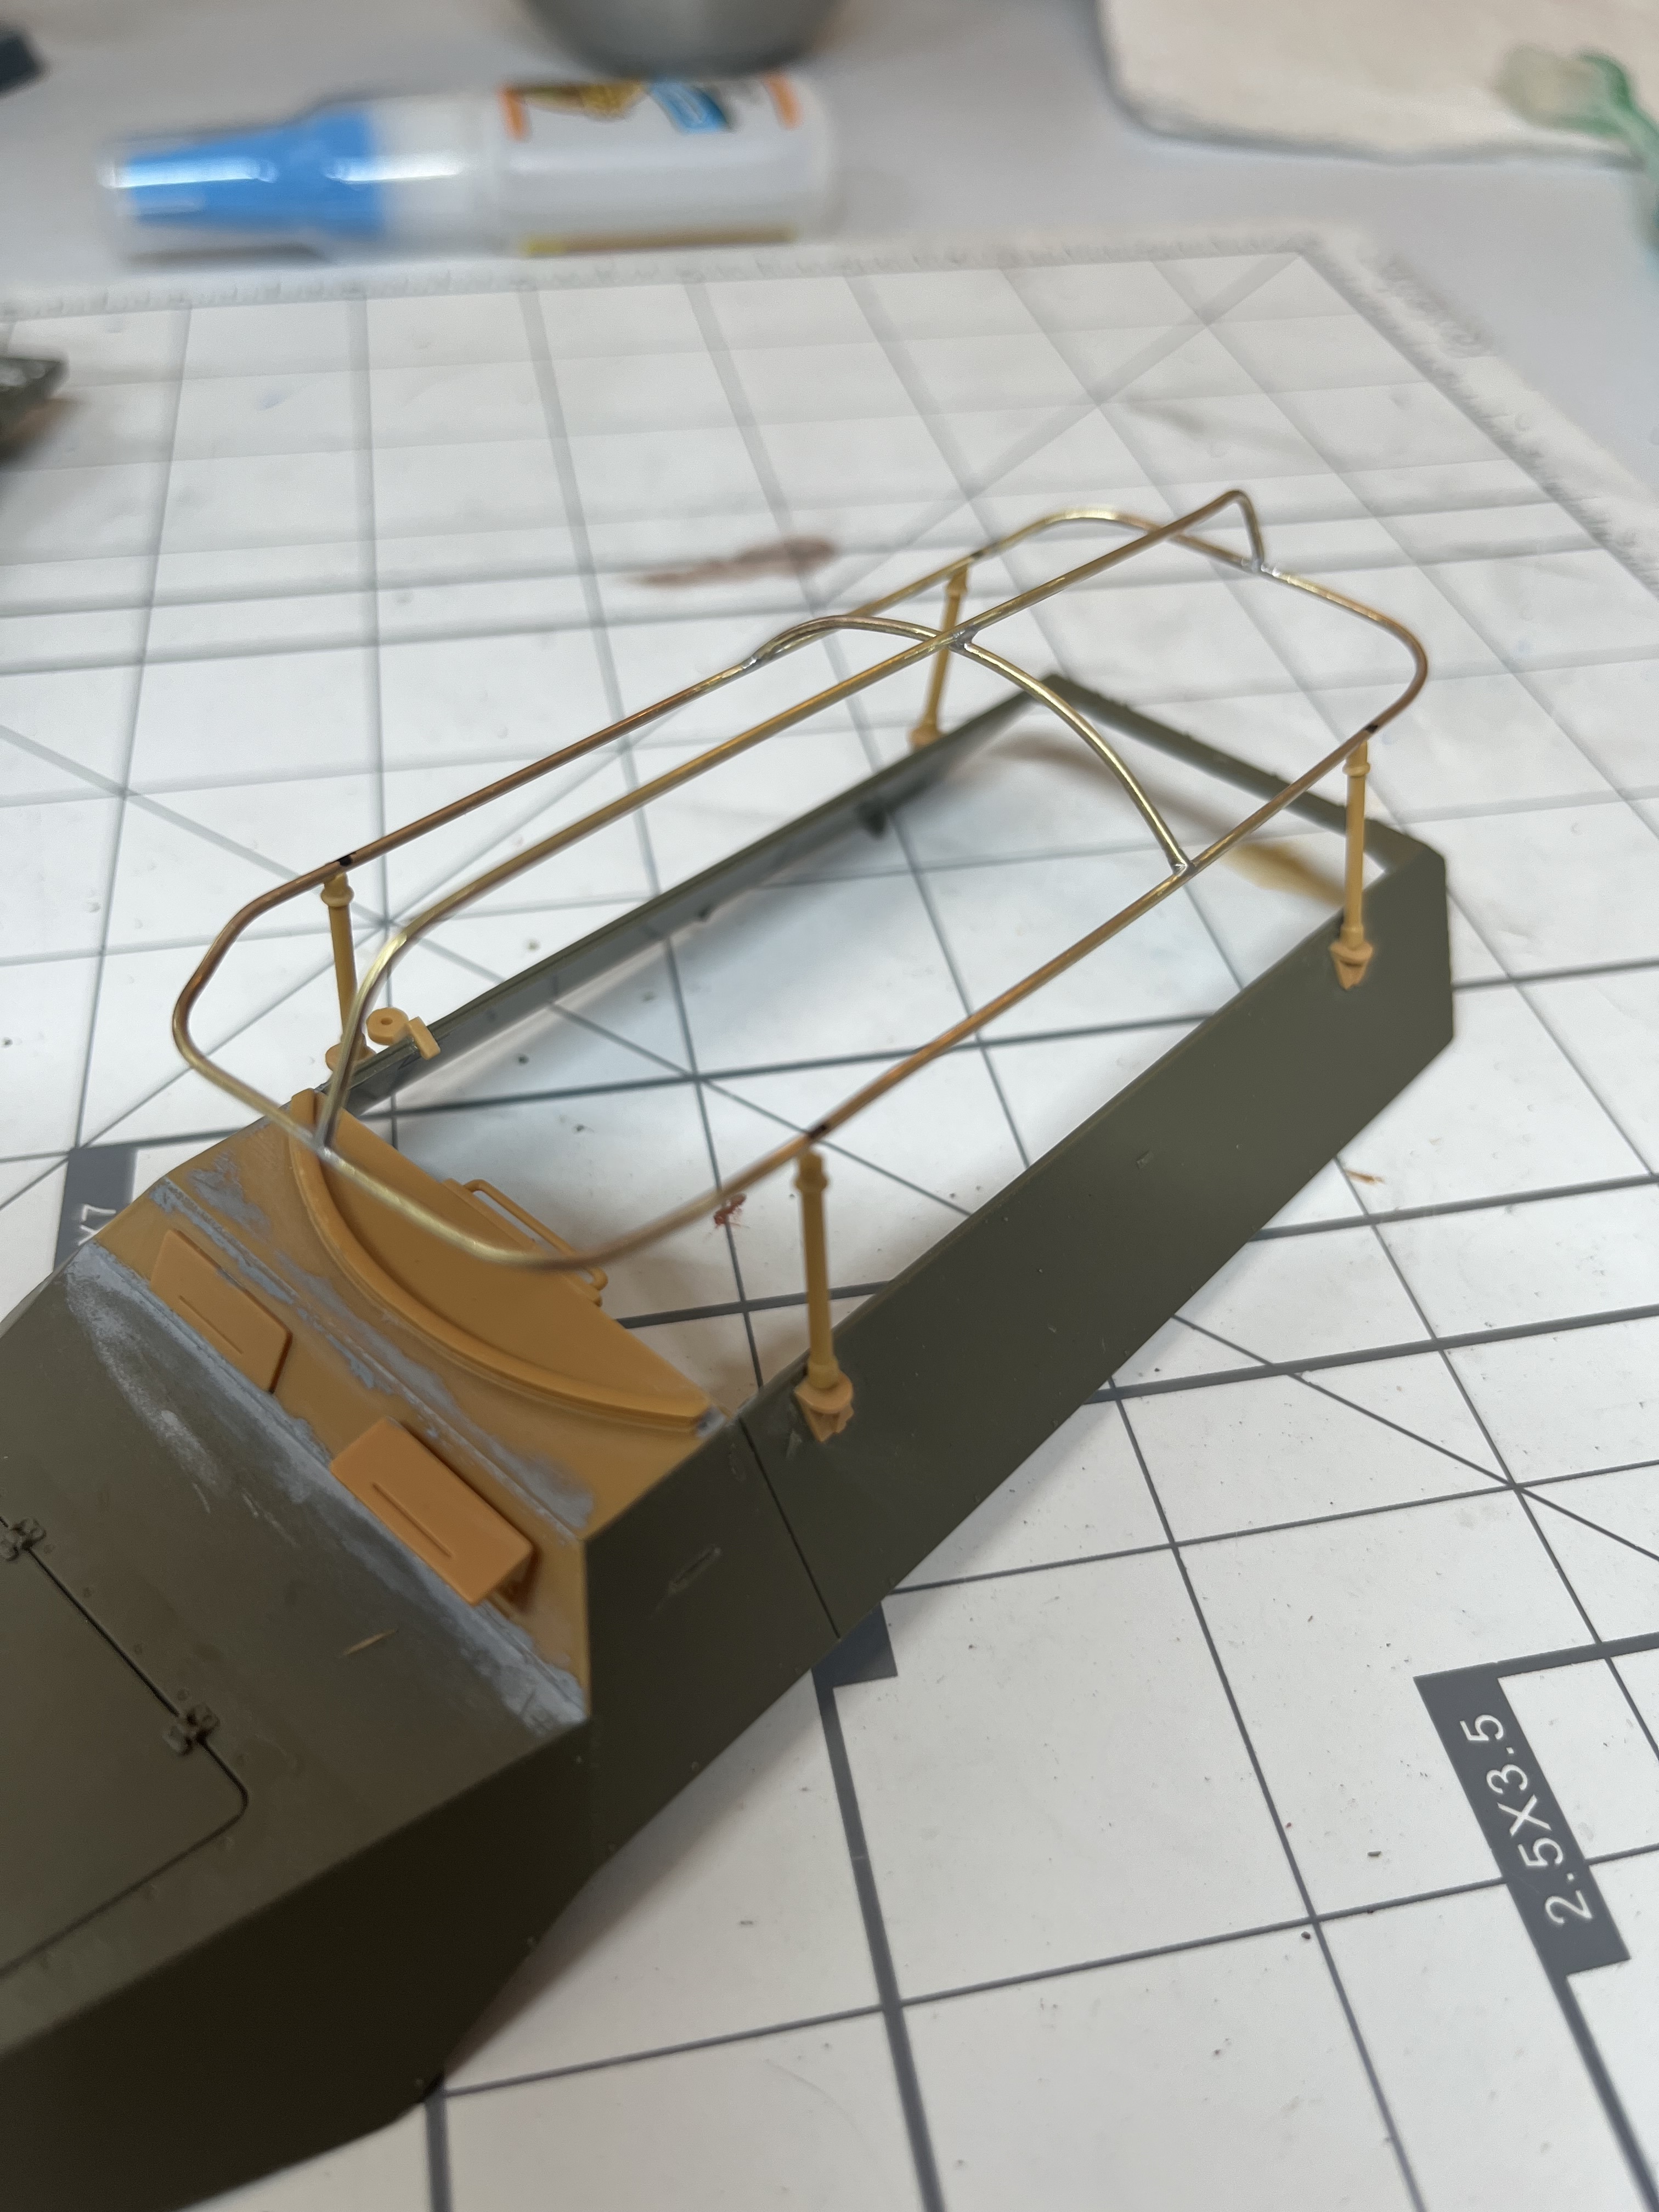
Day 20
More work done on the mast support and added the rear door. I should have done a dry fit with the mast and door prior to glue, however I was short a couple of pairs of hands. The door opens enough for a person to use but it doesn’t swing all the way, oops!
Additionally I decided to use the original frame antenna I made. I soldered it all up and voila! In the end, a bit of camouflage will hide the imperfections.
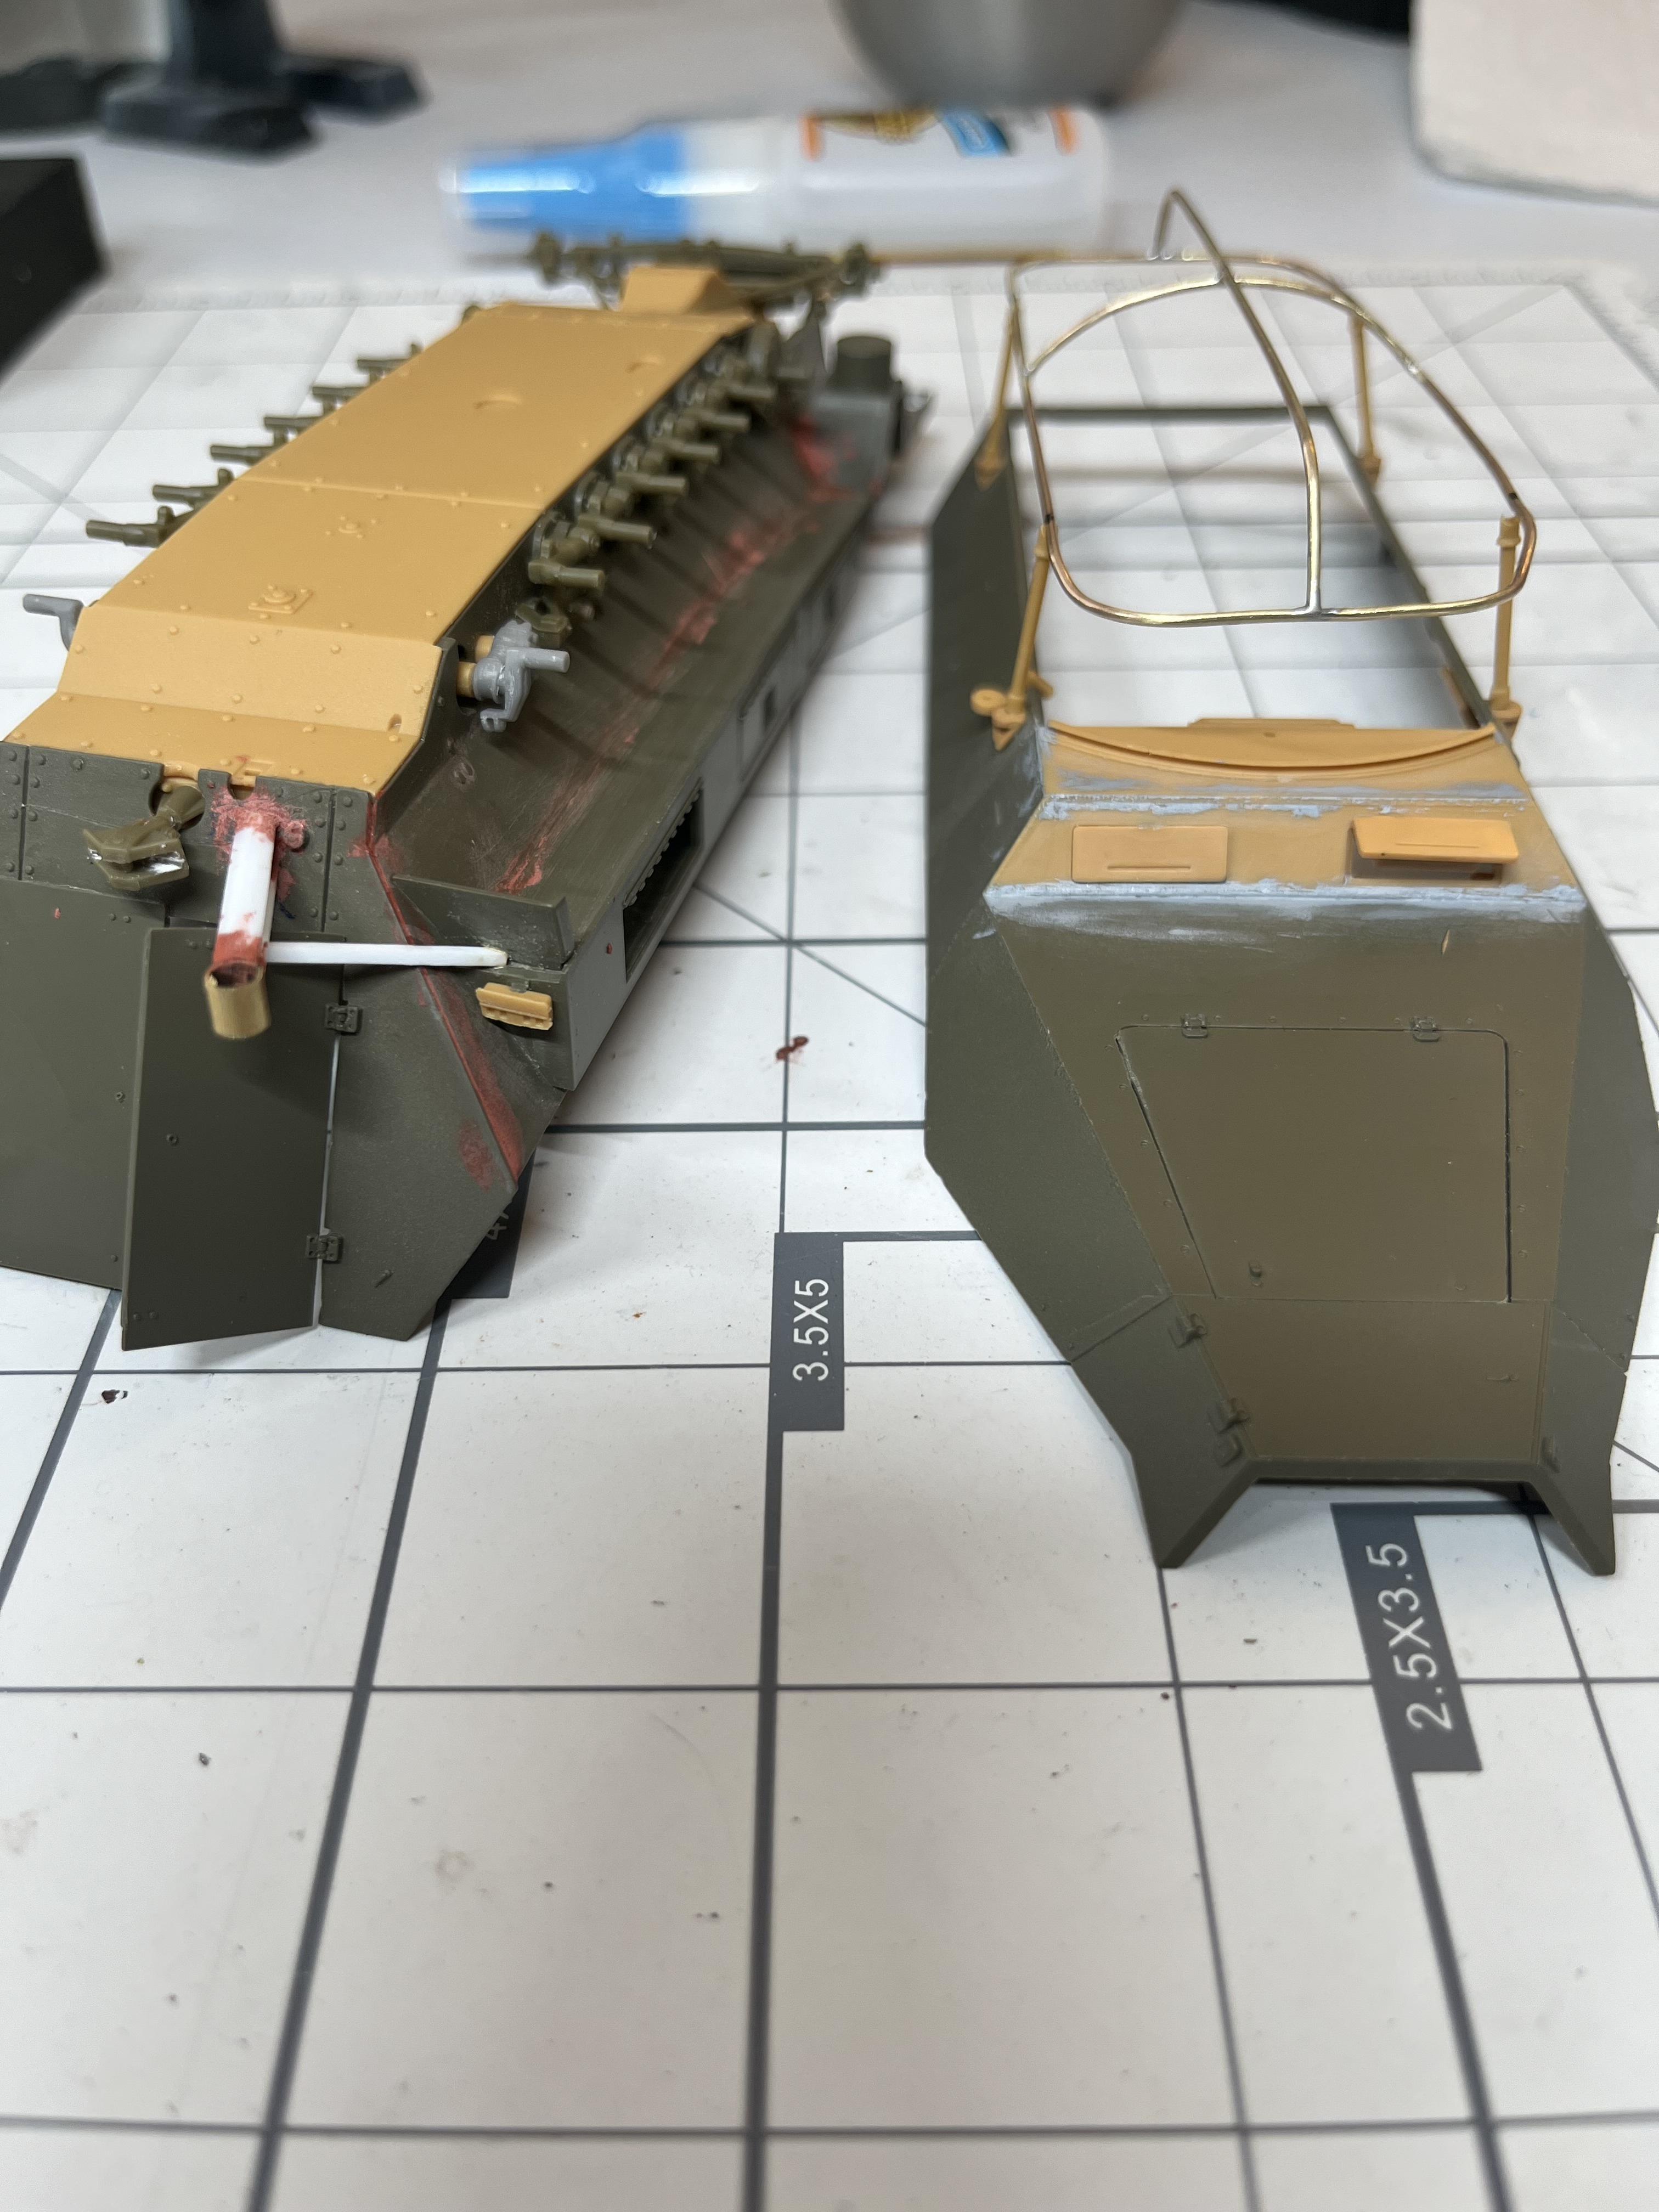
I still need to build the MG42 & 34 and a few more bits to glue and it is ready for primer.
9 Likes
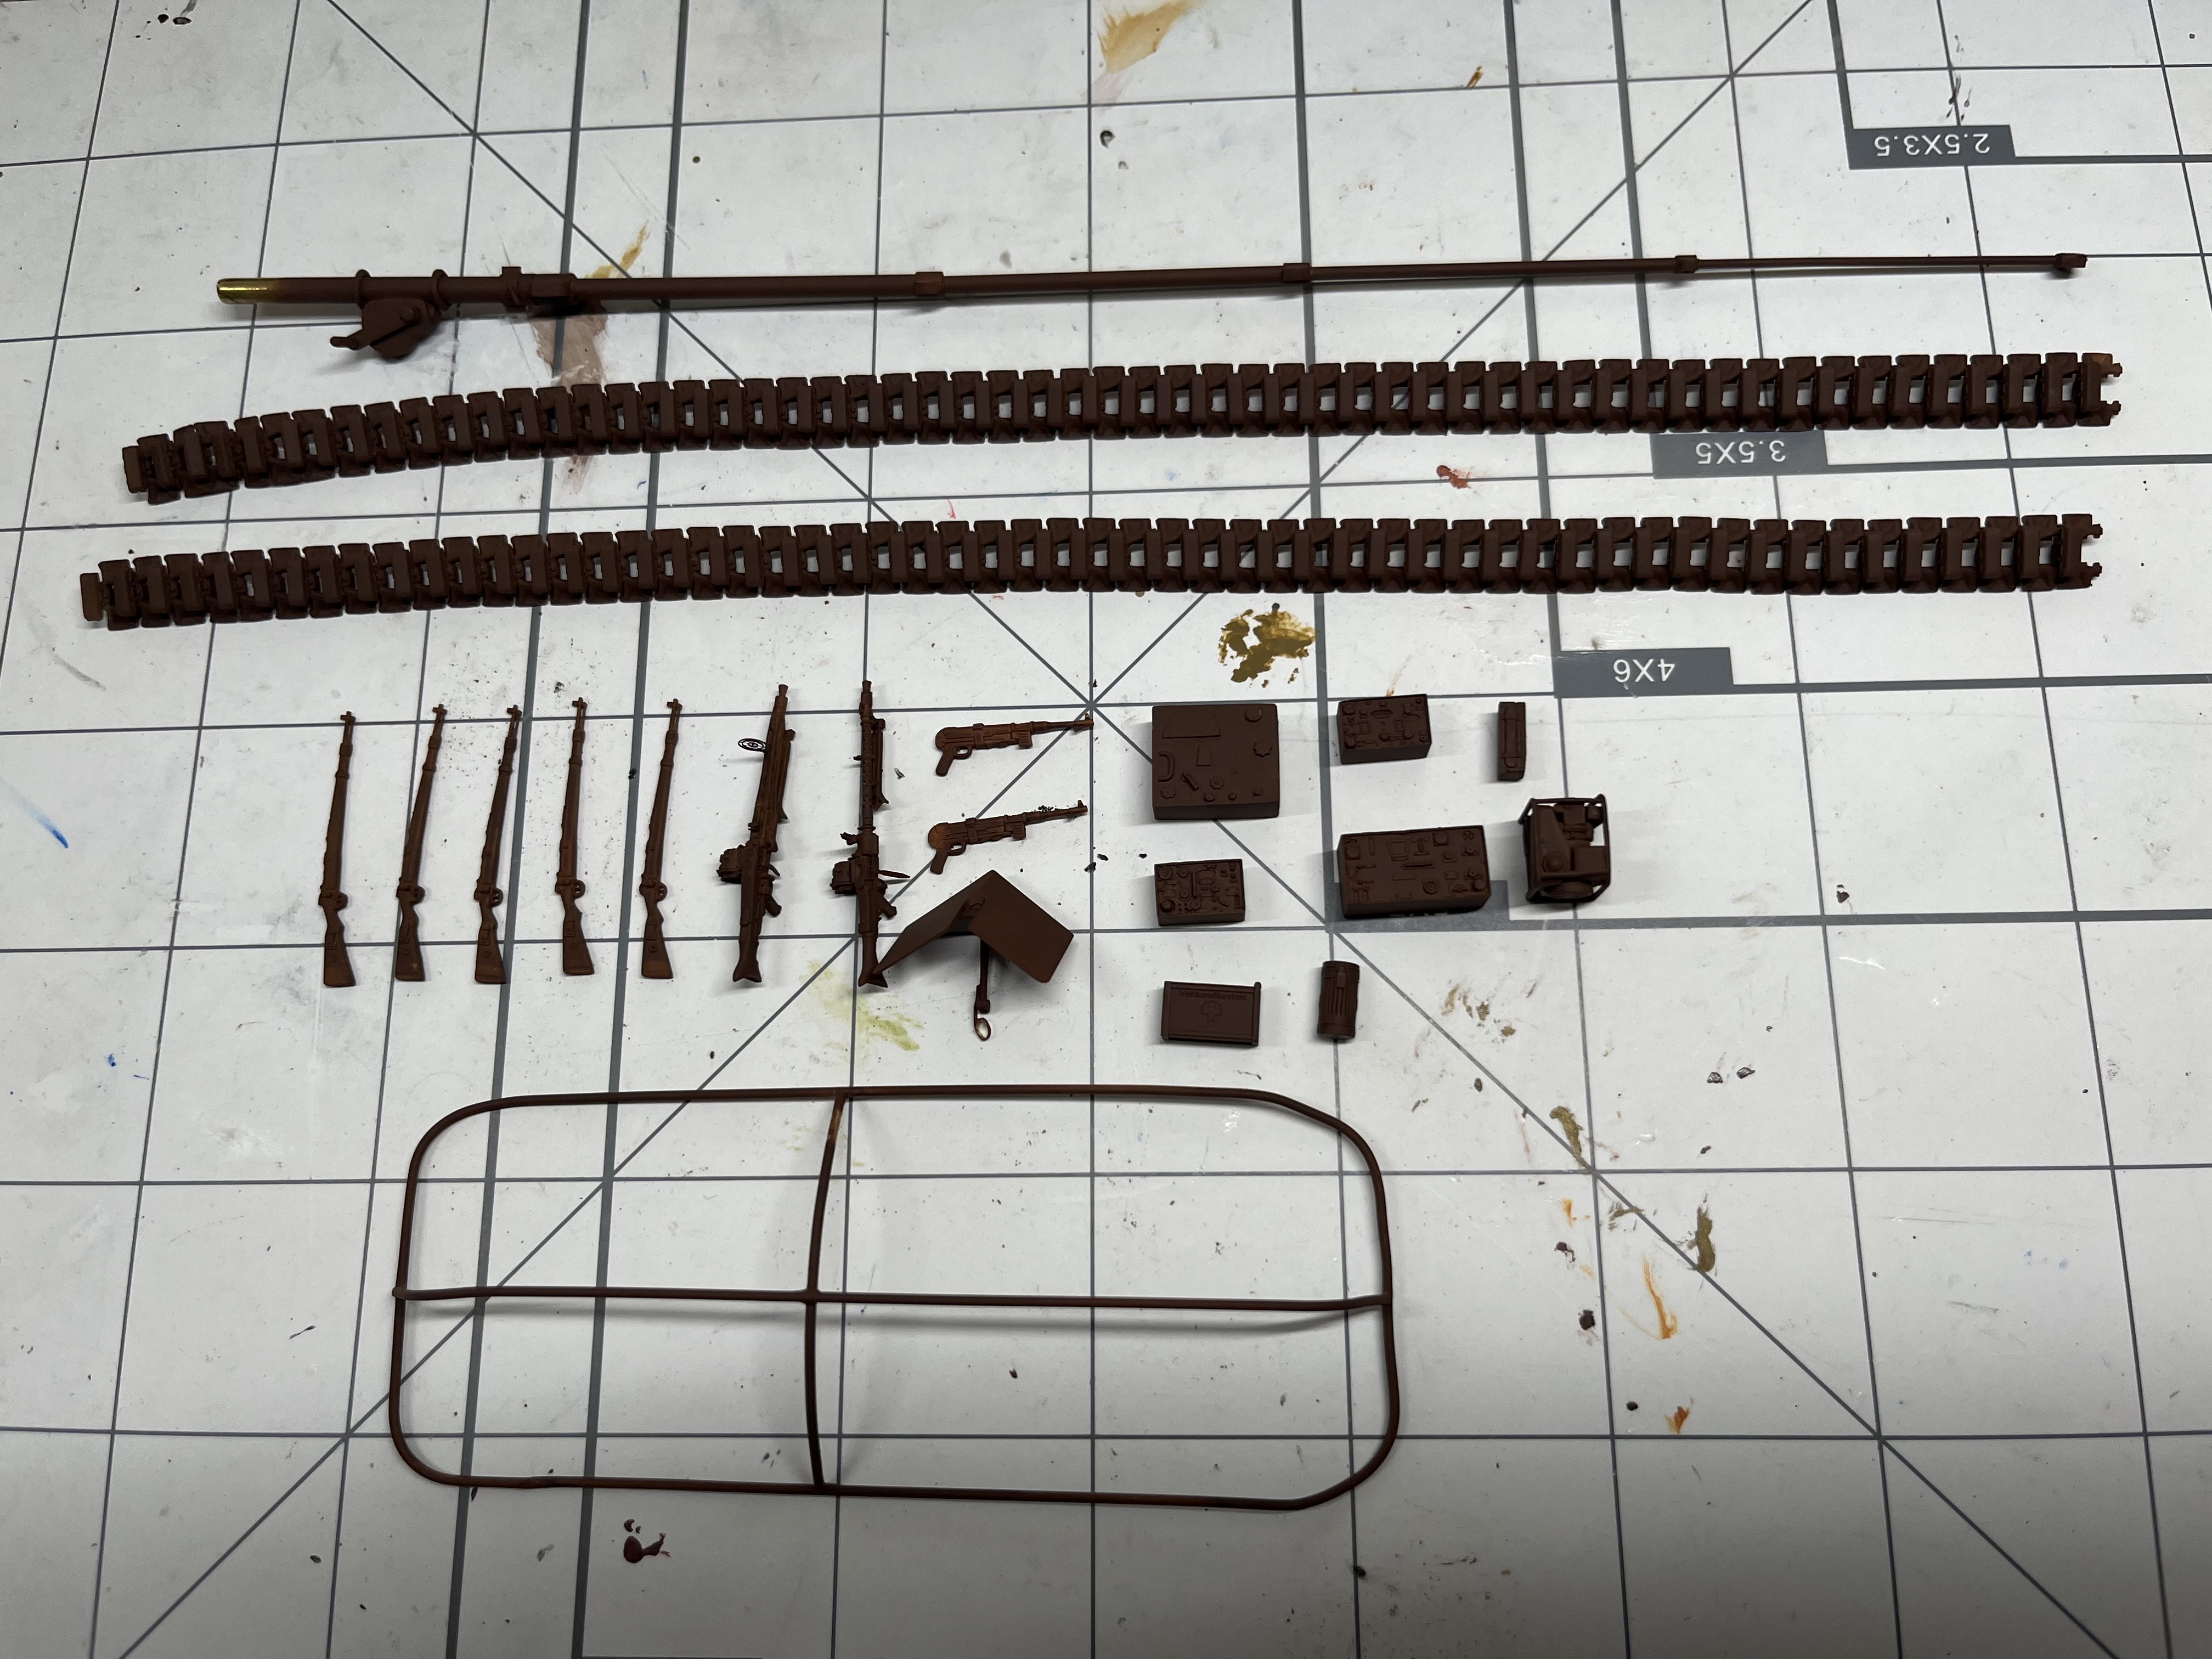
Day 21, 22, 23
Let’s just go with those days rolled into now. I did some laborious and tedious itsy bitsy stuff like building K59/ 1120 Production MG34 and 42, Riich GG400 generator, SBS radio. After completing these items I wanted to give up the hobby, what was I thinking!
So, I’ve got some primer on most of the items, of course I forgot to do all the weapons, tracks, frame antenna and antenna mast, silly brain. I hope tomorrow to do these.

I was frustrated with my airbrush. It’s a Badger siphon single action (can’t remember what model) and I kept having to introduce more paint than I wanted. Compressor was set at 21 PSI or 1.5 BAR. I used MIG One Shot primer, thinned it with MIG thinner and added a drop of MIG retarder. Still I would get dry tip. I strip my airbrushes down after every use (30 years of military does that), so there is no dirt.
6 Likes
Go Tamiya or AK Real…
2 Likes
I plan to switch to AK as it is readily available at my LHS. Today I will try a different airbrush which is dual action.
3 Likes
9 Likes
Progressing and building up very well mate. Looks great.
1 Like
Thanks, I hope to get the base coat on in the next couple of days.
2 Likes
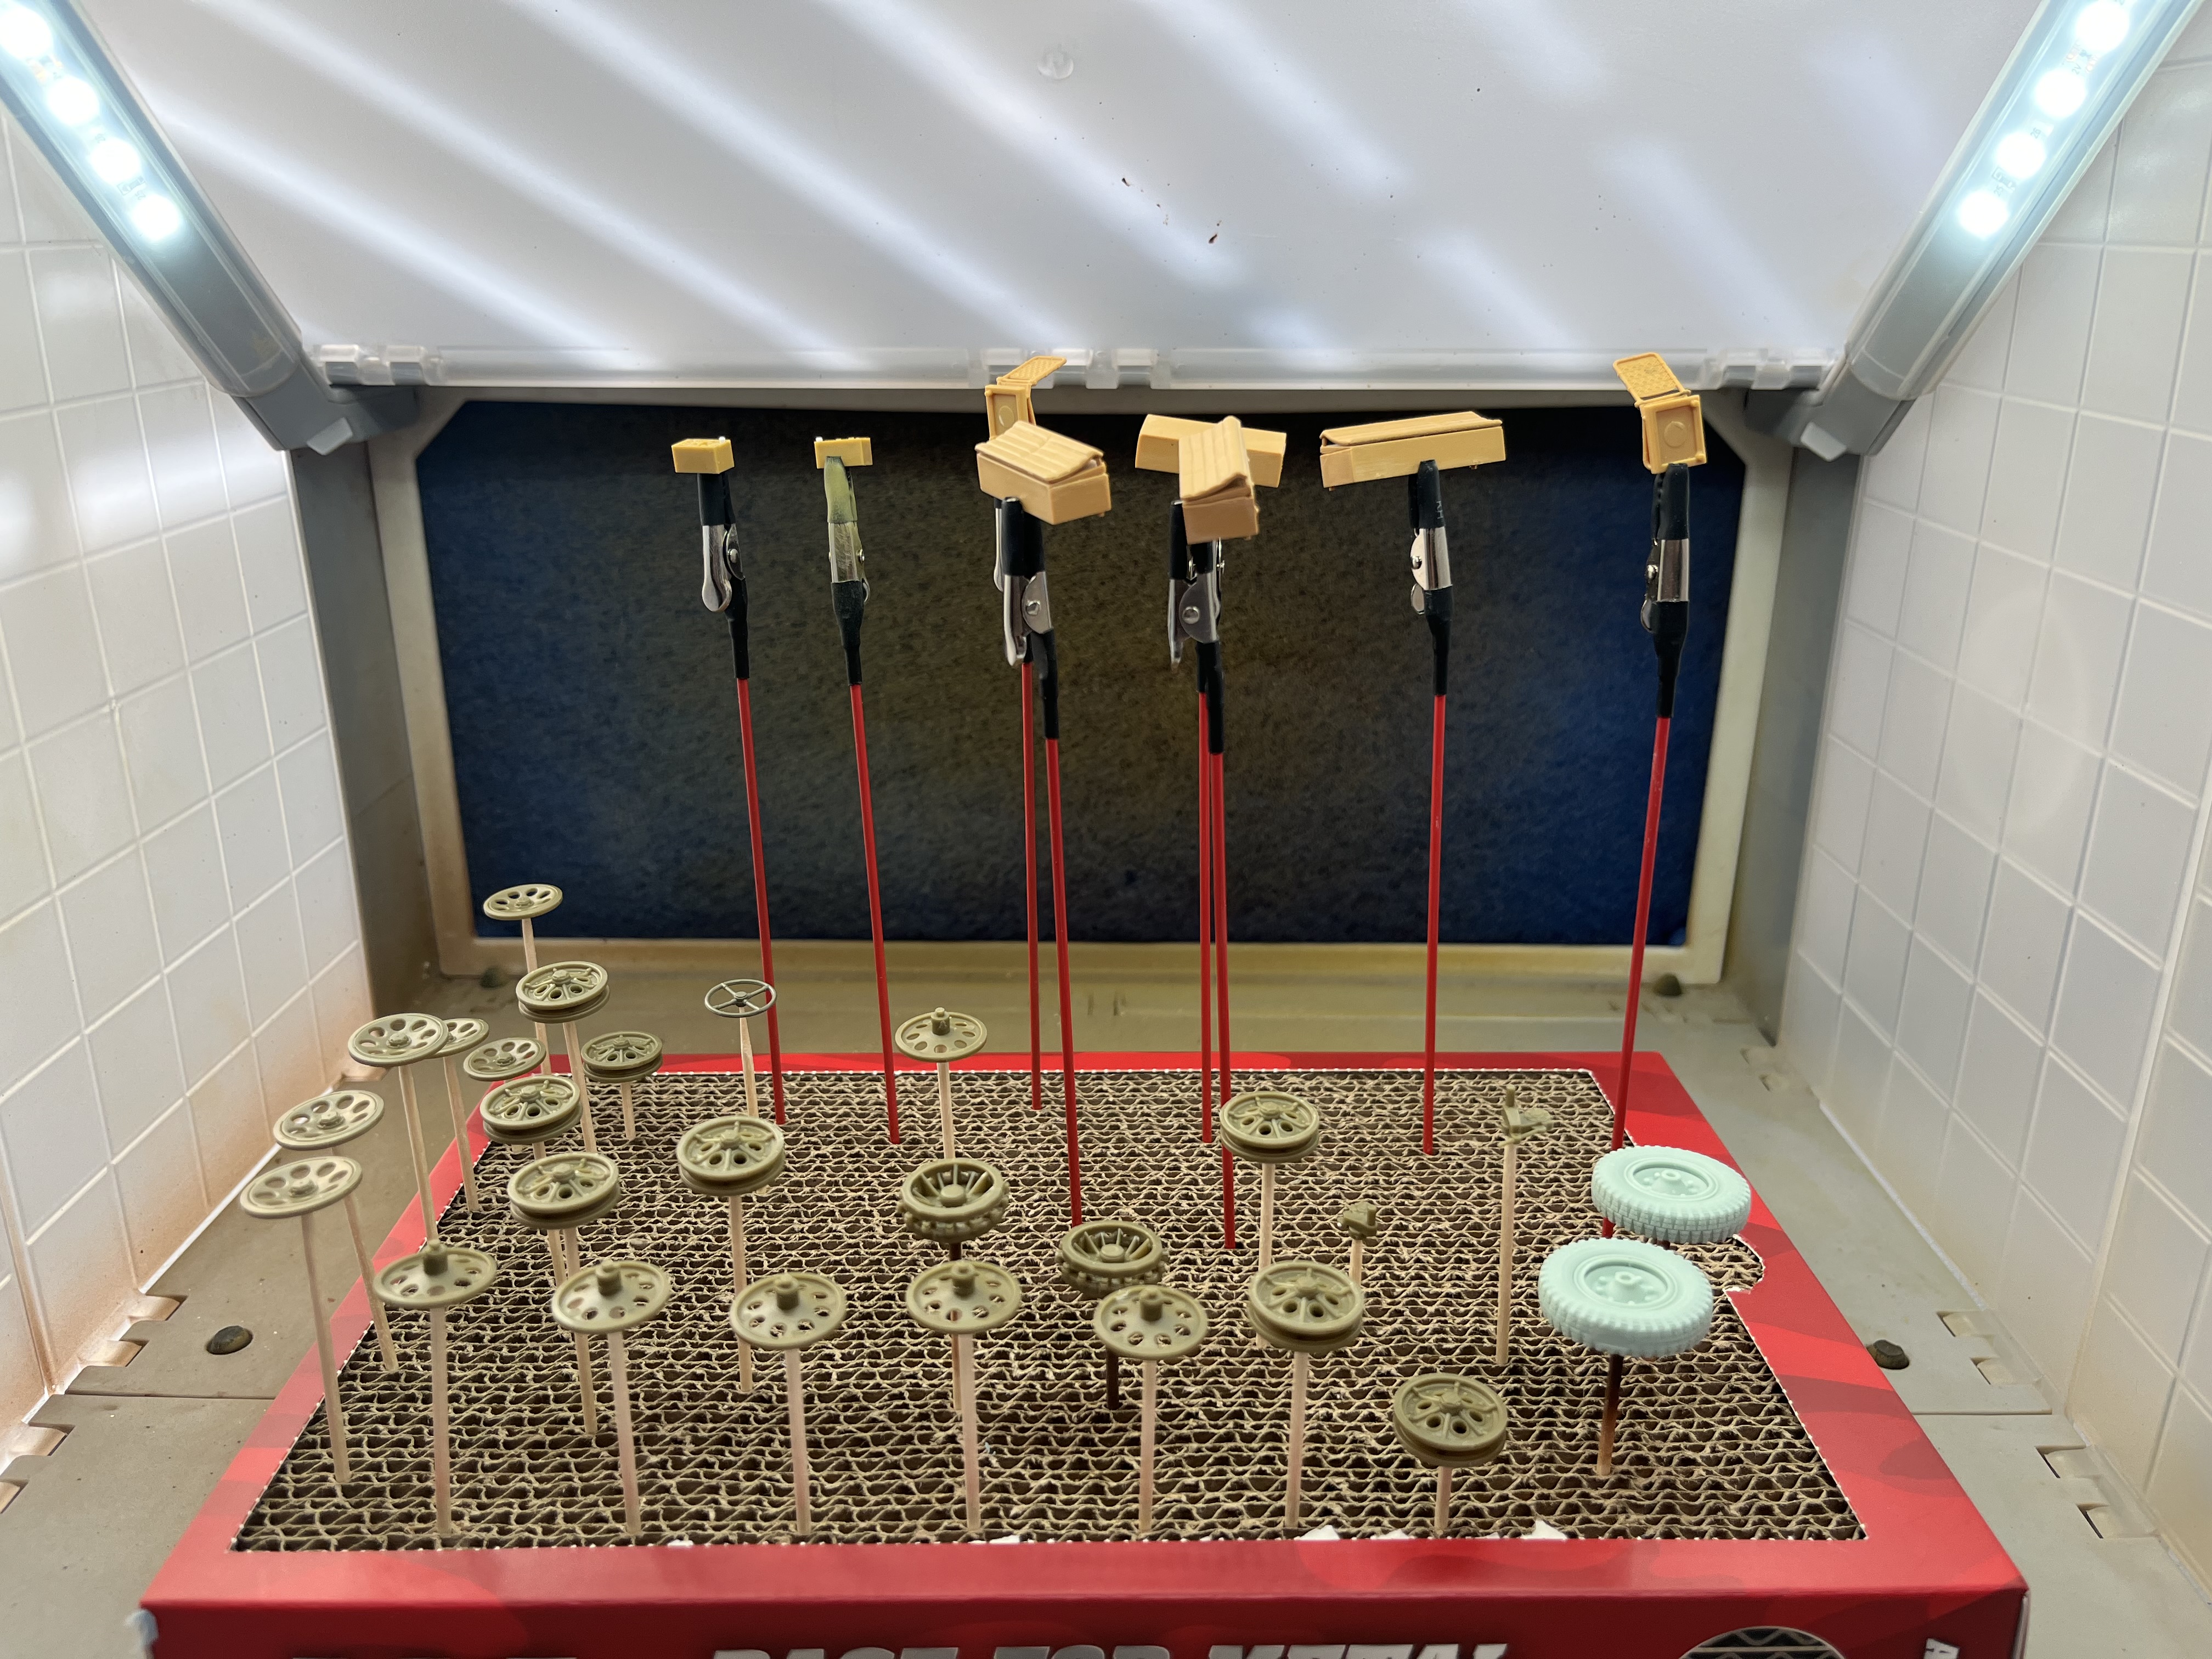
Day 25
Got the base coat on. I took some artistic freedom and used AK RAL 7028 dark yellow “Version 1944” which didn’t appear until August 1944. As these 251’s were brand new vehicles off the assembly line in late May 1944, the possibility existed they could have been painted in the new paint!
I decided to paint the 9m mast and some radio equipment a darker grey, which I think is too dark. I am looking for a contrast (mast installation after 3 tone camo), possibly 1943 dark yellow instead? Opinions very welcomed!
I was hoping to try out the AK RC markers on the wheels, but ran out of time.
11 Likes
That’s looking good.
3 Likes
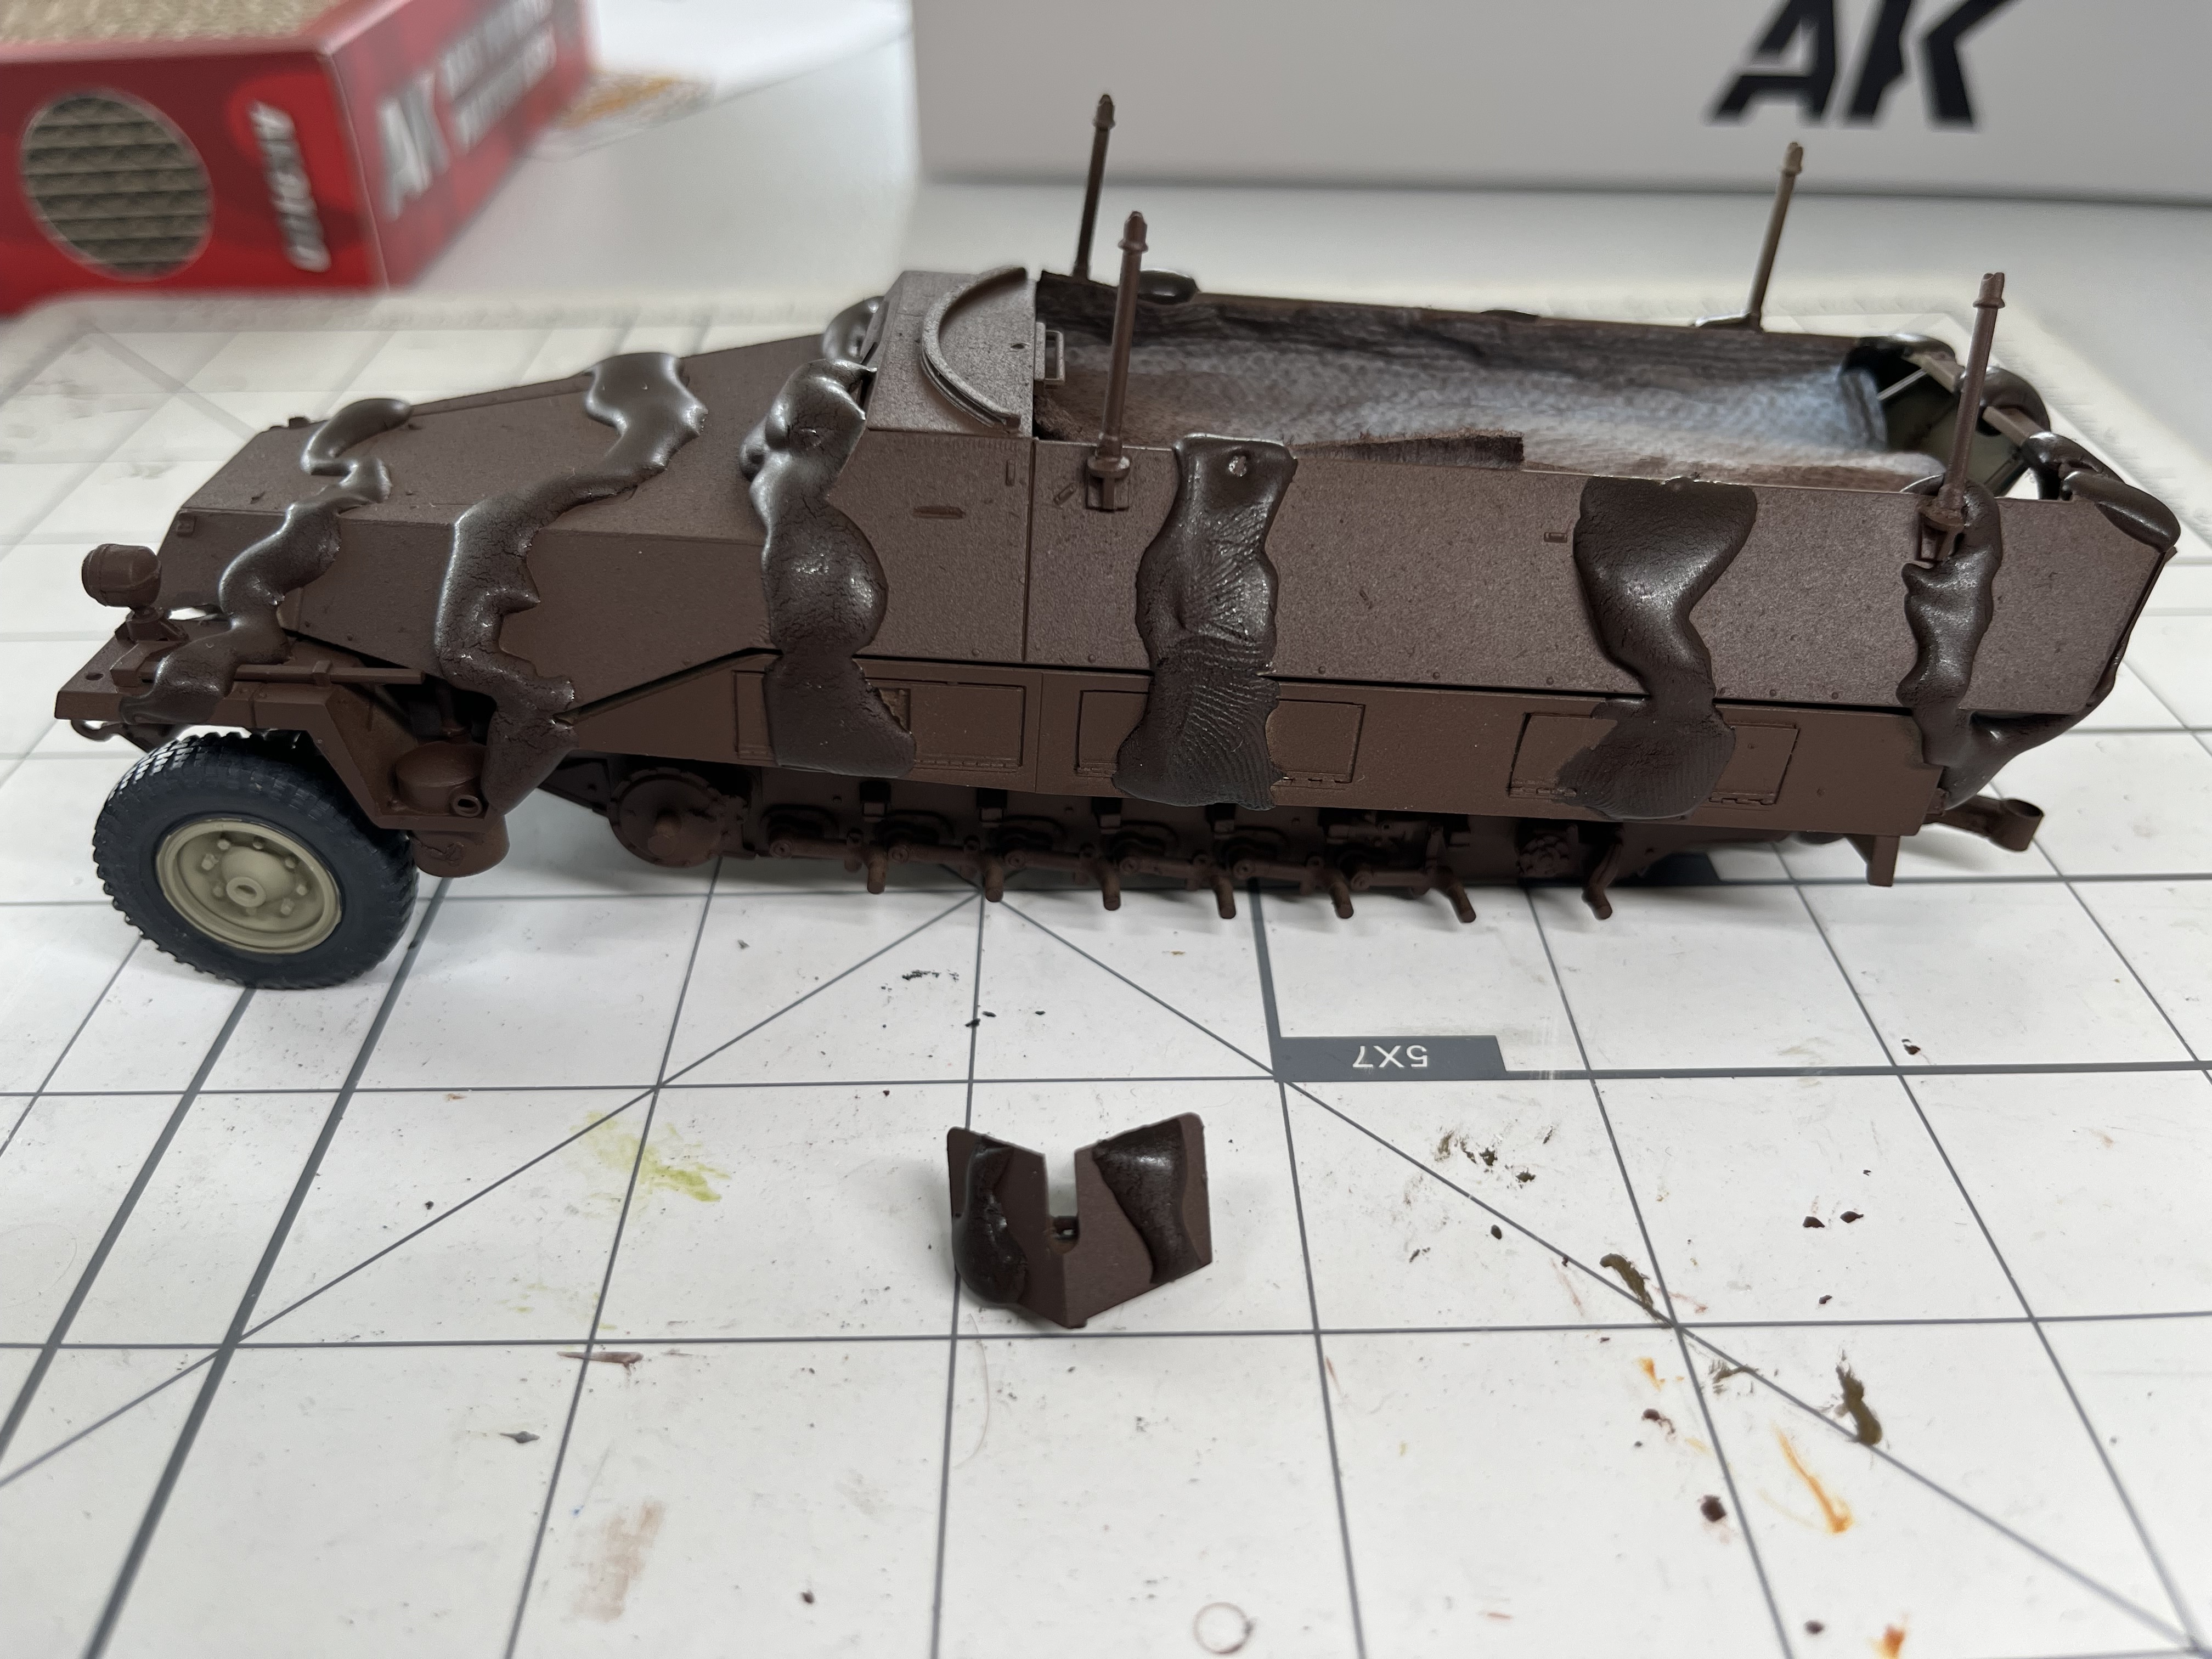
Day 26
I started the 3 camo with Red Brown first. The basecoat was very splotchy which I believe is from the paint drying too soon from too high PSI. I dialled my compressor back to 15 PSI and the brown went on very well. Hopefully it all works out in the end, otherwise it will be highly camo’d with spruce boughs!
I tried out the AK markers on the front wheels. I need to clean them up a bit with dark yellow.
7 Likes
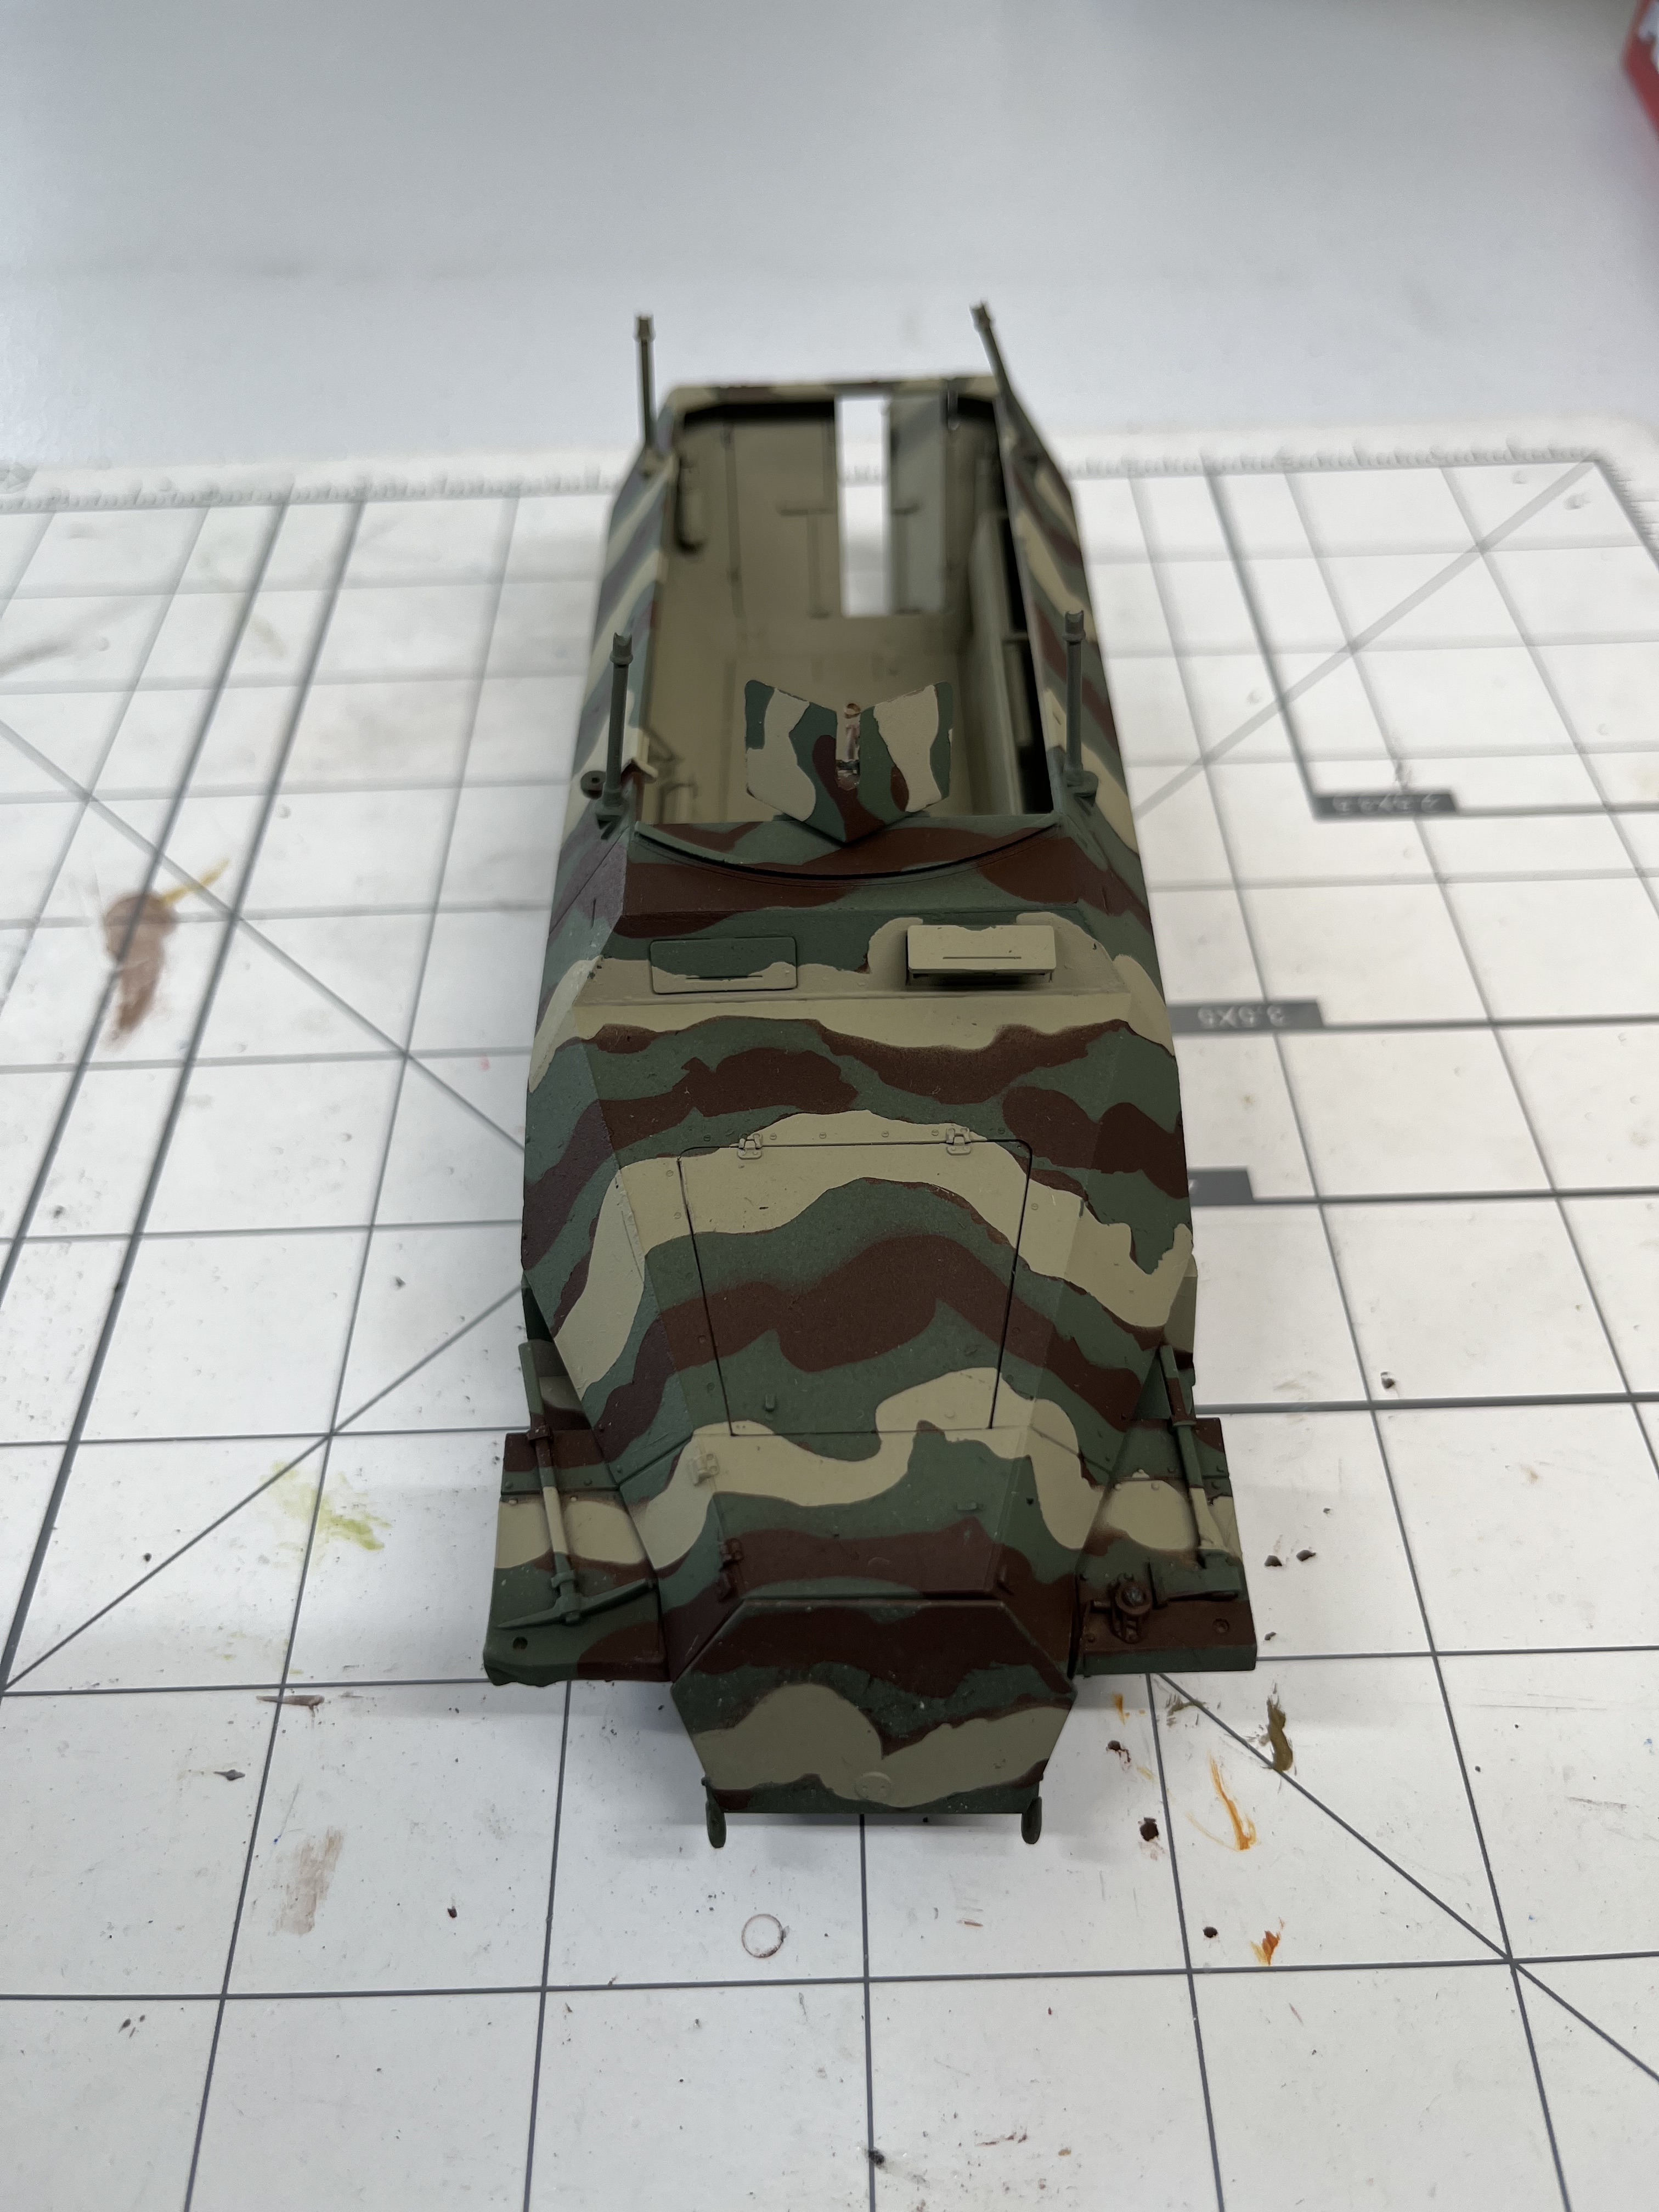
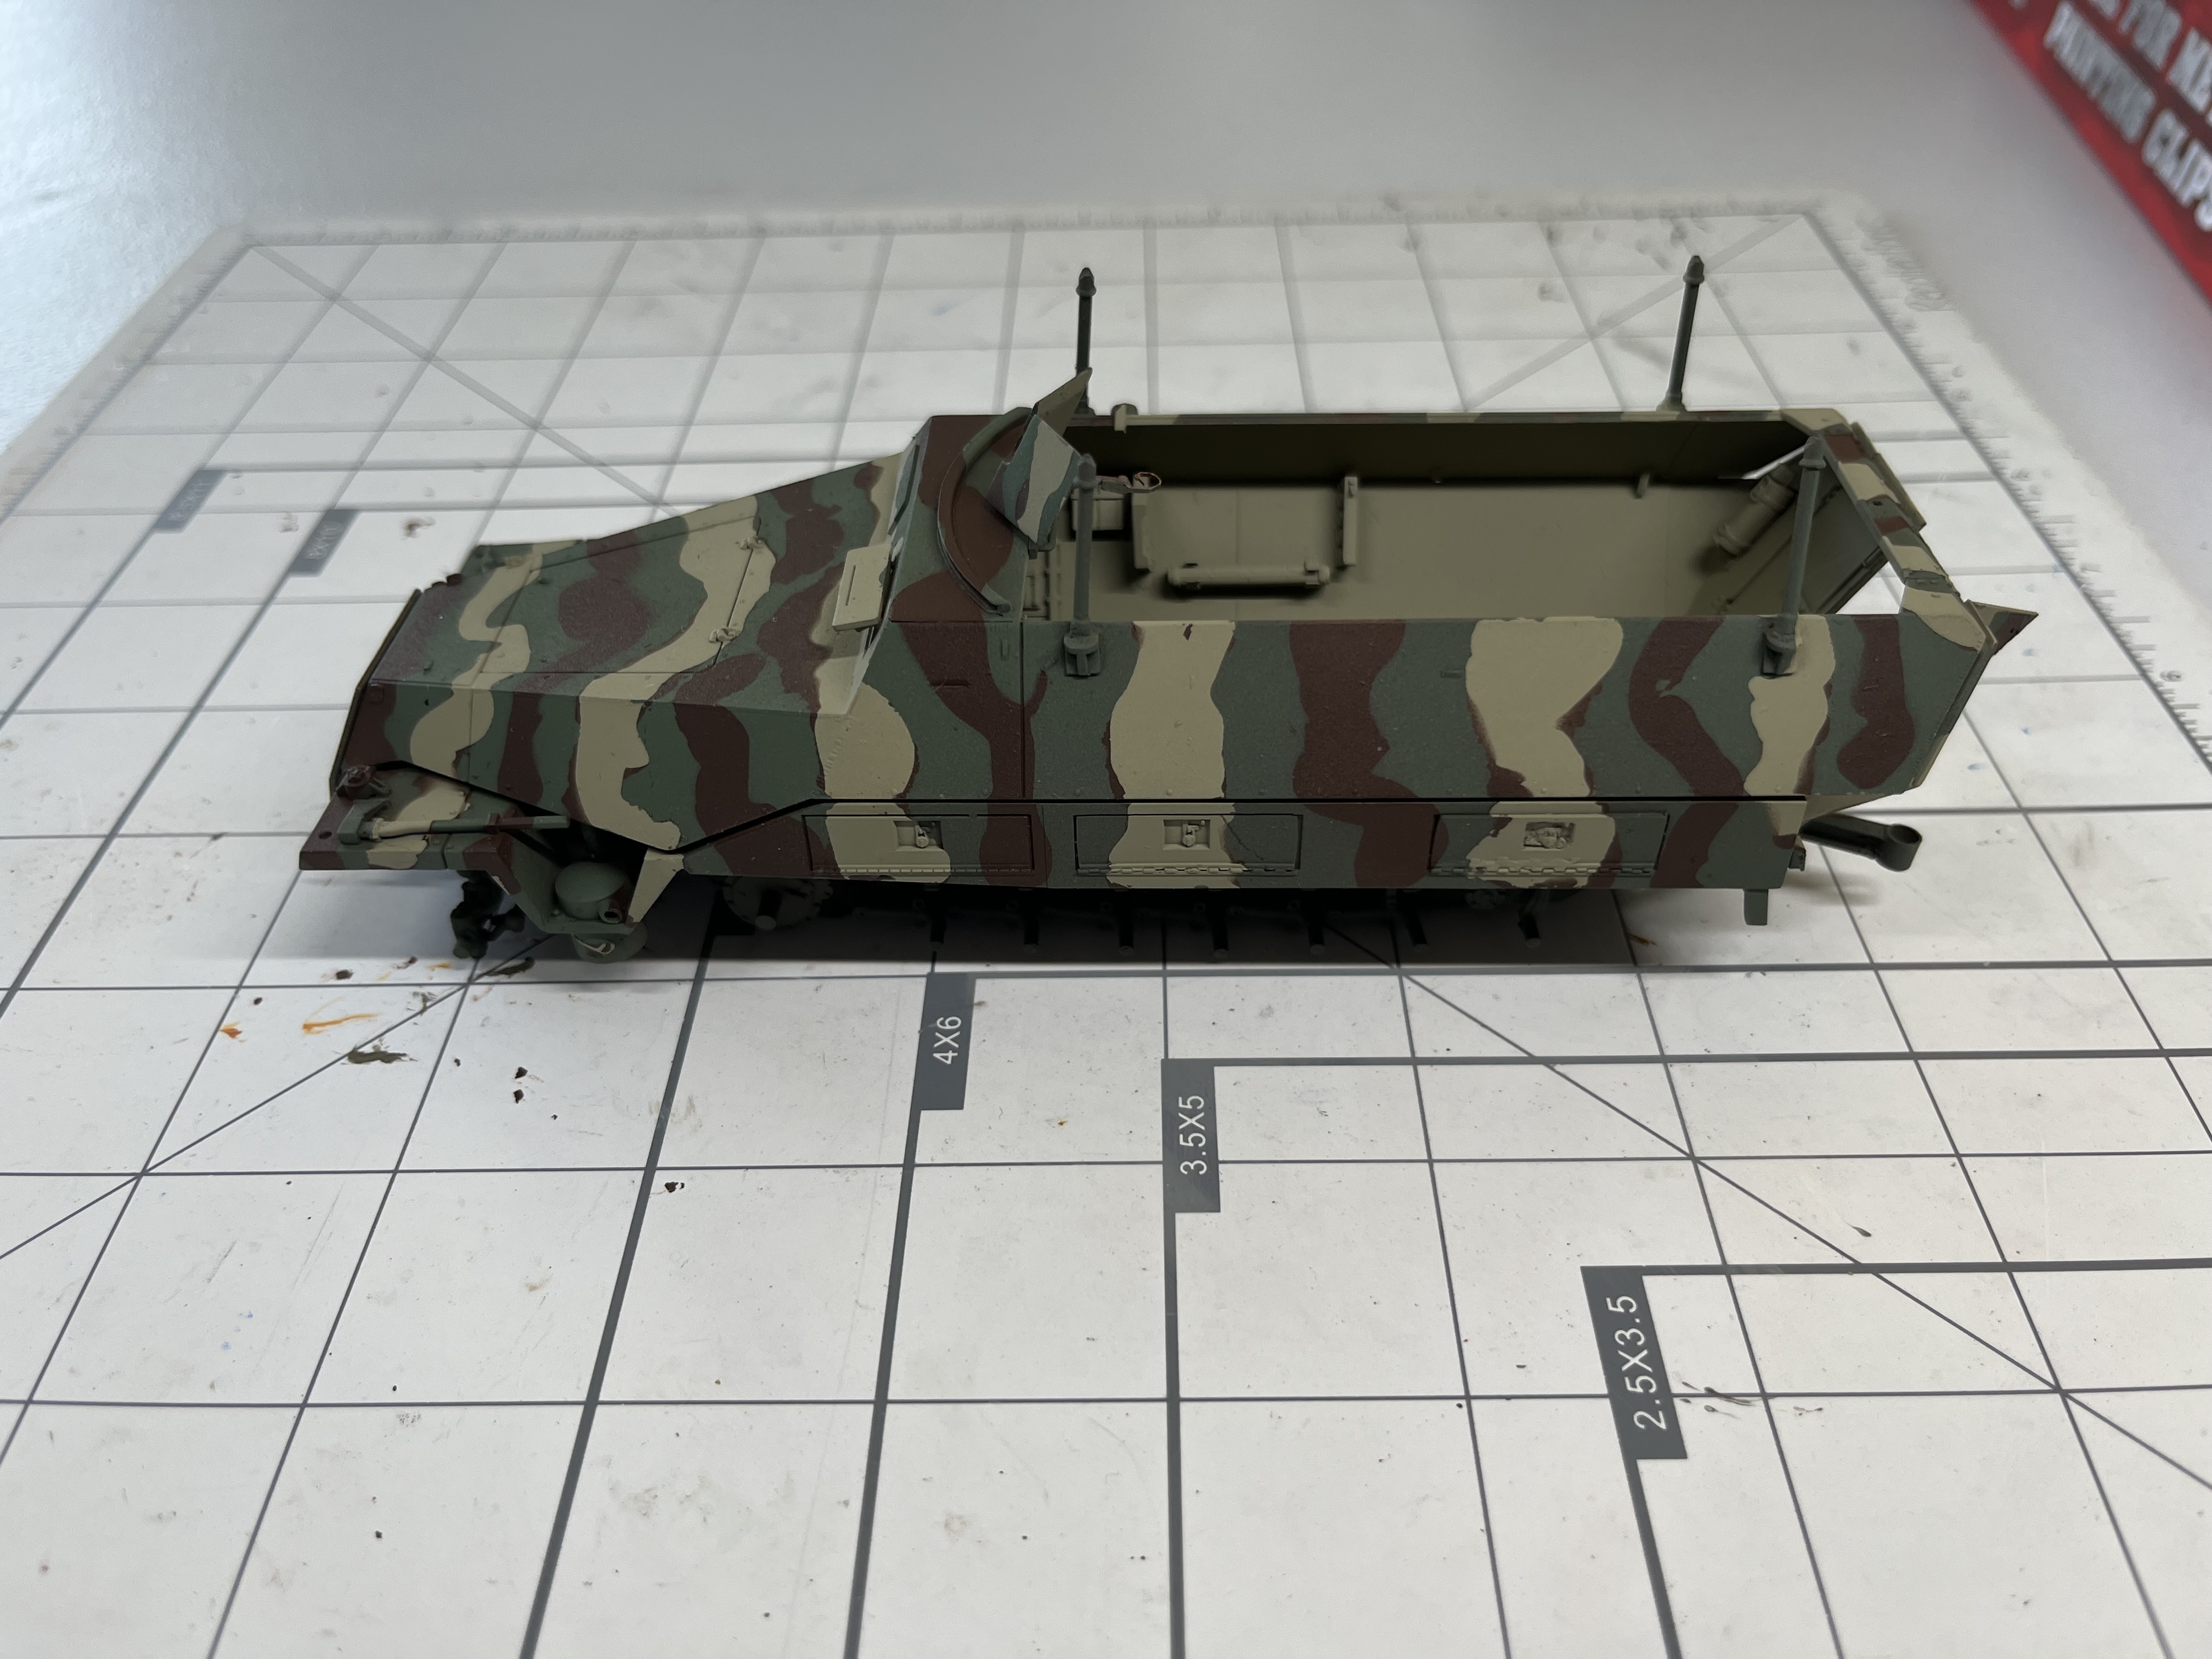
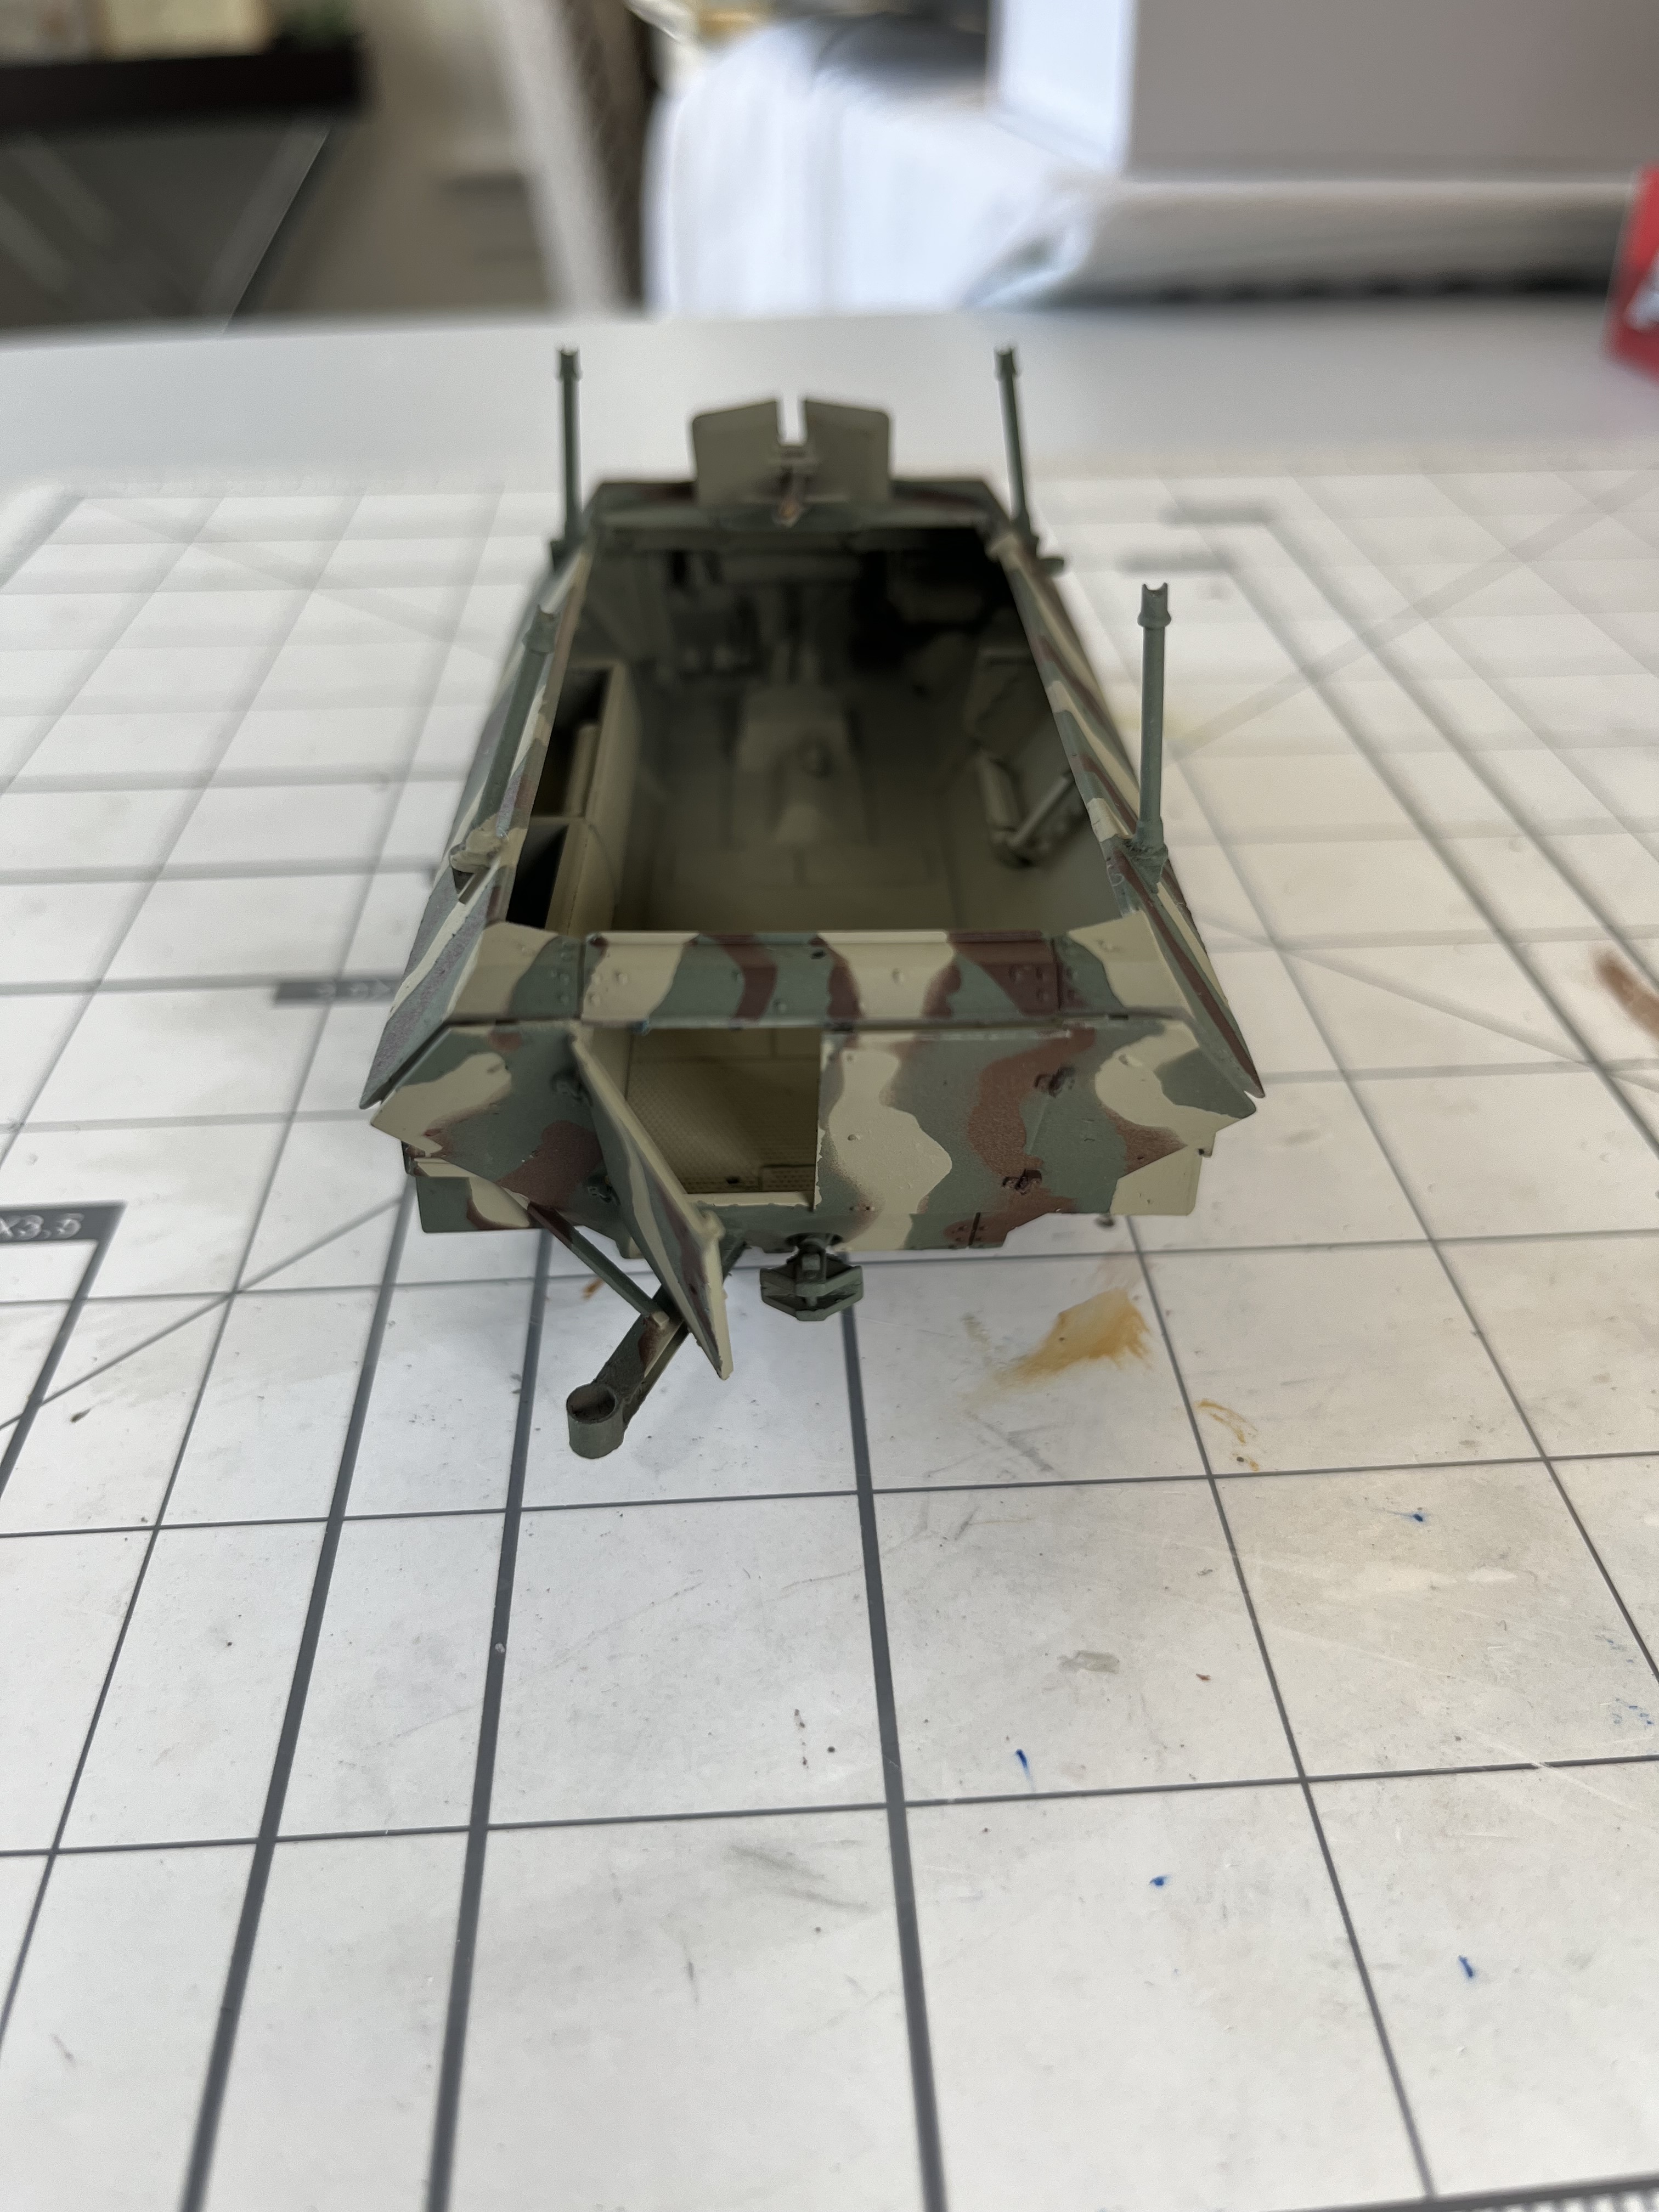
Day 27
Basic 3 tone camo finished. I would like to make the edges more subtle but that’s for another day. I still need to do the random 3 tone spotting too. Weathering and dirt will be kept very minimal because this is supposed to be a brand new vehicle first time in the field.
Overall I’m happy how it turned out, it’s my first time ever attempting a cam job. The AK paints are spraying much easier than the MIG ones for me.

7 Likes
Like that camo!
2 Likes
Steve, just a thought and I’m not really a Wehrmacht/Waffen SS expert, but if this model is set in Normandy, then I don’t think the so-called “Ambush Scheme” - ie the dotted type, was in use until a little later on.
Just a thought and not an attempt to gum up the works. The 3 colours are great in my opinion.
'Love this build so far; good work.
3 Likes
As a postscript, more than happy to be proved wrong(!)
1 Like