I am new to scale modeling and have been working on a 1/35 scale WWII tank. I have reached the weathering stage and I am a bit overwhelmed with the different techniques and products available.
Could anyone share their favorite methods for creating realistic wear and tear? Specifically, I had love advice on:
Achieving realistic rust effects on metal surfaces.
Creating convincing mud or dirt buildup around the tracks and lower hull.
Tips for subtle paint chipping that doesn’t look overdone.
There are no rules, they’re all made to be broken. So rather than tell you what to do/not do, here’s what I’ve learned over the years;
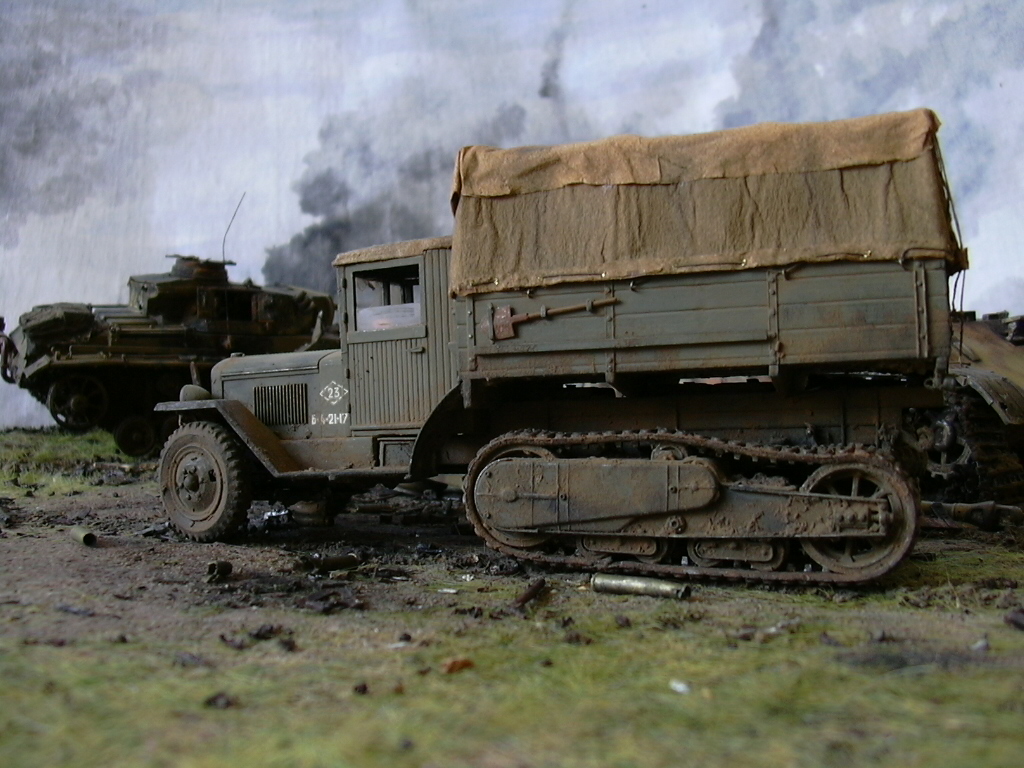
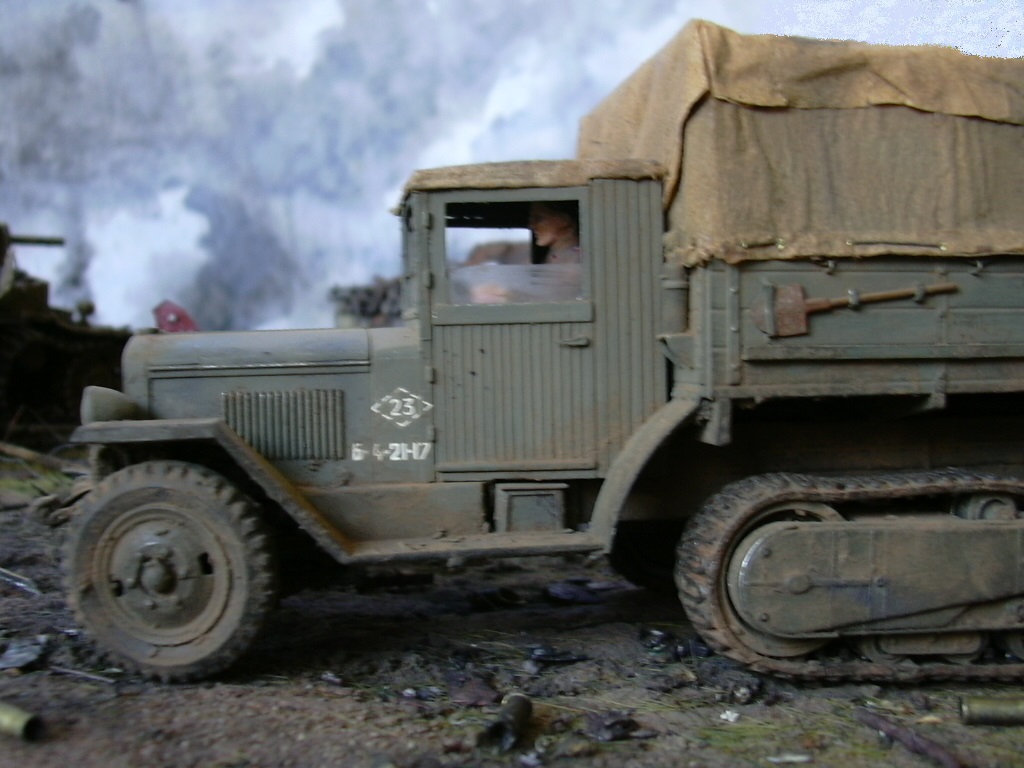
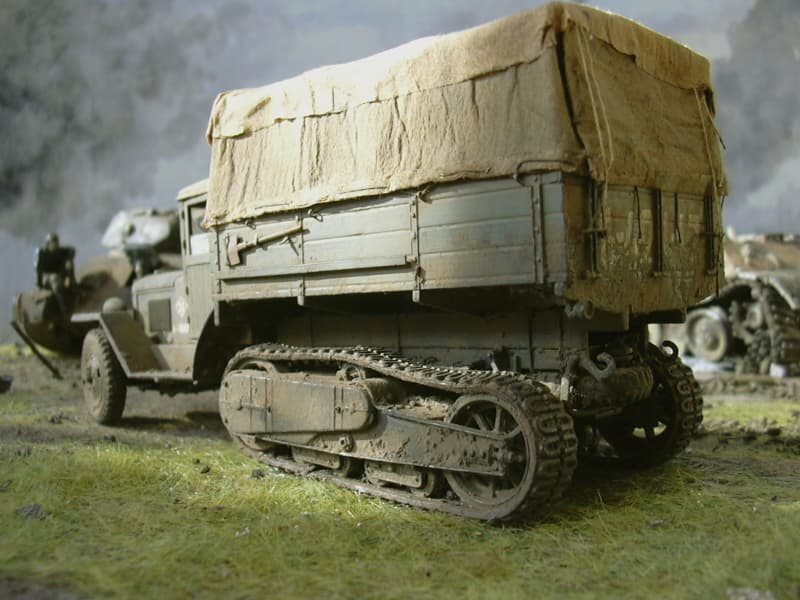
Assuming that “realism” is the goal, I look at the real thing. Sounds obvious, but there’s looking…and really, really looking at how mud, rain, grease, dirt, dust, sand, etc settles on the specific vehicle being modelled. For example, caterpillar tracks throw off mud and typically only leave residues – they also seldom have time to go rusty.
Then it’s down to what materials to use. I’m the heretic on this forum, never bought anything offered by any hobby manufacturer for weathering. Many others do, and make great things with it. I developed an all-purpose recipe for mud & general dirt: water-based filler (the white paste-y stuff), finely sieved garden soil, kids’ powder paints (red, yellow, black, white), various dilutions of water, applied with a soft brush. Then washed off to taste with a clean stiffer brush - less is more.
Experiment on something that didn’t matter to refine the final mixes i.e. several shades of mud/dirt. Keep mixes in airtight containers until the model’s finished.
For additional finesse, sticks of artists’ pastels of lighter earthy/dirty colours scraped to make super-fine powders applied with a soft brush. Good for that overall dusty look, but again I typically brush half of it off again before sealing with a clear matt/flat varnish. Leave it where you know it would settle on the real thing.
Hmm – chipping. I dunno, I’m not a fan because I found it hard to detect on anything I’ve modelled – on the other hand I’ve seen others make it look superb in moderation.
And others, awfully overdone.
Welcome, great advice there I’m still experimenting after all these years and I’ll be checking many of those tips myself. Hands on practice is the way don’t get discouraged each model is a learning curve and this hobby is a great escape and keep it fun all the best and post pictures
Hi Laban and welcome to Armorama! Just starting off, you want to do a wash and drybrush at the very least.
To do an oil wash, get a tube of Winsor & Newton burnt umber oil paint and a can of Turpenoid blue label. Put the Turpenoid in a medicine cup and add a split pea sized slab of burnt umber. Stir vigorously and apply it all over the model. It will settle in all the corners and seams and give the model depth. Clean up any pooling before it dries. Alternatively, you can do pin washes, using a 00 brush with the wash, touching it gently to all the panel lines and allowing capillary action to let the wash run into the seams only. Be patient - you may do washes or pin washes 5 or 6 times before you are satisfied. It’s a gradual process, and oil paint takes a long time to dry, so you can see and evaluate your progress.
To drybrush highlights, take the base color paint of your model and lighten it slightly with tan or dark yellow. Load some on a brush and rub the brush on a rag until you don’t see any more paint coming off. Then wipe the brush across the model, concentrating on high points and surface details. You will see traces of the lighter paint on the high points, highlighting the details and making the paint job look more dynamic. This takes practice to get it right.
These are just two weathering techniques, my weathering sequence has about ten steps. I could write a book here, in fact several people have asked me to write a book, but I don’t have the time for such an endeavor. It’s hard enough for me to get bench time right now.
Not too much finesse on my models. I get a result, an effect if you like but it’s based on studying the real thing - which I admit I’ve been lucky to be able to do.
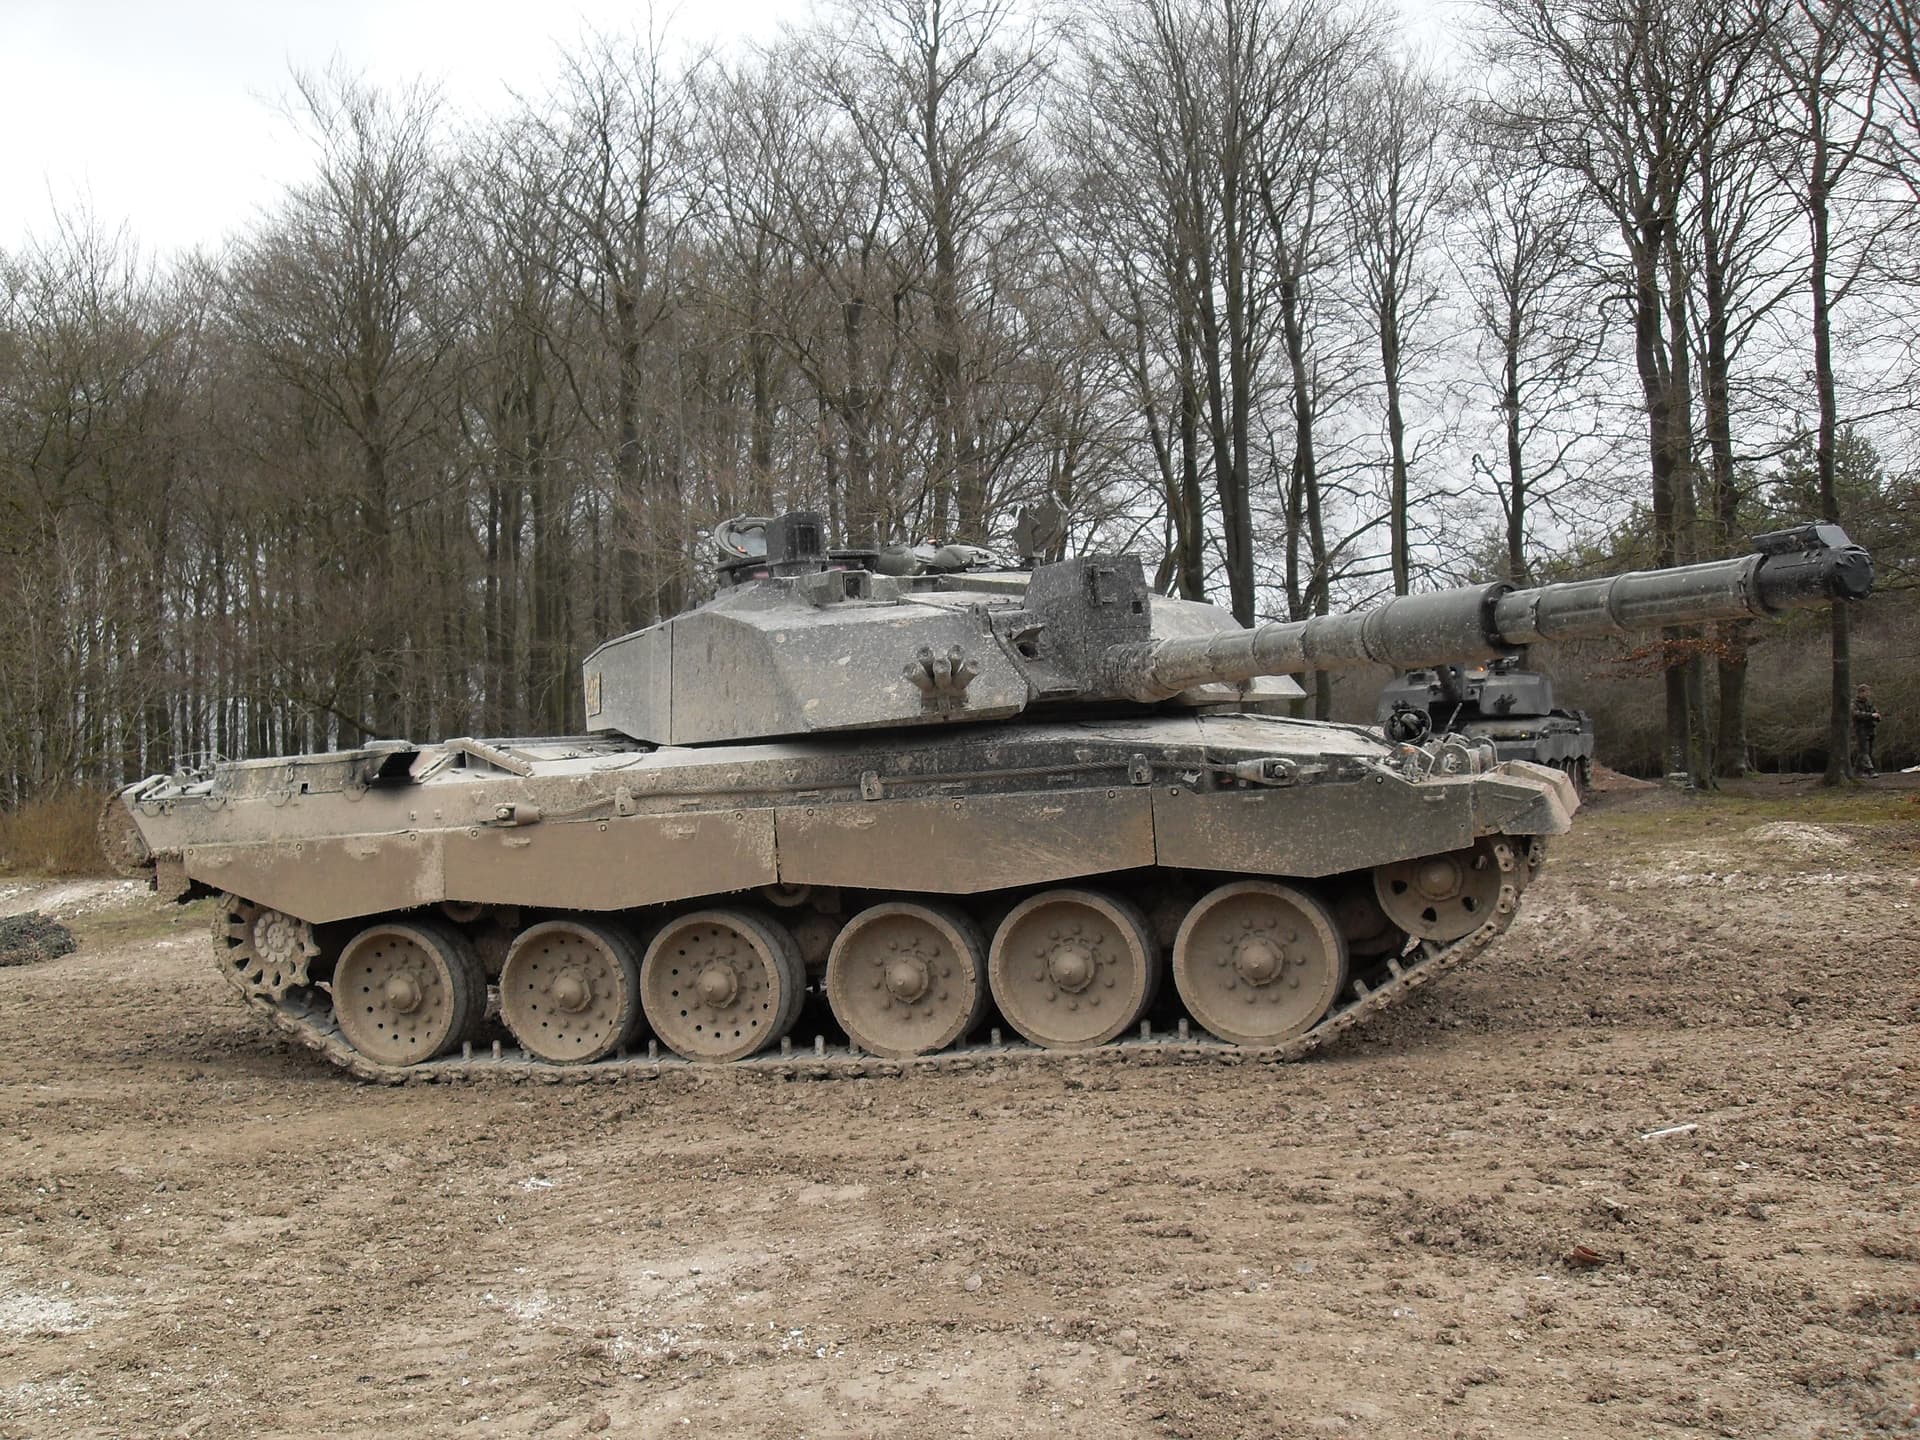
Mud and dust get everywhere; even the track teeth may not be that shiny if the conditions dictate otherwise. Consider this Challenger 2:
You might think this was an extreme case but it was the result of a mere 3 hours over the training area.
I’ll apply washes to pick out the detail and I still go in for a bit of dry brushing; chipping? Sometimes, along with other wear and tear, but don’t overlook what I call the Troop Sergeant Factor. Any vehicle getting too shabby will be addressed by said SNCO. Also, military paints are hard wearing (usually) - they simply have to be. Obviously wartime conditions will make a difference to that. I also use model railway flock to depict accumulated mud, especially on the suspension; I add this during the build, as I go.
Rust effects? Hardly ever - see Troop Sergeant reference above.
I’m a great fan of Dark Earth enhanced by over-sprays of good old Tamiya Buff for example:
Agree there is a lot of great advice here and pretty much why I joined this forum!
From a relative newby to the hobby, I would add that when weathering go with less than you think at least until you get more comfortable with it. I’ve found that weathering then taking a photo of the results shows up a lot of deficiencies and the weathering itself, whereas the mark 1 eyeball doesn’t always seem to see just how much weathering there is.
I’d also consider the environment of where you’re placing your model. For example a truck or motorbike in a western desert scenario in 1941 would look more bashed up and chipped than something in the early days of the invasion of France in 1940 which may be a bit dusty but unlikely to have chips taken off paint.
Further to that I also try to consider a plausible history or back story for the model. For example, a Panther tank of the 4th company, Hitler Jugend battalion going into battle around Caen in June/July 1944 would likely look in good condition and need only a little weathering given those tanks were sent to that unit in May 1944 and that unit overall was provided new or newish equipment more broadly.
The final advice I’d give is to just enjoy it! We model for ourselves and our own enjoyment. If our peers on this forum think we’ve done a good job, then that for me is a bonus but I model for me first!
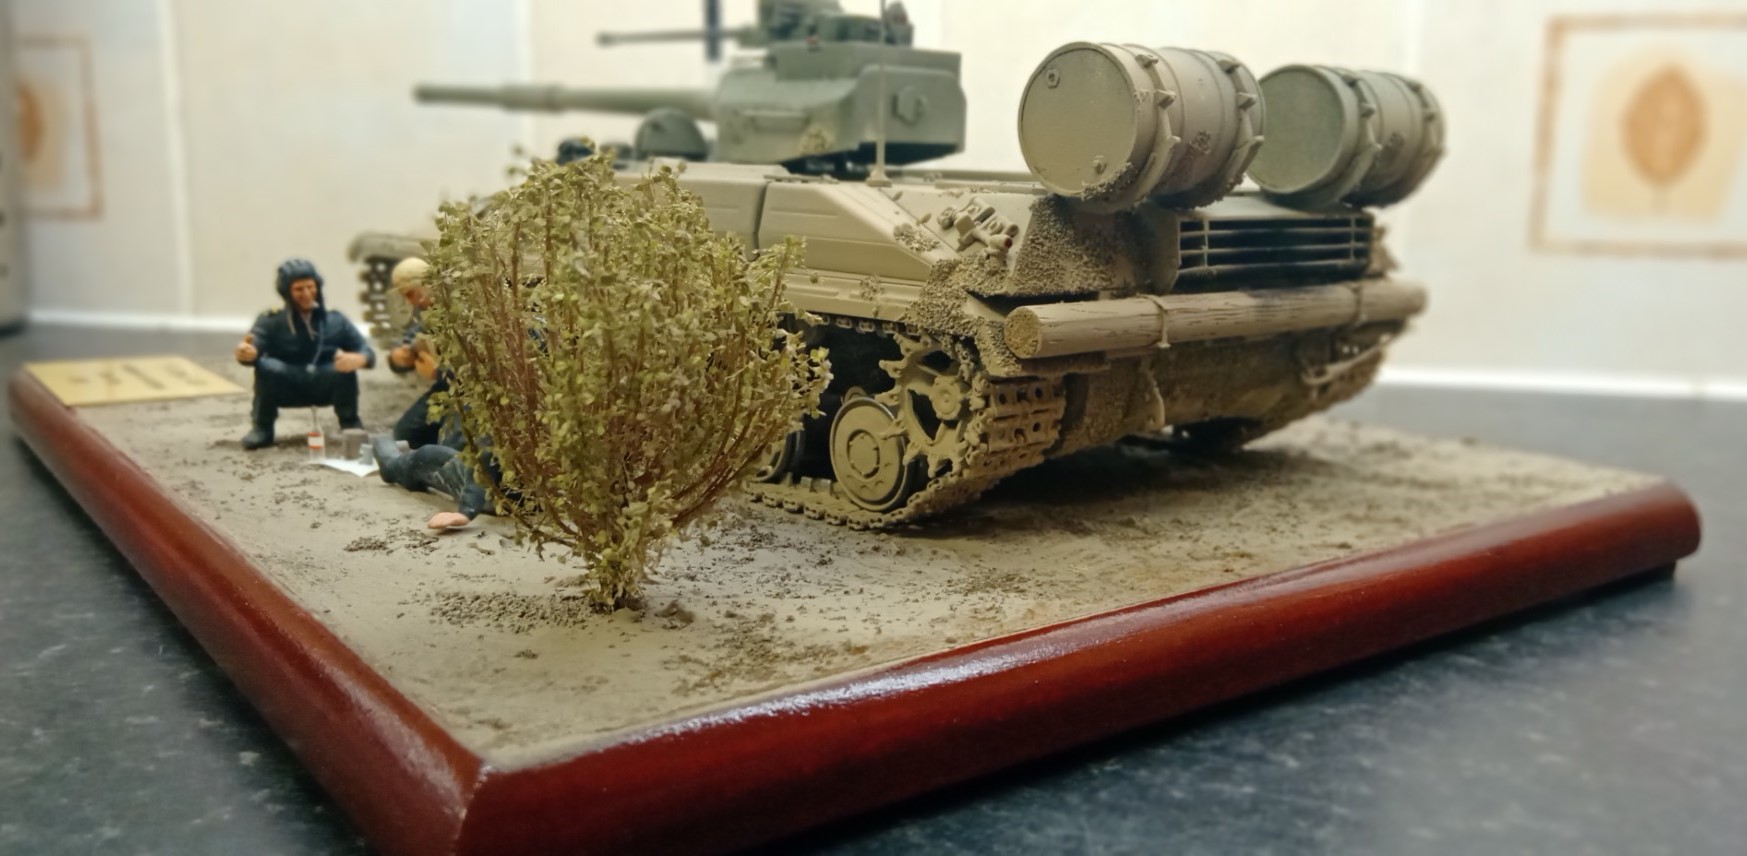
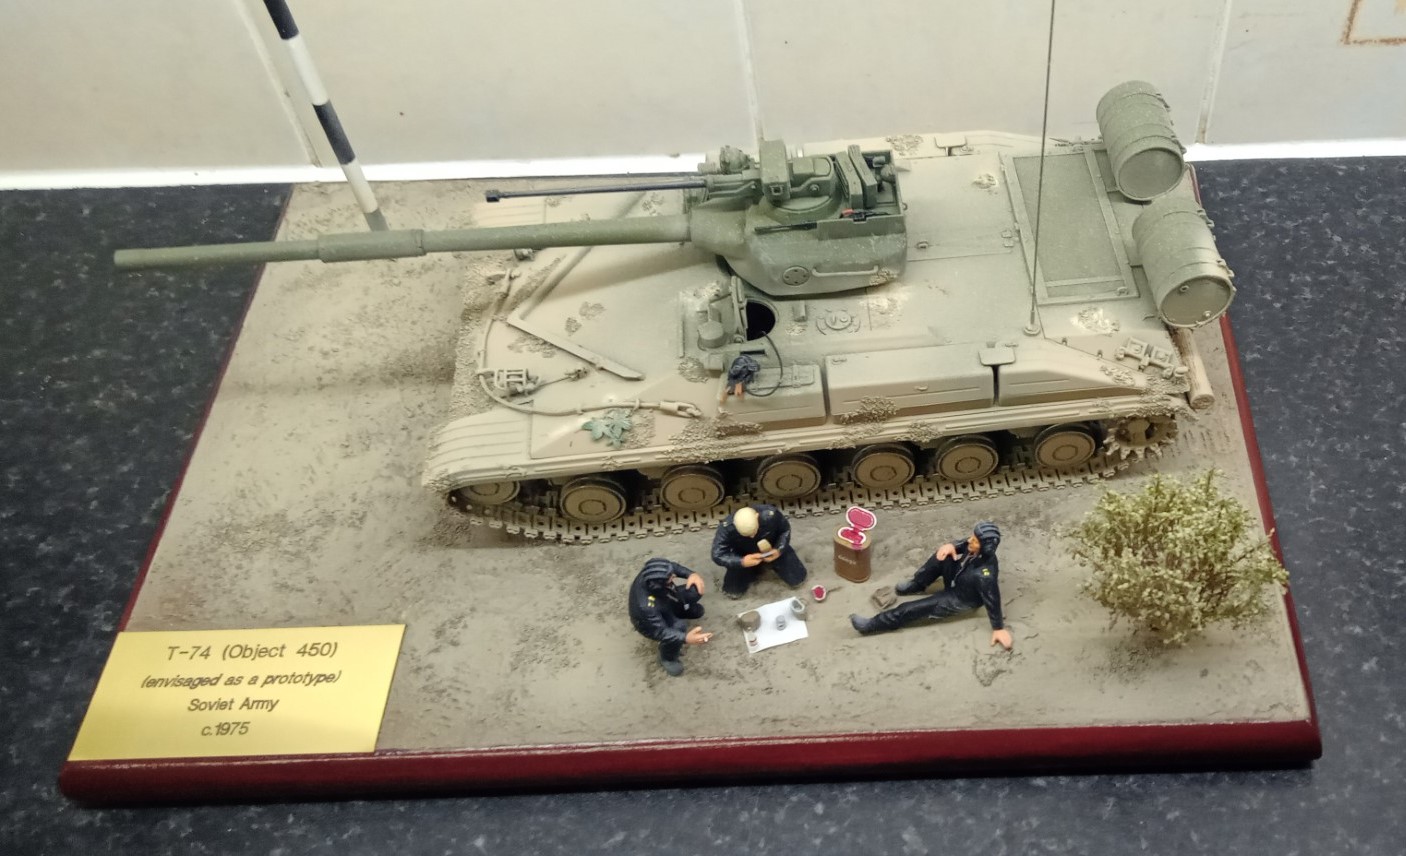
I built it for the “Best Tank That Never Was” campaign - still running, but I also opened up a separate thread as:
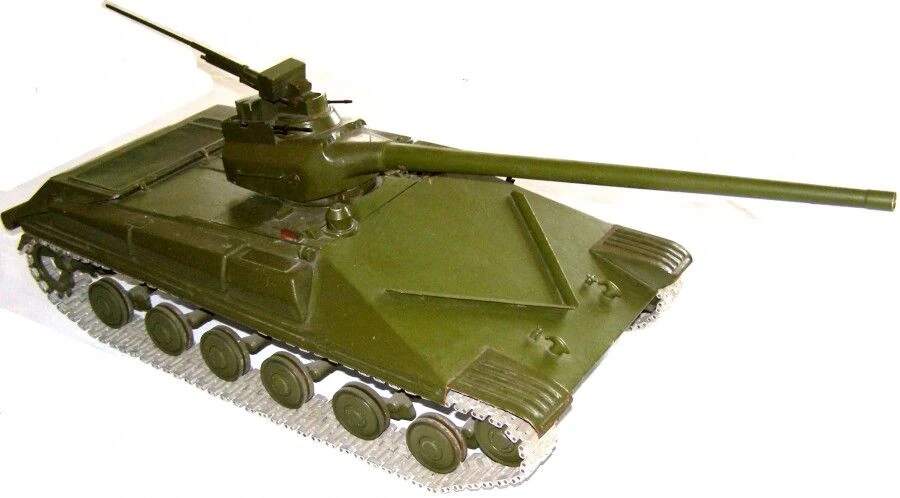
I’m not sure I’ve linked this in the most efficient way; however, it was a Morozov design (he who had formulated the formidable T-64) and was awarded the designation T-74, but obviously never came to fruition.
It was also never built as a prototype either, or as far as I can find out. What Trumpeter did was to make a model of a model that the Sovs had made. What I did, and it was quite a bit of modelling fun, was to sort of regularise it as thought it had been a prototype, and added all sorts of things yet tried to keep within the bounds of plausibility.
I’d direct you to either of the two topics if you want to find out a bit more - I think I included as much as I could yet still make it lucid. That’s not to deny you any more info here, but I do bang on a fair bit(!)