![]() I’m both organised and chaotic at the same time. Things all have their place, where I expect and want them to be, but it’s never truly neatly ordered. My main tools are in a small pile to the right of the cutting mat you can see in the photo, for example, but those tools all need to lie there lengthwise, not just in a random jumble.
I’m both organised and chaotic at the same time. Things all have their place, where I expect and want them to be, but it’s never truly neatly ordered. My main tools are in a small pile to the right of the cutting mat you can see in the photo, for example, but those tools all need to lie there lengthwise, not just in a random jumble.
Thanks ![]()
I’m not sure of that. There is room on the right-hand side to go into the hull, so the driver could crawl between the floor and the prop shaft housing to get into his seat. Maybe different drivers used either way?
Anyway, first job after the putty dried was to trim the plastic card. This was a lot easier than expected when I realised that by pushing it down firmly, the shape of the splash guard underneath would become clear:
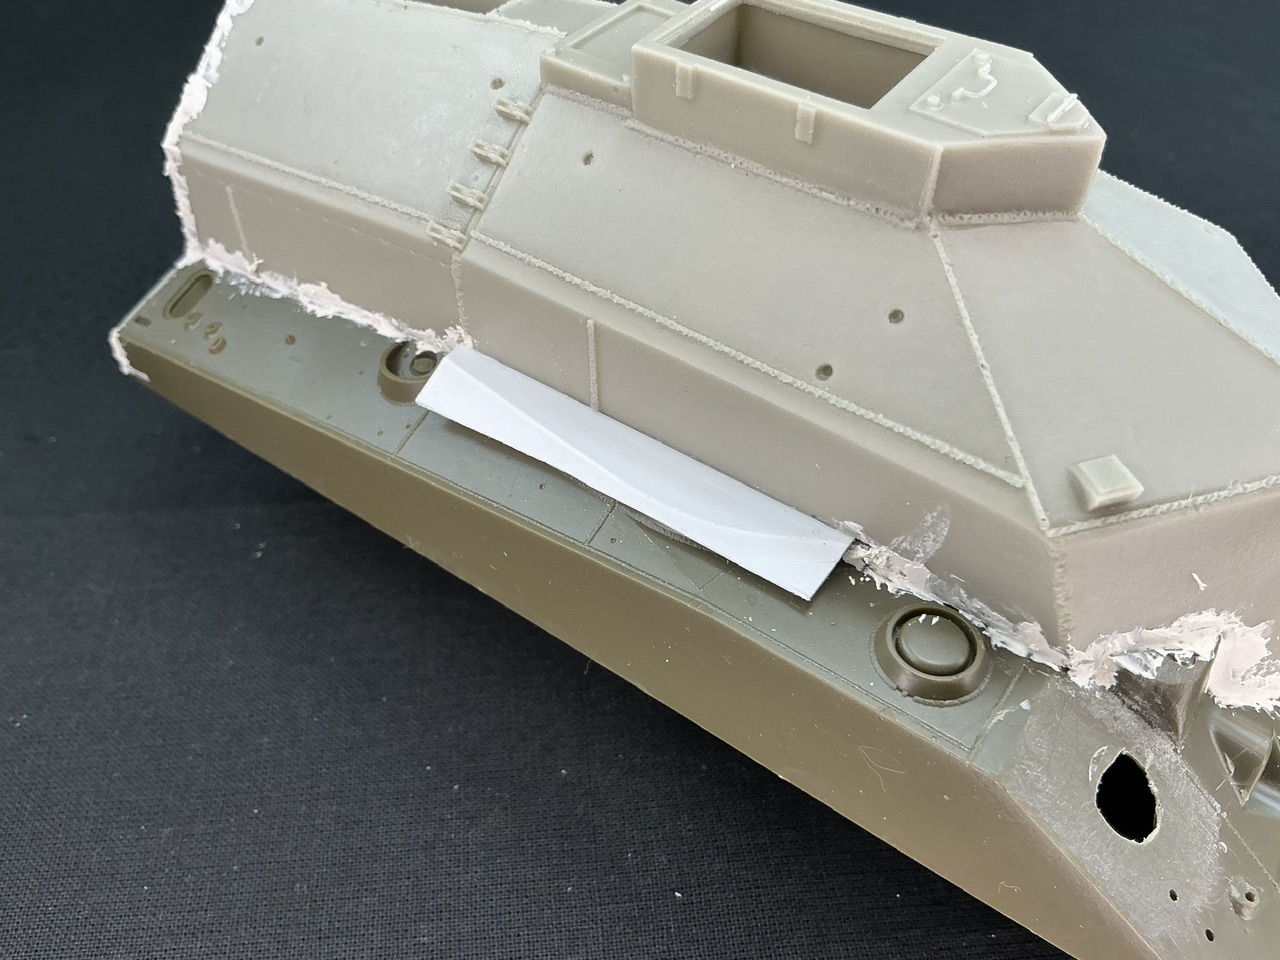
By wiggling it up and down some more, material fatigue even cracked it along part of that white line, and then some careful work with a sharp knife did the rest, followed by scraping it down to tidy up the edge.
Next, I used straight and curved knife blades to scrape down all of the filler:
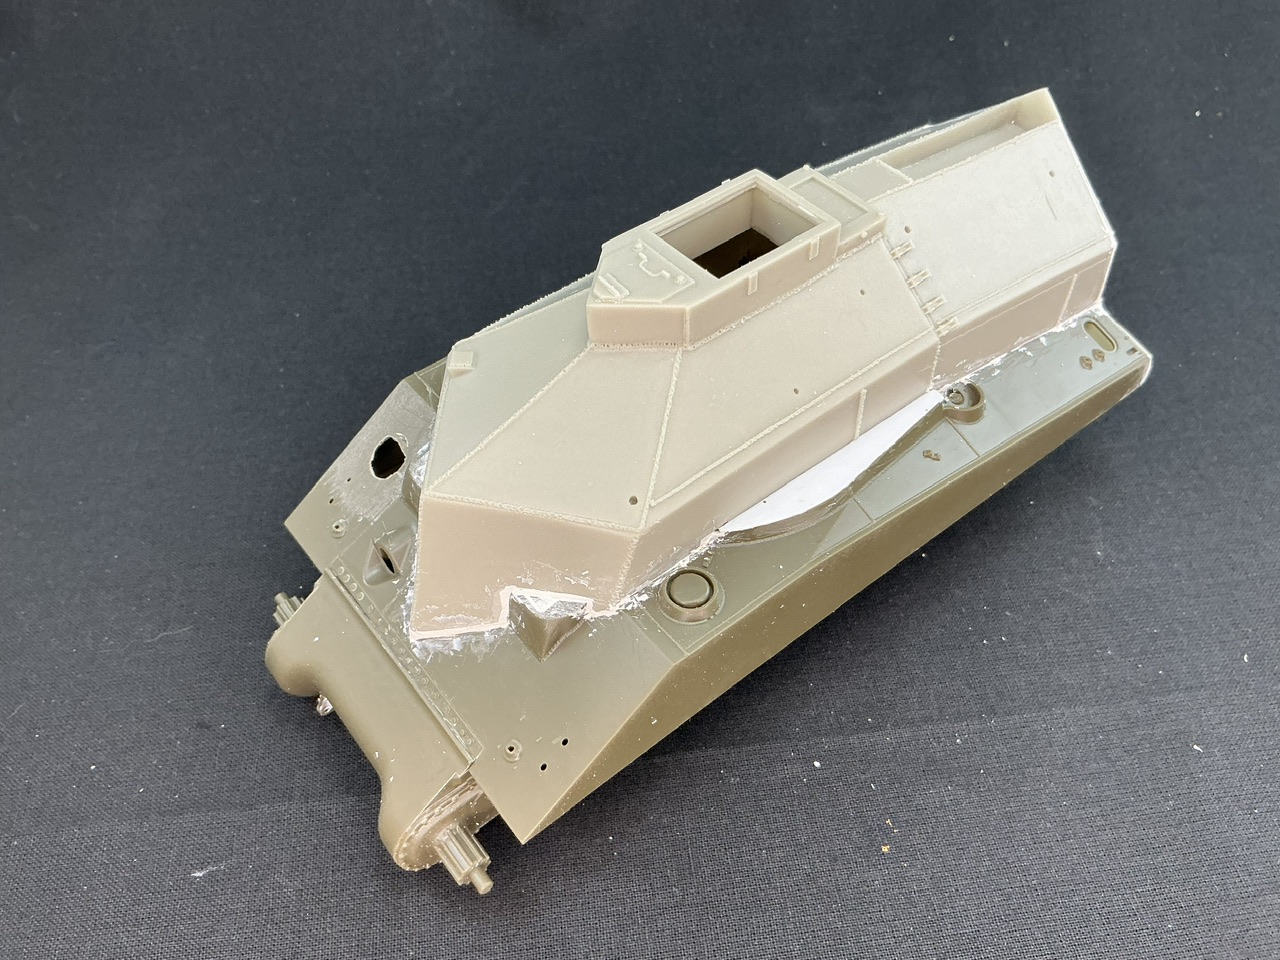
The shape is so complex that filing is almost impossible for most of the model, and sandpaper will also be tricky to use. I did find out very quickly that “for metal and polyester”, as the tube of putty says, does not equate to “for polyurethane resin” because it just chipped off the resin parts. That, of course, is useful at this point, because it meant a lot less scraping there than on the plastic bits, to which the putty does adhere well. Once done, I had to add more filler in some areas, especially the nose, where shrinkage had caused it to form a depression even though I had trowelled it on pretty thick. Now I’m kind of waiting for that to dry.