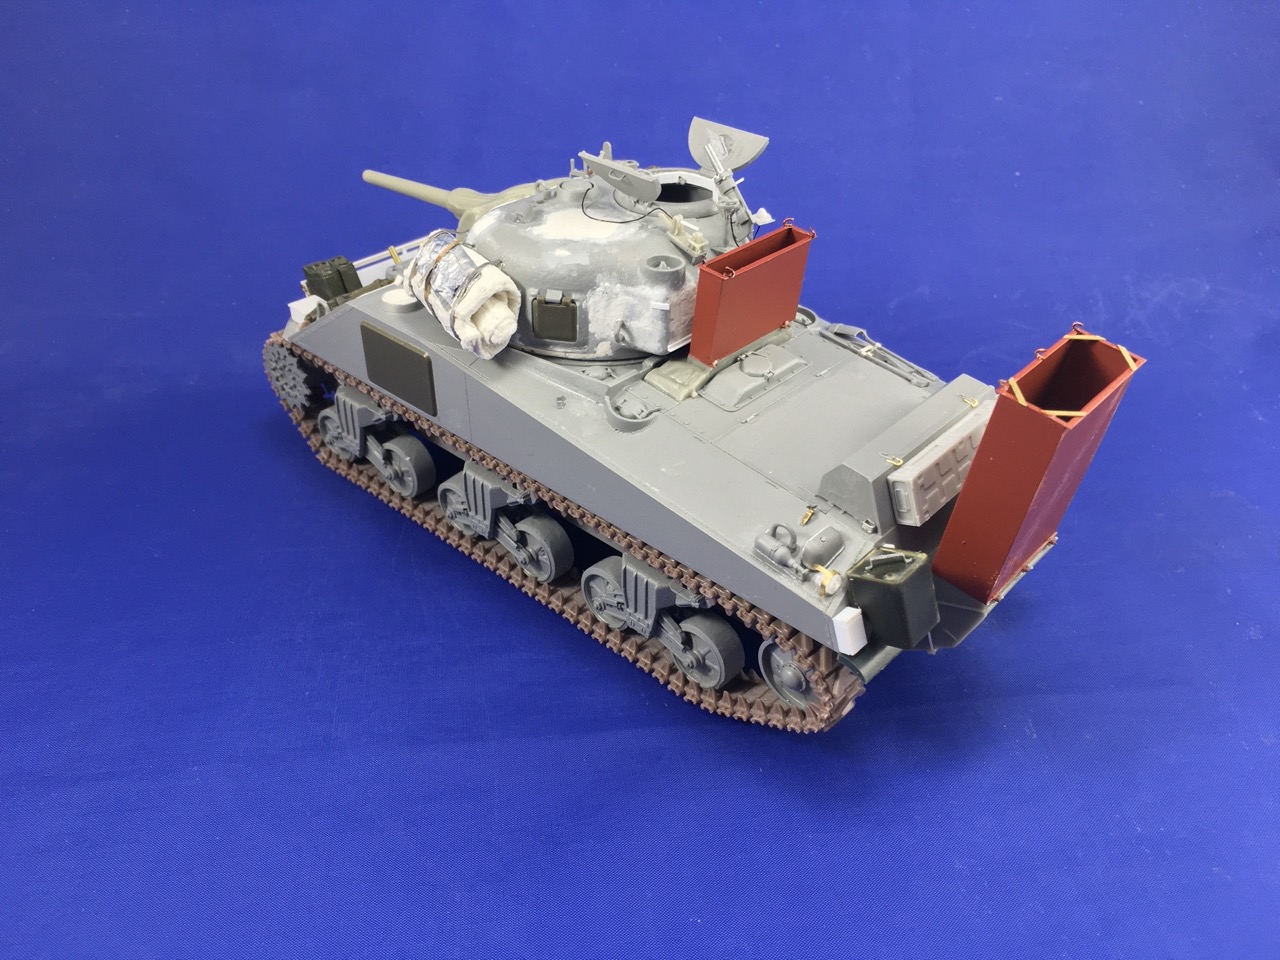
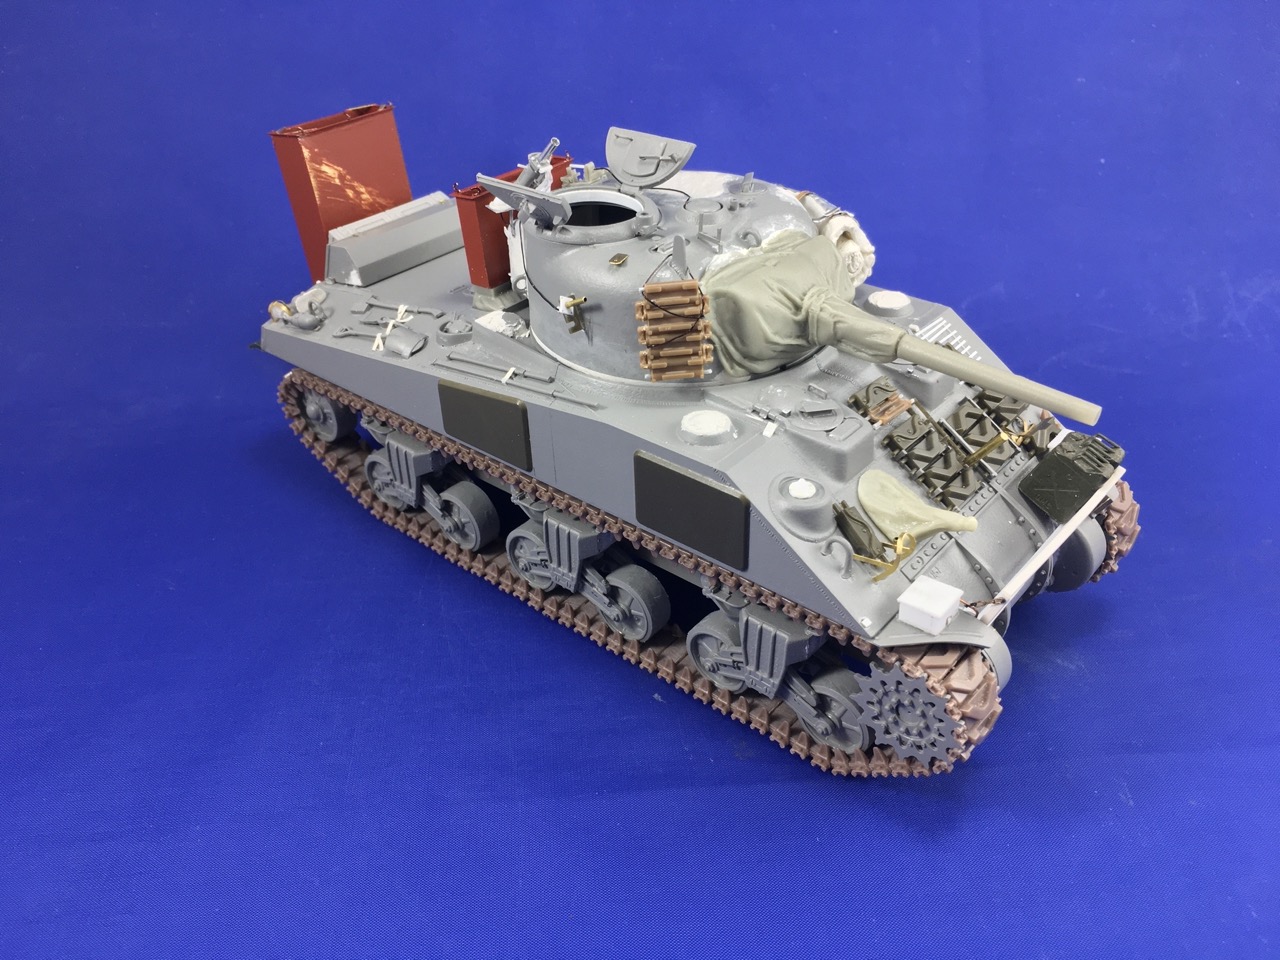
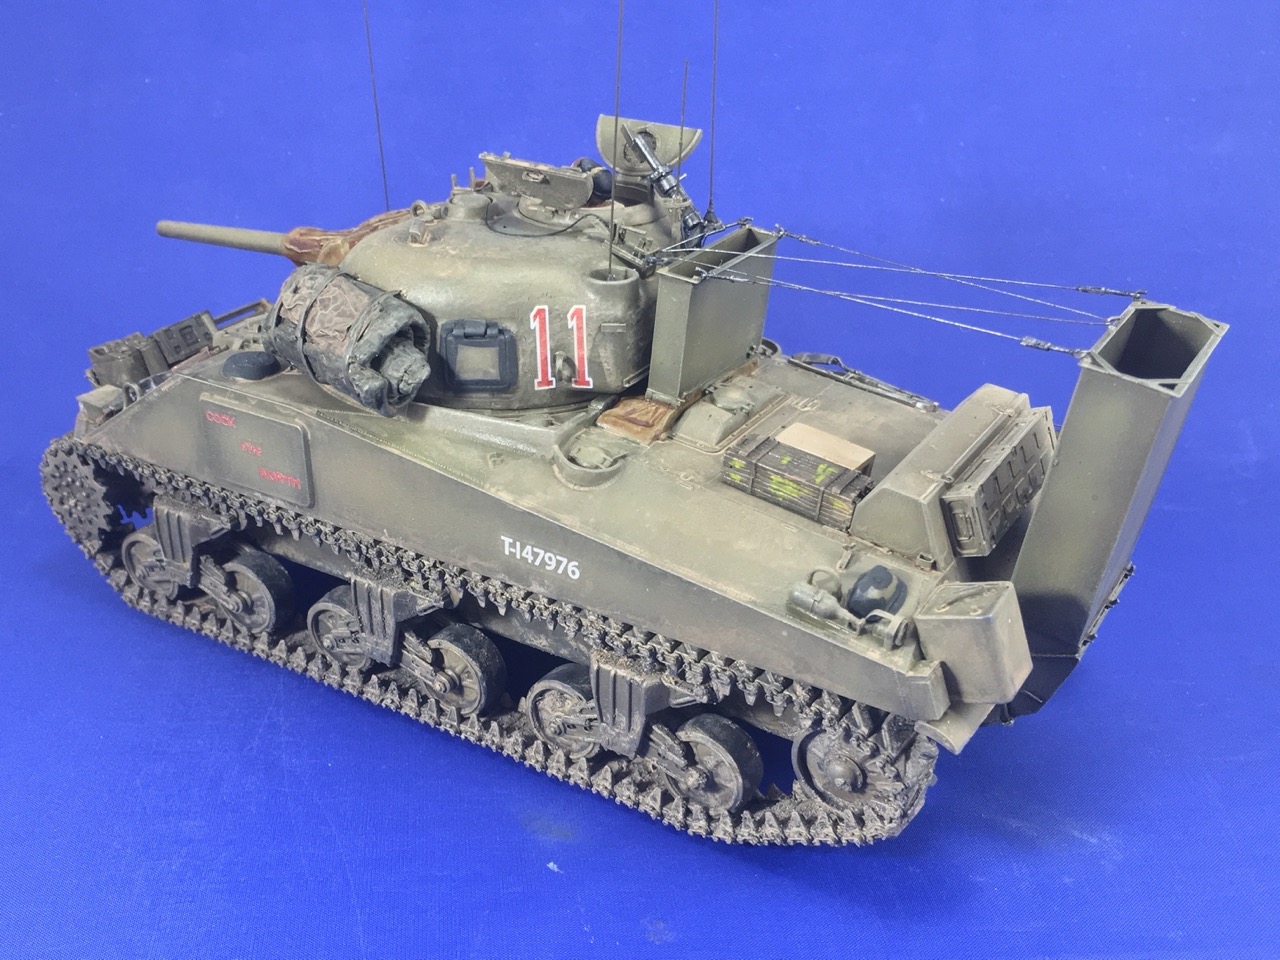
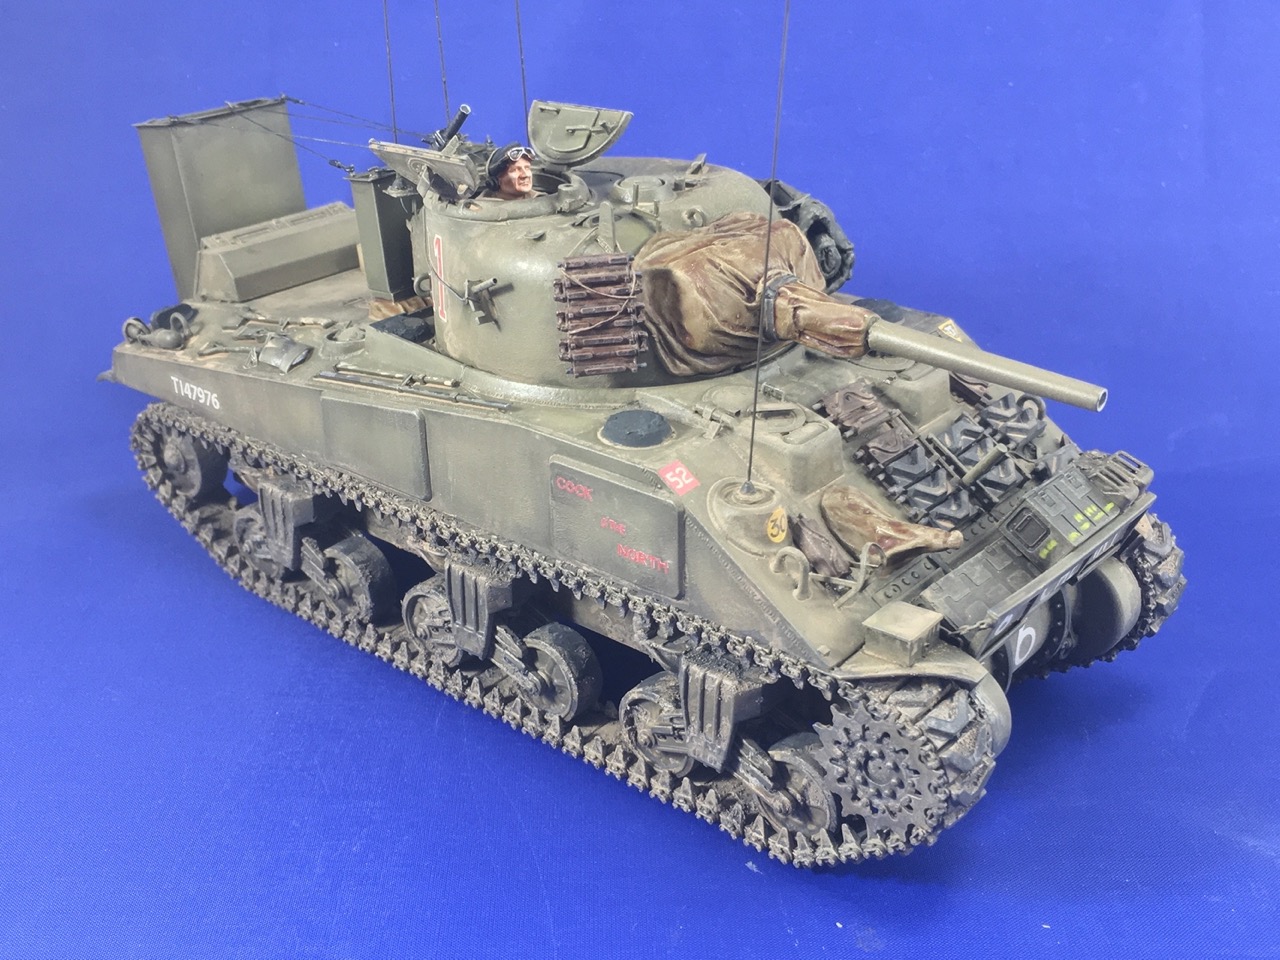
With the Grizzly finished, I figured I’d keep going with the Canadian Shermans. Next up is “Holy Roller,” the 1st Hussars Sherman III that landed on Juno Beach on D-Day and stayed with the regiment through to VE-Day. You can still see it in Victoria Park in London, Ontario.
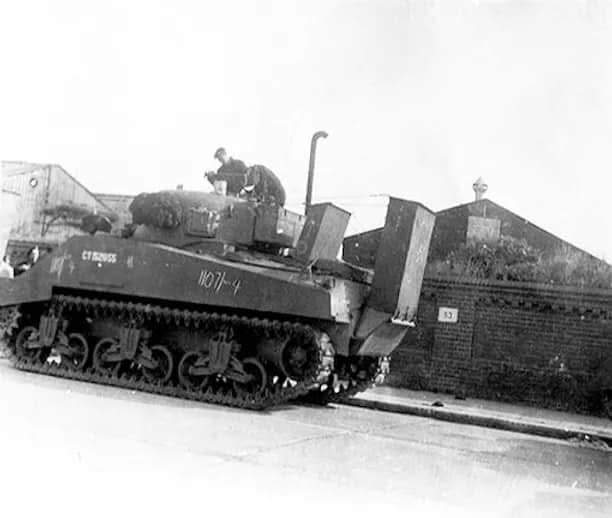
I’m building it as it looked in Normandy shortly after the landings. I’ve been using the pre-D-Day photos to work out the suspension and turret stowage. There’s also a photo taken at Pierrepont on 9 June where you can make out the name painted just below the census number on the right side of the hull.
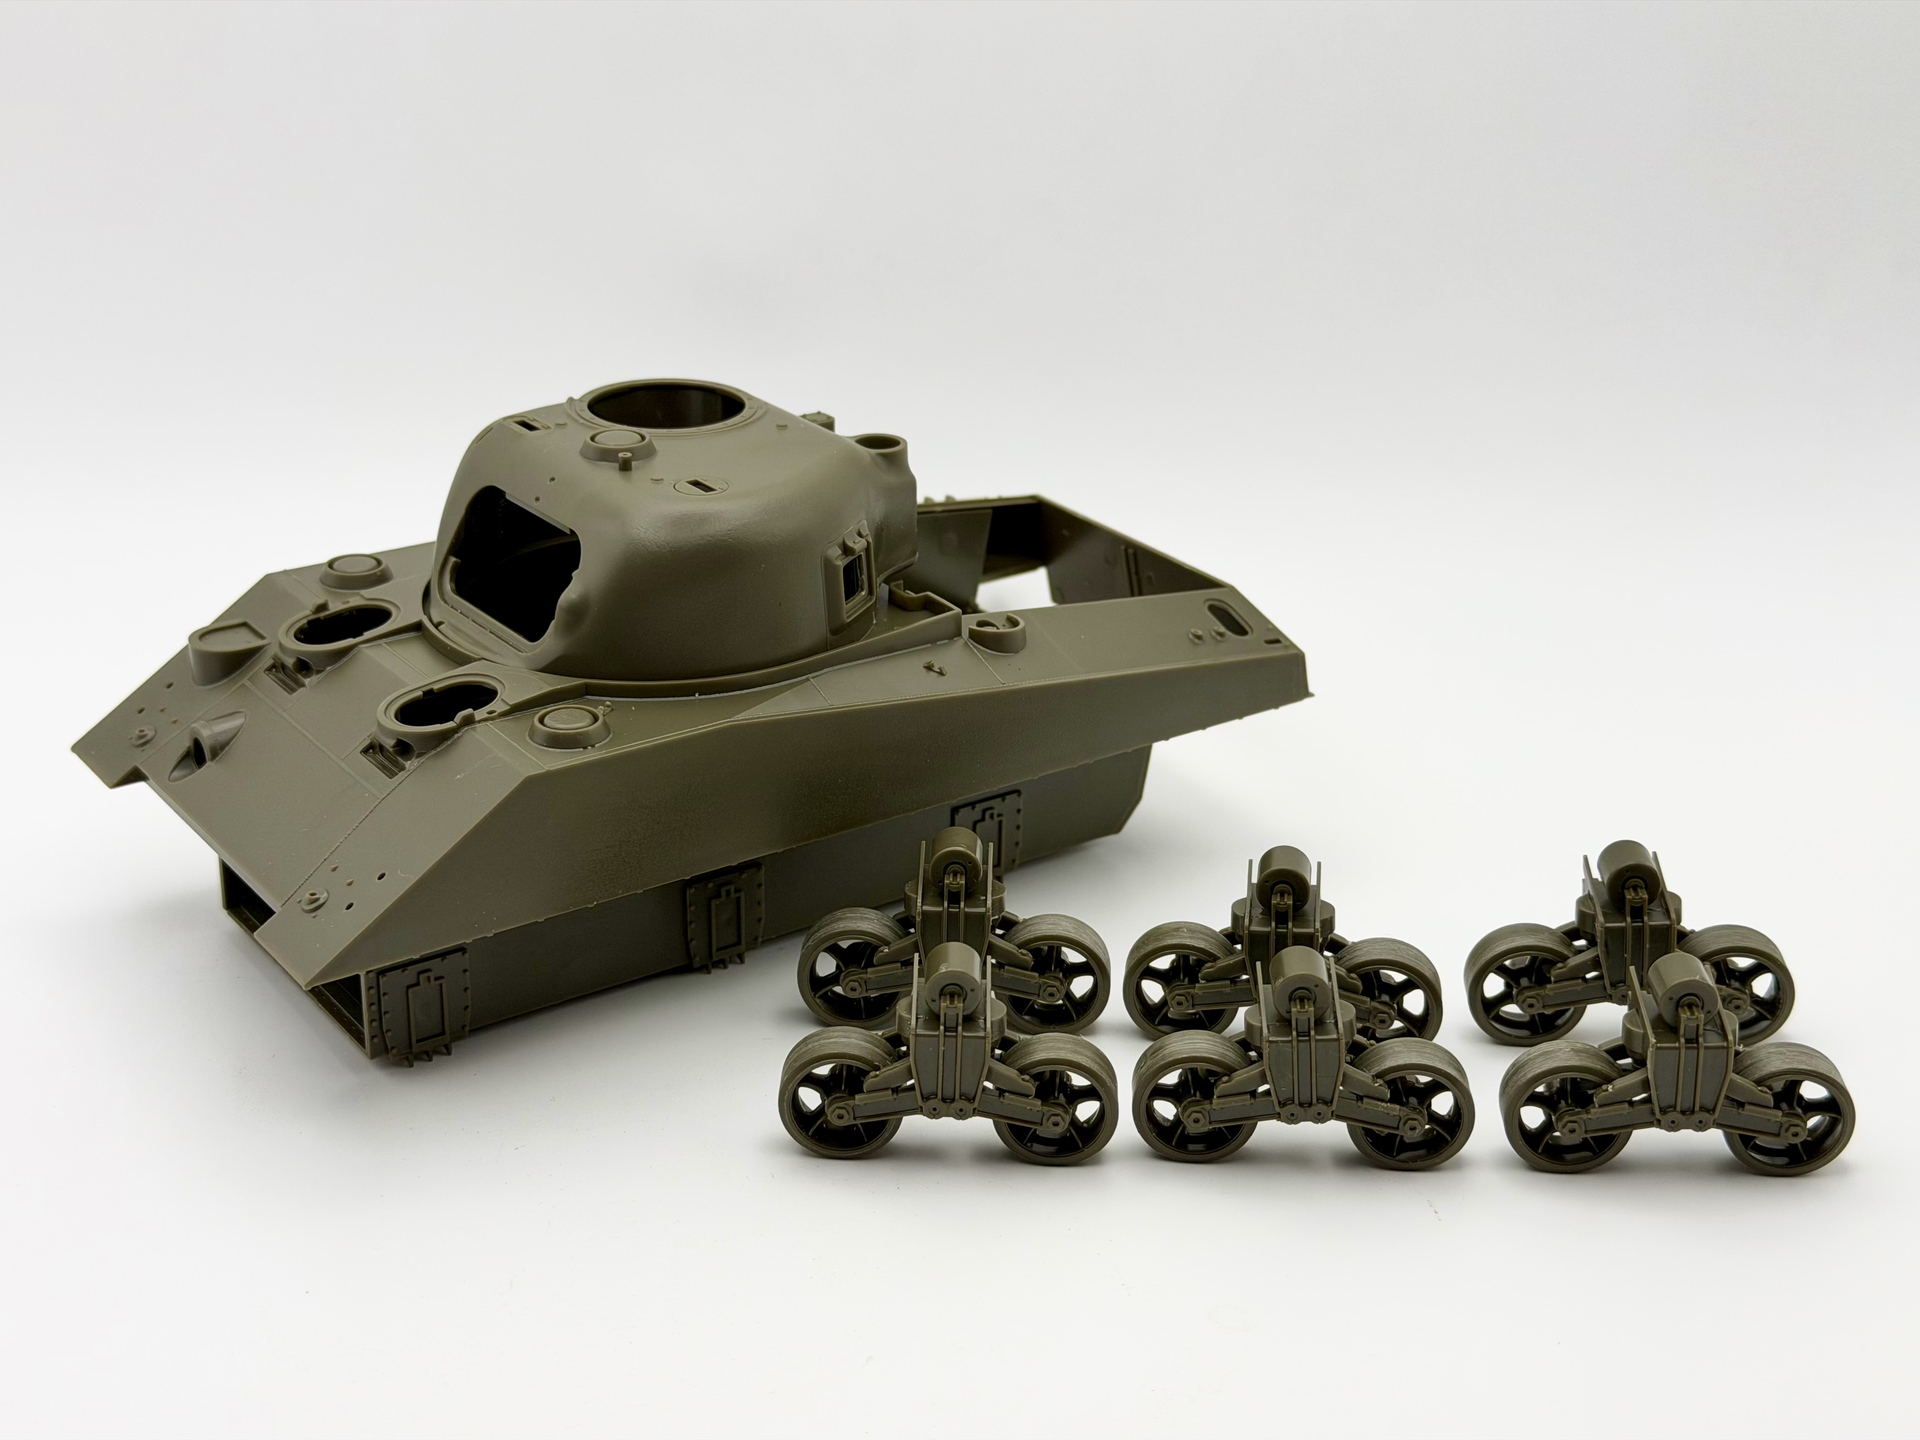
I’m starting with Asuka’s direct-vision M4A2 and swapping the kit bogies for their early VVSS set. I’ll be adding with Panzerwerk T54 tracks, an Ultracast turret bin and the Print Scale 2nd Canadian Armoured Brigade decals. I’ve also got a DEF Model 75 mm barrel, Master aerials and Heavy Hobby light guards.
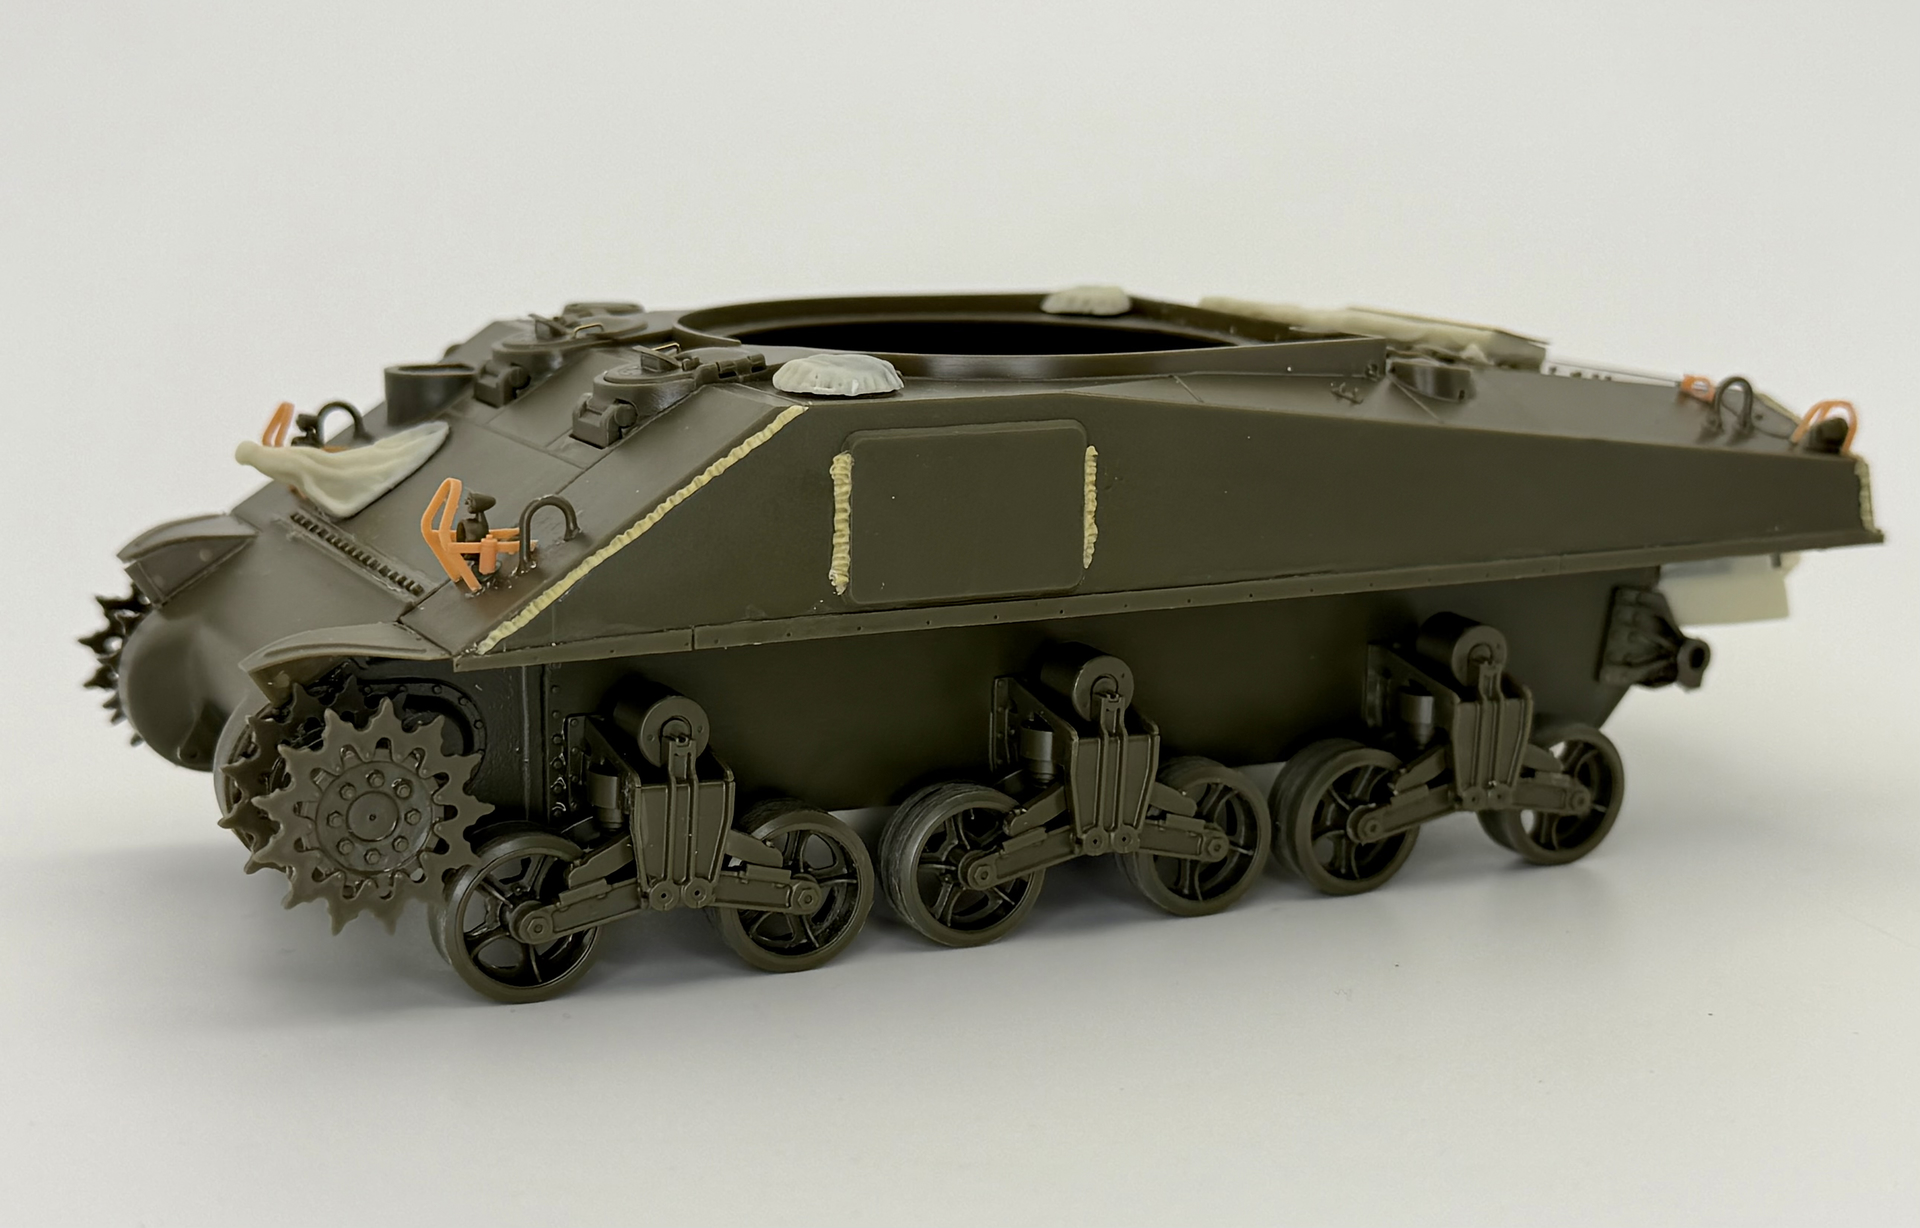
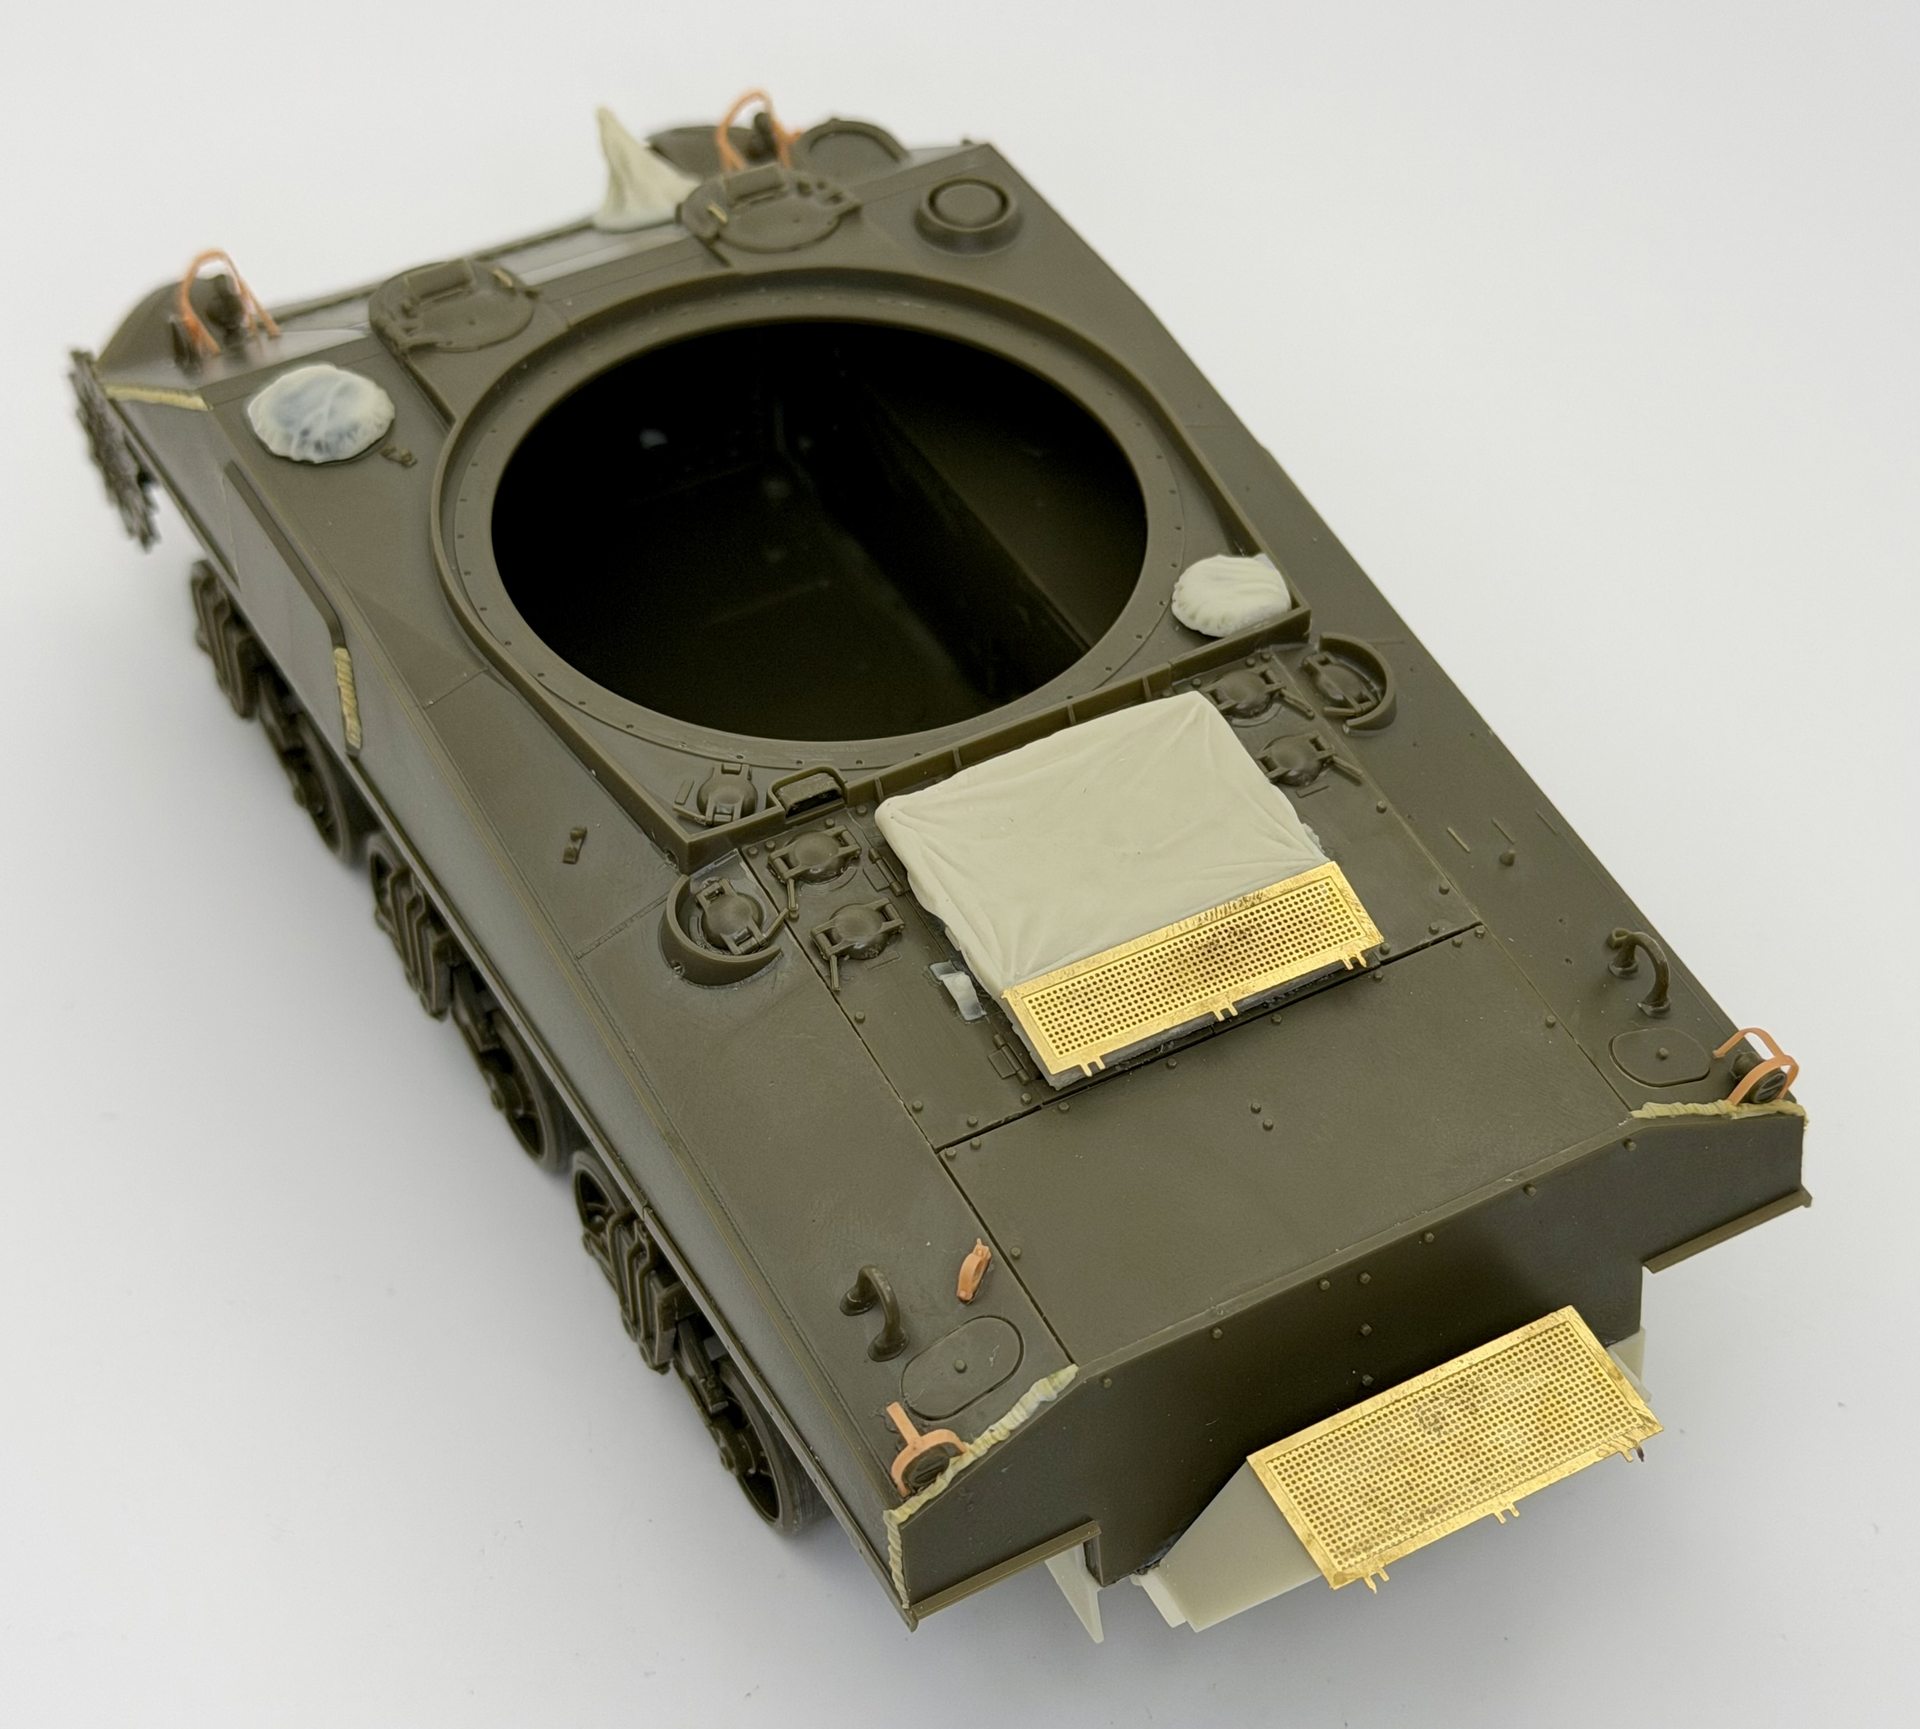
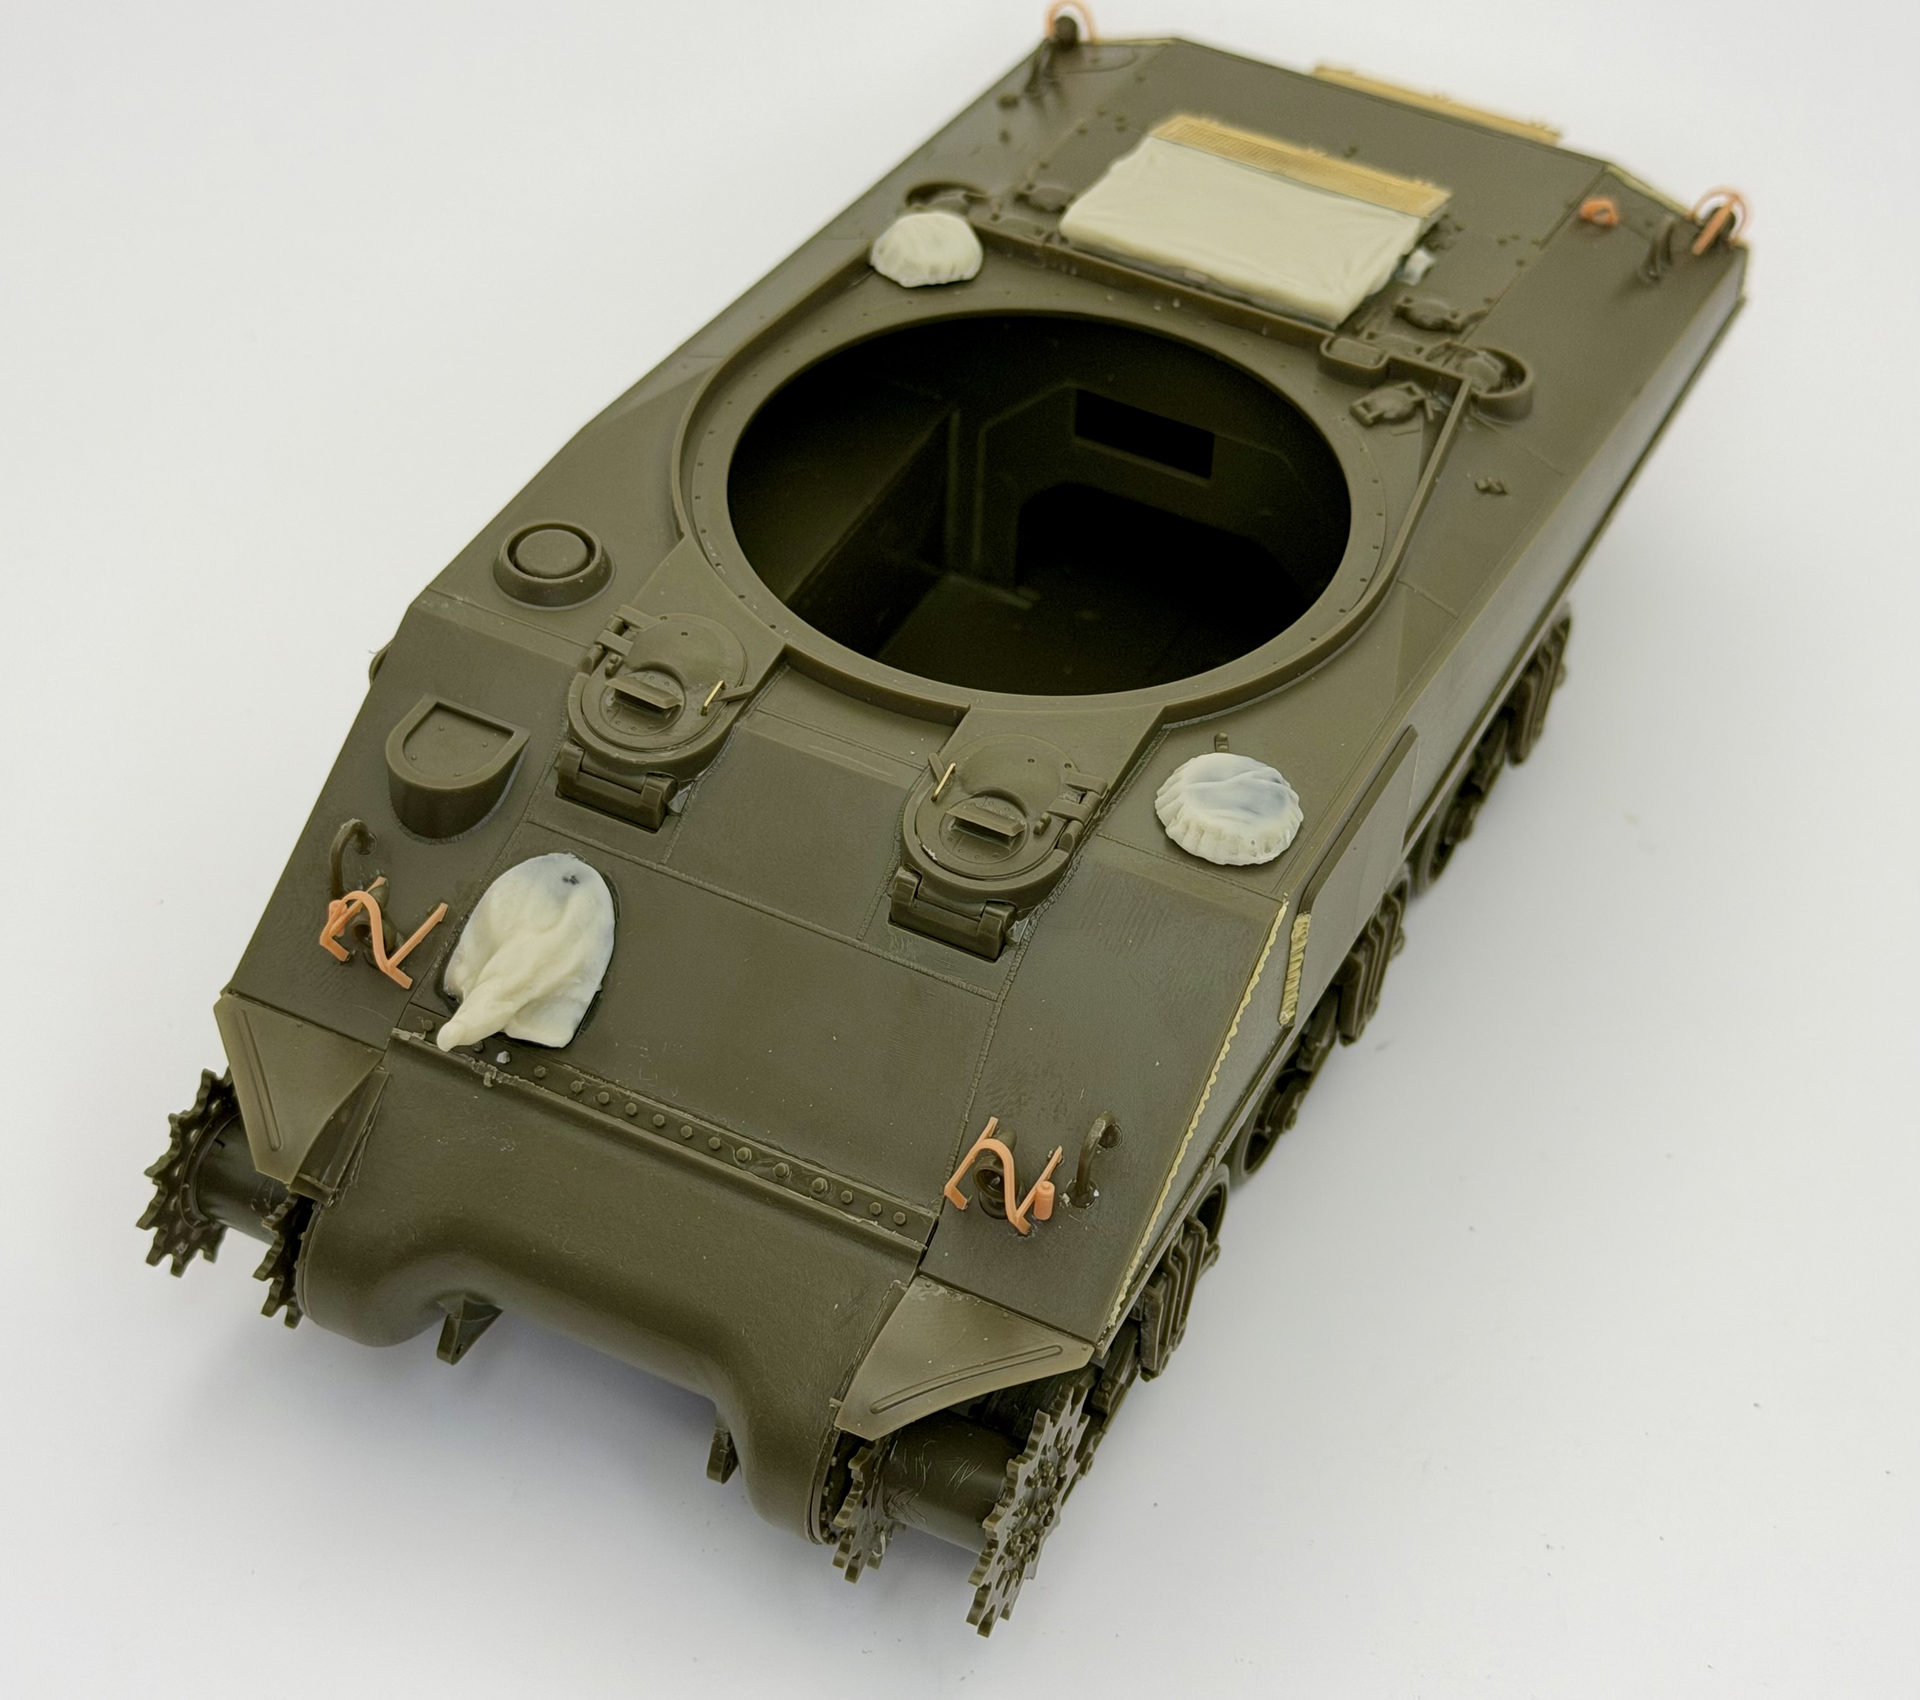
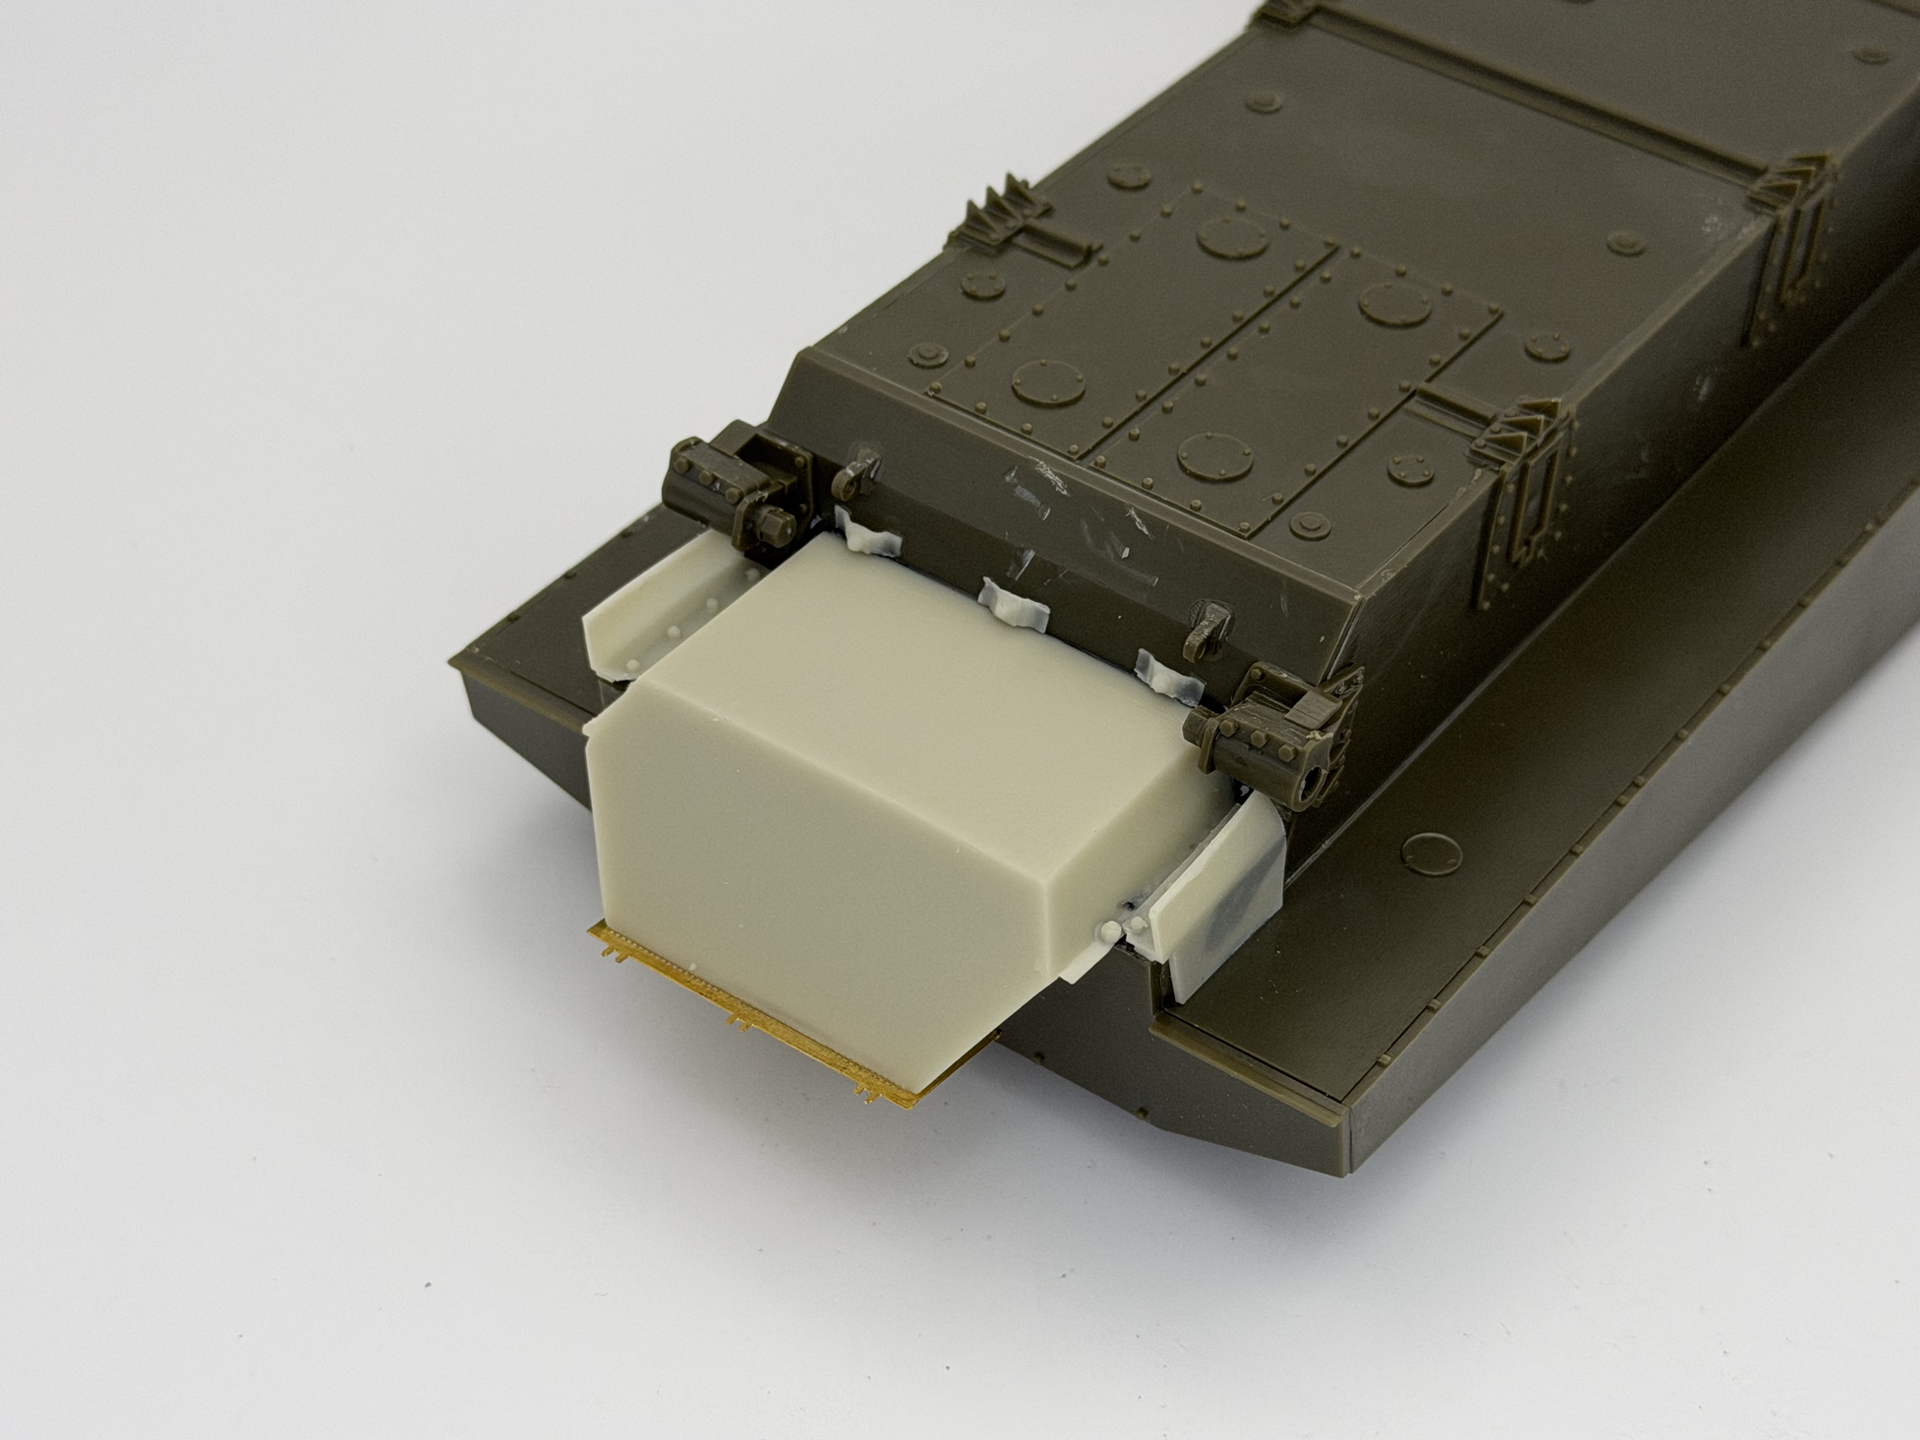
First major order of business was to fit the Resicast lower wading kit on. The kit is designed for the Dragon M4A2 so some adjustments were needed to fit the Asuka kit. Next will be to improve the cast texture on the hull and differential cover.
Are you going to have the intake and outlet ducts on as well? Because if not, the fabric over the inlet grille in the engine deck would not be there (unless you would be modelling the tank in the few seconds between the crew operating the duct release gear and setting off the Cordtex to blow the fabric from the tank, of course ).
Also beware that if you do put the ducts on, you need to add a lot of extra waterproofing to the model if you want it to be an accurate rendition. The instructions for the real tank have all you’ll want to know, and probably a lot more …
@Jakko No I am not planning to put the ducts on, I wish I had known the canvas cover was not kept on once ashore, but at this point oh well. It will be an artistic decision to keep it on for visual interest.
The alternative is use the other Resicast kit elements to represent the tank as water-proofed prior or immediately after embarkation, it includes the mantlet cover, bow gunners cover, and the ventilator covers. Trying to recreate the Bostik in 1/35 will be interesting, in scale it would just look like slightly textured black paint slopped on the lower hull area.
Forging ahead with the lower hull. I have added the waterproofing for the bow machine gun and ventilator, I added the appliqué armour and the missing welds from the hull. Heavy Hobby’s 3D printed guards were used to replace the overly thick kit parts.


 ).