They intended to make M4 (76 mm) tanks but in the end that didn’t happen, and nothing except 105 mm ones were made.
3 Likes
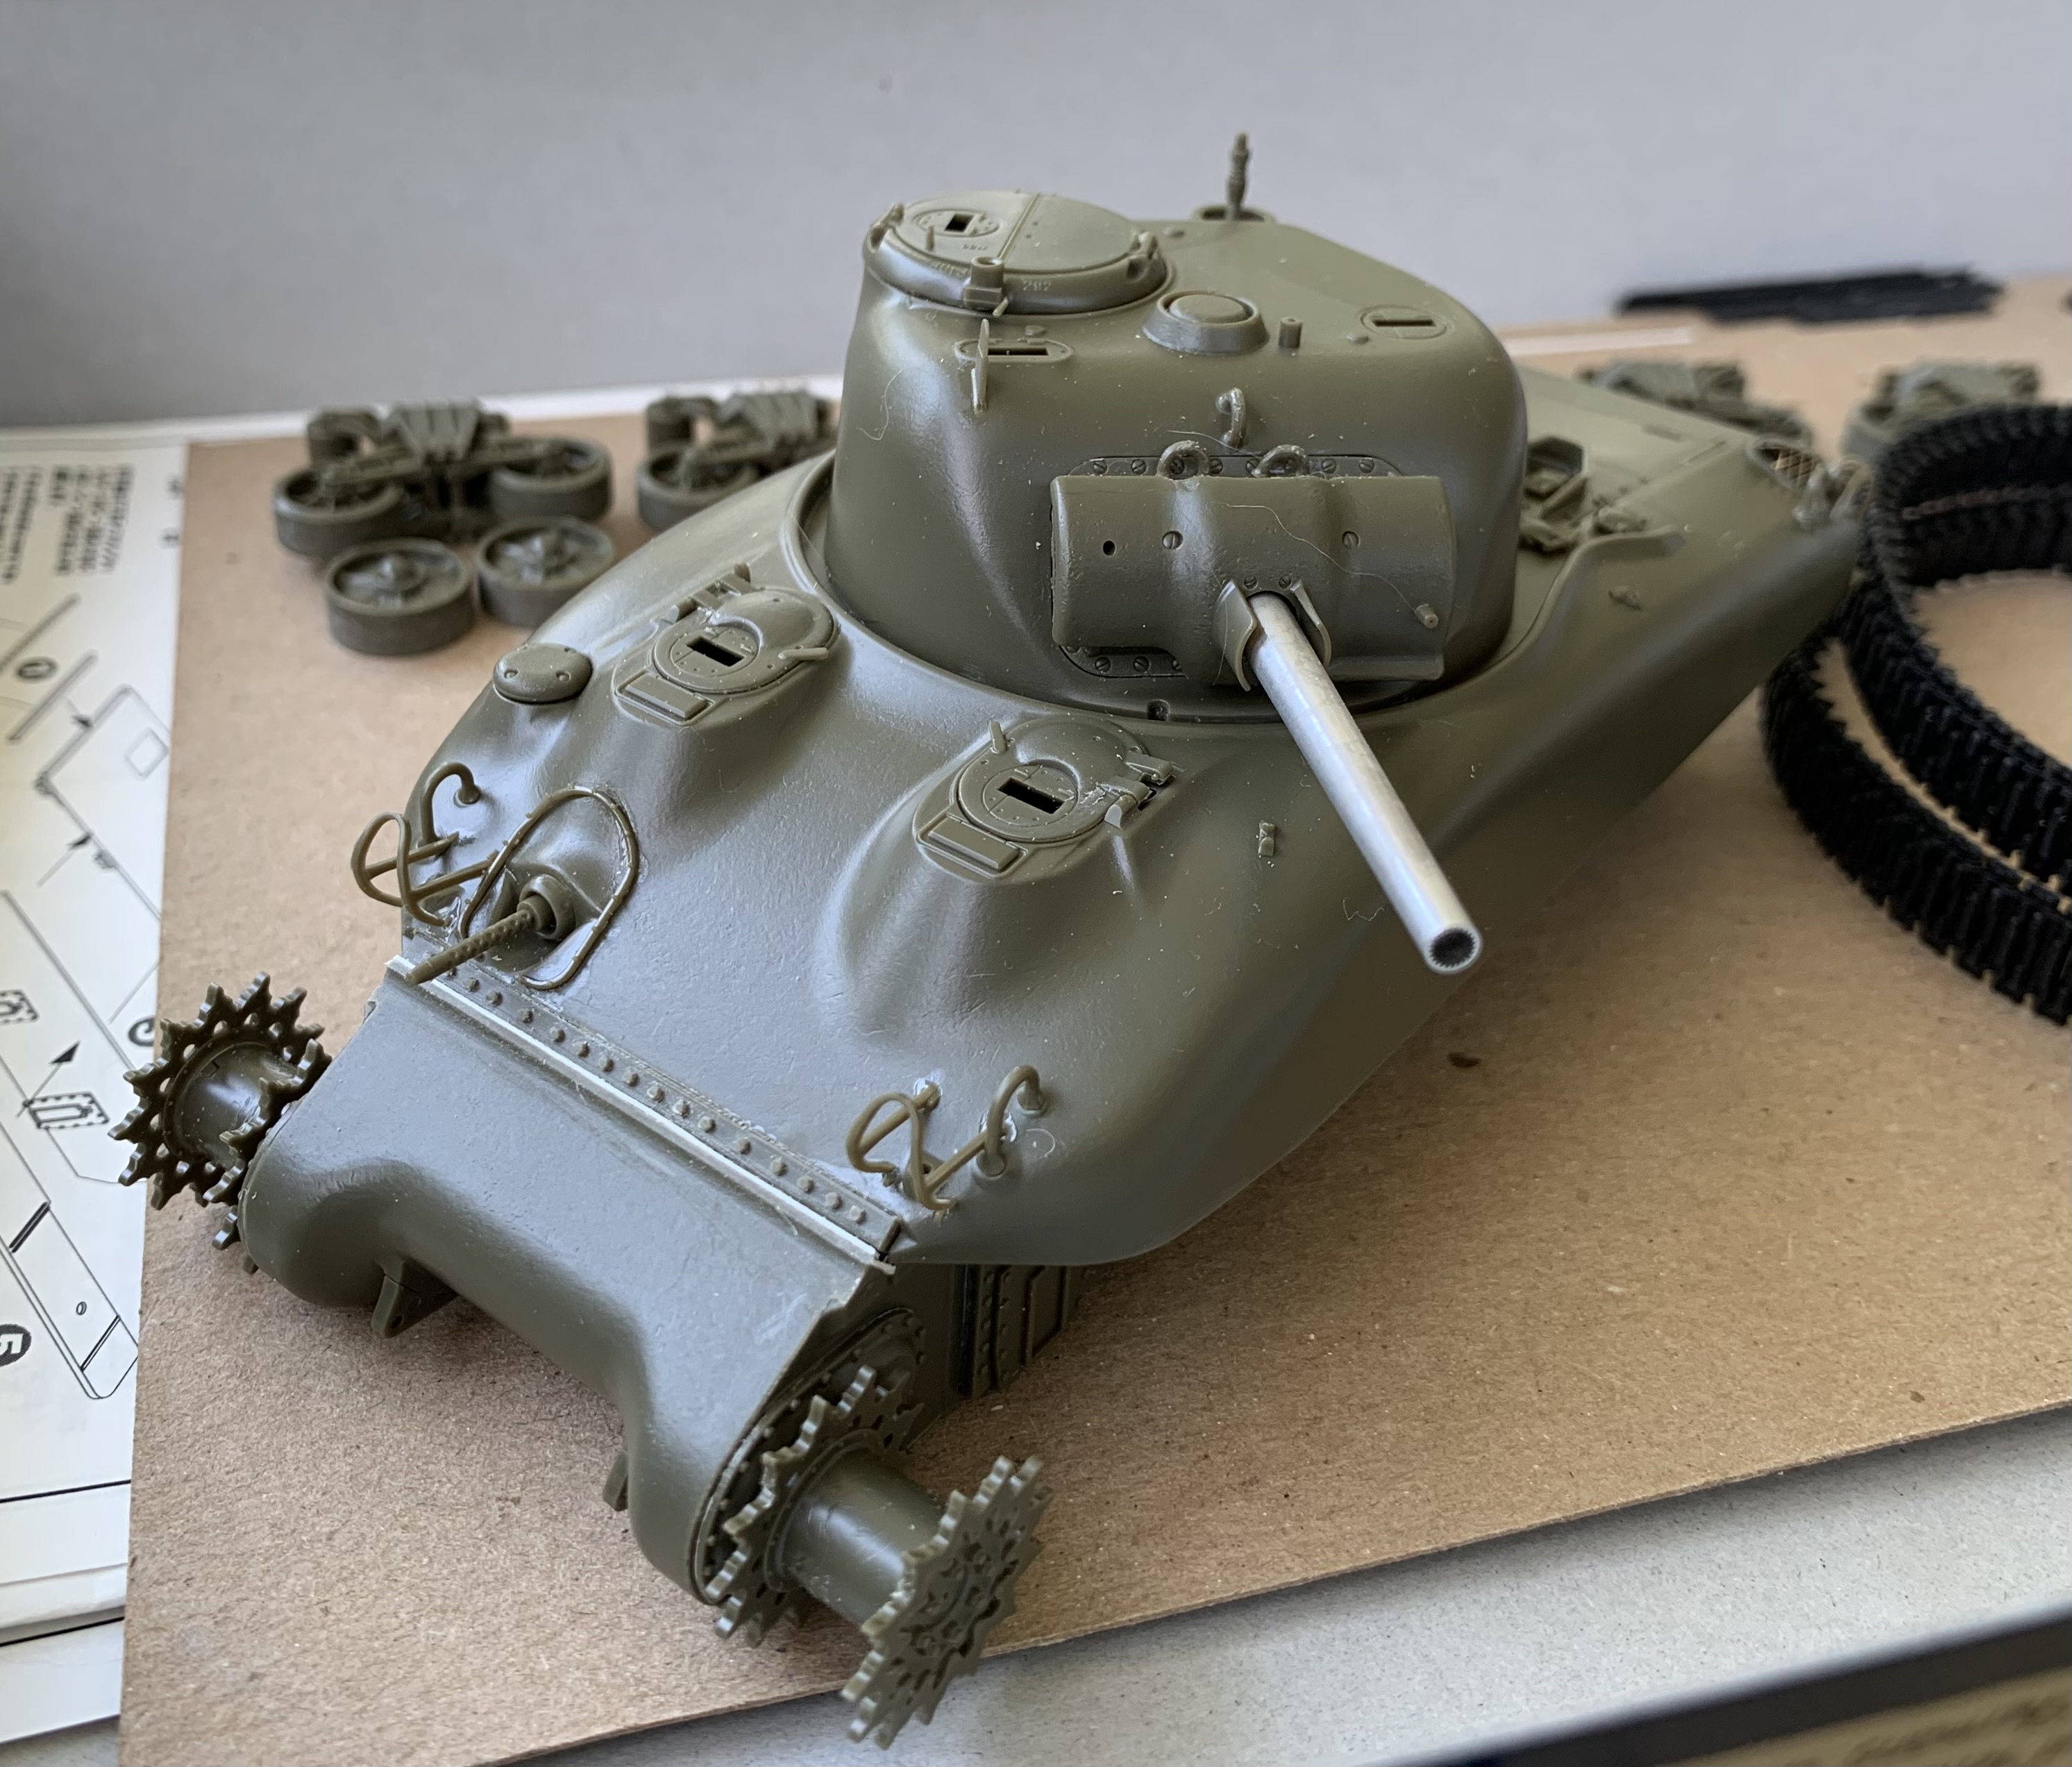
And so it begins! I had some spare time while exhibiting at a show yesterday, so brought my M4A1E8 kitbash along and got some basic fettling done. (Gotta get it going before all those Takom kits flood the display tables…) I padded out the Academy turret ring to fit the Italeri hull, added a new set of locking tabs, plugged the empty gunner’s sight, and started blending the pistol port. Small steps get you there in the end!


7 Likes
Lots of ground to cover above!
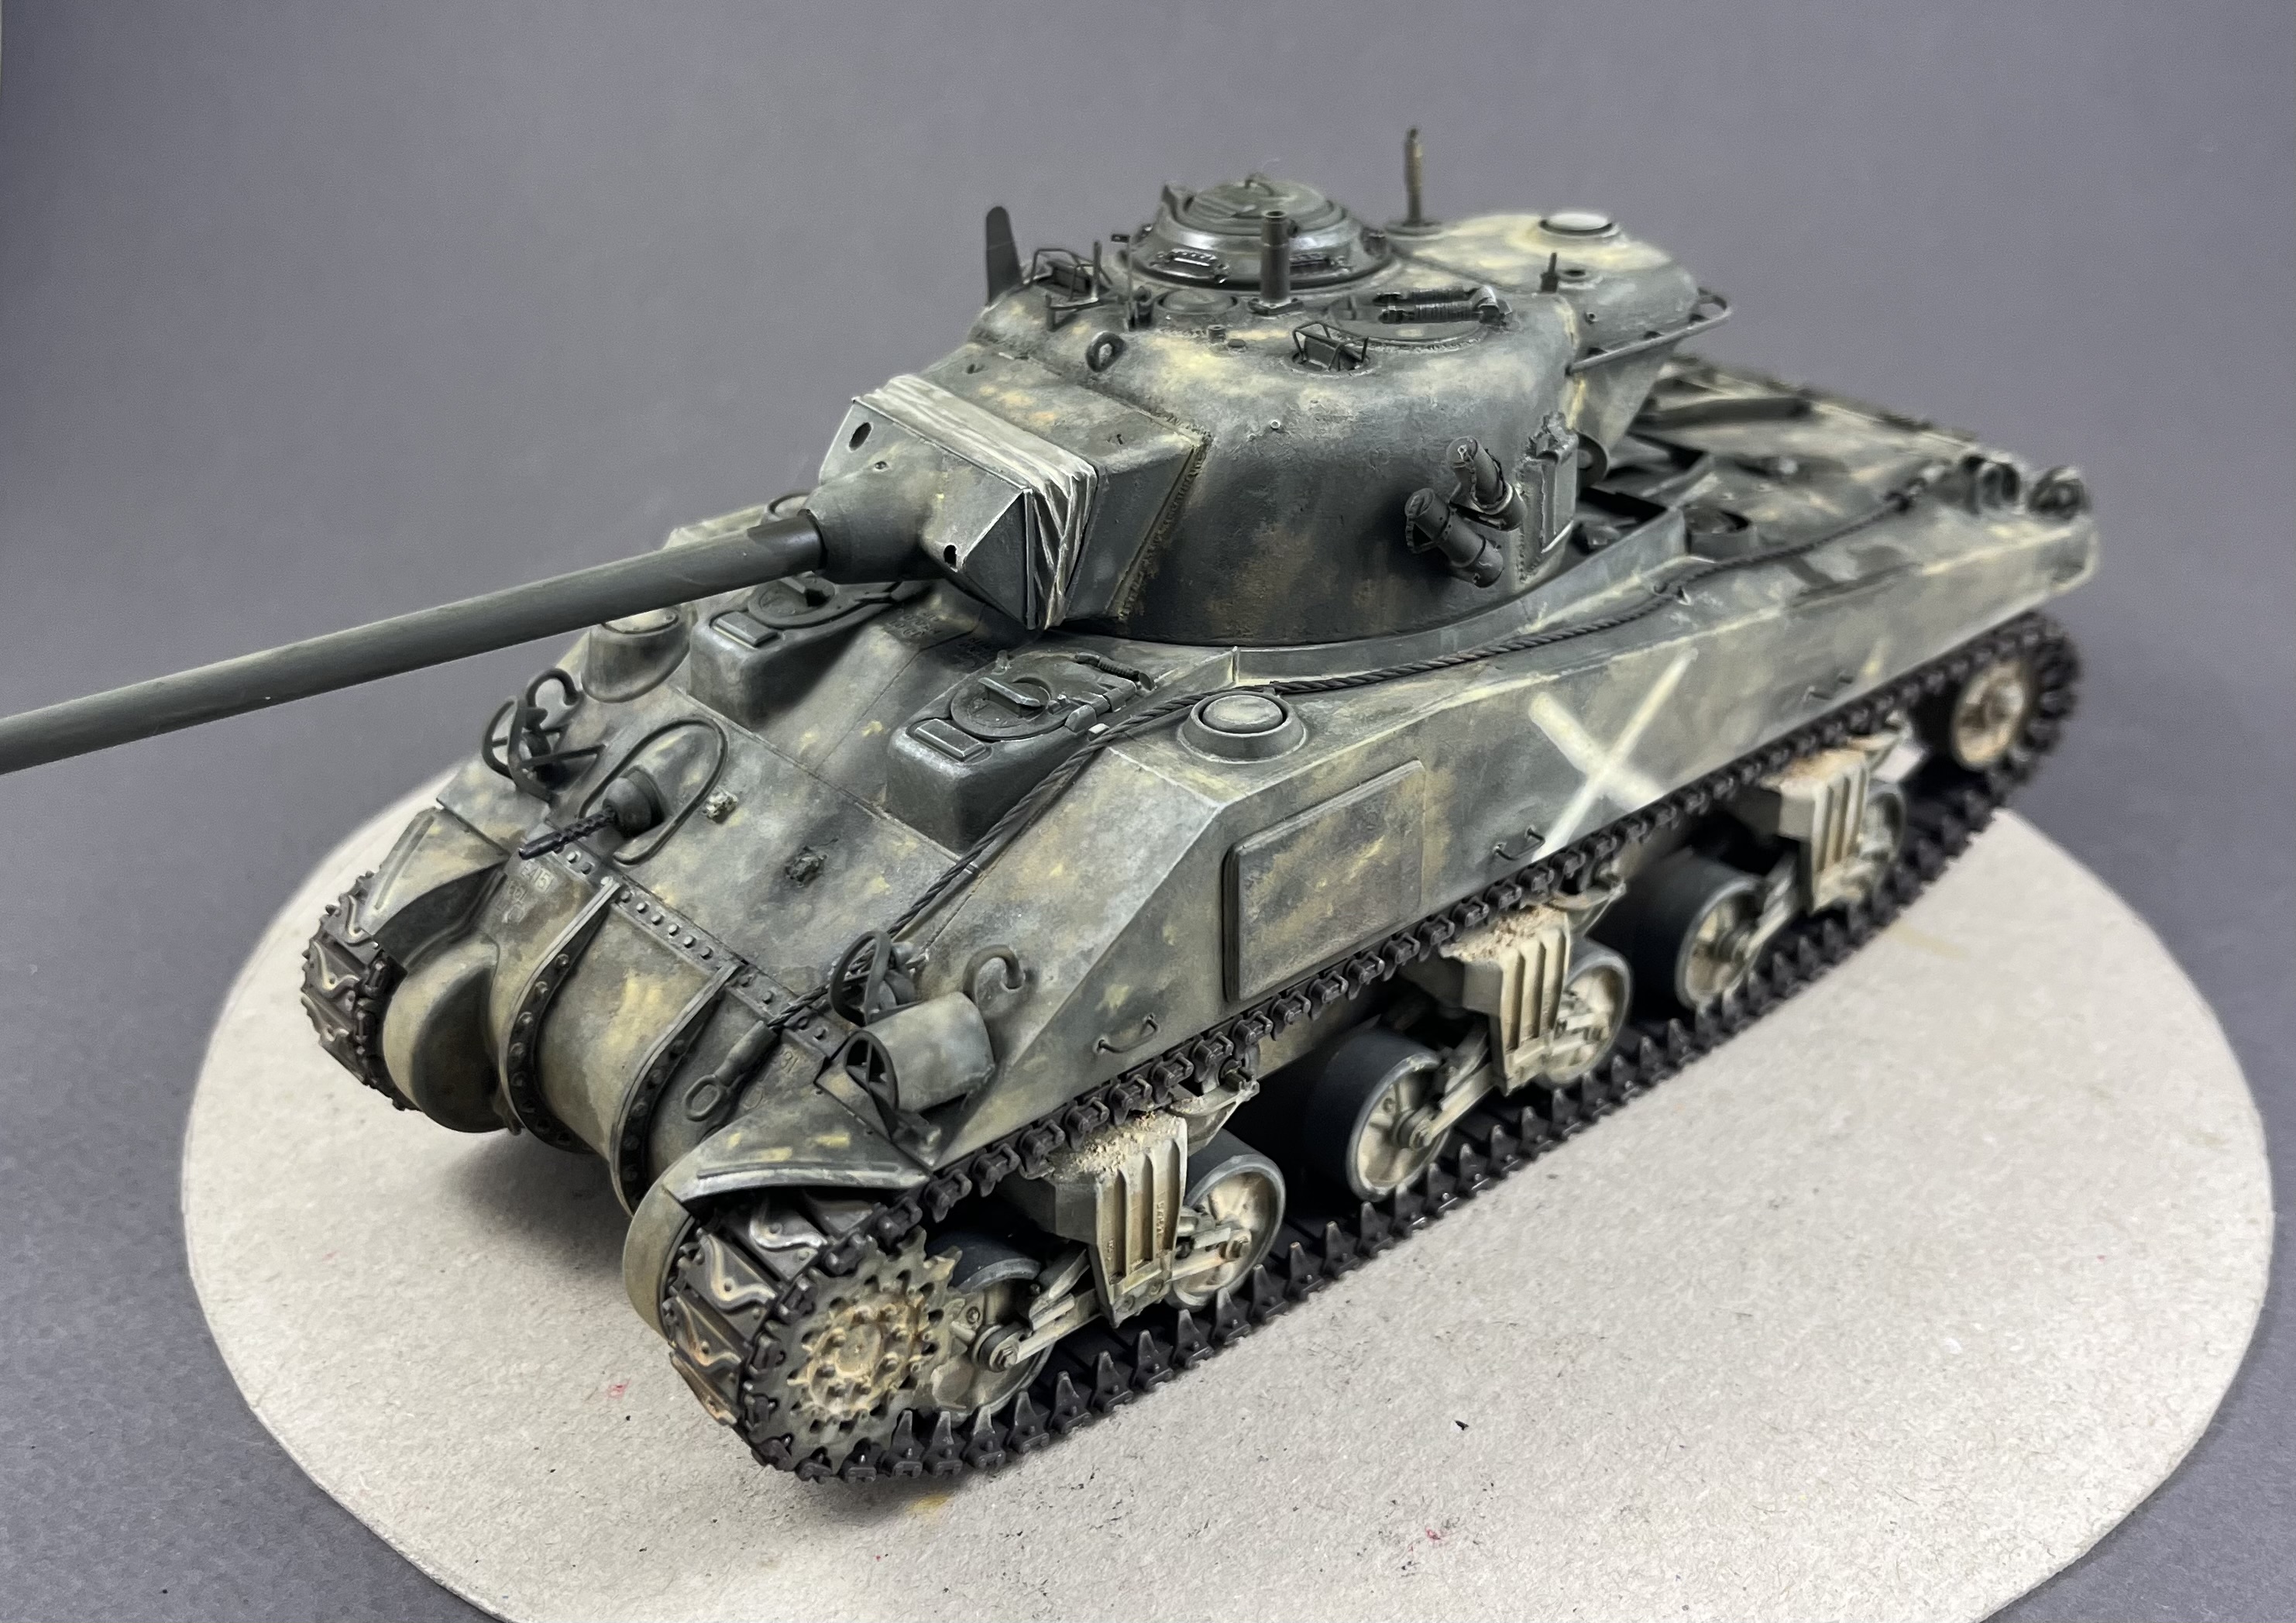
We have a large hatch early M4A1 (76)w VVSS at the Collection. This one has the vision cupola and large loaders’s split hatch. I recall that ~120 of these were the “abandoned in England” sets that GEN Bradley subsequently had brought forward for Operation Cobra.
Our In The Mood conversion is just such a tank: 4th in production from PSC in early 1944. It is the oldest known surviving M4A1 (76)w VVSS. I think the turret is D82081: it is ventless.
The M4/M26 hybrid (my term) was seen by GEN Holly (Chief of ETO Armor Section) in July 1944, at the Detroit (Chrysler) Arsenal.The Hunnicutt drawing (now I can‘t remember WHERE I saw the pic) depicts an HVSS, but the actual (and only) prototype wore VVSS as shown in the pic. The turret is not a large hatch, having the oval loader’s hatch. The hull has the large hatches and 47* *hull, but I can’t see the aiming stakes “on the left rear”. @Jakko : I thought the aiming stakes and ramming staff sections were stowed on the back plate above the mufflers/exhaust.
GEN Holly was told that it would not be possible to produce the 90mm M4 before the end of 1944. As it was, the 76mm gun and turret seemed to replace the (M4 105) in the “I want these now column”, and the M26 was moved into production more readily, with some personal intervention by MG Gladeon Barnes.
2 Likes
No, they’re in a rack on the left rear sponson. It’s a kind of long thing made from L-angle iron with an open top (long side) that the bag for the aiming stakes goes into, and the cleaning rods are strapped on top. See here on my M4 (105 mm) HVSS model that’s halfway painted by now:

5 Likes
Thanks!
2 Likes
@barkingdigger
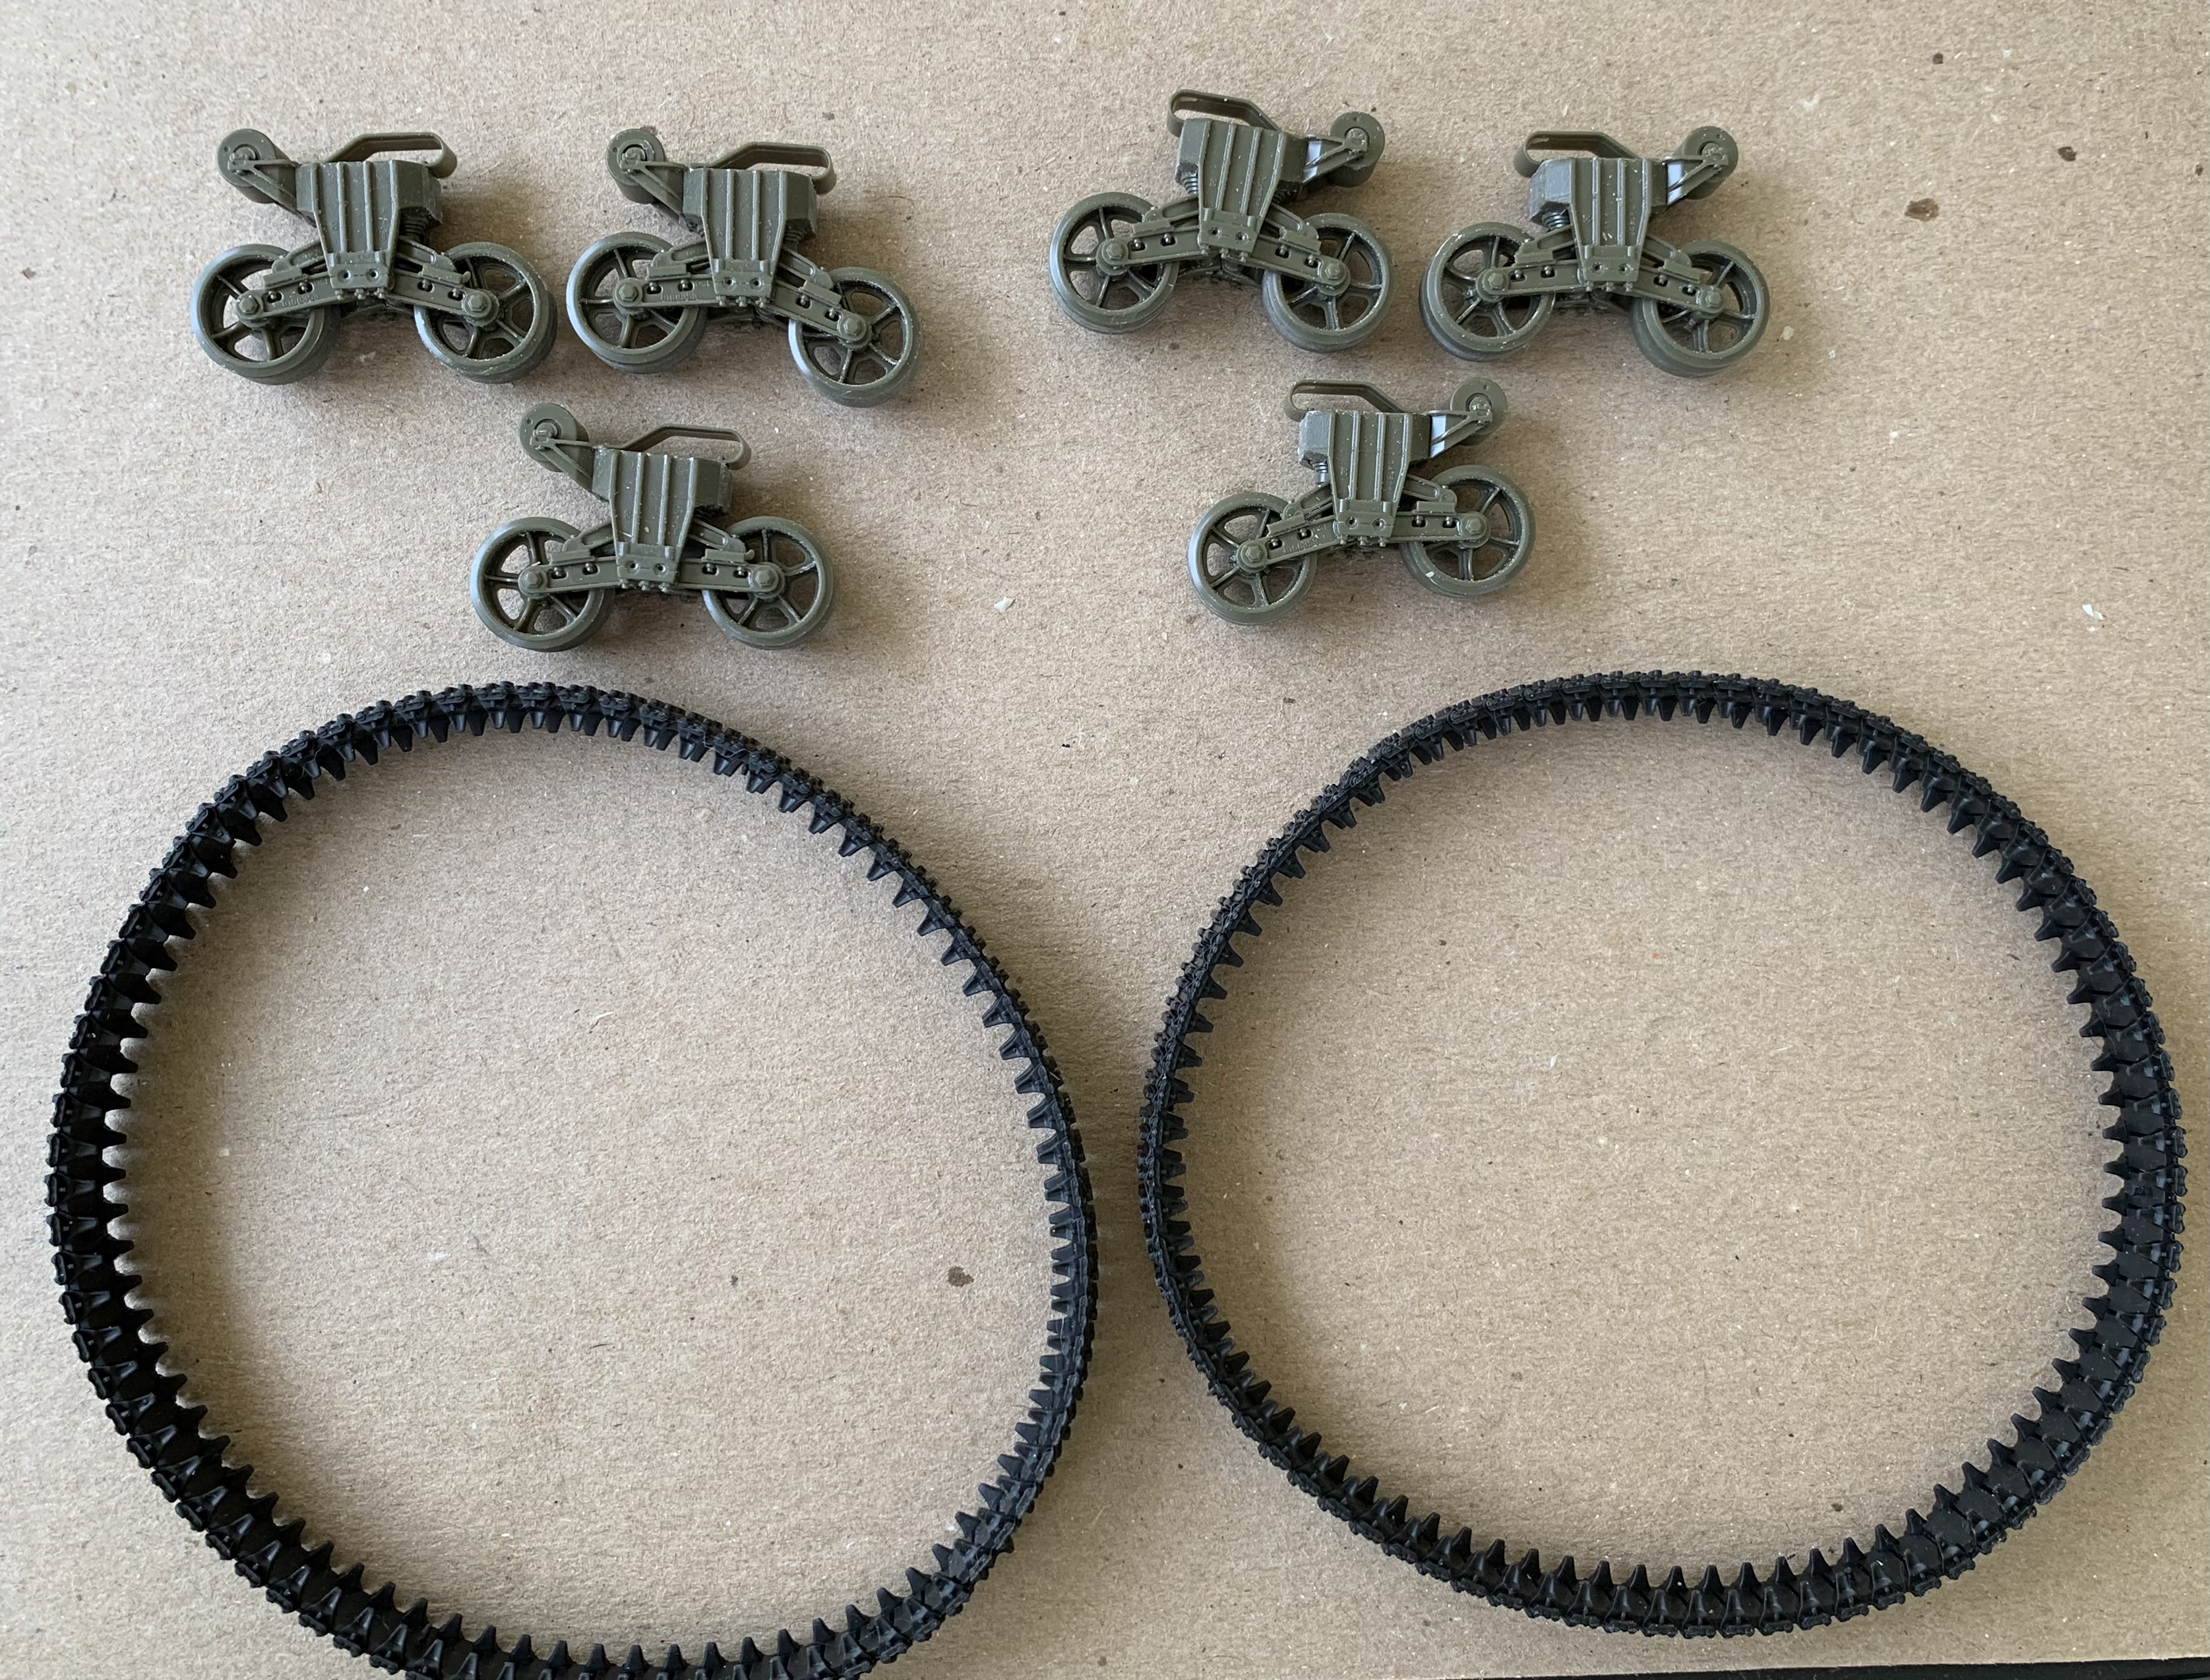
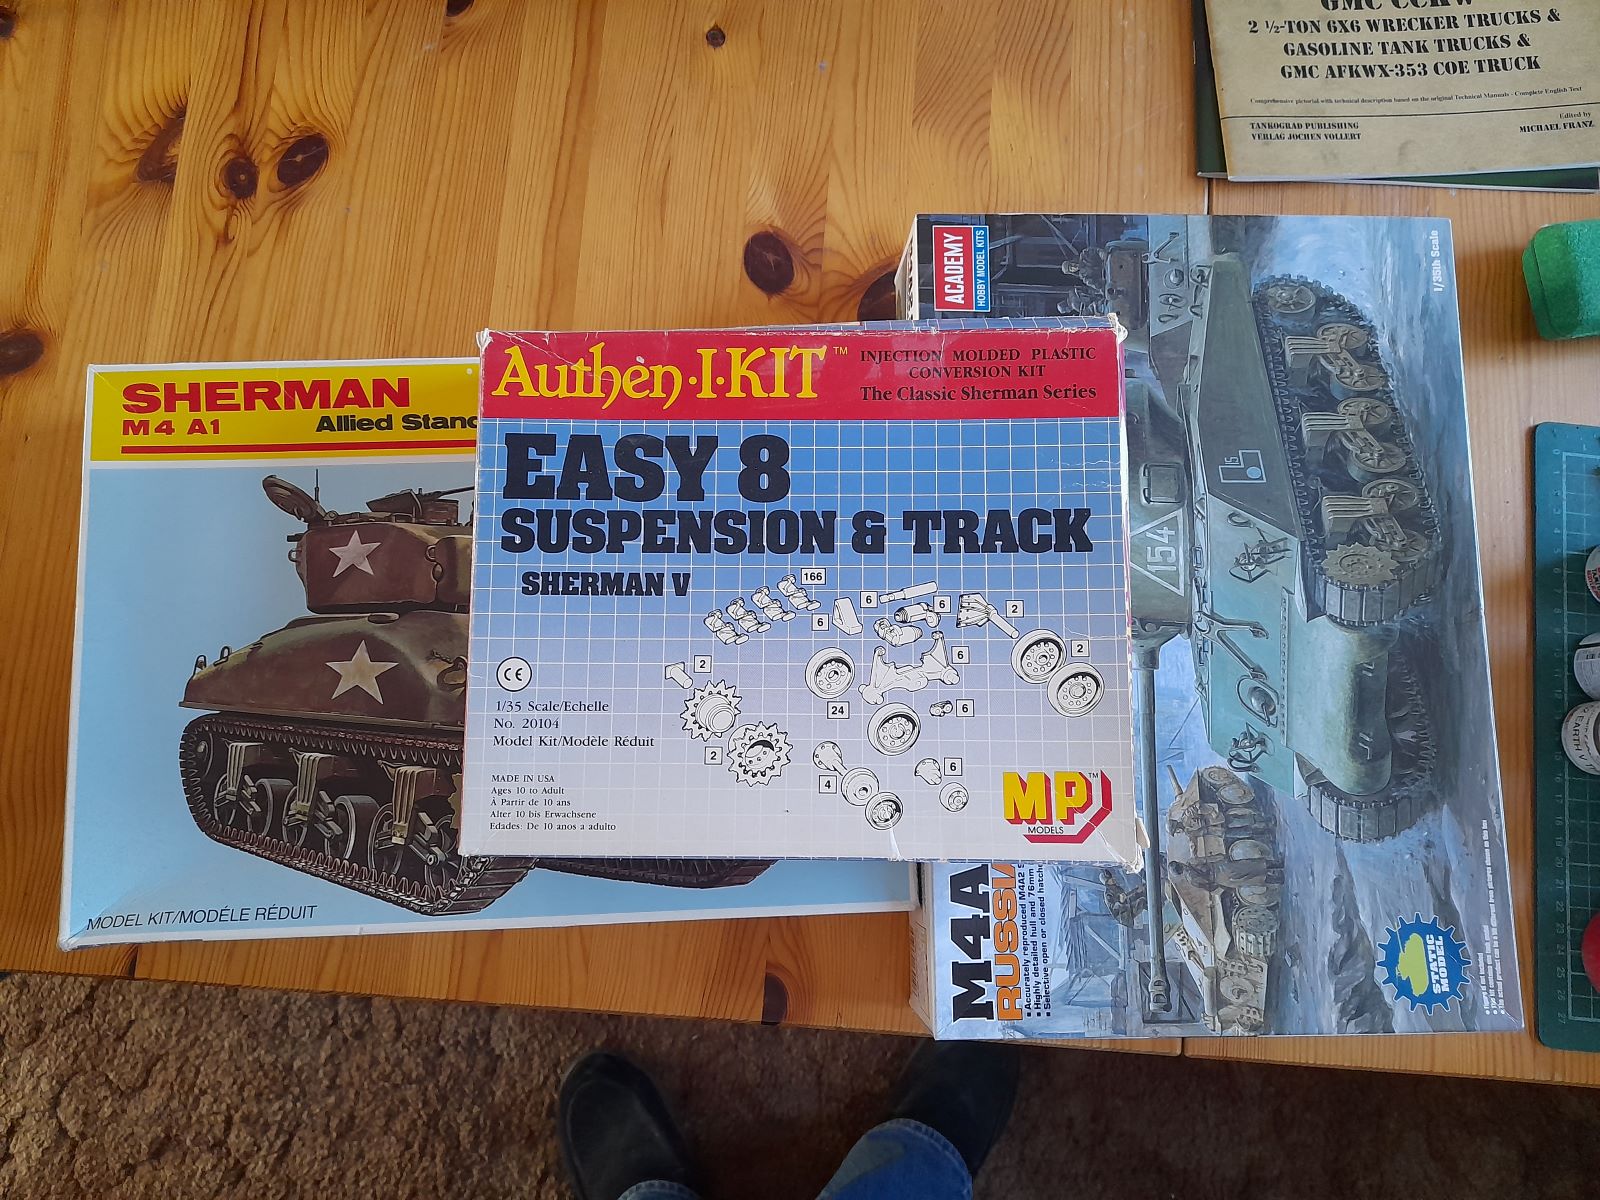
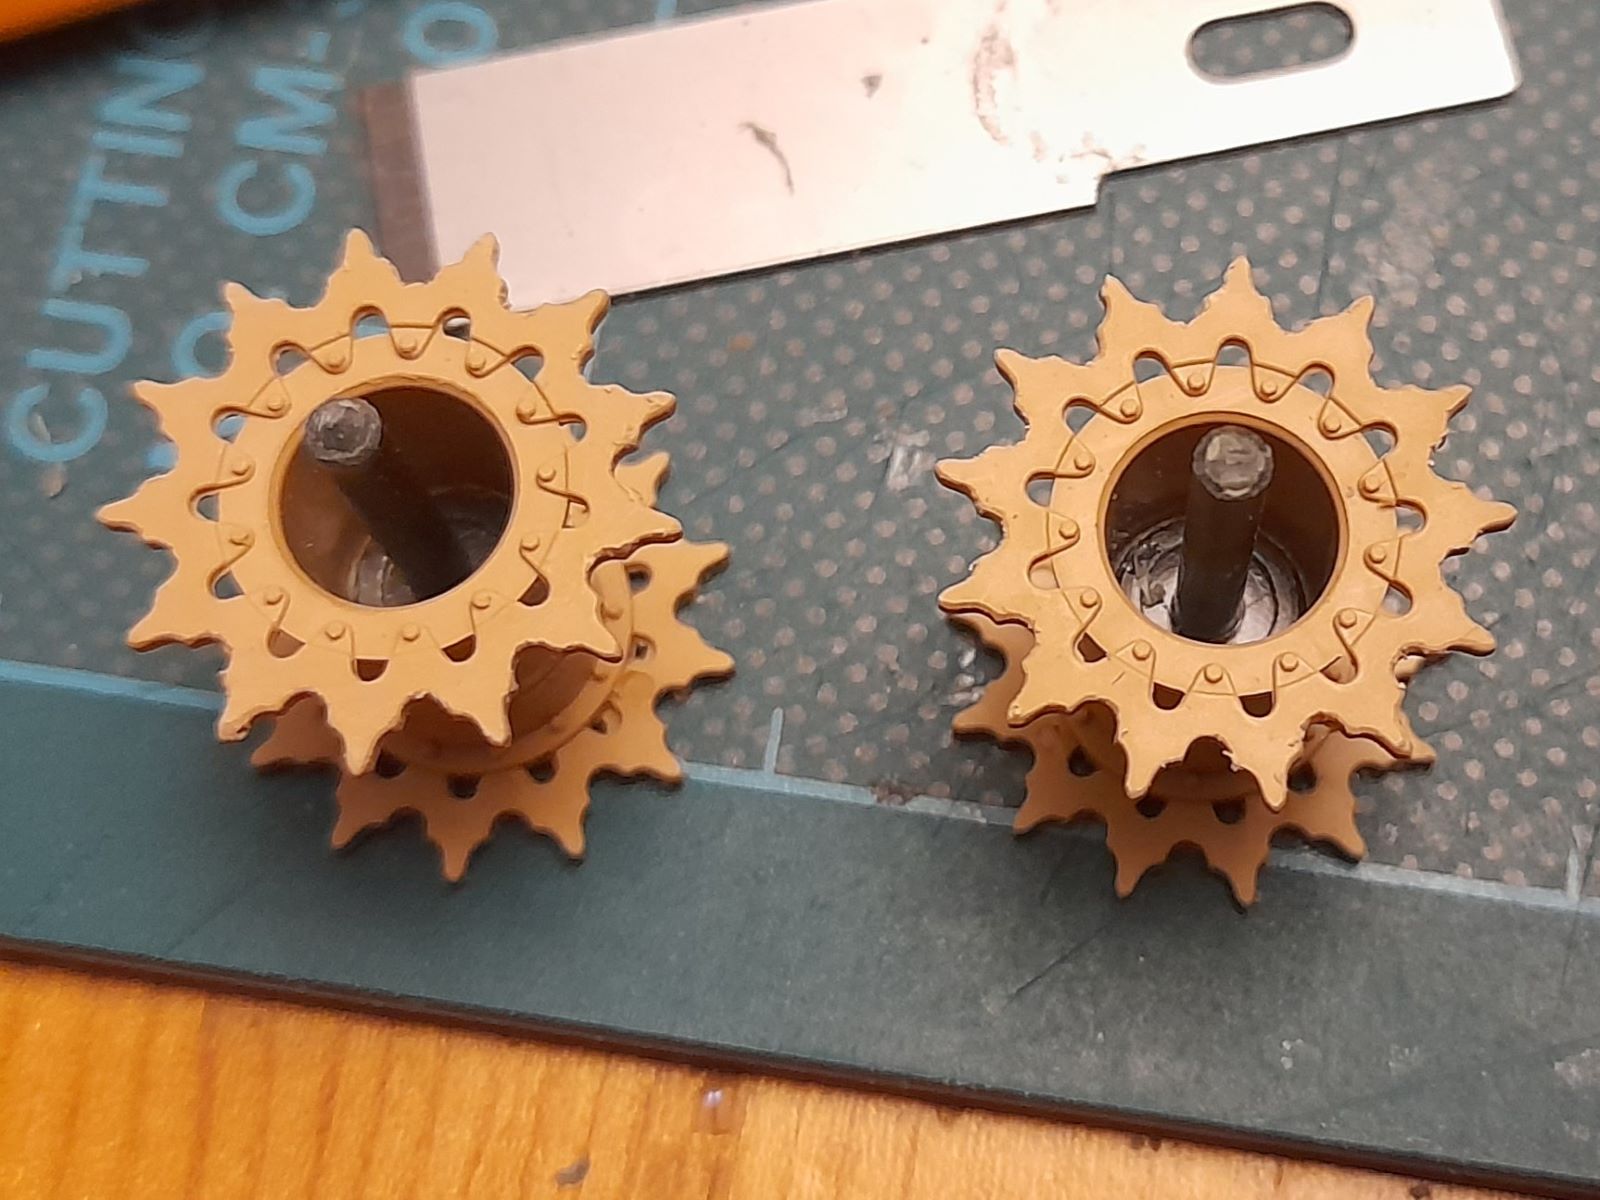
My favorite part of the MP models set is that it says “made in the USA” and very low part count, I’m counting 10 total parts per bogie including the base bracket. Hilarious to look back and think I thought that suspension was too complicated to take on back in those days!
…if I recall correctly on the tracks, they look a bit off going around the idler and sprocket because the end connectors are solid on one side and don’t angle around like they should when going around the idler?
Are you going to scratch build the exhaust deflector and the sand shields?
1 Like
I’ve got some T-66 track so won’t need the MP ones. Yes to the deflector, but no sand shields I think. The big issue will be the idler mount, as MP assume you’ll use the Italeri moulding on the rear plate (which is for the VVSS) and it isn’t adjustable. I’ll either scratch the entire mount, or CAD it up to print…
1 Like
Correct, they’re moulded much like the Dragon tracks but without a hollow guide horn. I have an MP HVSS set in my Sherman suspension spares box, but it will never get built ![]() It’s far too crude compared to modern counterparts.
It’s far too crude compared to modern counterparts.
1 Like
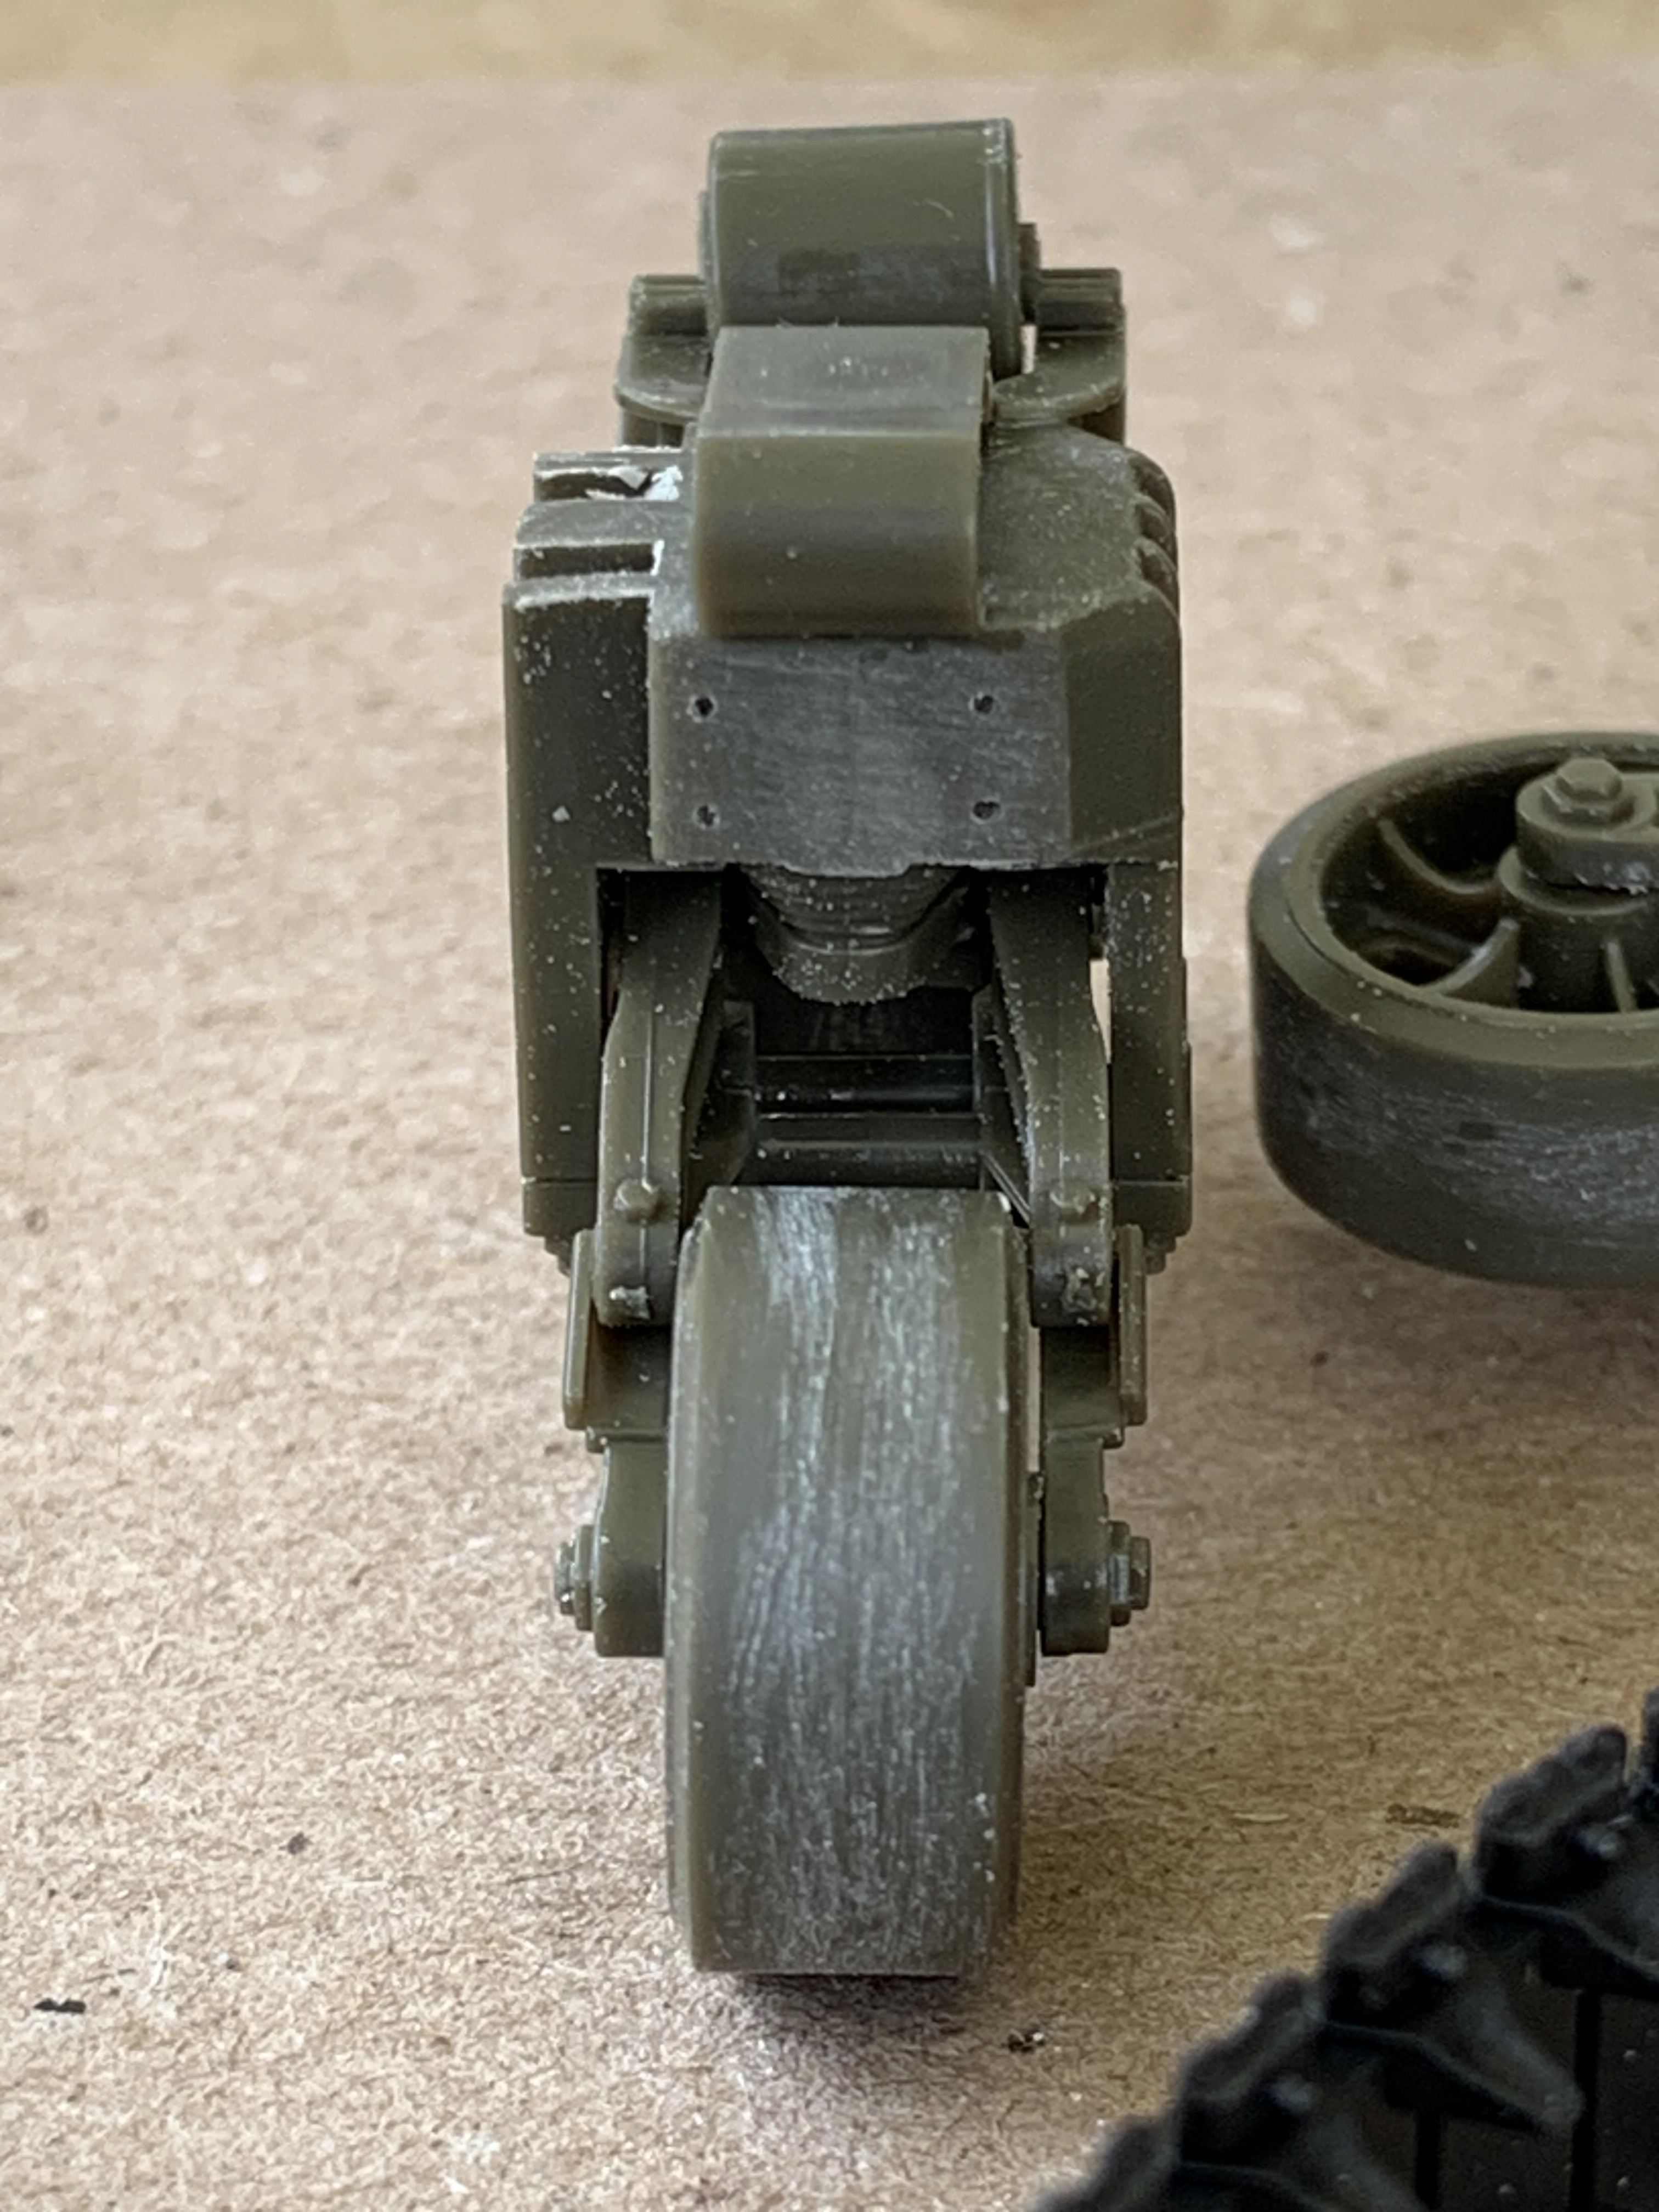
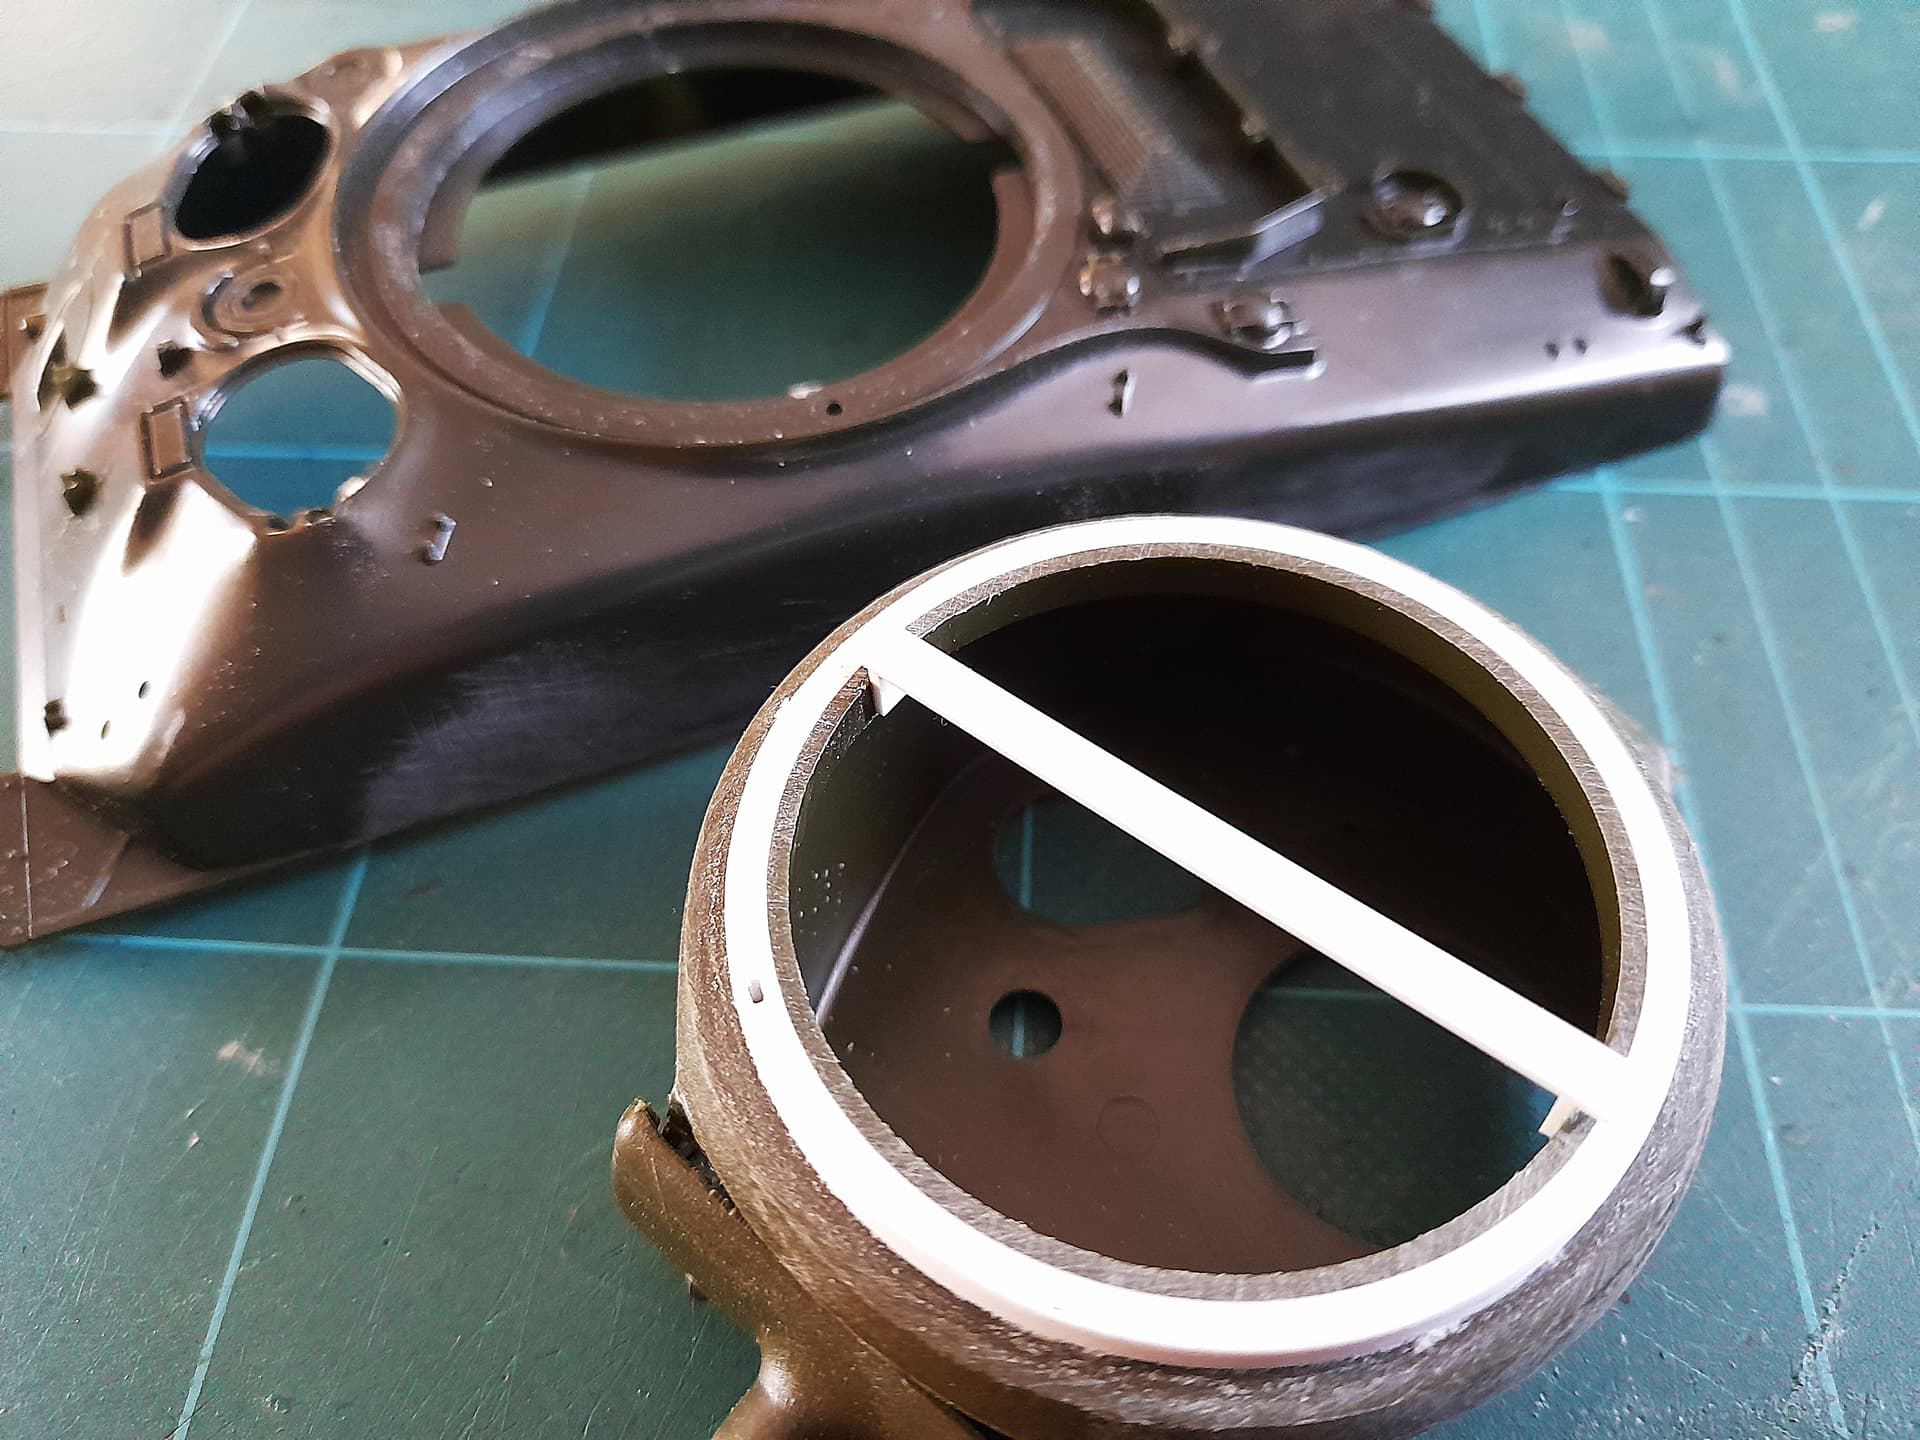
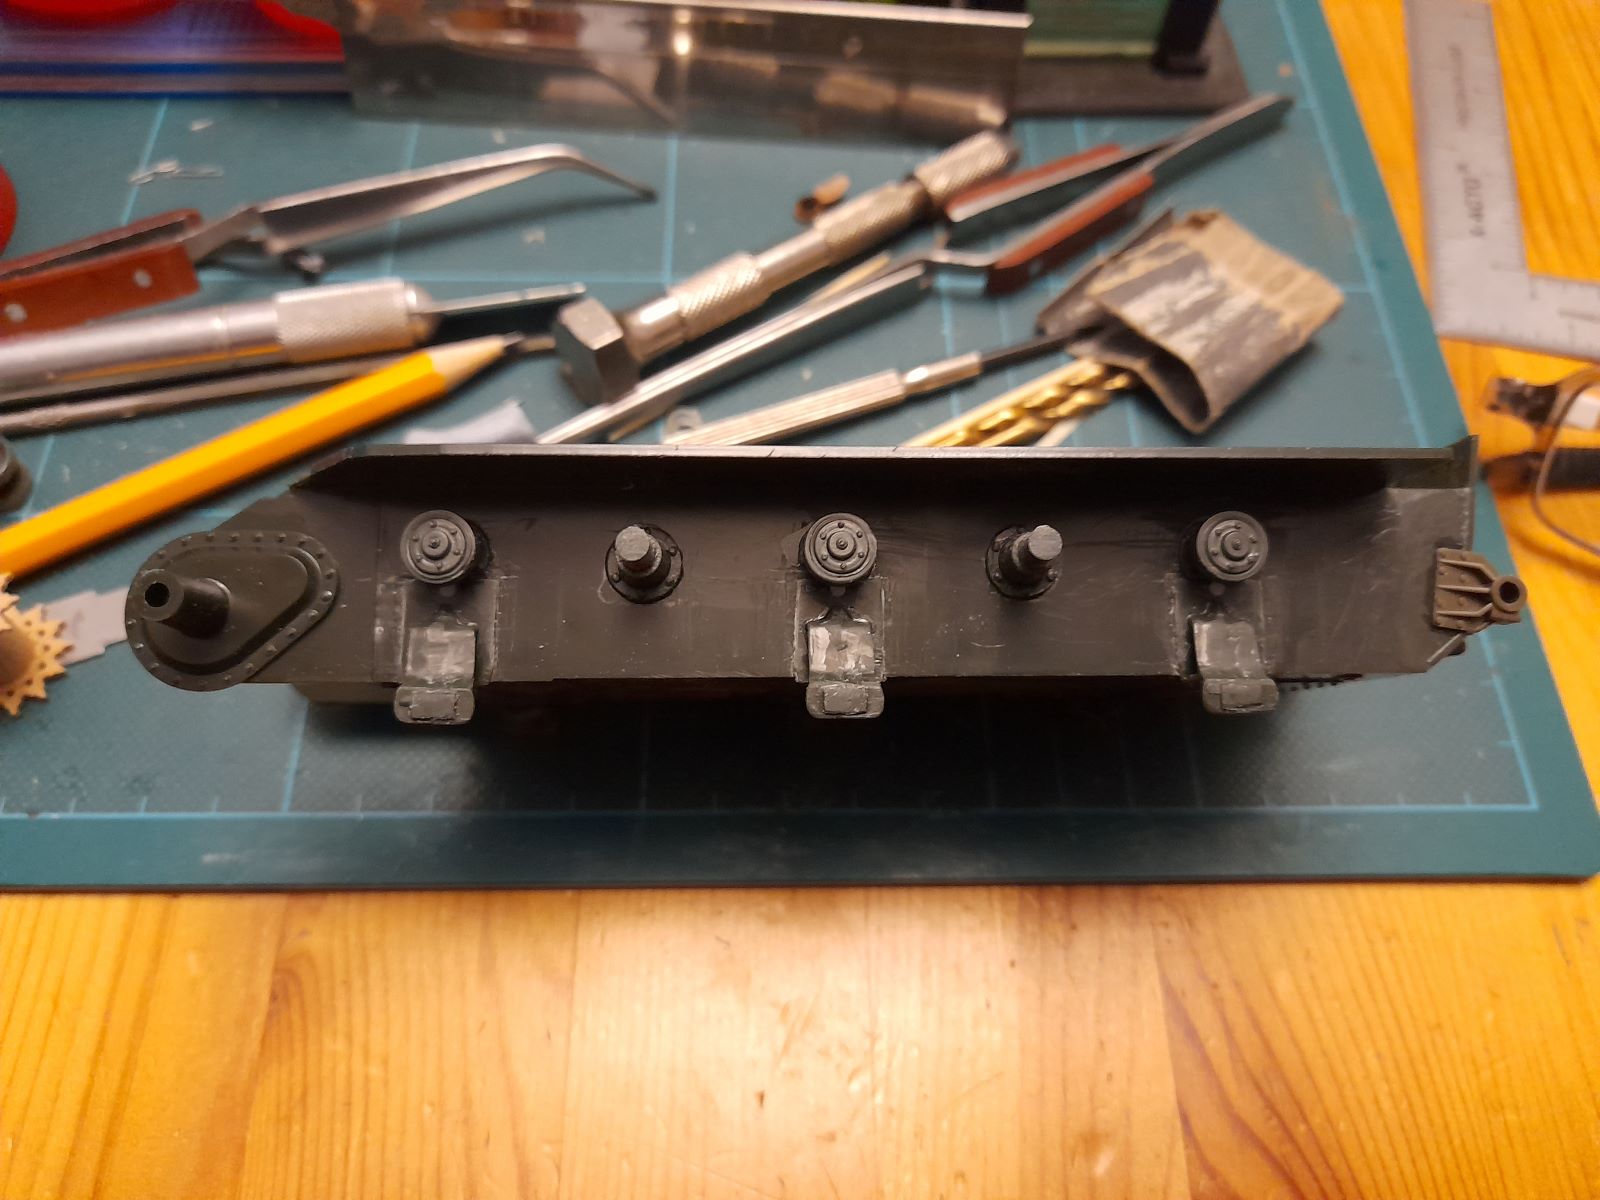
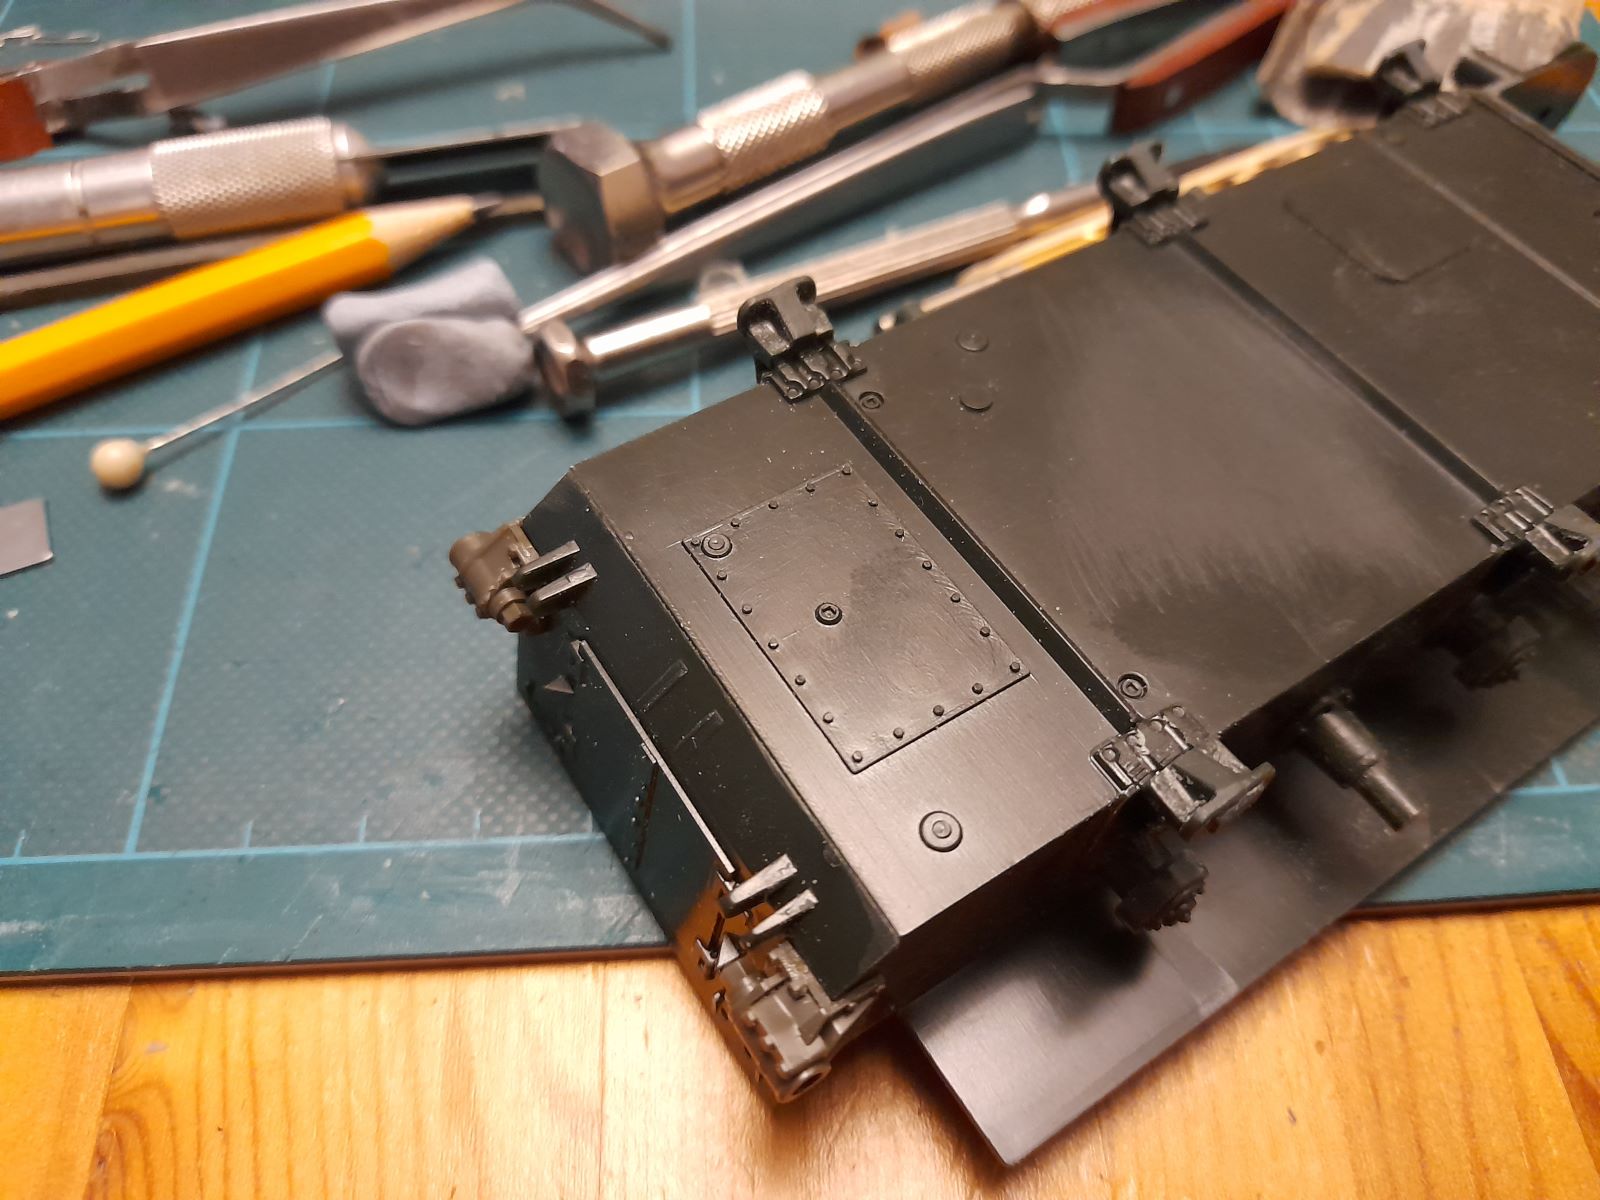
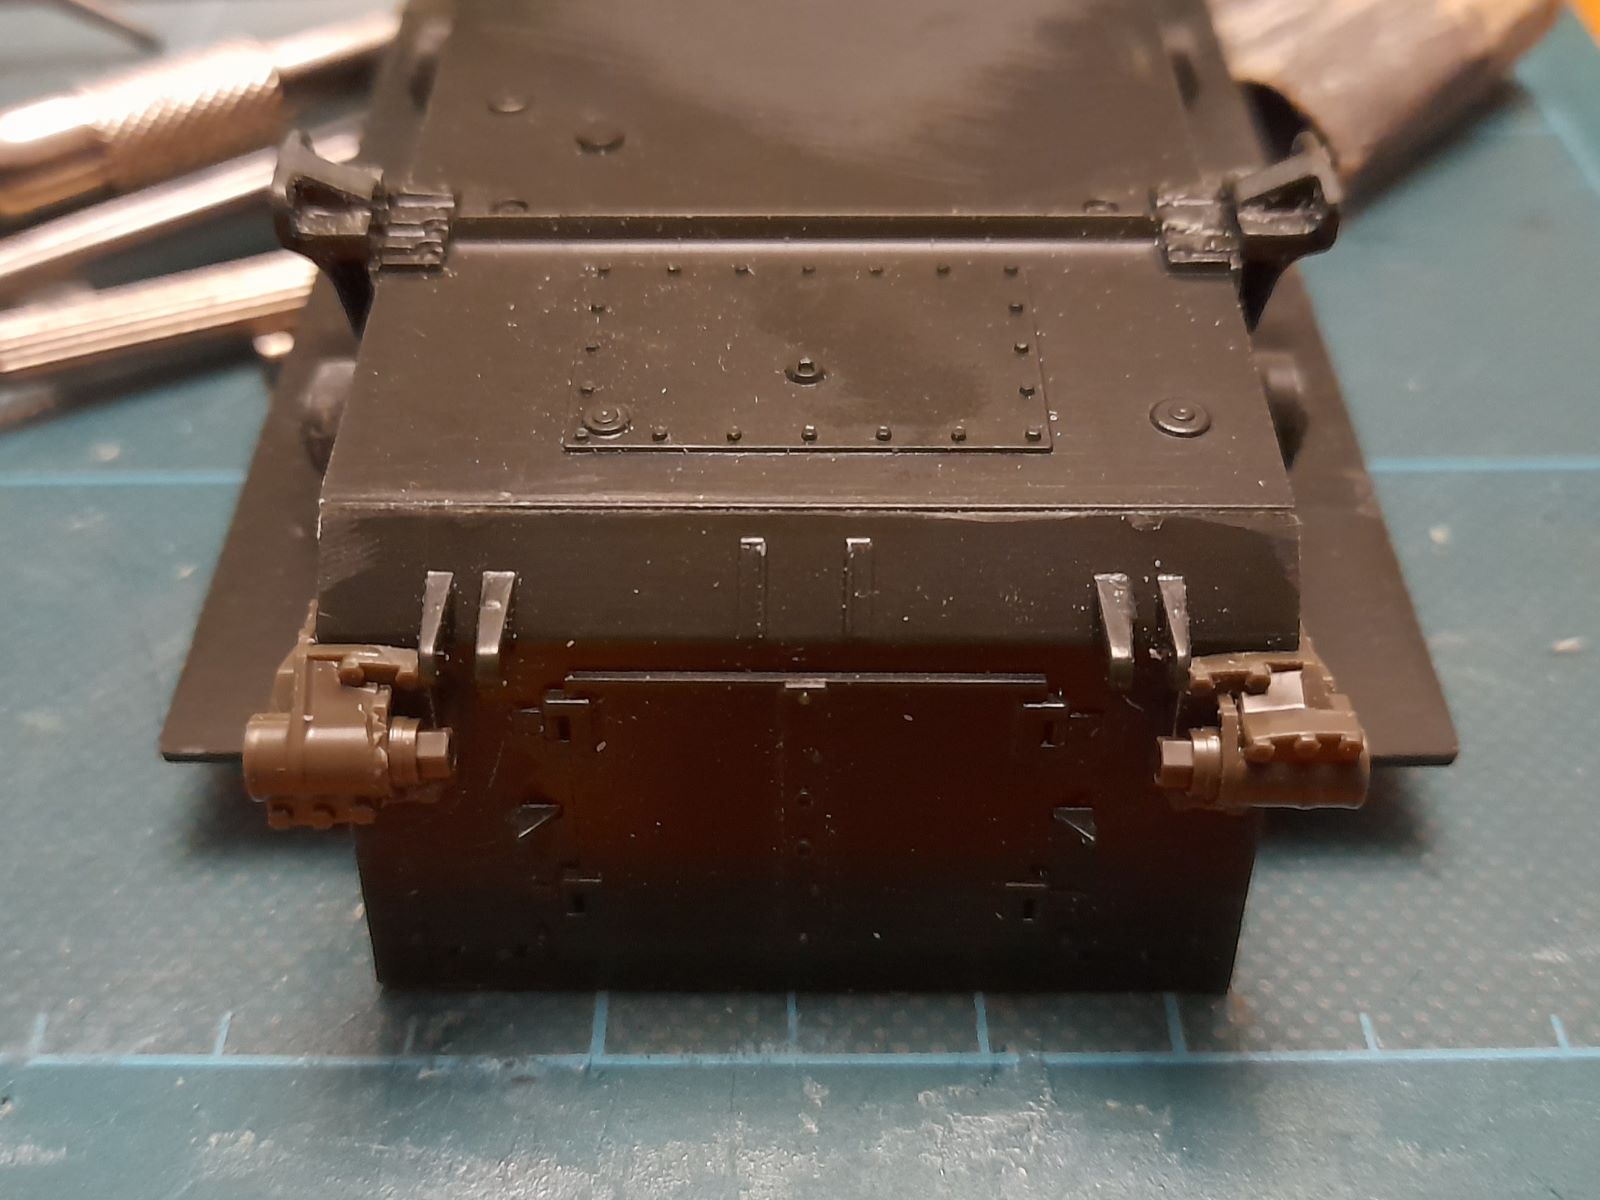
So I grabbed a little bench time (to clear my head) and made a start modifying the Italeri lower hull to accept the MP parts. I forgot how hard and brittle the old dark green plastic was! Eventually I had things trimmed except for the mount part moulded to the bottom of the hull - there was simply no way to grind it down with any control. Instead I filed off the back of the MP bogie mounts - just don’t look underneath.
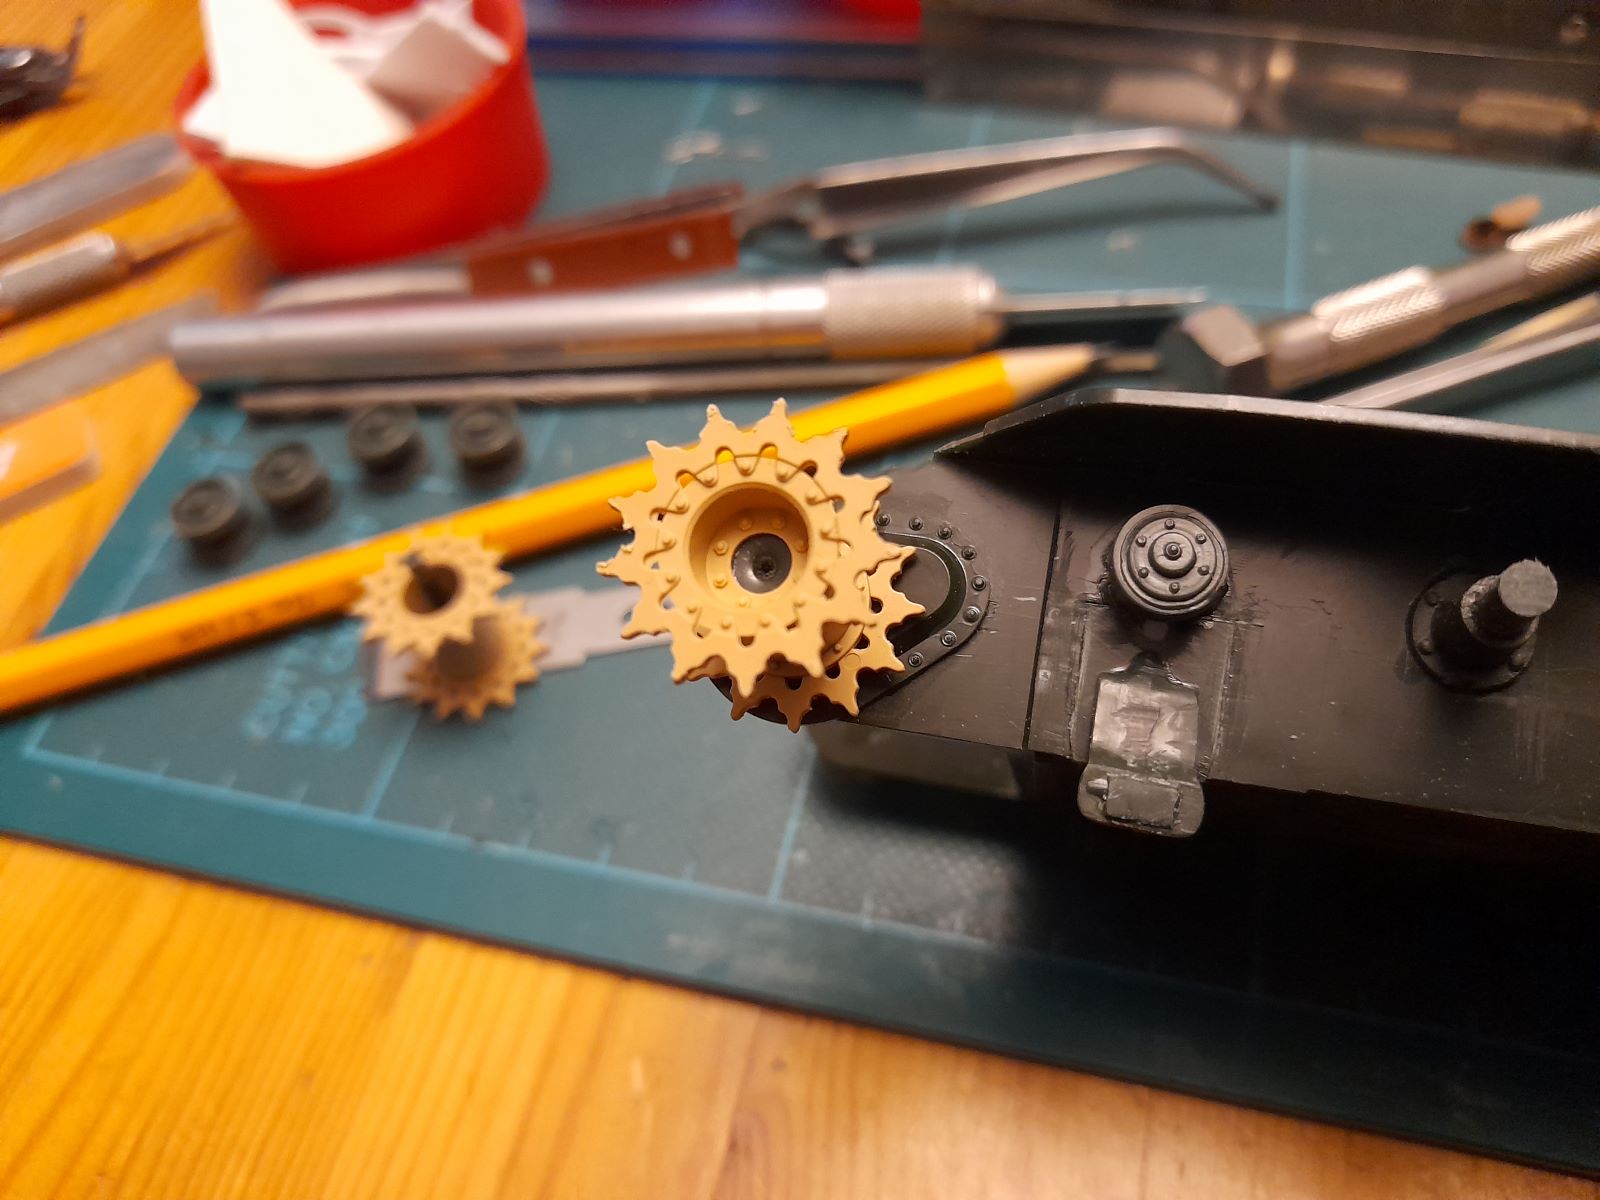
The sprockets in the MP kit are terrible, and I thought about widening the Italeri parts. But a rummage through the spares box turned up some unused sprockets from the RFM E8 that fit the Armour Track T-66 perfectly, so I modified the Italeri sprocket post to fit in the RFM parts and used the Italeri FDAs. At the other end I decided NOT to make my own idler mounts - instead I was at the Asuka online shop for sprues to go on another build, and saw that I could have the M sprue with the mounts and fenders for a measley £1.50! All I need to do now is bush the hole in the idlers, as the Asuka axle is 2.4mm diameter while the hole is 2.8 and a sloppy fit…
8 Likes
There ya go!
Michael ![]()
![]()
1 Like
Worked on Asuka Sherman bogies and about half way done.

Noticed the bottom right had the wheel section upside down and fixed that last night. Next is to glue the wheels in, fix the seams, drill the return wheel holes and add the skids.
5 Likes
These bogies are easy to build so that you can clip the wheel arms in and out as needed, so unless you applied glue right away (which it doesn’t look like ![]() ) the fix should have been simple.
) the fix should have been simple.
3 Likes
I agree but it wasn’t I saw Paul’s video that it clicked in my mind on how easy it really is.

And yes, it was not glued so it was easy to pop out and fix.
2 Likes
And weathering be. Eventually back home to start some Sinai dusting and caking. I also found a broken idle because of the strain from the rubber track. Next time either new tracks or a peg to reinforce them!!
Cheers
10 Likes
@Steo77
What was your base M4A4 donor kit? The tension on the track must’ve been too high? I like to take links from rubber band tracks to get a more realistic tension on my Shermans but it’s a fine line between just enough and enough to break the idlers off. It looks fantastic are you done with it or will you be adding more like stowage?
1 Like
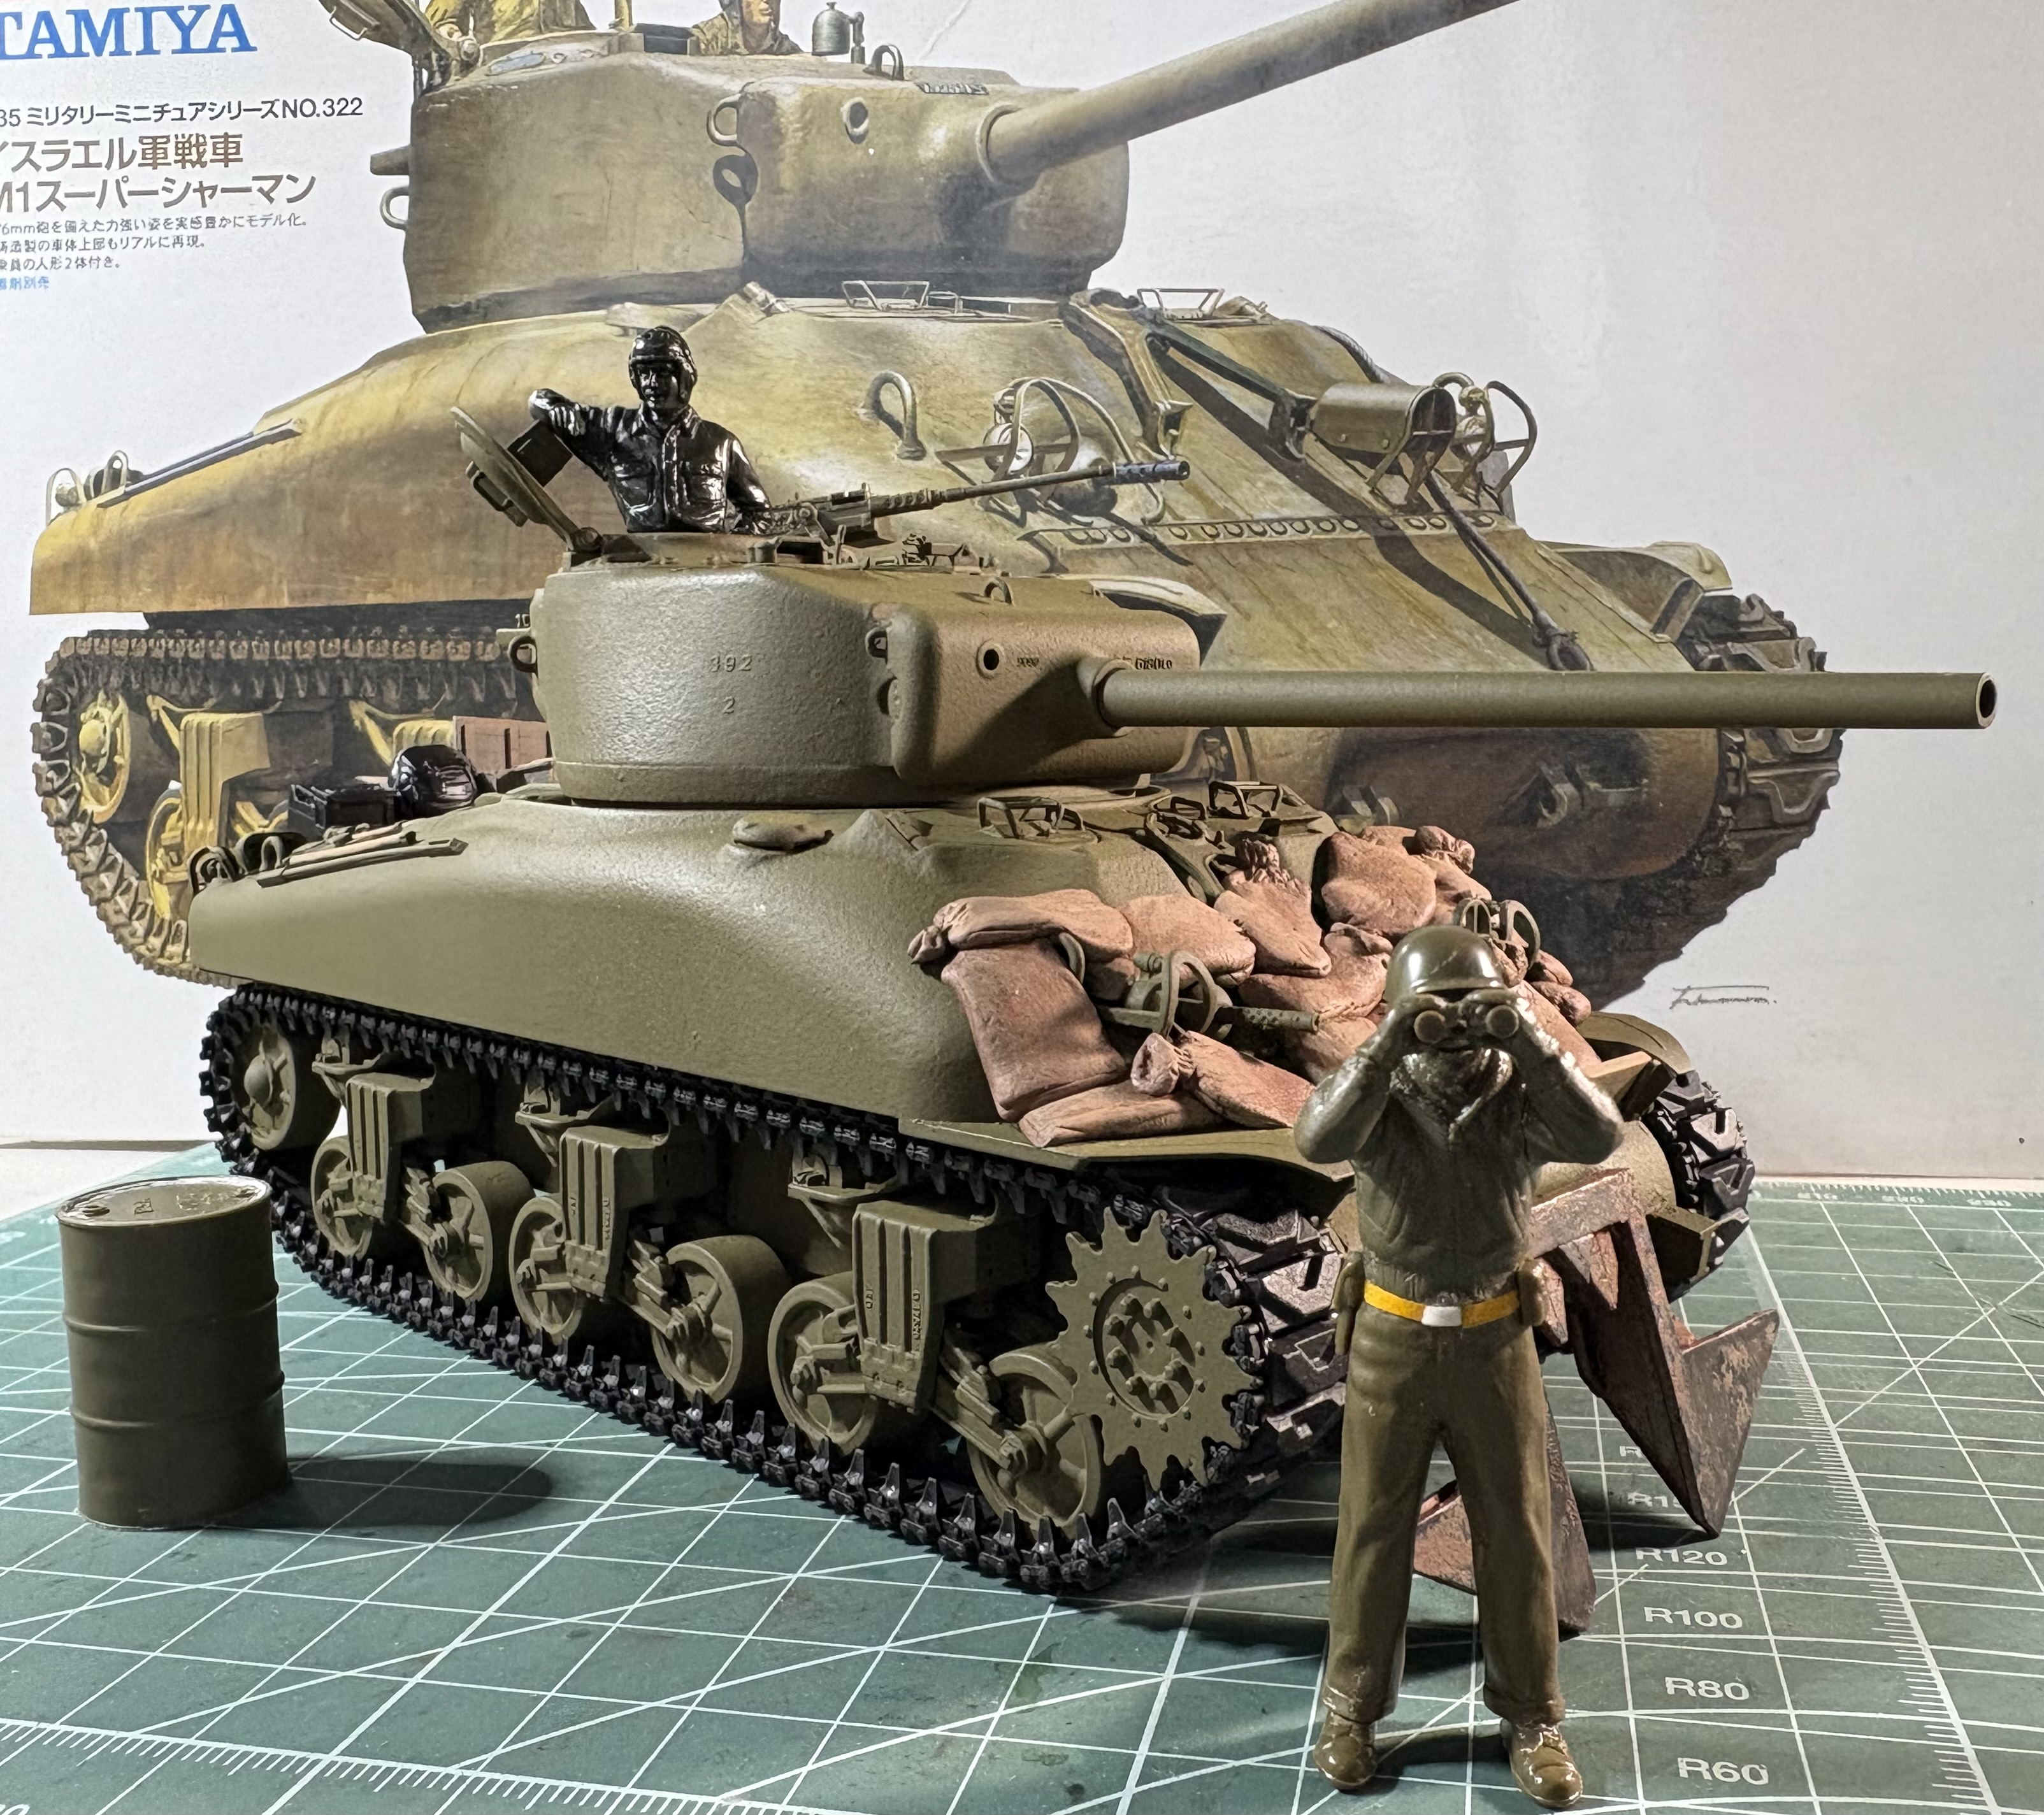
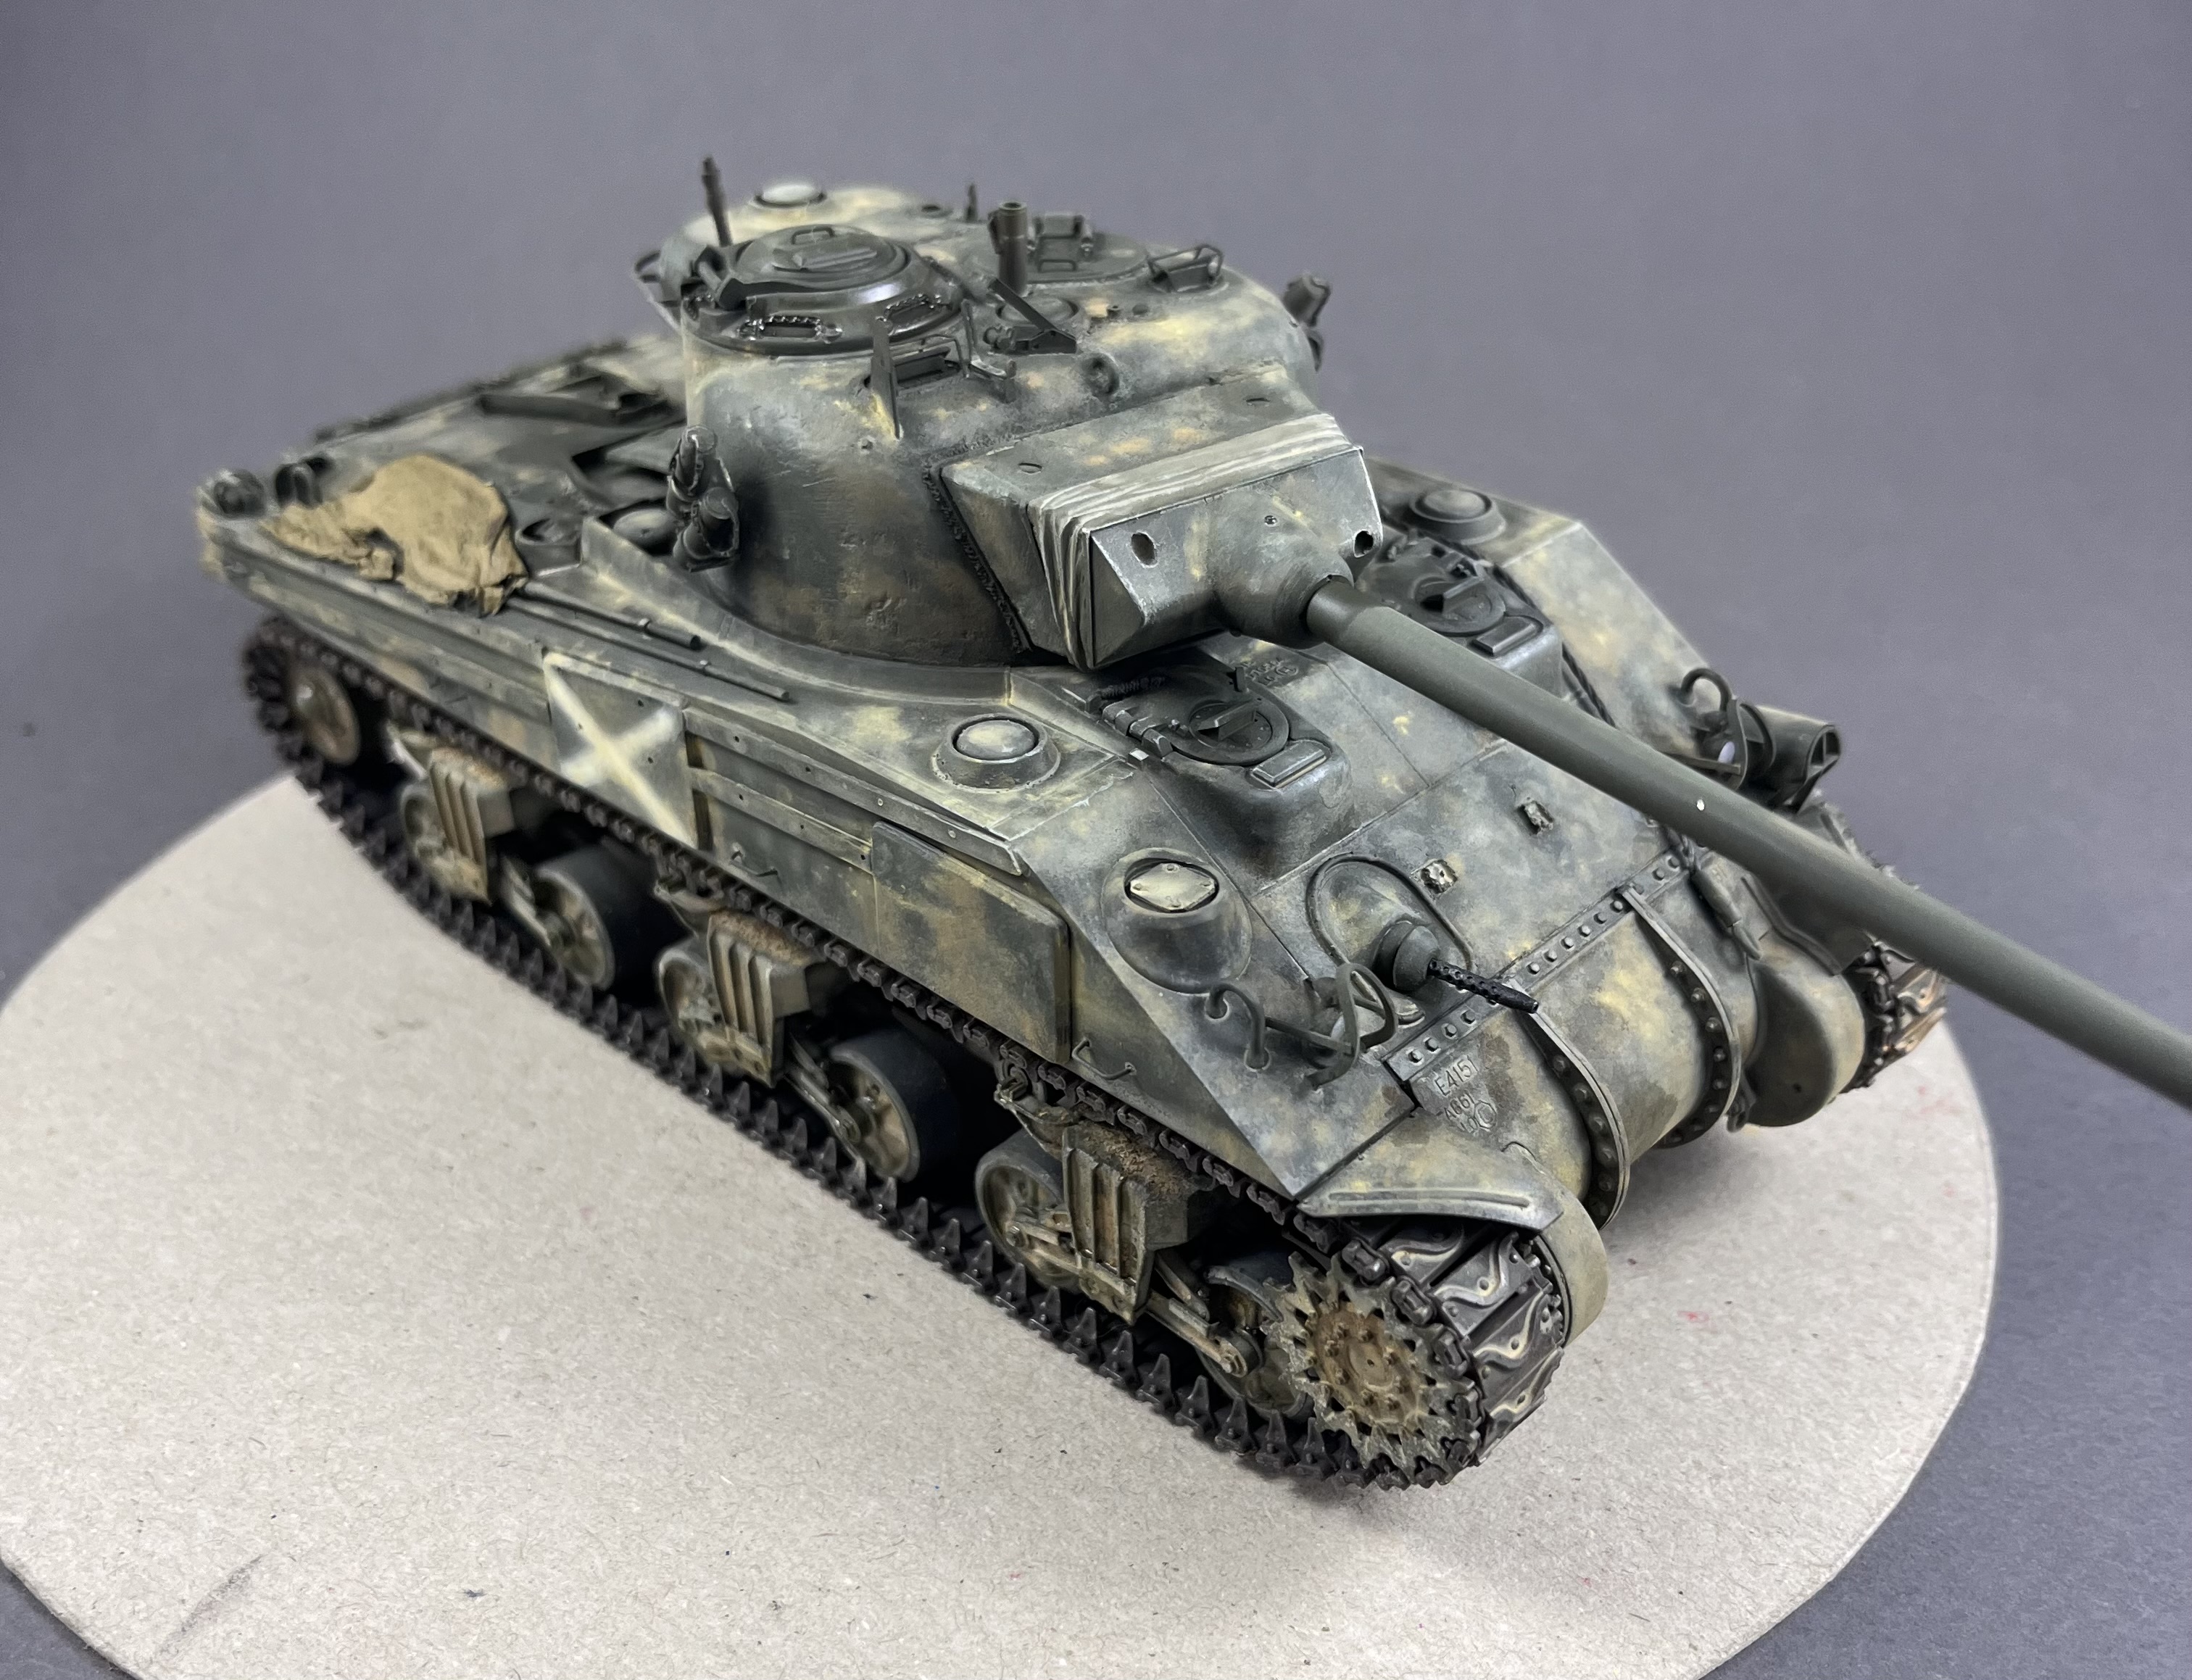
Finally an update on this Border Models M4A1 76w! This time the sandbags are permanent. My first time working with apoxie sculpt. I tried to match the number of sandbags on this image.

I probably shouldn’t have tried to do all 16 in one sitting. Live and learn, next time I’ll probably break this up into two sessions and they would not only look better but the last 6-7 wouldn’t be rushed because the material was already getting stiff.
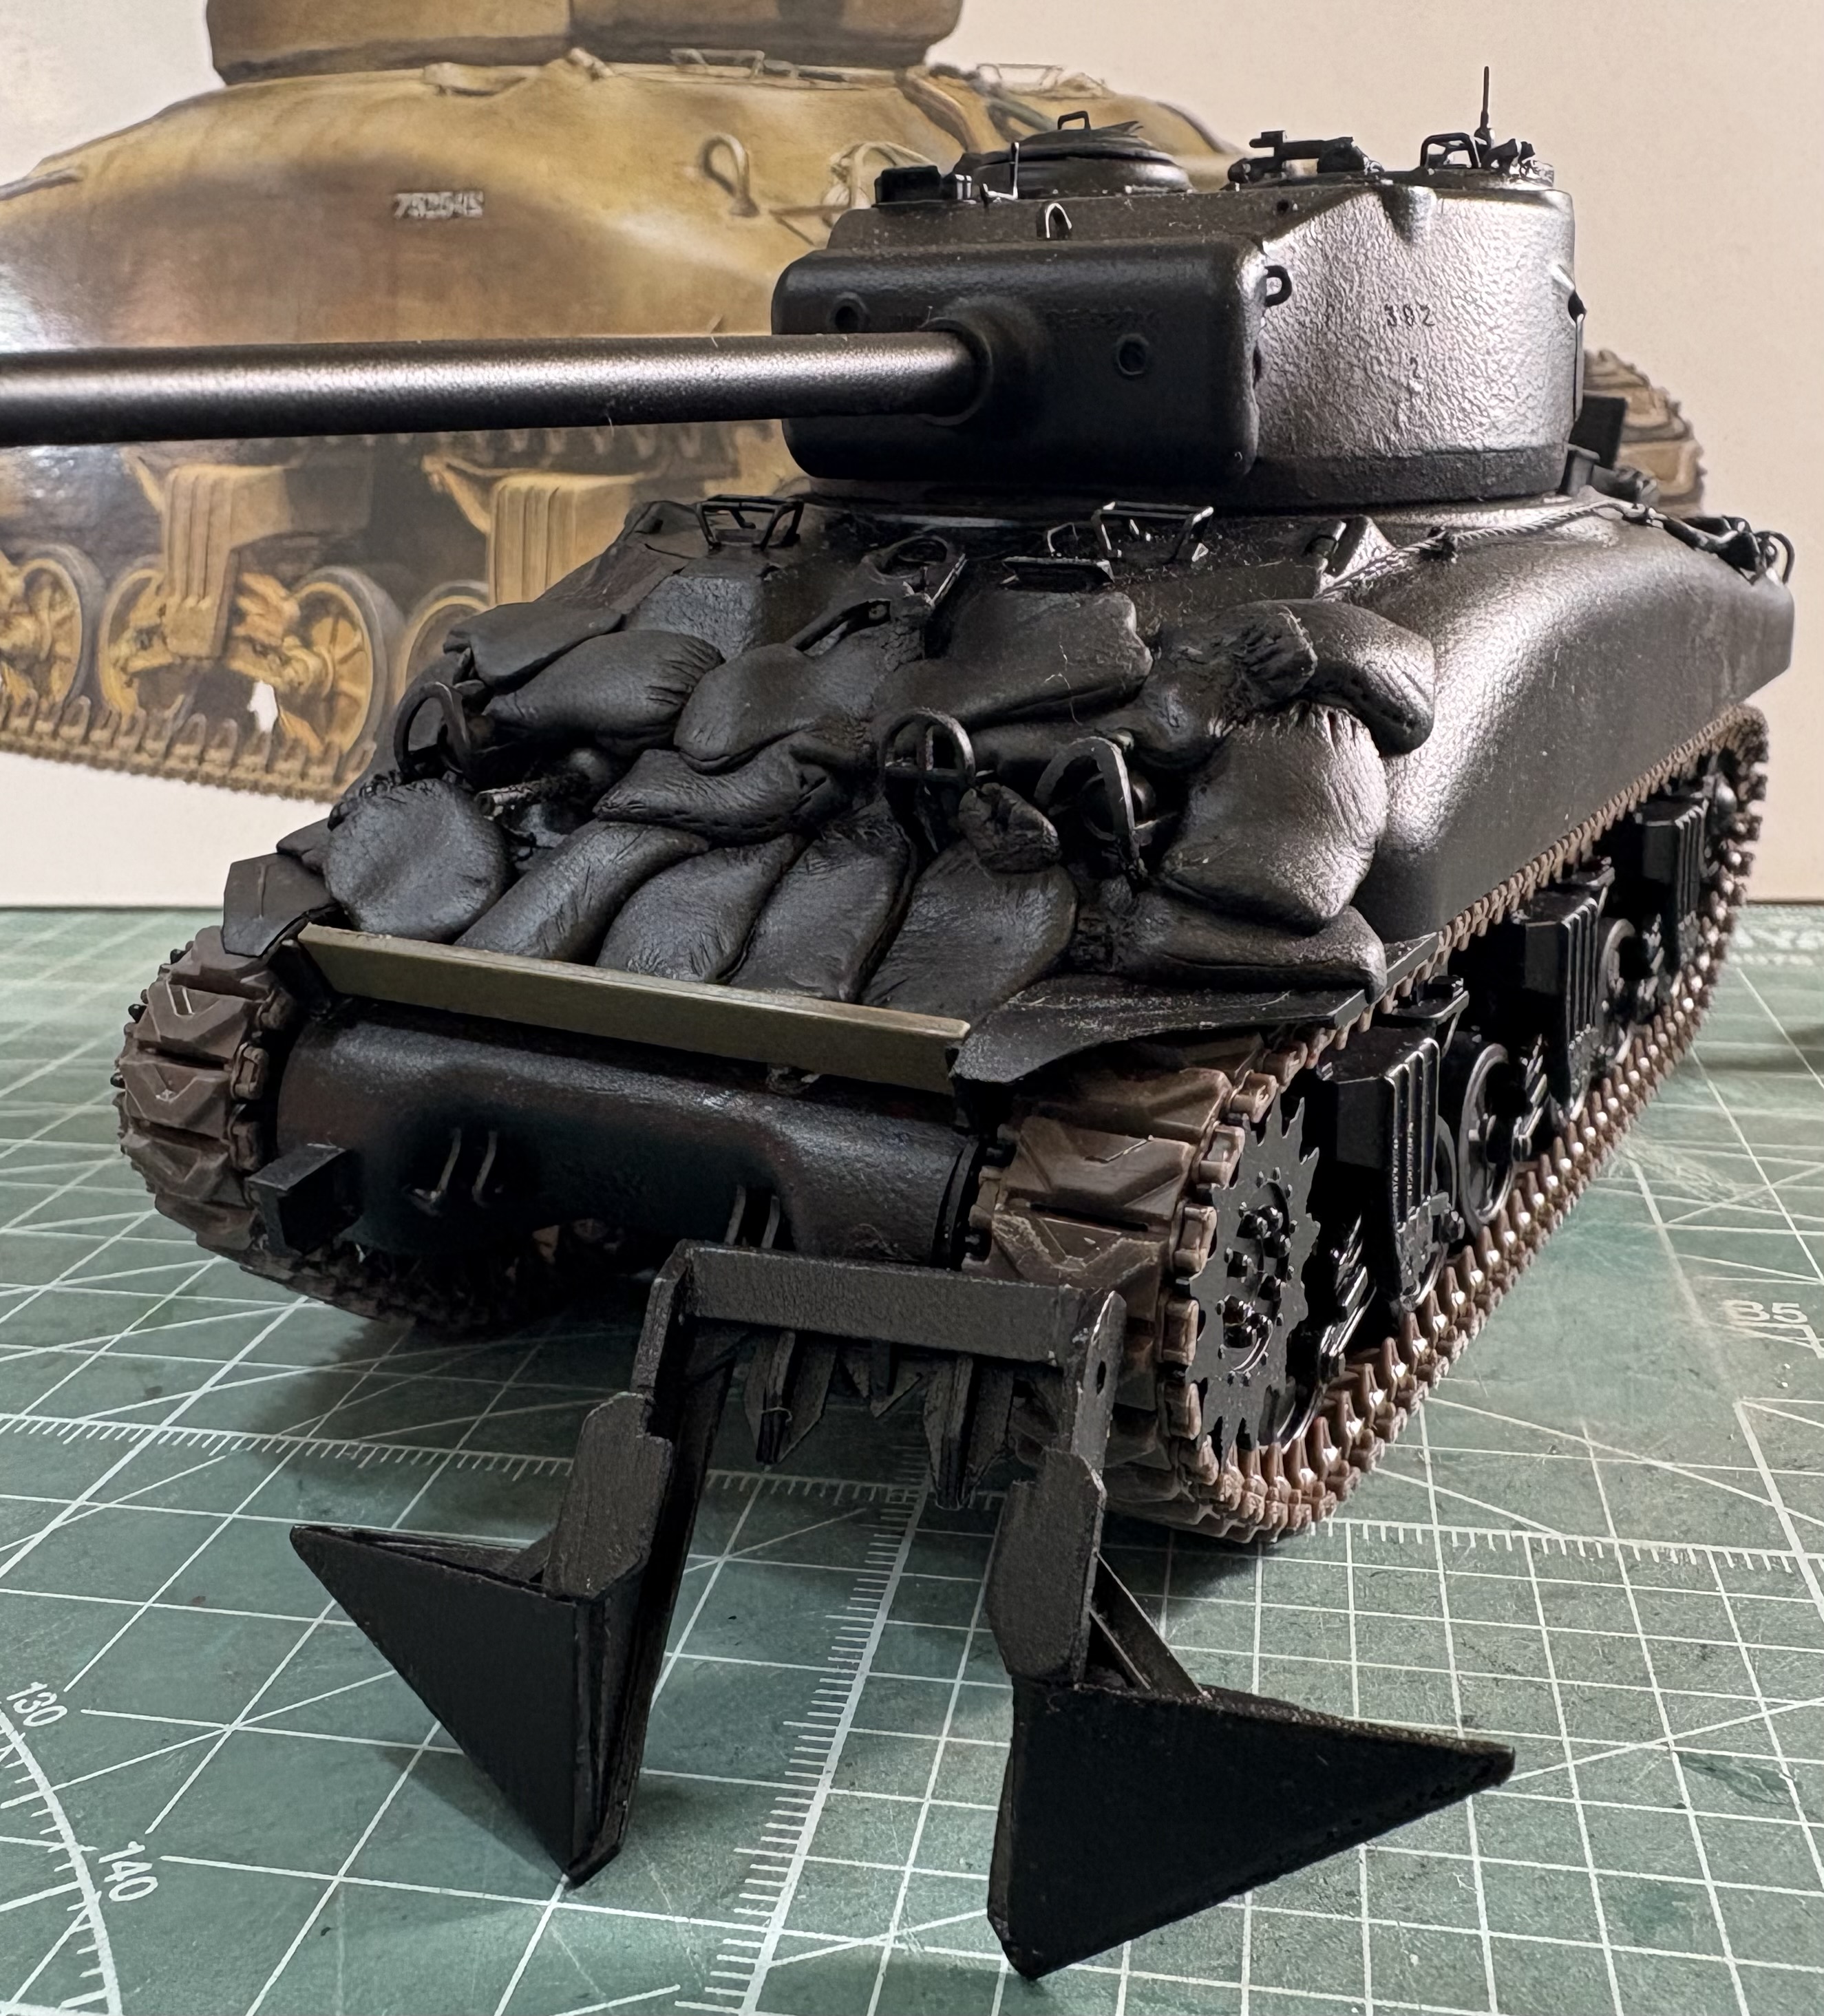
Now I just need to finish the stowage and give it a tank commander, then paint, decals, then weathering.
5 Likes
Hi, the donor is Asuka/Tasca. Idlers are adjustuble to some extent though it’s clear now that I failed the decimals to avoid breaking. Now it’s reinforced, but time will tell.
Not done yet, I am working on stowage for its Sinai run towards the Canal in ‘56..
And waiting for the mediums to fully dry to lay some more crust. A minimal base then to set it on the scene.
2 Likes
I do use Apoxie too, so the bags are my own only ![]() . Yours make it look a real one.
. Yours make it look a real one.
1 Like