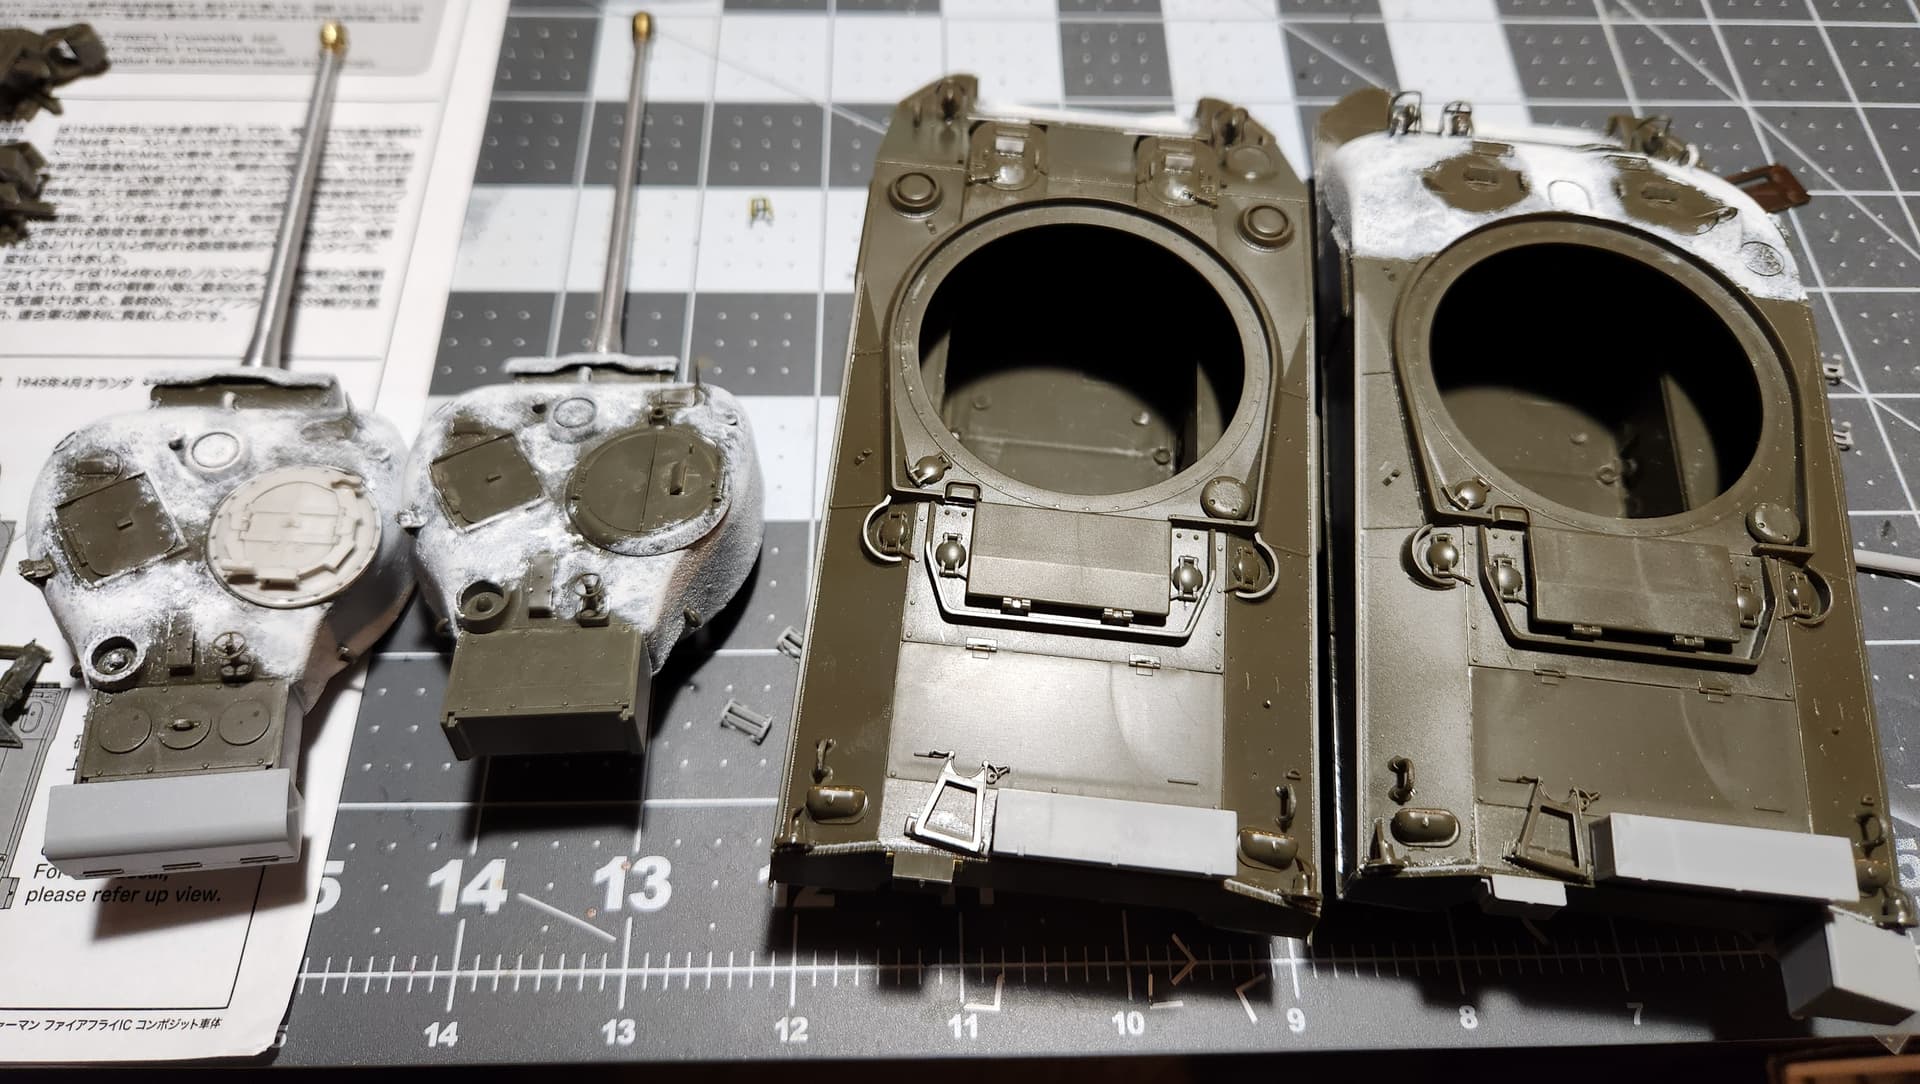
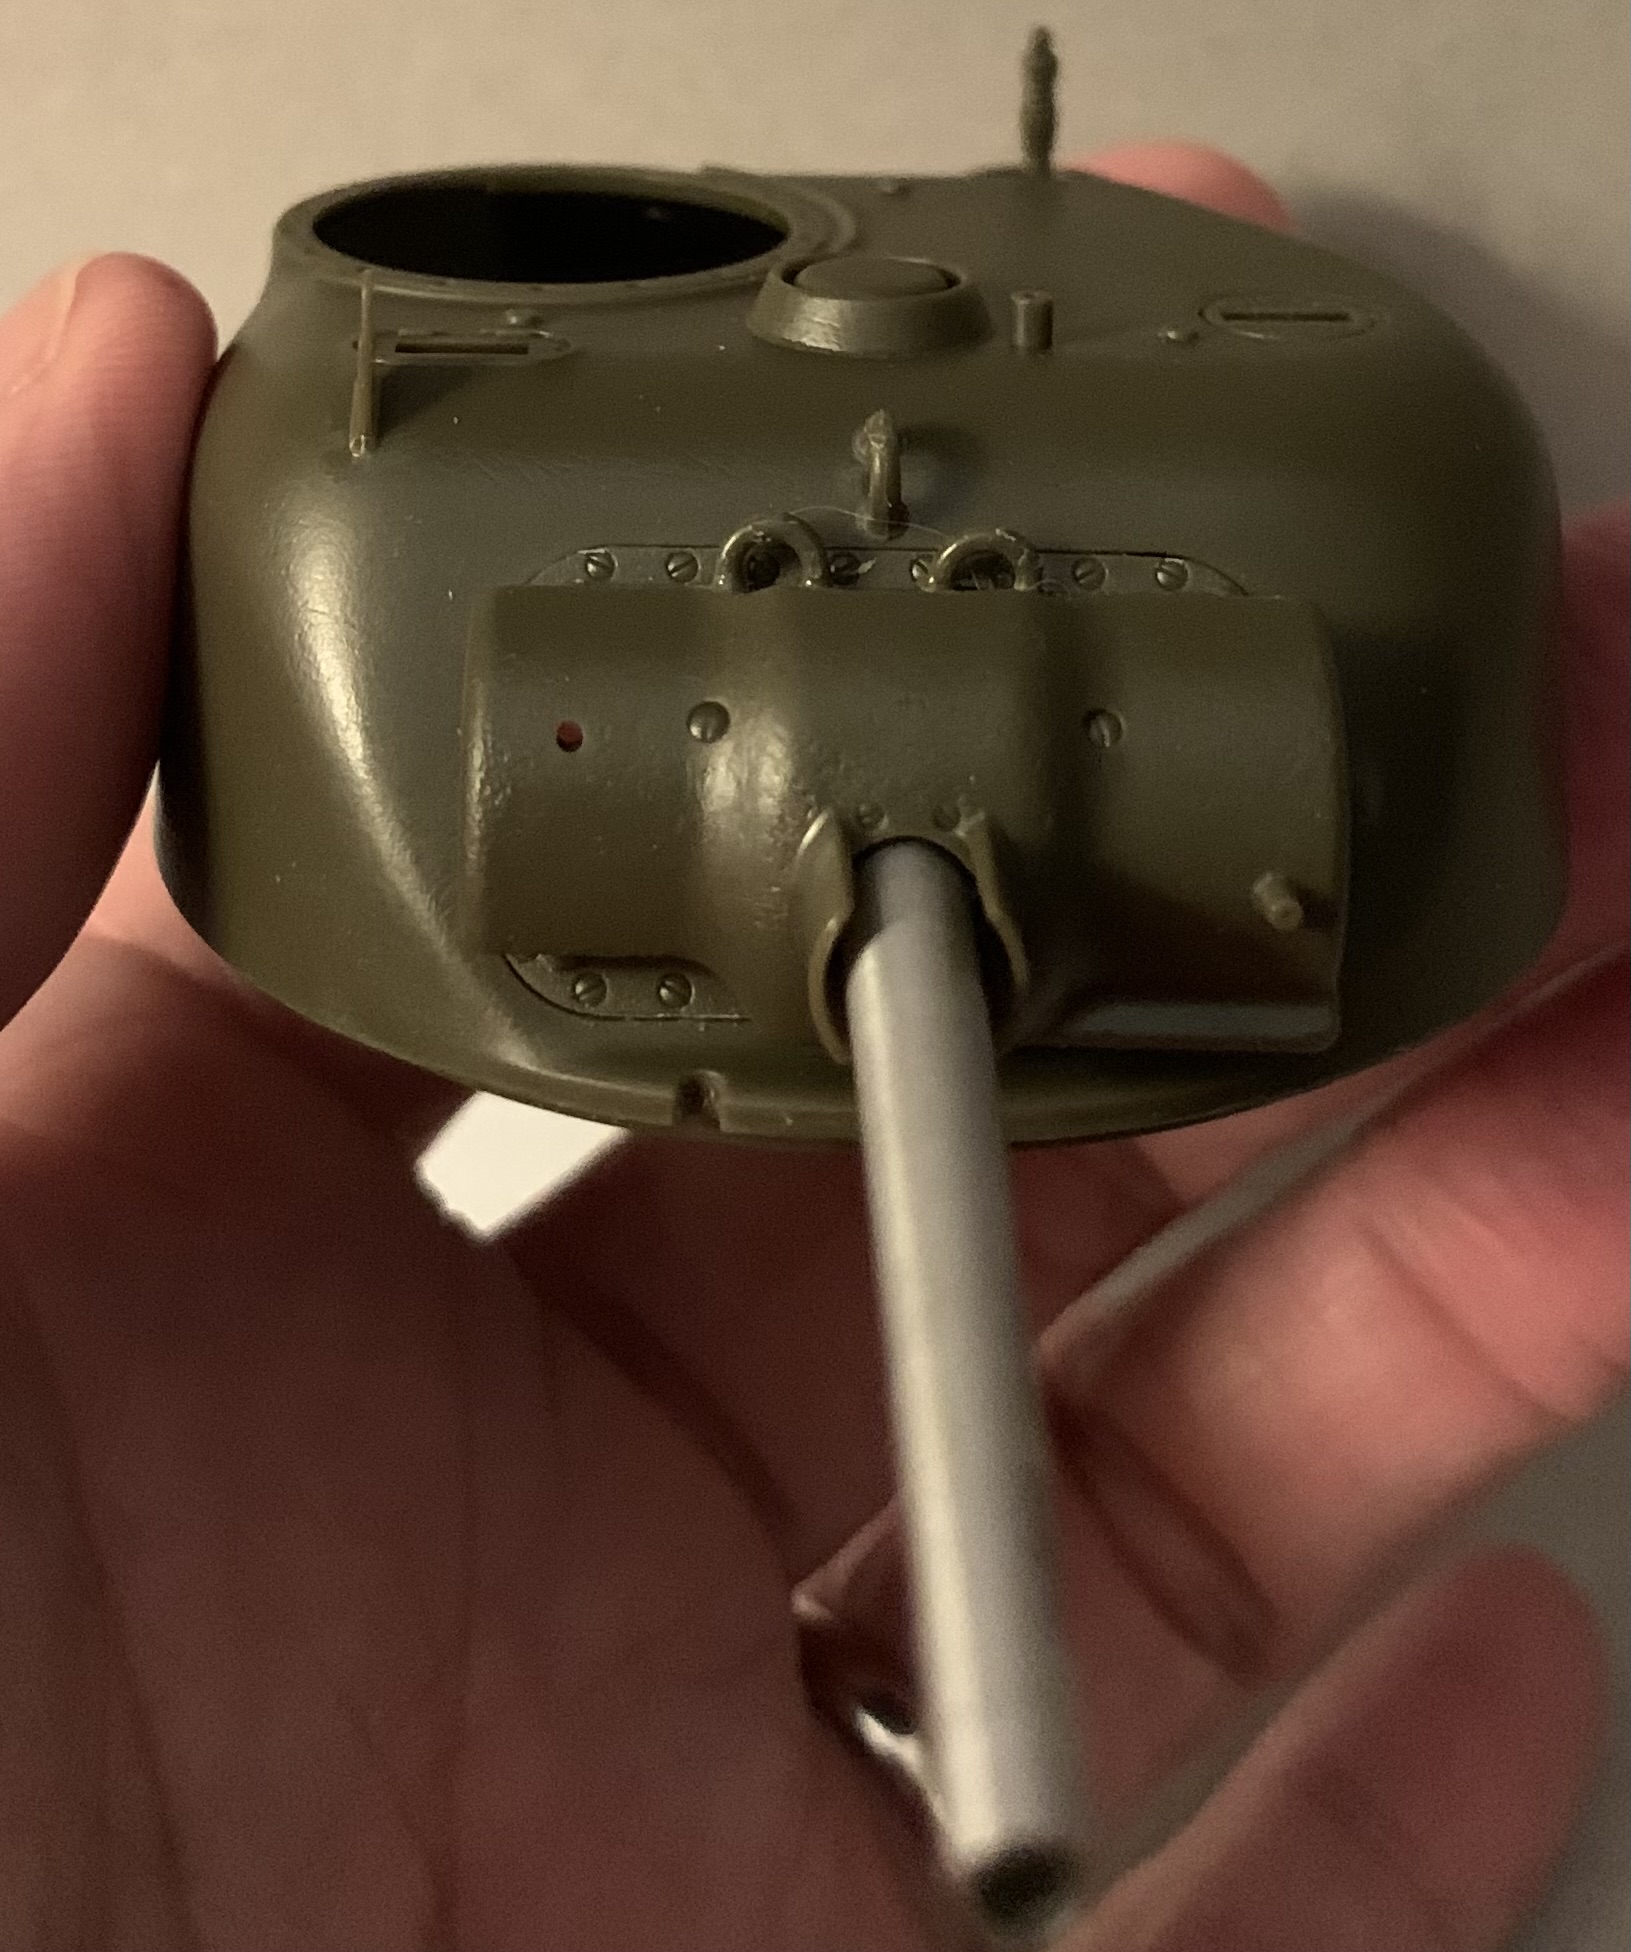
Or has the housing been glued in too high? The lip on it seems to be a lot higher than it should be in relation to the bolt heads.
2 Likes
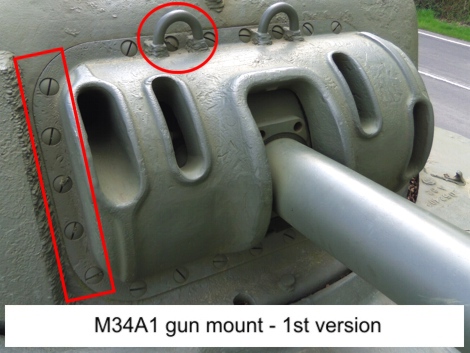
Interesting question pops up there: Did Ryan glue the right bolt strip on the correct side of the housing? Because the one for the top can be easy to confuse for the one for the bottom.
3 Likes
So the first time, I glued to housing but angle didn’t work out correctly.

I too thought I had mixed up the parts because they are very similar and strangely both were easy to pop off. The test suggested I had glued the correct parts the first time. I reglued them back into place. That’s not to say I couldn’t have dorked it up then. My thought was it’s “easier” to fix the transmission side than the hull side.
2 Likes
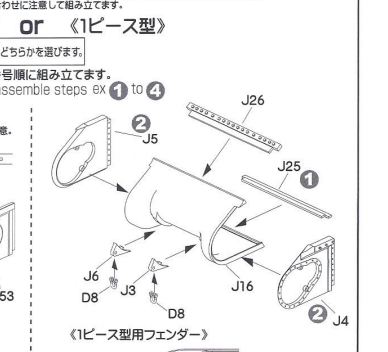
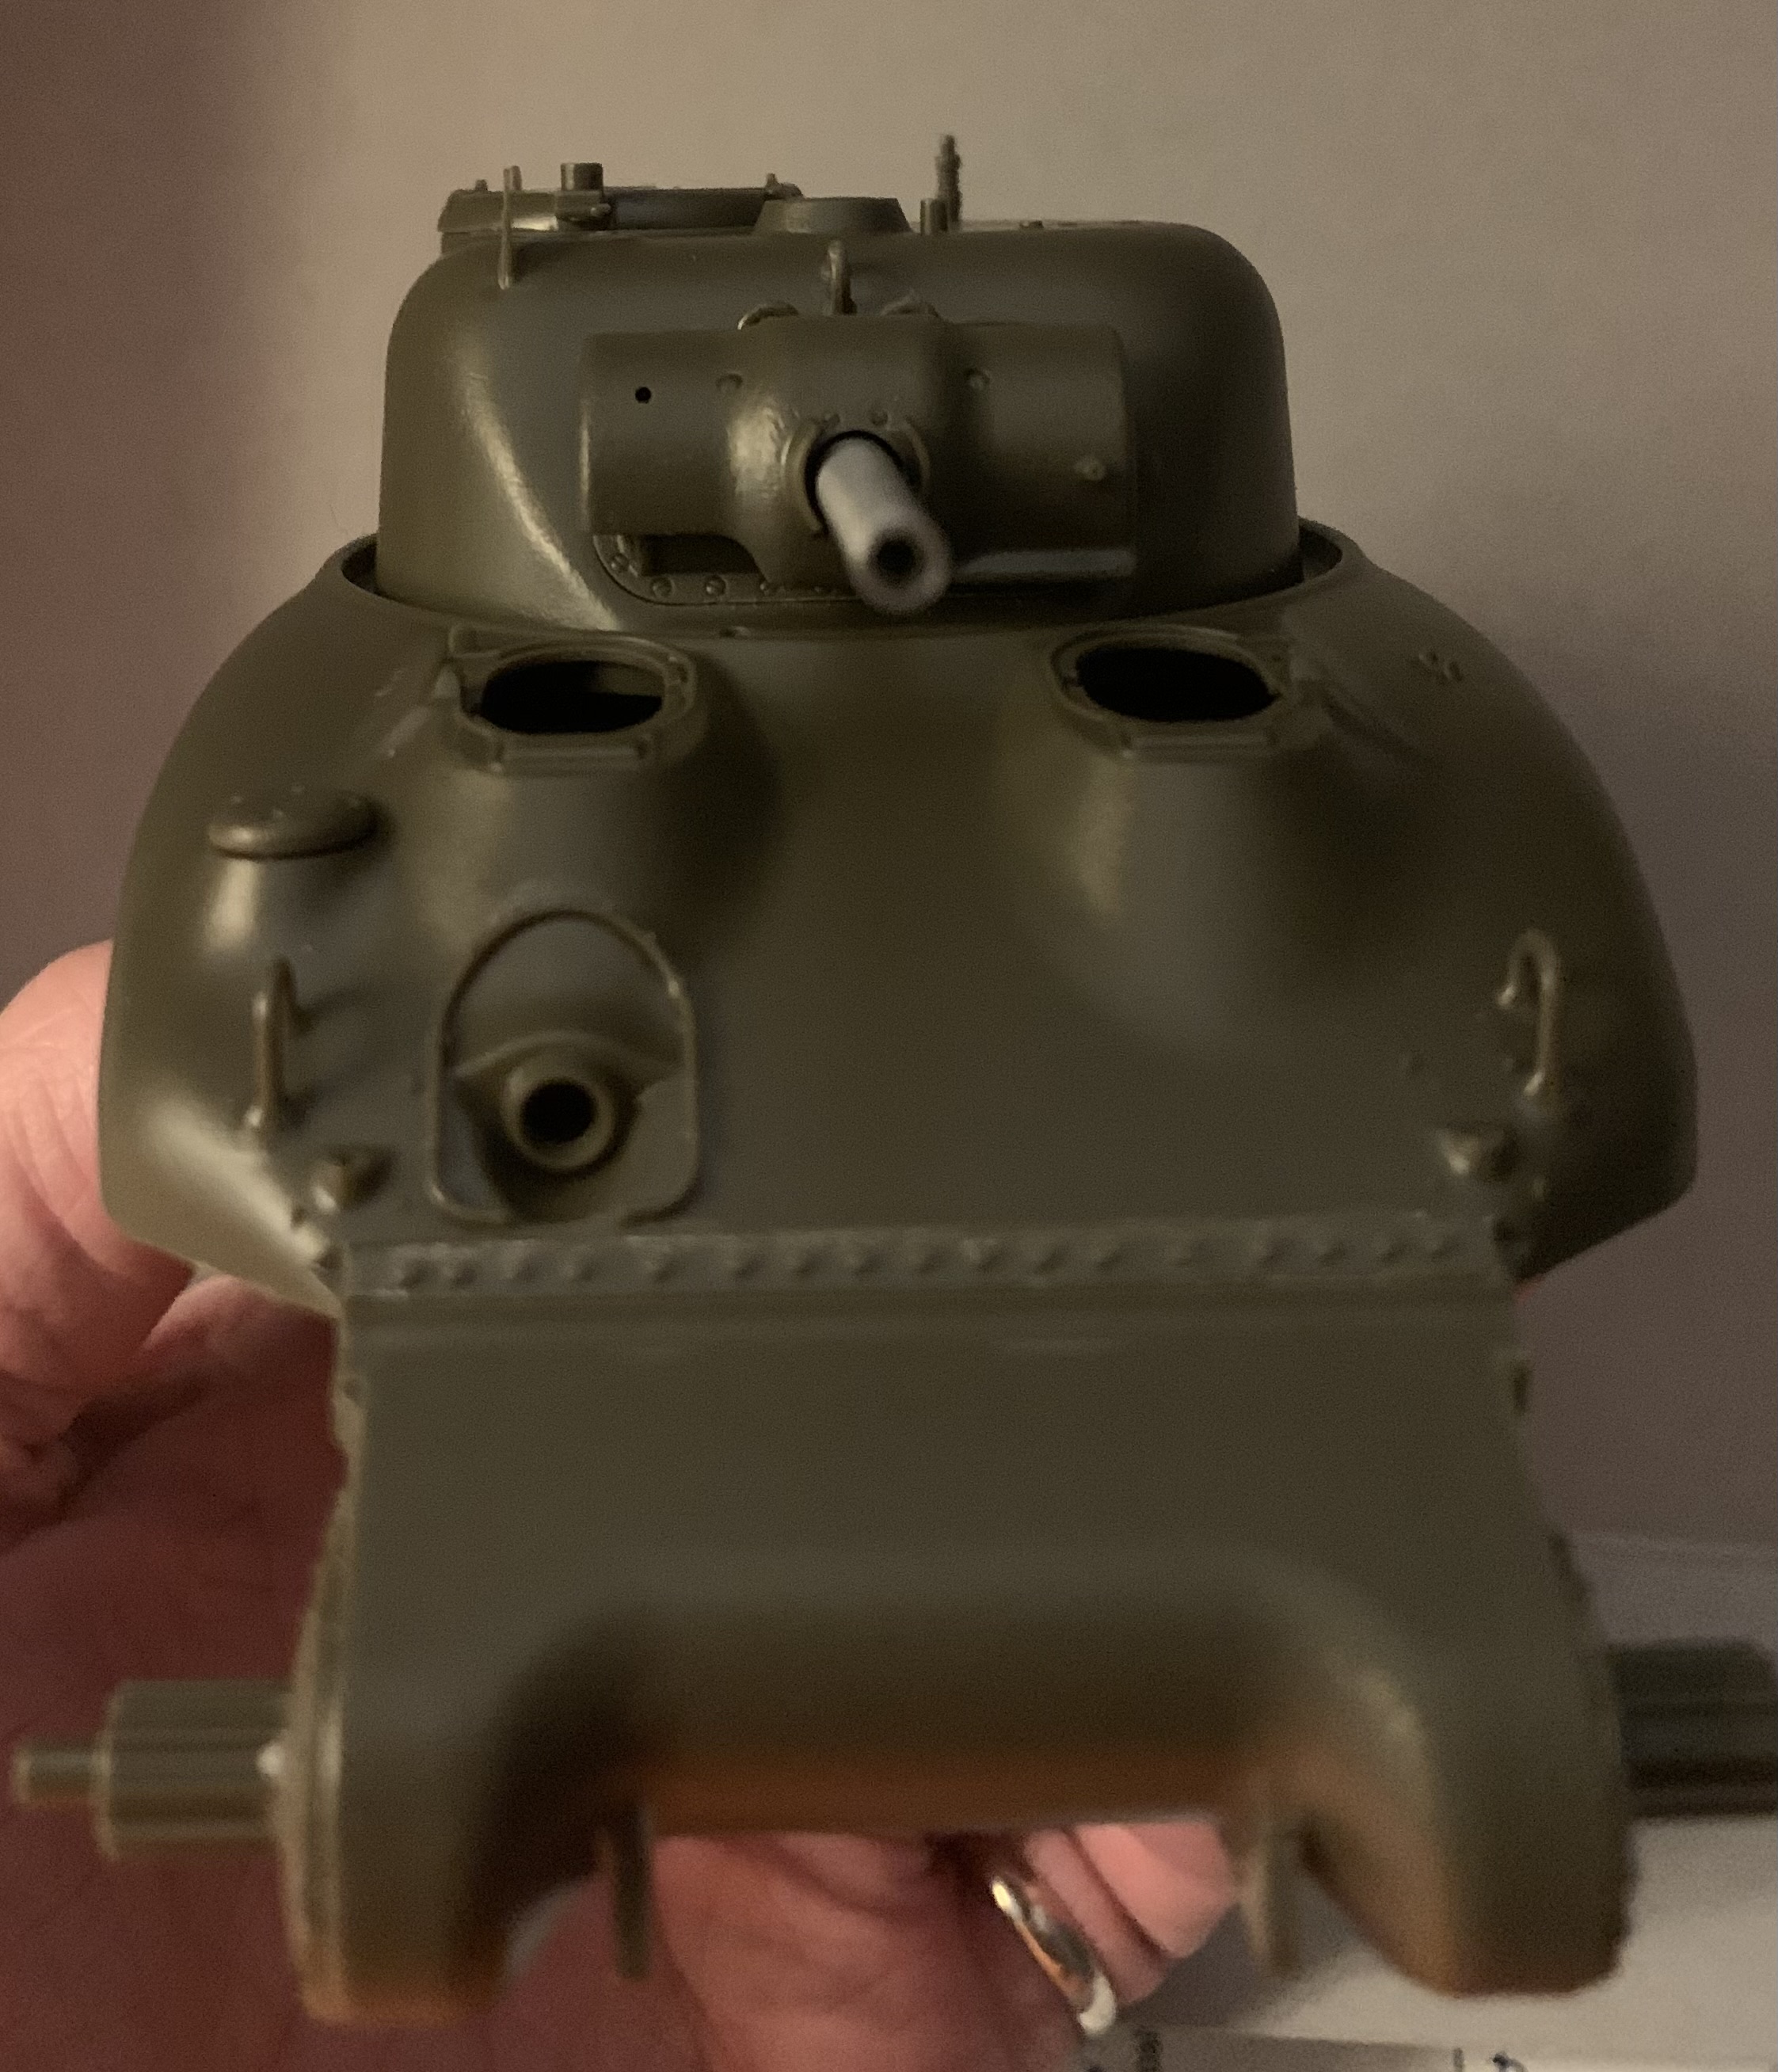
Yes it is interesting. It looks like the right part is on top. Note the spacing of the bolt to the end of the strip. That is part J26. The bottom strip has bolts almost to the edge:

Part J26 is the top part as per instructions, and your pic matches that bit Ryan.
Can’t help you more though.
2 Likes
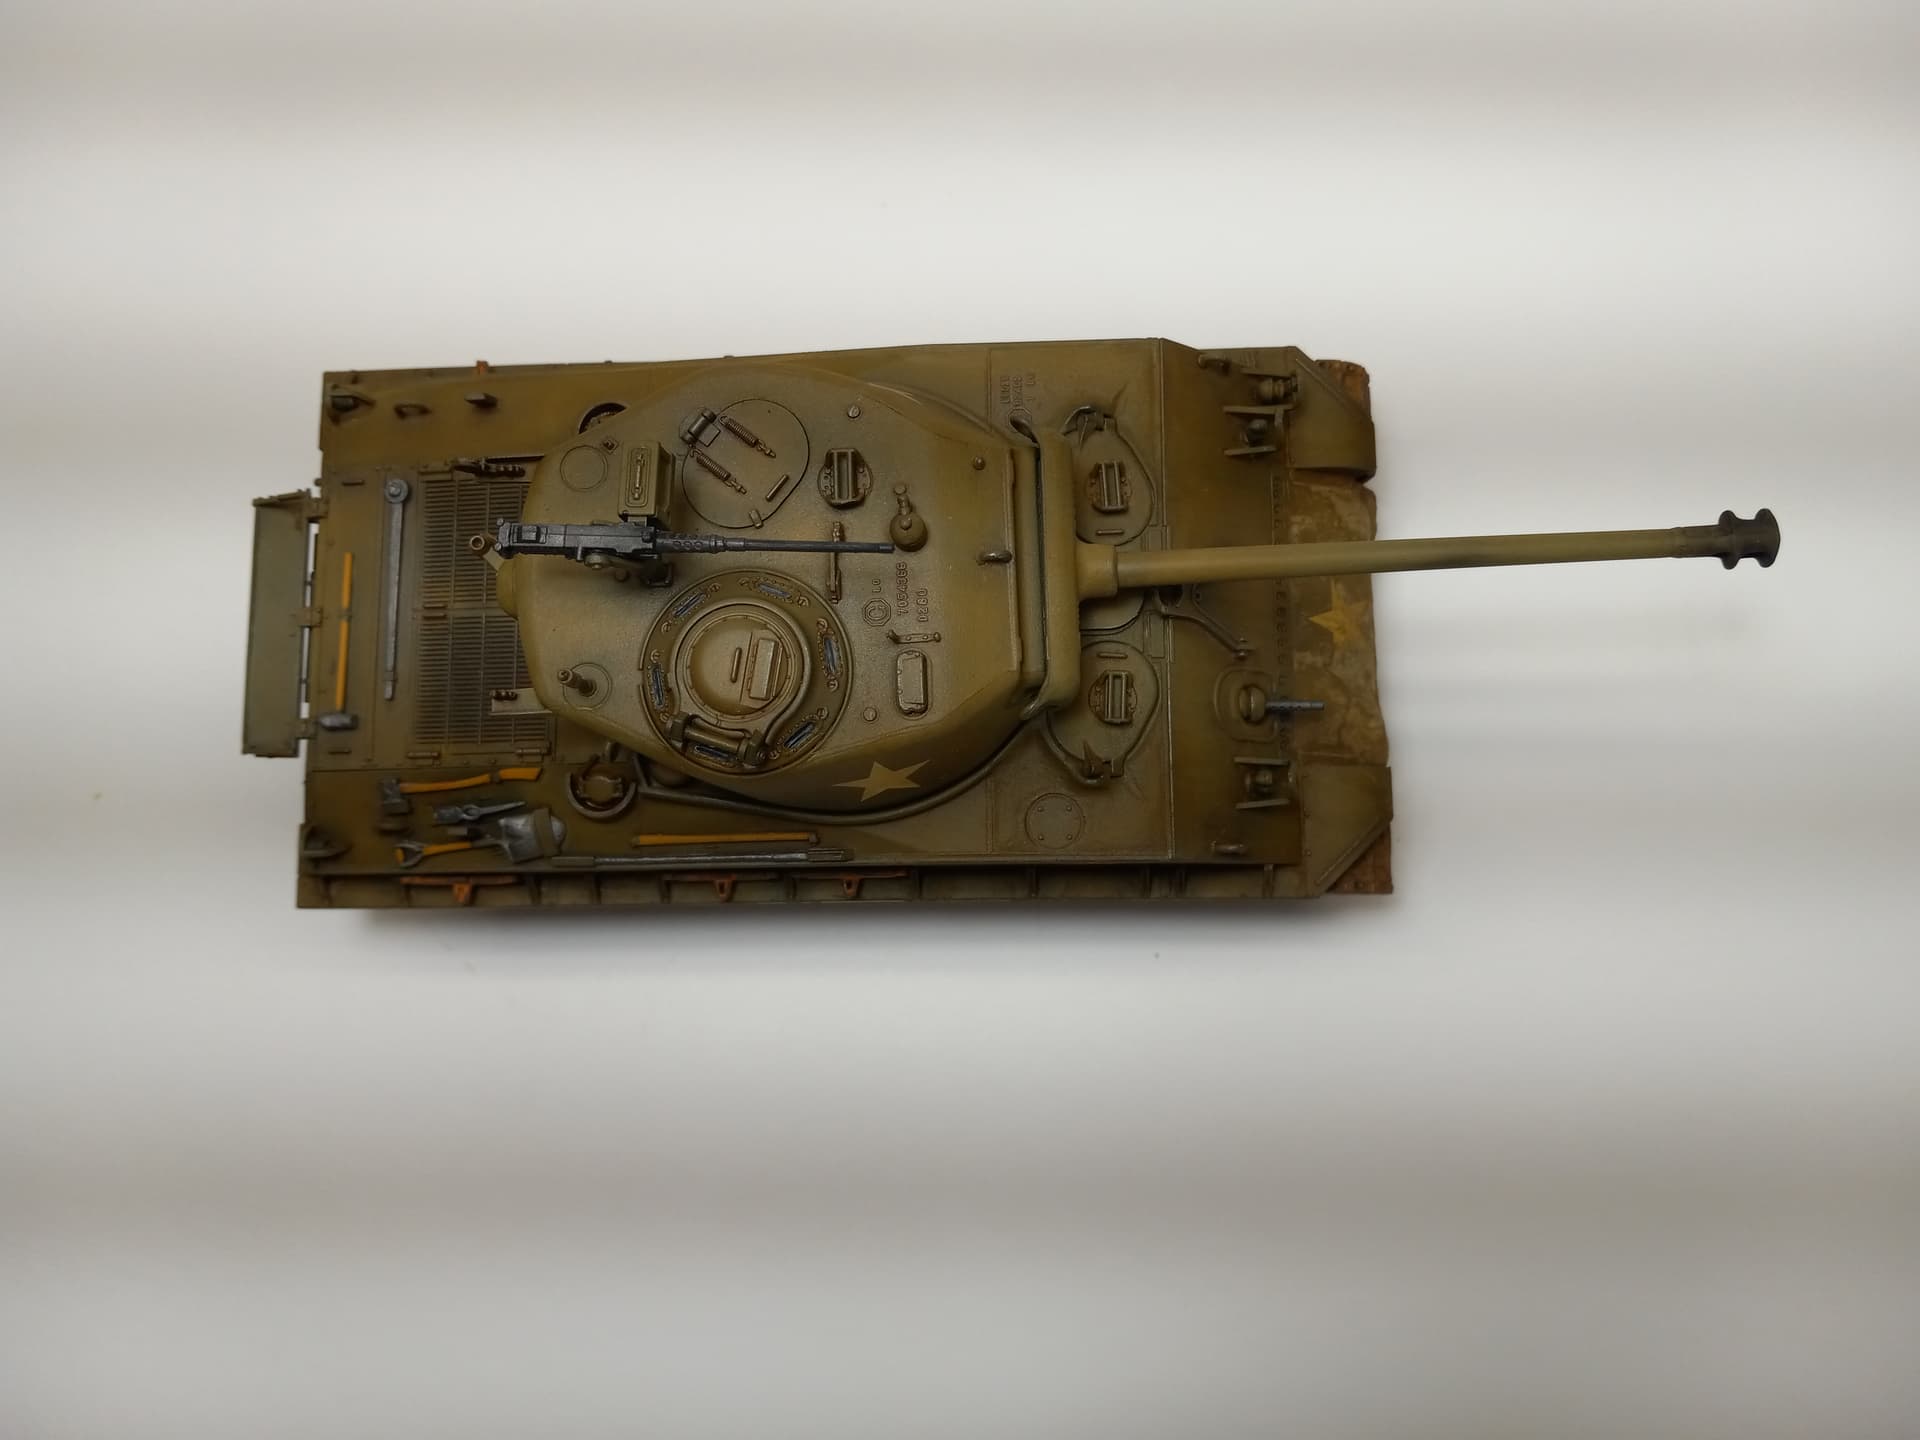
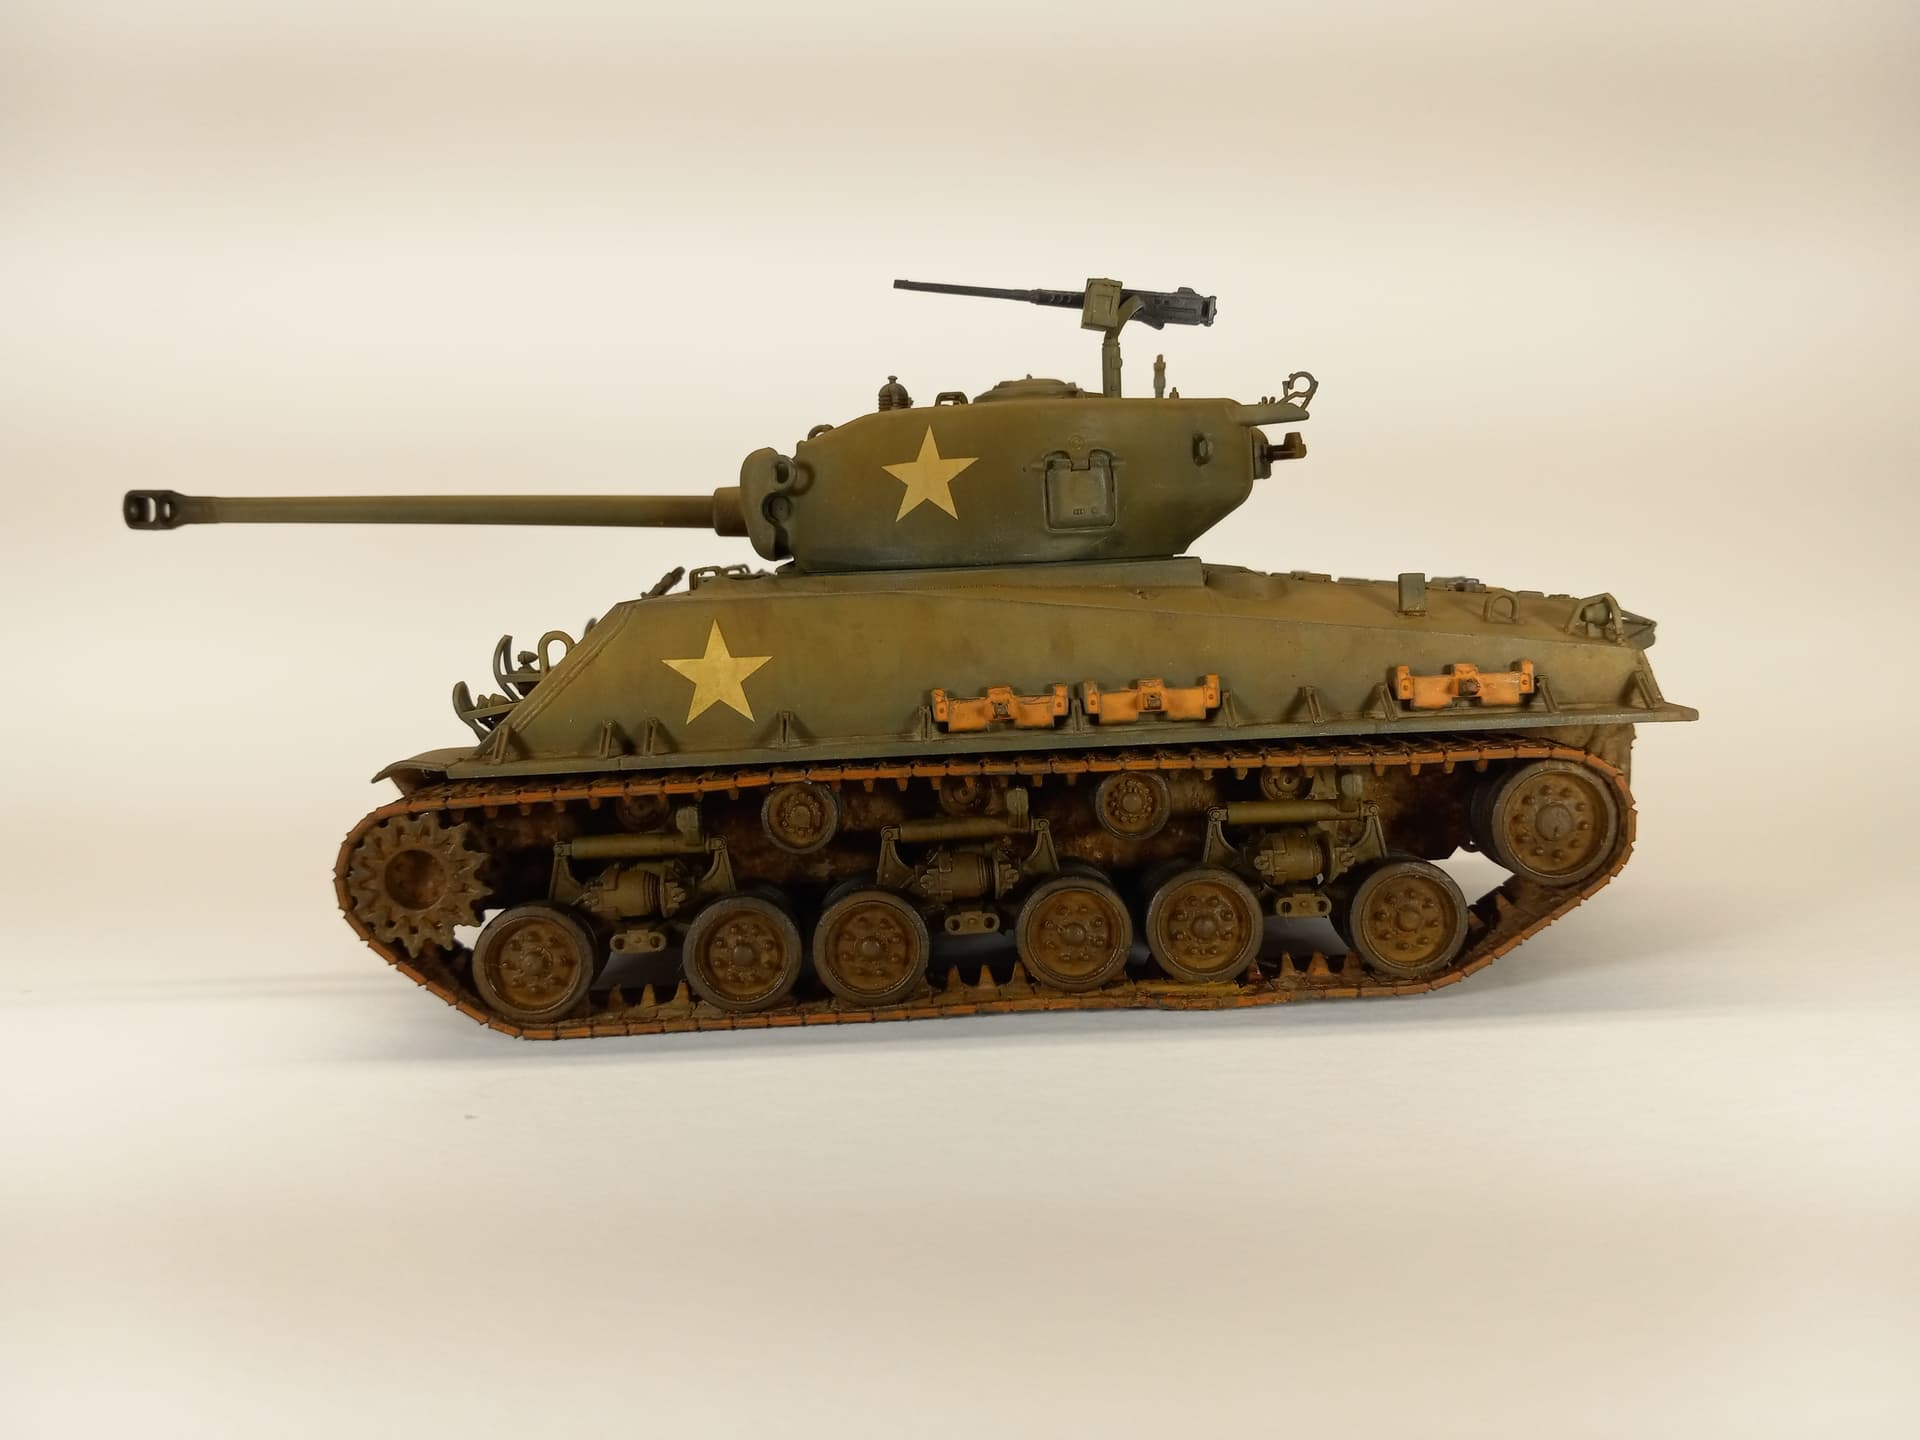
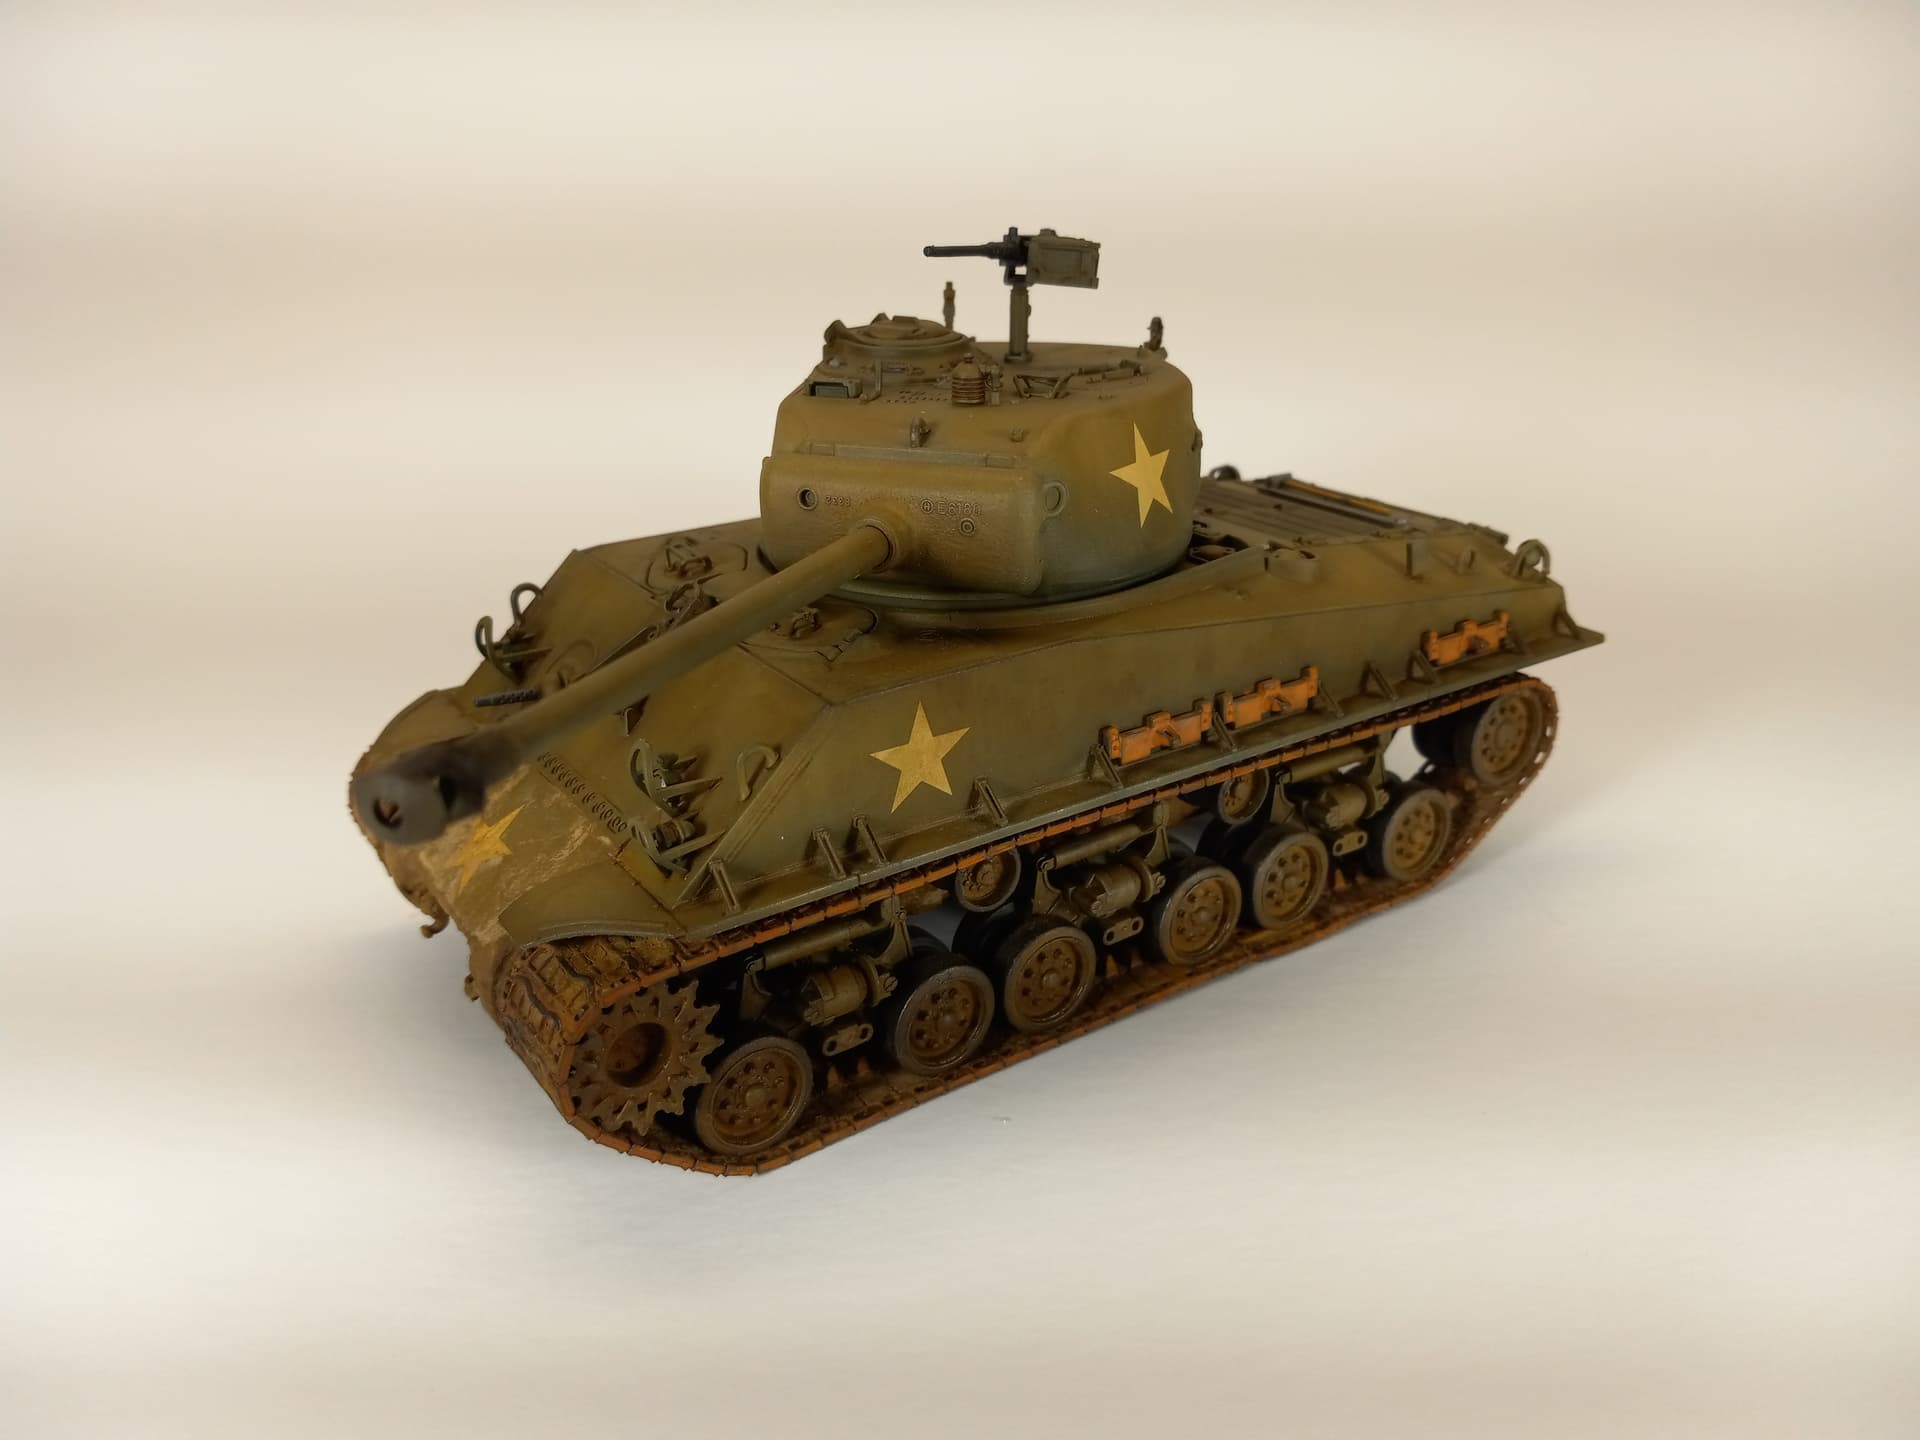
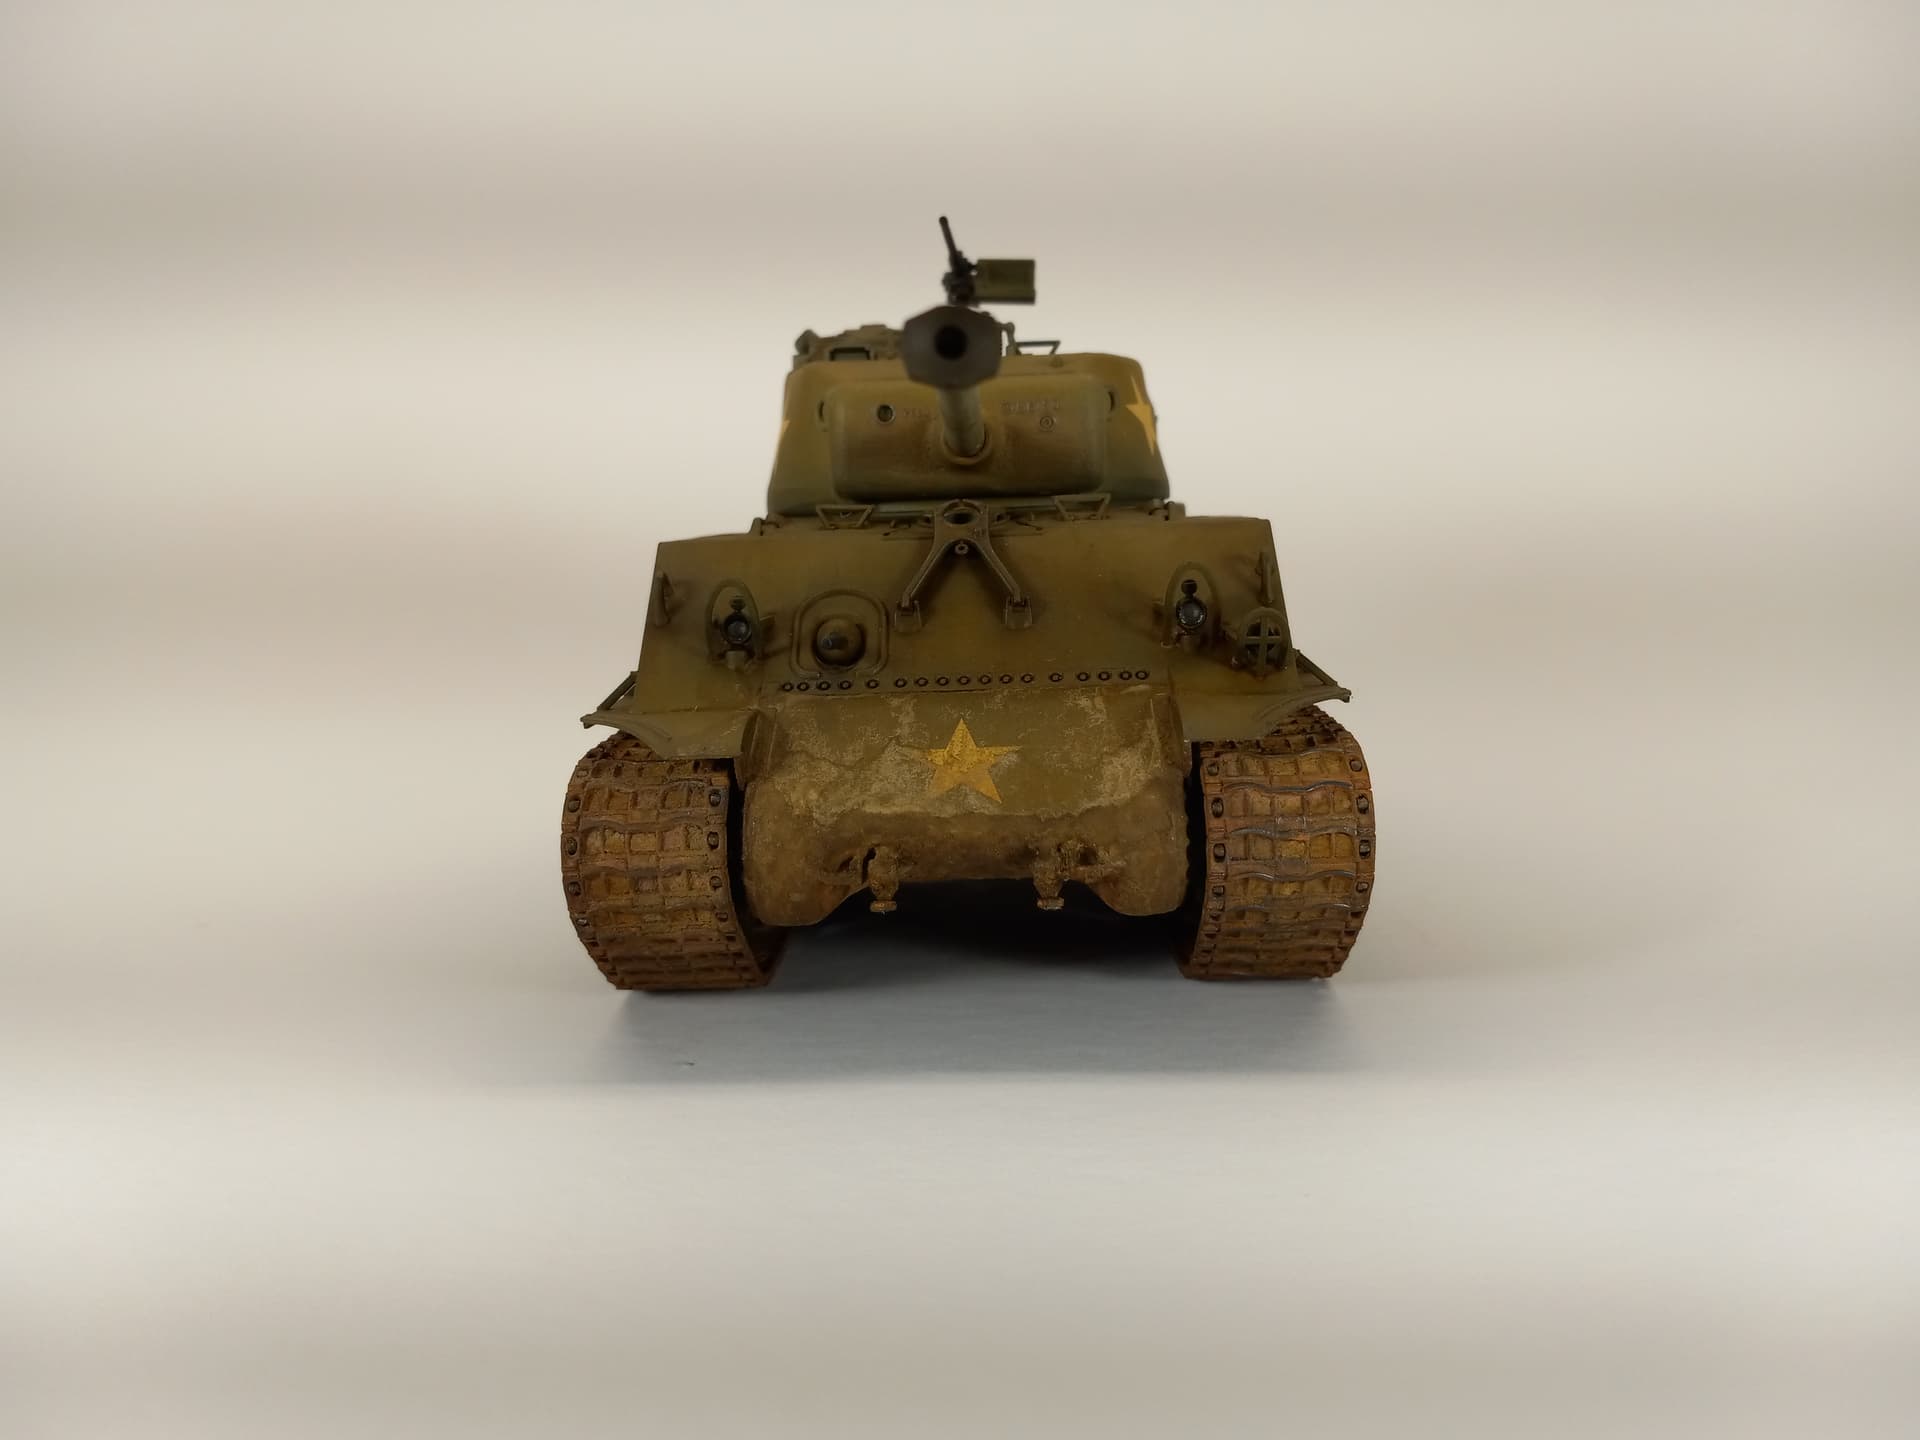
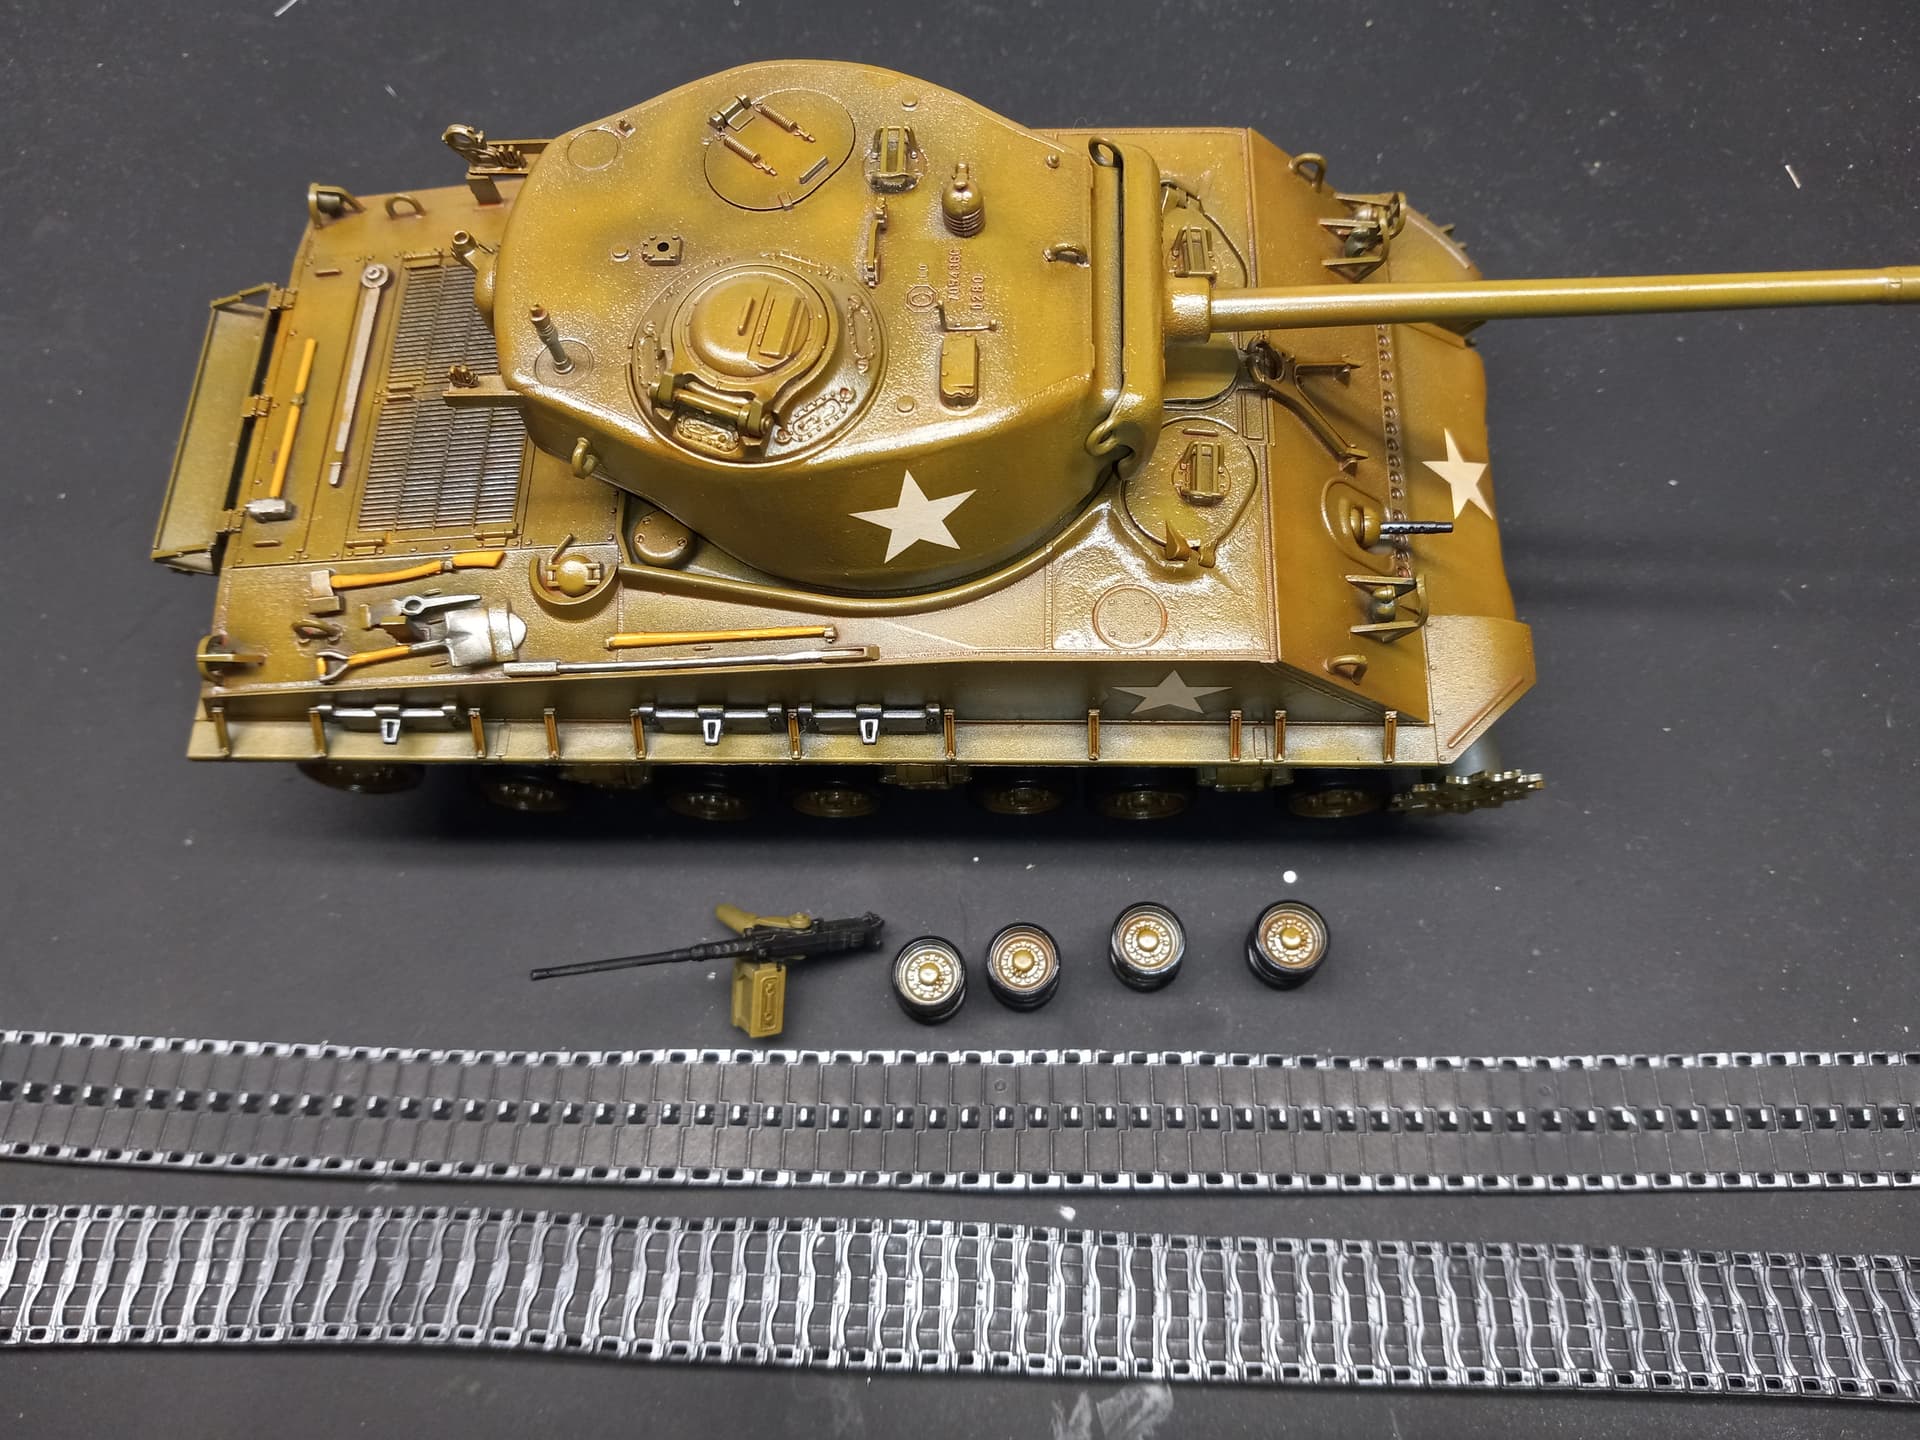
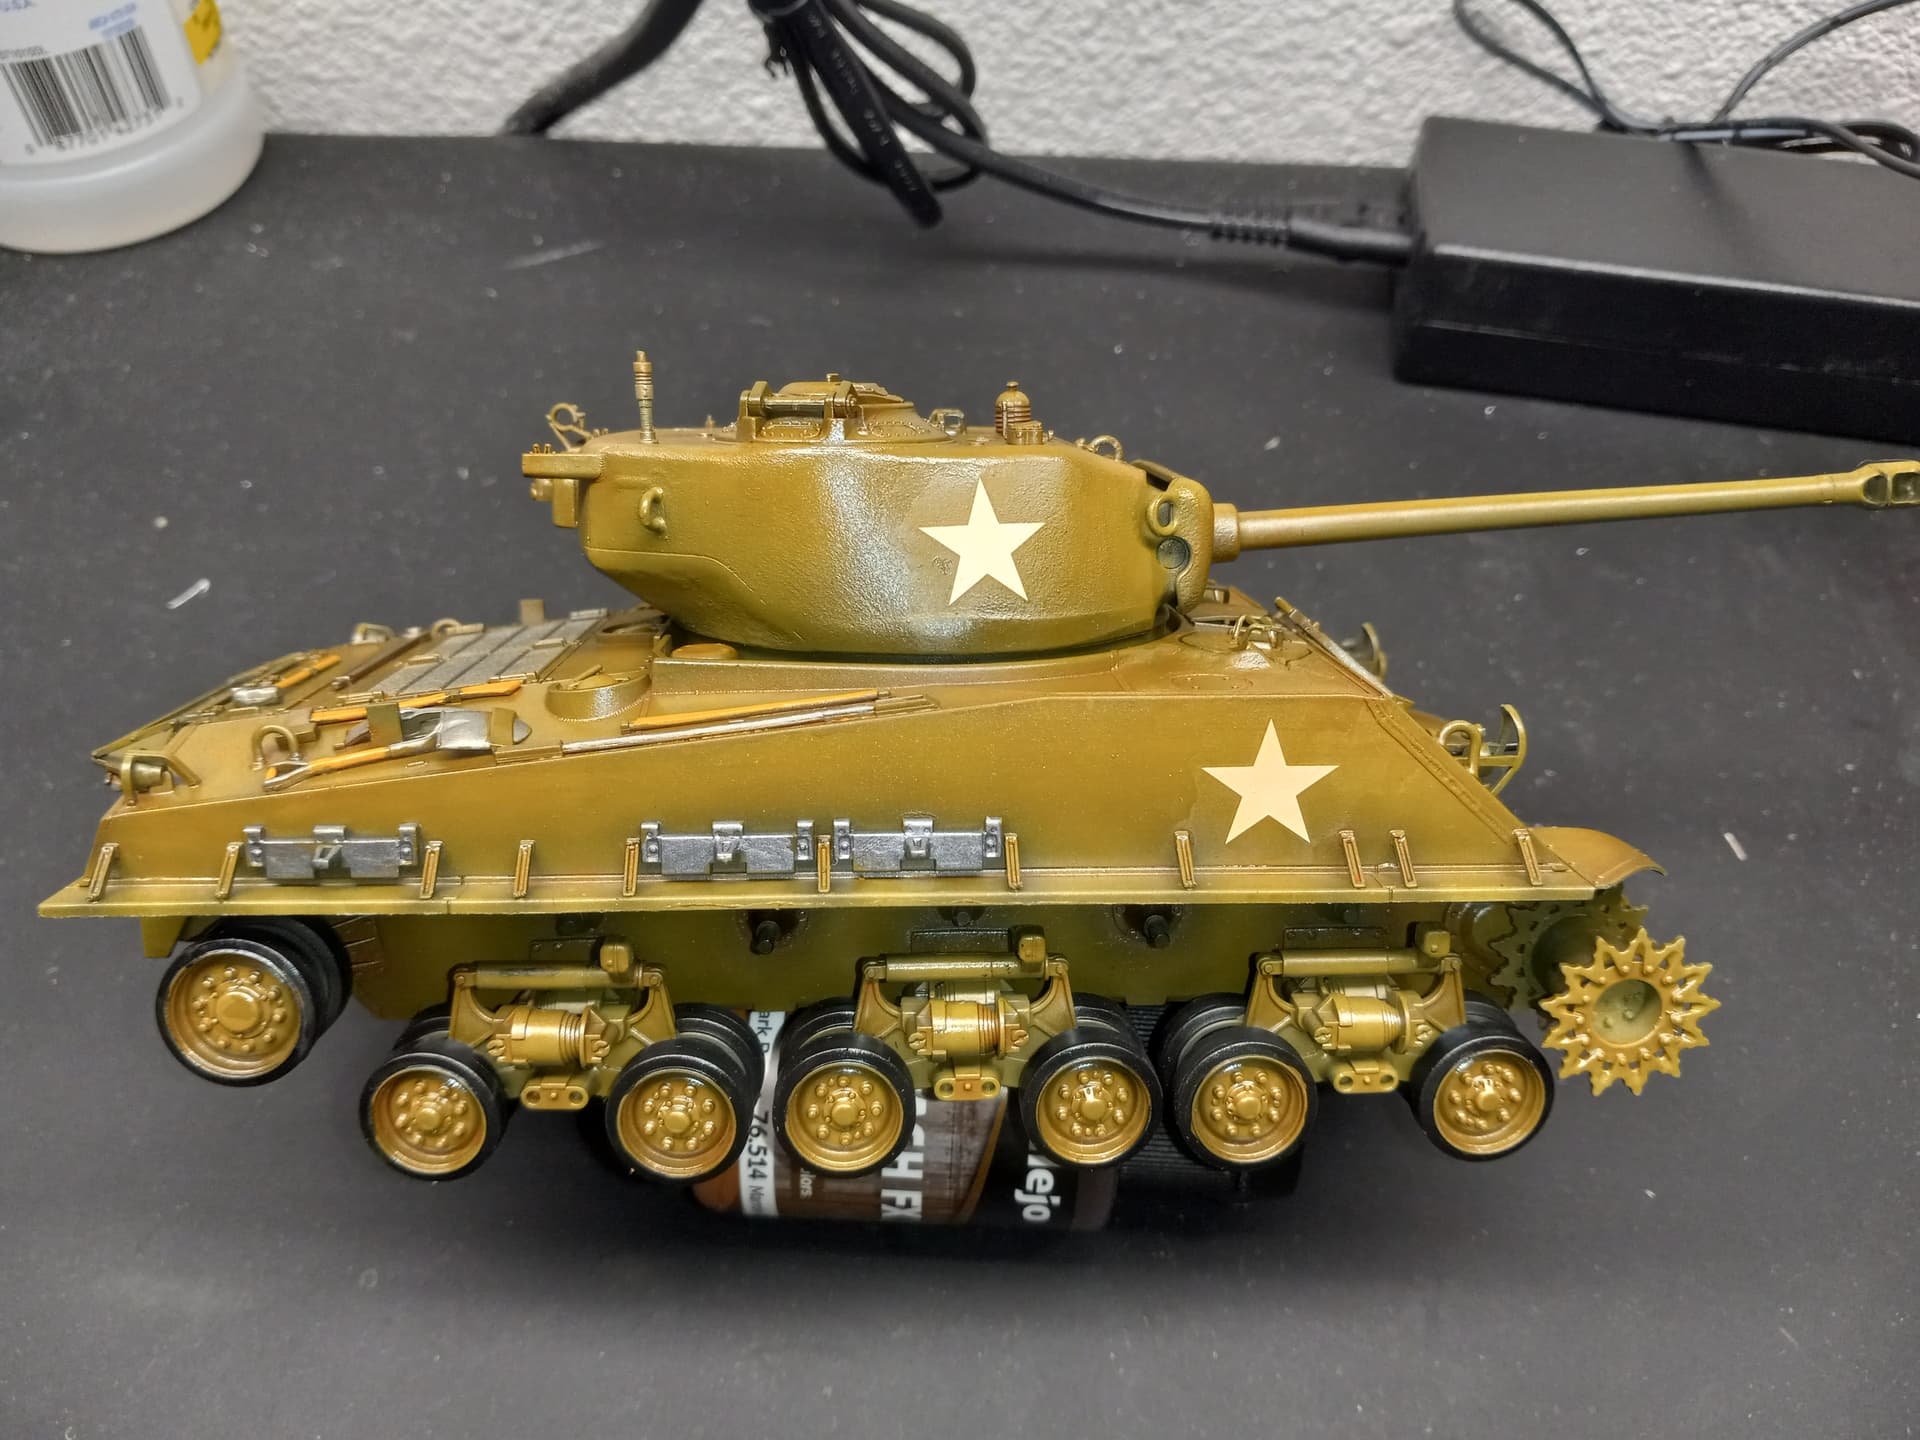
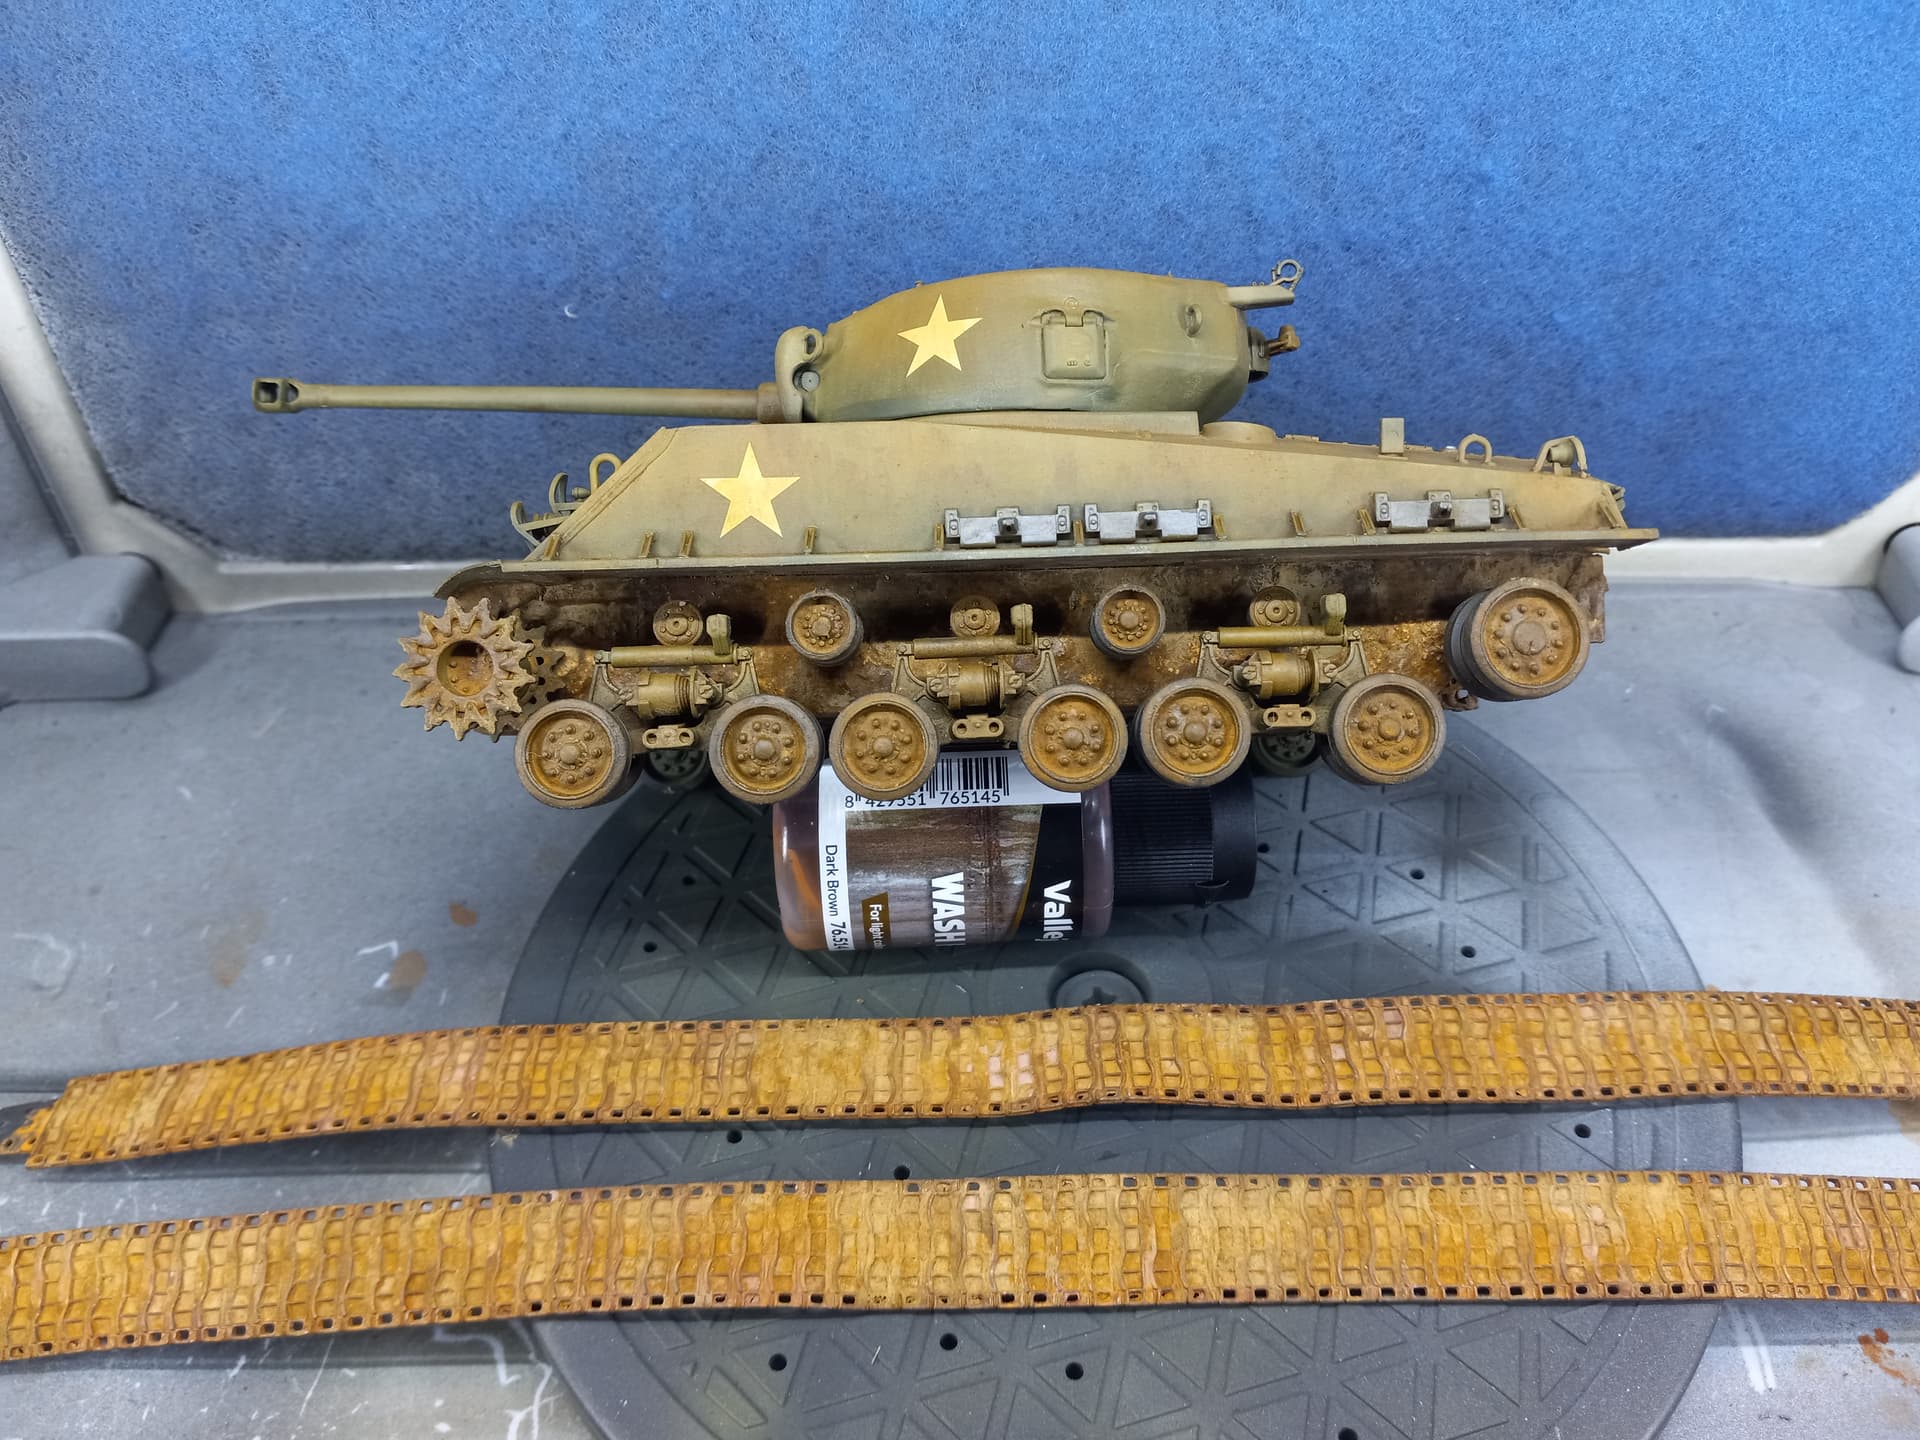
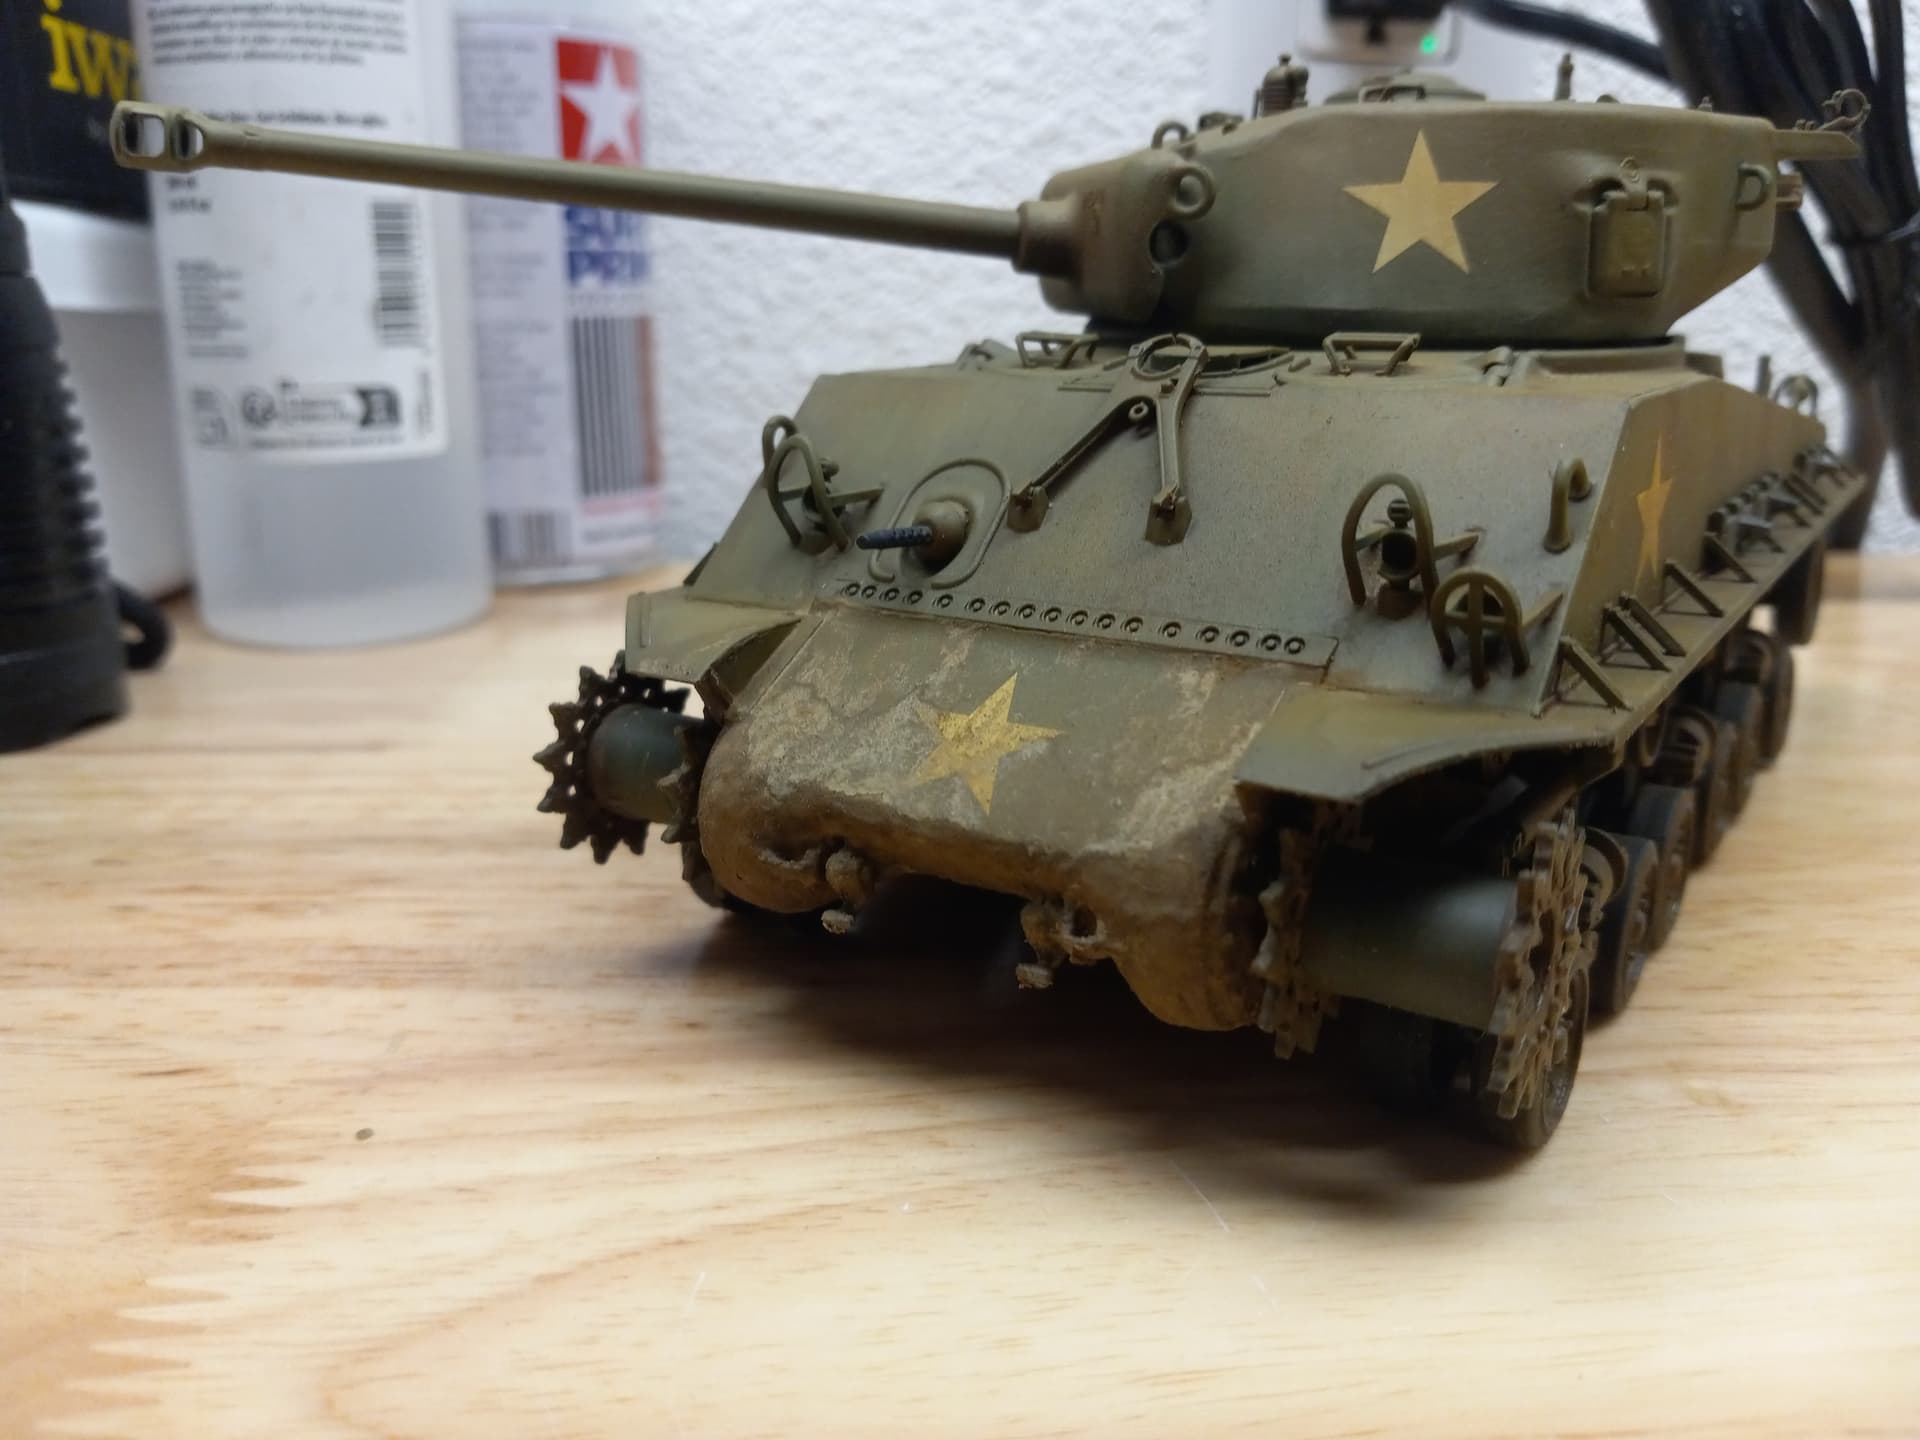
Progress update: Basic painting done, gloss coat applied, decals put on, and pin wash done. Letting the oil paint dry and then I will apply a satin clearcoat and start on some weathering. The tracks I painted NATO black and then drybrushed them with natural steel color. The lighting on my workbench is super bright and I took the pics on my phone so it’s kind of hard to see but I did 4 layers of fading with the airbrush after the initial base coat in an attempt to give it some depth and sun fading. I think it all came out halfway decent for my first time doing this in almost a decade. Next time I would do with a darker pin wash. I used a brown wash but after it dried overnight I’m wishing it was more pronounced, but I don’t want to mess with it and end up with a worse result at this point.
On to weathering …
9 Likes
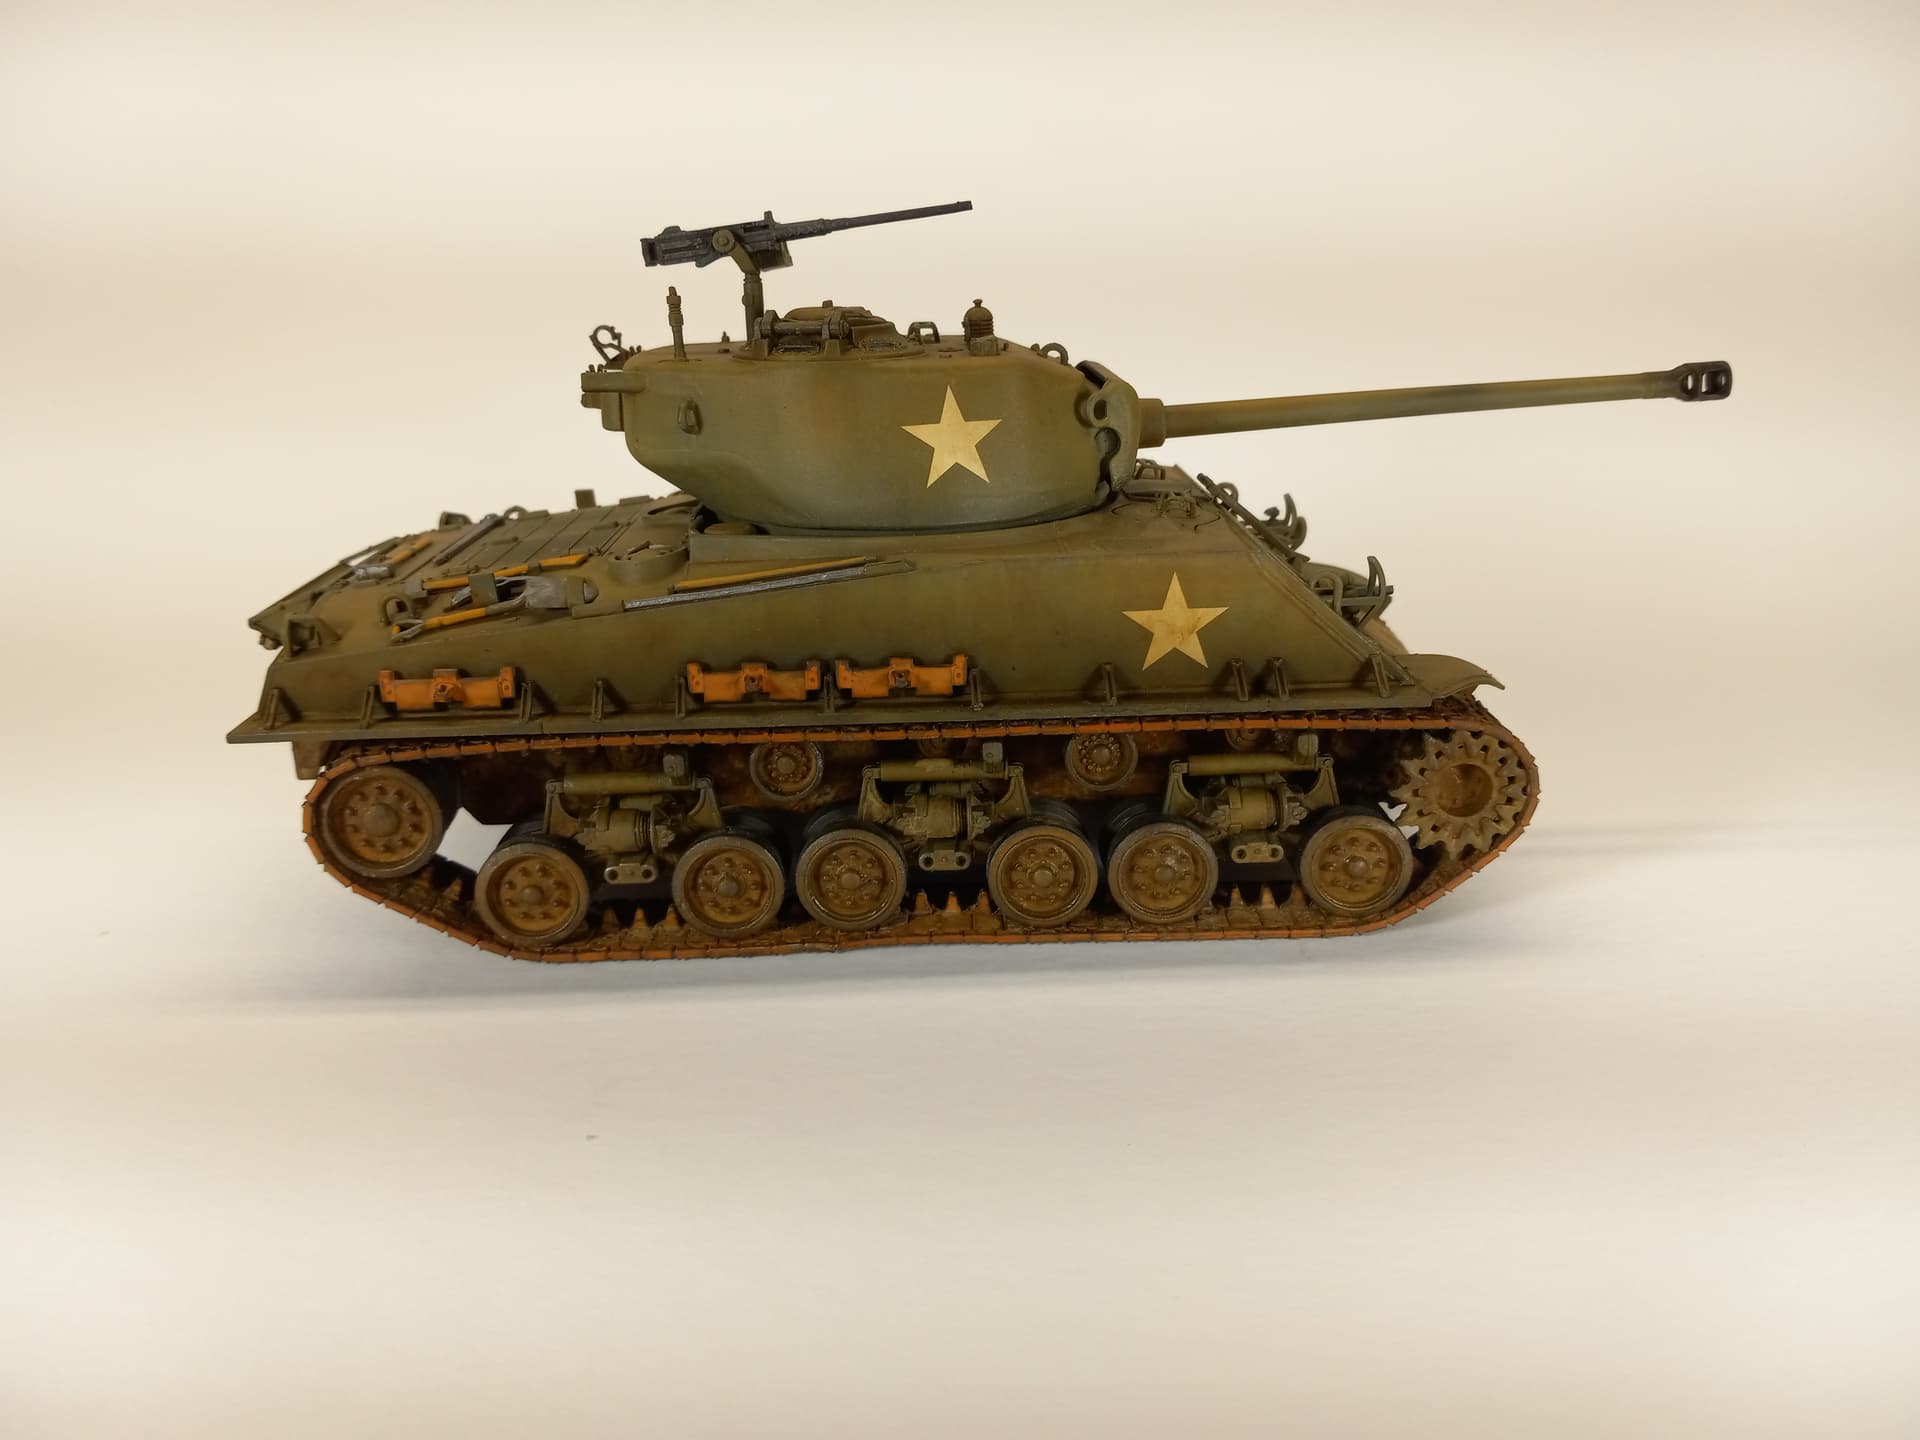
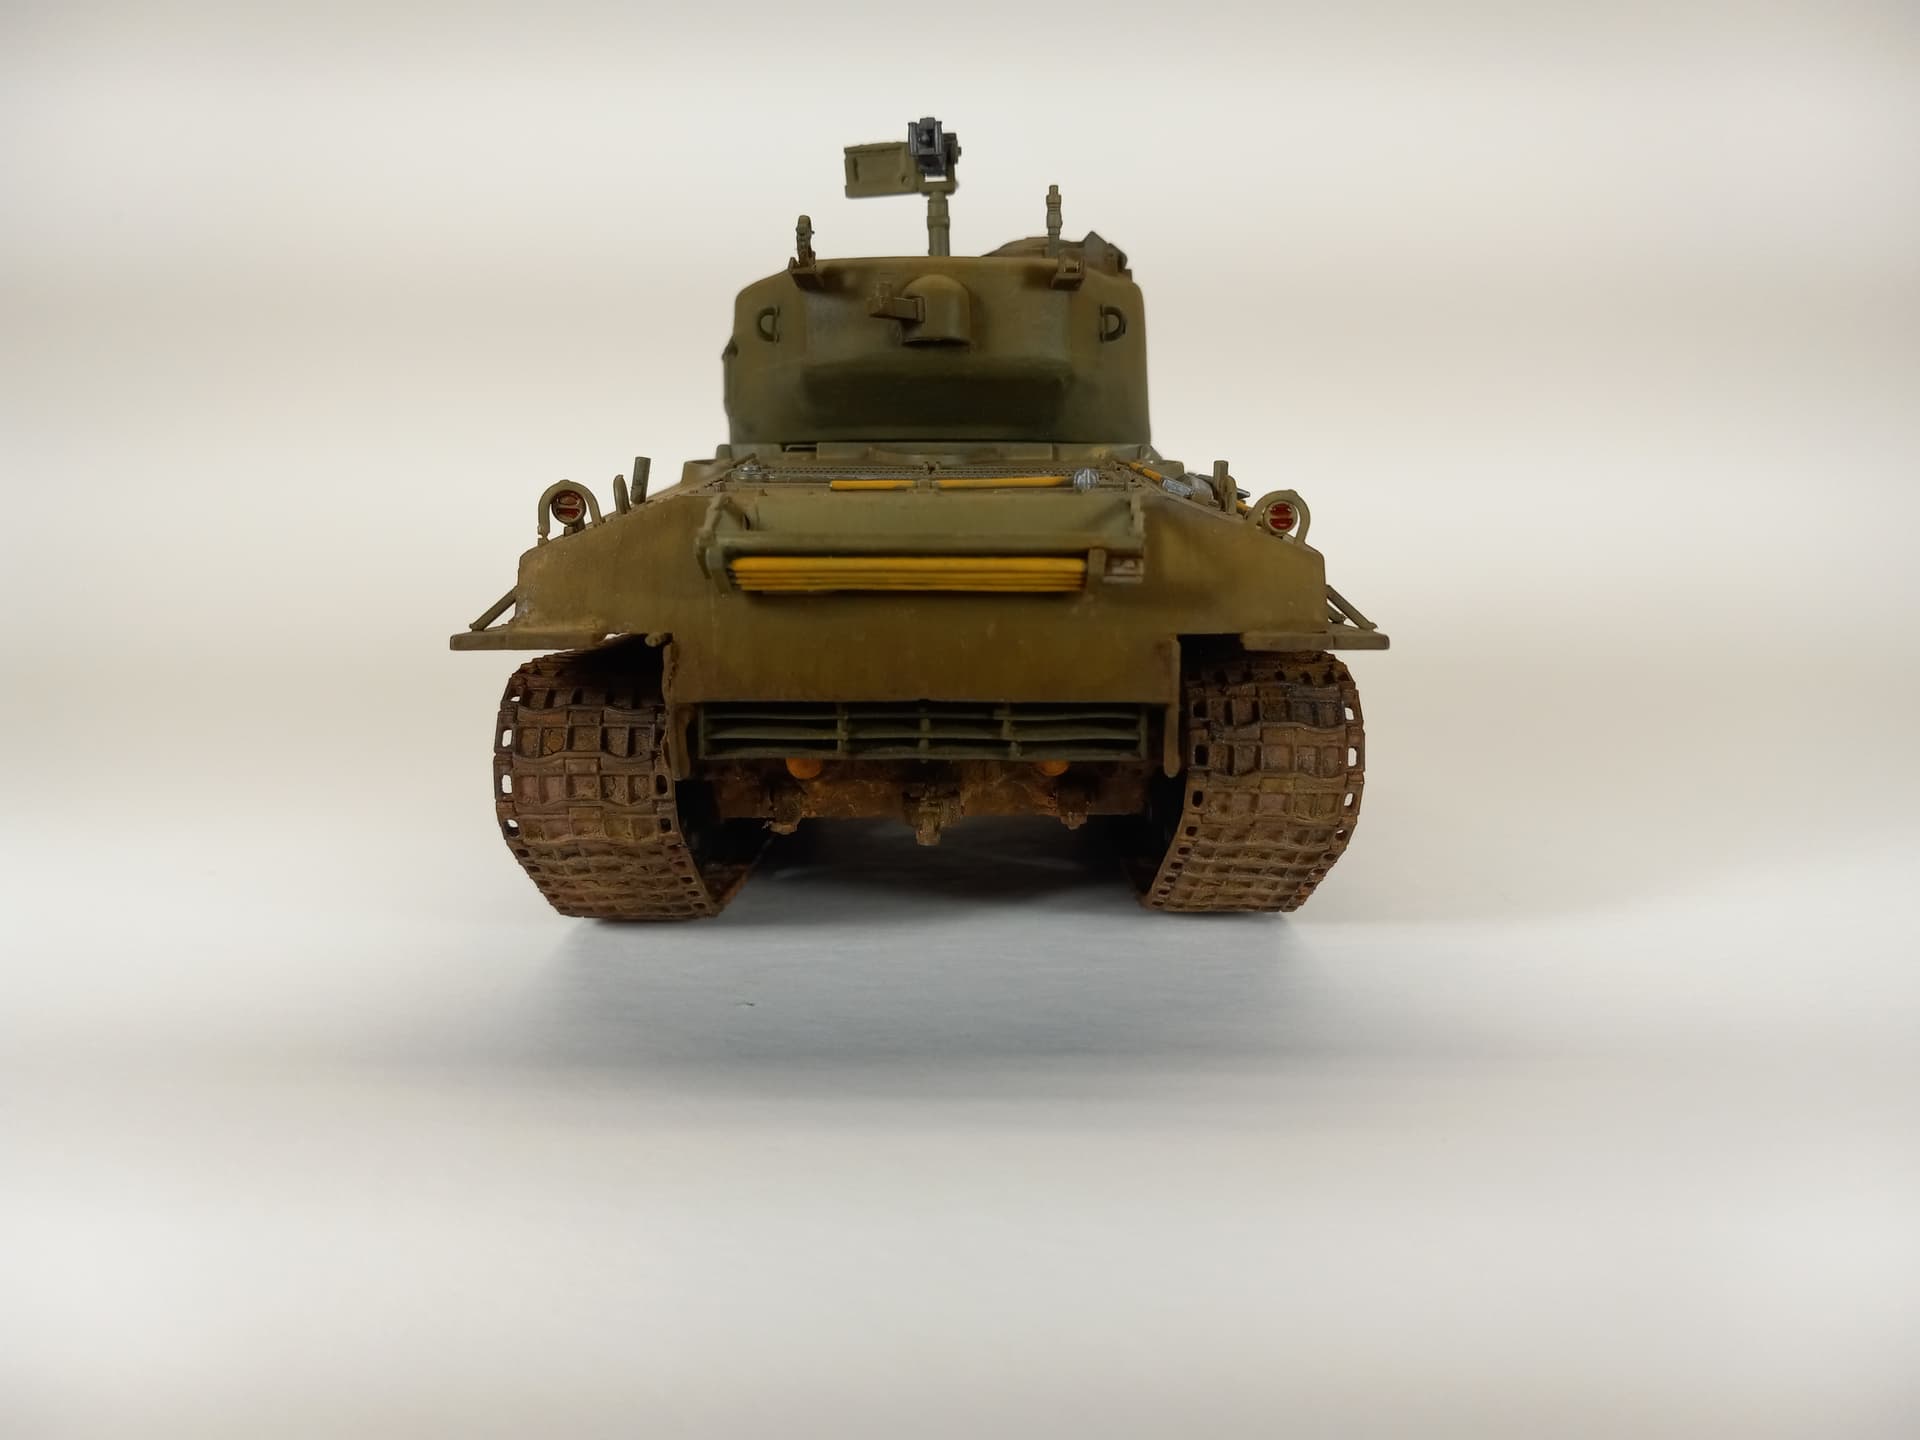
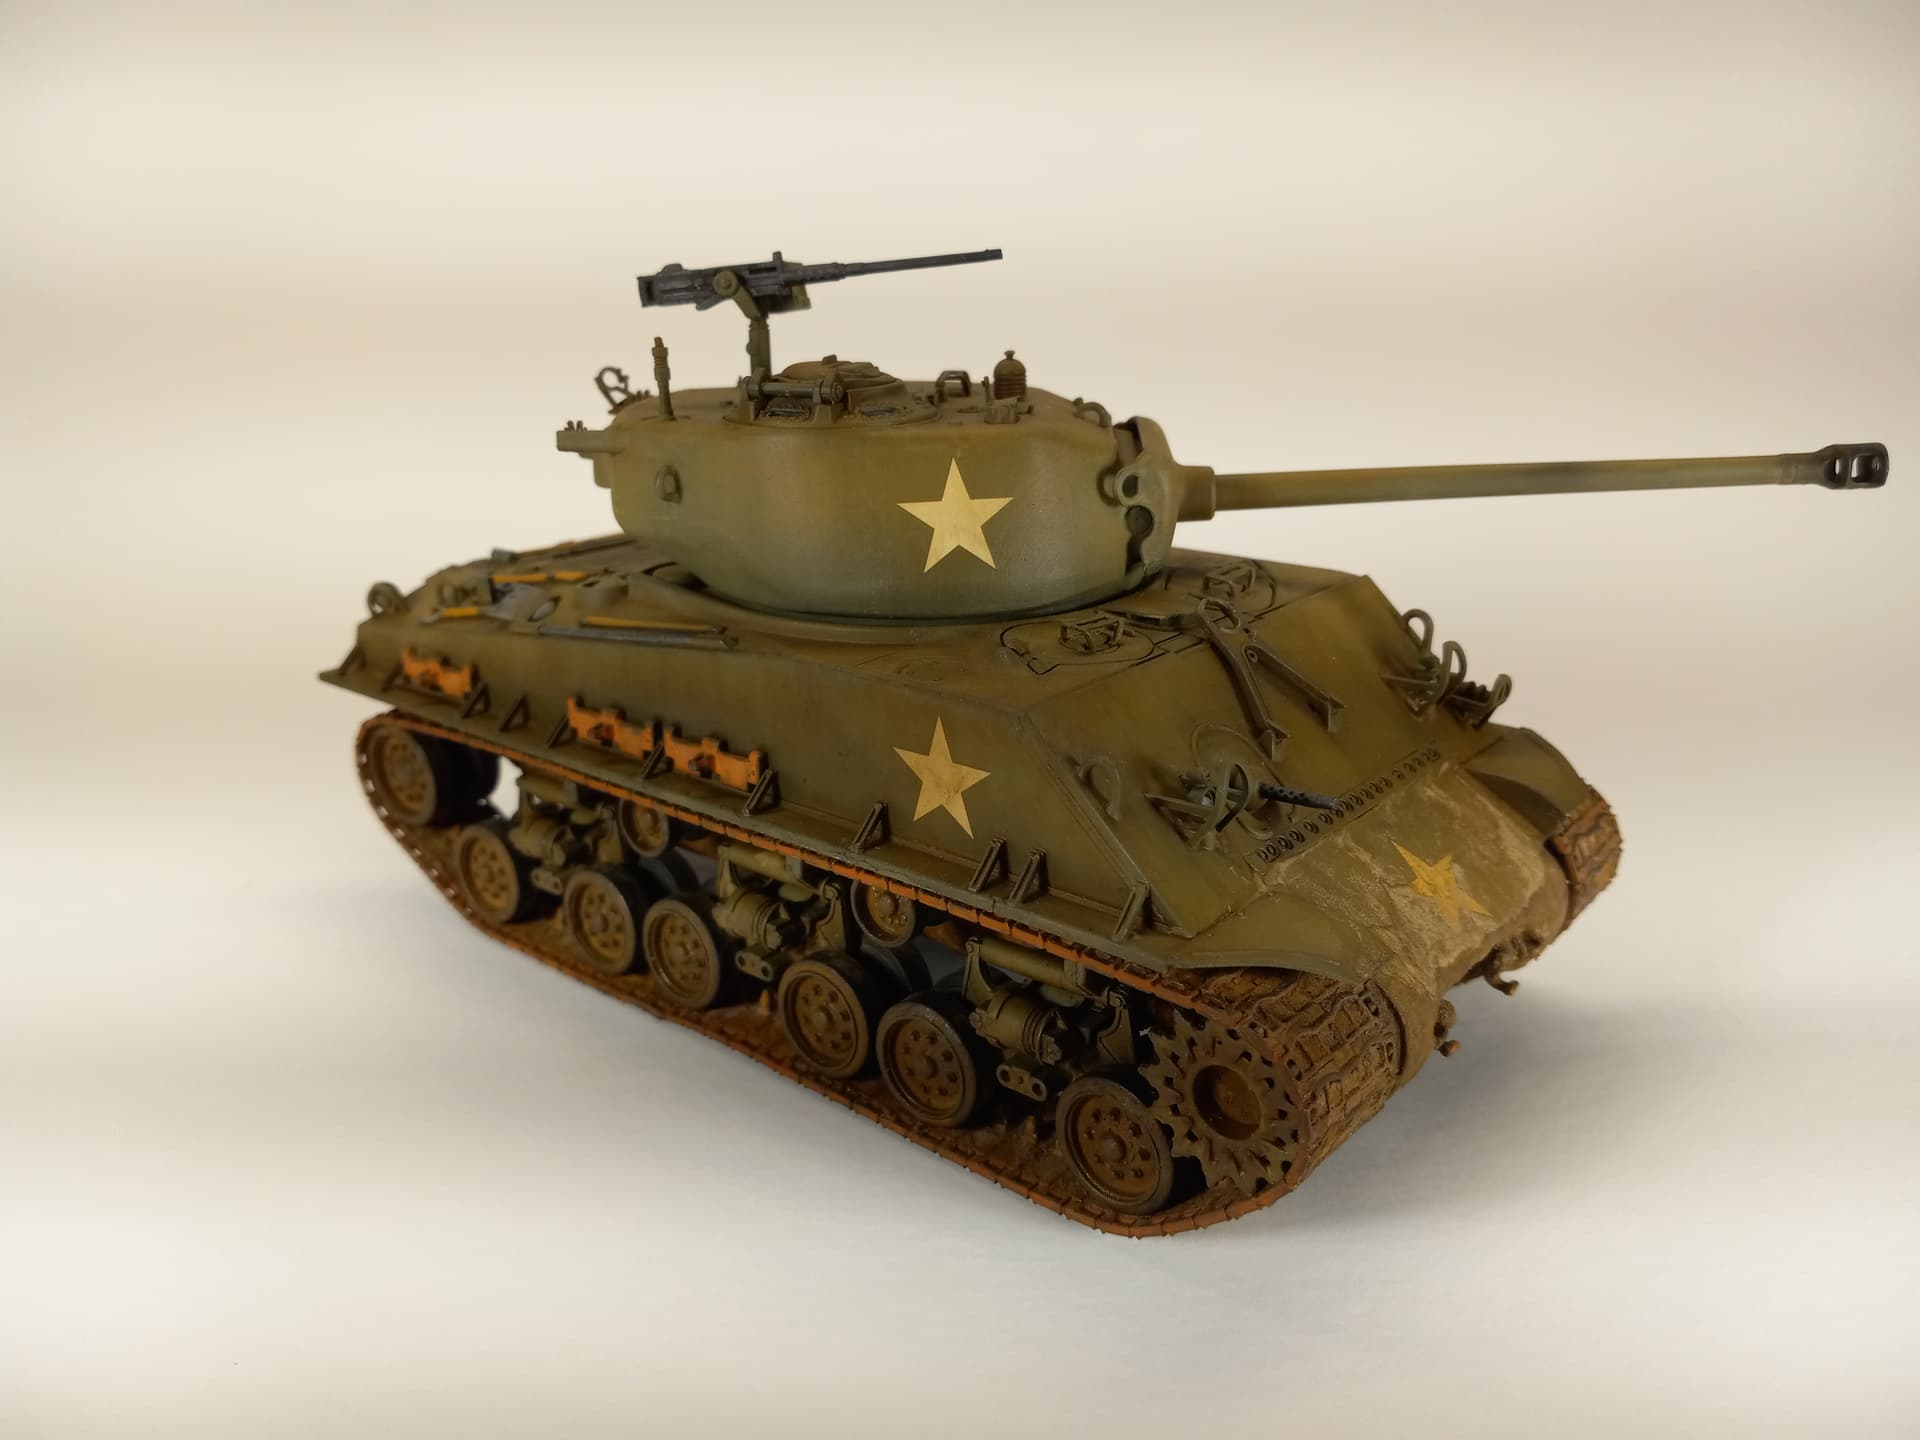
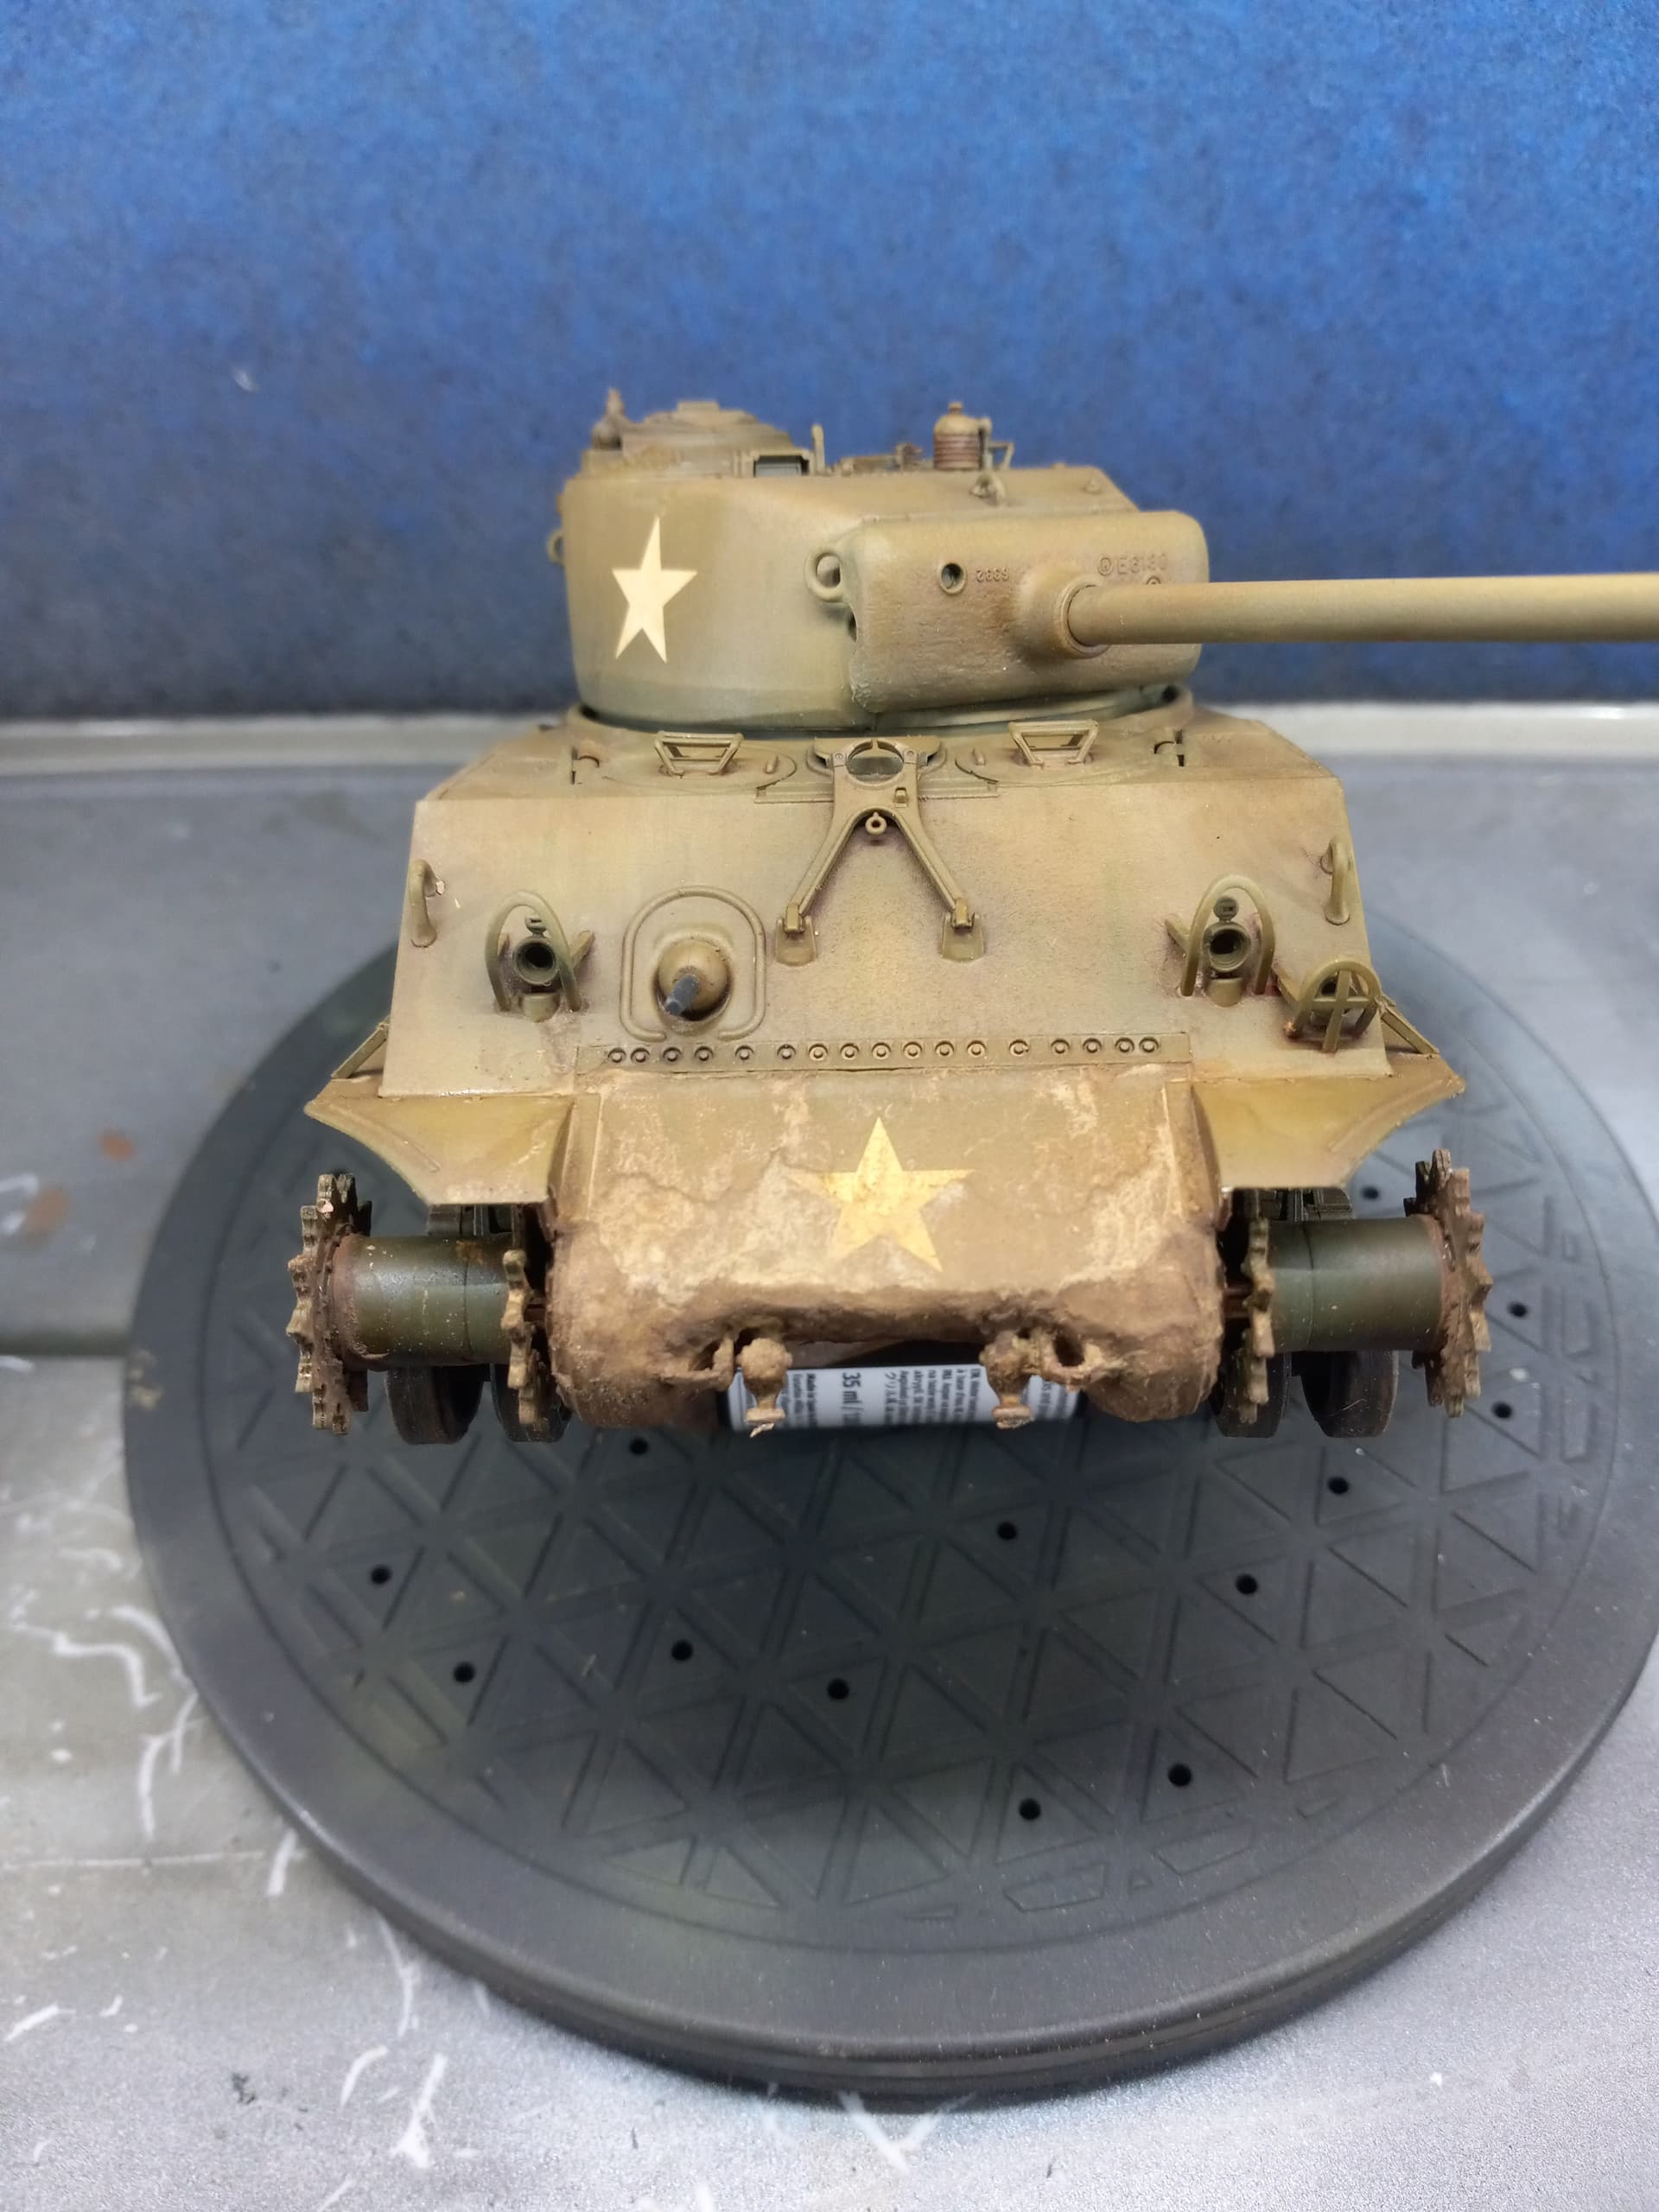
Spent last night doing some oil dot filters and then gave it a flat coat. Kind of like how it turned out. Pigment work next once it fully cures.
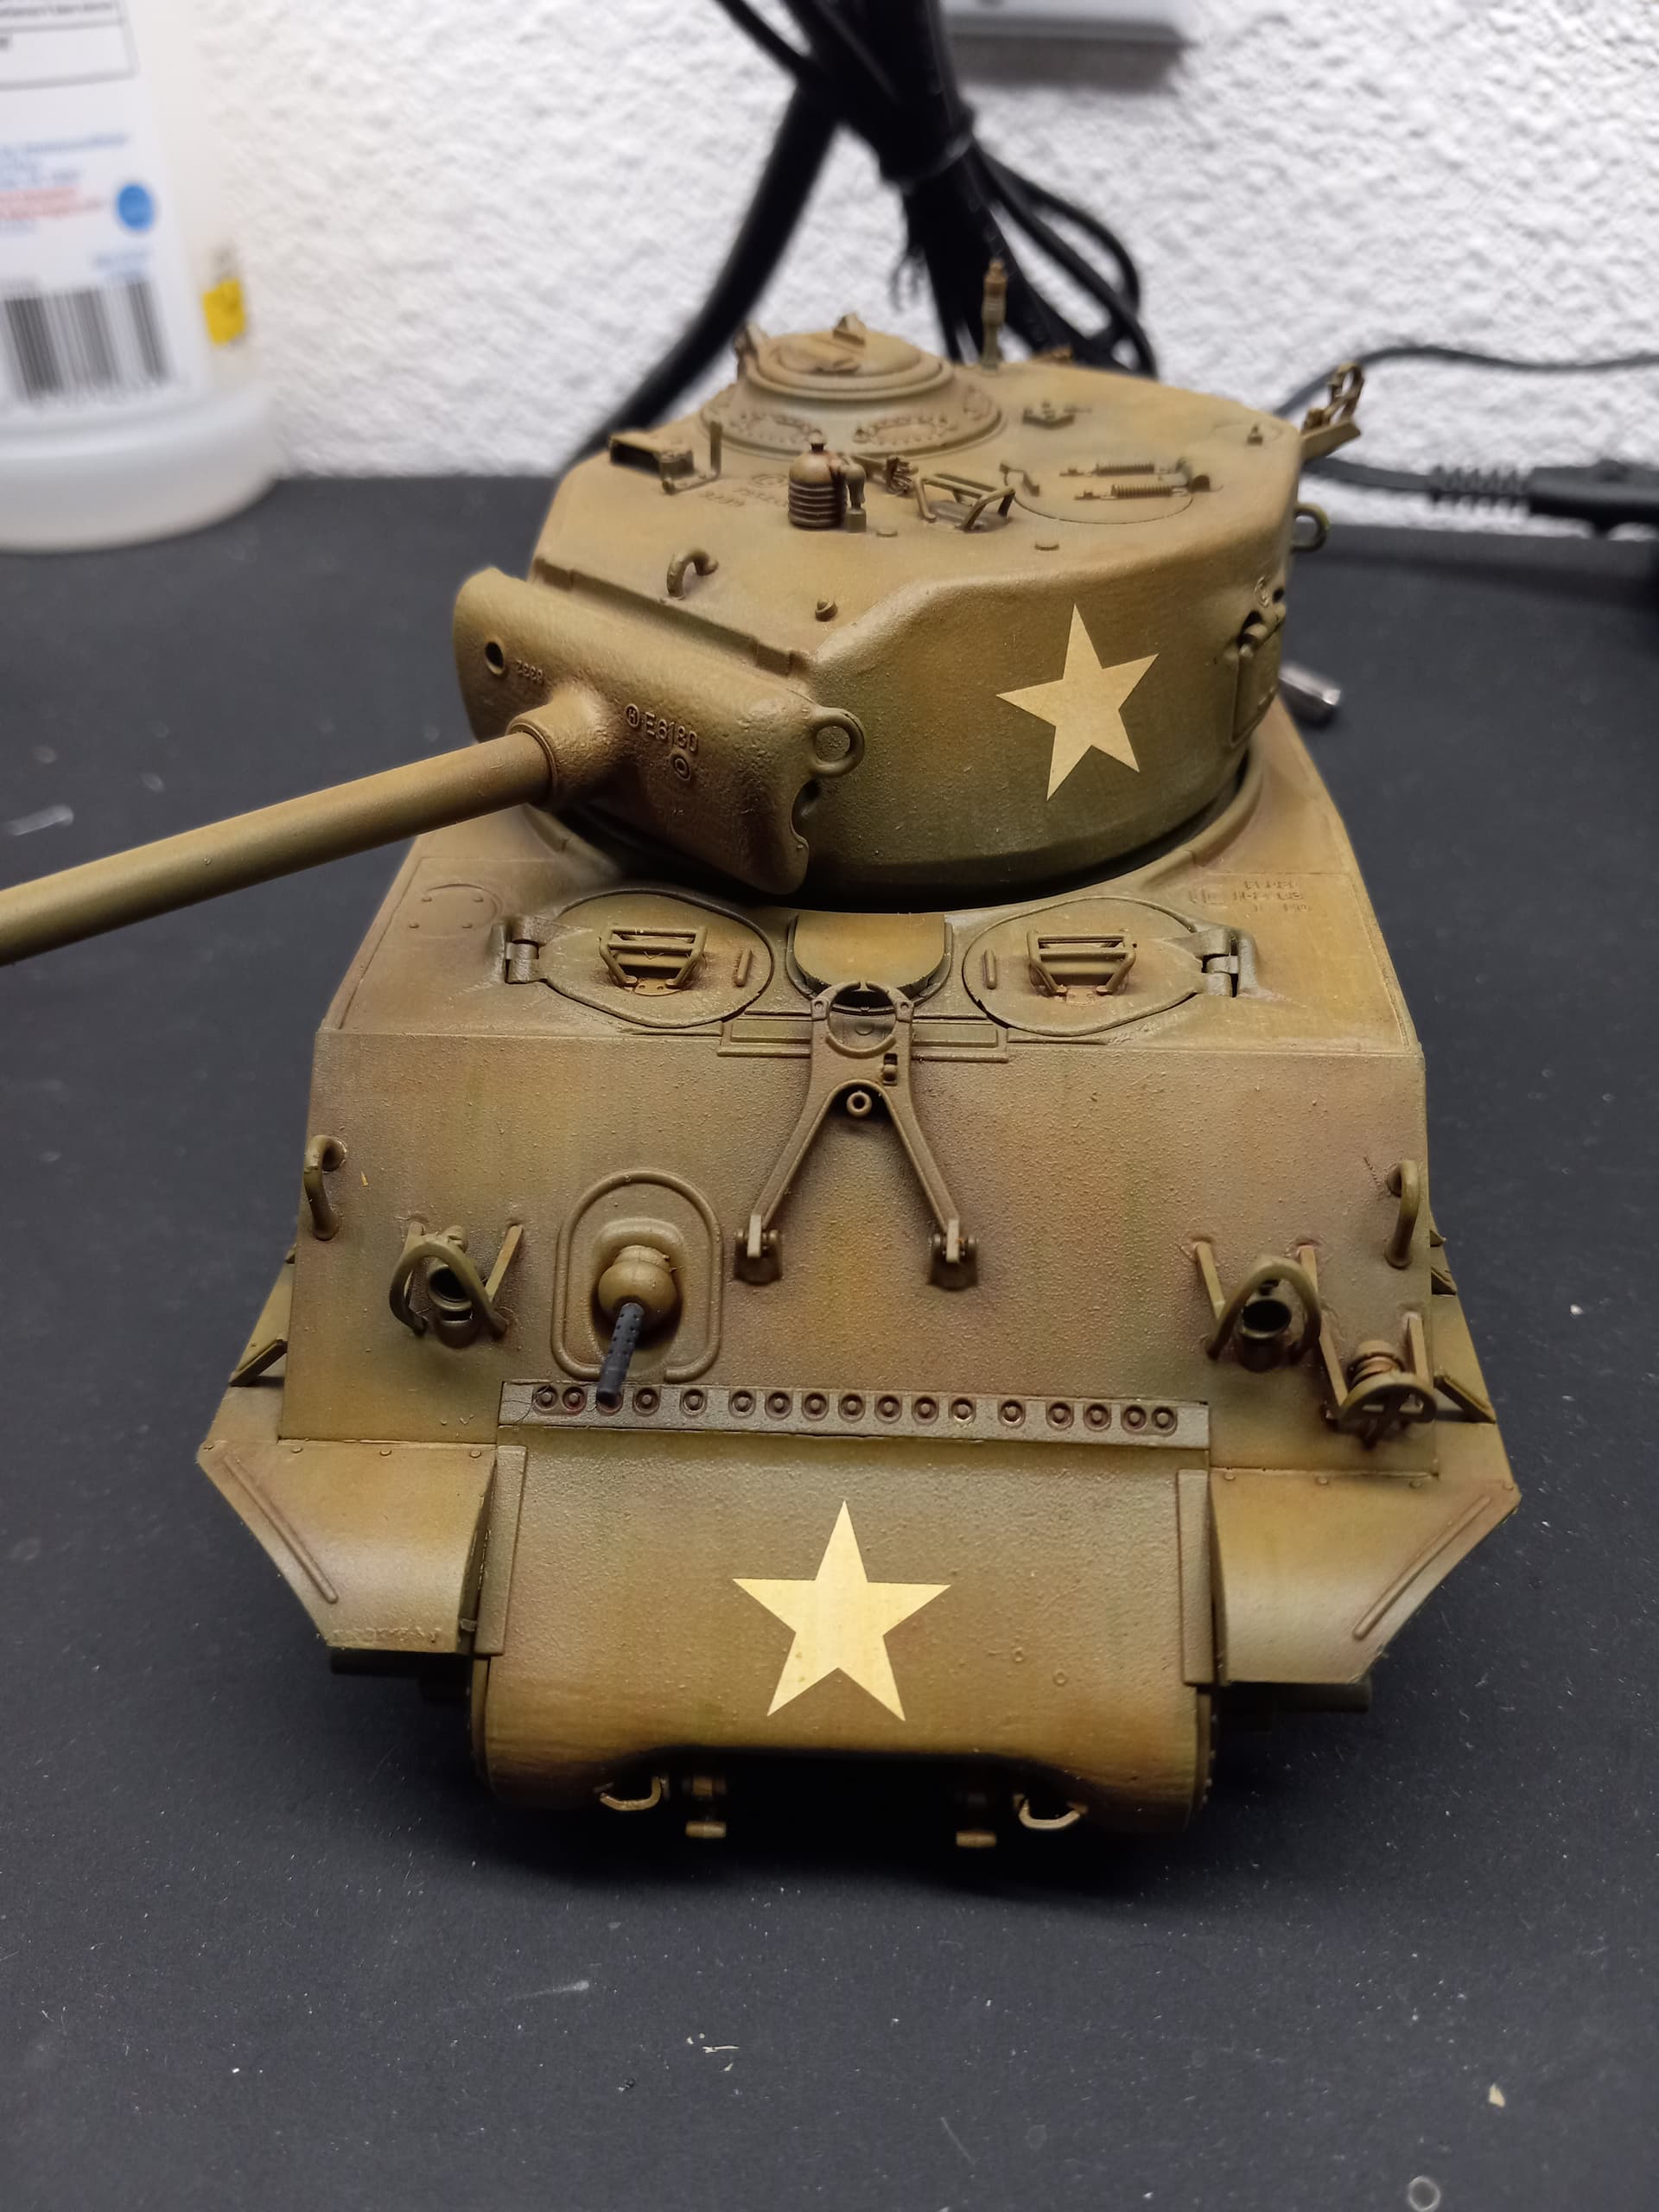

10 Likes
Minor progress. Added some welds and texturing I’ll need to edit abit. Waiting on more parts and had to source periscope guards cause the Trex ones were snapping in bits while removing them.
10 Likes
6 Likes
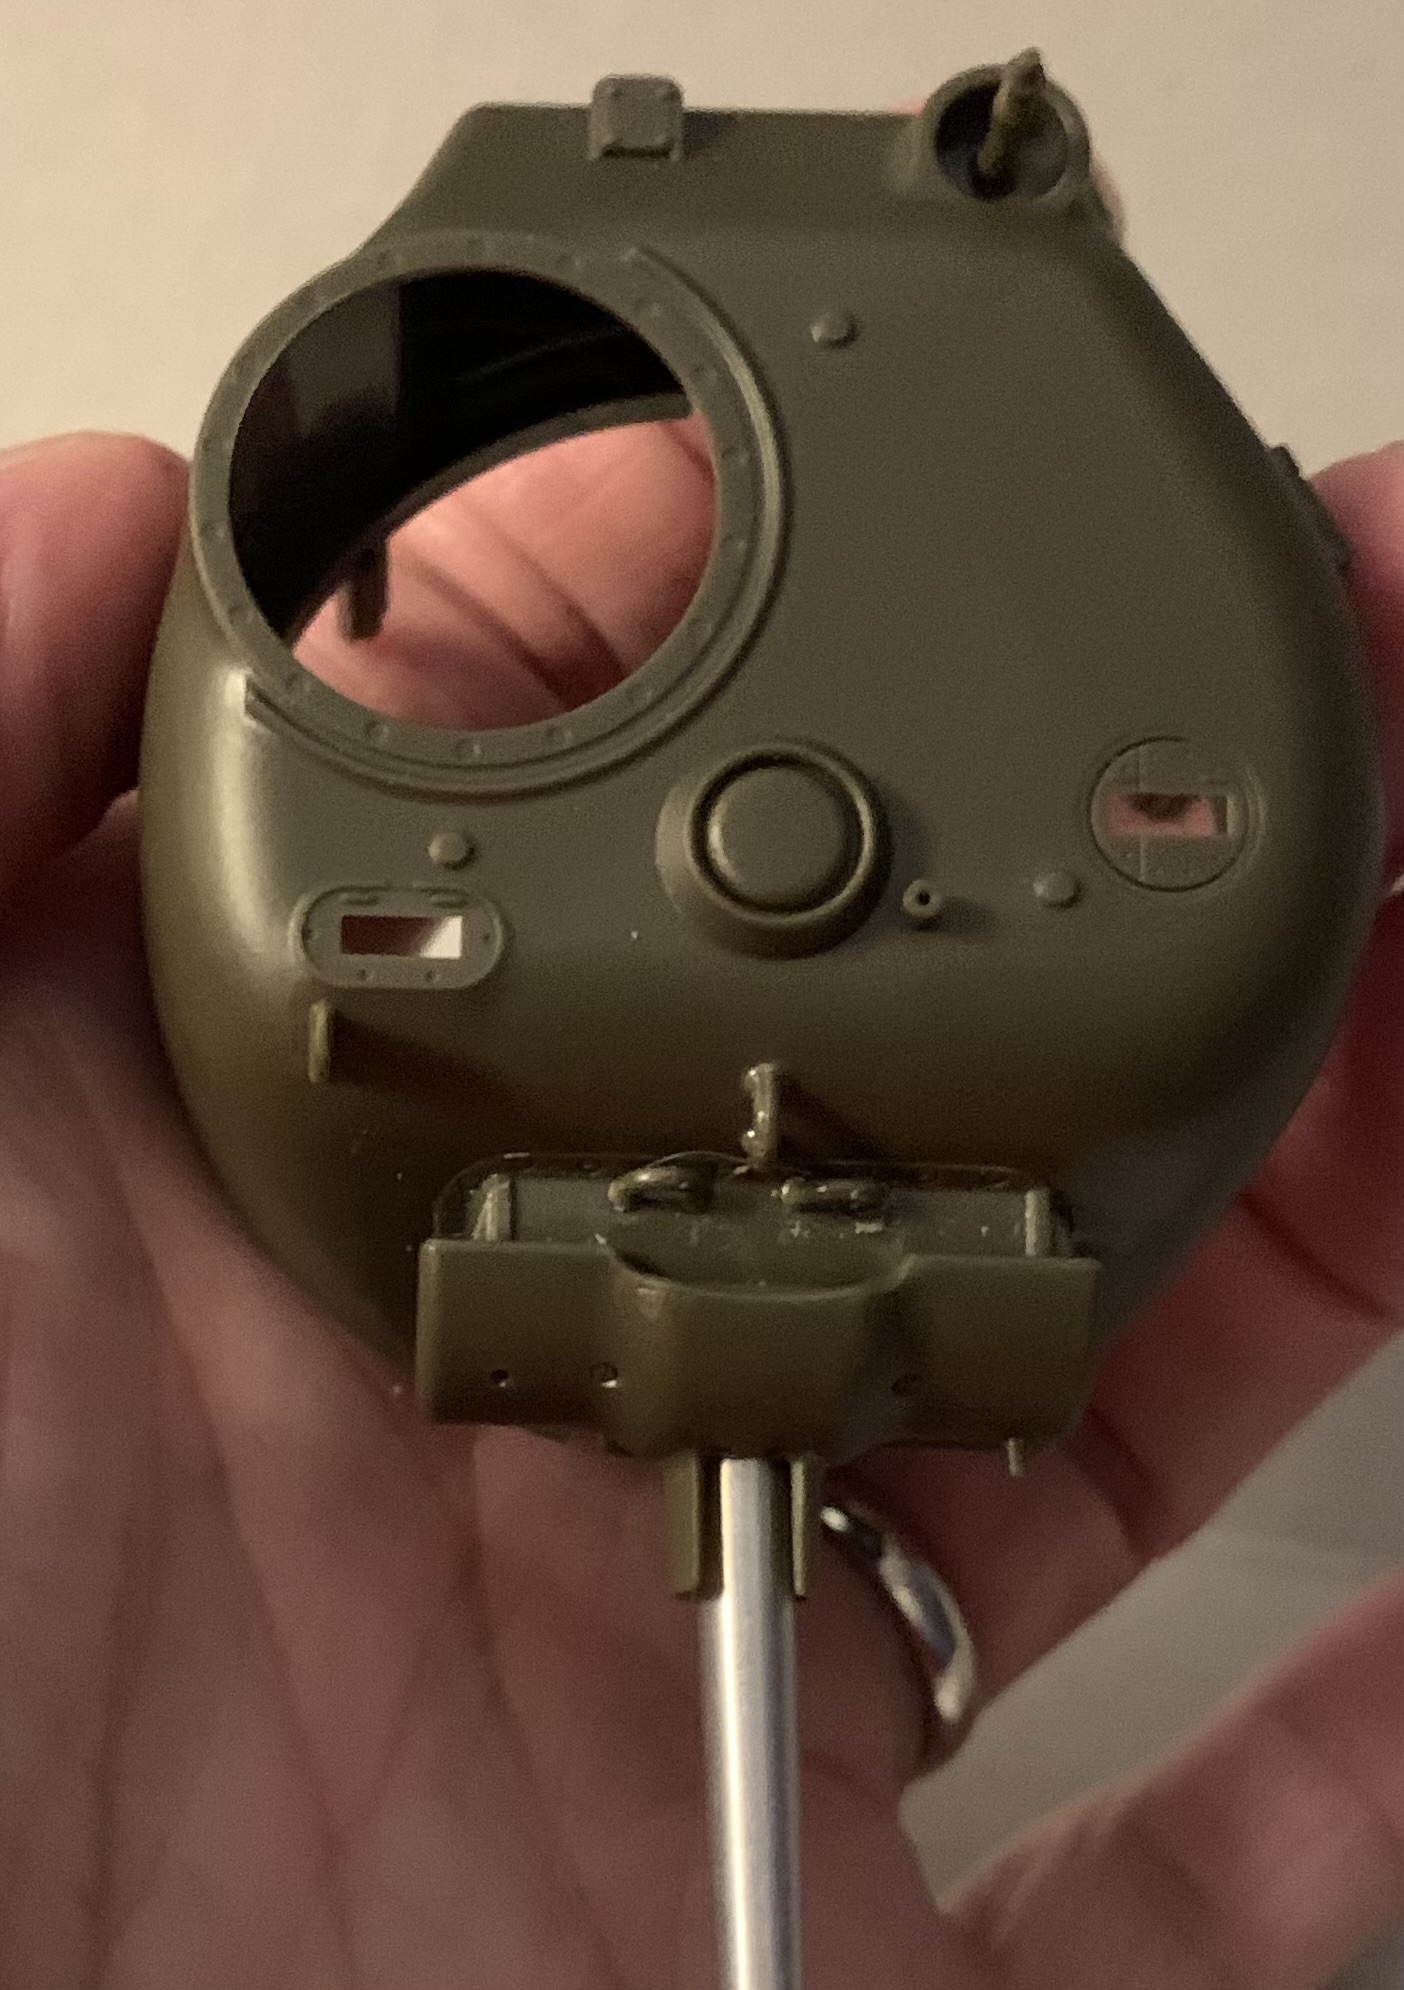
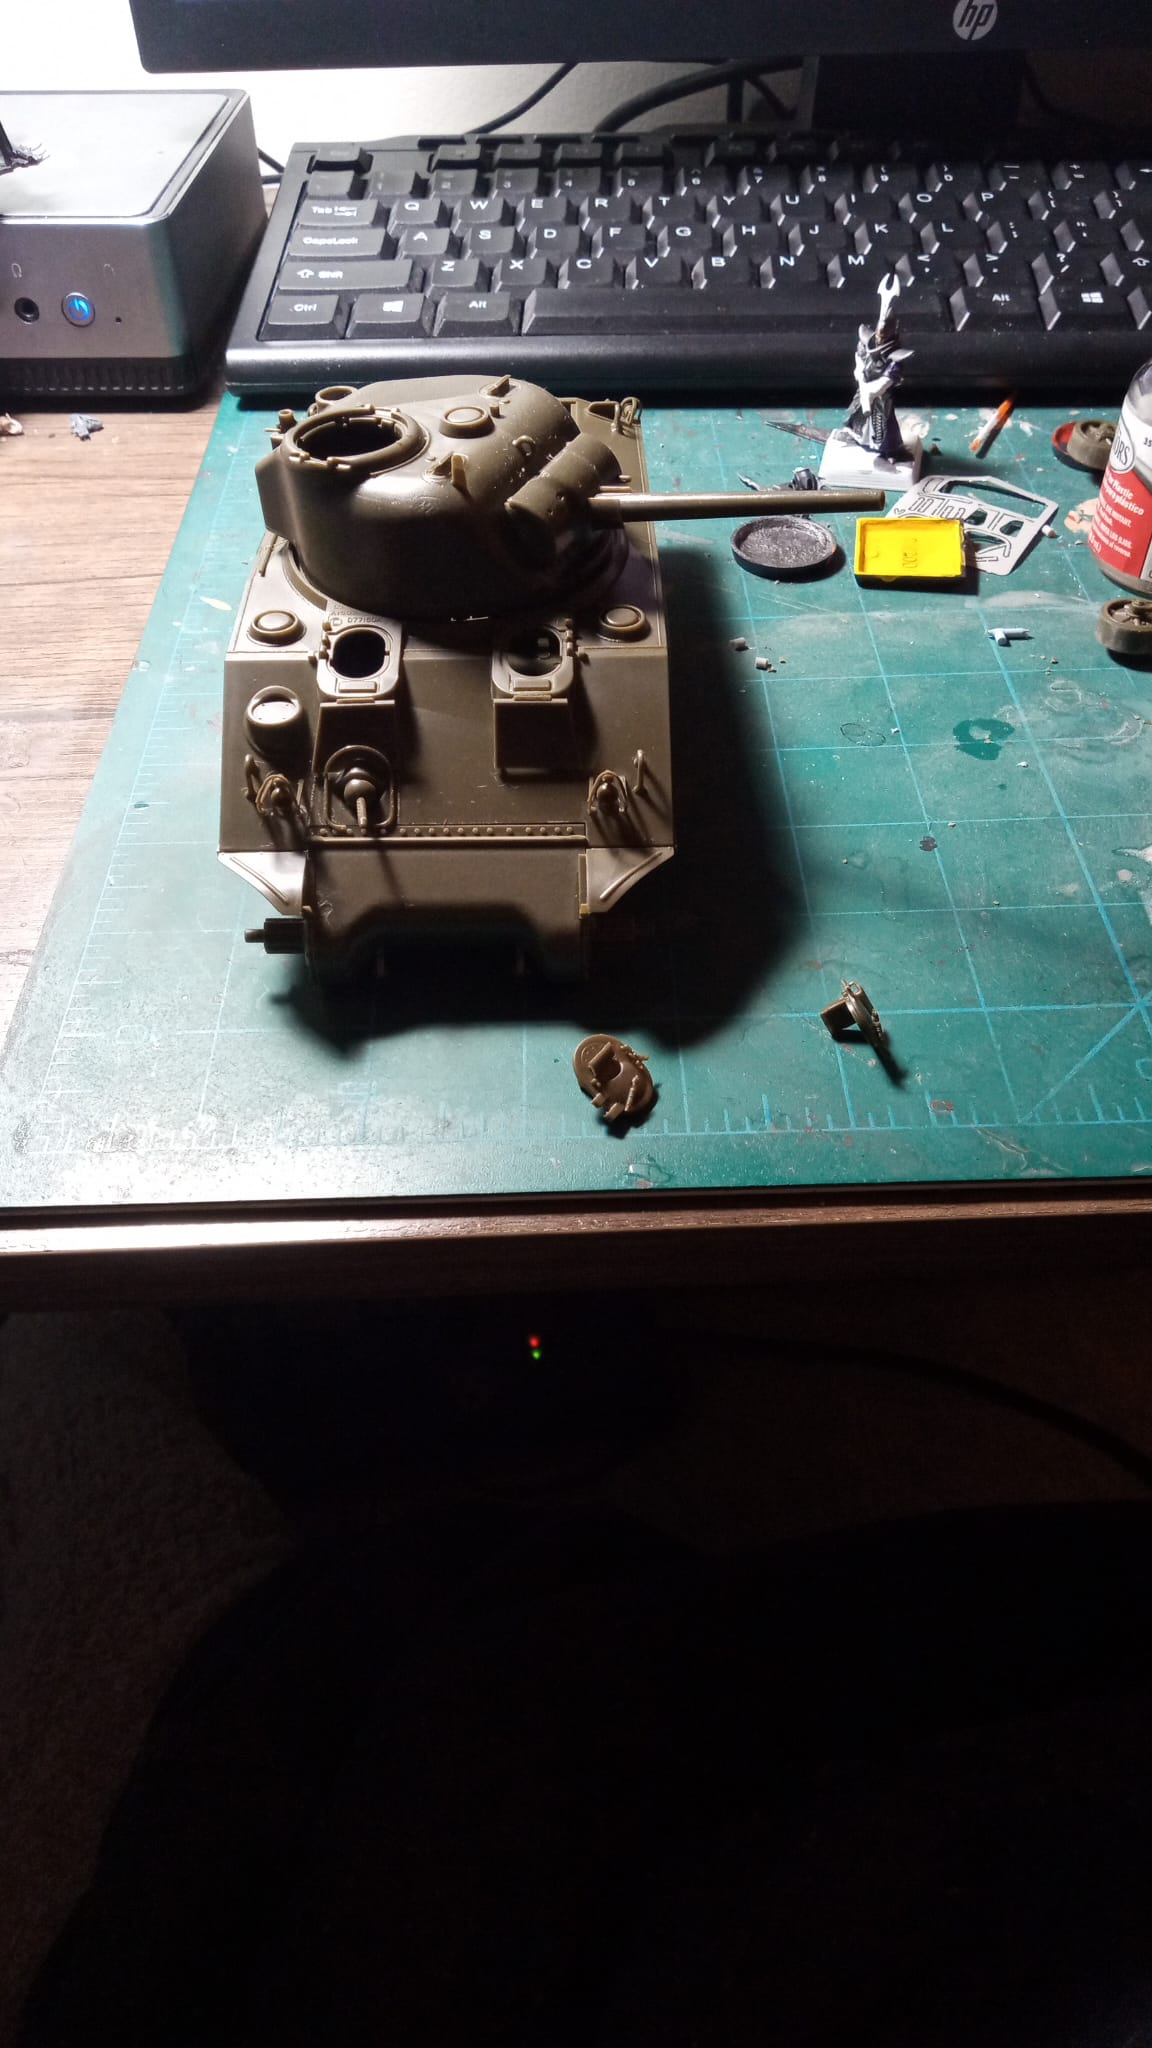
Added the Mickey Mouse lifting rings for the very early M34A1 mantlet and added the bow mg cover fitting.
Need to take a better pic showing the lifting rings.
Better pic but I think that proves the rings are not big enough but I think good enough for me.

3 Likes
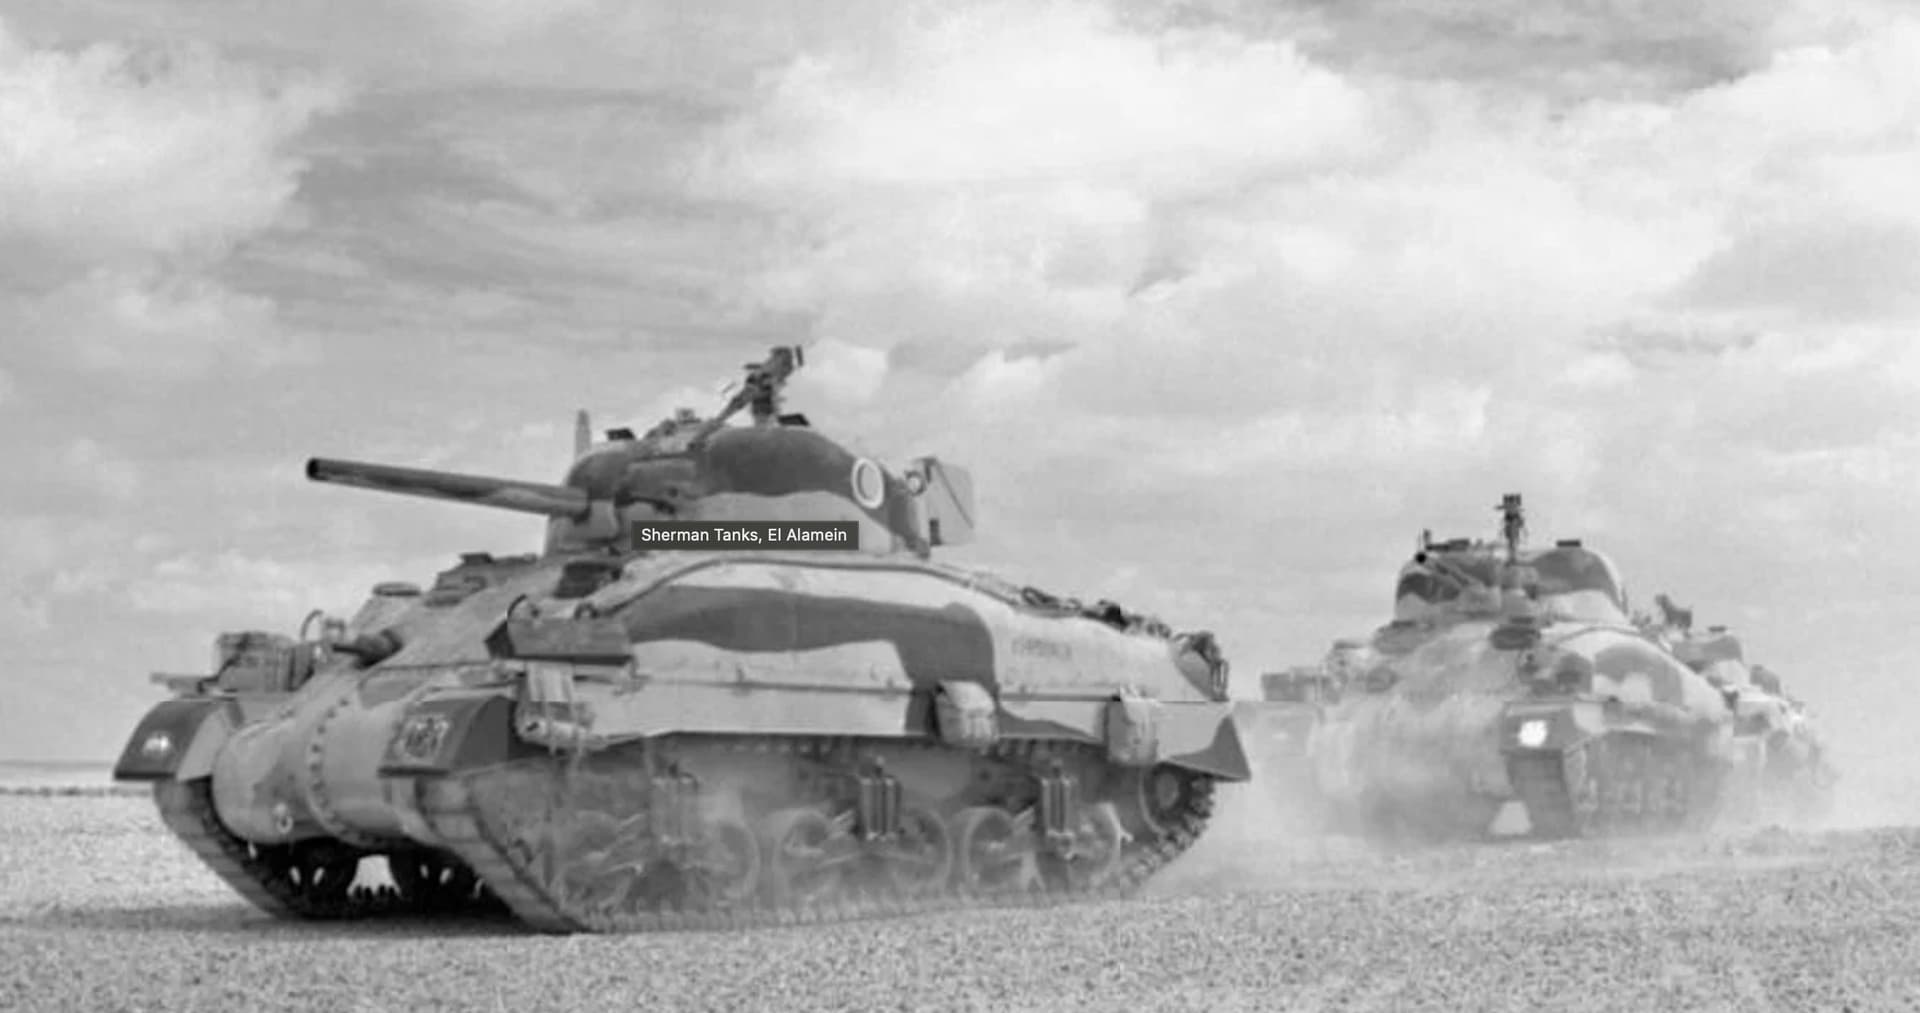
It’s possible the they were just referring to the Sherman tank in general as having fought at El Alamein, but I was under the impression that the El Alamein Shermans were all M4A1s with the cast hull and radial engine. The reason for that is that the M4A1 was actually the first version of the Sherman to be mass produced. I not 100% sure but I don’t think any A2s made in time for El Alamein, but they did get them soon after and it was the version of the Sherman preferred by both the Russians and the British. On level ground the Russians drove them on one engine to conserve fuel…
Here’s a group of A1s at El Alamein…
3 Likes
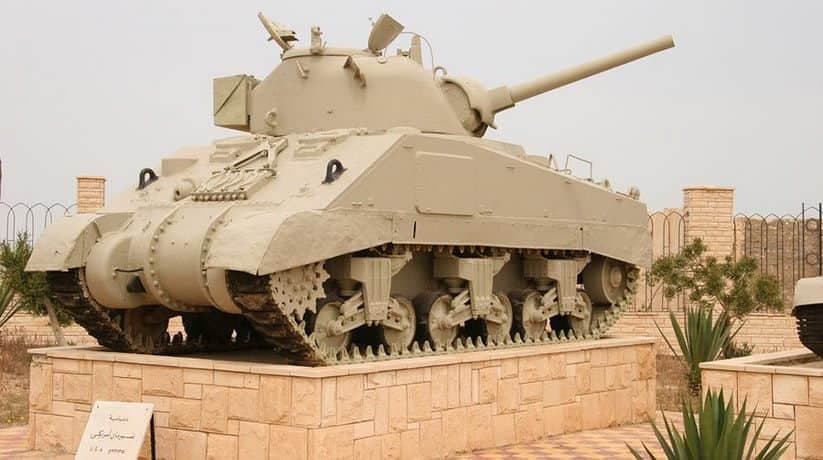
This Sherman is on display at the El Alamein Museum in Egypt.

Shermans of the British 7th Armoured DIvision.

M4A2s during the Second Battle of El Alamein.
2 Likes
I’m considering doing this for the campaign because it’s the newest and latest thing in the stash, but it’s going to take some work to turn it into something halfway decent.
The kit has a lot of mixed things, even the turret has early features mixed with late ones, but overall the turret would not be too difficult to make into an Operation Cobra version. The kit has the right suspension for that version too. The hull needs some work. BM for some reason added angle to the rear upper hull AND the ventilator in the front is partially molded on. this means that the hull needs some surgery to correct the angle and then to also back date the front of the hull to the Cobra version. It does include the correct type of tracks for Cobra. Jakko pointed out on a different thread that the split loaders hatch is incorrect too. I think I have several of the older hatch rings in the stash so that should be an easy swap. Also missing is the initial barrel without threading. The kit includes a turned metal barrel with the thread protector molded in, and it also includes a late slide molded plastic barrel with the muzzle brake. Again this should not be an issue, I have several unthreaded barrels in the stash.
More than anything I’m just curious to sink my teeth into my first Border Models Sherman.
3 Likes
They’re in about the right position side-to-side, but not far back enough ![]()
See about halfway down this page on the Sherman Minutia Website.
3 Likes
Thanks. I was too hyper focused on the side to side, I didn’t pay enough attention to the front to back. Might be an easy fix.
3 Likes
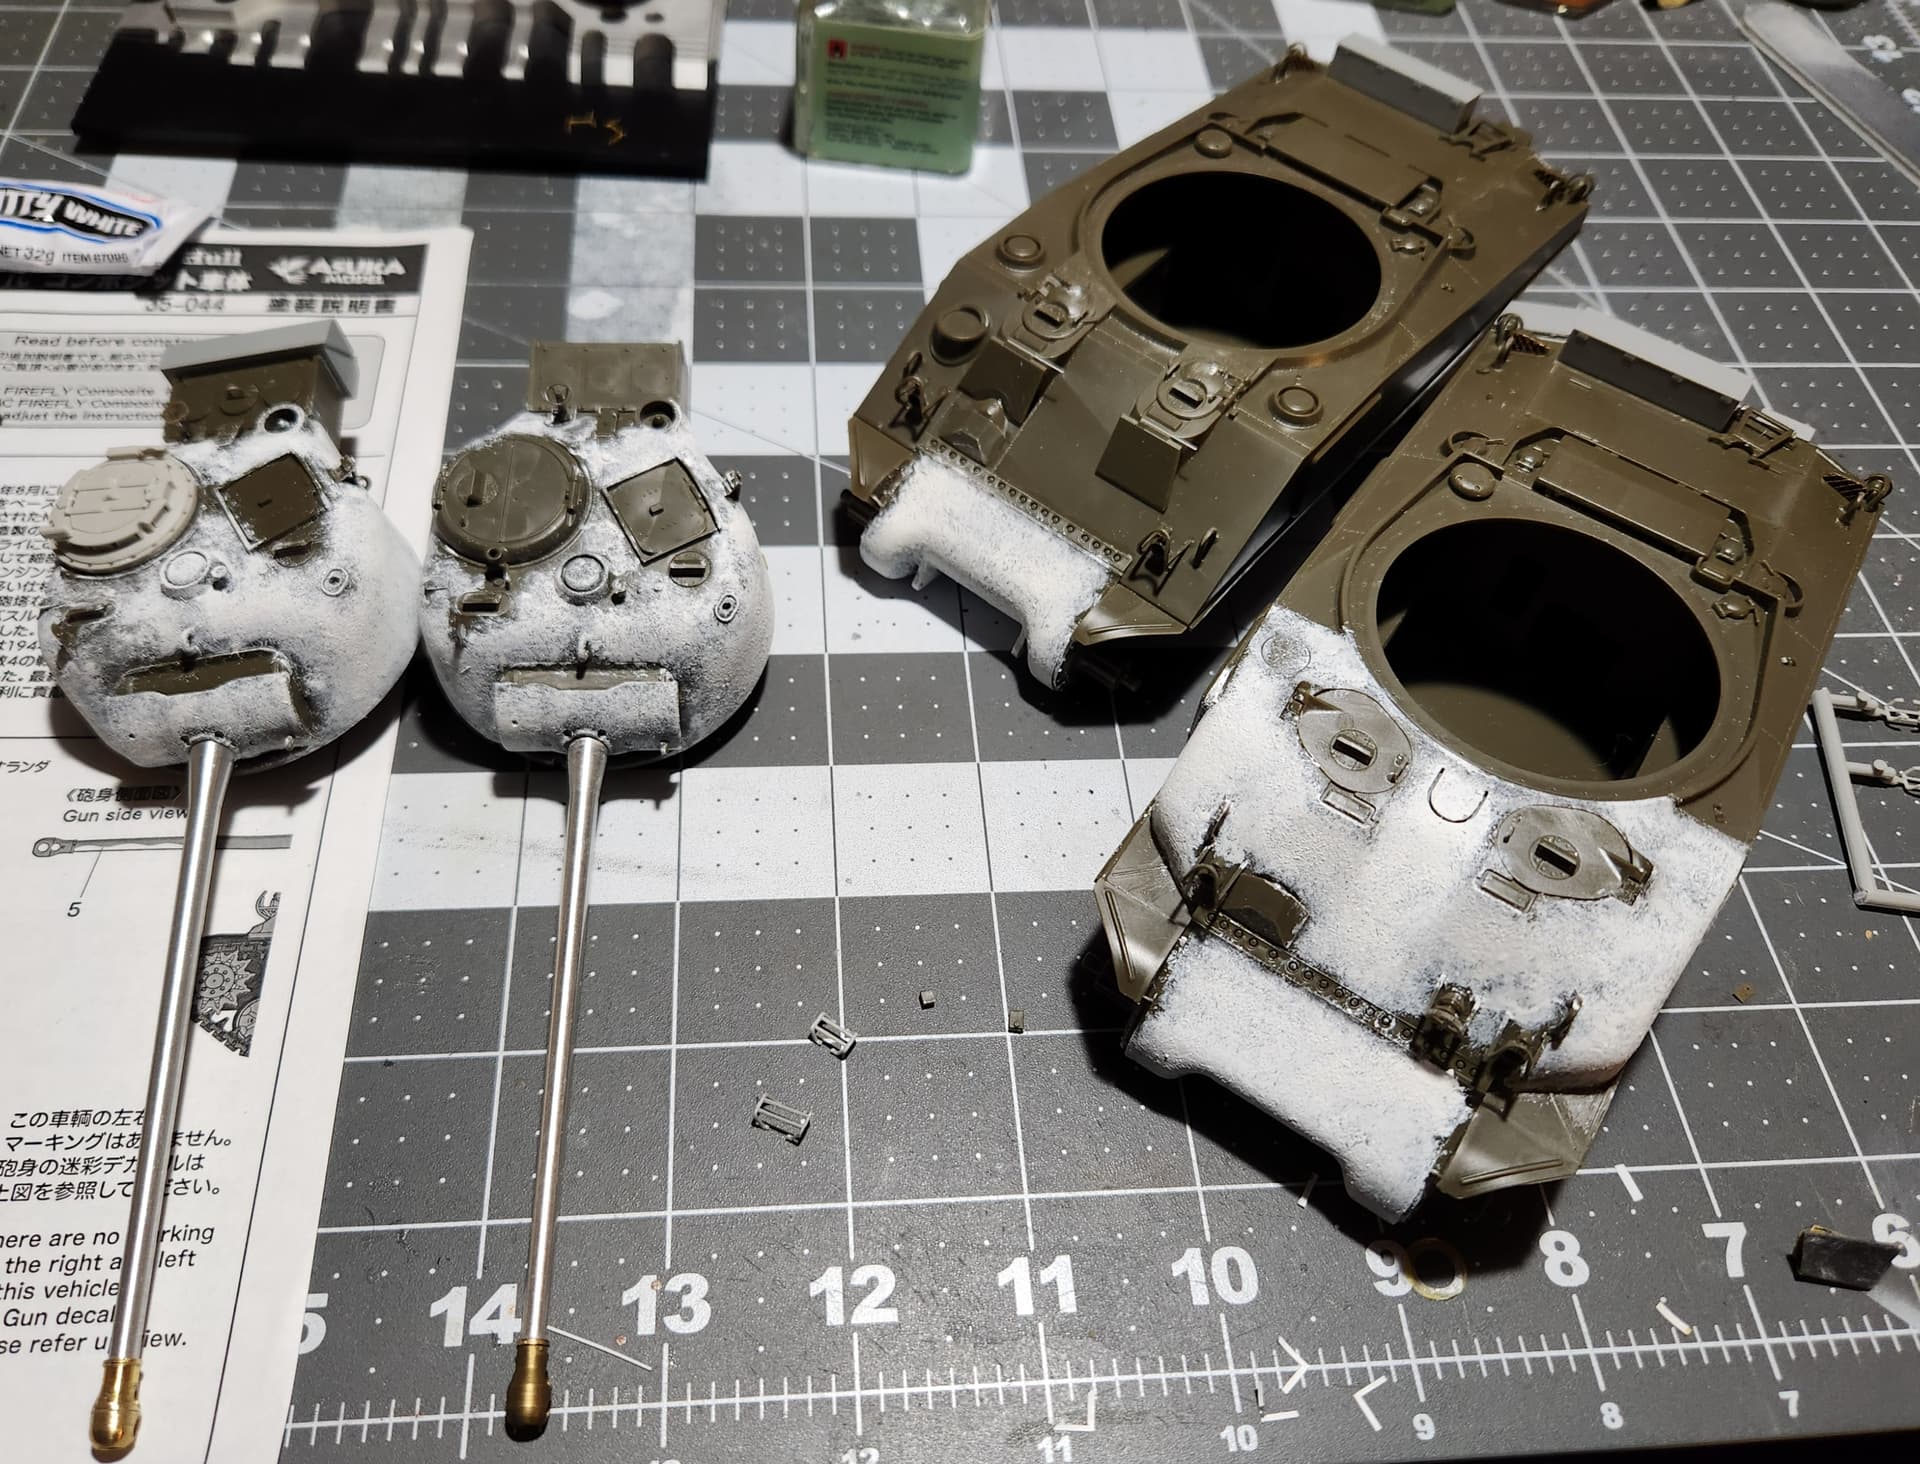
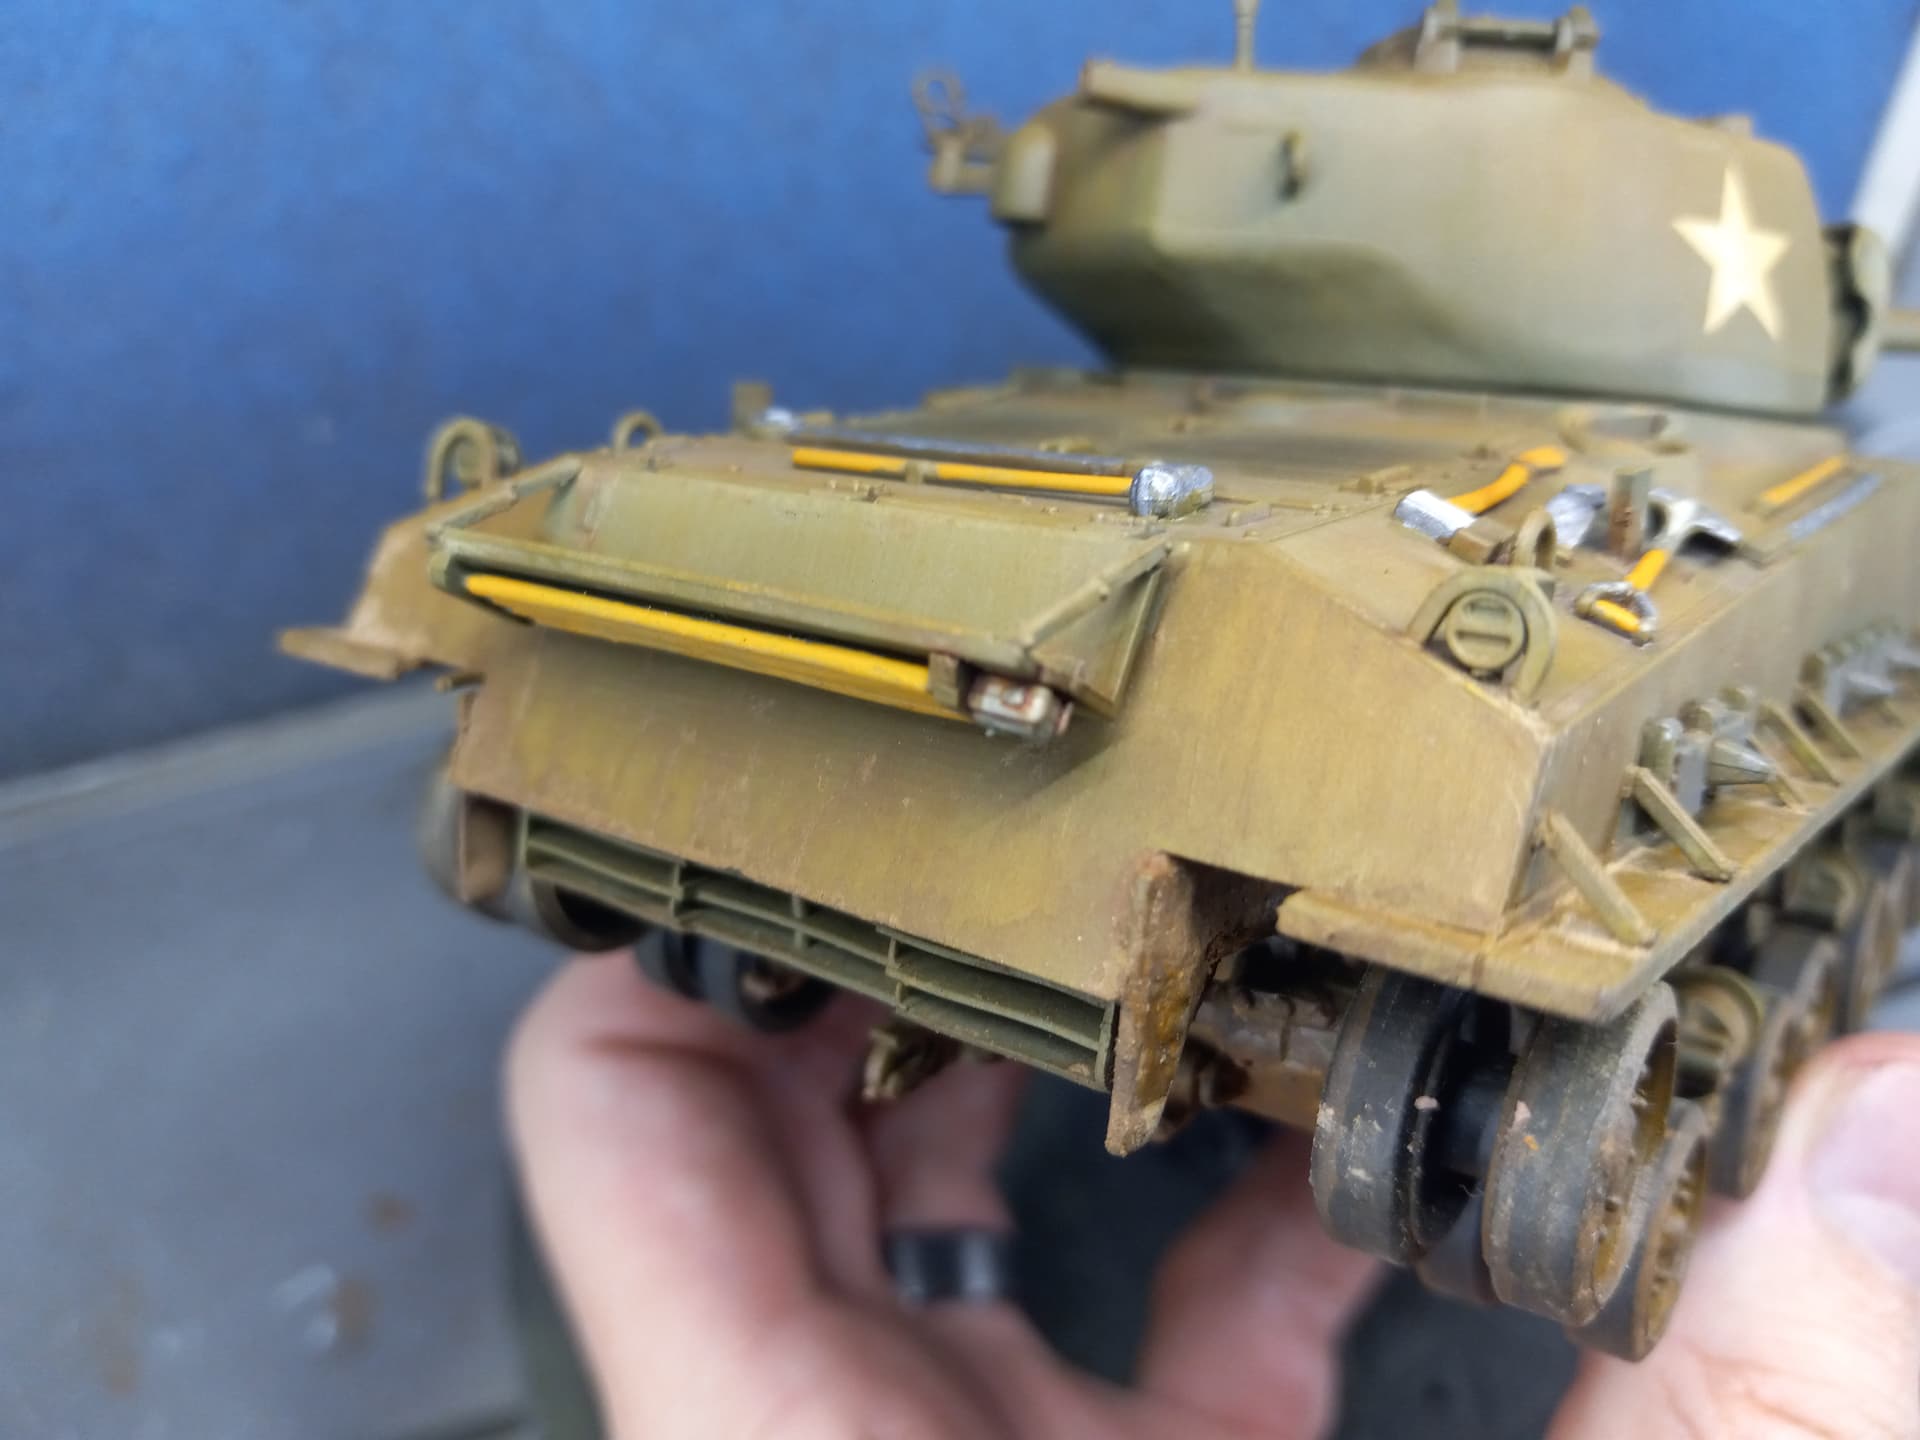
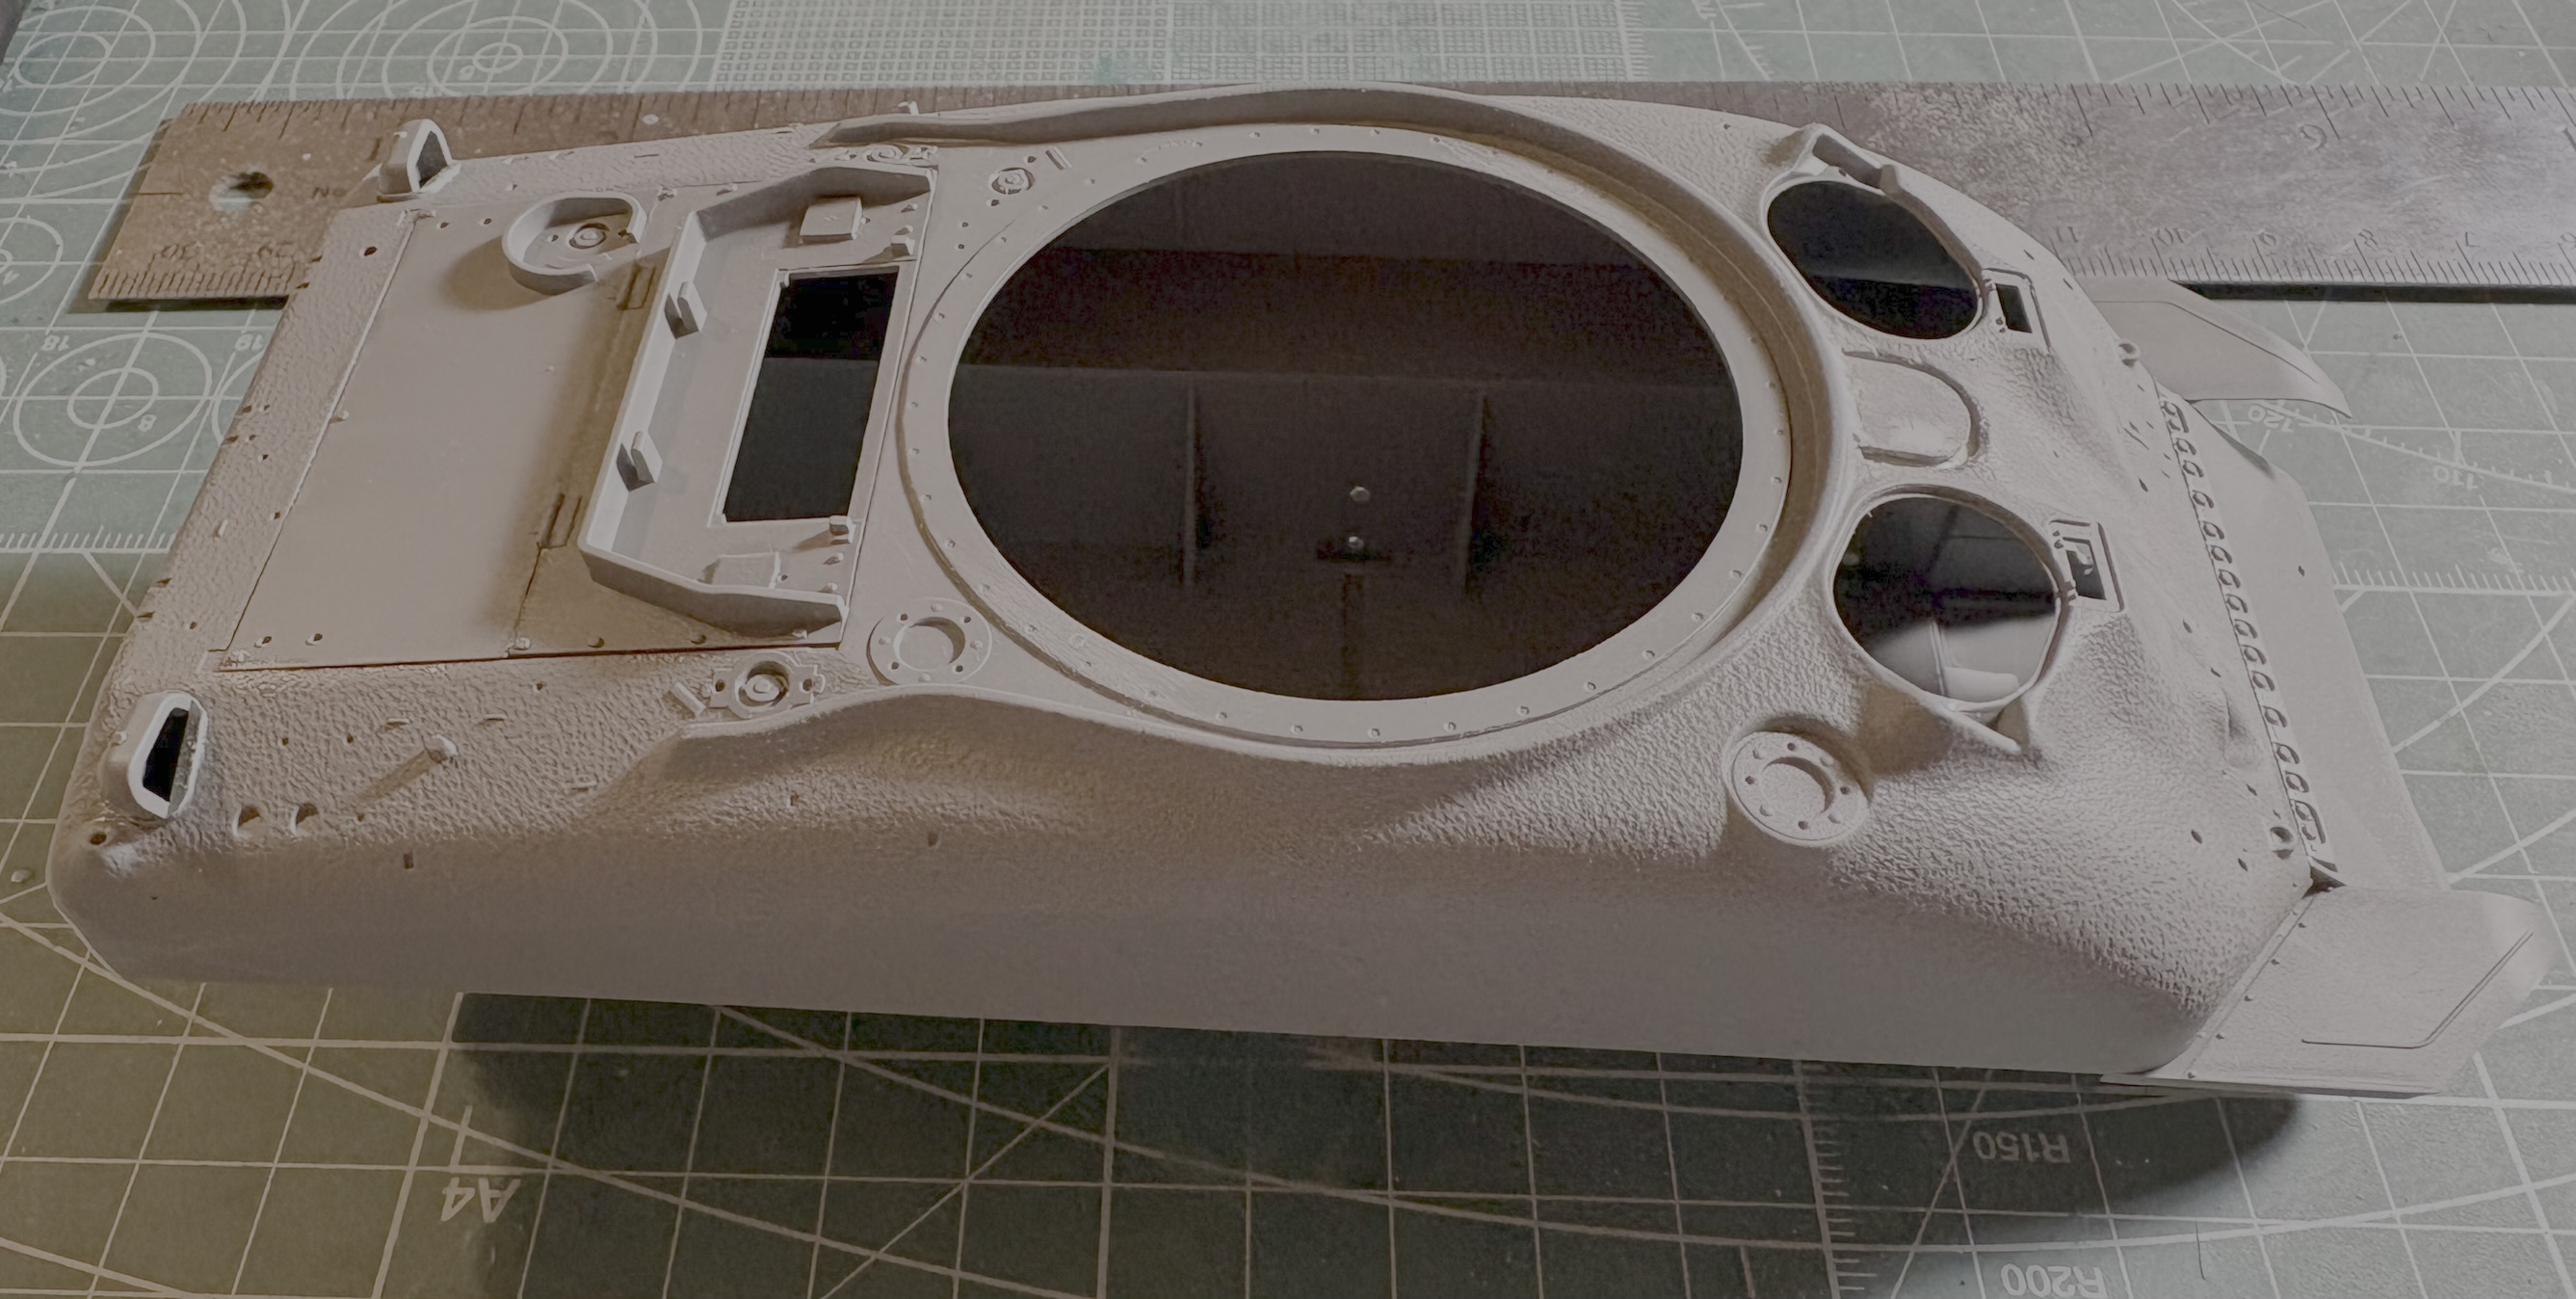
Some progress on the Border Models M4A1 76W
The plastic is very soft in areas and brittle in others. Constant care has to be taken to line everything up square and proper as the parts set. A lot of dry fitting is needed after removing flash and straightening out warping, the lower hull tub is where most of the warping occurs. This is post surgery to correct the angle of the upper rear hull and to remove the front ventilator cover.
4 Likes

No idea, but I’m not complaining about the plastic. It bonds really well with minimal amounts of Tamiya extra thin and like with any kit once you figure out how to work with it it’s not an issue.
Now that I’m past the surgery part of the hull I’m impressed with the overall casting, it’s a very nice looking shape wise, it looks the part. I’ll be finishing the hull and suspension before I start surgery on the turret.
2 Likes