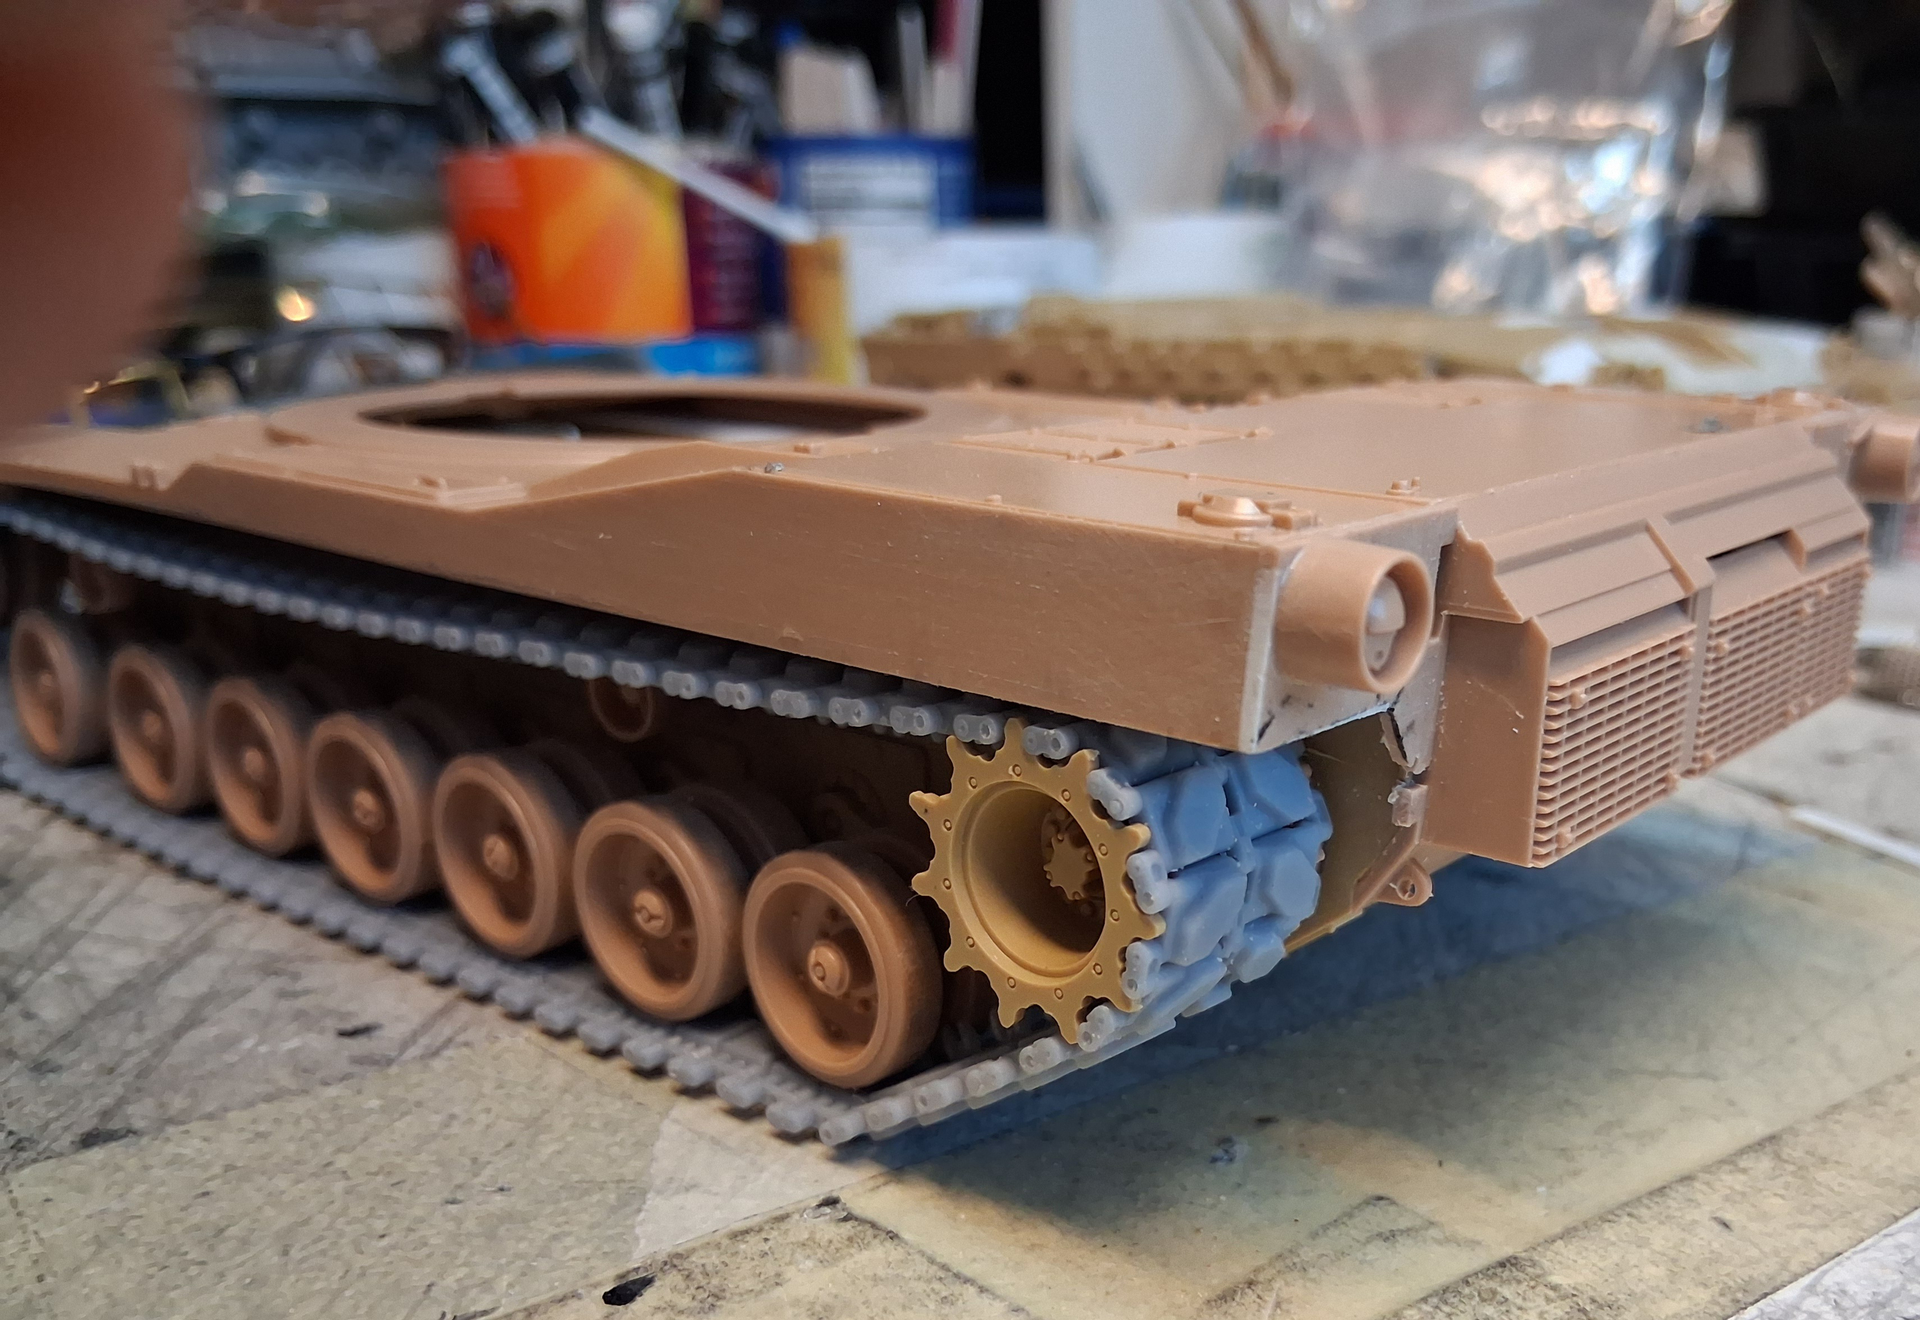
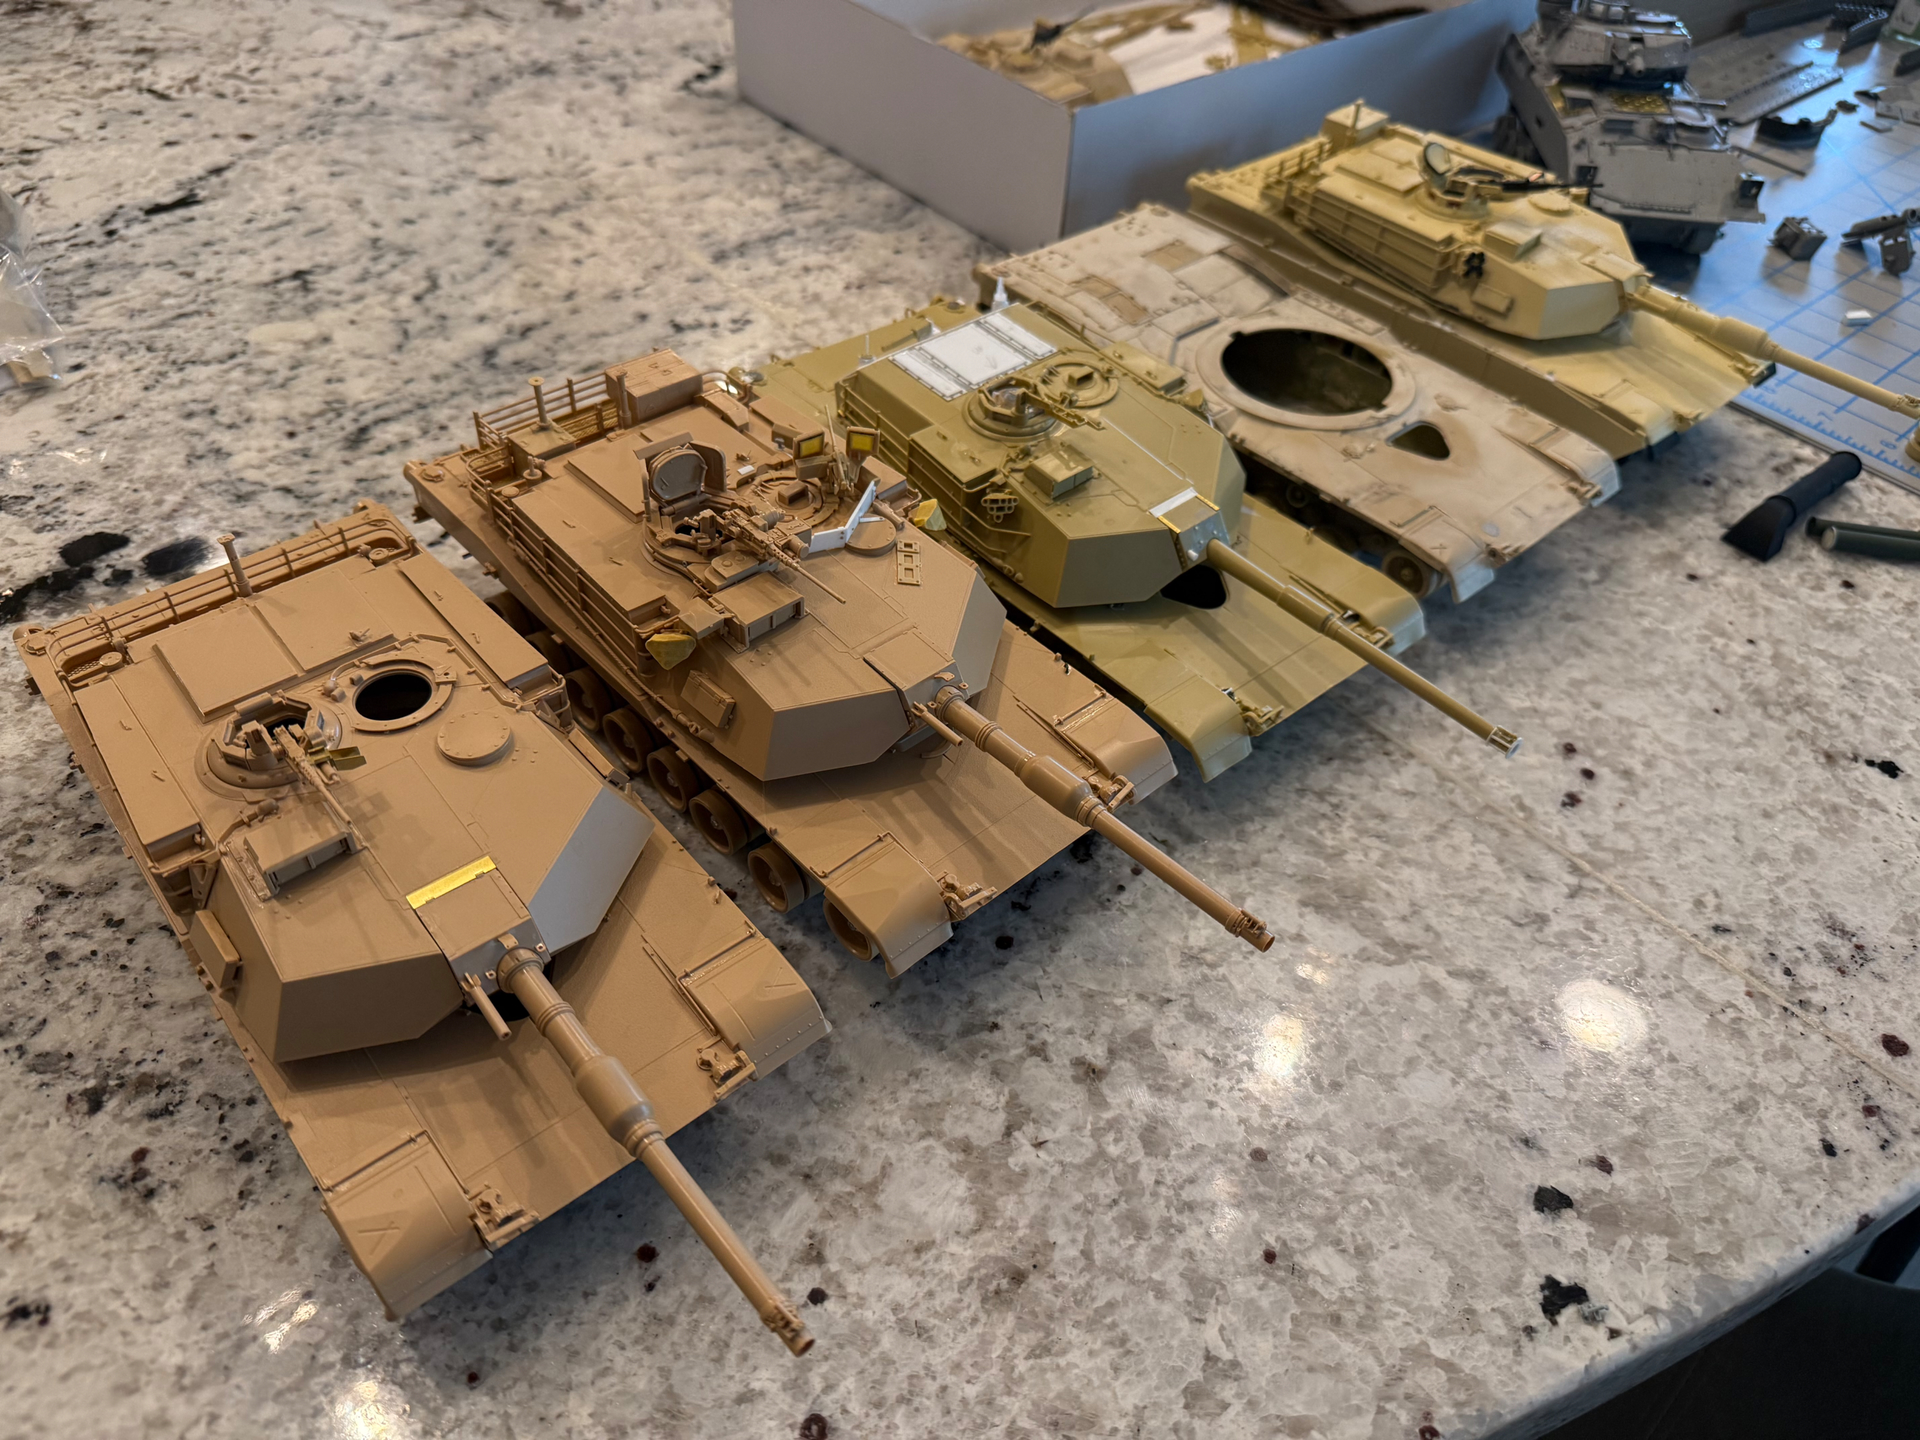
I have no clear idea why I still had this kit in the stash, but when I received the CRS tracks that I had intended to use on a different build, of course I had to put a few links together, and then I wondered how they’d look on a model… well, it went downhill from there, even though I had three models moving along nicely already.
The kit itself is the original release, typical older Tamiya and as I soon found out, not quite complete. No worries, I keep parts from kits around for this very reason. After a session or two at the bench, I had a basic hull with covered sponson bottoms.
The tracks looked great too. I’m okay with the fit since the skirts will cover the entire top run.
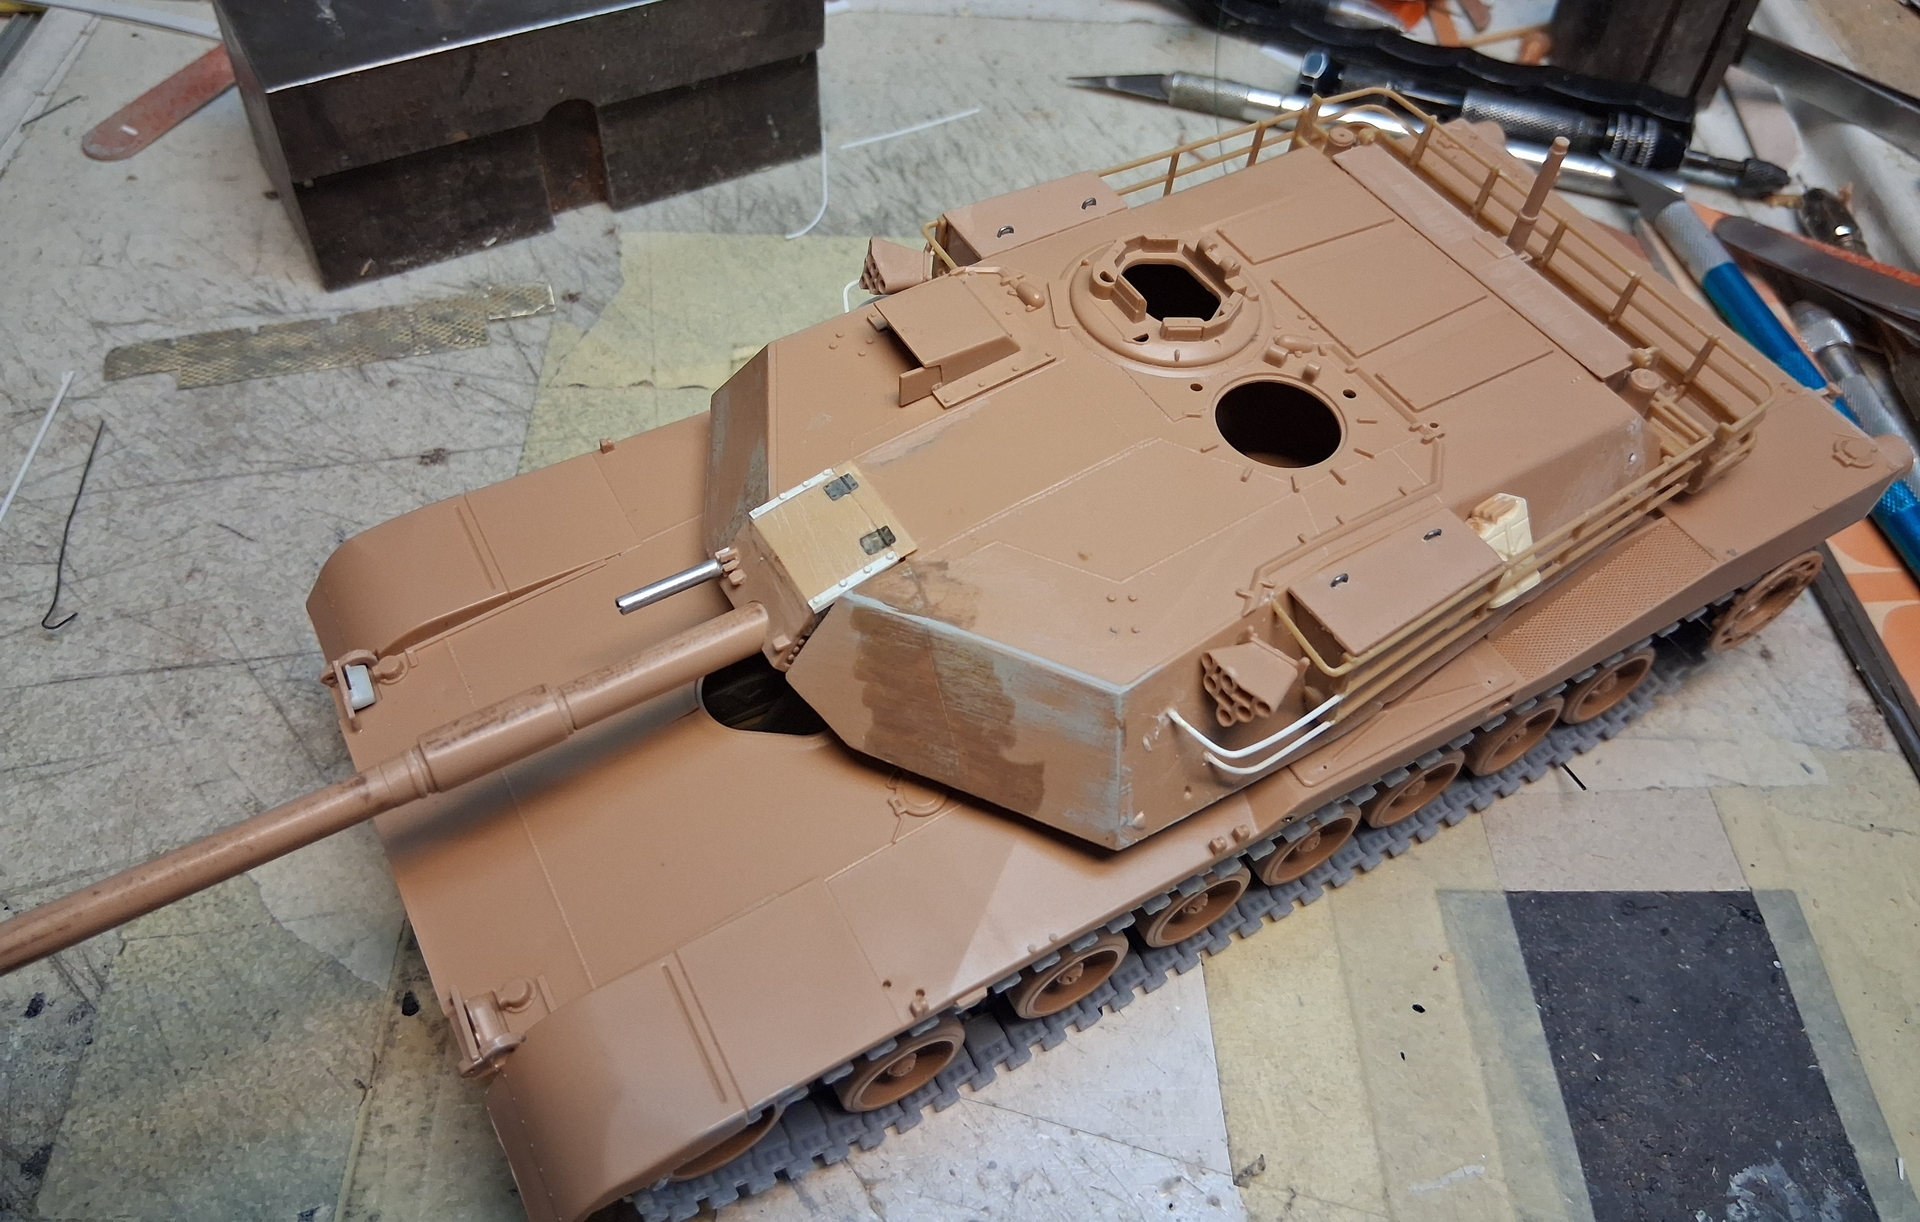
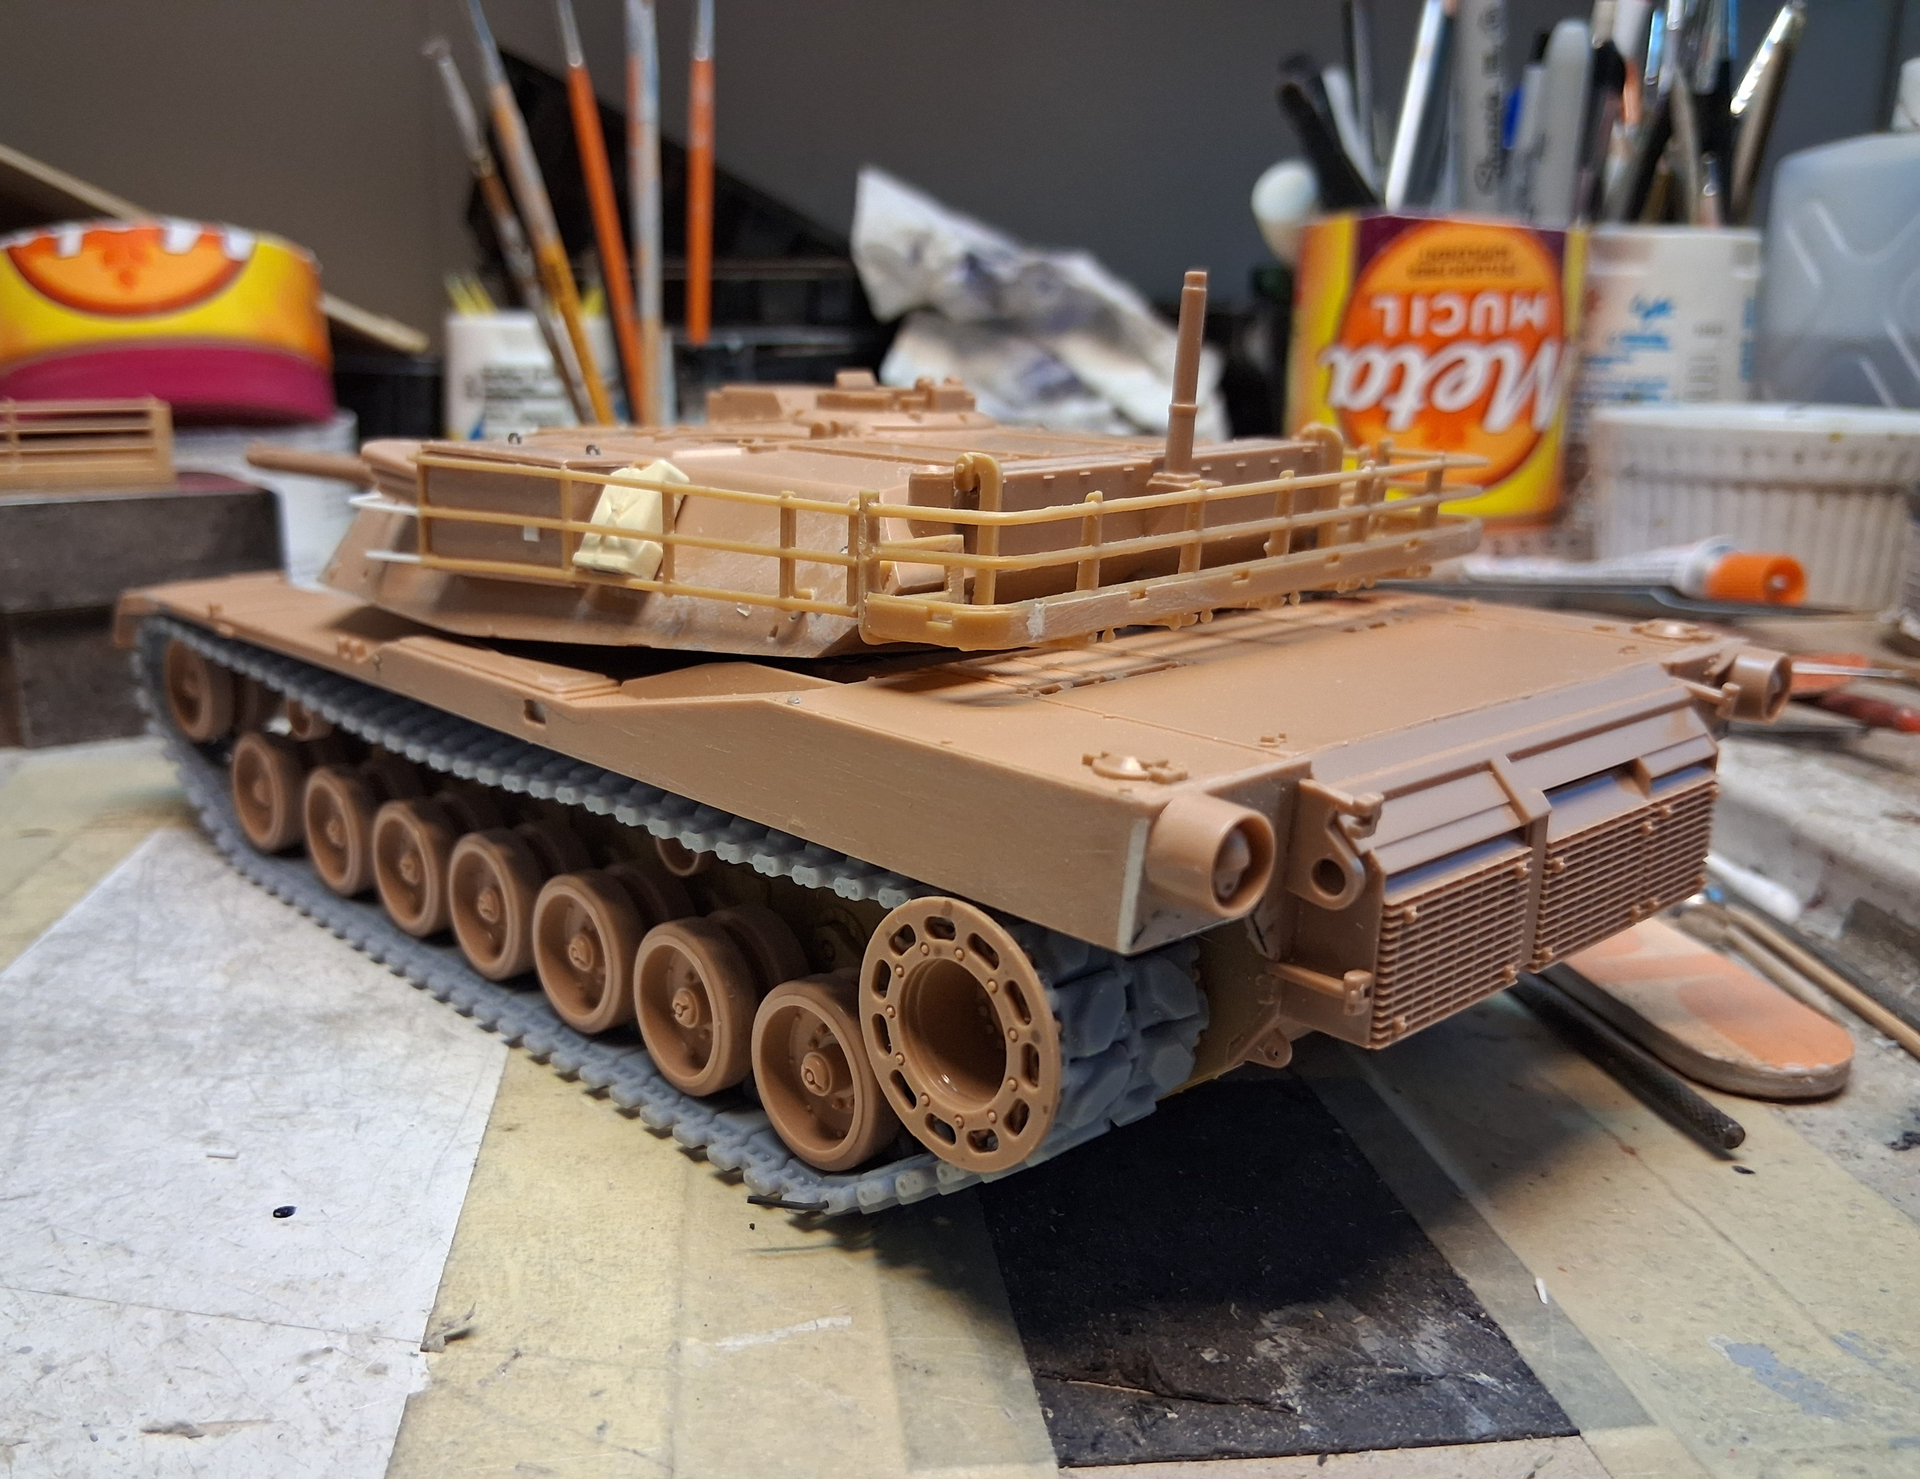
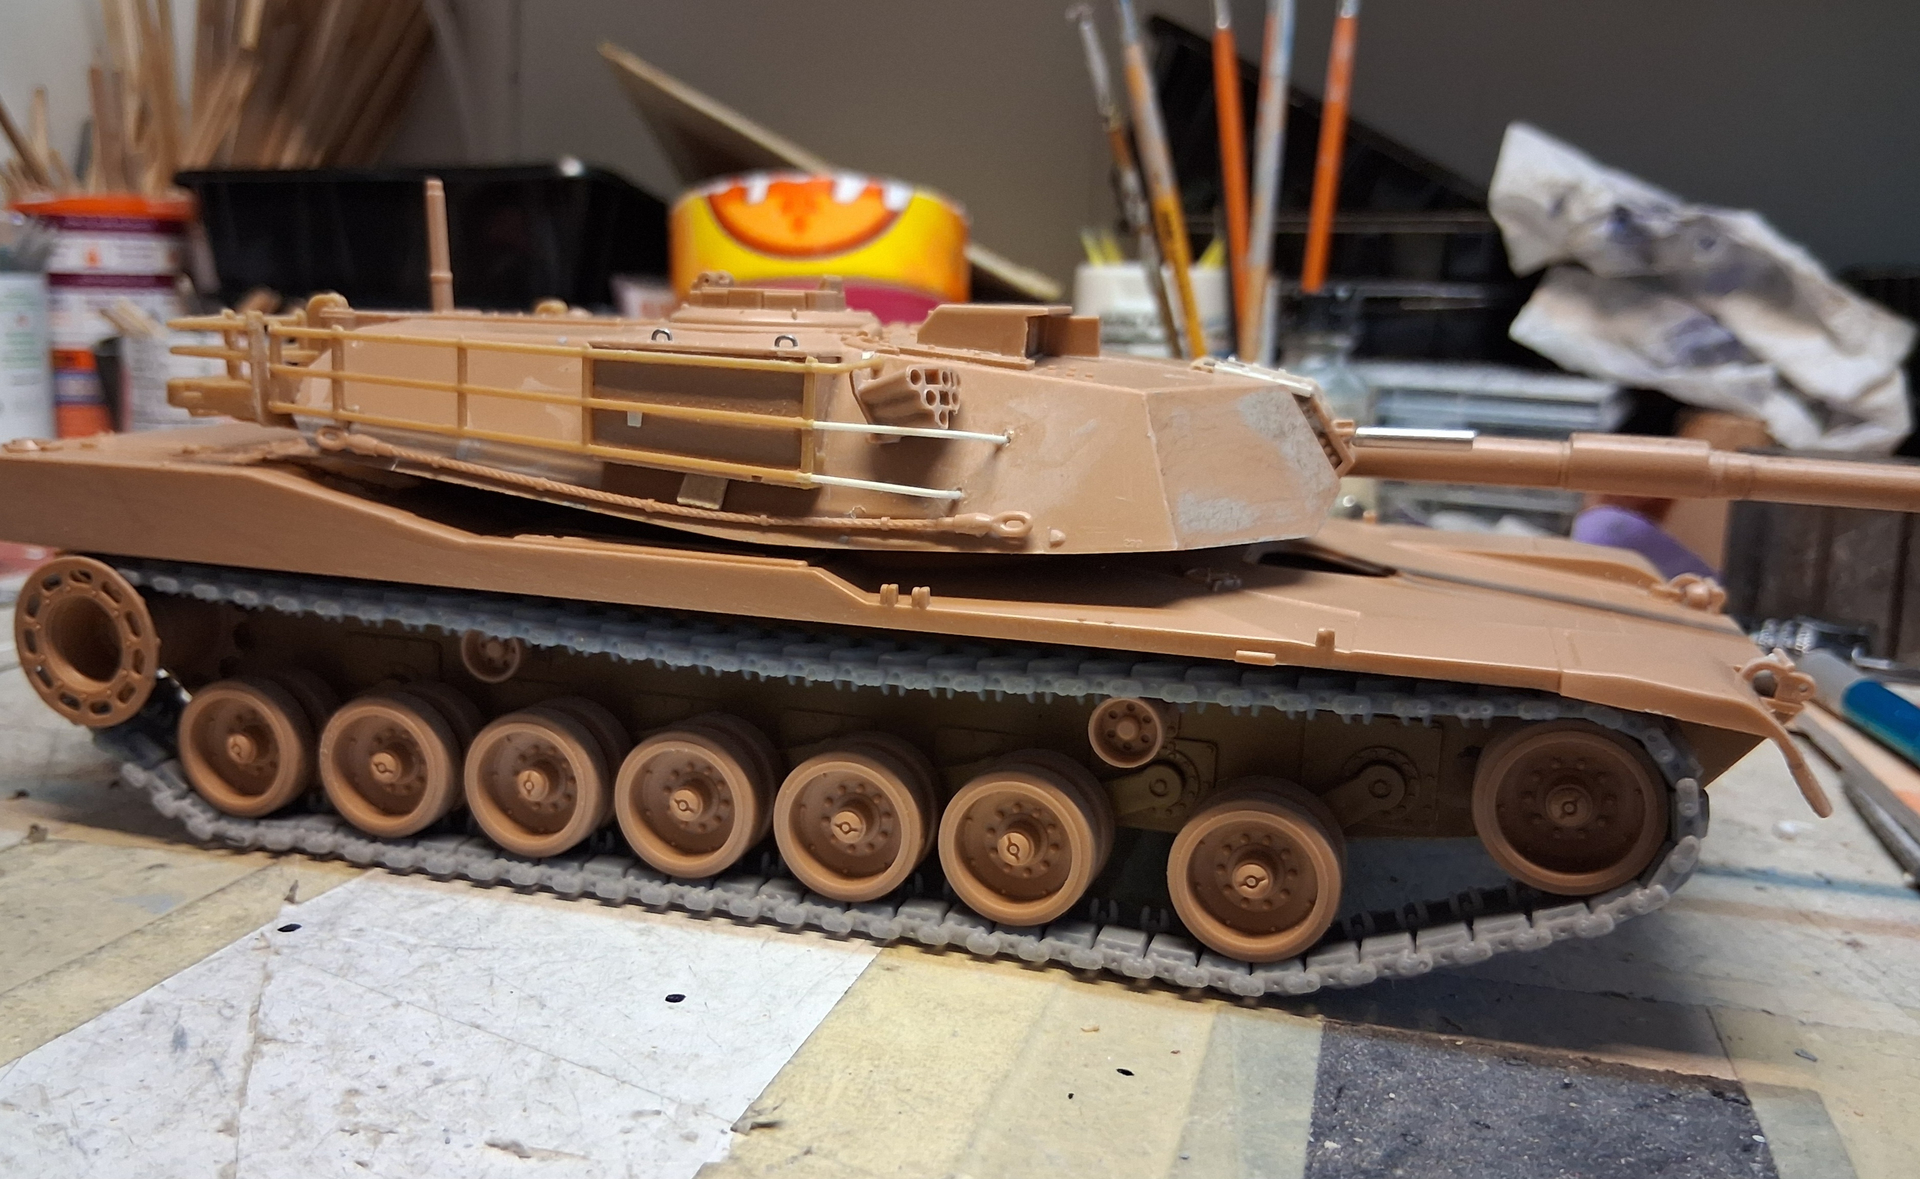
Then I went down the rabbit hole: I started looking at books, previous posts here, in other words, researching. I decided I needed to do the M1 IP. I liked pics of them in Europe, mid ’ 80s, and dirty. Problem is, to do it “right” would mean parting out another kit or attempting to modify the kit turret, neither of which was what I wanted to do as my intention was to do a short and sweet build. So I cheated. I trimmed the mantlet mount so that it sat about 1mm “deeper”, did a bit of detailing, built a spare Trumpeter bustle rack and called it close enough. I know it’s not “right” but it’s gonna look “right” and that will be good enough, this time anyway.
So far, after a relatively short time at the bench, even dealing with the extremely brittle old Tamiya plastic, I’m here:
The blow-off panels will most likely be covered by stowage so I haven’t done any detailing on them.
Yes, it’s not "accurate " but aside from the interweb and me, who’s gonna know?
Looks good, would you tell us more about the tracks ? Just noticed your rear lifting rings are on upside down , perhaps just put in place for the photo ?
Argh, last parts I hurriedly slapped on last night… they’ll pop off easily enough. I thought they looked weird but that’s what I get for doing “one more thing” before I crash.
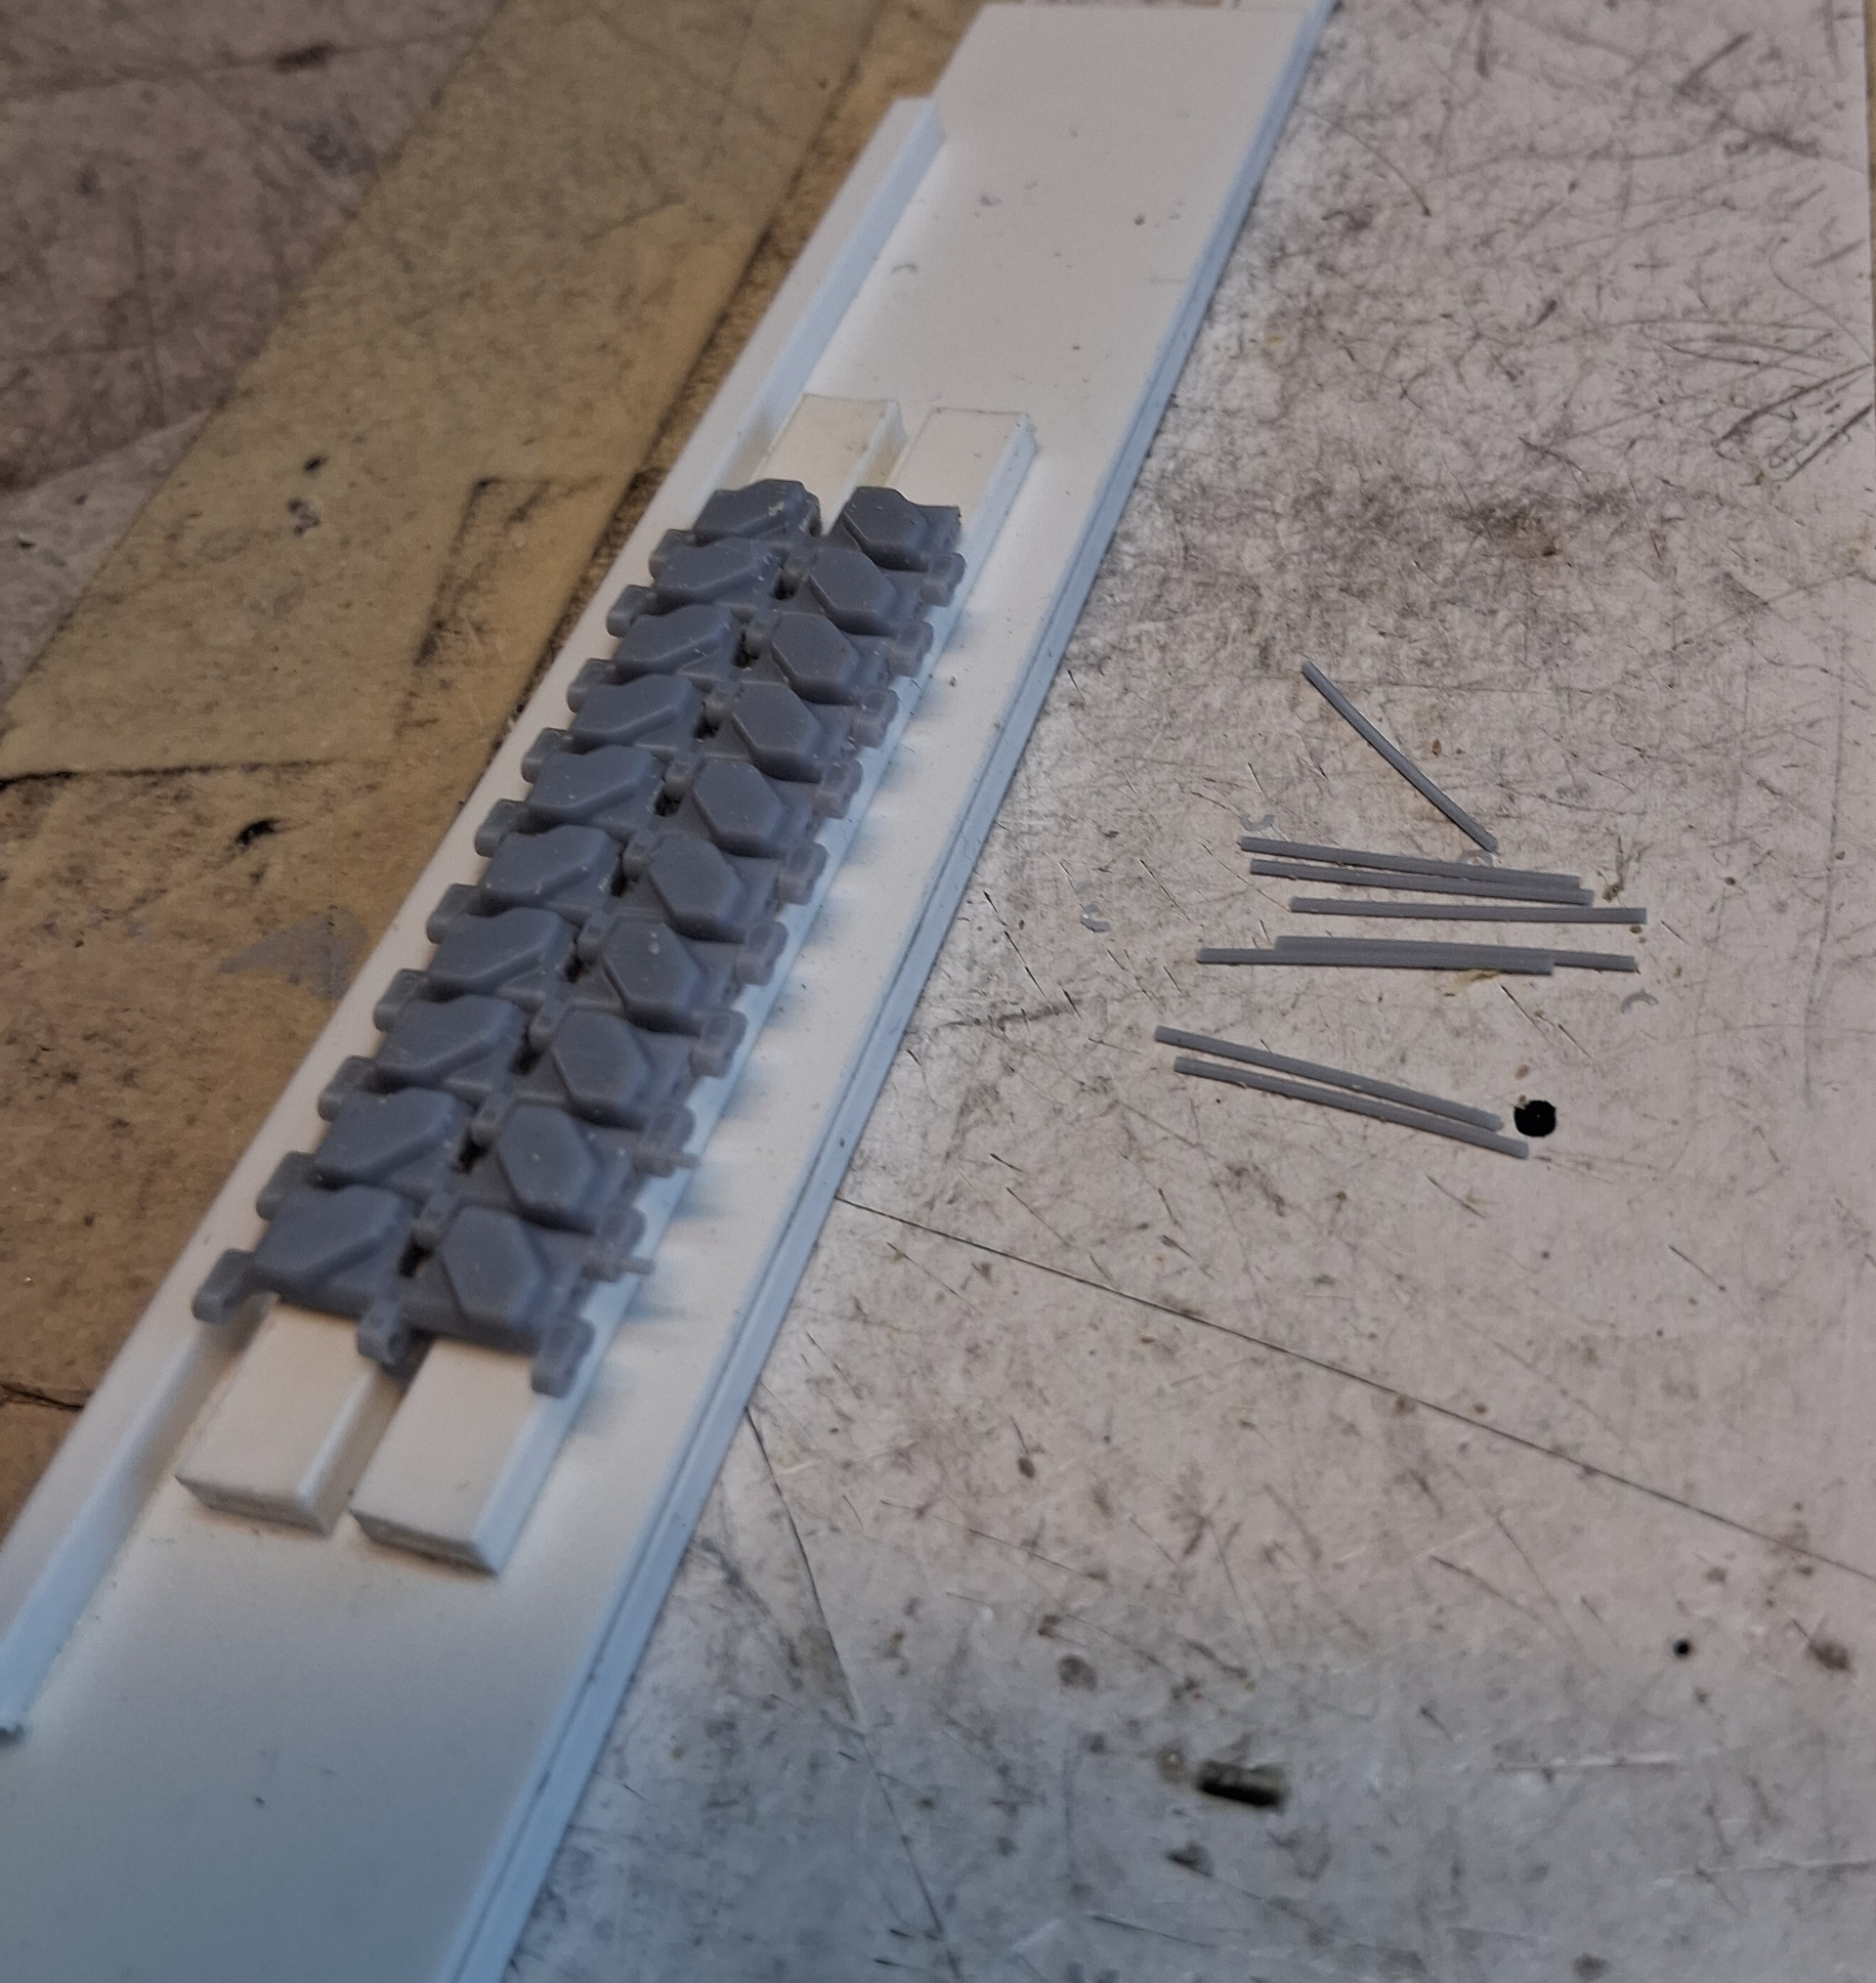
The tracks came from CRS Tankwerks, very nice and a bonus as far as I’m concerned, one piece links. I did two runs in a little over an hour.
In a nutshell, I did groups of 10 links on a simple jig. I pushed the resin pins almost all the way in, applied a small dab of gel superglue on the exposed end of the pins and seated them.
That fast too.
Links on my jig:
They fit all the Tamiya and Dragon sprockets I have here, and there were LOTS of spares in the bag. Prices are very reasonable and every single link was perfect, no rejects. I cleaned a tiny bit od flash off about 20% of the links. I’m ordering some more today. I also received a set of T-97 tracks I’ll be using soon.
It has been at least 10 years since I last built am M1 so I thought it was about time since I’m currently on a Cold War binge.
I’m really impressed with the CRS tracks. And to be clear, I have absolutely no affiliation with CRS. I paid for these and will pay for some more as soon as I find out what my red headed stepchild is gonna cost me this time.
If I have something better in my spares I may, otherwise it’s as good as it gets.
Dumb errors aside, I don’t want to go too far backwards and create another never ending project.
Given how much work the tail light guards would be to replace vs the amount of visual change gained, I think I’m okay on this one.
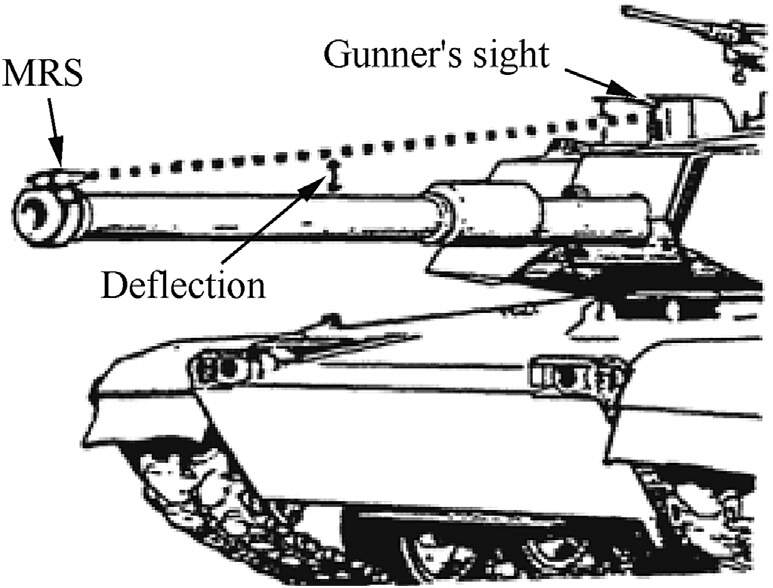
By “collimeter” (collimator) are you referring to the muzzle reference system reflector on the actual muzzle? If so, every single pic I have in multiple references show it at zero degrees straight up on the muzzle.
Anyway, I’m still doing little bits and pieces here and there, fixing join marks and sinkholes and hope to begin adding stowage soon. I’m also looking for suitable crew figs, just a TC and loader. IMG_5207 by Russel Baer, on Flickr IMG_5208 by Russel Baer, on Flickr
v IMG_5206 by Russel Baer, on Flickr
The basket mesh from a salvaged Tamiya kit was a very close fit to the Trumpeter basket which was a nice surprise.
Honestly guys, at this point it’s just going to have to stay as is. The plastic in this kit is extremely brittle (I’ve already cracked/broken several pieces, both large and small) and I just don’t want to do more harm than good. I’ll save it for the next one.
It’s coming together really well. The updates you’ve made give it a much more convincing look, and I think “close enough” is perfectly fine when the finished model looks this good. Looking forward to seeing it painted and weathered.
Nicely done Russ.Ive still got the old kit in stash.They go for silly money sometimes on E.bay in U.K.It was a big release in 1980s when Tamiya werent releasing much.I bought the Panda M1 and Ipm1 last year.Used to love seeing what Francois Verlinden did with the kit in his modelling books.
Thanks guys.
Richard, I have a few of the old “Verlinden Way” books stashed somewhere, great stuff and the models were nearly always out of the box with some stowage (Verlinden of course) and his unique finishing style. I straight up copied a number of his builds back in the days gone by…
I’m back on the Challenger lately but I have a nice idea of how I’m going to stow and weather this one.
More soon.