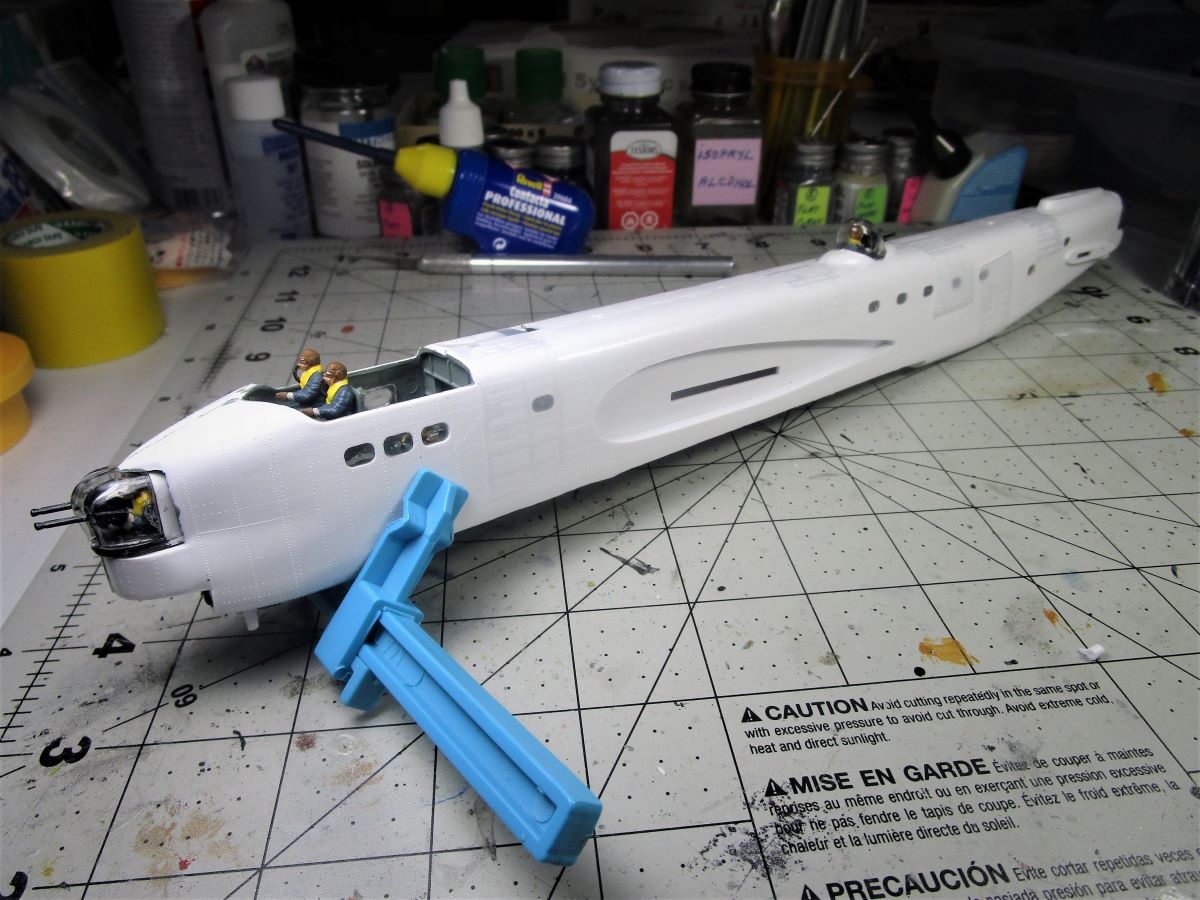
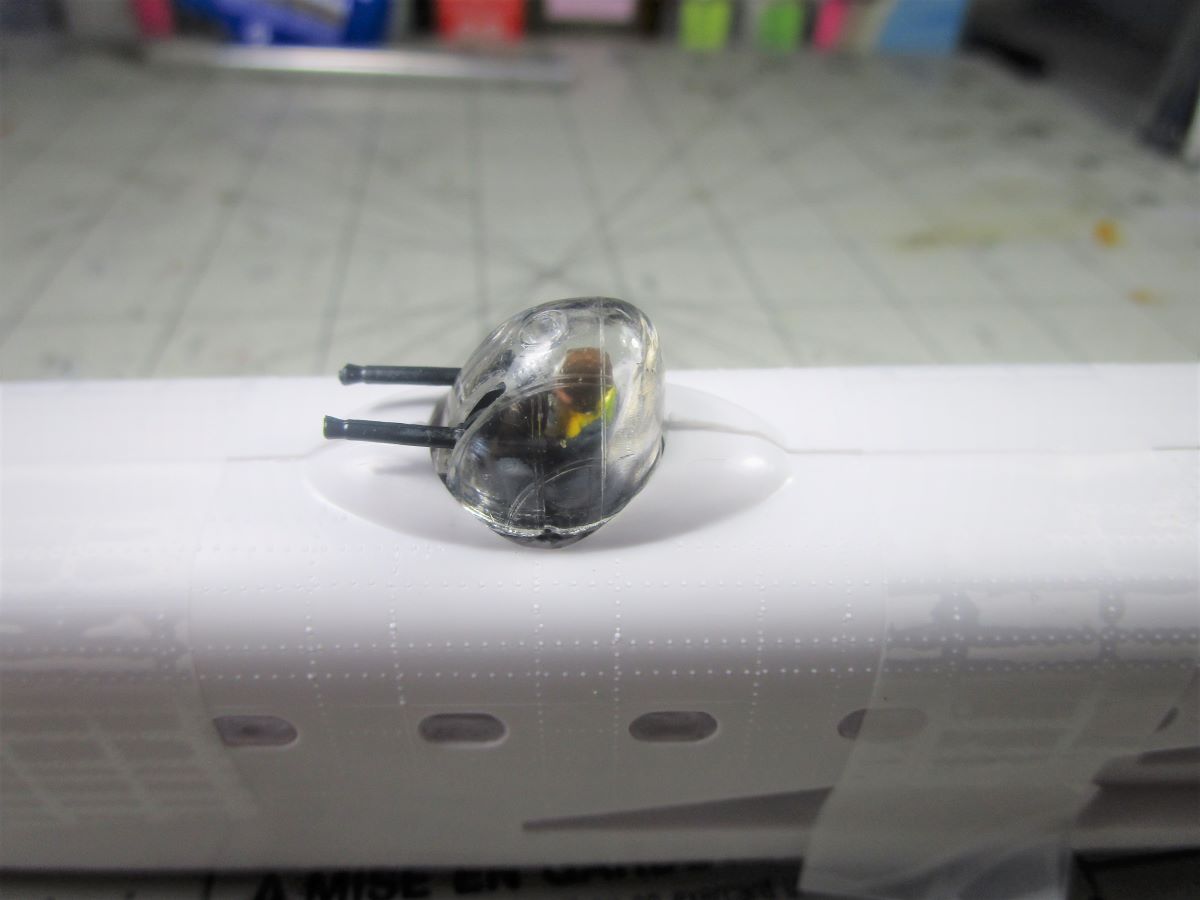
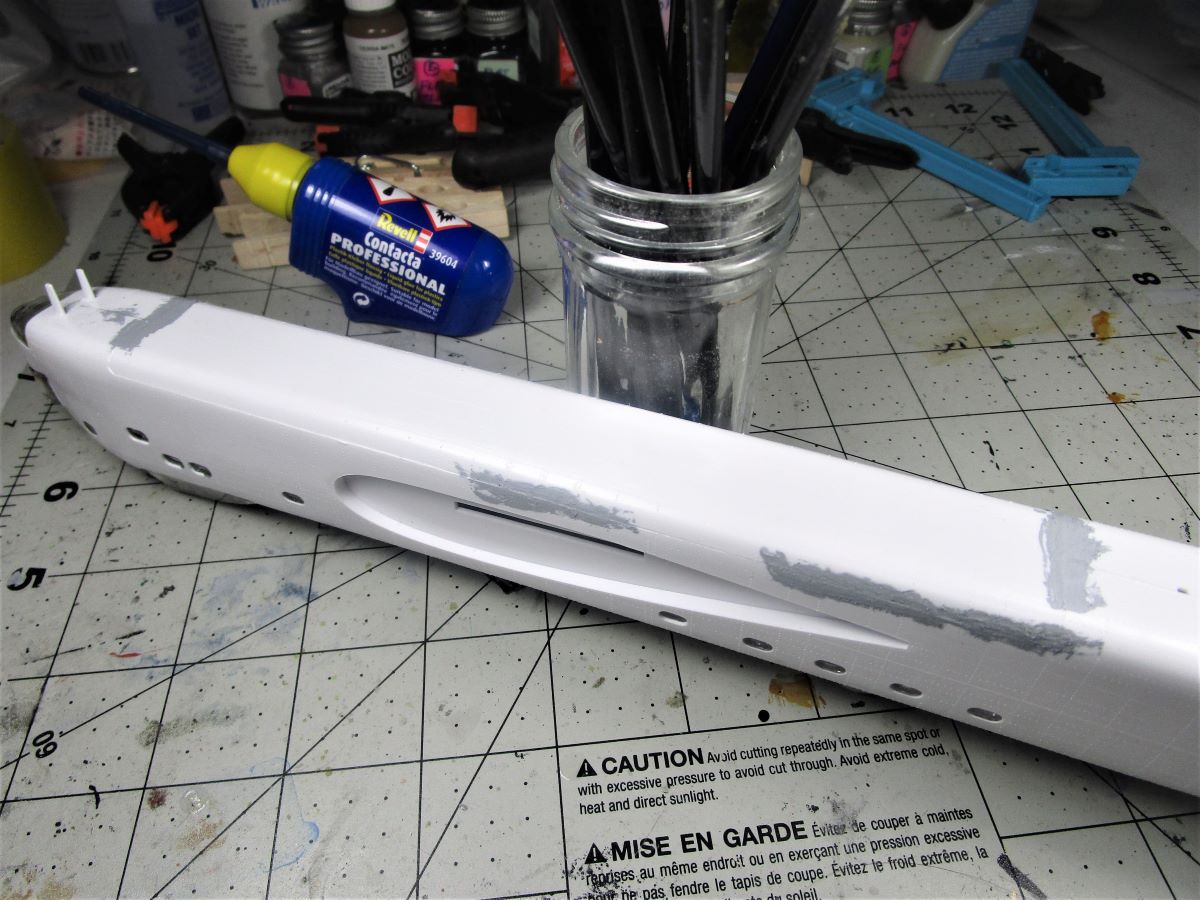
All done for the night, I put all the turrets and antenna in and closed up the fuselage. It closed up good but there is one area that has me confused. The shroud around the top fuselage turret is not even but the rest of the top seam is. I guess I will evaluate it when it has set and either add putty and blend or sand the high side even? Time for a break. John
5 Likes
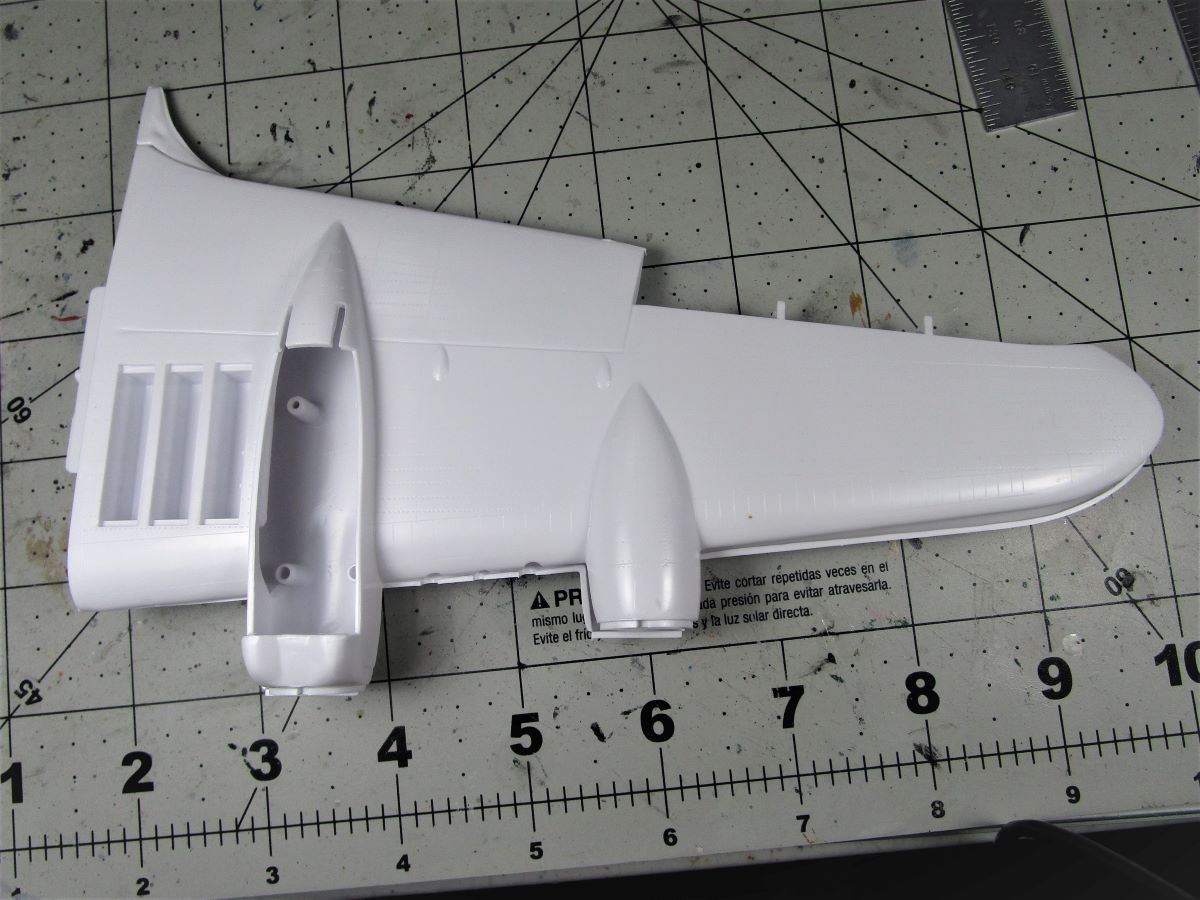
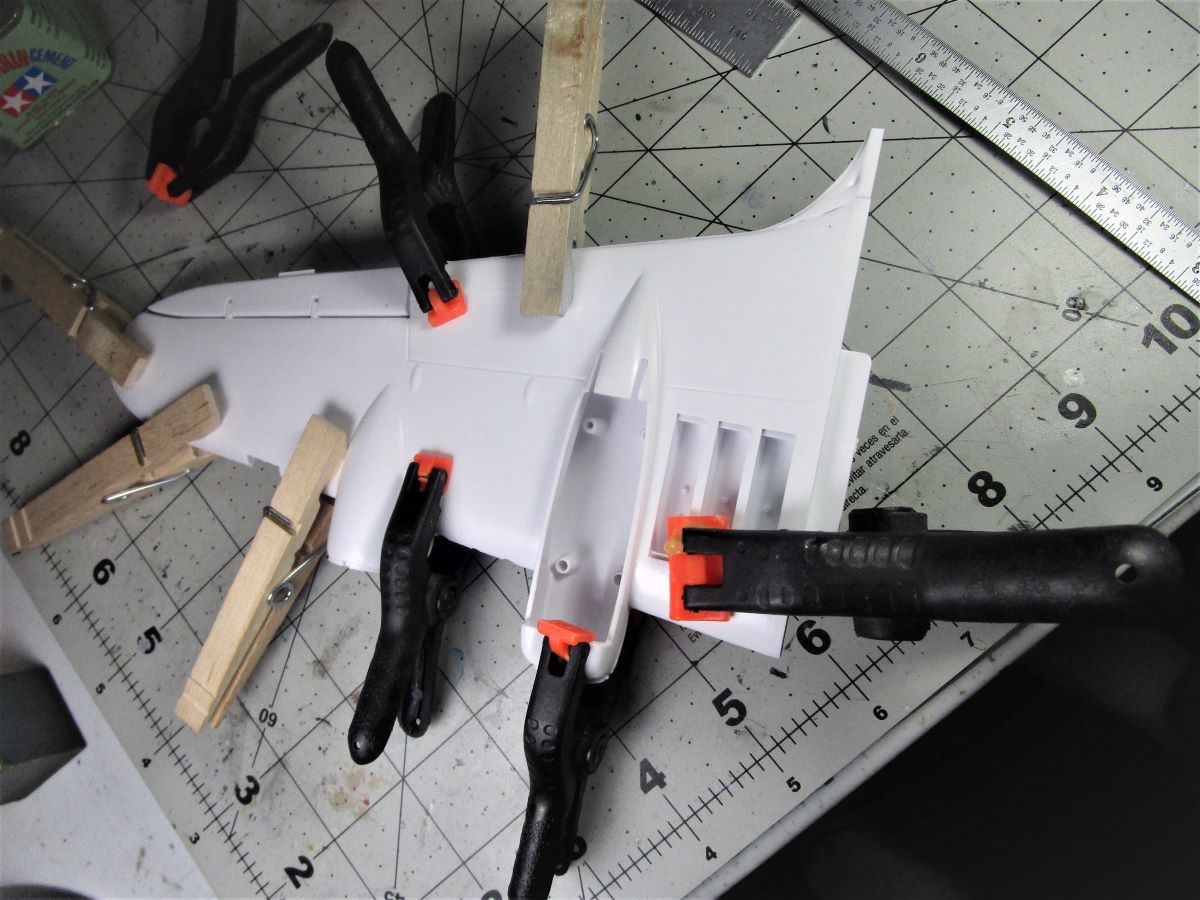
I took a break from the fuselage to check out the wings. They need straightening before you can attempt assembling them and even after that they still have a bit of warpage. I found them bowed in 2 directions, up and down and sideways. See the first two photos below. I started with the wing roots, glued and clamped and worked my way to the wing tips. I am wondering if when they folded the wings together at the factory if they used a heat gun to bend the large sprue to get the wings folded, and that transfered some heat to the wings distorting them. I am not sure but the sprue had a twist that looked like it had heat put to it. Anyways it’s a slow and tedious task but it does seem to work. John

5 Likes
Going really well.
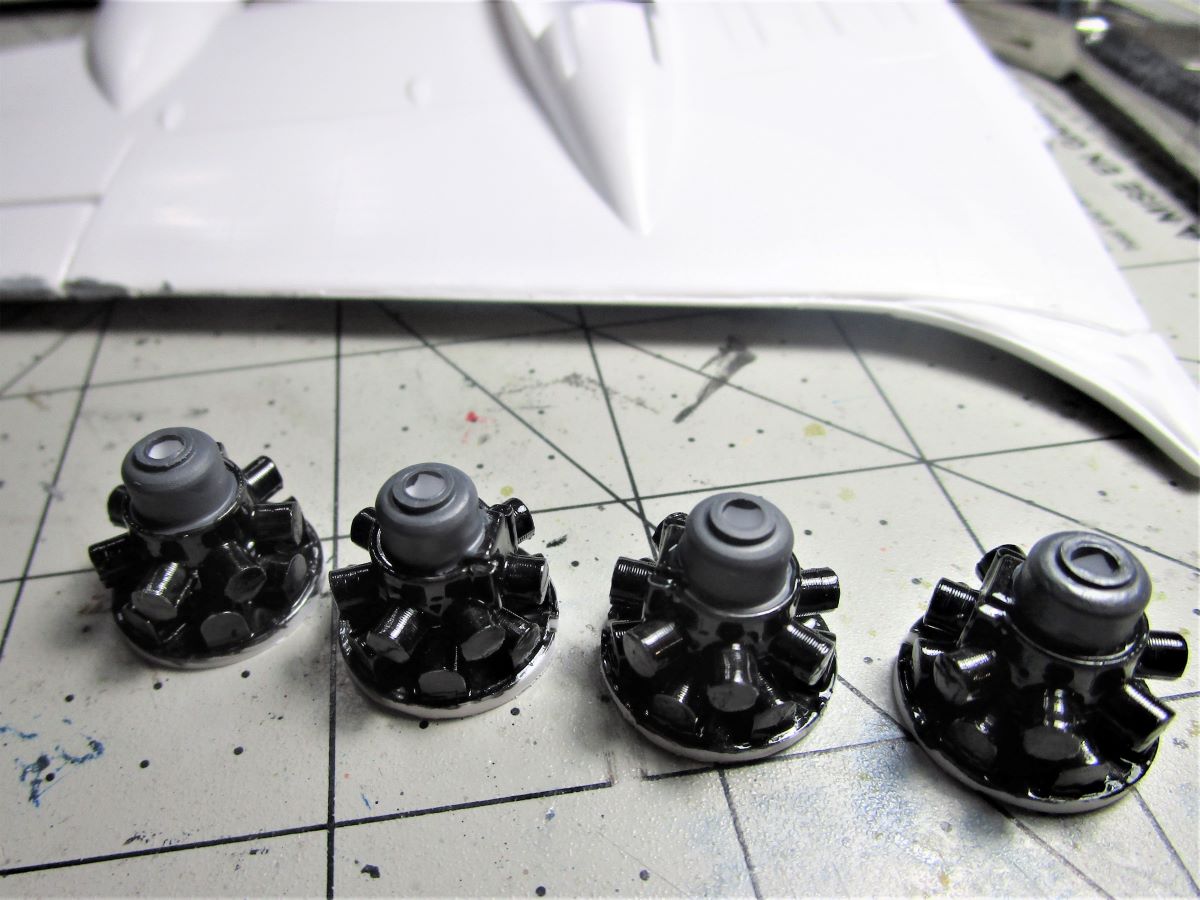
Fantastic work on the gun turrets.
2 Likes
Looking good John, despite the nightmare warpage and ill fitting parts 
2 Likes
I was once given to believe that sort of thing was due to the plastic coming out of the moulds still soft and being mishandled. I could understand that if the machinery was being run at a higher speed than intended to, perhaps because of production rate pressures or unskilled operatives.
Regards,
M
1 Like
Not quite sure of that, I have a younger brother that was a mold maker for 20 plus years at an injection mold company, I’ll have to ask him about that. I was a fabricator-welder at a machine shop that made 250, 500, and 750 ton injection mold machines and saw a few run but never that closely. I still have the scar from where a heavy weldment for a mold machine slipped and fell on my finger, luckily it didn’t totally crush it. John
1 Like
Neither am I, I have no expertise in the area. It was just something I was told and it seemed a reasonable explanation…
Cheers,
M
1 Like
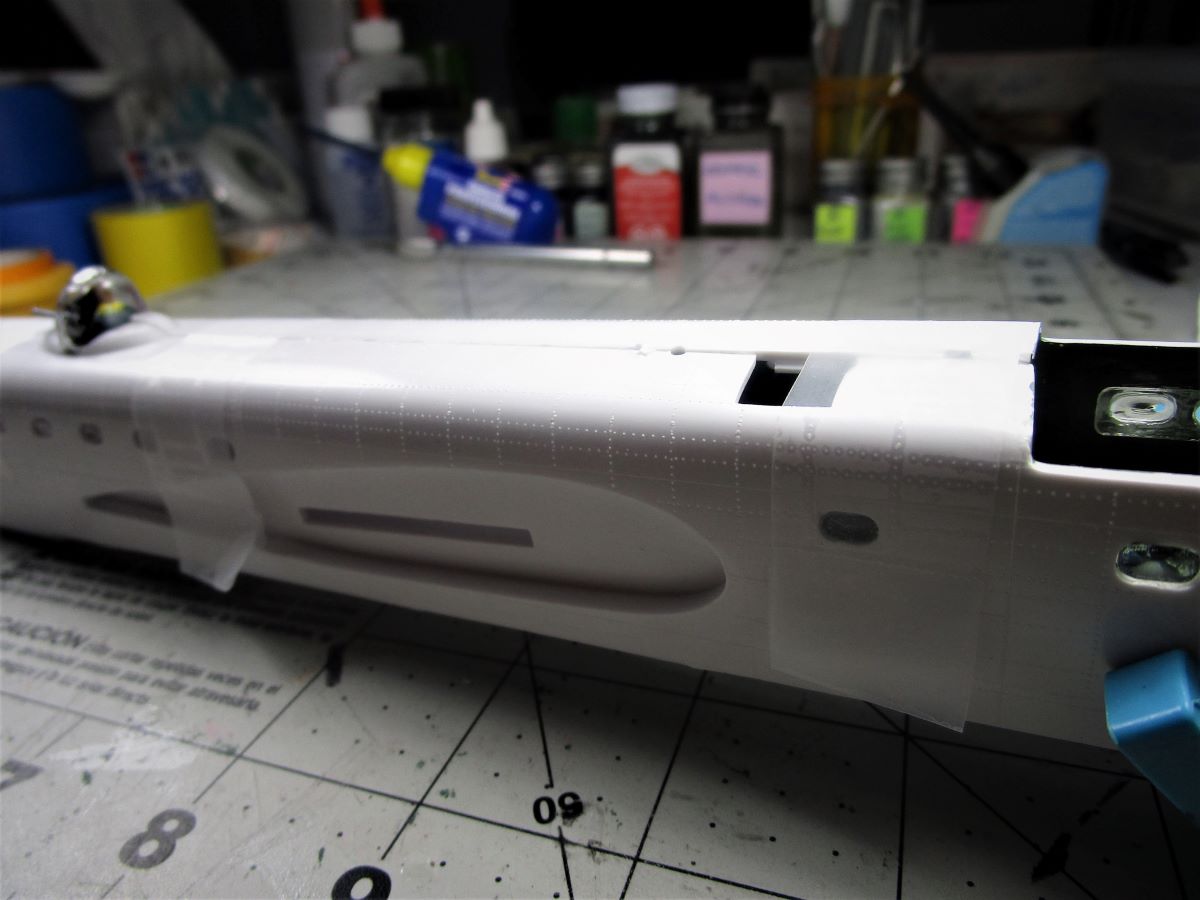
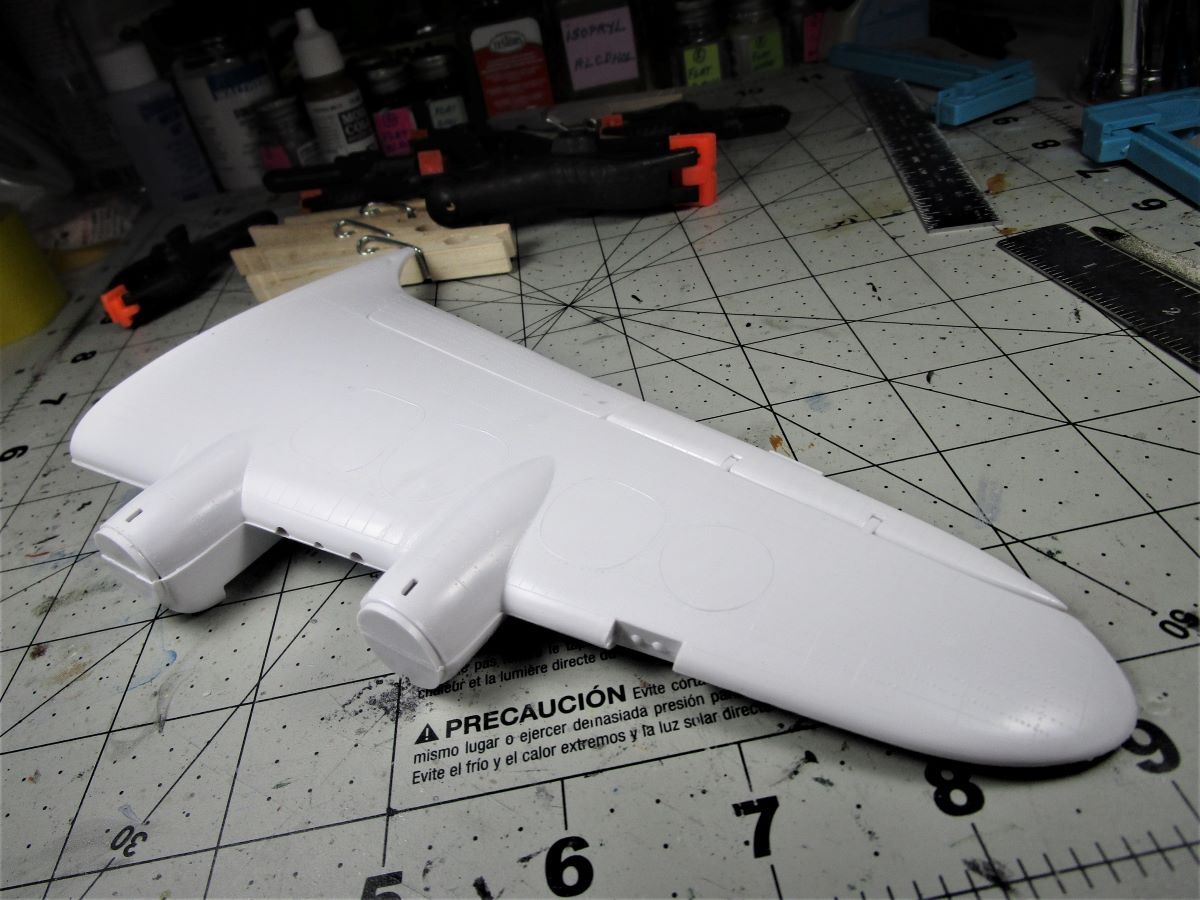
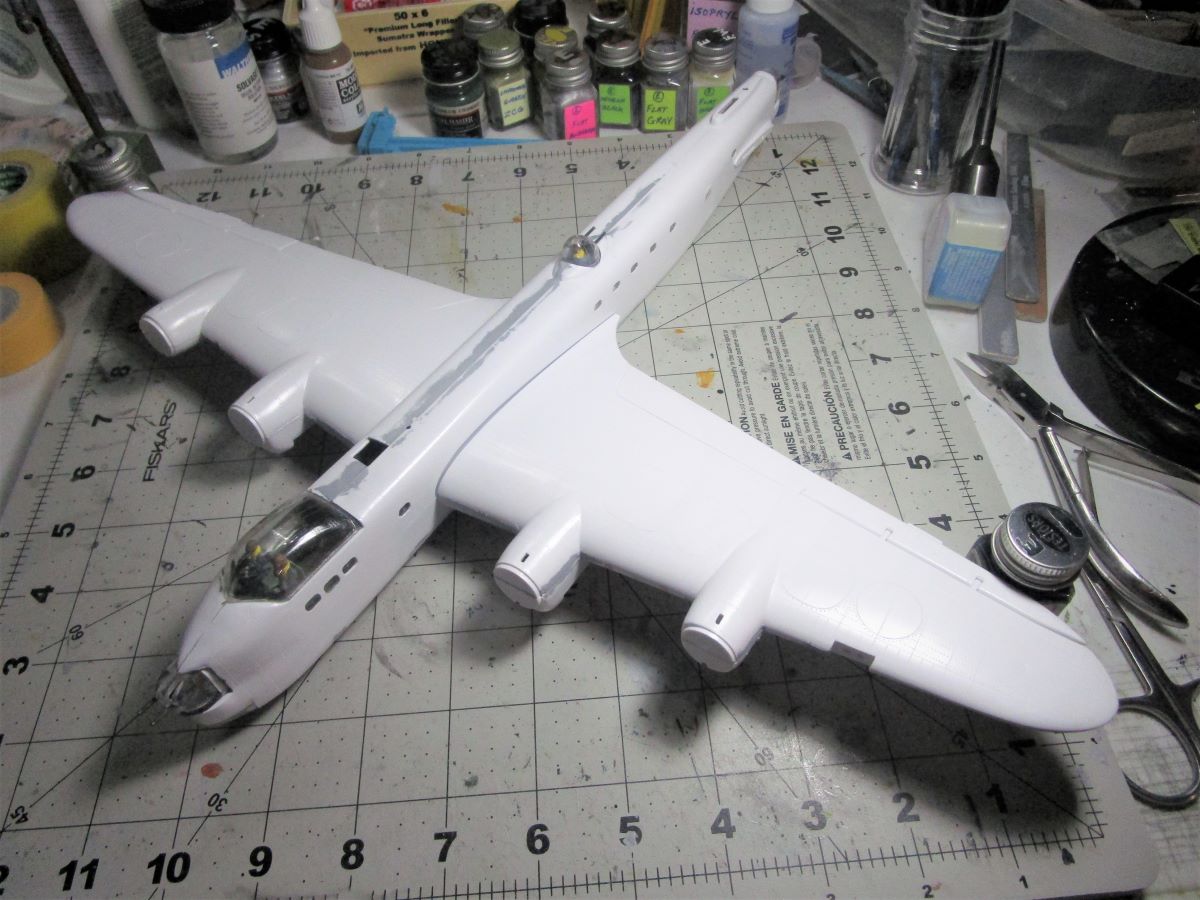
I decided to close the bomb bay doors on the fuselage and wings to make the build a bit easier. Looks like I will be busy the next few days puttying and sanding. John
7 Likes
Always thought that the wing area of the Stirling was so small relative to its length. I think part of the requirement for the design was that it had to fit inside a hangar …
2 Likes
I have one of those kits. Now I am not looking forward to it. 
1 Like
Good lord John!
The gap between the wings makes them look like an oversized clothes peg!
Nicely handled though 
1 Like
I think it was more a function of some silly impractical specifications by the Air Ministry. One of the few advantages of the short wingspan was if the Stirling could spot a big night fighter in time it could out-turn it.
It is believed that one Stirling was jumped by four night fighters but the RAF’s heaviest dogfighter made it home while three of the attackers didn’t! The real problem was the lack of altitude attainable by the Stirling which meant it was slaughtered by German Flak.
Cheers,
M
2 Likes
You’re right Russelle, I remember the old wooden clothes pegs AND my dear old granny had a wringer washer! Don’t hardly see those any more. I kind of thought it to be an early prototype X Wing fighter. John
1 Like


More clamping going on than on Sylvester after falling into his mouse traps…
1 Like
Clamping the wing into submission
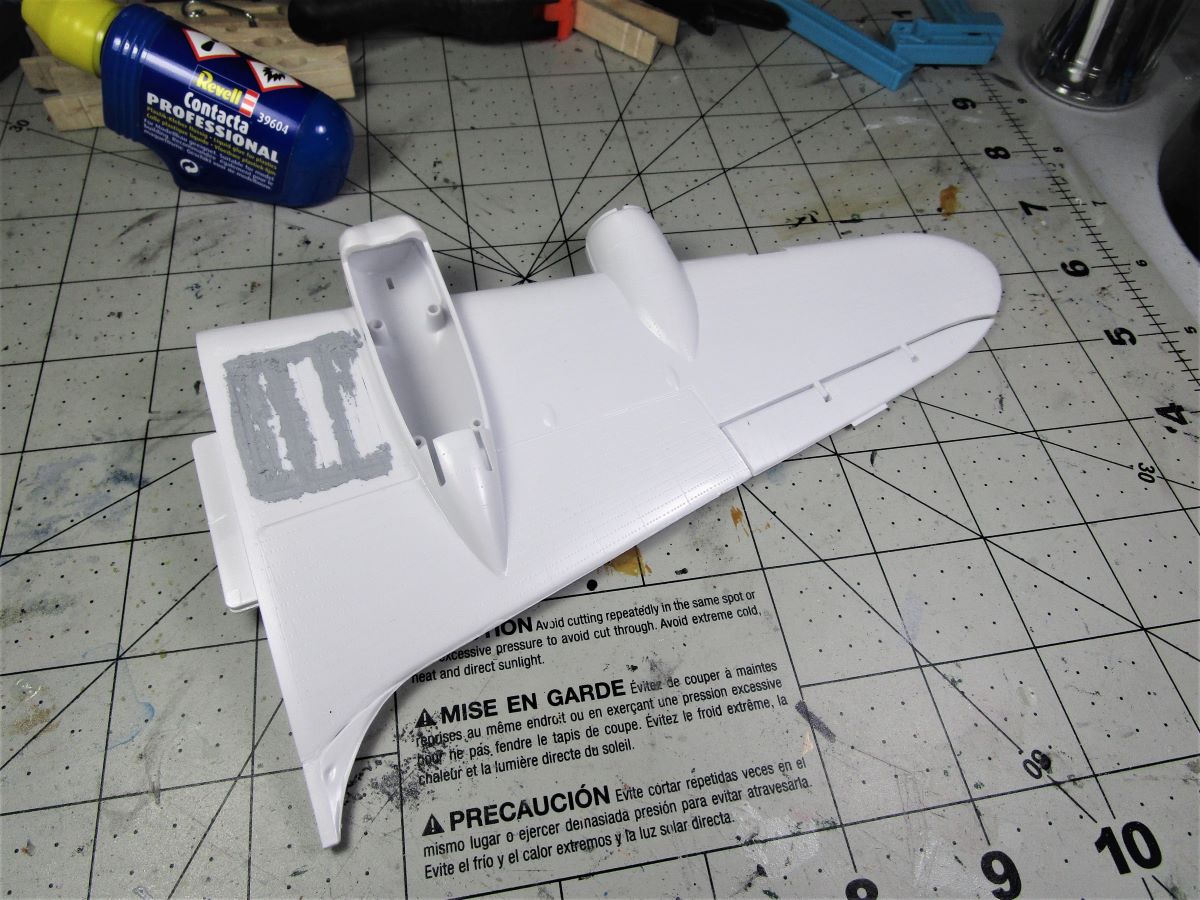
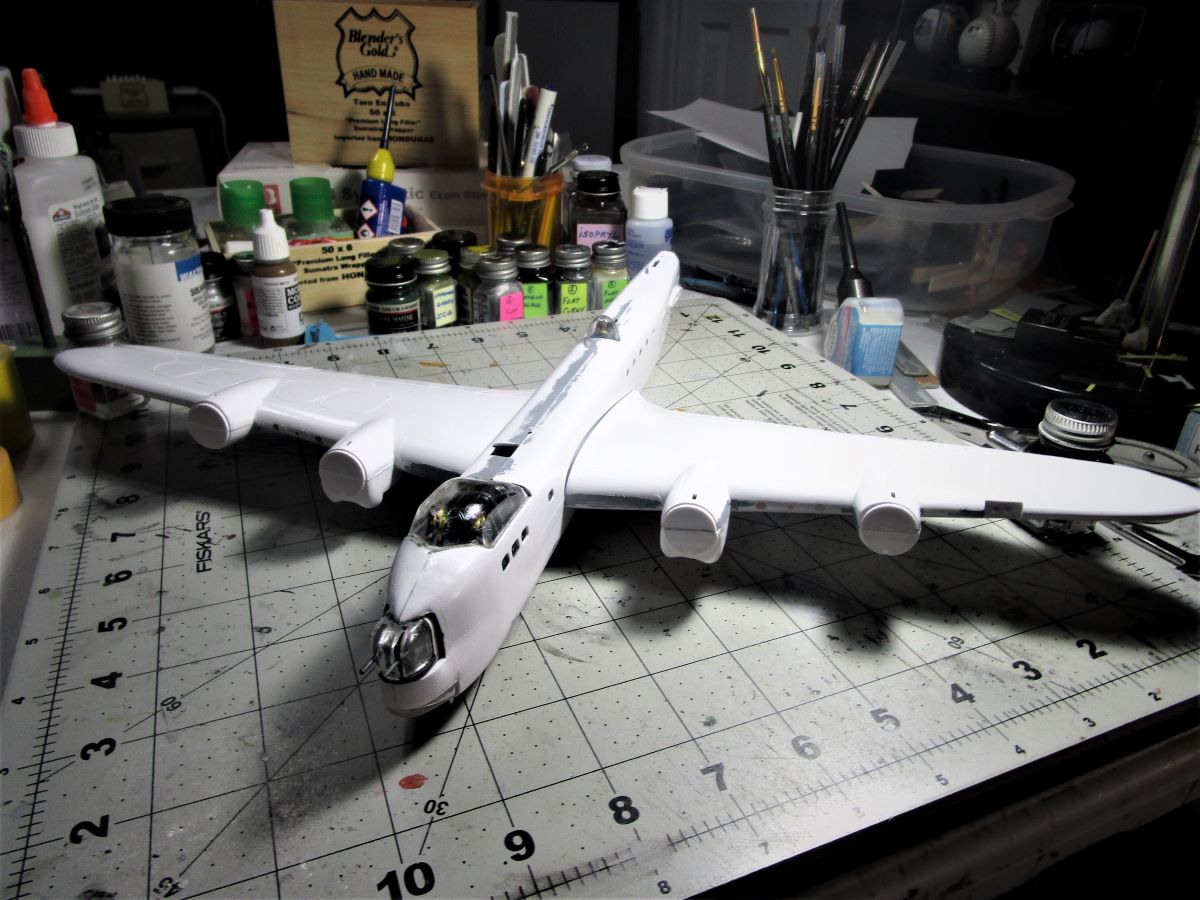
I did a dry fit of the wings, needs some sanding in the rear wing root area on the wings, they are tight in the rear wing root causing a gap along the forward length, but nothing a sanding stick or small file won’t cure, hopefully no putty will be required. John
6 Likes
looking good John
1 Like