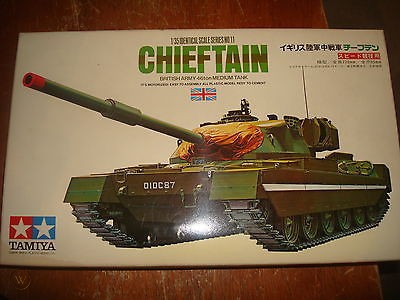
I might just change my mind and tackle this one(!):
8 Likes
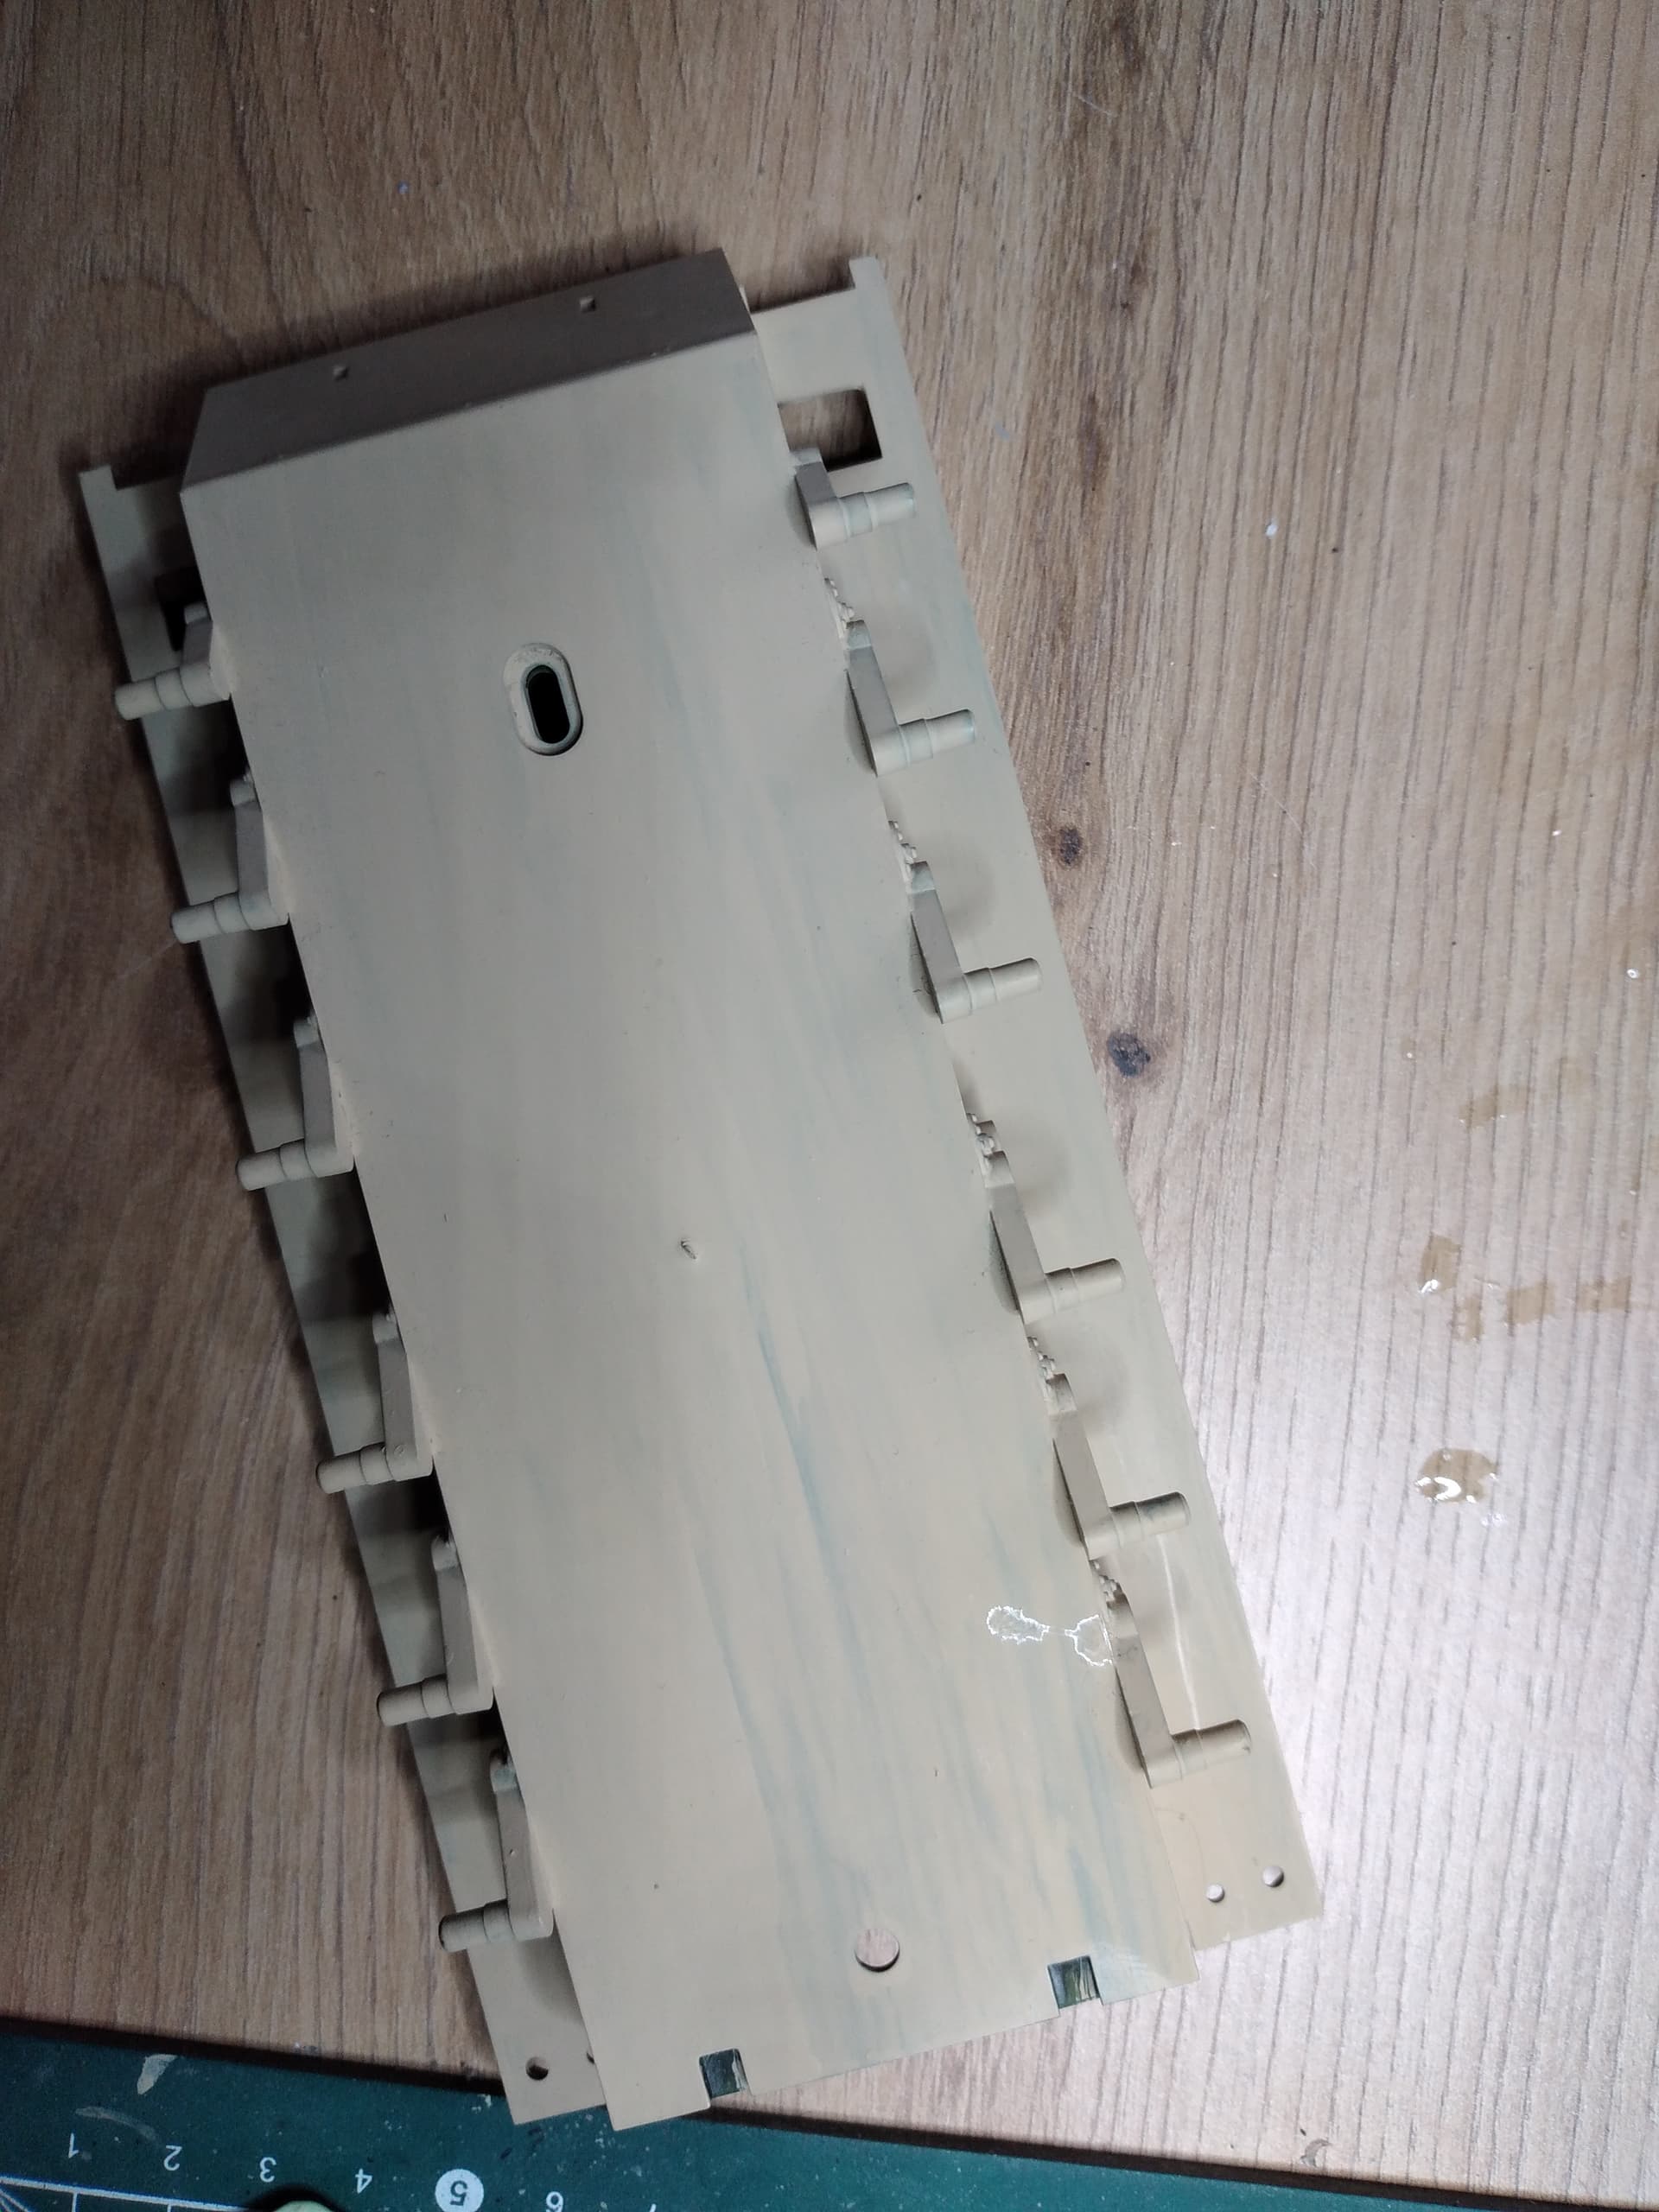
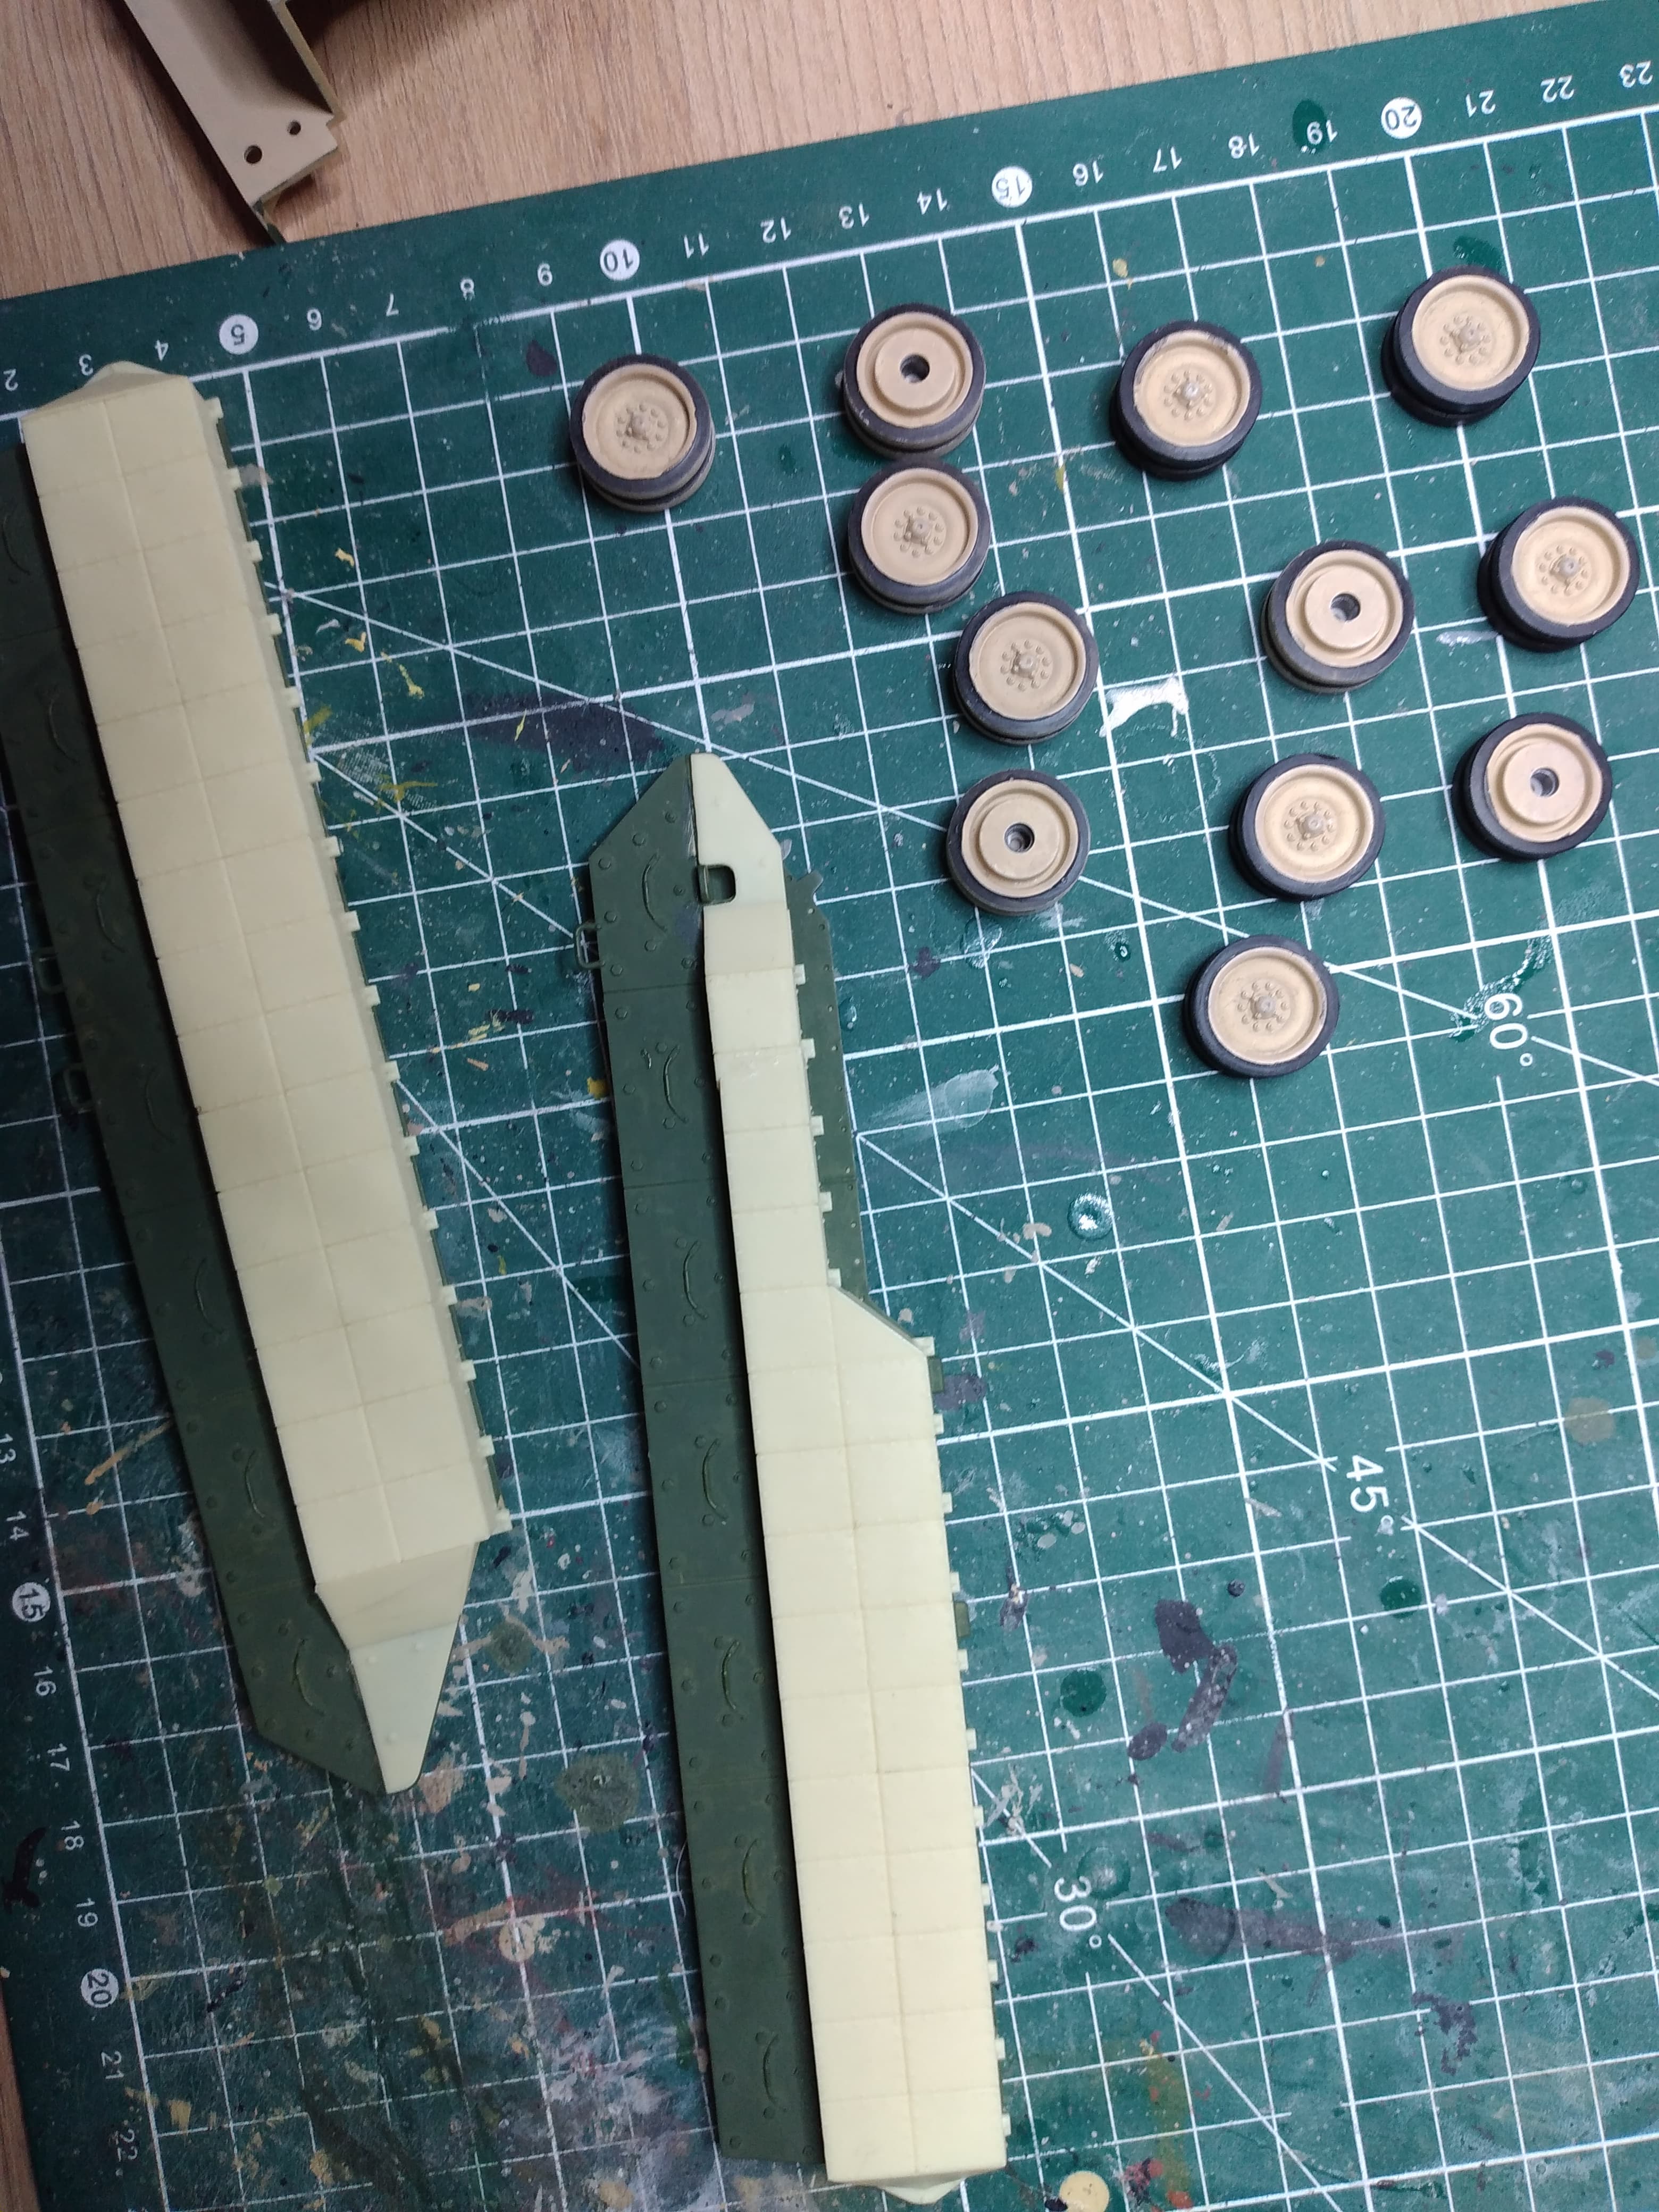
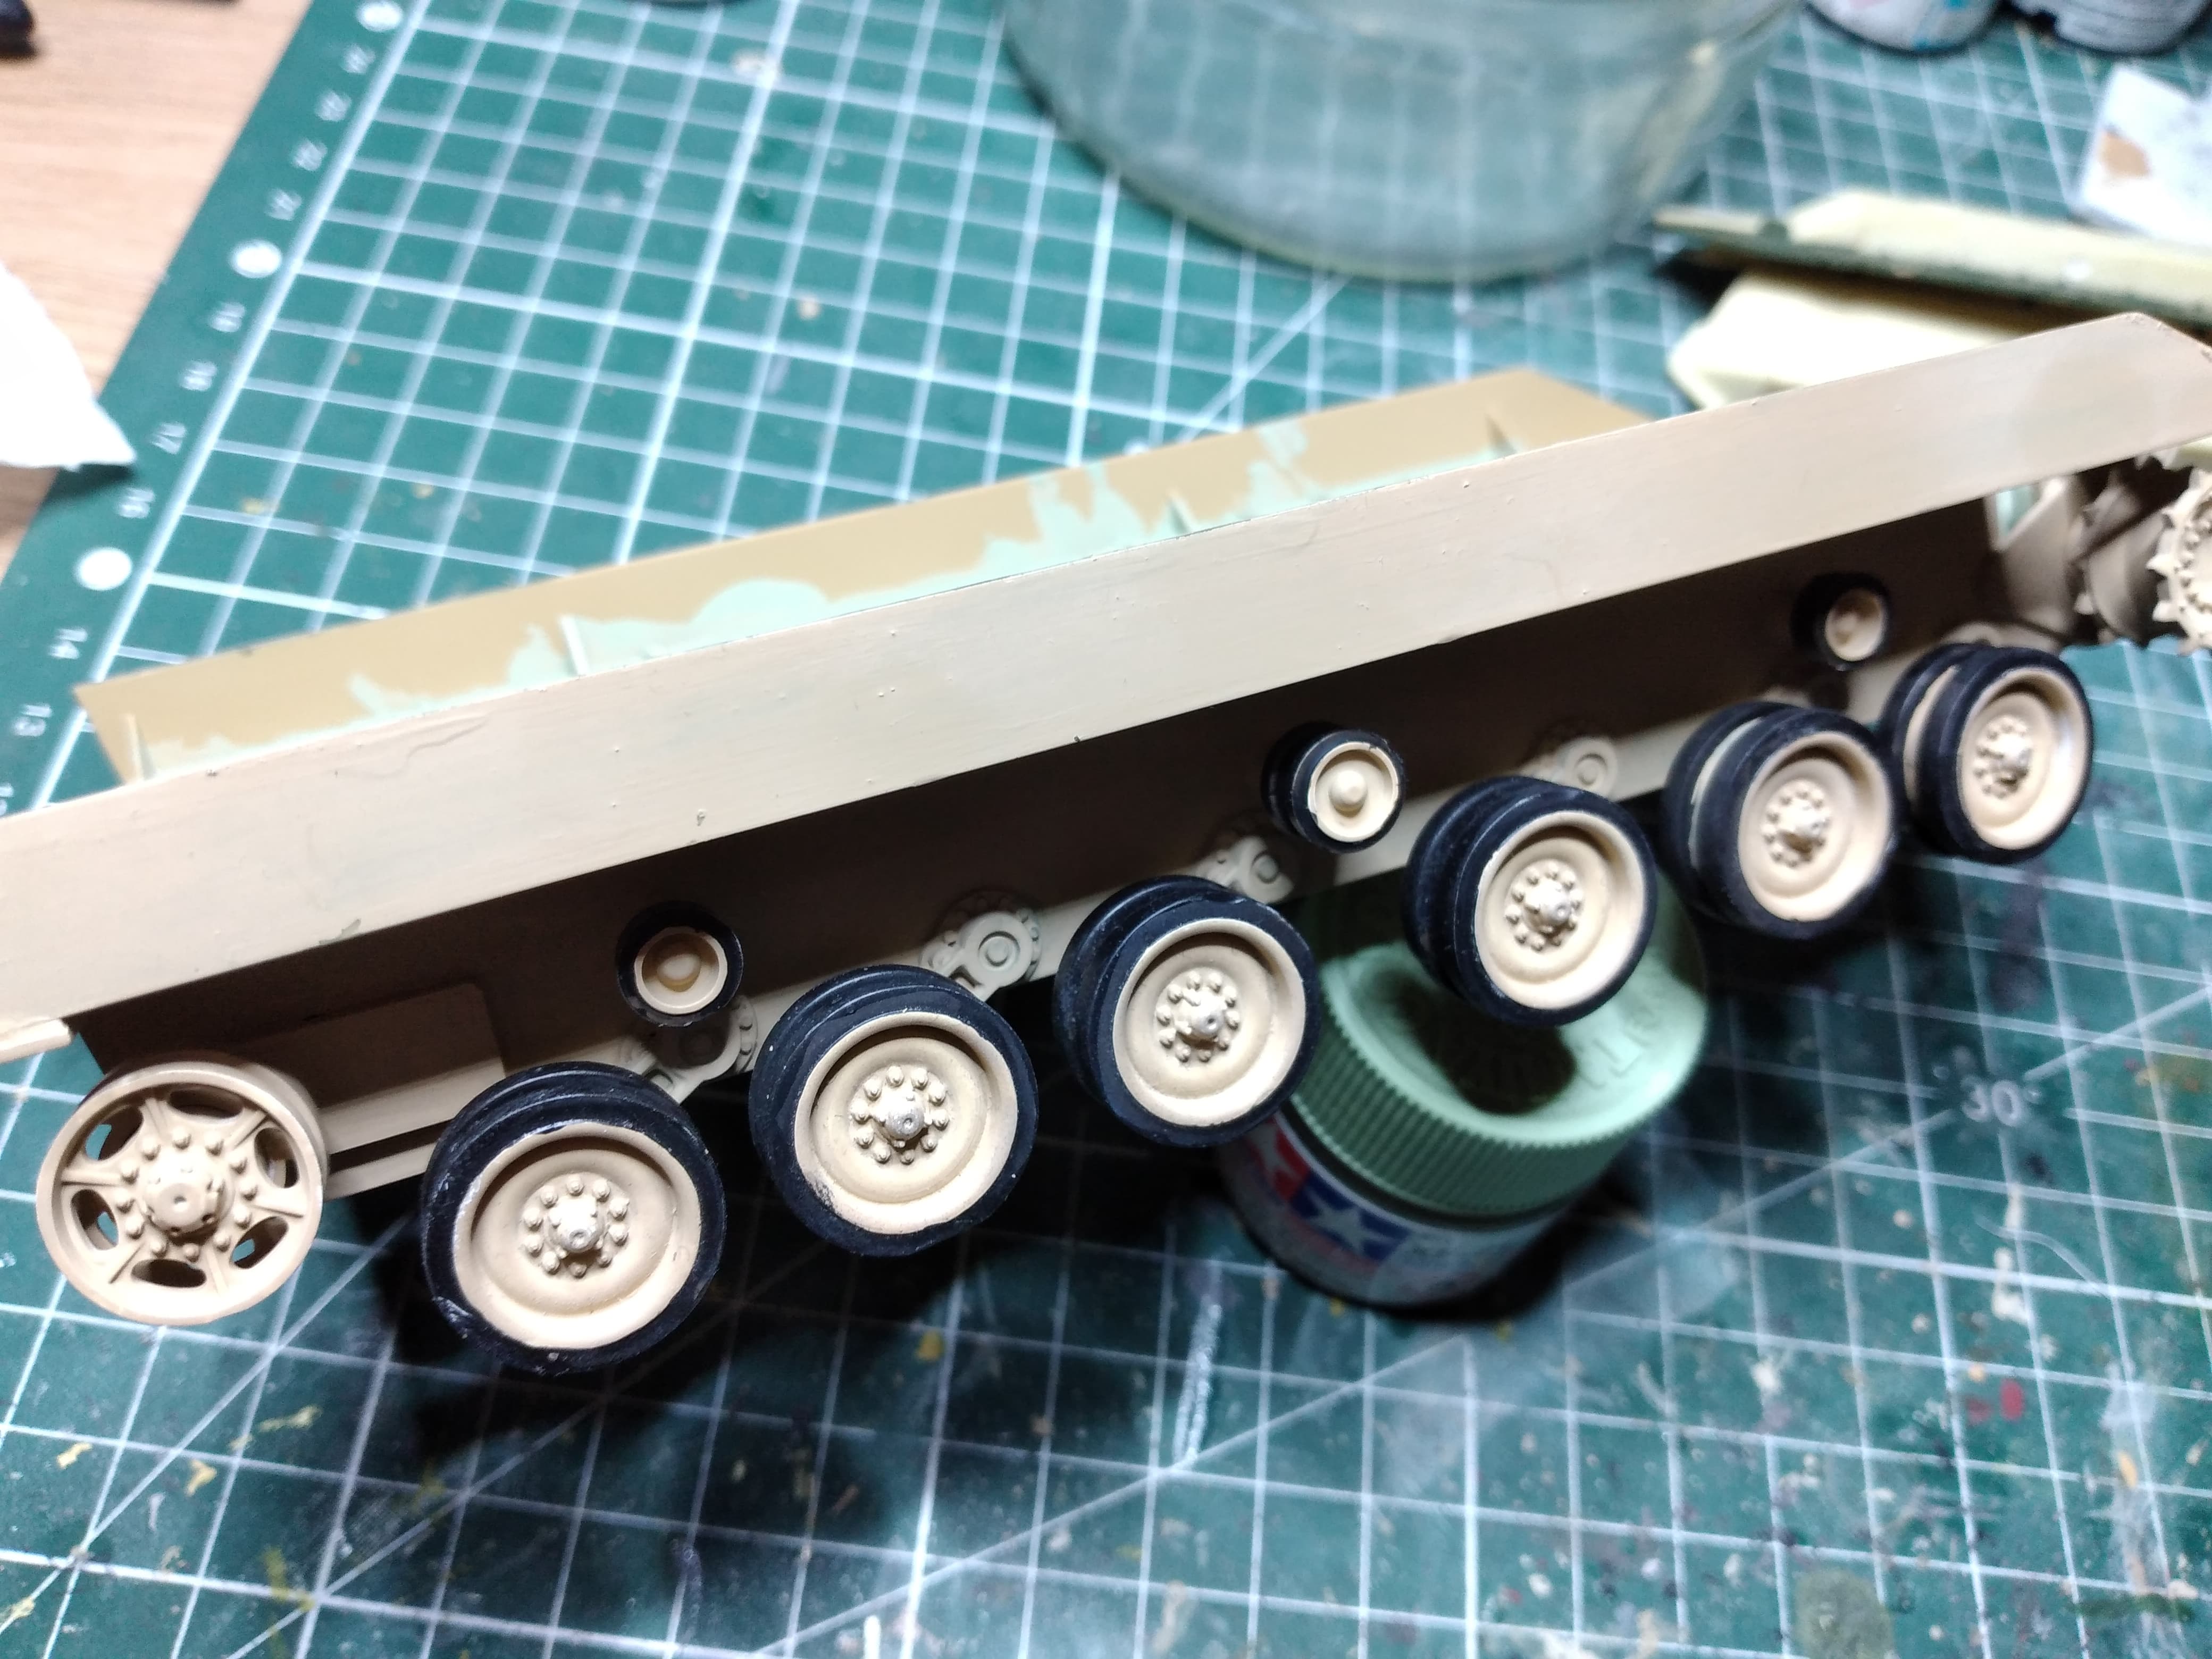
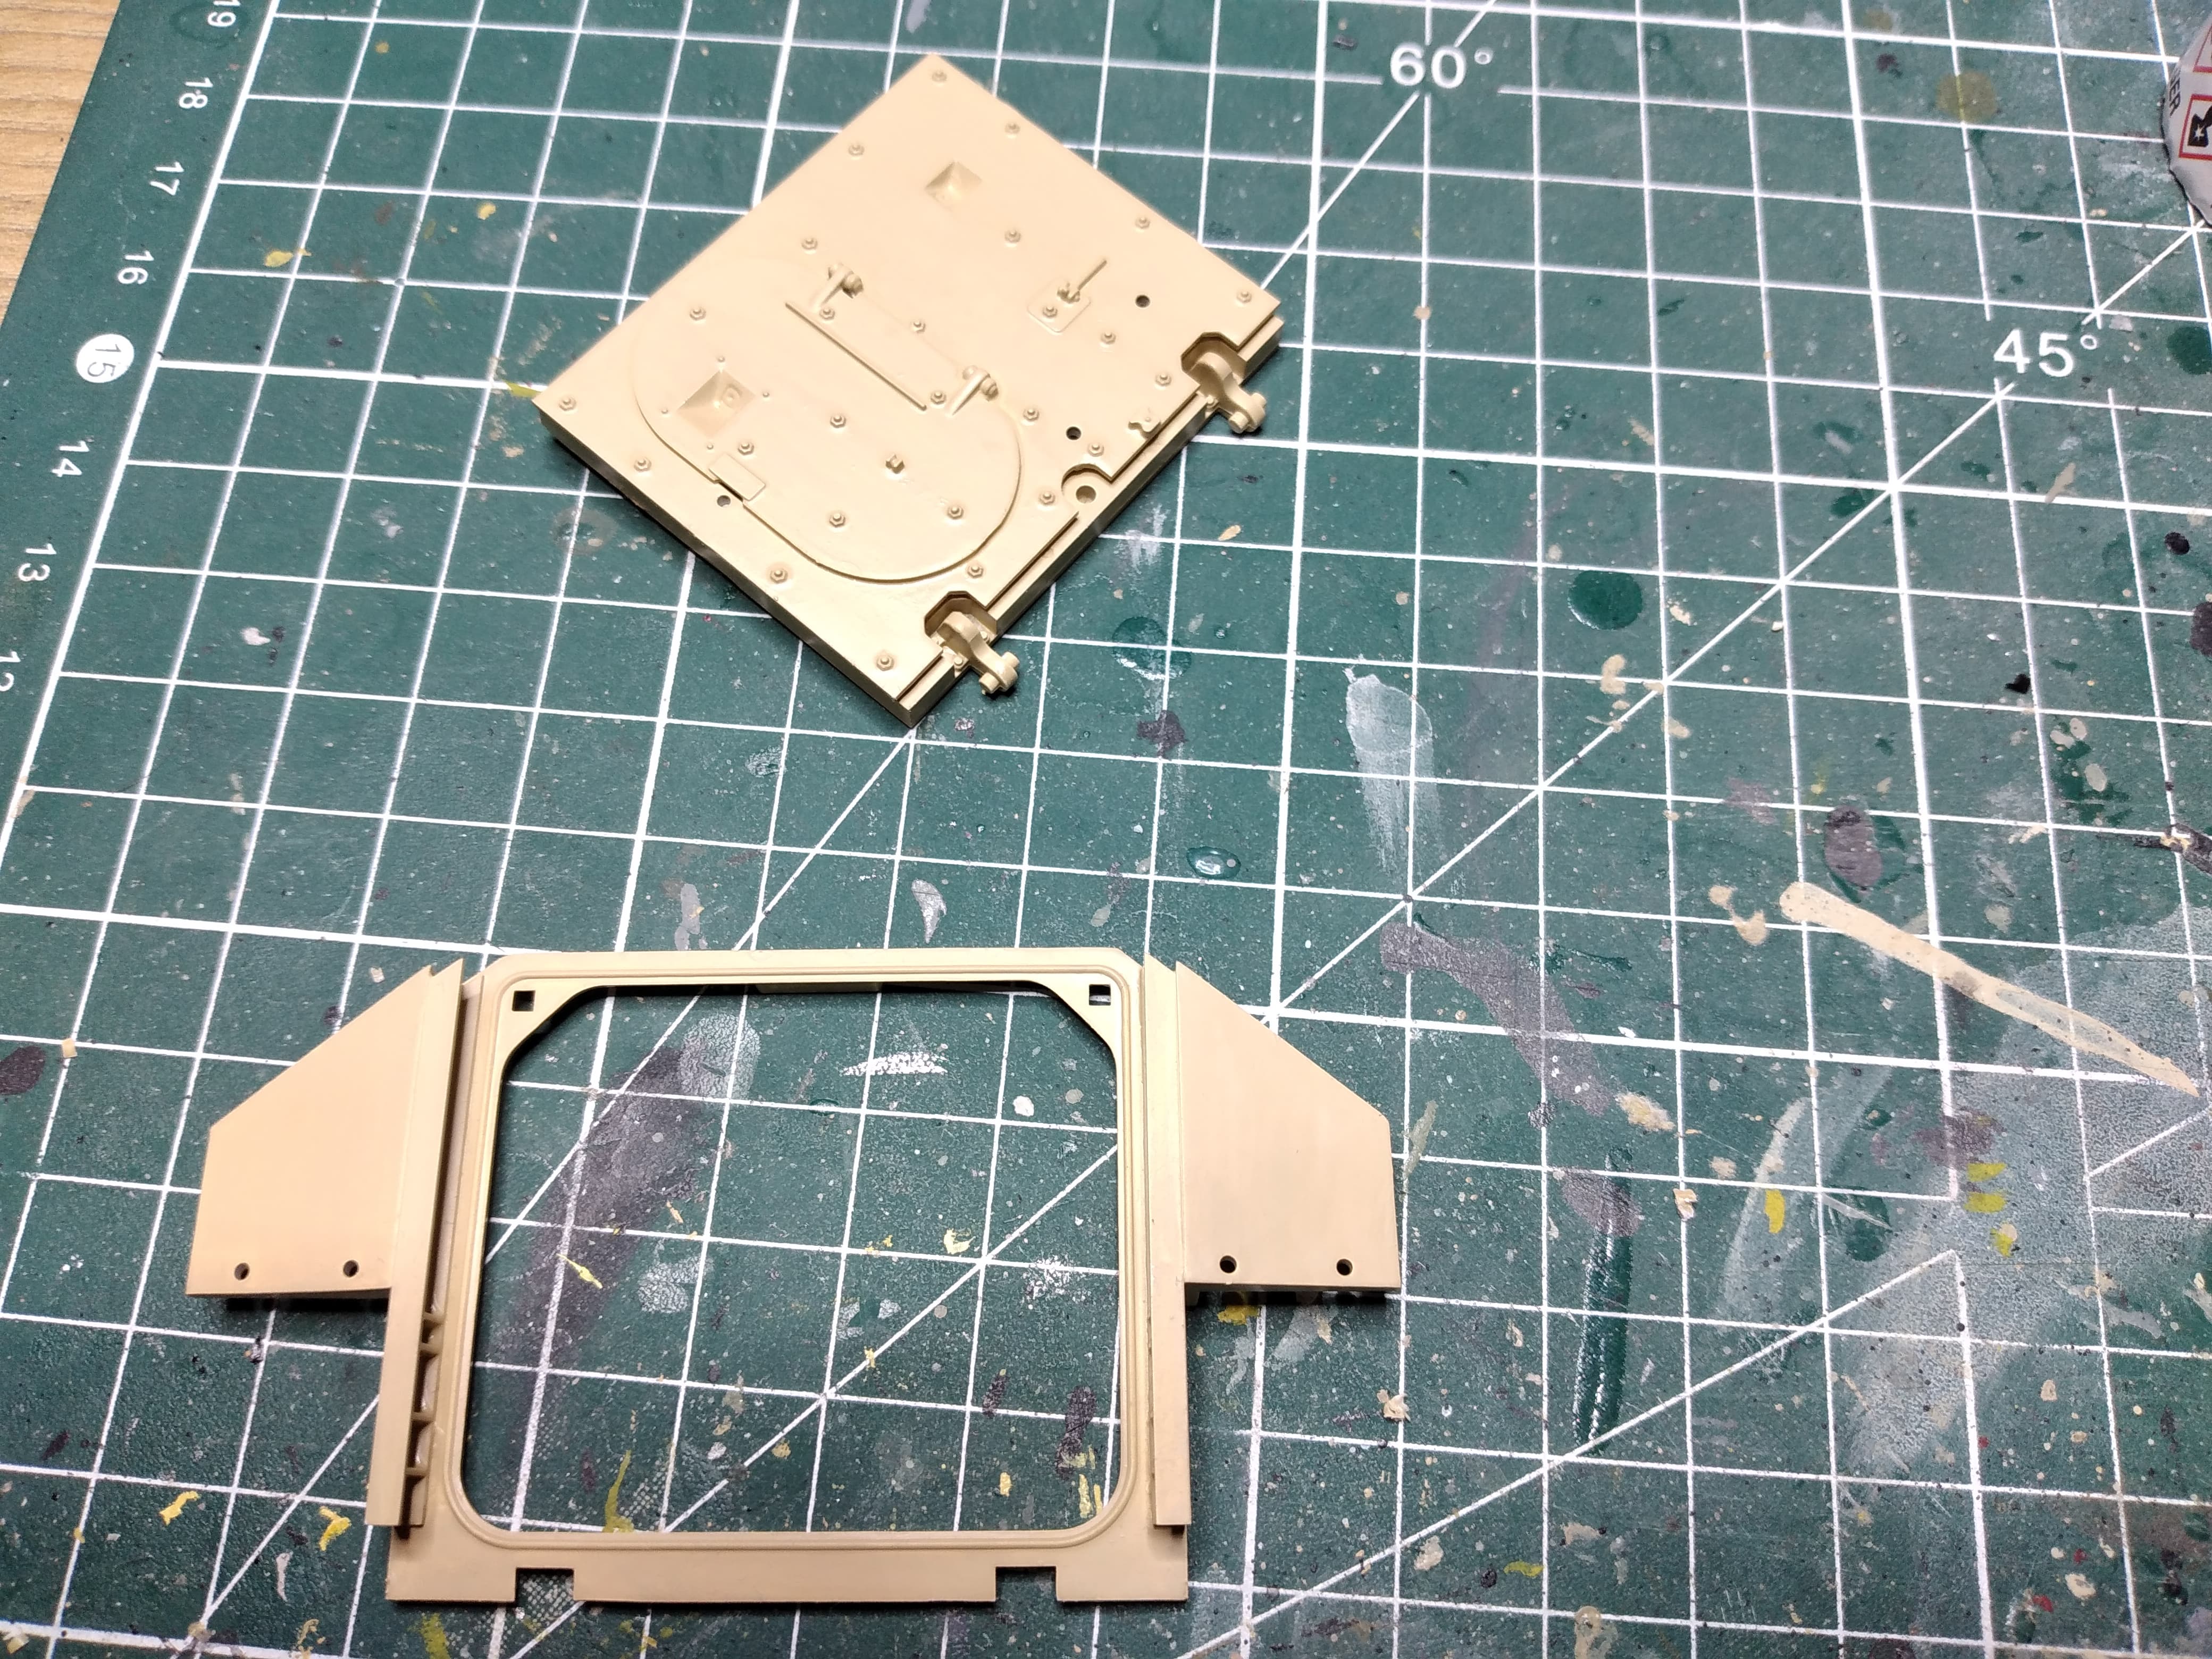
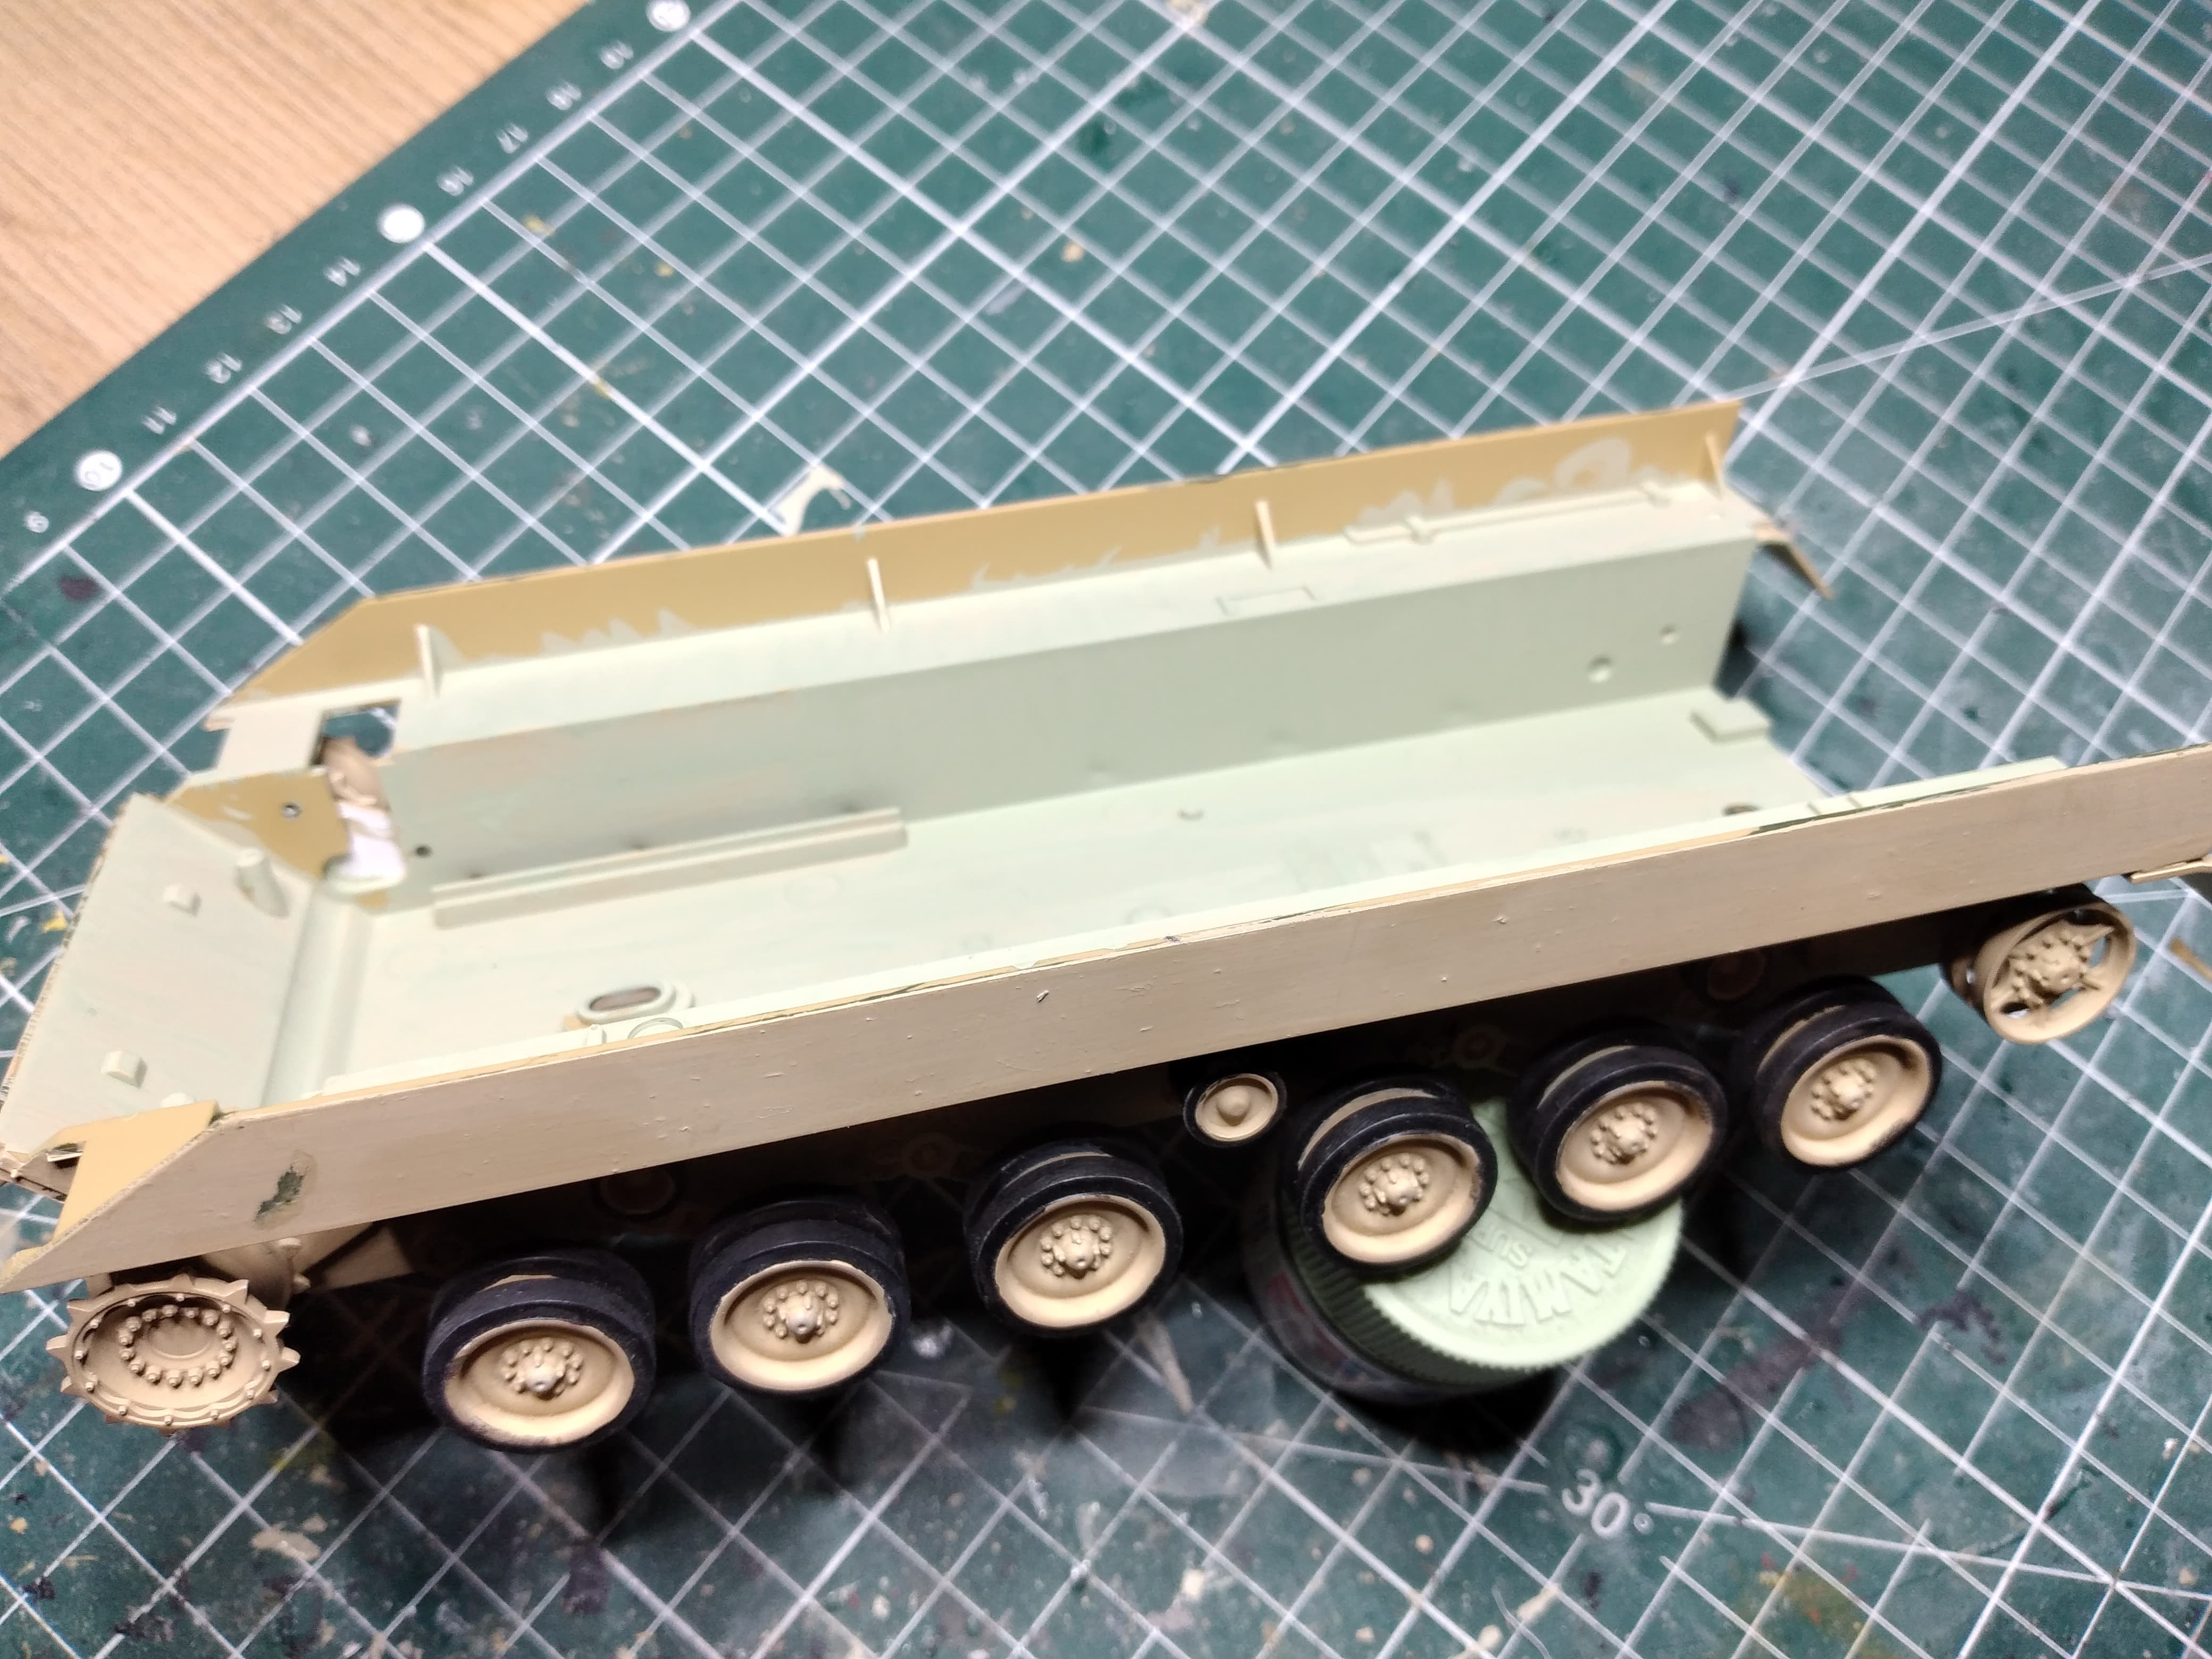
Most campaigns allow up to 25% completed beforehand to participate, so no reason that cannot be continue here.
2 Likes
I always liked the Chieftain, and always wanted to build Tamiya’s Chieftain. Looking forward to your build.
2 Likes
Almost done with assembly. All that’s left is a bunch of handles and the travel lock. Then, I’ll get to painting (a ton of things to prime this time).
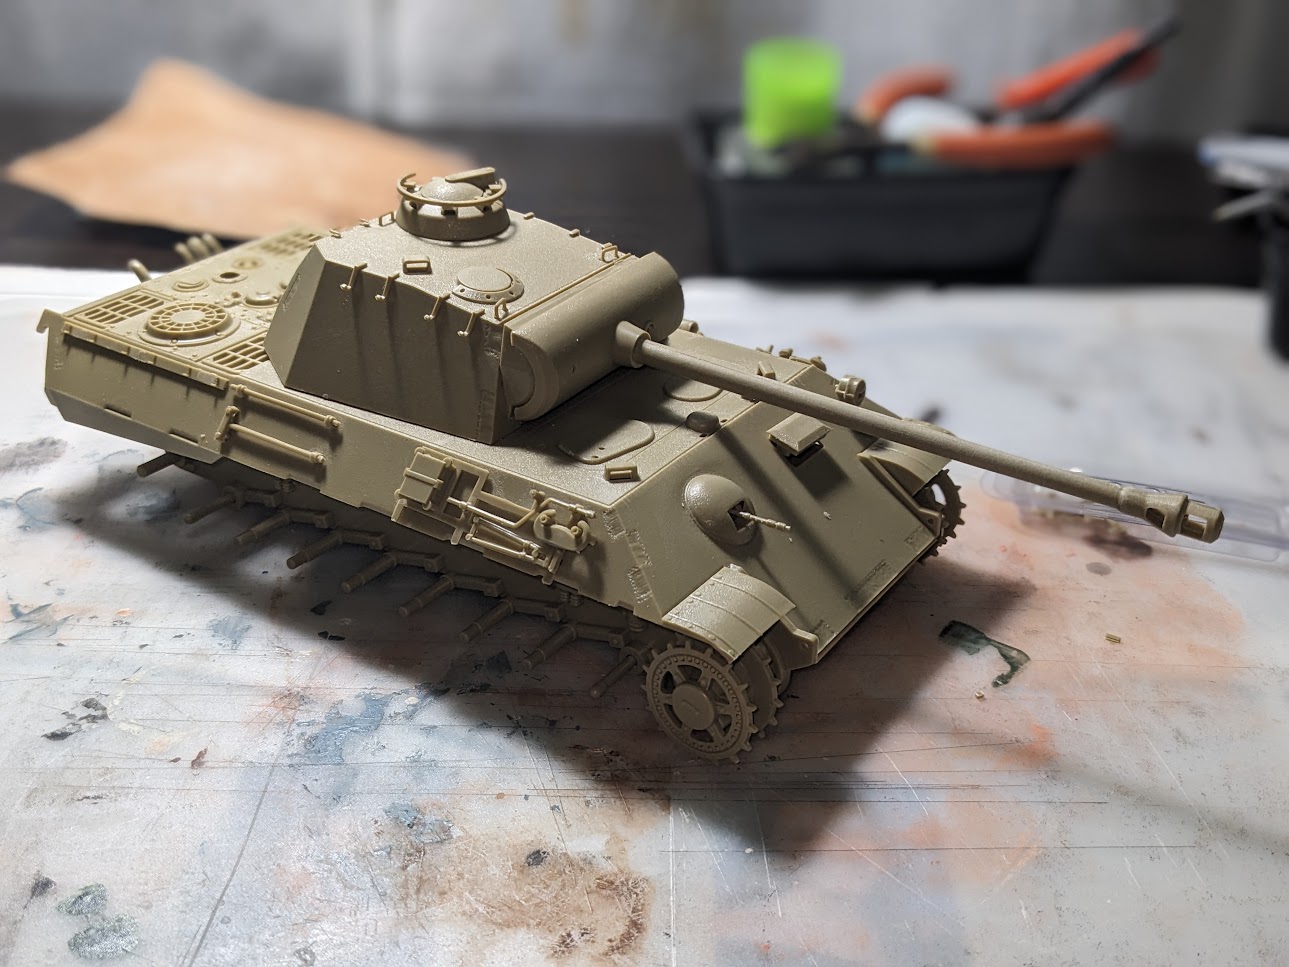
Some of the parts in this kit have been pretty tough to cement down. In particular, the gun elevation mechanism and mantlet assembly were stubborn.
7 Likes
Interesting choice.I knew Tamiya released a Chieftain in 1/25 (with the dummy bin on hull front) Never seen it in 1/35.
1 Like
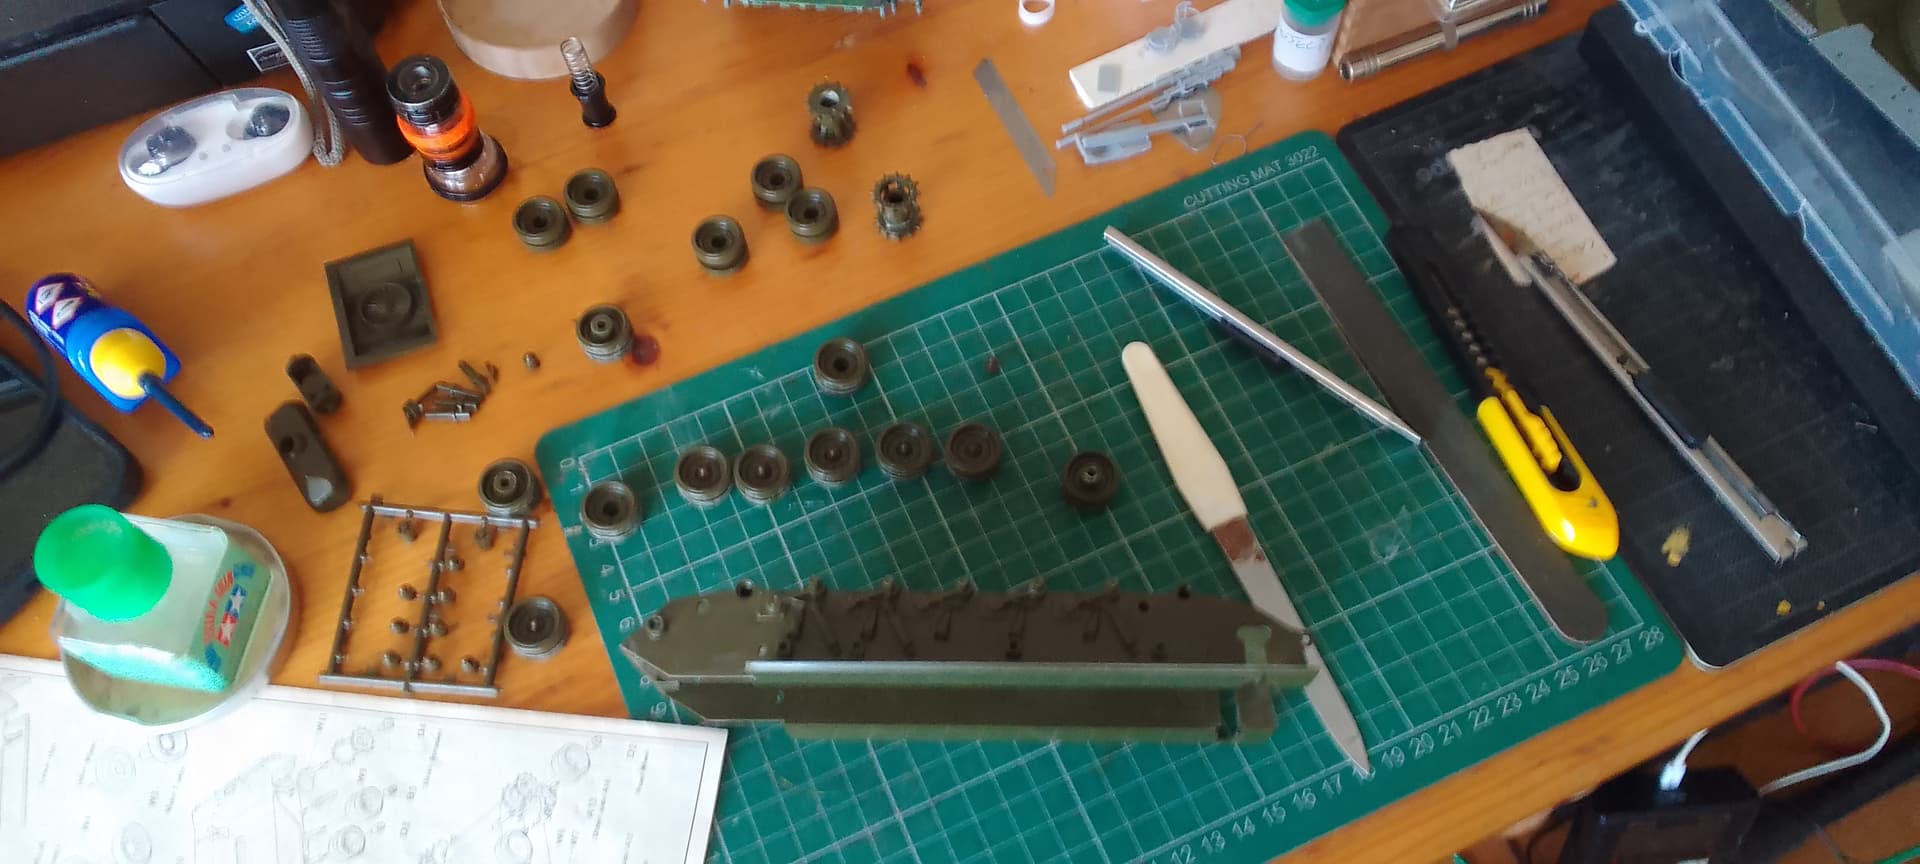

I thought I would have no trouble with this kit (Leo 1), turns out the wheels have 3 different sized pollycaps ( 2 is the norm in my experience) so after breaking a stub I’ll have to refit the road wheels.
The kit is from 1969 which makes it almost as old as me (61)
The lower photo shows my all time favourite Tamiya- the Centurion in 1/25 it has interior details and builds into a nice replica of a Korean war era MK3.( mine is of course unfinished🙄)
5 Likes
Yeah - it’s pretty basic stuff; I probably won’t make it for this campaign - it really is too primitive - but I did have plans to combine it with most of the later Tamiya Chiefie, especially the hull and suspension, modify a turret (of the later kind) and try, try and present it as a prototype, all in deep bonze green wit the end of the barrel painted red, based on something like this:

That was the plan; as to execution, no idea(!)
8 Likes
That would look particularly good displayed with the later production Chieftain.
The later Tamiya Chieftain is a great kit to build and whilst not being up to the Takom offerings still looks good ( even in the grey primer that is about as close to finished as I get.)
3 Likes
Dave, I tend to think that my models look better in primer anyway!
3 Likes
The shape of the vehicle is easier to appreciate in monotone.I do like adding mud and dirt to the 1% of models I’ve managed to get to that stage.
2 Likes
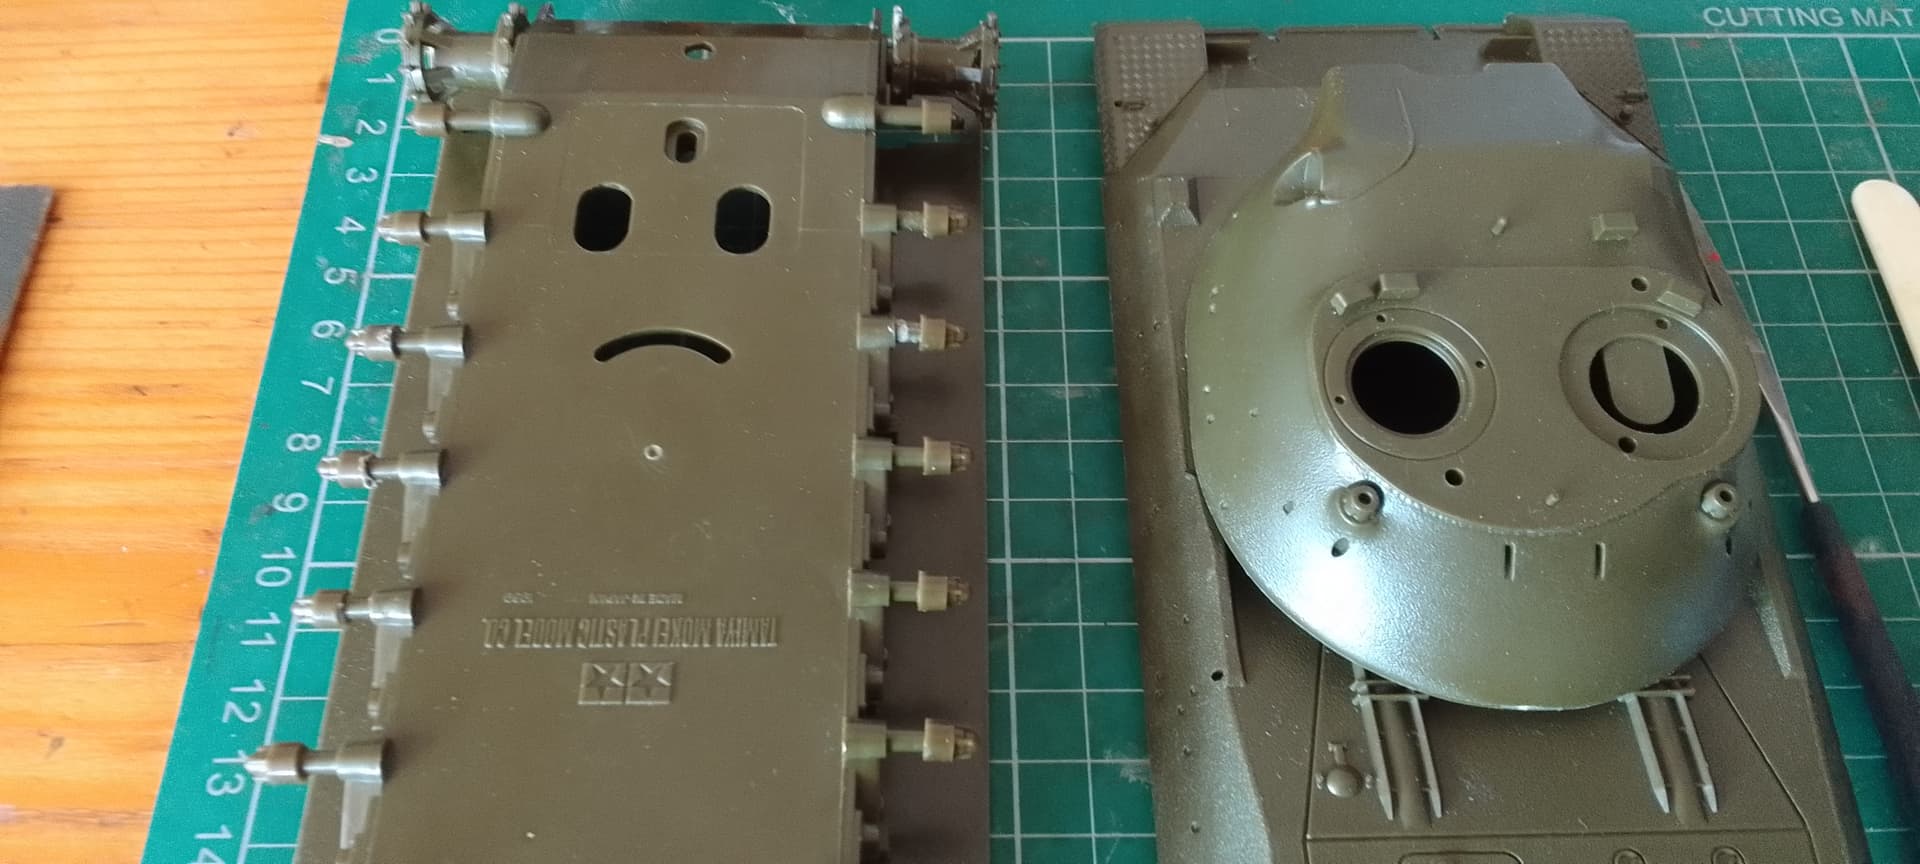
What’s the purpose of the sad face in the bottom of some of these old kits? The Panther I’m working on has a similar thing.
2 Likes
There is/was an option to get a motorized version. The holes were molded into the hull for that purpose. They only made one hull so if you didn’t want the motorized version (more expensive) you still got the holes.

6 Likes
Ì knew that they used the same mold, but was wondering what exactly those three holes did.
1 Like
If I recall correctly, the two large holes were for mounting the motor pod. the frown was for a switch and the hole closest to the hull rear was where the wires from the remote control box entered the hull.
4 Likes
The “eyes” change the speed.
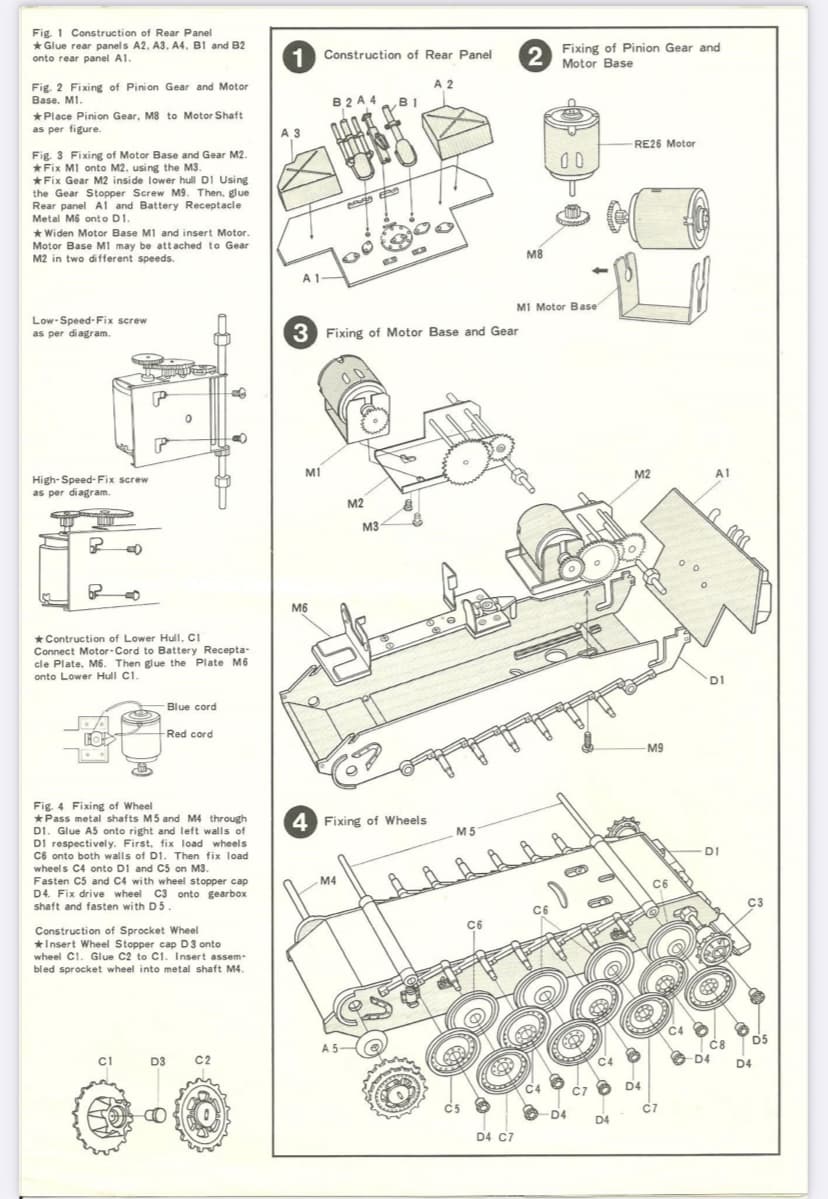
https://www.scalemates.com/products/img/4/4/4/186444-40-instructions.pdf
5 Likes
That motorized M60A2 was the one I had built. May still have it in parts somewhere.
1 Like
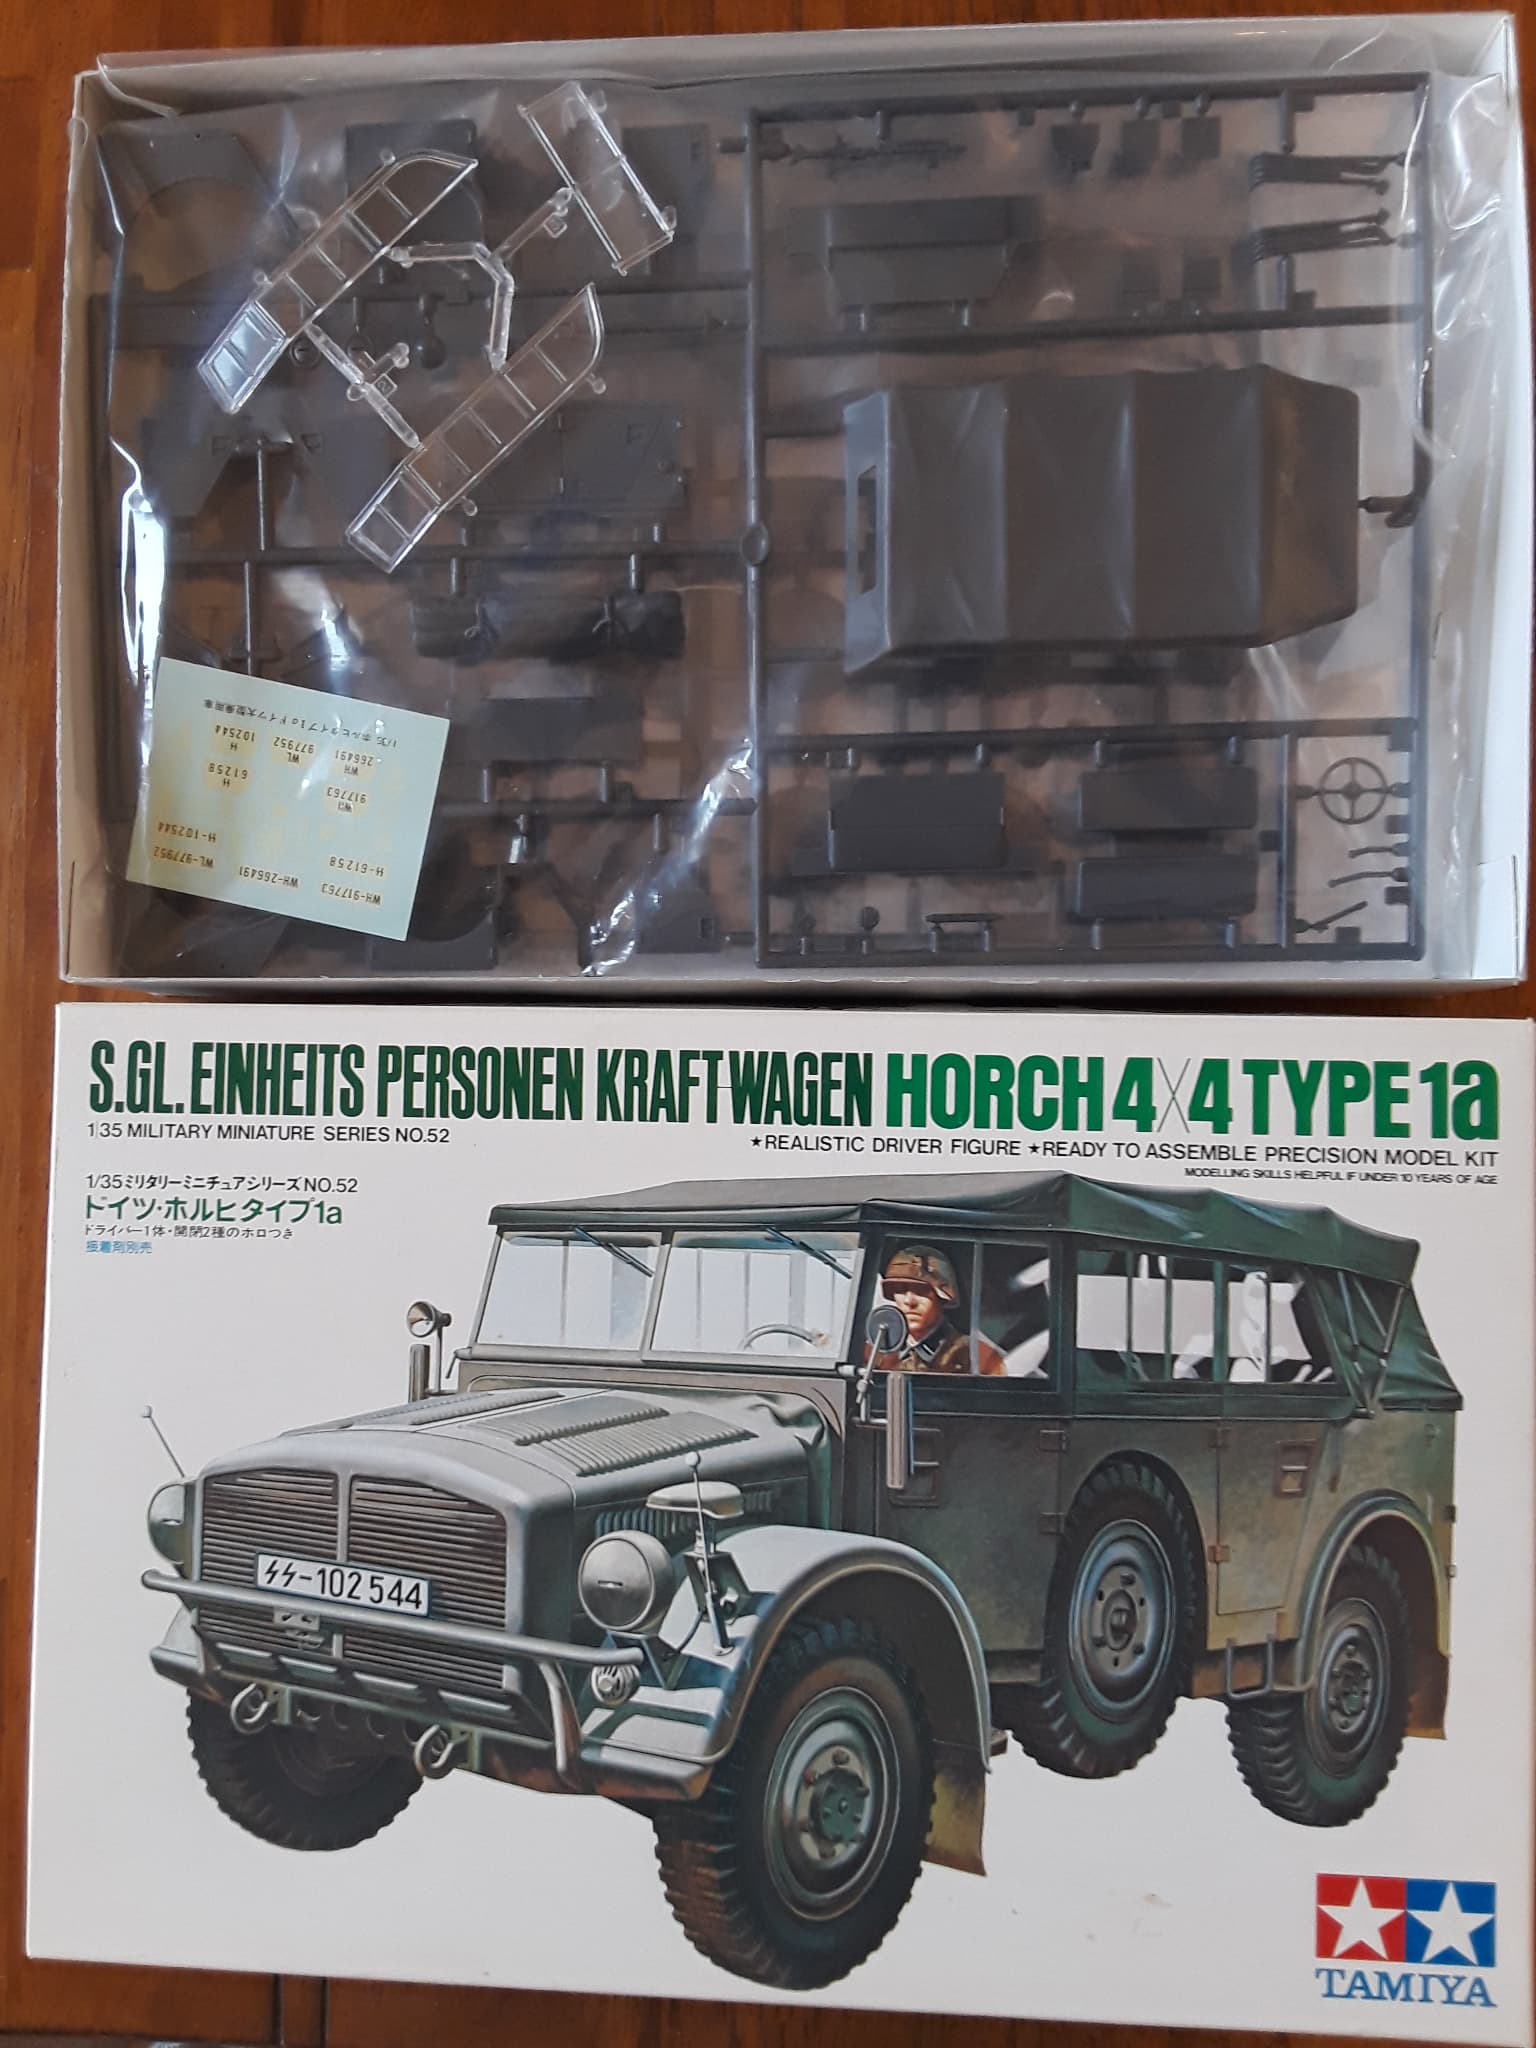
I cannot remember the first Tamiya kit I built. I think it may have been the Sd.Kfz 223 armored car. This is the lowest numbered armor kit I could find in the stash; it’ll be may build for this campaign. Thanks, we all should remember Mr. Tamiya for his contributions to the hobby.
10 Likes
Hello!
I think I’ll join, too! I’m not 100% sure, but I’d say my first Tamiya kit was the Flakvierling. So I just ordered it again over thirty years later…
What I rmemeber from back the is the picture on the box side showing the Horch as the tractor for it - at that point I didn’t know the car but I’m pretty sure it wasn’t in the catalog (I had the catalog and it wasn’t in it), so it was ungettable for me. So now I’m gonna get it!
@Lakota - ain’t this a coincidence? I’m going to paint mine Dunkelgelb, how about your model?
4 Likes