Silent: Abandoned Tiger 1 in Tunisia 1:35

Hey, everyone! I am new here to the Kitmaker Network and Armorama, and I am getting back into modeling after having fallen off for several years.

For just a bit of background - I built models and dioramas pretty often in high school and a bit more during undergrad, but once grad school started, things got very busy very quickly, and I stopped. Ironically, despite currently being a doctoral student and working full-time, I have more time and energy than I did before. Both my Bachelors and Masters were in Fine Arts, and I really love all aspects of creativity. That’s one of the main reasons I am eager to get back into it. Modeling, especially with dioramas, is such a cool mix of engineering and construction, sculpting, painting, and storytelling all in three dimensions.

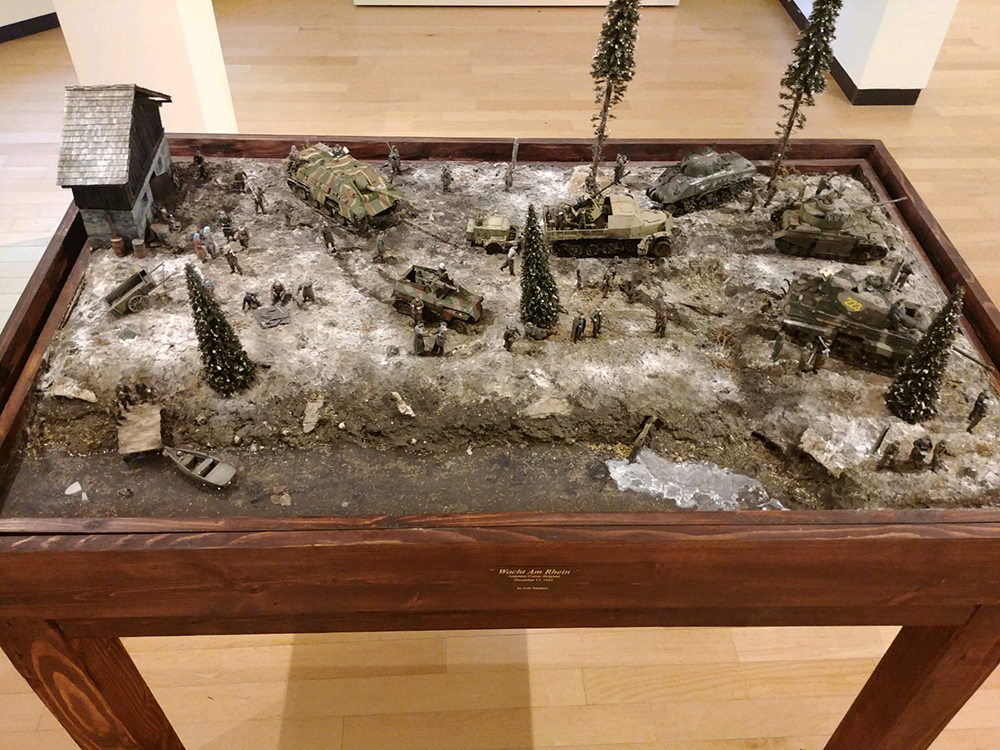
This was the last diorama I made several years ago called Wacht am Rhein. It was a very fun build, and I learned a ton, but there are definitely elements I see that I’d probably attempt differently now. I’m pretty objectively a bit of a nerd, and there are few things I love more than learning and developing artistic skills, so I’m eager to jump into my first diorama in quite some time.

One thing I’d like to mention before going into the project itself is I make no claims to be a subject matter expert or even novice when it comes to the Second World War or armored vehicles. I have more than a decade of experience across both the Army and Air Force which gives me a solid foundation for understanding the nature of the military, equipment, uniforms, etc., but specifically relating to WWII vehicles and units, I know I’ll have to do some research and undoubtedly I will make some errors - which is part of the reason I’m posting here at KitMaker!

If there are thoughts, ideas, corrections you all have as I go through this build, I would be very appreciative and grateful for them. My goal is to maintain a relatively decent level of accuracy, but I also want put this disclaimer out that I may make some concessions on accuracy for the sake of creative liberty in service of the aesthetics or narrative underpinning. With that said, let’s get to it!

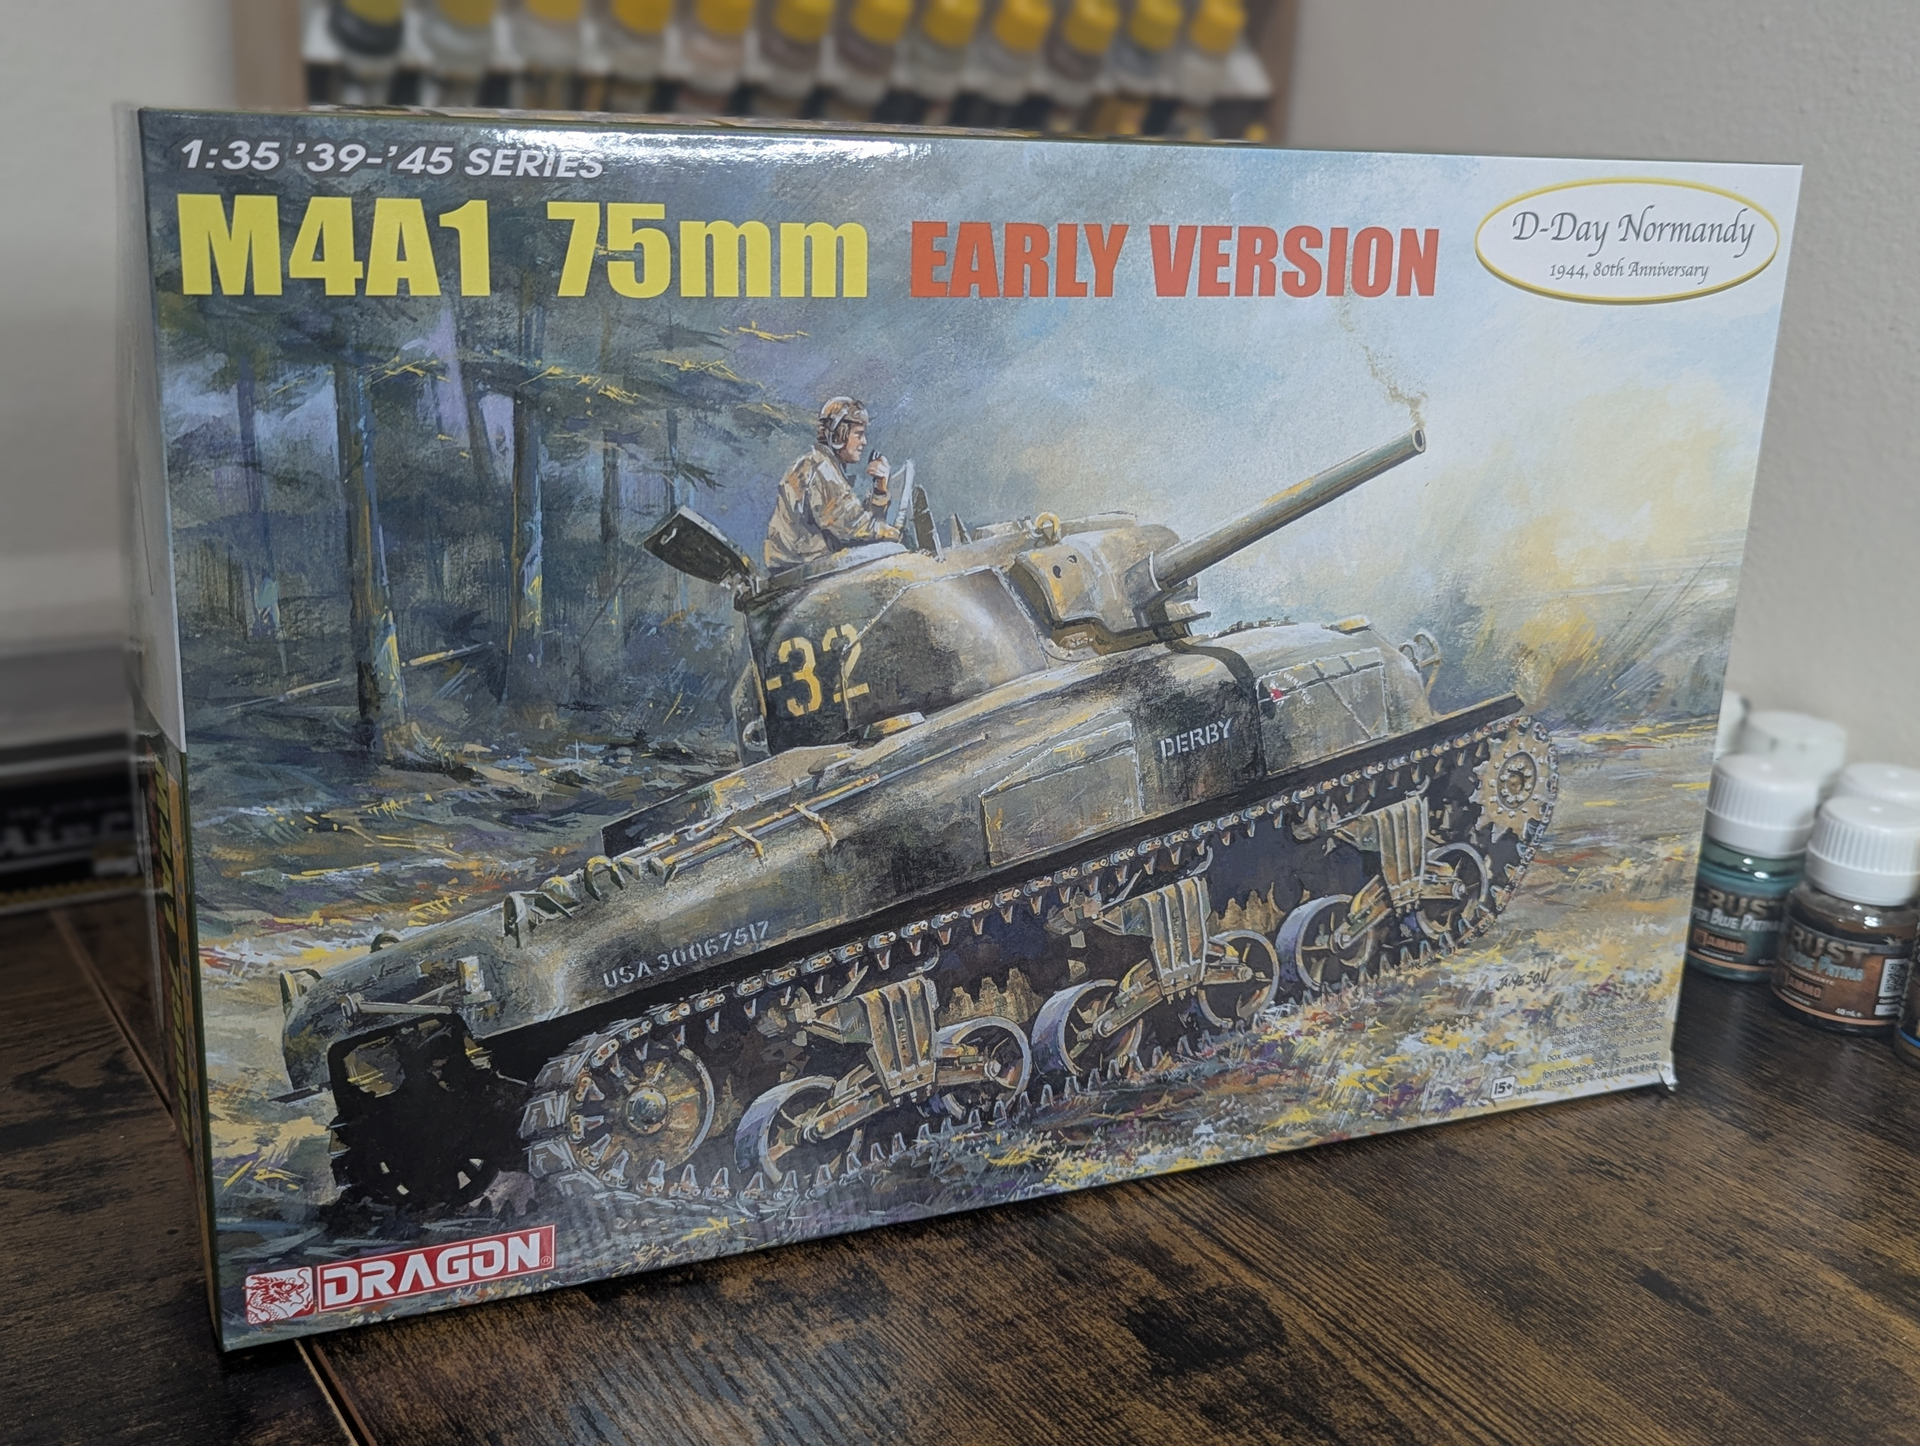
The overall idea for this project, tentatively titled Silent, is the depiction of an American unit in Shermans discovering an abandoned Tiger I in the hills of northern Tunisia circa early 1943.

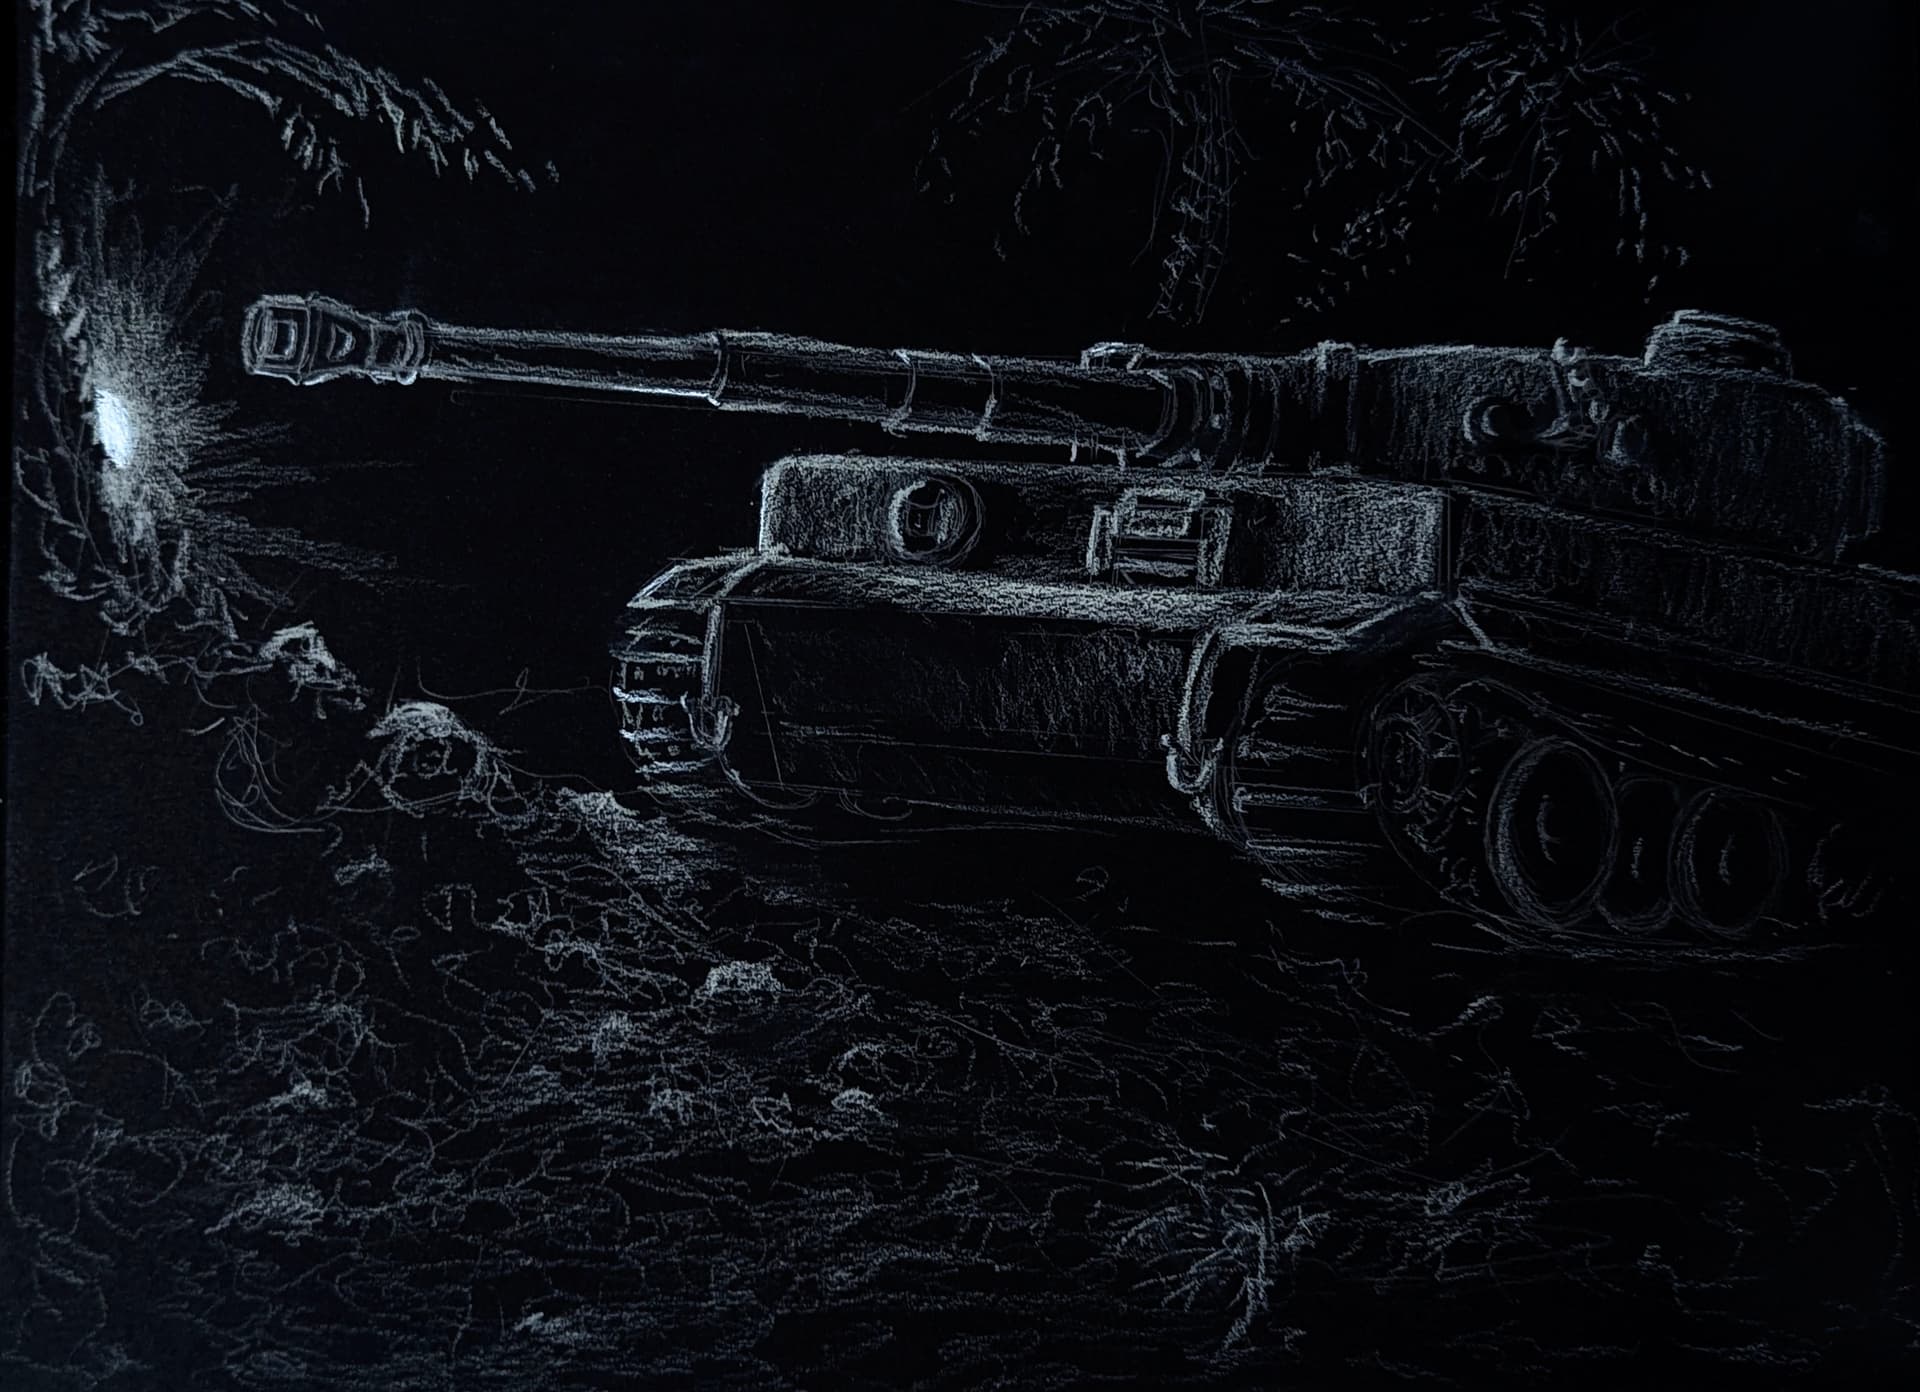
Here’s a quick concept sketch I did to start brainstorming ideas of the feel and mood I’m going for with this diorama. I think one of my big takeaways in the preliminary research is that the terrain of Tunisia is so much richer than just flat sandy monochromatic desert, and so I want to integrate elevation and rocky hillsides and vegetation and, honestly, probably some type of water element for good measure. I am gathering reference resources for northern Tunisia that overlap at least in some type of plausible way with where operations took place and Tigers could have theoretically been. I’m not super familiar with where the heavy tank battalion operated or about their engagements with U.S. forces, so I’ll be doing some more digging on that.

I mentioned historical concessions, so the first major one that comes up is that an abandoned Tiger I was - to my knowledge - never recovered by the United States in Operation Torch, with only Tiger 131 seized by the British during this time. I know right out the gate I’m depicting a fictionalized event, which is going to present some interesting challenges in and of itself, which should be fun!

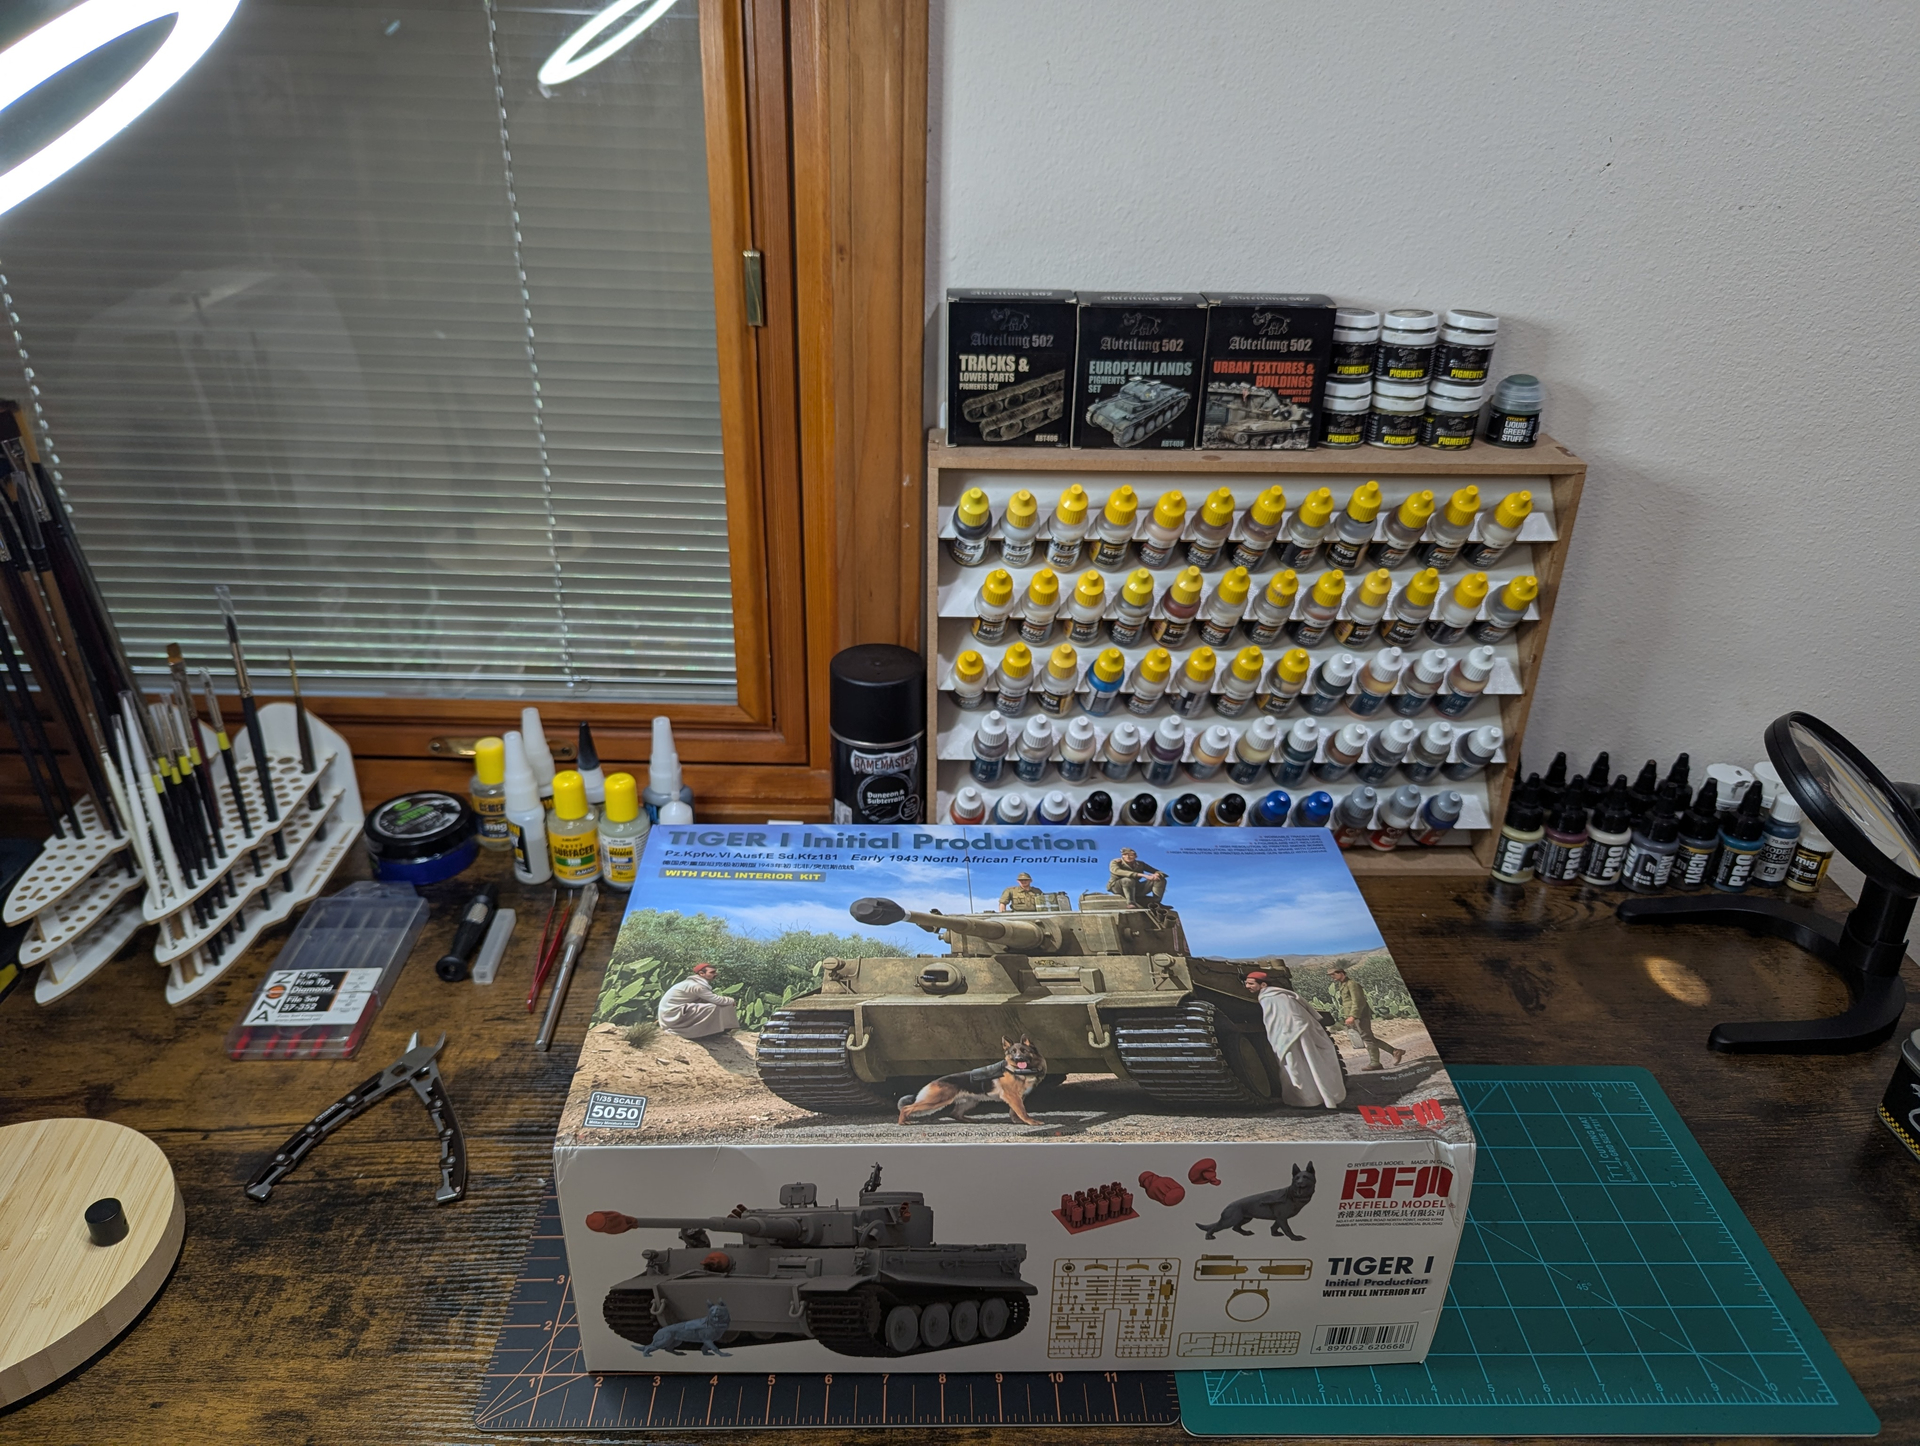
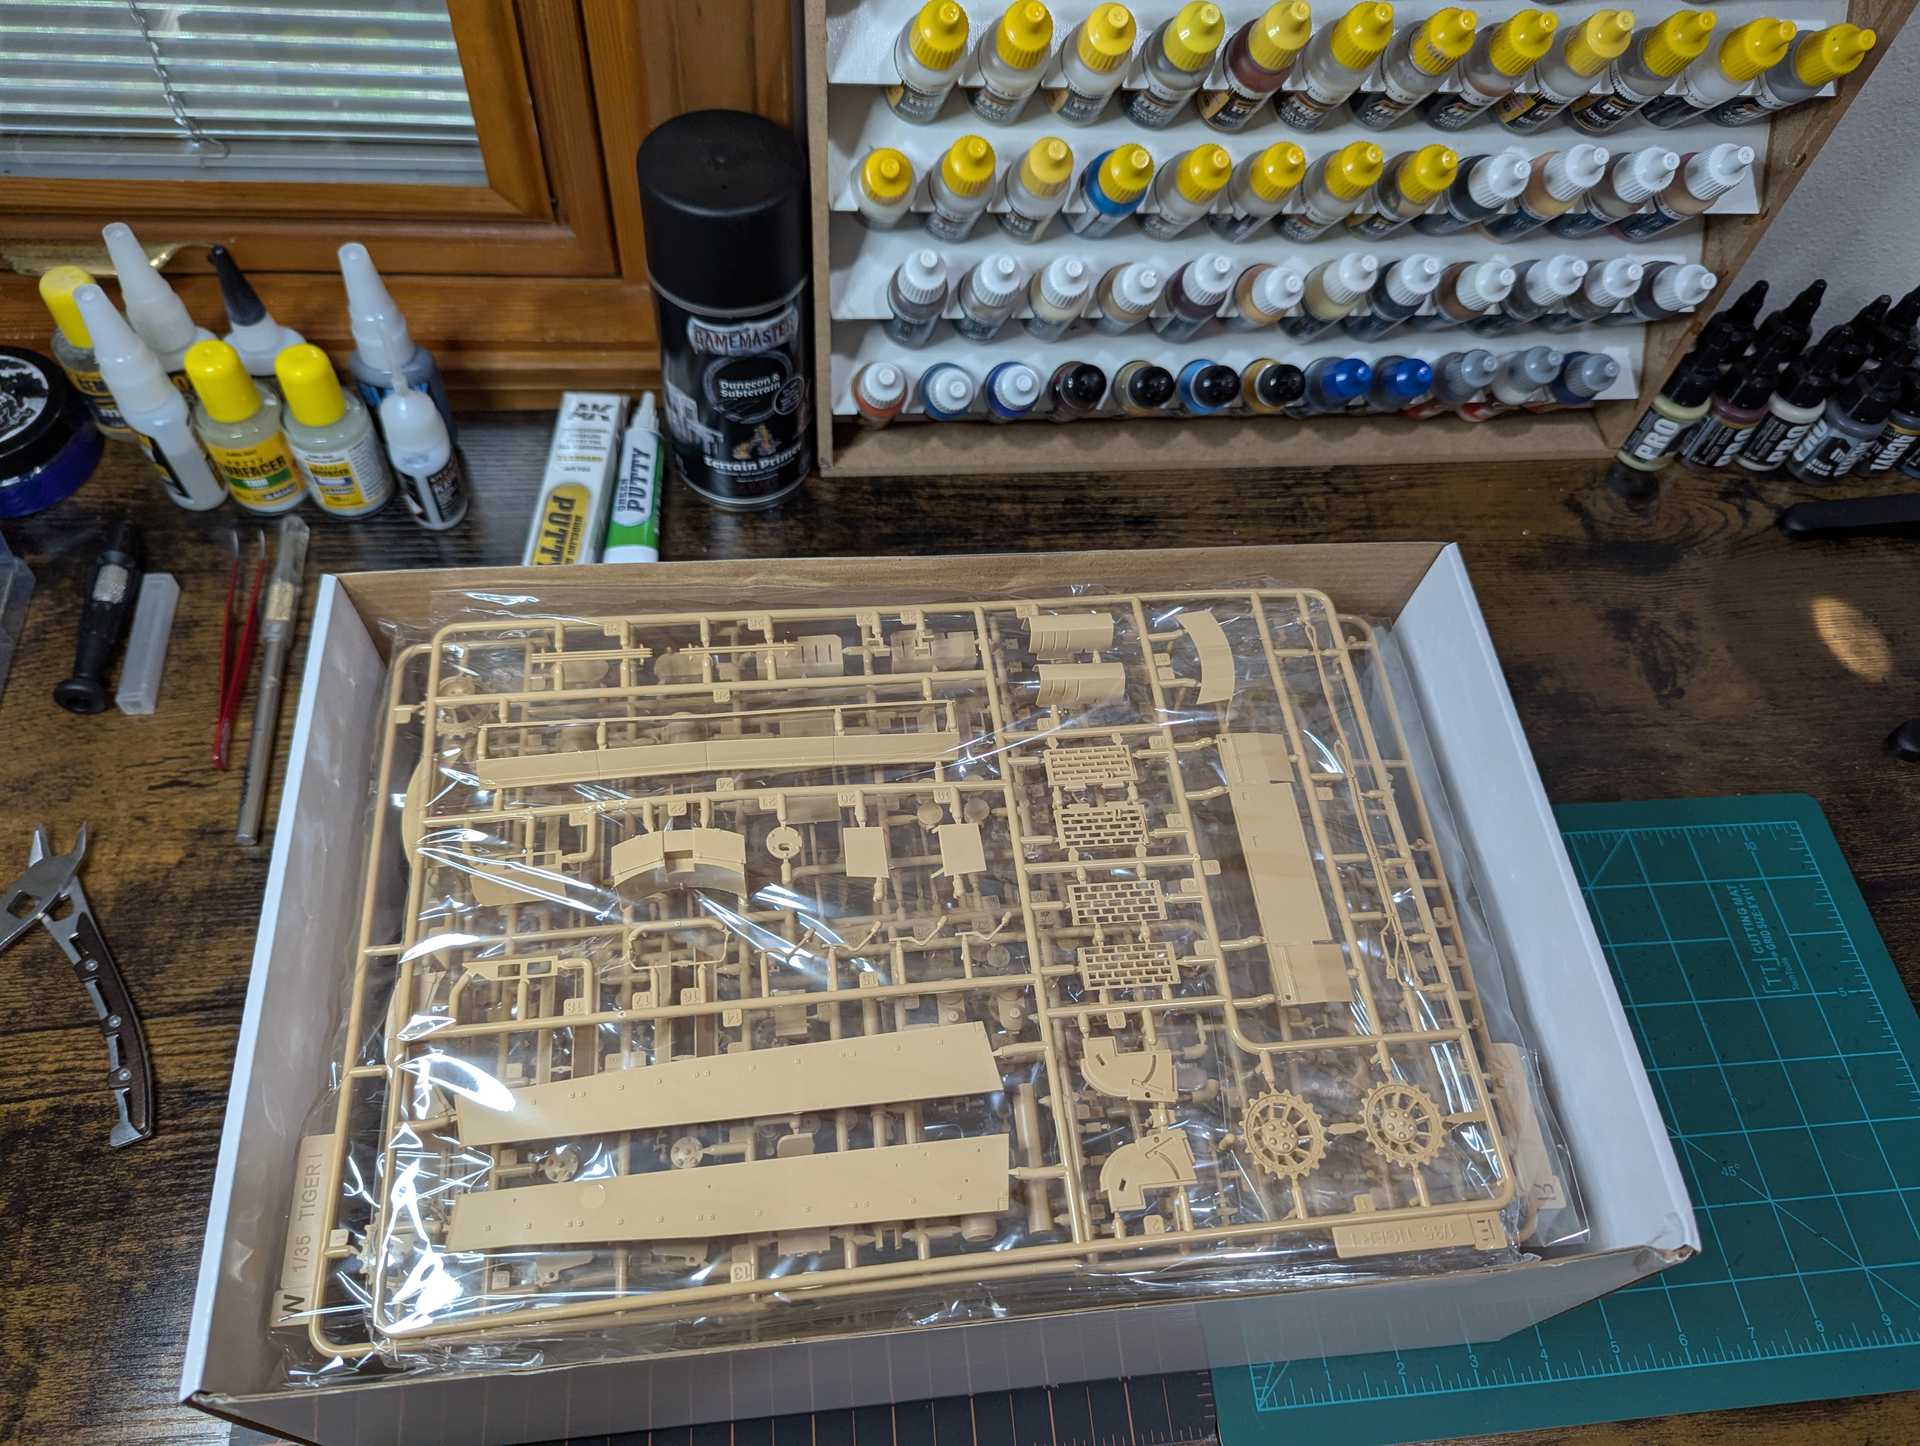
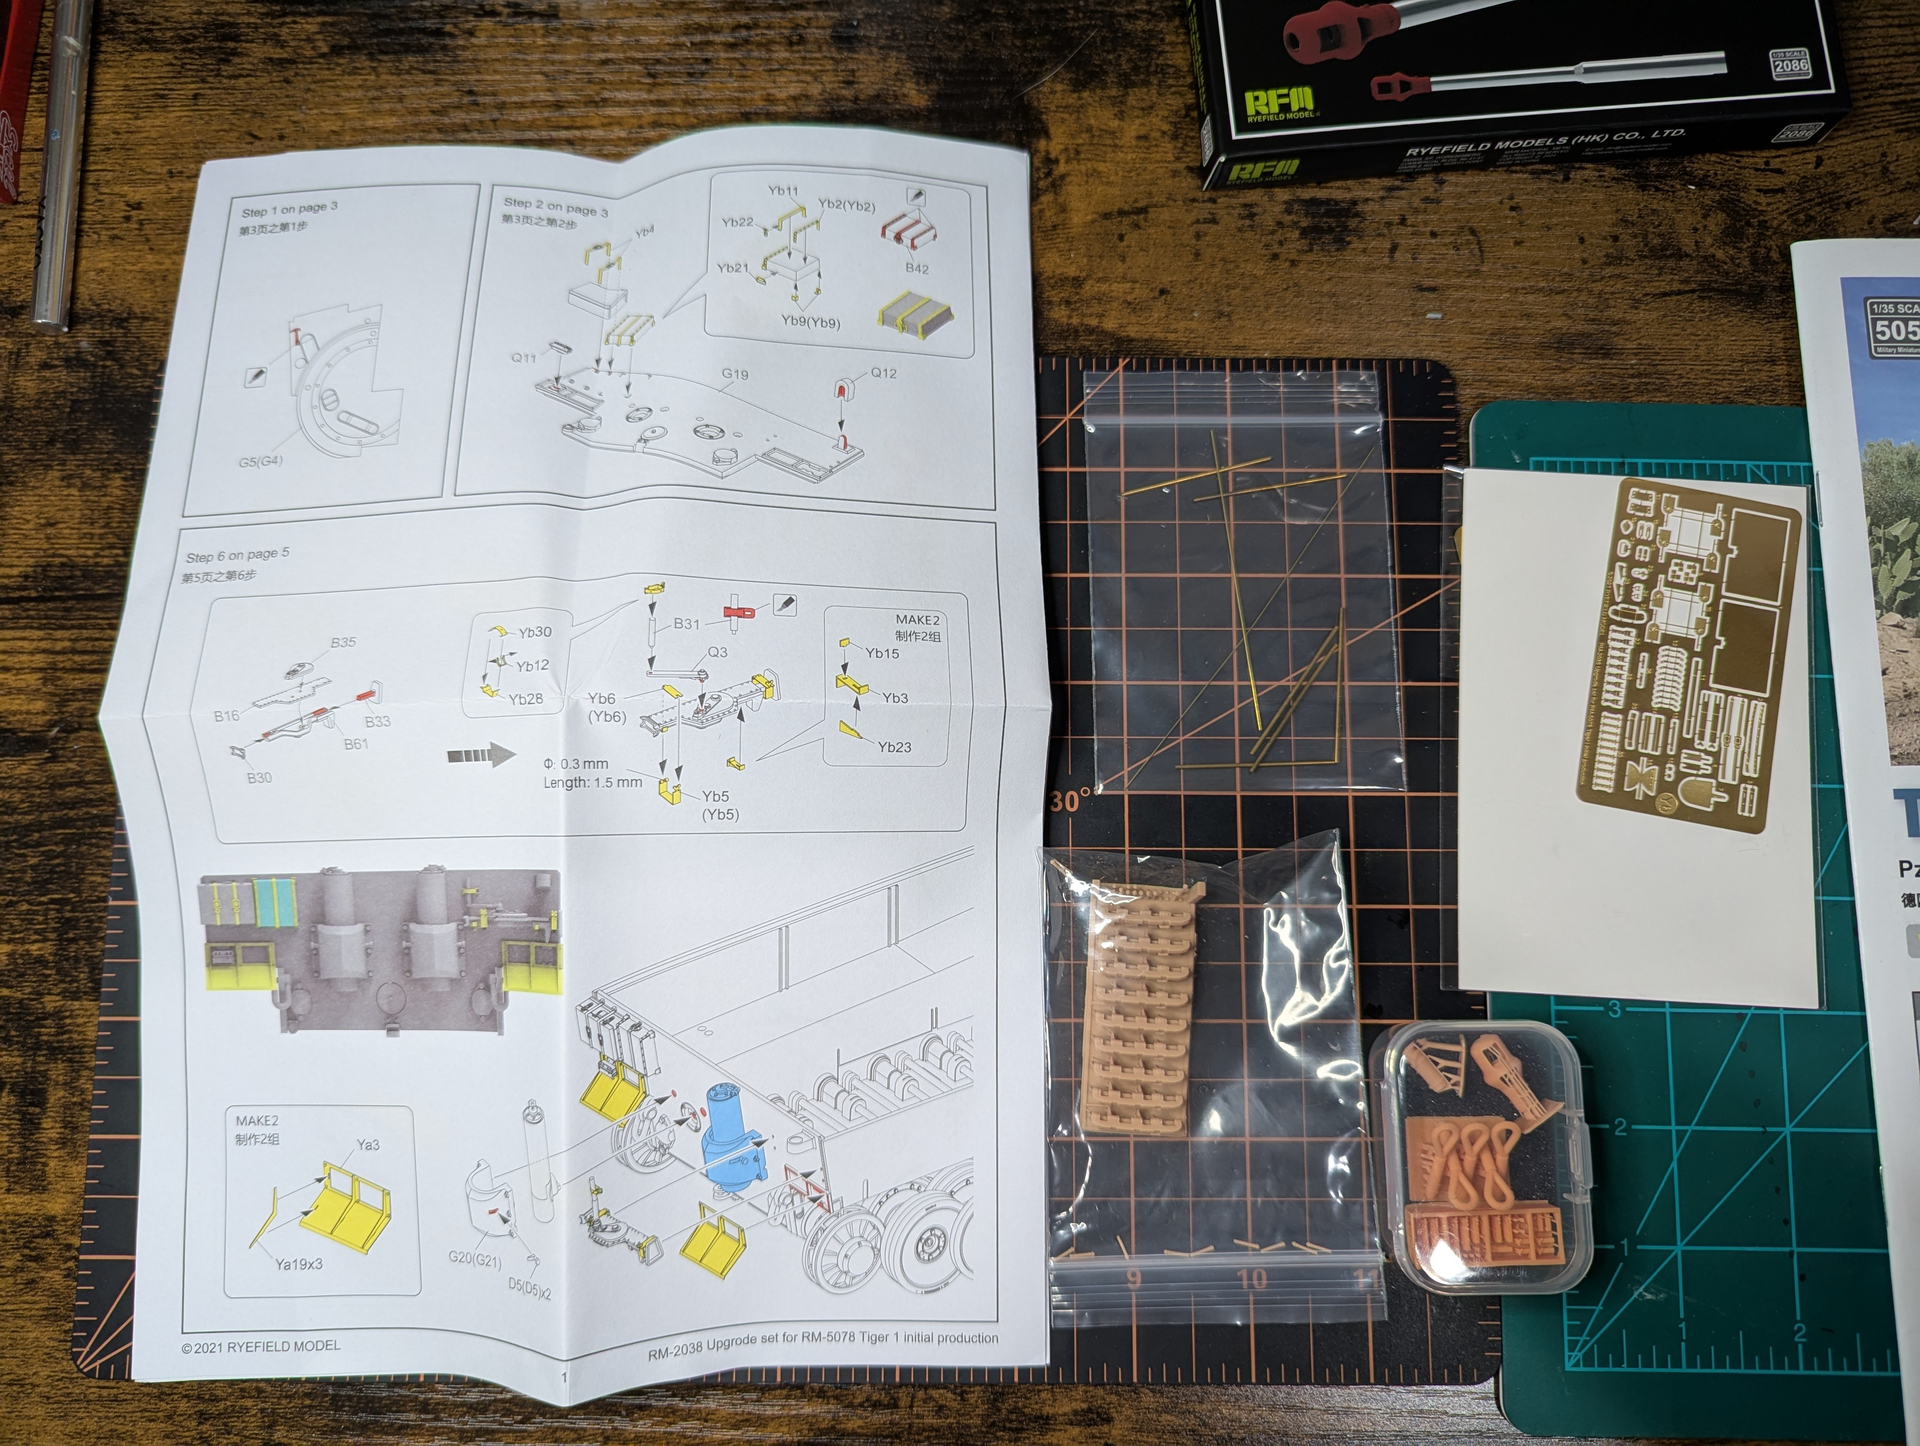
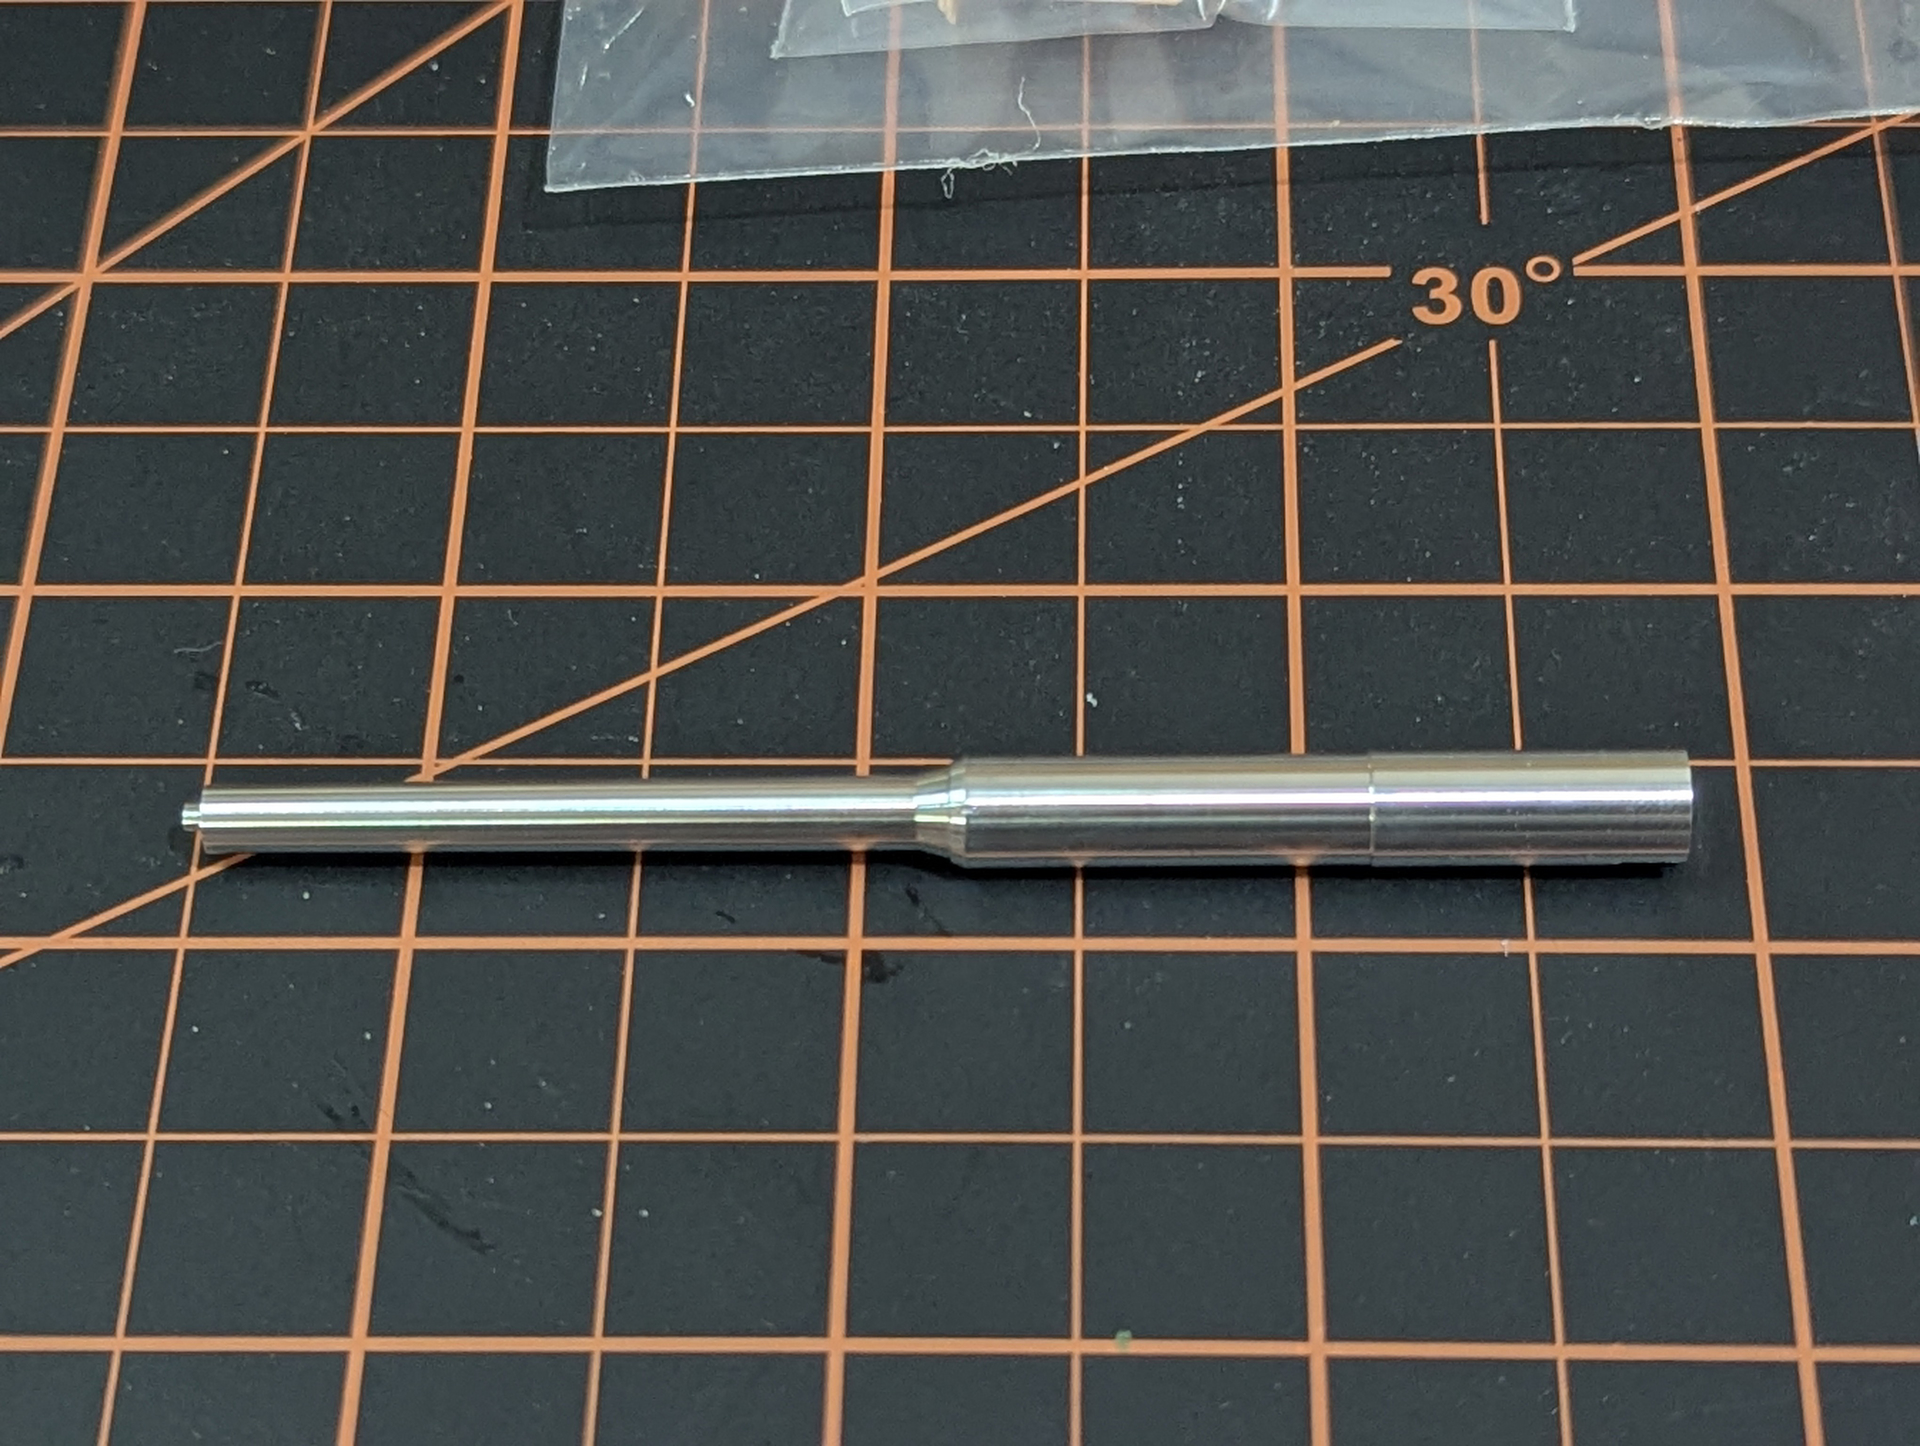
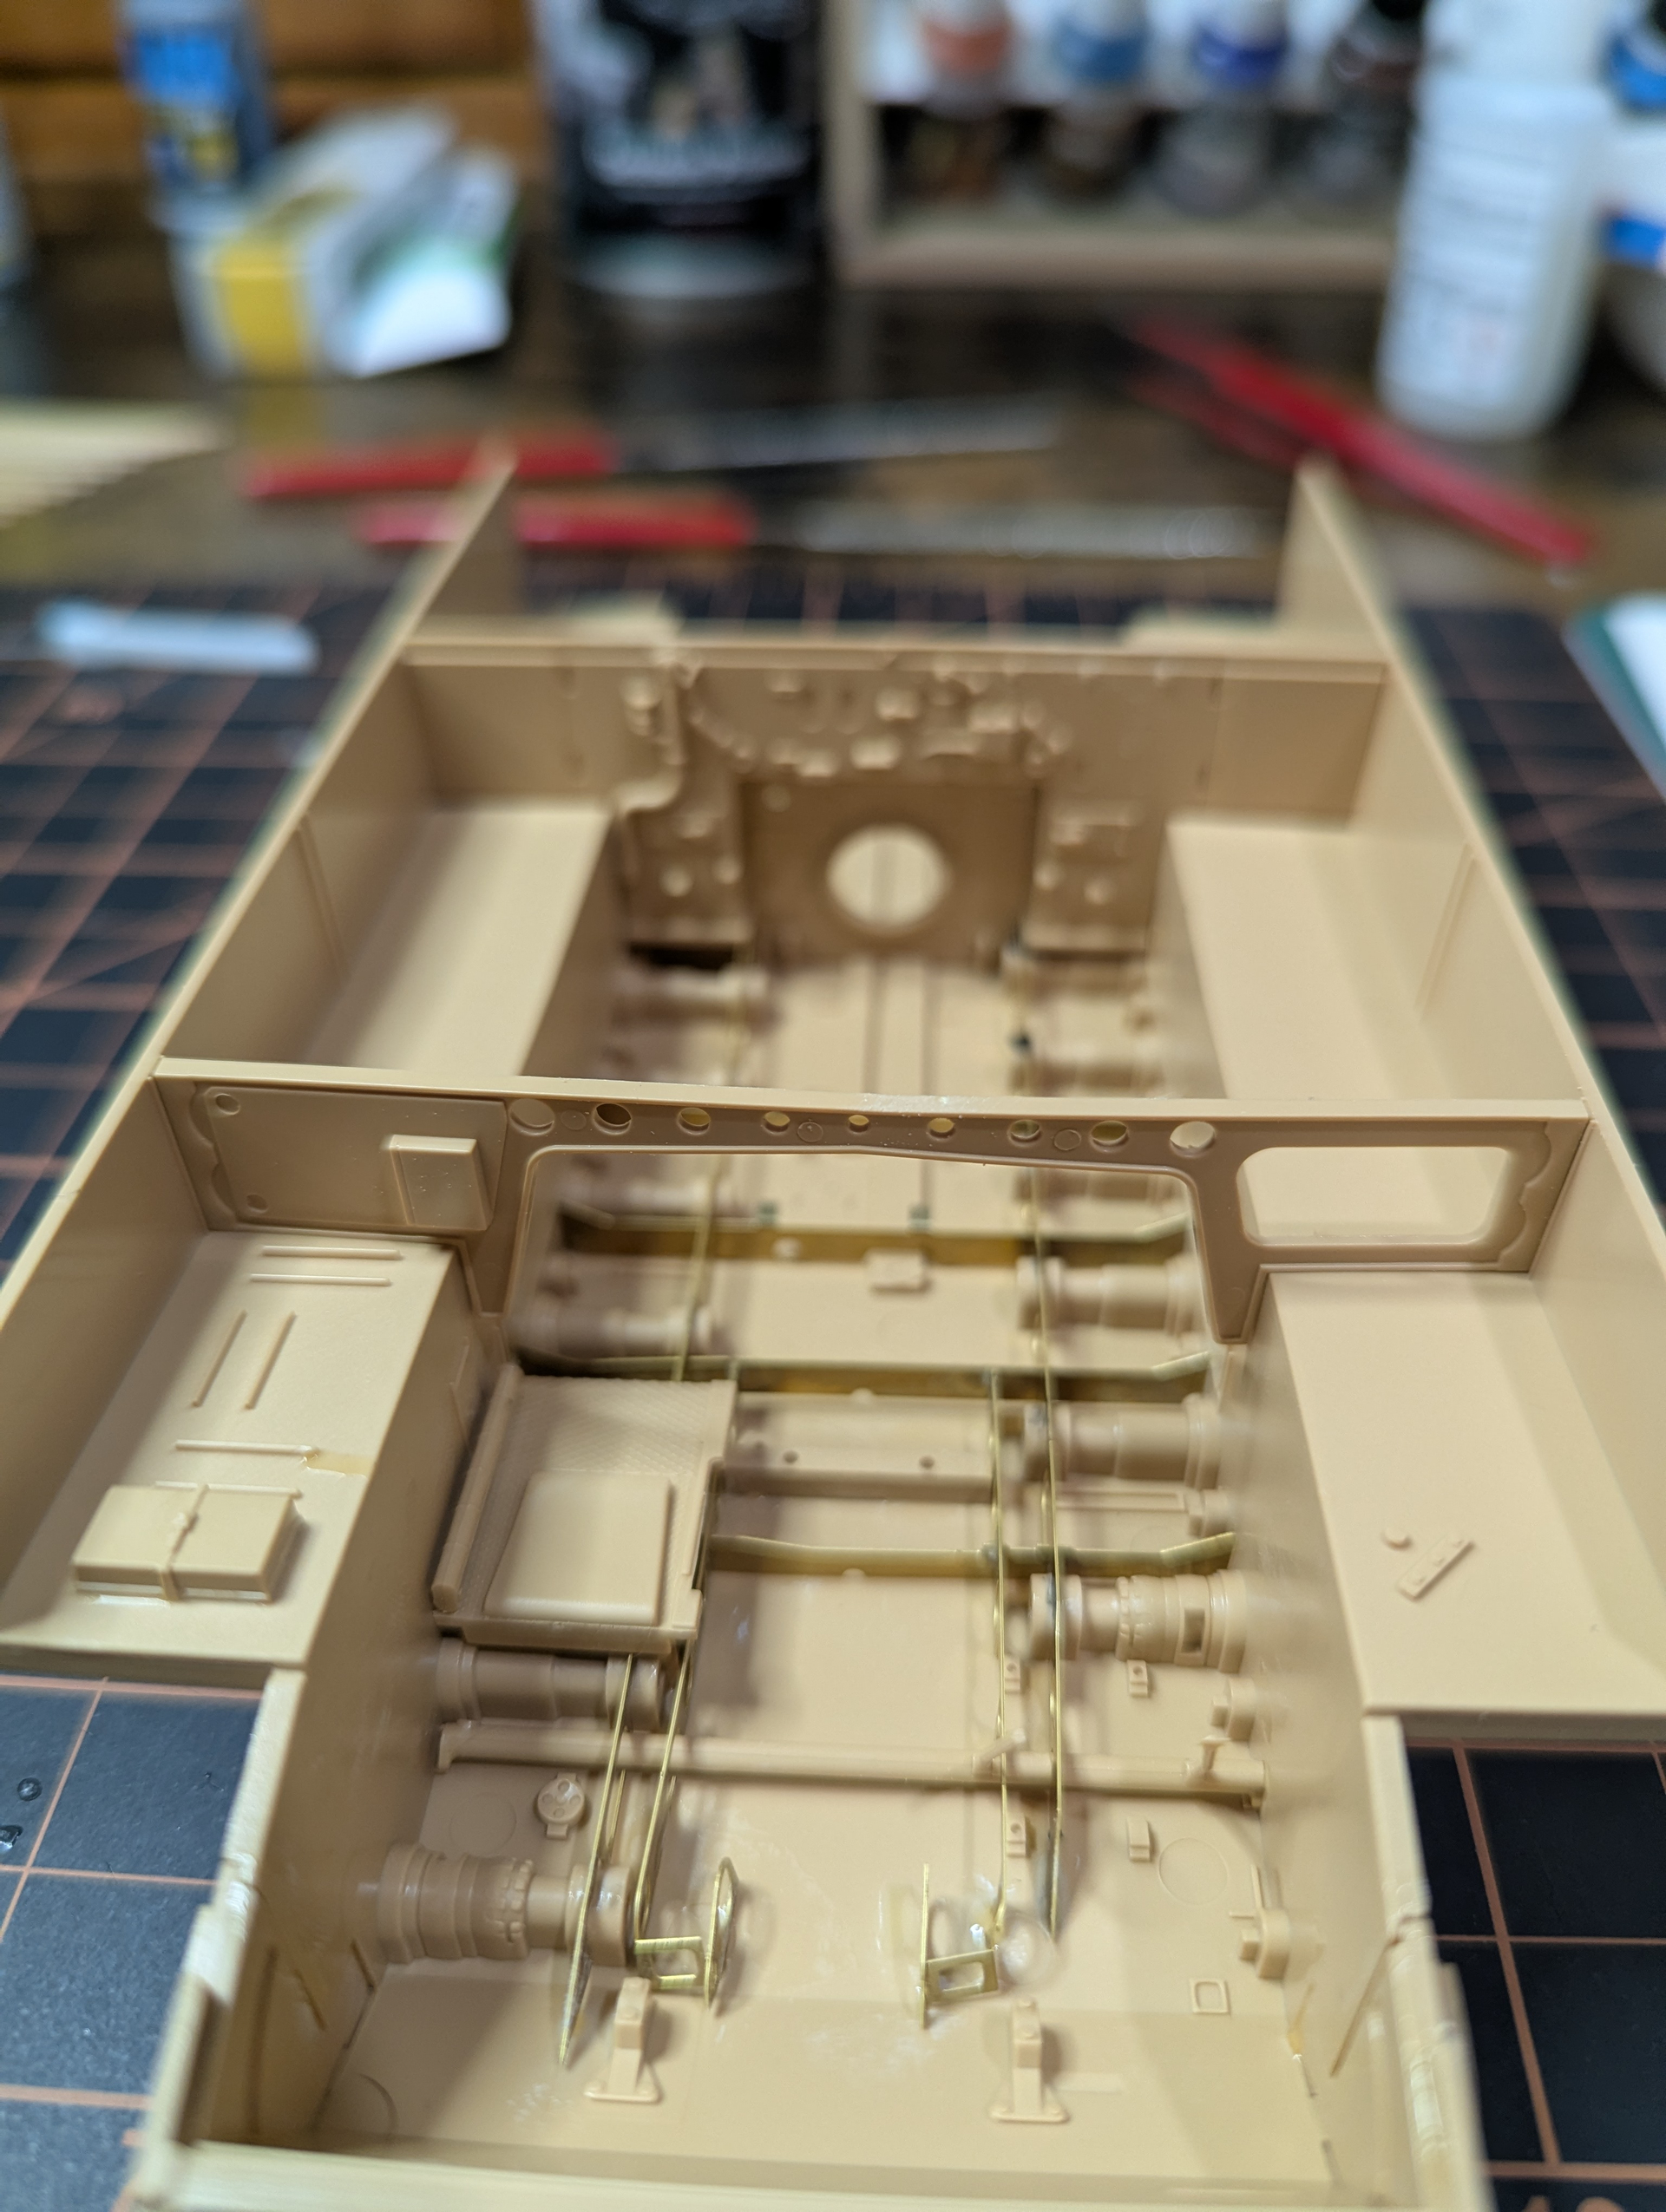
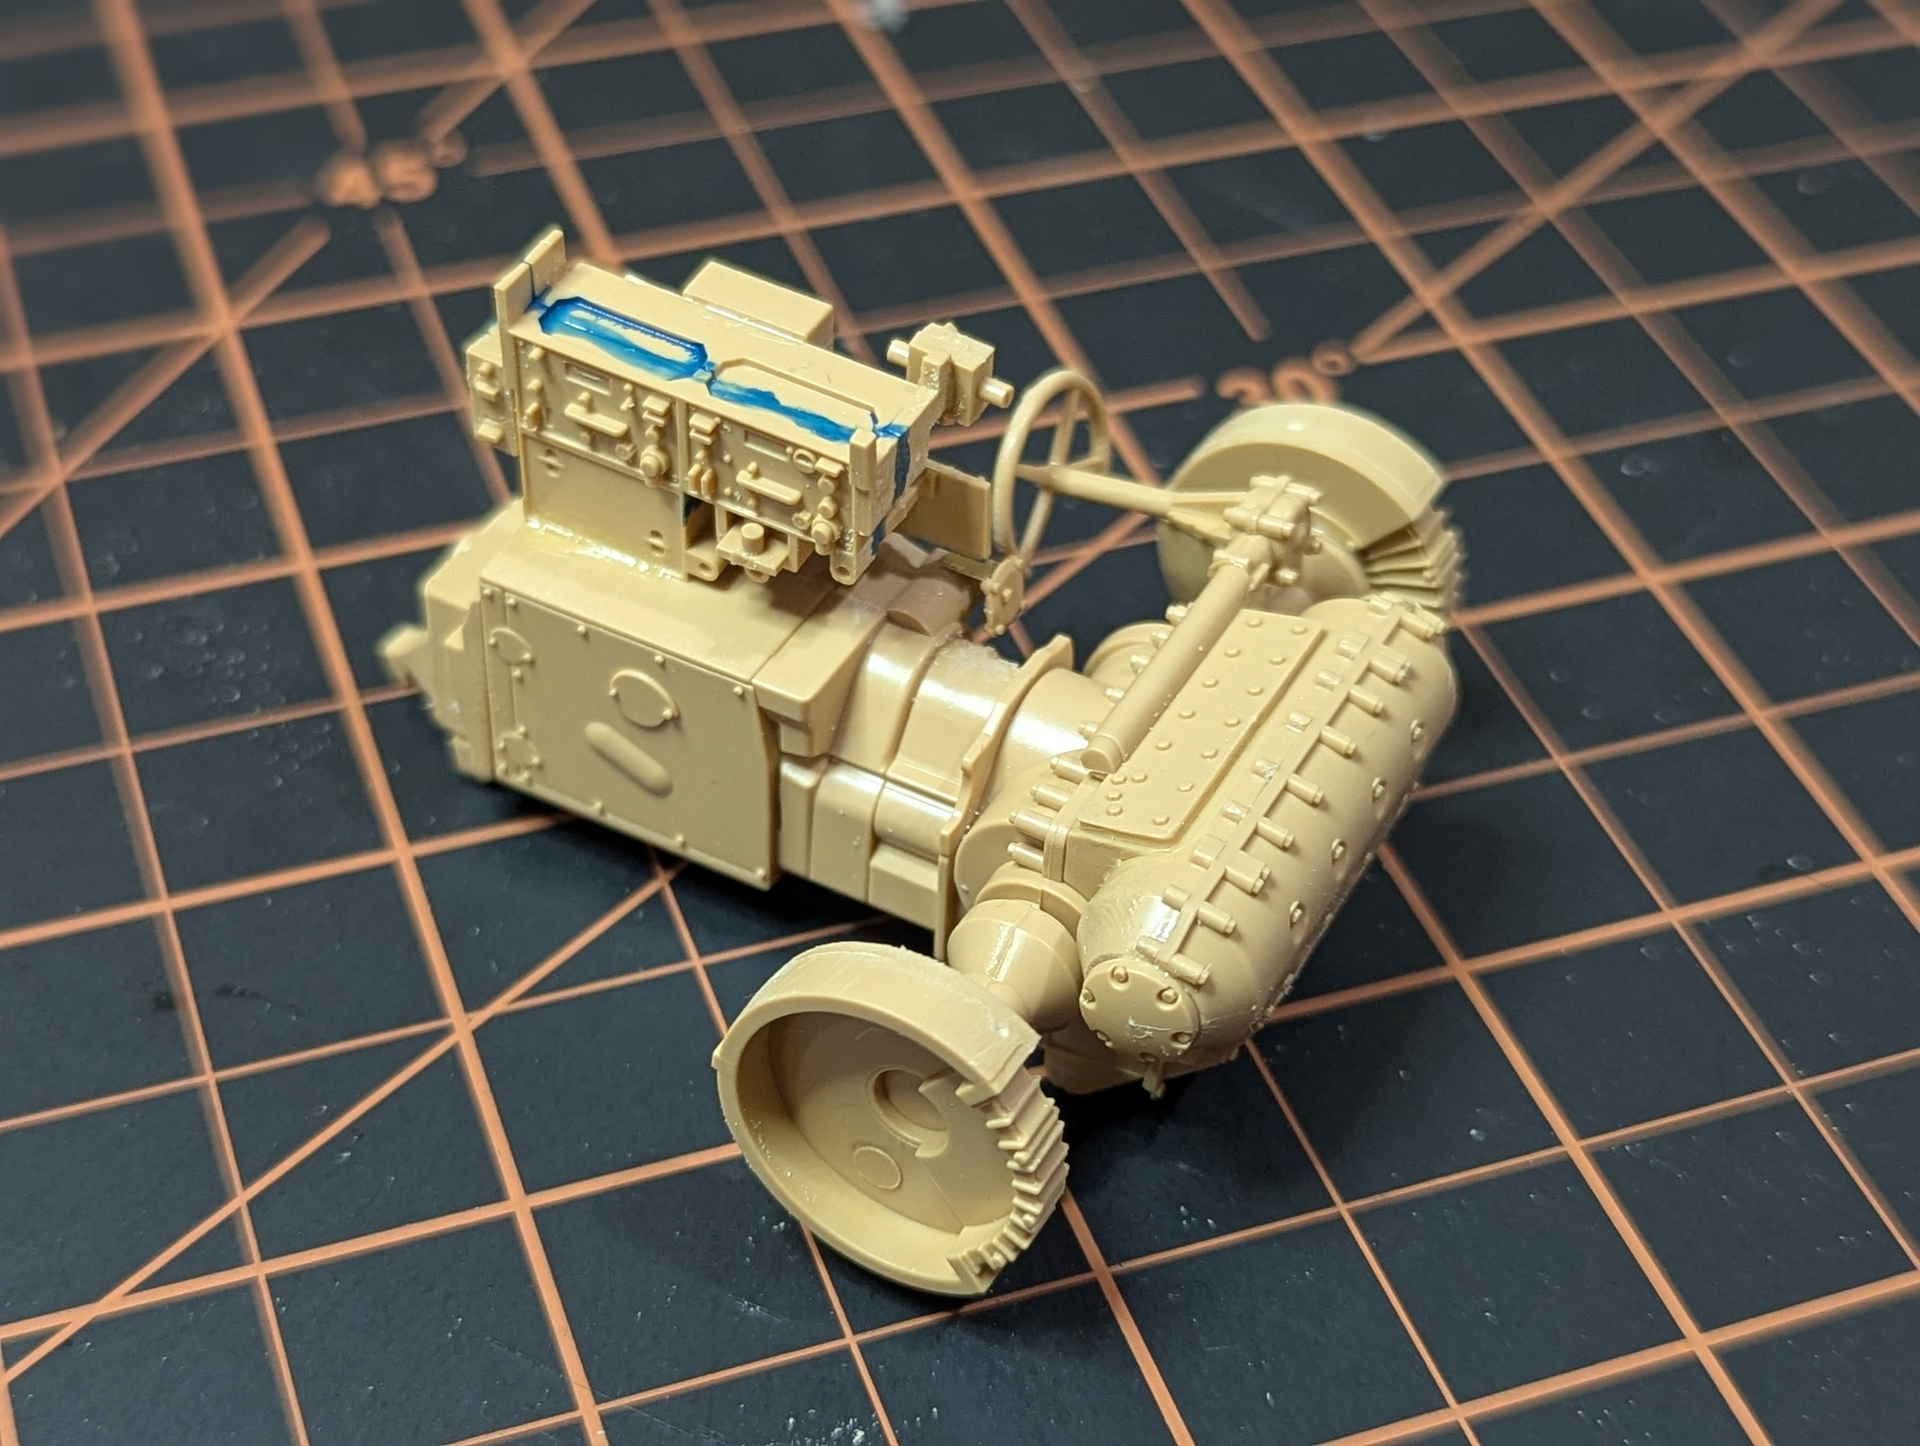
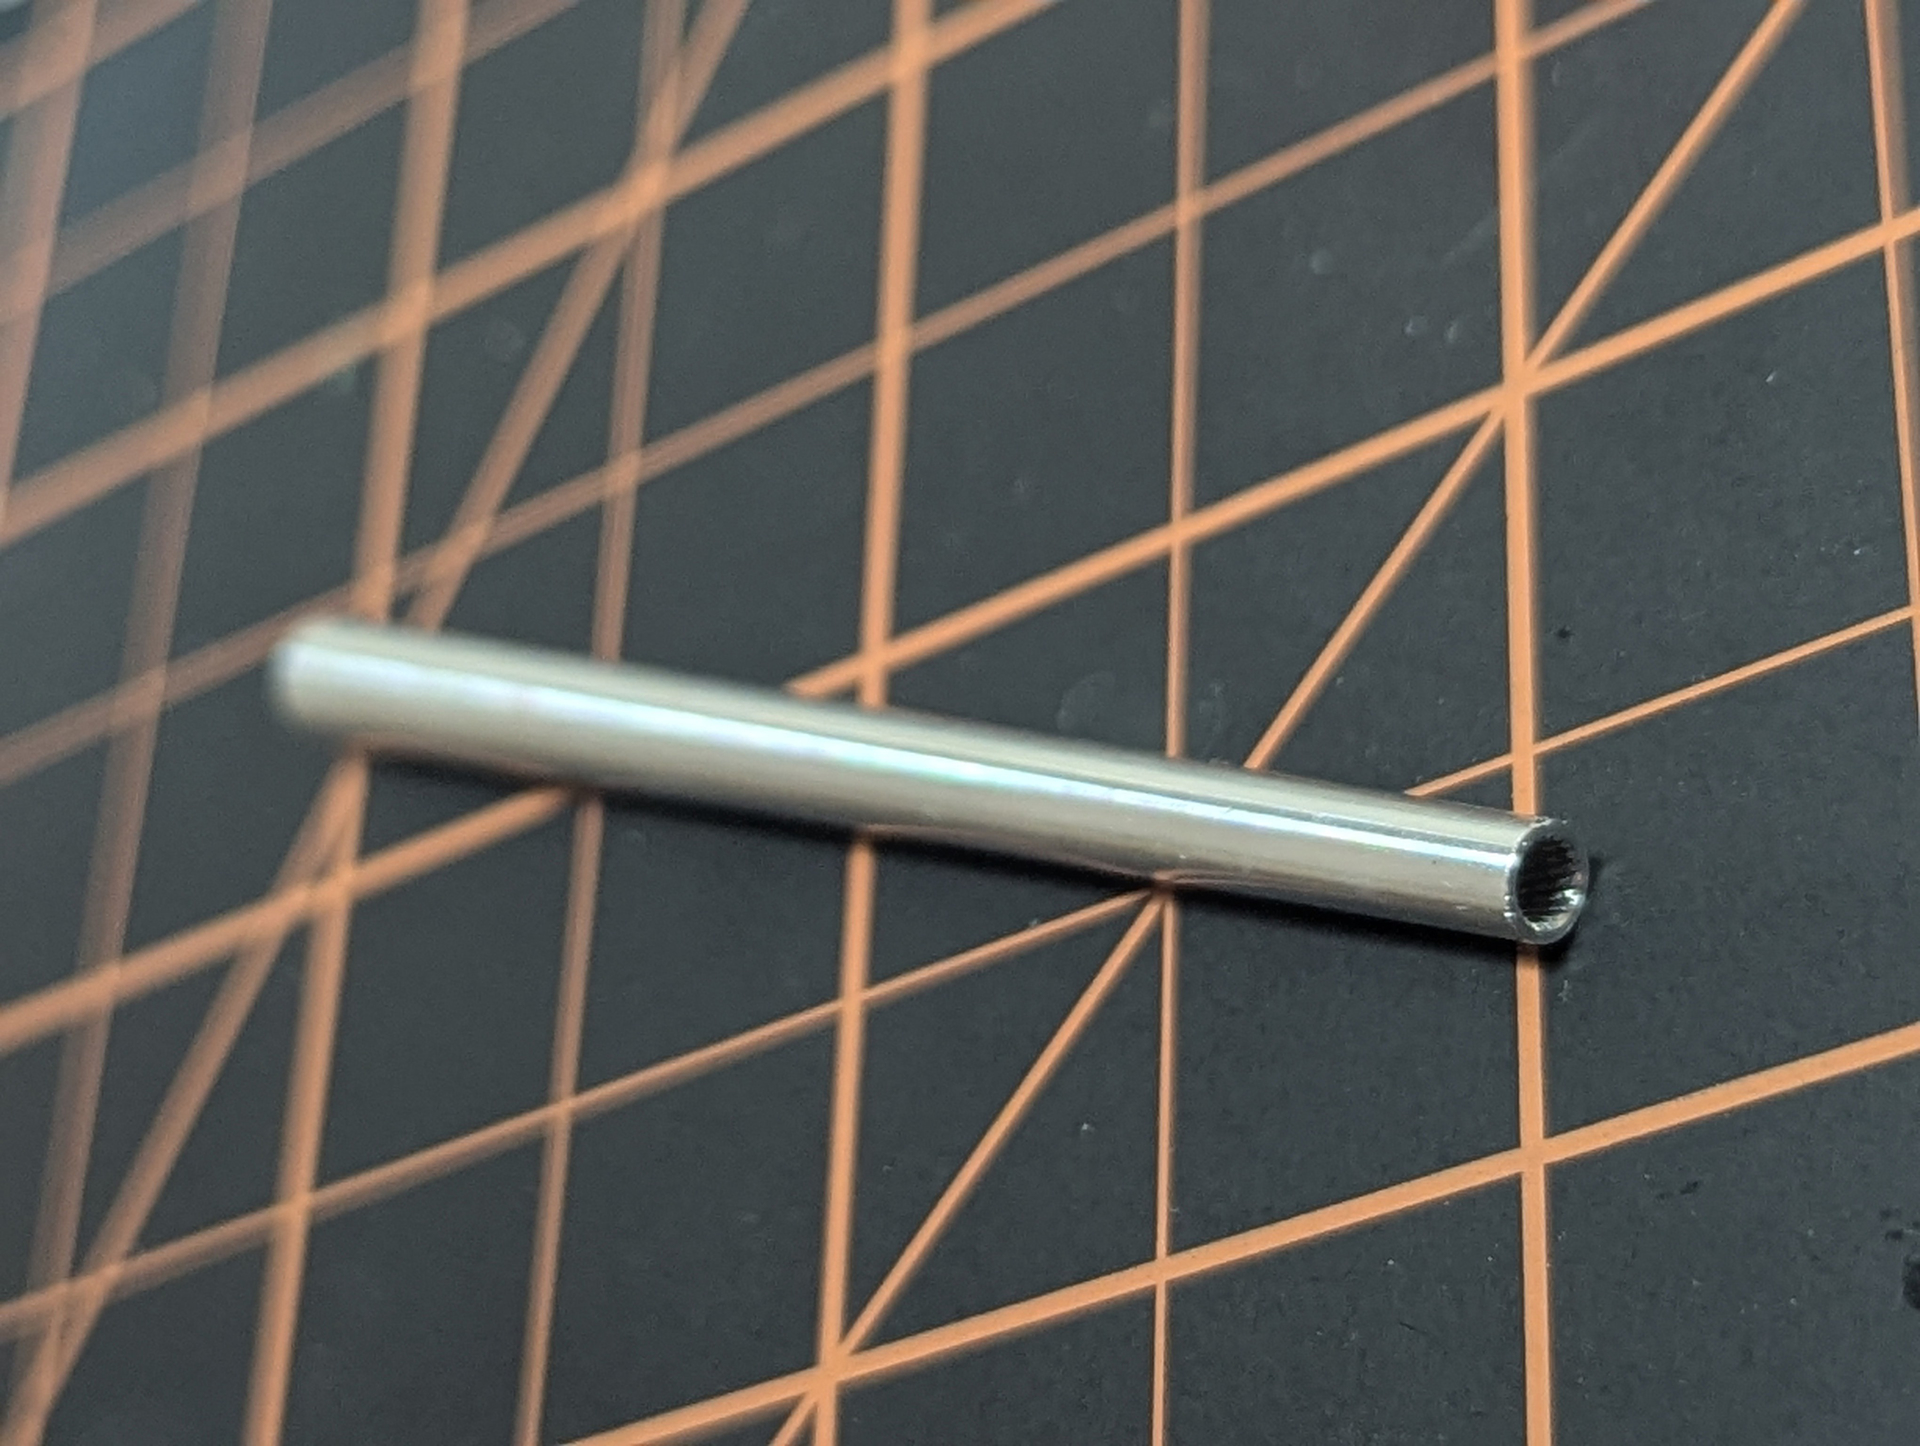
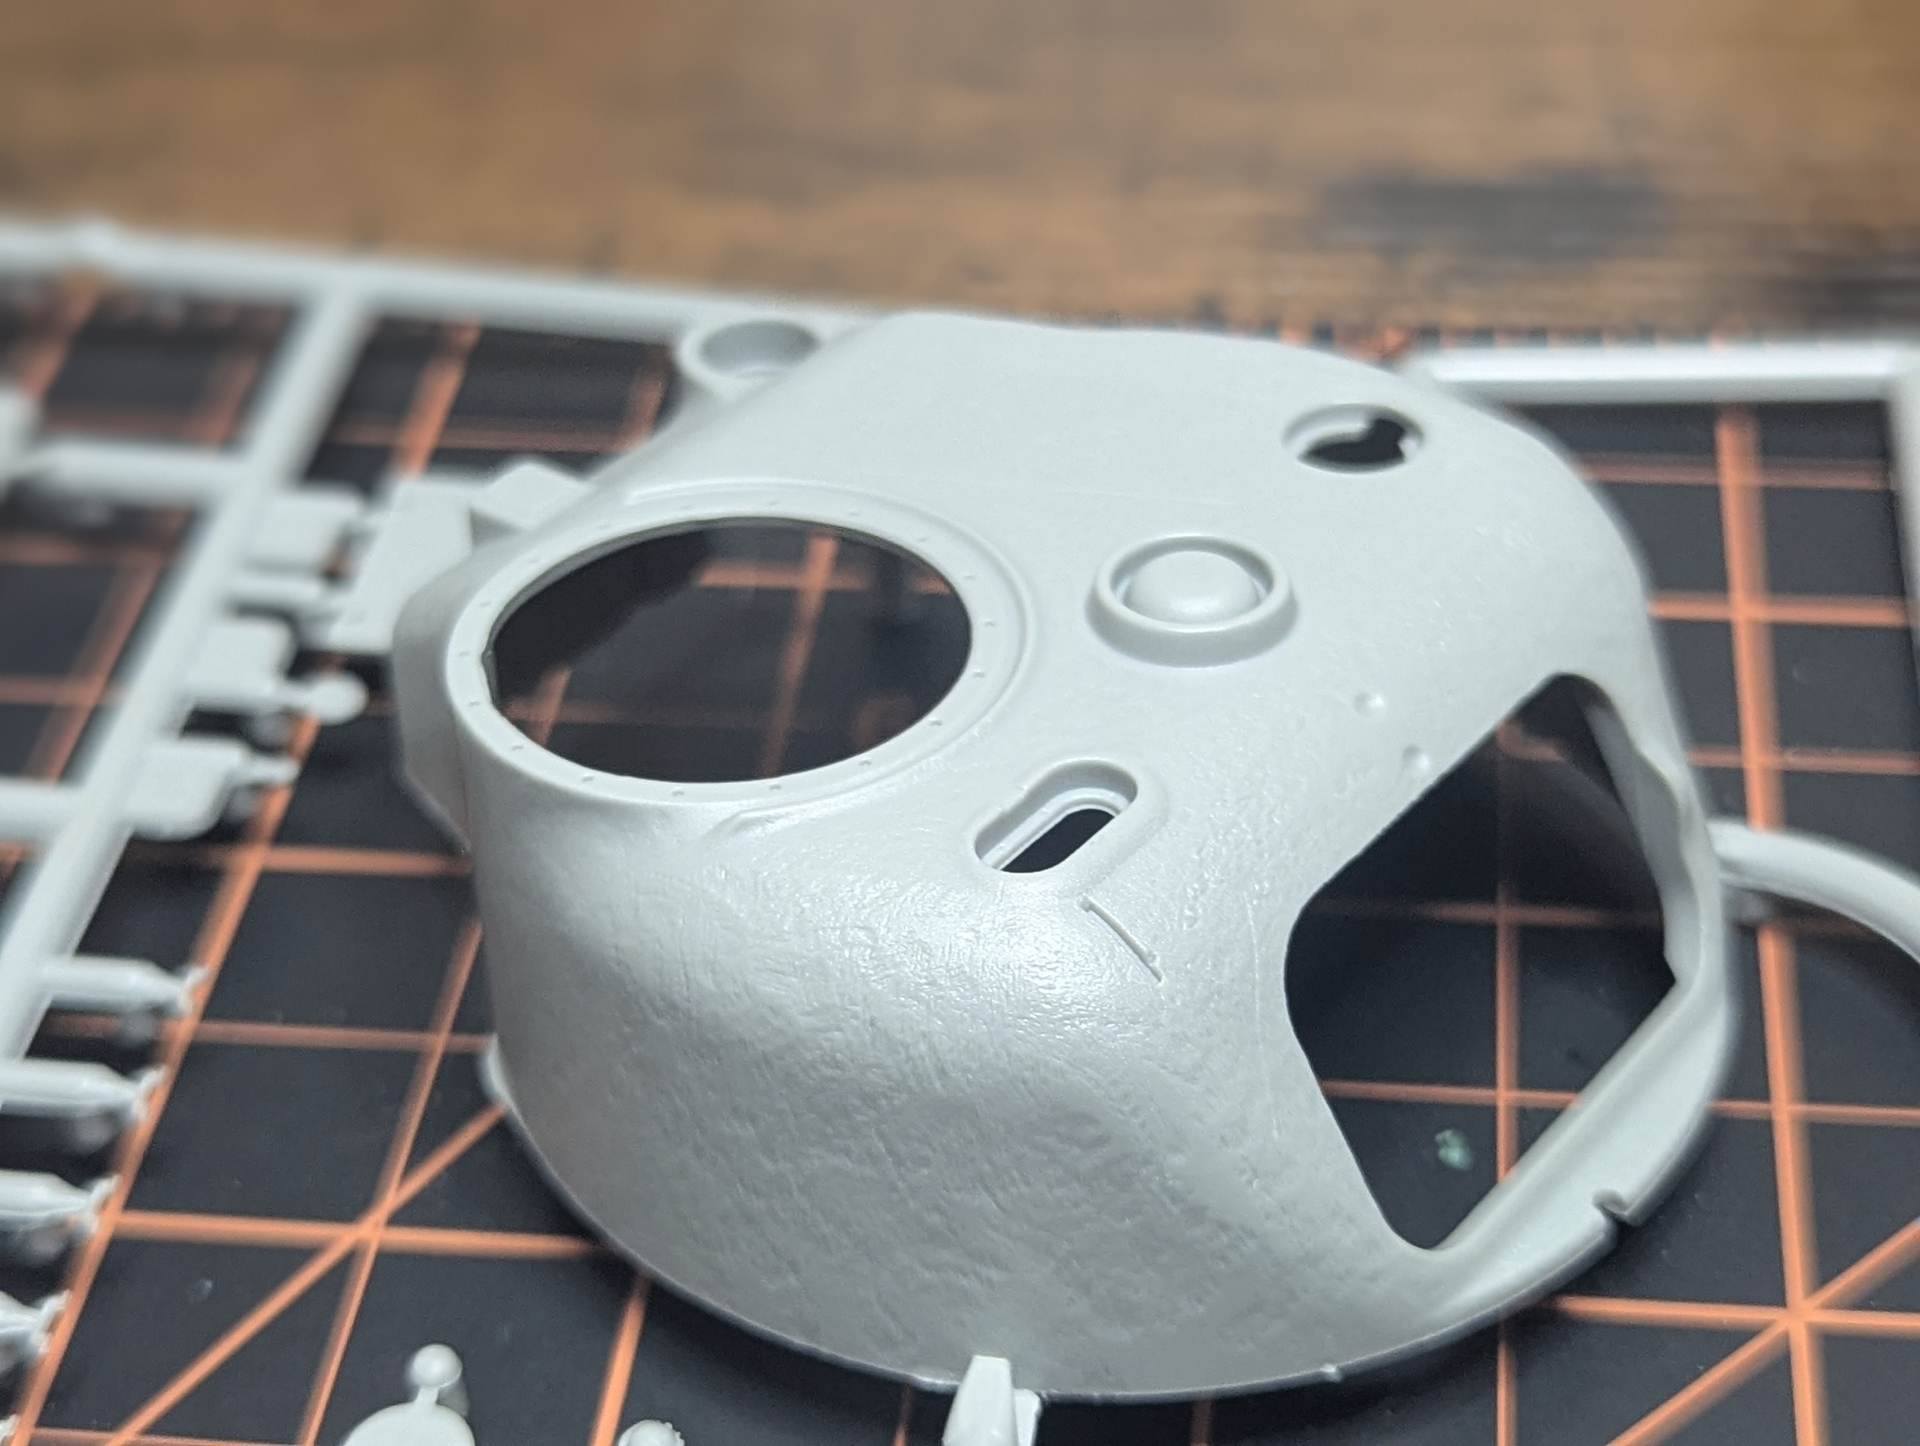
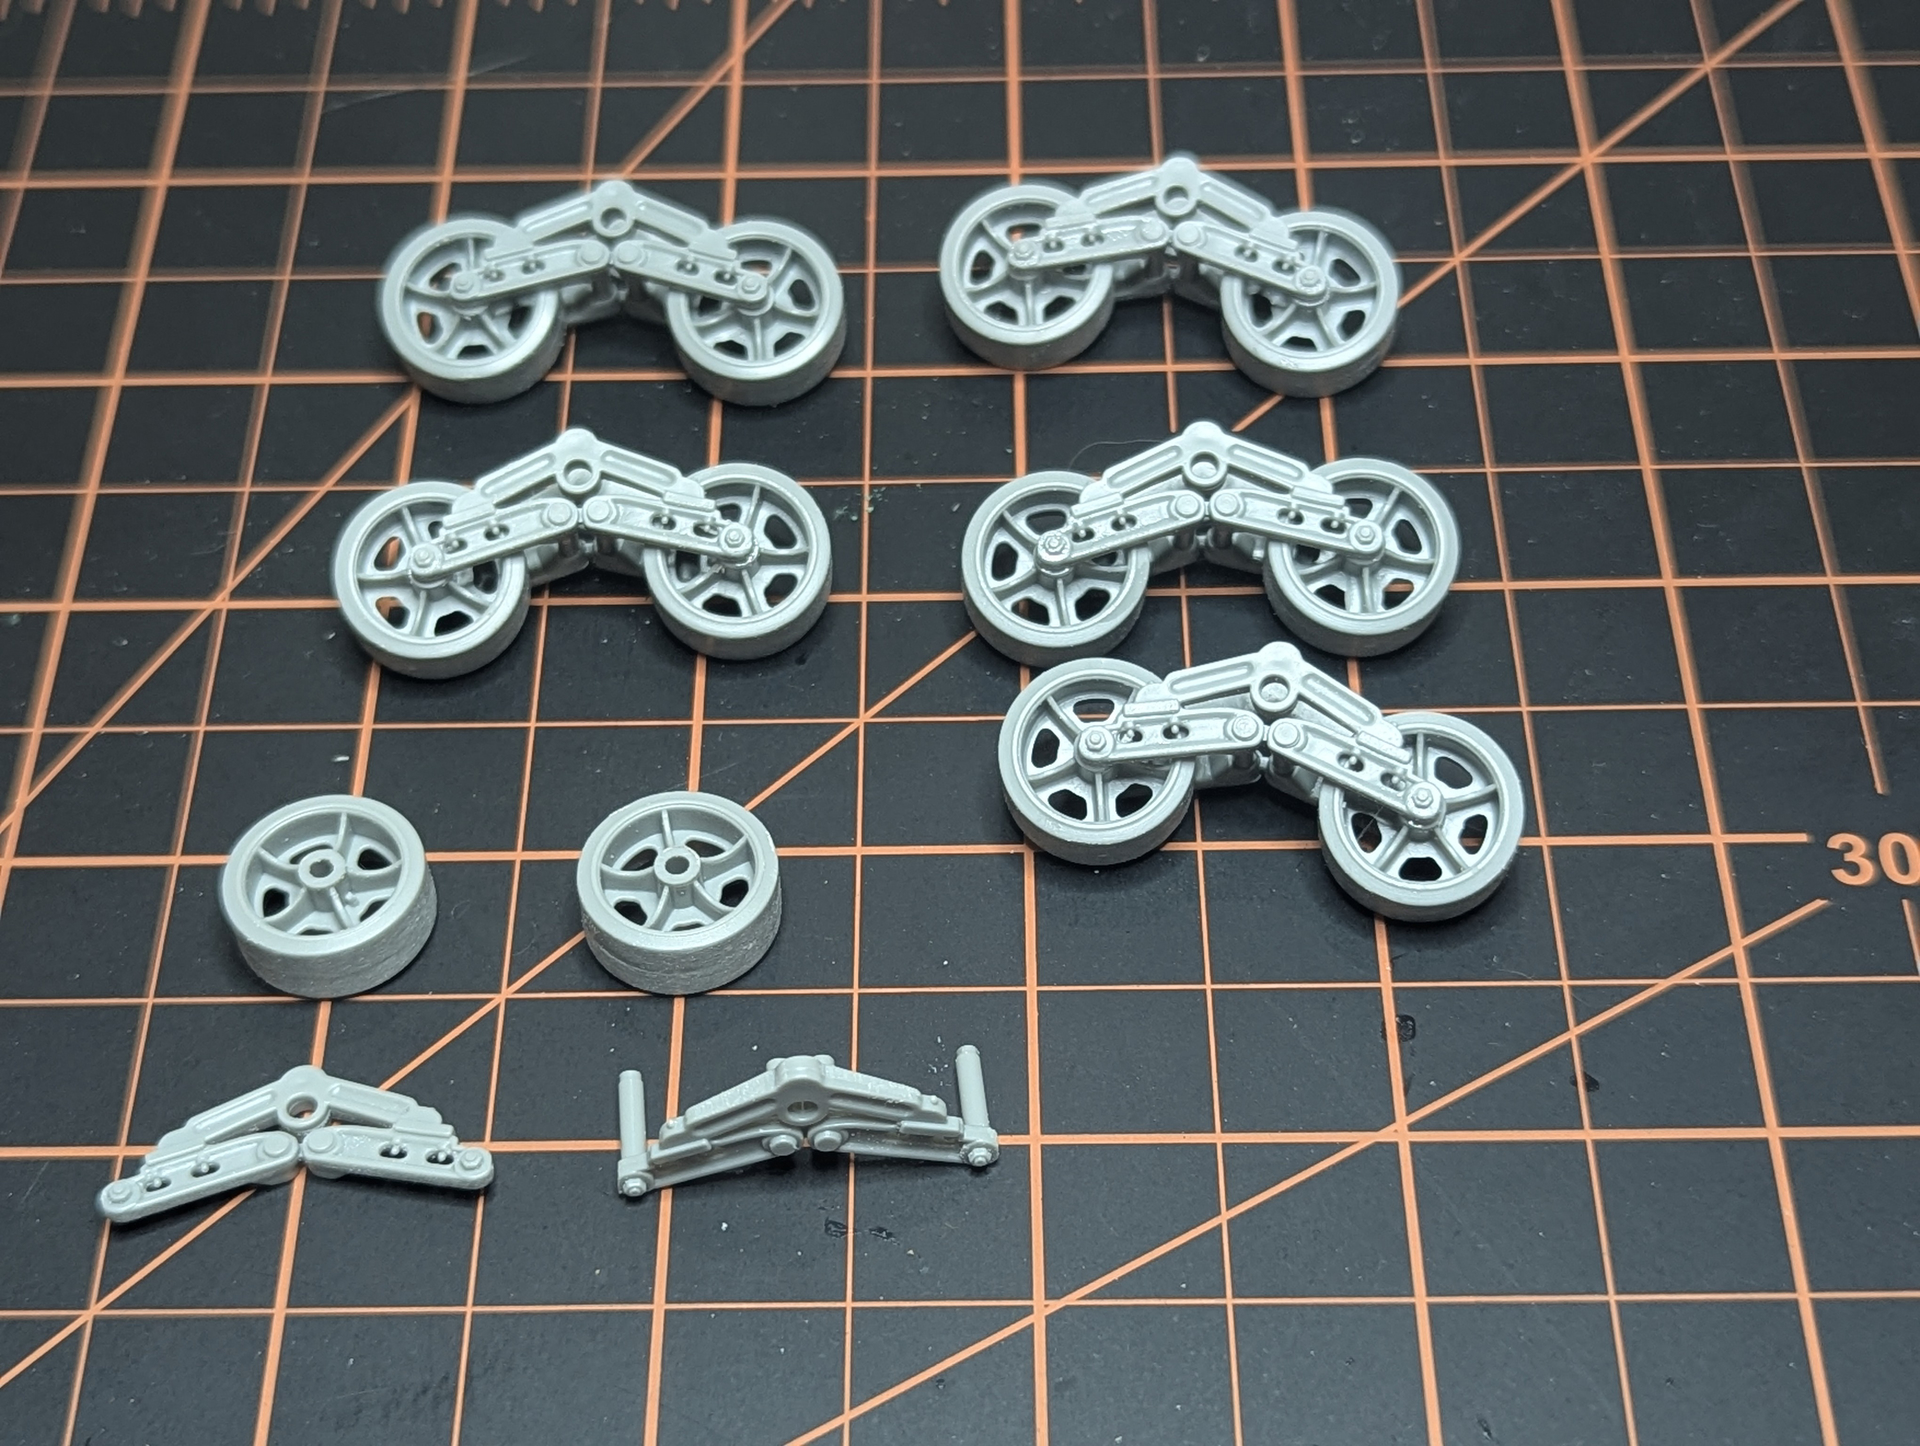
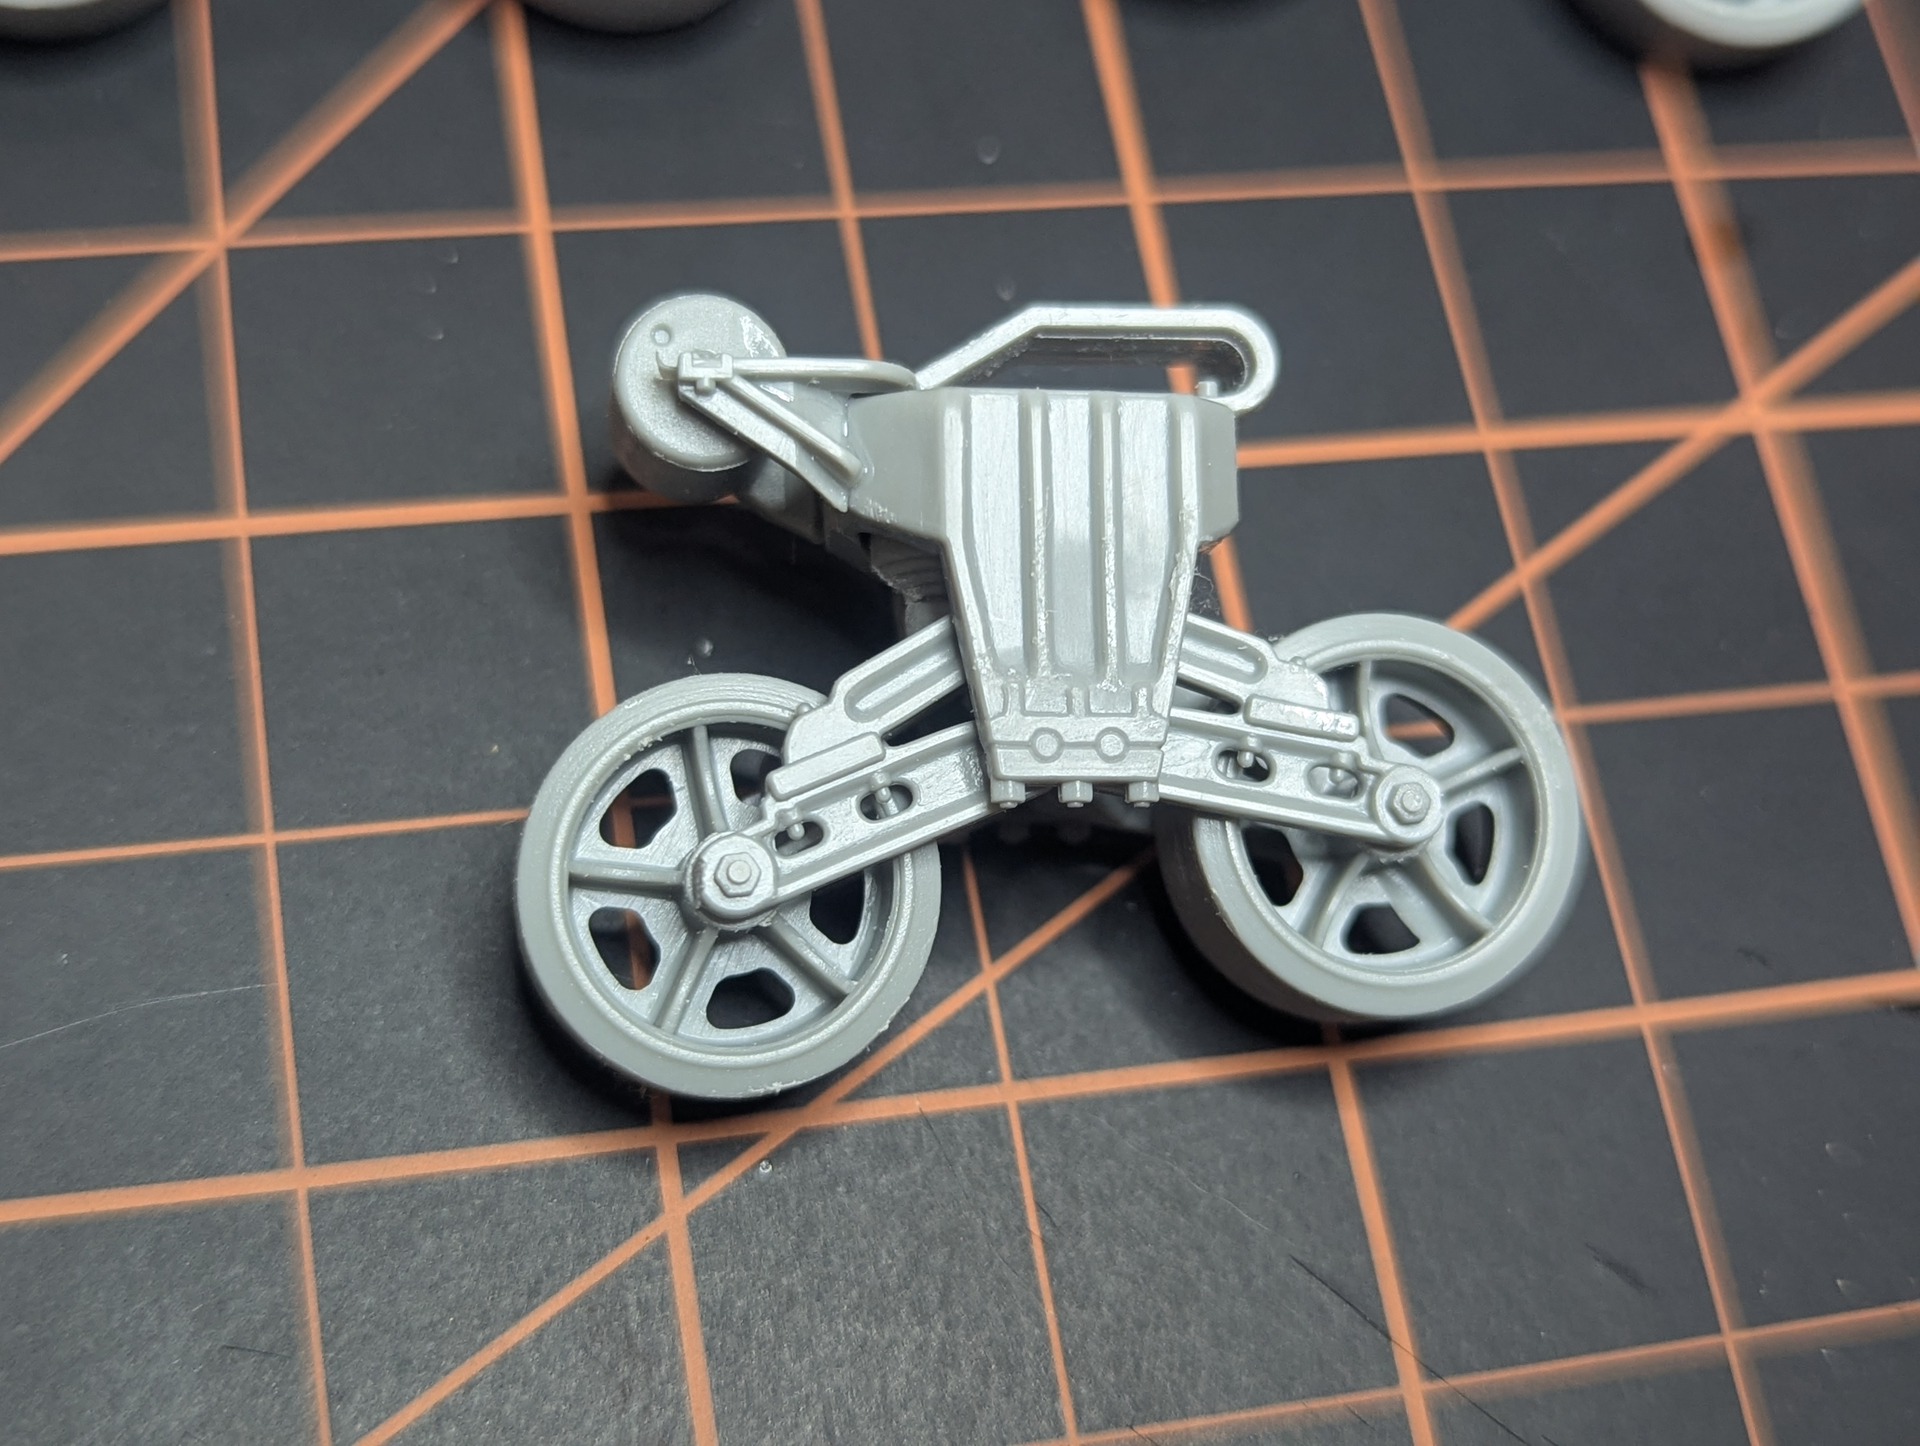
For the abandoned tank, will be using the Tiger I Initial Production (Tunisia) with interior from Rye Field Model along with the initial production upgrade set and metal barrel. I know it’s mostly going to be out of sight except for the really intrepid viewer who cranes to peer in the hatches, but I am going to do the interior anyway because I think it’ll be enjoyable. I am not sure what the track links are like with this kit, but if they don’t feel weighty enough, I’ll likely grab a set of the Fruilmodel early tracks.

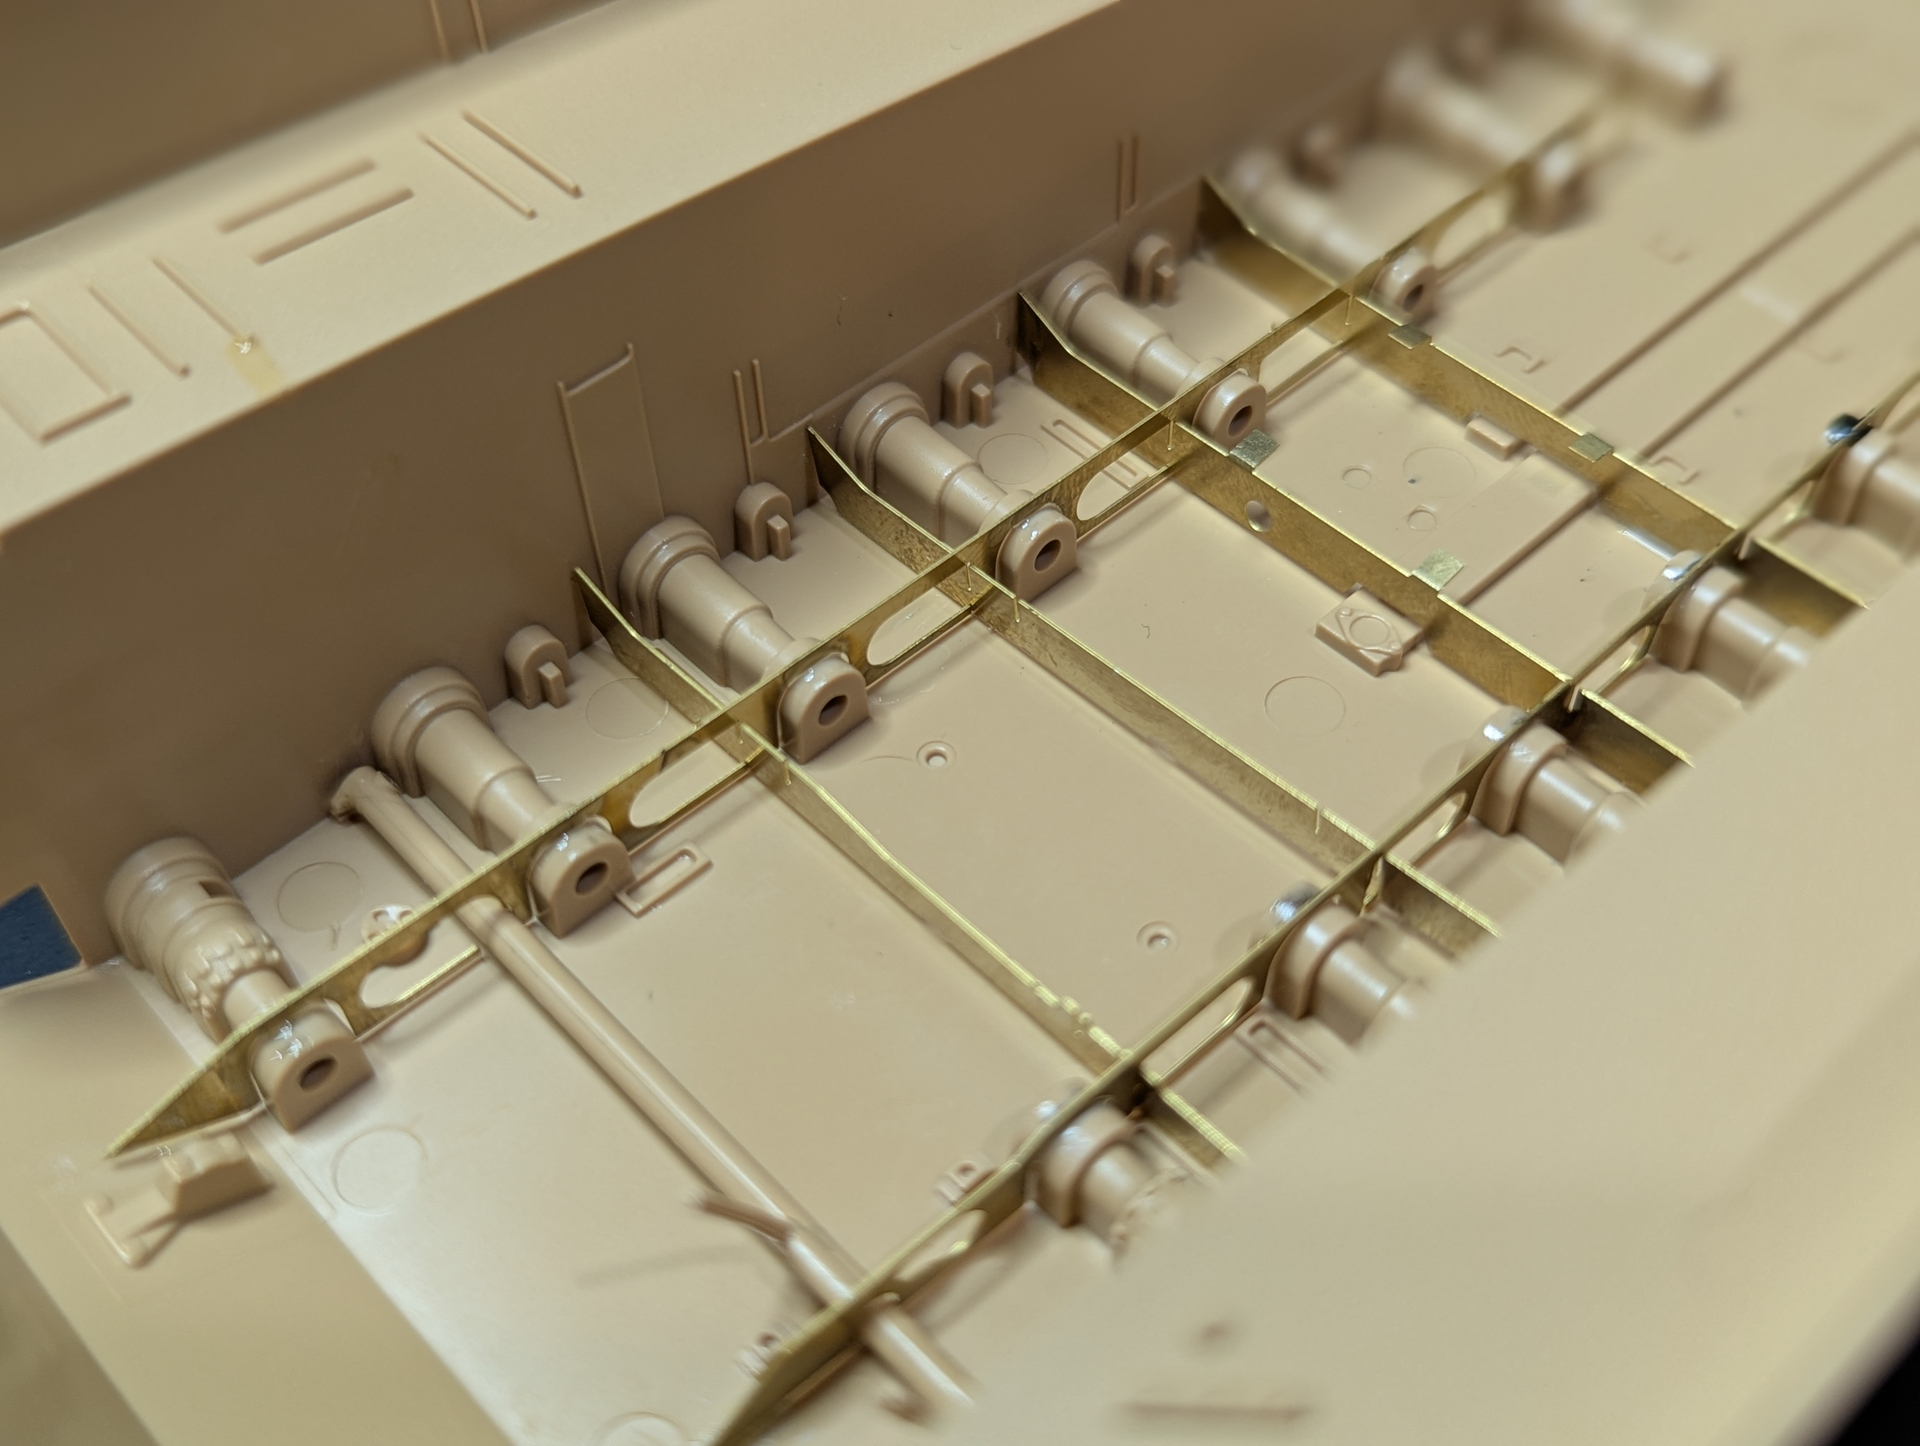
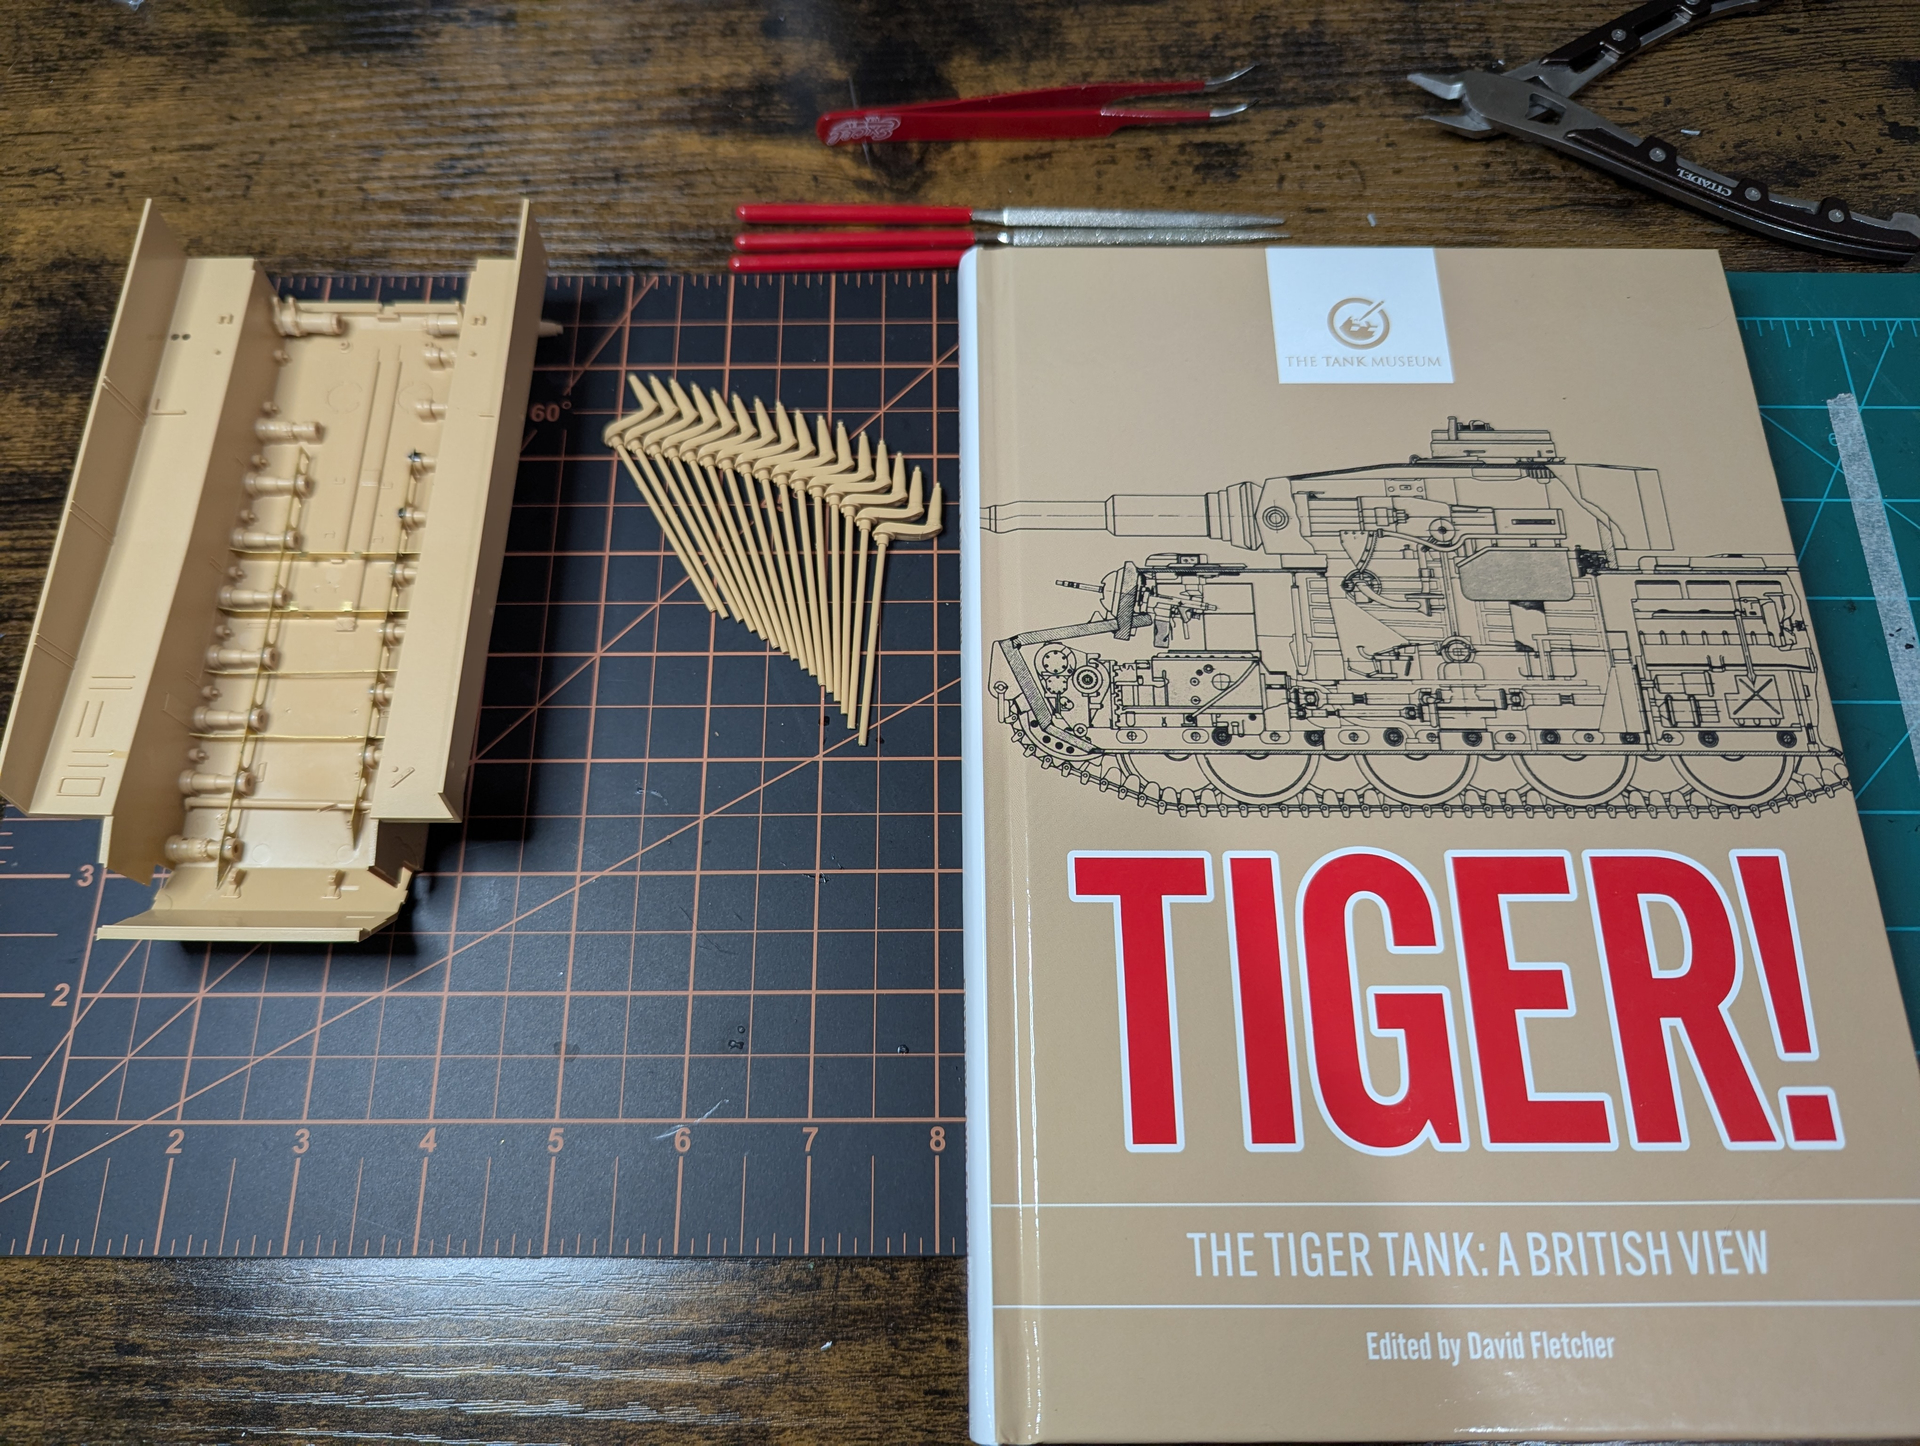
Time to start building!

I appreciate you taking the time to check out what I’m working on, and I’m looking forward to exploring the cool builds everyone else is up to on here!

12 Likes

Great to have you getting back into our hobby. The folks herein are a wealth of help, knowledge and inspiration.

2 Likes

Welcome to the group! Pull up a chair!

:beer_mug: :cowboy_hat_face:

2 Likes

If you want a specific inspiration, there are quite a few pictures of the British recovery of Tiger 131 that could give you ideas for terrain and vehicle details. The Tank Museum in Bovington has articles on the recovery of Tiger 131 on their website here and here.

2 Likes

Welcome aboard.

2 Likes

Welcome Aboard.

TinyDog01

2 Likes

Welcome to the fun house …looking forward to seeing this get built up.

2 Likes

Hey, everyone, thank you for the all the kind words and welcome! Since I’m a new user, it will only let me mention 2 of y’all with the @ symbol, but I appreciate everyone! It also will only let me post with 5 images at a time, so I’ll have to break this into chunks. @DAKjunkie Thank you! It’s so exciting to be back. There’s just something so fun about making three-dimensional things, and having a supportive community around it makes it that much better. GulfWarrior, Thank you, I’m looking forward to sharing ideas with you all! @srmalloy Thank you for sending these links, this is super helpful. They’re really interesting reads, and really making me have to chew on how to frame the narrative I want to convey to reach a level of plausibility that I’m looking for. Tank_1812, Thank you! TinyDog01,Thank you! Johnnych01, Thank you, I’m excited to build it, it’ll definitely be a fun project.

Let’s jump in! So, first things first, I’d like to ask if those of you who are more well-versed in the history and technical aspects would mind looking over my homework to see if I’ve got my facts straight:

Let’s start with the historical perspective. The Germans dispatched the first production Tigers to help Axis forces in North Africa to oust the Allies, which included the recently arrived forces from the United States. These Tigers were assigned to heavy tank battalions, schwere Panzerabteilung (s PzAbt), with s PzAbt 501 specifically being the unit that landed in Tunis in the final months of 1942. Once deployed, the Tigers helped support the panzer attacks and counterattacks throughout Tunisia against British and American armor, who were somewhat surprised by this new vehicle entering the fray. The increased size, firepower, and overall formidable presence spawned a legendary aura around the tank that in many ways still exists today. Am I on target so far with the historical context?

I’ve been doing some sketch work and research into the terrain and environment as well, but I’ll get more into that as I get further into the project.

Definitely one of the most fun parts of getting a kit is that first boxing.

This kit has a pretty decent amount of standard sprues, which is to be expected considering the interior is included in this kit. The quality of the injection molded pieces is pretty good, and when I used to build before, I typically gravitated towards kits from Dragon which had pretty rigid plastics. The Rye Field Model plastic feels softer and a little more flexible. Interestingly enough, this kit also has some 3D printed pieces and a resin German shepherd. Not sure if I’ll use the dog in this diorama, but we’ll see. It does have a really great sculpt.

1 Like

I did a little scouting of the upgrade kits as well to see what part of the build they contribute to. The upgrade box from RFM is packed with photoetch, some 3D printed parts, brass rods, and some track links to depict spares fastened to the front of the vehicle. The metal barrel is nicely turned with a smooth finish. I am happy having brand-available metal options seems to be the new norm so you’re not having to track down an Aber barrel or something to avoid messing with alignment and mold lines on two-piece polystyrene barrels.

Right out the gate, the first step involved quite a bit of long photoetch pieces that required some planning and no small amount of patience. Despite some battles with tweezers and super glue (and the uttering a few choice words), it was good to really practice with photoetch. I know I could realistically get away with skipping this part since very little of the Tiger interior will be visible to the viewers in the final model, and most certainly this area will be obscured by pretty much everything else, but I like doing it for its own sake. It’s building experience. Also, as a quick aside, could someone tell me the technical term for the supports that these photoetch pieces are representing?

As I was getting step 1 built, it occurred to me that I will likely have to paint the interior in stages without fully assembling it. I started diving into what the interior was comprised of to figure out when the best time to start getting paint on would be. I currently have two references on hand in addition the internet, but I am a sucker for a physical book. I’ve been using both The Tiger Tank: A British View by Daniel Fletcher and Tigers: Modeling the Ryfield Family from Ammo of Mig publishing to get me started, and they’re both quite helpful.

1 Like

I did a dry-fitting of the firewall and the brace that spans across the middle-ish area of tank. The firewall section fits pretty well, but the central brace bows in a little bit since the hull isn’t perfectly rigid and squeezes in just a little bit. I’m hoping as more pieces get glued in, that will start to correct but if not, I can just super glue that piece where it needs to go rather than use regular cement.

The last bit I worked on this week was the multi-part assembly of the transmission, steering, and radios. The kit pieces went together really nicely and needed very little cleanup of mold lines, and the only real gap was in between the two parts of the main radio rack, but even then it wasn’t enough to warrant putty. I used some blue Ammo of Mig glue to fill it which helped me see what I was doing. Now, when it comes to the radio, calling me clueless is an understatement. I will need to do a dive into that a lot more to know what (if any) detail work I may need to add to enhance the radio equipment.

My plan is to continue getting some of these larger assemblies built up and then probably some initial priming and painting. Thanks to everyone for checking out my build progress, I really appreciate it!

1 Like

Mate, a belated welcome to the forums from this side of the world and lovely to see this project underway. I do have to say though that your work space is one the cleanest and tidiest I’ve ever seen! And the paints in the rack being organised too! Very impressive! I’ll return in shame to my grotty quarter of the dining room table and watch your progress.