‘Slippery When Wet’ (fuel drum stain tutorial) 
Hello guys! Thought I’d share…
During my recent build of a US Diamond T968, I decided to add fuel stains to the cargo bed by using MiniArt (35592) U.S. Fuel Drums 55 Gal. (no lid) — any other cylinder of approx. 17mm diameter will do. While digging into my repurposing stash, I actually found a bottle-top with the exact same diameter.
Step 1:
My color of choice was Vallejo Dark Rust (70.302) — not for “rust effect,” I just like that particular color and the way it flows for many of my purposes. I used the cylinder as a stamp by lightly dipping it in my paint palette. Then, I created random semi-circular stains by using a light edge-rolling motion. Other stains and/or puddles were painted freehand.
*Note: For aged, i.e. “non-slippery” fuel stains, skip Steps 2 thru 6. Instead, consider an overall faded look for your floor.
Step 2:
Next, I freehanded small buildups with a gloppy glue medium. For my purpose, I used Microscale Krystal Klear (MIC 9). However, I believe any thick white glue can be substituted.
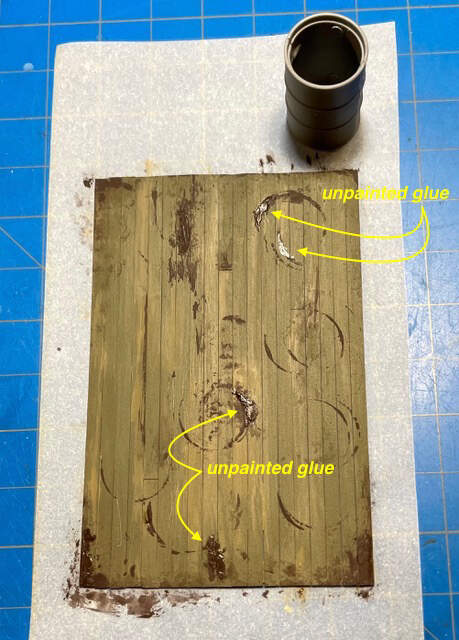
Glue schmutz applied (shown unpainted).
Step 3:
While the glue is still wet, I painted into it with the same color used previously (could be premixed). Built-up relief should be apparent but not overly-done.
Step 4:
When the glue became tacky, I placed a piece of aluminum foil over the area and used a fat thumb (one of ten) to smash-down the globs.
Step 5:
Next, carefully lift-up the foil and review the results. If the mashed-up glue looks too wide (squeezed out), excess can be trimmed with an X-Acto knife and pulled-up with tweezers. Touchup with paint as needed.
Step 6:
Lastly, I gloss varnished some of the desired areas to complete the ‘Slippery When Wet’ effect.
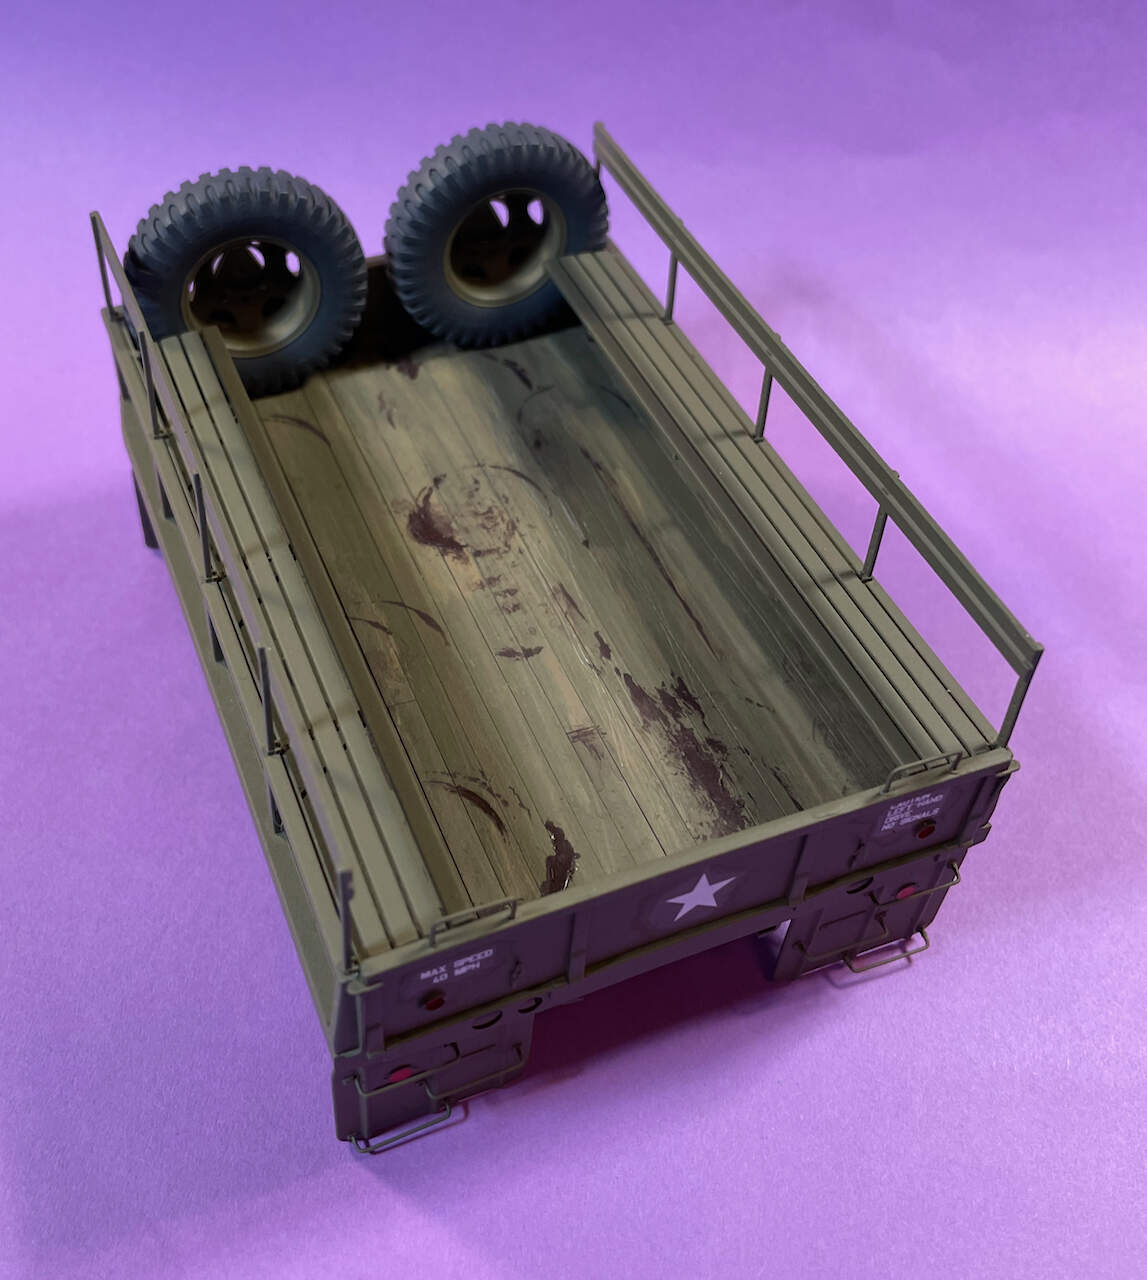
The final result… careful where you walk.
Products Used:
• Vallejo Dark Rust (70.302)… or color of choice
• Micros Krystal Klear (MIC 9)… or white glue substitute
• Vallejo Gloss Varnish (70.510)… or substitute
Bonus tip: When creating random effects, it can help to rotate your work 180° as I’ve done in Image 1. Purpose… to trick the brain into perceiving a different view, thereby, causing pause in the process. I keep this in mind whenever painting “random” effects. … When the “Diorama Police” come knocking at the door, an even pattern can be your worst enemy. 
Hope this is useful. 
Cheers!
—mike