Small fry AFV's, light panzers, halftracks, trucks & armored cars etc

With blog threads on Panther’s, Tiger’s, Pz IV’s & Pz III, decided to add one more as a catch all for rest, small fry, light panzers, halftracks, trucks, SPG, armored cars & miscellaneous.

The first build will be a Panzer_38(t) which proved to be a very important AFV for Germany early in WW2.

From Wikipedia,

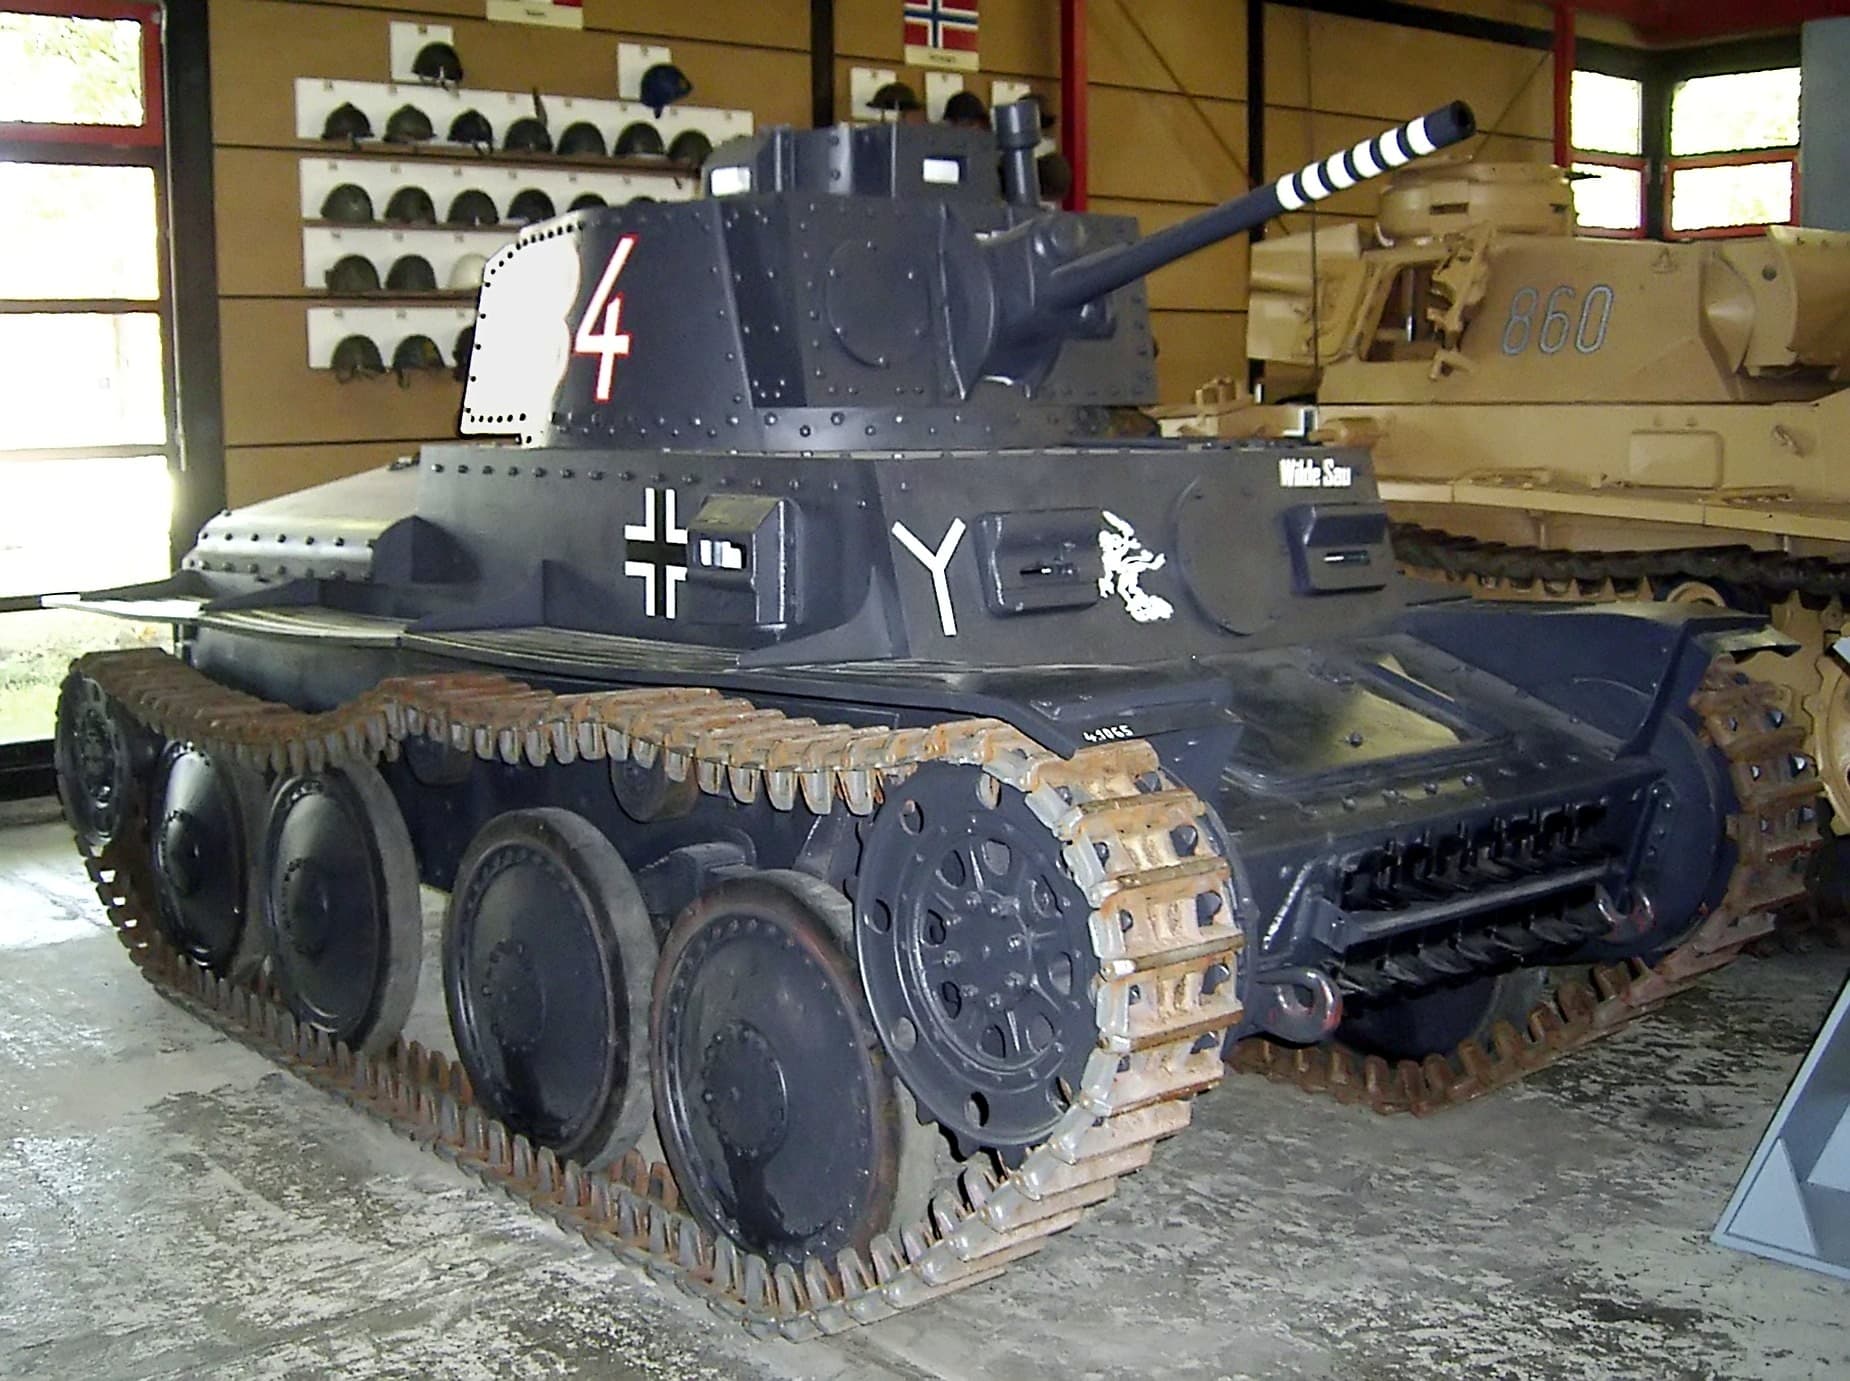
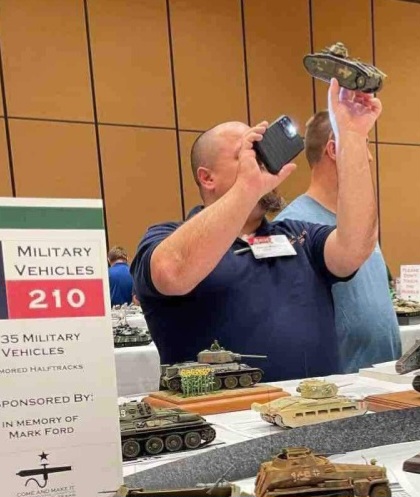
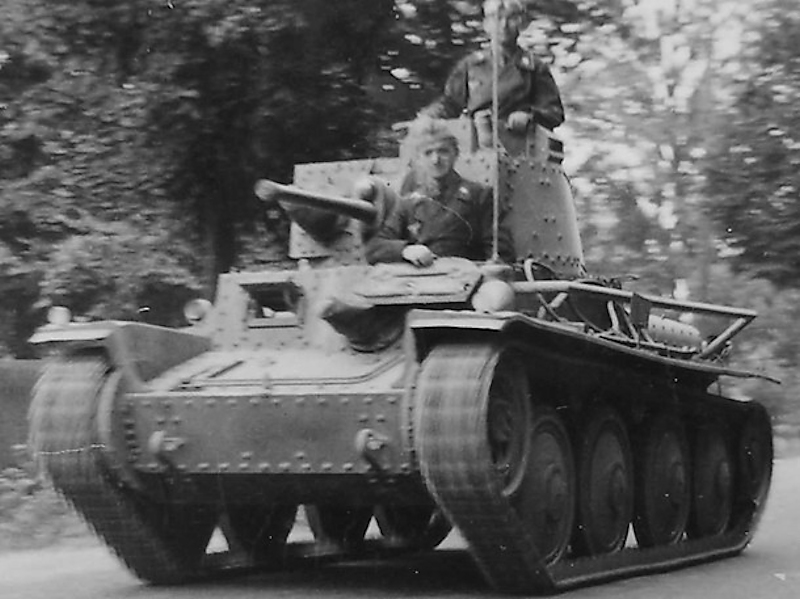
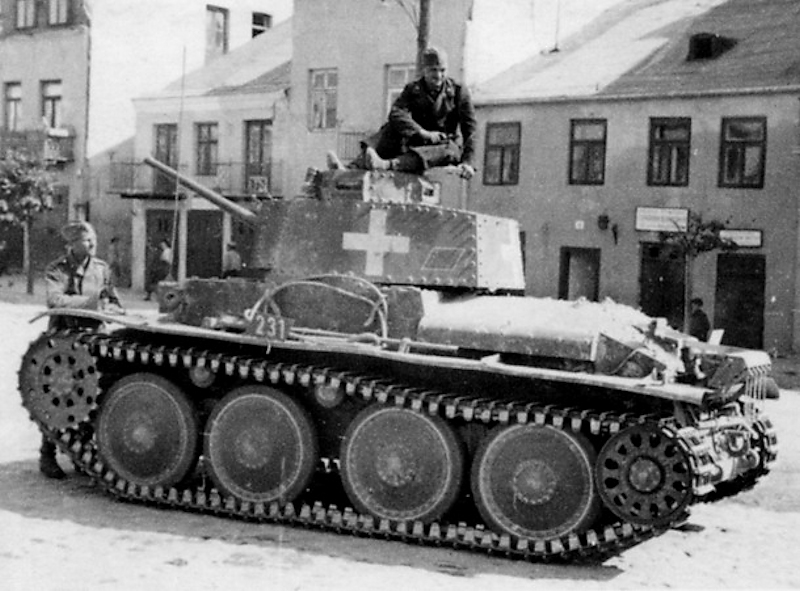
Various pictures from the web for discussion and reference.

The Pz 38(t) is one of those tanks that’s always been in the background that I’m aware of but not particularly interested in modeling. The vehicle was fun in Avalon Hill’s old Squad Leader & Cross of Iron games. IIRC Otto Carius served in one for a while.

NightShift had a very sweet looking Pz 38(t) he painted and weathered. The video got me to thinking all of the rivets would be fun to drybrush.

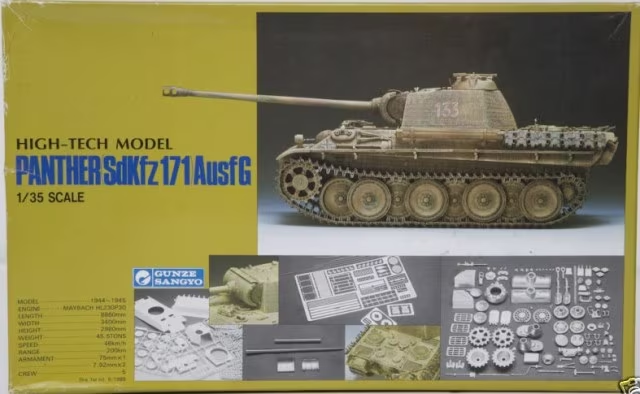
Anyway, into the build. Selected the 1/35 Tamiya kit.

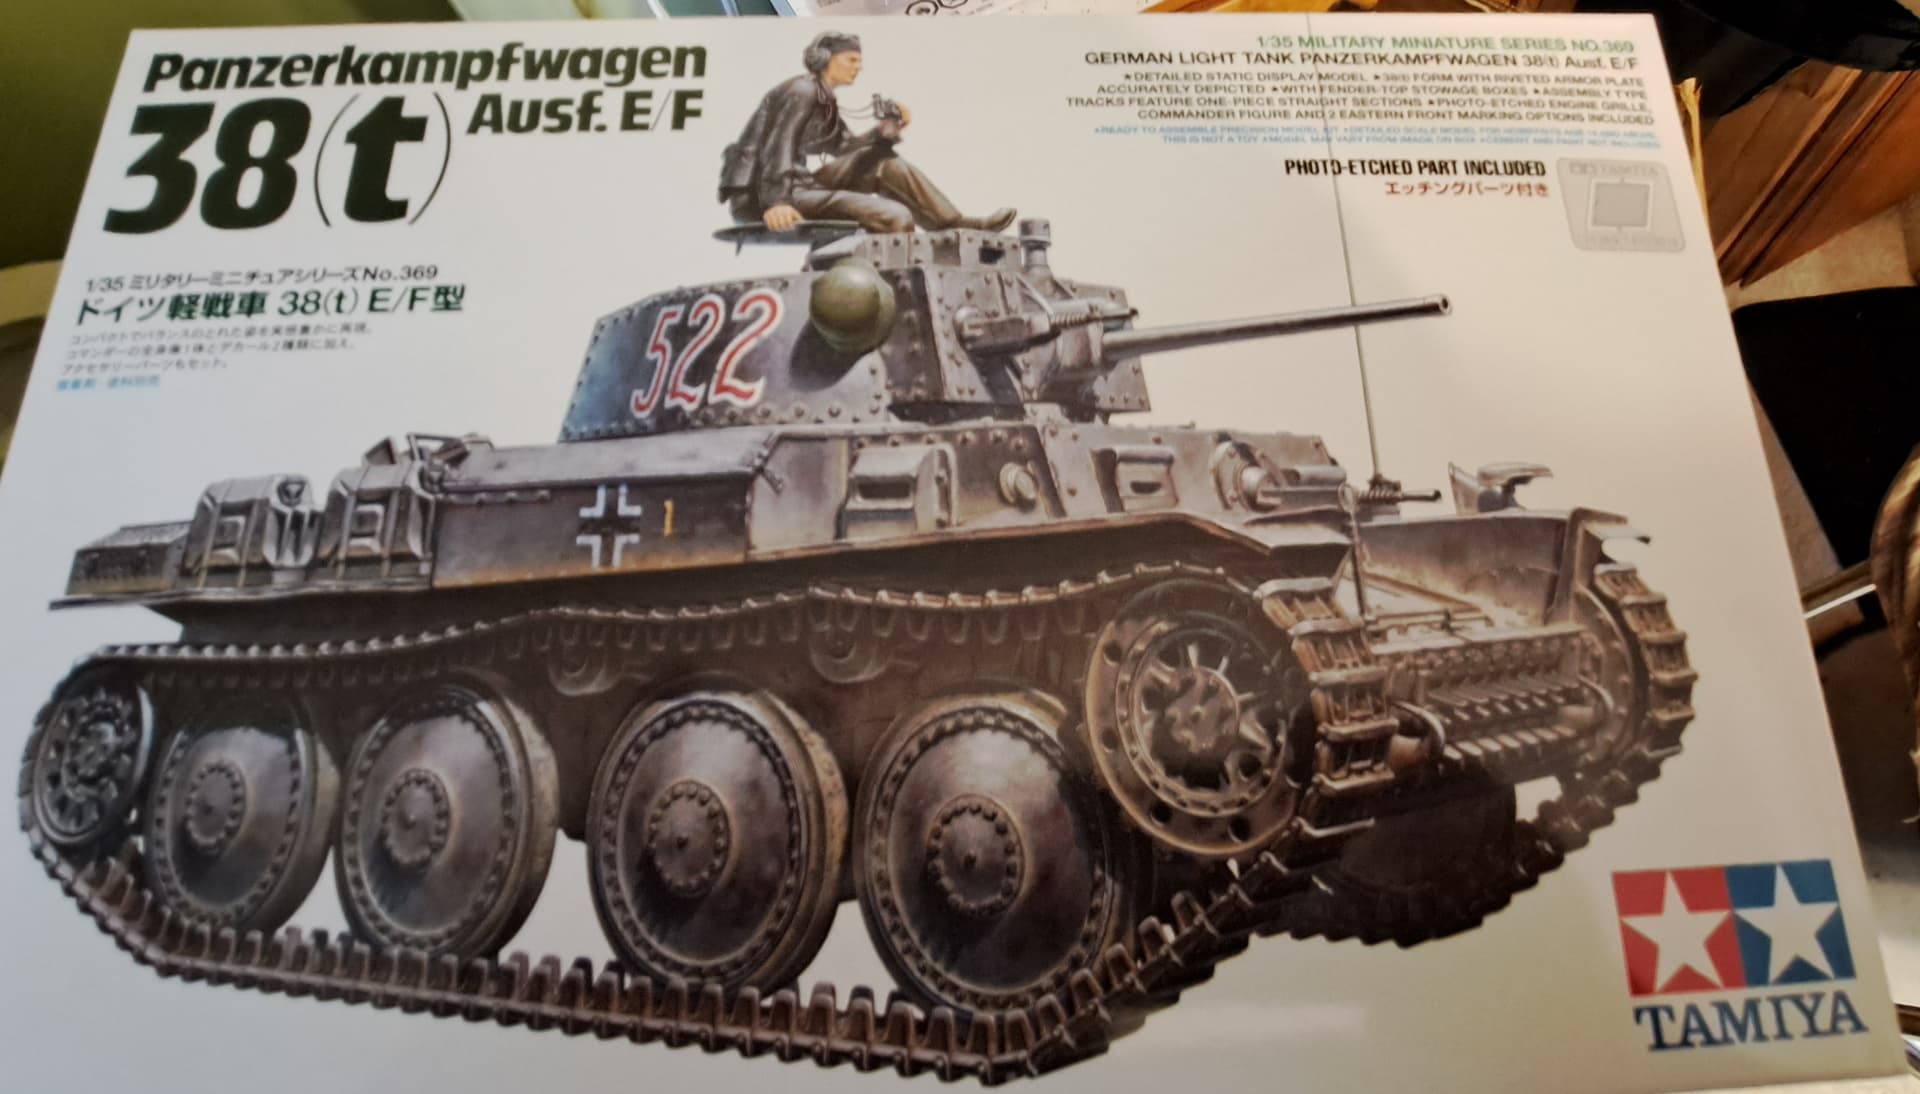
It’s a sweet newer release. Sharp crisp molding and well engineered. Sadly has link & length tracks which many may like but I detest. I’d have much preferred all individual links.

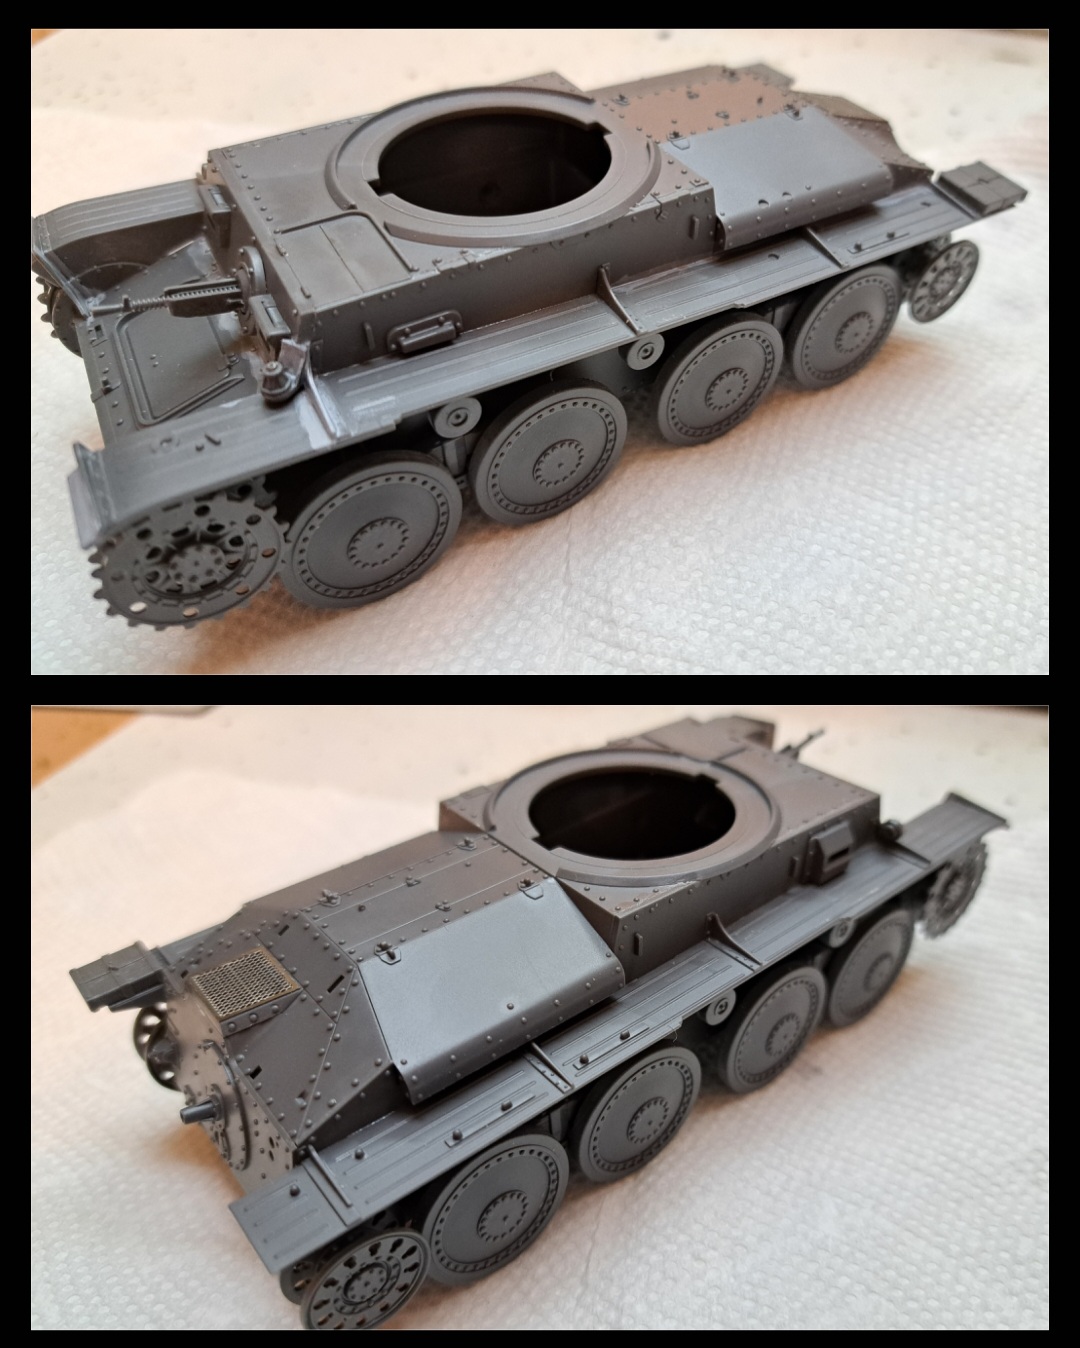
Steps 1 to 6 go by in a flash with no issues due to Tamiya diligence in excellence and quality instructions. A nice PE grill is included.

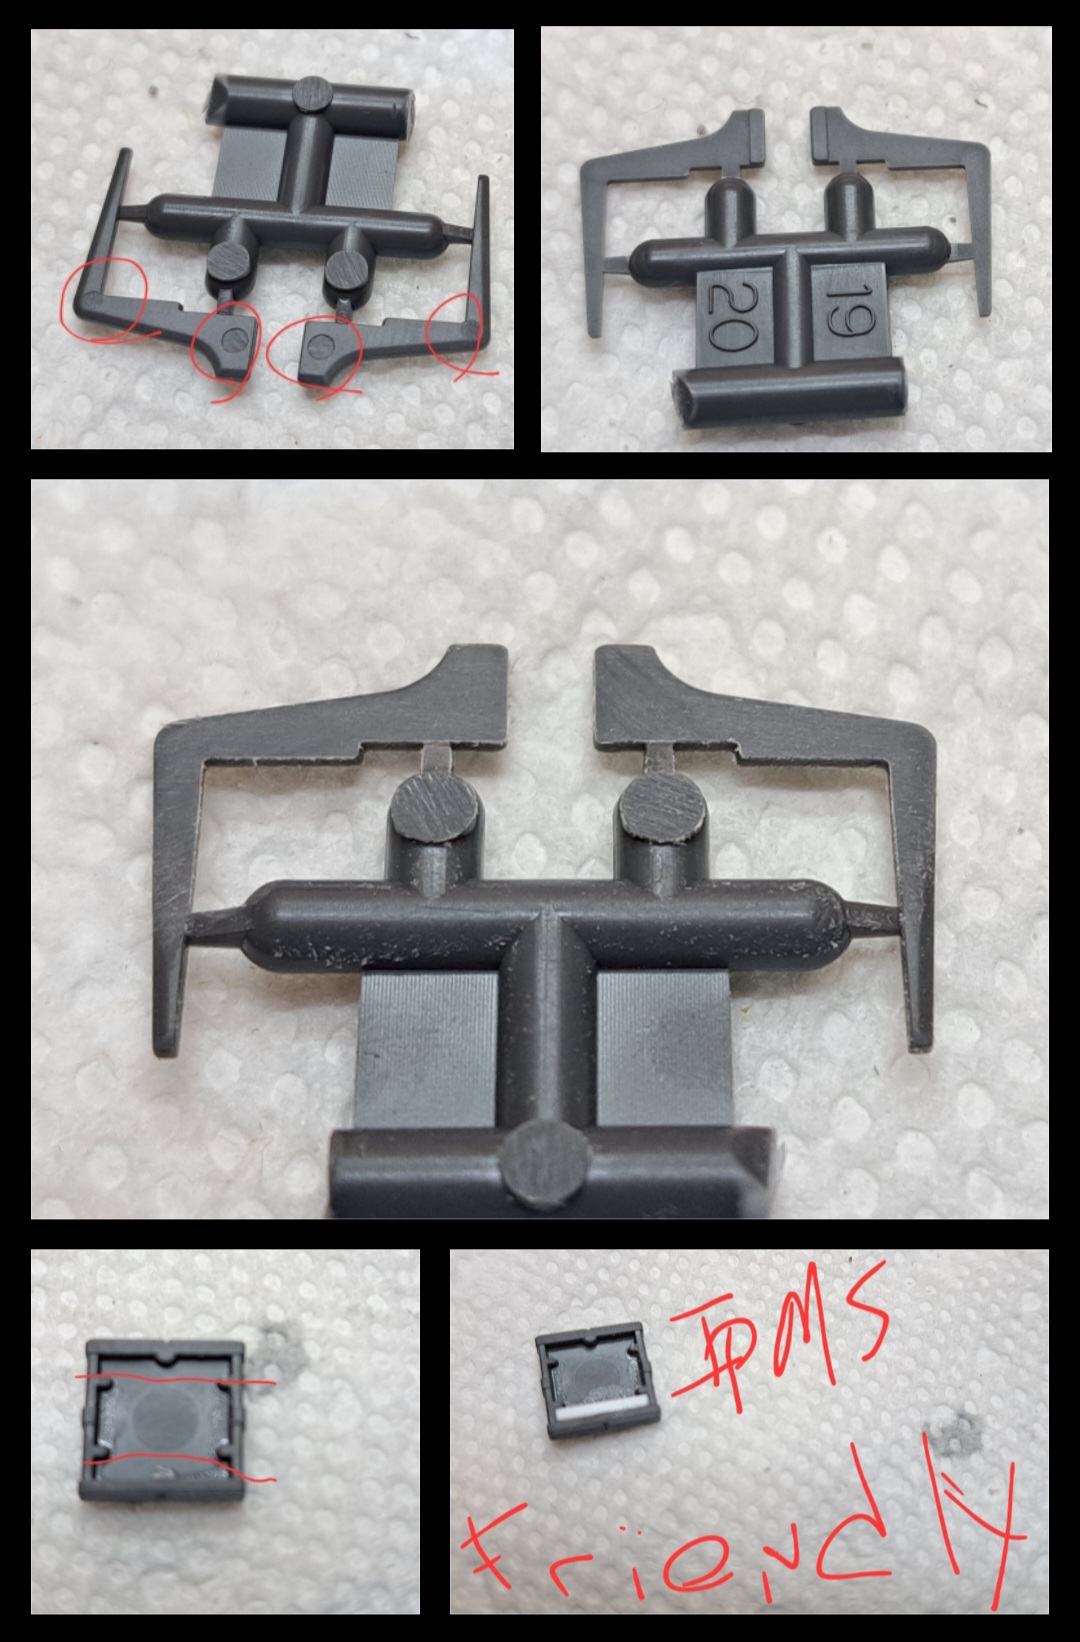
Paused at step 7, Link & Length tracks, 2 hours & 15 minutes into the build. This kit literally clicks together and is much welcomed after fighting with the 1993 era Italeri Panther (conversion & detail) & 1970 era Tamiya Tiger 1 (super detail) over the last few months.

The Link & Length’s have a fair number of shallow punch marks to remove but they aren’t to excessive.

Checked my stash inventory log, found a set of Fruilmodel just waiting for just this kit.

Tossed the link & length parts in the :wastebasket:

On to step 8 the fenders.

14 Likes

Panzer 38(t)s are great little vehicles. As tanks go, the suspension is a breeze. I look forward to seeing what you do with the Tamiya offering.

I am finishing up a Hobby Boss (TriStar) Panzer 38(t) Ausf. B. If you decide to build another Panzer 38(t), it is very much worth the ride.

If you want to trade away those link and length tracks, send me a personal message. Perhaps we can work out a deal.

3 Likes

Noice, following along. I have the kit and plan to build a Bulgarian tank when the time comes.

4 Likes

I’m gonna follow this just because it’s a Wade build!!

6 Likes

@Damraska Doug, message sent, will be happy to send them your way.

I like TriStar, wish they’d survived.

Had a TriStar Marder H, that was one of the nicest kits I’ve ever seen in the box. I was a mind blower when new. Gave it to a friend that was into open tops.

Hope to fire up a TriStar Pz IV C build soon (21st Panzer Division) for Johnny’s D-Day campaign.

@Tank_1812 Ryan, sweet!
Looking forward to it.

I think this one is just as excellent as Tamiya’s new KV-1

@Chepster thank you! This will be very out of the box, other than new tracks. Everything in the kit looks fantastic to me but I’m far from knowing the Pz 38t well.

Interested in any build tips & tweaks others are willing to share.

3 Likes

I’ll follow as I have a Hobby Boss Ausf B and a Dragon Ausf E/F that I haven’t gotten to yet. Only built chassis variants so far.

3 Likes

FYI, Hobbyboss has the molds and reboxing them with the same box art.

5 Likes

Funny thing I found out about “Wilde Sau”, the 38(t) at Panzermuseum Munster posted above. If you walk up and knock on the side vision port on the right, it’s plastic! (Or fiberglass/resin). I’ve seen plenty of questionable replacement parts on other restored vehicles, but never a fake casting. :face_with_monocle:

3 Likes

Will be following with interest. The 38t is my favorite chassis from WW2! I have the hobby boss repops of the Tristar Panzer 38t, Marder H, Marder M, and flakpanzer 38t, as well as tamiyas Marder iii. I have plans to add a takom Hetzer and a dragon Grille at some point too

I was pondering the idea of a small vehicle campaign the other day, say anything under 10 long tons

5 Likes

Out of the box is my level!

5 Likes

@Tank_1812 Ryan, I’ll have to keep that in mind as there were a couple of TriStar’s I missed. Thank you.

@paska , wow! Fake casting, that’s pretty wild indeed! On YouTube I’ve seen some pretty exceptional restoration but that takes the cake!

@Mead93 , I think your small vehicle campaign idea is excellent! Often many very interesting smaller AFV’s get over looked. The 250/7 & 250/9 being a pair of my favorite smaller AFV’s.

@Chepster out of the box is one of my favorite ways to build. I really like focus on the model kit and no aftermarket distractions.

Side bar - my ultimate out of the box idea…
1000020408

Back in the day, I acquired a rare multimedia 1/35 Gunzy Panther G (plastic, white metal & PE) from a friend. He asked my plan for the kit. I said new out of the box build for an upcoming contest. He immediately wanted to buy the kit back as it could be an OOB powerhouse if completed. I should have sold it back (poorly cast white metal), the kit sat on my vending table for a long, long, long time.


While not necessarily required, cleaned up underneath the fenders. Drilled the MG out. It’s very nice. Had a punch mark on the underside of the MG which was removed because it was exposed from extreme angles.

Why all the underside work? Just old habits from back in the day for combating this sort of thing.

1000020409

If this happens, ruin his day by having your model’s underside tidy and bulletproof regardless of the flashlight. I’ve read that shouldn’t happen anymore at IPMS shows but in my opinion better safe than sorry.

Anyway, Tamiya’s engineering rocks attachment tabs point down out of view. I blocked the back of the vision ports after this picture. Got to seal that stuff up because a pen light might come knocking when least expected.

Fender braces are nice but they are potentially land mines with the four shallow punch marks. The jack block is also a potential pitfall. Part of the jack block overhanfs the fender. This leaves a void exposed, so I filled it. Both are easy to fix.

None of this is a knock on Tamiya, it’s just what I find notable about an outstanding kit.

Step 11 is complete and the build is halfway minus tracks based on steps in the instructions.

I think my favorite part of the kit is the MG. Also drilled out the antenna base for an Aber brass antenna.

7 Likes

@Mead93 Ten ton tanks would make for a fun and quick campaign. If you decide to start it, I will definitely join with a light tank or tankette.

@Armor_Buff Everything about that model looks really easy and clean. Now I want to build one, too.

4 Likes

I don’t know about flashlights as it can be a helpful tool for judging, the Nationals time to judge is not the same as a normal contest where the time is compacted as using the flashlight will slow down the judging time. What has changed to my knowledge is the handling of models. Perfect example of what not to do. At most it would be to move the model to a different category or provide space on a table, ie very limited.

Pro tip, adding a model to base helps with most underside or other wheel issues. Cannot help with the dental mirror folks but that is not the standard judging tool.

Enough of that, your build is looking good. :+1: :+1:

3 Likes

Wade, I can’t express how happy I am for you to see you building a beautiful, clean, simple, accurate, not-f*cked-up OOB model! Have fun man!
As far as that photo goes, I’ve seen it dozens of times since it hit the internet, and it infuriates me every time. It is incomprehensible that that level of a$$hat is allowed to walk the planet. I could go off on a rant here, but I won’t. Suffice to say we have our own judging rules at Armorcon.
No flashlights.
No cellphones on Google research.
No magnifiers.
No dental mirrors.
We provide excellent lighting. Judge the model as presented.
I love your 38t Wade. It’s coming along excellent.

8 Likes

Ryan, you’ve made excellent points. I agree using a base with model securely attached is definitely the way to go. Makes it safe to move if needed due to splits or room or whatever plus is an excellent line of defense against the prying eyes. I also agree depending on lighting and how bad the judges eyes are a flashlight can be needed on occasion.

Matt, indeed it’s good to be building something that isn’t a 30+ year old kit that isn’t a soup sandwich for a nice change of pace. Halfway home in about 5 hours just

It’s good to know AMPS is on top of keeping the judging fair as possible. A+++

I probably shouldn’t have posted that picture of Cap-n Glue Gobbler in action. Looking at the fenders, he came to mind.

On another note, Tamiya attention to detail to ensure a good build experience is outstanding. Look a like parts labeled on inside face so they won’t be mixed up. I usually mark stuff like myself but Big T takes care of it for you.

5 Likes

Mine needed new road wheels, the styrene hadn’t filled out the molds

2 Likes

That definitely is bad news. Between both kits, one might have had one good model kit.

1 Like

I managed to find some spares in some other kit or kits.
I haven’t checked the white metal castings yet …

2 Likes

I sold mine for $50 but have seen the kit on ebay for ~$200 on occasion.

2 Likes

Model building today went well…until the smoke candle discharger. It’s a fine part in the kit and goes together without any issues pute OOB.

I decided to tweak it a little. The tubes are 3/32 inch (freedom units) or 2.4 mm (metric) left overs from the Italeri Panther build that weren’t suitable on one end but thst won’t matter in with this style smoke candle discharger.

Special thanks to @ayovtshev , Angel for sharing his twisted wire as chain technique with us a while back. I decided to try it.

Thinner wire would be ideal but this will work, gives and illusion of chain and it’s sturdy enough to stay attached. Enclosed the open face and will touch it up later.

Middle of step 14 at about 7 hours time.


7 Likes