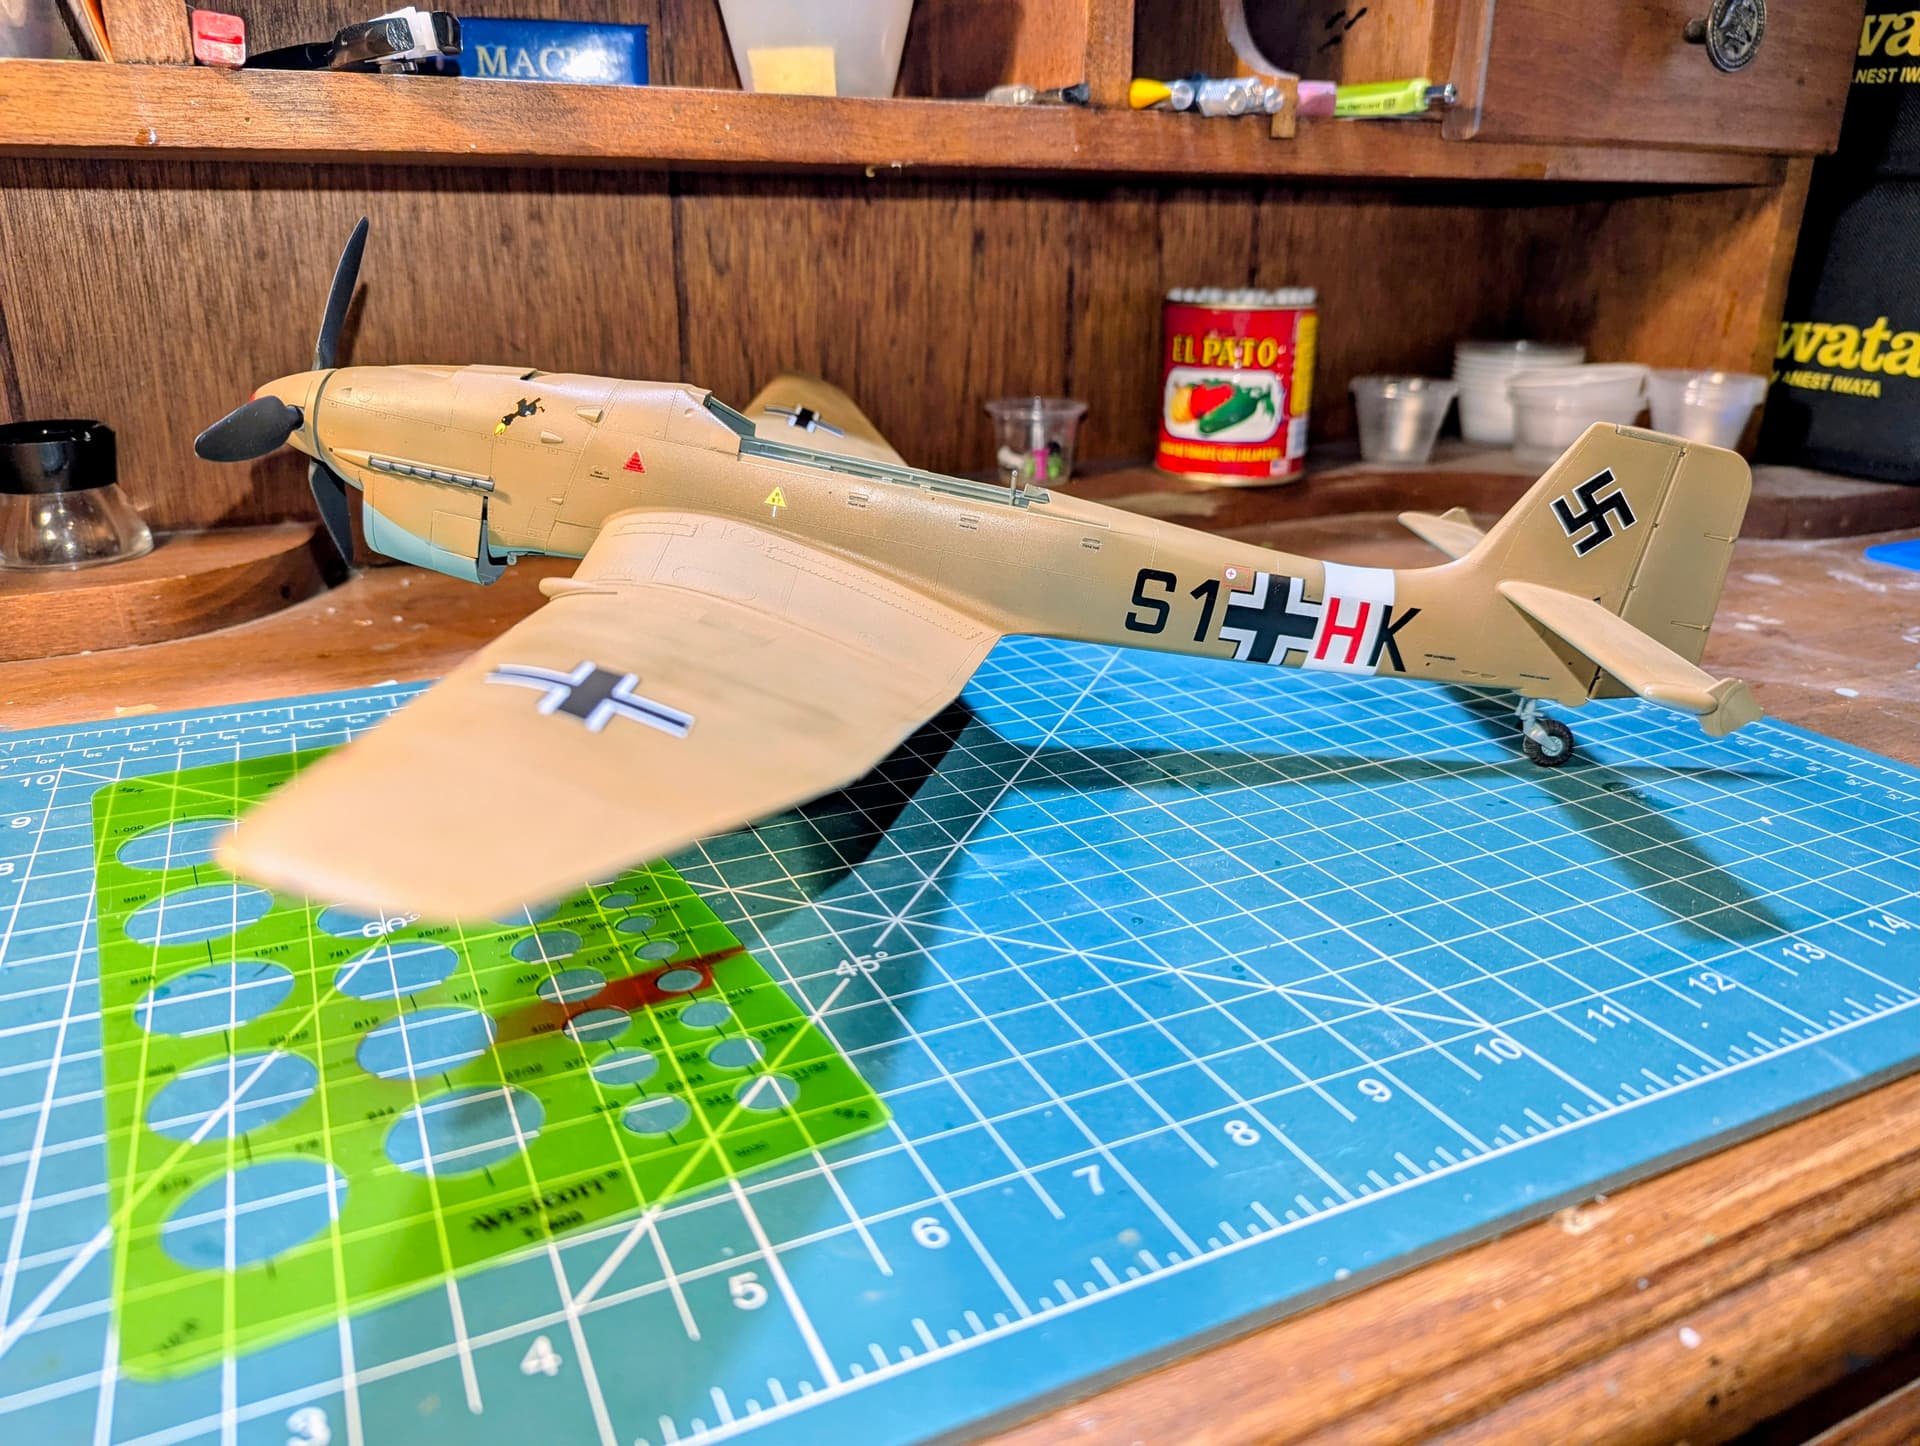
Squadron brand Swastika decal is lifting, never had such a problem, kit decals no problem at all. Mr. color paint laid down then a gloss clear coat with Tamiya LP-9 gloss clear. decal applied after a brief soak in water then applied Micro set and Micro-sol,dried for a few days then LP-23 flat clear. next day I noticed the decal lifting in a small area. Am I just inept or do some brands of decals suck? I did manage to tack it back down with a small amount of Aqua Gloss carefully brushed under lifted area. Thanks for any help given here.
3 Likes
These kinds of things happen. Mostly with the old style Academy decals before they started using Cartograf, but it can happen with many different types.
I use the some solution as you: “glue” the decals back down with a tiny amount of varnish.
3 Likes
Swastika knows he’s non grata, and is trying to get away! ![]()
![]()
![]()
5 Likes
Ha! That’s funny
1 Like
Good to know it not my ignorance, thanks so much
Strange one, in my experience aged decals tend to splinter/fracture rather than lift. I’ve never had one rebel against a setting agent but you seem to have done everything right. Mysterious.
I have had decals that didn’t want to stay down but after I started washing off the decal glue and embedding them in acrylic clear (or floor polish) they stay down (also helps a lot with silvering)
washing off? imbedding? how? would that be immersing the decal in clear Kote? how would I handle the decal, sounds like a great idea.
same Model that I am working on had an appropriate size balkenkreuz manufactured by EagleCal that easily splintered when immersed in water. I assume it was really old. Reverted back to kit decals that are historically inaccurate in being too small for the underside of wings.
1 Like
The standard procedure is to soak the decal + backing paper in luke warm water. When the decal starts coming loose the paper with decal is taken from the water, placed in the wanted position on the model and the paper is pulled out from under the decal. The “glue” (whatever it is) provided with the decal is now supposed to make it stick to the model.
The problem with military models is that the paint is supposed to be matte/dull (NOT gloss and smooth). Matte paint is matte because it has a fuzzy surface. The fuzzy surface will trap air beneath the decal which will cause “silvering” when the decal “glue” has dried.
Silvering can be mostly avoided by placing decals on a gloss surface (the glue can still age and deteriorate …). This means covering the model with a gloss coat, turning the matte surface into a gloss surface. Gloss coat, place decals, maybe gloss coat over the decals to seal them in, give the model a matte or satin coating.
A gloss or satin coat will smooth out the fuzzy-ness of the matte paint and cause it to darken.
Need to coat the whole model and not in patches for individual decals.
My way:
Matte paint.
Give the whole model a satin coat (satin = semi matt, halfway between matte and gloss) to get an even darkening of the whole thing.
Soak the decal until it detaches, use fingers to gently remove as much glue as possible.
Place a puddle of clear coat where the decal shall be placed.
Place decal in puddle (lift with tweezers, fingers or with the backing paper, long or very thin decals must be lifted with the paper, otherwise they will curl up and be extremely difficult to save).
Press decal down with a soft brush (or Q-tip), squeeze out the surplus clear coat using the brush,
brush the surplus back in over the decal.
The uneven surface under the decal is now filled with clear cote, the decal is enclosed in clear cote and protected. Soak up the remaining surplus clear cote with lint free cloth (strips of old shirts or t-shirts). The surplus needs to be removed to avoid gloss areas around the decal.
Let it all dry, give the model a new clear, satin or dull/matte coat.
The edges of the decal film can remain visible. The solution for this is the same regardless of how the decal was placed. plenty of tips on the internet …
2 Likes
Thanks for the advice, this will improve my model building quite a bit very kind of you to give me this advice. What is preferred lacquer or acrylic?I’m looking forward to less stress when
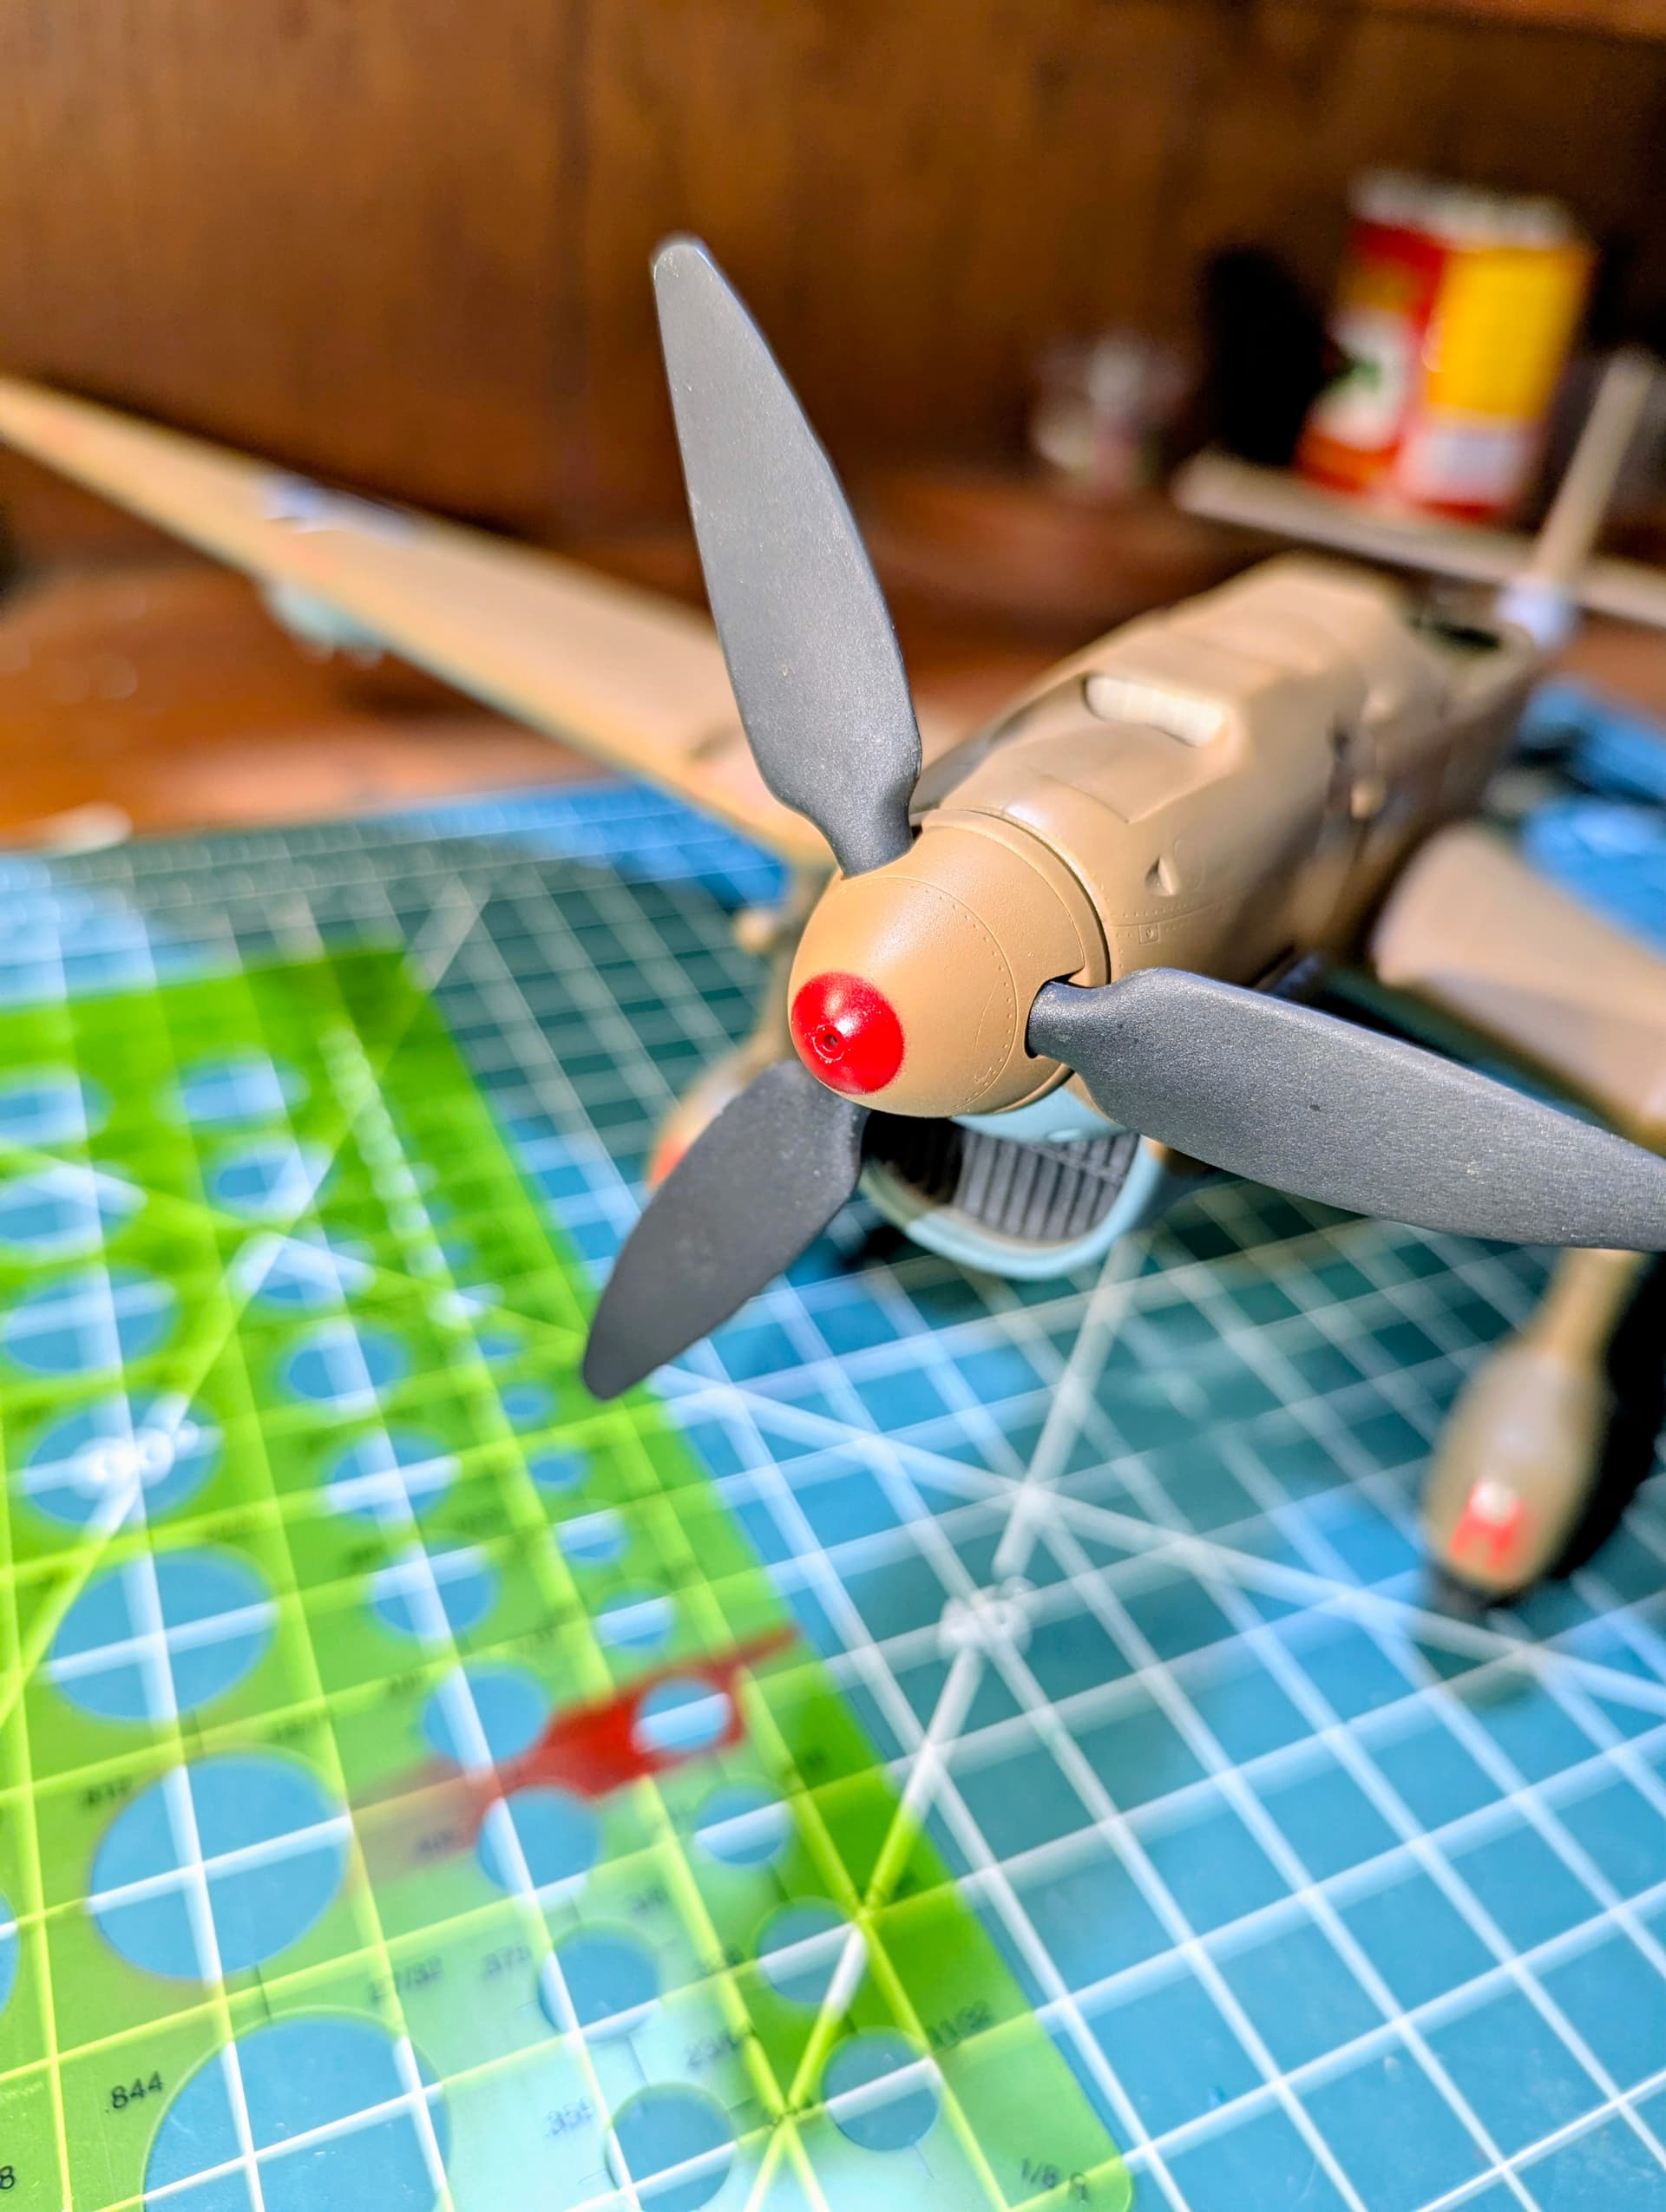
applying decals. I think I nailed the spinner paint, a coat of aqua gloss is next
I have used Tamiya gloss clear, more or less diluted/thinned
I have used various names of Johnsosn acrylic floor polish,
these are self-levelling and the surface is tough enough to withstand
people walking (with/without shoes), pressure from furniture, vacuum
cleaners dragged over it. The product names have varied (Future/Klar/(Klir/Kleer/Bravo et.c)
I just found a store that carries Quick Shine, a substitute for OOP Future. It’s a liquid acrylic polish, but formulated slightly differently from Future - it’s less smelly when airbrushing it. It comes in two types; one formulated specifically for wood (floors and furniture), and a general-purpose formula. I bought the general-purpose. So far it works the same as Future (on models!).
![]()
![]()
3 Likes
Future is discontinued and the newer Johnson product is not the same. It’s not good for modeling work. The new kid on the block, which perfectly replaces Future and works excellent on models is Holloway House Quick Shine. Available at Wal-Mart in the mop aisle. $6.89 for a lifetime supply.

4 Likes
Beat me to it by 5 seconds!
I got mine at a Home Depot. Strangely, other hardware stores didn’t know what I was talking about (when asked), and didn’t even know what Future was! Guess that illustrates the local IQ levels! ![]()
![]()
![]()
1 Like
Alclad IIAqua gloss clear? seems to work ok?
1 Like
alternative, and considering the simple form of the decal:
put it on top of tamiya tape
fix it with transparent tape
carefully cut away the swastica
now you have a perfect mask for airbrushing a new swastica
2 Likes
They don’t have to. Two kinds of decal sheets:
- All images are printed on the film, which covers the whole sheet.
- Each image is printed on its own “island” of film. These are preferable as the edges taper off to nothing.
Either way, the old saying “trim as closely as you can to the image” just doesn’t work. For decals on a solid sheet of film, give them plenty of border. This way you can sand the edges of the decal smooth before applying. I recommended this method to someone here a few months ago and it worked well for him. Someone else should have taken note but probably didn’t.
3 Likes
I experimented with some laser printer decal paper some time ago.
One very useful trick that I found was to design my decals putting the image that I actually needed (example, a swastica) on the background color of the plane. As shown above, sand color.
then you can cut out the decal with plenty of airframe color around the image.
OK, it is fairly impossible to get a perfect match but usually it is close enough and the decal blends in perfectly.
1 Like