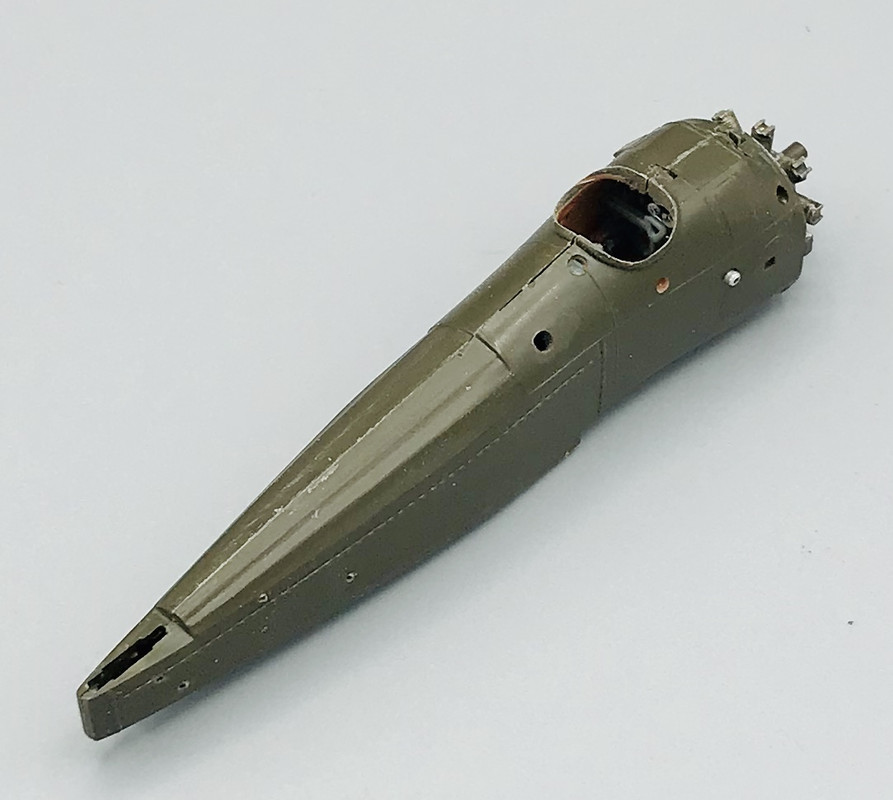
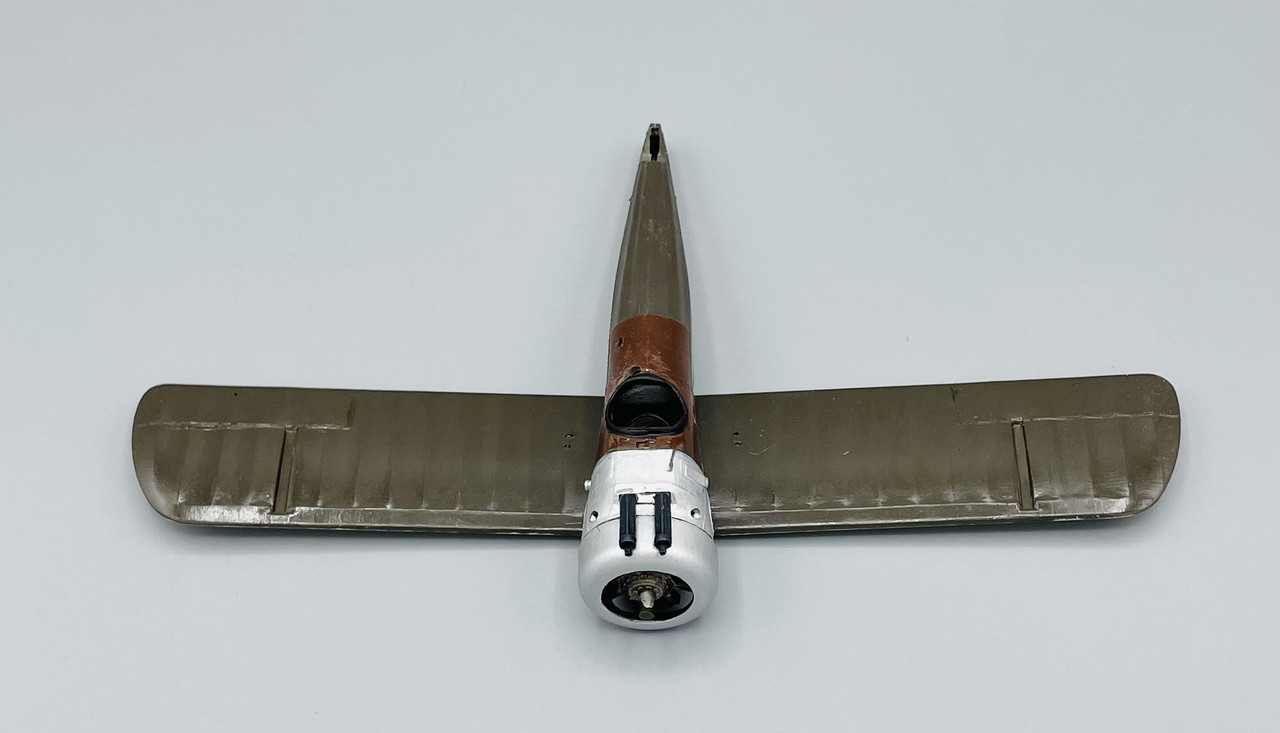
I was out of town and away from my bench on Tuesday and Wednesday so no progress then. But yesterday I finally got the fuselage assembled.
and unfortunately despite all the test fitting and sanding, I still have a bit of a gap behind the cockpit from the added fuel tank. But that should not be too difficult to fill.
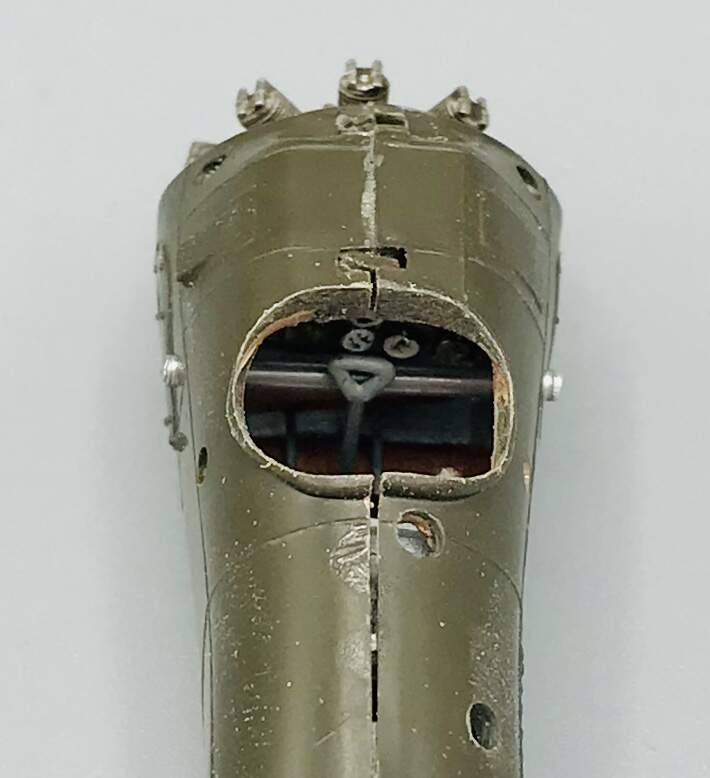
And what can be seen of all the added detail inside up front…
Also I did a bit of grinding with my Dremel to thin outbthe cowling edges
Next up… seam filling and clean up…

5 Likes
Looking good. I like the seat belts!
1 Like
Thanks Ezra. My first go at scratch built belts and hardware - Medical tape and brass wire.
2 Likes
Today, it was back to work on the Camel.
First priority, clean up the seam gap on top of the fuselage
Add some strip styrene shims
sand smooth and paint…
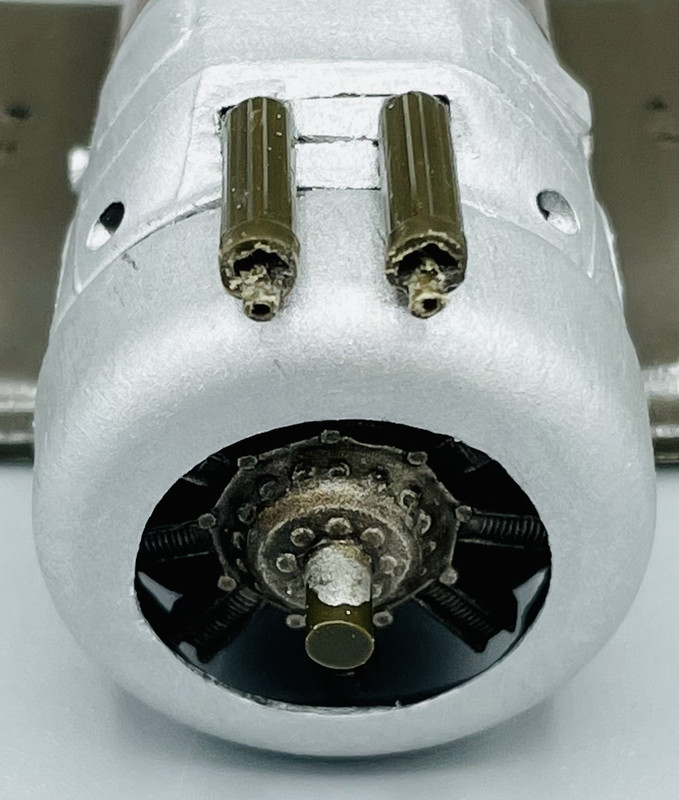
I also test fitted the cowling and guns… more in a couple of days
2 Likes
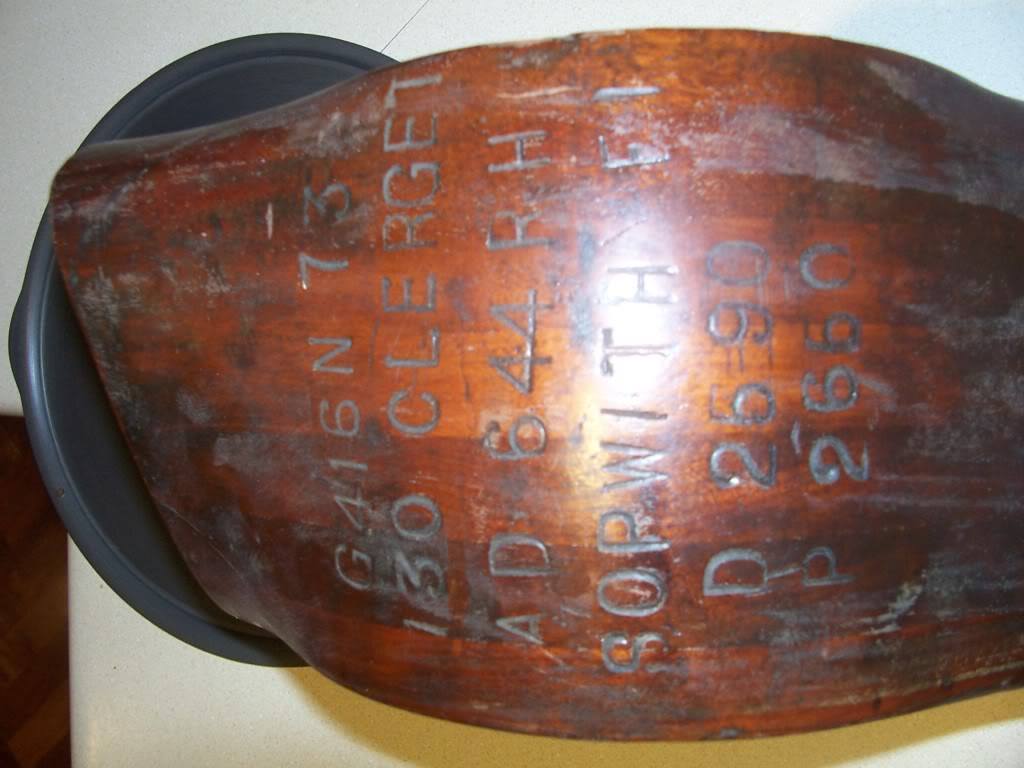
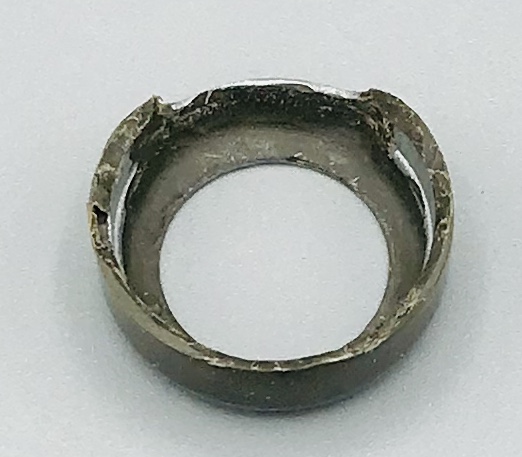
Great project, I am following along! When you get to the spinning thing at the noisy end, here’s a little item my grandfather brought back from WWI for reference!
Cheers, D
5 Likes
That is awesome reference Damian. Thank you!
For further reading, grab a coffee and check out a build I started several years back on the old Aeroscale.
https://aeroscale.kitmaker.net/modules.php?op=modload&name=SquawkBox&file=index&req=viewtopic&topic_id=263386&ord=&page=1
One of these days I will get back to this project 
Cheers, D
1 Like
Great stuff on that link Damian, thank you again!
Glued to the set Carlos!!
Thanks Joe. I’ve been doing some painting of sub assembles and should have something worth taking photos of in the next few days.
1 Like
I’ll be looking forward to that!!
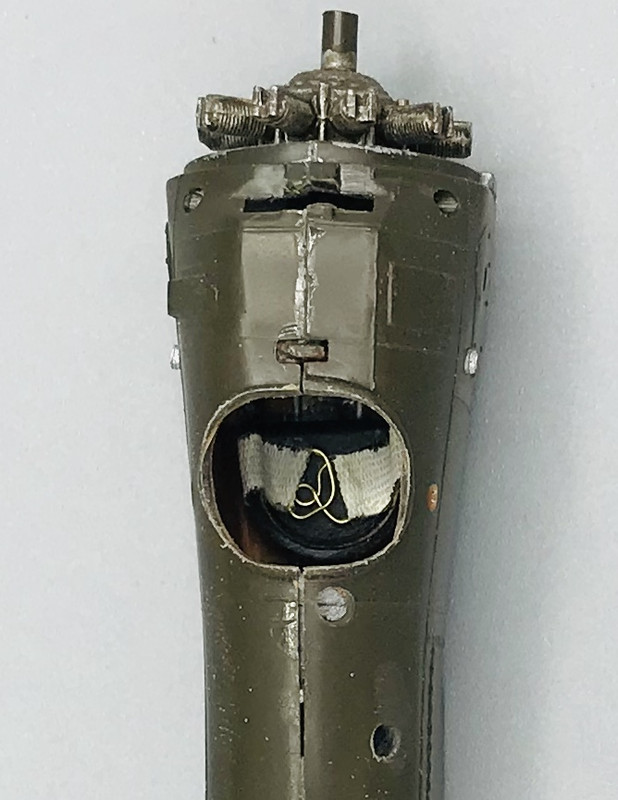
Well I finally have some progress work worth showing. To keep in the spirit of this old kit, I’ve been painting with a brush and enamel paints, mostly Humbrol, and some Xtracolor as well. And this is where is at now.
Everything is pretty much just test fitted for this photo. I still want to work on the cockpit opening padded collar a bit, and that’s much easier to do with nothing yet attached.
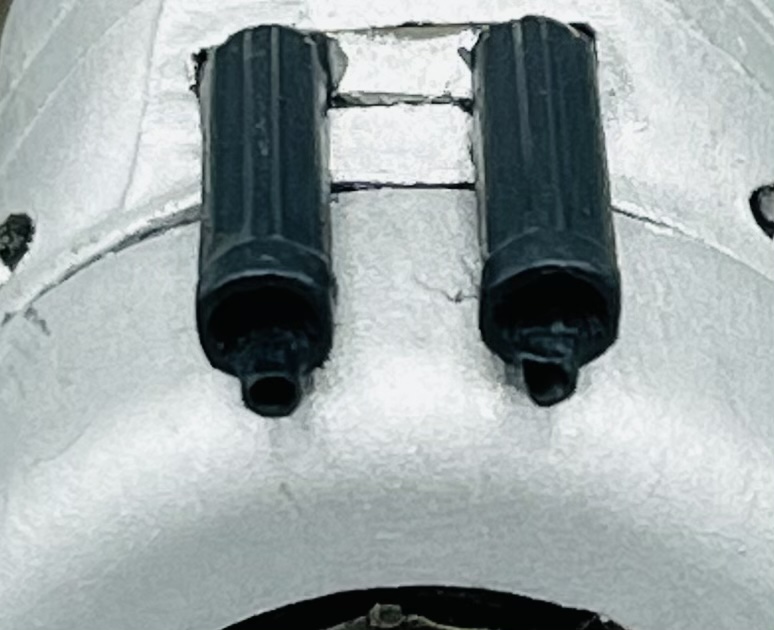
I also drilled out the front of the guns
I still need to do some more clean up work there. More to follow in a few days…
5 Likes
Looking better each time!
Thanks Ezra, it’s coming along, slow and sure.
1 Like
One step at a time. Today I finished up, cleaned up, and then painted the guns.
4 Likes
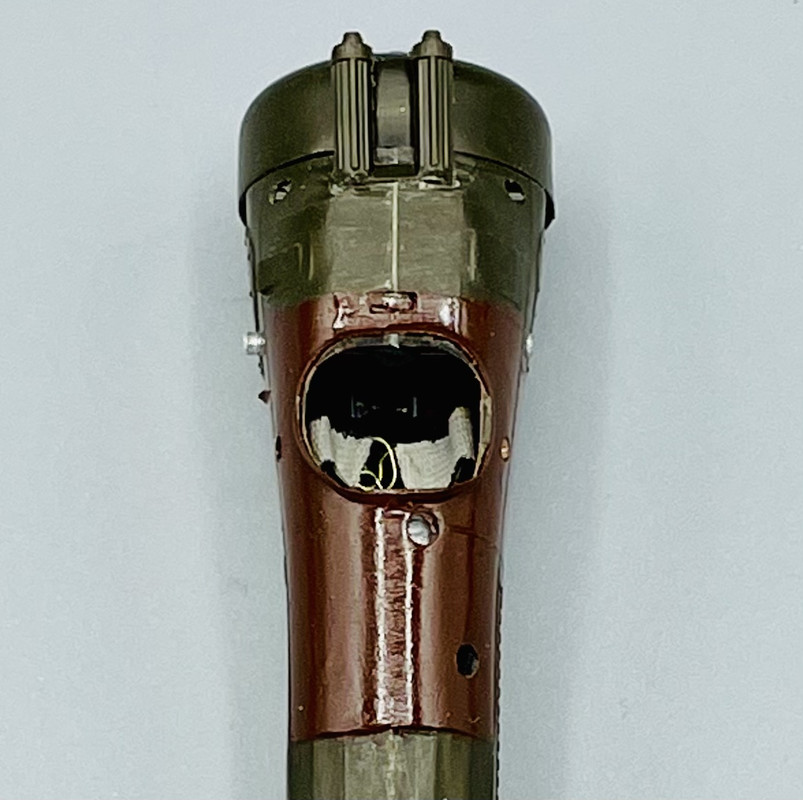
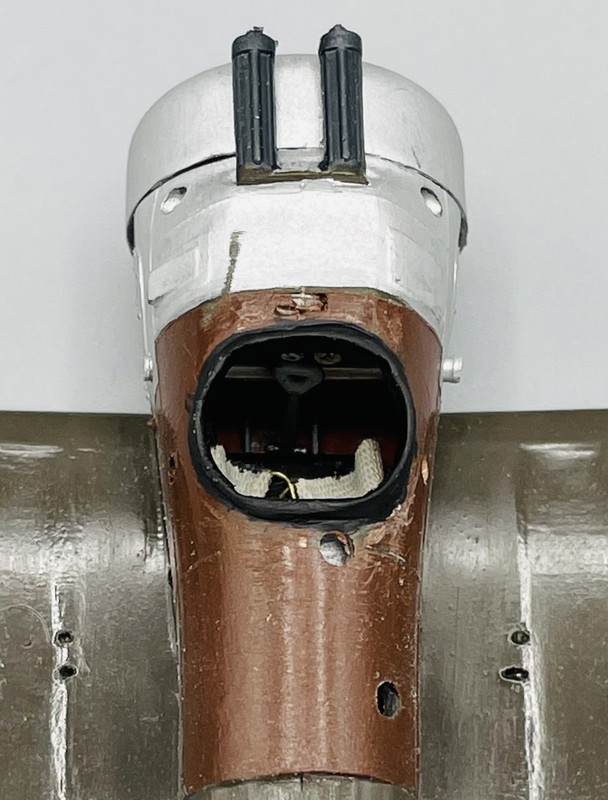
During this week I’ve worked on the collar padding for the cockpit. First I added some strip styrene to the inner face then sanded it all to a more rounded profile.
Once it had been sanded, I painted it in Humbrol Satin Black. I need to go back and touch up where the sanding damaged the paint on adjacent areas
then lastly I attached the lower wing
3 Likes
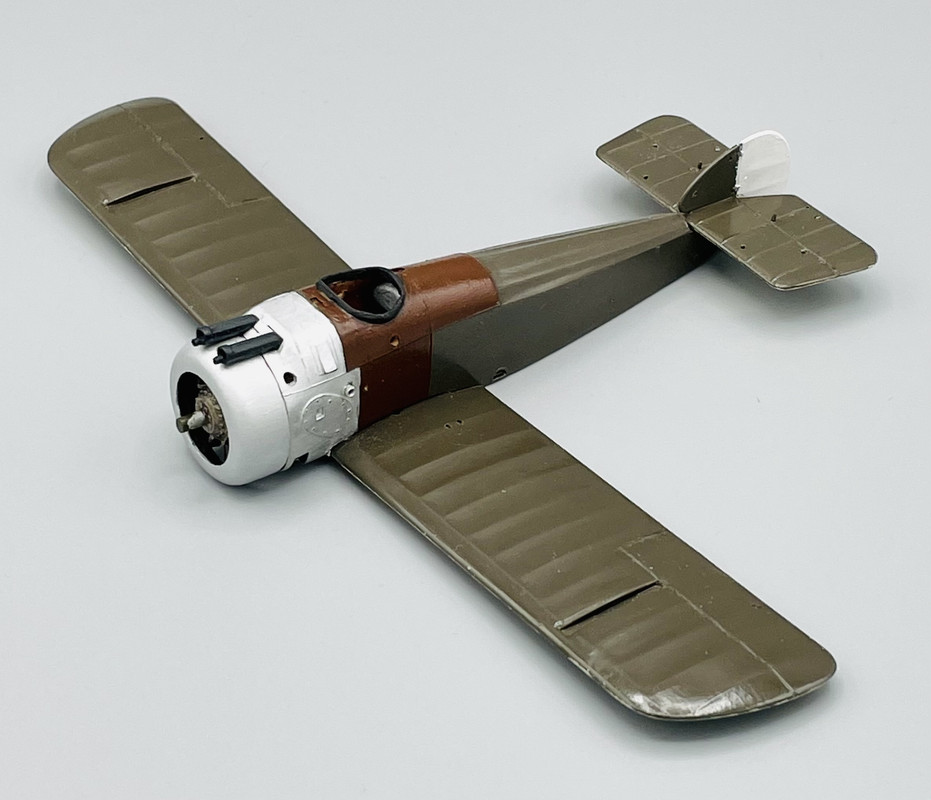
More progress… tail planes on… woohoo!
4 Likes
Well, it’s starting to look like an aeroplane now.
1 Like
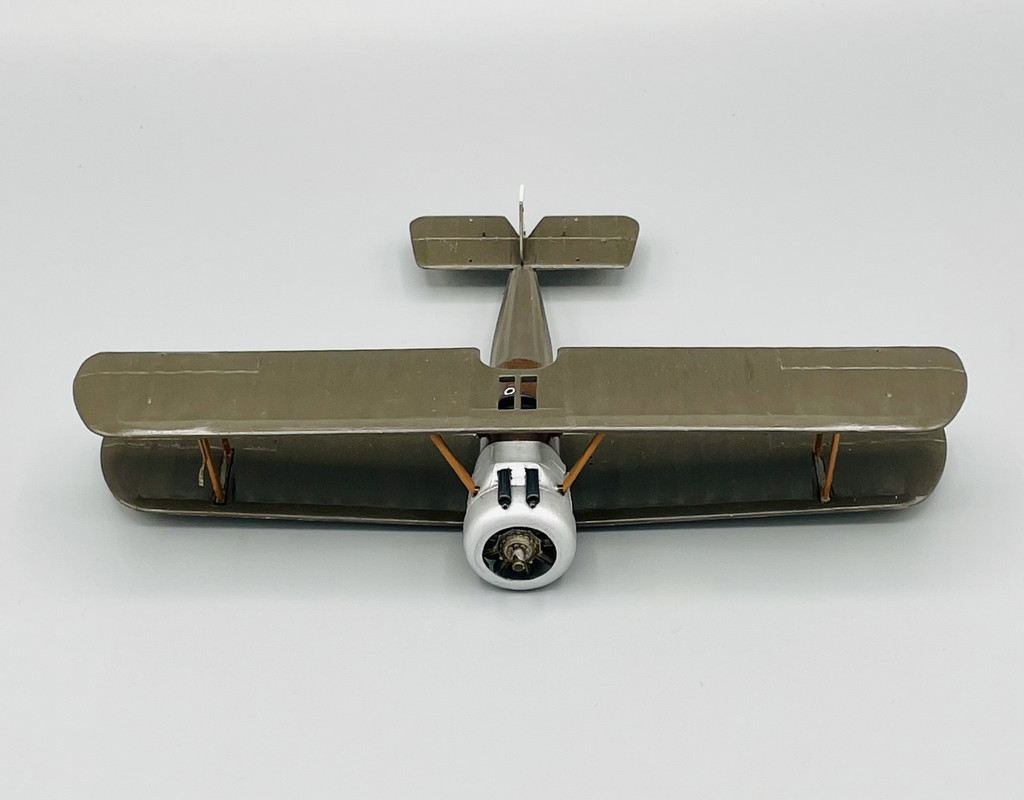
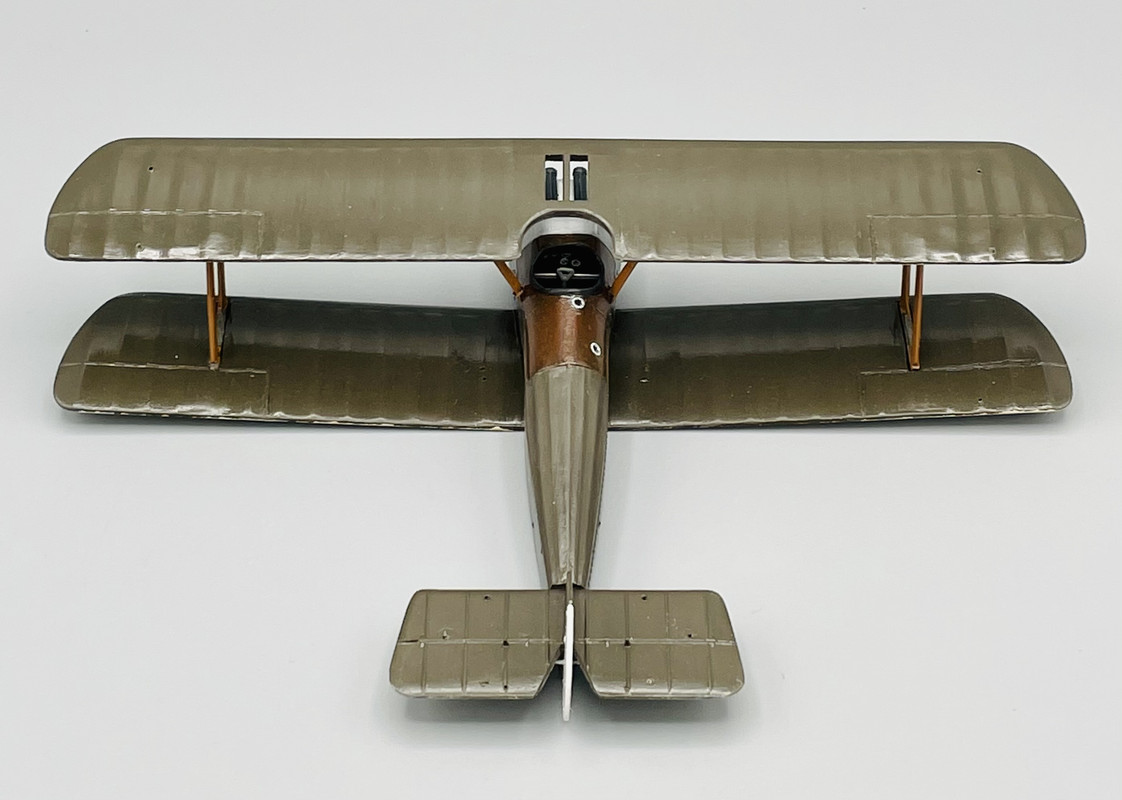
Well today ended up being a case of going ahead three stages instead of the planned two.
First up I added the metal tubing for the fuel tanks
Then I had intended to add only the struts into place on the lower wing and fuselage, and I sure proper positioning using the top wing. But that wasn’t working as intended, so I ended up gluing the top wing in position as well. So the wings are in place, just a bit sooner than intended
Next up, adding the landing gear, tail skid, and prop…
6 Likes