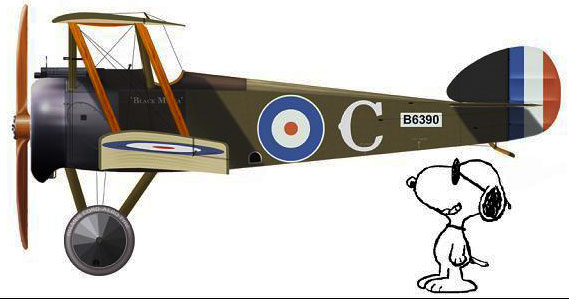
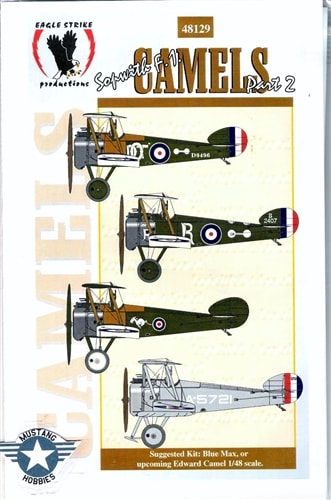
Awhile back, a friend of mine on another site proposed to do a buddy build with me of a pair of WWI Dogfight opponents. He wanted to build a Fokker Dr.I. So my entry into this buddy build is a Sopwith Camel. It only seems natural to oppose the Fokker Dr.I when he first proposed this buddy build of duelist biplanes awhile back.
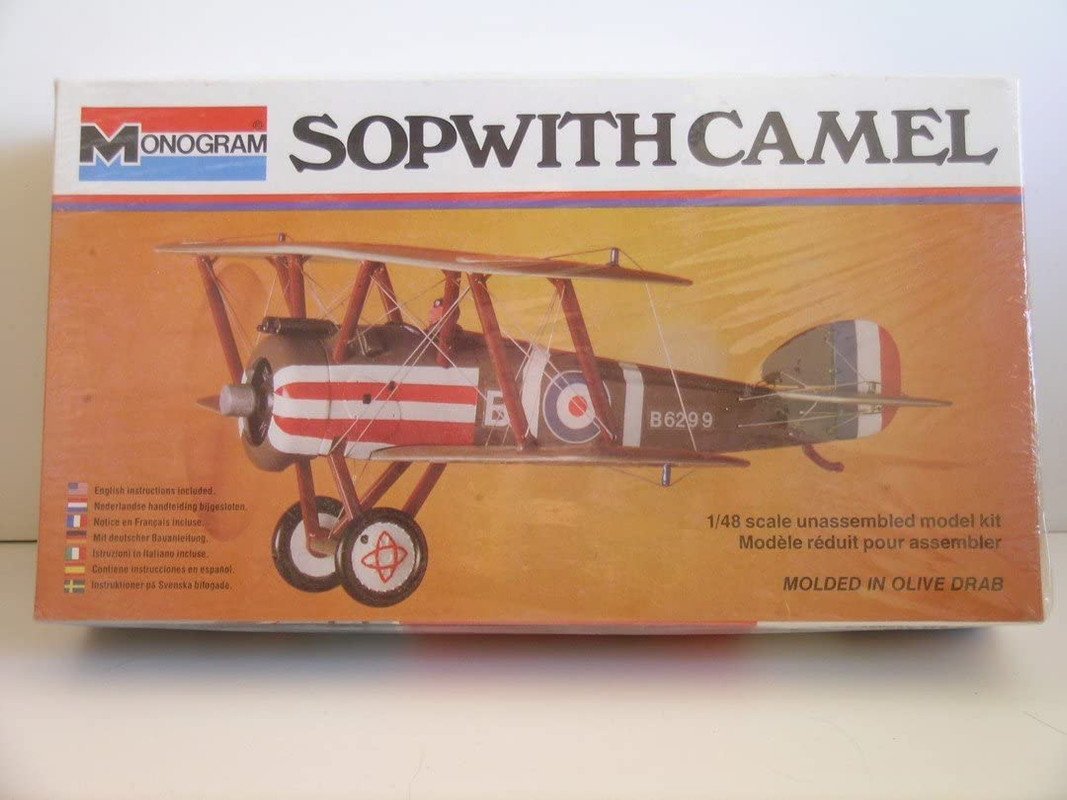
I have had the old Monogram issue of the classic Aurora kit in my stash and had been pondering building it for awhile. My friend’s idea of a buddy build was the kick in the pants needed to get this one from an abstract concept into something of an actual plan. The next step was to get other projects wrapped up so that I could give this build the attention that it deserves.
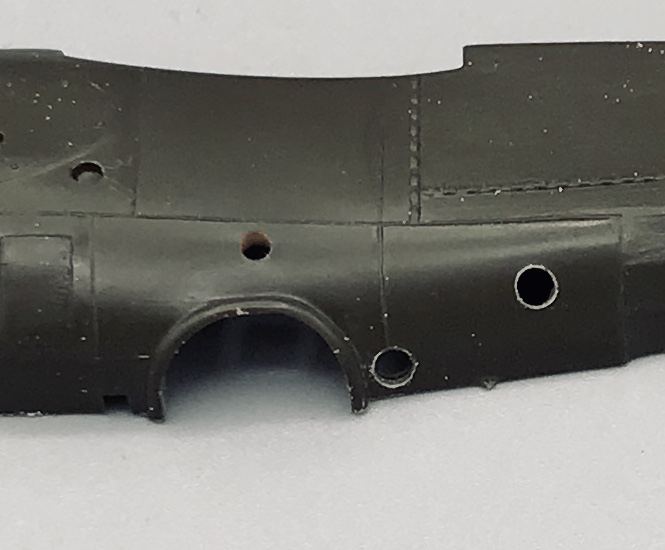
Last night I began construction. Actually though it was mostly just paint work.
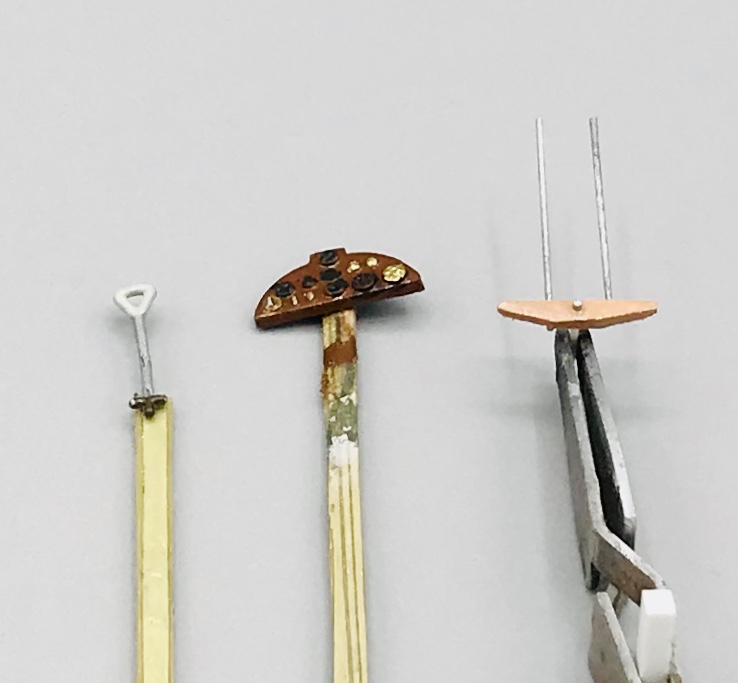
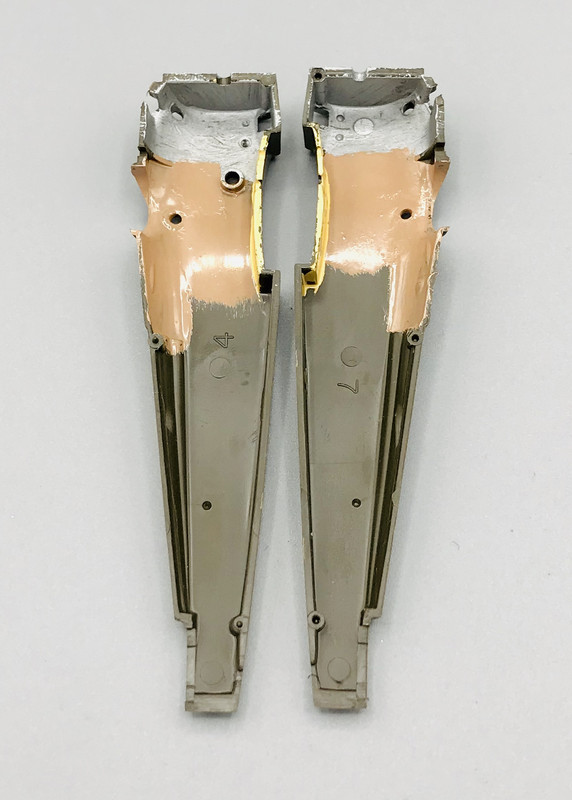
First I took a razor saw along the seat to give it some texture to suggest that of the wicker seats actually used. Once painted and with a wash it should look more the part.
Then I painted up other cockpit components, and the interior of the fuselage halves. Just getting the base colors on for now. I’m not gonna use the kit pilot, so behind the seat is a glaring empty space. I searched thru my spares/salvaged parts and came up with a fuel tank to fill the void. It somewhat resembles the real thing. I’m not going for 100% accuracy, just stuff to suggest what should be there. I’m sure that must sound like blasphemy to some modelers.
Very cool. I wouldn’t worry about complete accuracy in the cockpit as very little will be seen anyway after the halves are together. I think the seat will look pretty good once its painted an has been hit with a wash! Will your friend be doing a build log as well?
Ezra and Charles, it’s nice to have you following along. This won’t be anything fancy. Just trying to build it better than I did the last time back in the 70’s I’m easing my way back into WWI biplanes after a long time away.
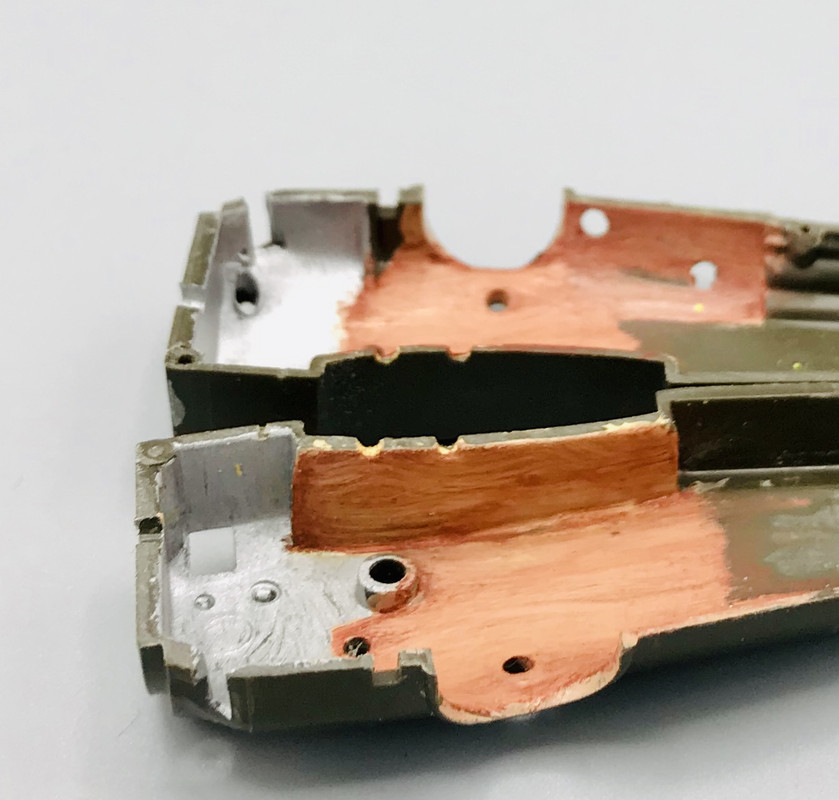
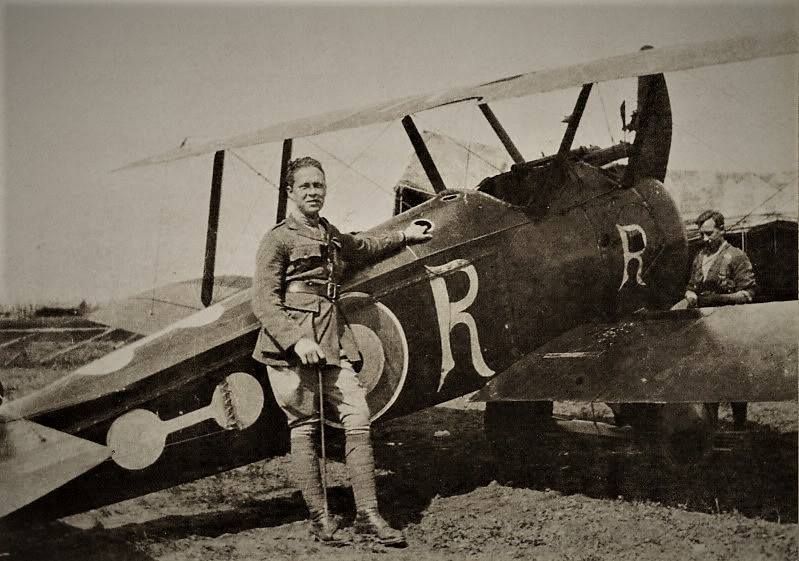
Then I modified the salvaged fuel tank into the piece affair that the real one had. Not to mention lots of sanding to get it to fit into the fuselage behind the pilot seat. I also painted the seat cushion and edging, again based off of photos of Museum Camels
And lastly, base colors finished on the IP and control yoke, plus I scratch built up a rudder bar with control linkage rods, again based off of Museum Camels
Nice progress! You may already know this but one simple way to do a wood grain is to take some dark brown oil paint and just streak/drybrush it onto the light wood colored surfaces and simply blend it till your happy with the result. Waiting for the next update.
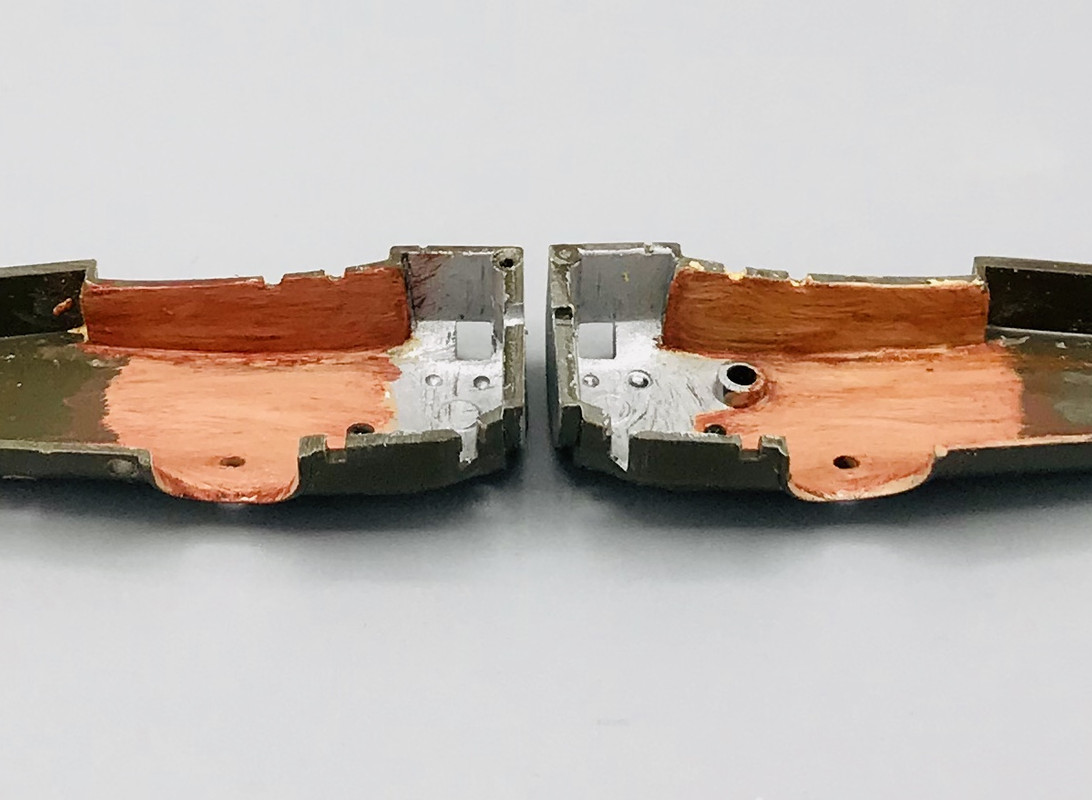
Today’s update: I took a shot at using oils for a wood grain appearance.
First step, I mixed up a brown shade and then applied it over the interior wood surface areas
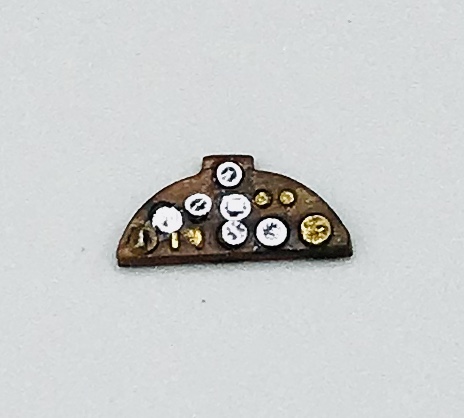
Today’s progress report: So today I completed my intended goals for yesterday. I added instrument decals to the IP, RAF WWII type, rather than the WWI type that I had planned to use but were invisible because they needed to be applied over a white background.
The instrument panel looks great! Also the seat looks very good finished and Im glad the wood grain with oils worked. Your turning this old kit into a little gem!
Thank you Brent. I remember when I would knock out one of these kits in a couple or three hours when I was a kid. Now I’m giving it the royal treatment…


 I’m easing my way back into WWI biplanes after a long time away.