Snoopy approves
4 Likes
It really is a great museum, hey D! Have been a member there for many years now and encourage any who live in Melbourne or surrounds to check it out.
Hopefully they can bring more of the collection together in the coming years as they continue to expand the indoor buildings.
Meanwhile this “paint mule” of yours looks way too good for that moniker ![]()
5 Likes
Thanks guys, appreciate you checking in!
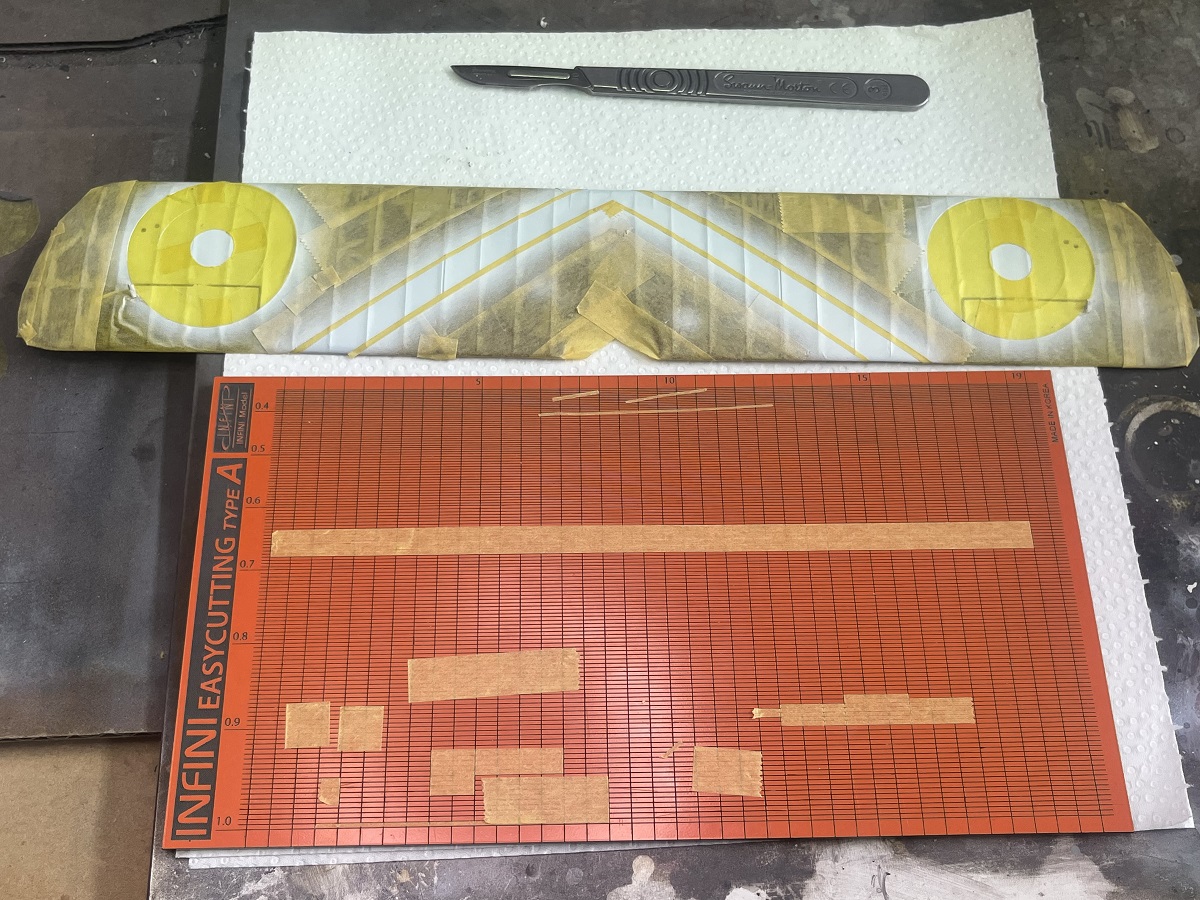
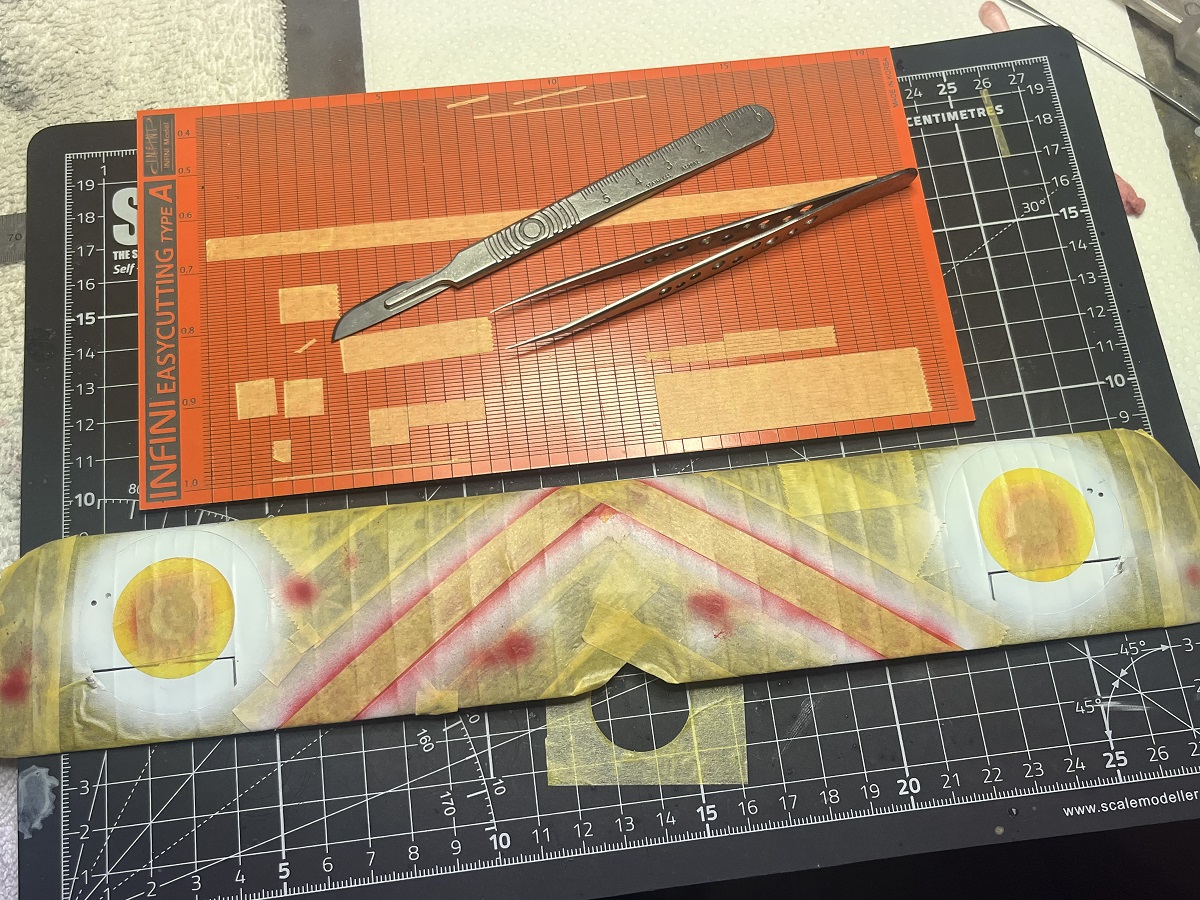
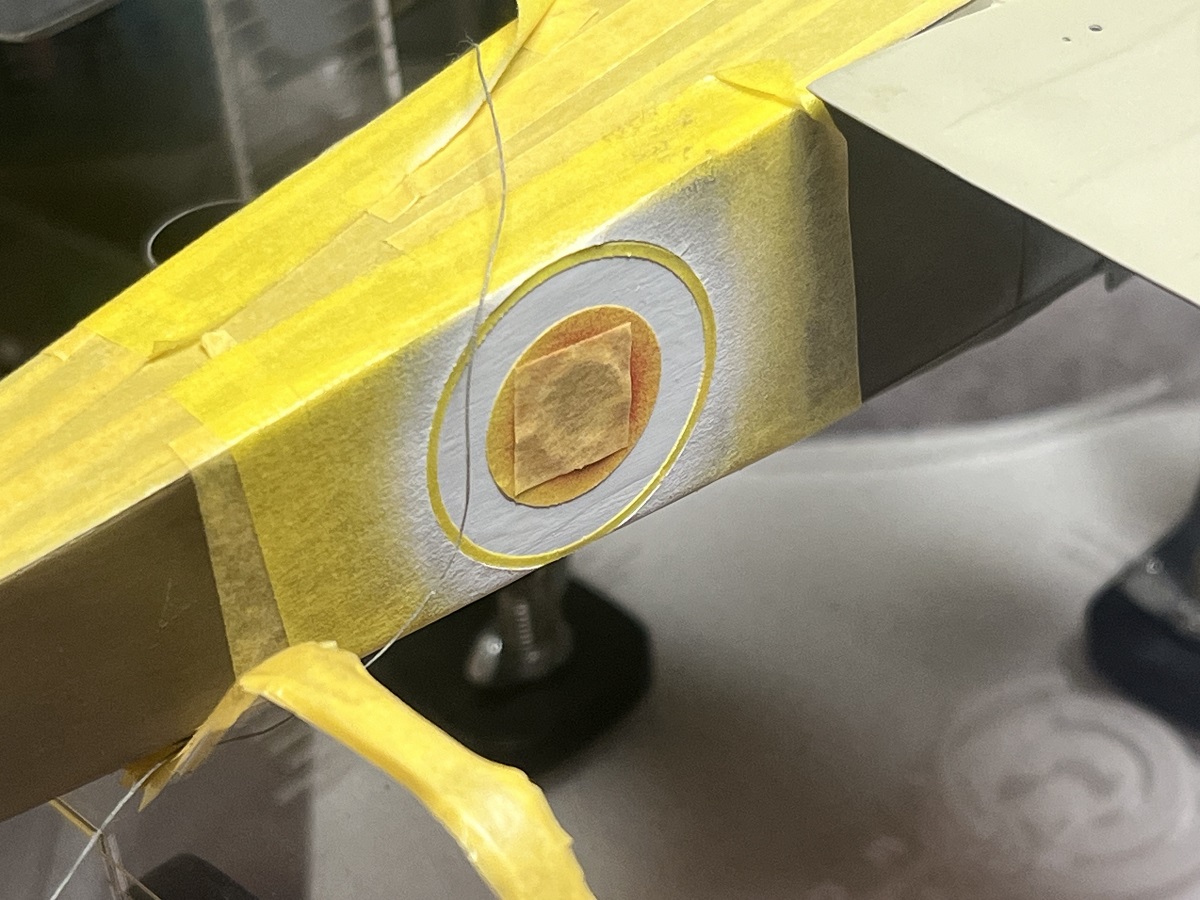
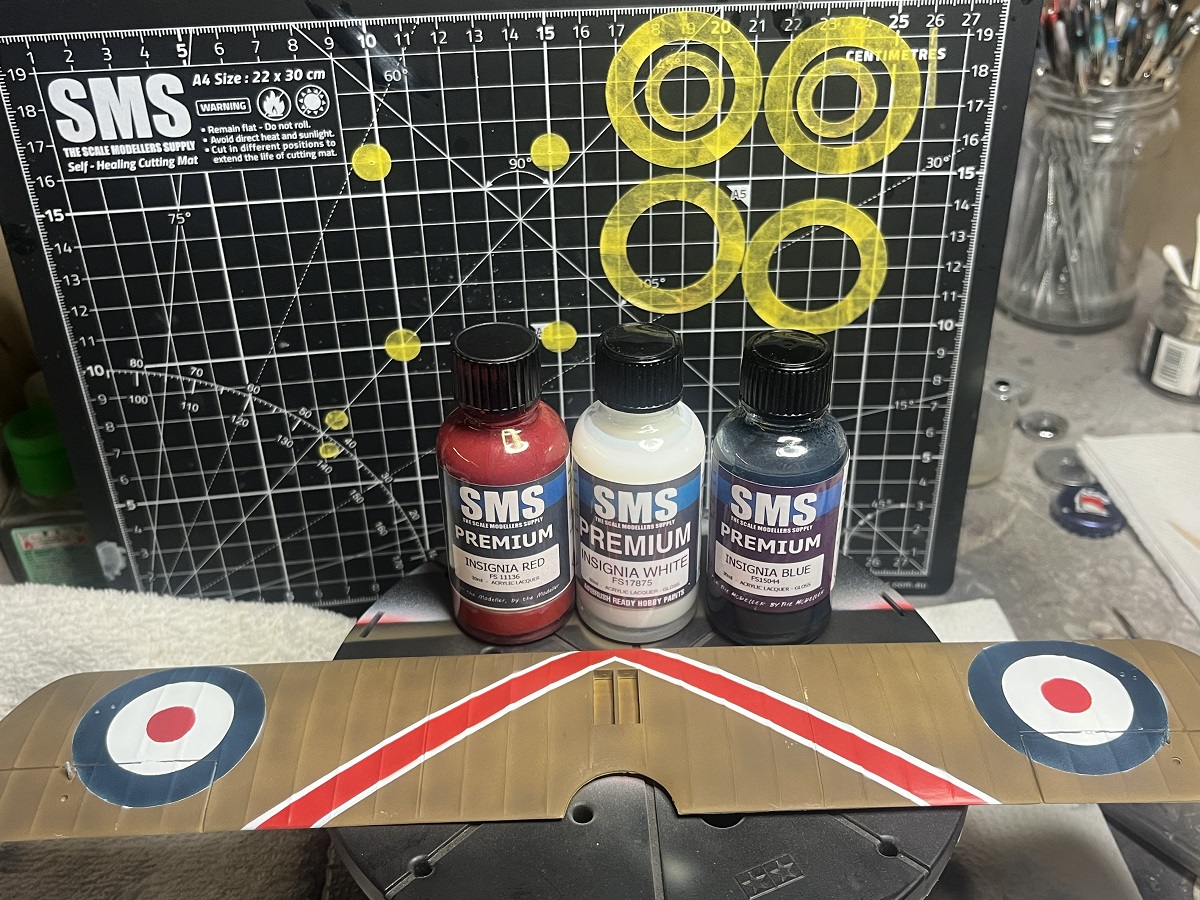
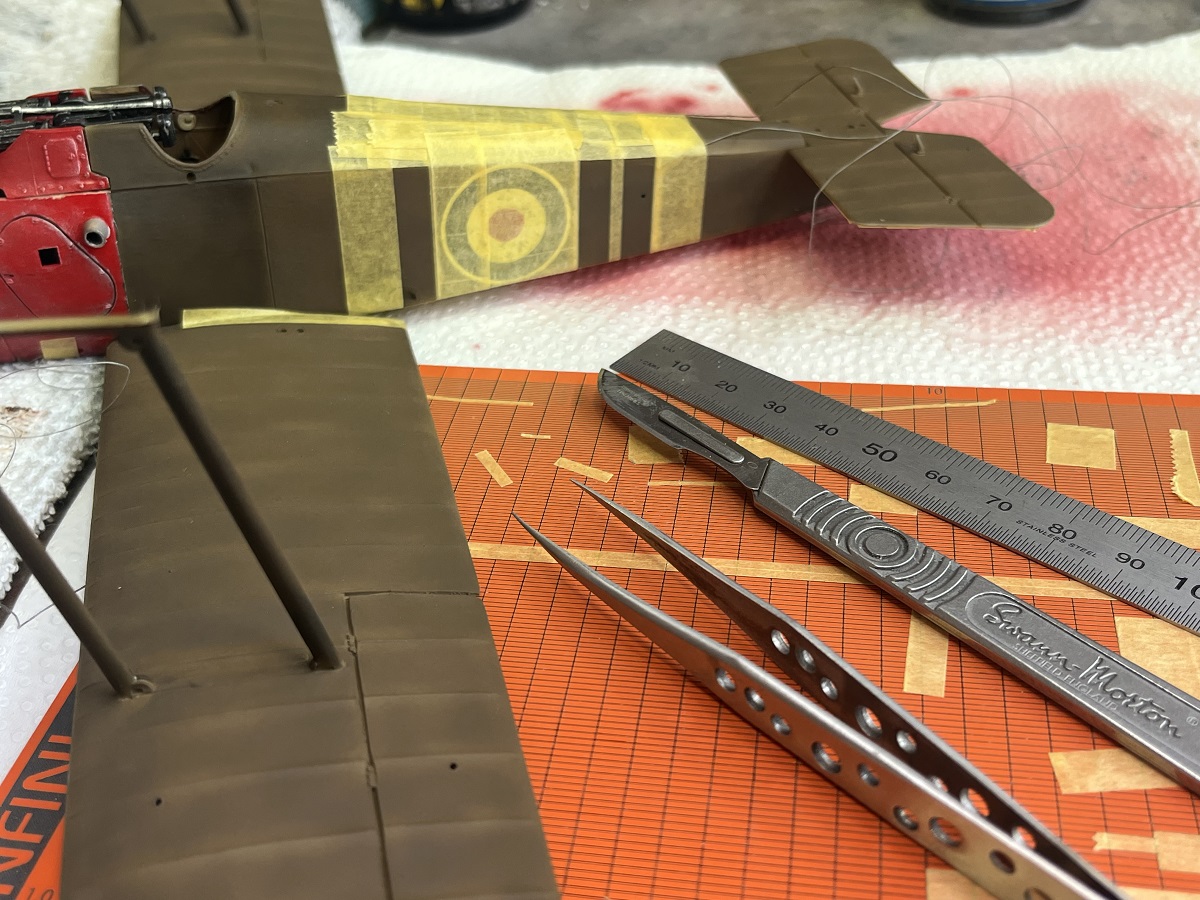
I carefully placed the inner ring masks, lots of fun as the tape stretched and deformed a bit. The Infini cutting mats are invaluable for masking jobs.
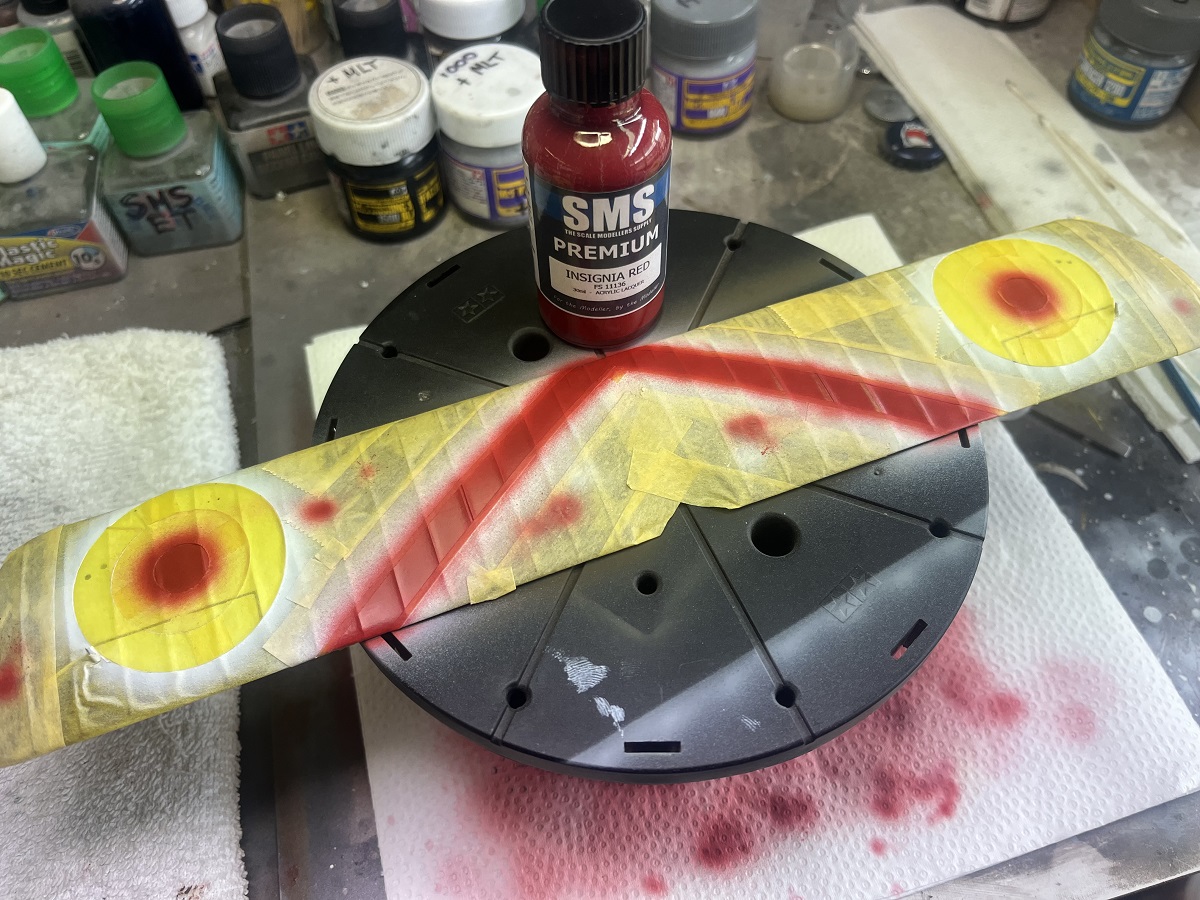
SMS Insignia Red came out for a run, once this is cured I will mask over it, weed out the outer rings and spray the Insignia Blue.
Cheers, D
6 Likes
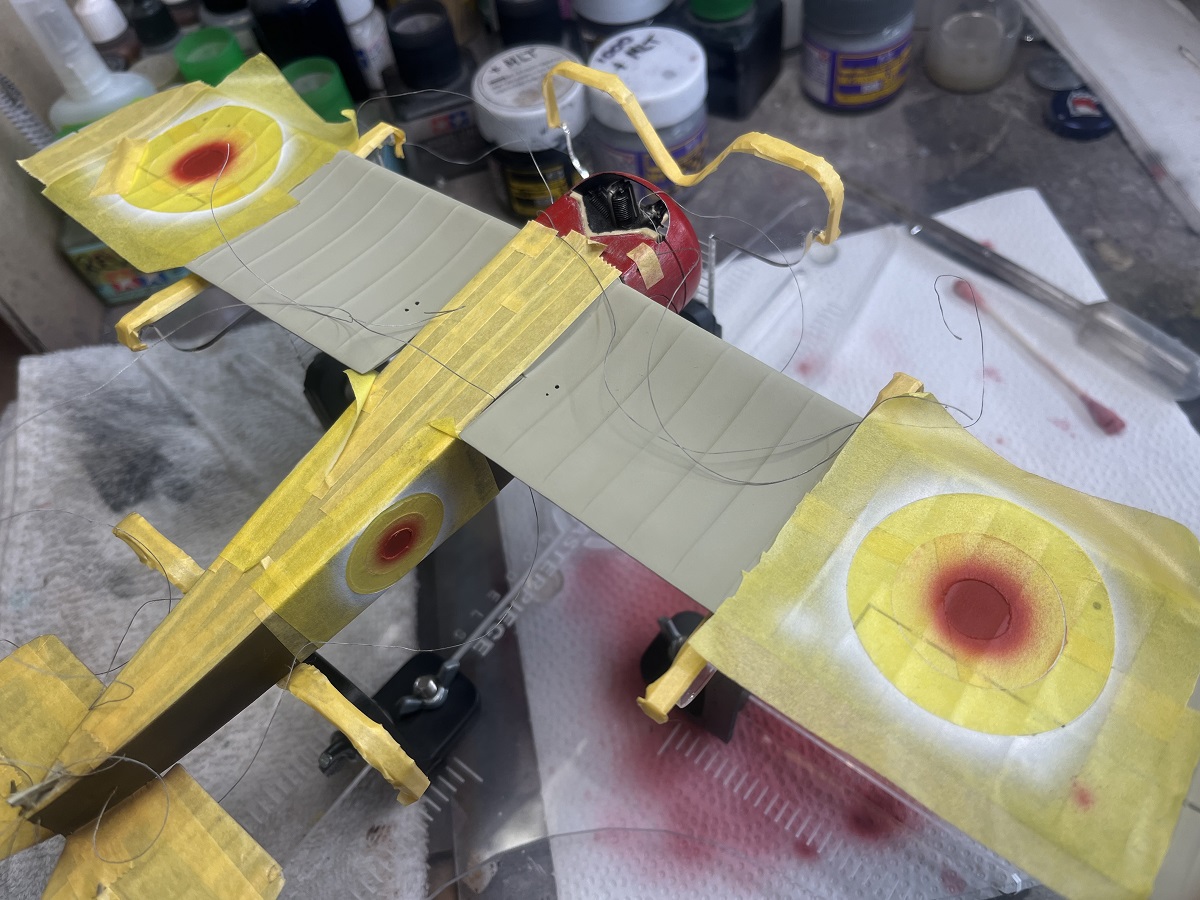
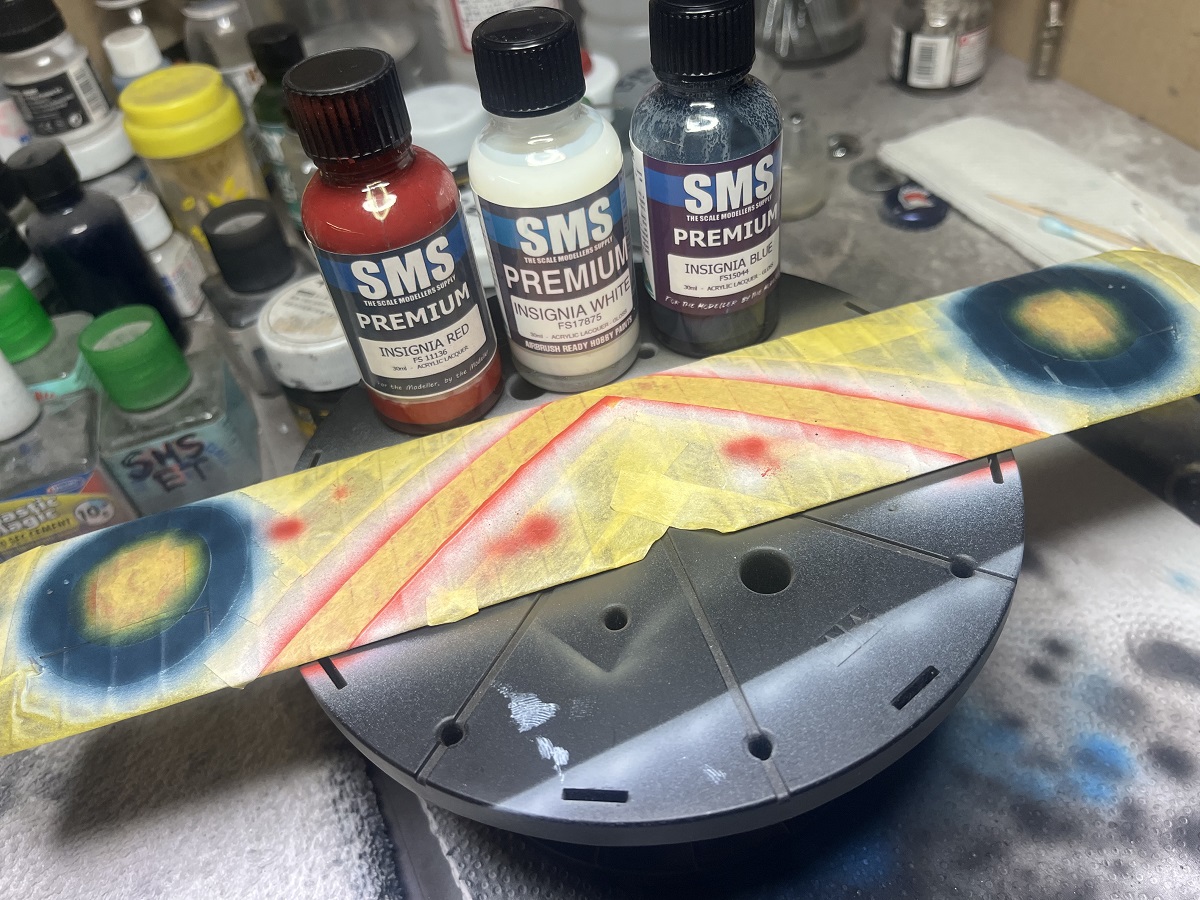
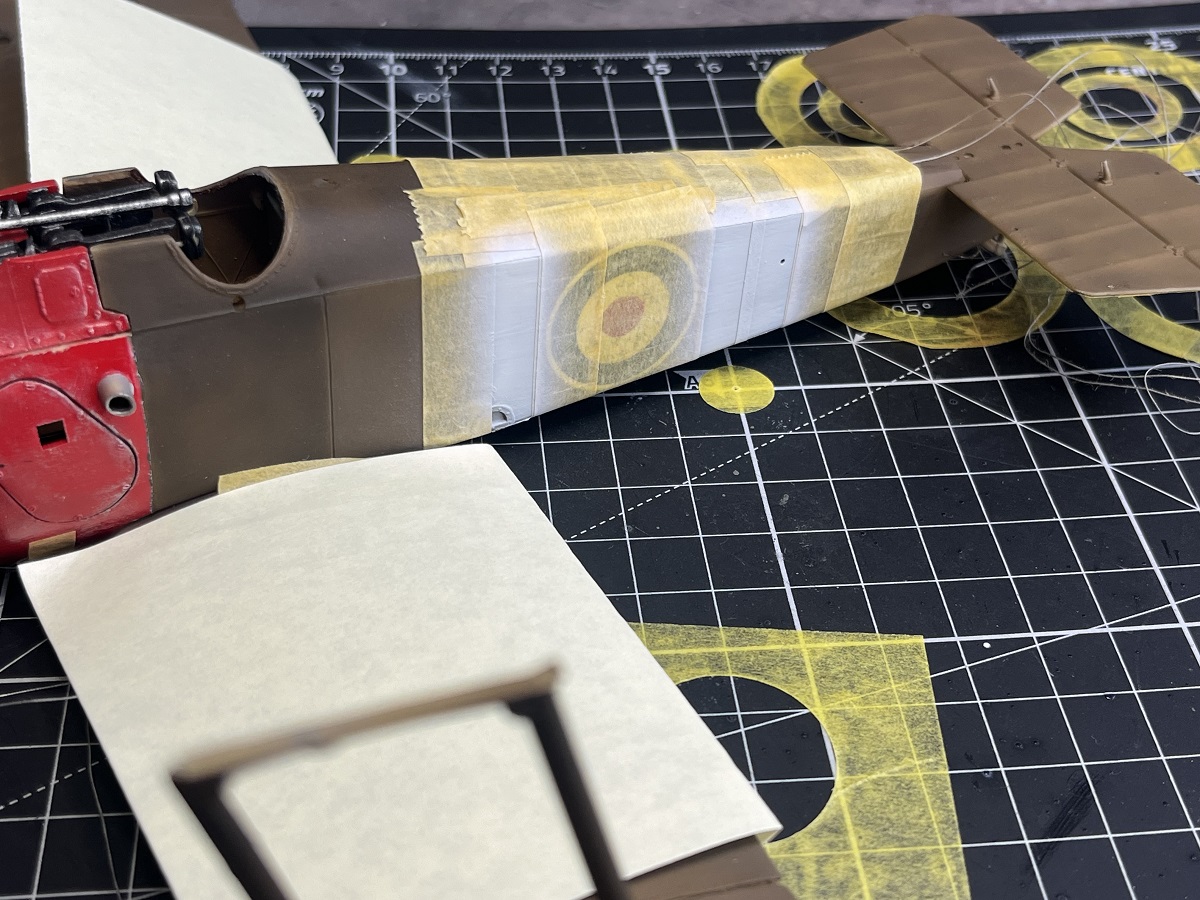
Progress has been made! I masked over the red inner circles and weeded out the outer ring ready to take the Insignia Blue.

Searched high and low, no sign of any SMS Insignia Blue so this was put aside for a couple of days until I could hit the LHS.
Almost a week later, and here we go!

Now, unmasking always scares the 5h1t out of me, and this being the first time I’ve masked and painted markings on this scale I decided a calming Shiraz (or 3) was in order ![]()
![]()
![]()
![]() Well, it seemed to work!
Well, it seemed to work!
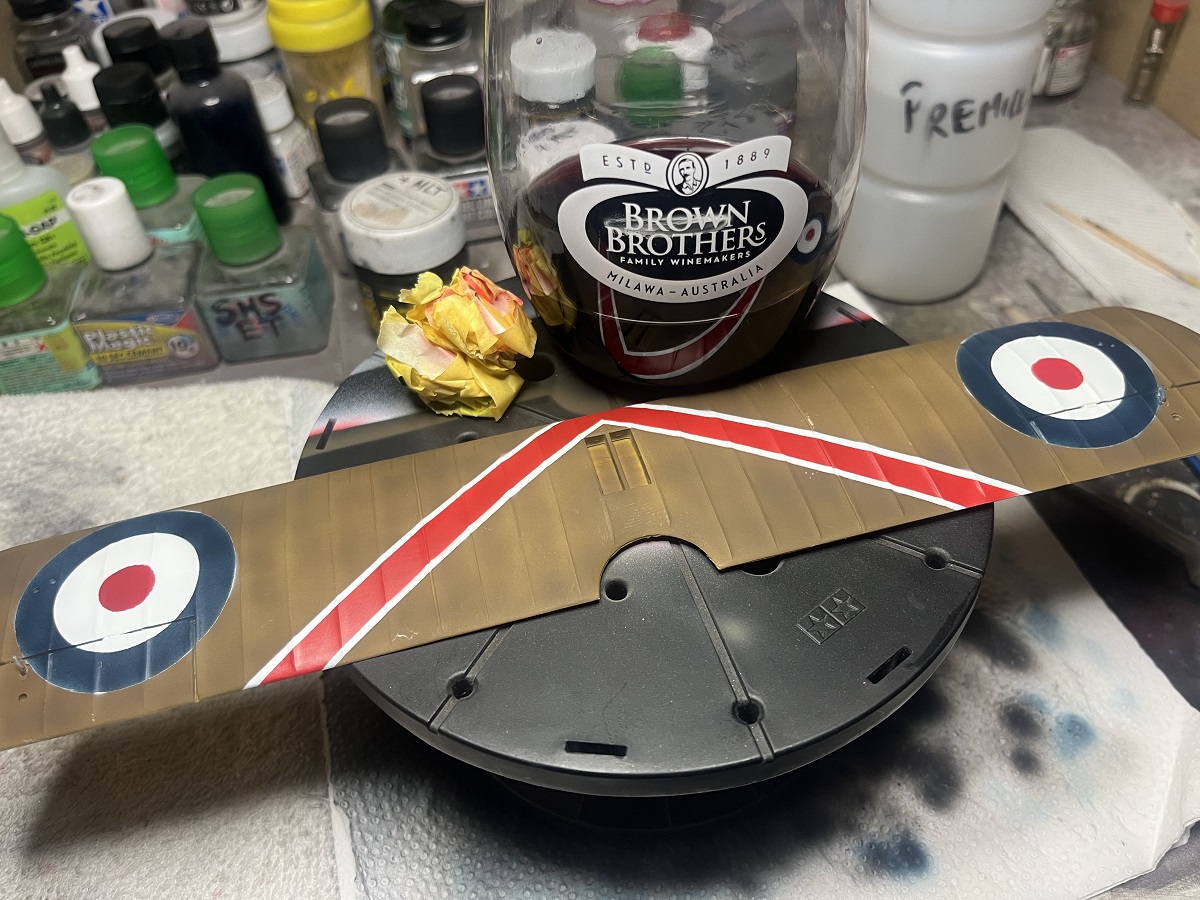
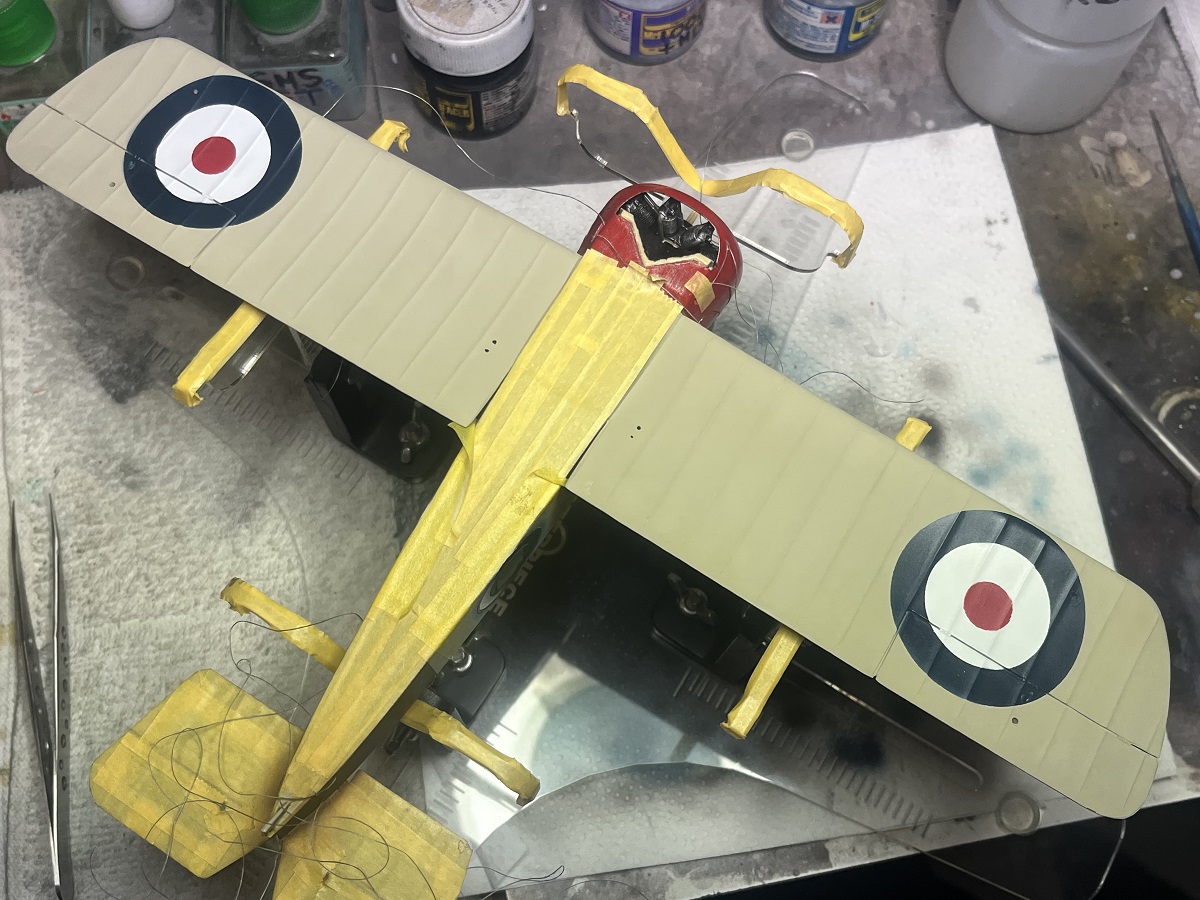

WooHoo! Moved on from calming Shiraz to celebratory Shiraz! Really happy with how they’ve turned out. Still a few more stripes and the rudder to mask and paint, then some touch-ups where I didn’t have the masks burnished down tight.
Cheers, D
11 Likes
Well done. ![]()
![]()
2 Likes
@Tank_1812 thanks Ryan!
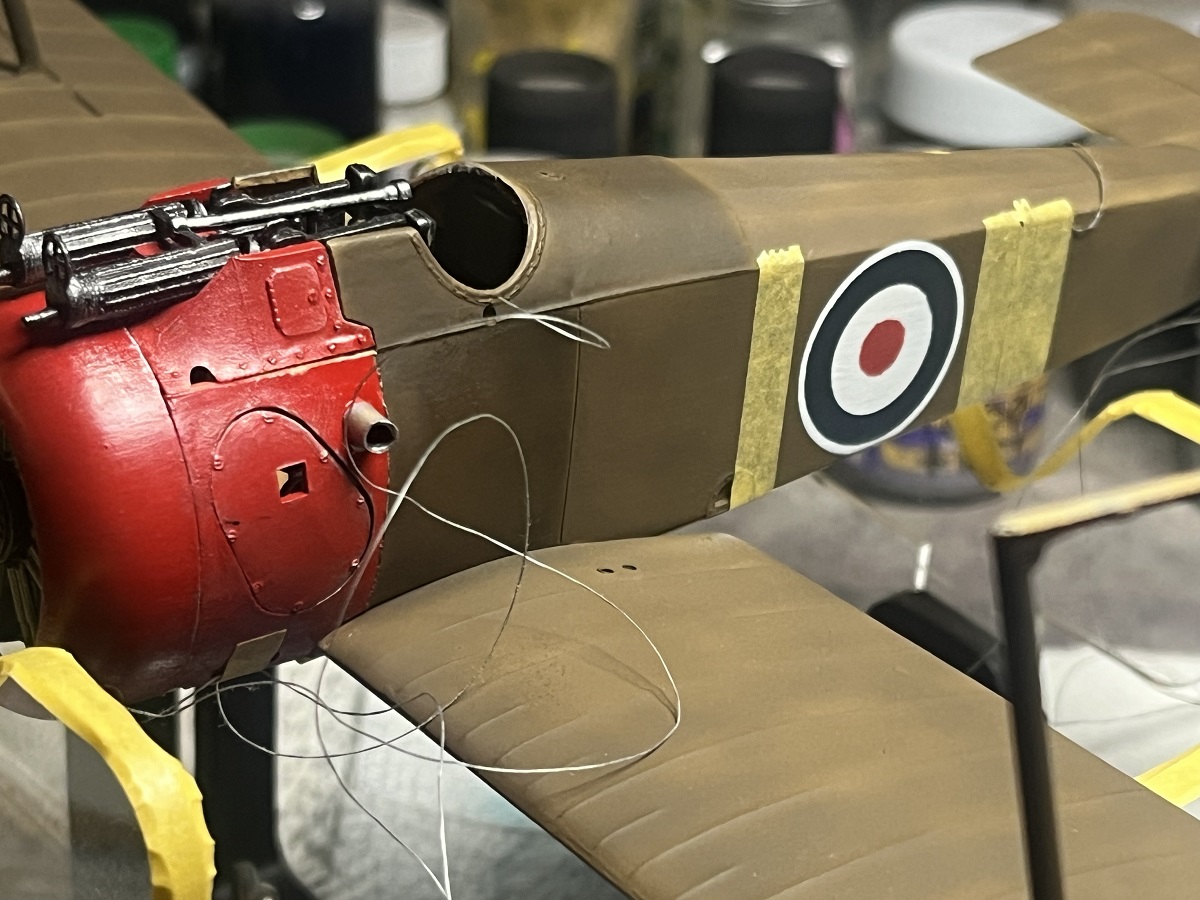
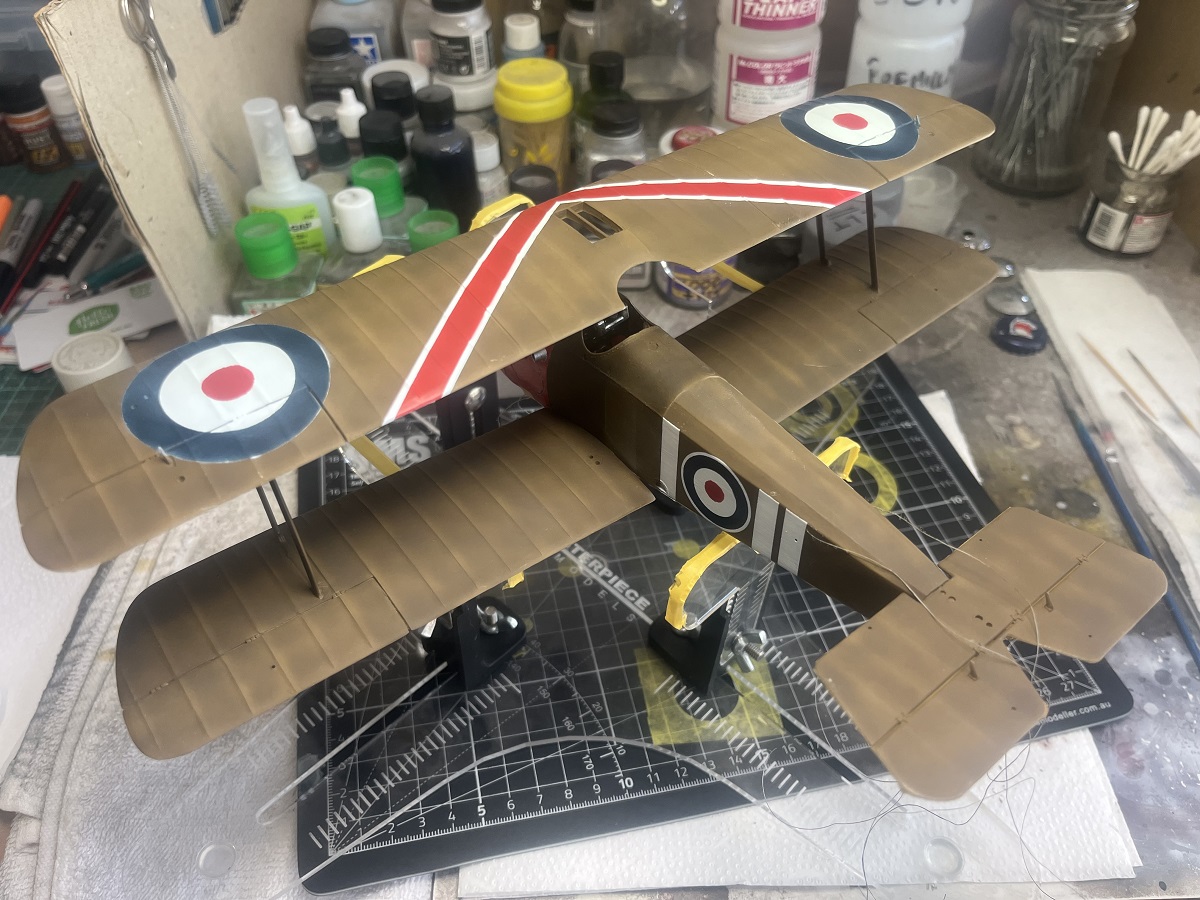
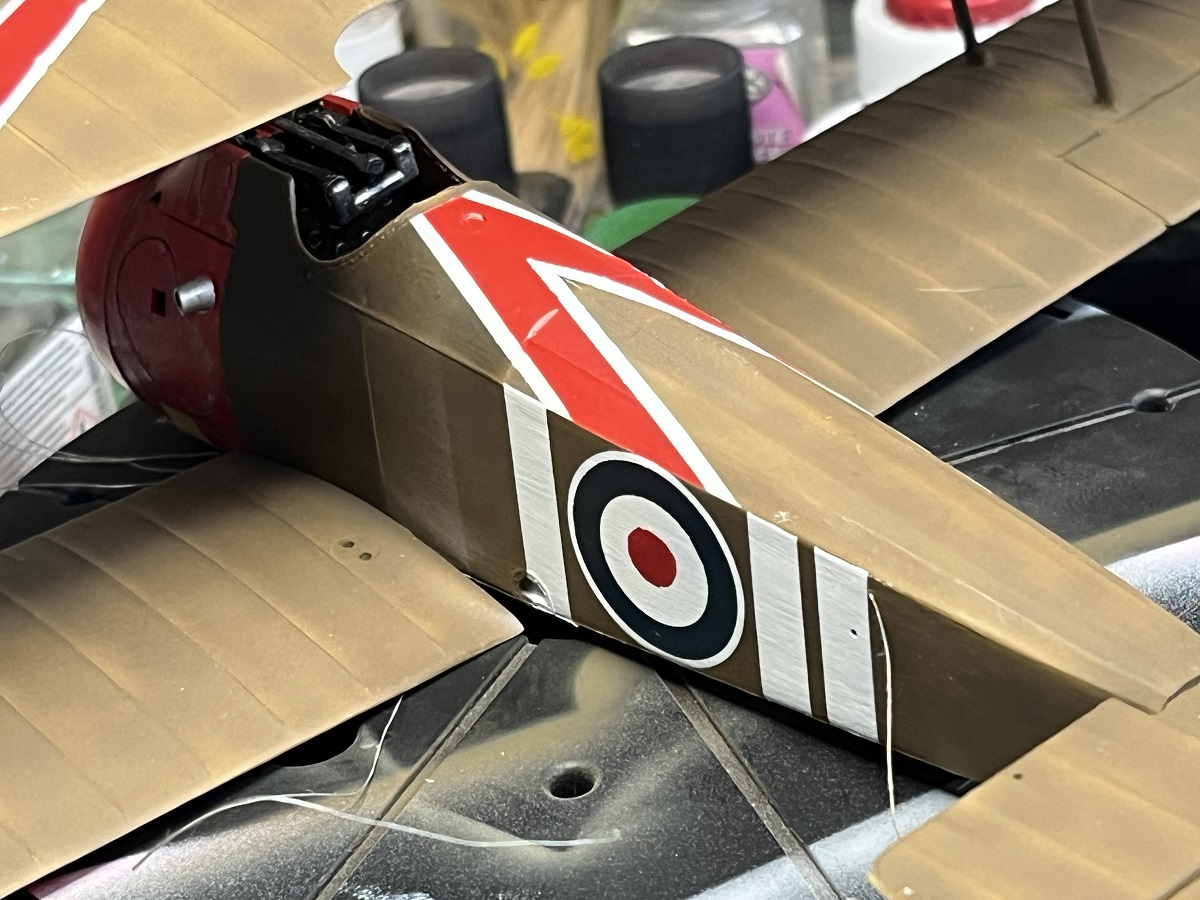
Another round of masking, spraying (SMS Insignia White), unmasking done! Next up are the red and white stripes on top of the fuselage to match the upper wings. Also, cheeky test fit because I just need to see the whole picture sometimes ![]()

Cheers, D
8 Likes
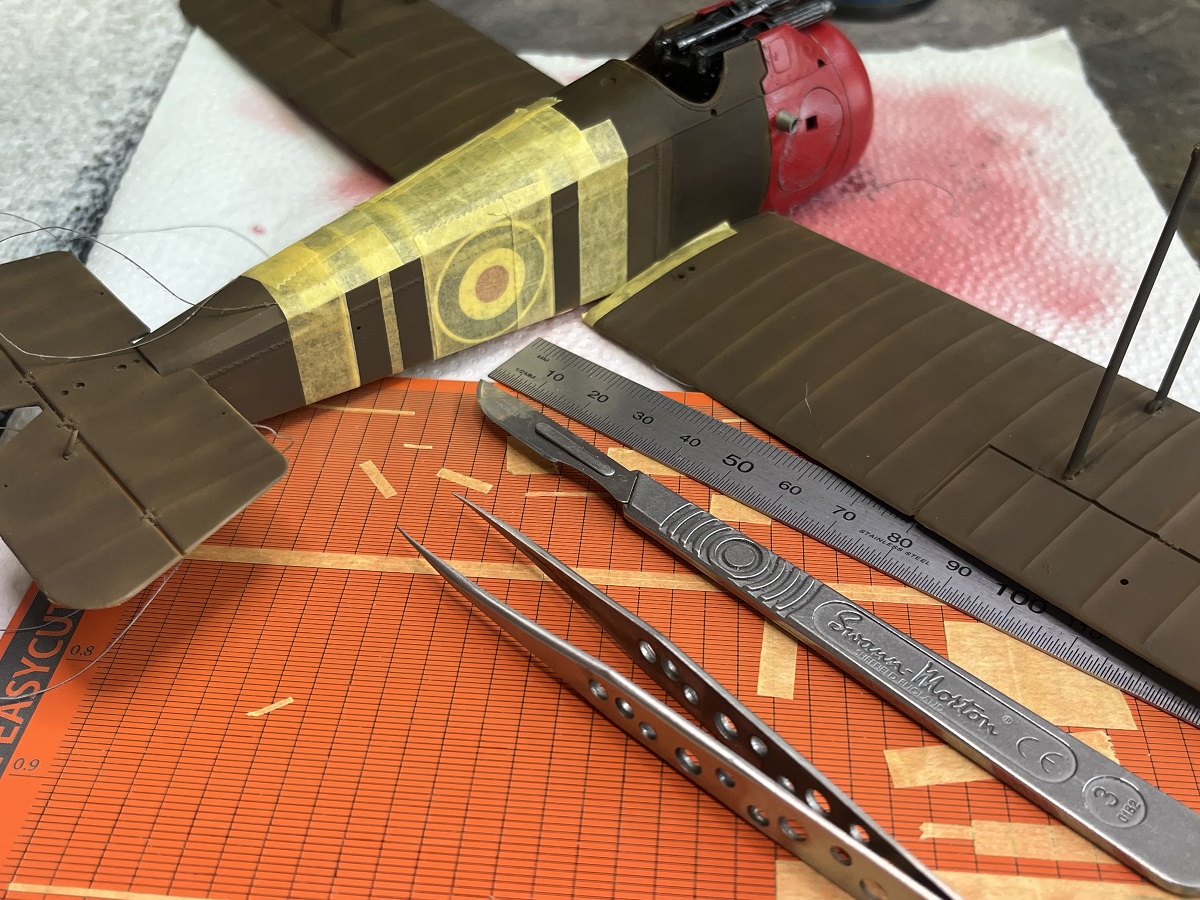
Next stage was the upper fuselage stripes, first up masking for the white base.

Painted white then masked the edges for the red inner stripe.
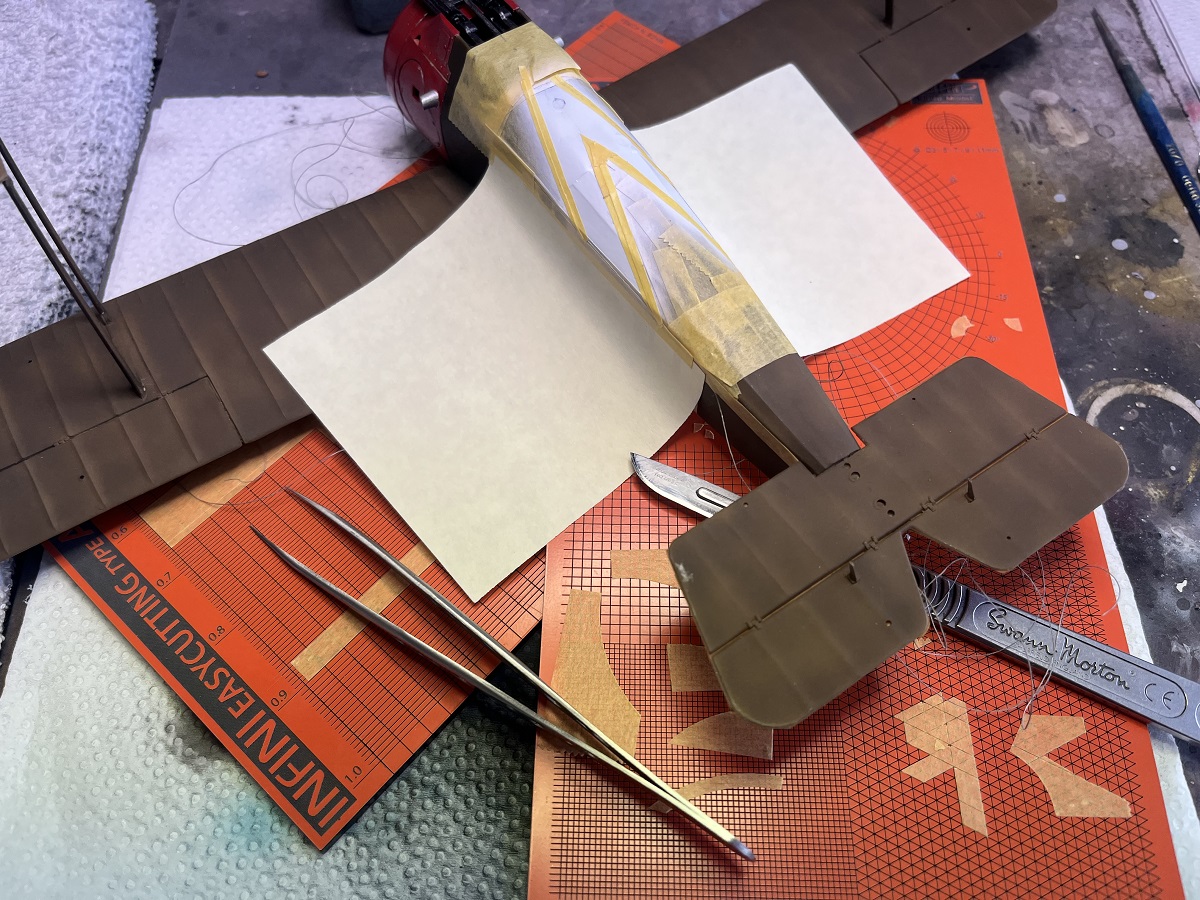
Painted red.

And unmasked!


Some dings and scratches from the handling and a bit of overspray to tidy up, then I will give it and overall Dullcote to seal it in before I work on hand-painting out the masking errors. I’ve also masked and painted the tail but forgot to get photos at this stage.
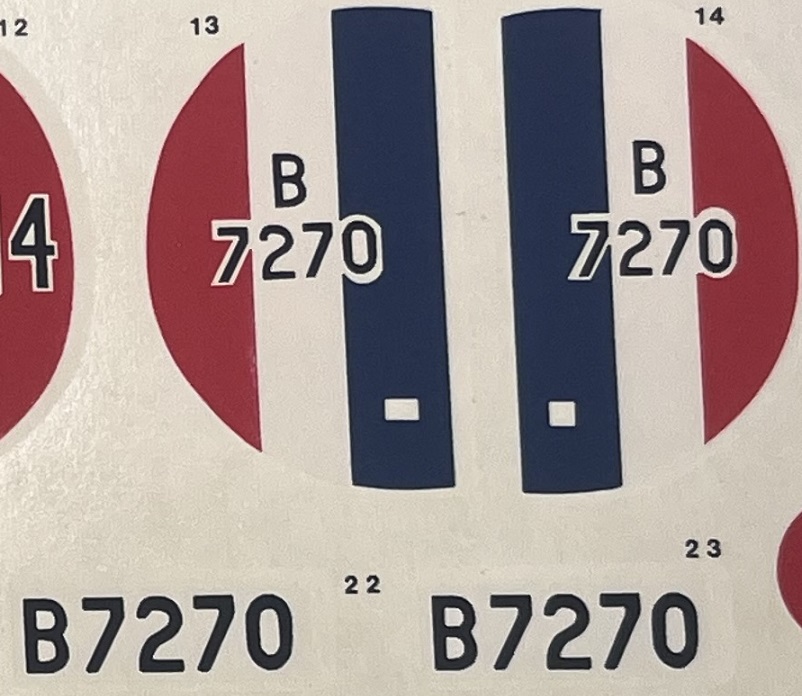
I’m going to have a try to use the code decals for the fuselage and tail, but I will give them a clear coat first and hope they hold together.
Cheers, D
10 Likes
Looking great D. ![]()
![]()
2 Likes
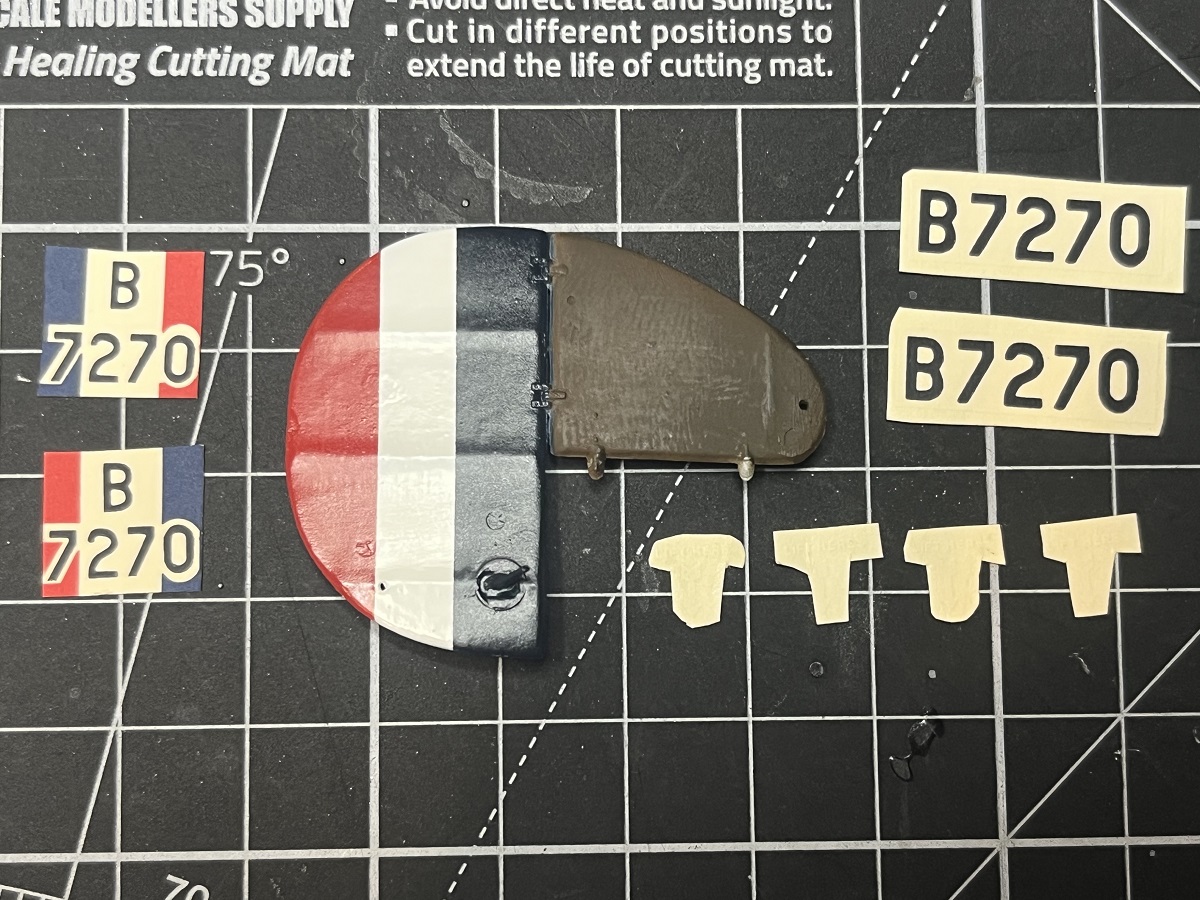
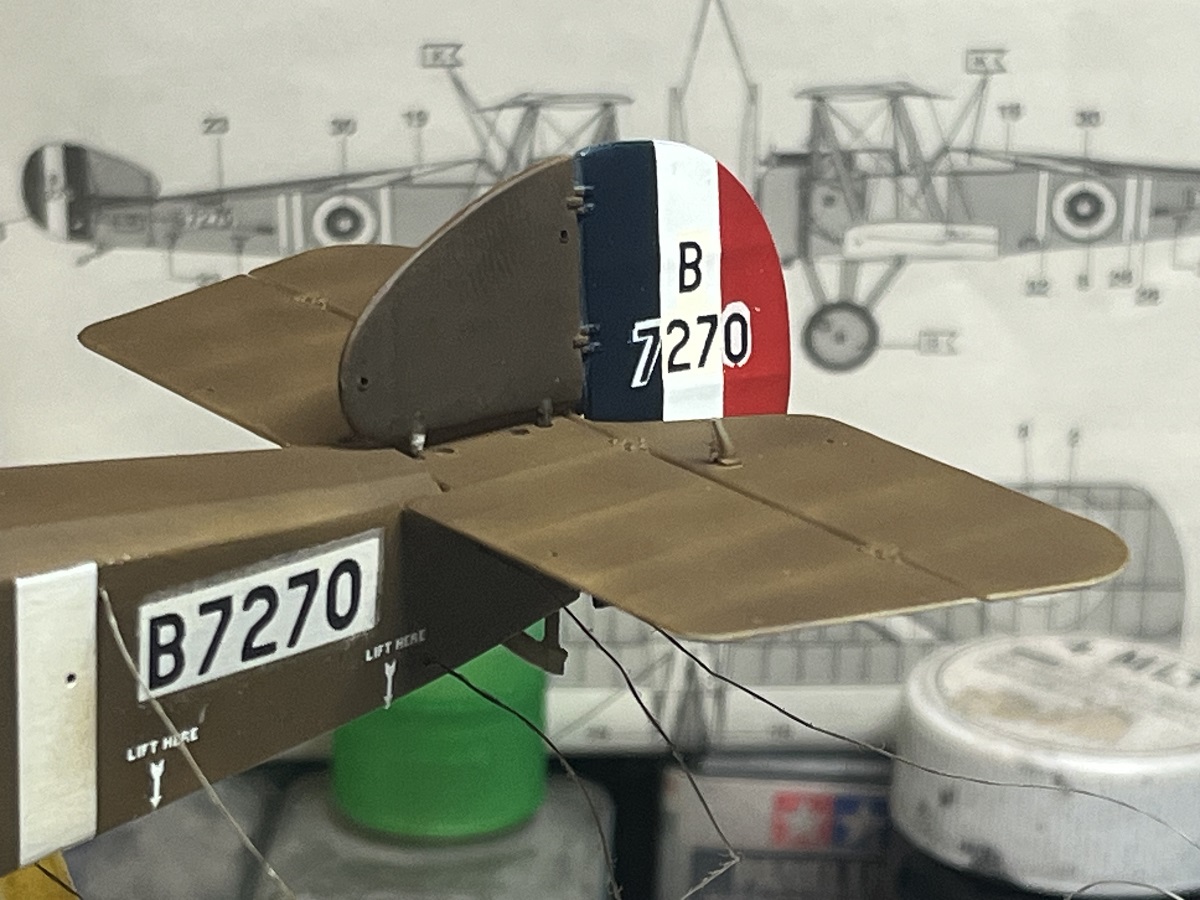
Update time! I gave the decals a couple of light coats of Dullcote thinned with about 60% Mr Rapid Thinner so it dried really fast. The “LIFT HERE” stencils shattered, but on inspection the AFC version I want to do from the WNW kit doesn’t use them so Mr Revell here purloined them. Calling this a win. It’s not pretty but I can work with it ![]()
The tail is dry-fitted here. I’m planning to replace the two locating pins with brass rod and drill it in a bit deeper, the kit fitting is a bit precarious ![]()

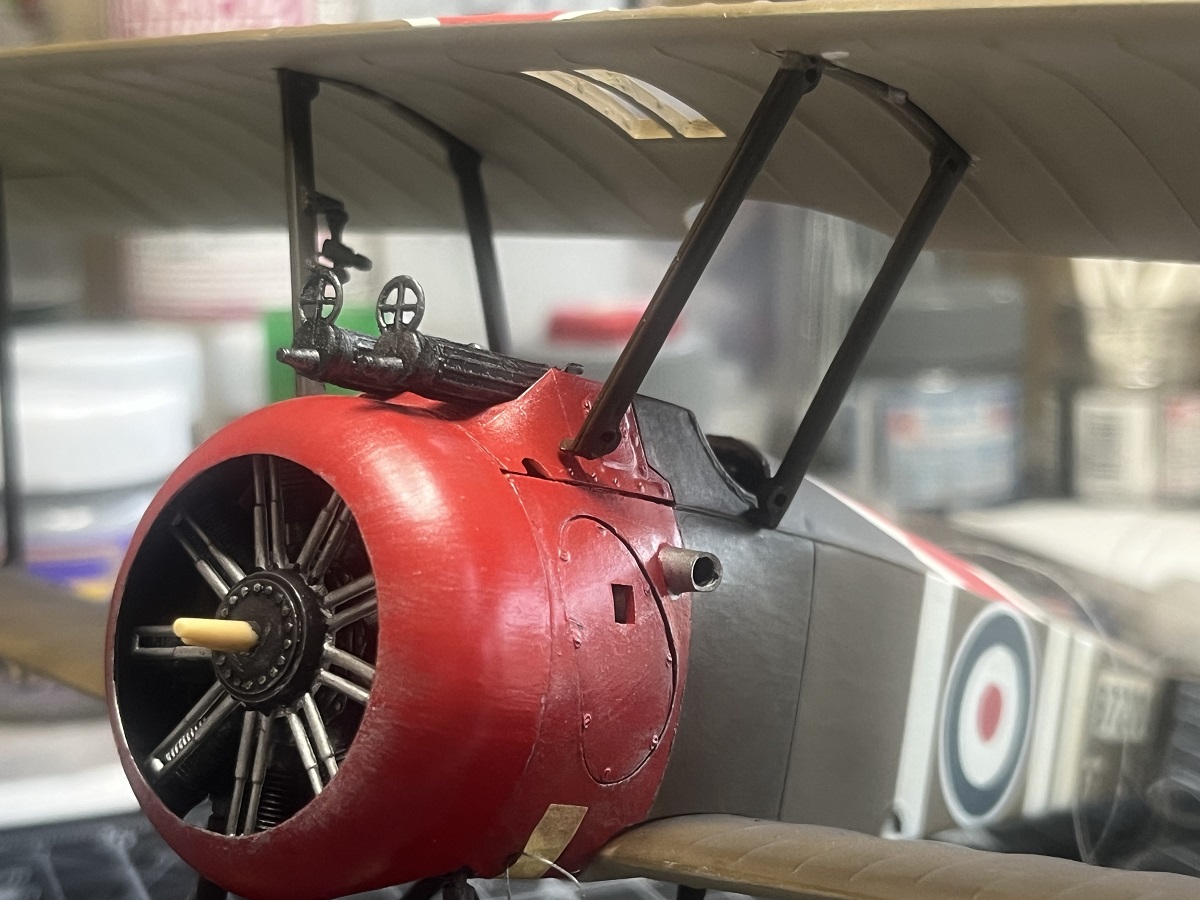
Top wing is on! I’m going to reinforce the outer strut fixing points with CA before I work on the inboard struts as they are a tight fit and actually deflect the top wing upwards in the middle.
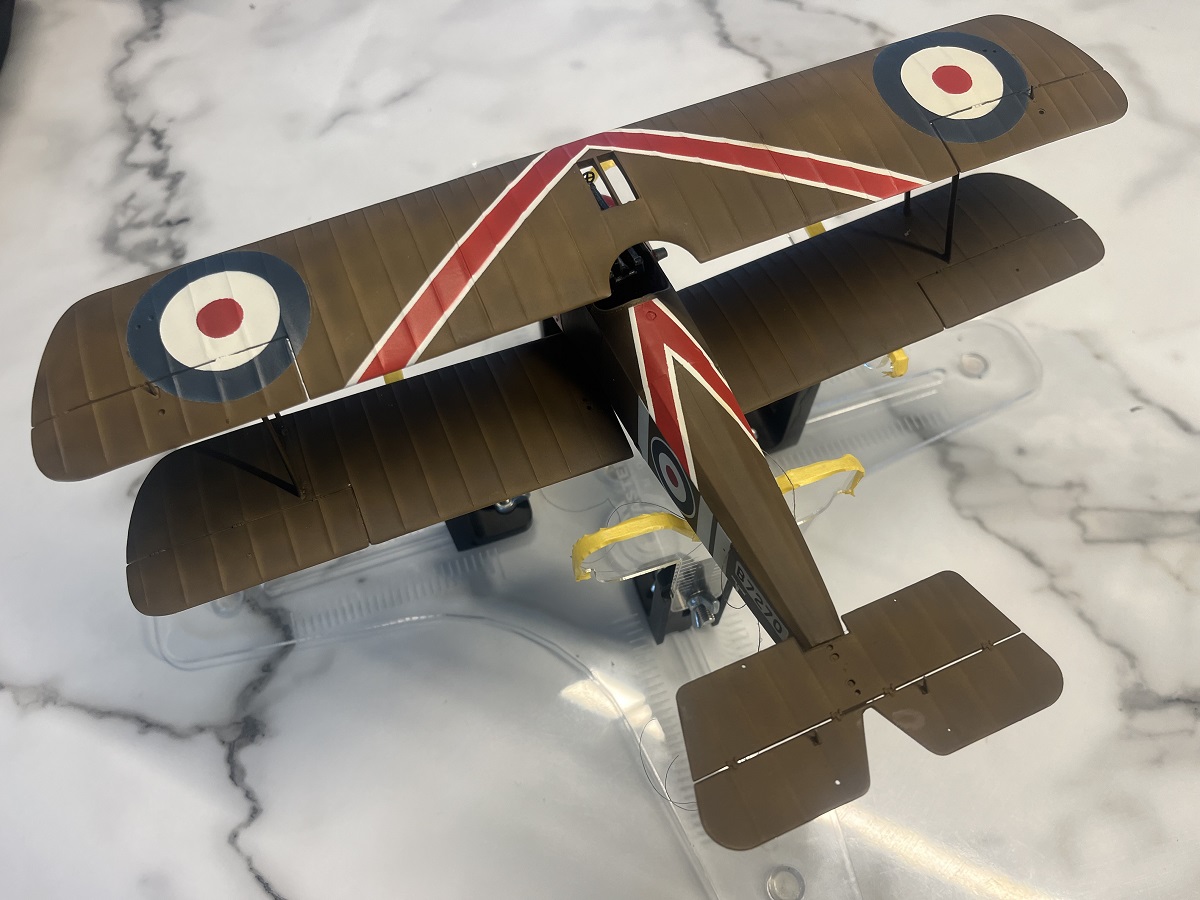
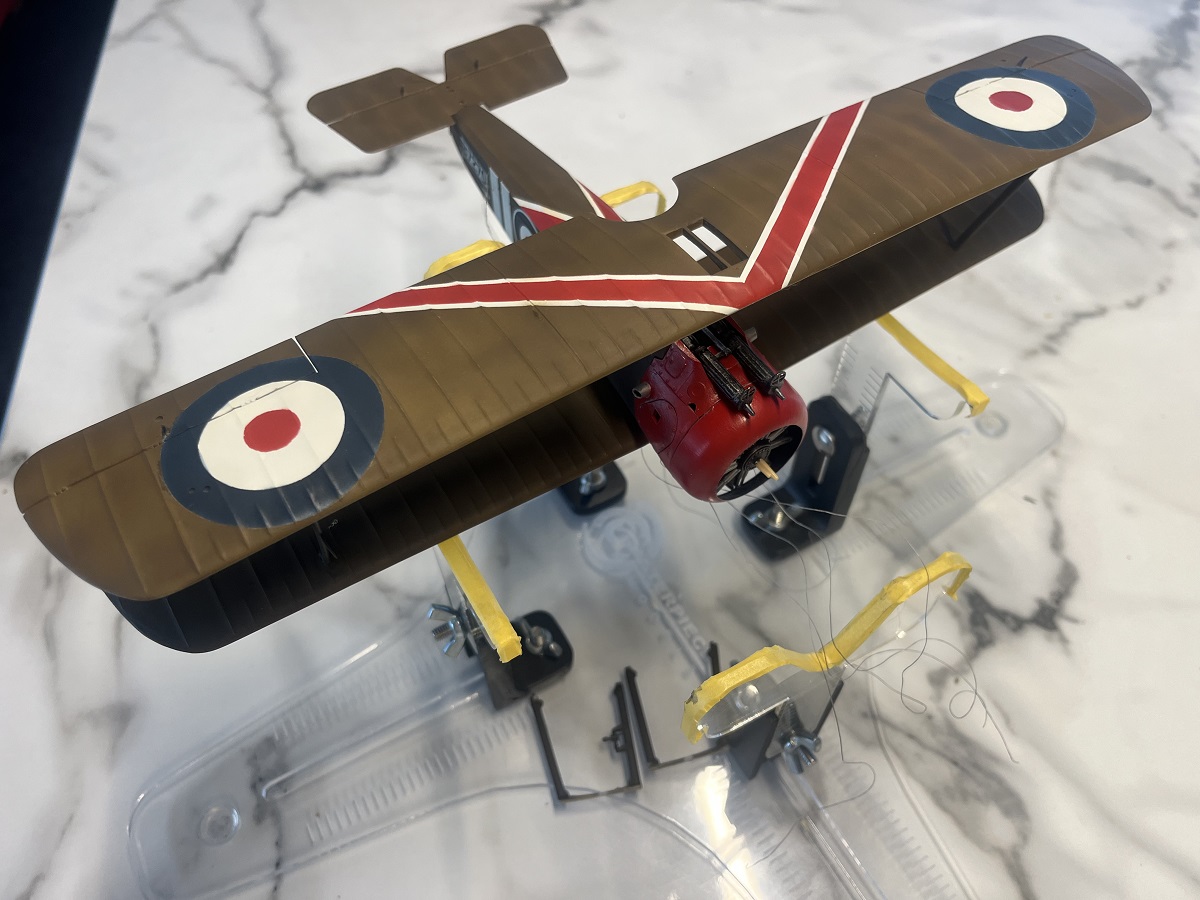
And while it’s resting comfortably upside-down, the wheel assembly got installed as well.

Cheers, D
7 Likes
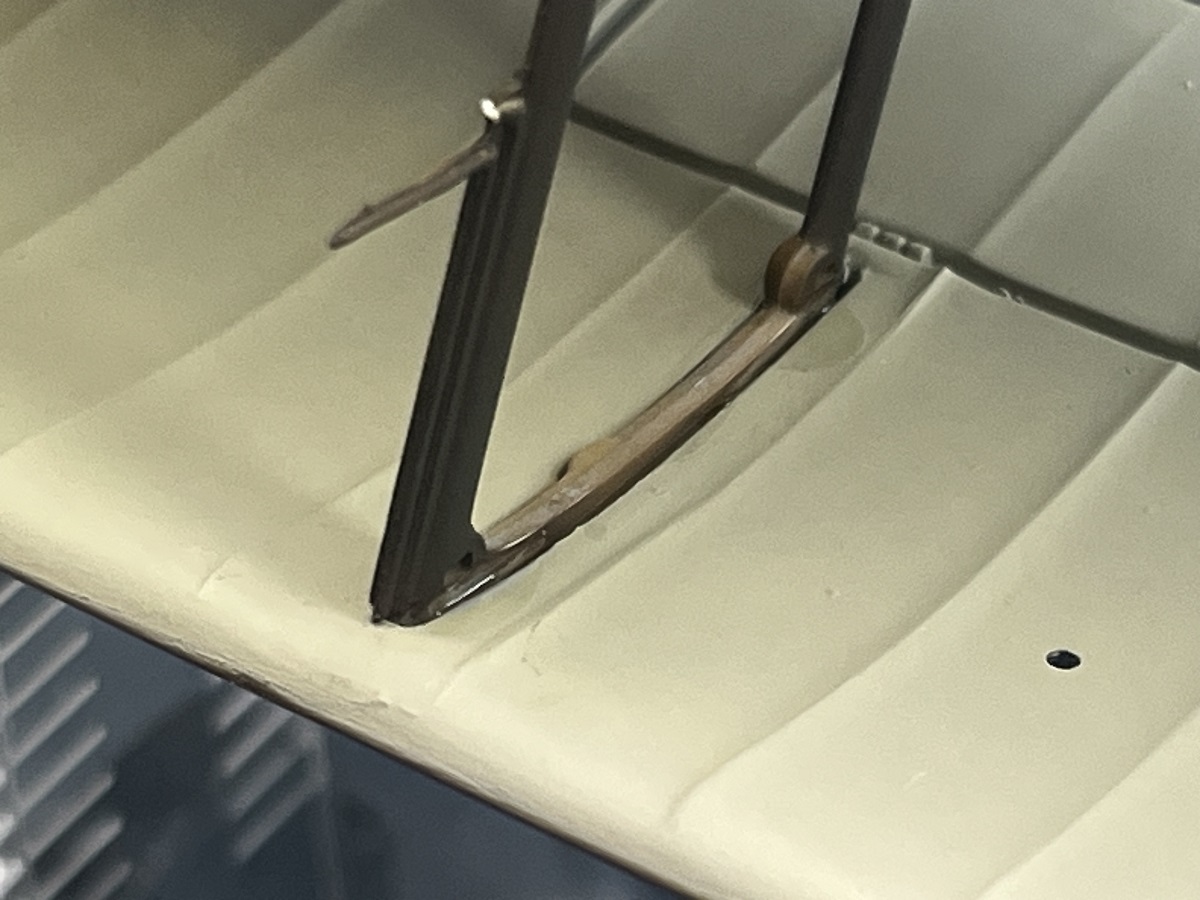
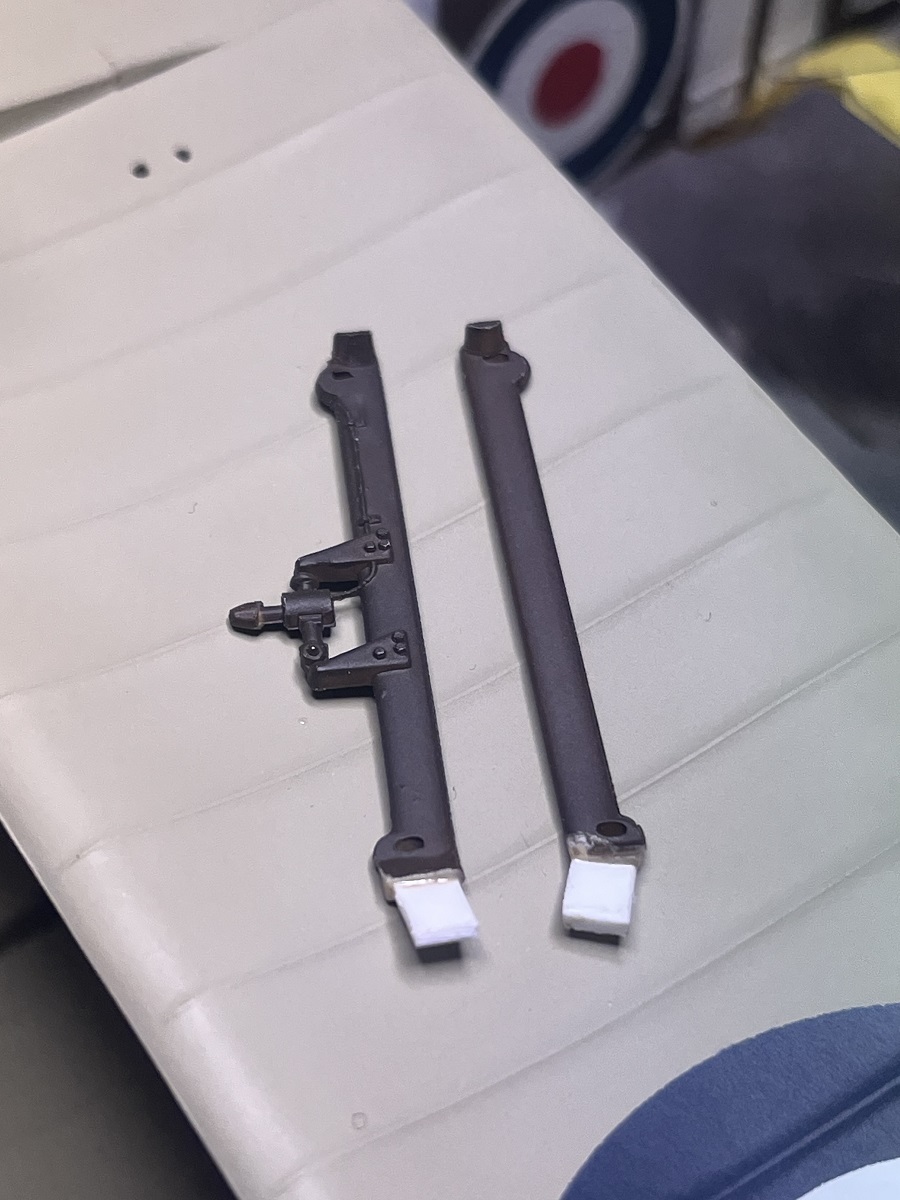
A bit of fun getting the inboard struts installed, the rear strut fits nicely but the front strut is not even close to the locating point. Same issue on both sides.
If I carefully pull the upper wing down and forward it puts a nasty bend in the outboard struts. I sat and scratched my head for a bit then decided on some surgery (as always). I have cut off the front struts and then glued the rear struts and upper wing support in place, and I will modify the upper end of the front struts to get them to fit neatly in place as a separate item. I will need to lengthen them by about 3-4mm and shape the top to sit it in the recess in the upper wing.

Cheers, D
7 Likes
Looking good coming together nicely except for the struts of course. I like your possible solution to this though. Thanks for sharing and keep posting and I will keep following.
2 Likes
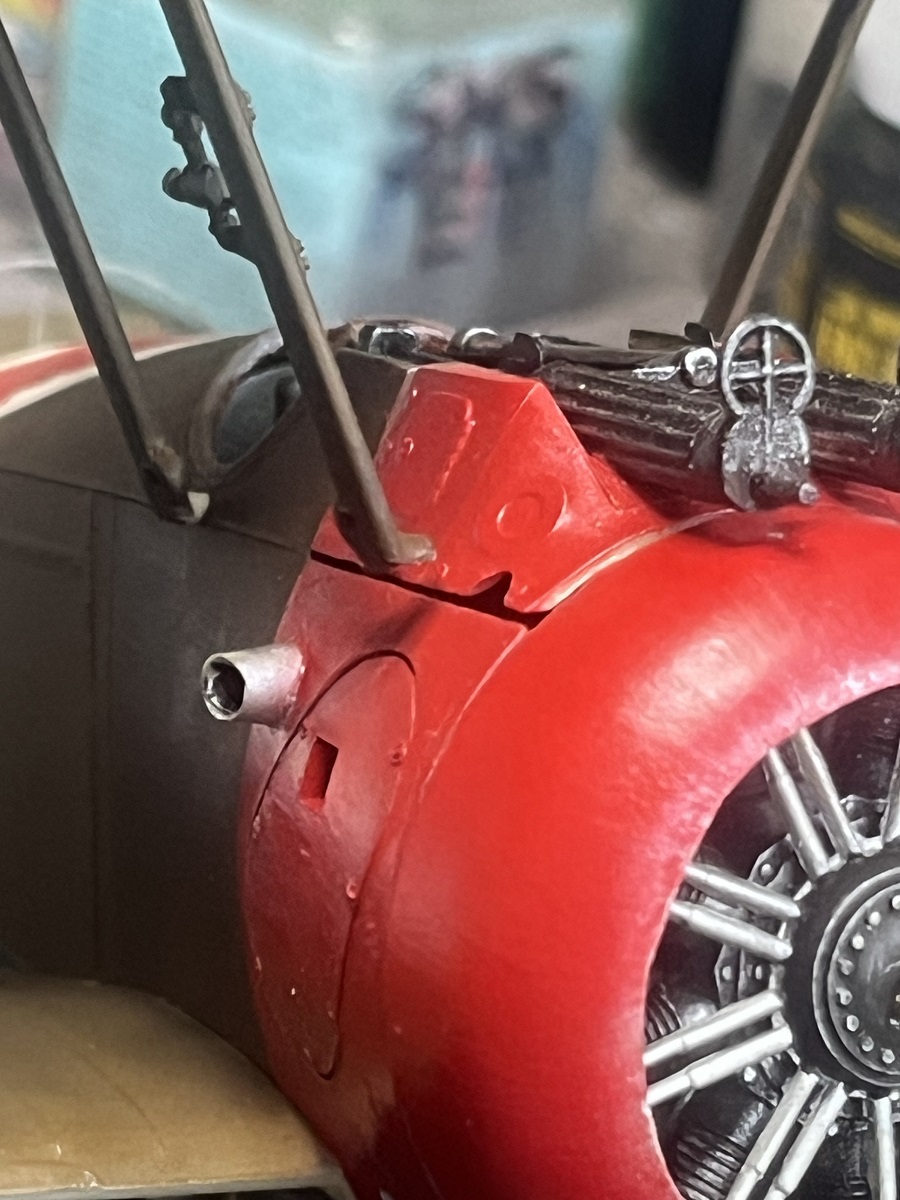
It’s a bit ugly, but it’s a fix !

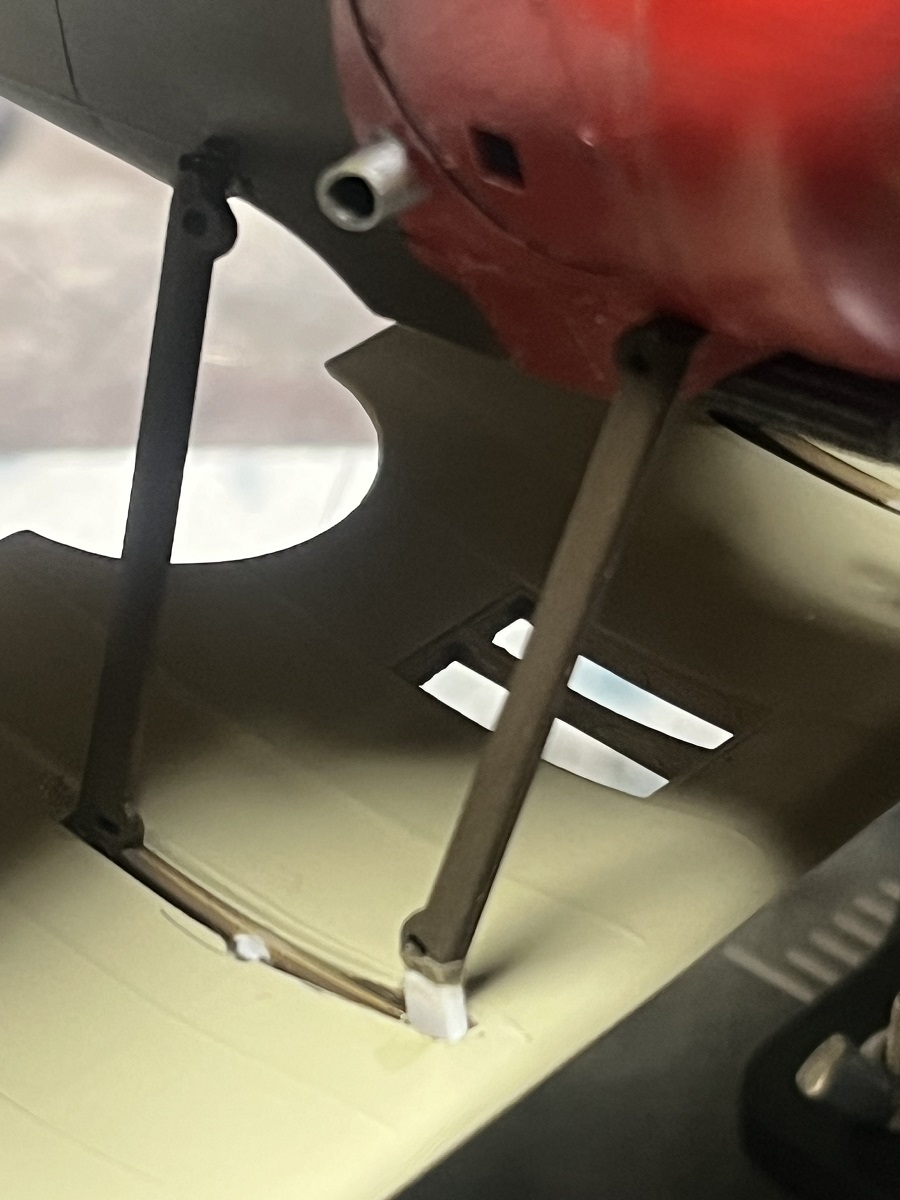
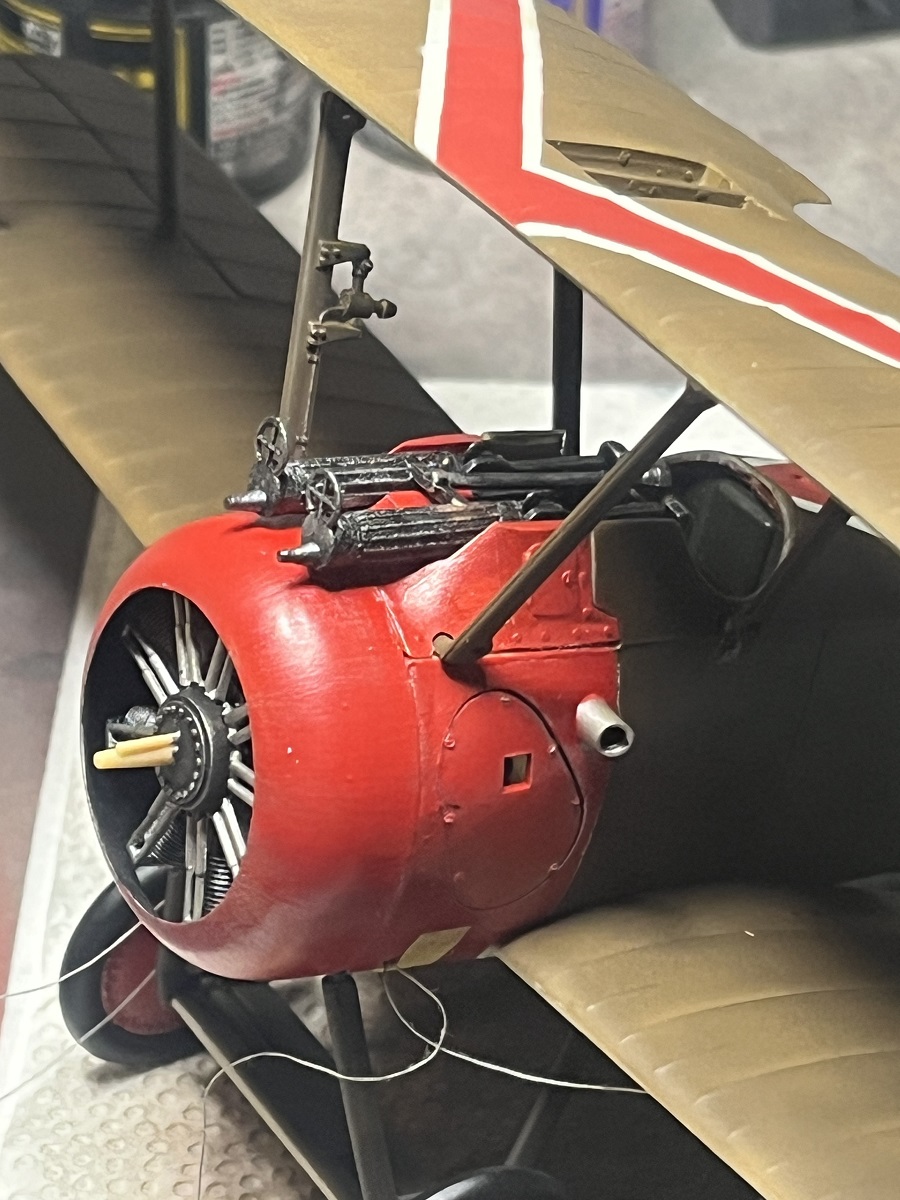
I just need to clean up the extensions and paint them to match and then I can fit them permanently and tidy up the joins under the upper wing.
Cheers, D
9 Likes
Quick question about the struts, did you consider cutting and extending the struts at the their middle. It would allow the strut to fit to the lower wing more realistically. The angle of the strut being something that may not allow for just the extension of the strut but I cannot tell just from the picture. I’m sure you gave this consideration before extending the connection point of the strut I was just wondering if the angle of the strut or something else influenced your decision to make the extension where you did. Excellent work by the way and thanks for sharing.
1 Like
Damien, I will be checking back on this a lot in the future. I finally snared a Revell Camel for my very own.
2 Likes
That’s coming on very nicely, don’t know whether I could paint the markings
2 Likes