Sopwith Camel (Revell 1/28th Scale)

While scratching around for another victim for my “2023 War on WIP” program, I dug out this old gem. This would definitely be the oldest kit in my collection, as close as I can estimate I actually started this kit in the mid-1990’s ('95 or '96) :grin:

I think I put it away back then because I recognised that my skills weren’t up to the standard that I wanted for this build, and although I have dragged it out a couple of times since, I haven’t had the drive to correct my poor construction and paint efforts from back then. Time has come to get it done!

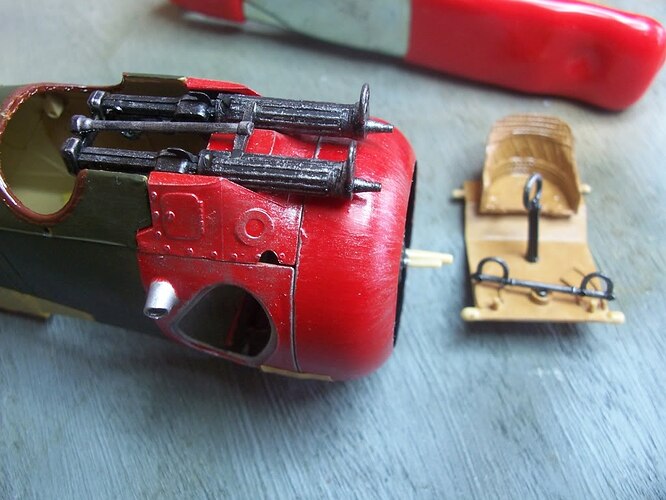
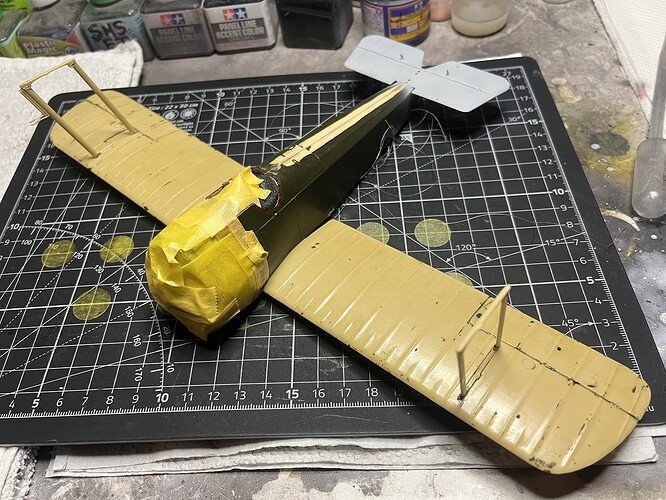
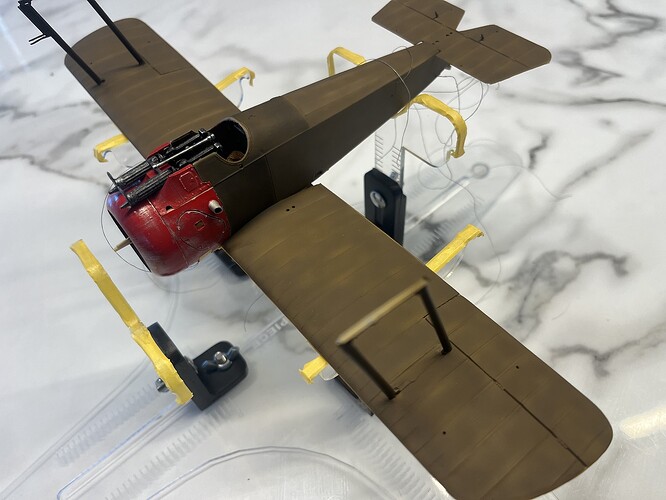
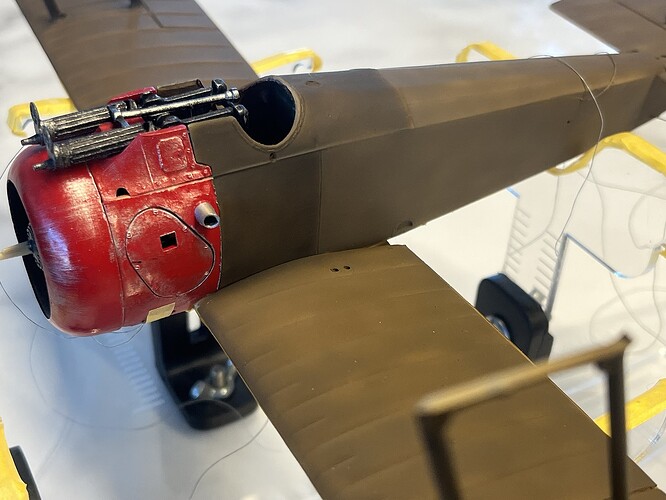
I can’t recall what paint I used on it back then, but it was pre-airbrush days for me so likely Humbrol enamels brushed on. I have given the top and bottom fuselage joins a good sanding to remove the joint lines, now I need to give the whole fuselage a wet sand and prep for primer. I think I will leave the cowl and guns as they are, mask them off and work around them.

I don’t have any WIP images, i think they were lost in the Photobucket fiasco. This first image was taken on June 6, 2010.

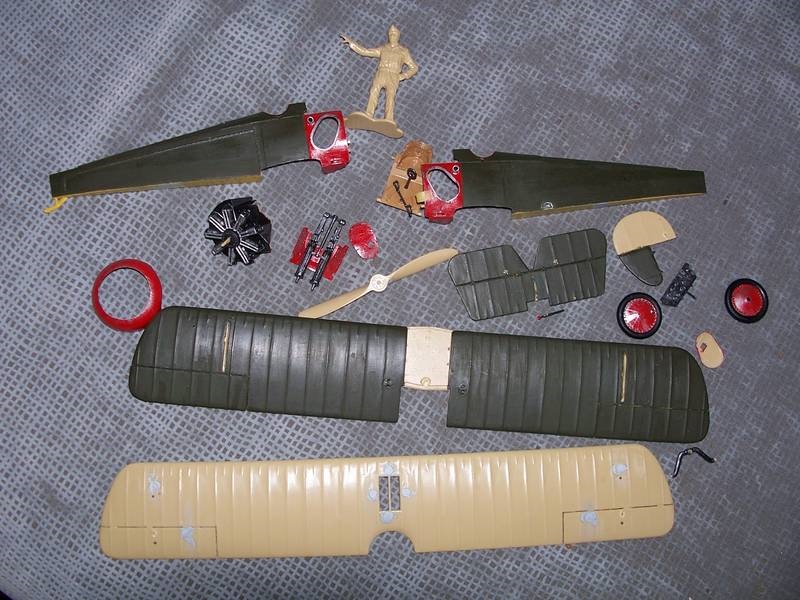
This one taken February 4, 2011.

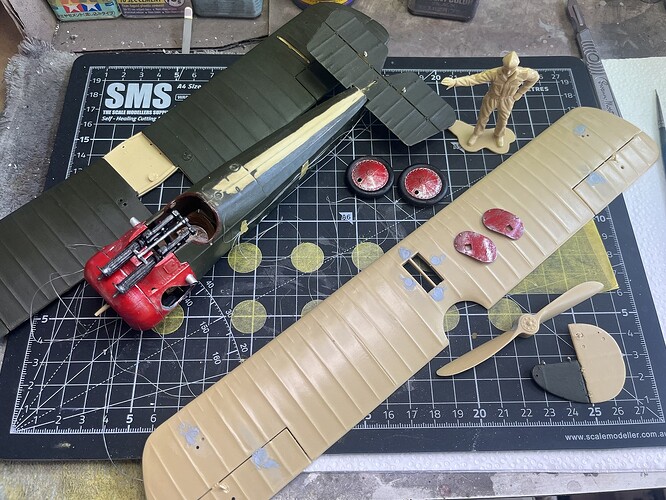
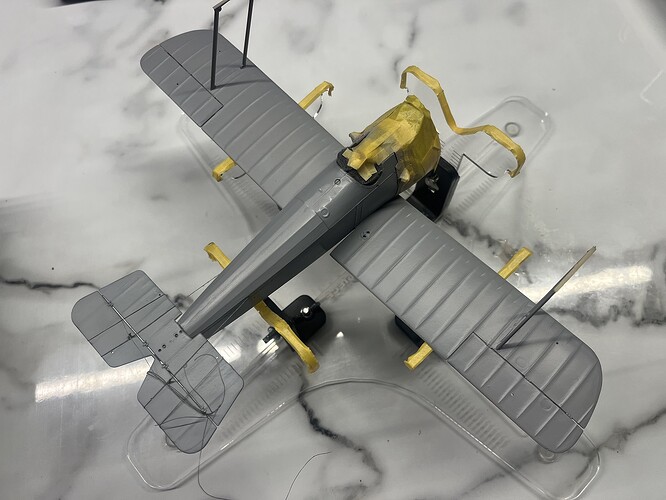
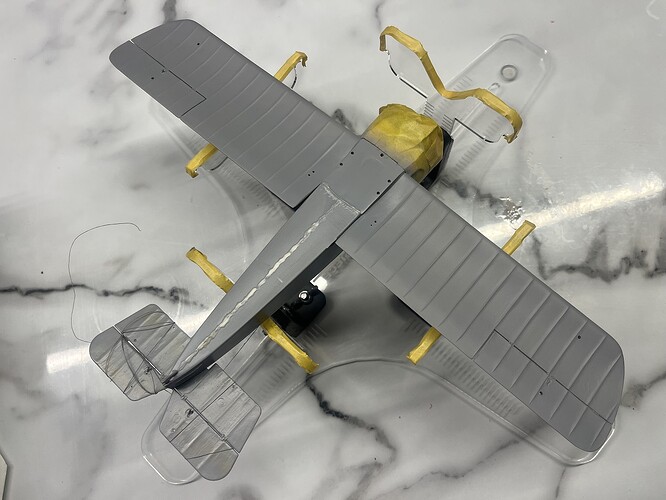
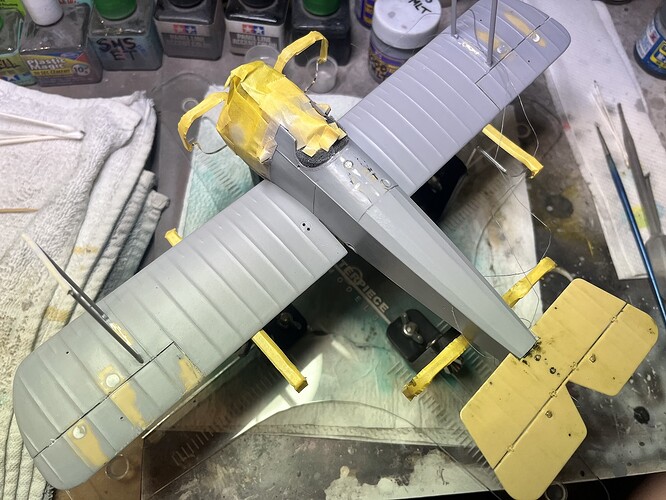
This one taken today after the sanding session.

Having the rigging already glued in place on the fuselage will give me some headaches along the way, but who doesn’t love a challenge? :thinking: :roll_eyes:

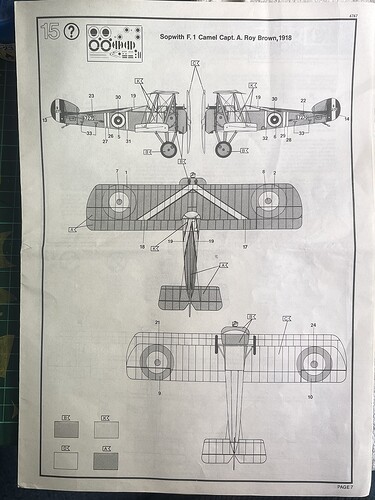
I have the WNW Clerget Camel kit which I will use for paint call-outs.

Always open to ideas, suggestions, critique, whish me luck :sunglasses:

Cheers, D
10 Likes

Good luck! Will be interesting / Ian

1 Like

WNW is a good idea to copy callouts and rigging. Even in a larger scale, the plane looks small.

1 Like

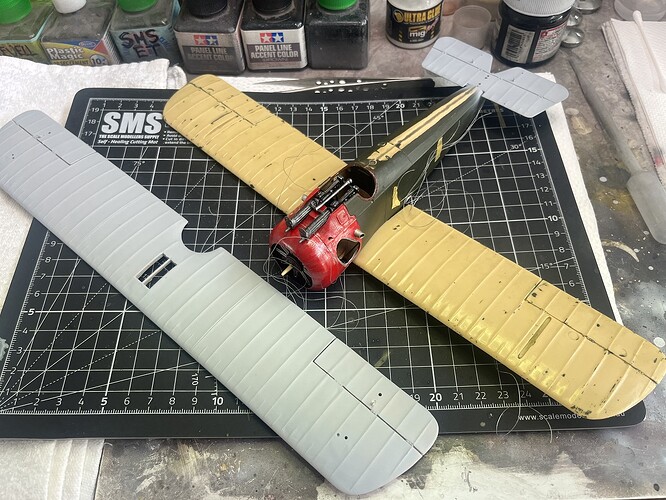
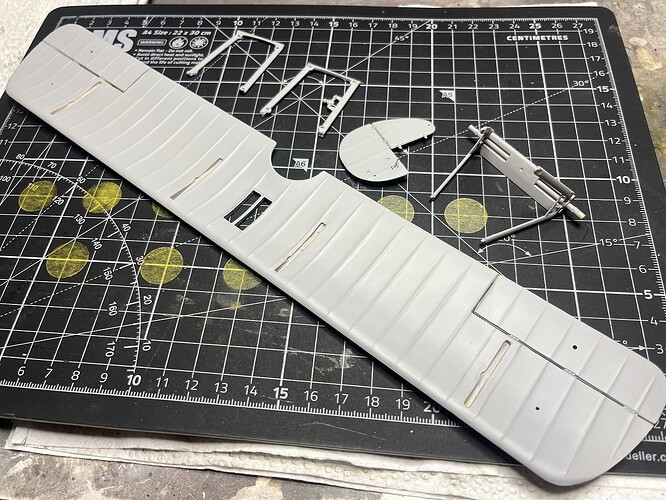
I’ve got a few projects moving along now, using that momentum to get some work done here. I stripped the paint off the lower wing using Dettol (50/50 with water) and a toothbrush, it came off easily since the plastic is very glossy and I hadn’t been using primer way back then. I fitted the lower with to the fuselage, and started shooting some primer on the upper wing.

Next up I will mask off the red nose, cockpit and guns and shoot primer on the lower wing and fuselage to see what further tidy up work might be needed there.

Baby steps, but in the right direction!

Cheers, D
4 Likes

Some more progress on this one, I’ve fitted the outer struts on the lower wing and will fill the gaps around them before primer, and masked off the nose and cockpit.

I’ve stripped off the old paint and tidied up the inboard struts, rudder and wheel frame assembly and primed them, as well as priming the underside of the upper wing.

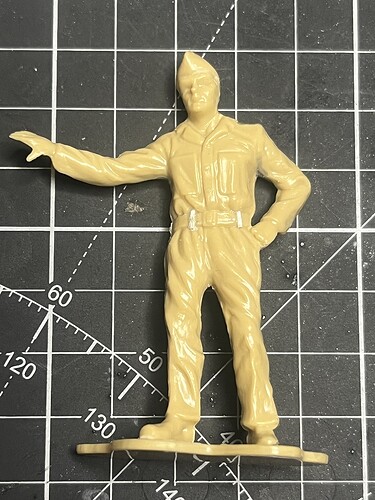
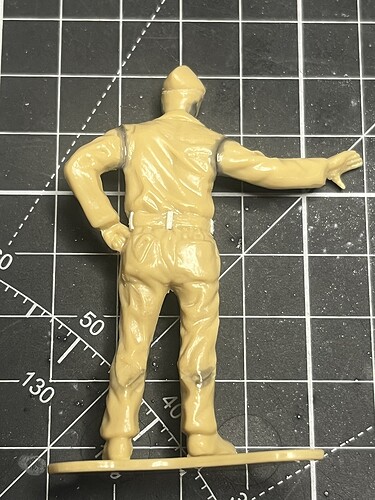
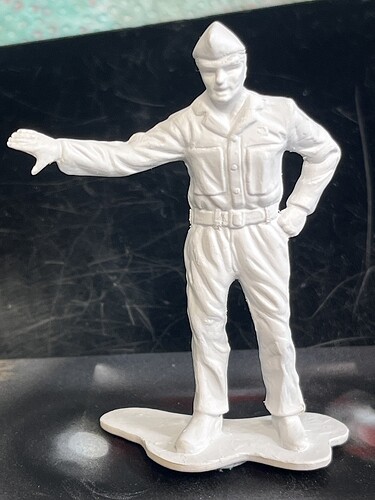
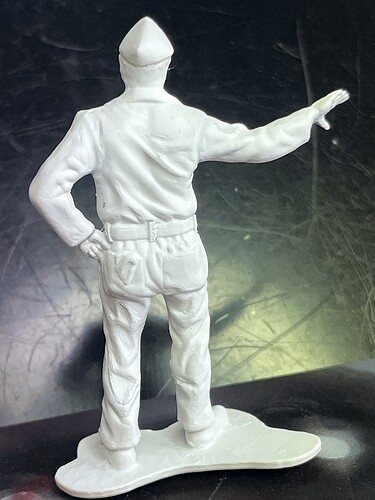
I’ve also done some more work on cleaning up the pilot figure with scraping some mould lines and sprue-gooing some small gaps.


Cheers, D

7 Likes

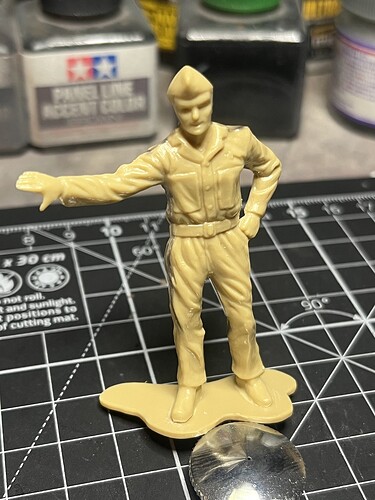
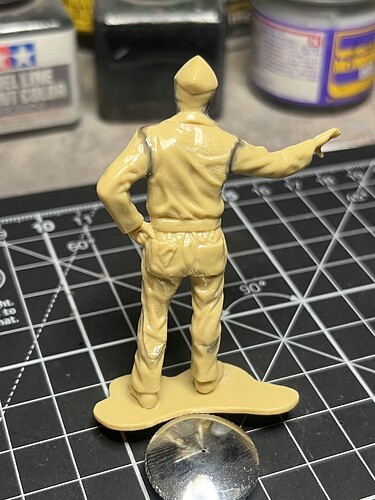
Funny the things you don’t see until you look at photo’s of your work :thinking: :roll_eyes:

Old mate here needed some belt loops, can’t have him flying with his drawers around his ankles now can we?


Cheers, D
6 Likes

Damien, nice work. I LOVE this Camel and its friends the SPAD and Fokker; I bought a P/E set for the SPAD and some 3D Spandaus for the triplane.

Eagerly watching your work.
Fred

2 Likes

Thanks for checking in Fred, great to have you on board! Plenty of work to do yet, just about ready to prime the fuselage and lower wing, and I’ve given the pilot figure a shot of white primer today to see what further tidy up needs to be done. Tackling 2 modeling bogey-men in one project, rigging and figure painting :thinking: What could go wrong? :rofl:

Cheers, D
2 Likes

I have this kit in the stash, built it many, many years ago, guess I should dig it out again.

2 Likes

I built this a few times in my younger days , along with the Spad and Fokker - always thought they were nice kits .

2 Likes

ooo, you are a glutton for punishment D :grin:

2 Likes

Thanks for checking in guys, hope I can keep you entertained :grin:

I’ve primed the fuselage and lower wing, and identified some further putty and prep work that needs doing (as always!). Still some ejector pin marks and scratches to putty.


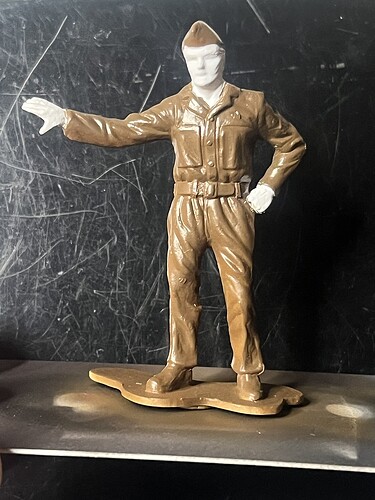
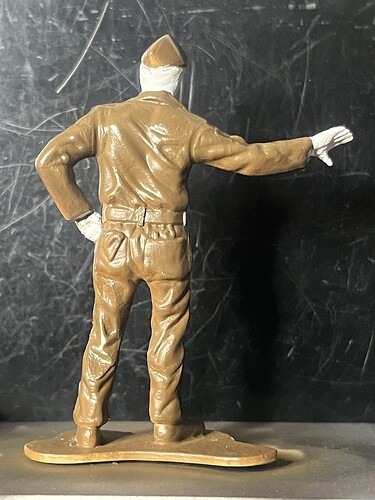
I’ve also done some work on the pilot, primed with MS1500 White, used Microscale liquid mask on the face and hands, then shot SMS RAAF Earth for the clothing which seems to be a reasonable match for the Revell Earth Brown that is called out in the instructions.


I will pick up some Vallejo Flesh to put an acrylic base coat on the face and hands before I start playing with the flesh toned oils.

Cheers, D
6 Likes

If you want D, I have another figure campaign going on that you can enter this figure in if you want.

2 Likes

Looks more like a Second World War pilot than The Great War they are trying to portray to me does it not?

2 Likes

Could very well be, I’m not that familiar with the period uniforms. I will paint him up and see how he looks either way.

More body work going on, the horizontal stabilizers came loose as I was sanding some putty, and I wasn’t very happy with the paint and putty on them anyway, so off they came and in for a bath, back to bare plastic. I’ve sanded back the rest of the putty work so once the cement cures I will reprime and see how it looks.


Cheers, D

4 Likes

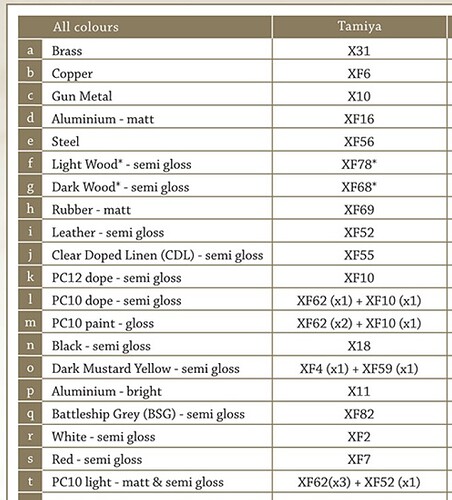
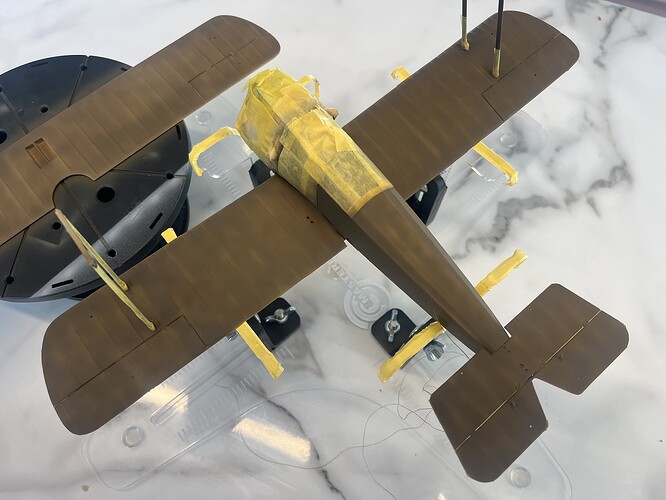
Very excited to finally get some colours on this one. I’m using the Wingnut Wings callouts for Tamiya Acrylics as per this chart, thinned with about 60% Mr Rapid Thinner:

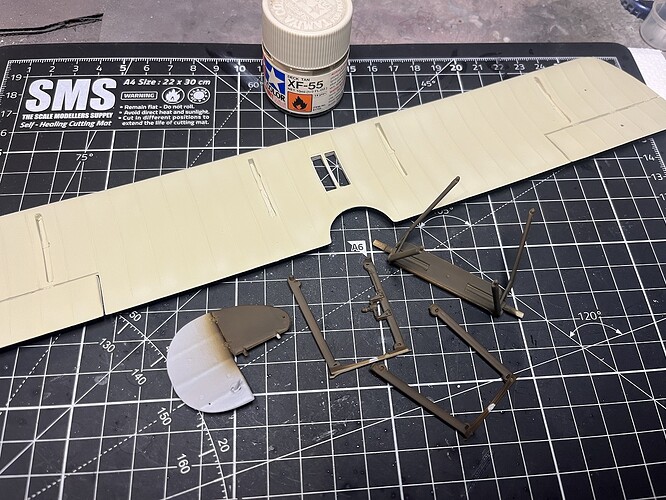
I’ve painted the undersides with “j” and the cockpit panels, struts, undercarriage and tail with “m” on the chart.


I will give these a day or two to cure then mask off for the paint on the fuselage and upper panels. I’ve already mixed up a batch of “t” for that job.

Cheers, D

5 Likes

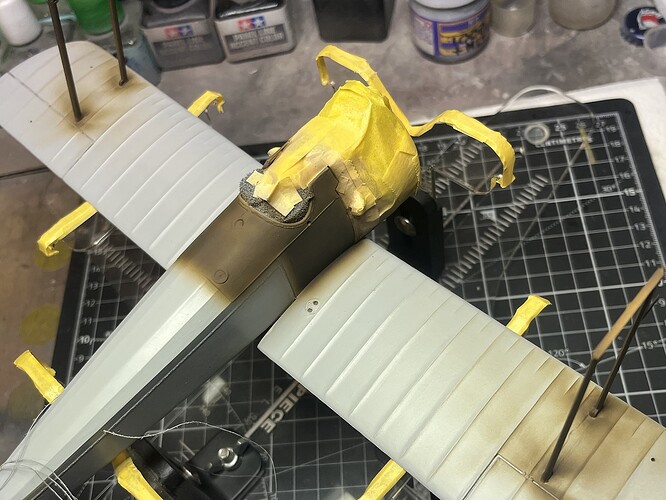
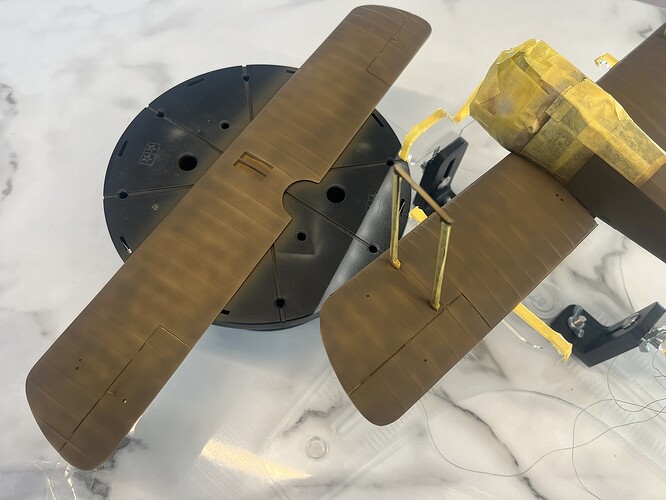
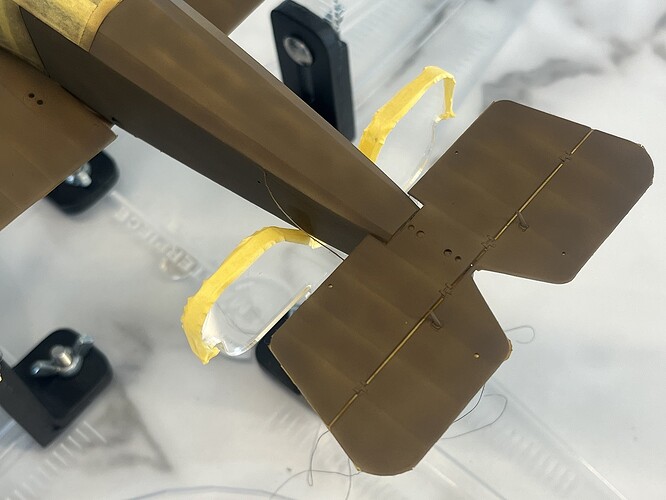
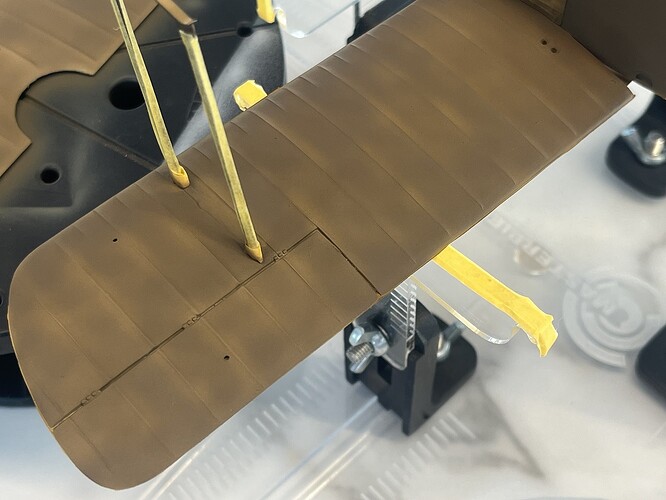
Hey Aeroscalers, looking for some feedback. Top coat colour here is Tamiya Acrylic mixed to the WNW call-out “t” and thinned with 60% Mr Rapid Thinner to get a nice flat finish. I primed with MS1500 Grey, then built up the top coat with multiple thin layers to try to get a random faded effect. This is my first attempt at a fabric aircraft, thoughts on the effect? Suggested improvements?


Getting close to the dreaded antique decals stage now, preparing myself for the catastrophic shattering and the masking and painting of markings.

Cheers, D

5 Likes

Looking good D…

Best reference I can think of for the canvas dope would be to get yourself down to the Moorabbin Air Museum and checkout the Bi Planes they have on display. They’ve got examples going back to WW1 Which should give you a good frame of reference :blush:

2 Likes

Thanks for the feedback Russ! I’ve been to Moorabbin a couple of times, love the place! A good mate of mine made the big Beaufighter diorama there a few years back.

I’ve decided to push on, the more I look at the paint finish the more I like it. This build is really a paint mule and test rig for when I build up the courage to tackle the WNW kit so no point in procrastinating too much.

I unmasked the body to see how things all look, I think I will give the red cowl a light shot with Insignia Red to tone it down and cut back the OTT dry-brushed chipping that I did way back then :rofl:


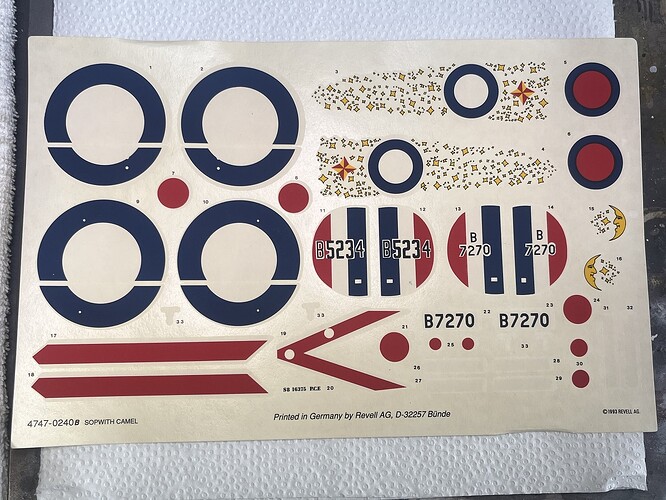
What I shouldn’t have done is have a close look at the decal sheet, it’s horrendous! There are a couple of glaring mistakes, the worst of which is that the fuselage roundels are filled with red where they should be white :thinking: :roll_eyes: :disappointed:
Add to that where the forward vertical side stripe has the cutout for the step on the wrong side, and everything . . . EVERYTHING is completely out of register. The white borders on the red stripes are hugely uneven, I think the only things I will try to save and use are the rudders and fuselage codes. I’m even worried about doing that because they probably won’t match the colours that I will use to paint the markings now.


Anyway, on with the Zen of masking to calm things down a bit :pray: :smiling_face:


Cheers, D

6 Likes

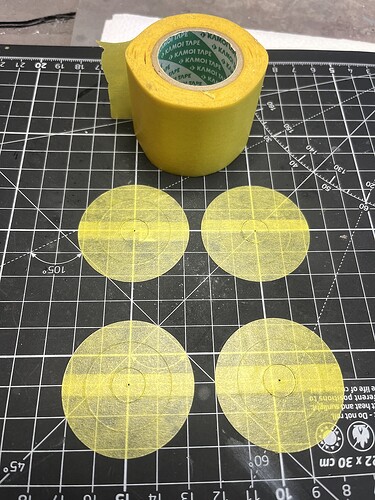
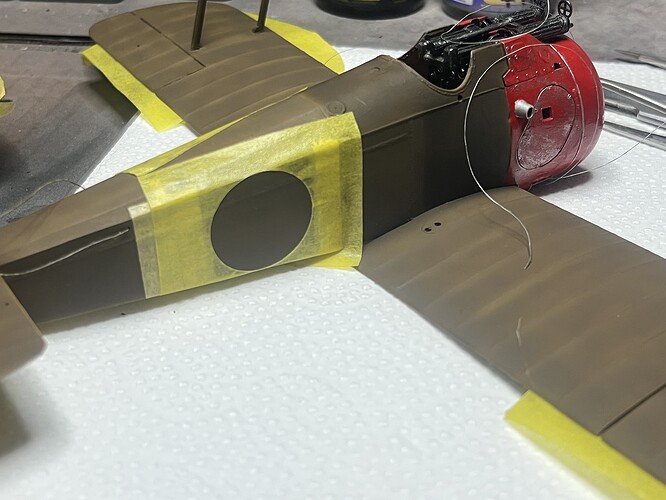
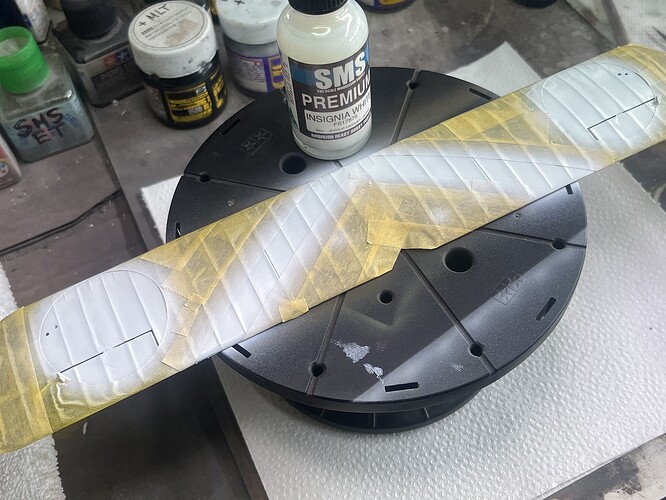
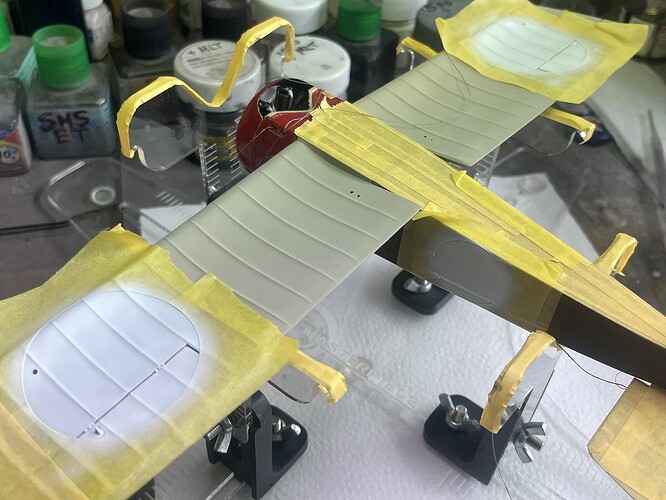
Stage 1 of paint on the roundels and upper wing stripes done, SMS Insignia White with a few drops of Mr Rapid Thinner to flatten the finish.


I will lay in the circles and paint the centre SMS Insignia Red next.

Cheers, D

5 Likes