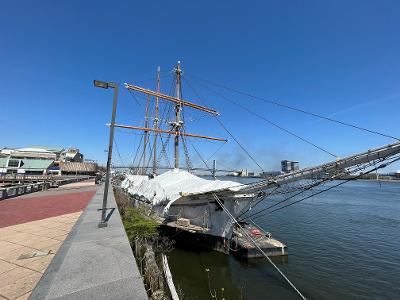
Speaking of rigging, I’m just starting to help do a 1:1 scale project.
We have until June to turn this:
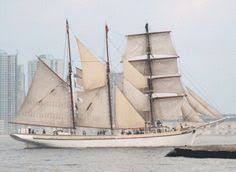
Into this:
It’s actually 123 years old, but gets unrigged every fall, has lots of tlc, then re-rigged in the spring.
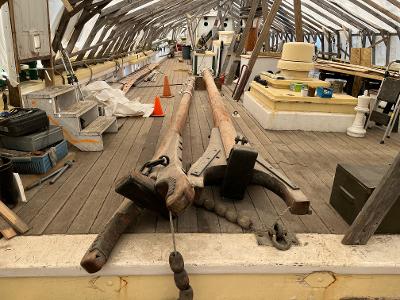
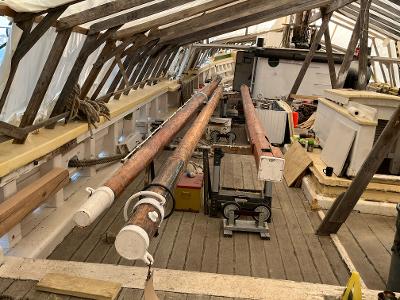
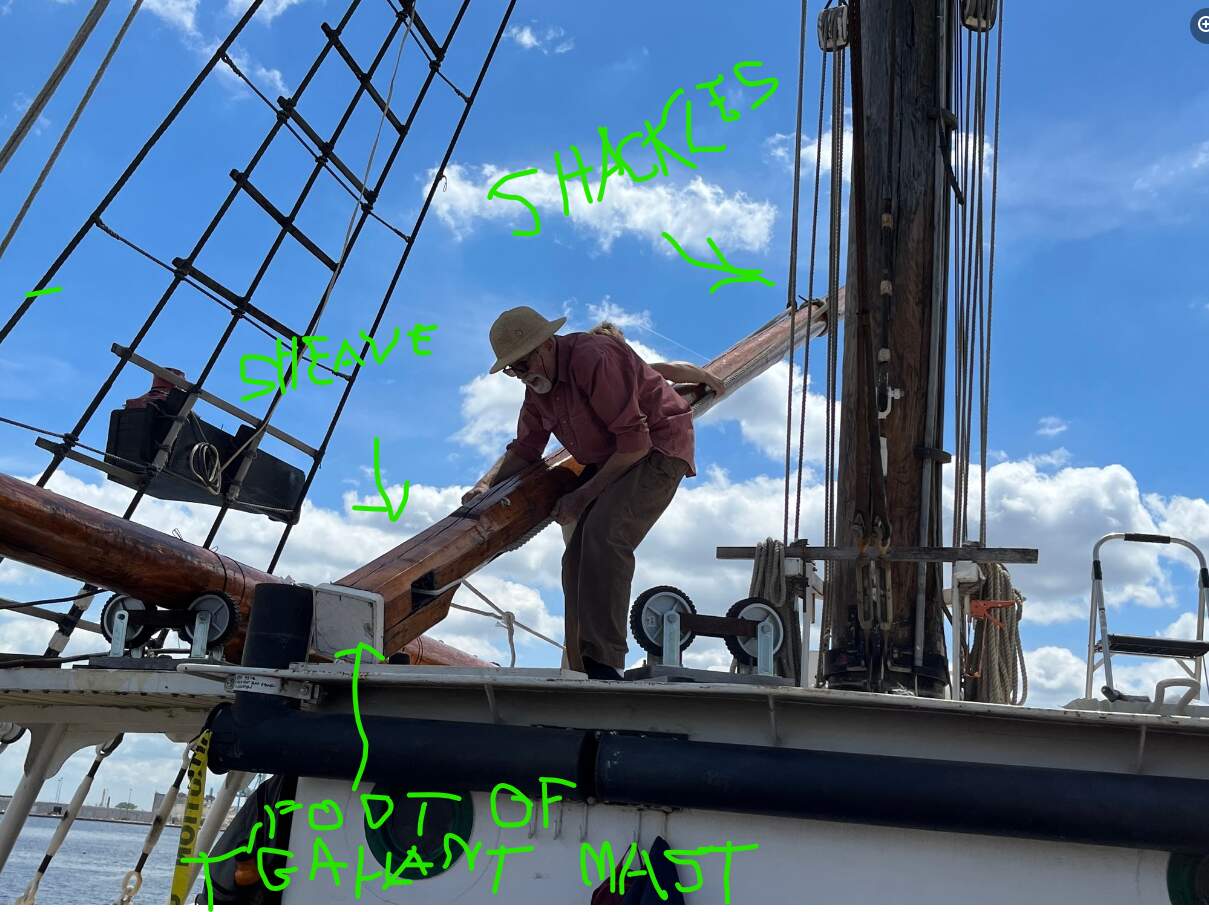
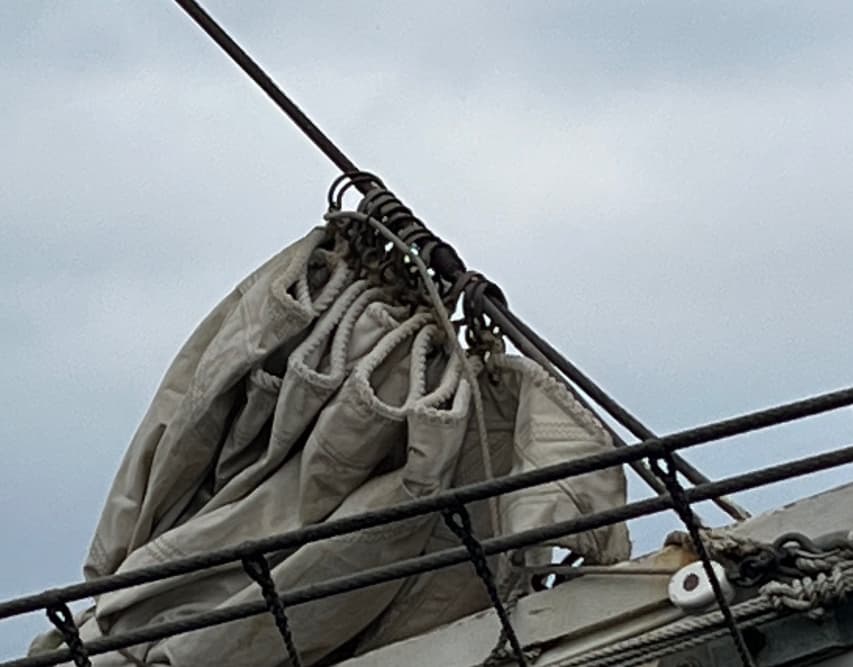
First the cover comes off and two gaffs, three booms and a topgallant mast and yard need added.
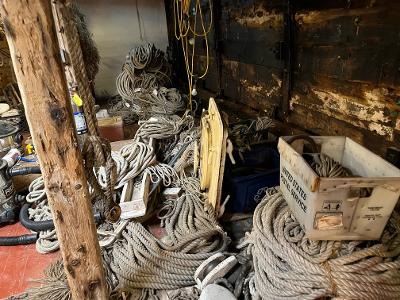
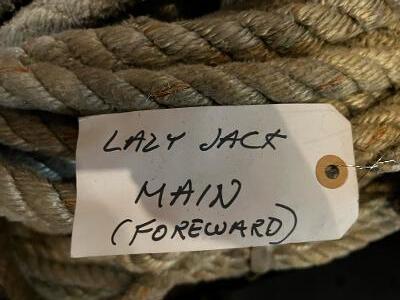
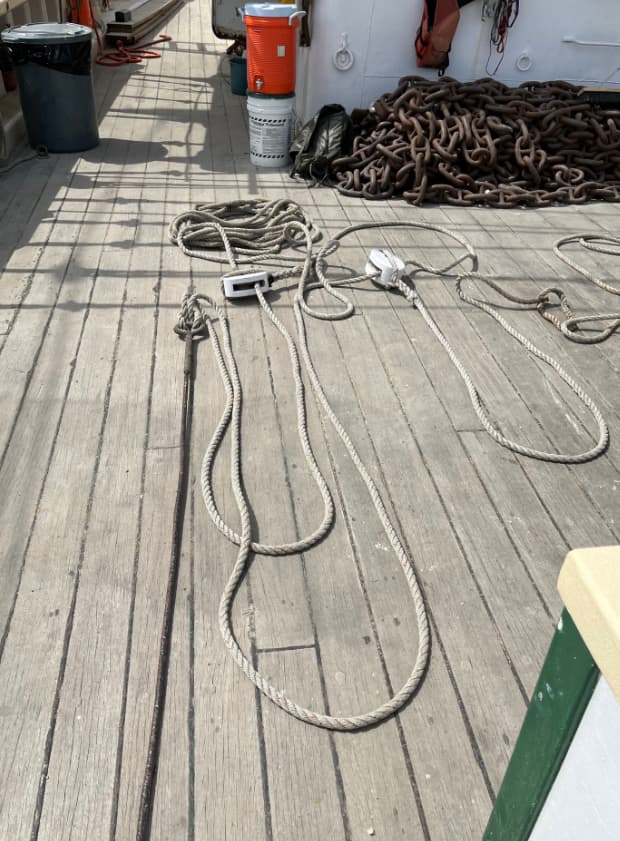
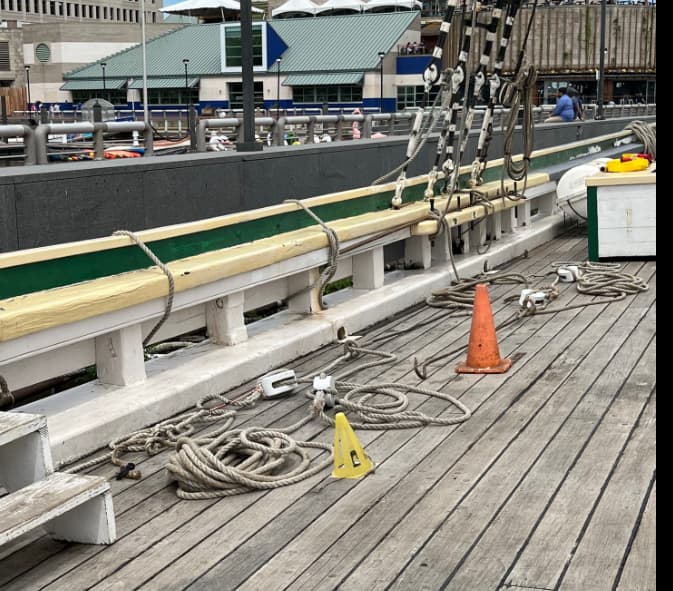
Each line is already cut to length, tagged, and sensibly organized, just like many other kits:
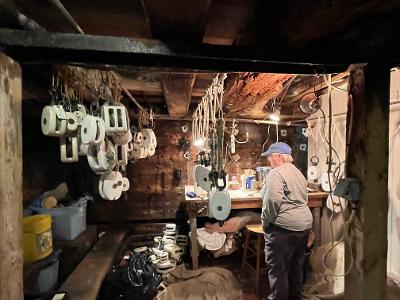
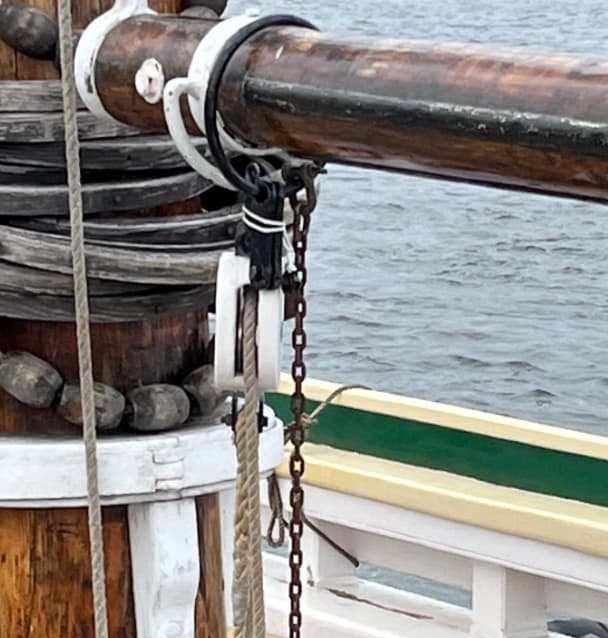
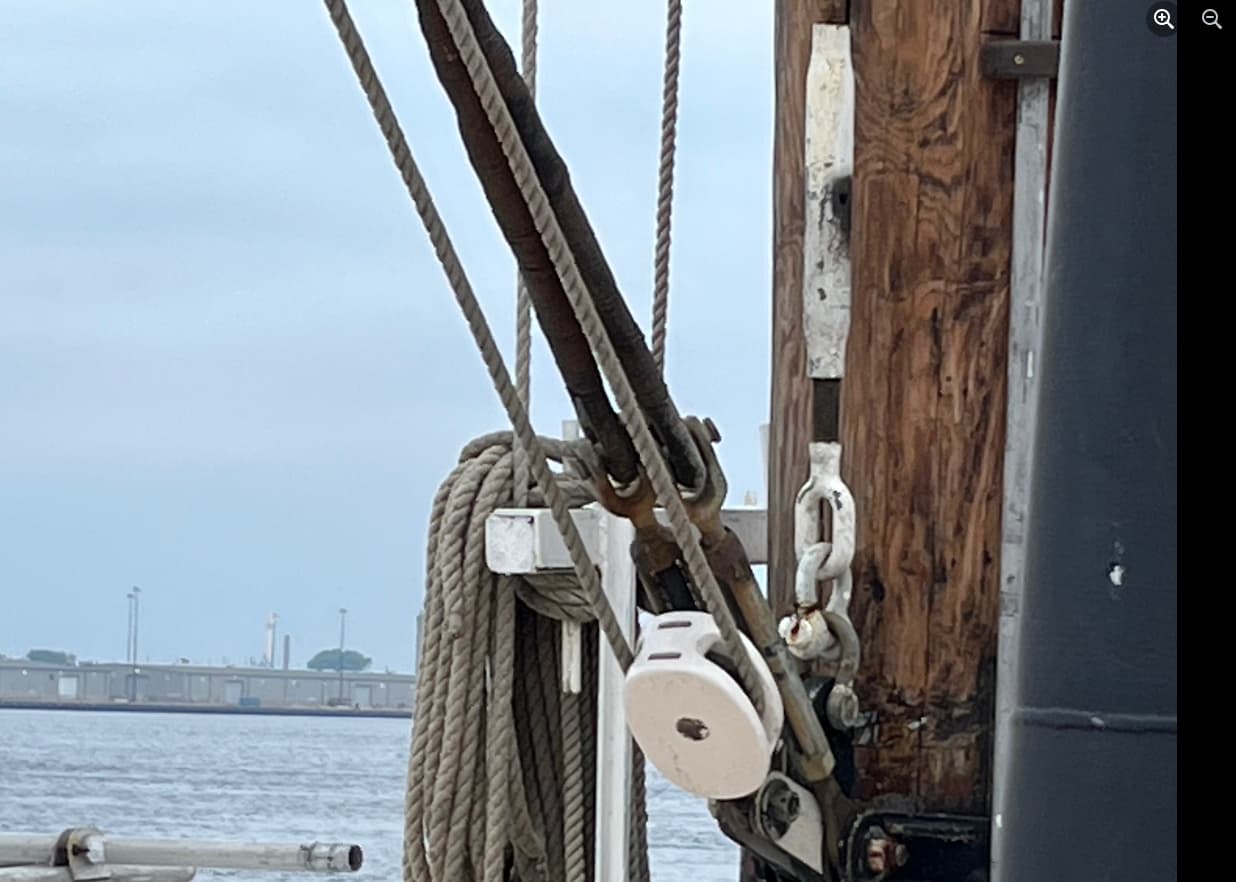
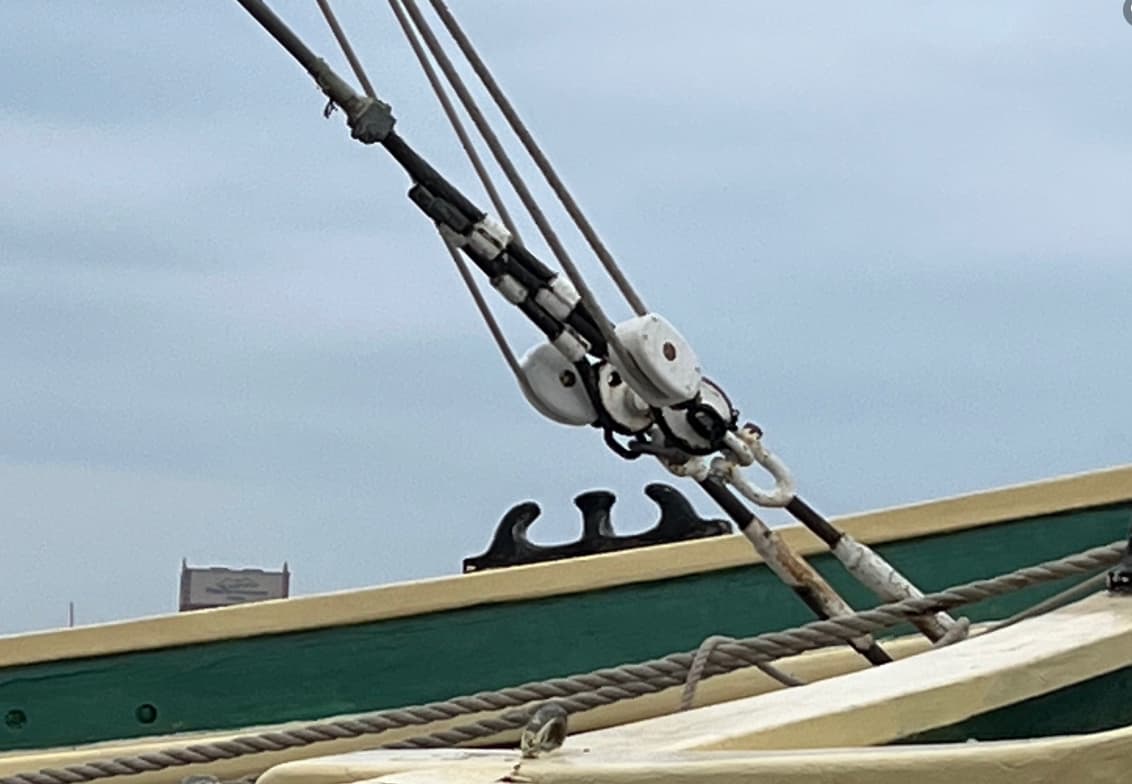
Also there are dozens of blocks, coming in a wide variety of styles and sizes.
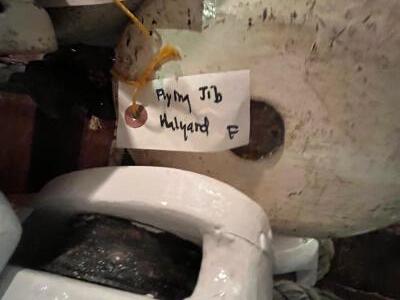
Each (hopefully) with a tag showing it’s location.
Instead of glue, they are held on by an equally wide variety of shackles, but I’m not sure where they are hiding. Instead of the Carpet Monster, we have the bottom of the Delaware River!
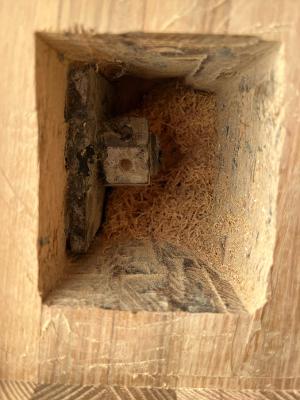
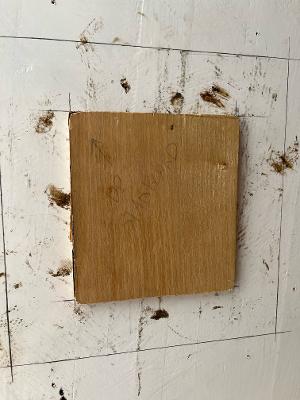
With the cover still on, my first task is a bit of deck detail. I get to shape a square of wood to fit exactly into a not-quite-square hole.
Inside the hole is the nut that holds the eyebolt that holds the chain that holds the Pelican hook that holds the anchor chain that holds the anchor. Unfortunately all the deck hardware had to hold real loads so I can’t just cram the eye into a hole and call it done. The entire opening will get smeared with tar and the wooden cover driven into place and painted over so it looks like a solid block of wood.
We stripped off the winter cover and sent the framework ashore.
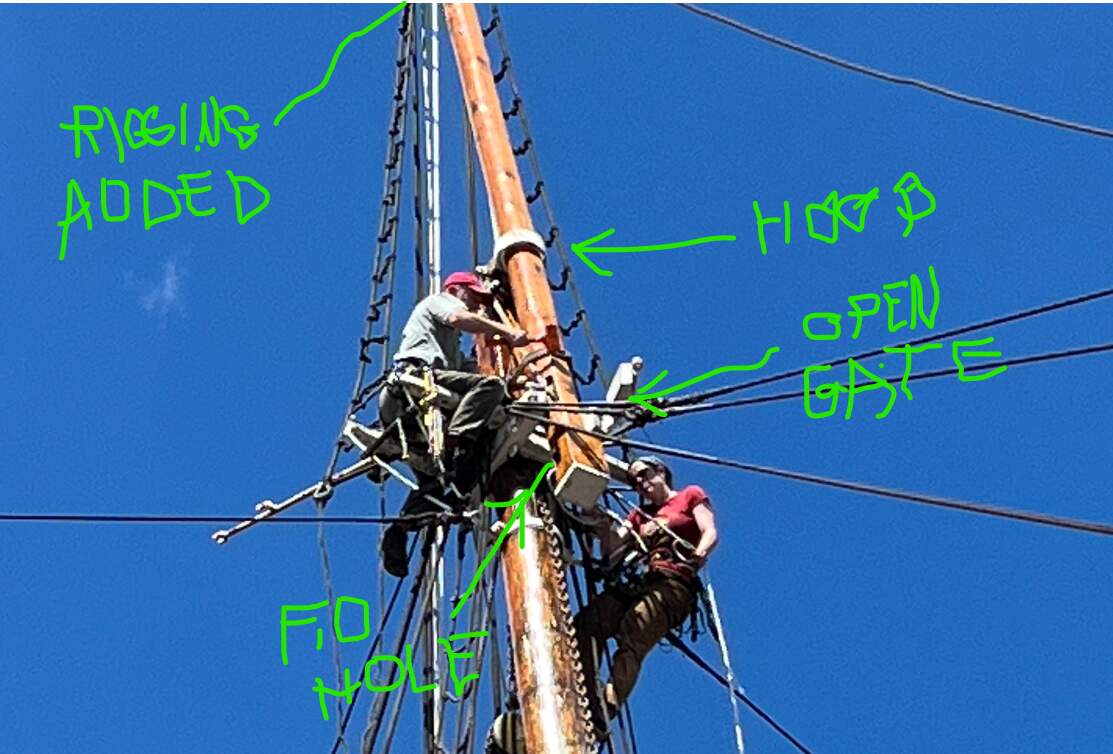
Next we rigged the Topgallant mast for hoisting. A heavy line was rigged from the head of the fore topmast, down through a sheave in the base of the topgallant mast, back up to a block at the topmast head, down and back to a turning block secured to a deck ring amidships, and forward to the windlass. This “Top Rope” then got passed into two shackles lashed near the top of the topgallant mast so when the pulling started the mast would rise top first instead of upside down.
Look close and you can see the slot in the base of the mast with the top rope coming out, running up to the lashed shackles then straight up to the topmast head.
When the top of the topgallant mast rises above the hoop but is still reachable, all the shrouds, stays and backstays are hoisted up one by one and looped over the tapered masthead in the correct order. (otherwise they won’t fit.) Then the mast is raised just above it’s final resting place, the gate is closed, and a big wooden block called a “Fid” is driven through it’s hole in the base of the mast. Finally the mast is lowered a bit so it’s entire weight is taken by the fid resting upon the crosstrees. The lower ends of the shrouds and braces are secured and tightened and the mast is ready for its yard.
This is how upper masts have gone up for centuries. Picking it up with your fingers and gluing it into a hole HAS to be a bit easier.
First it was hefted by hand onto the galley and “dressed”; the footropes, braces and other gear attached. The a temporary block was secured to the center of the mast and the top rope rigged to it, same same as the mast. Another line, the “Heave Ahead” went from the center of the mast to a temporary block at the tip of the bowsprit and back to a secondary winch drum called a “gypsy head”. A third, lighter line called a “tagline” was tied to one end of the yard.
The yard can’t just be pulled straight up because all the forestays are in the way. So all three lines work together, the heave-ahead pulling the yard forward clear of the mast and other yards, the top rope lifting and the tagline trying to control swinging, tip the starboard yardarm clear of the forestays until in can fit into the correct space to go into position. I have no photos of the lifting because it took all of us, a great deal of attention and a certain amount of swearing to get the yard into place.
Once up, the other end of the braces go the the mainmast and pinrail to control the swinging of the yard, the lifts go up to the mast to keep it level and the halyard to haul the yard up the mast when setting the sail. (guess why halyards are called halyards!)
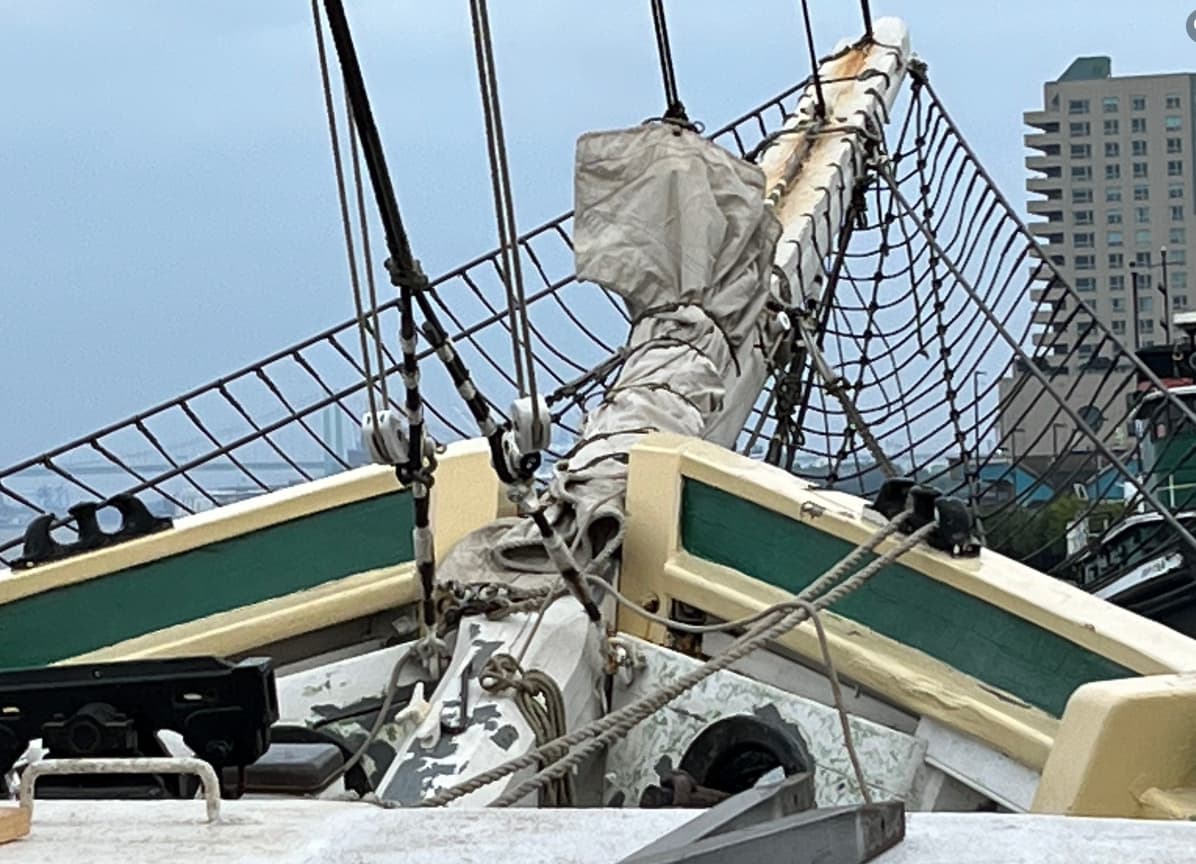
I wasn’t there the next day when the main and mizzen halyards and topping lifts were rigged and used to hoist their booms and gaffs into place.
This photo was taken last weekend when several hours of frantic work by twenty or so people transformed what had looked like a construction site into something that might actually leave the dock. Another half day cleared the rest of the deck and started to straighten the chaos below deck so we could get our coast guard inspection without sending the inspectors into fits of laughter.
The next rigging task I helped with was rigging the “boat falls”; the tackle used to hoist dories or our rigid inflatable into the water and back aboard. This needed done before we could sail so we’d have a rescue boat available in someone went overboard.
The boat falls are a single Spanish burton. A long and a short rope each get a block seized to one end. The bitter end of the long rope goes through the short rope’s block, gets cowhitched to a boat hook, then through the block at the end of the long rope. (that always takes a bit of headscratching and looking at pictures to figure out.) Note EVERY time a line is rigged first there is a scavenger hunt below decks trying to find all the correct lines and blocks or usable substitutes that are not needed elsewhere)
Next the assemblies were brought into place and a masthead utility line or “Gantline” tied on to hoist the short part up level with the crosstrees while the rest dangles.
Then an intrepid (stupid?) hand inches out on the crosstree and ties the short rope to a shroud, then seizes the loos end for extra security. A little tweaking and the boat fall is ready for use.
I never quite had the upper body strength for that job, although I loved working aloft. Alas, after a broken wrist it’s a bit in question whether I can still climb safely.
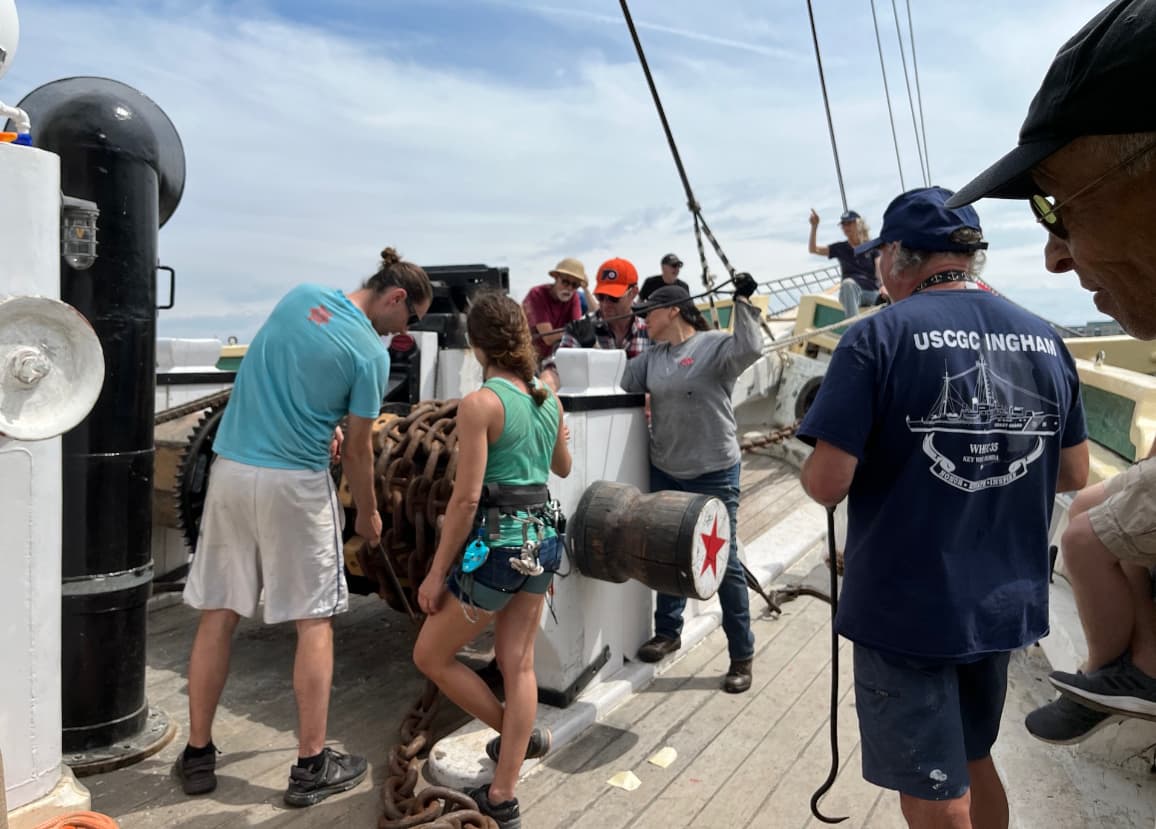
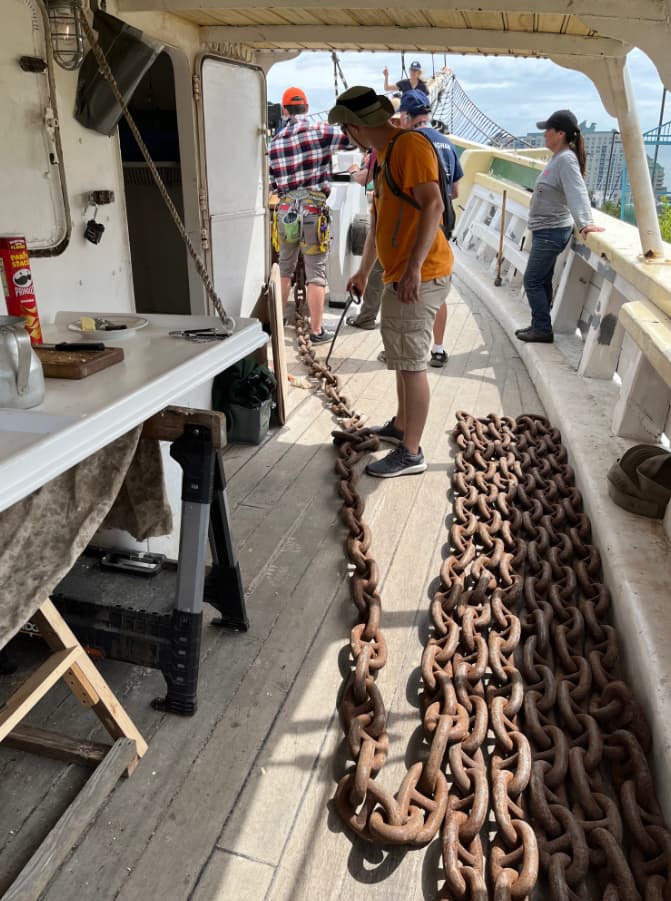
We nearly went for a training sail Monday 5/29, but the outboard refused to start and we needed to boat to push us away from the dock because of the wind. By the time we got it fixed the tide had gone against us. So the captain had us practice dropping and retrieving the anchor. We have no chain locker, so the chain has to be hauled into neat flakes on deck by hand using long hooks. Our original equipment windlass also needs three or four hands constantly adjusting the chain on the drum to keep it from tangling or working off the end of the drum. A lot of physical work!
At this point the Gazela is nearly ready to leave port under the engine and NEARLY ready to start bending on sails. I tried to find all the lines and blocks for the first two we usually set, the main staysail and foretopmast staysail, but many pieces are stubbornly hiding. It also needs a fresh coat of paint before we arrive in Norfolk VA. I think the captain will work our tails off all the way down.
Each grommet on the front edge or leach of the sail gets lashed to a heavy horseshoe shaped iron piece called a hank, using a length of jute twine. (it’s astounding how much of a ship is held together by little pieces of string!