I’ve managed to get a little time in on the Lysander now that our kitchen project is winding down.
I’ve begun work on aft balance weight bay .
The floor and the two bulkheads were made of sheet styrene and fitted to each fuselage half by scribing and trial & error.
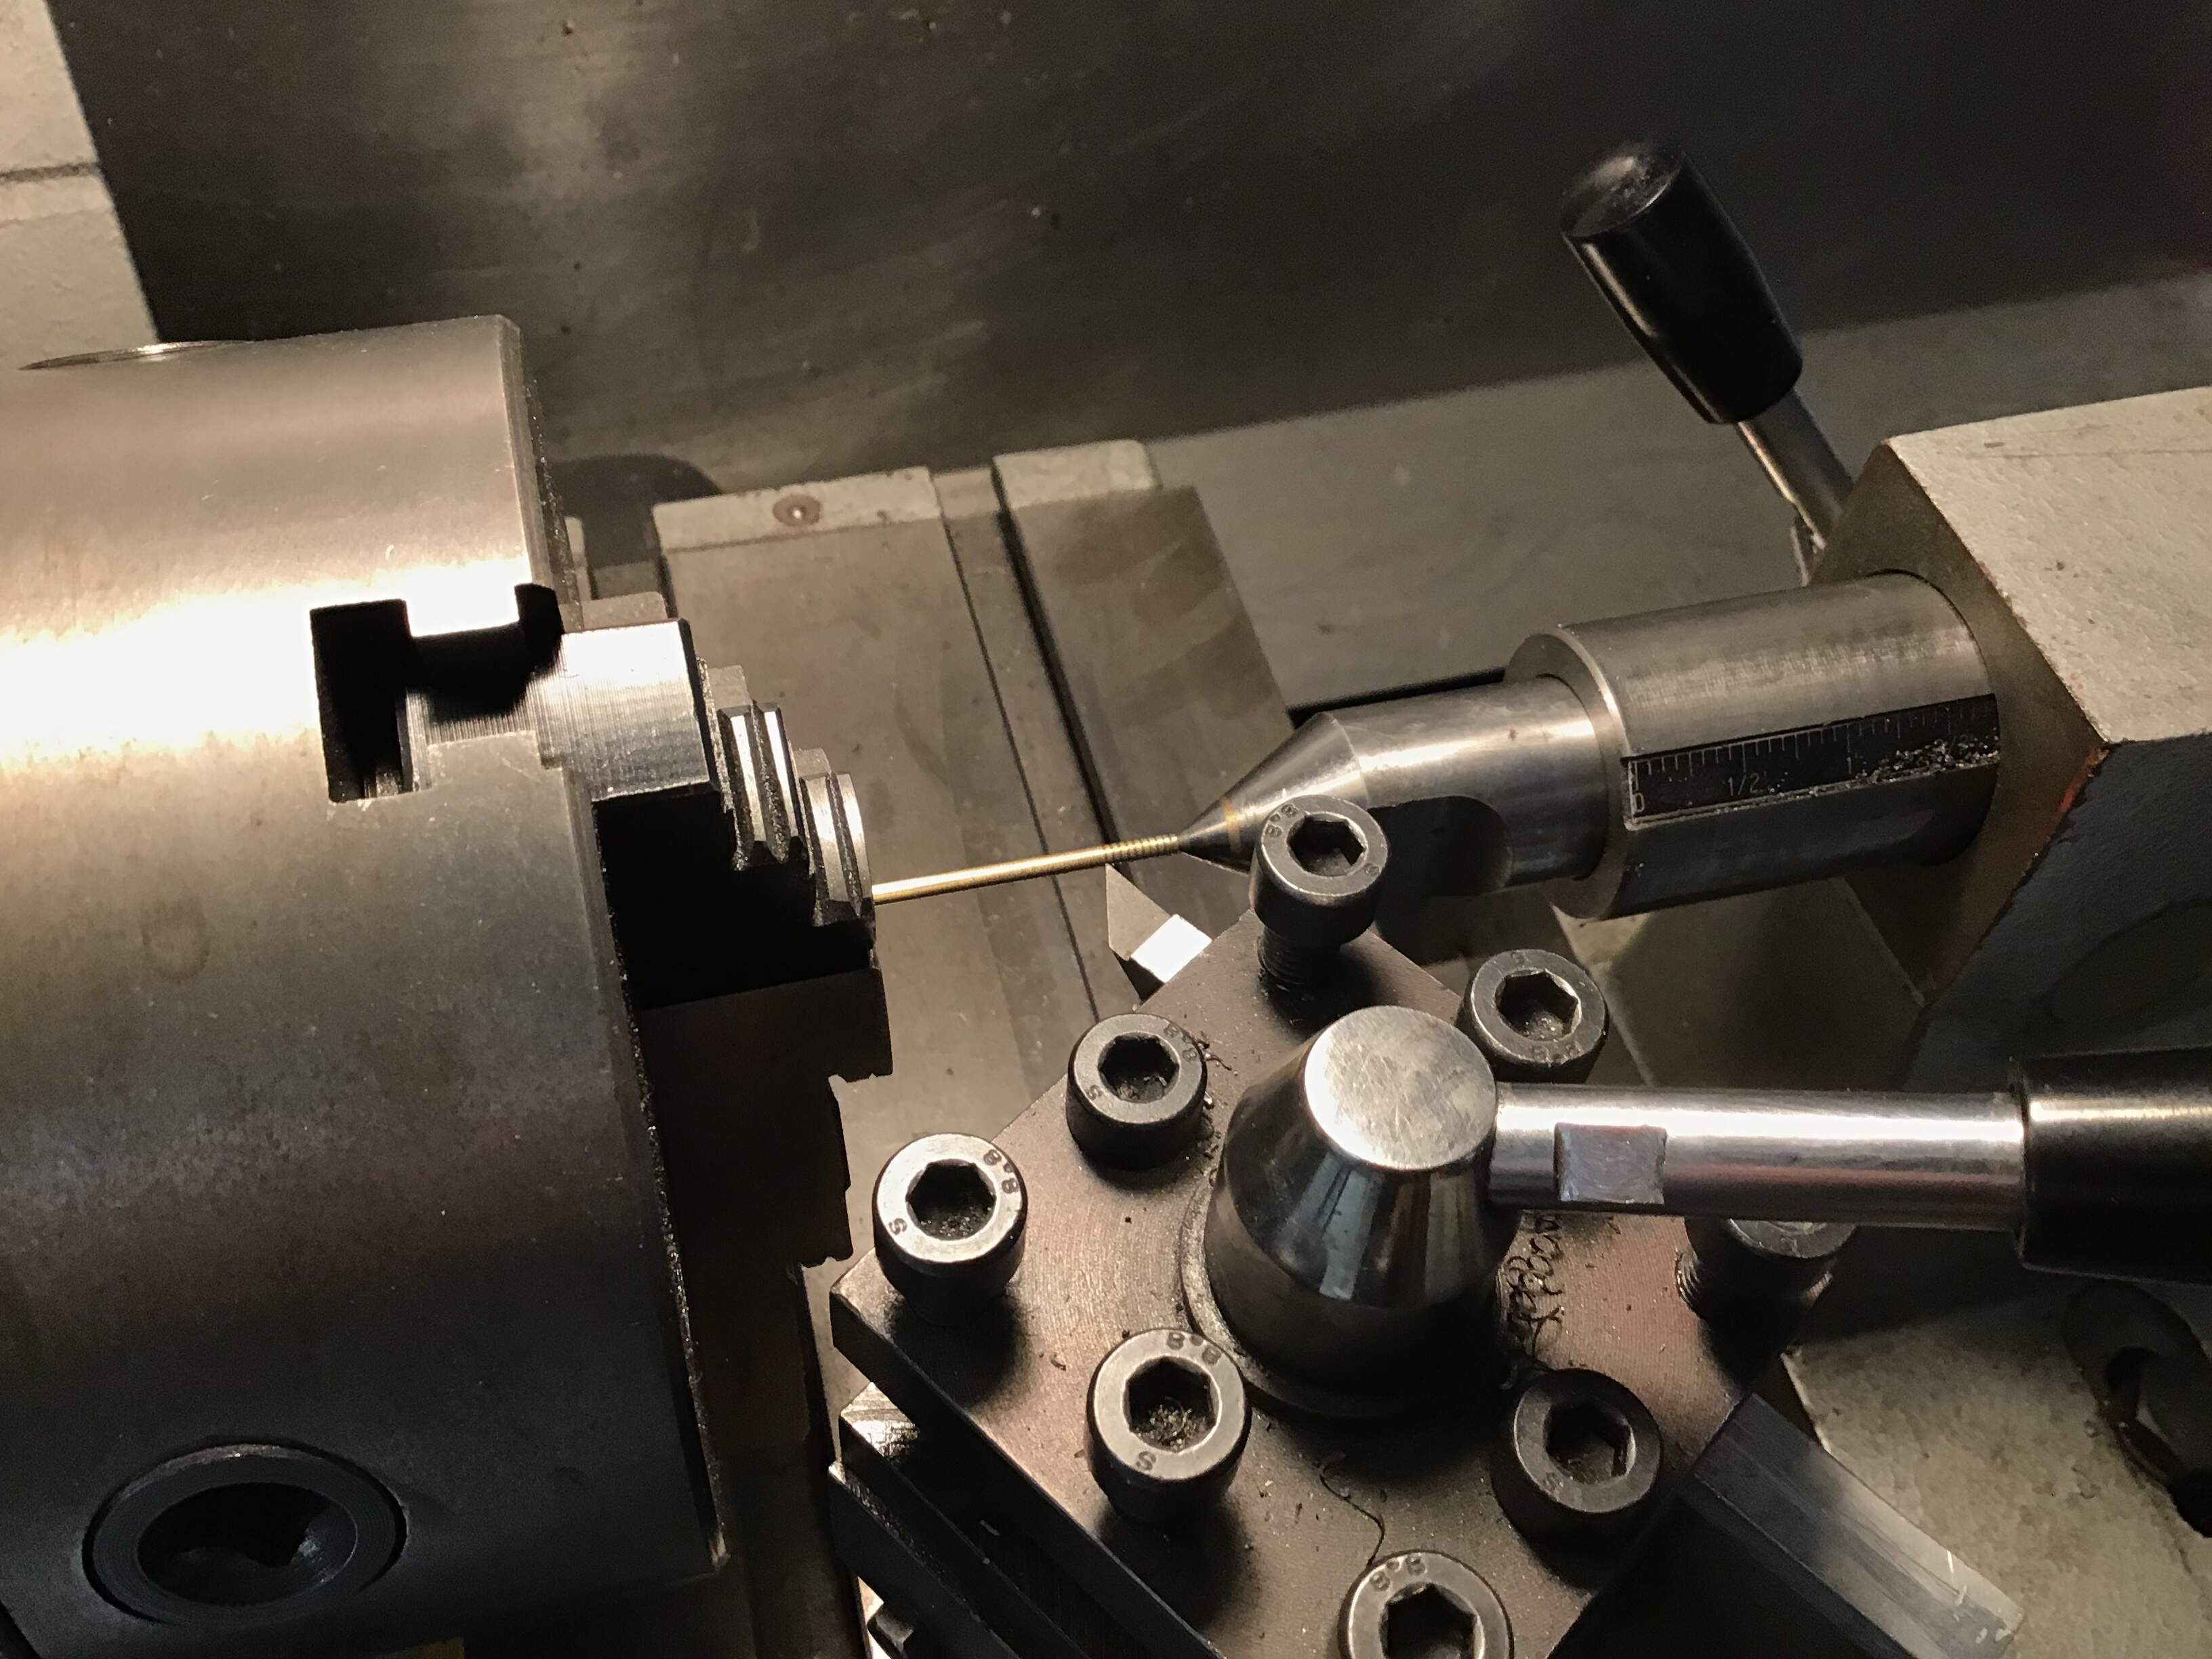
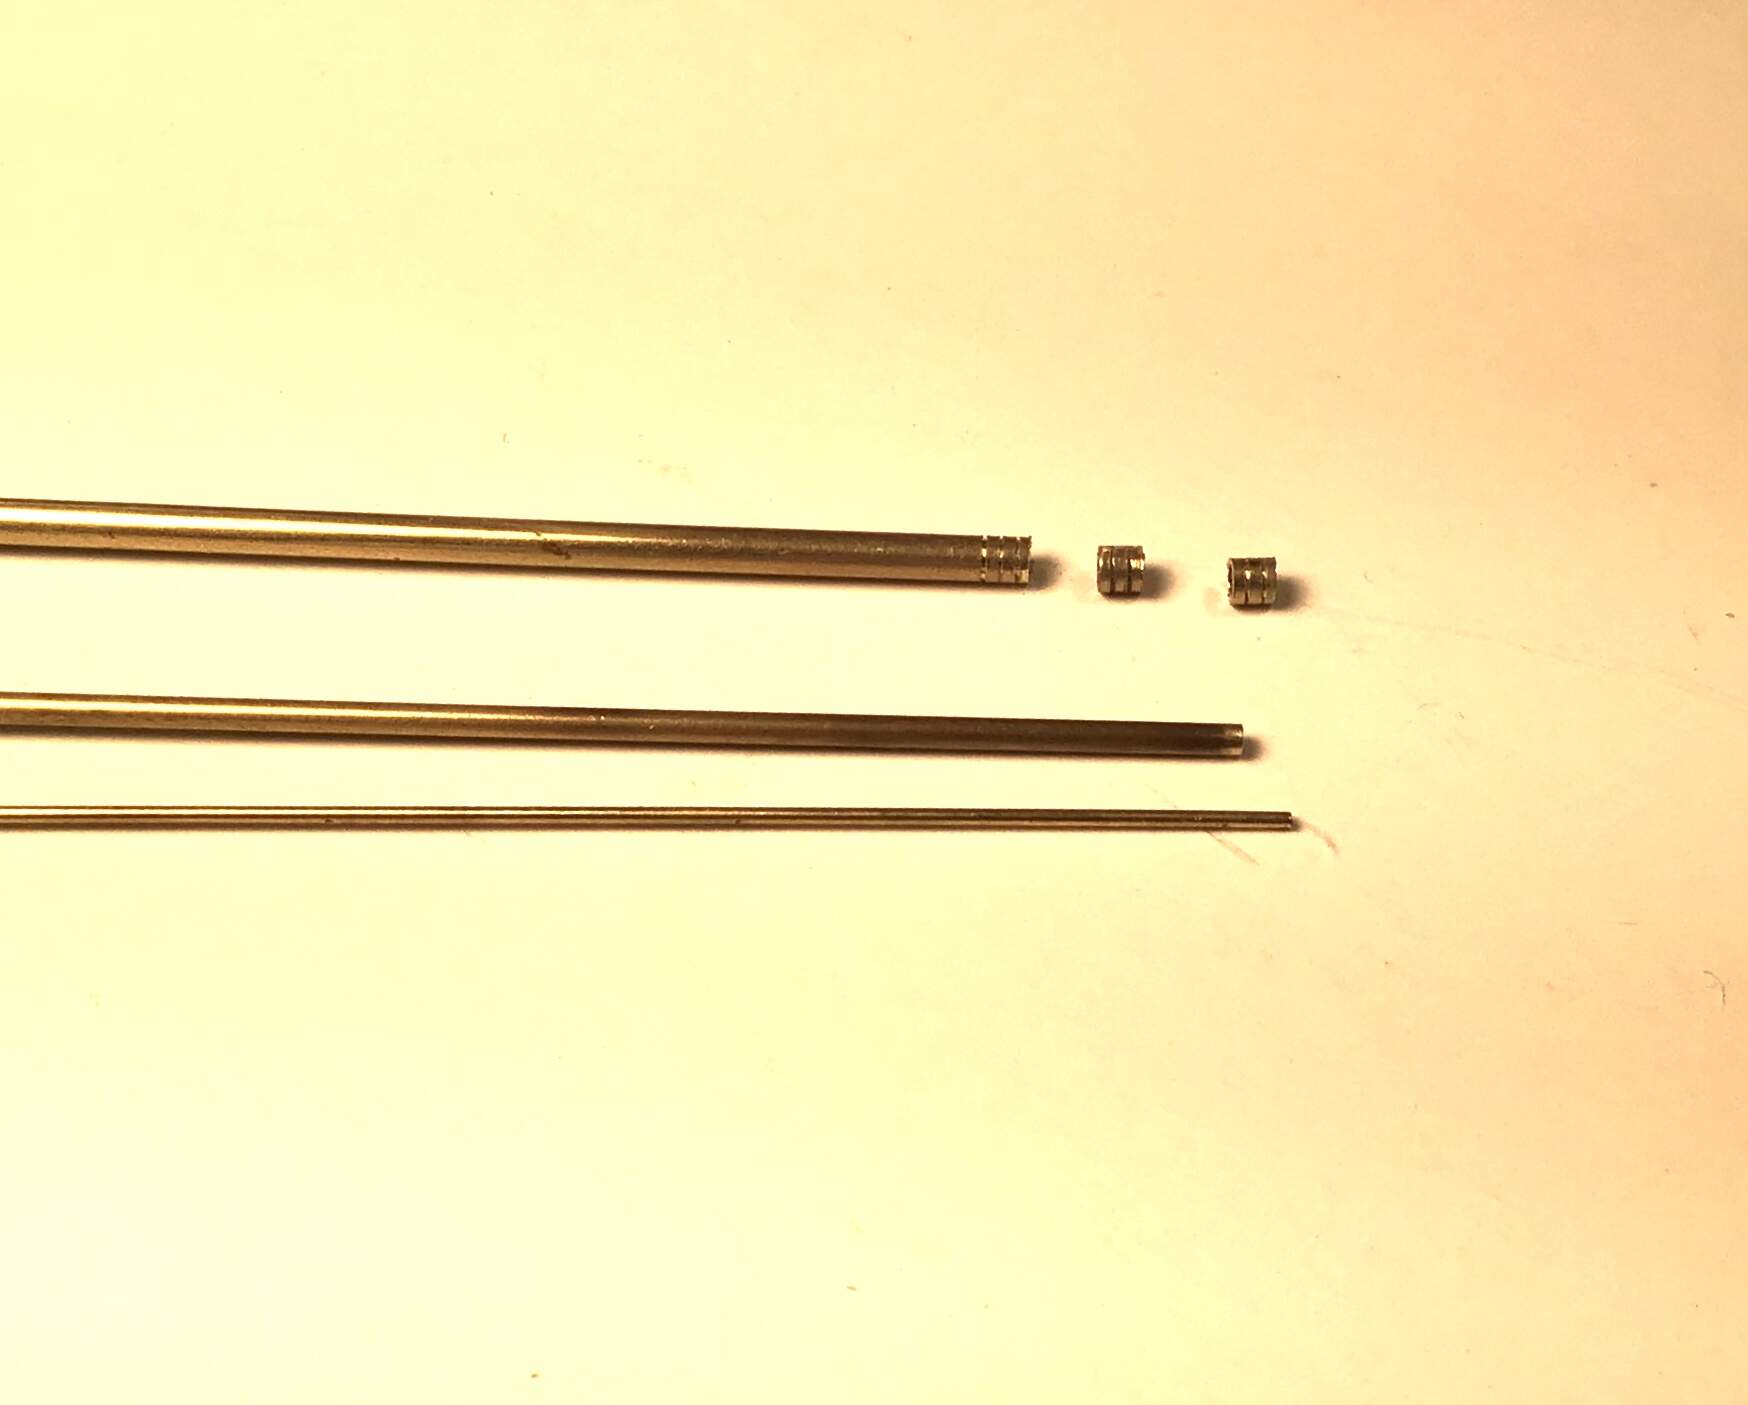
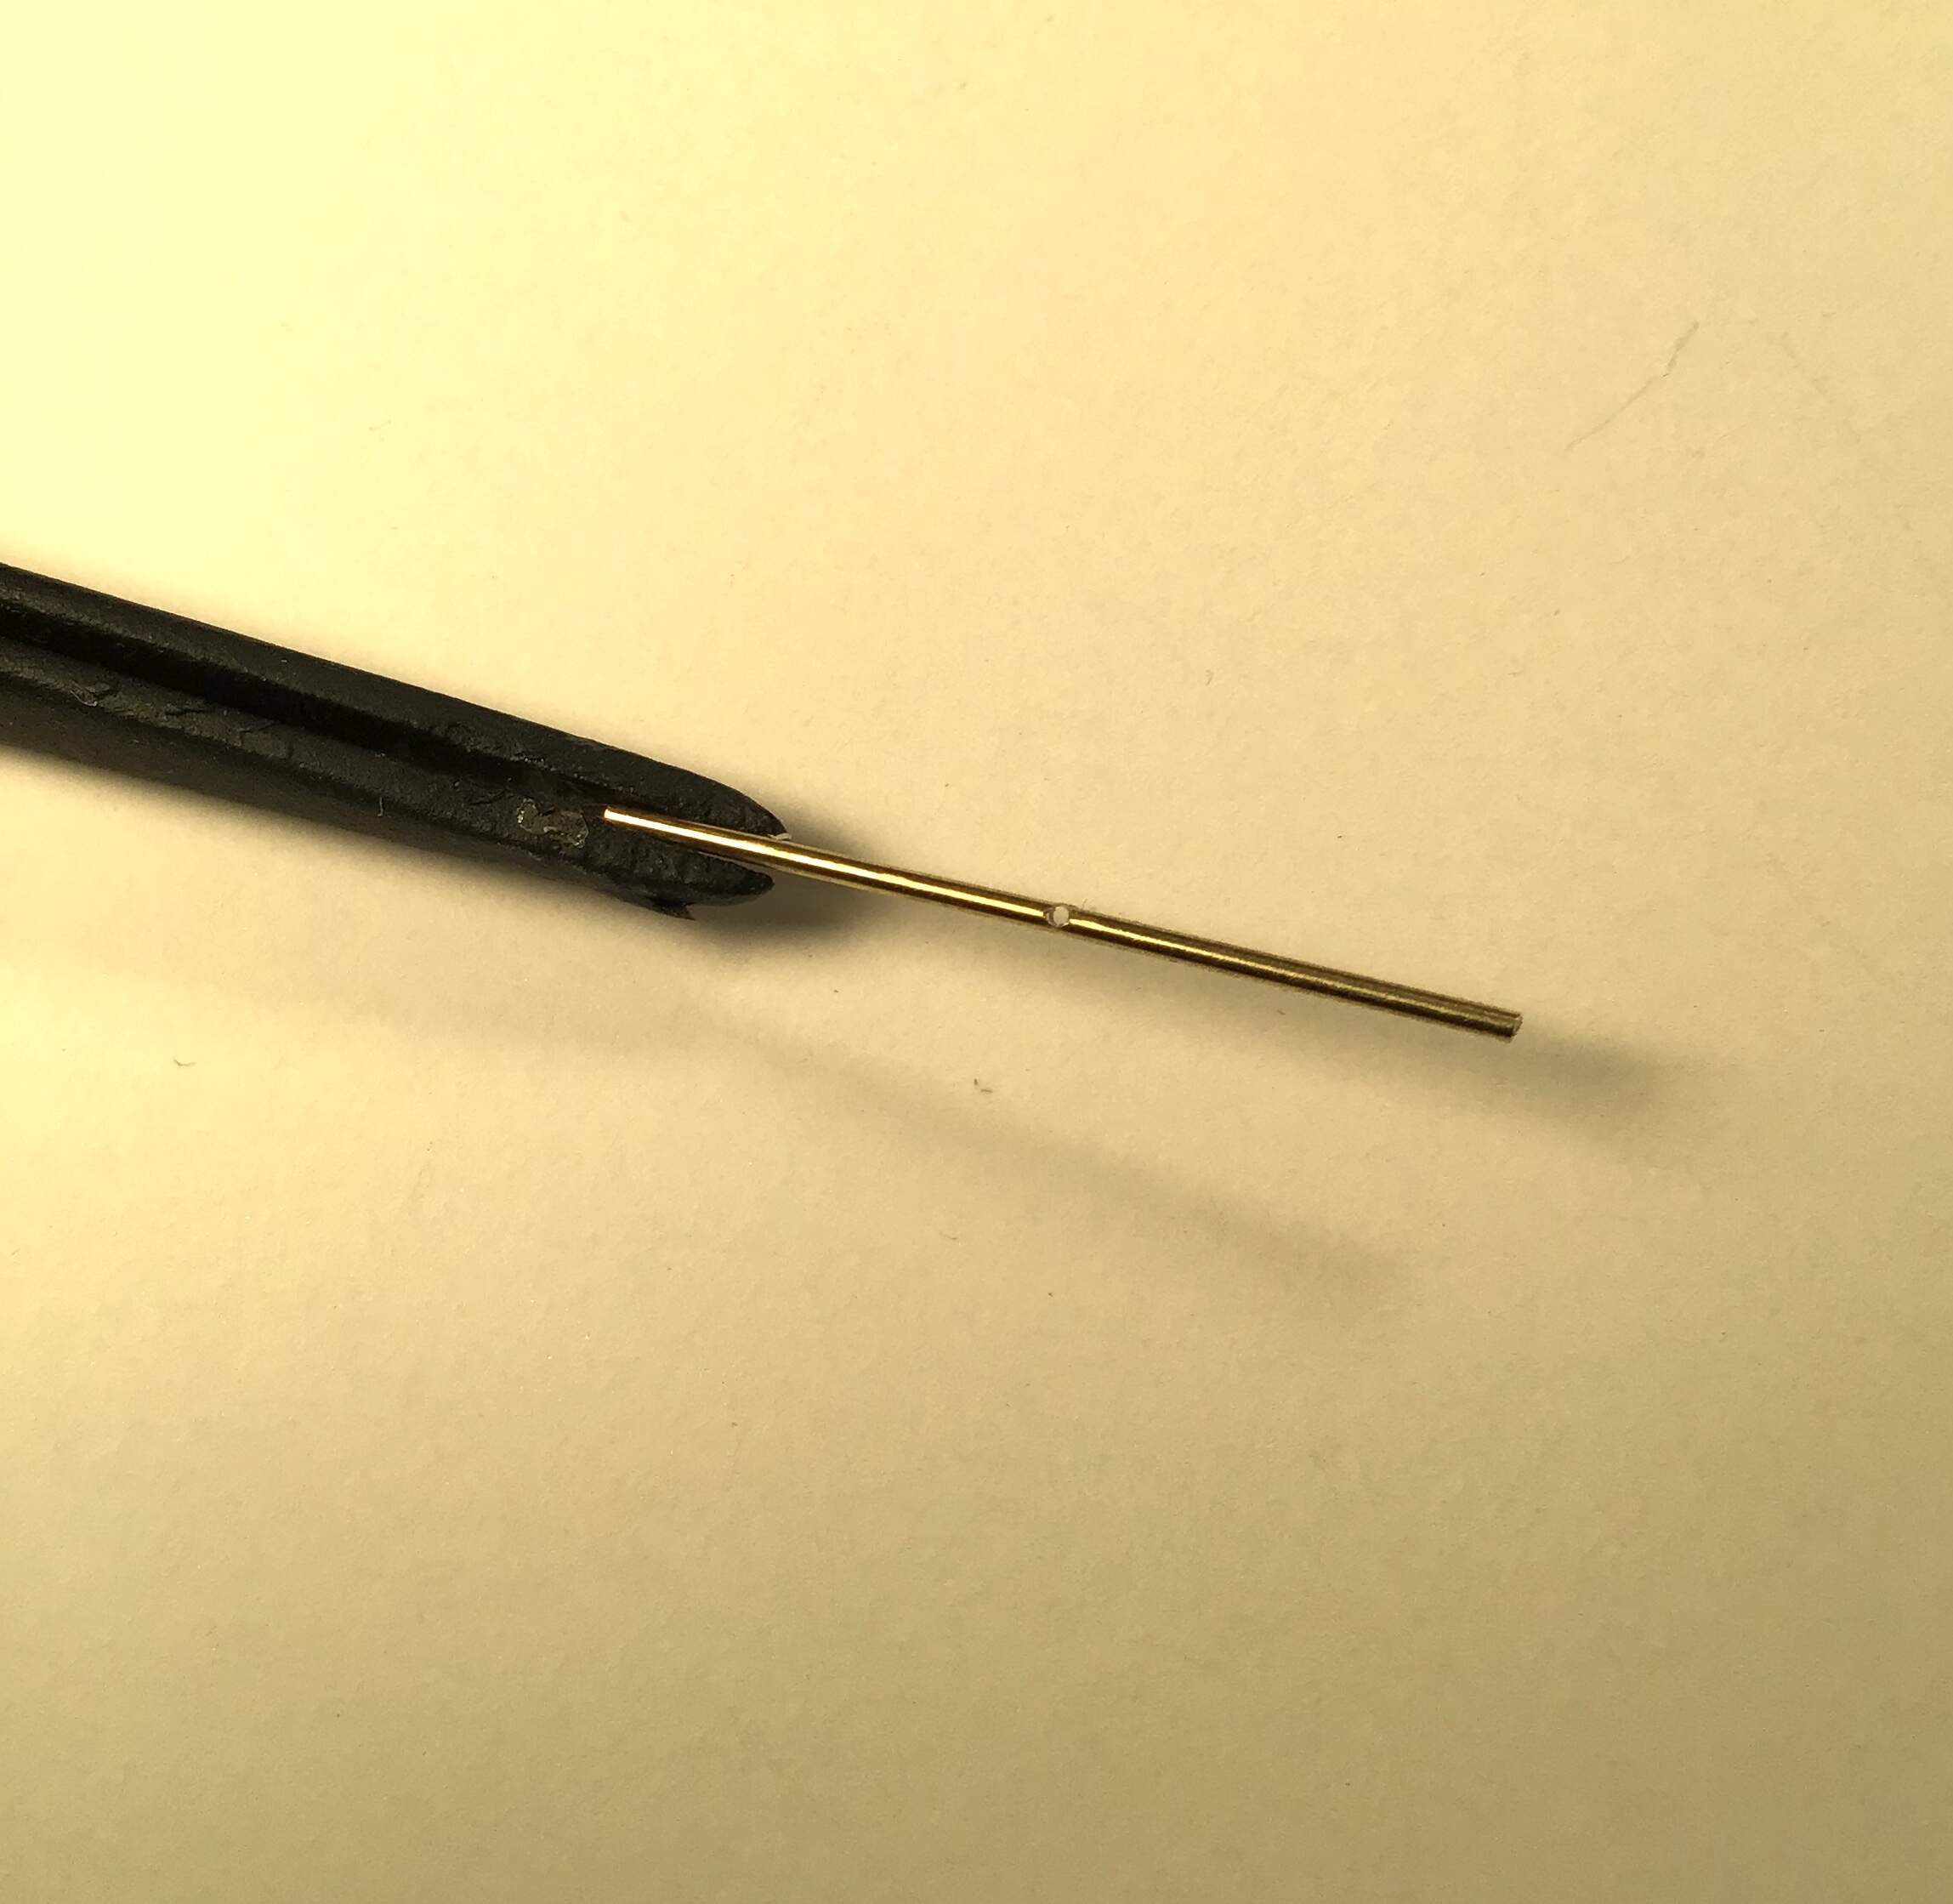
Sections of three weights as per reference photos were sawn off and placed around a smaller 1/16” diameter tube which in turn had a piece of solid .032” rod inserted to represent the shaft that carries the weights . The 1/16” tube will stand proud of the scored weight tube to represent the washer.
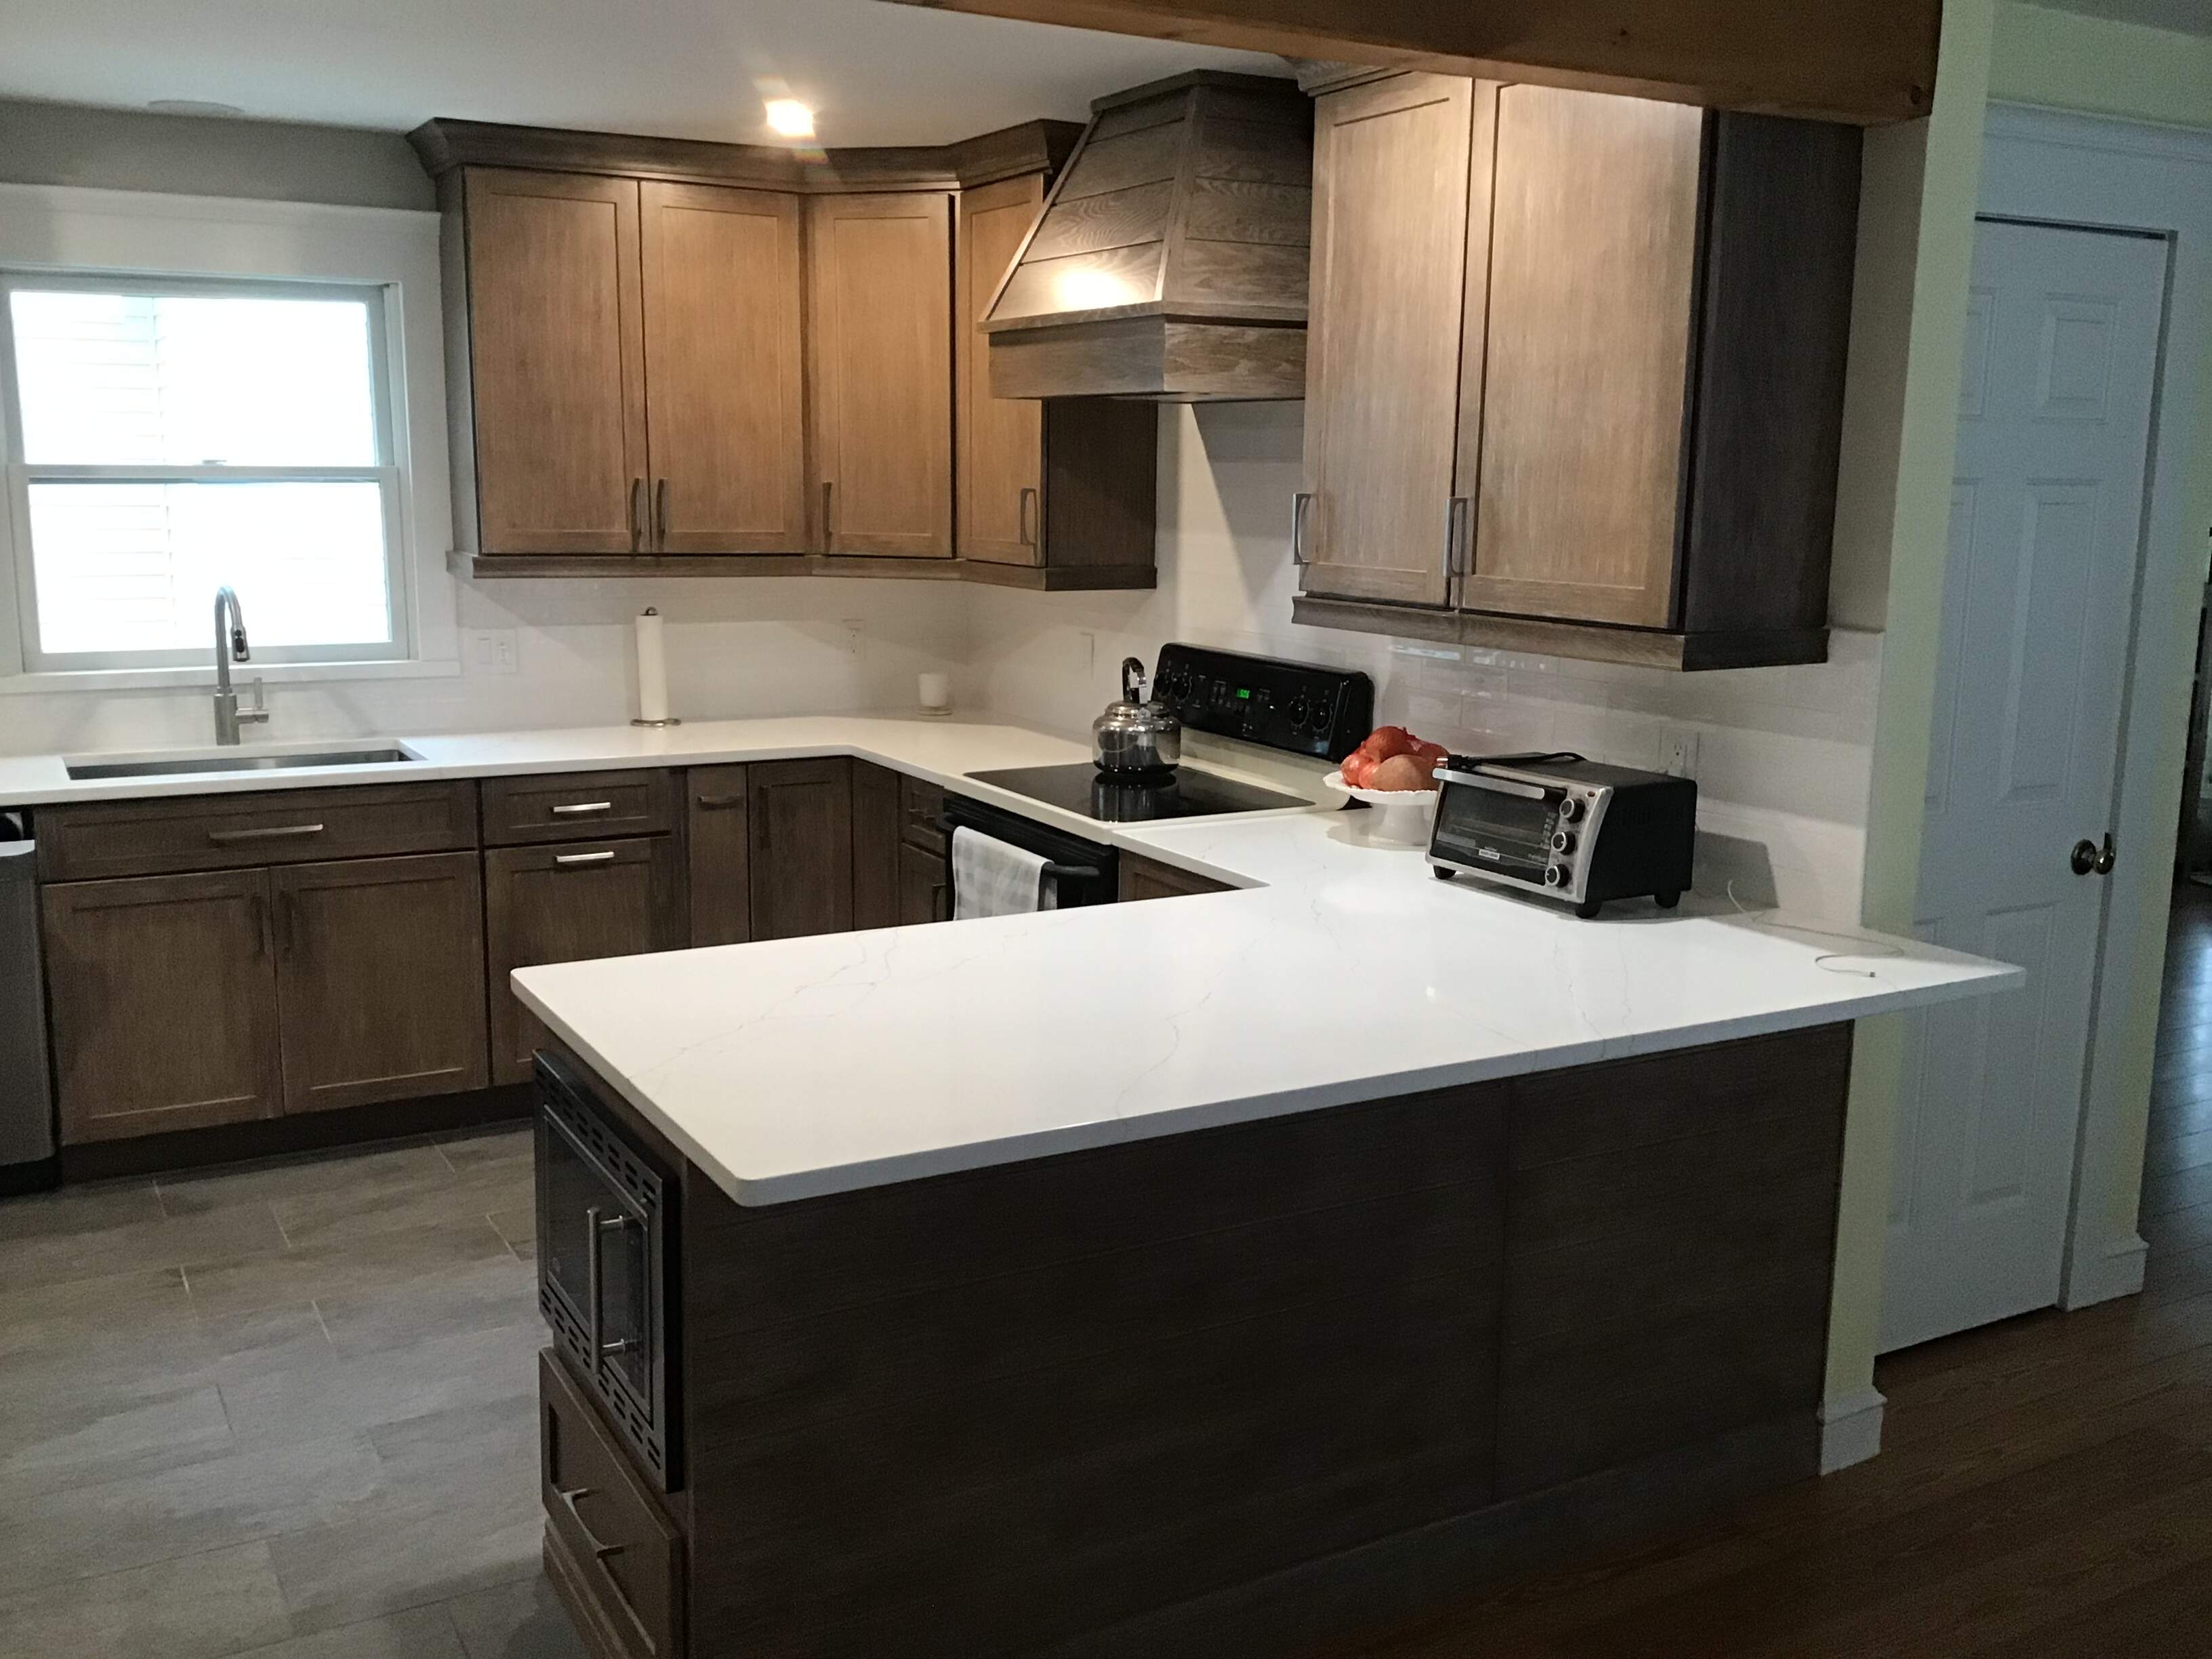
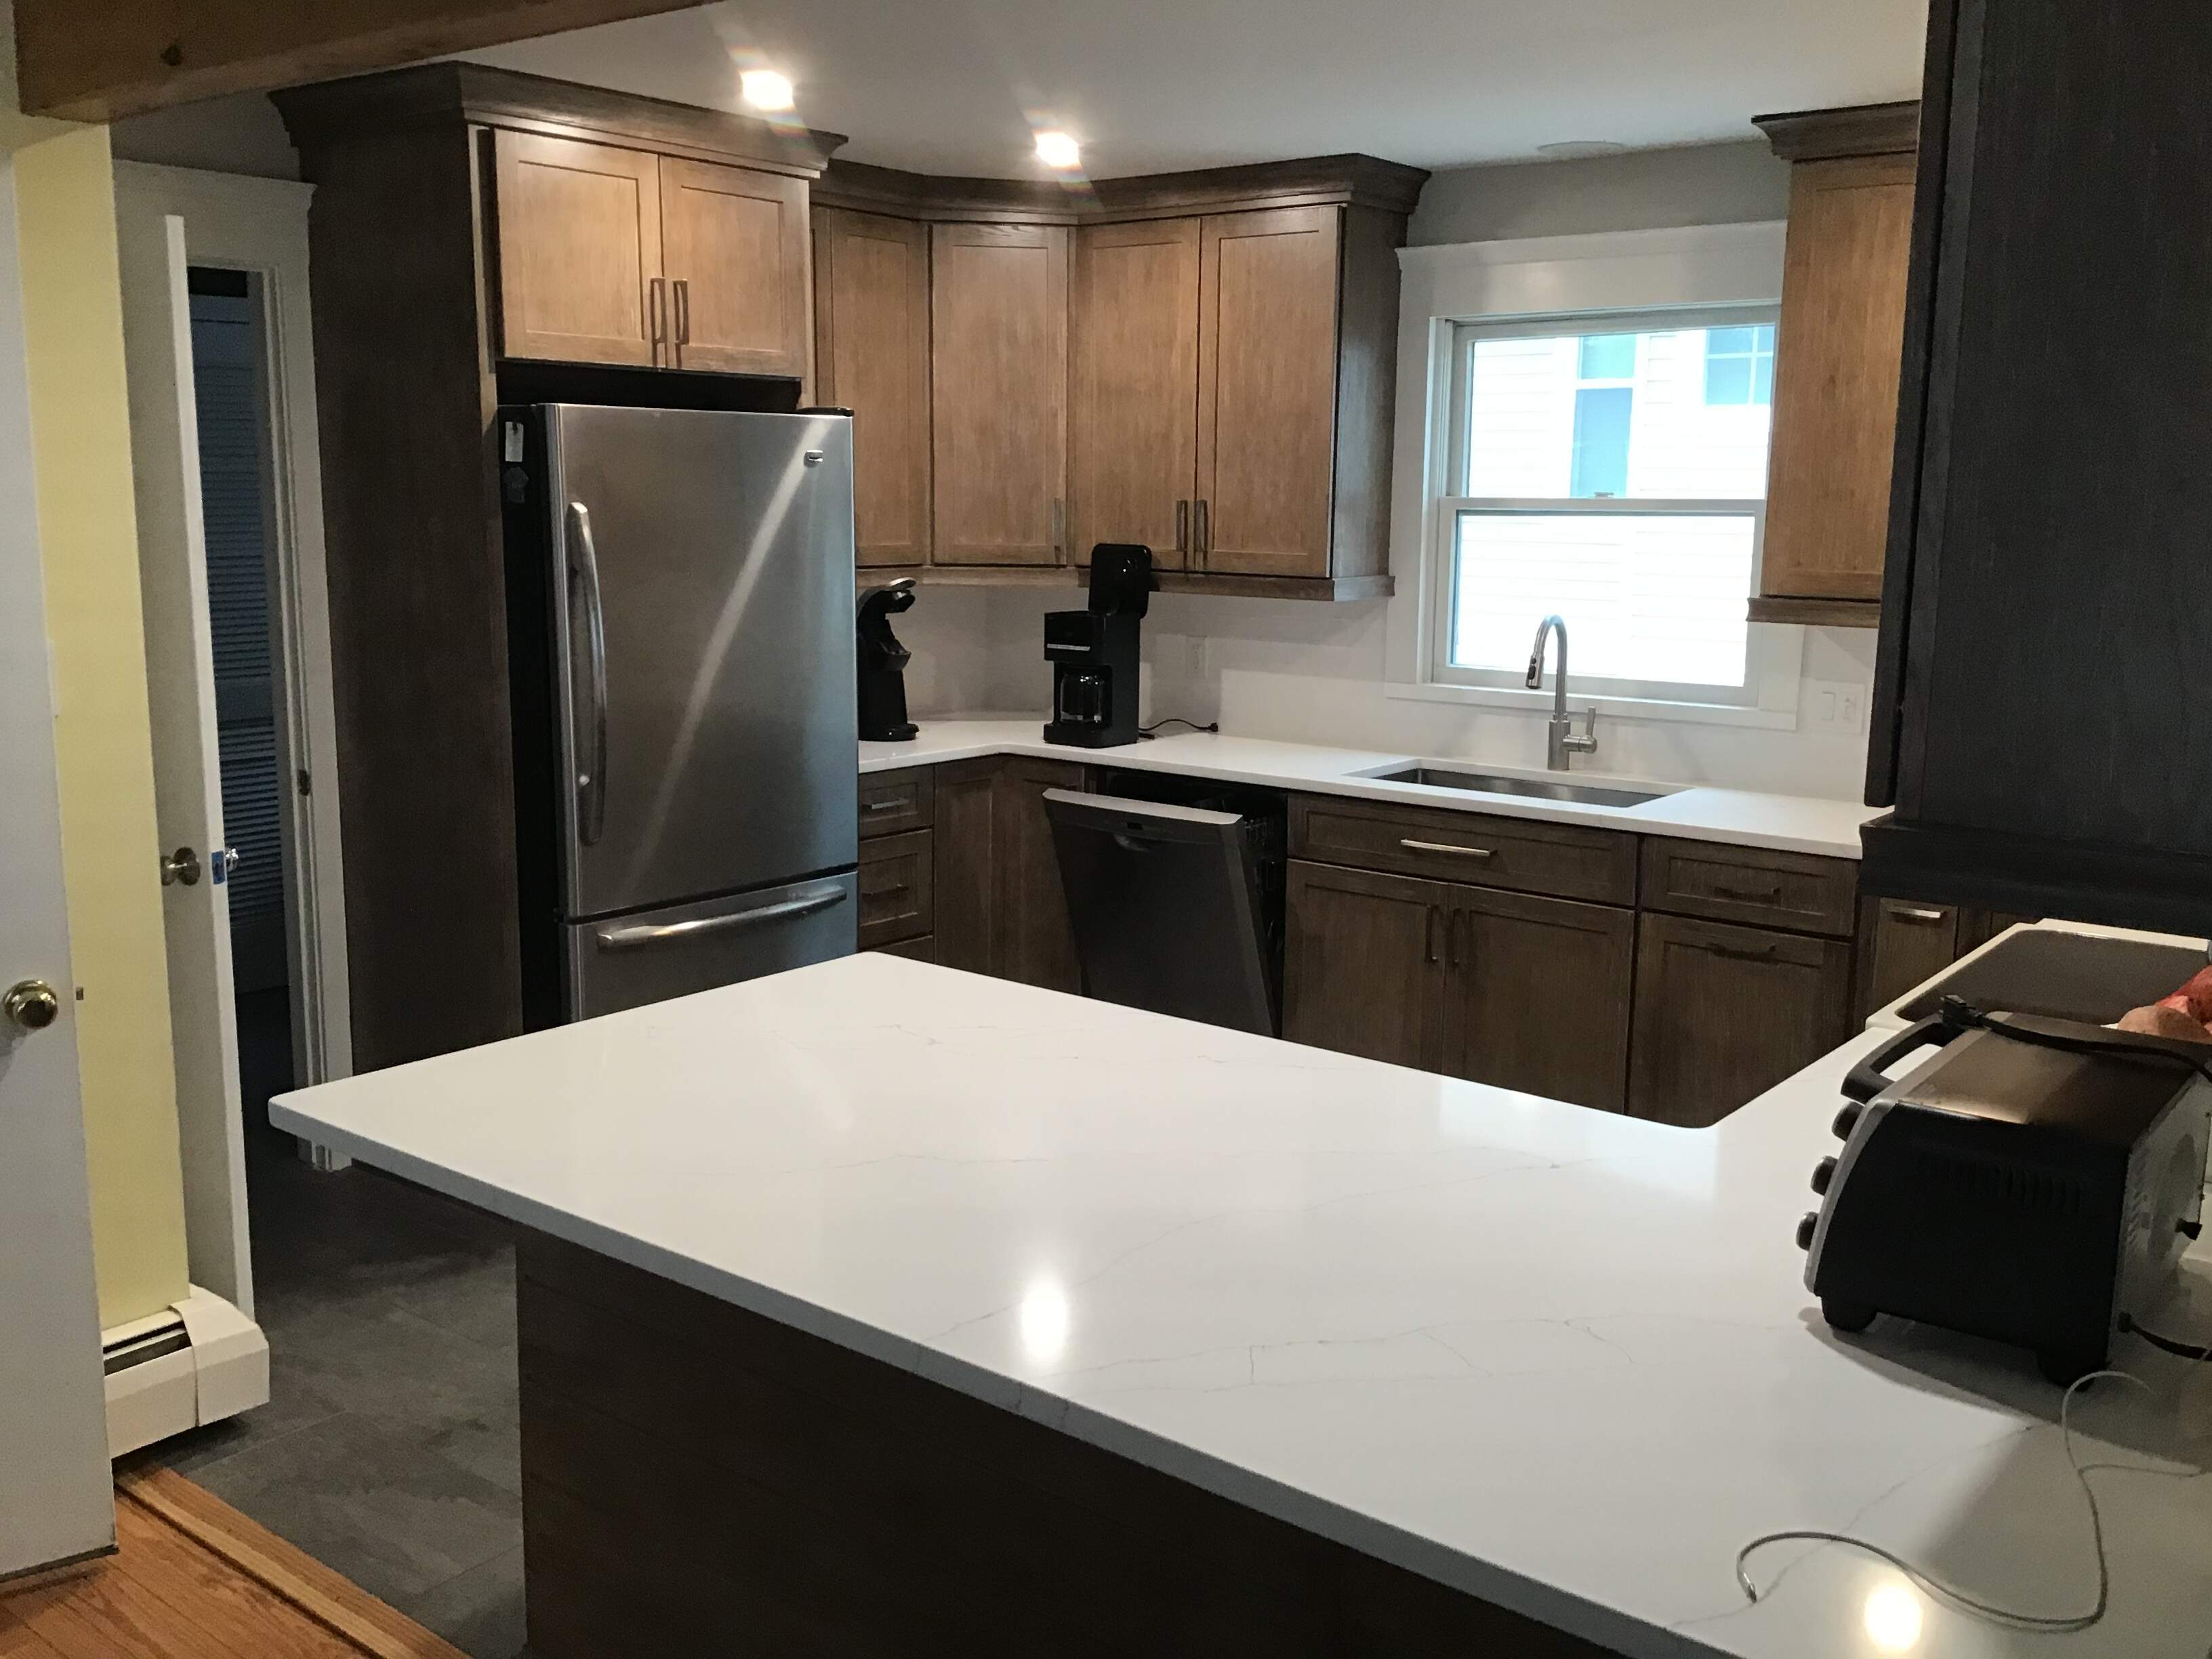
Maybe there’s room for one more in here if I leave my parachute behind, looks like we have a highly qualified pilot. Great choice of plane Richard & it’s shaping up nicely, as Gary mentioned earlier if ever there was one that represented (and delivered) pure single-handed, single-minded courage this is it. Anyhow after all that priming, surfacing, turning & sanding how does the kitchen look now?
Both look great. Love the range hood and the colors are splendid! Why have the icebox door open to the exit and not to the kitchen though? OH, how much was that milling machine?
Pretty funky kitchen mate, hope SWMBO’s happy too - FWIW our icebox opens that way too, kinda made sense when we put it in…possibly because when I go there I’m only after a beer & a quick escape!
@HGBARNES - Thanks HG - as Tim noted , I can get to the beer faster with the door hinged on the right . My lathe/mill combo is a Smithy I have had for a while now - IIRC it was on the order of $ 2 k plus freight when I bought it . With machining the lathe itself is only the beginning as fixtures / accessories/tooling add significantly to the cost .
I do other things other than modeling that requires a machine of this size . If you are contemplating machine tools for modeling I would recommend one of the smaller bench top m
(Oops - hit the reply button by mistake !)
As I was saying look into a smaller machine made by Unimat or Microlux, etc. Less costly and better suited to small work. @Dioramartin - Thanks Tim- my bride is indeed happy with her new kitchen and I am happy to get back to the real important stuff - modeling .
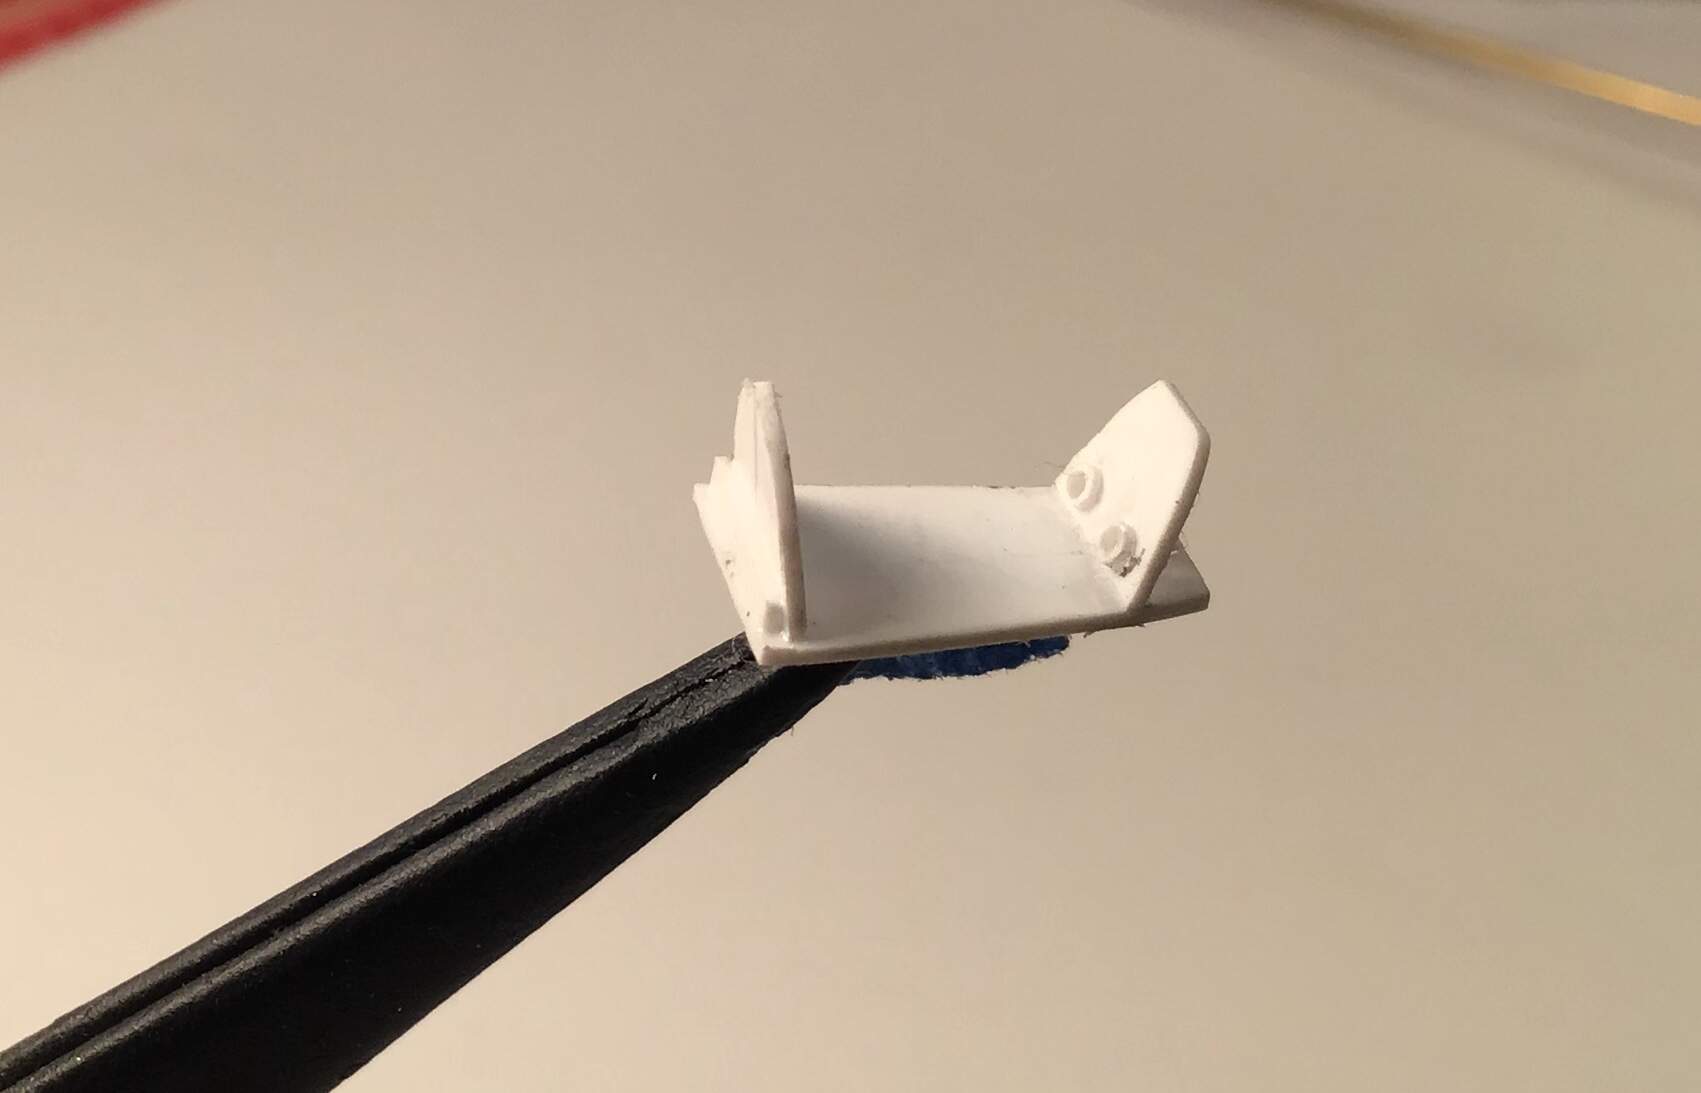
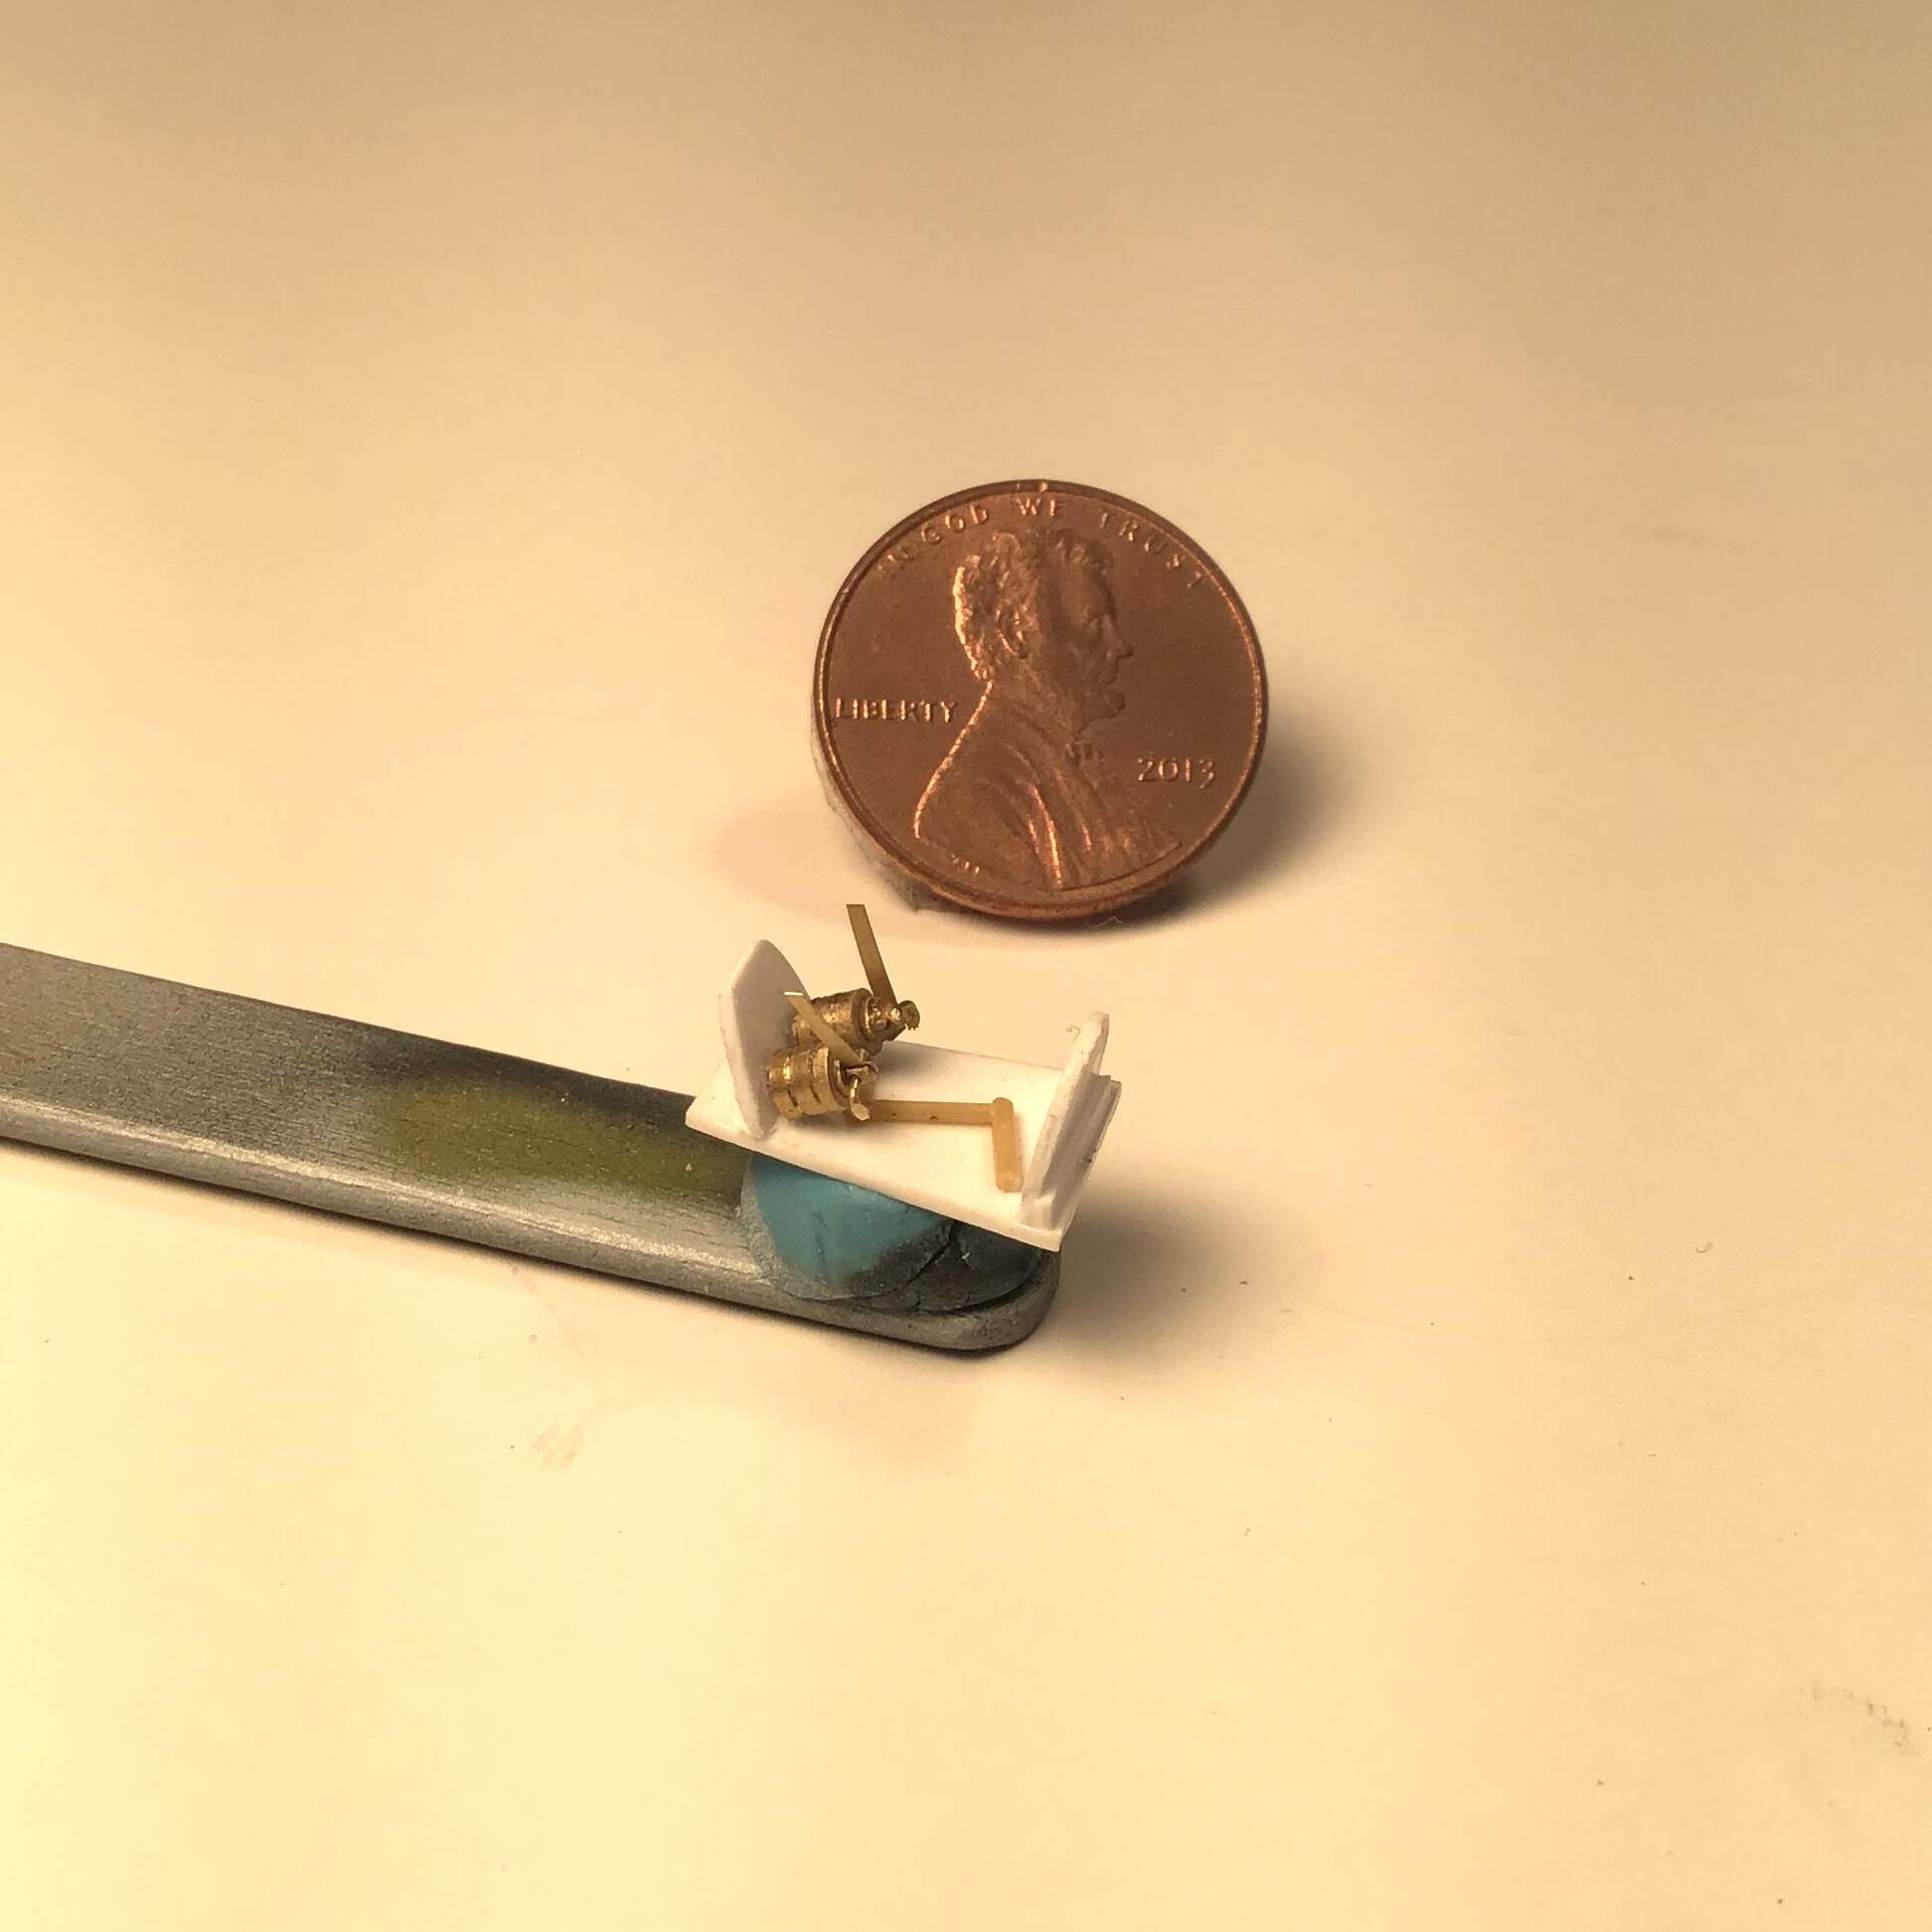
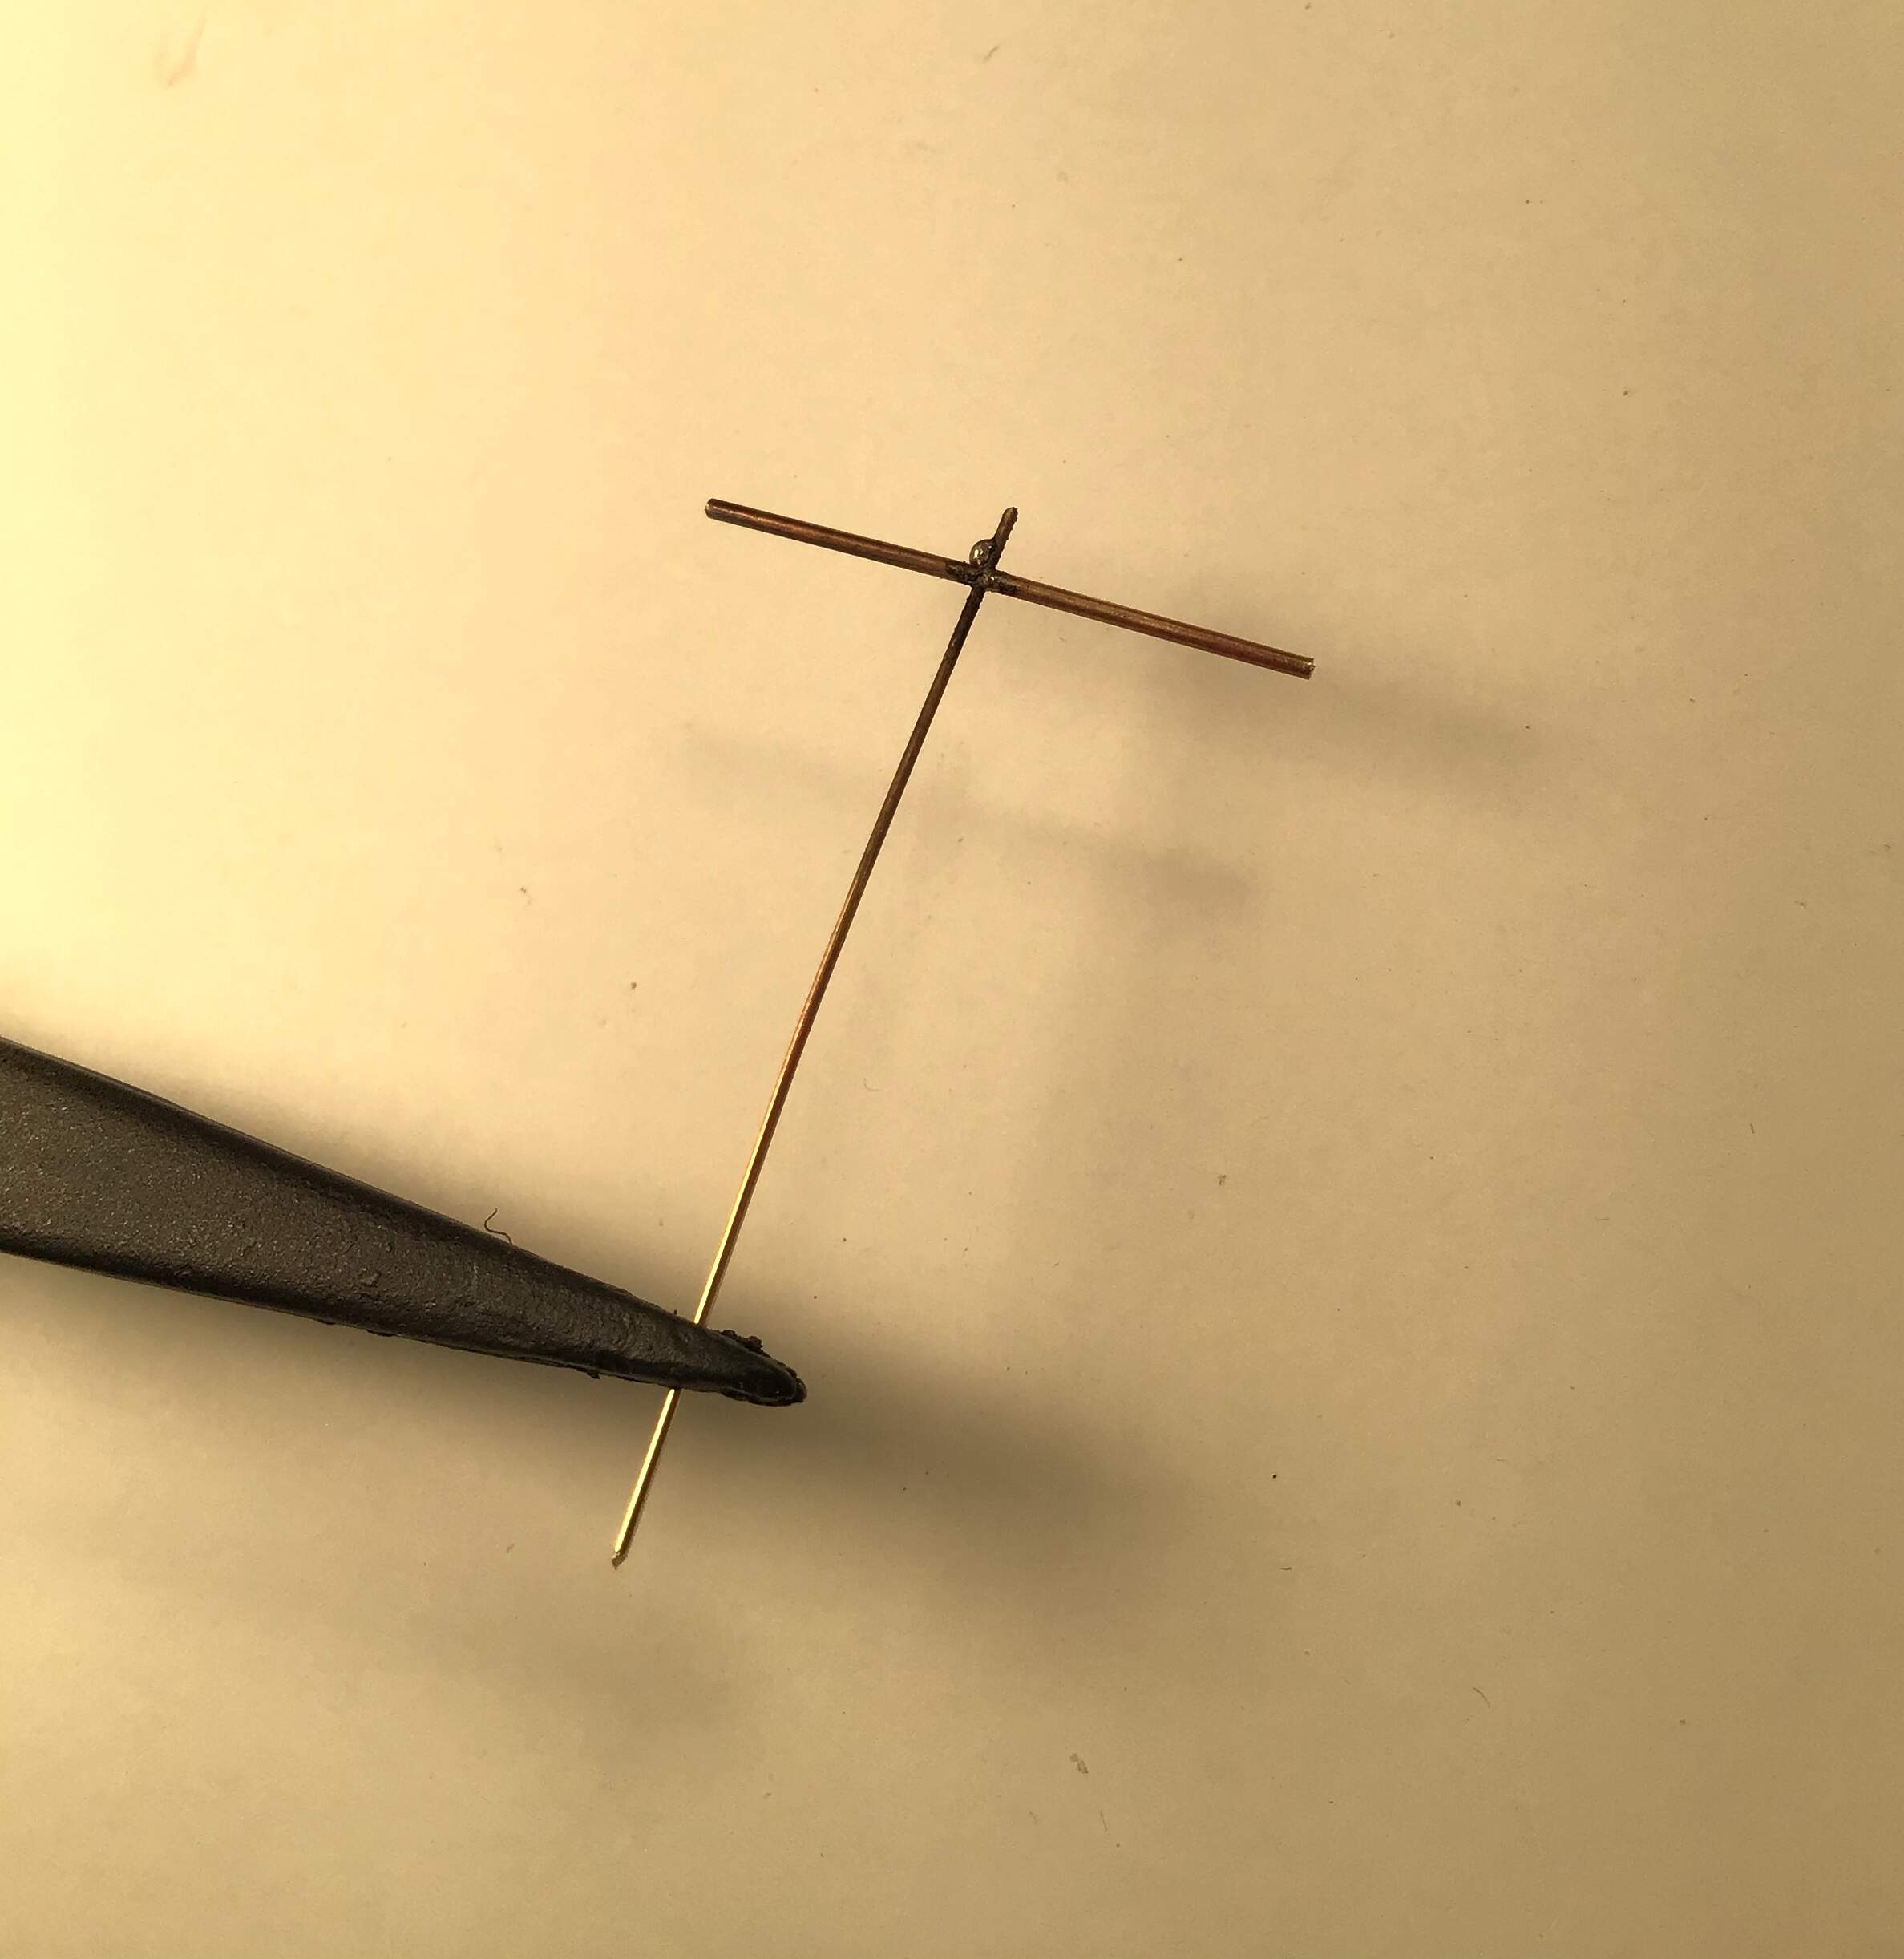
I’ve finished up the aft balance weight bay .
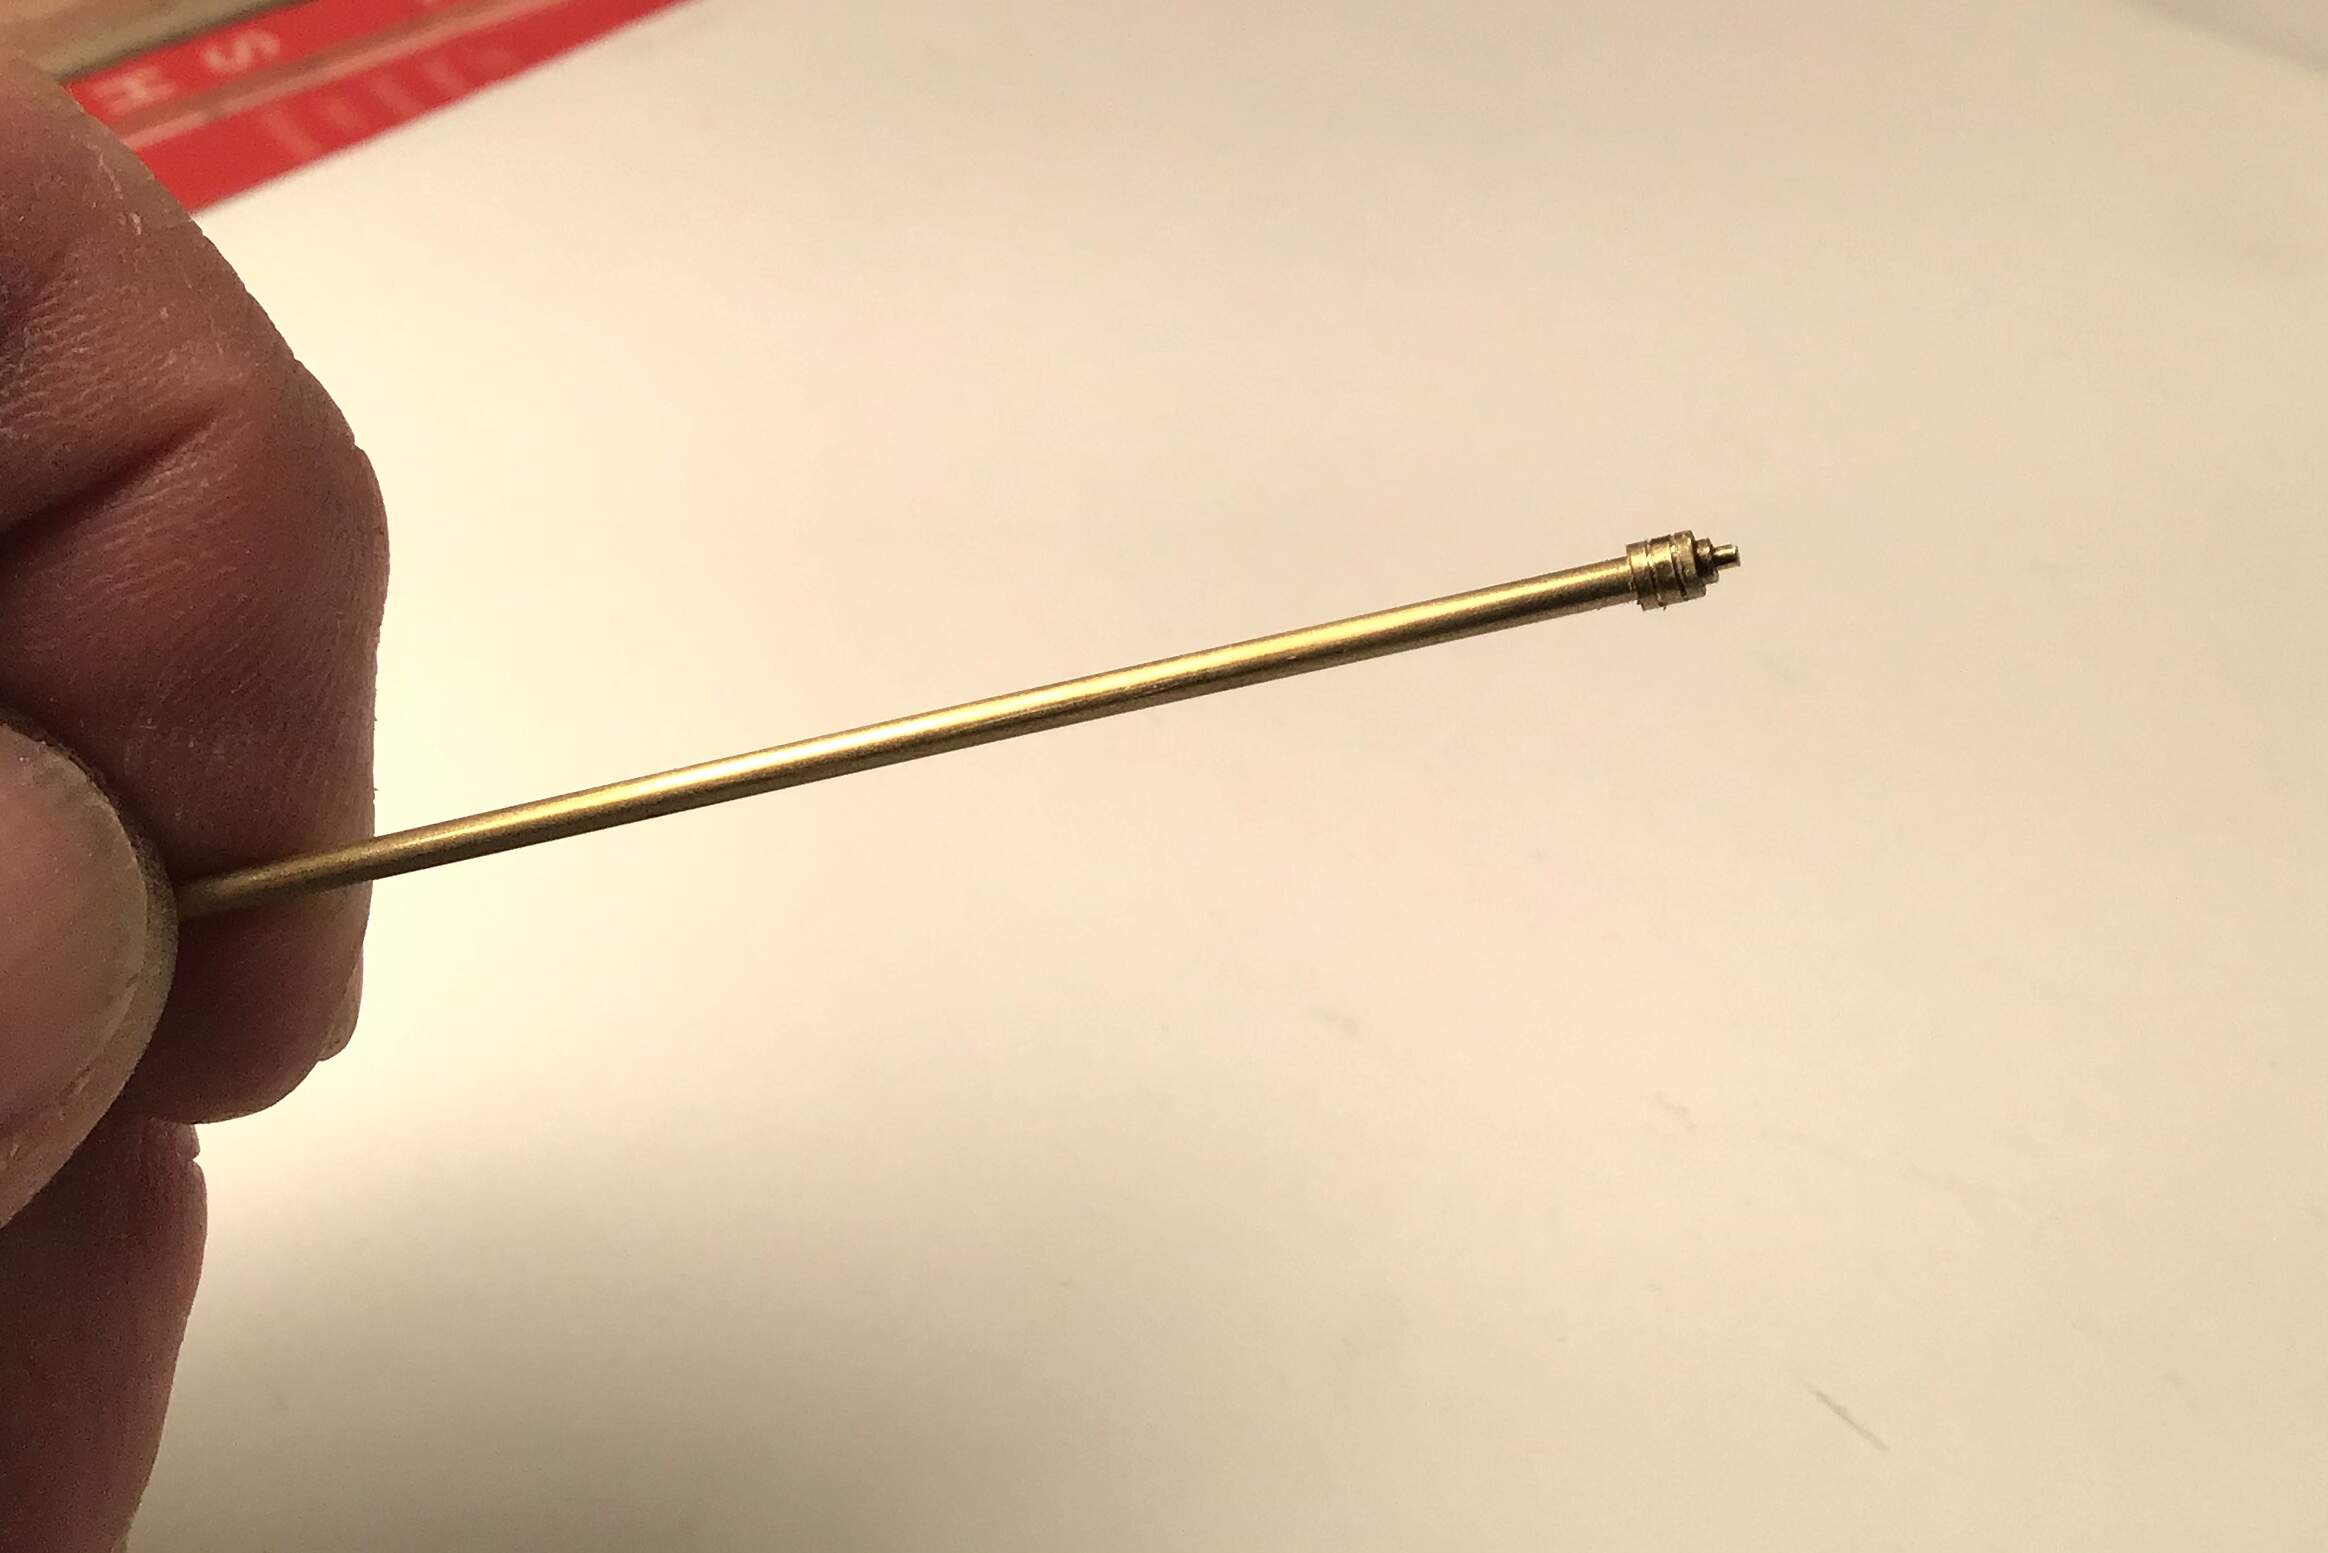
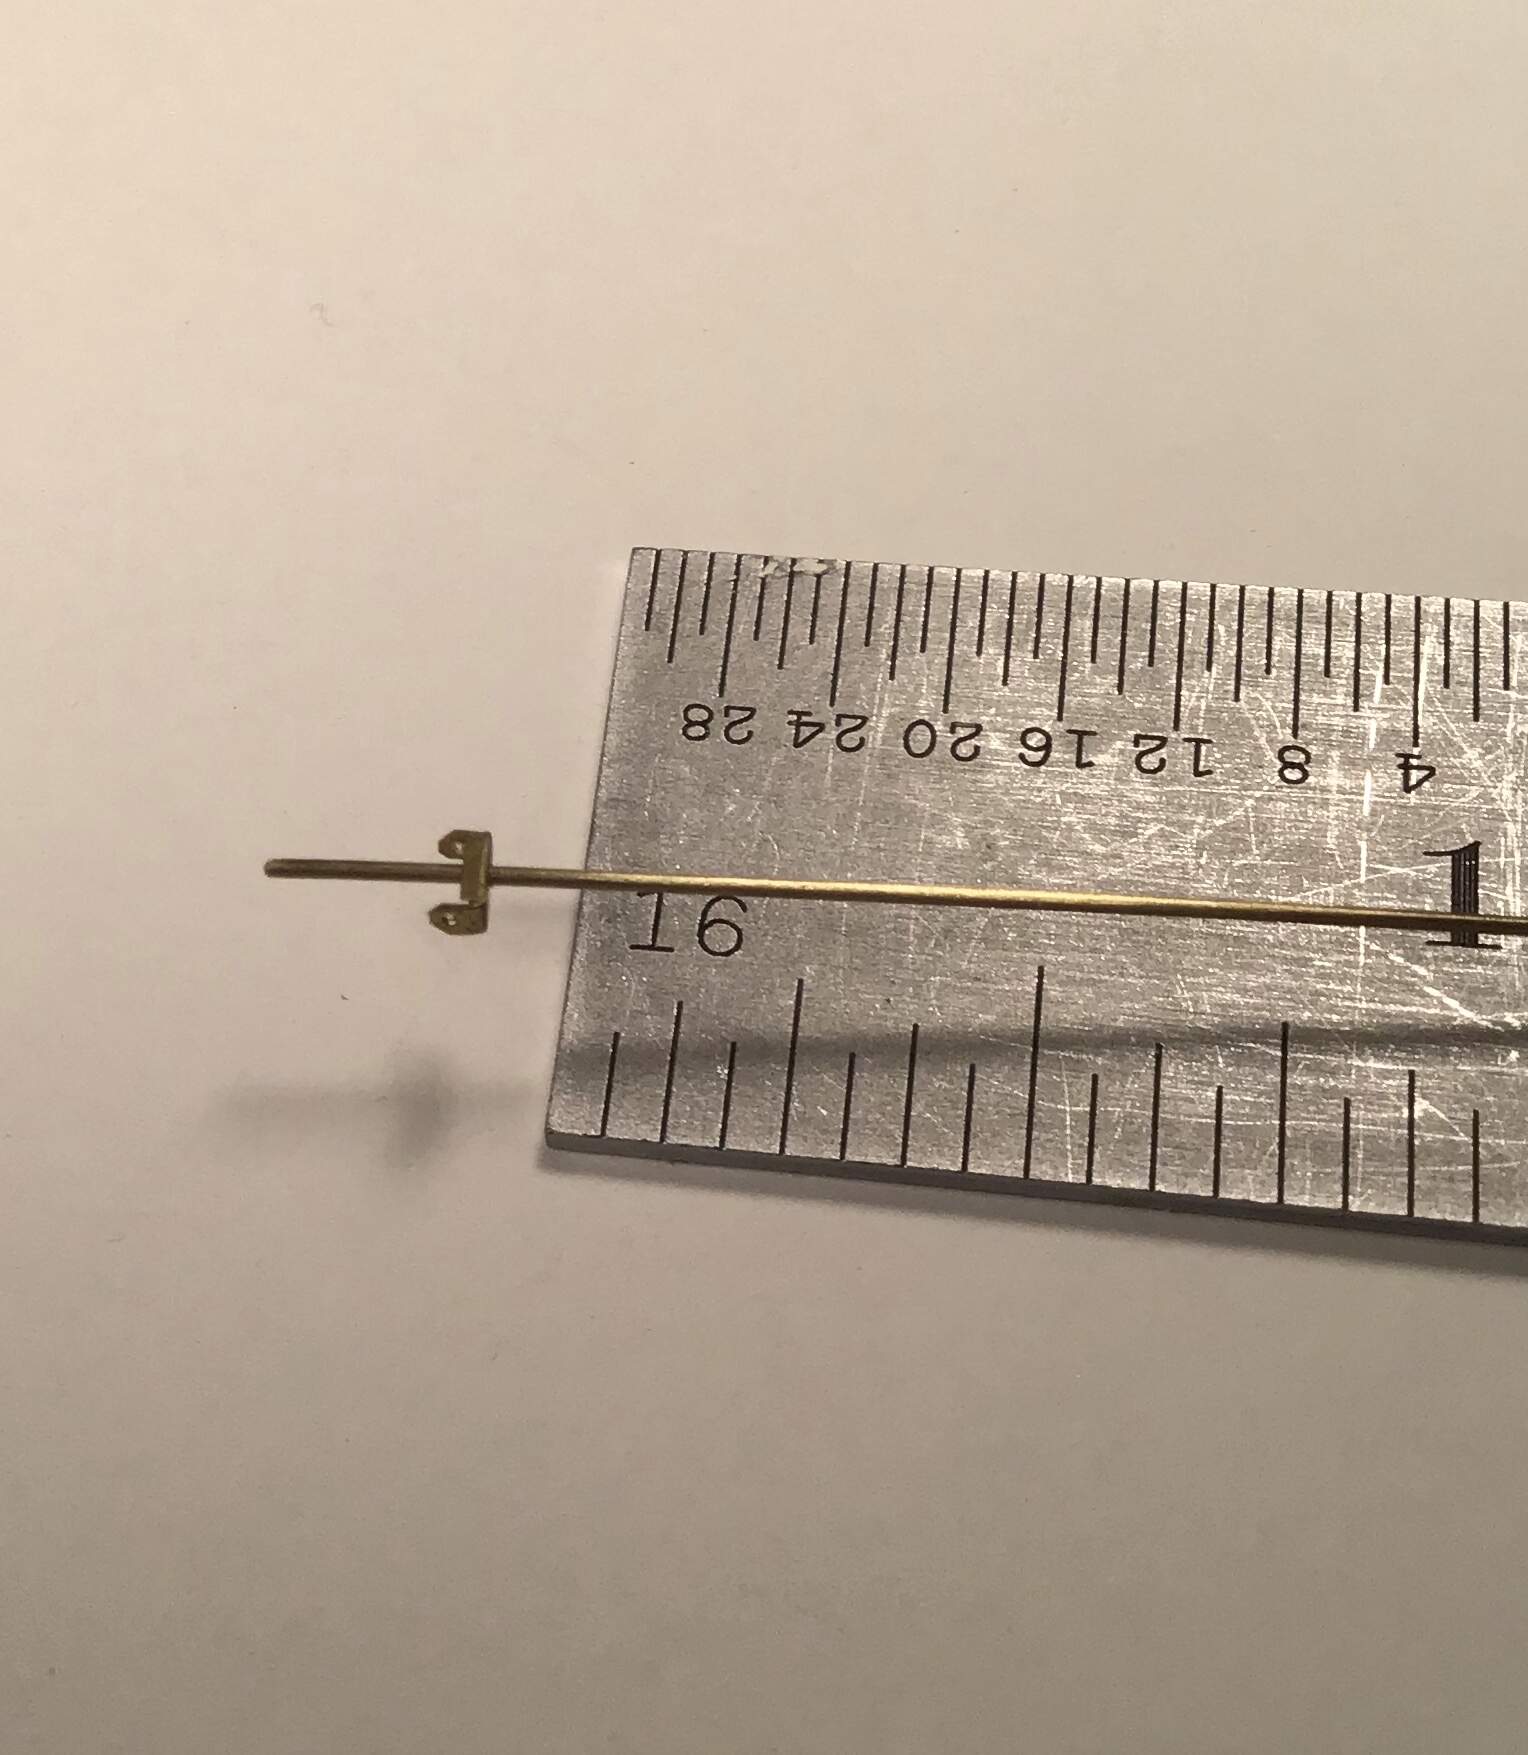
The ends of the rod were carefully sawn to produce a clevis and cross drilled for the weight retaining system - all in brass and held together with thin CA.
I made up the crank out of styrene from bits scrounged from the spares box …
Thanks for looking in .
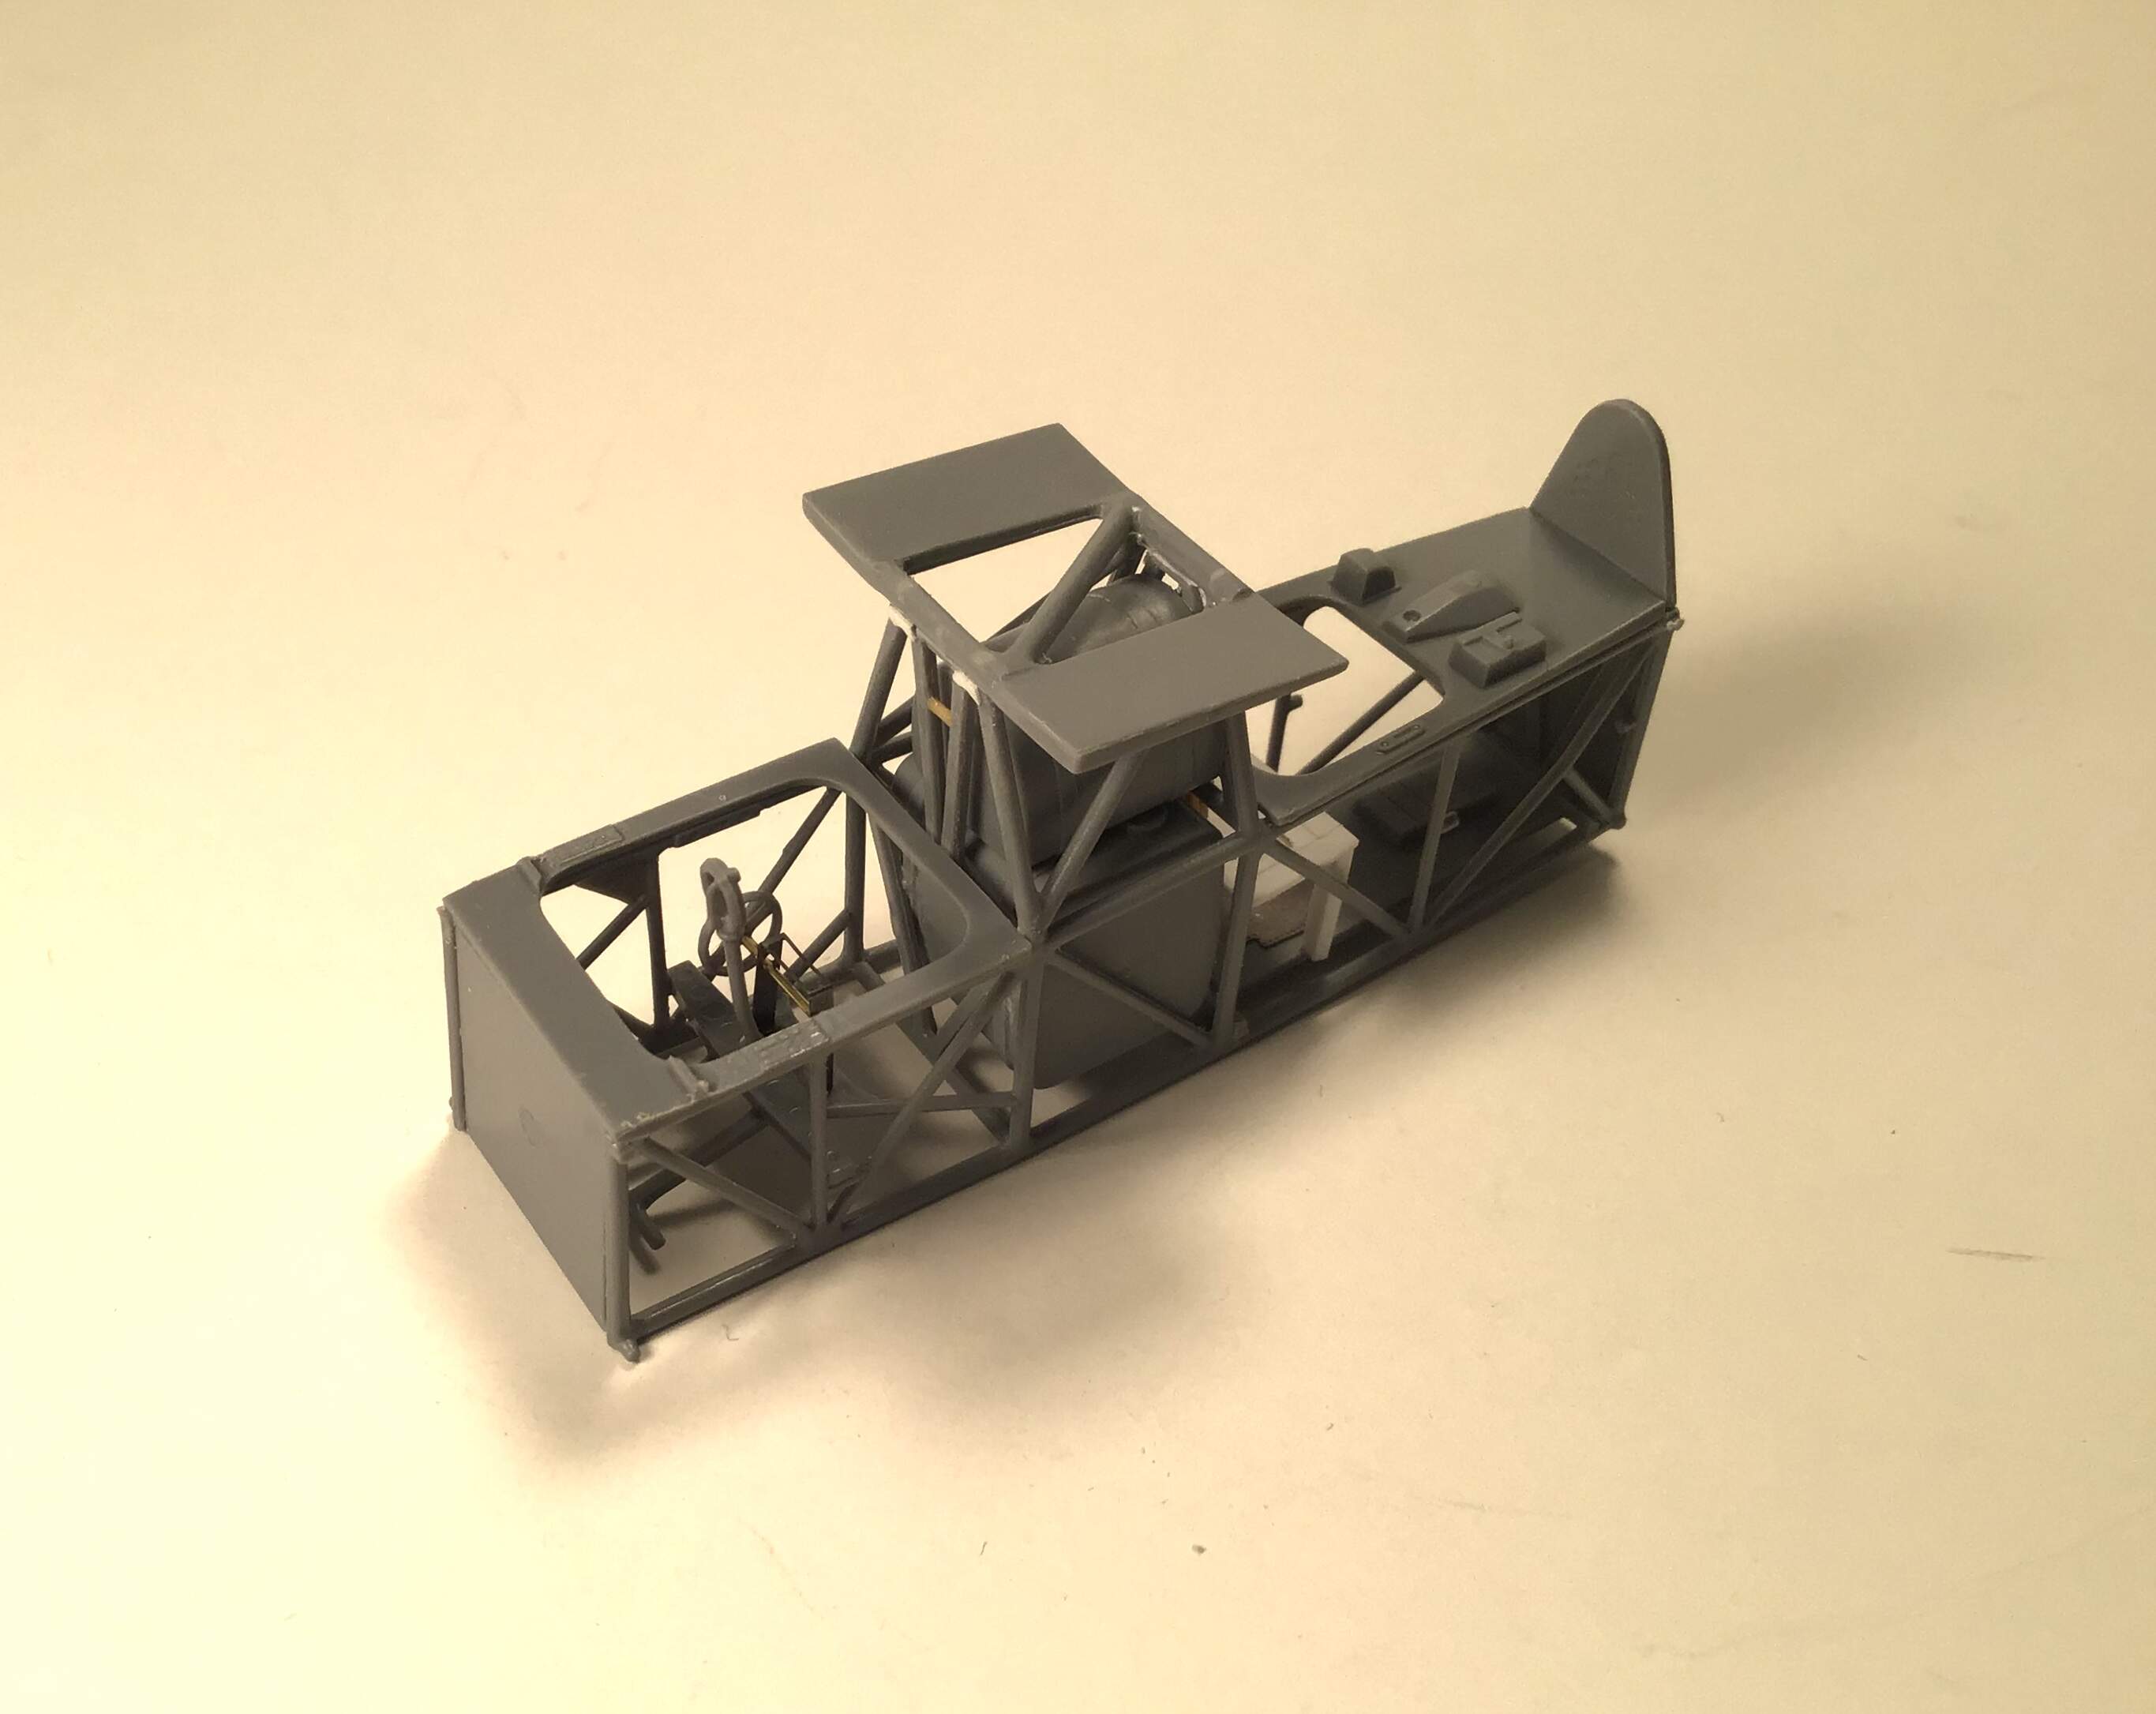
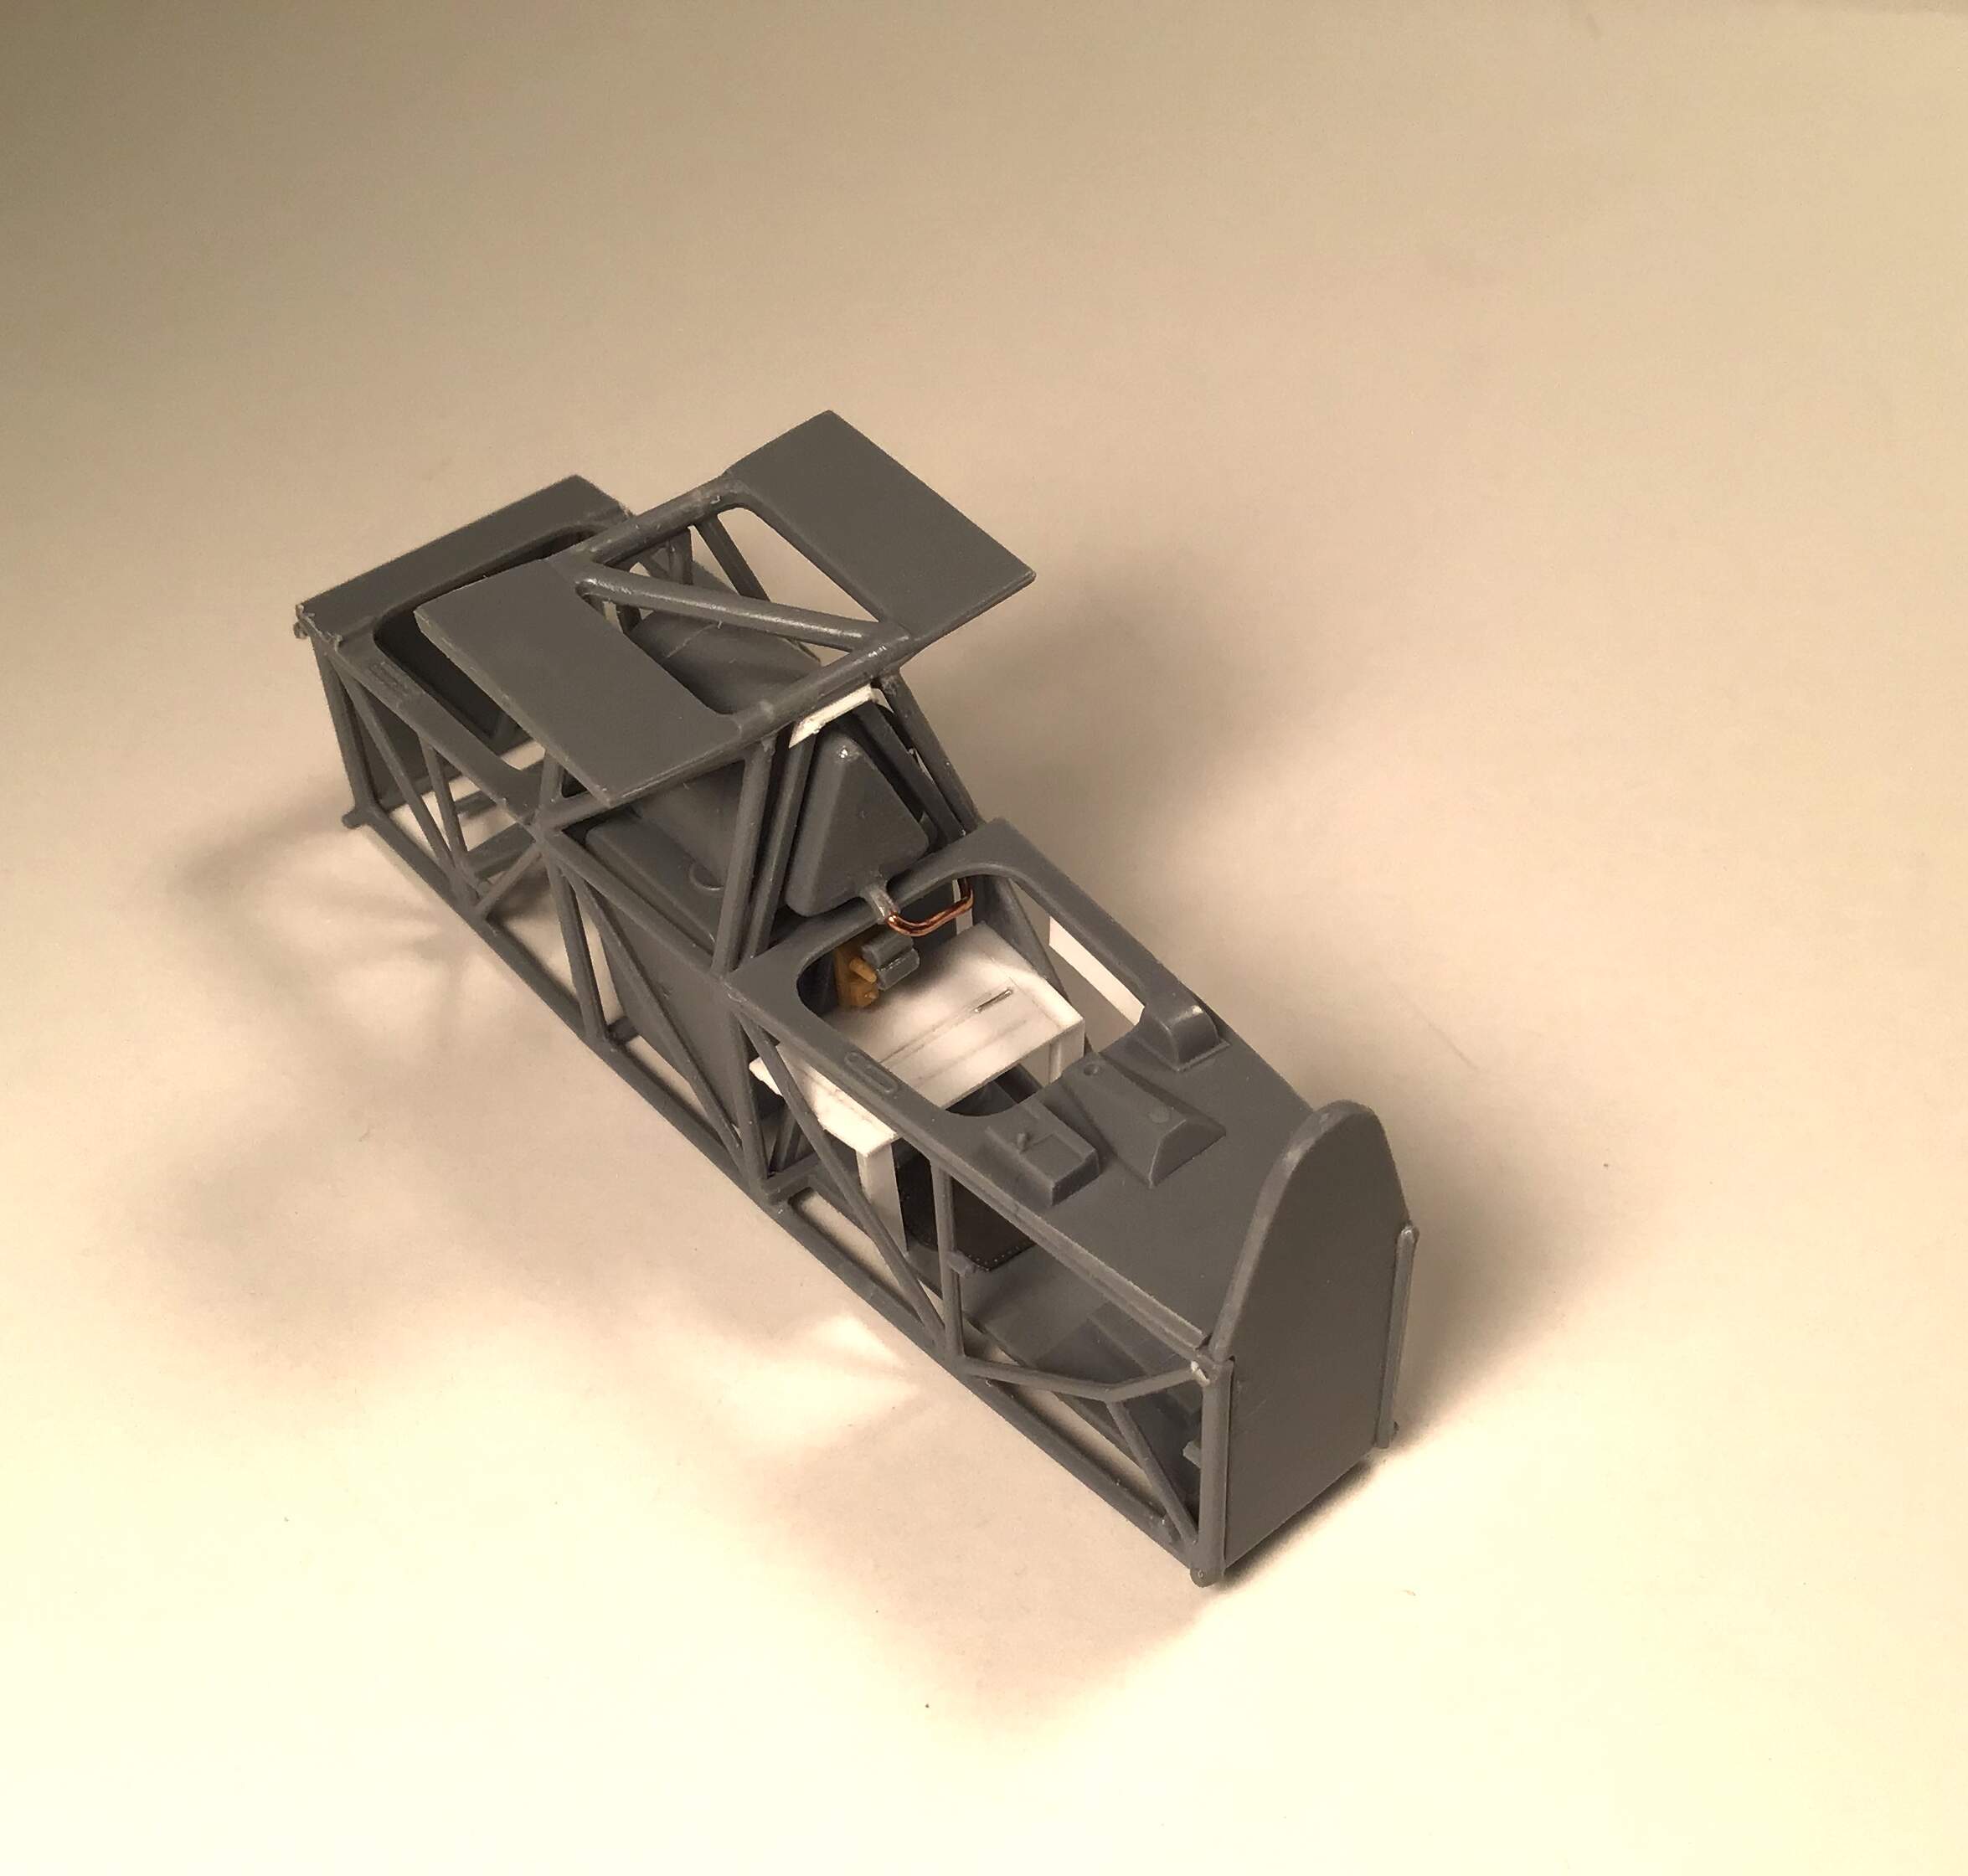
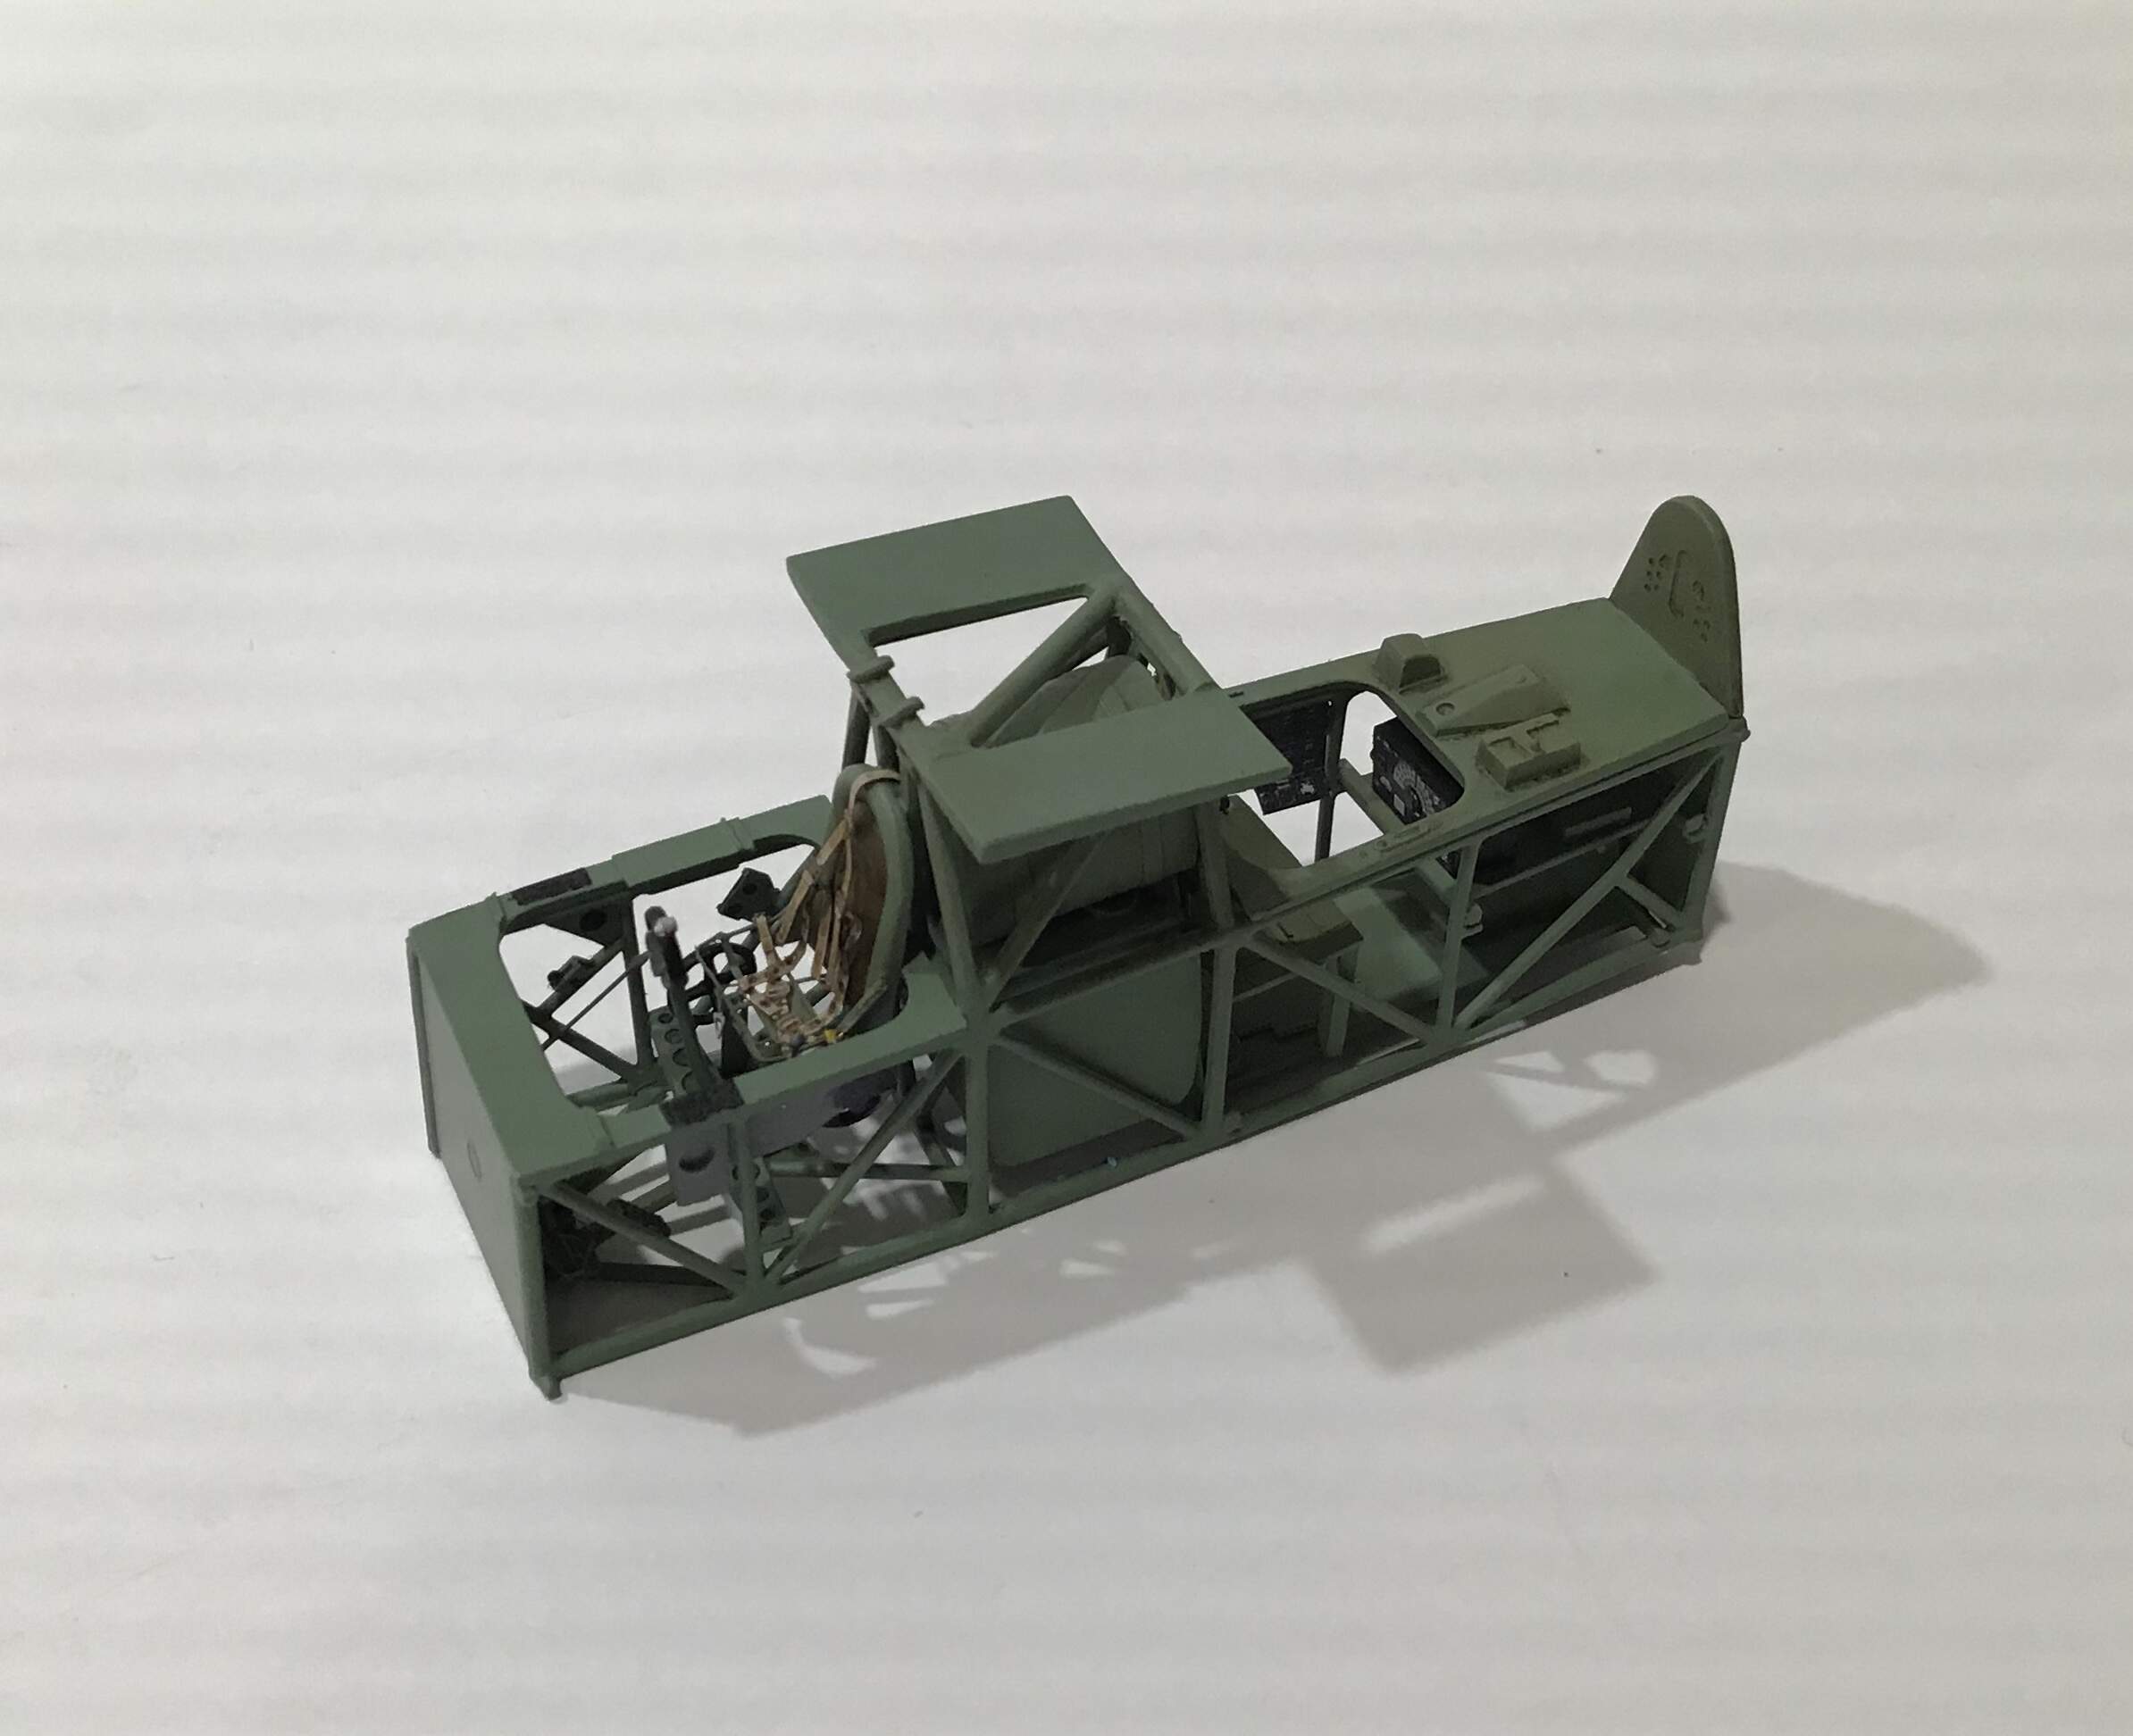
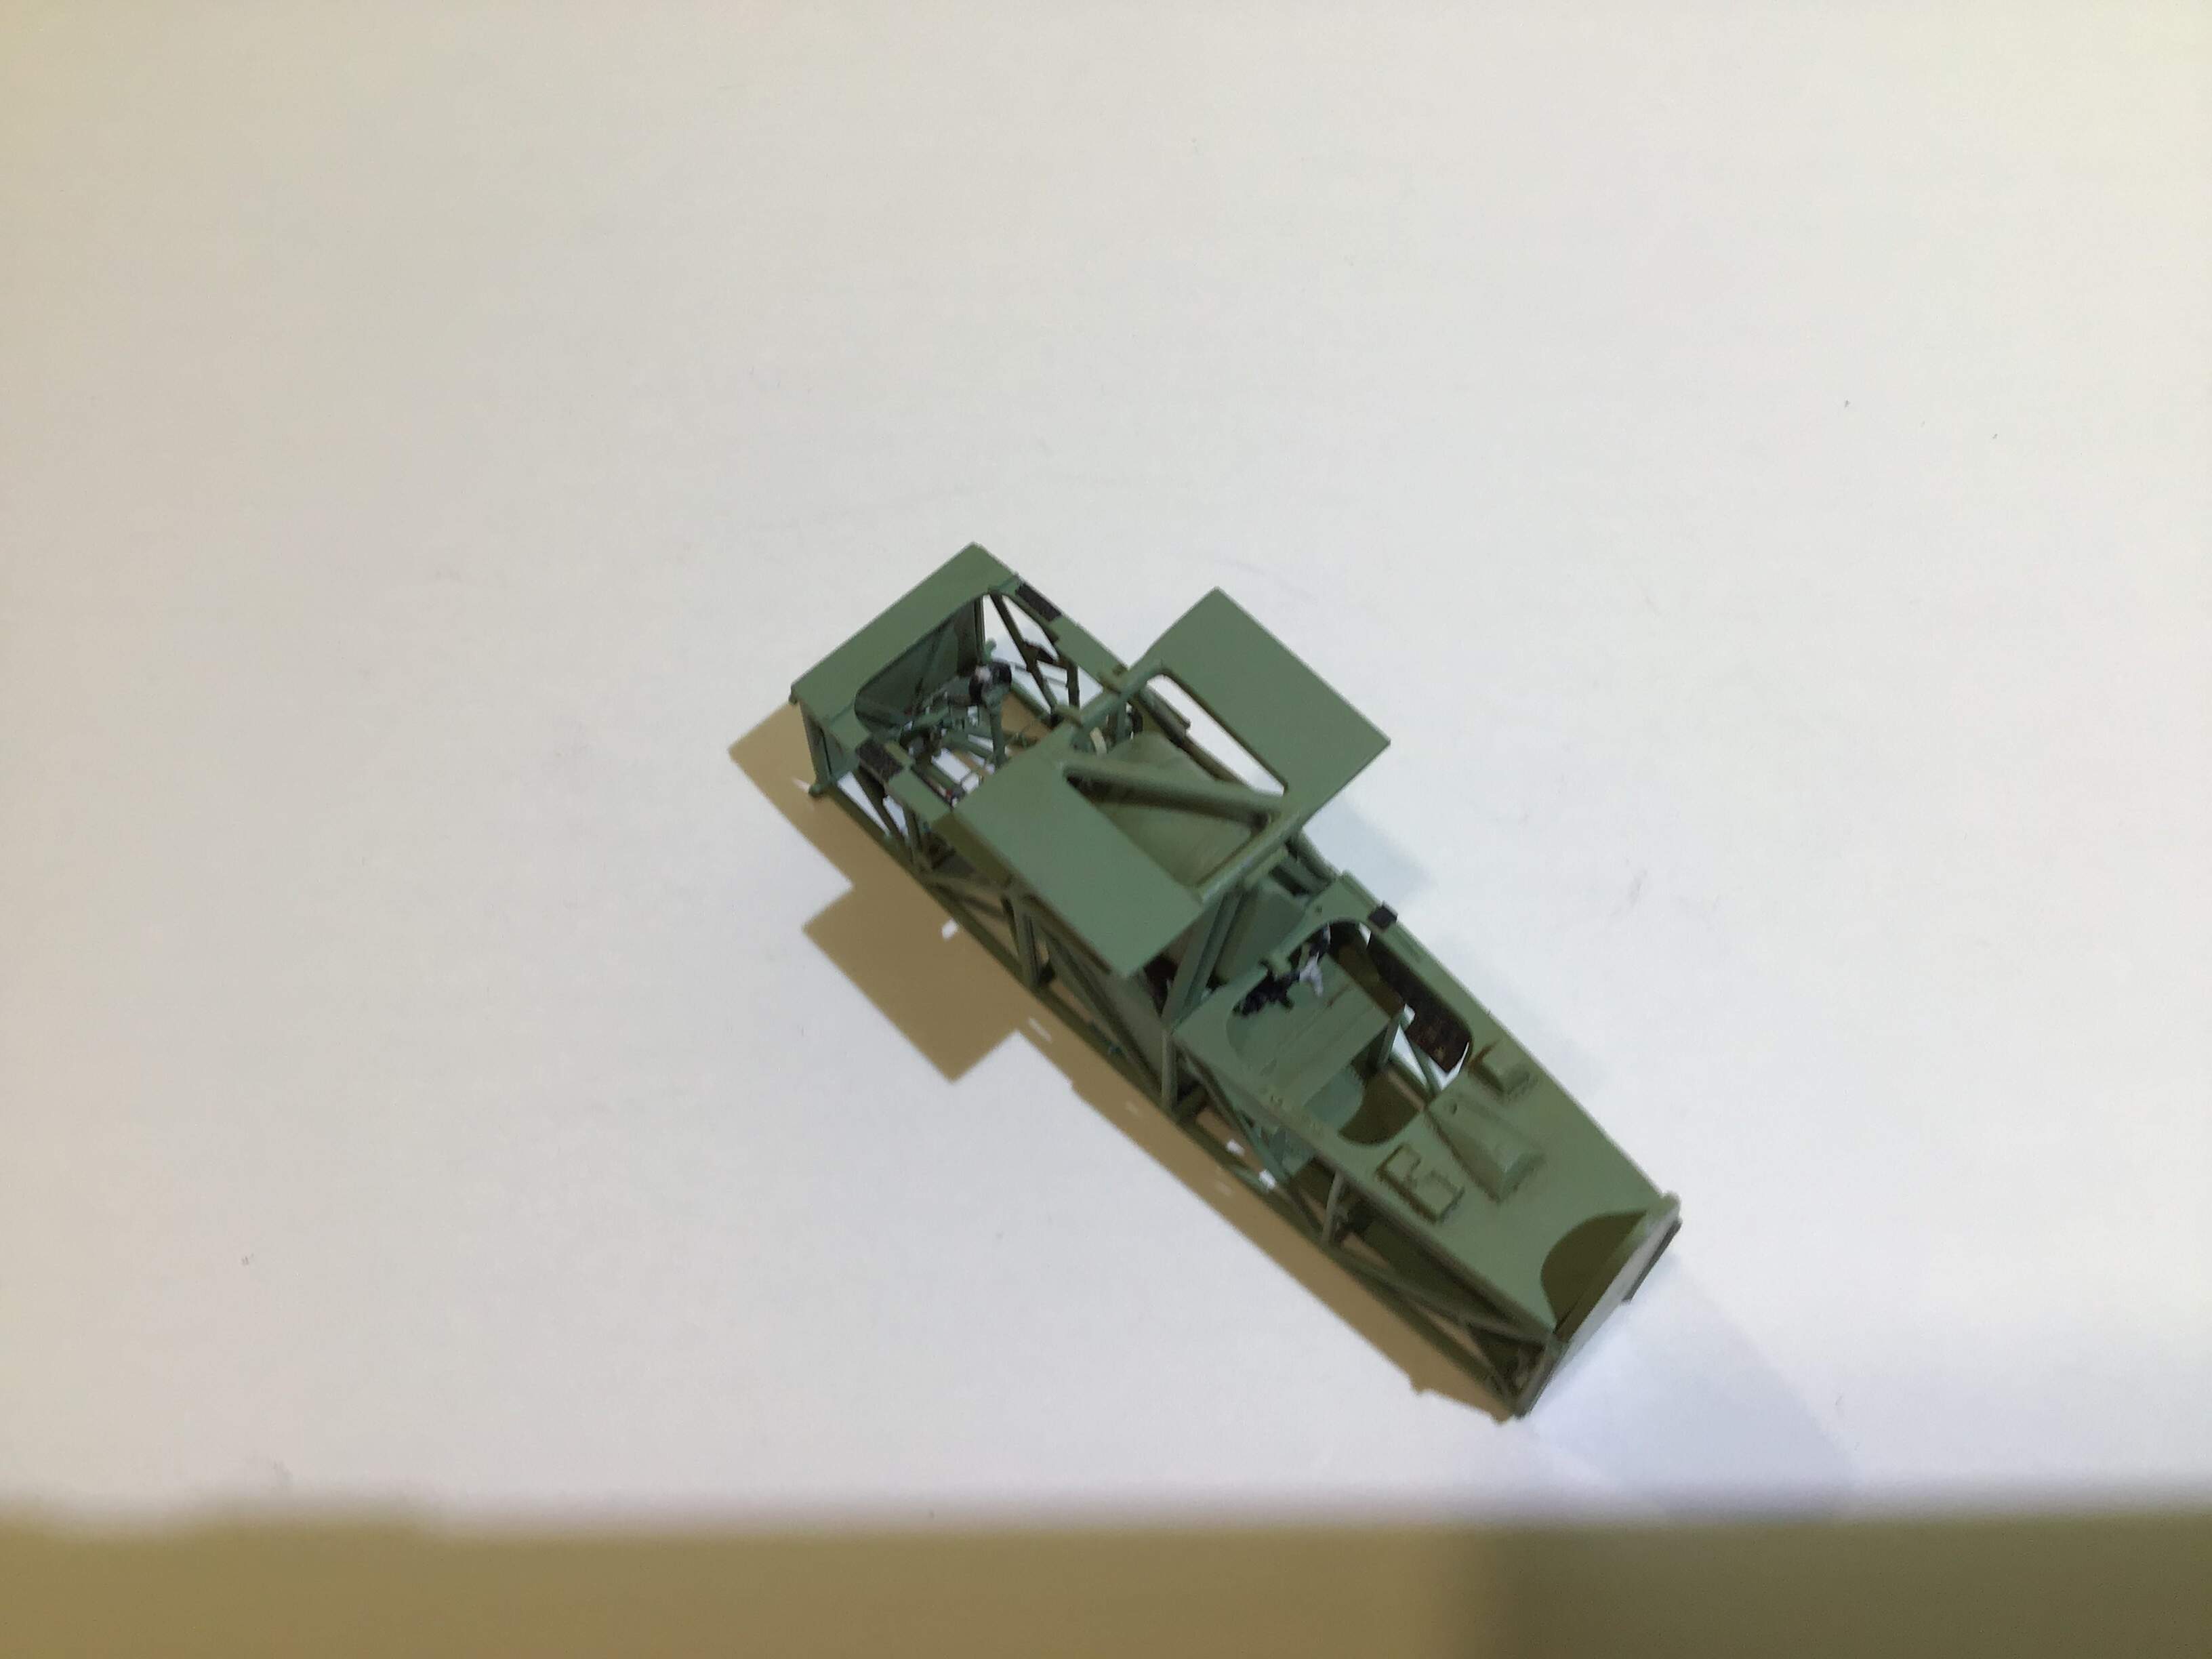
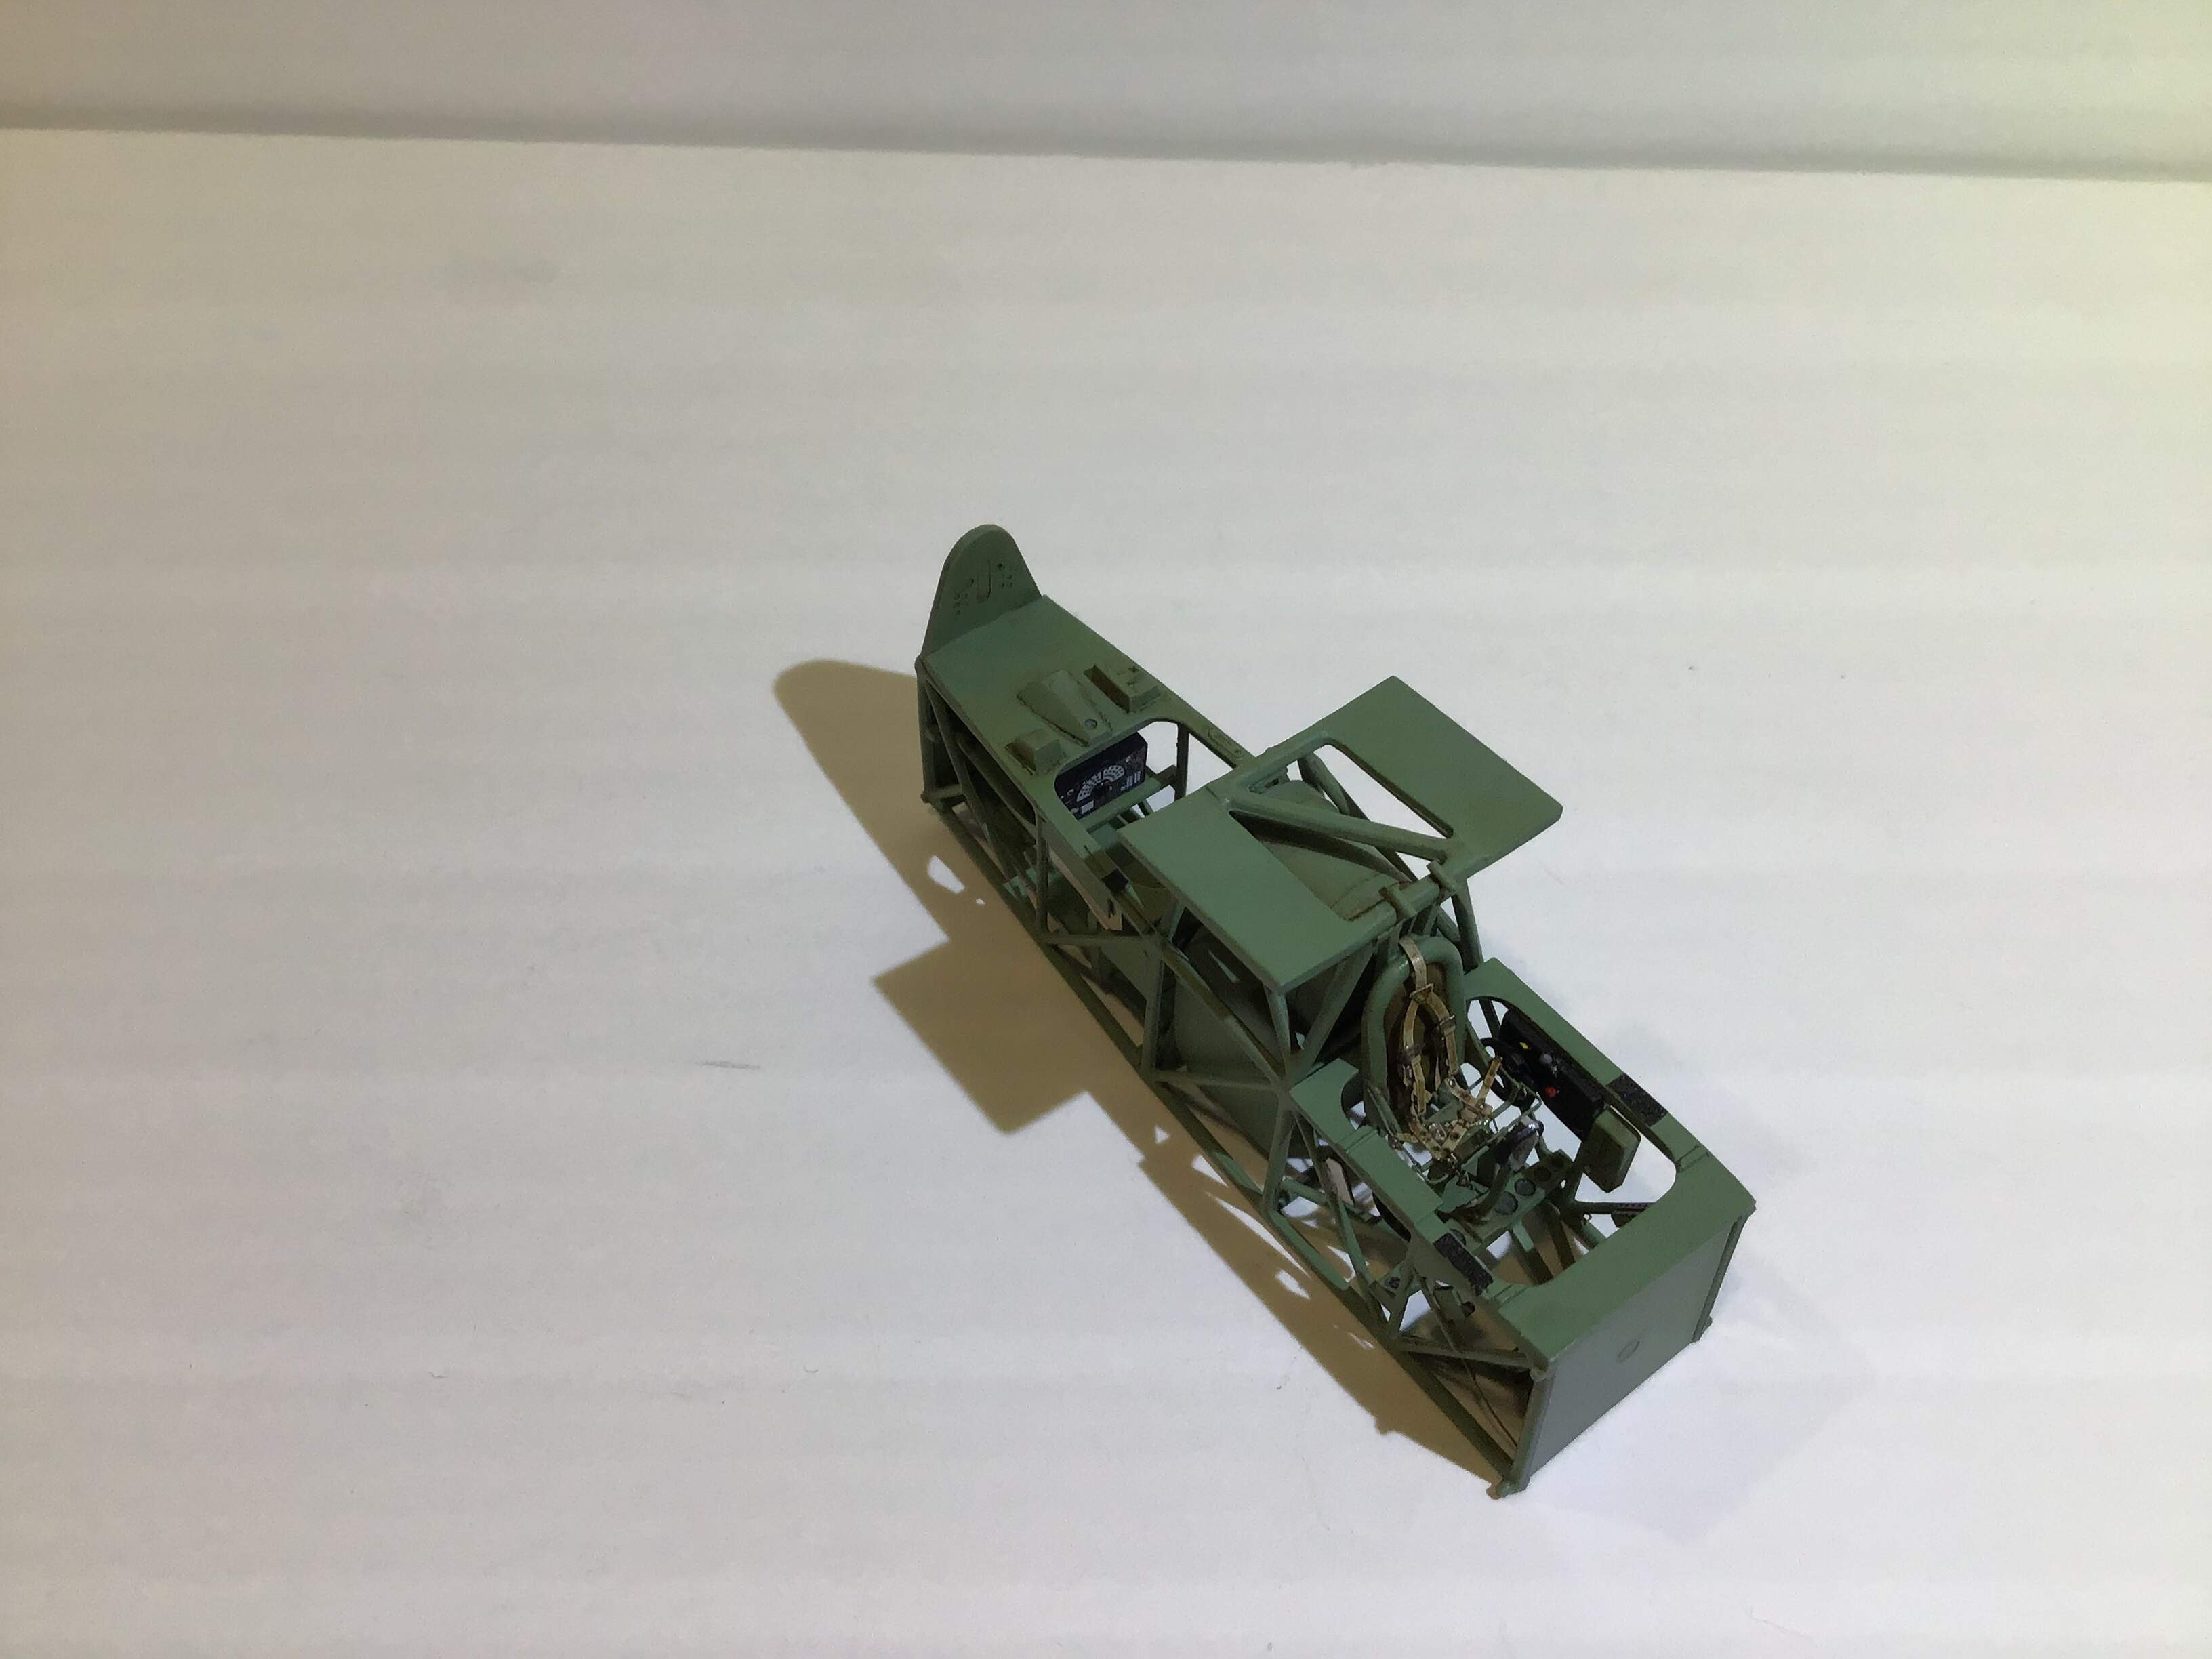
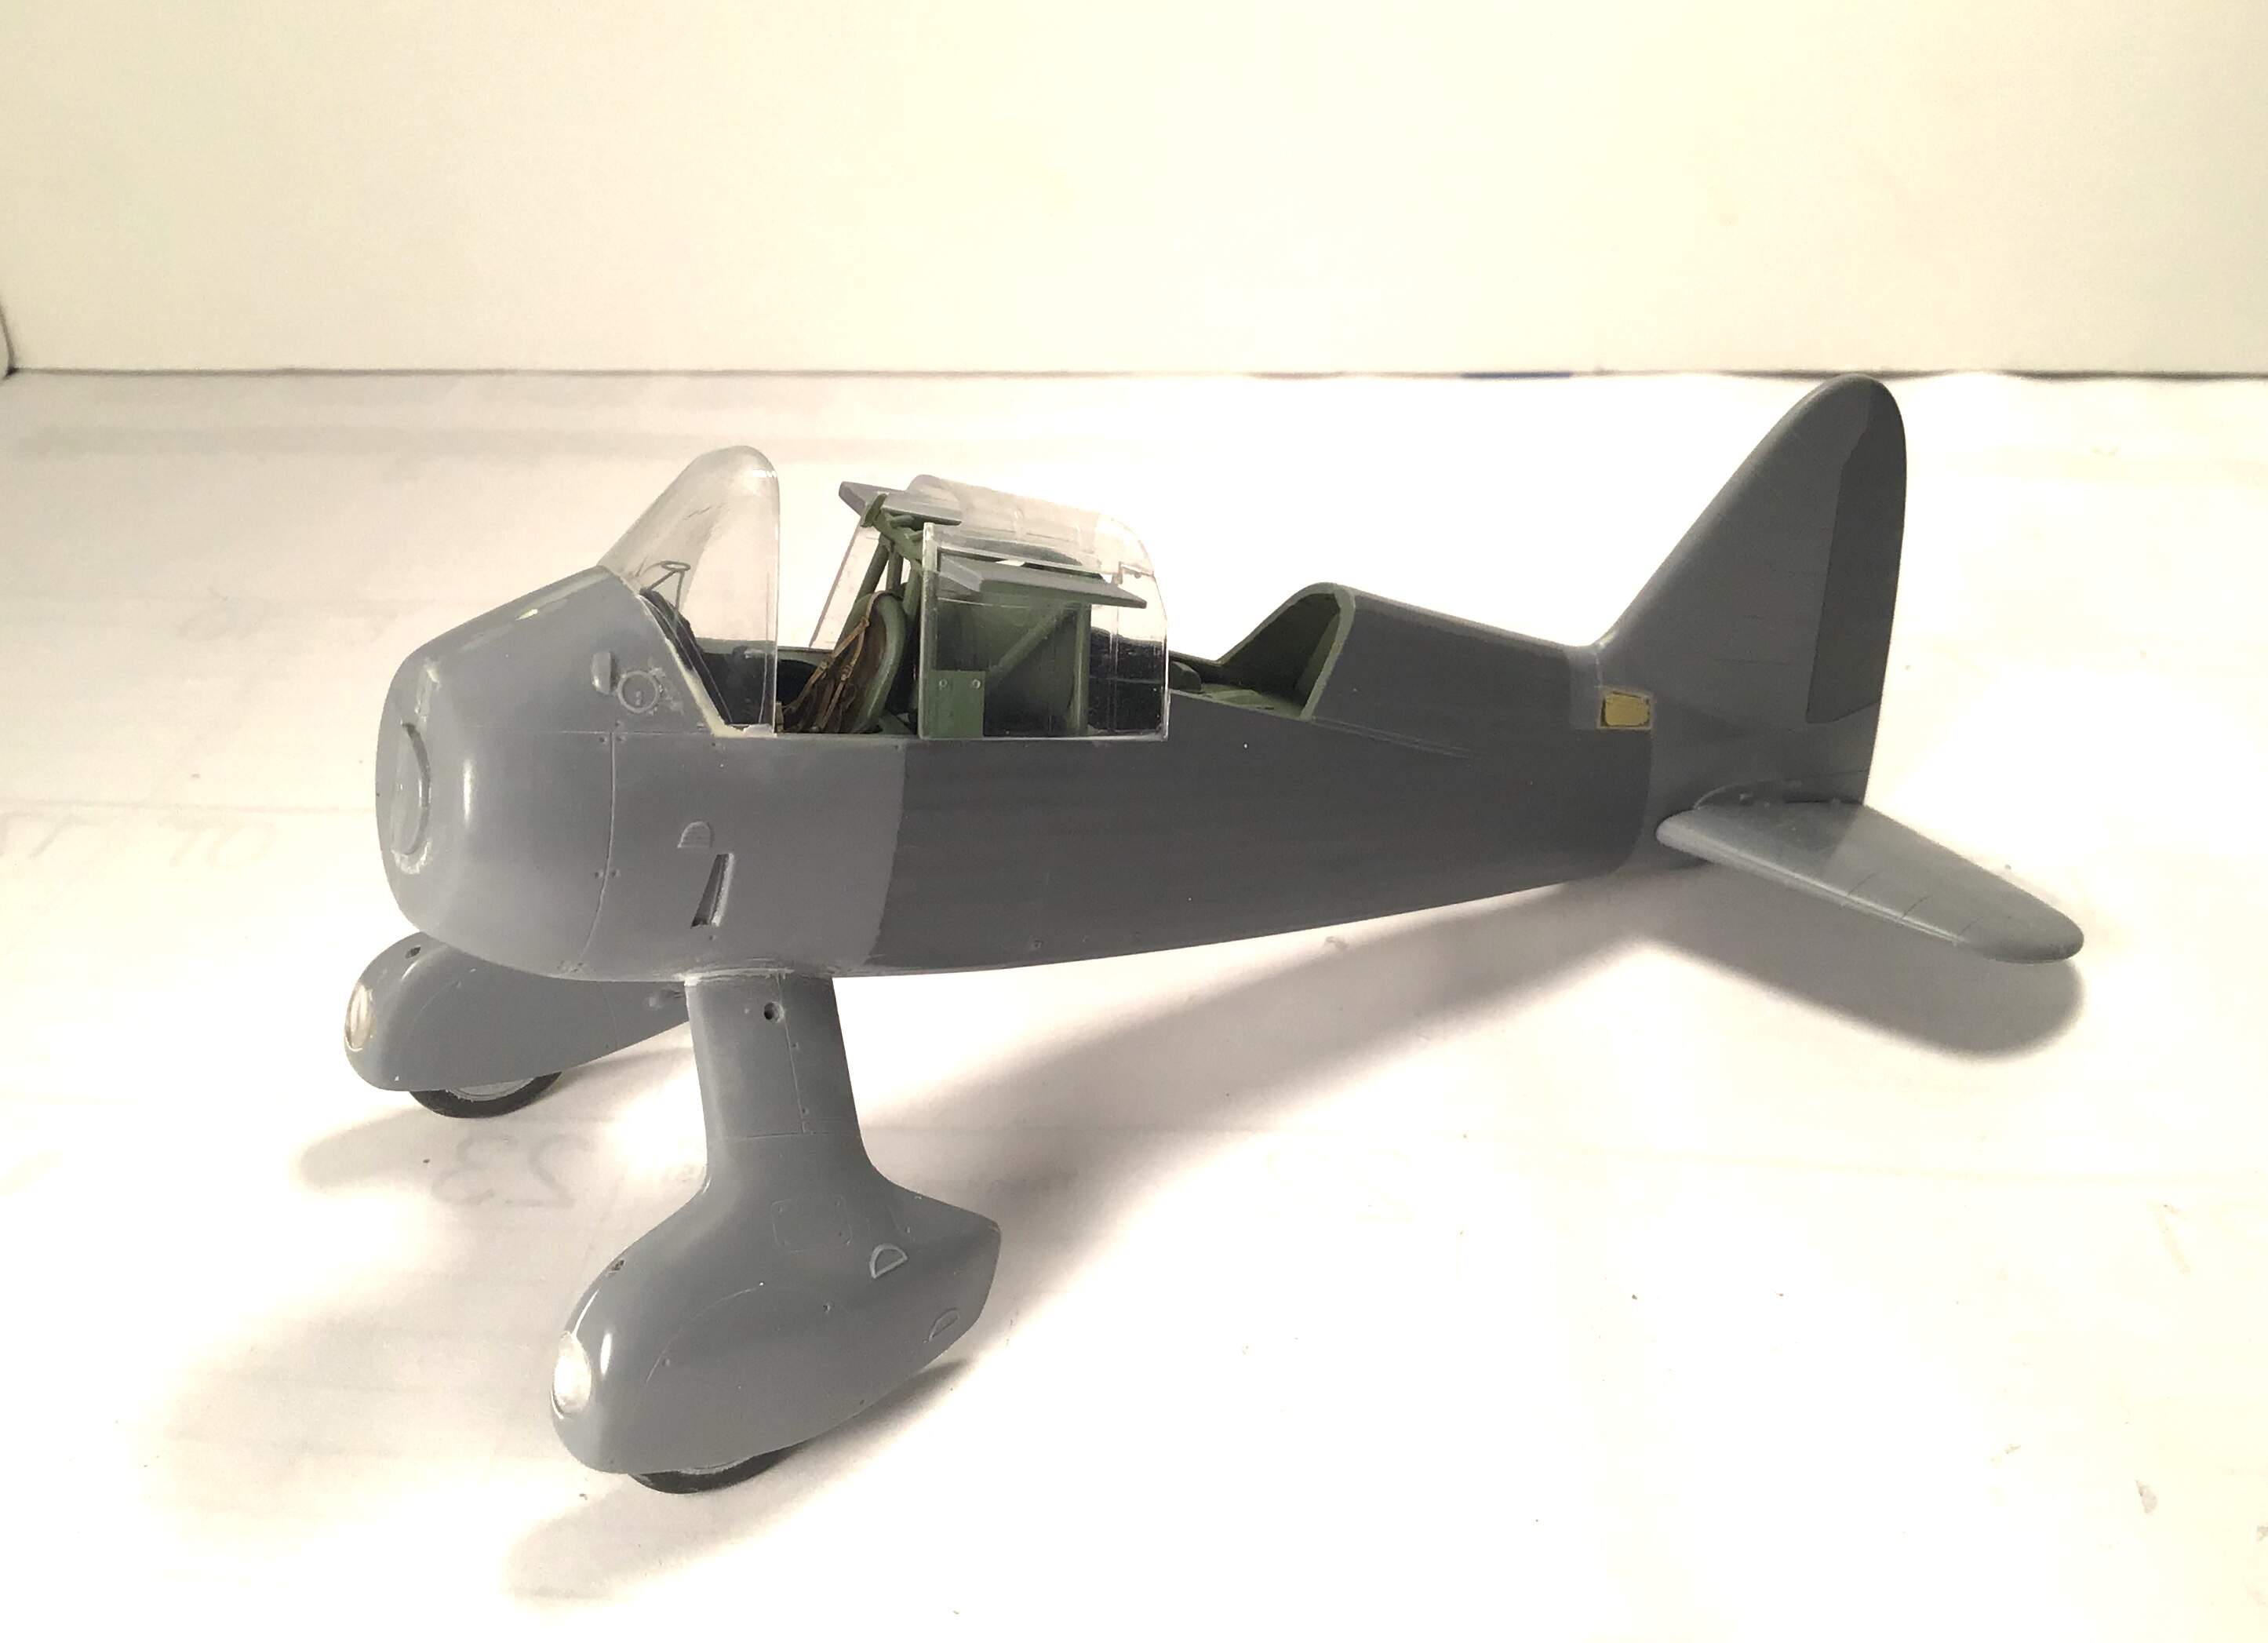
Then the cockpit frame work - a rather complex assembly and since the wings mount to it there is a lot of potential for things to get crooked down the road . A lot of fitting and fussing to keep everything square . Anyone contemplating building this kit be aware that the top piece that the wings attach to can be put on backwards - the large tabs that the wings slot around are wedge shaped and need to have the heavier edge forward with the wedge tapering thinner to the rear . The instructions make no mention of this and I only caught it by studying.
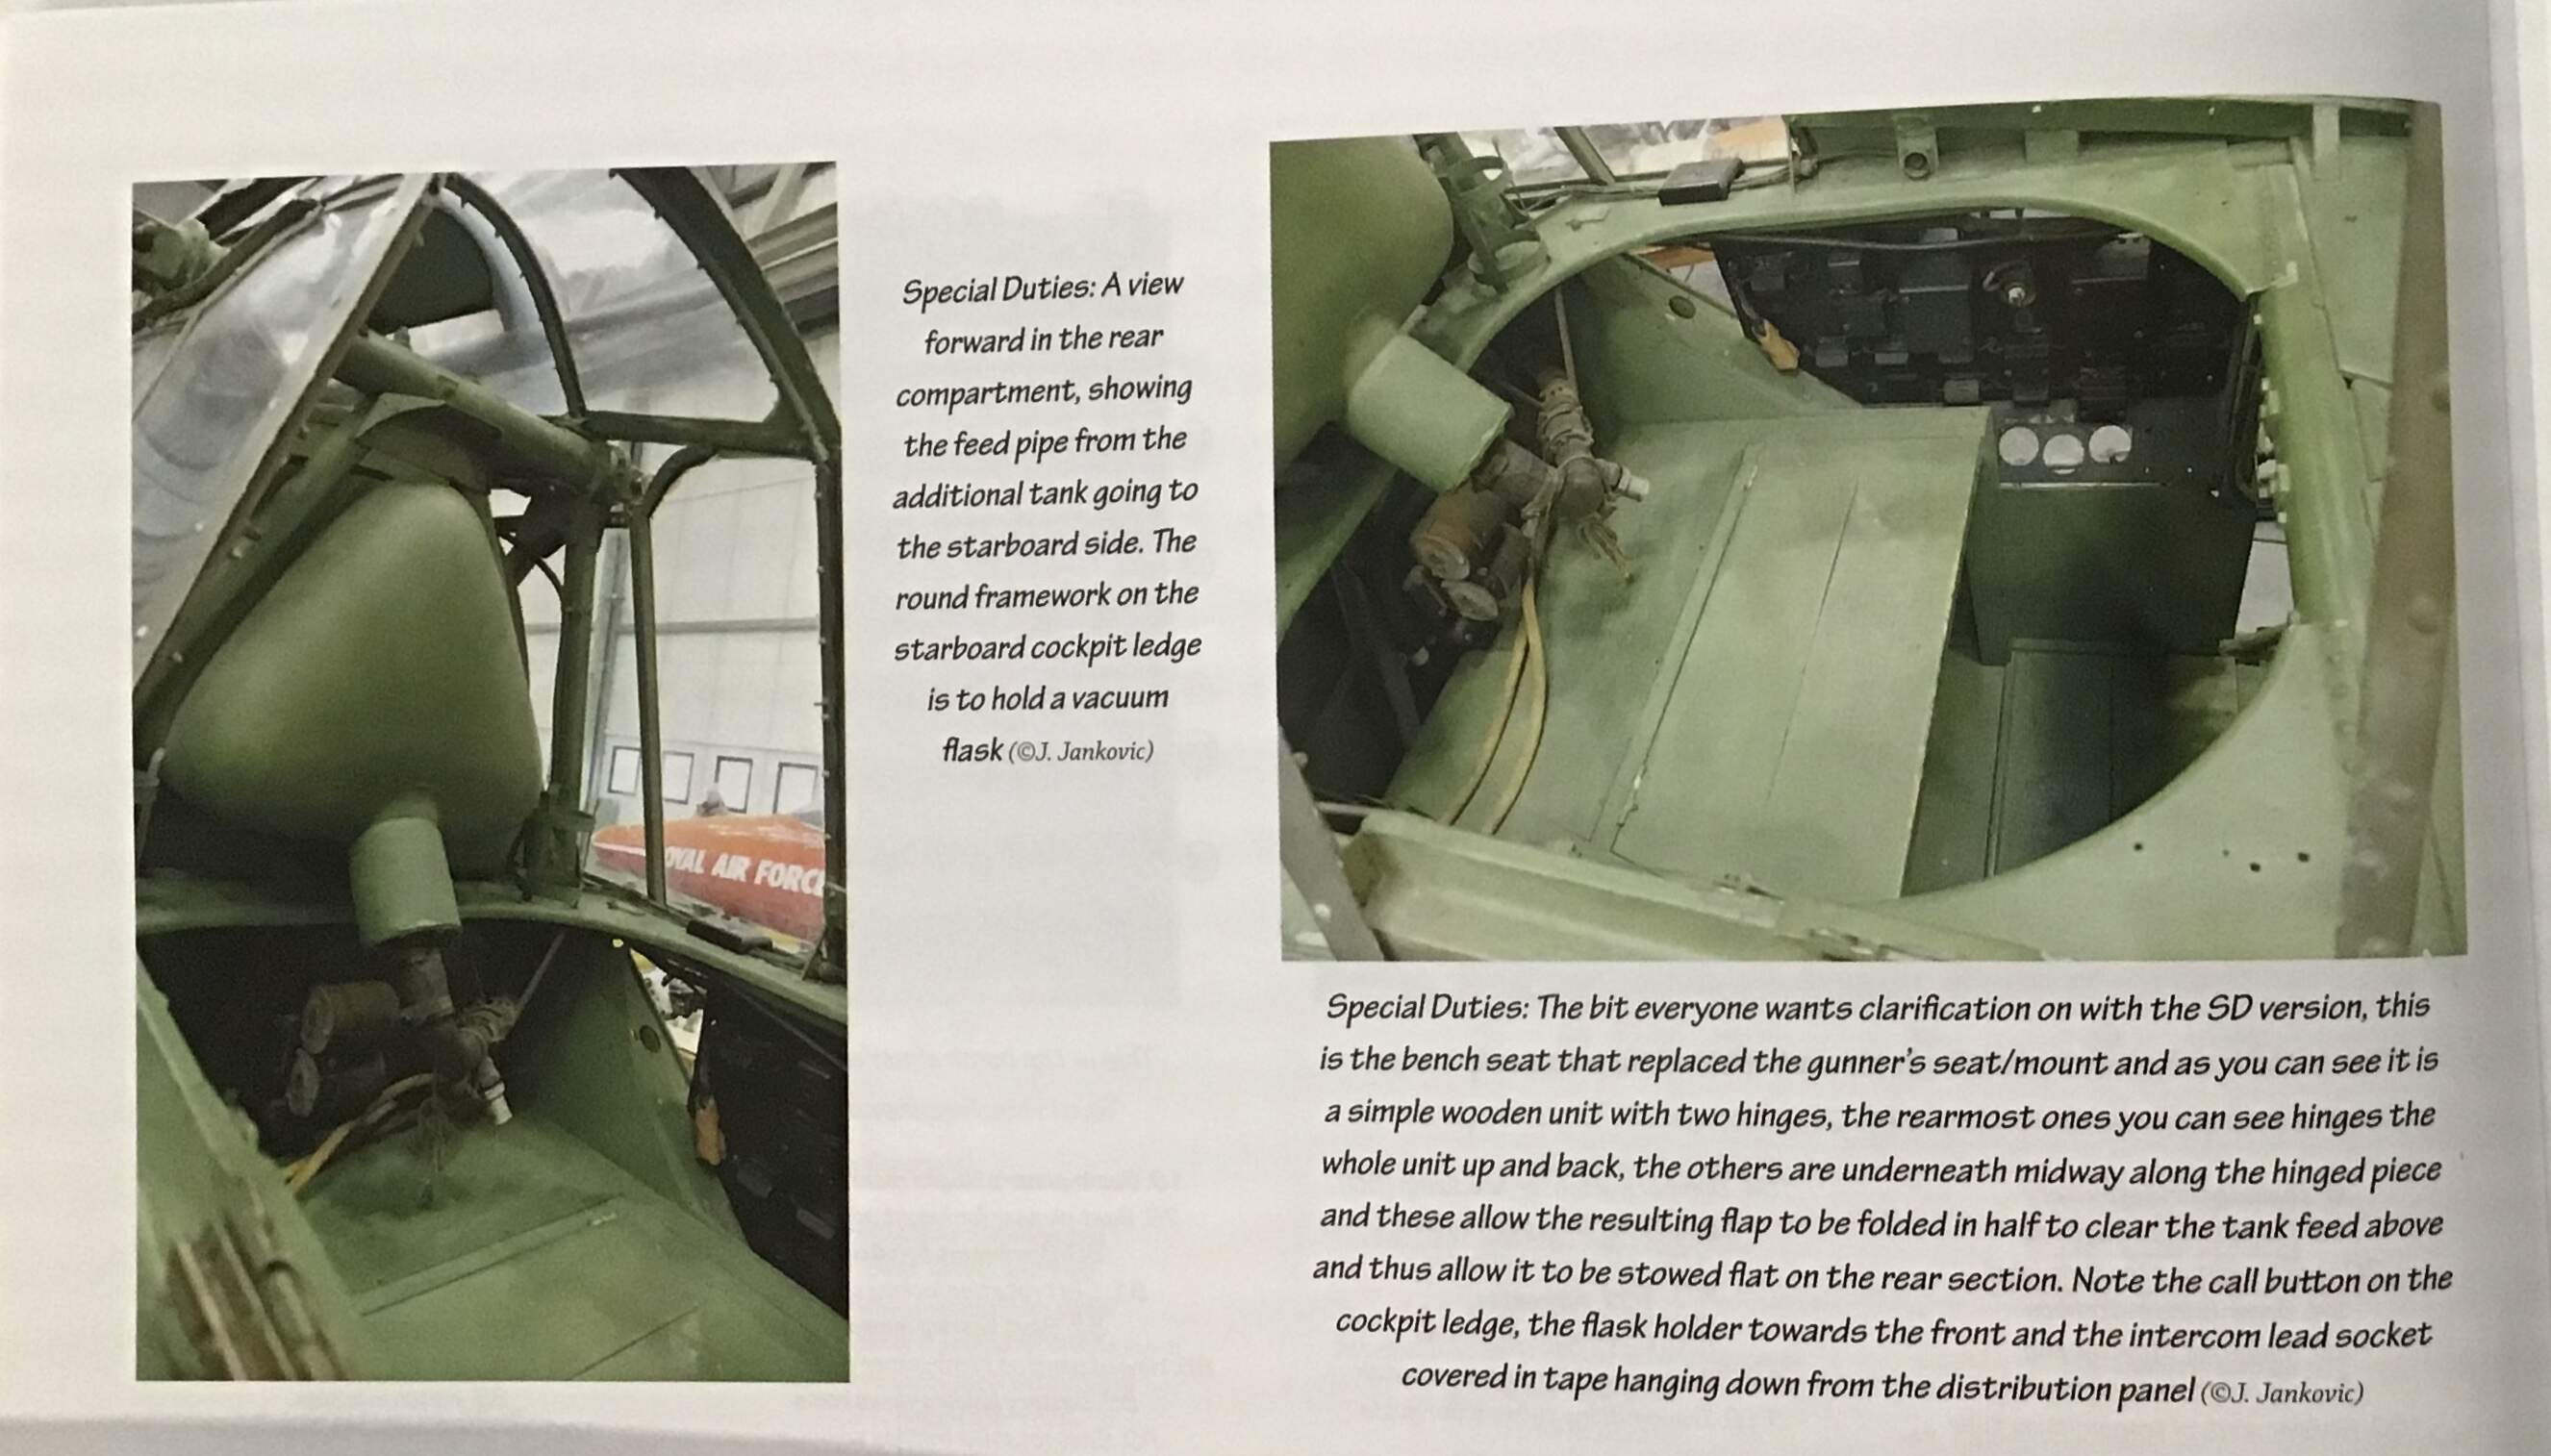
The wooden bench seat that was unique to the Special Duties aircraft was scratch built from sheet styrene- hinges from fine wire . I’ve begun work on the plumbing for the upper fuel tank as well .
A windy rainy Memorial Day Weekend here at the seashore has made for two full days at the modeling bench.
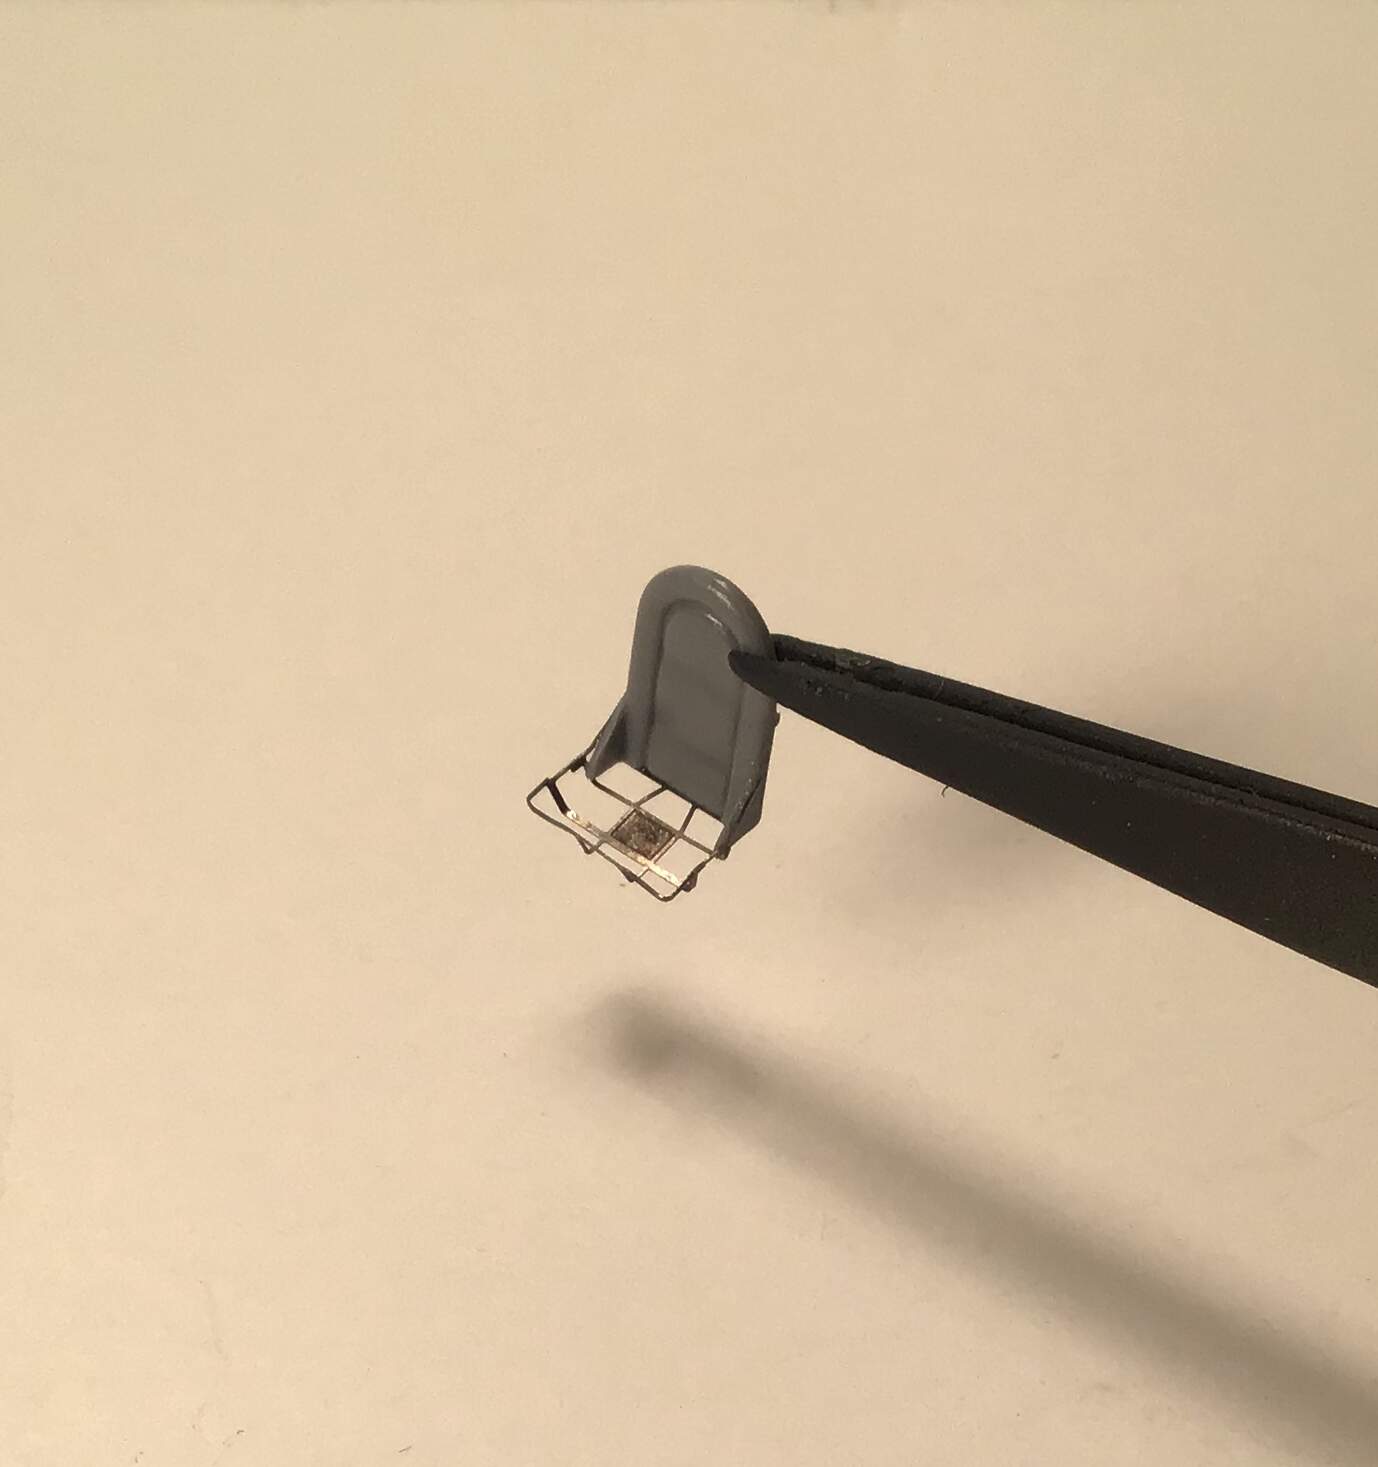
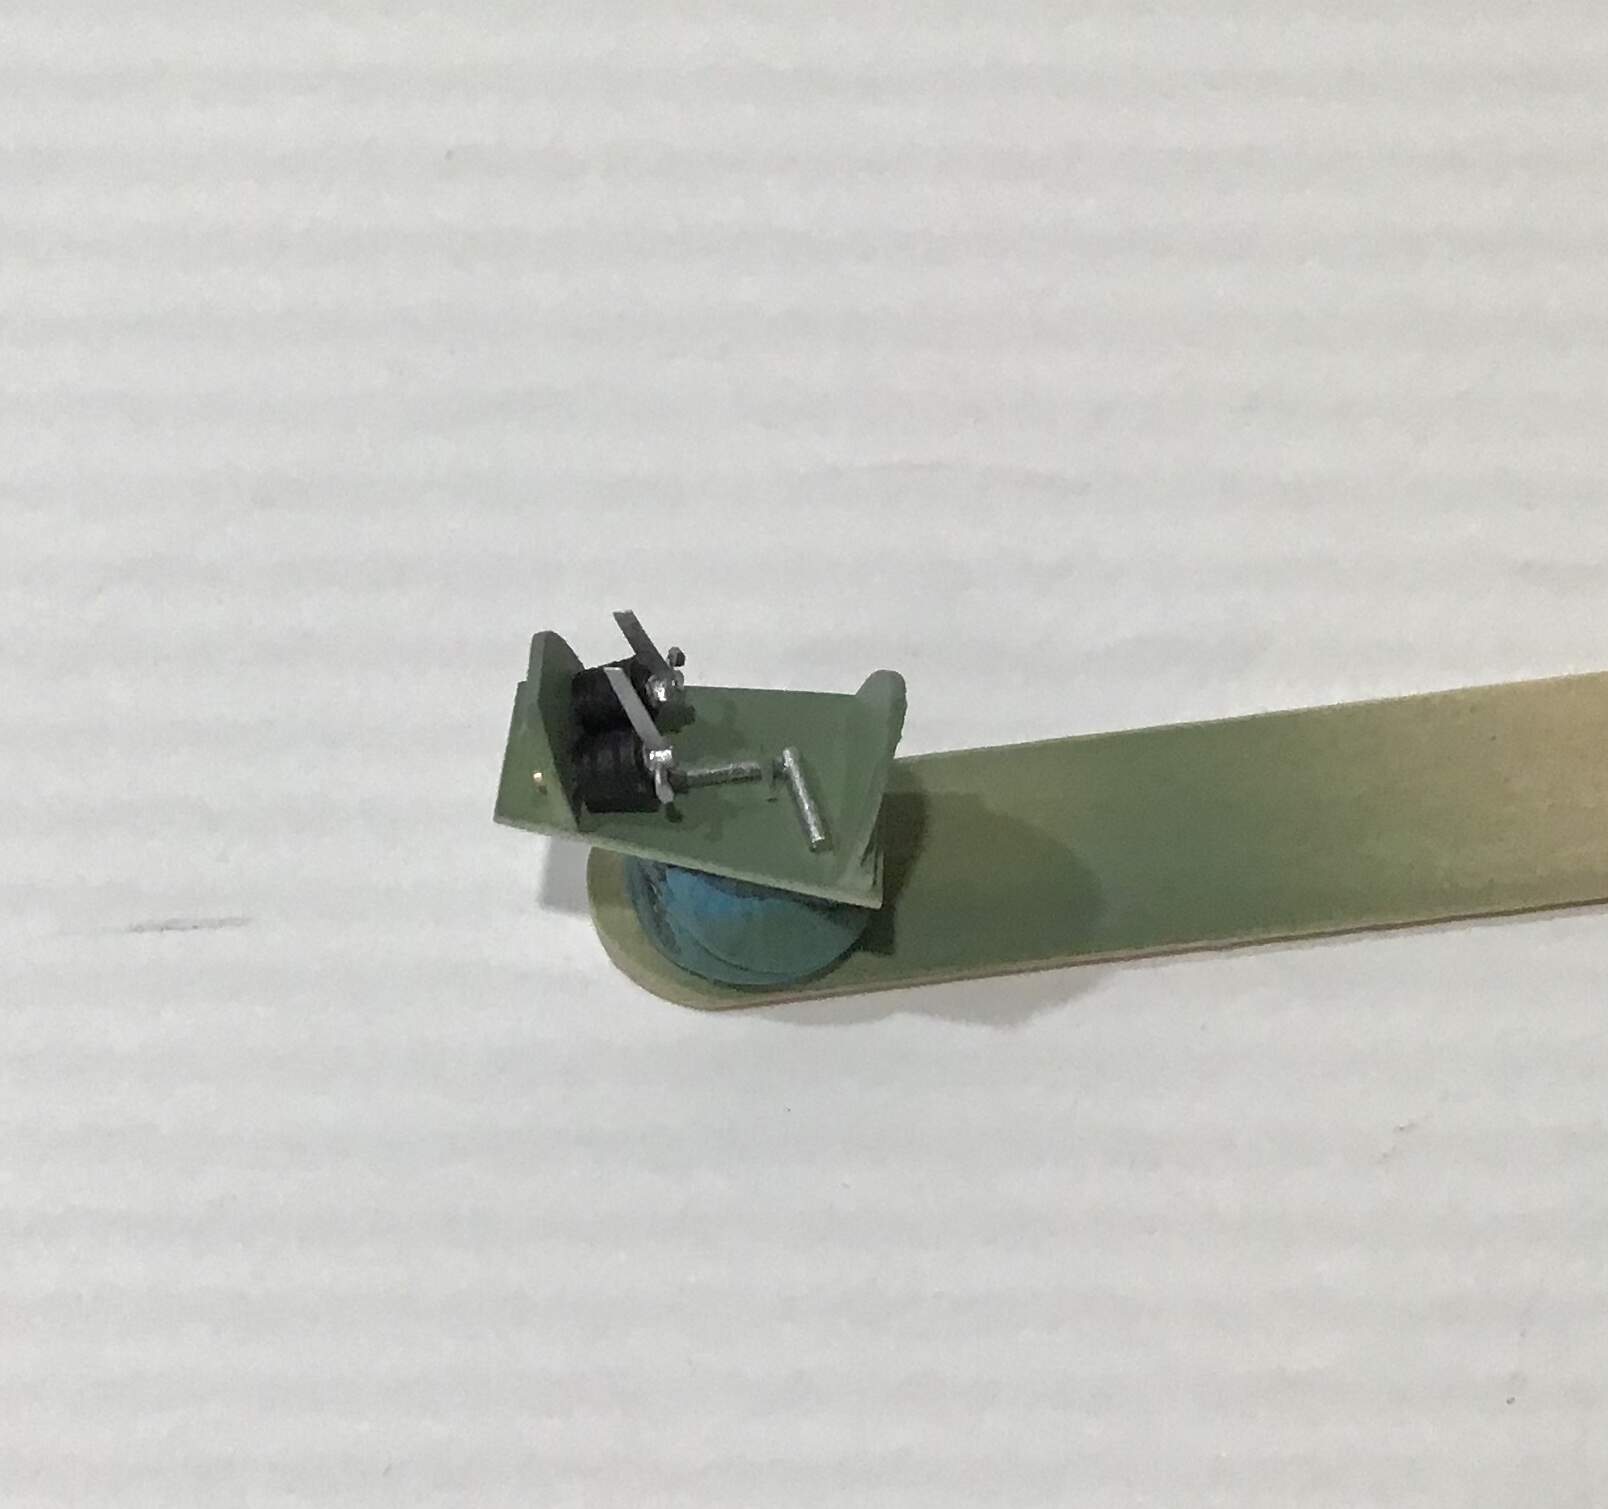
The rudder bar/pedals are now done & ready for paint. The first order of business was laying out & cutting / folding a box for the rudder bar out of brass shim …
Top of intersection dolled up with a little epoxy putty and sanded/filed to shape - pivot rod inserted through box and photo etch pedals epoxied to the rudder bar .
Interior stuff in paint - Vallejo IDF/IAF Green 71.126
is pretty good for British interior green.
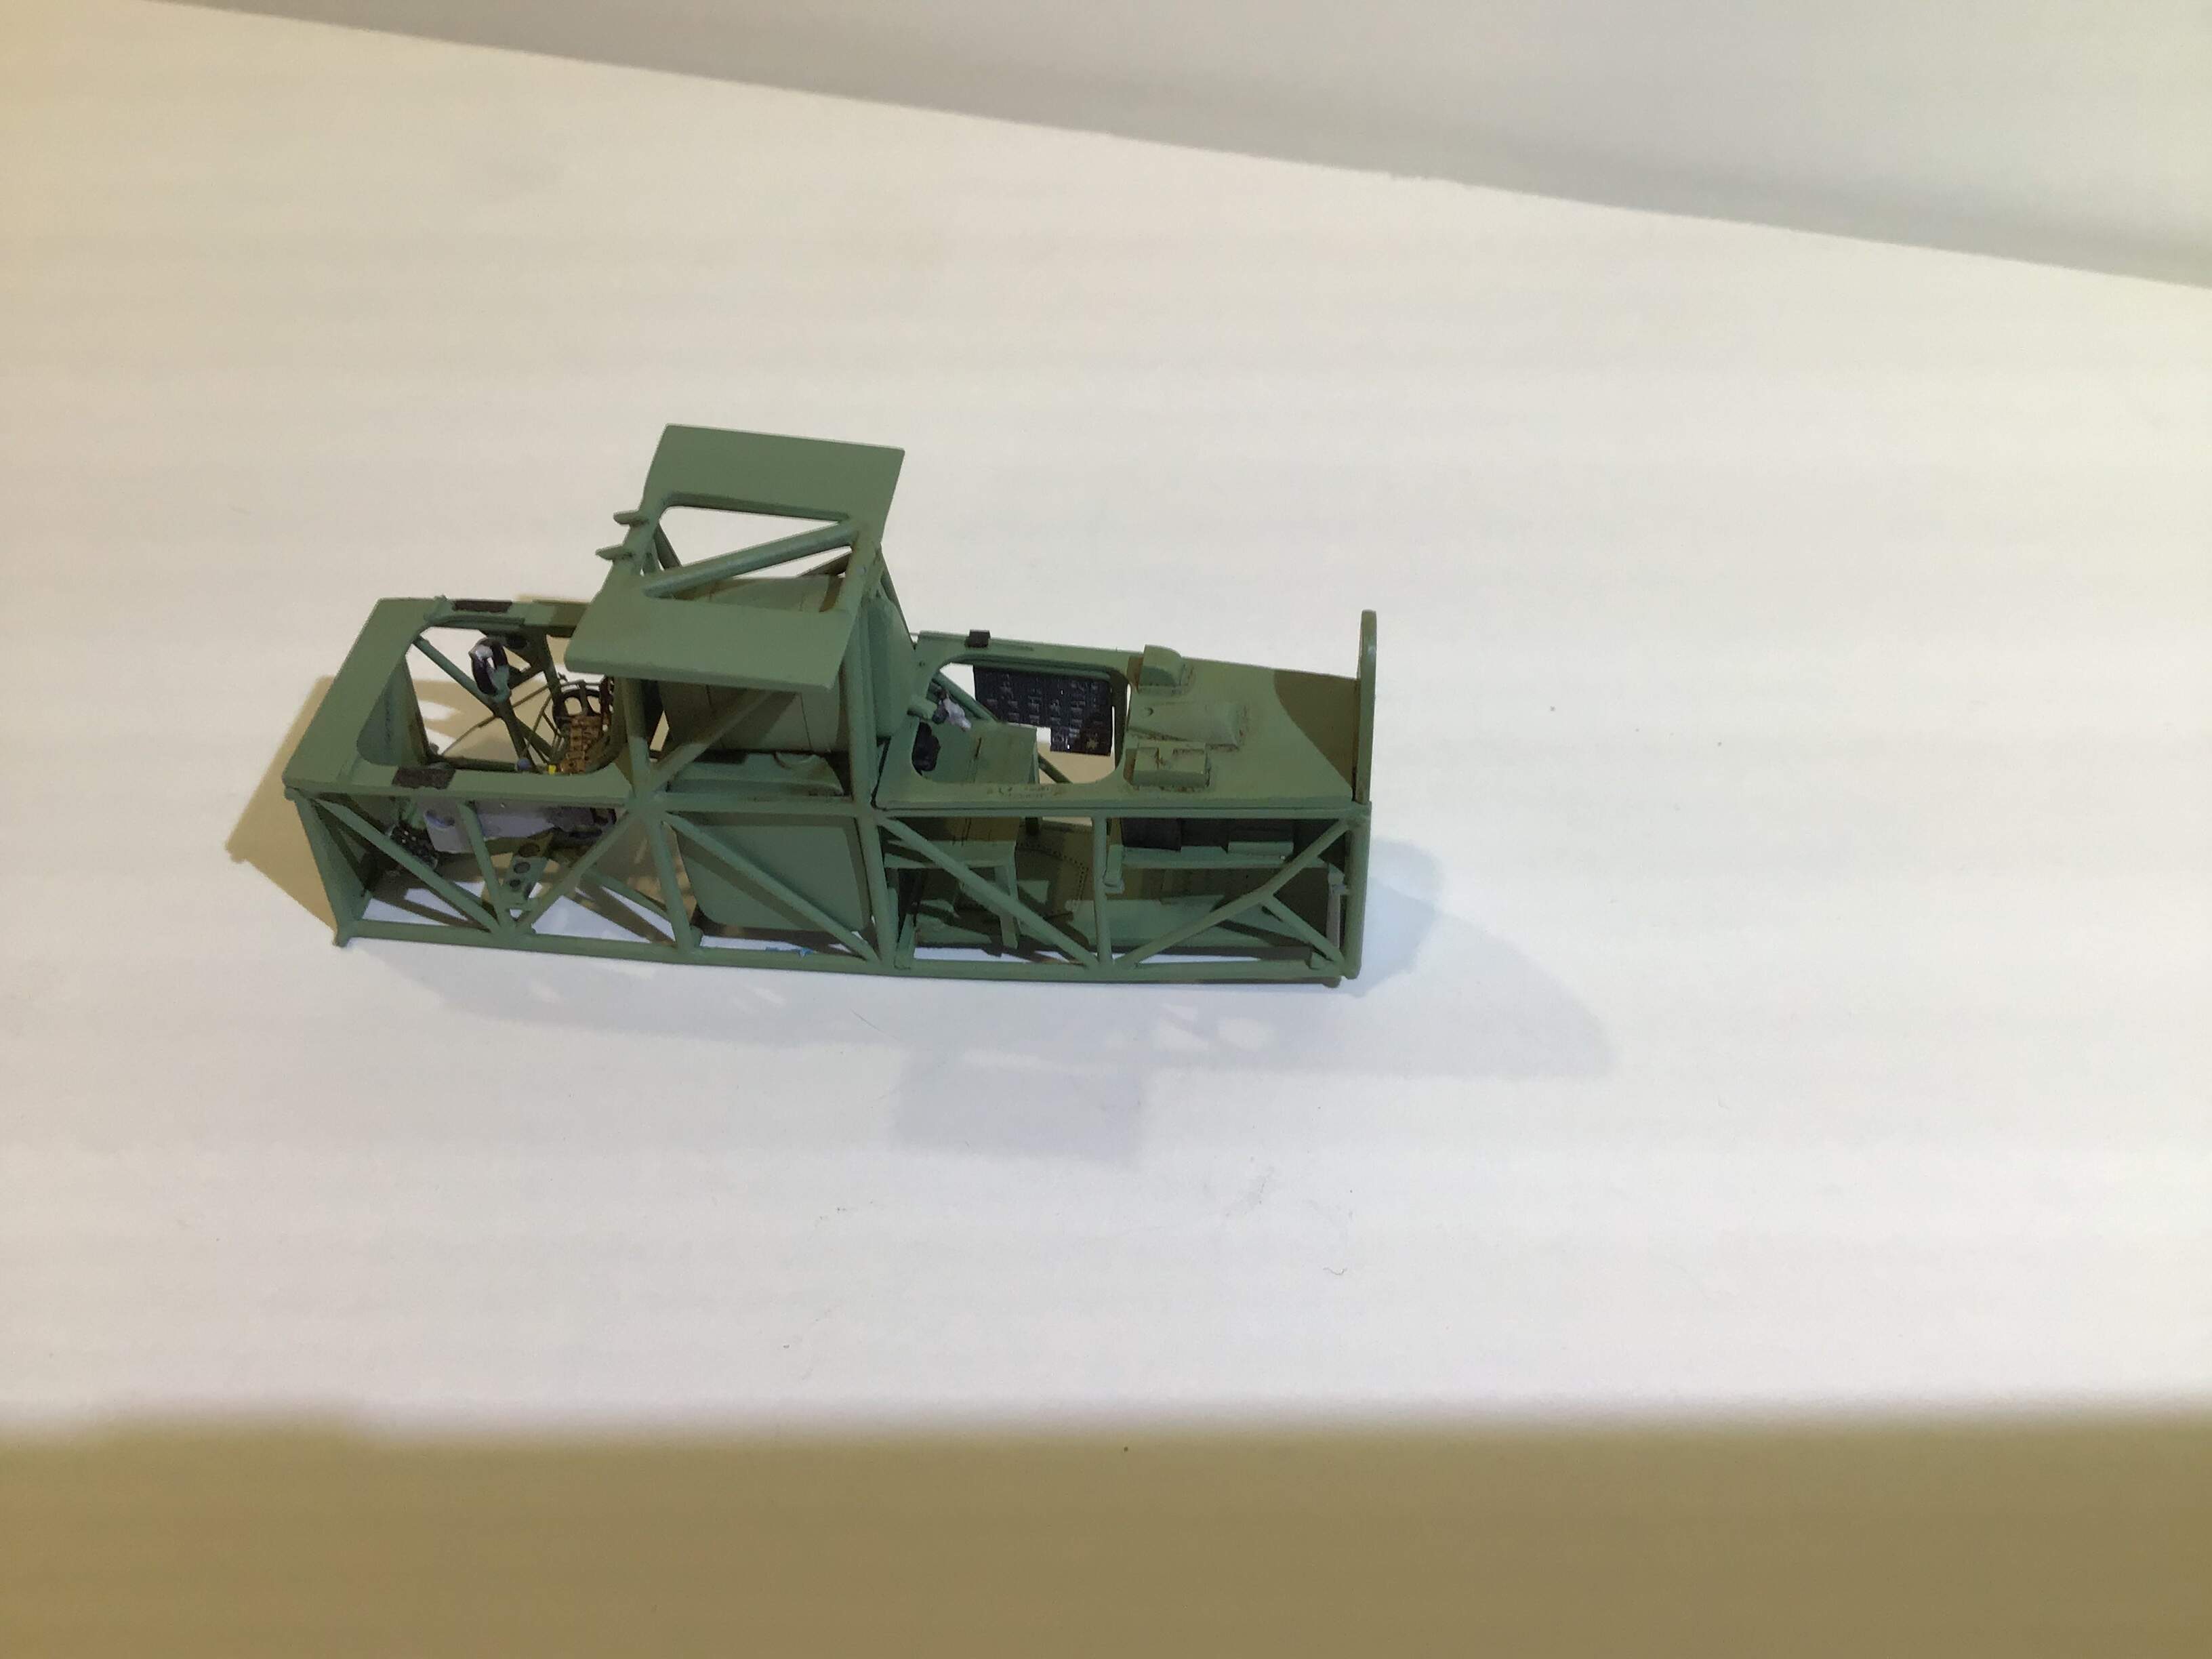
I have added some framing to the fuselage interior sides and added a scratch intercom buzzer to the starboard side aft cockpit - cut out of brass shim and buzzer formed with punch & die set -
Cockpit largely done - scratch built rear bench seat , fuel tank plumbing , two cylindrical fixtures forward of bench ( can’t find what they are - possibly fuel filters or pumps of some sort) done in the spirit of the late, great Sheperd Pane’s “ creative gizmology “ , and flare release to pilots right. Plumbing for fuel tank done with copper wire, epoxy putty for coupling hoses and bits from the spares box…
Also added were the two remote lights for the instrument panel at the top of the wing tower structure .
The radio face in the aft cockpit is also from the photo etch set included in the Ilmavoimat boxing , as was the Sutton Harness . The harness is the old school stainless variety - PITA to pose and glue .
I would recommend to anyone contemplating building this kit to pony up for the Eduard steel set - I wish I had done so .
Thanks for looking ! - RT
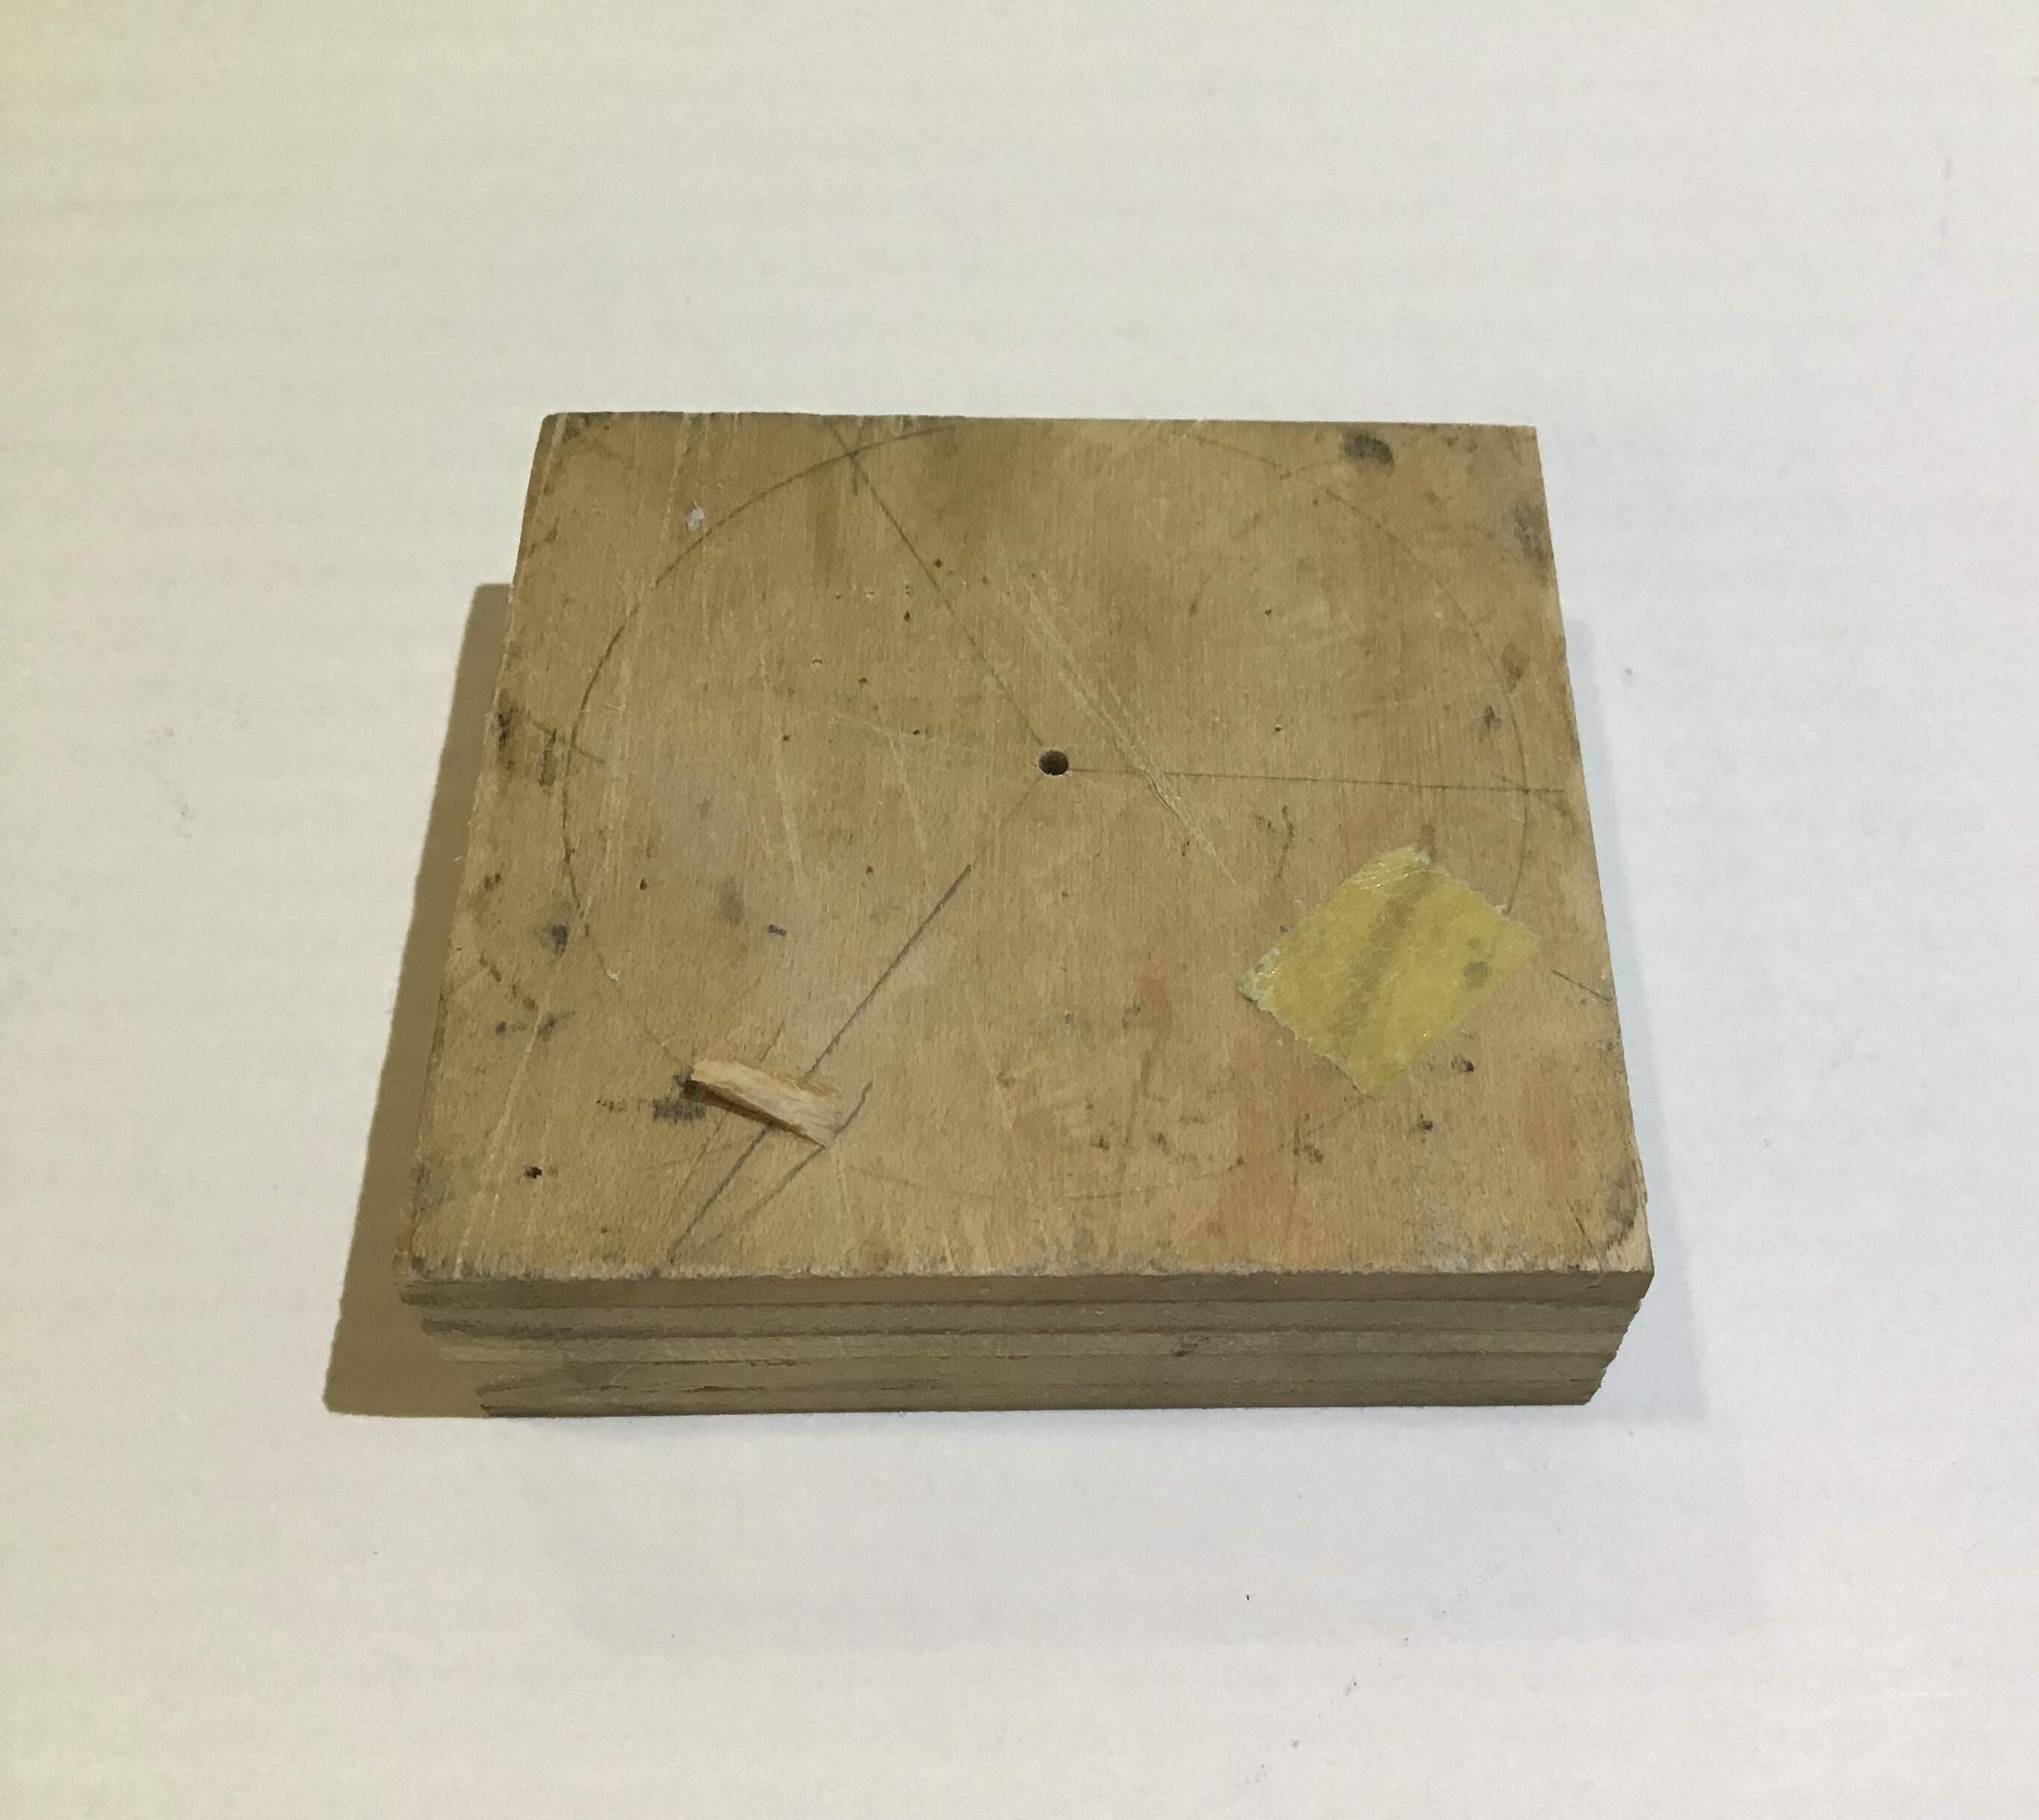
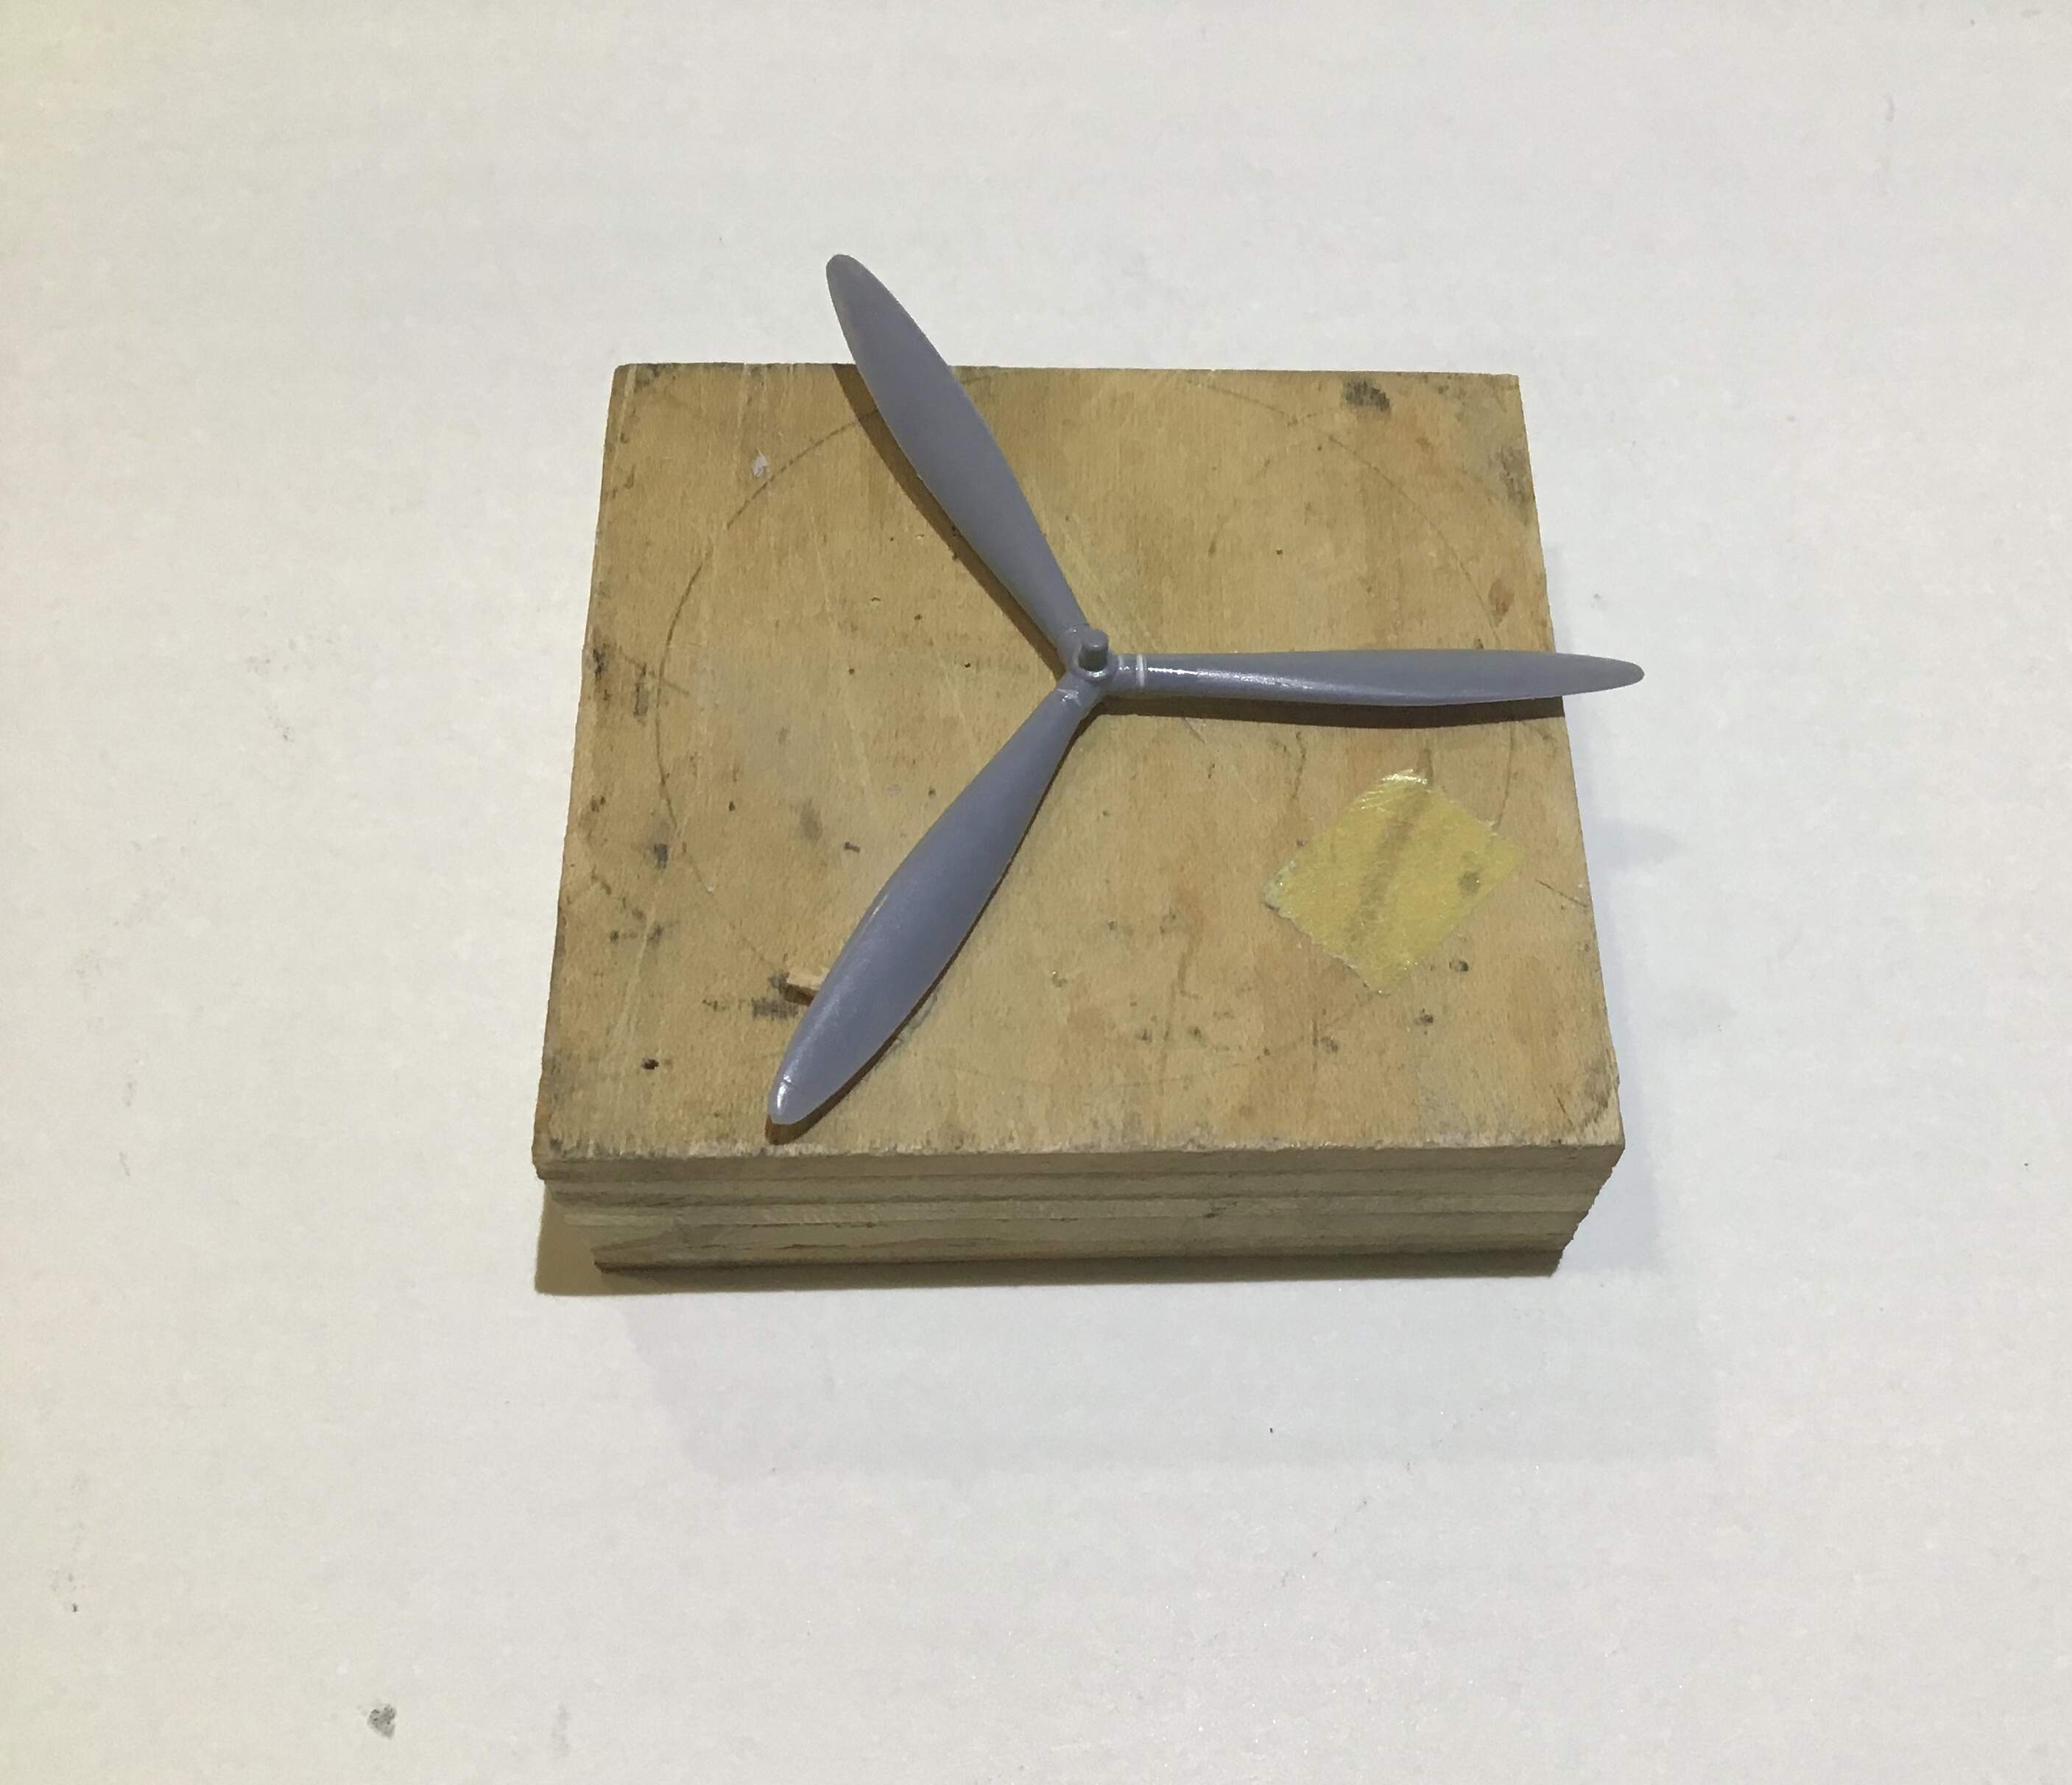
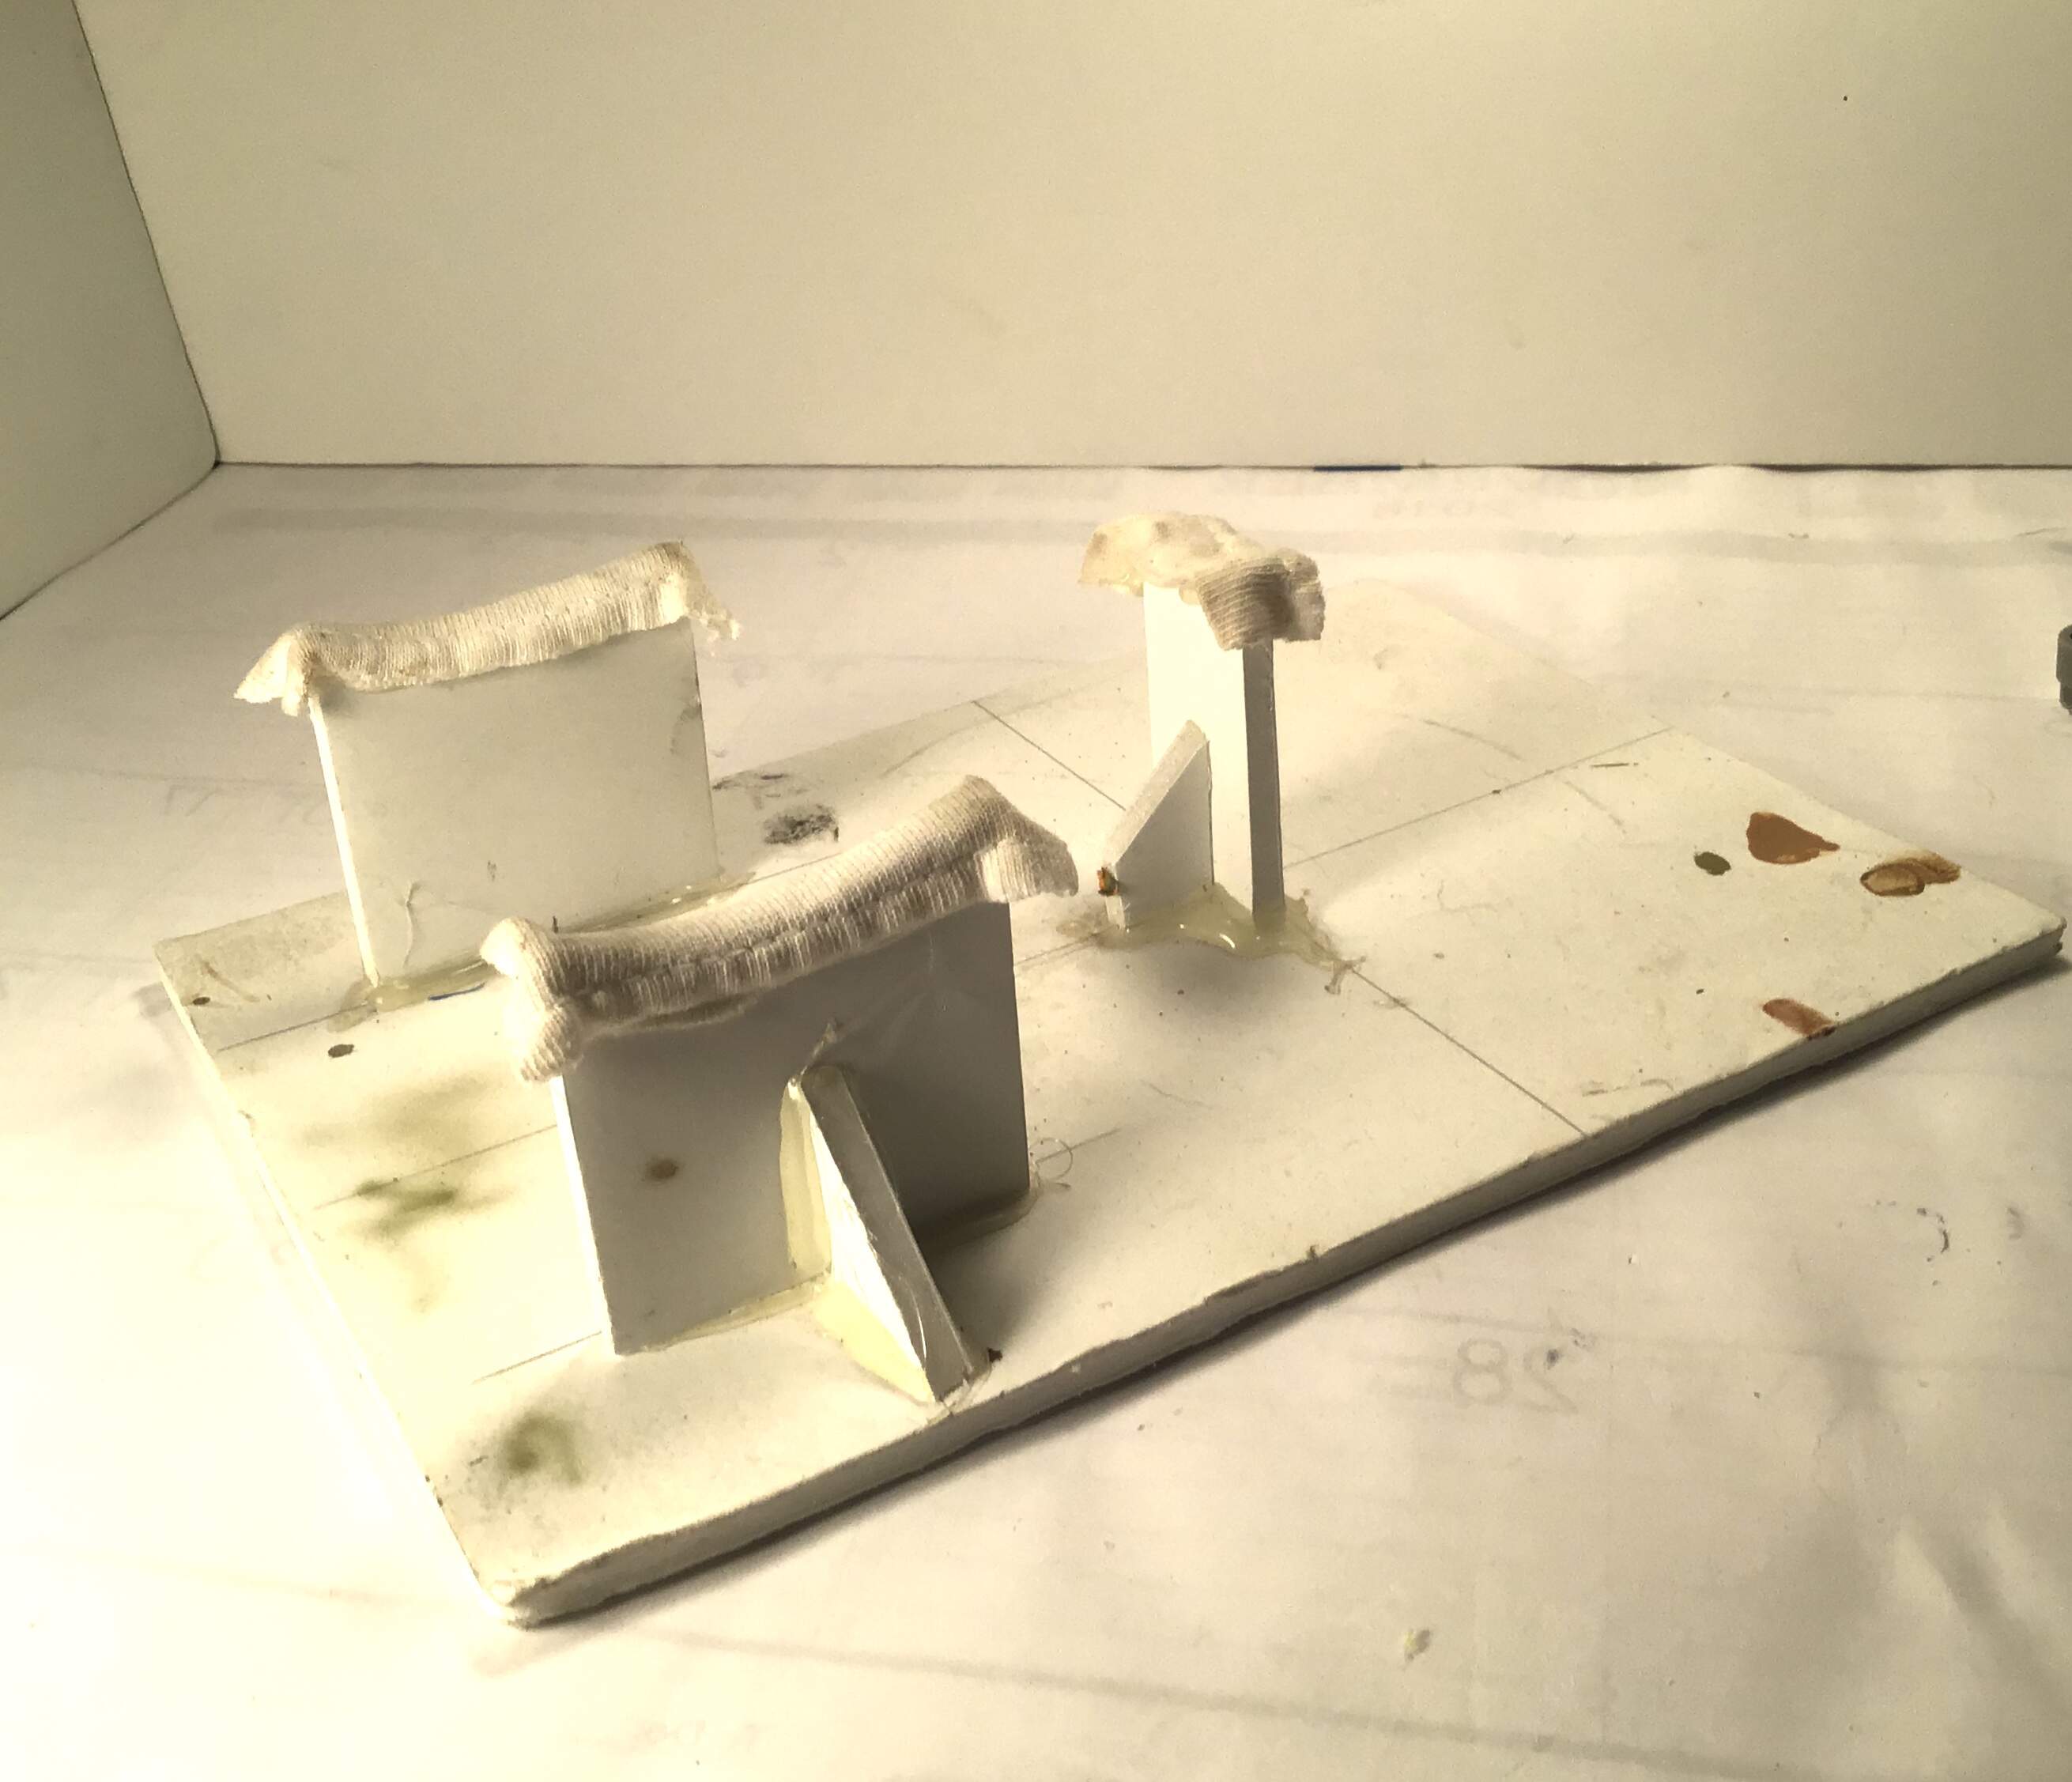
Prop glued up - hub in two halves and three separate blades with no indexing for uniform pitch .
I wish all manufacturers would make one piece props . Had to make a simple fixture with three radii
120 degrees apart with a wedge at one point to accurately glue up prop -
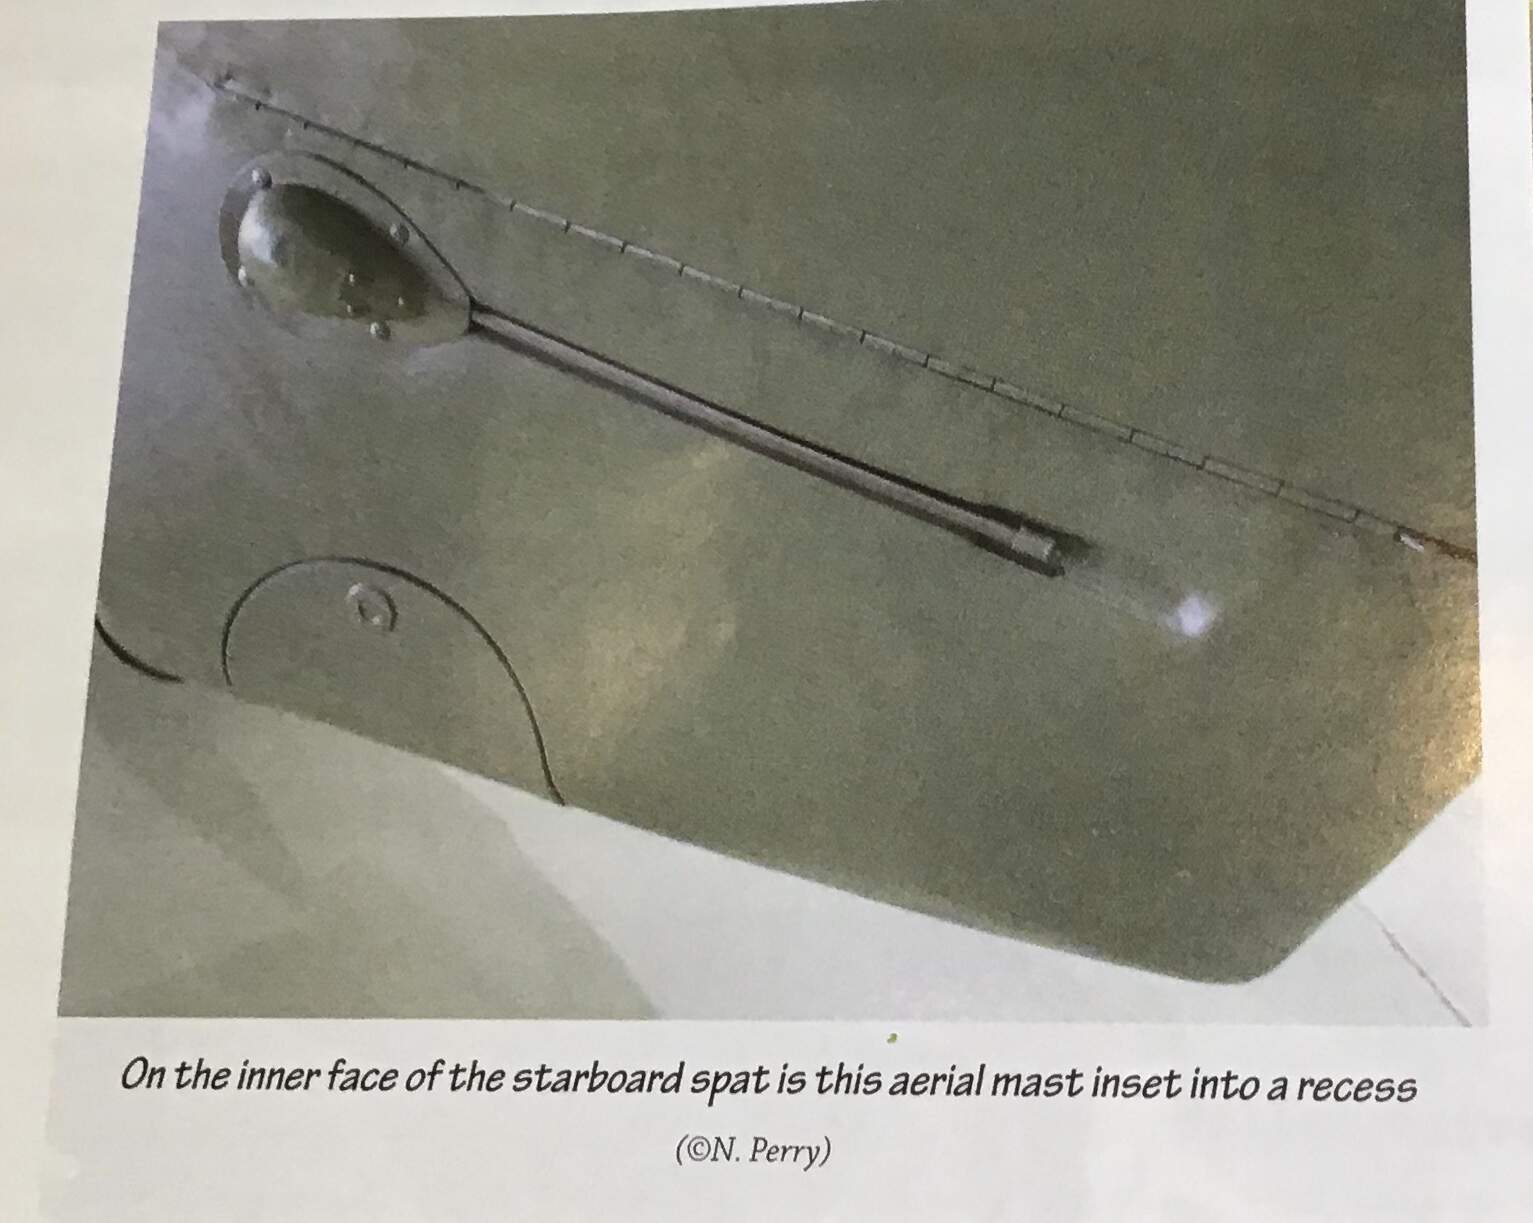
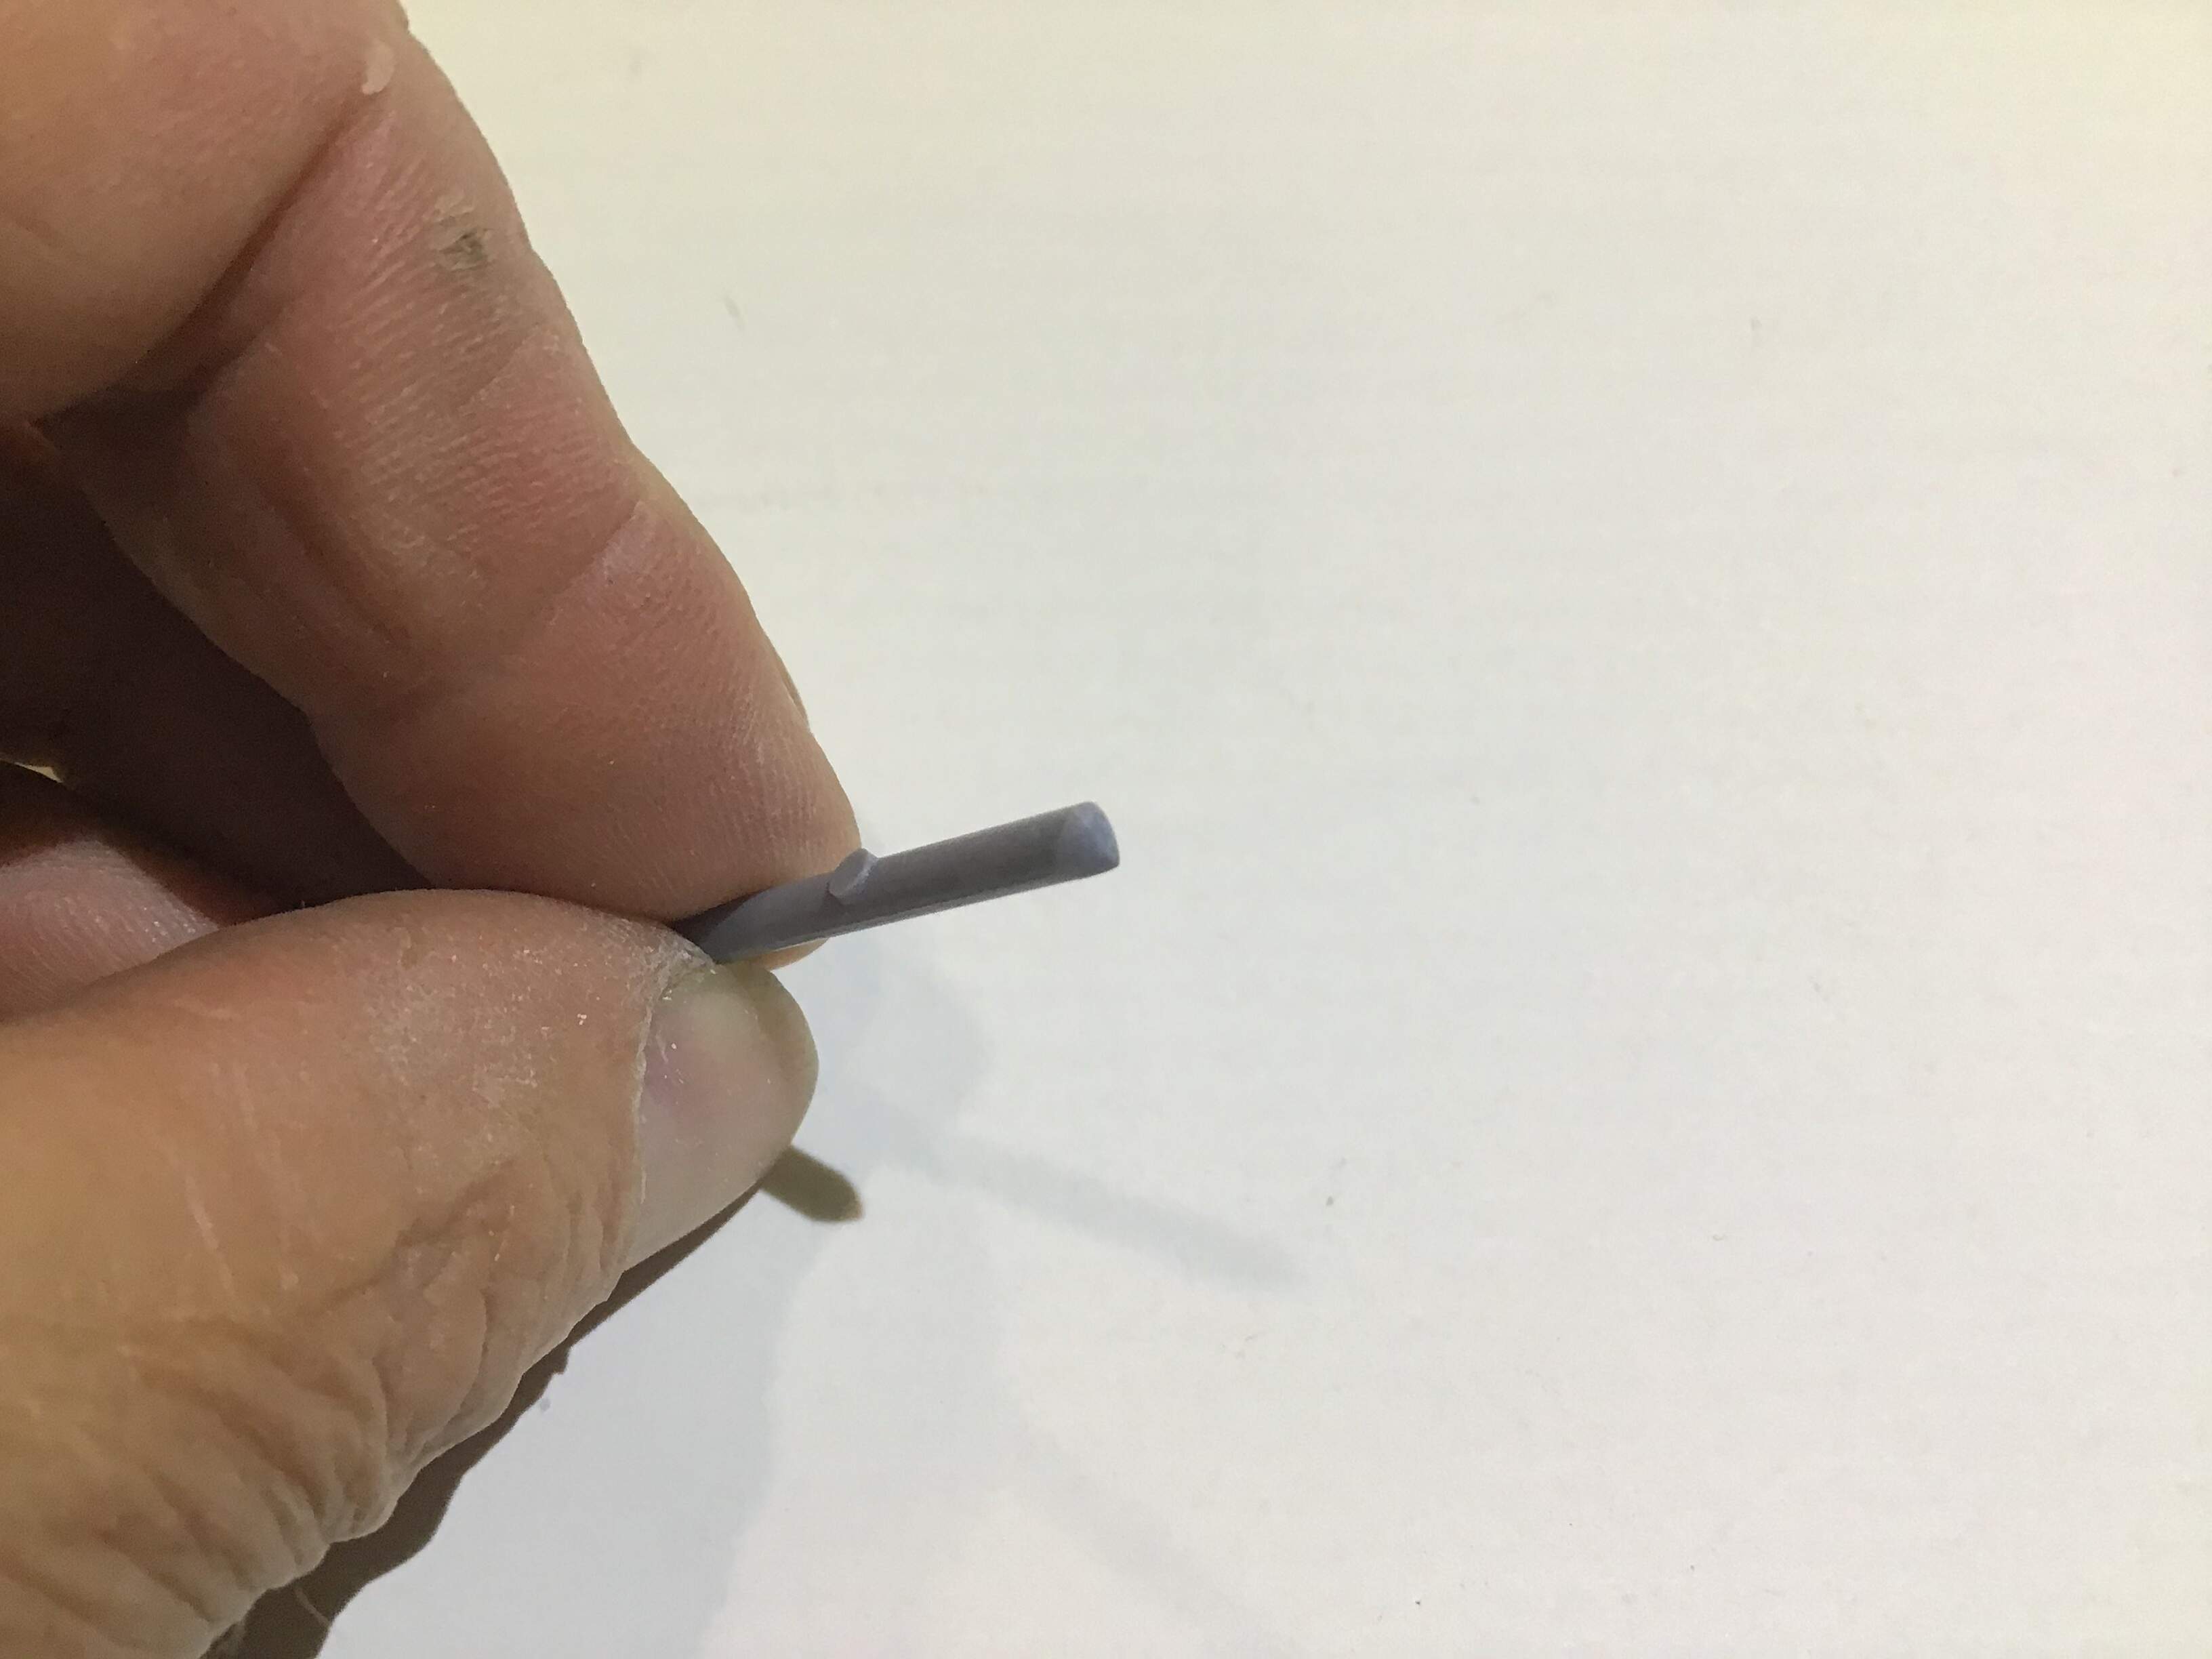
Inside starboard wheel spat is an antenna in a recess with a teardrop shaped blister at it’s leading edge which is missing on the kit . This was reproduced by scraping in a channel with a scriber and gluing in a piece of brass wire for the antenna.
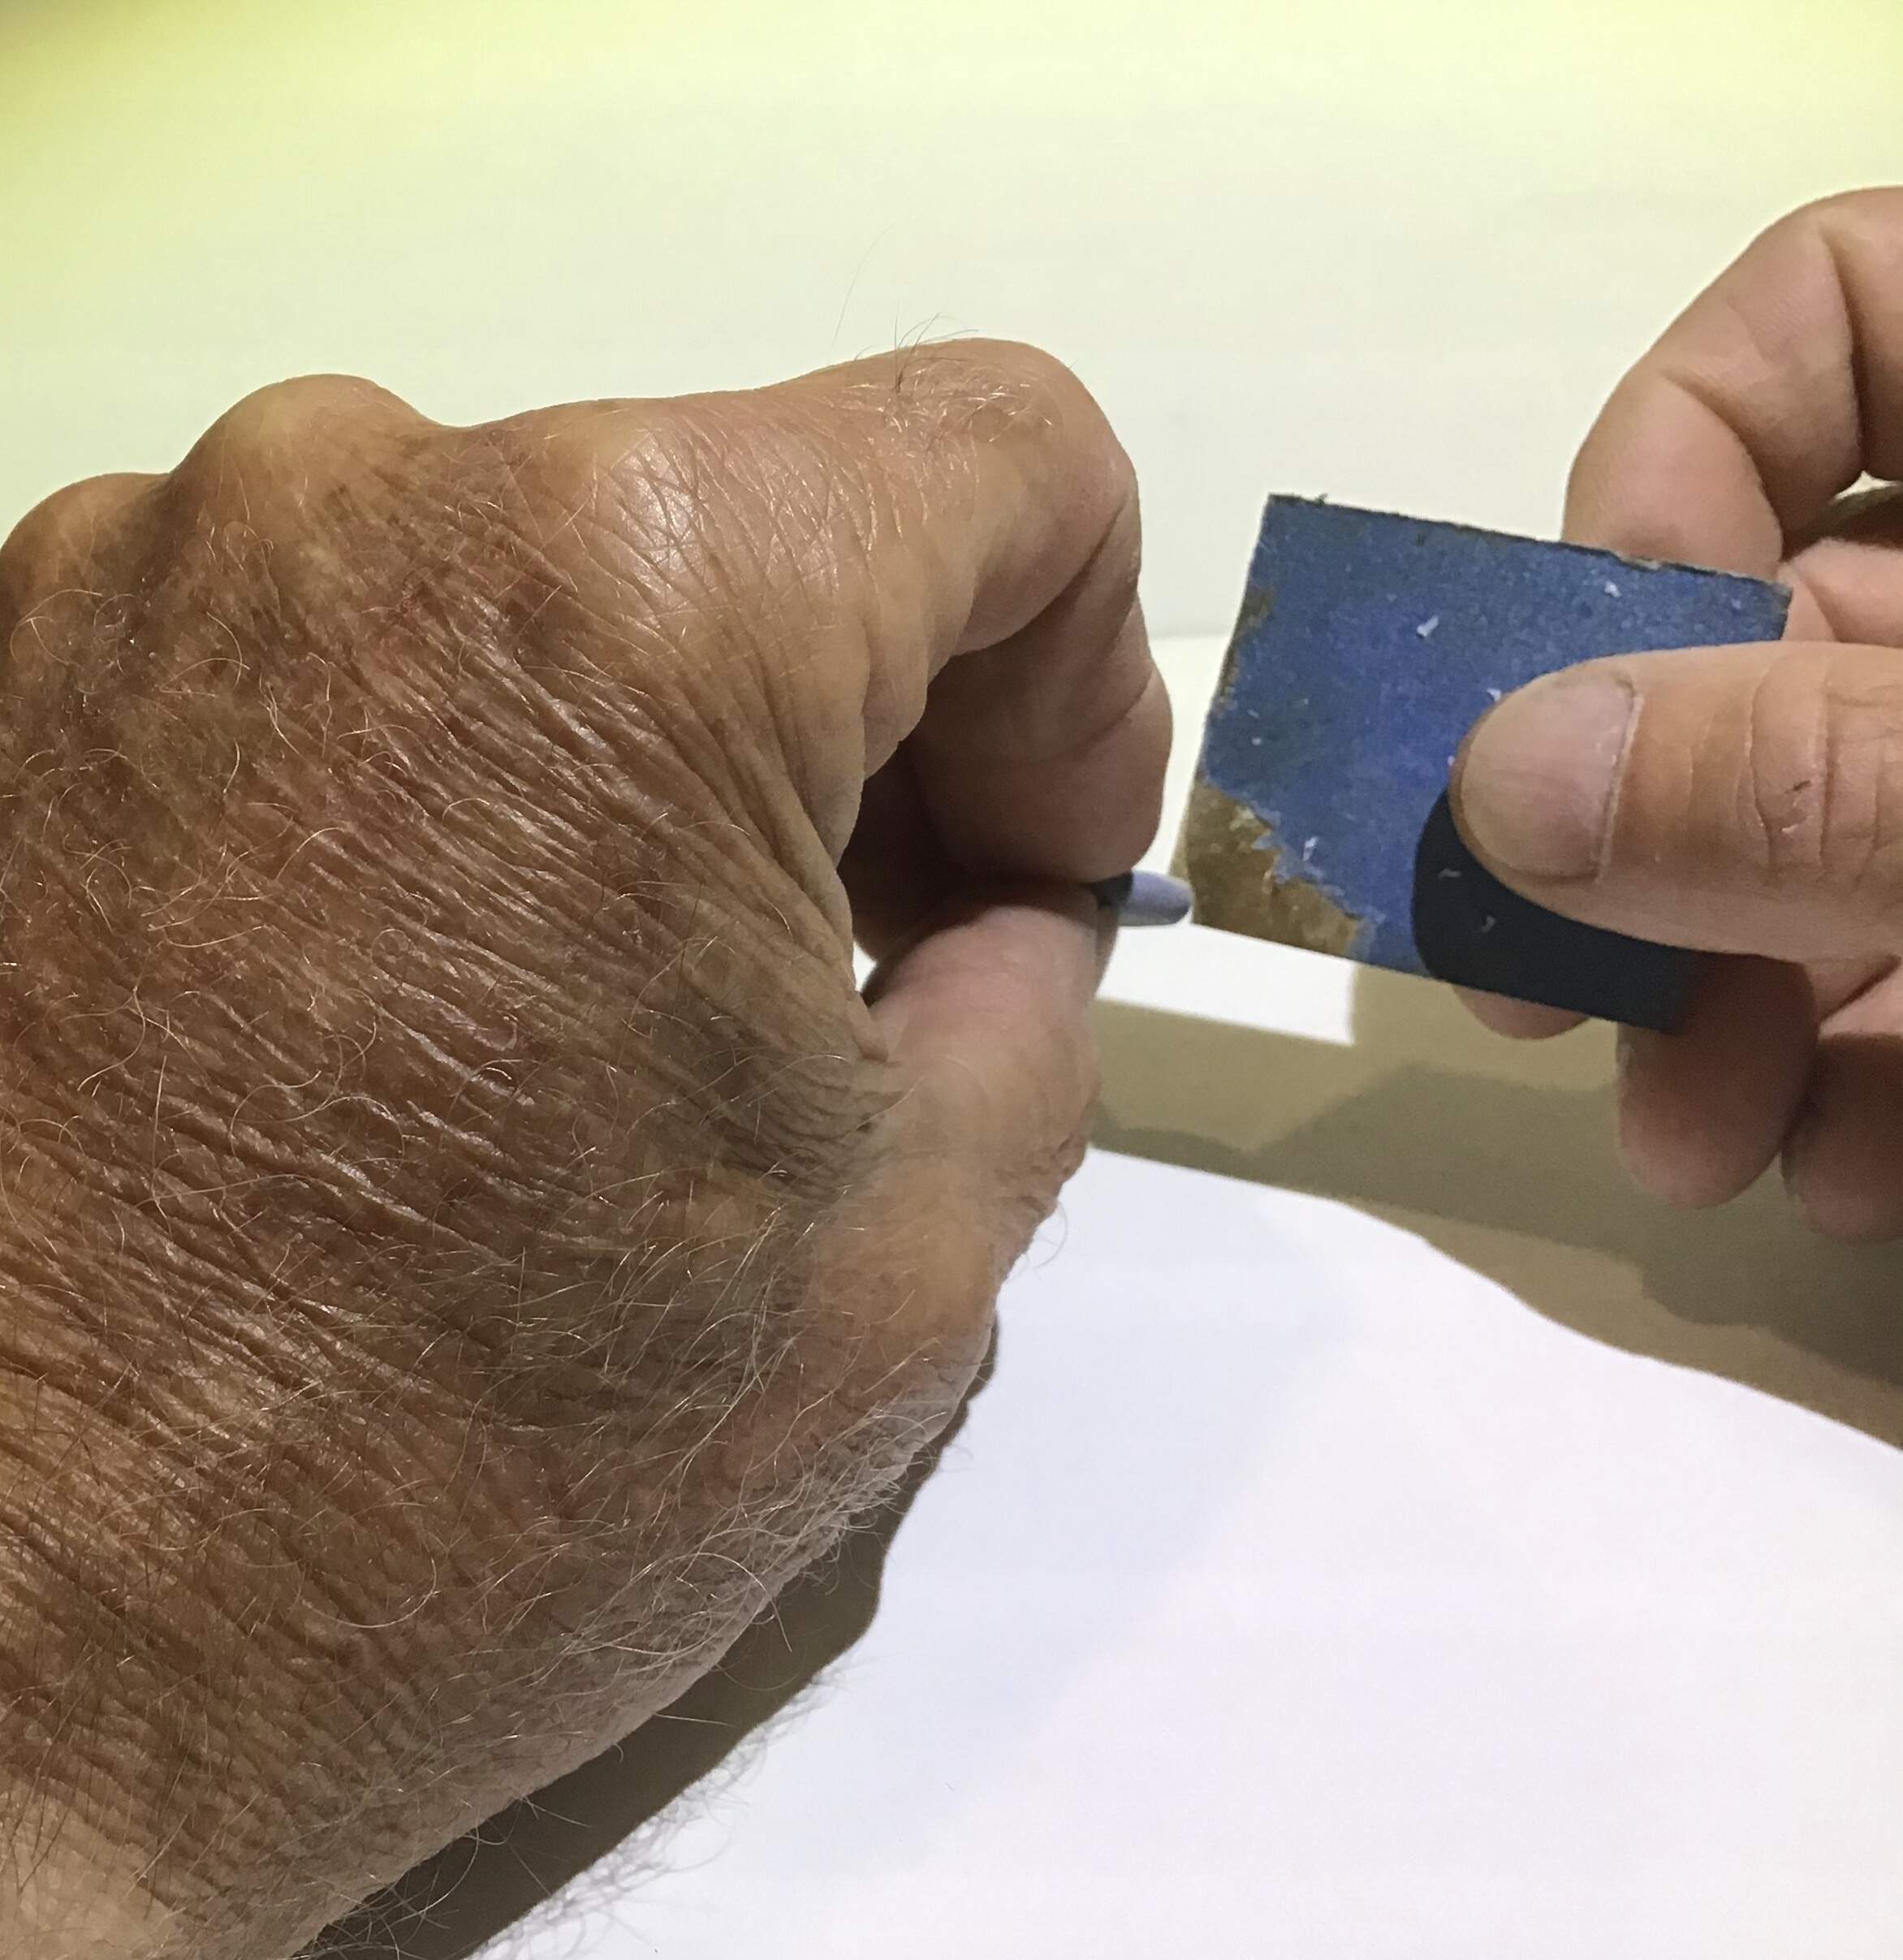
The blister was made by filing the end of a piece of sprue to a teardrop shape then sawing it off and gluing in place.
The tires as supplied were almost square in section.
I made a scraper from a scrap of brass by filing in a quarter round with a file with a diameter equal to the width of the tires.
Thanks D - always appreciate your input .
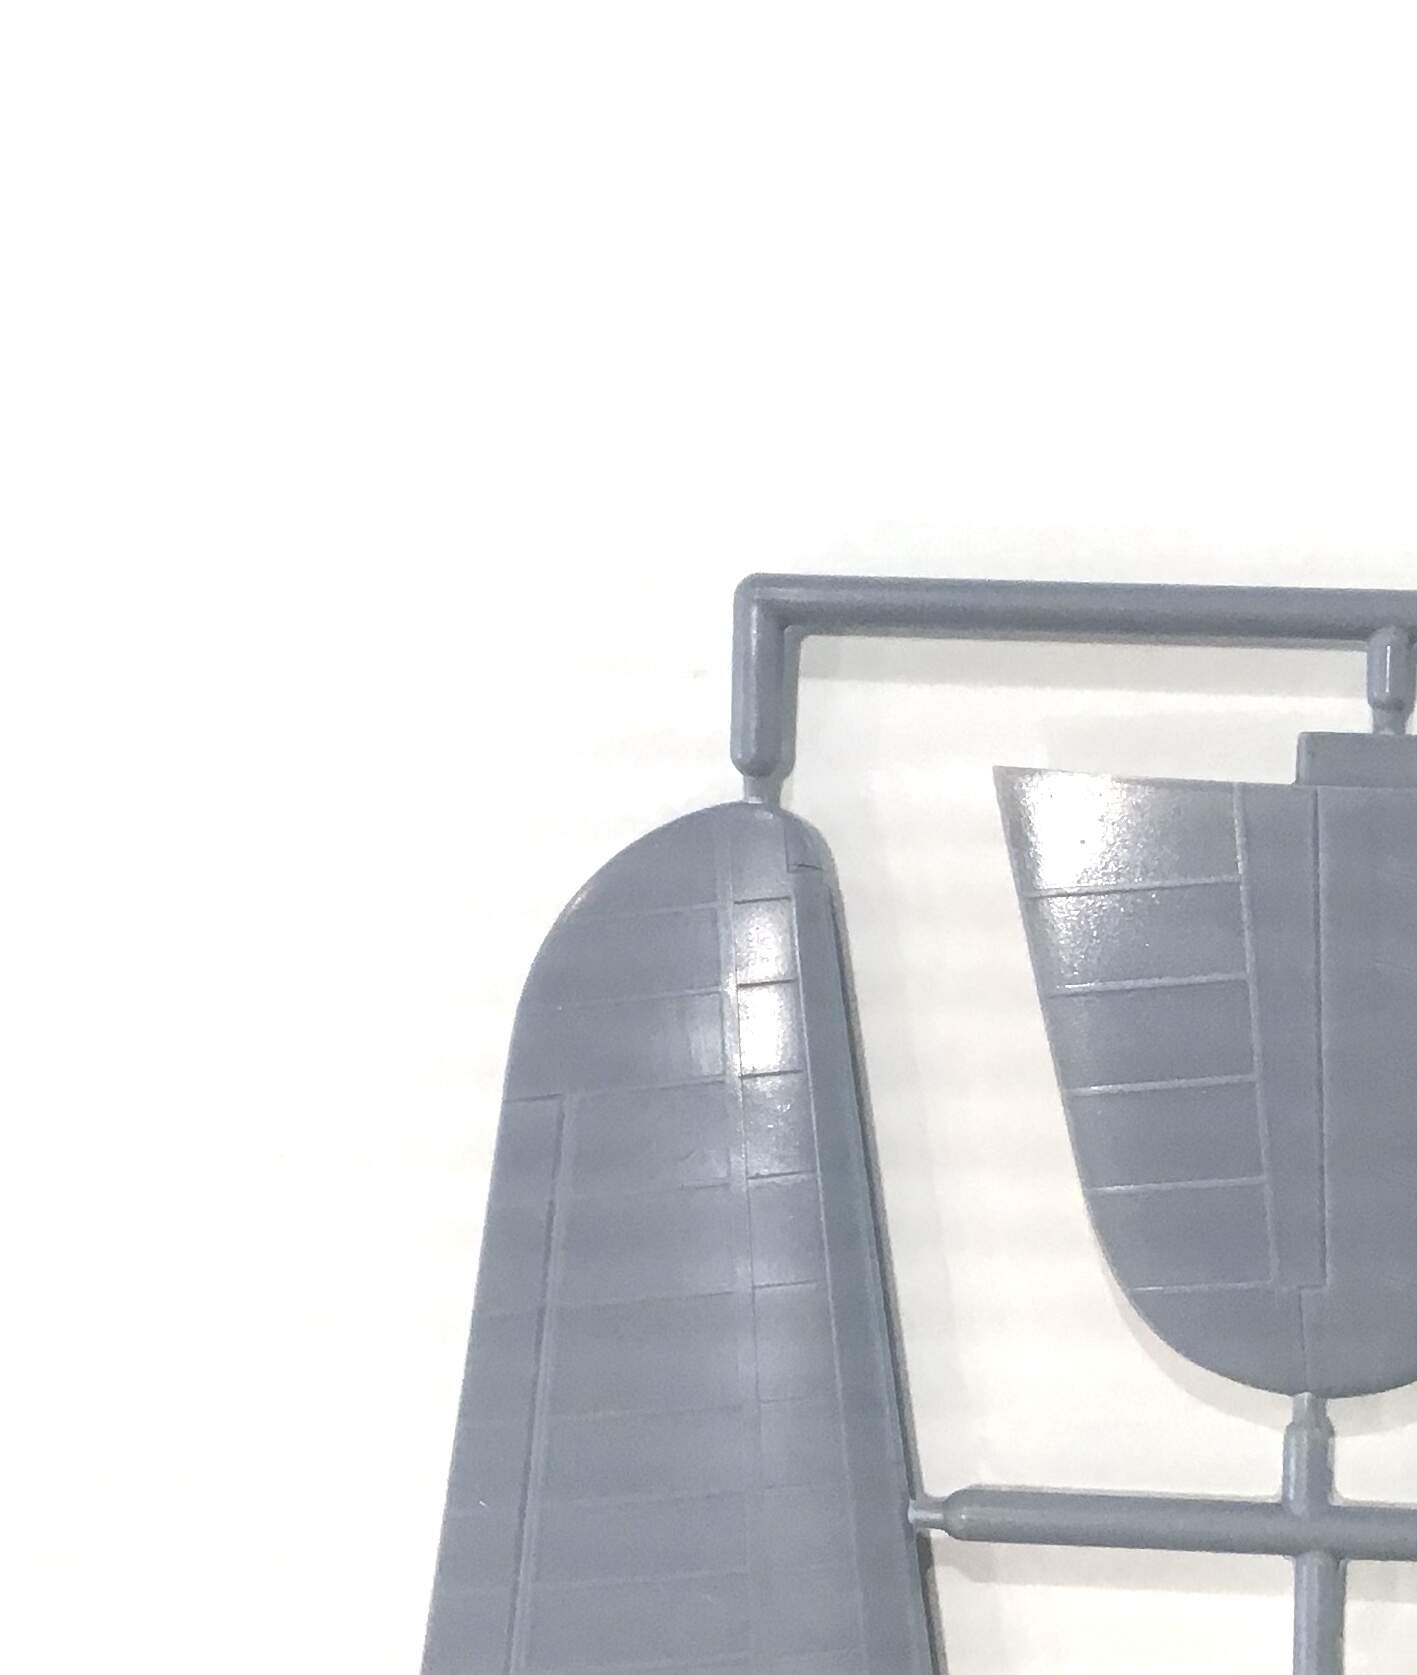
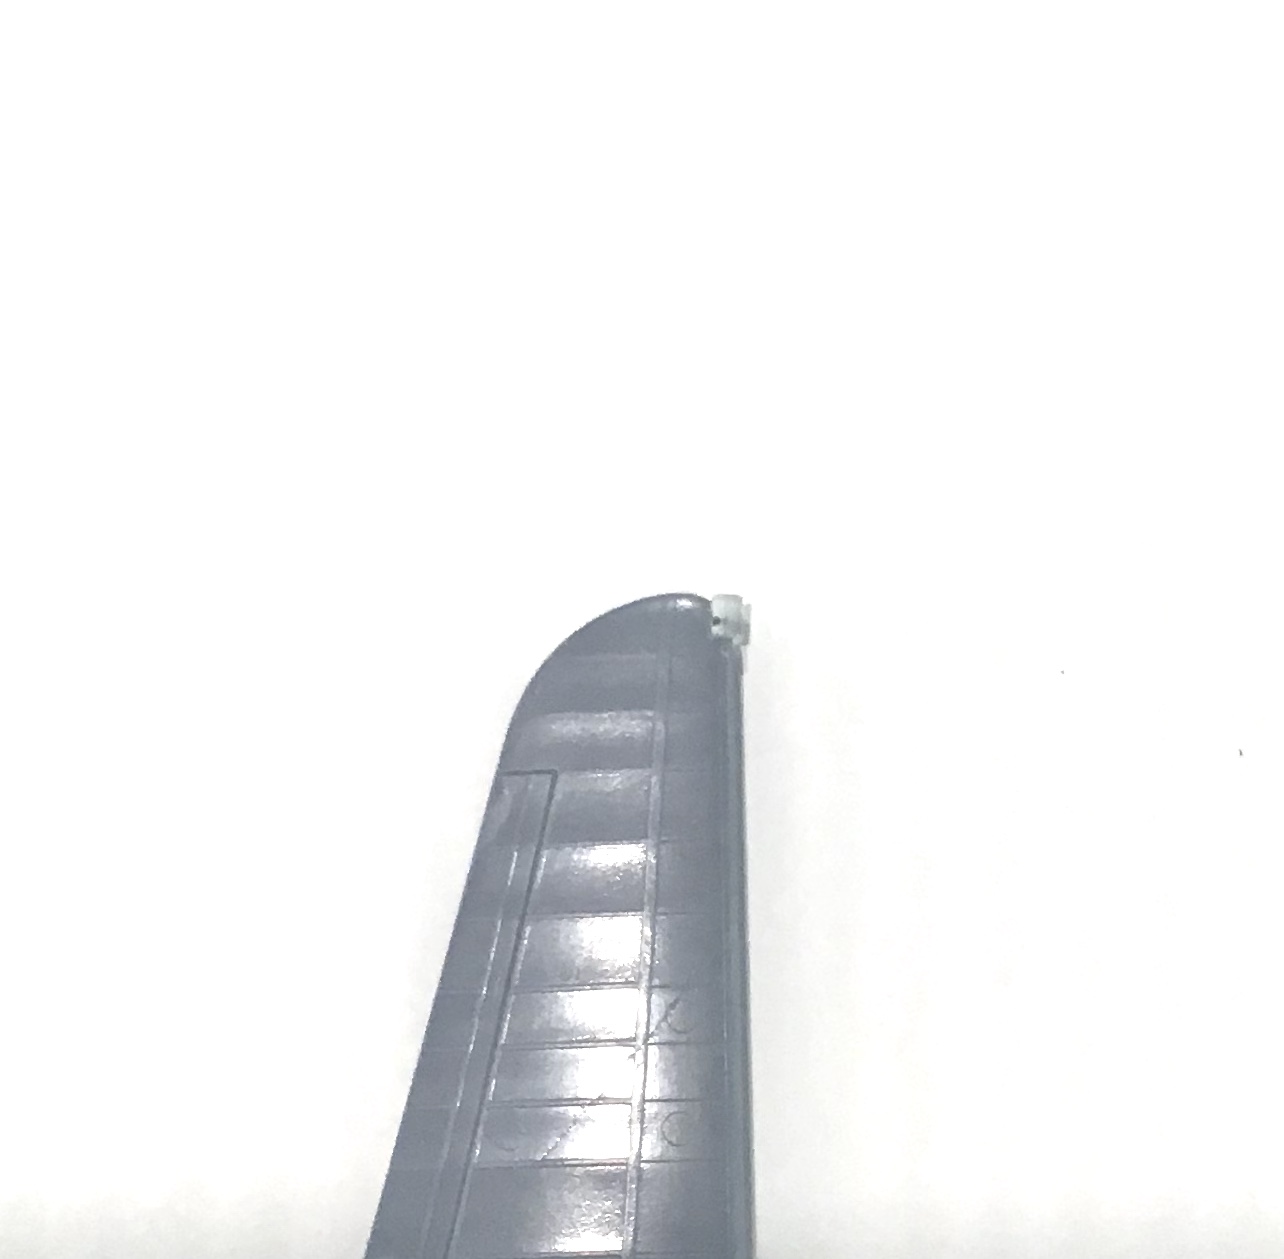
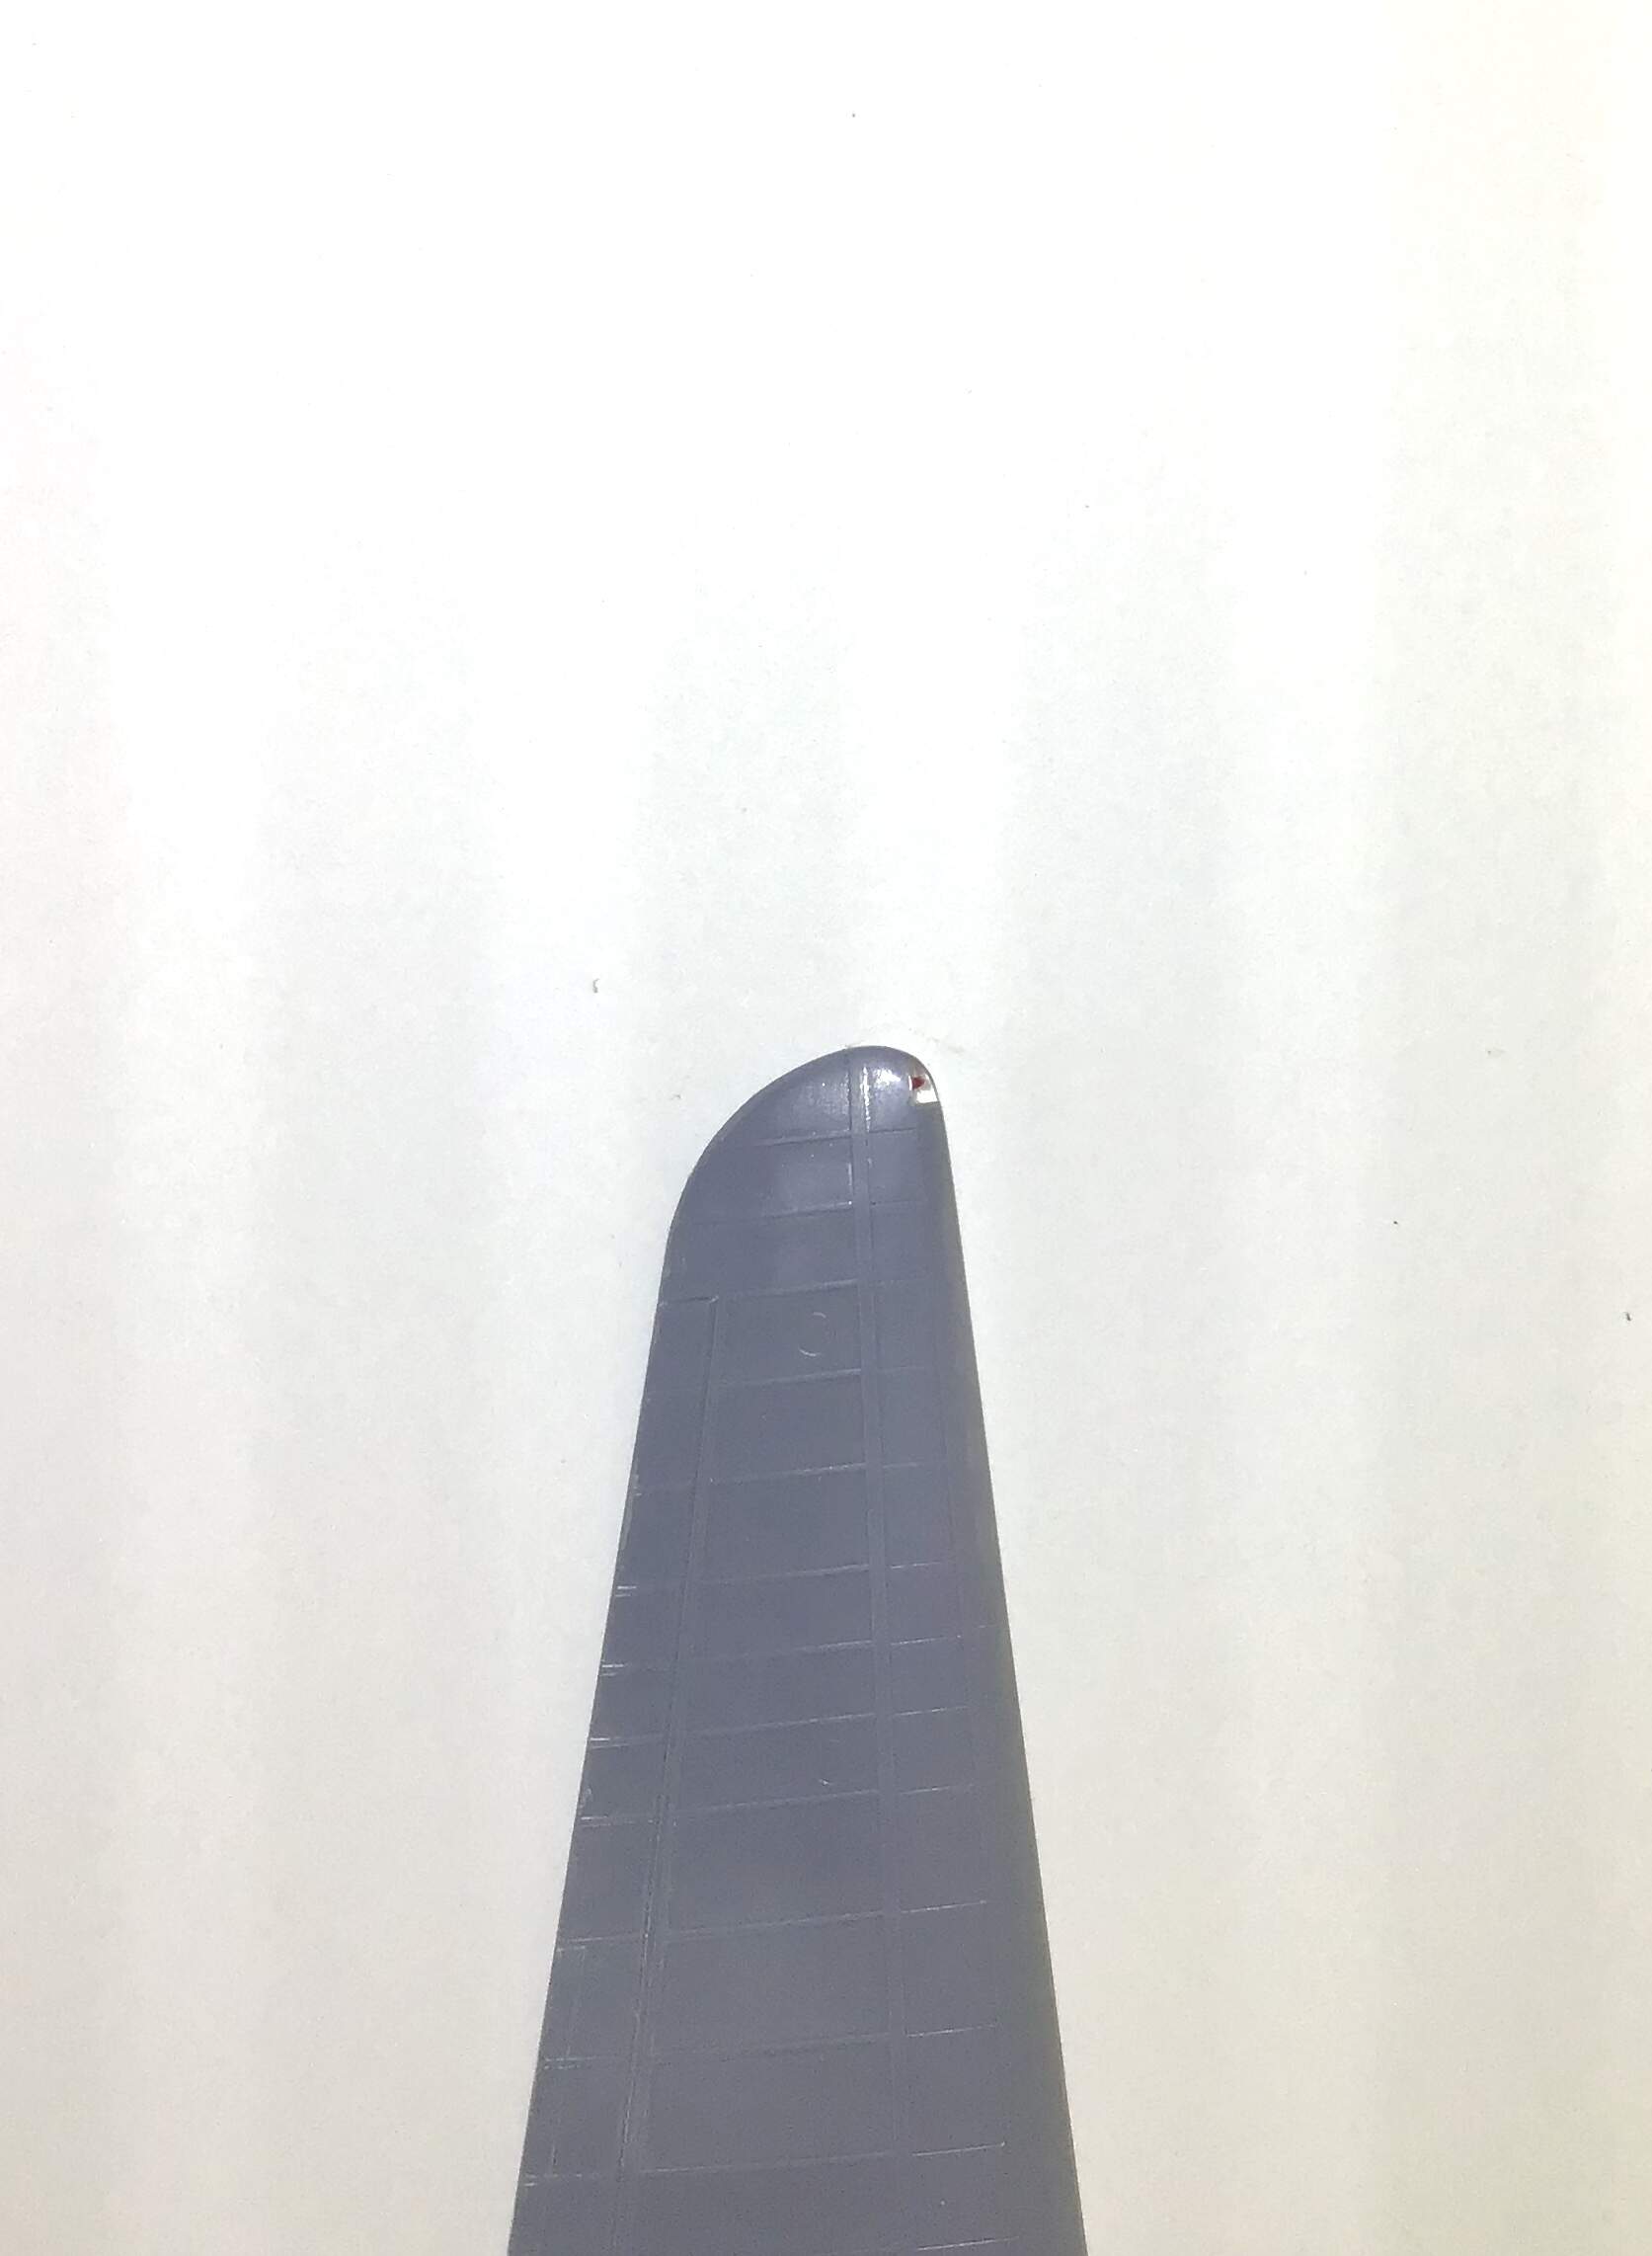
I’ve made some progress - wings together - solid navigation lights sawn away and replaced with clear sprue. Small holes drilled in back of sprue and painted with clear red and green - glued in place then sanded to shape and polished out with progressively finer grades of abrasive.
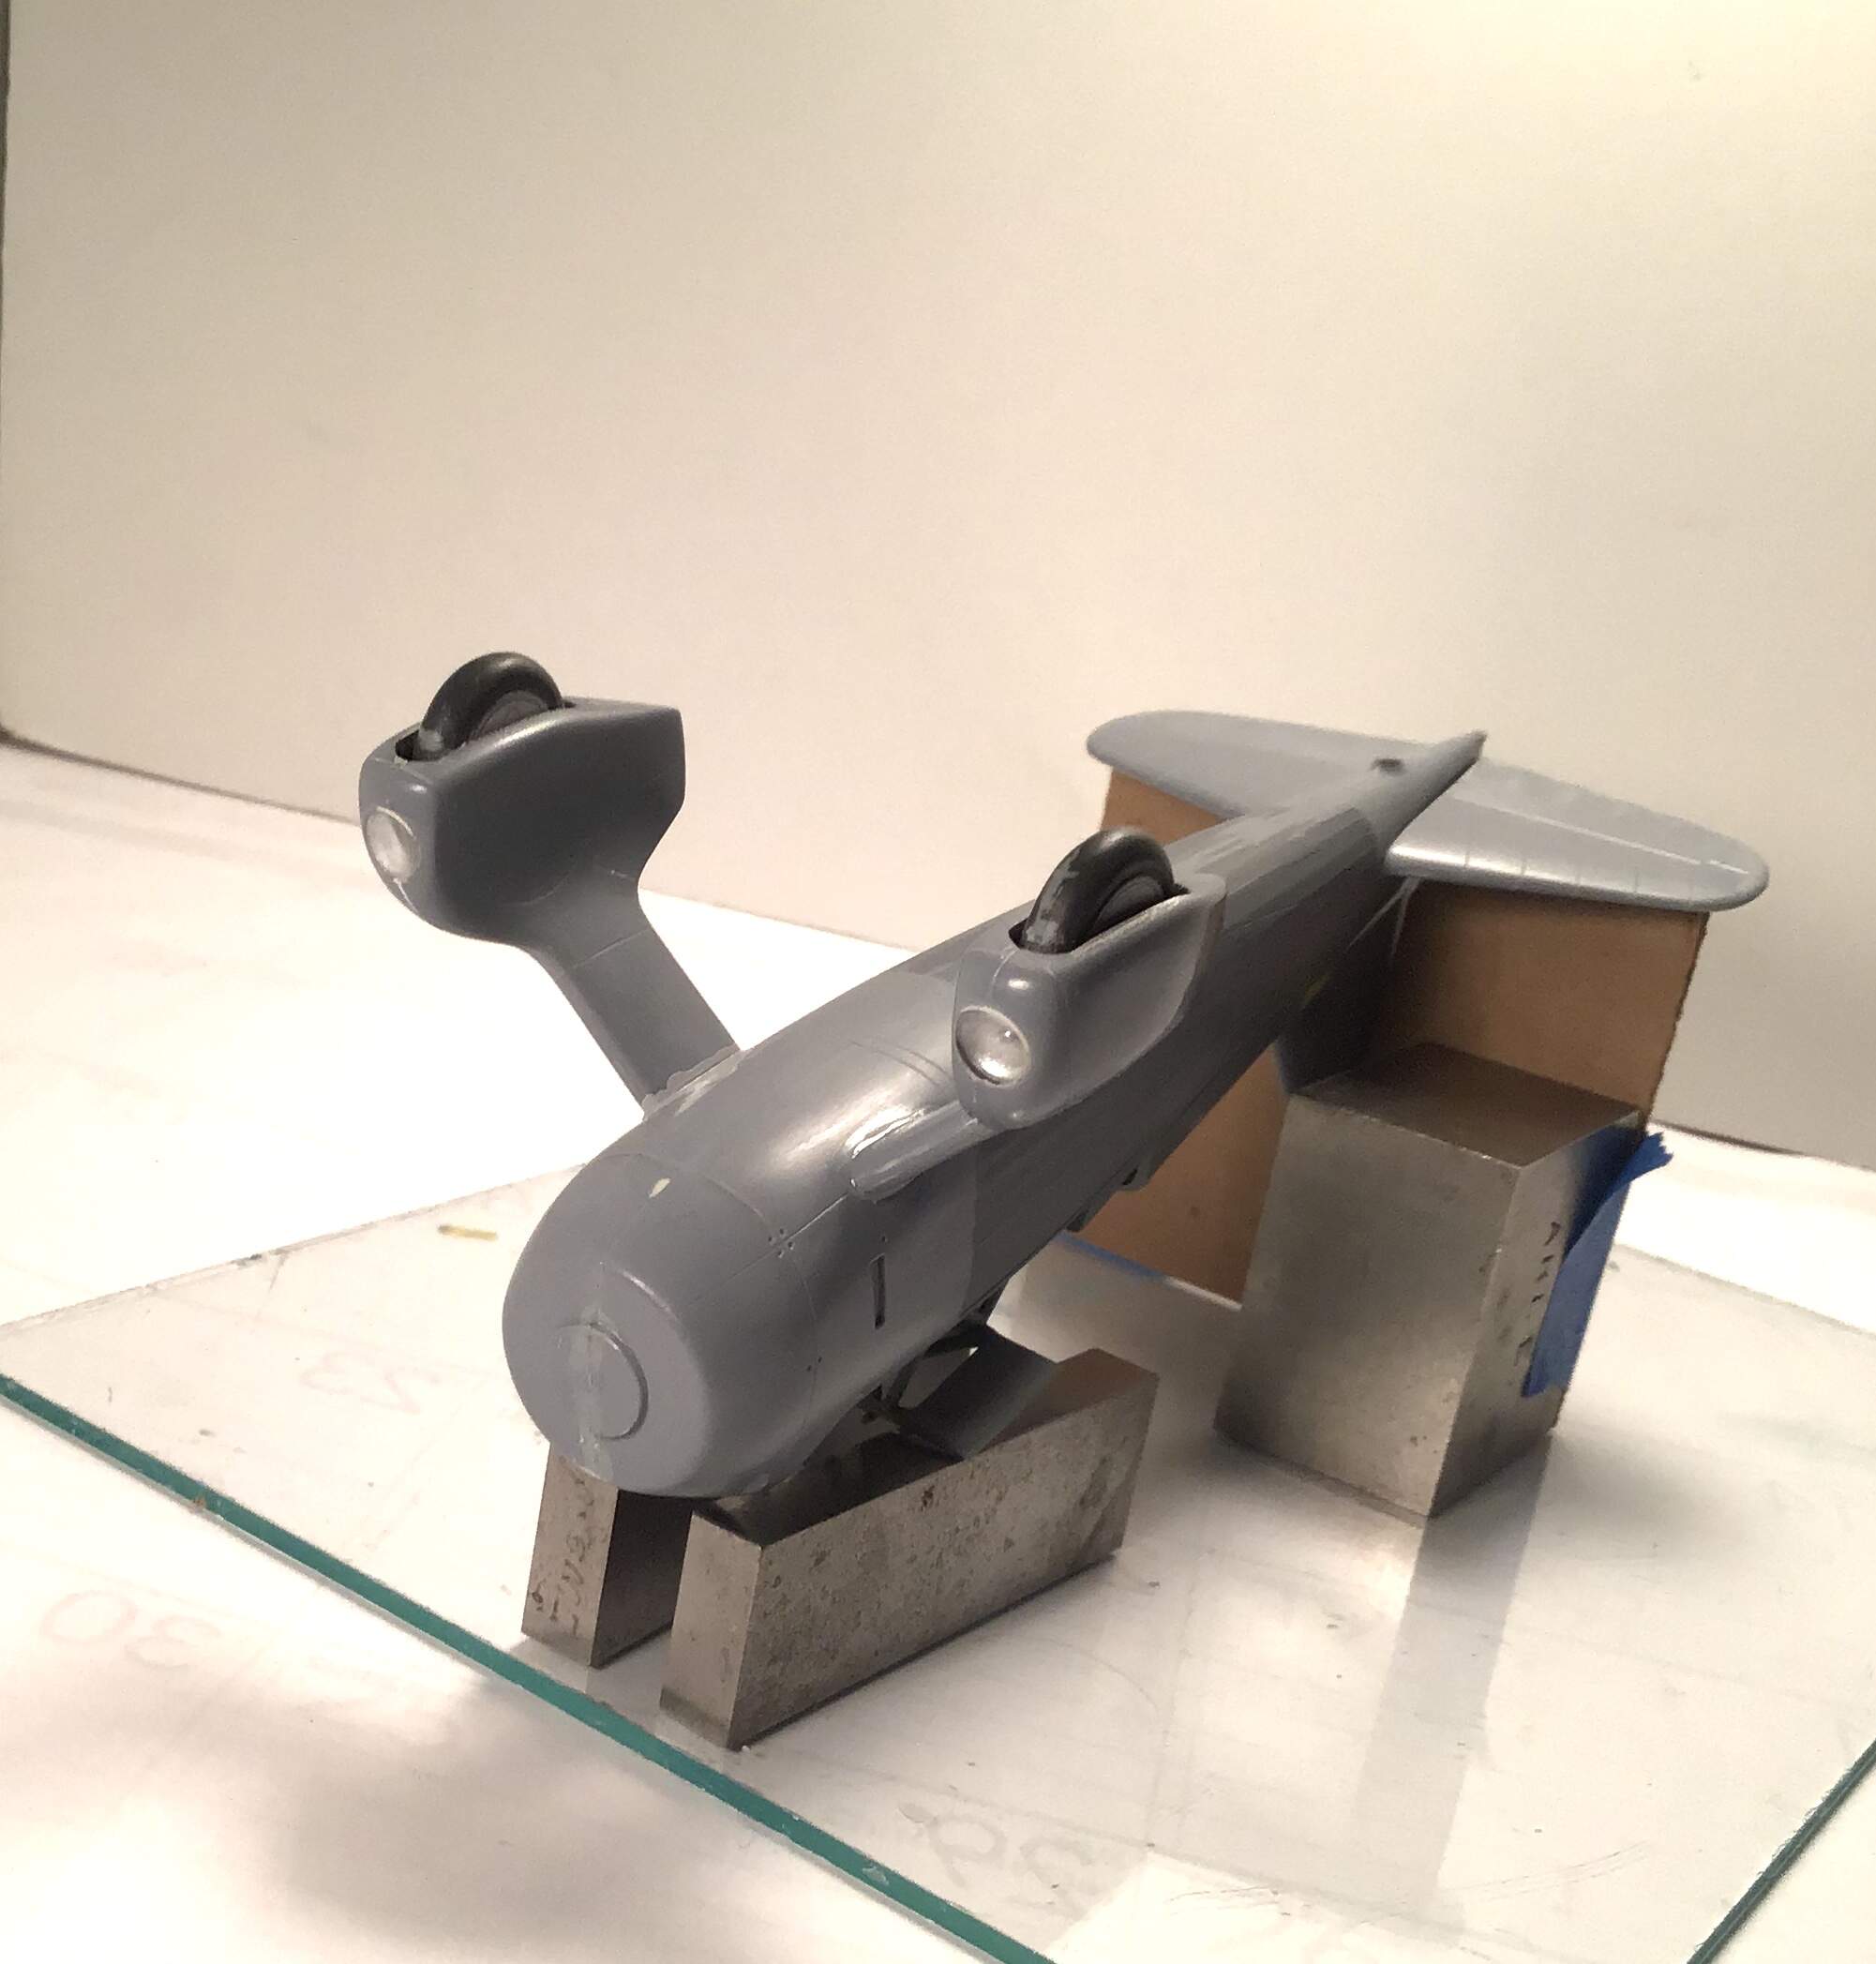
Spatted undercarriage built up . A heads up to all who may wish to build this kit - the landing light reflectors need trimming or they won’t allow the gear spats to join up . Also , the lenses themselves don’t really fit well . I cemented them in proud of the exterior as far as I dared and after curing for a day sanded them to shape and polished them out as I did on the navigation lights .
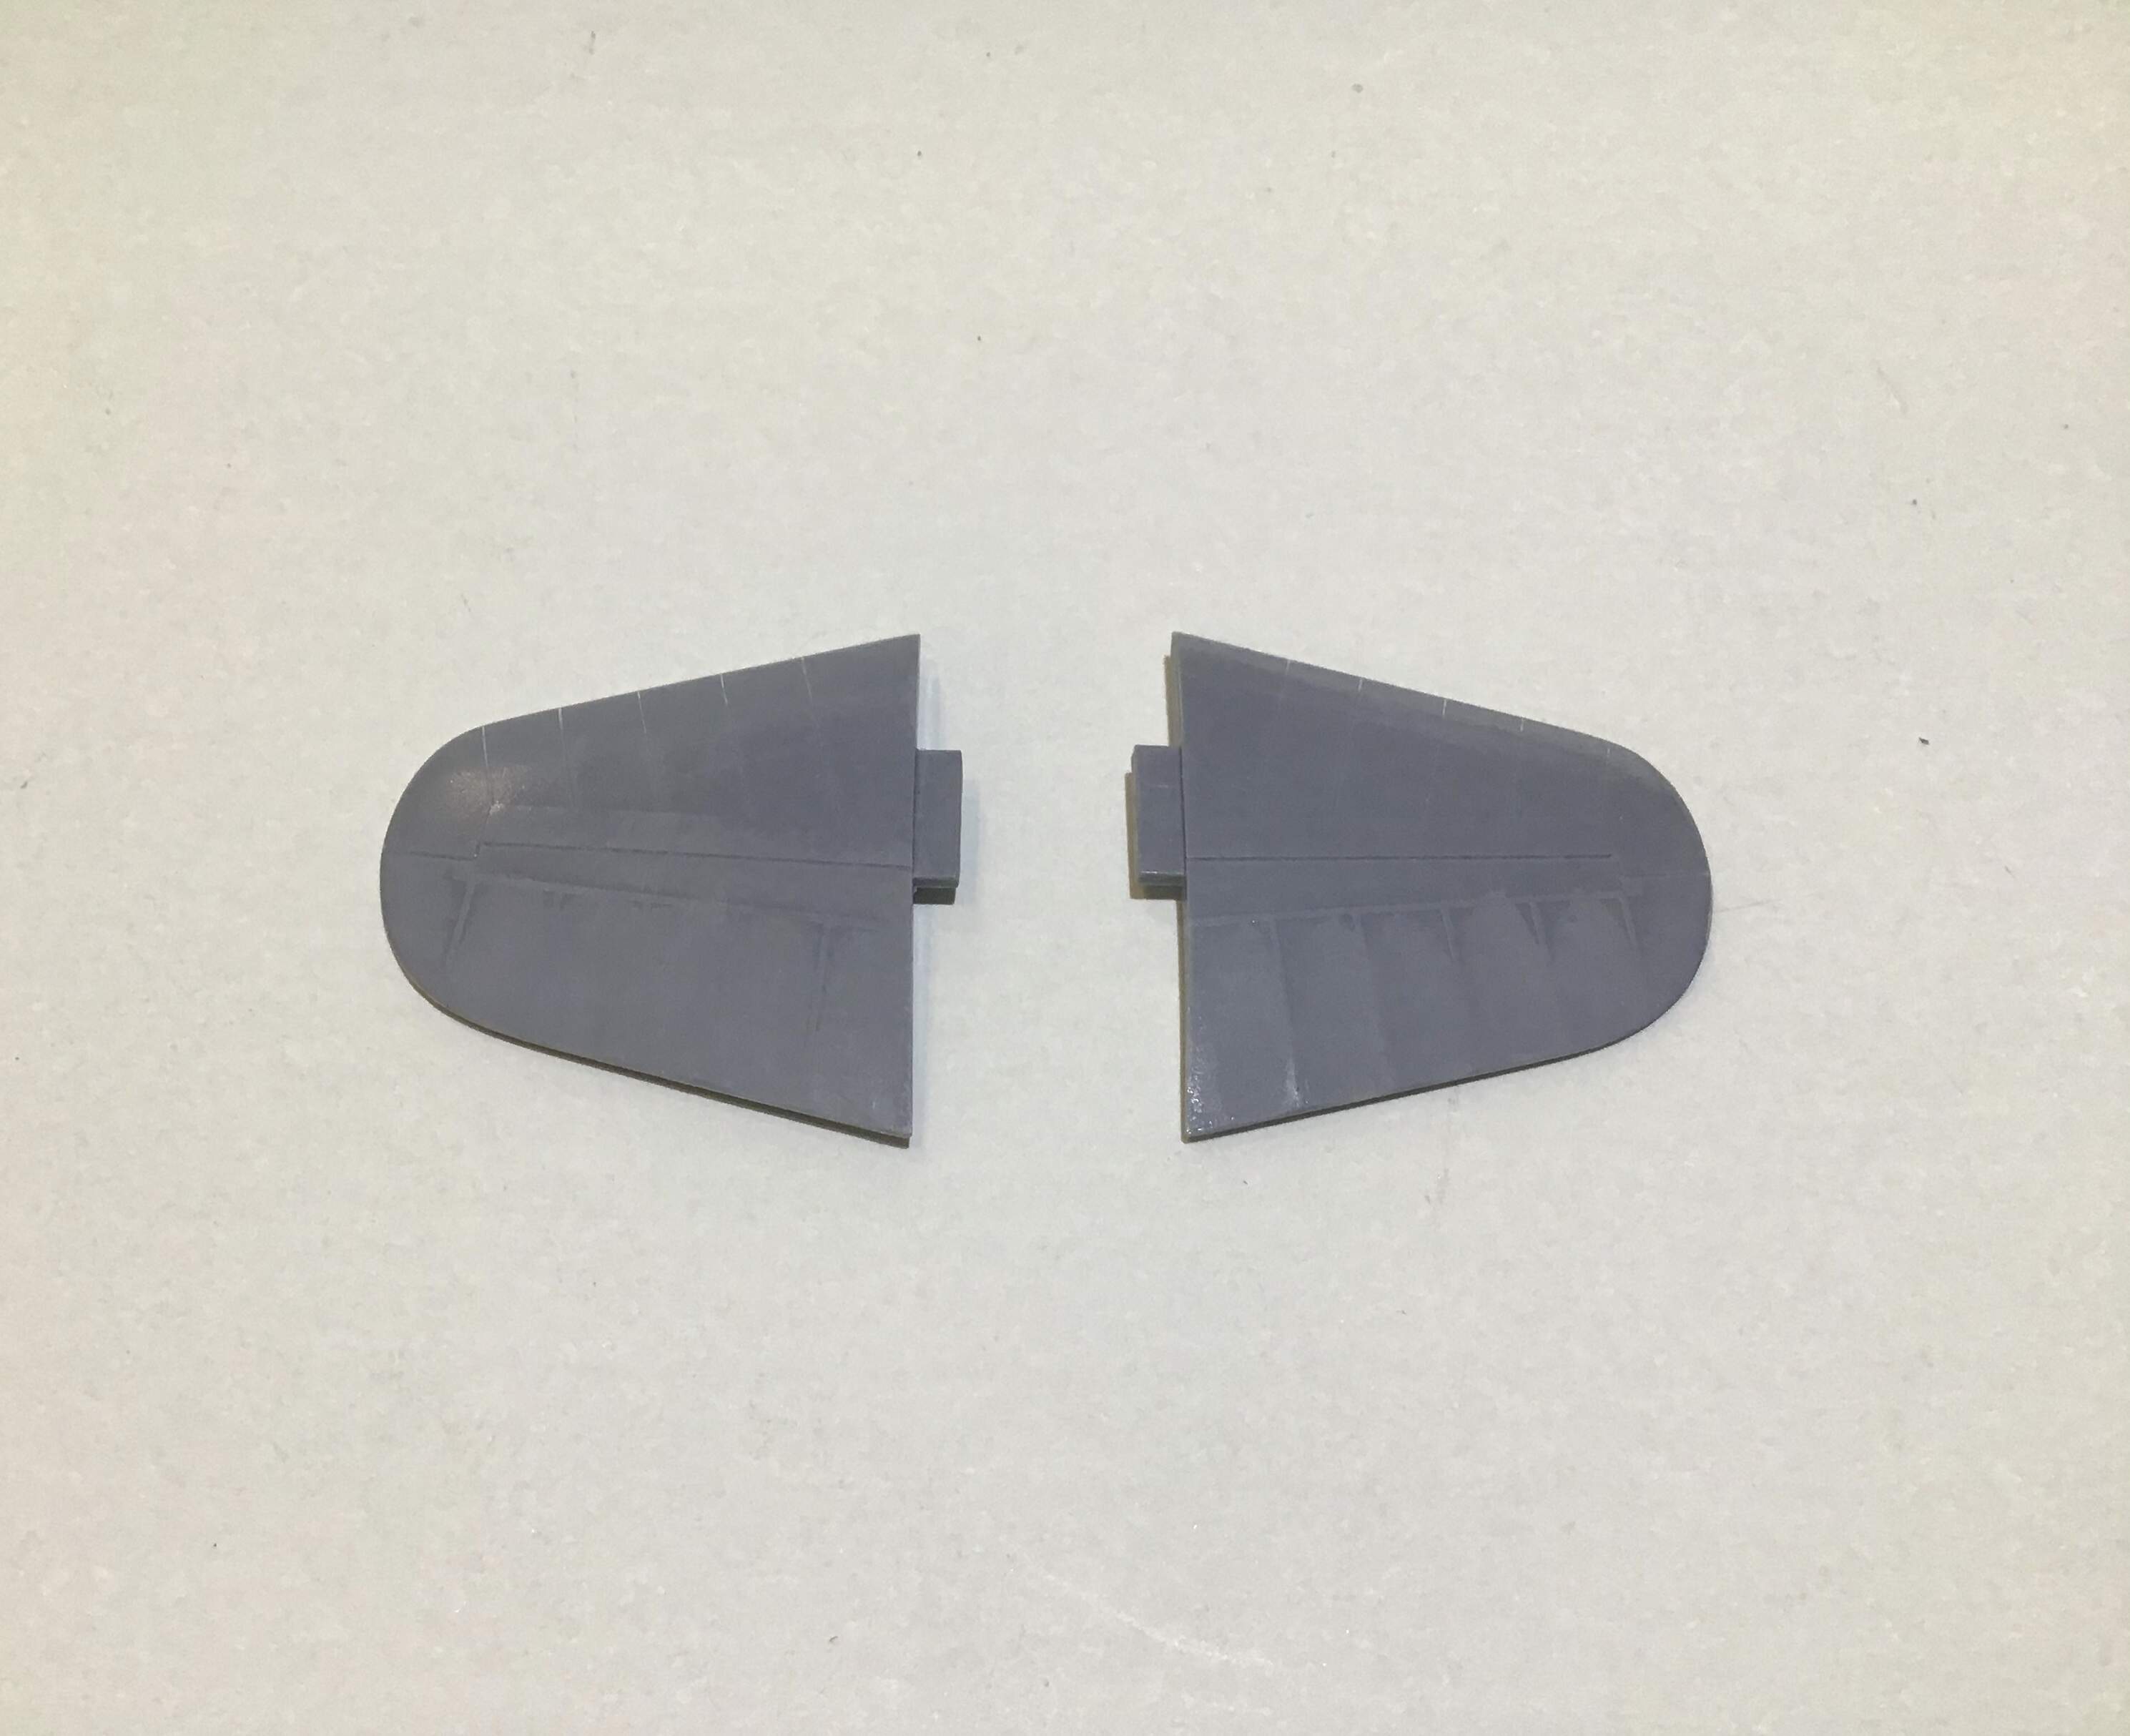
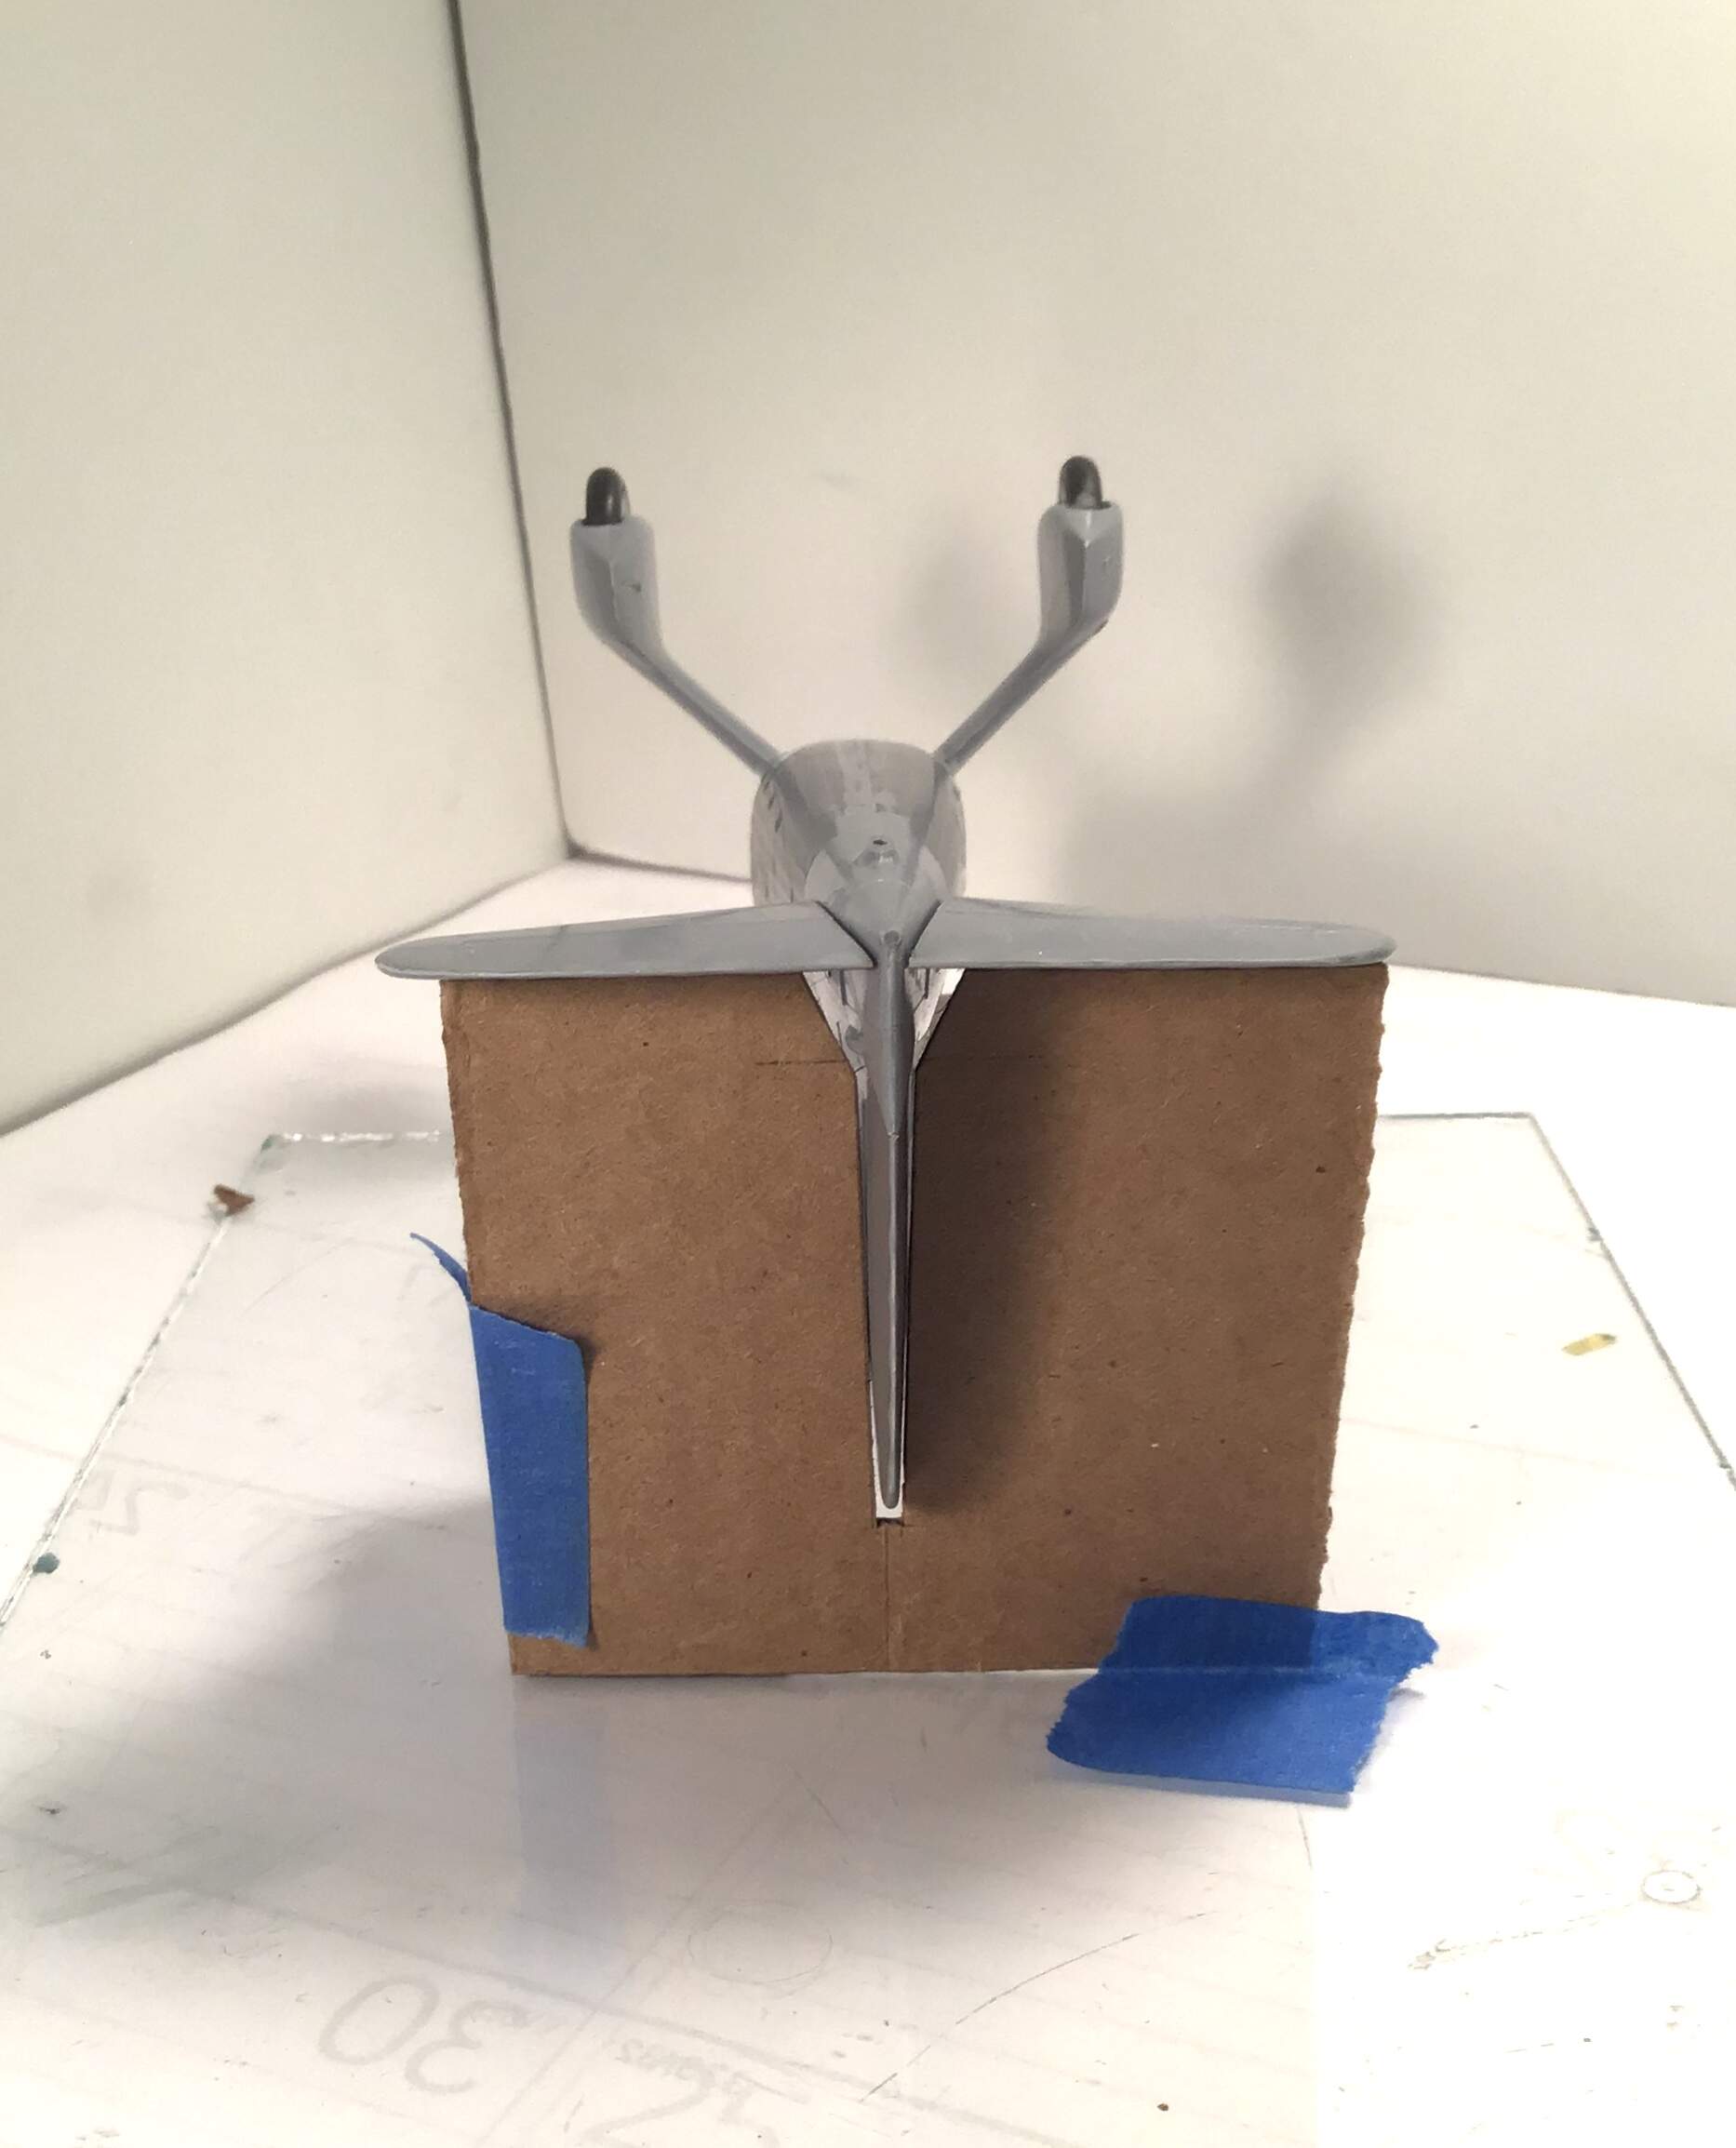
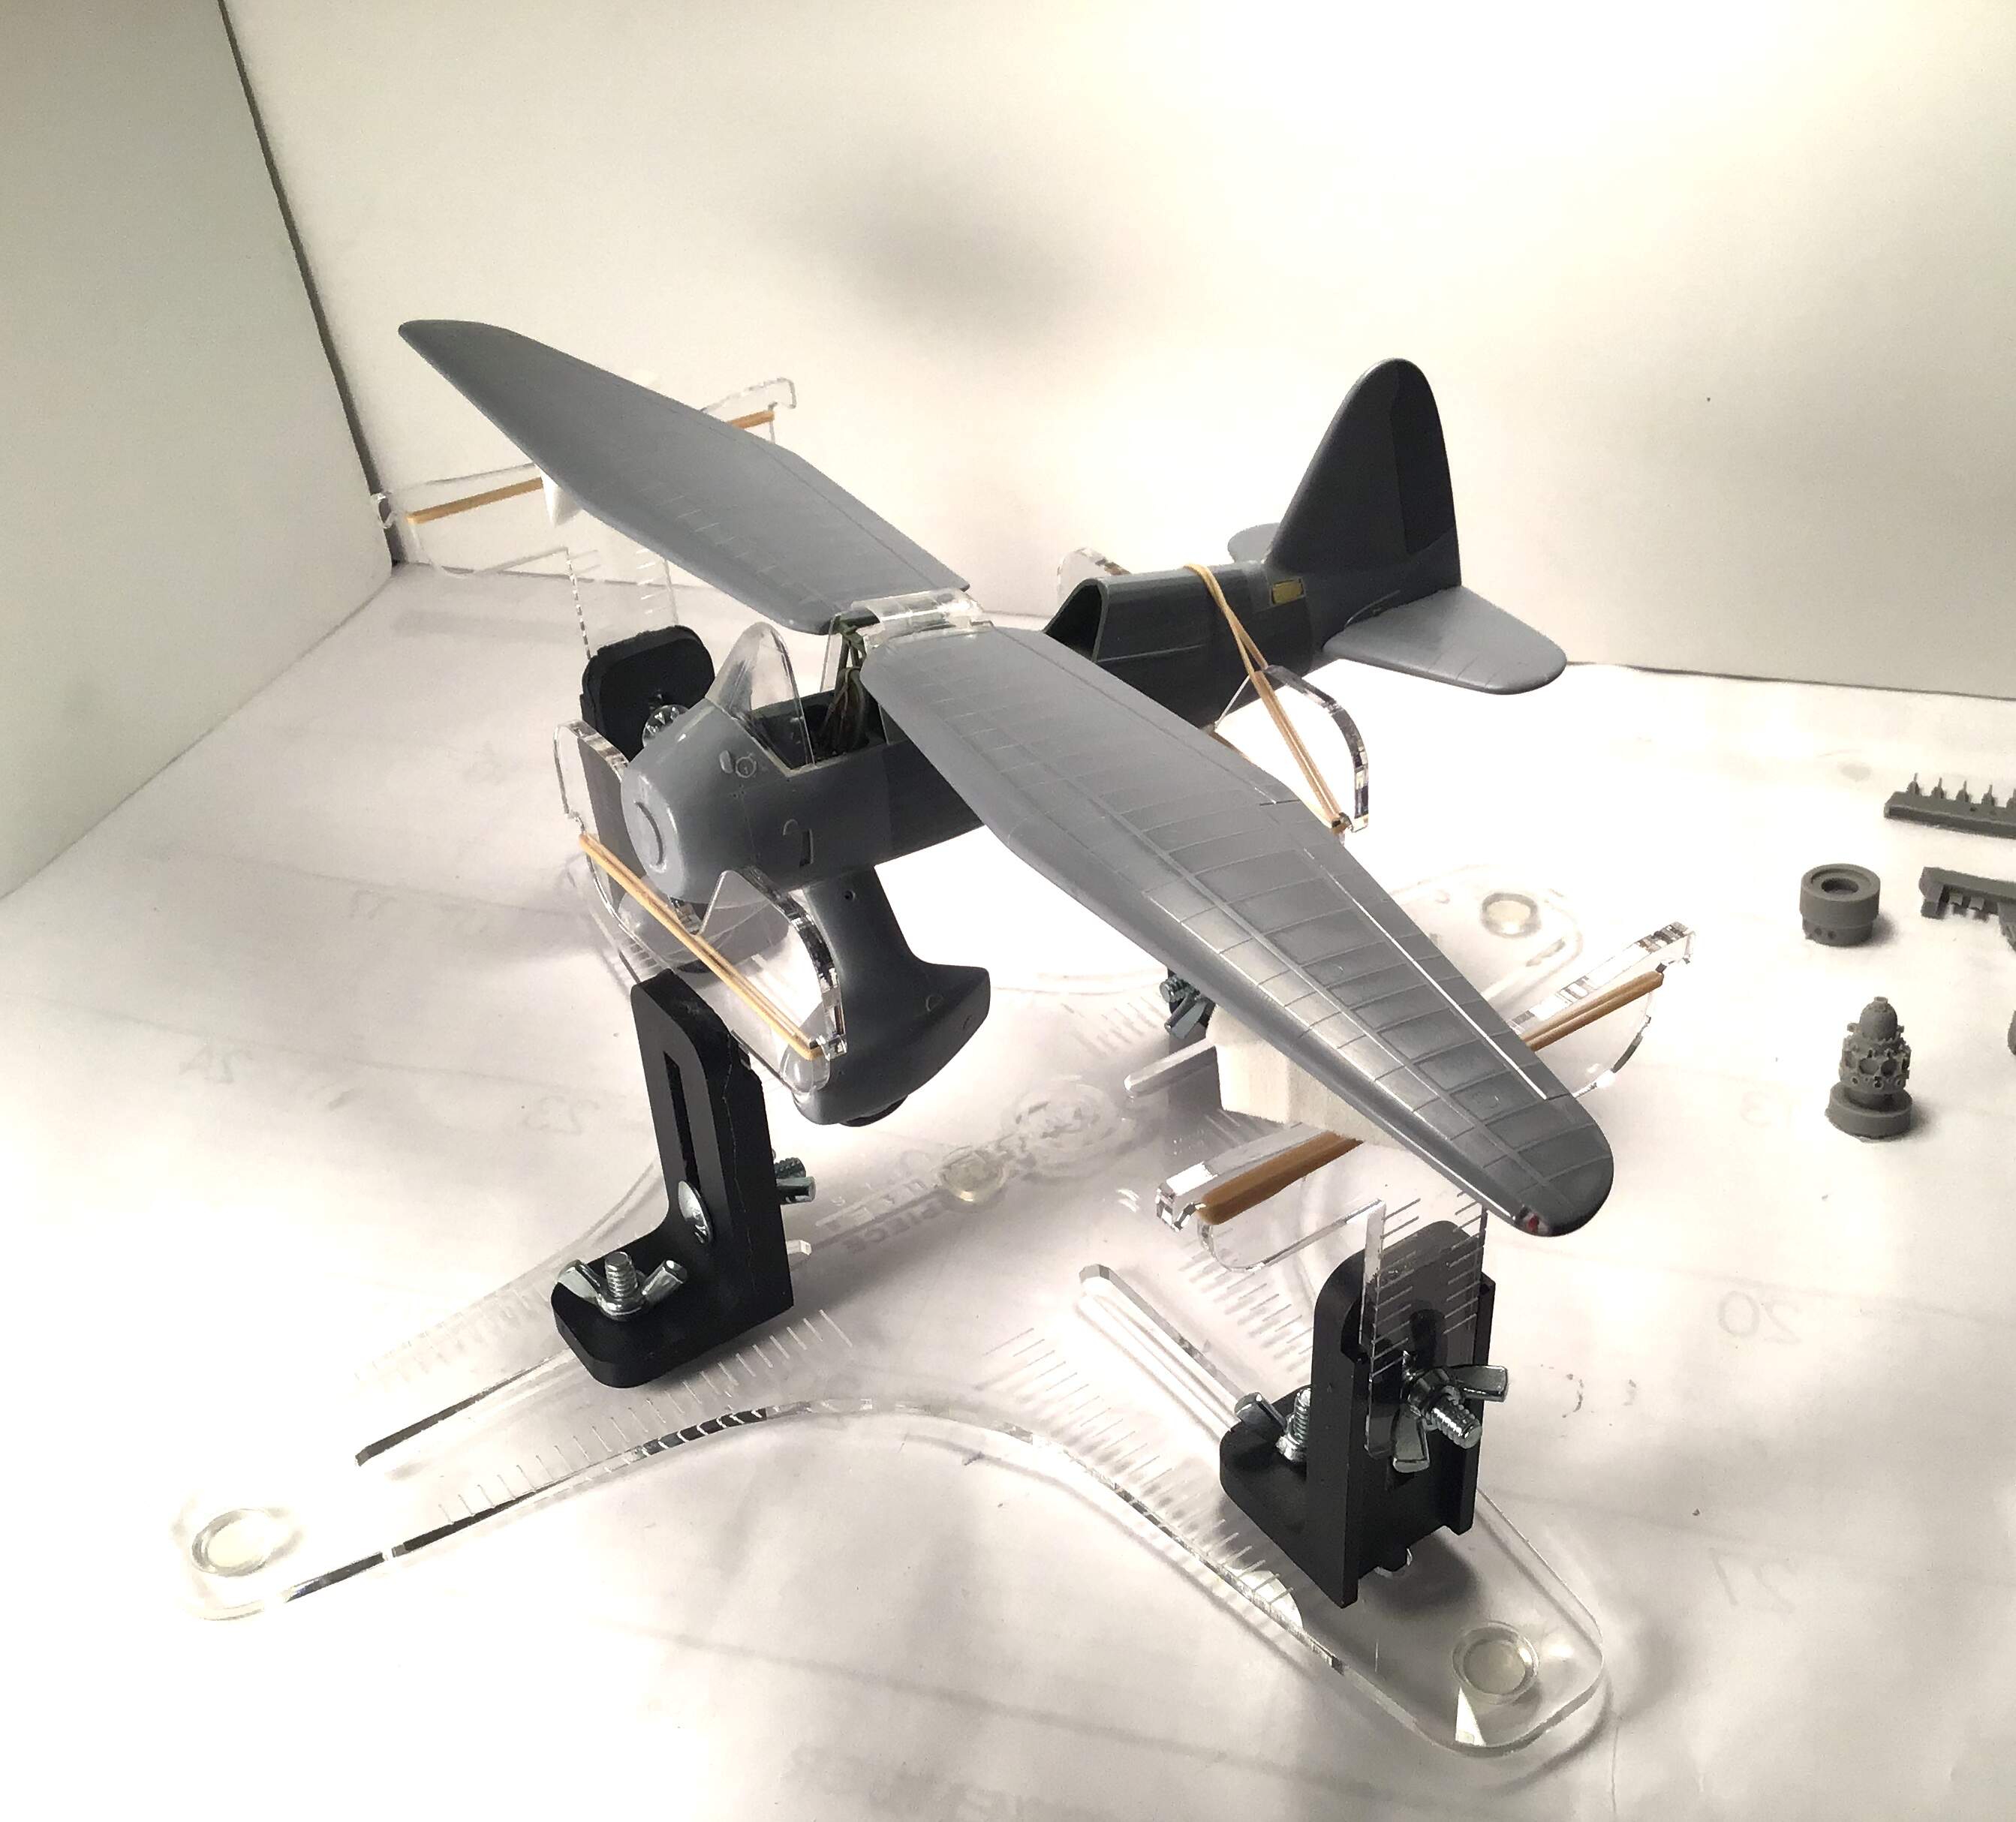
I made a fixture to hold the horizontal stabs in what I hope is the correct orientation . The Lysander book is wonderful but none of the drawings offer a frontal or rear view so difficult to determine if there was any dihedral or anhedral in the tail plane . It appears straight ( neither dihedral or anhedral ) in photos so that is what I chose . Also made masks to define the glazing in the aft balance weight doors .
Next task will be dealing with all the greenhouse glazing . I’m on the fence about trying to thin it as it is pretty heavy - we’ll see.
Thanks for looking in - RT
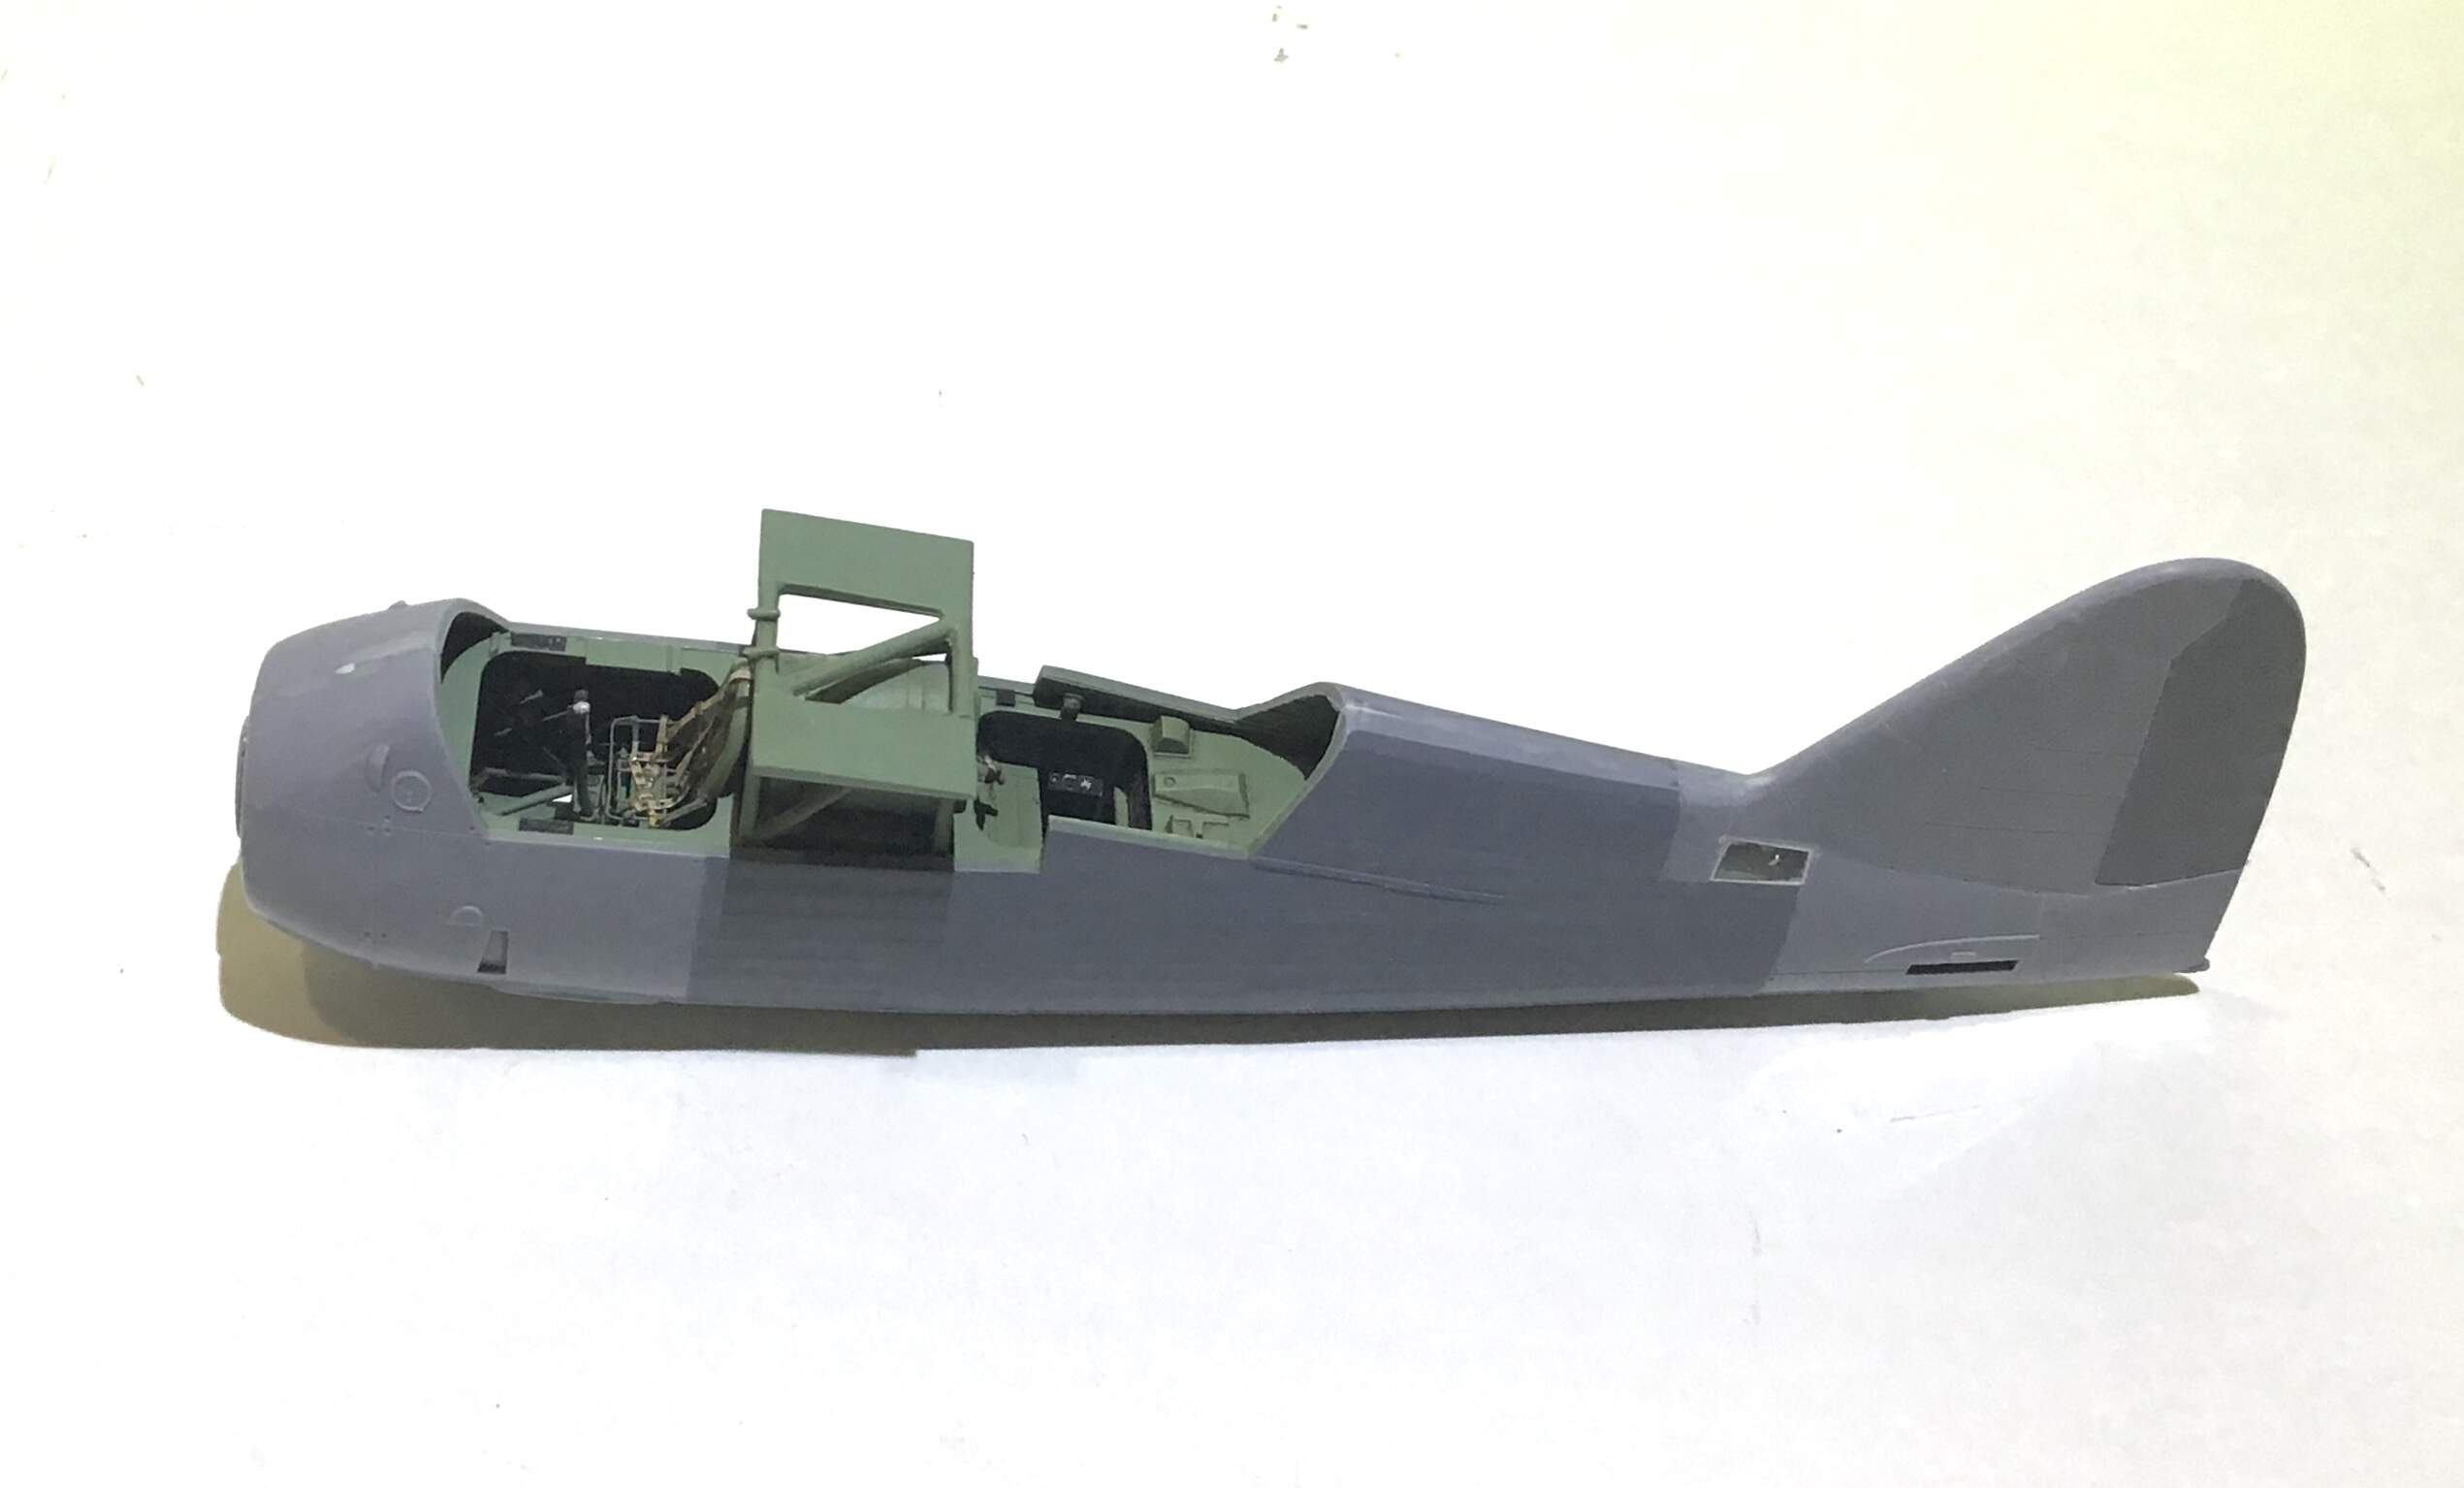
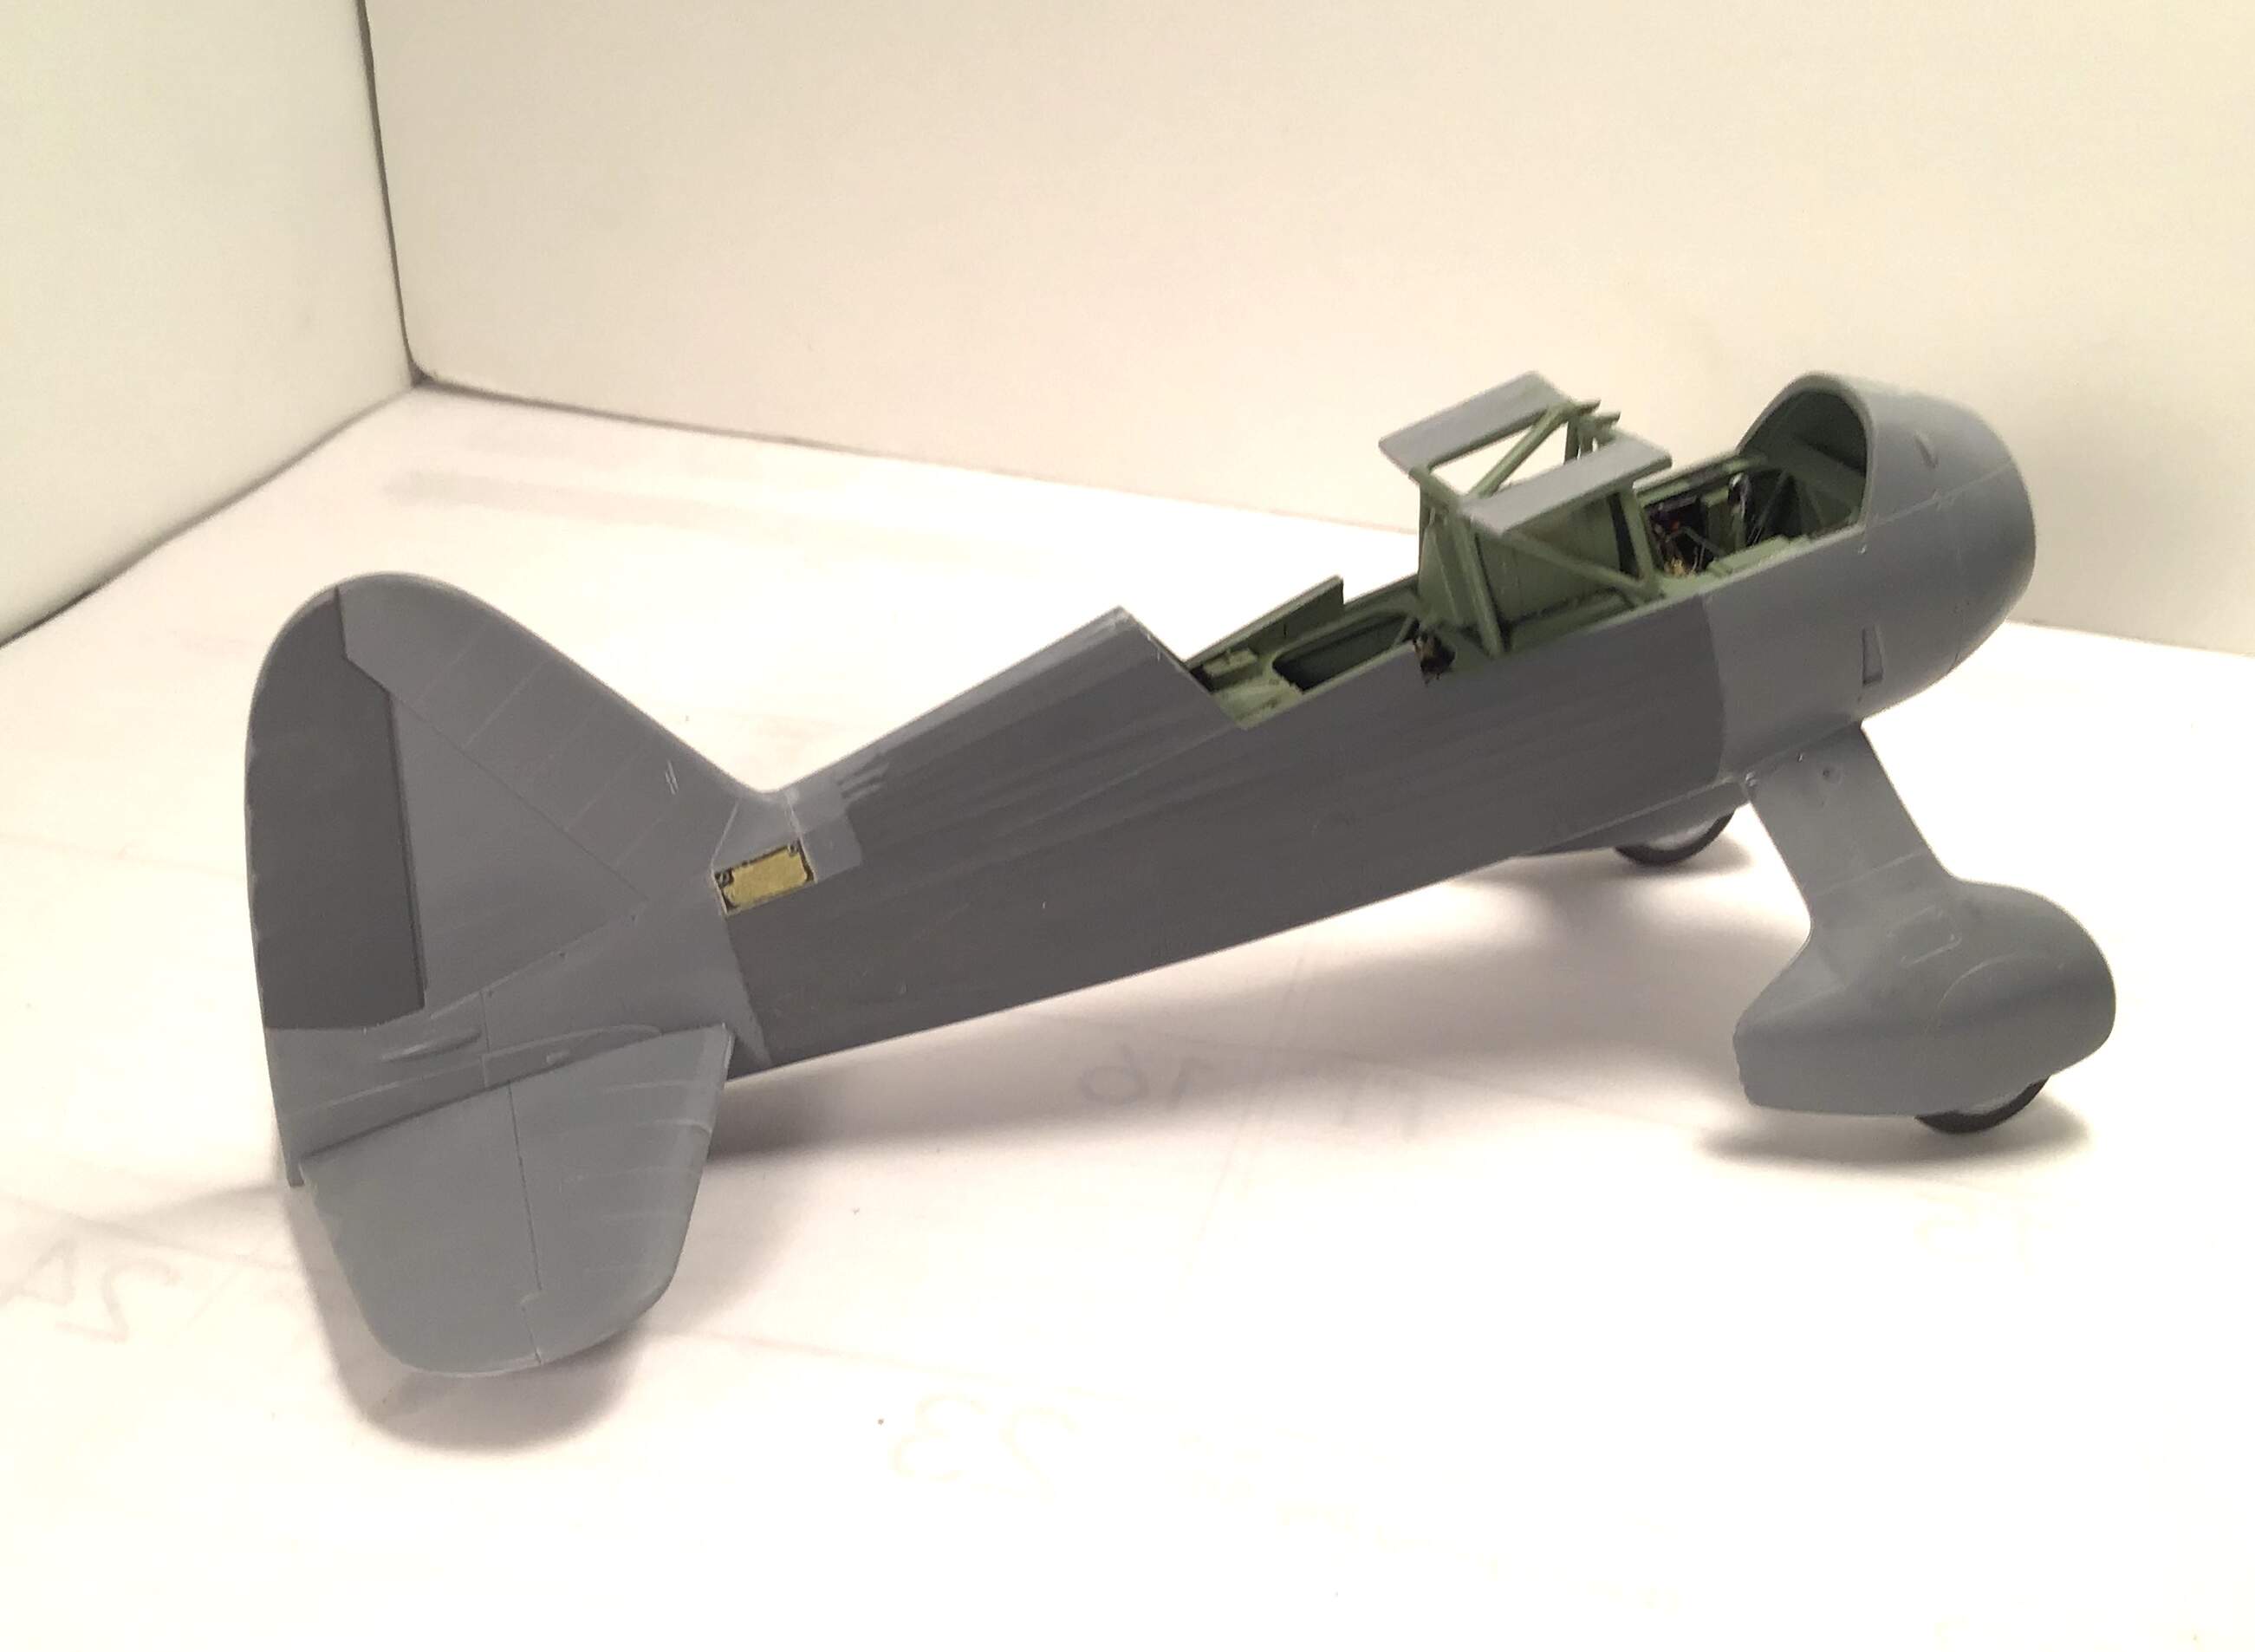
Fuselage nearly done . I have managed to thin down the canopy clear parts on the edges that show by wet sanding in soapy water . Starting with files where needed then 400 , 600 , 800 , 1000 , 1200 ,
1500 silicone carbide papers then micro mesh pads in 3200 , 4000 , 6000 , 8000 , 12000. I was able to reduce the thickness at the edges by about half .
Really looks a lot better.
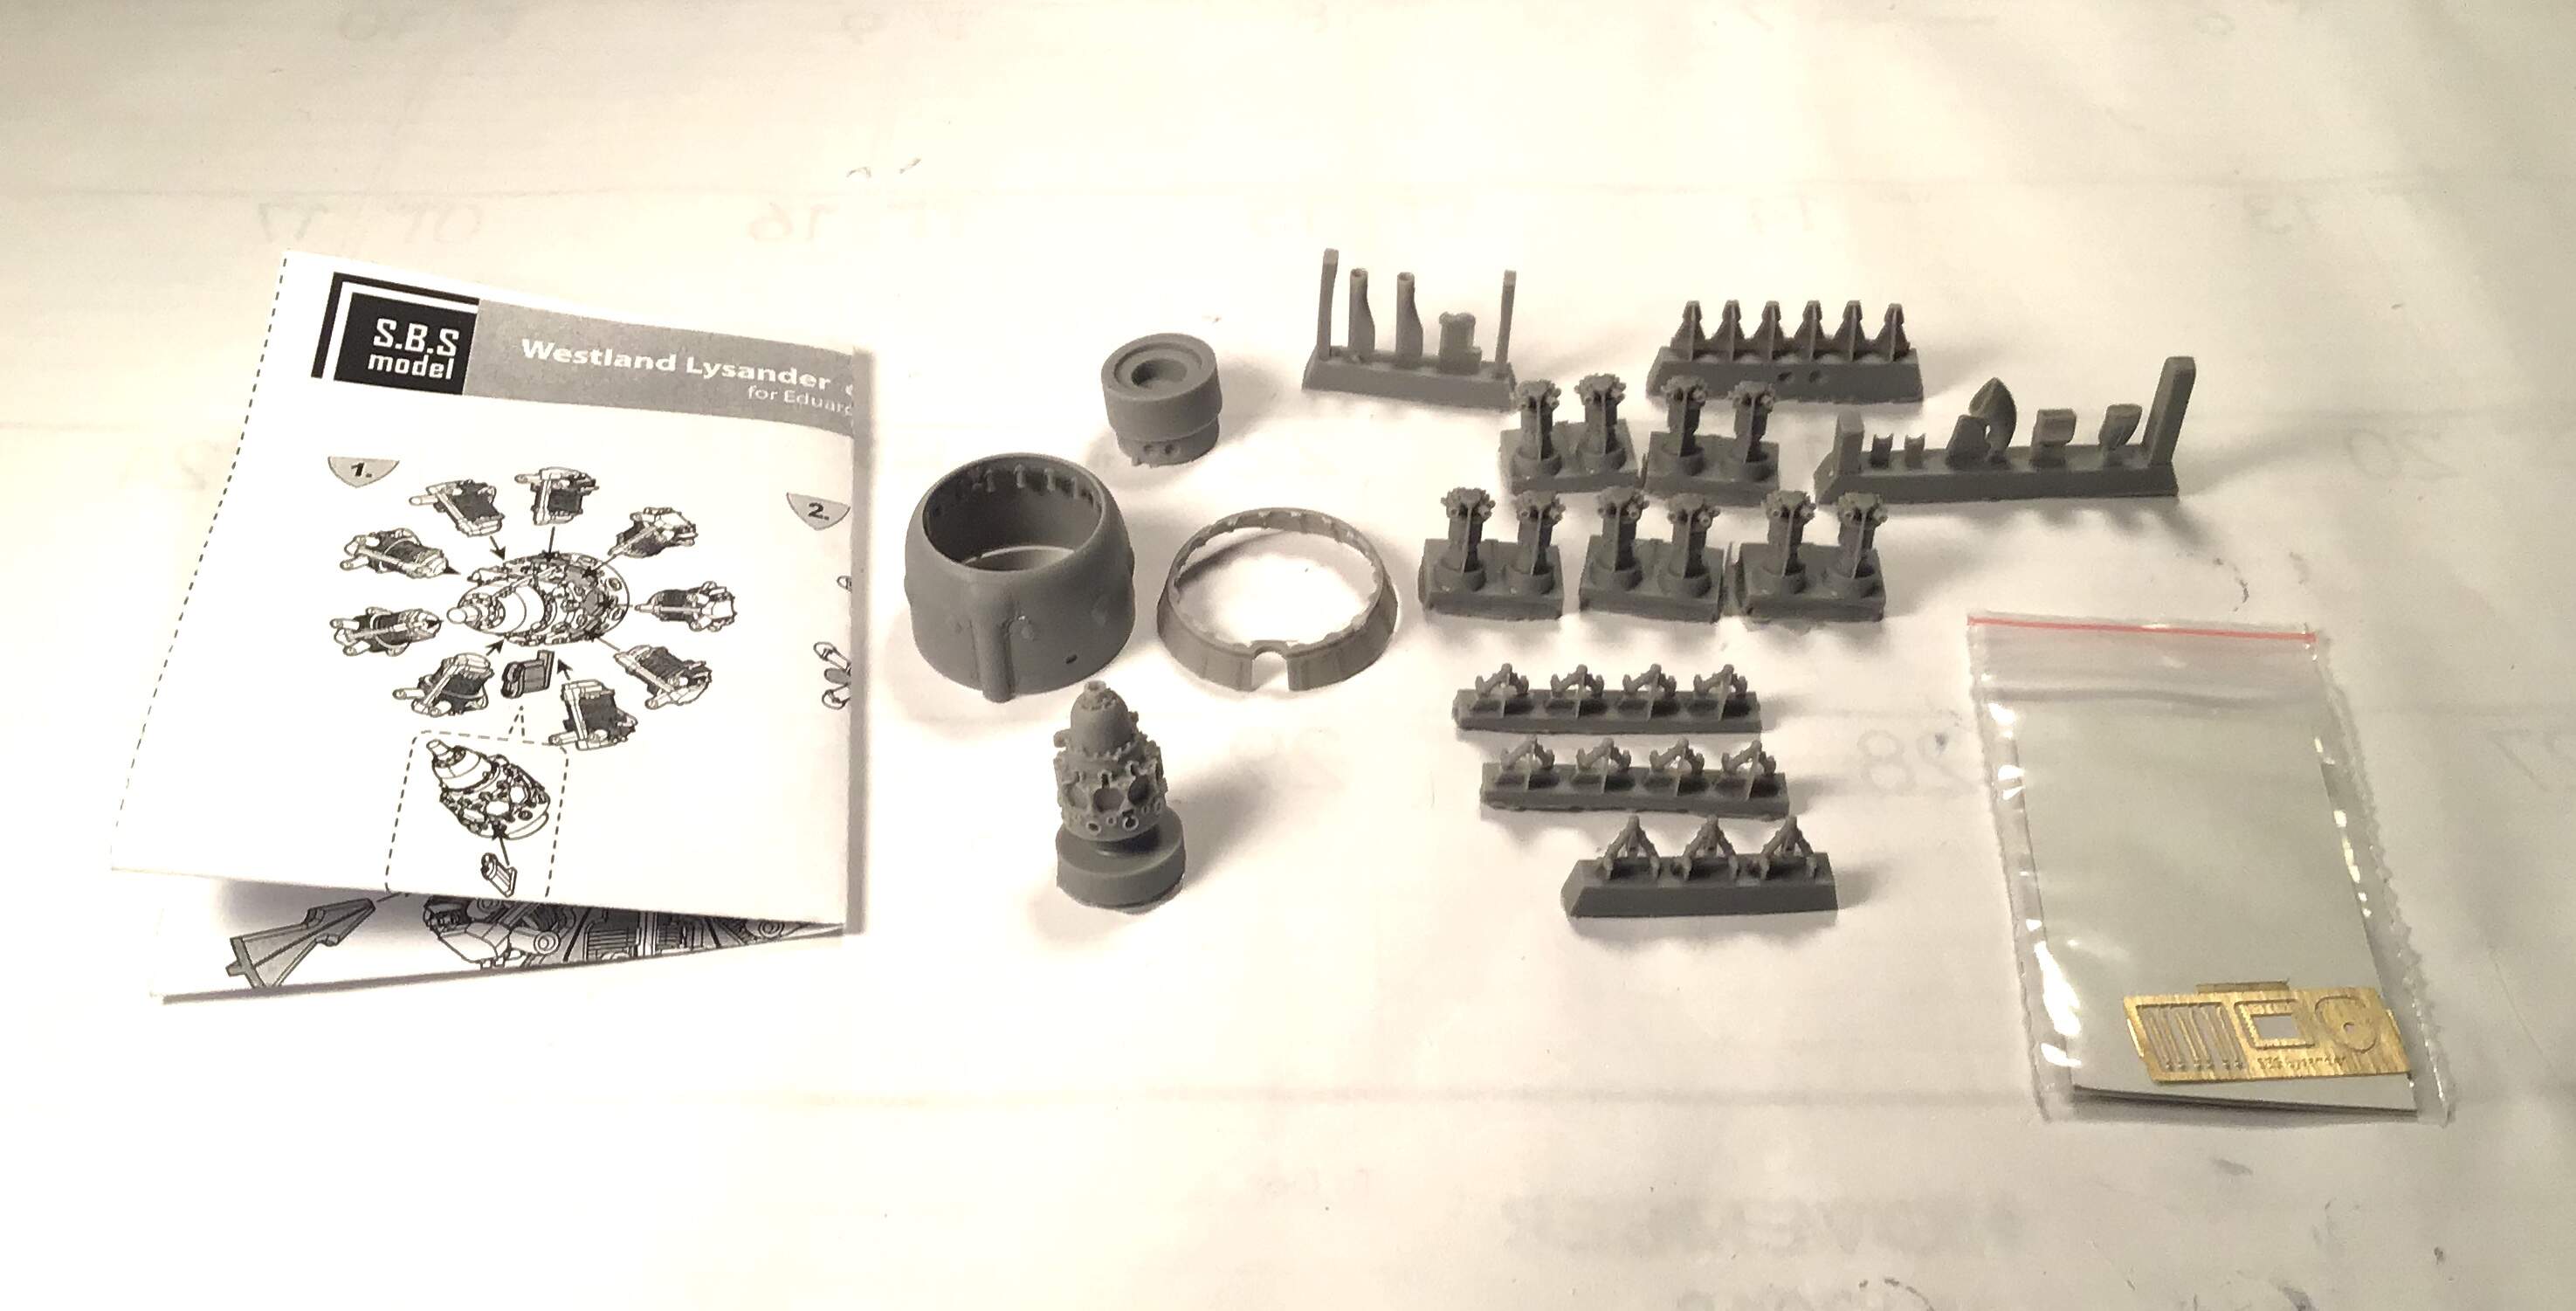
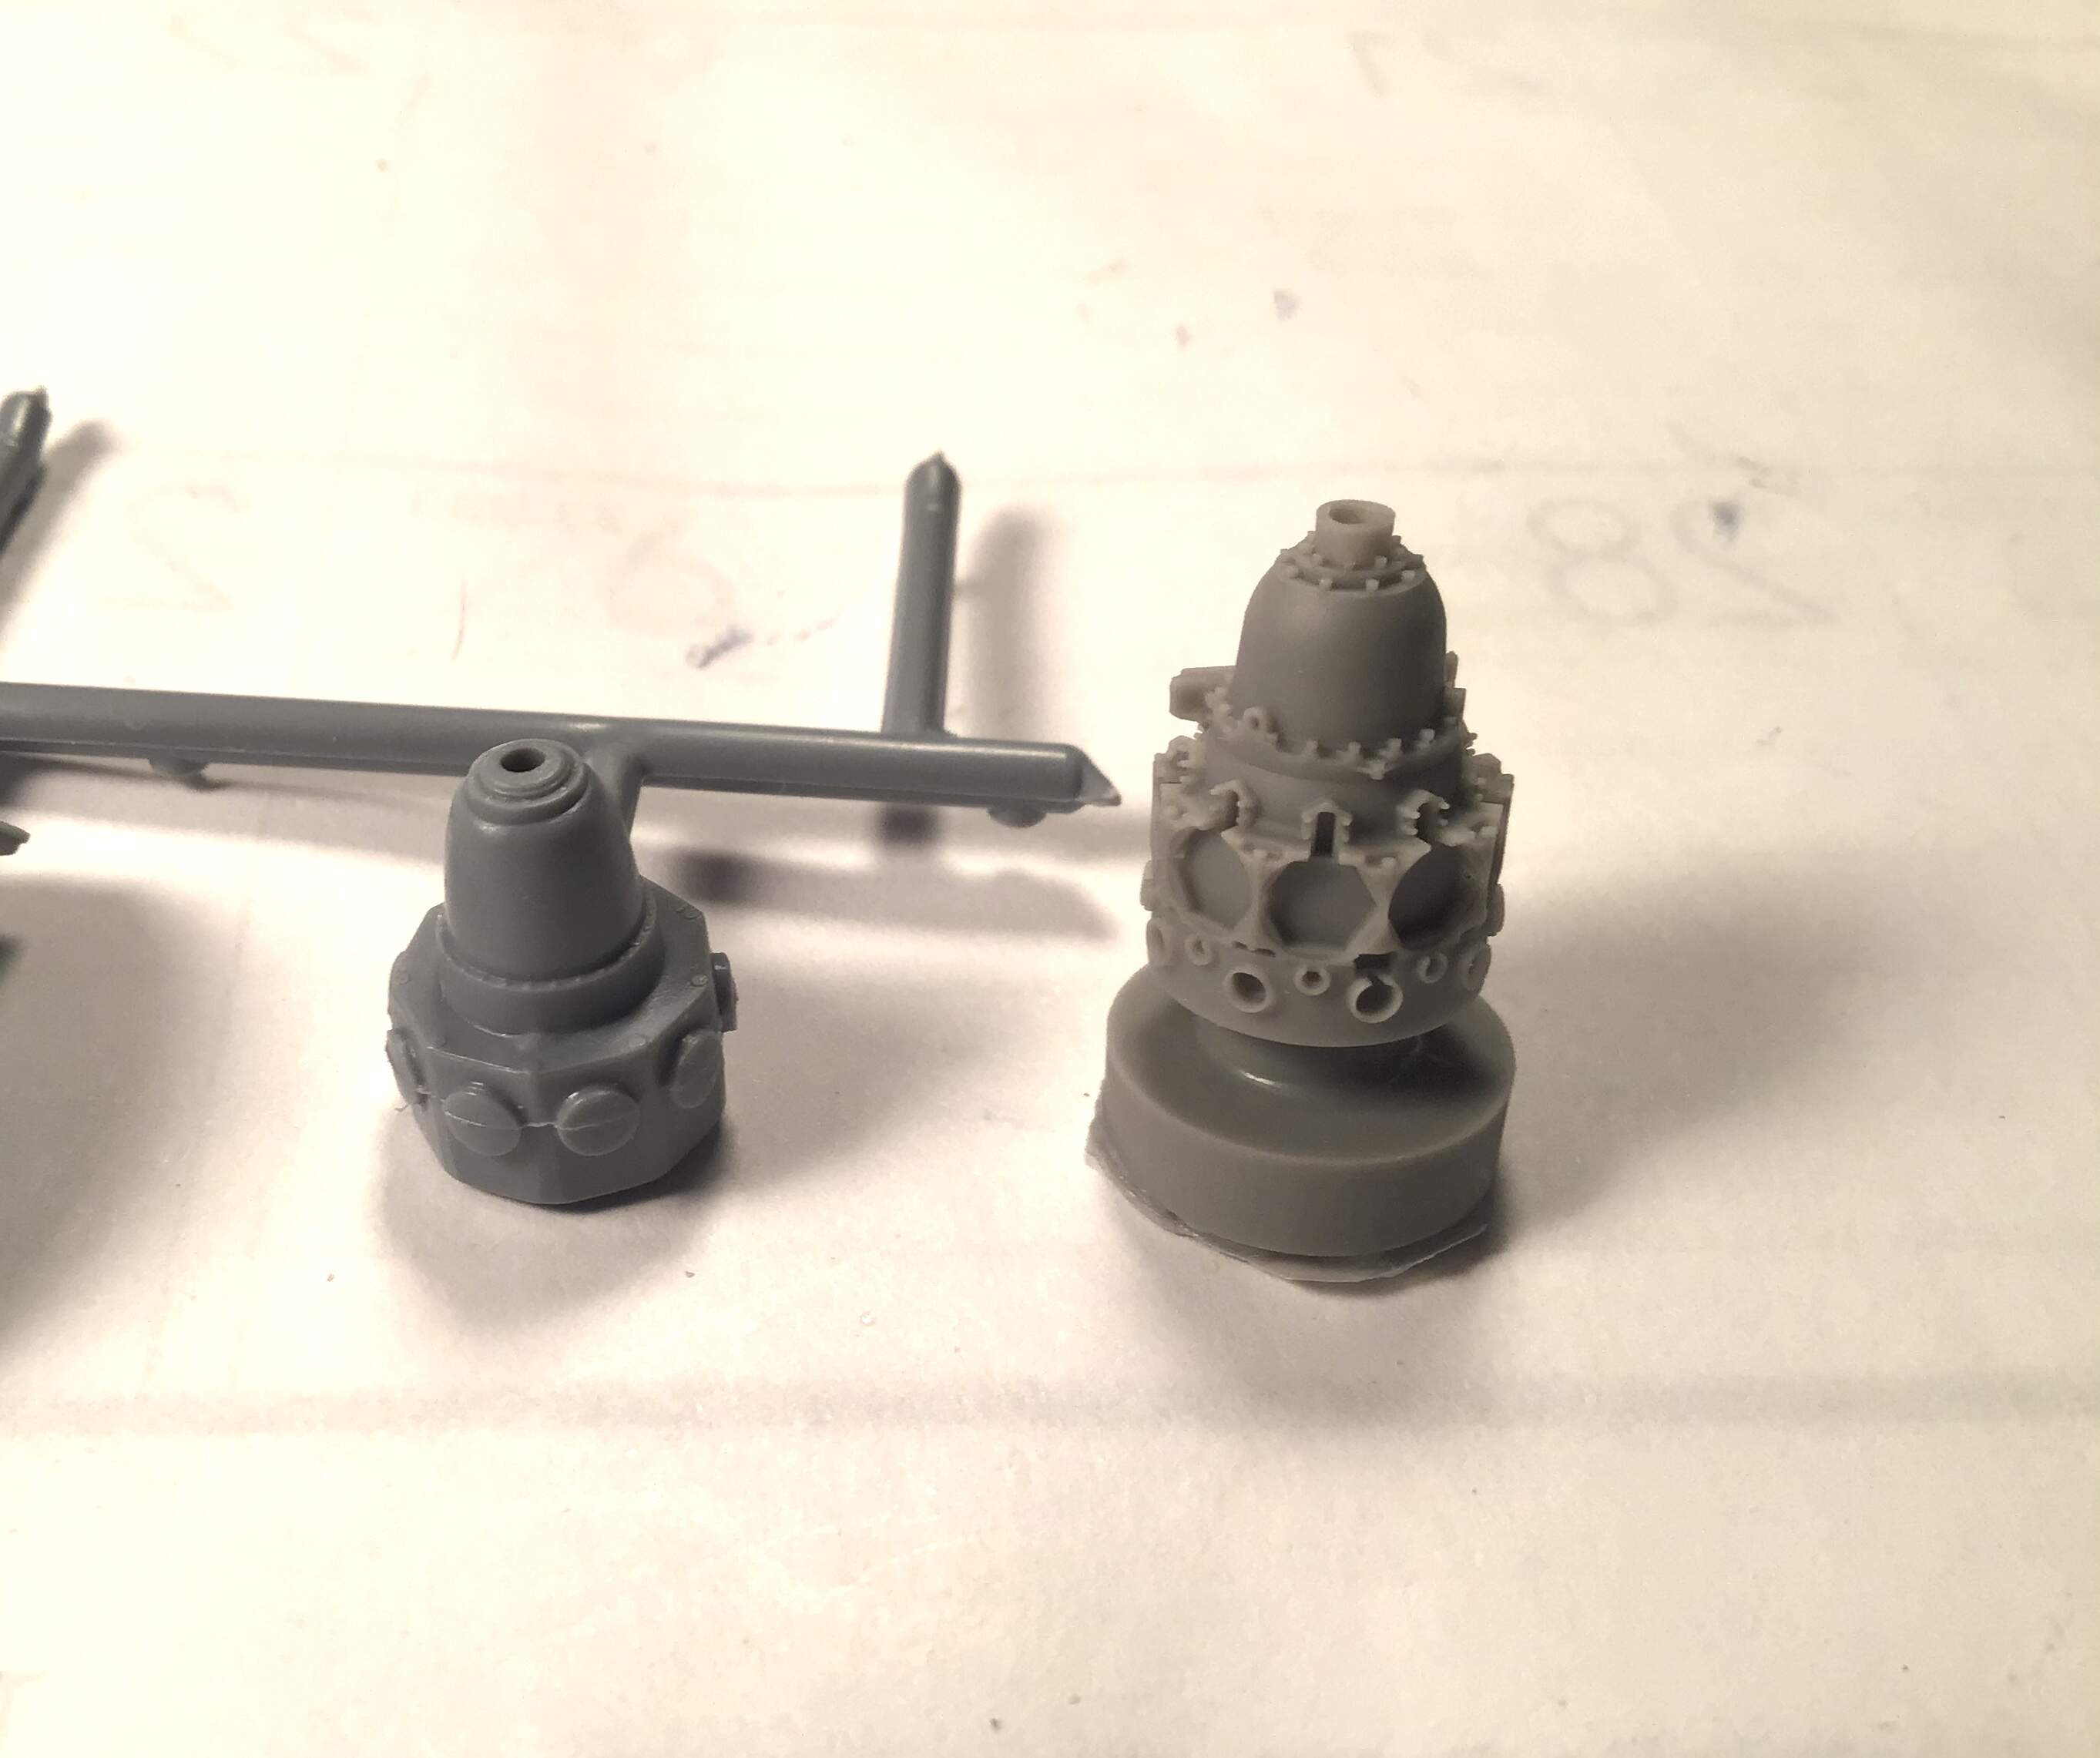
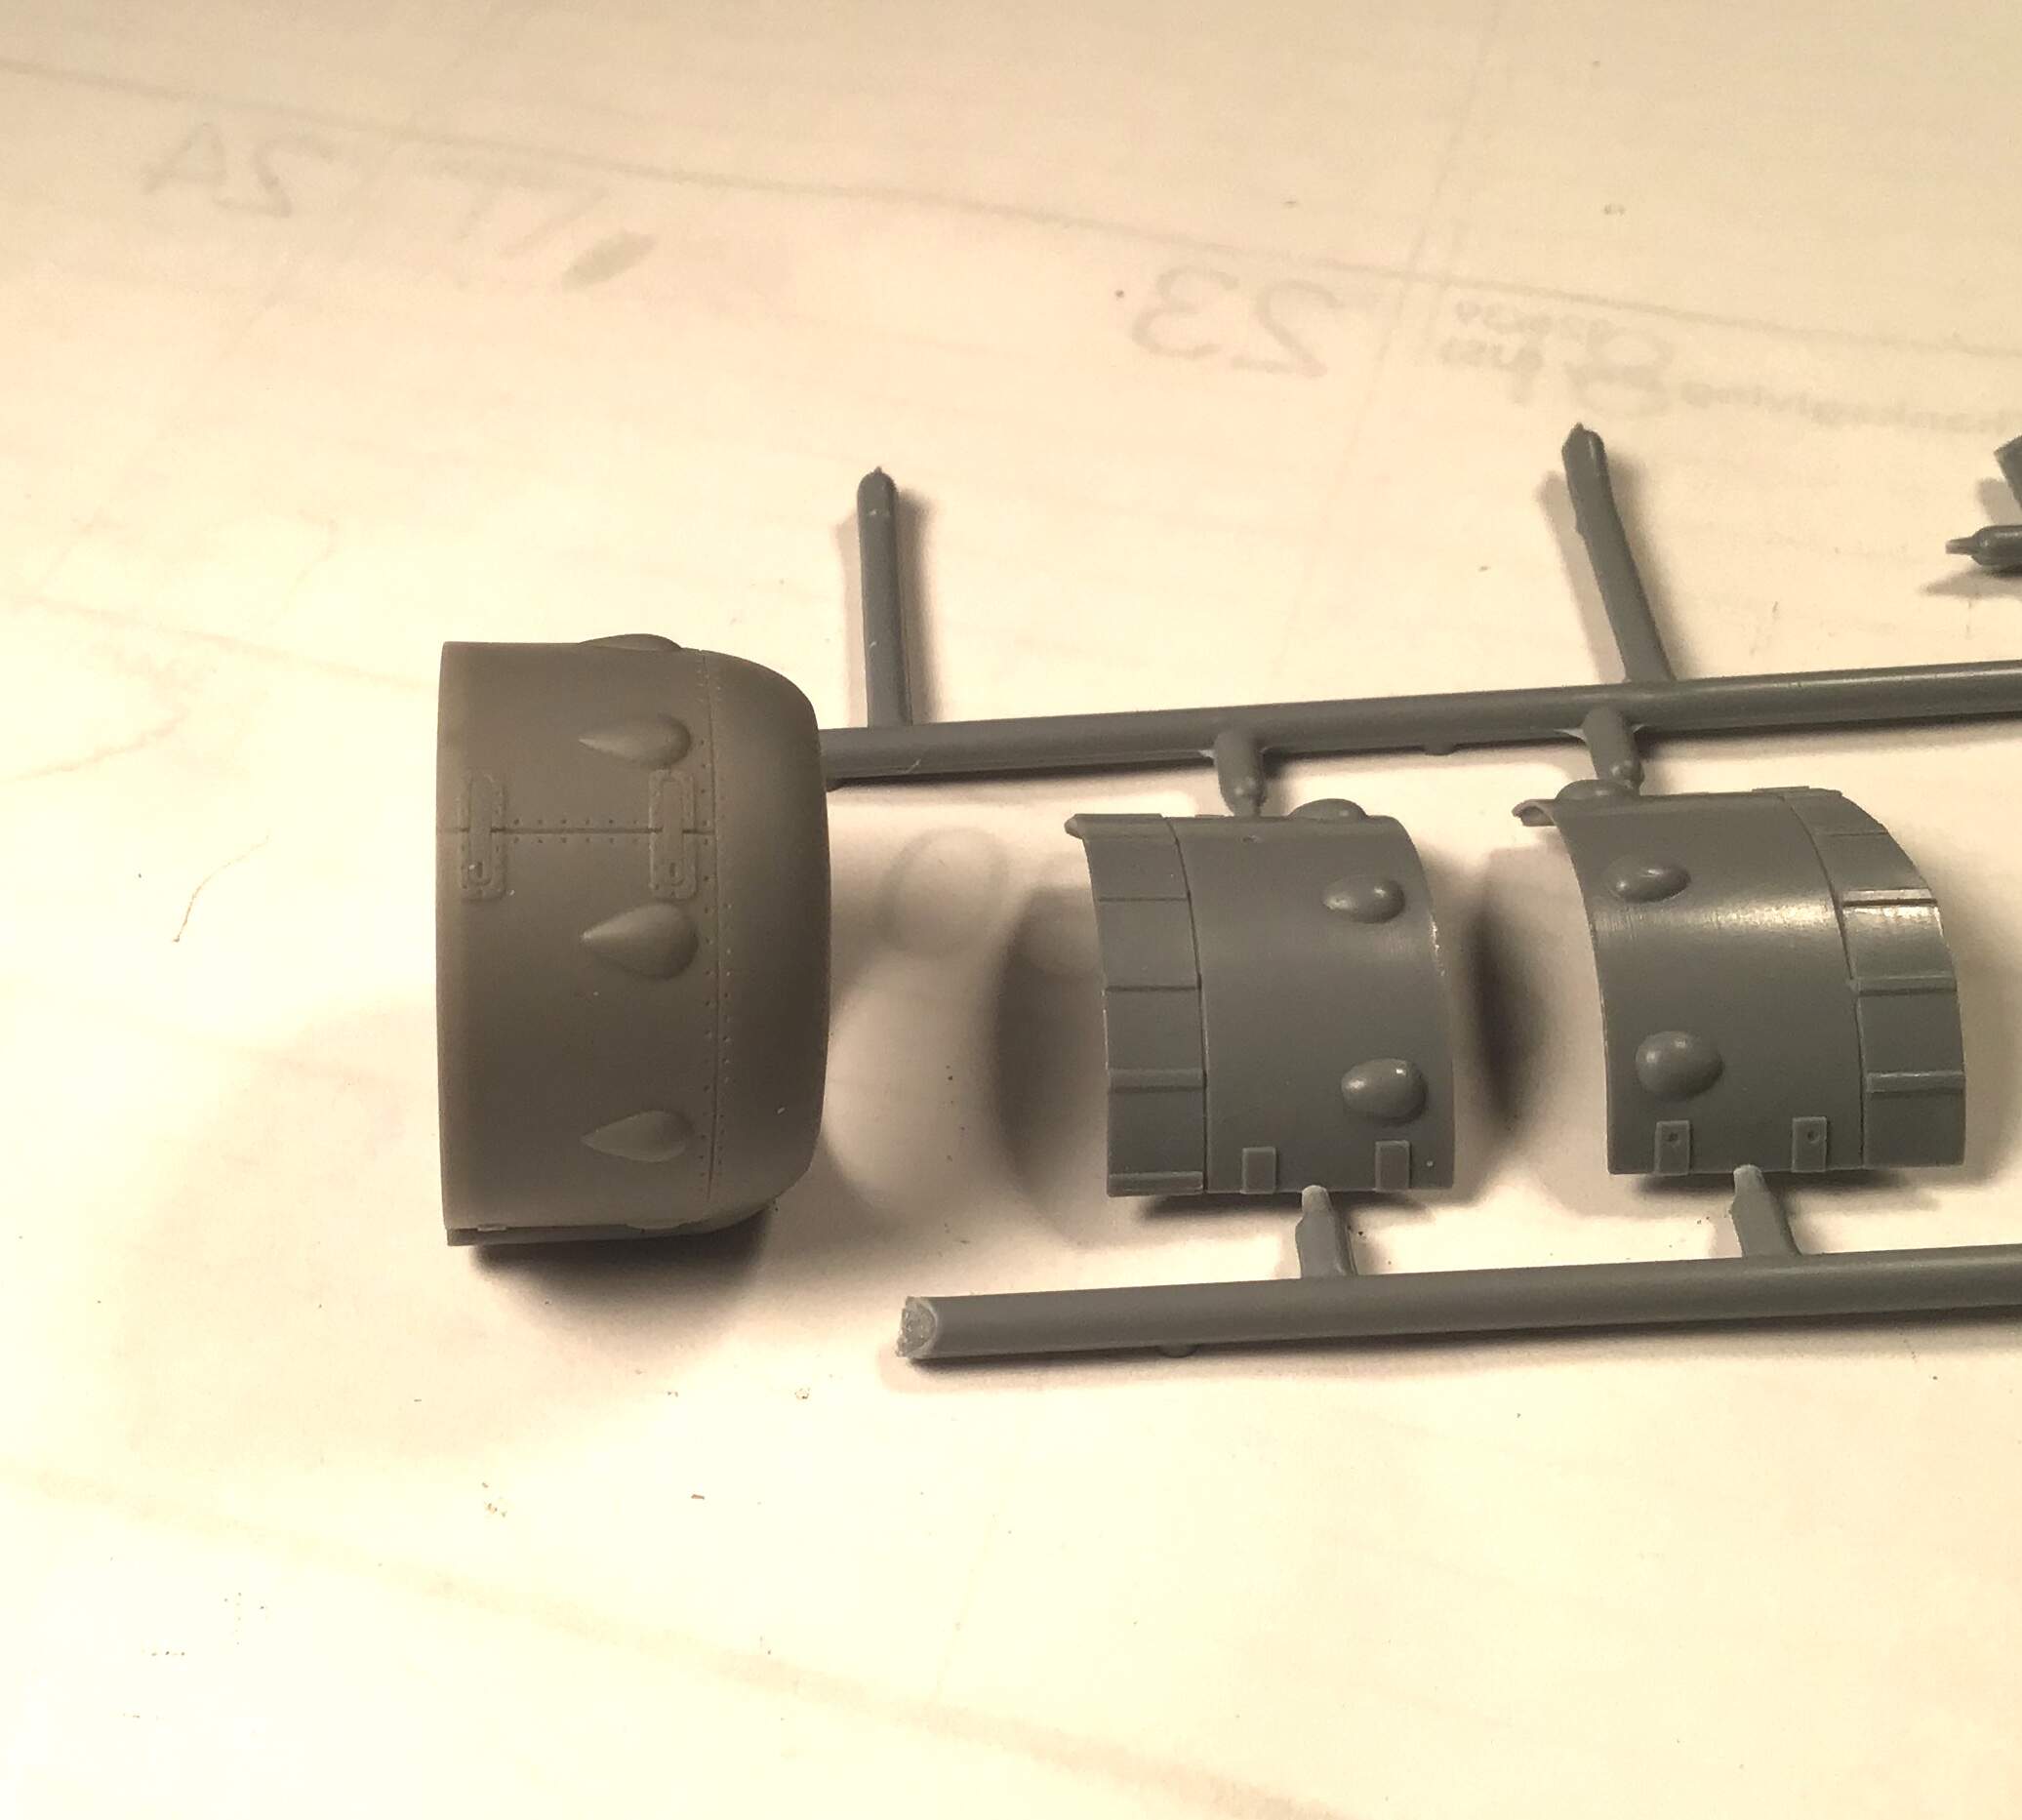
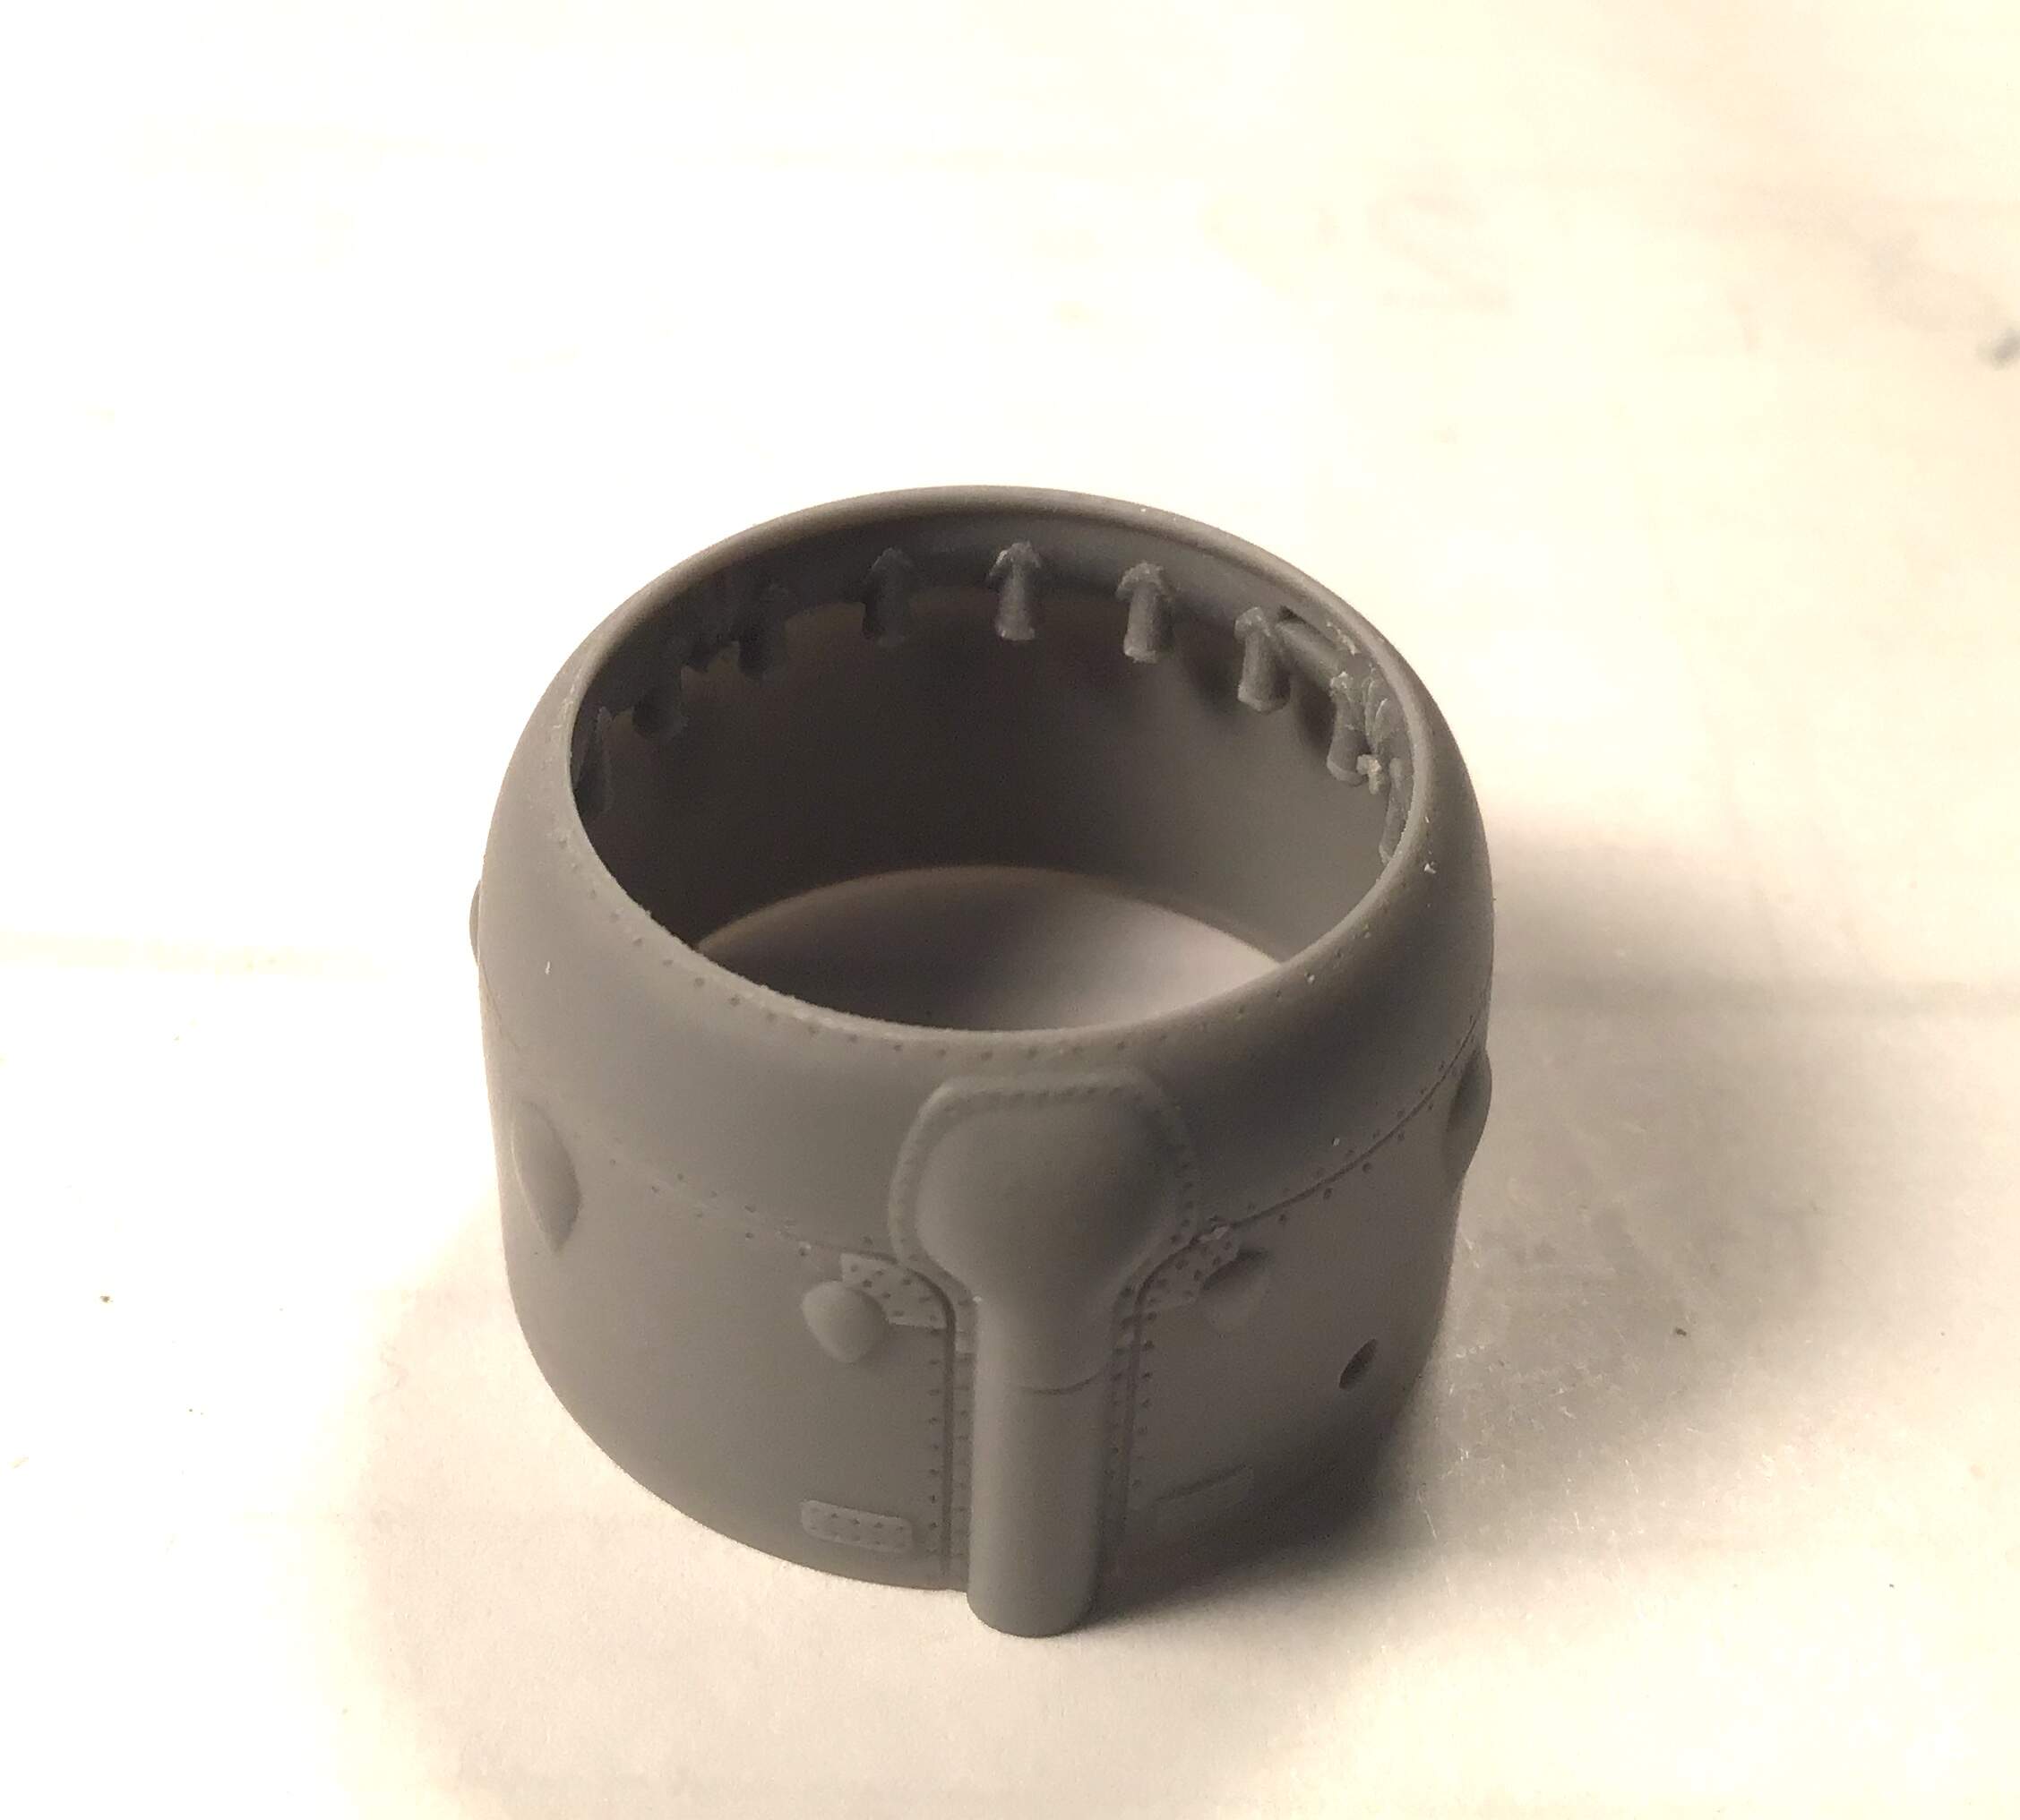
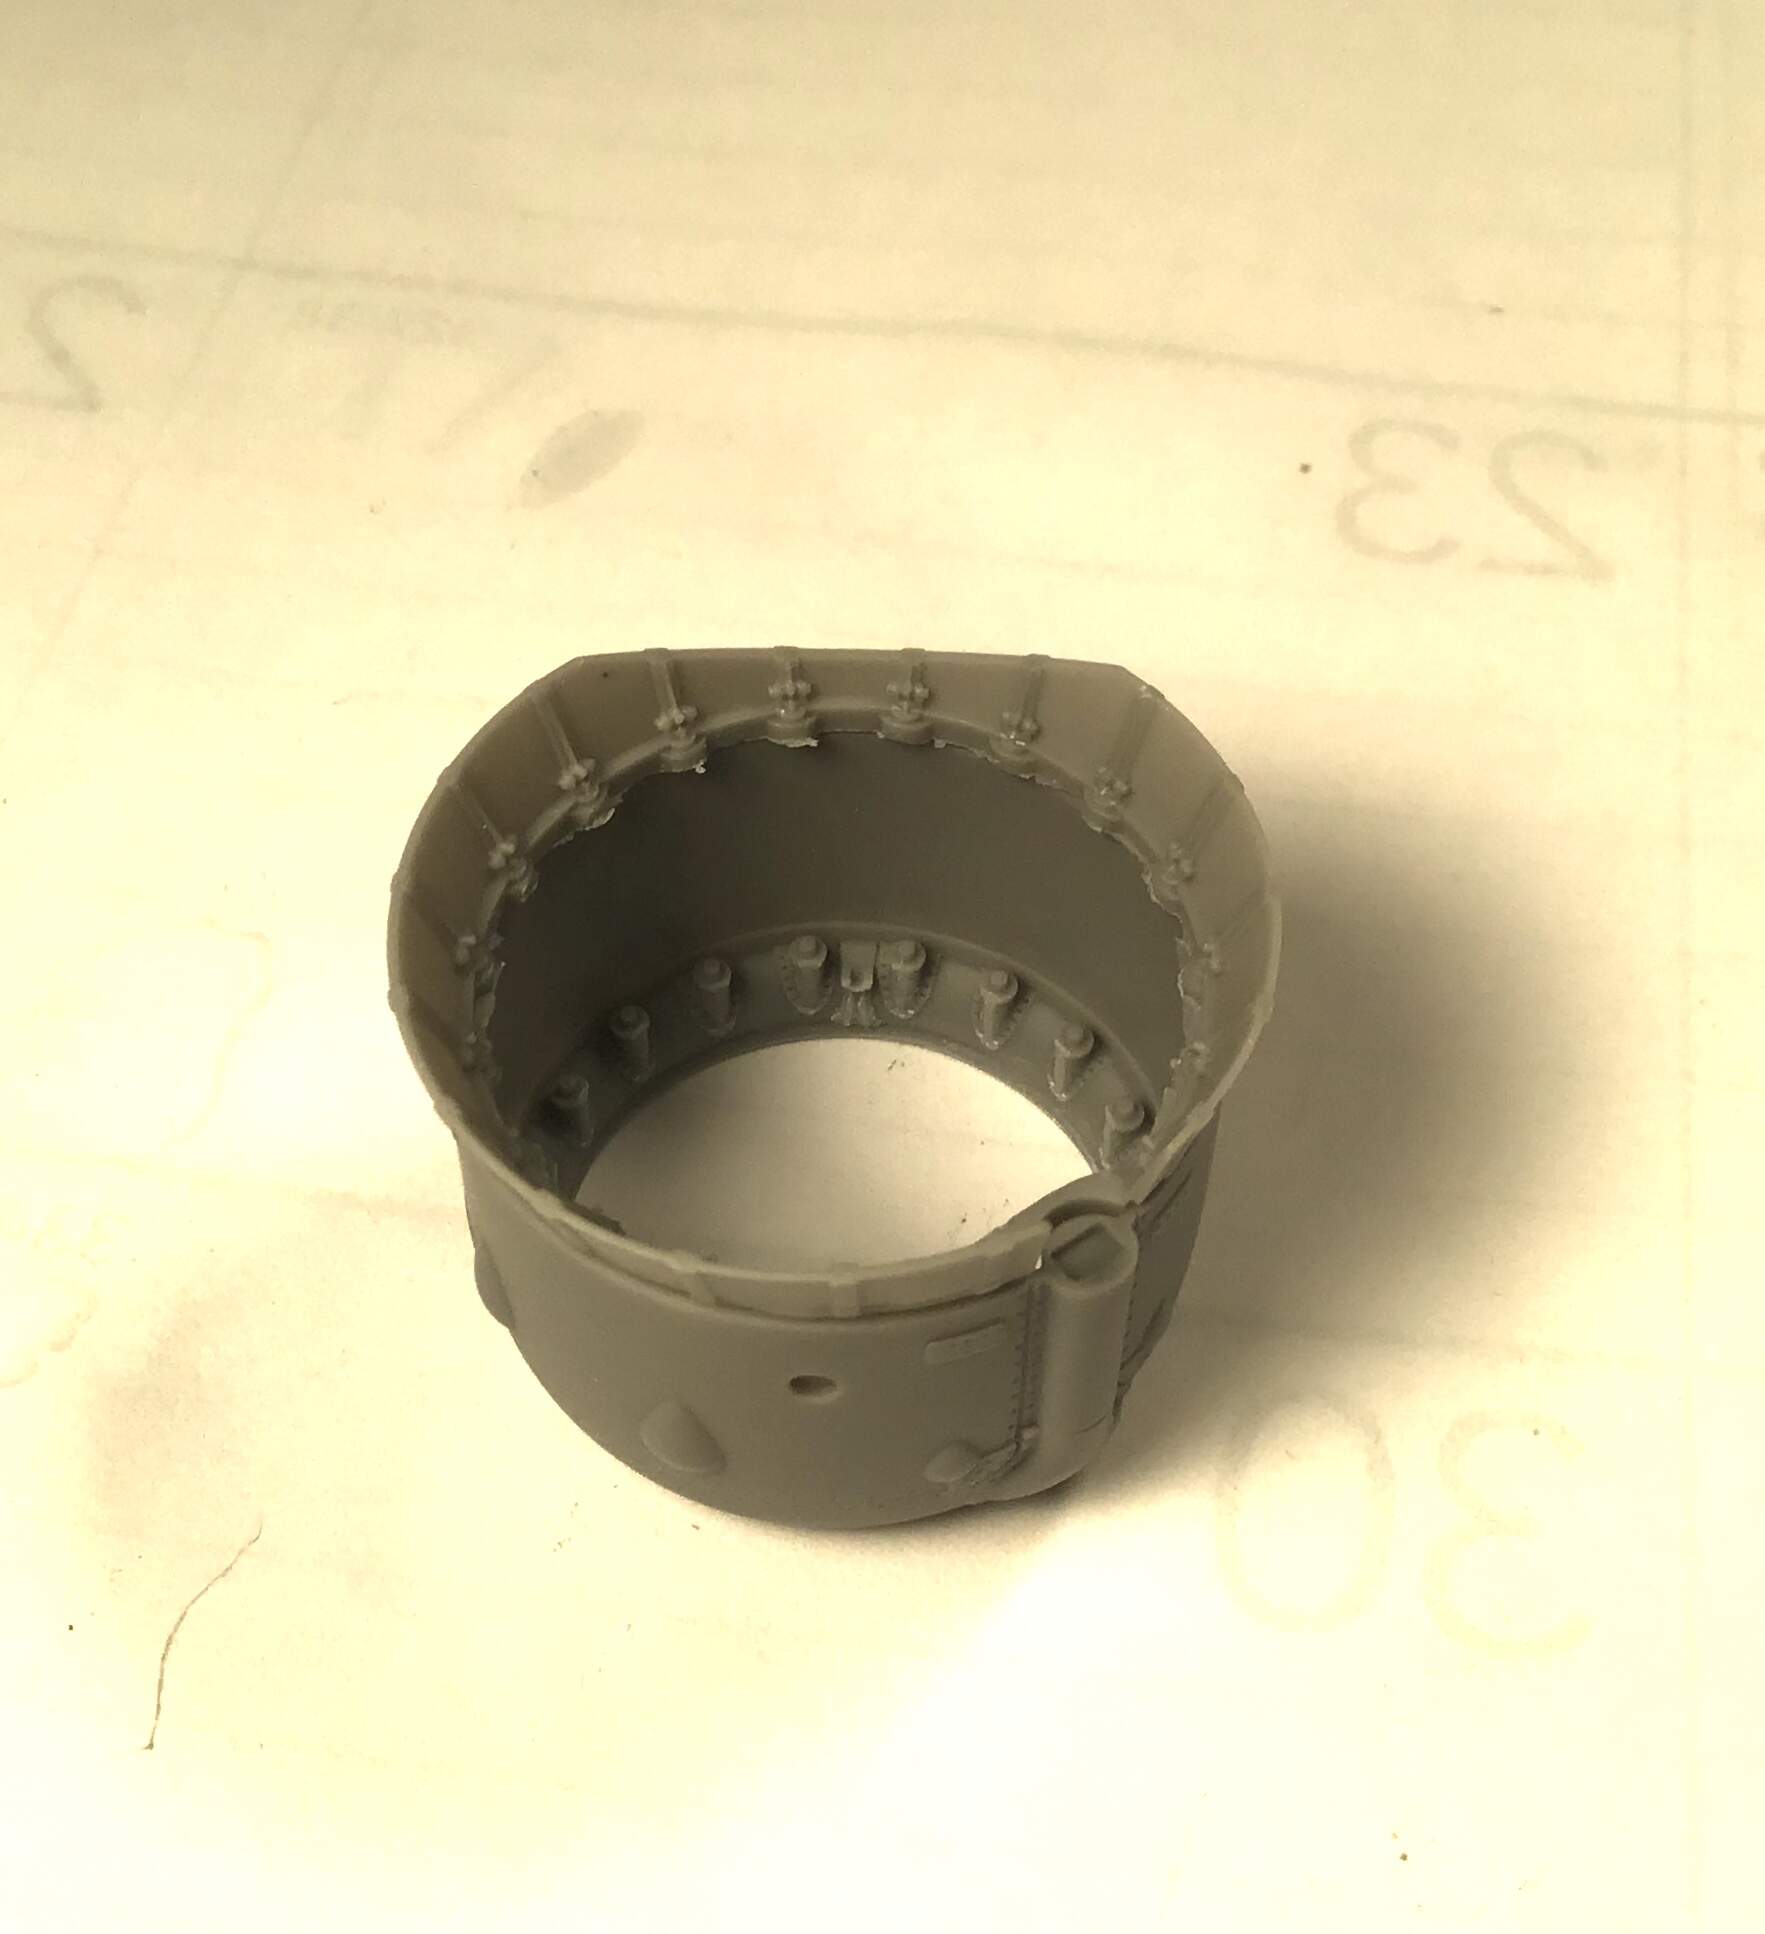
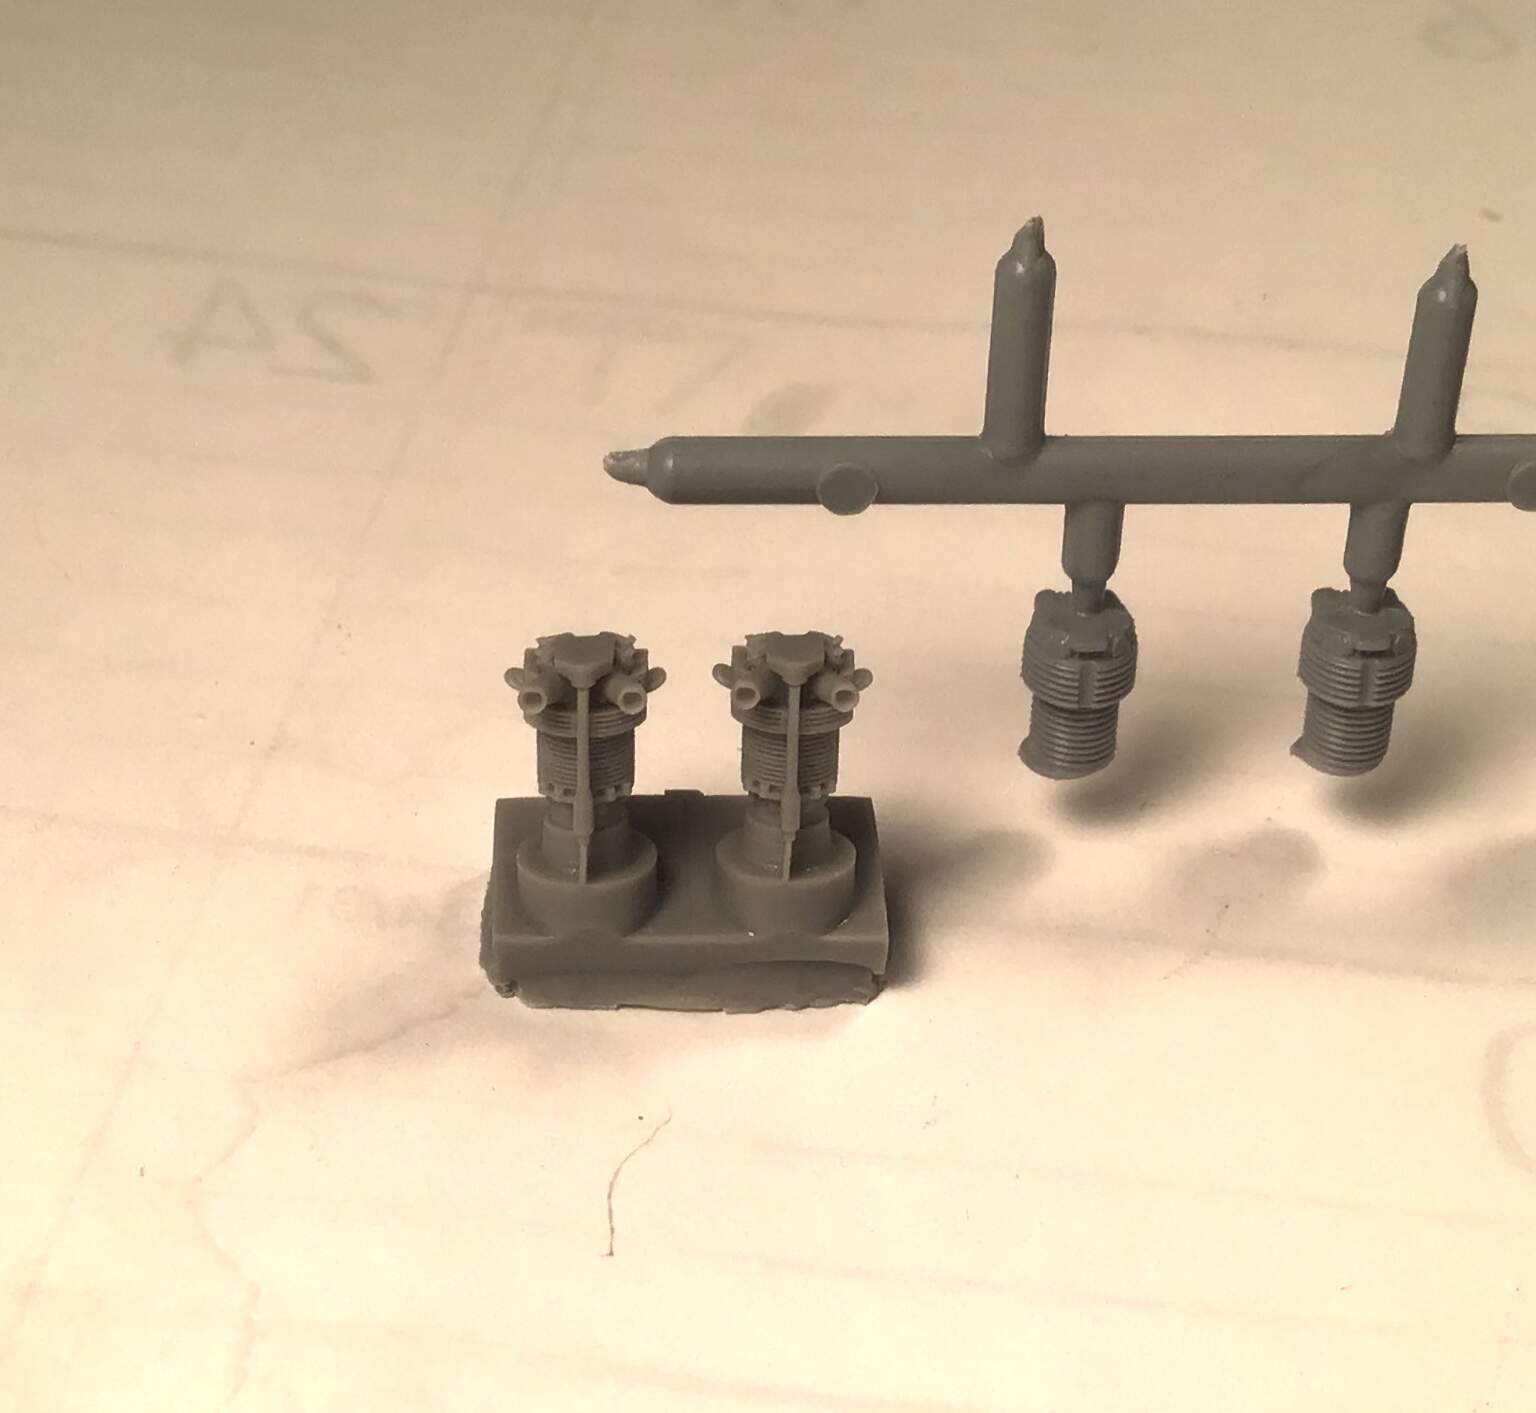
Starting in on the superb resin engine/cowling set from SBS Model - detail is incredible to the point where it makes the base kit somewhat
disappointing.
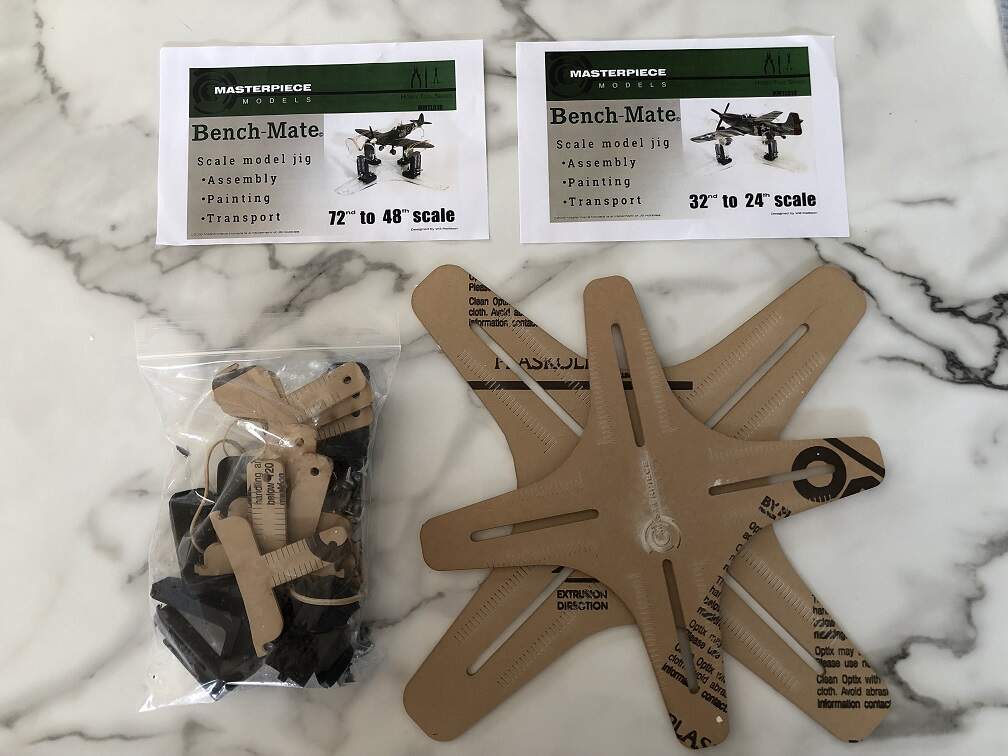
Here’s what you get -
A bit of trivia for you Richard, I won a little competition to come up with the name for those jigs, and my prize was one of each of the 72-48 scale and 32-24 scale sets!
Nice work on that canopy, Richard. I’ll have to try that in the future. Nothing makes a model aircraft look like a toy more than overly thick edges. But your canopy looks like the real thing
Looking forward to watching the engine come together. Should be a beaut!