Guys, I’ve been wanting to implement my first diorama for a long time. I did a test with the base of my Panzer IV Ausf. J from Border and enjoyed the experience, so I decided to take courage and start.
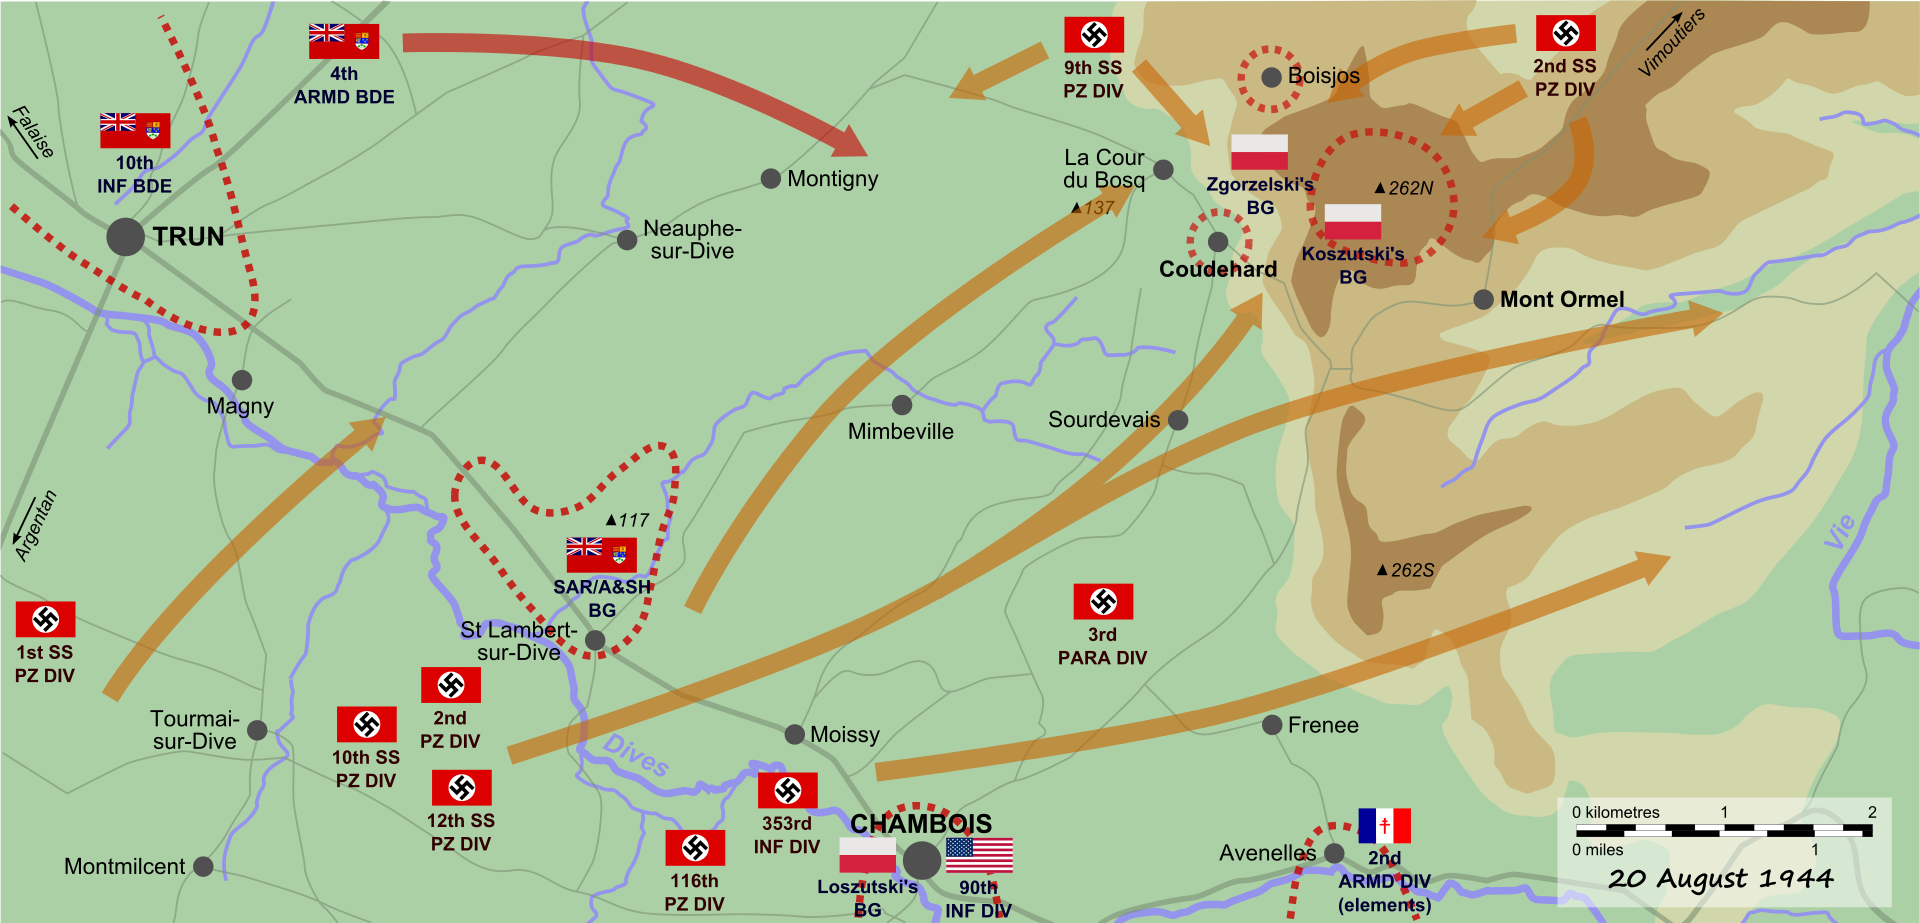
The theme is the battle of the Falaise pocket at the end of the Normandy campaign in 1944.
For context, the battle took place between 12 and 21 August 1944 where the Allies enveloped in a pocket the German Army Group B, consisting of the German 7th Army and the 5th Panzer Army (Panzergruppe West). In the end, most of Army Group B was destroyed and its remnant regrouped further east later.

The two units responsible for keeping the breach open were the 2nd Panzer Division to the north and the 116th Panzer Division to the south. Anyone who wants to know a little Mayan history can access Falaise pocket - Wikipedia

Kits


15 Likes
Choosing the base
I found this comic in a utility store on sale for R$ 10.00 and thought… It’s the right size I wanted.

Then I’ve done an initial simulation


The inspiration for the vegetation and terrain will be this photo:


9 Likes
Nice idea. Look forward to seeing how it pans out.
3 Likes
Isopor cut
I used a styrofoam cutter associated with a box cutter.

Scene test


The idea is to portray the discussion between the crew of the reconnaissance unit and a fraction of the infantry from where to position themselves to defend the position of the American advance.
9 Likes
Hi, Ricardo!
Nice to see you around. Be welcomed!
Regards
2 Likes
Hi Ricardo,
I think having raised ground with high bocage on the front left will obscure the majority of the figures when viewed from the front, assuming that that is the main view side for the diorama.
Also, just my opinion, but the two figures on the vehicle seem a bit off. Why would the rear figure kneel outside the vehicle? And why on the vehicle vent? Also, the other figure inside the vehicle seems to be looking away randomly and not at the discussion. I think for coherence, that that figure would be looking at the discussion taking place.
Anyway, just a few thoughts.
Great idea and execution Ricardo! For a slightly different opinion, there’s a good case to actually emphasise the height of the bocage so it looks like they’re in a large deep trench, I don’t think it would restrict viewing of it.
Figure groupings can be tricky & highly subjective. This dio can’t really avoid the cliché “pointing Germans” but maybe it could do with a review. Whether it’s a comradely discussion or – I’d personally prefer – an angry disagreement, it would typically involve only the infantry’s ranking officer and the 234’s commander. Everyone else would be off having a smoke to one side.
And if it was a disagreement, that could be emphasised by the two main players pointing in opposite directions to give it some drama.
1 Like
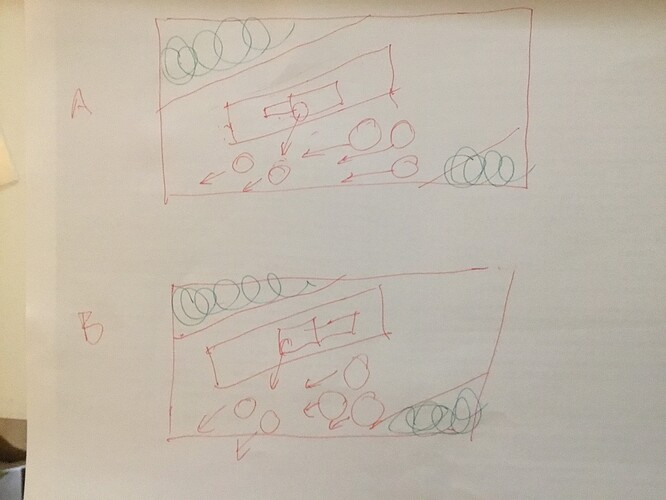
I think you can still give the impression of the bocage on both sides without obscuring the figures from the front - the main view of a diorama IMO.
Here are two options I can think of…
I like A personally due to the front of the vehicle and figures facing where they can all be seen. The arrows indicate the eye line of the figures.
I agree with Martin about the figure positioning option.
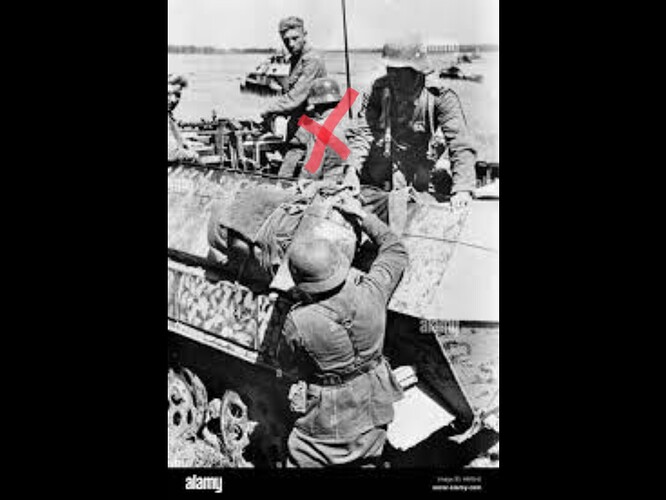
Here is an example of a good possible diorama scene with figures and a vehicle - the focus is on the main players
And here is one with a redundant figure if it was to be a potential diorama given everyone else is focused on the guy with the shell
1 Like
Thank you @nimrod484 and @Dioramartin for the observations and notes. I’ll review the scene and soon post new images
1 Like
Ricardo it’s your baby, we’re just offering suggestions so feel free to ignore us  I see Jeremy’s point about the bocage vs figure positions vs viewpoint. I think it all comes down to whether you want to inject urgency/desperation – if they’re fleeing, another way of conveying that could be the infantry either looking skywards and/or flattening themselves against the sides of the road, while the main players argue.
2 Likes
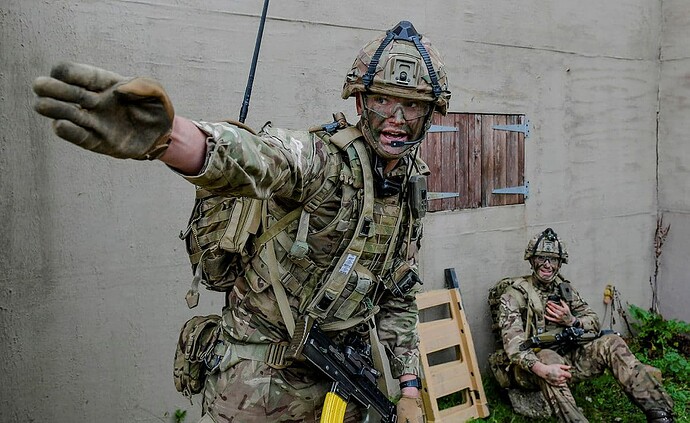
Tim, just remember that in any Army there’s always an awful lot of pointing; this is because we need to know where to go (pointees), or, if the pointer, to tell someone where to go!
There’s often nothing worse than a load of recalcitrant squaddies just crying out to be told where to go.
In the British Army, the classic pointer will use the Warminster Chop, as shown here:
Of no help in adding any value whatsoever to the Falaise dio set in 1944, but now you know(!)
8 Likes
I’m going to do a test on this project…
I applied the black primer instead of the gray one to see how the work and finishing process is.

Detail of one of the figures

Used primer from Ammo by Mig (a.mig-2025) diluted with 30% of the brand’s own thinner.
6 Likes
Looks great so far, can’t wait to see it complete
2 Likes
It’s half standing the ground because I’m finishing the vehicle in other posts here in the forum.
2 Likes
Continuing with the land…
I applied DAS paste over all the Styrofoam.
 stl_116th_pd_023 by Ricardo Duarte, no Flickr
I made the tire marks.
 stl_116th_pd_024 by Ricardo Duarte, no Flickr
 stl_116th_pd_025 by Ricardo Duarte, no Flickr
I applied glue and threw in sand and aquarium pebbles.
 stl_116th_pd_027 by Ricardo Duarte, no Flickr
 stl_116th_pd_028 by Ricardo Duarte, no Flickr
 stl_116th_pd_029 by Ricardo Duarte, no Flickr
 stl_116th_pd_030 by Ricardo Duarte, no Flickr
I applied black primer from Ammo… I forgot to take a photo.
I glued the vegetation with PVA glue, painted it with various shades of green and brown. The stones were painted individually, using wash and drybrush techniques.
 stl_116th_pd_031 by Ricardo Duarte, no Flickr
 stl_116th_pd_032 by Ricardo Duarte, no Flickr
 stl_116th_pd_033 by Ricardo Duarte, no Flickr
 stl_116th_pd_034 by Ricardo Duarte, no Flickr
 stl_116th_pd_035 by Ricardo Duarte, no Flickr
 stl_116th_pd_036 by Ricardo Duarte, no Flickr
13 Likes
Figures
I am following the method used in the video below.
My First (Serious) Attempt At Figure Painting! Miniature Noob In Action (youtube.com)
After 24 hours of drying, I started making the base with Brown Sand (70876), undiluted, placing it on the wet palette, so the paint doesn’t dry quickly on the palette. The coverage power is obviously greater; however, one must be careful to spread it well so as not to cover the details of the face.
Since we are working with acrylic paint, we must keep in mind that the first coat should not cover the figure 100%, so in this case, I applied two coats. I tried to make the color as uniform as possible, without any stains or paint marks after it dried.

Brown Sand (Vallejo - 70876) / A.MIG-0222 SANDGELB / ATOM-20024 SANDGELB RLM79
After it dries, I apply a wash of Burnt Red (70814) well diluted (9:1) on all the skin parts, and with the same brush, I remove the excess, trying to leave a thin and even layer without stains. Here we should insist on more important areas to emphasize them more: such as under the eyebrows - sides of the nose - lower part of the face.

Burnt Red (Vallejo - 70814) / A.MIG-0014 ROTBRAUN / ATOM-20046 ROTBRAUN RAL8012
6 Likes
Hi Ricardo,
I’ve just crashed in on this one so forgive me for any constructive criticism.
Looking at this figure I would say that the fleshtones look ok but you need to add way more highlights to the uniform.
In small scale black never looks like true black and you need to highlight the hell out of this guy to get away from the ‘wetsuit’ look.
Trust me, think outside the box and hit him with some graduated shades of grey (and a little blue) and he will start to pop.
Always think where the light will fall so shoulders and upper arms will be almost a light grey at their zenith. Then the lower parts and recesses left black will work their own magic…
But it’s a great start!
1 Like
Hi @TanksForTheMemory.
Tim, I still painted the uniforms; they are only in primer.
As for the faces, in the second stage of the painting, the highlights and shadows are still missing. (4 a 5 steps).
It’s a bit stalled because I don’t have time to finish the project.
2 Likes


