This is a Revell import into the EU, as witnessed by a sticker with contact information and description in German, English, French, Dutch, Spanish and Italian on the side of the box, but otherwise it’s straight from Bandai, exactly as sold in Japan and (I presume) the rest of the world. (Oh, well, and the “Nice Price” sticker on the front clearly doesn’t belong on the box It’s accurate, though: normal retail price of these seems to be around 70 euros, but I paid only just over half for it.)
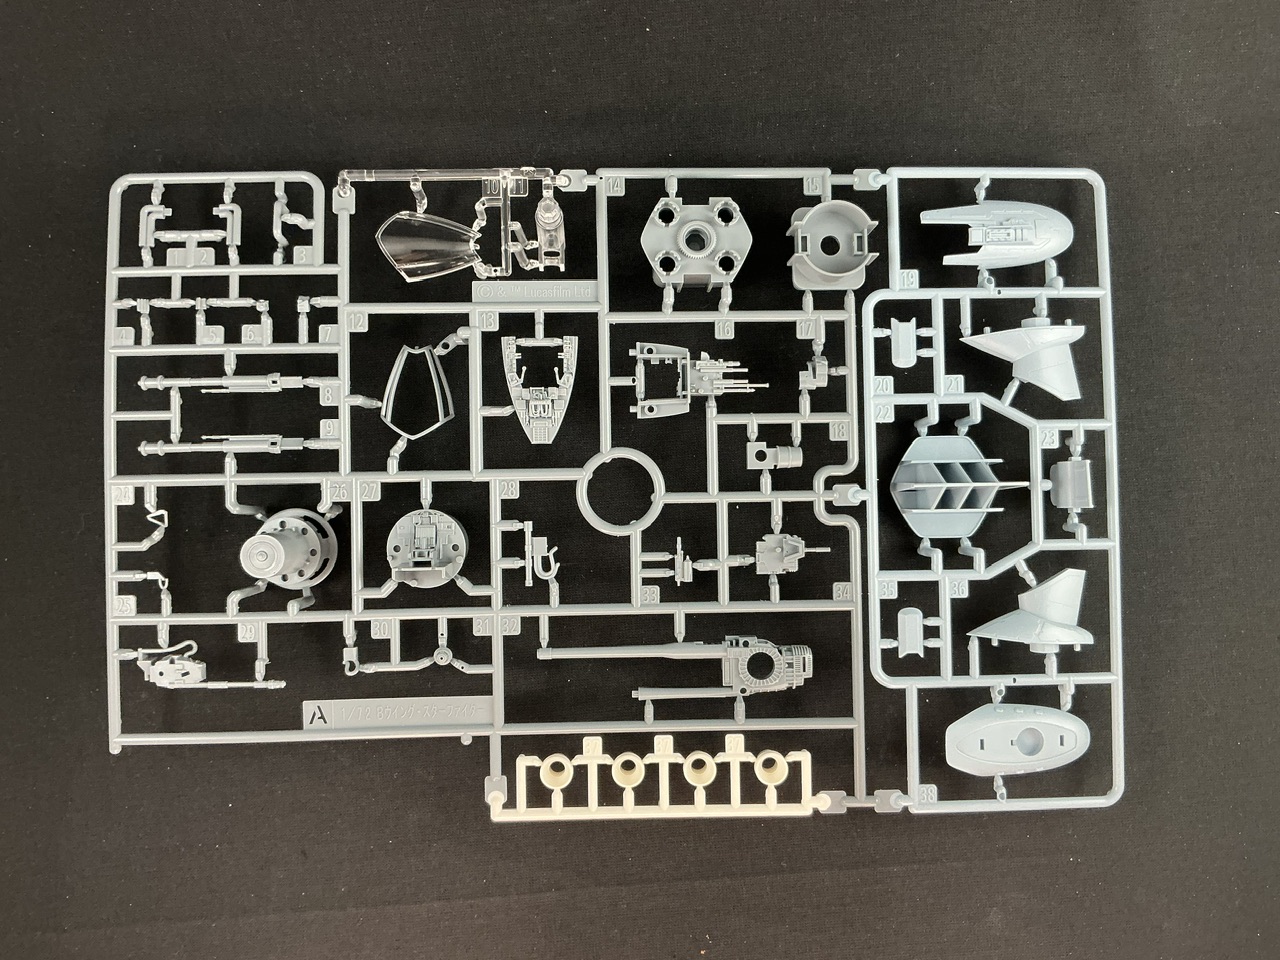
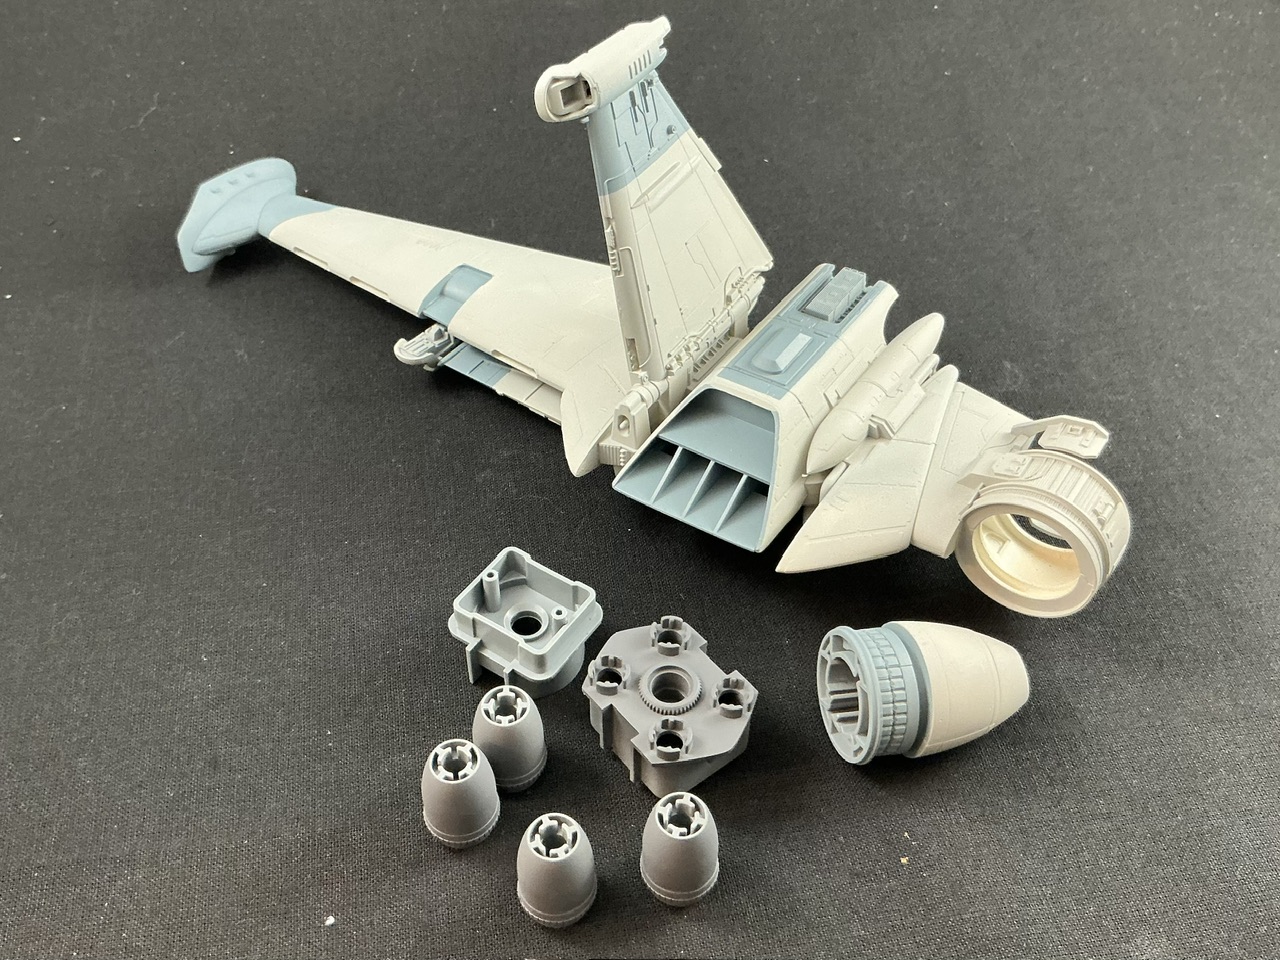
This is only the third Bandai kit I’ve ever bought, and must say the moulding quality looks very good. Still, I don’t quite see the point of the multi-coloured sprue A. It feels like it’s something they’re doing because they can, not because it adds anything to the model.
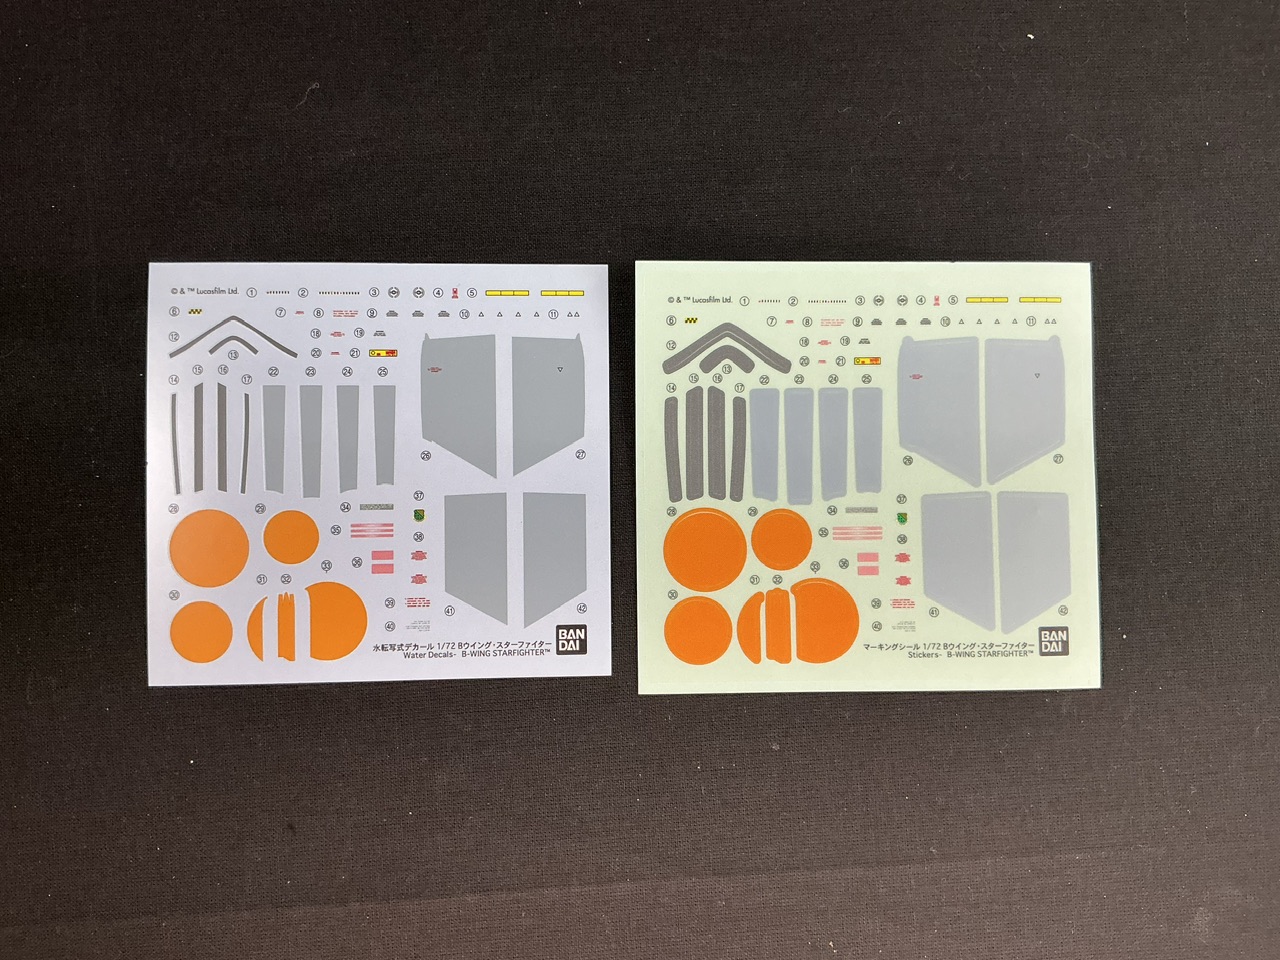
For markings, you get both decals and self-adhesive stickers:
That’s what I’ve long thought, too. I have the old MPC one, and thought it was much better than the X-Wing and A-Wing it came in a set with (that also had a TIE Interceptor).
You can buy a light set separately, too. I’ve not decided if I will, but probably not — it would just about never be switched on, so why bother? But I intend to leave the exhaust parts loose so I can always fit one if I ever feel like it after all.
I know, but what I meant is that it doesn’t seem to add anything useful to mould them like this. AFAIK they do some gundam kits where single parts are moulded in different colours, which does make sense for people who don’t want to paint. Here, though … Why not just mould the four white cones as part of one of the two white sprues, for example?
I’ve been building the cockpit and wings tonight, and it’s really quick. Even though it’s a snap-together kit, I’m still glueing things because, hey, I’m a modeller, aren’t I? Painting the cockpit is what’s slowing me down, like on any aircraft kit.
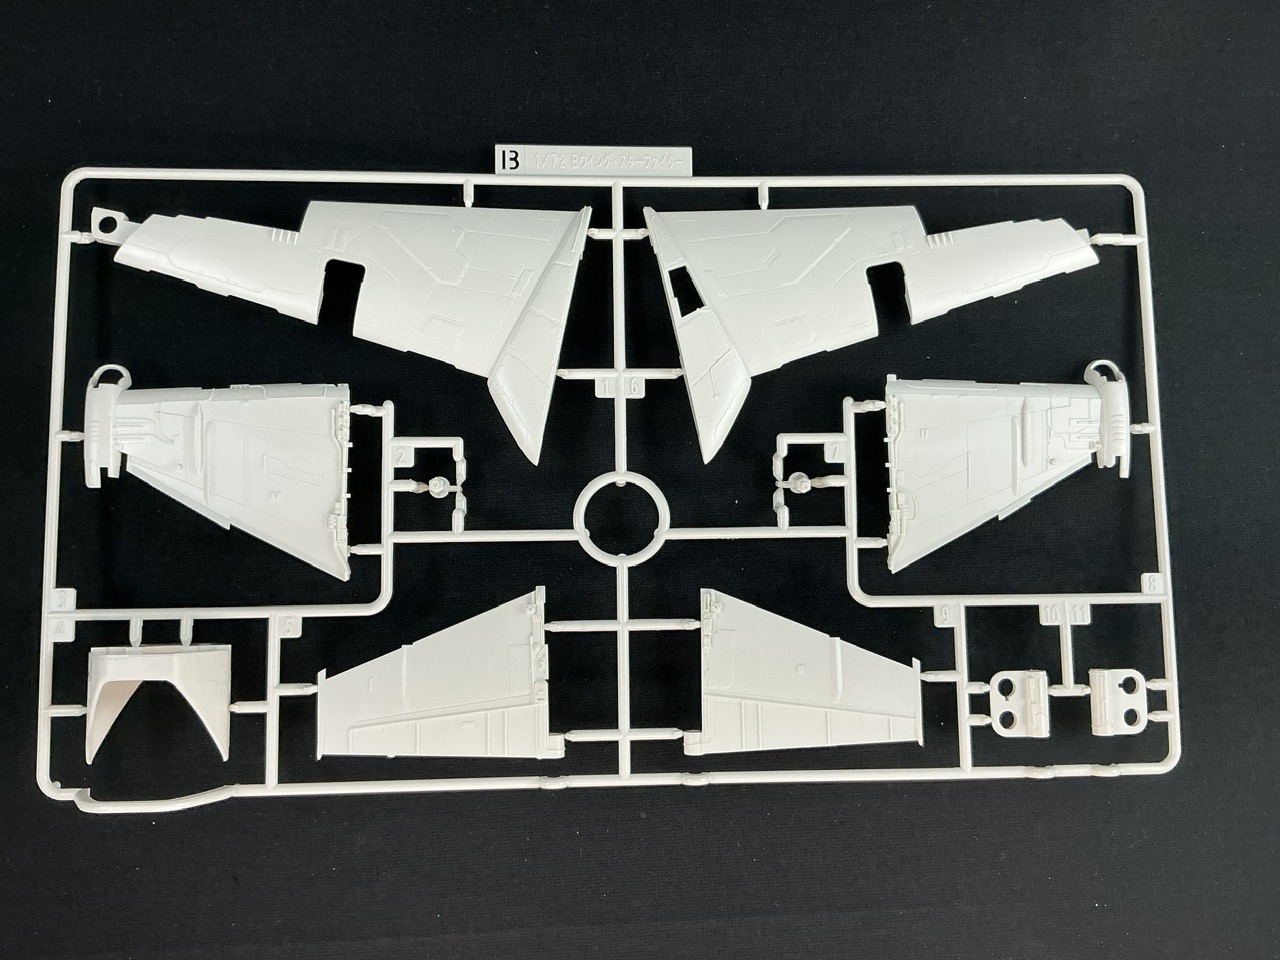
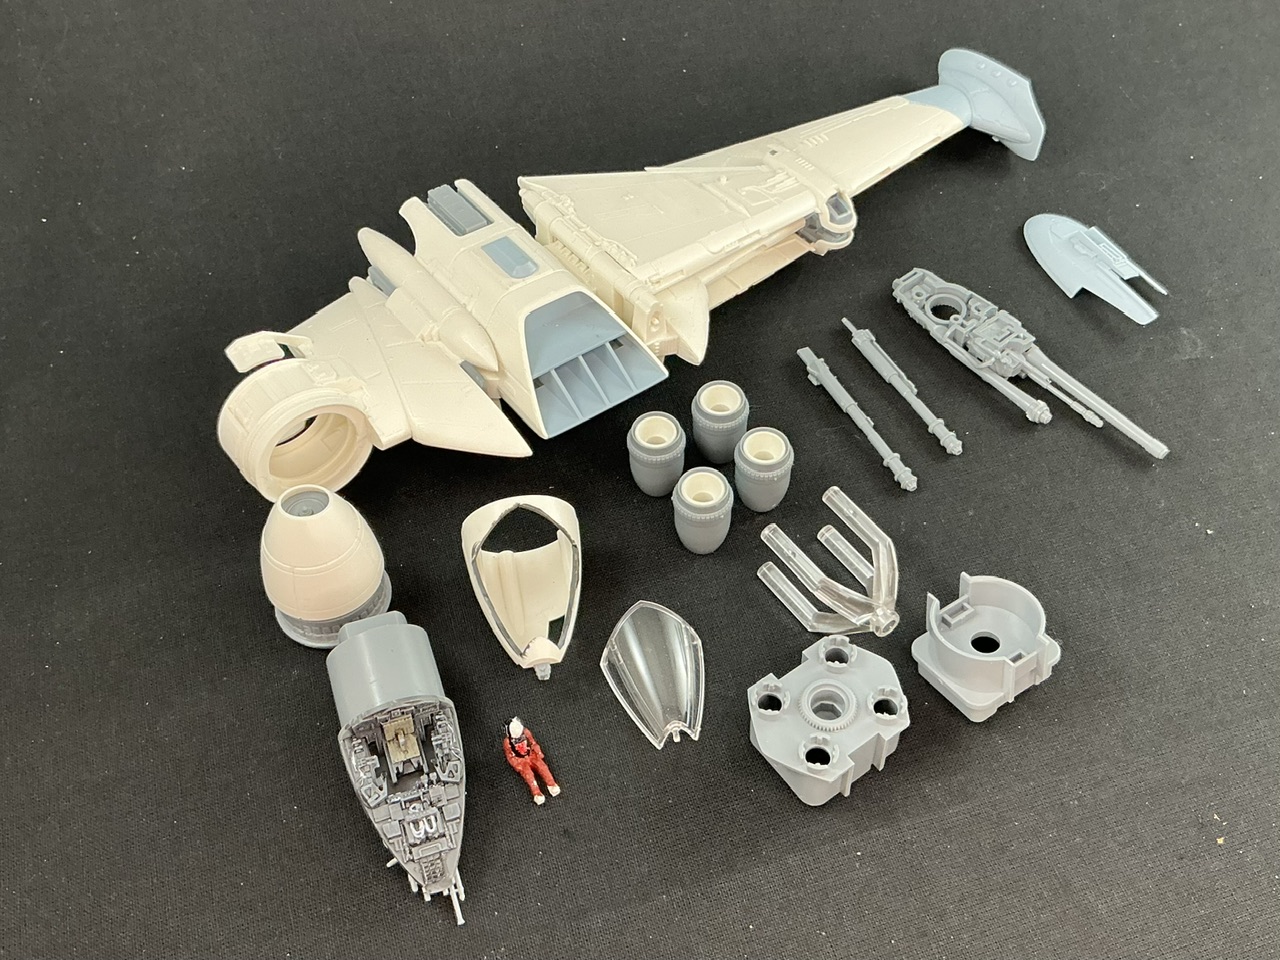
Before I can put these together, I need to finish painting the cockpit and especially the pilot, because the cockpit goes between the main fuselage parts so it can rotate relative to those. Once that’s done, I can put the fuselage together and attach all three wings to it, then just add the detail bits like the guns and engines.
Though you can’t see it very well in the photo, I painted the cockpit grey with shading and highlighting. It seems it’s mostly grey in the movies, but I can’t find any good pictures of it — the main things that pop up when I try to search for it are screenshots from games and pictures of other peoples’ builds of this kit, plus things like the Kenner and Lego versions, none of which really helps for accuracy.
Dryfitting things (carefully so they don’t stick firmly enough that I couldn’t take them apart again), I found that you can fit the cockpit after assembling the fuselage, so I put that together first:
This turned out to be a bad idea. The instructions tell you to fit the folding wings first, and I discovered this is because their hinges (C1, C4 and C6) need to be fitted before the big wing is. As a result, I had to take it off again and fit C1 and C6 hinges first, then I added the big wing once more, fit the folding wings, and then found out that C6 also couldn’t fit because its locating lug should be trapped between the big wing halves … however, cutting that lug off let me put it in place anyway:
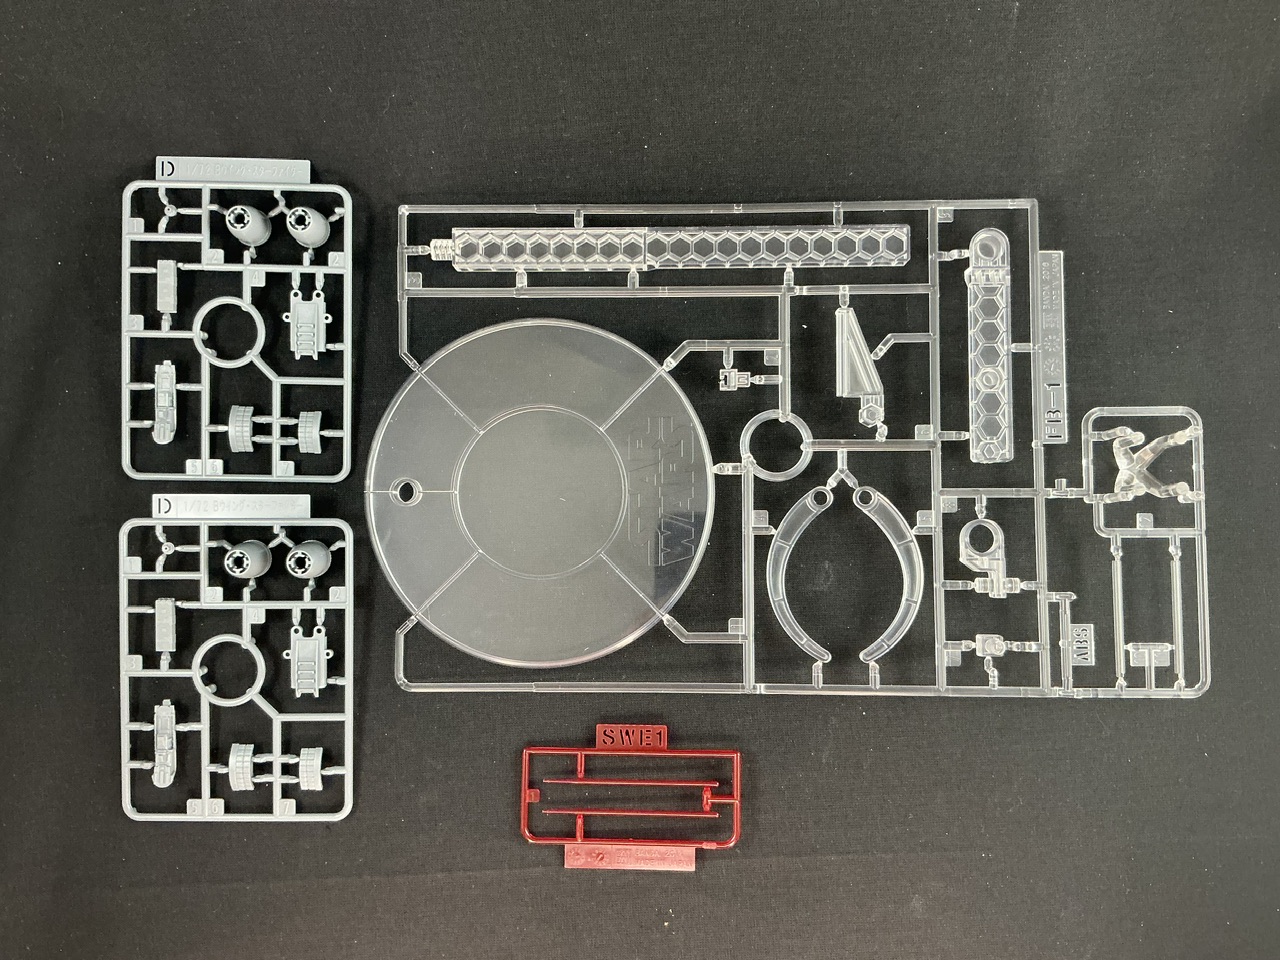
The hinge mechanism is interesting. On the sprue with the stand, you get two hinge pins for the wings as well. Since the stand is made of ABS while the rest of the kit is polystyrene, chances are you can’t accidentally glue the pins to the model if you do glue the parts together, because model cement generally dissolves polystyrene but not ABS. (Tamiya Extra Thin does seem to dissolve it, though, but not very well.)
Two parts still missing here, but you can’t see them in the photo, because I can only install them after painting due to the way I’ve made the model into subassemblies:
Of course, since this is a snap-together kit I could have built it without any glue at all and taken it apart completely again, but the photo above shows everything that isn’t glued together The pilot is partly painted, as is the cockpit, but I can basically now start painting the model — though not yet, I want to wait for the glue to dry first
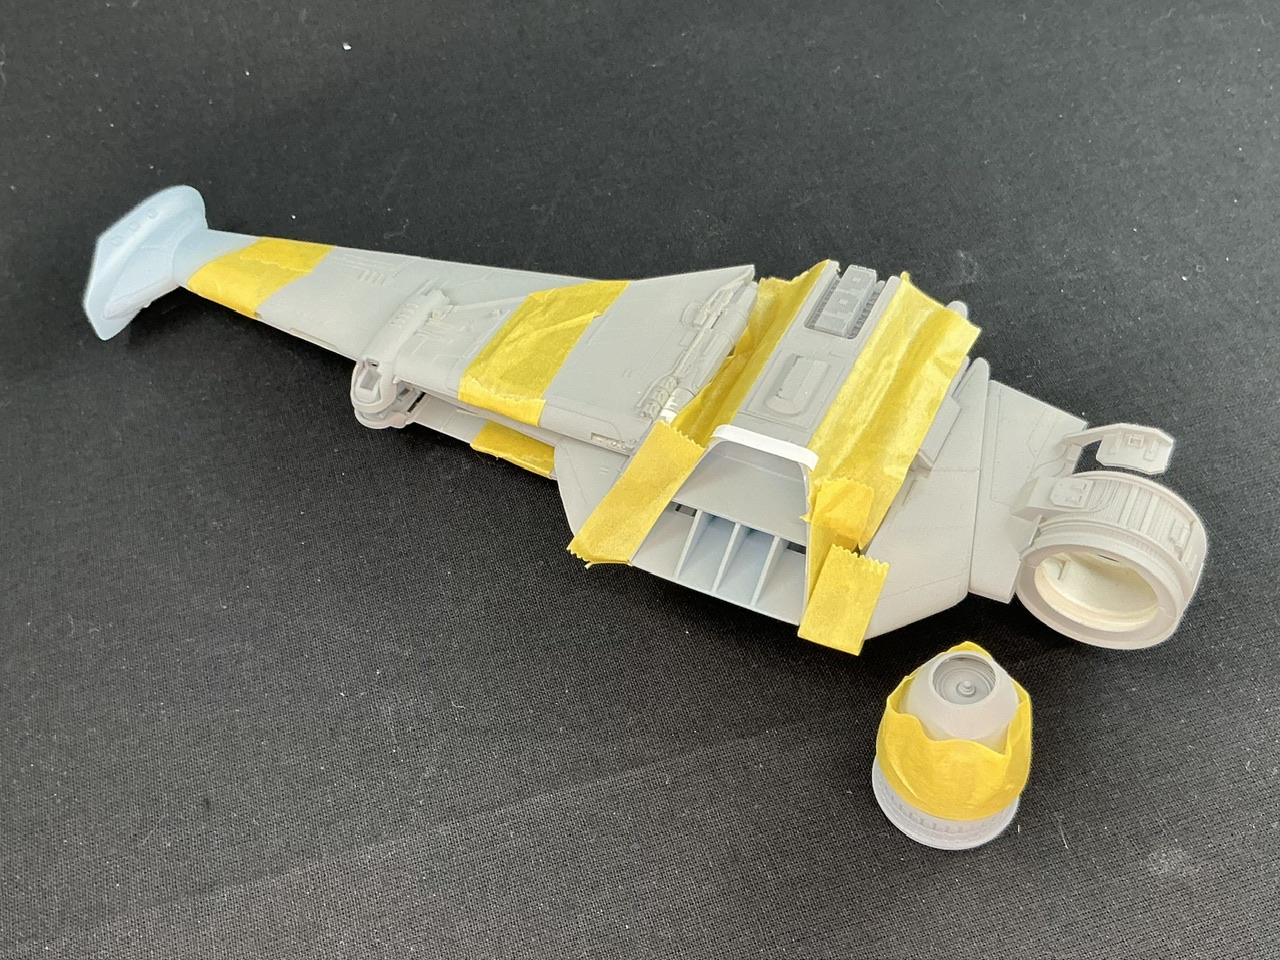
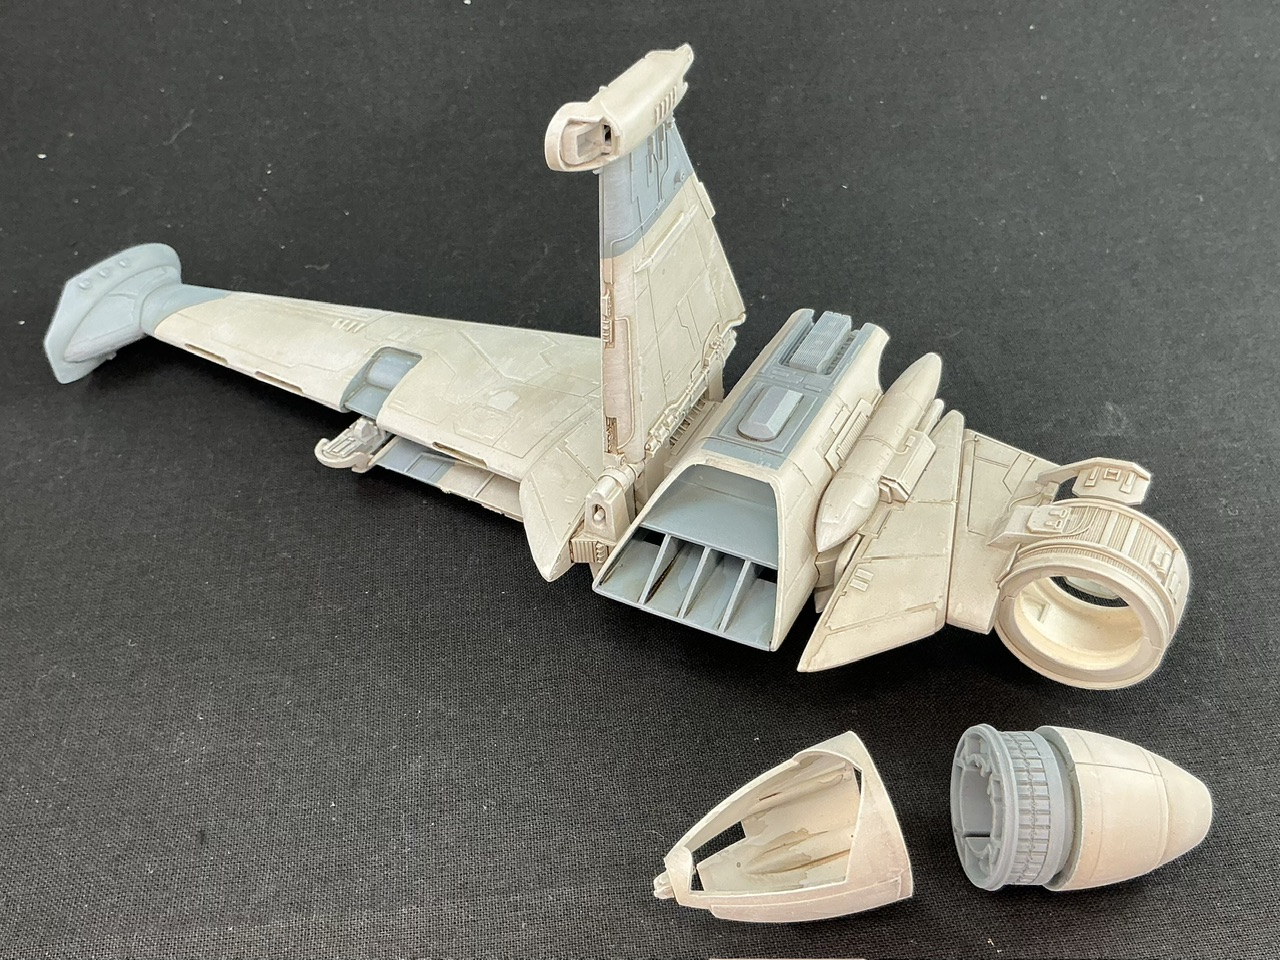
The whole model is sprayed in Tamiya XF-80 Royal Light Grey here.
I forgot to mask the recess in the middle of the leading edge of the big wing, so I did that after taking the photo, and then sprayed the darker grey parts with a mixture of the same light grey plus XF-18 Medium Blue, approximately 1:1 I would guess but I just poured blue into grey until it looked good to me. This is a science-fiction subject, after all
The gun pods at the ends of the folding wings also should be light grey, but they’re very tricky to mask so I decided I wouldn’t bother and just touch them up later.
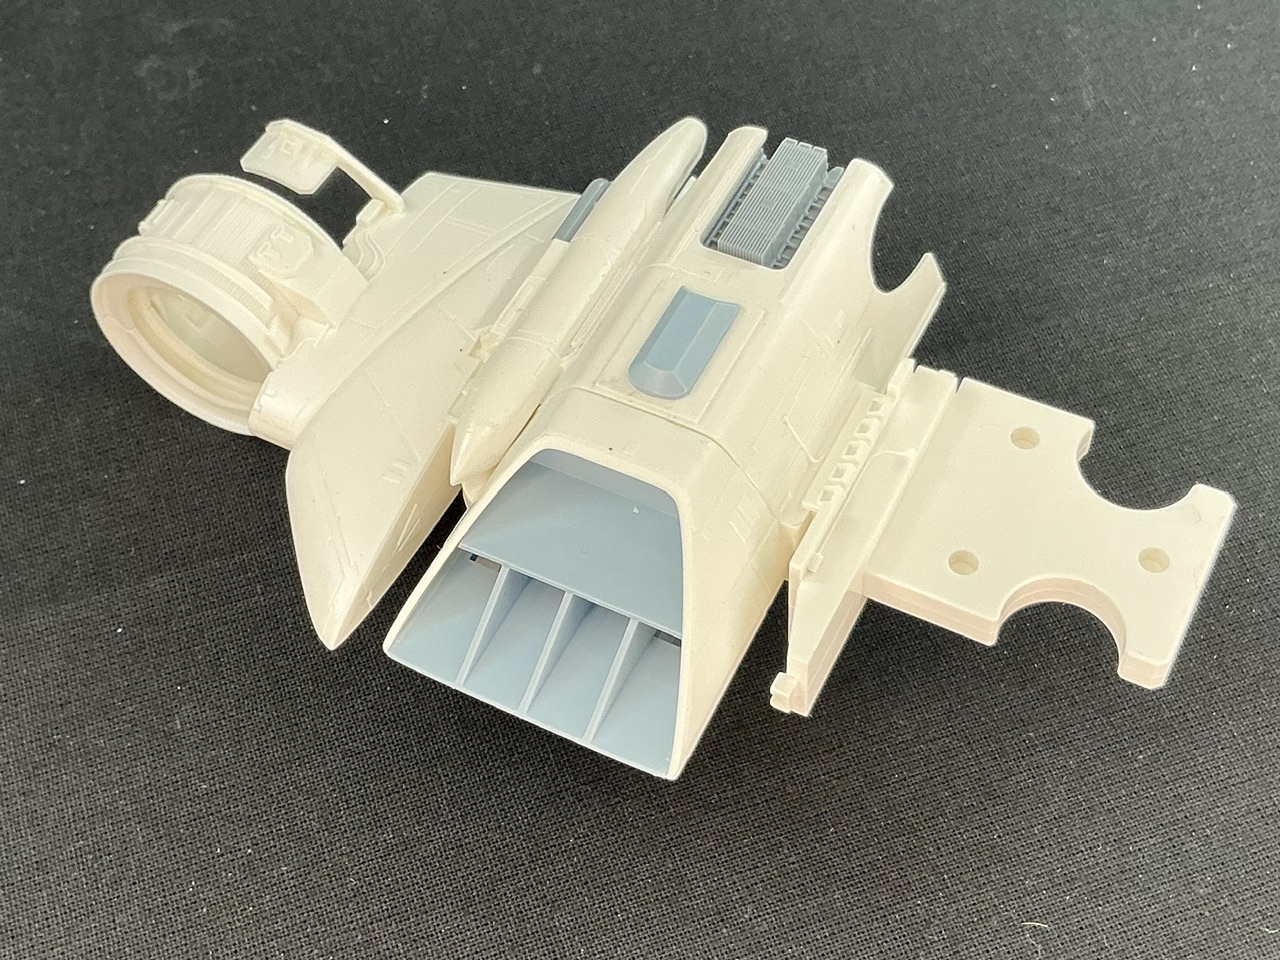
The engine nozzles and the block they go onto, are XF-24 Dark Grey. The lighter part next to them is unpainted, to show the difference (that part is the holder for the optional lighting kit for the exhaust nozzles).
I do need to do some touchup.
By the way, if you’re reading this because you’ll be building this kit too, don’t make the mistake I did. I hadn’t looked at the painting instructions closely enough when building the model, and so had glued parts together that I would have better left loose. Specifically, the radiators D4, the intake (?) grid A22, the gun base parts D5 (in the wingtips) and the whole gun pod A21/A36/A38. By leaving them loose, you will save yourself masking, touching up and tricky painting later on.
After the base colours, I applied an all-over wash of Army Painter Strong Tone, thinned with water (about 1:1 to 2:1 water-to-paint) to shade the model. Once that had dried, I drybrushed it with lighter versions of the base colours, a few shades of each that I made lighter for every pass.
These were given a wash of Army Painter Dark Tone, unthinned, and then drybrushed with dark and medium grey. The silver is Vallejo Model Air Aluminium, which is airbrush paint that I applied with a brush.
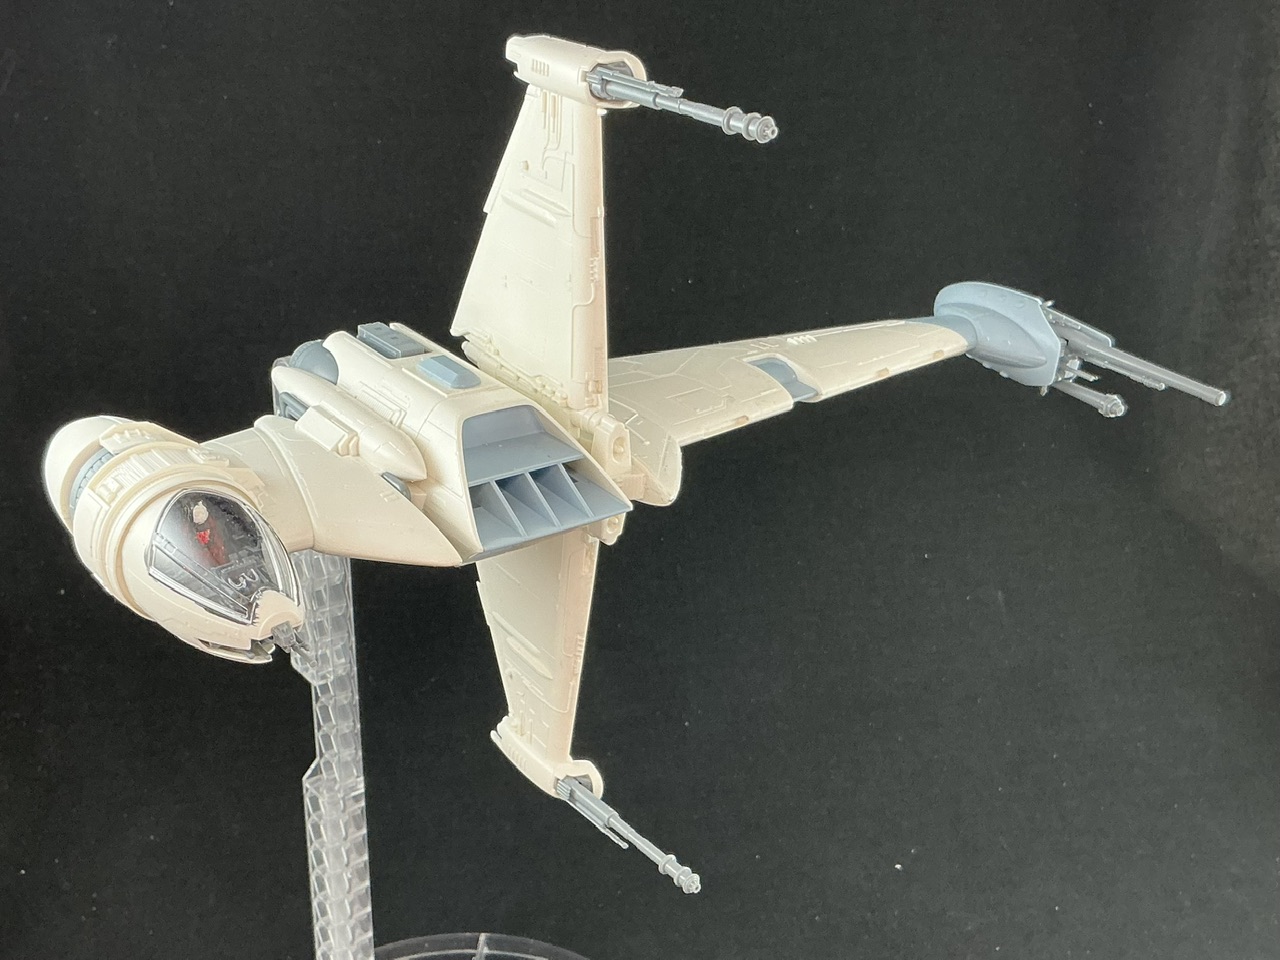
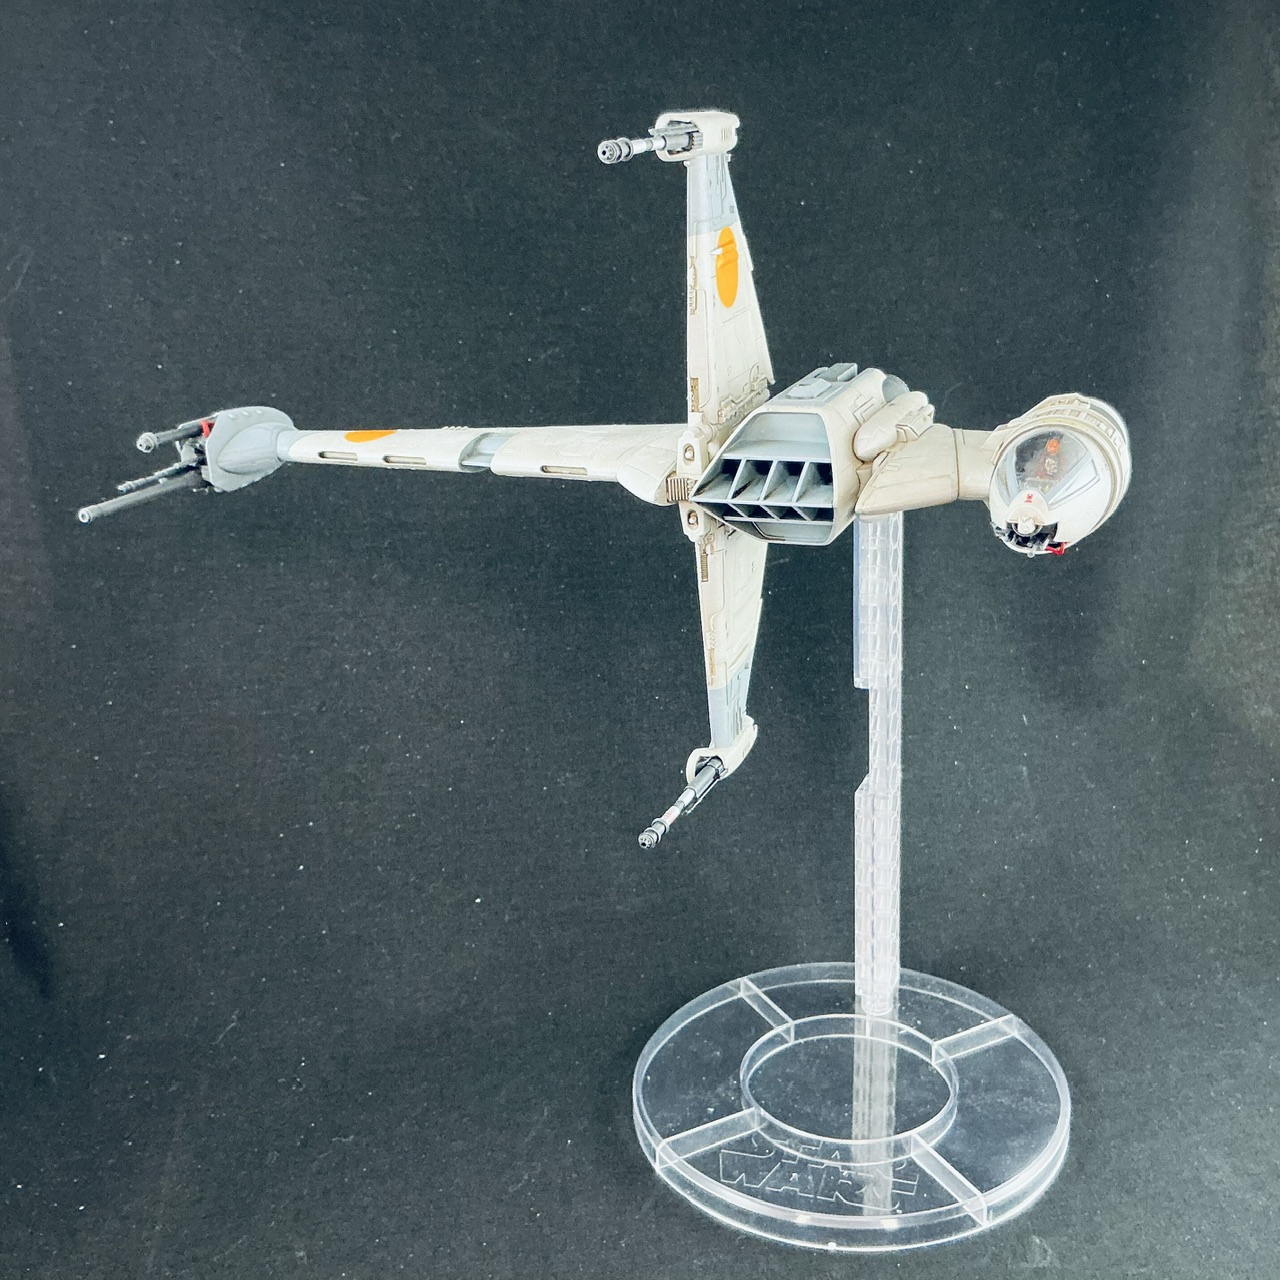
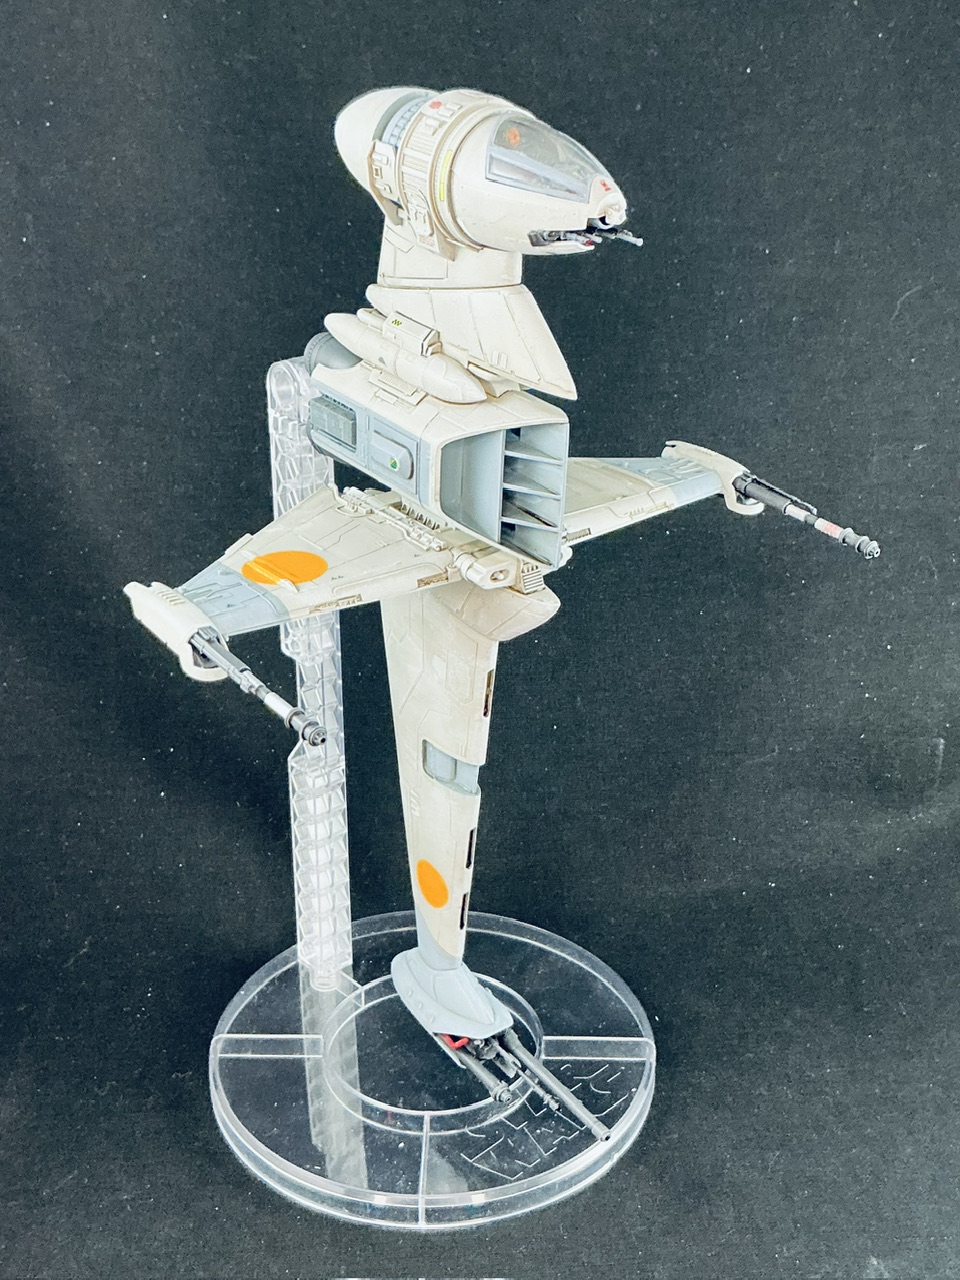
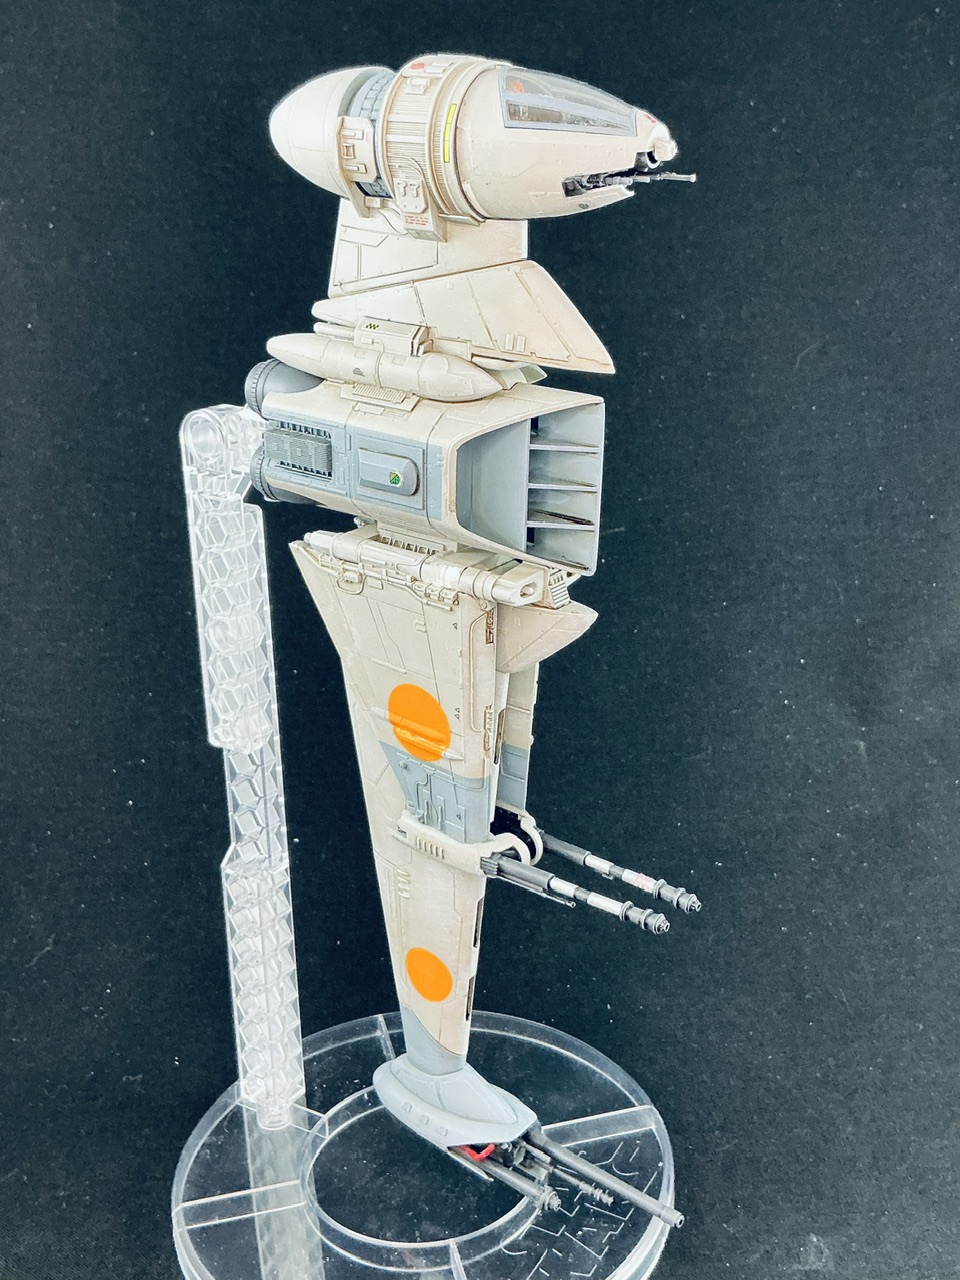
The cockpit rotates and the wings fold, but because some paint has rubbed off on one of the hinges, I’ll probably display the model with the wings unfolded. The engines also still come out, in case I ever want to add a light to it. Cockpit rotation is very heavy, though, despite smearing vaseline around the part that’s inside the fuselage.
Thanks Could have gone better, really, but I’m pleased with the result.
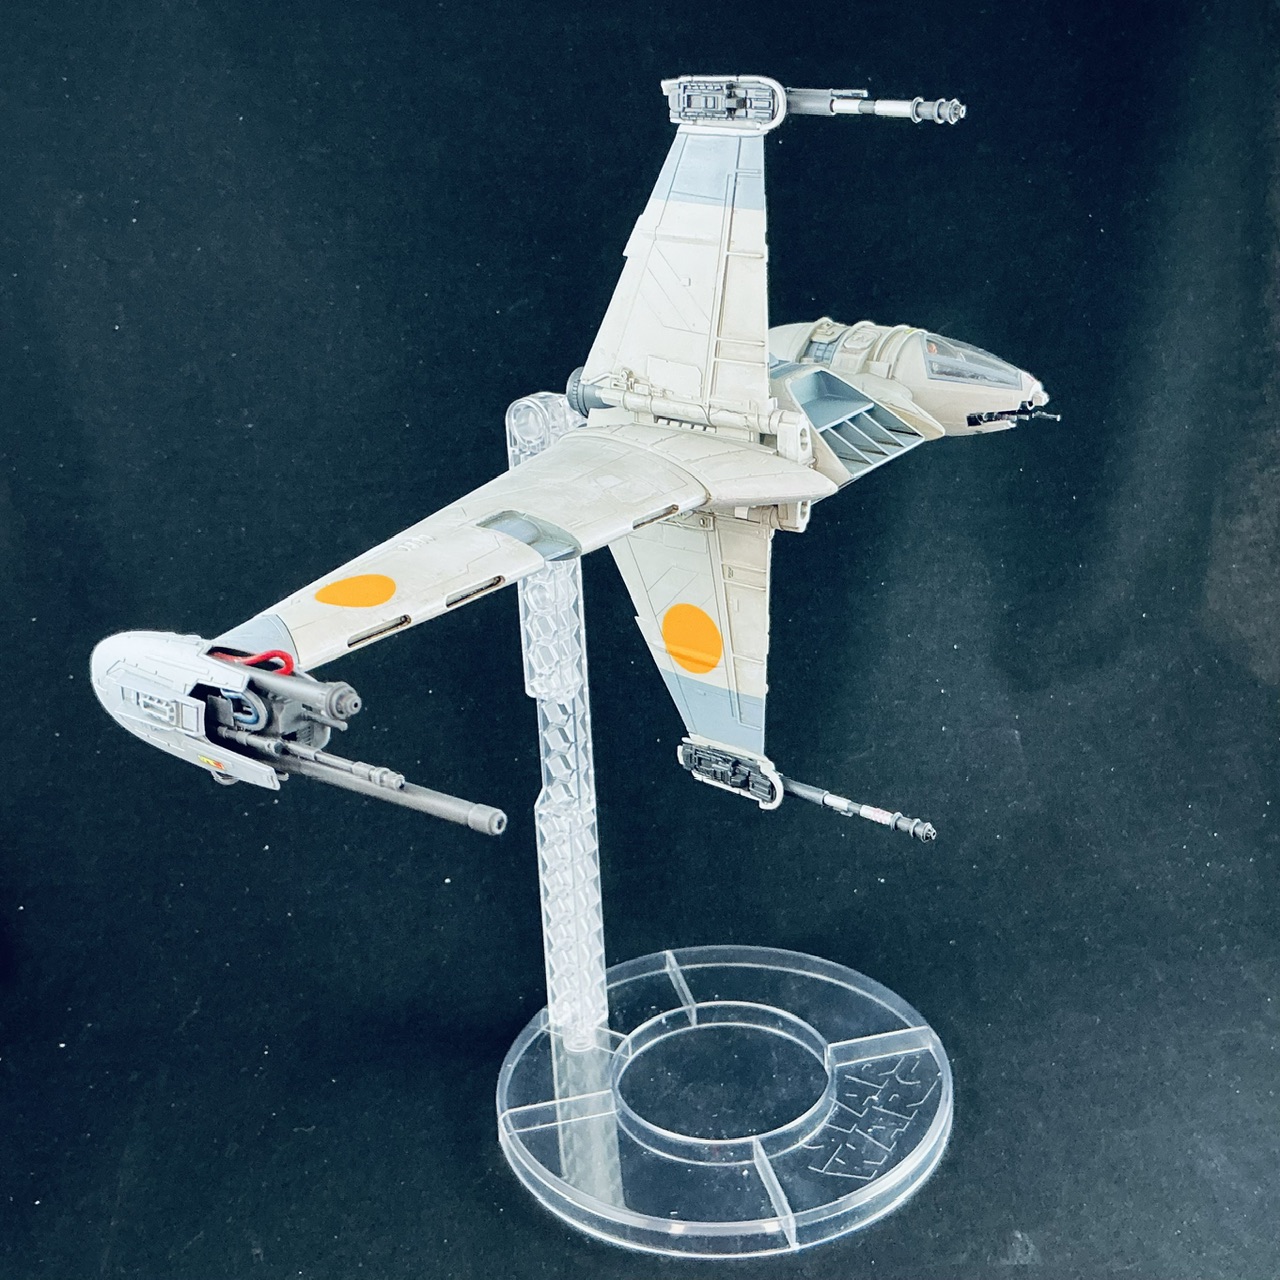
Anyone else building this, though, I will repeat the advice I gave earlier: pay close attention to the painting instructions before you even start building it, and not — like I did — only when you’re done … However, I have no idea how Bandai expects people who may never have built a plastic kit before (which this is clearly also aimed at) to get the decals for the blue areas correctly onto the wings