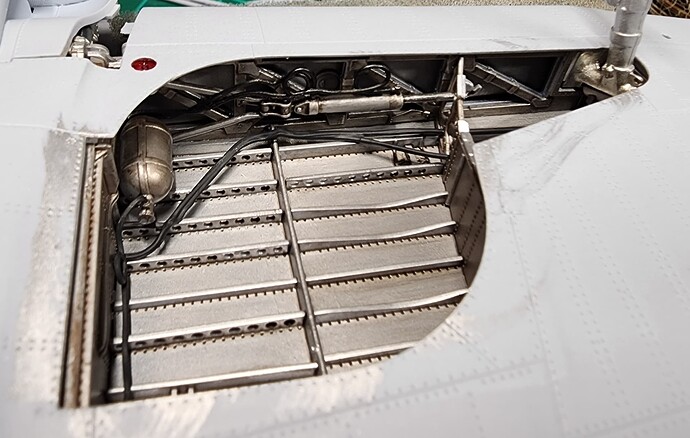
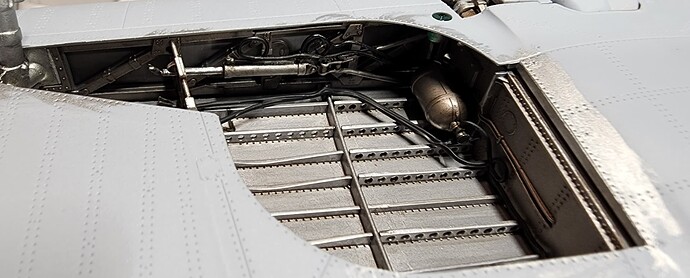
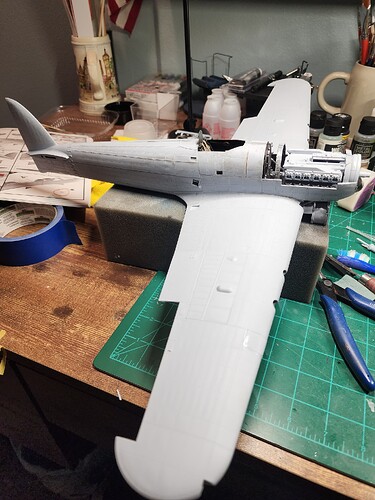
Added more detail to bays
The cool part about this build is I haven’t used my airbrush yet. All hand painted so far, although I will be using it when I get to the exterior.
I think that’s a good choice Anthony ![]() The Tiffy looks better all buttoned up, and IMHO, if the panels are left off to expose the engine then it needs to be in a diorama…
The Tiffy looks better all buttoned up, and IMHO, if the panels are left off to expose the engine then it needs to be in a diorama…
Your brush skills are really impressive! ![]()
Totally agree. I love the lines of this beast.
Thanks for the compliments. On the paint, the Vallejo acrylics are very forgiving. I just thin them with water and make 2-3 thin coats with a wide brush.
The Vallejo Metallics are the same. I basically drybrush it on so to speak in several thin coats.
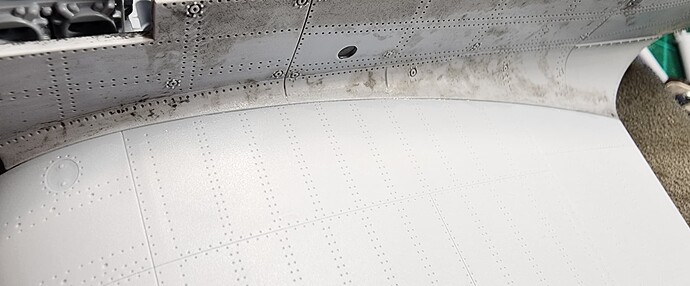
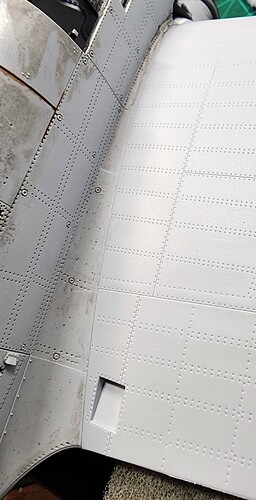
Glued the fuselage halves to the wing roots before gluing the fuselage halves together to make sure the wings blend well without any putty.
That looks like a nice clean join…![]()
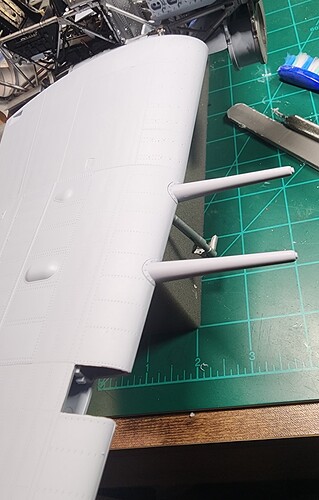
Thanks, it worked out really well. The wing leading edges are on the other hand needing some work.
That is a monstrous wing span … looks great though
Thanks, now to get the cowling puzzle pieces to fit.
If you mean the radiator cowling, I’ve read in other blogs that they’ve had more success by building it up off the plane so all the pieces match, then mounting the assembly…
Of course, dry fit, dry fit, dry fit and because Airfix, dry fit some more before glueing ![]()
I started top to bottom, back to front. So far it’s going well. Gluing one panel at a time.
